In recent years, people are increasingly trying to open their own businesses. Someone can invest big money at the beginning and take risks, but not everyone has such an opportunity and a big scope is not always needed.
Let's say you want to create a small repair shop. For a successful implementation, you need knowledge of the case and a signboard that informs people around you about your services. It does not have to be expensive, but your customers should notice it.
Now we will share the way how to make a sign with our own hands.


Types of signage
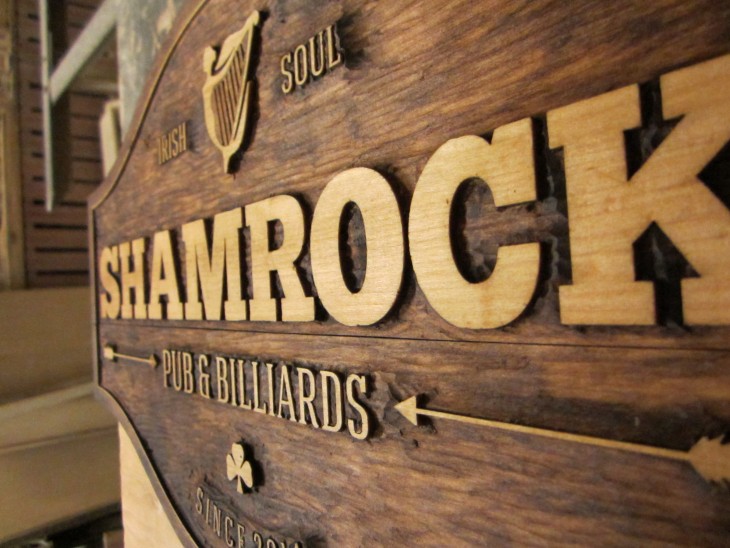
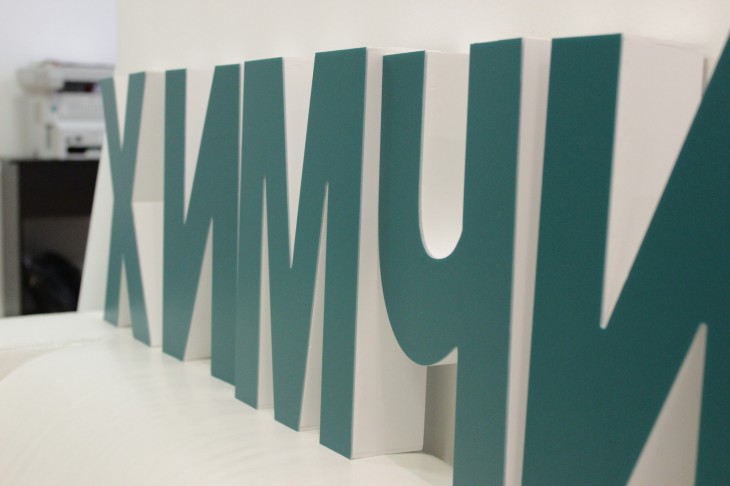
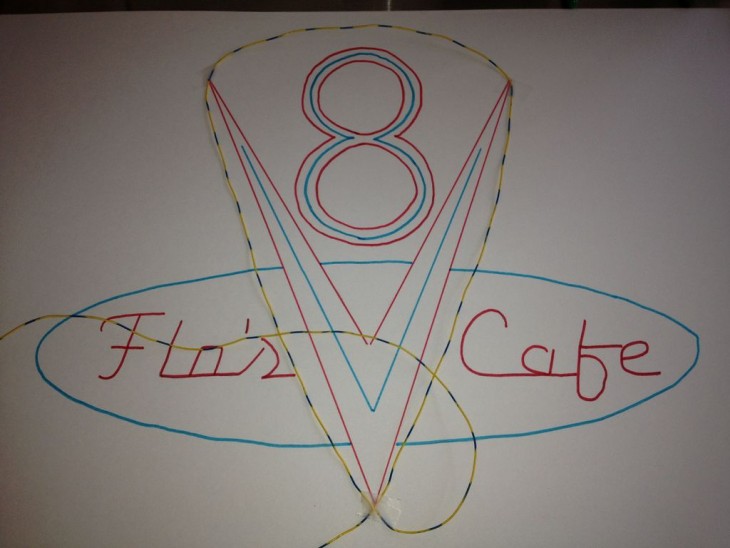
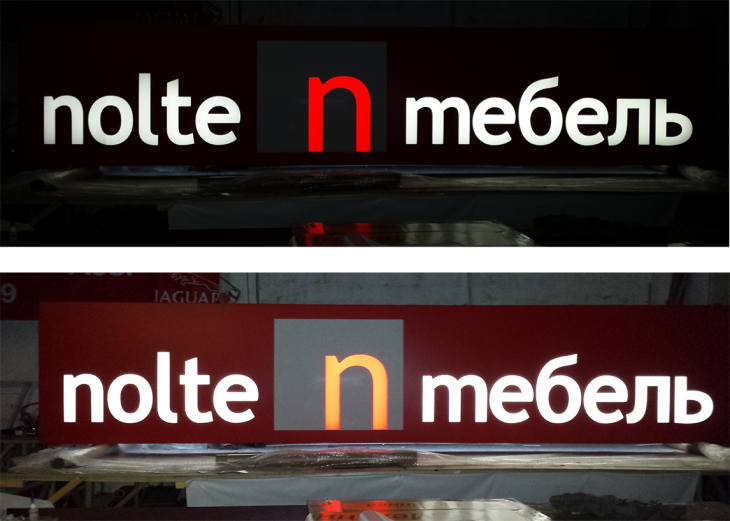
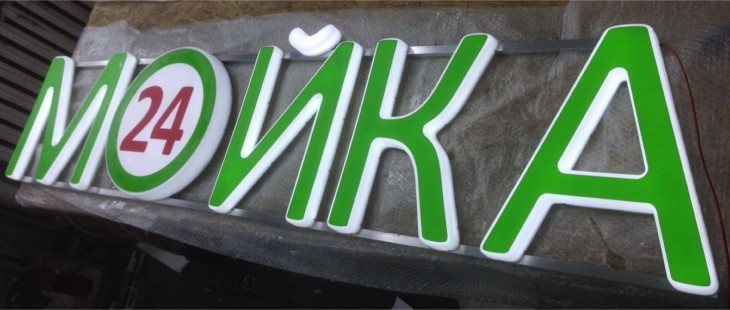
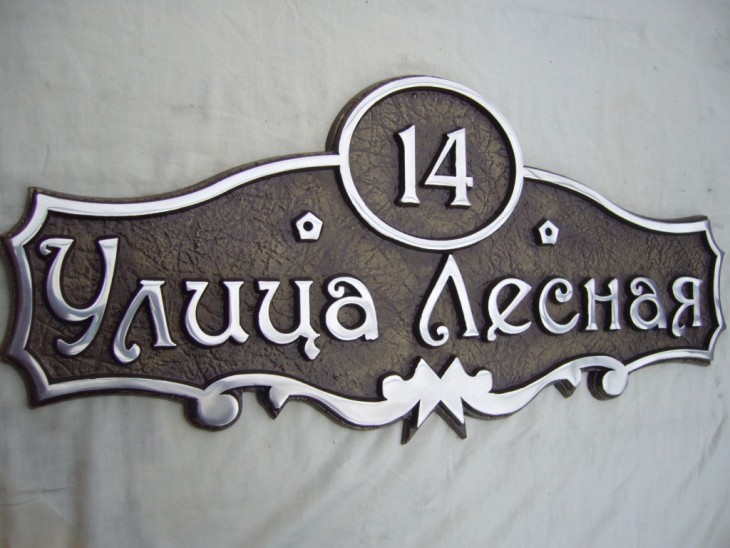
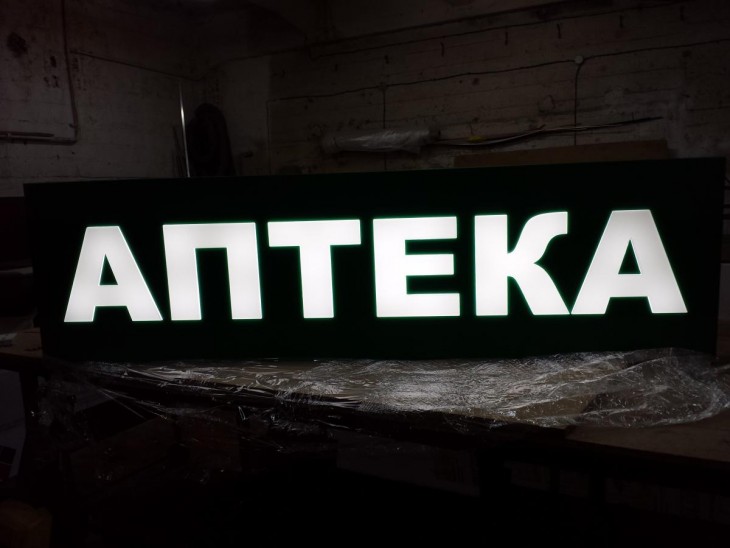
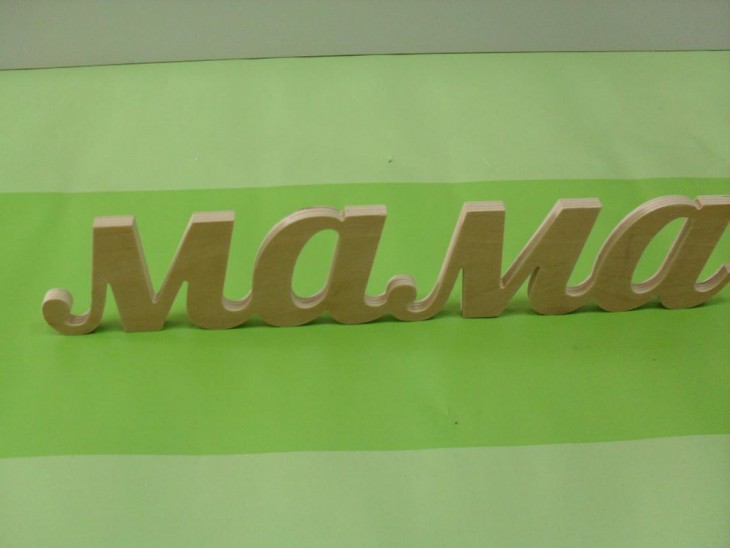
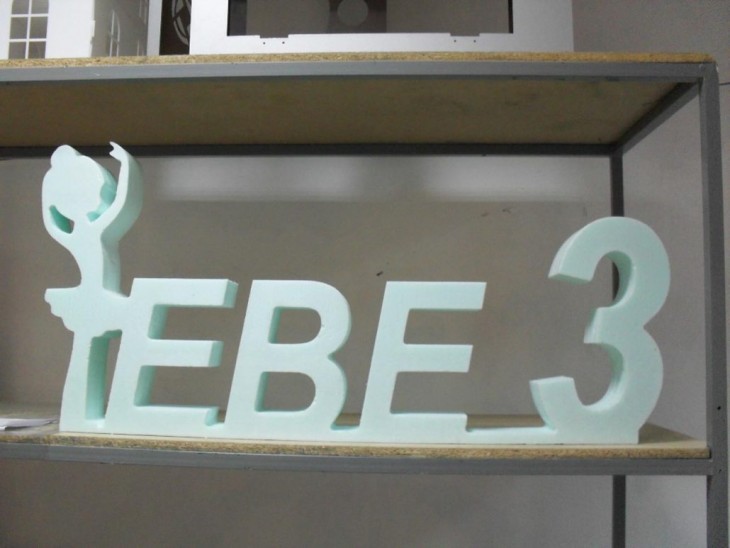
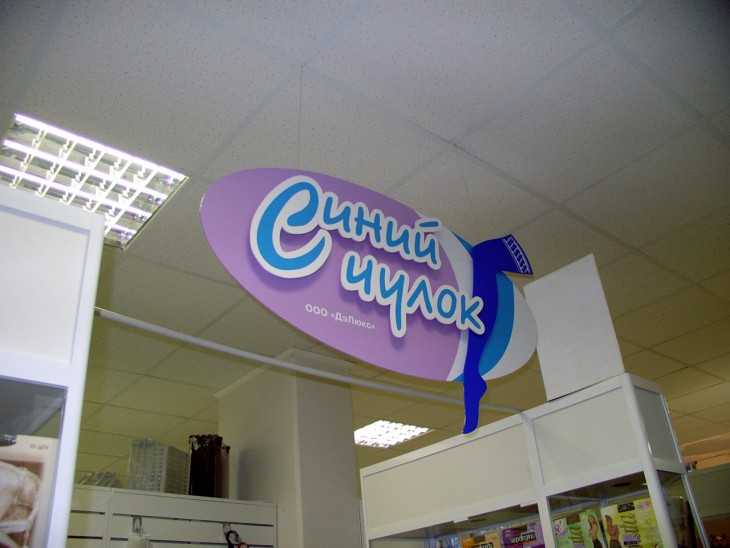
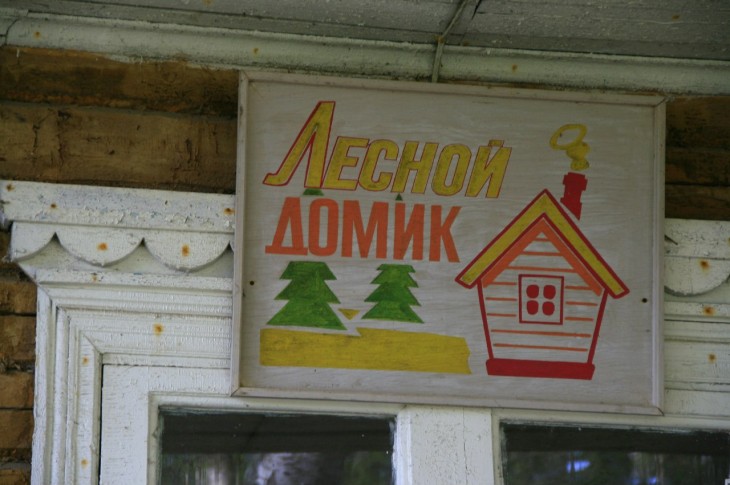
Now there are a huge number of ways to attract consumers. The oldest of them is a sign. Looking at the photo of signs, you can notice their diversity not only in the names and design, but also in the types of signs themselves.
So there are signs, consisting of one name, and advertising signs, which in addition to the name gives a brief summary of the services provided.

You can also distinguish signs by the manufacturing method:
- not light (ordinary);
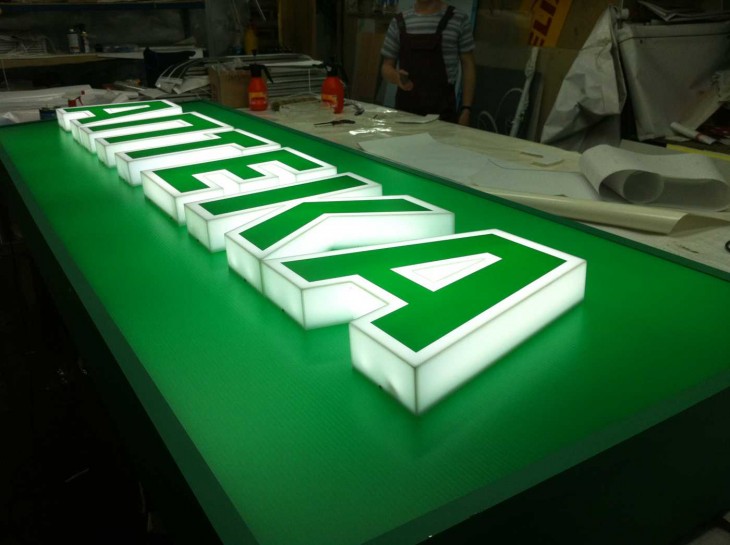
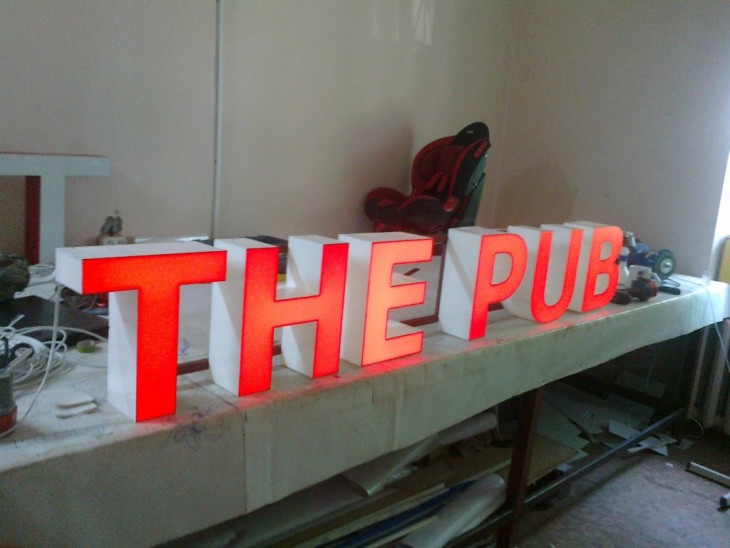
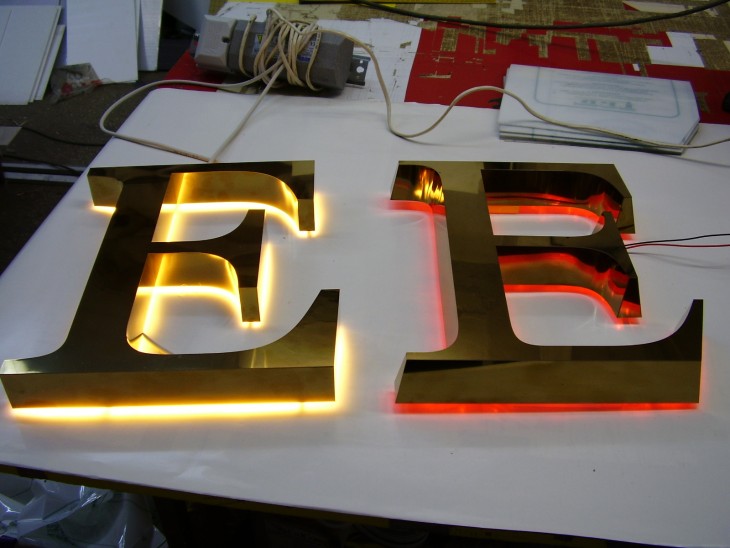
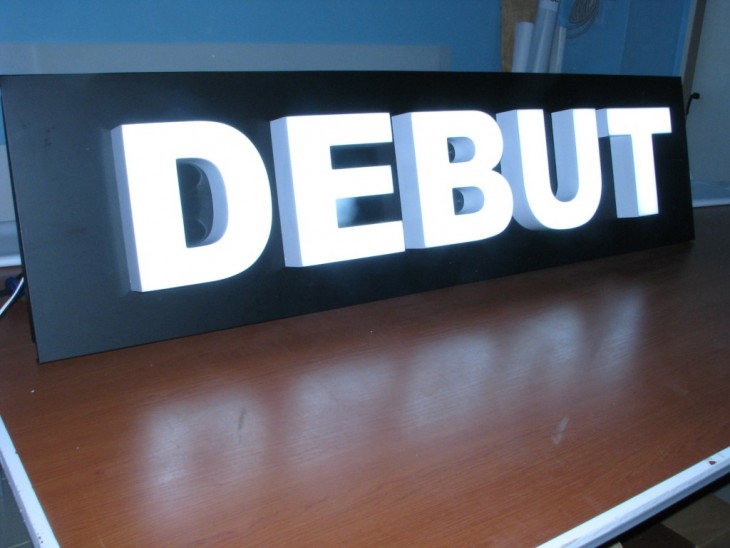
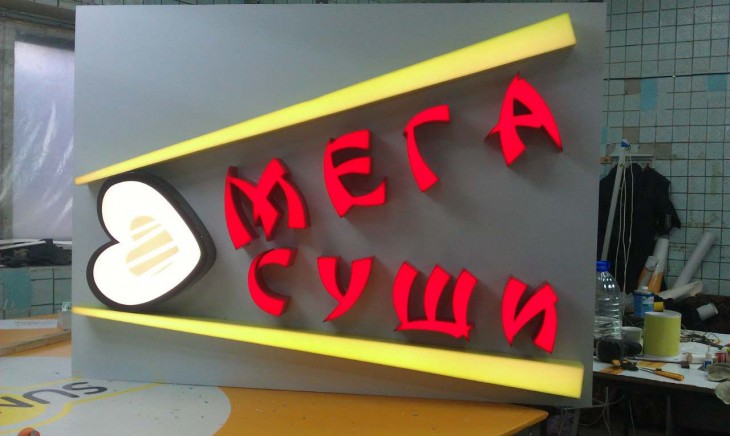
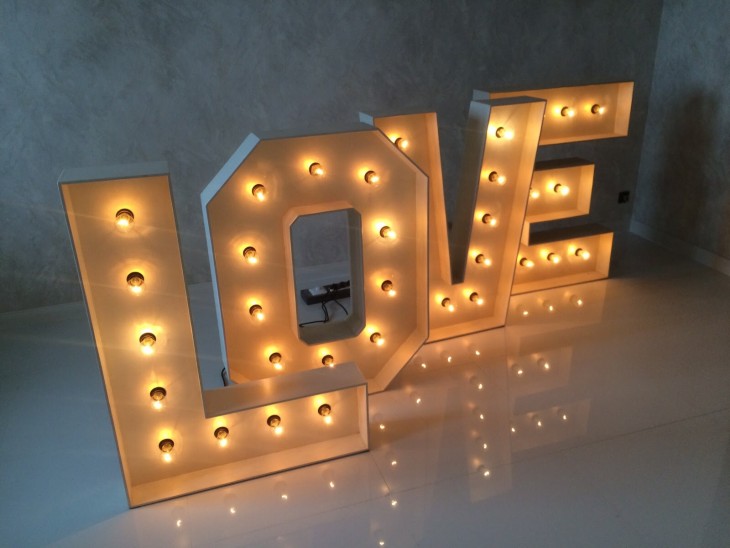
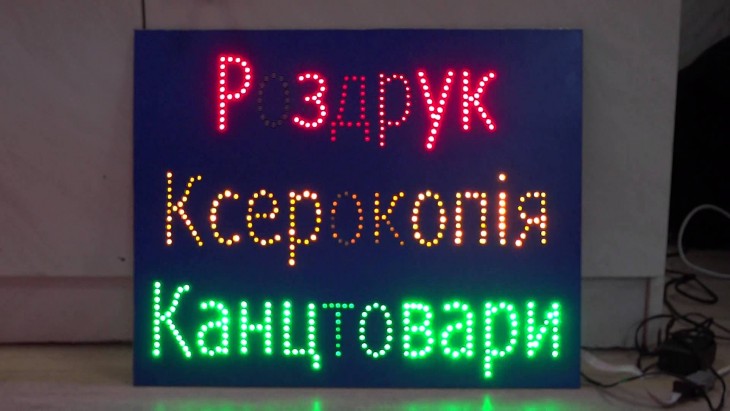
- light (neon signs and LED);
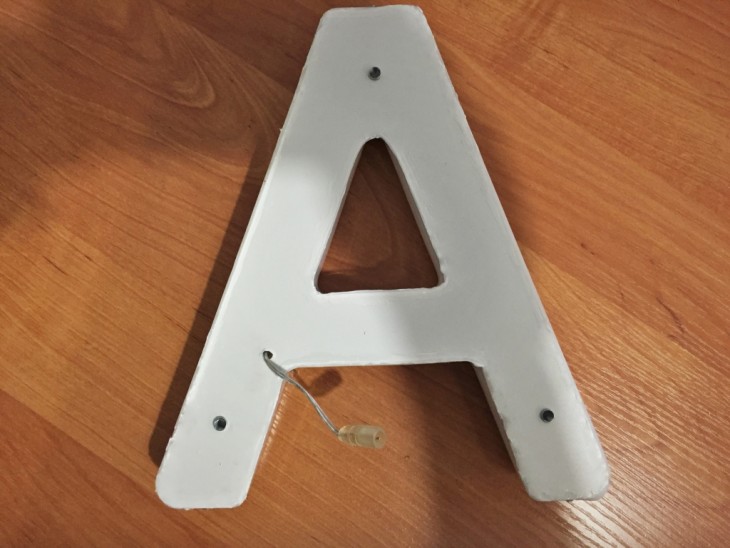
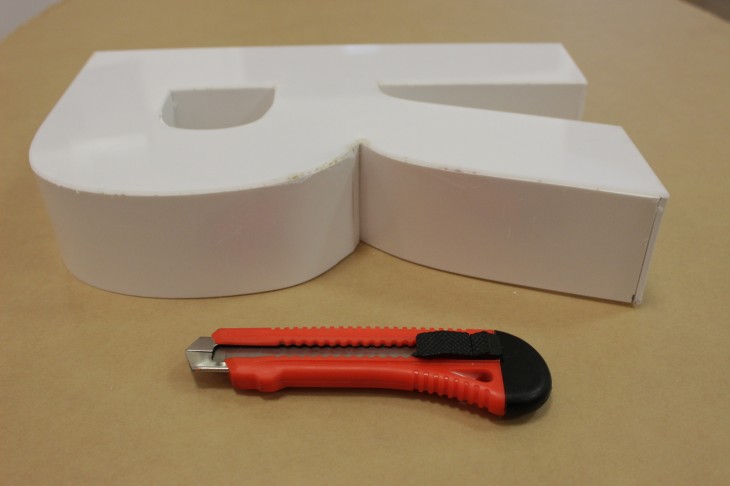
- volumetric signs (boxes and letters).


Naturally, signboards for the store are most often used, but enterprises never refuse to use this method of advertising themselves.
What you need to create a sign
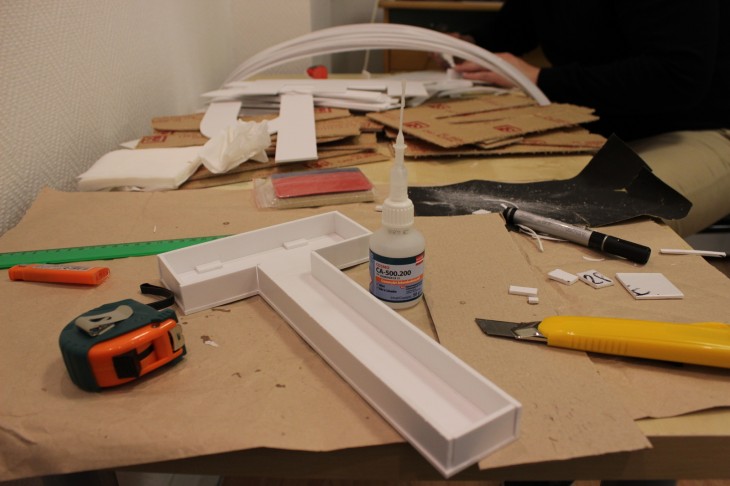
To make a sign at home, you must first select the type of billboard. In our case, an ordinary non-light sign was taken.
It is the most simple and quick to do, and the workmanship will not be much worse than that of professionals.
What is required for this:
- steel sheet meter for two (minimum thickness);
- self-adhesive of various colors;
- rag, wipe the glued places;
- Double-sided tape
- scissors (ordinary and metal);
- a pencil is simple;
- a computer, preferably with a printer;
- roulette or ruler (it is possible both that, and another);
- card made of plastic (suitable for banking or discount).


We make a sign
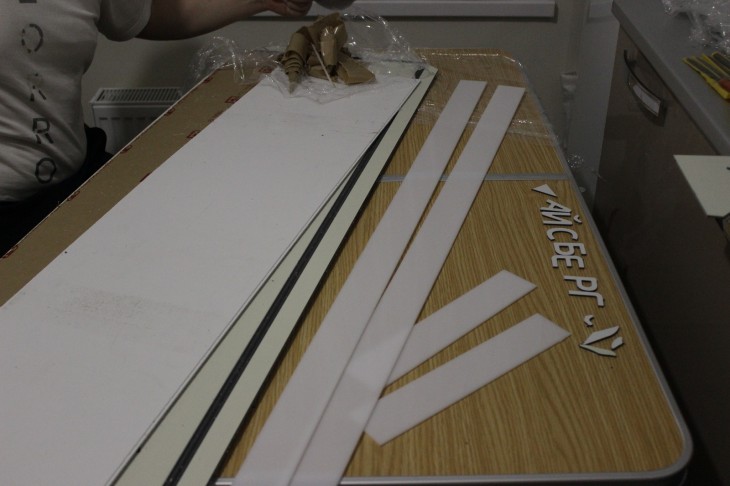
First, prepare the basis. It will be a steel sheet measuring 1 by 2 meters. However, our sign will be 2 meters by 50 cm in size, and since the width of the self-adhesive film is 45 cm, we will reduce the width of the future sheet to this size and make 2 cuts.
As a result, we get 2 bases for future signs 200 cm by 45 cm. In order not to suffer from accurate and even cutting of metal, we recommend ordering it to be cut in the store where it was purchased.
For accuracy, after cutting, you need to grind the edges with an emery cloth or a file so that everything is even and smooth.
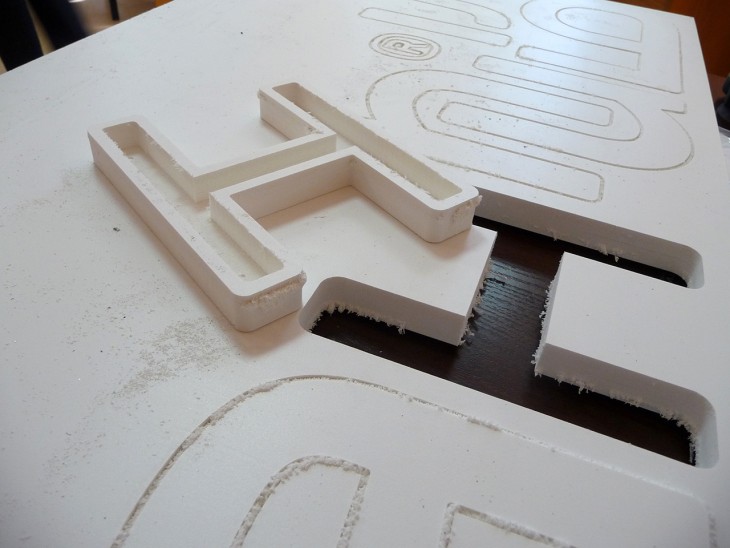
When the base is ready, we proceed to create templates for the name. They are usually made on a computer, and as programs they use photoshop or other graphics editors. In them, select the desired font and enter the name of the future sign.
After that, print the letters on the printer and cut them out. You will get layouts that need to be glued to the film, and then cut them along the contour.


The next step is to stick the background onto the sheet. Make it harder than it might seem at first glance.

To correctly and without wrinkles, the self-adhesive film adheres to the metal, the paper is gently torn from it from the middle. After that, with someone else's help, the film begins to be glued to the sheet, from the center to the edges.

Note!


For leveling use plastic. You should not rush while doing it, it will badly affect the quality. The length of the film can be made a little longer than the length of the sheet.This will allow to bend its edges and, thus, fix the self-adhesive on the metal even more reliable.

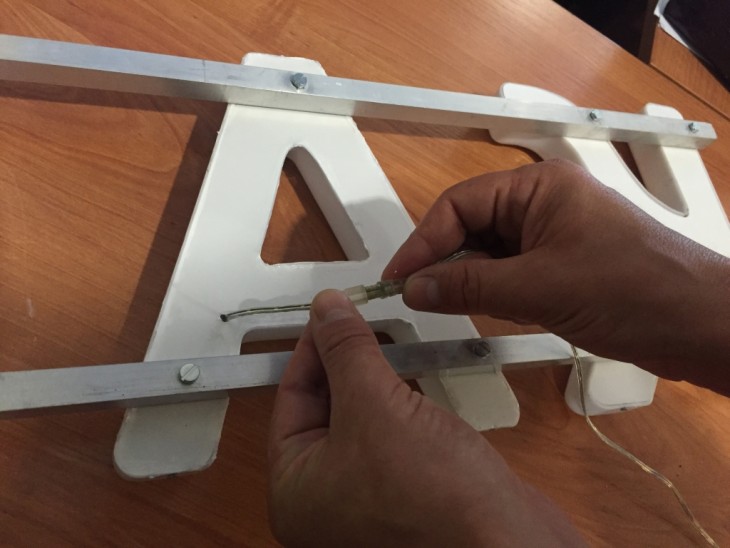
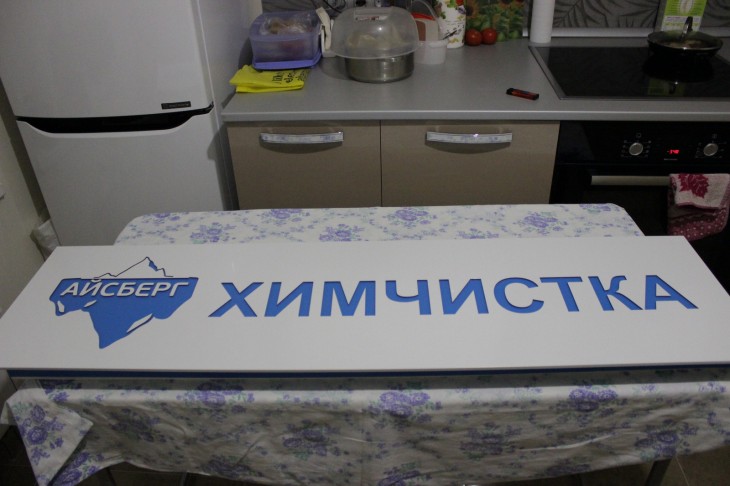
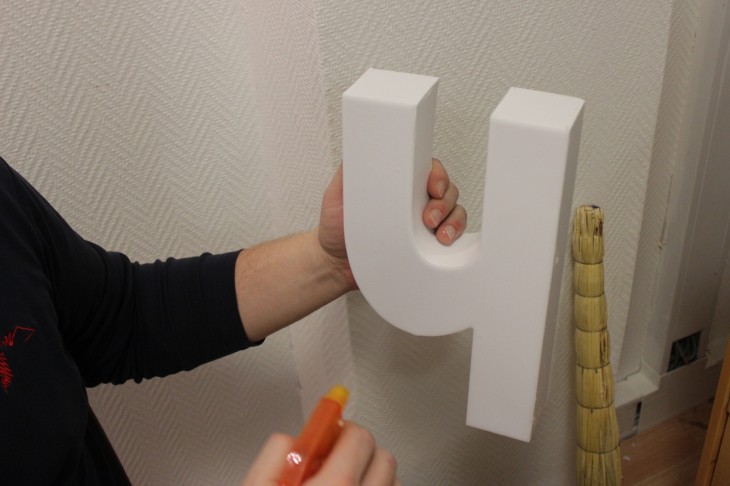
The final step will be the even placement of the name of the sign on the basis of. To begin with, the letters are laid out on a sheet and approximately placed in the middle of the base.


After that, it is necessary to draw a leveling line so that the letters "do not jump" (only if this is not specifically intended). Then, the letters are torn off the letters from the film and strictly on the resulting line they are glued to the background of the sign.

In order to avoid blistering during the sticker, as well as with the background, a plastic card is used. The finishing touch is the edging of the signboard edging.
As a rule, film trimming from previous stages of work is used on it. The optimal width is 2 cm. The edging is glued from the edge to the center, and it is located both in sight and on the back side of the base, to hide irregularities in the edges of the sheet. Accordingly, the width of the strip per edge should be at least 4 cm.
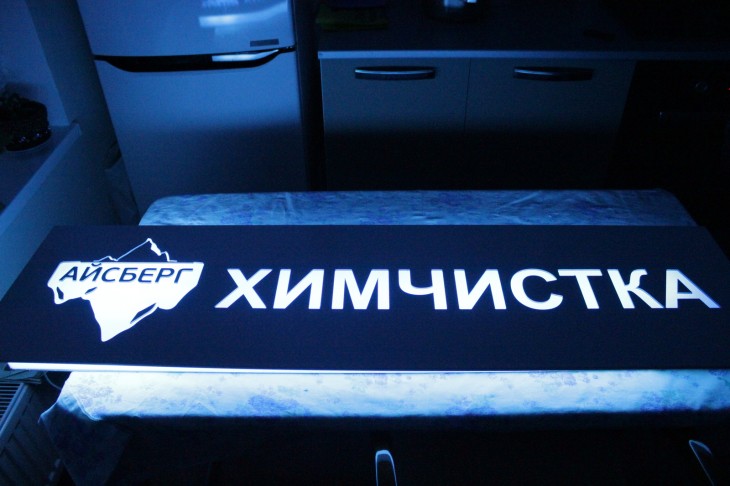
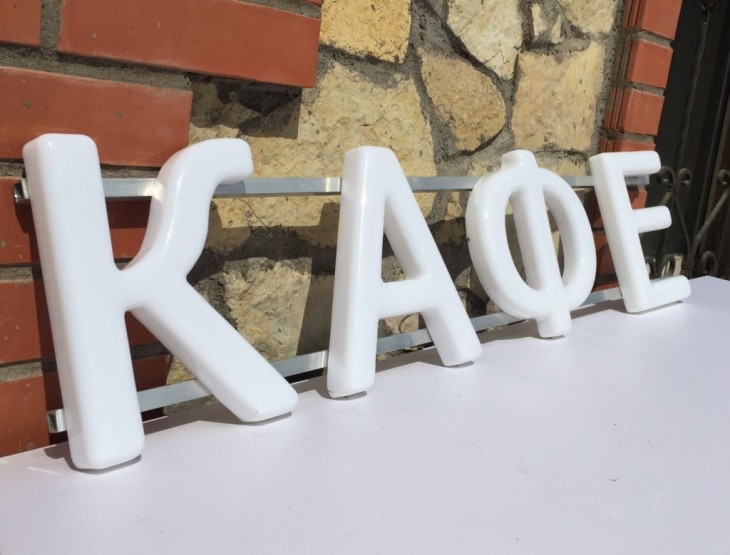
Having completed all the steps, you will get a beautiful and inexpensive signboard made by you!
Note!


DIY signboard photo


Note!


Crafts from clay - step by step we make a flower and 84 photos of different figures
DIY rocking chair: instructions for beginners (59 photo ideas)
DIY subwoofer: drawings, diagrams, selection of materials and components (60 photos)
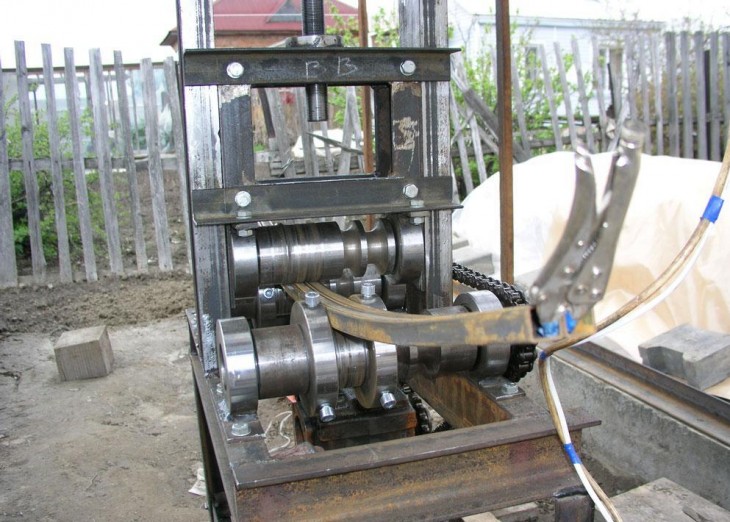
DIY pipe bender: 59 photos of brilliant ideas for creating a mechanism