Demand for alternative energy sources is increasing every day. Craftsmen are actively mastering ways to make a solar battery with their own hands.
Review Content:
Preparatory phase: what you need to know about solar panels
For self-production of a solar battery, you can use either specially purchased blanks or make the most of the material available in the home workshop — diodes, transistors, and foil.
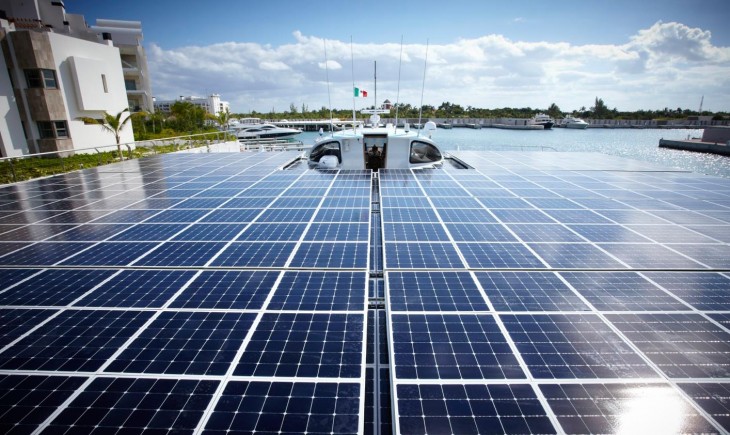
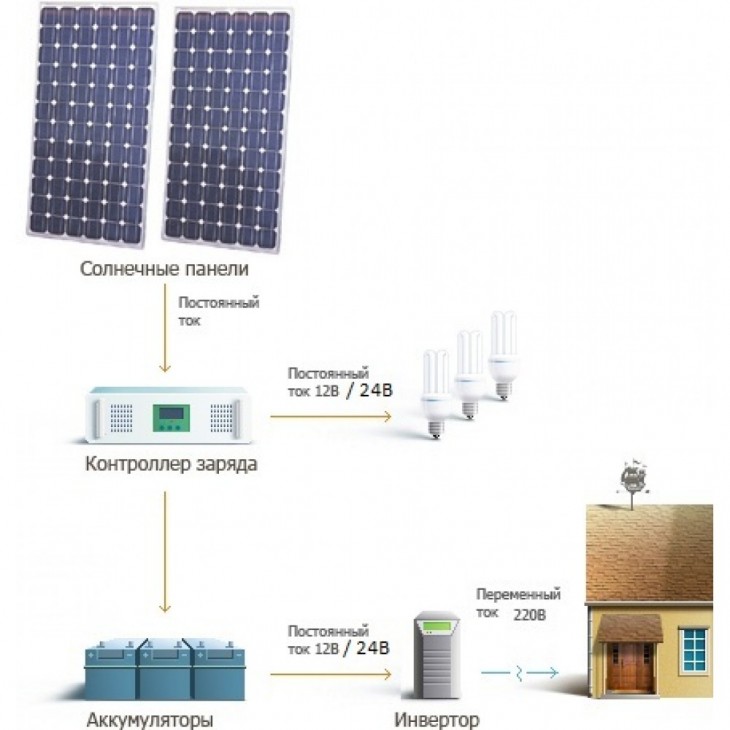
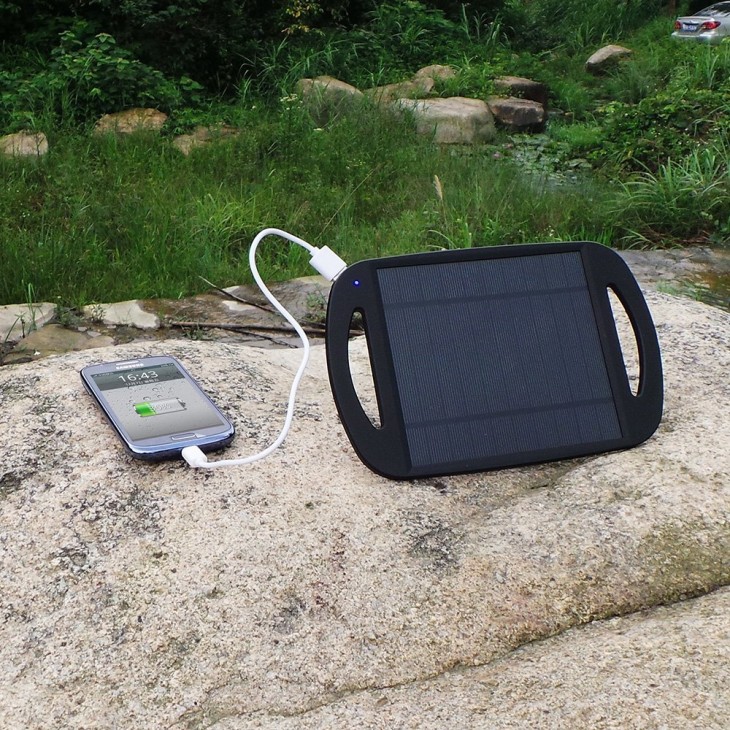
In most cases, solar panels cannot replace a full-fledged power station and give an operating voltage of 220 V for the operation of powerful electrical appliances. Limitations arise due to their high cost and large free space for installation.

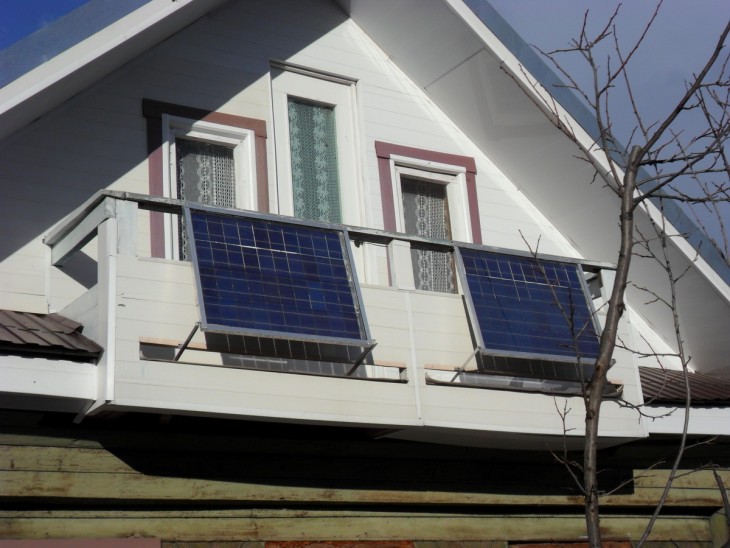
Often they are used as an additional source of energy for non-electrified summer cottages.
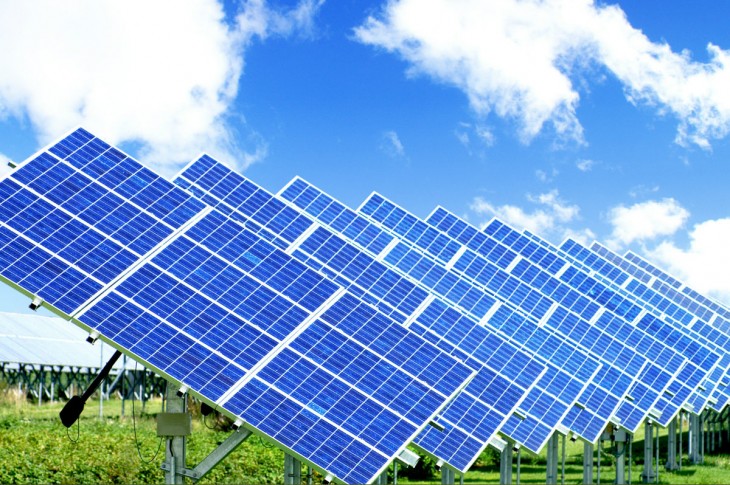
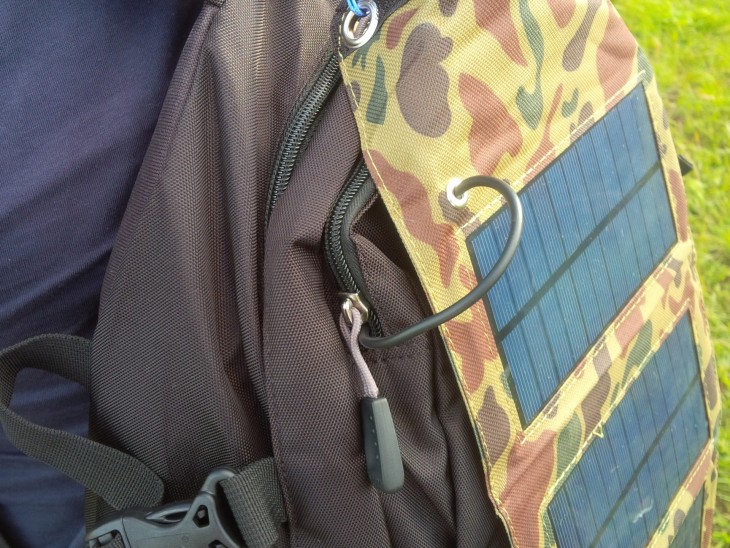
The efficiency of solar panels depends on weather conditions, the intensity of the sunlight, the angle of incidence of the light flux.

A small number of clear days in a particular region, a strong shade of the land, may be the reason for the economic unprofitability of the new installation: the payback period will be longer than the service life (up to 30 years).
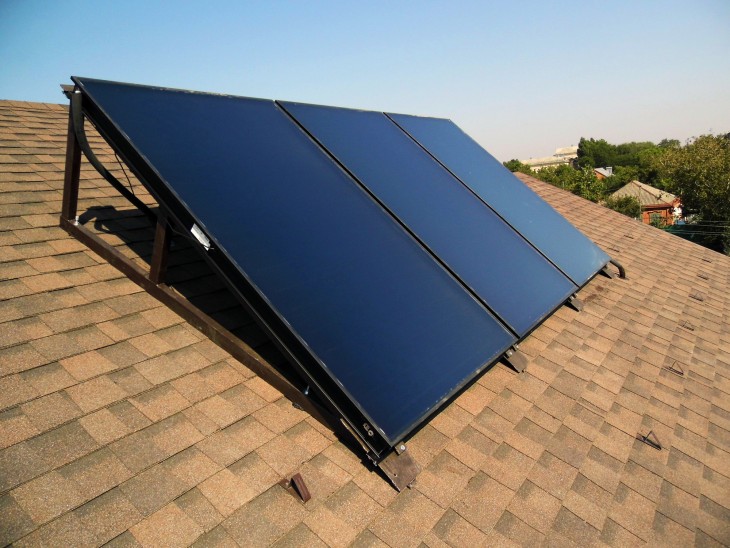
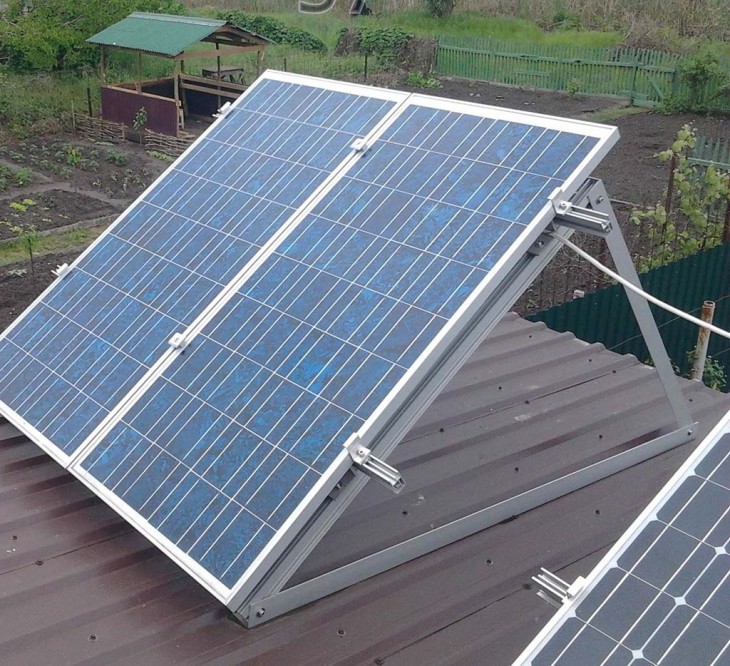
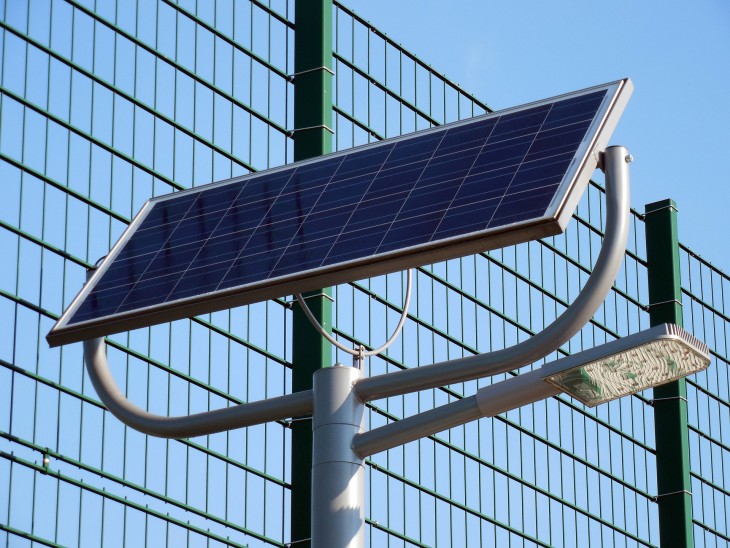
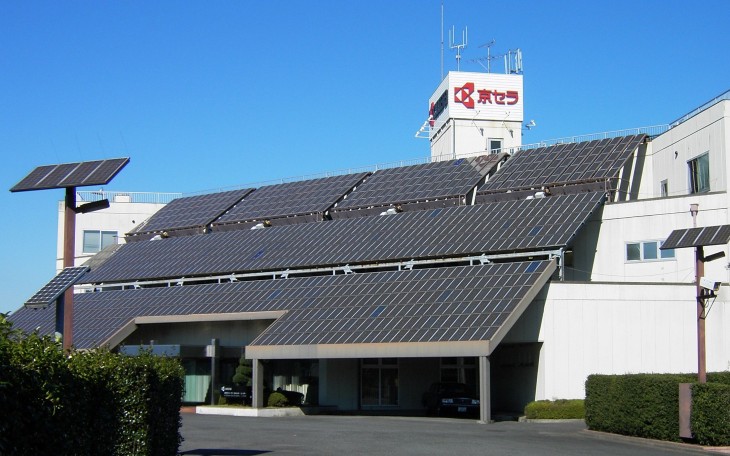
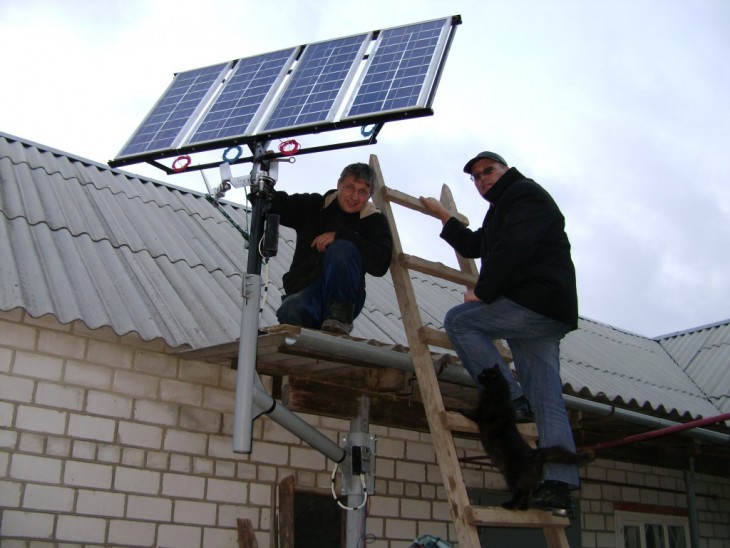
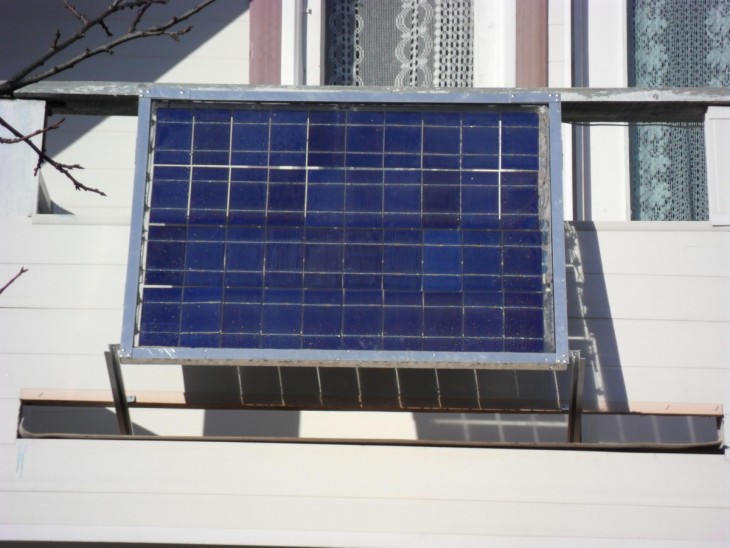
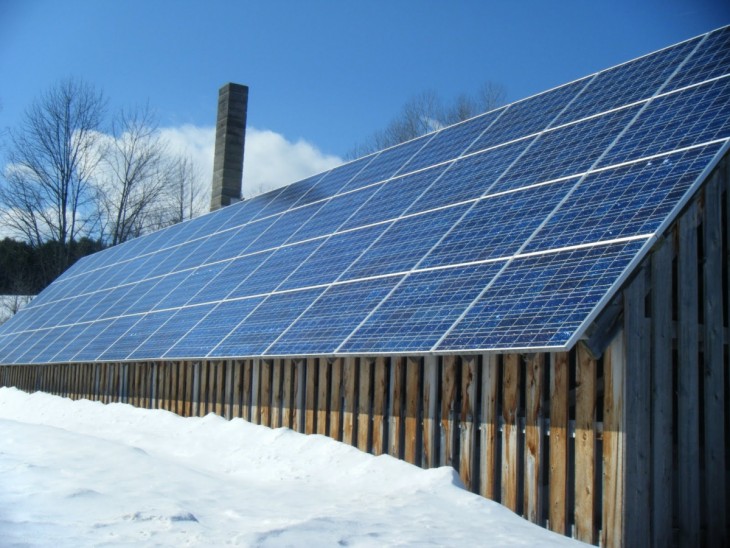
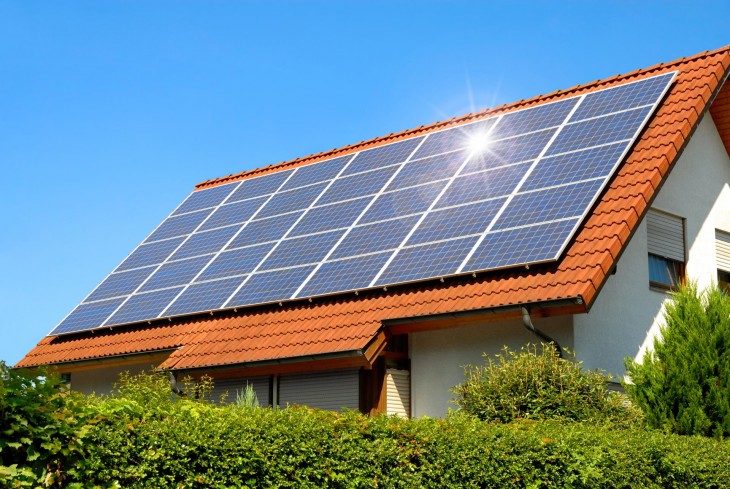
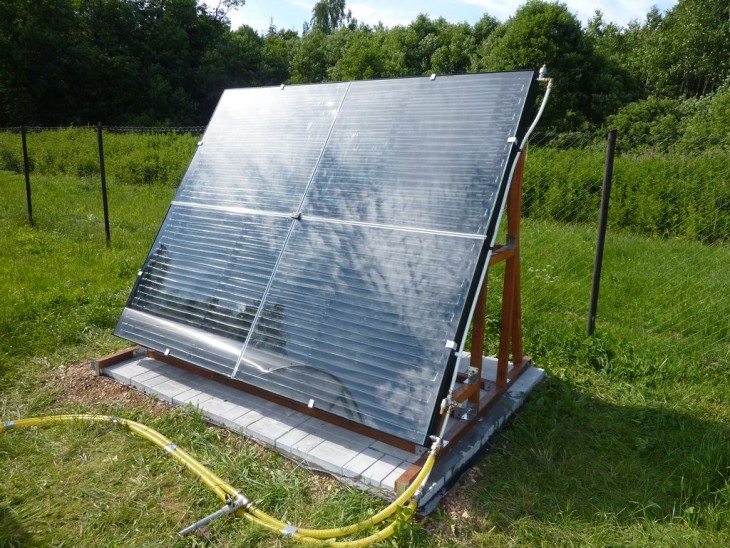
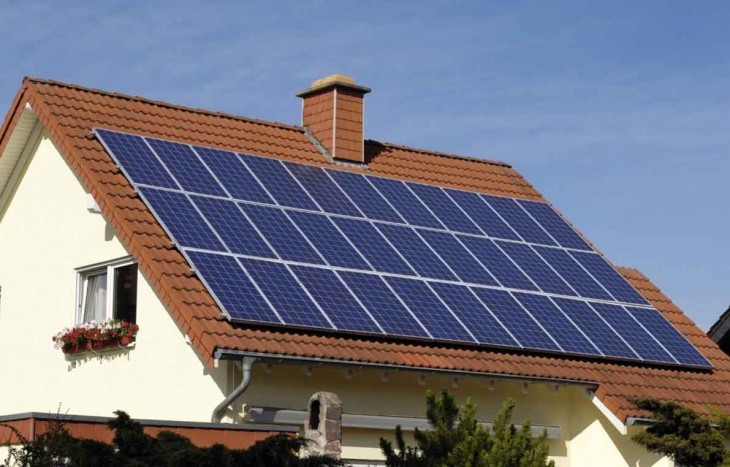
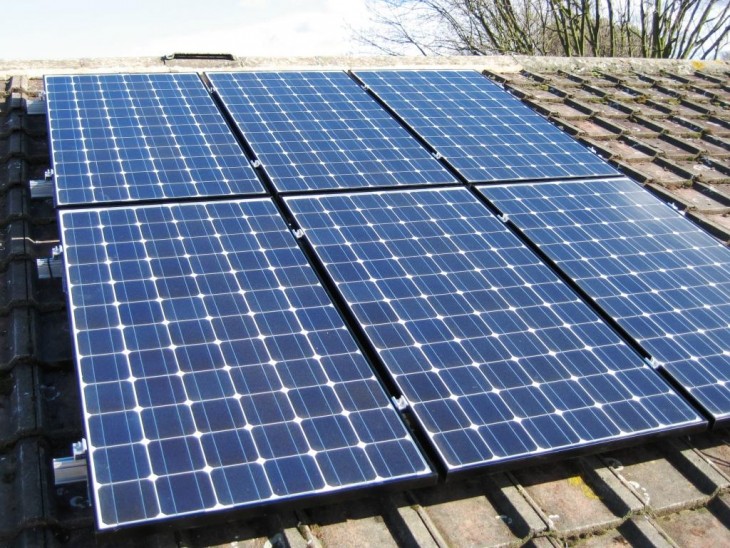
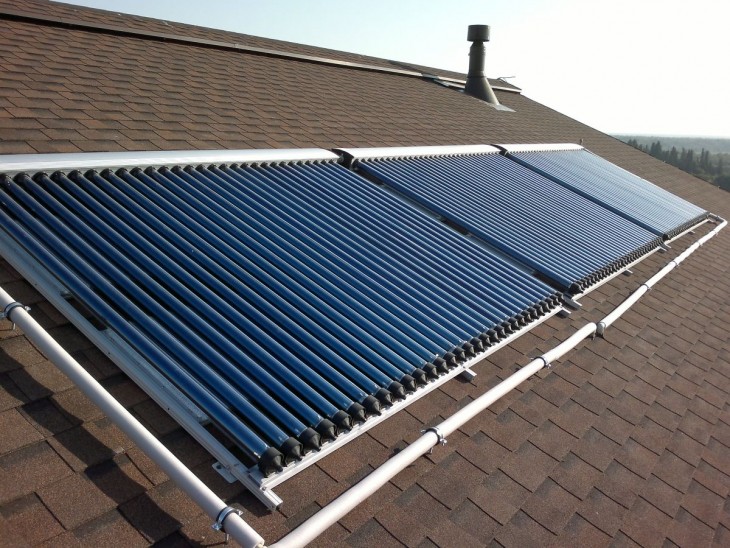
The place for installing the solar battery for your home should be well-lit, preferably above the ground level (on the roof), and the design itself should be able to correct the position in space so that the sun's rays fall perpendicular to the surface of the solar cells.
How to build a solar battery yourself
To assemble the solar battery you need:
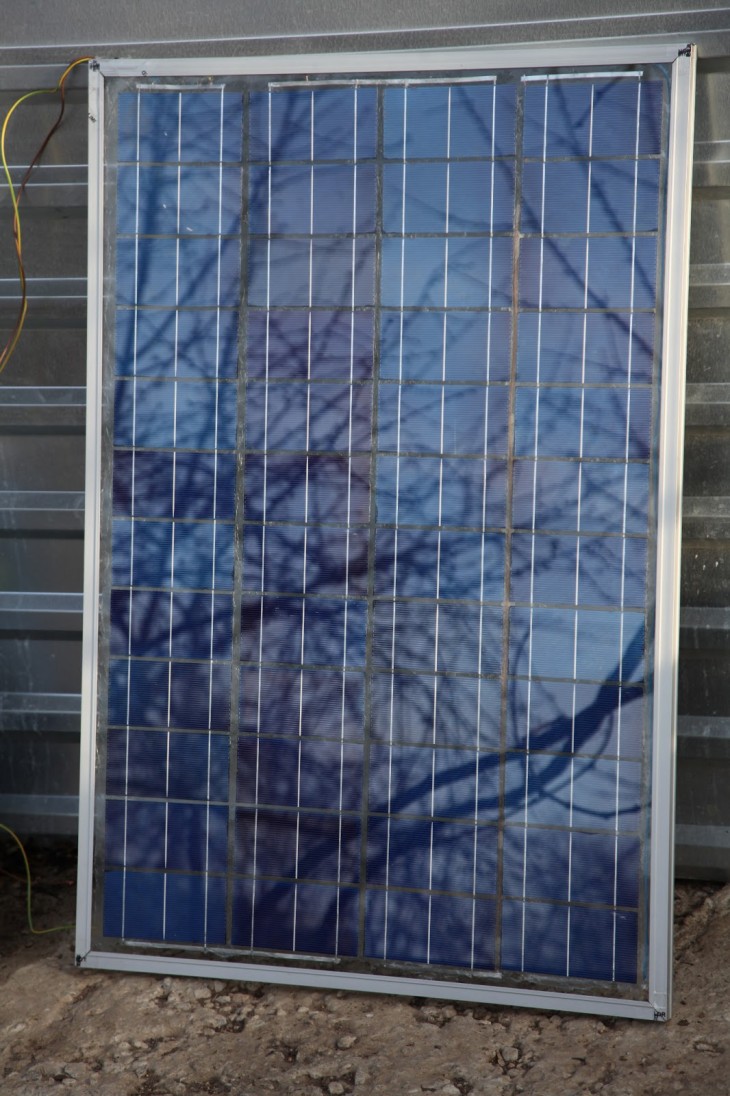
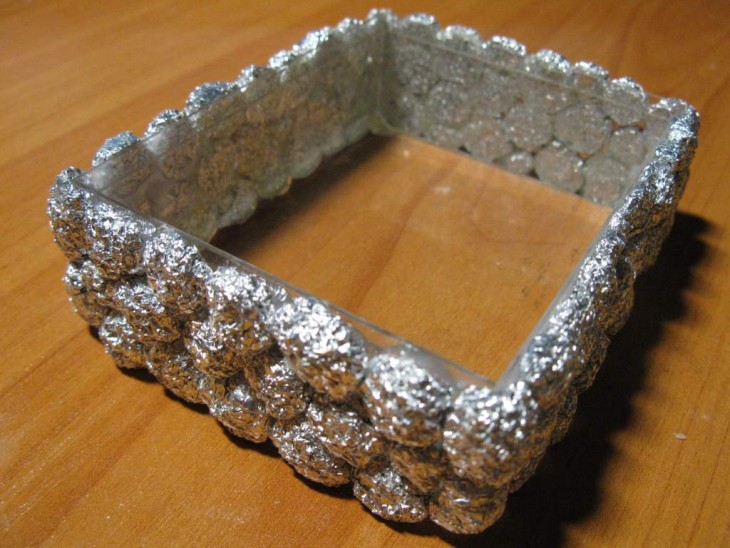
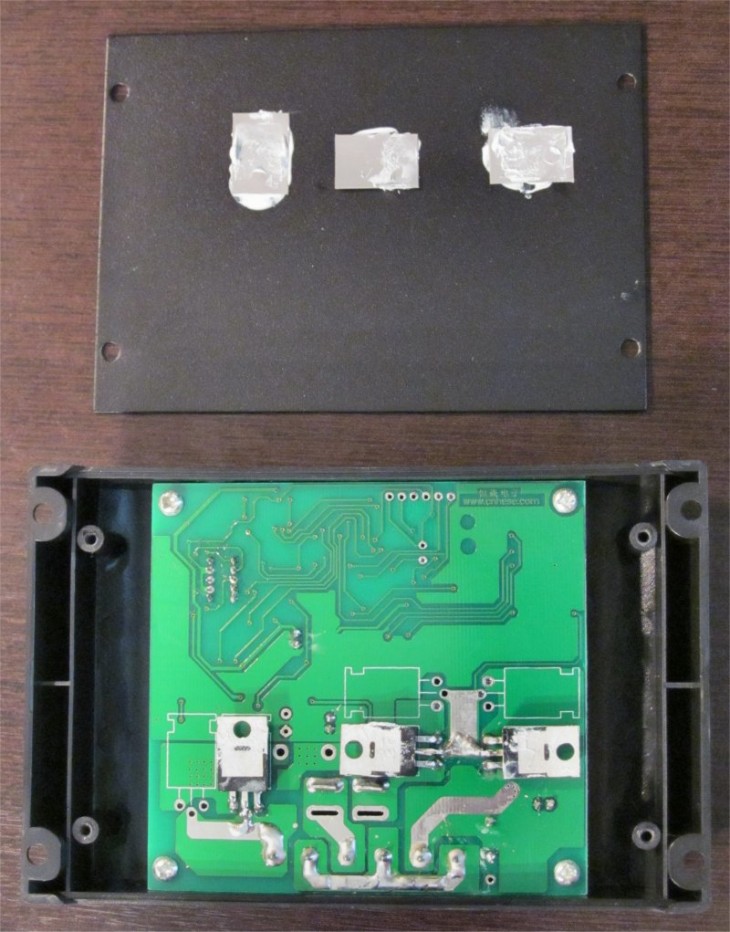
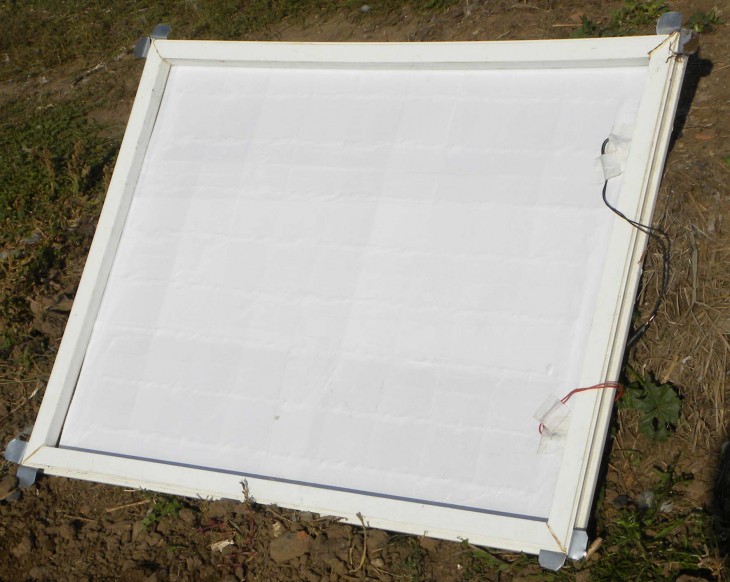
- To make a frame - a frame from aluminum corners or wooden battens. The shape of the case, and accordingly, the shape of the solar battery, you can choose any. It is necessary to prepare the substrate of fiberboard and protective glass in size.
- Solder solar cells. The most important stage: the final battery efficiency depends on a good soldering. 3. Lay the plate in the frame and seal it - the final stage of work.


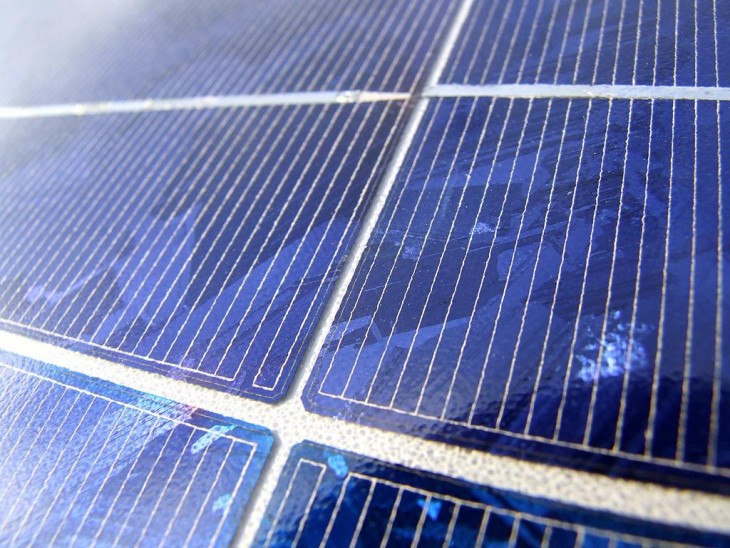
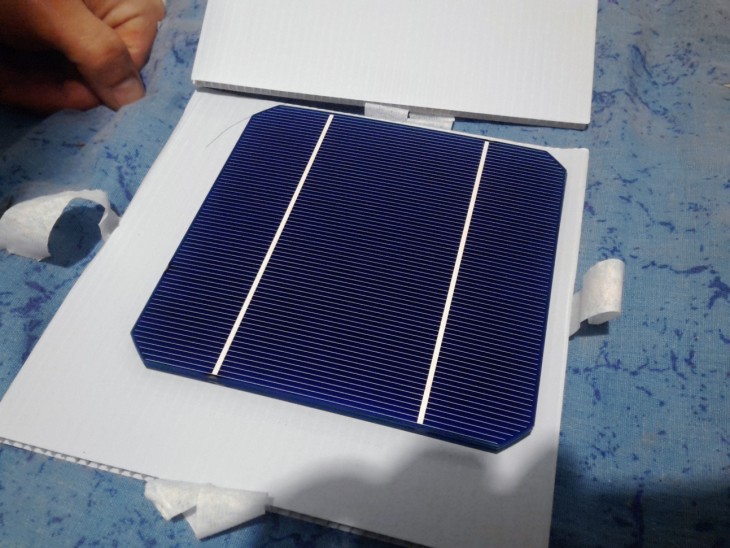
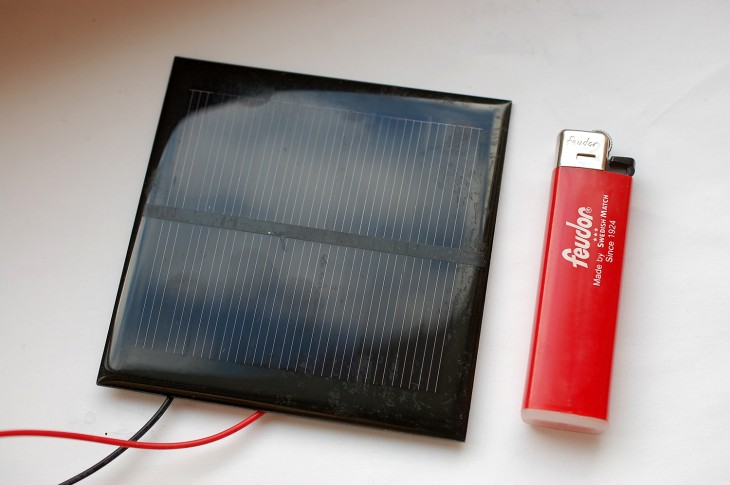
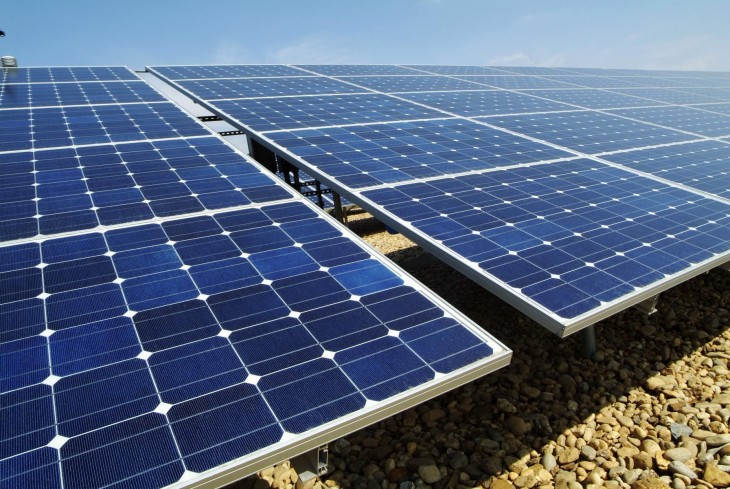
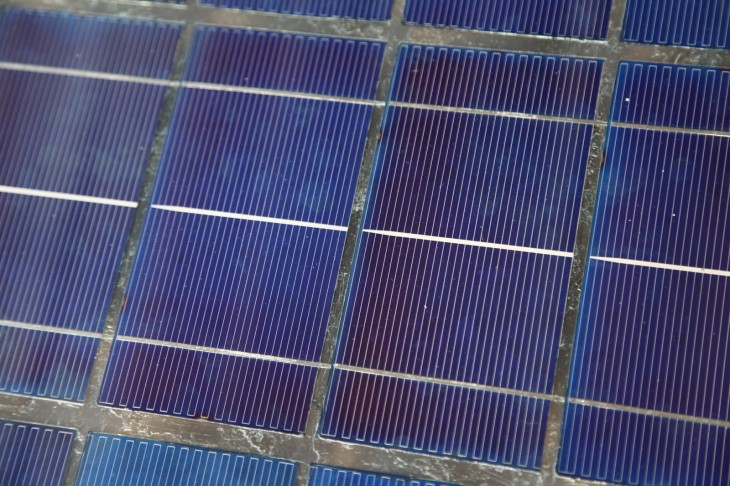
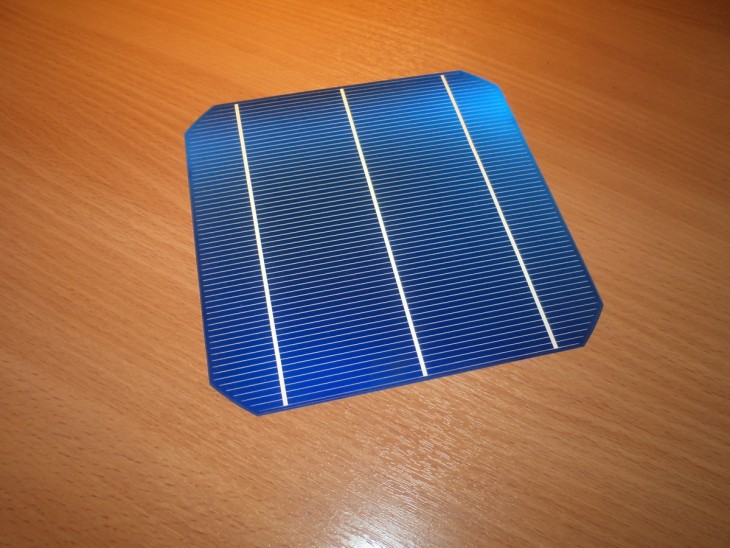
The main part of the solar battery consists of solar cells, which convert the energy of the daylight into electrical energy.
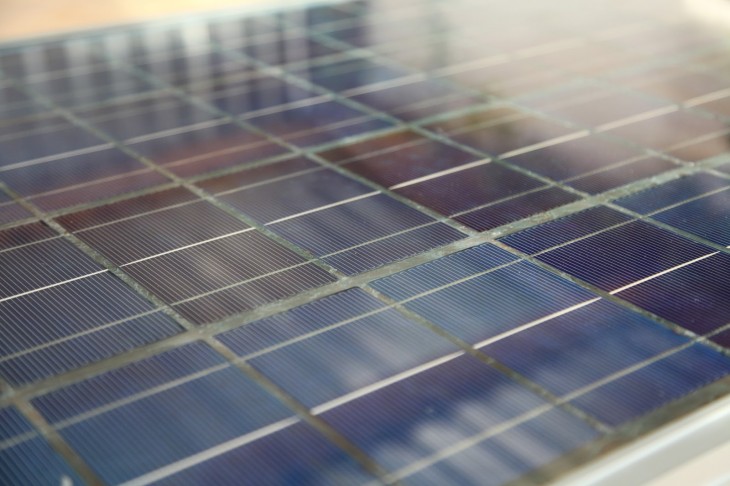
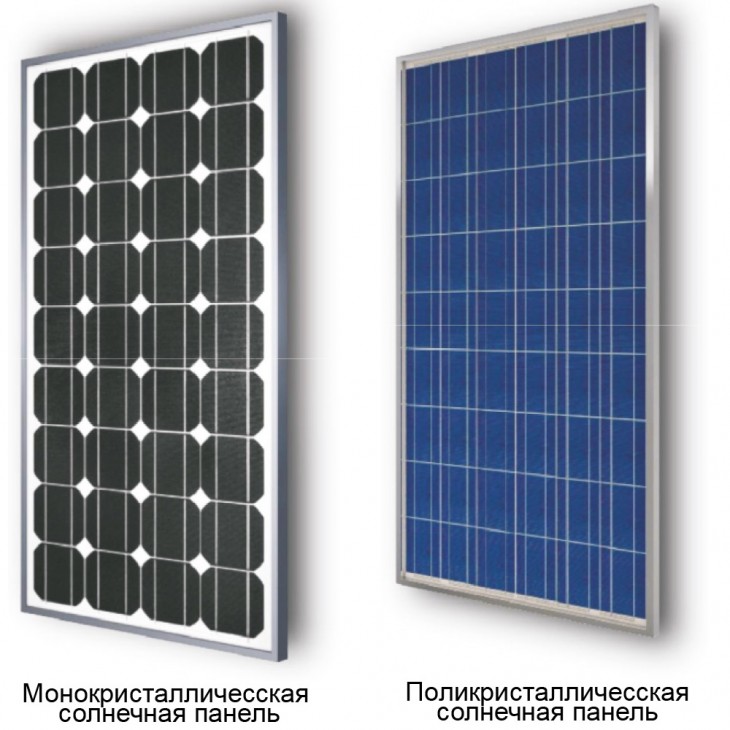
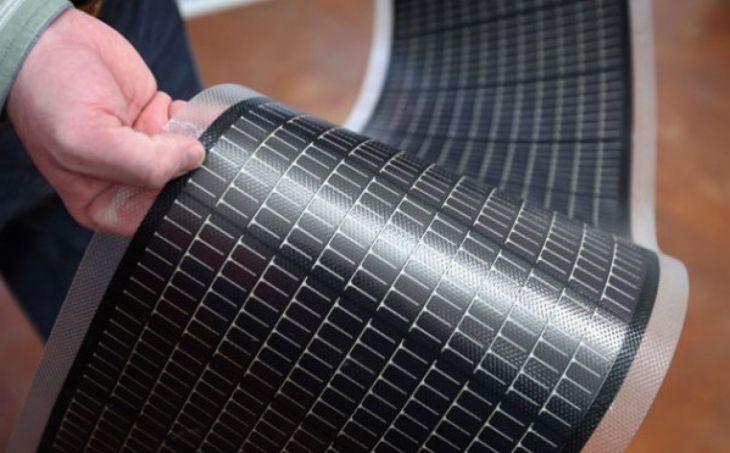
The industry produces 3 types of plates: single-crystal, polycrystalline and thin-film (amorphous). Only the first 2 are affordable and purchased as blanks for future home experiments.
The difference between them is in efficiency - up to 14% and 9%, respectively, durability - 30 and 20 years of service, and sensitivity to the intensity of sunlight.
Only batteries with polycrystalline conductors do not reduce power generation in cloudy weather.
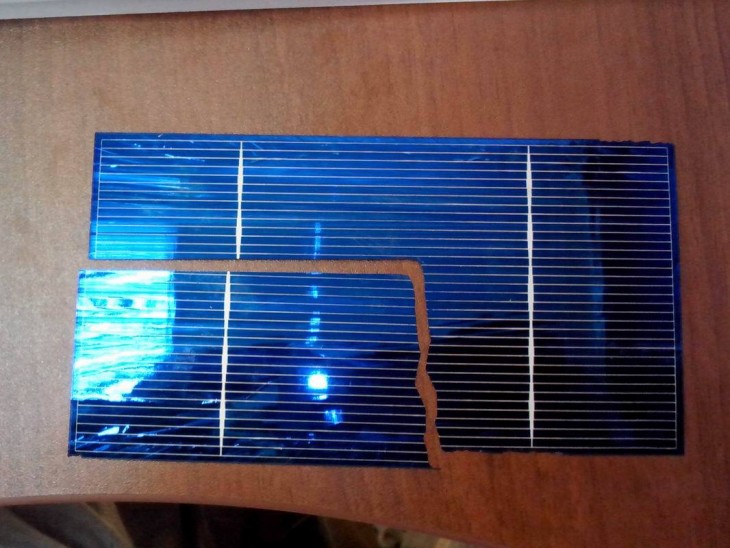
It makes sense to purchase discounted second-grade photocells - they are not suitable for industrial purposes, and existing defects do not impair the quality of homemade products.
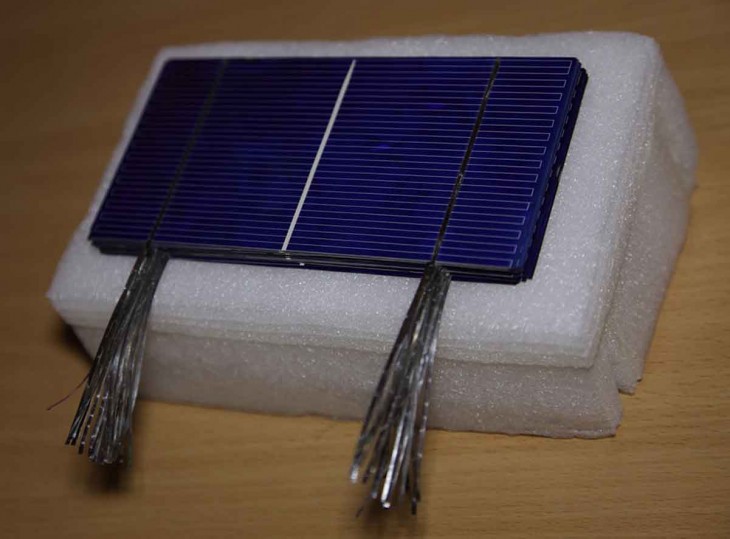
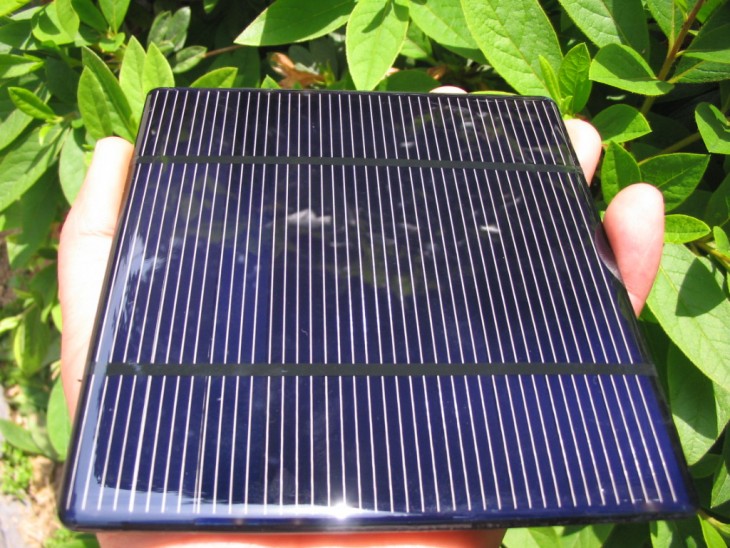
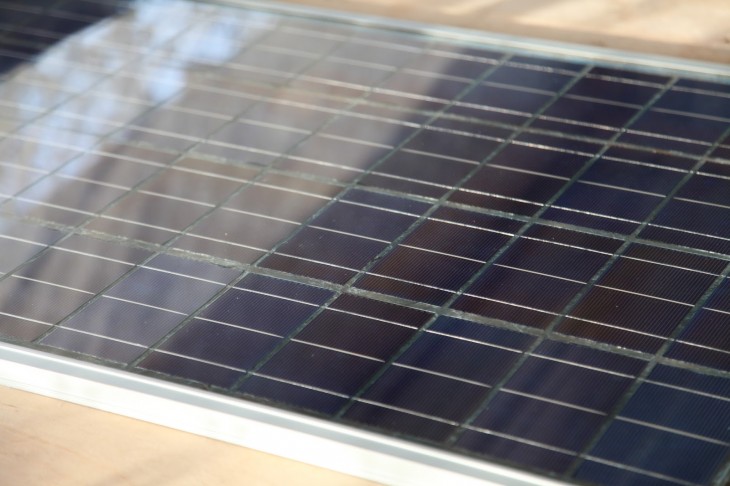
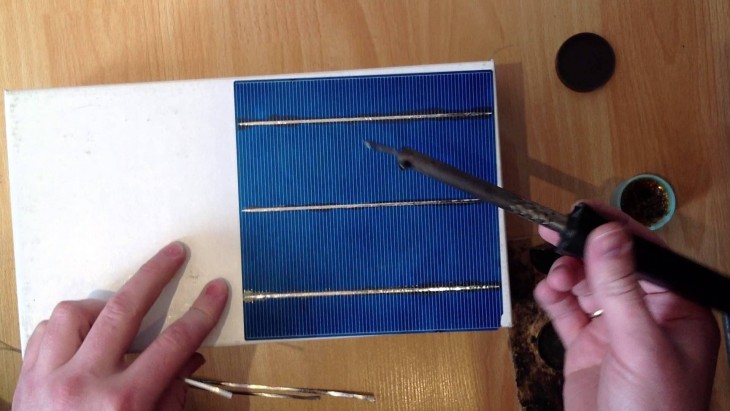
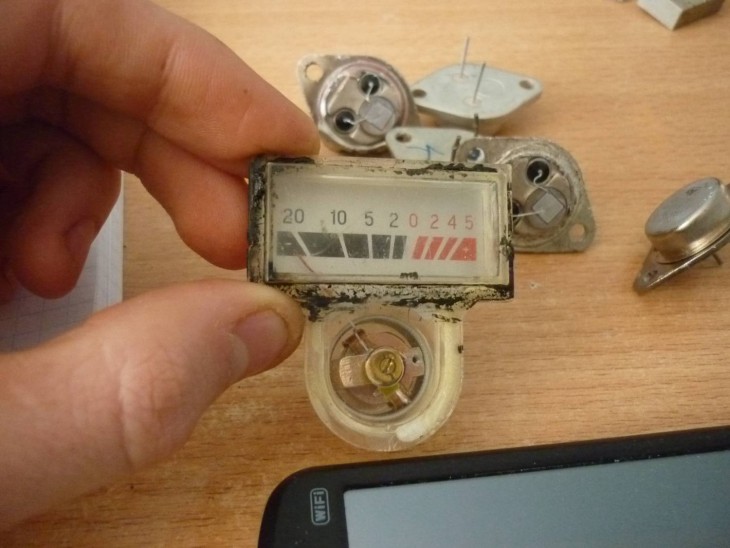
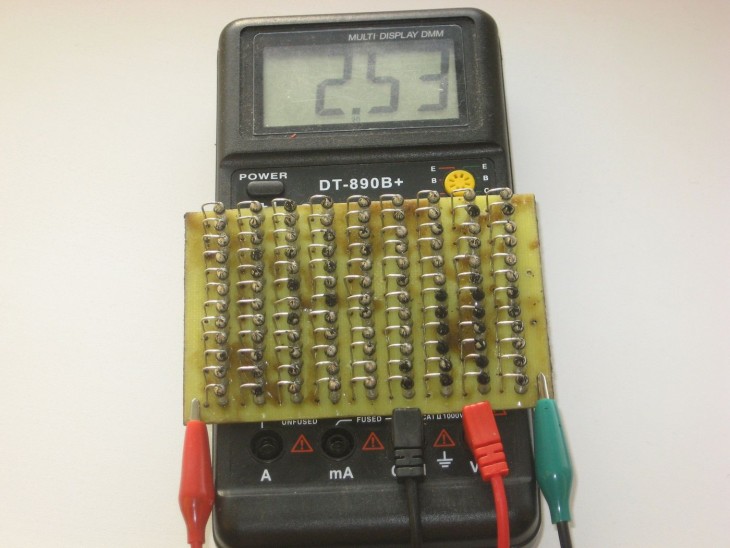
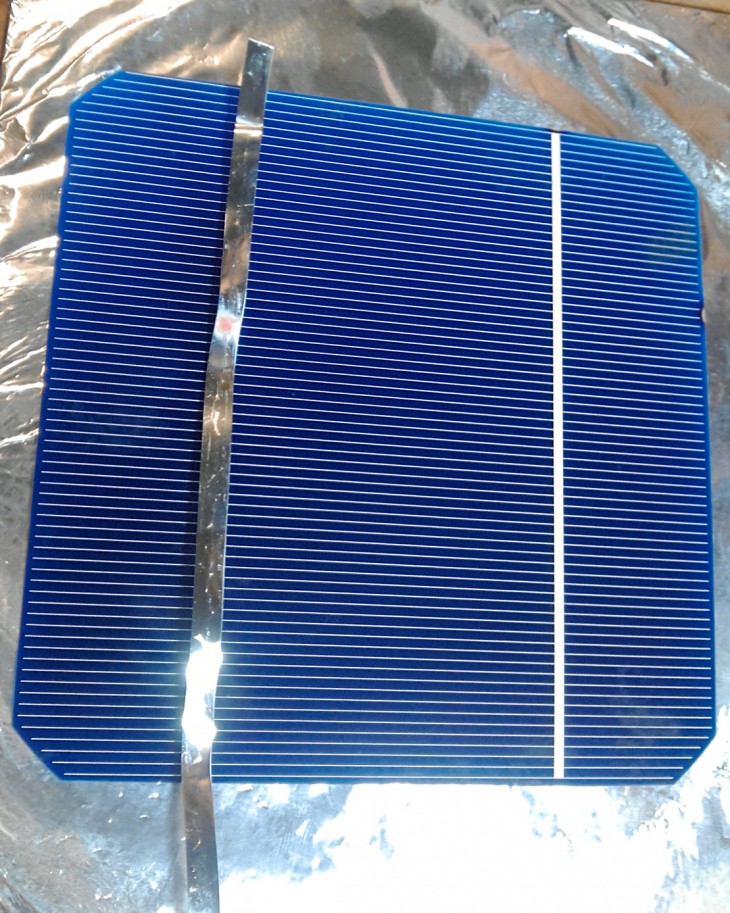
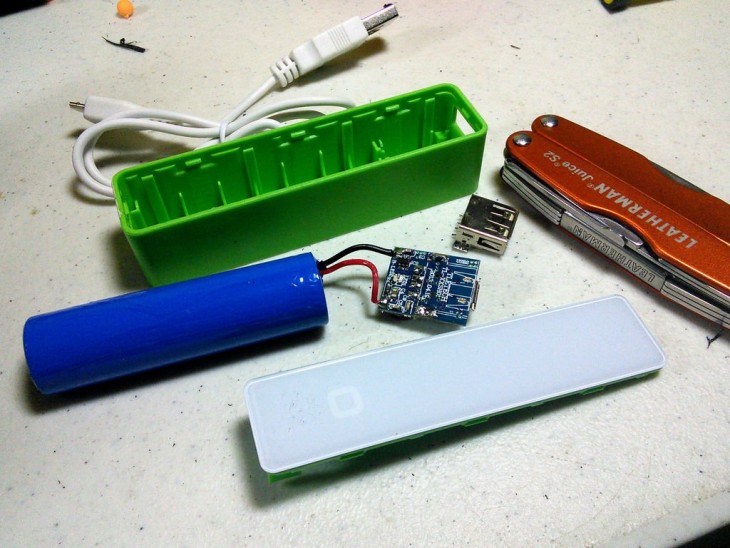
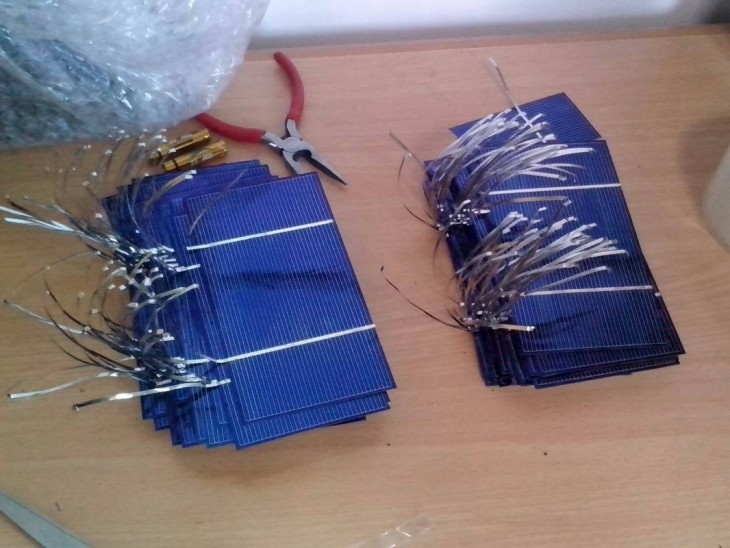
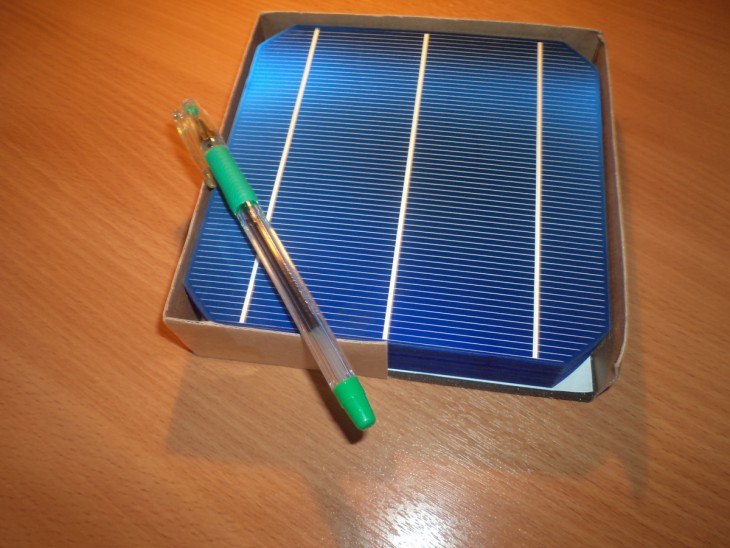
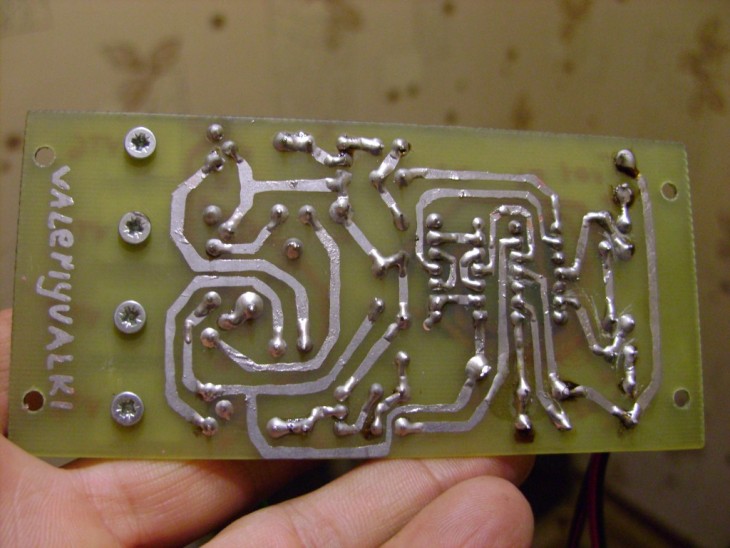
Purchased photocells need to be soldered together. A separate element gives 0.5 V voltage, usually home craftsmen are guided by the rated voltage of the finished product 18 V.
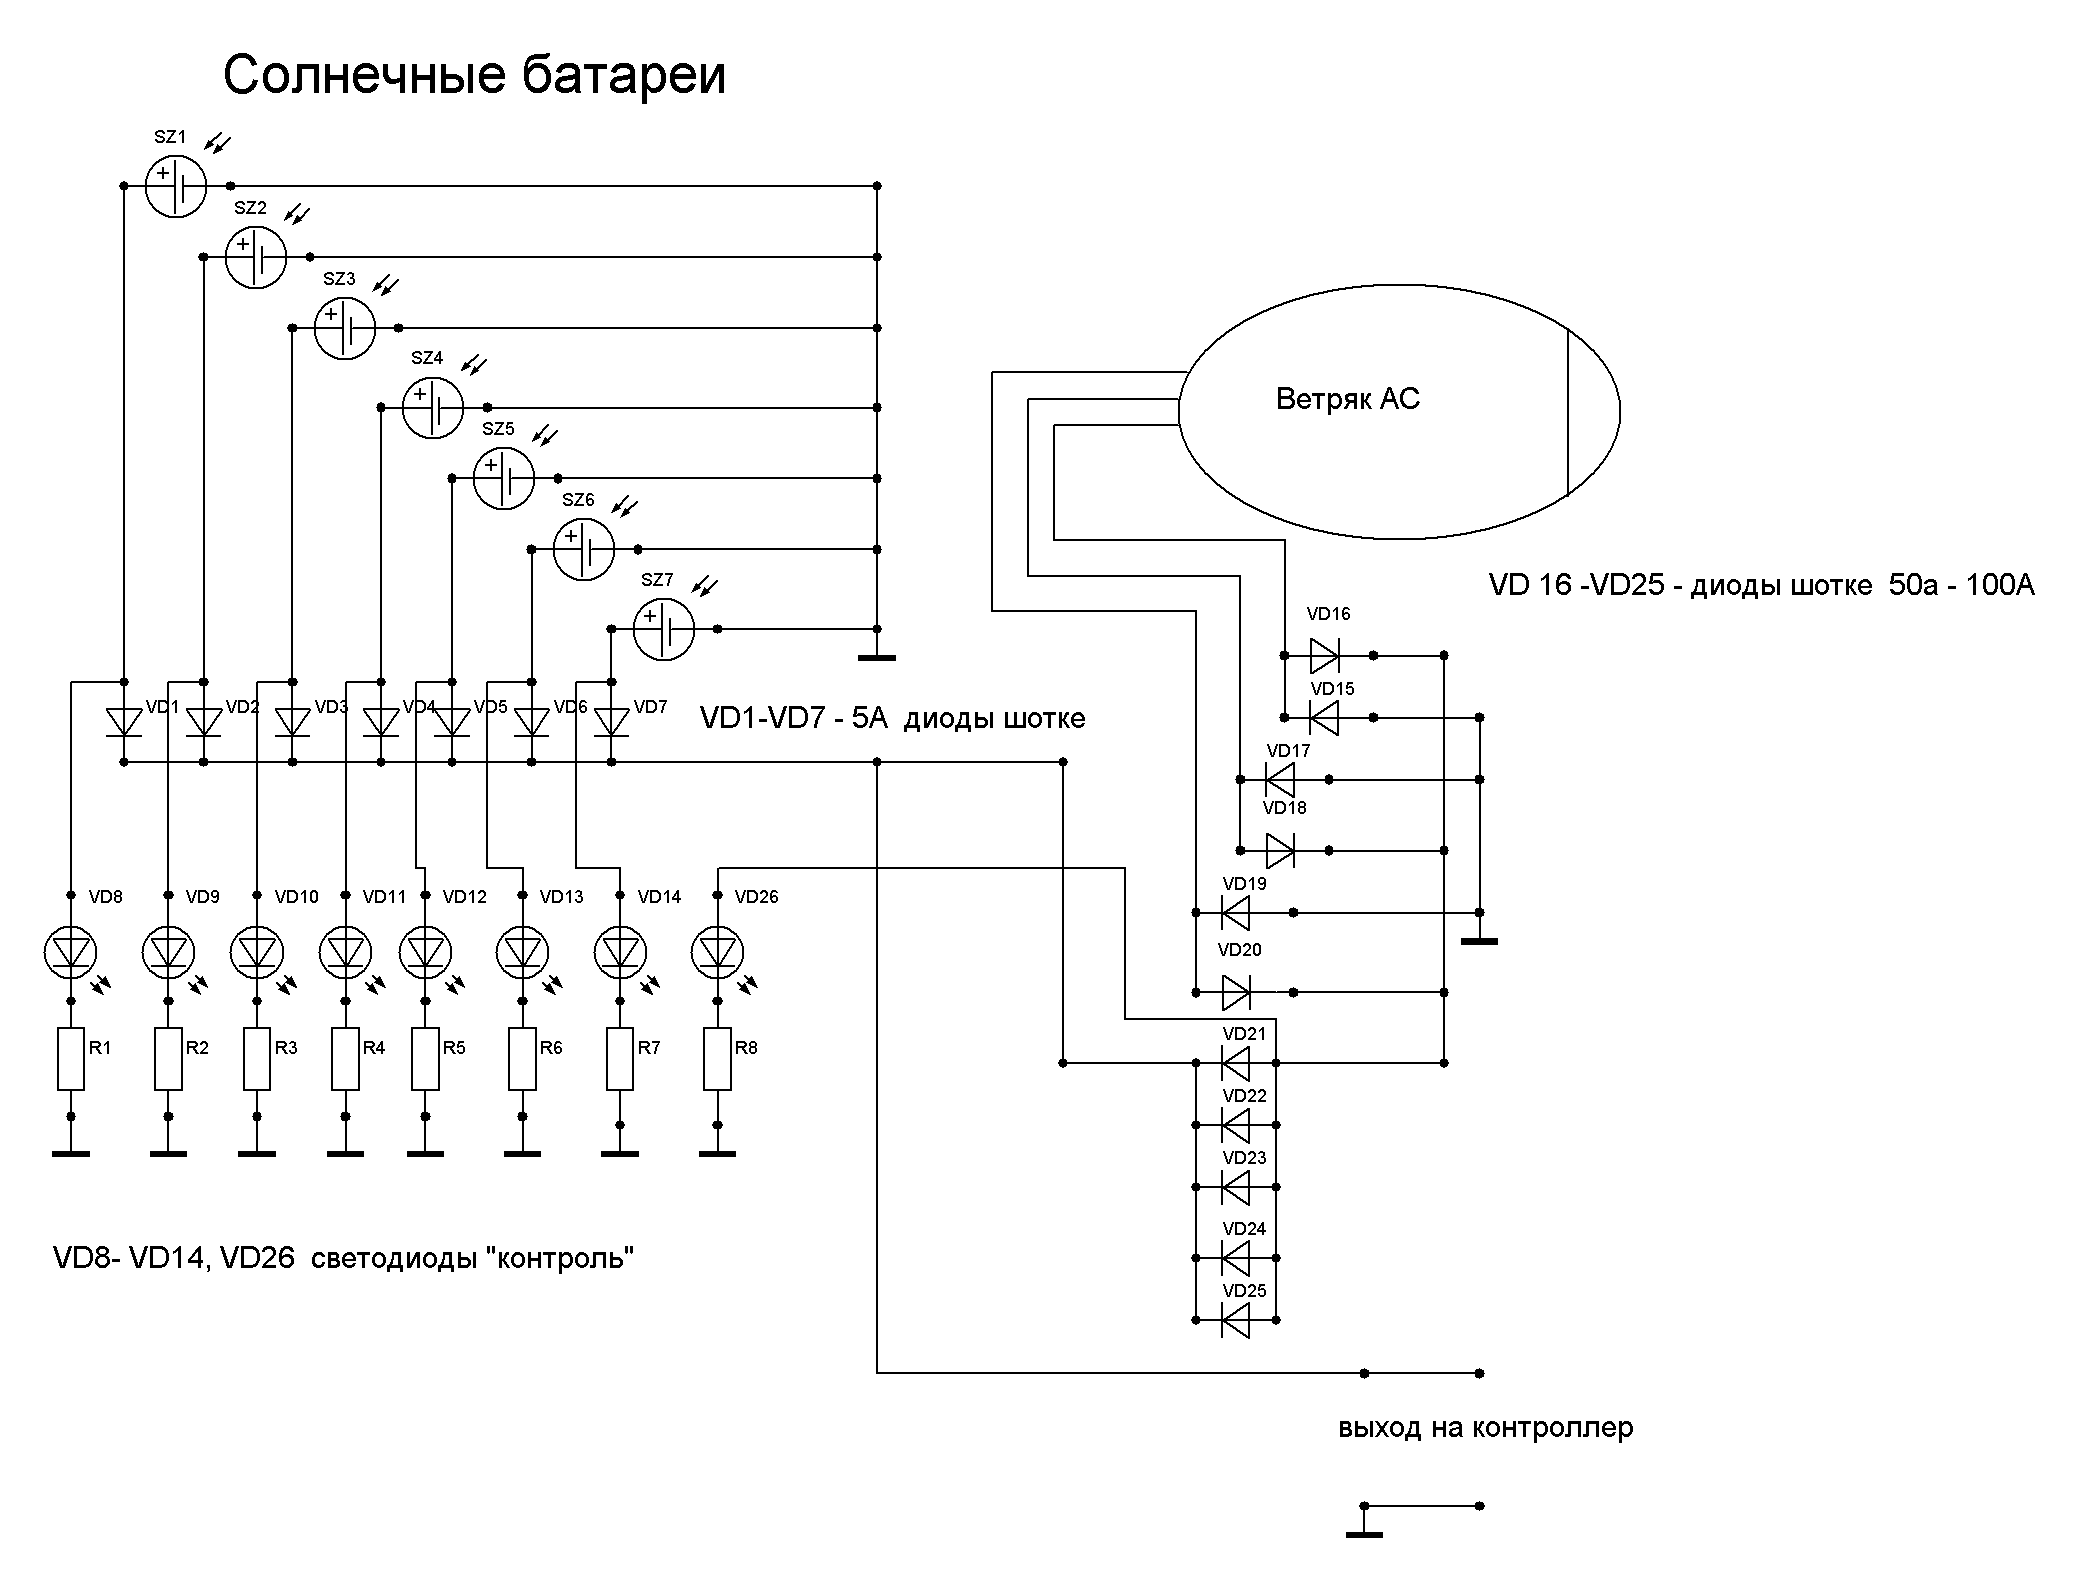
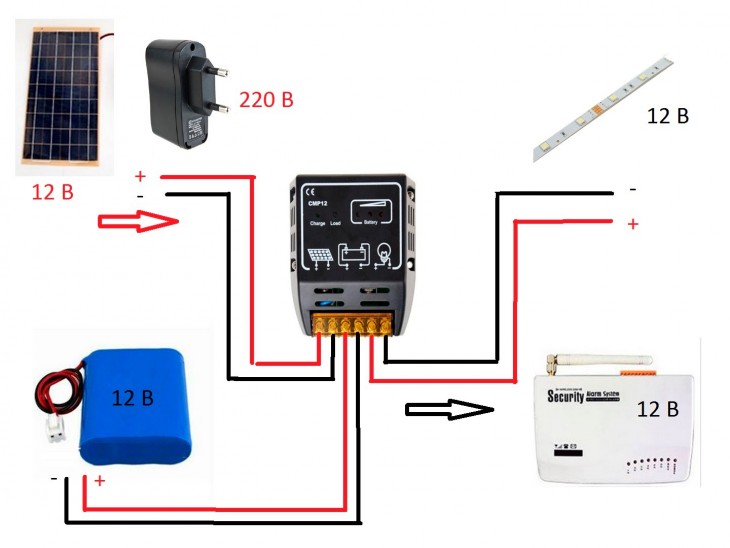
By correctly combining the circuit, it is easy to achieve the desired consumer properties: a parallel connection increases the current strength, a series connection increases the voltage.
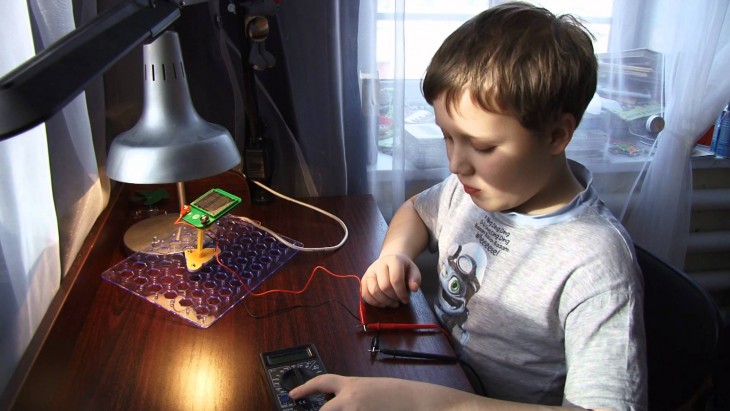


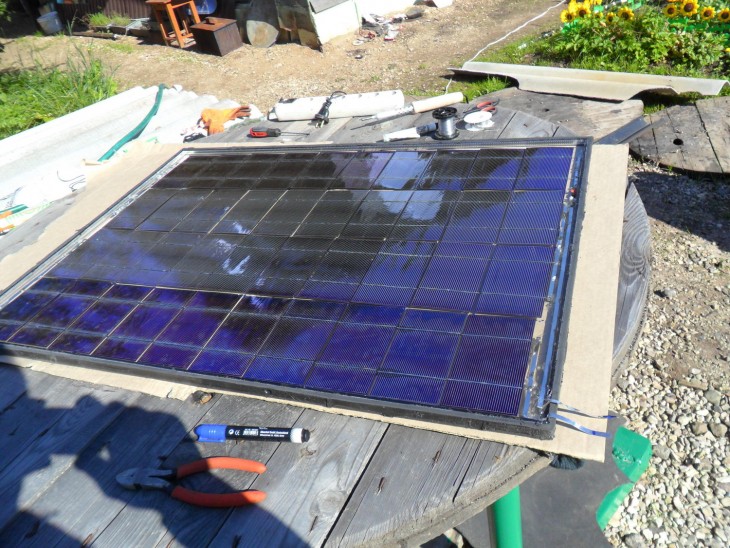
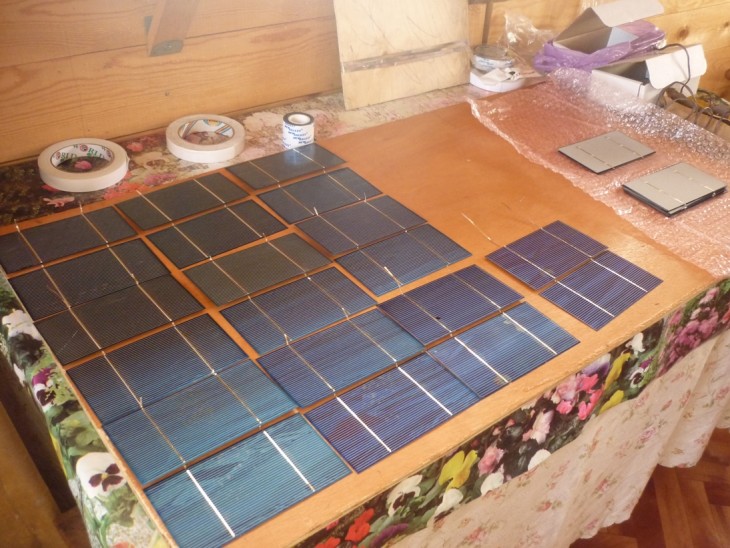
On the desktop should be a soldering iron, flux and solder. Tin wire, acid-free flux, leaving a minimum of greasy marks.
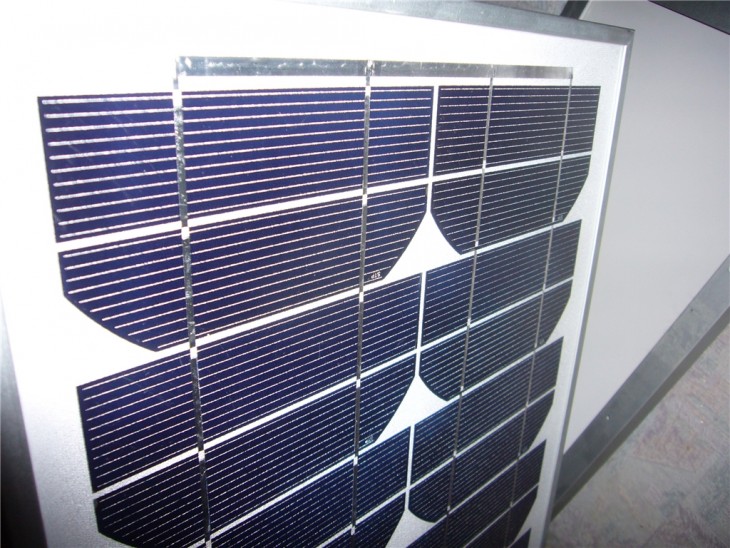
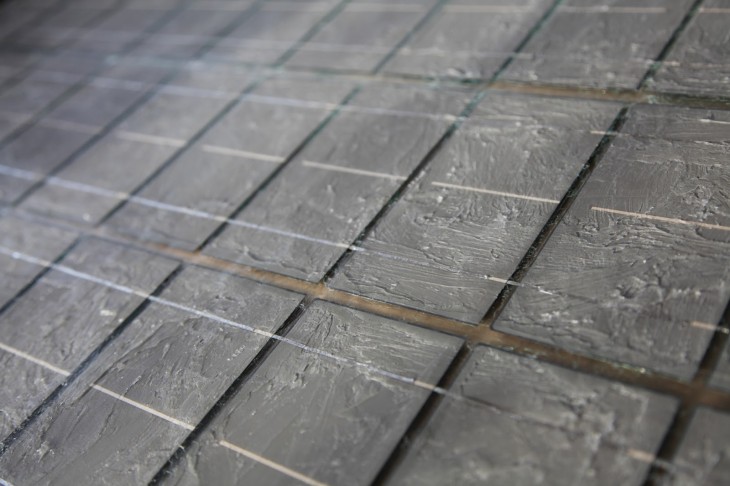
Silicon wafers are placed on a protective glass, leaving a gap of 5 mm: when heated, the solar cells expand. When soldering, it is important to observe the polarity - tracks with a negative sign and a positive are not difficult to distinguish.
Note!


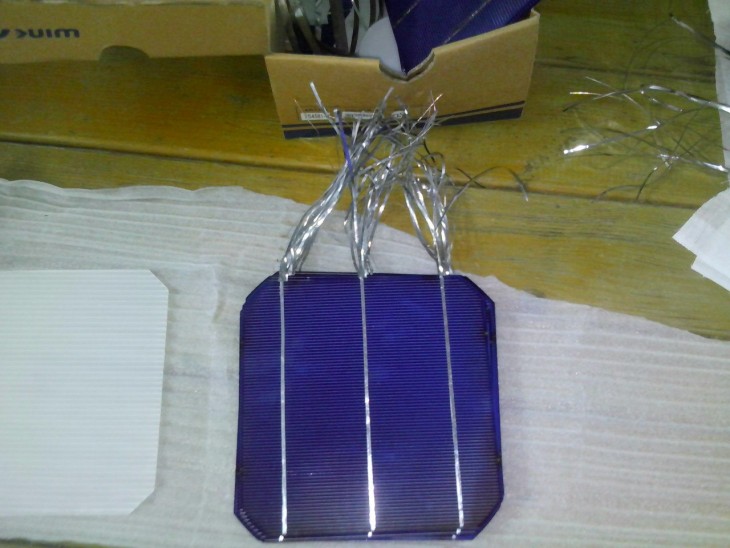
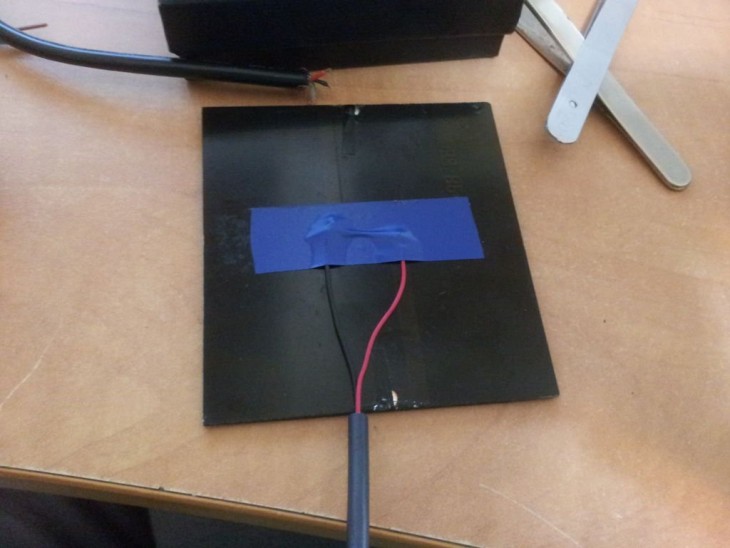
It is better to purchase solar cells with soldered flat conductors to the solar cells, and independently only combine them in a circuit. The extreme elements of the circuit are displayed on a common bus.
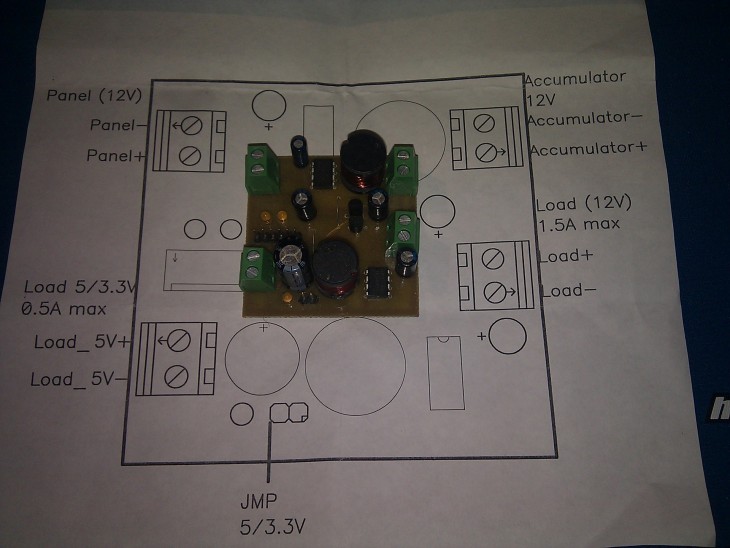
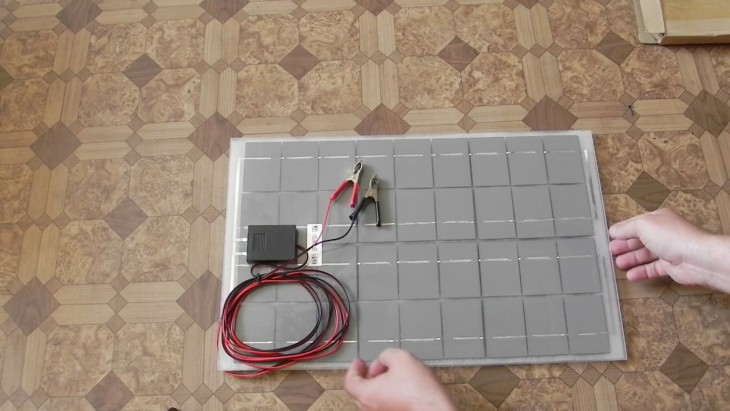
Additionally, a Schottky diode 31DQ03 or similar should be soldered to prevent the battery from self-discharging in an inactive state.
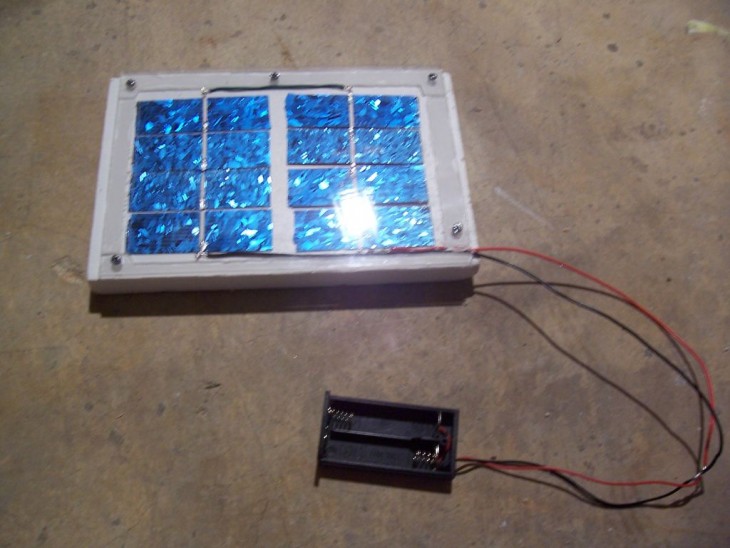
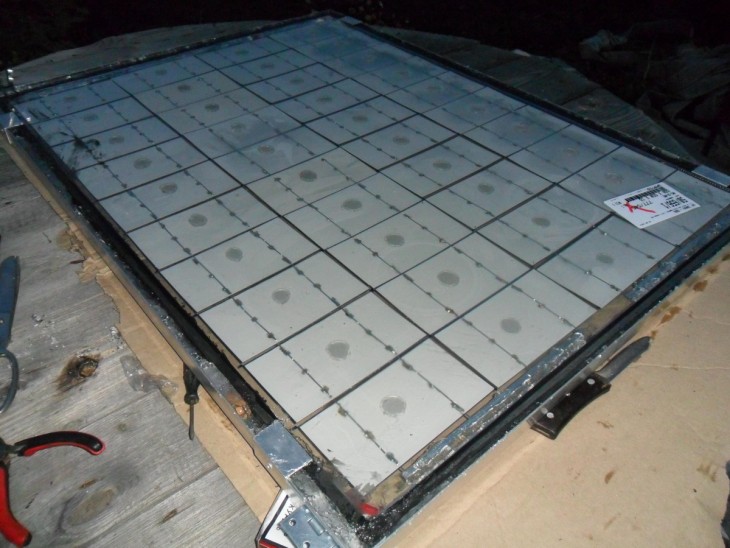
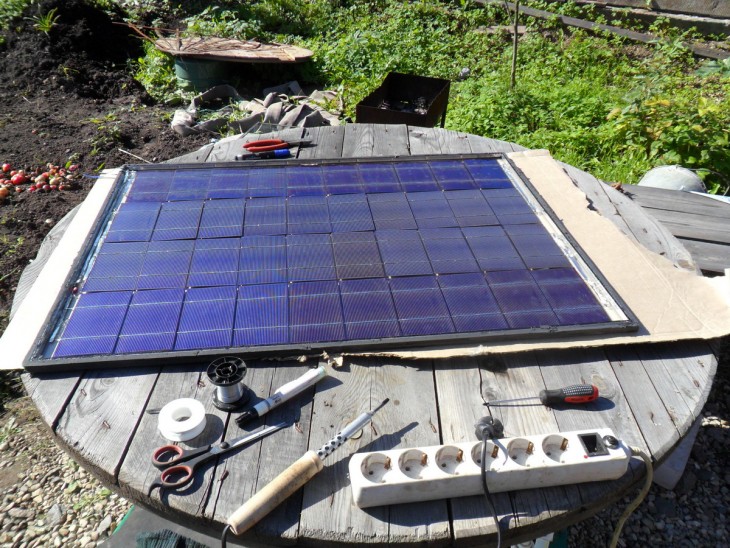
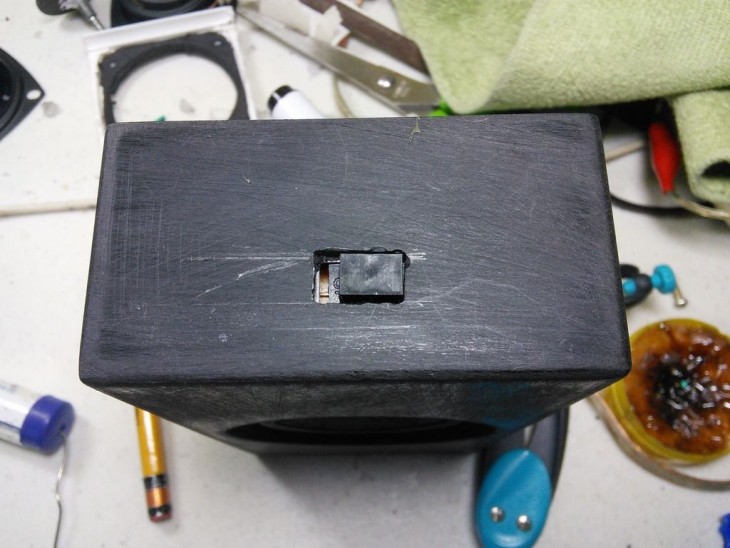
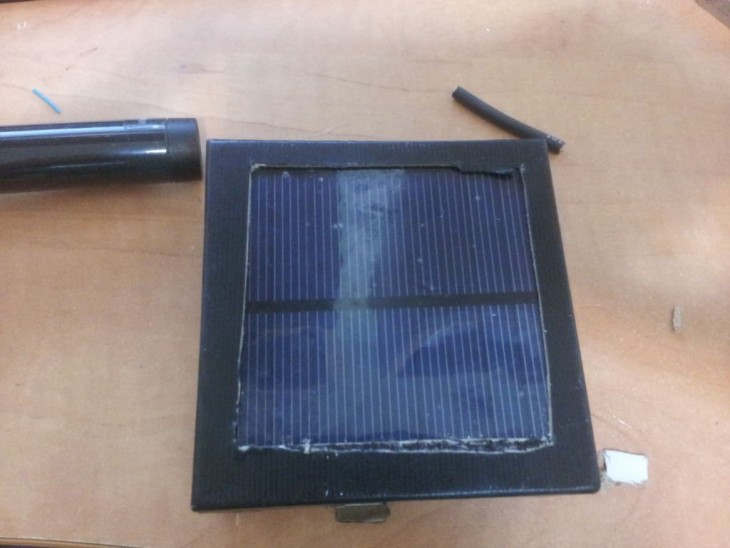
The core of the solar panel is ready, it remains to put it in the prepared case. After that, one drop of heat-resistant sealant is applied in the center of each individual photocell (if there are several drops, then when expanding from heating, the plate may burst) and is carefully covered with a substrate, then a lid.


The joints should be sealed with silicone and the product is ready. What could be an alternative to industrial photocells
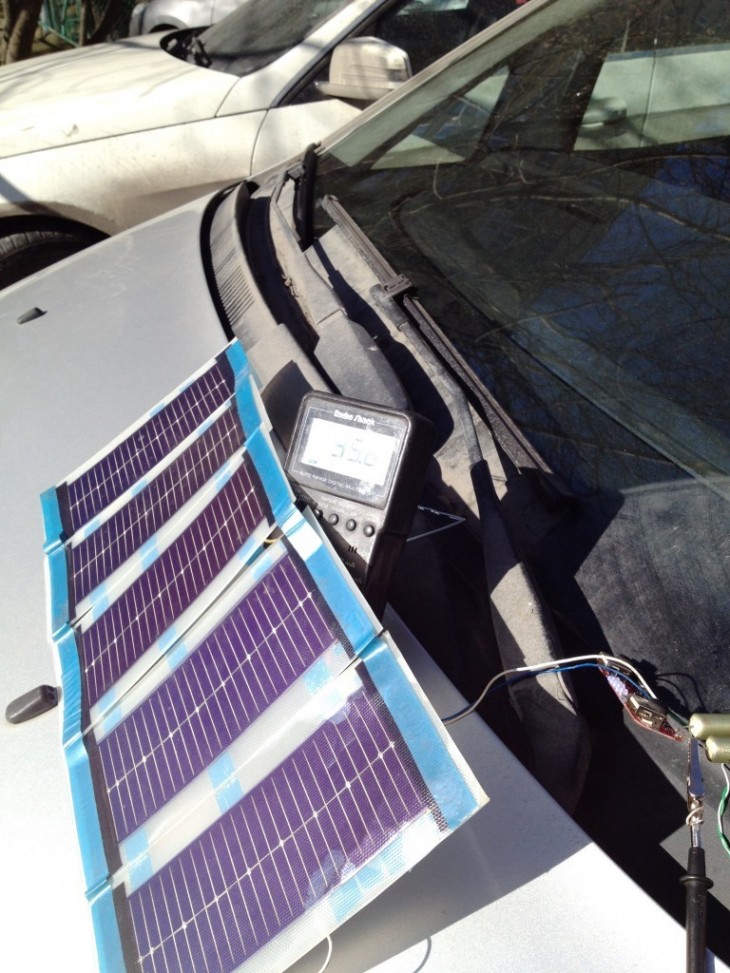
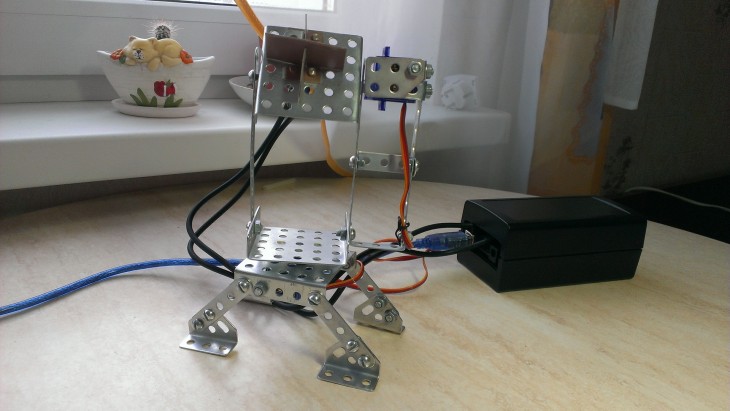
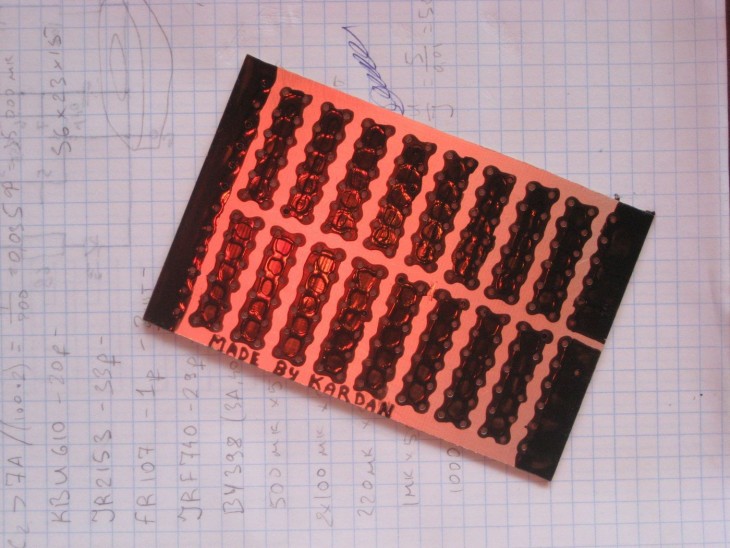
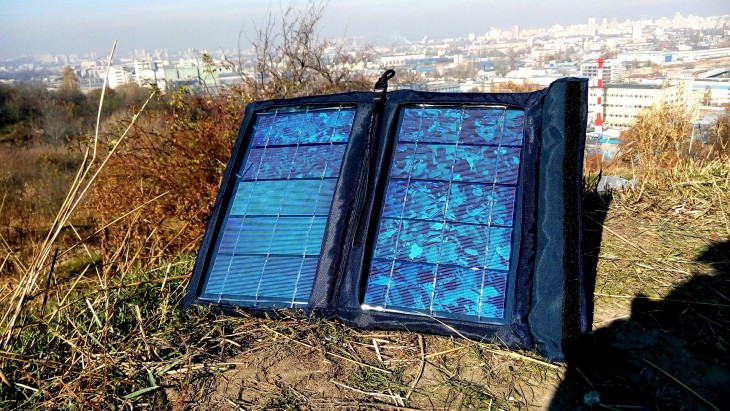
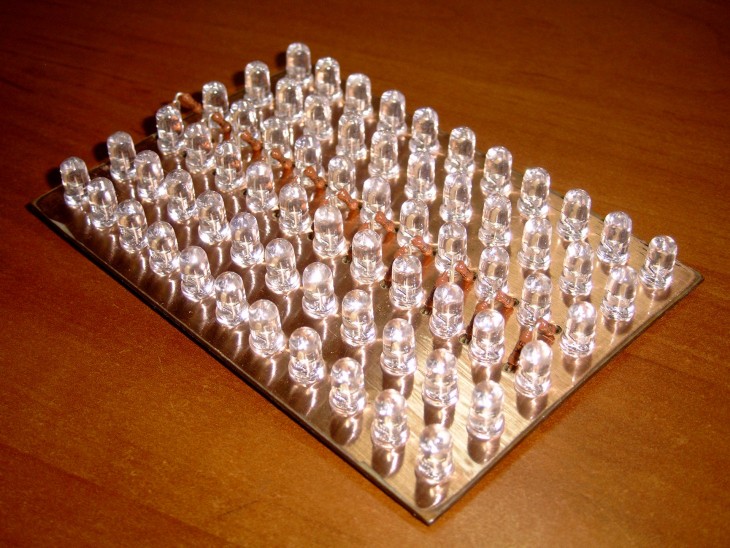
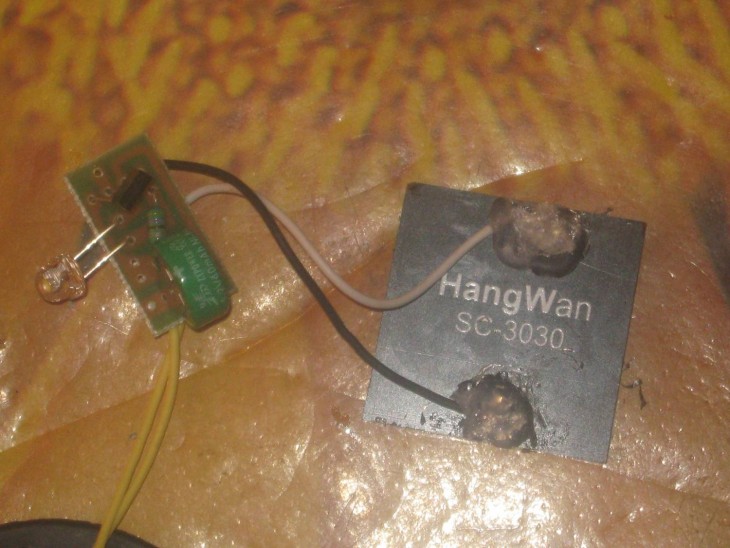
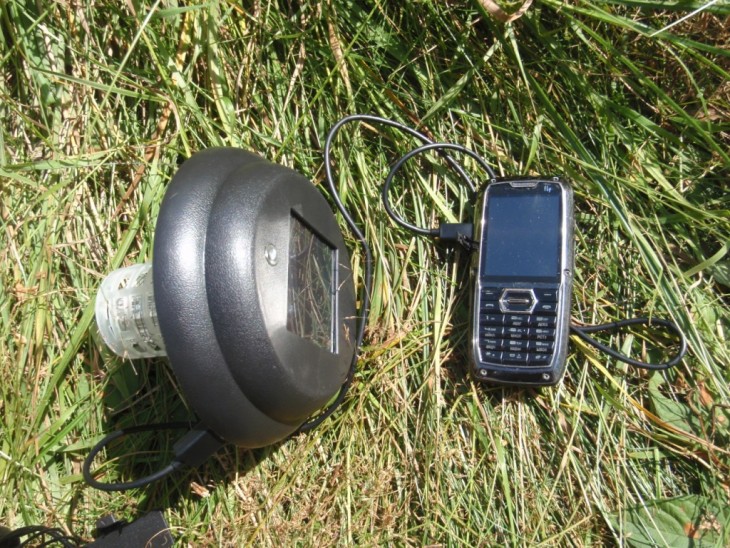
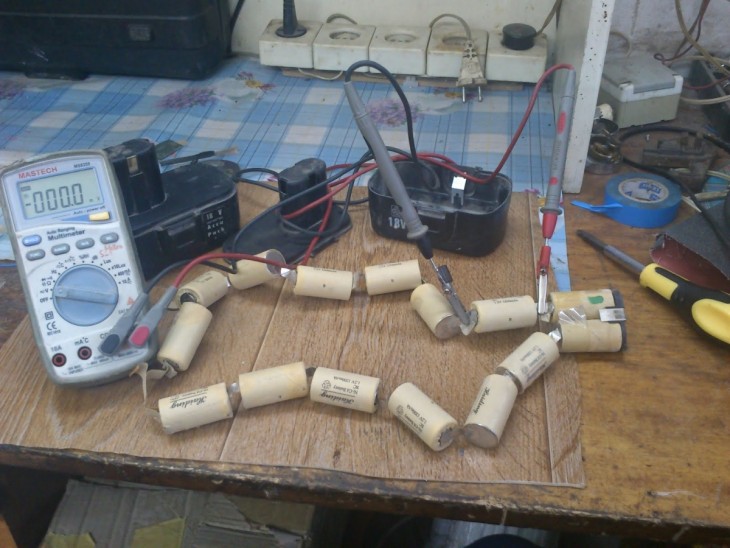
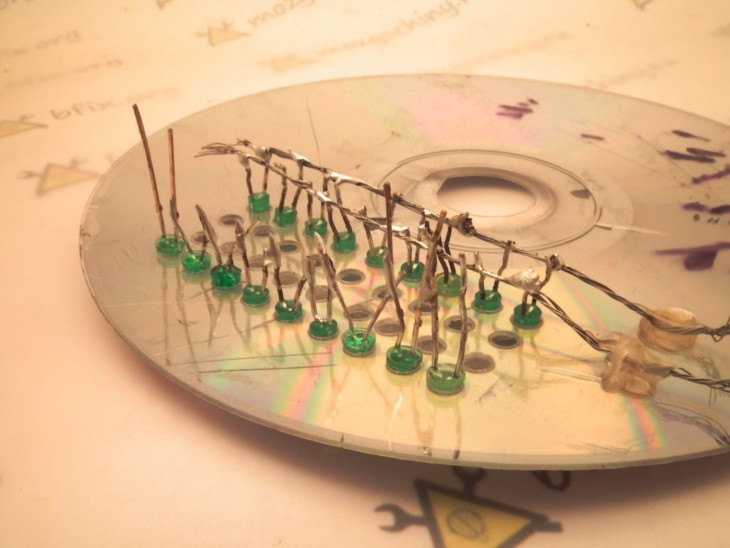
Photos of solar panels from improvised radio components surprise with their originality, although the technical specifications are not very impressive.

Note!

A variety of materials can be used for home electricity production:
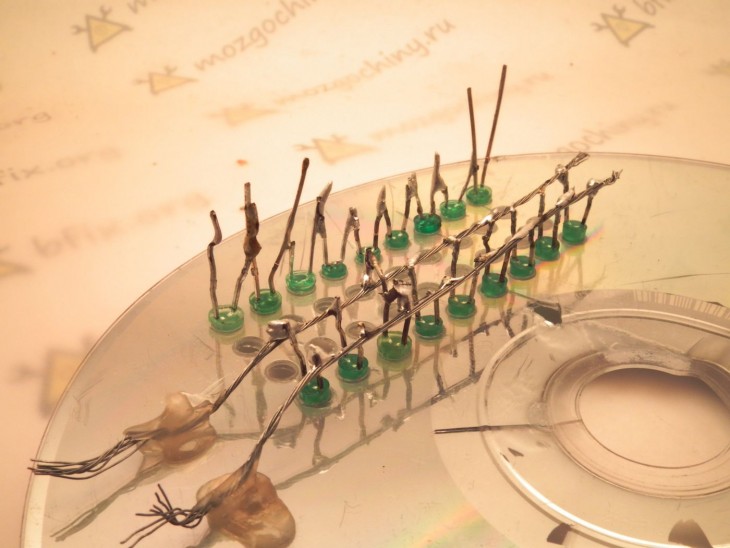
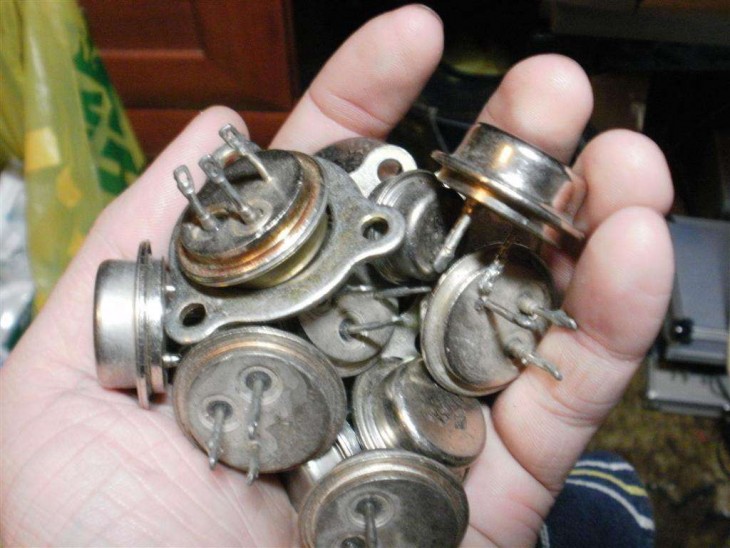
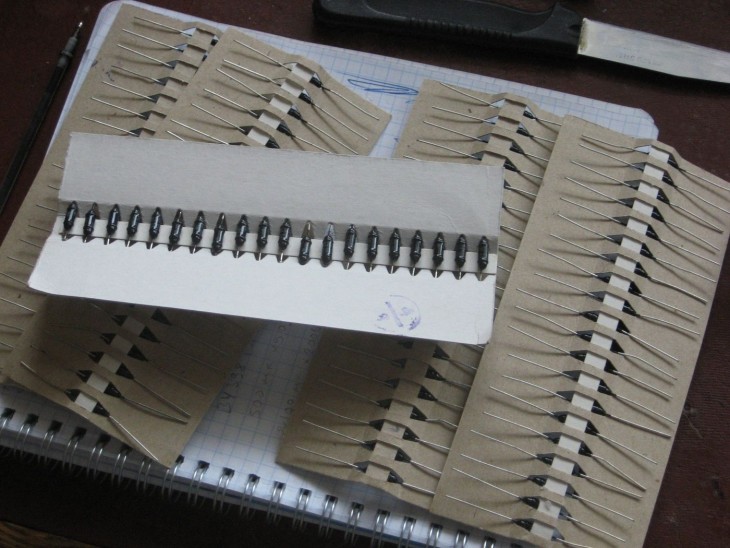
- Transistors of the type KT or P, inside which a semiconductor silicon element is located. A metal cover is cut off from them, and the opened plate is able to perform the functions of a photocell, its voltage is 0.35 V.
- Diodes D223B. Their advantages over others - voltage of 0.35 V in compact sizes, convenient housing, easy cleaning from unnecessary paint with acetone for subsequent work.
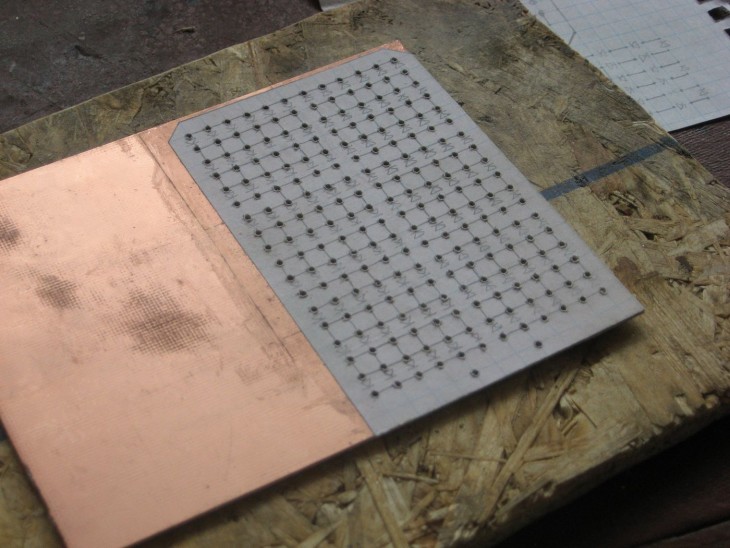
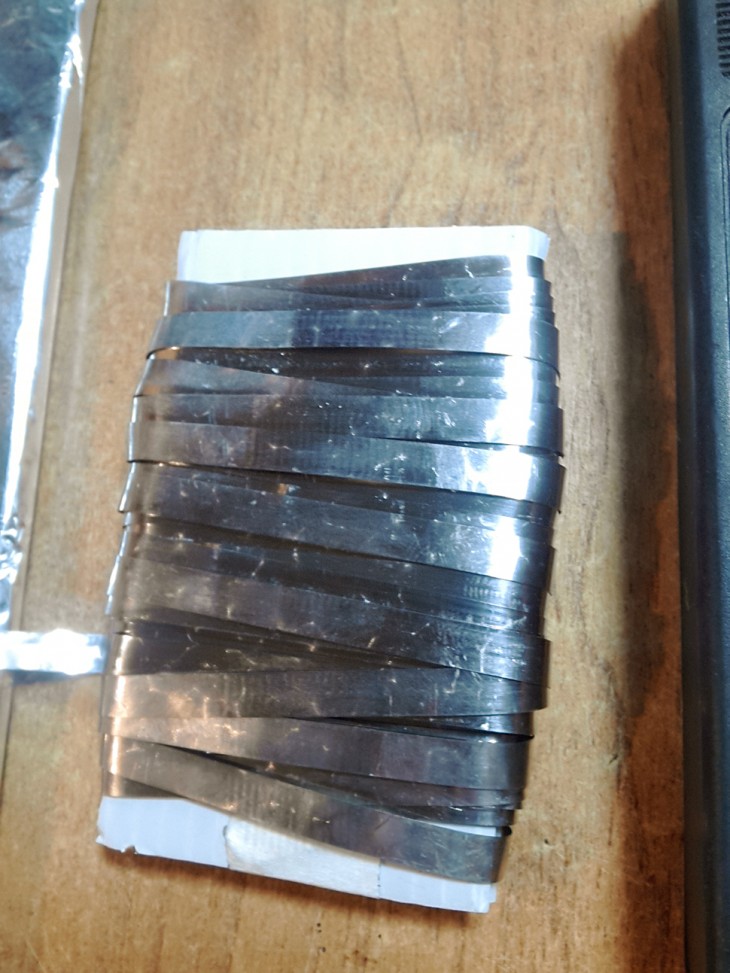
- Copper foil.
In order for it to acquire the properties of converting solar energy into electrical energy, it is necessary to carry out special processing:
- Degrease.
- Sandpaper to remove the protective oxide film and possible corrosion. • Ignite on a gas burner until copper oxide forms - the plate changes color to black and heats up after that for half an hour.
- After slow cooling, the workpiece is washed carefully under running water to remove the black film.
The desired semiconductor is a plate with a thin layer of copper oxide. Unlike the first two options, soldering work is not needed here for further work.
It is required to place a saline solution of 2 pieces of foil of the same size, but of different properties - processed and initial version.
They should not be in contact, clamped with “crocodiles” with wires. The positive pole - to pure copper, the negative - to oxide. Salt solution in a transparent container 2-3 cm does not reach the top of the plates.

Not everyone can buy solar panels in view of a sufficiently high price without serious consequences for the family budget. Show yourself in technical creativity, delight the household and surprise the guests with the results of their work.
Note!

DIY photo of a solar panel