Each owner of suburban real estate is faced with the problem of processing the land. Since most of the local area is reserved for the garden.
Handling with ordinary country tools is very problematic. The cultivation and leveling of the soil takes a fairly large amount of time, and also the process takes a lot of effort.
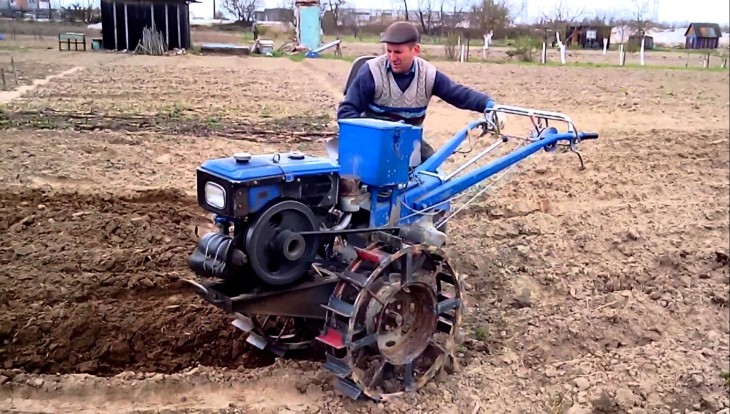
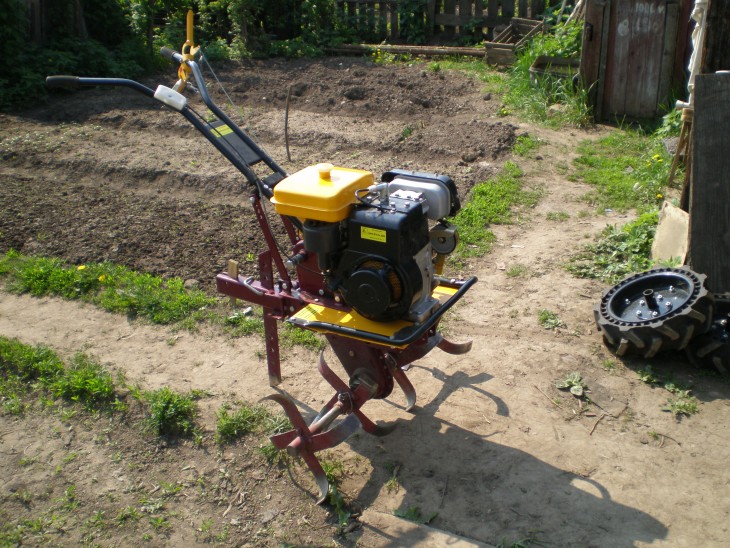
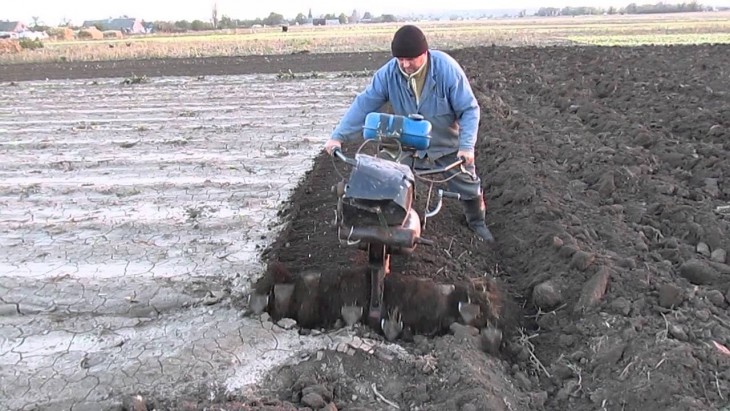
The best solution to the problem is to buy a walk-behind tractor, with it you can cultivate the land as soon as possible, without the need to use physical force.
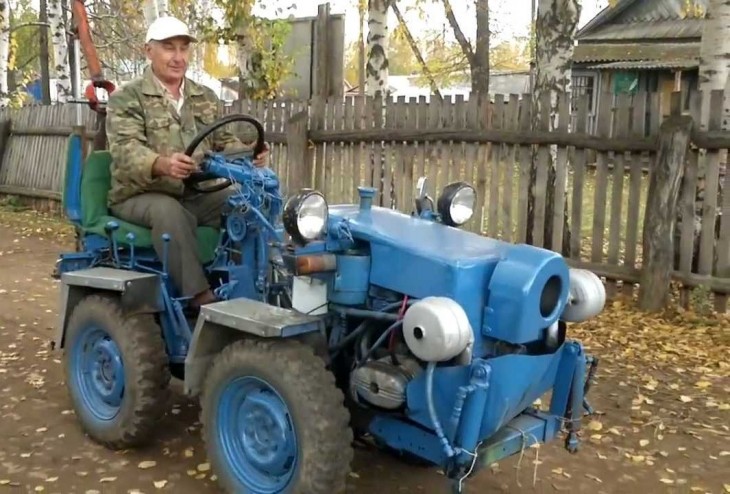
But, not everyone can afford to purchase this unit, since its cost is high. However, you can make a walk-behind tractor with your own hands. In terms of quality, it is in no way inferior to the analogues sold in stores. And you can make it from improvised materials, which are usually very many in the cottages. The first such inventor was Valentin Arkhipov.
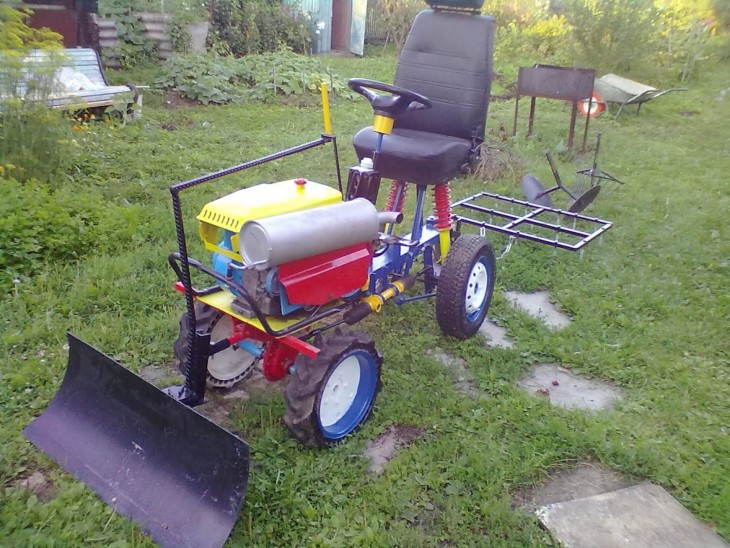
From scrap metal and a motor from a chainsaw, Druzhba was able to construct a walk-behind tractor, which not only plowed the earth, but also spudded landings. Next, we will consider how to make a walk-behind tractor according to the Arkhipov principle.


Review Content:
Design features
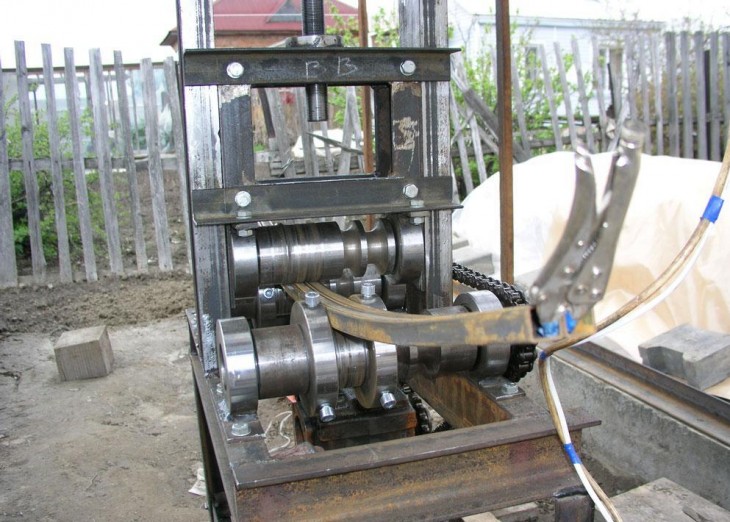
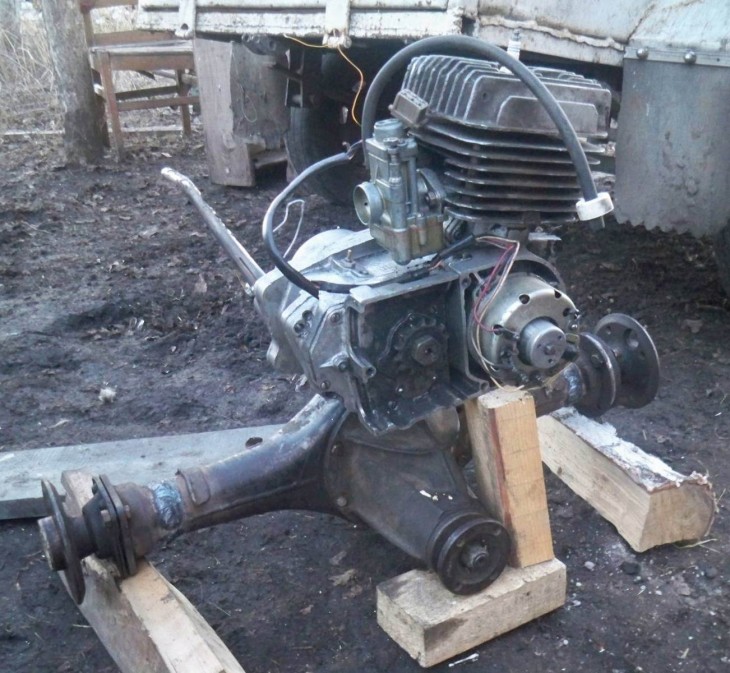
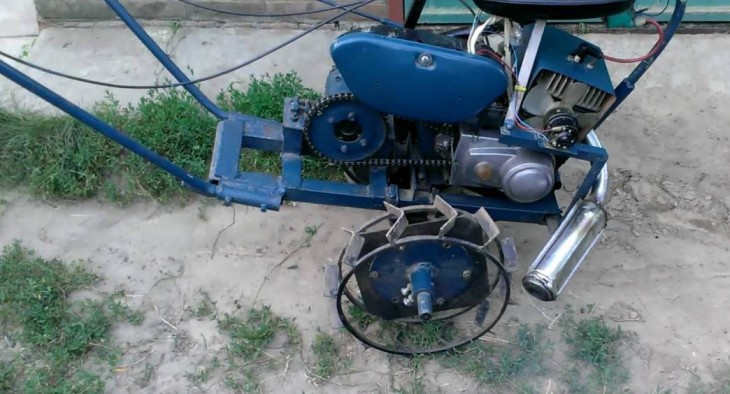
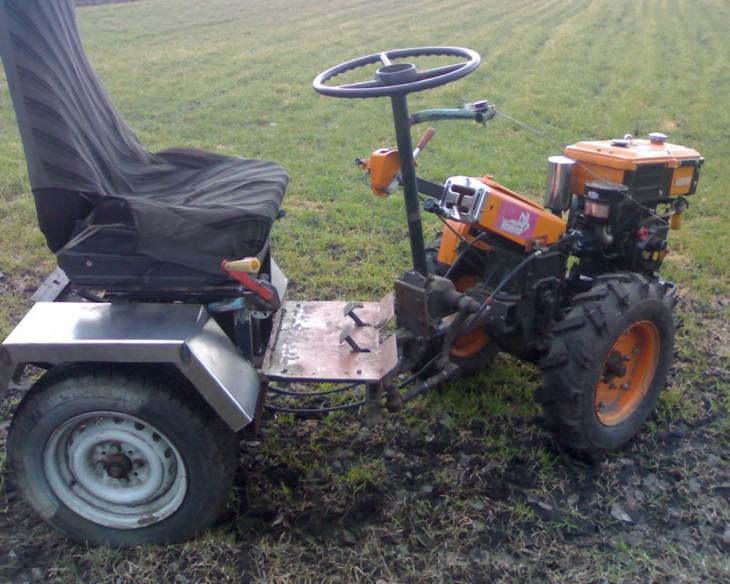
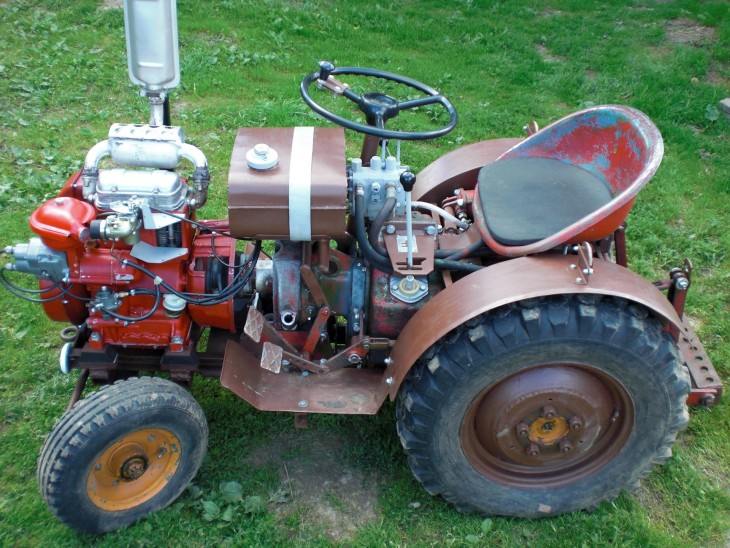
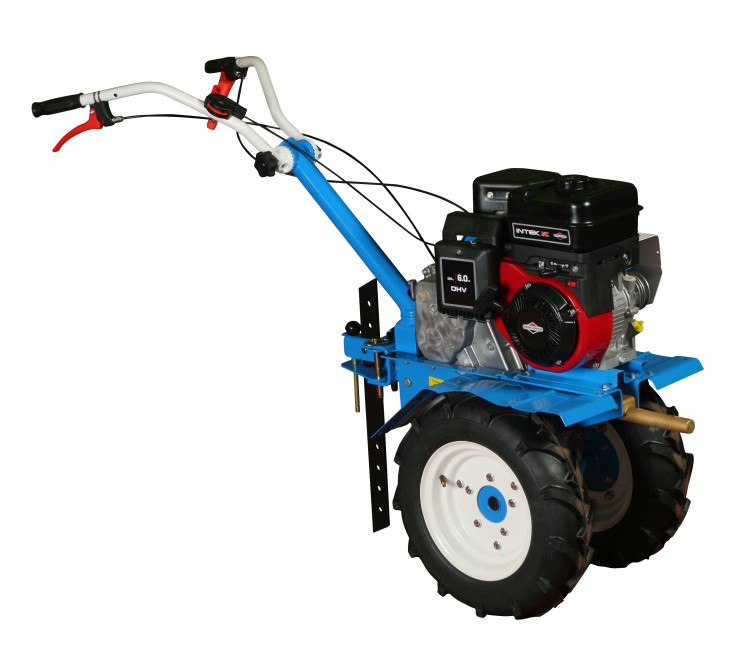
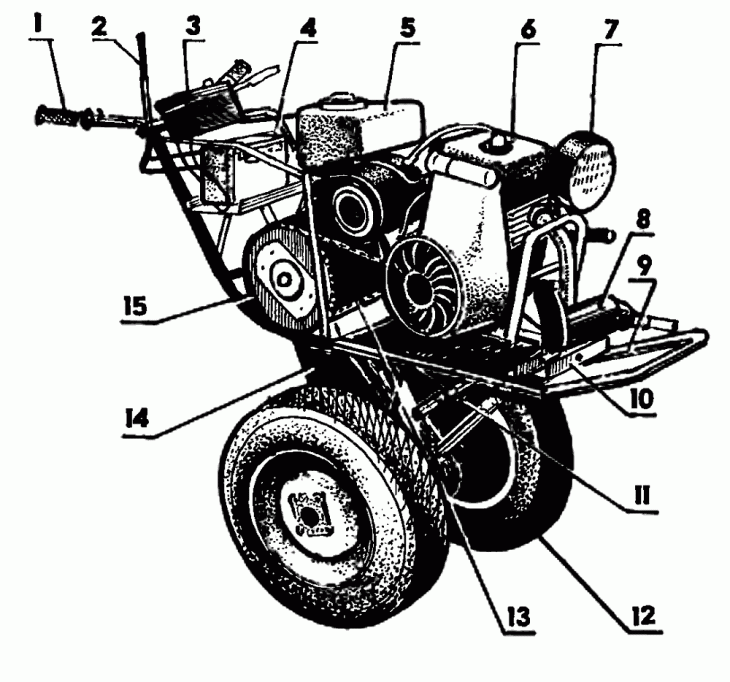
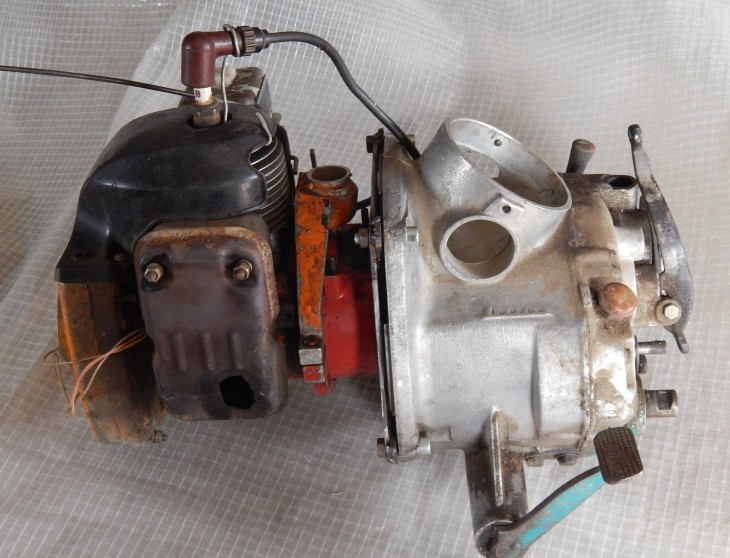
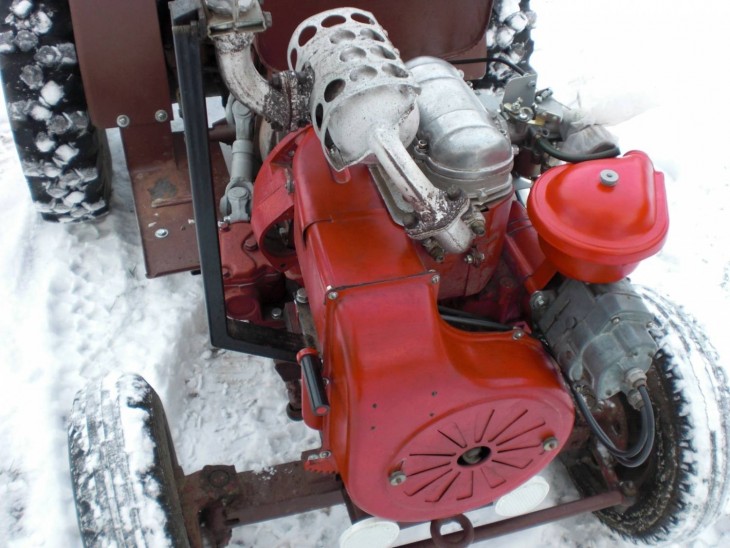
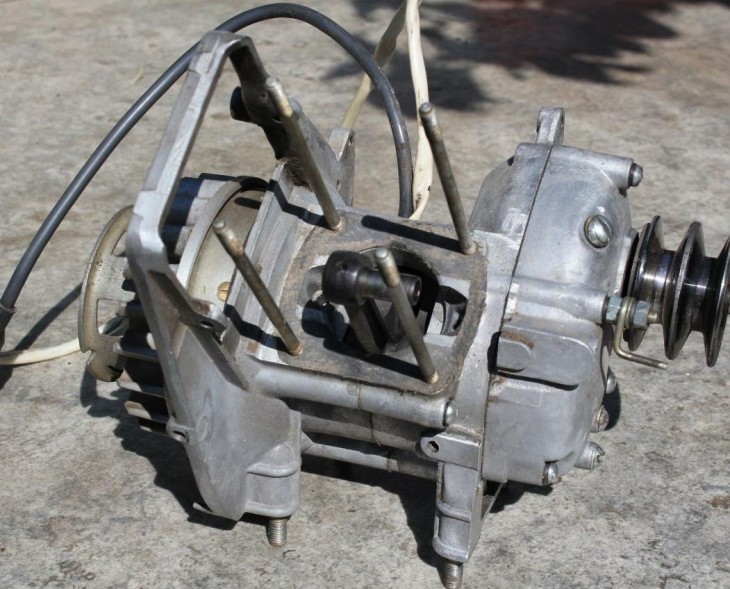
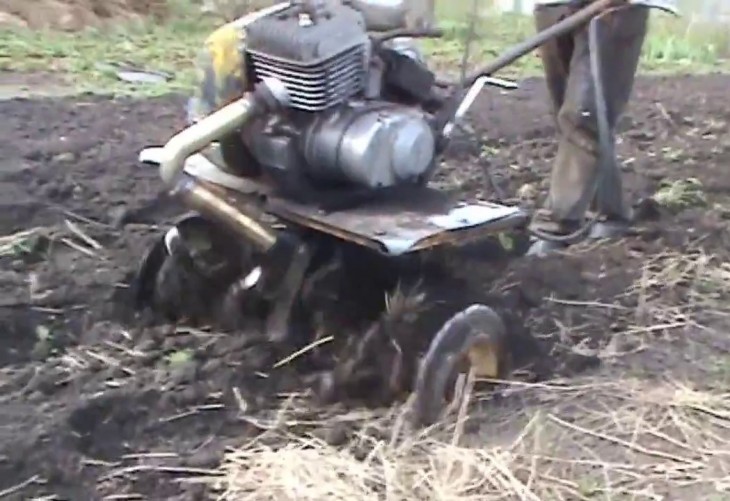
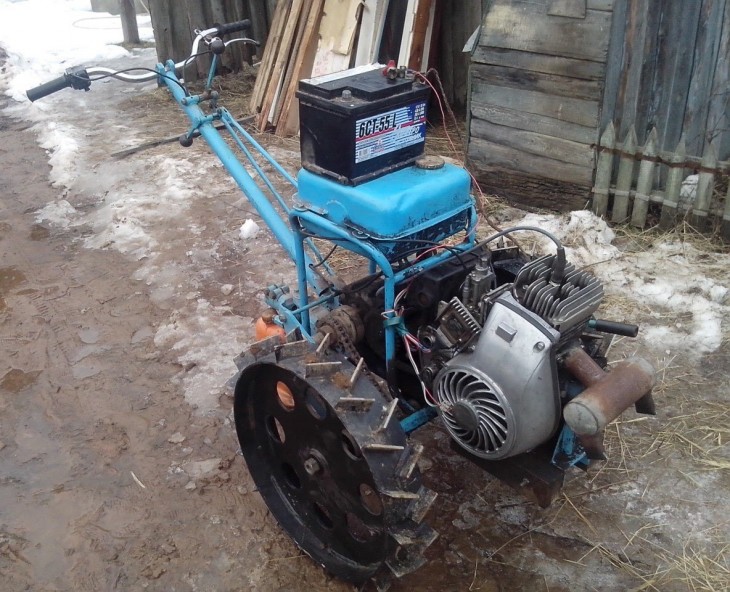
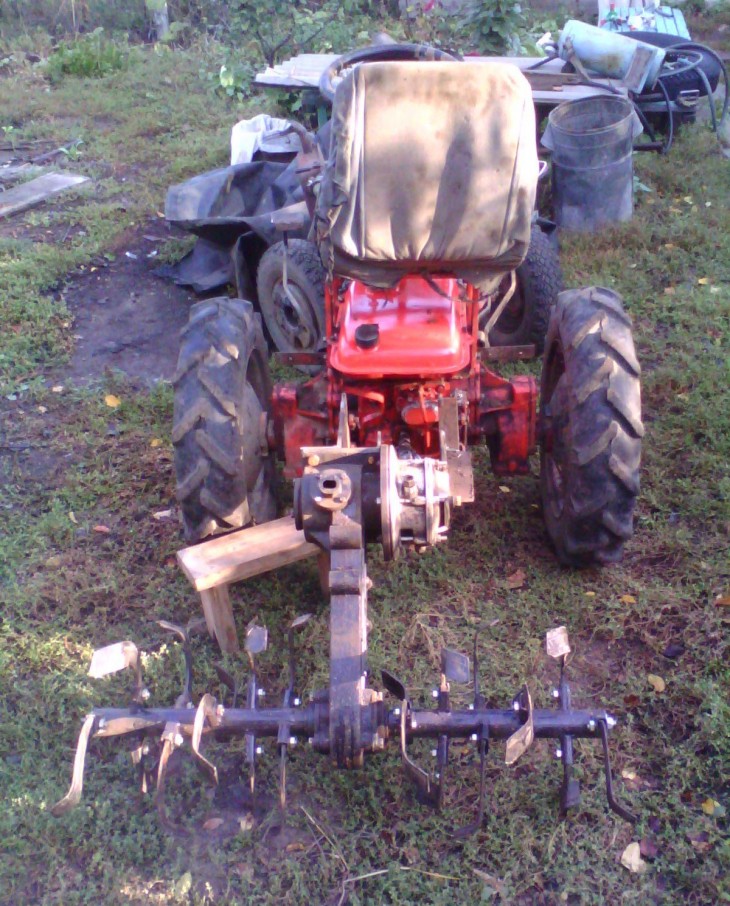
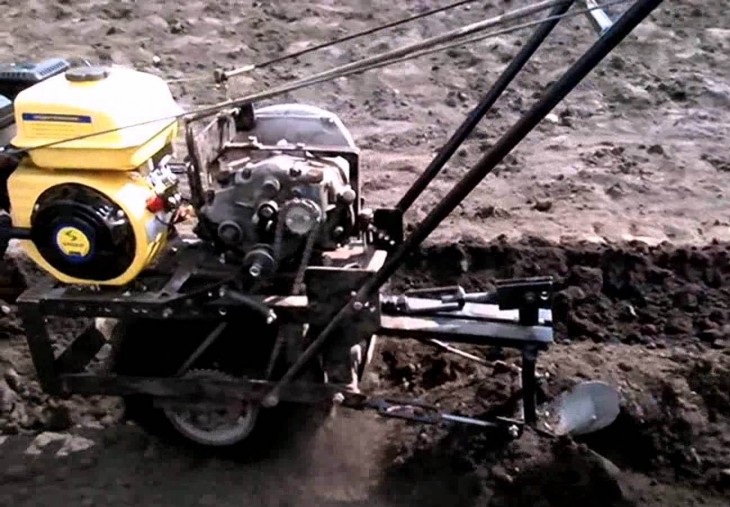
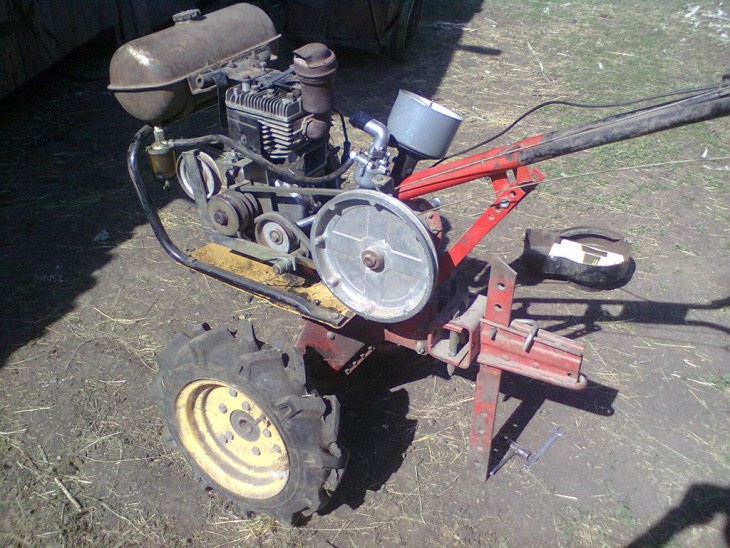
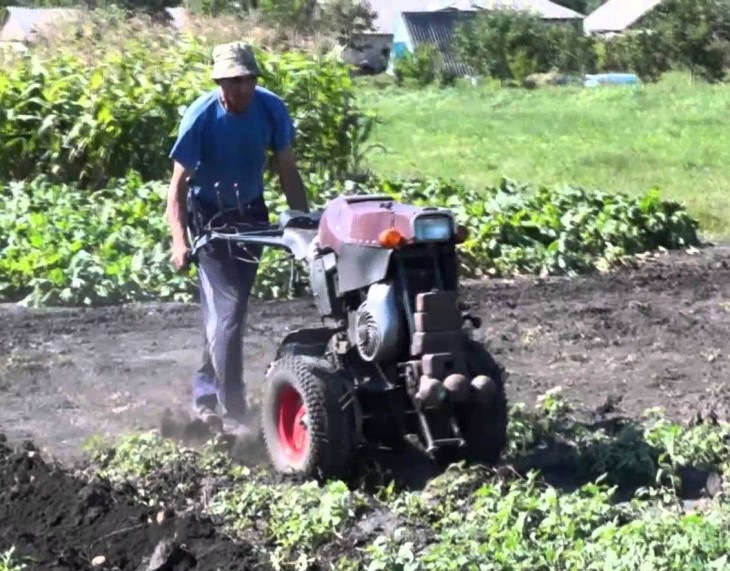
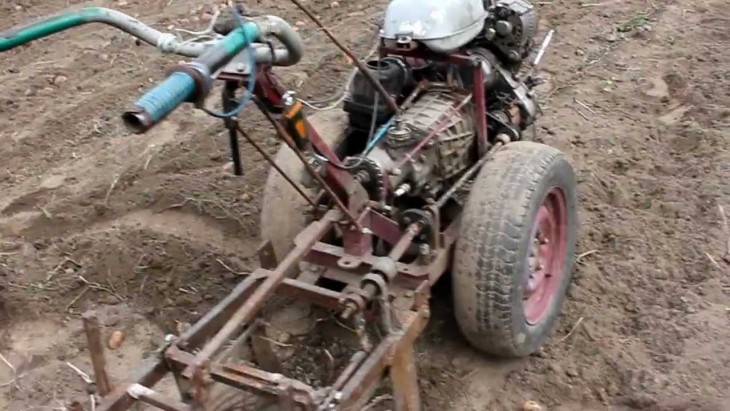
In the photo of the walk-behind tractor, it can be seen that the design has two wheels, an engine, a frame and chains. To create a walk-behind tractor does not require a lot of materials. As a rule, all of them are in the sheds. Valentin Arkhipov took the engine from the VP-150M scooter, since he had a cooling system for the cylinder head using air.
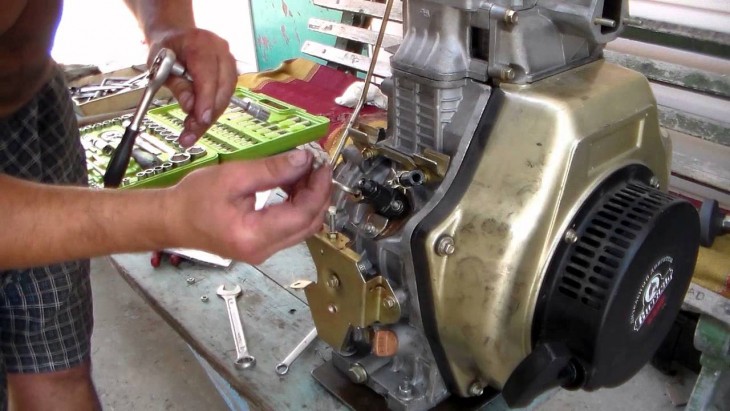
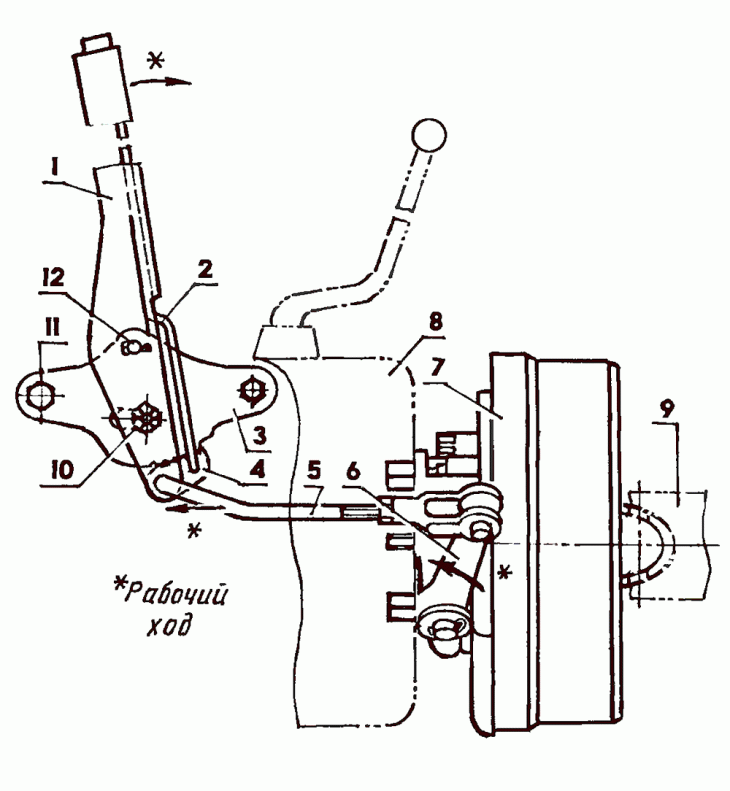
The inventor's frame was made of pipes that had a p-shape. And also on the lathe, an axis was made on which the wheels were subsequently mounted. Arkhipov made four rods for them - one main and three regulating ones, which connect the walk-behind tractor with the steering system and the plow.
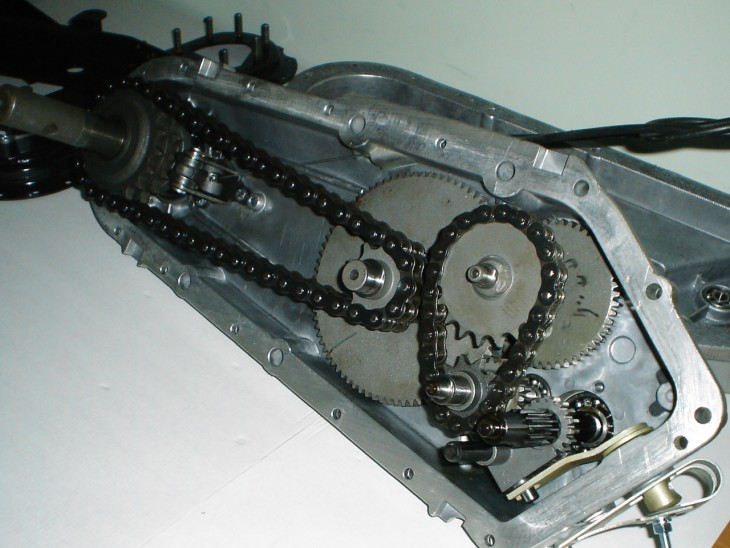
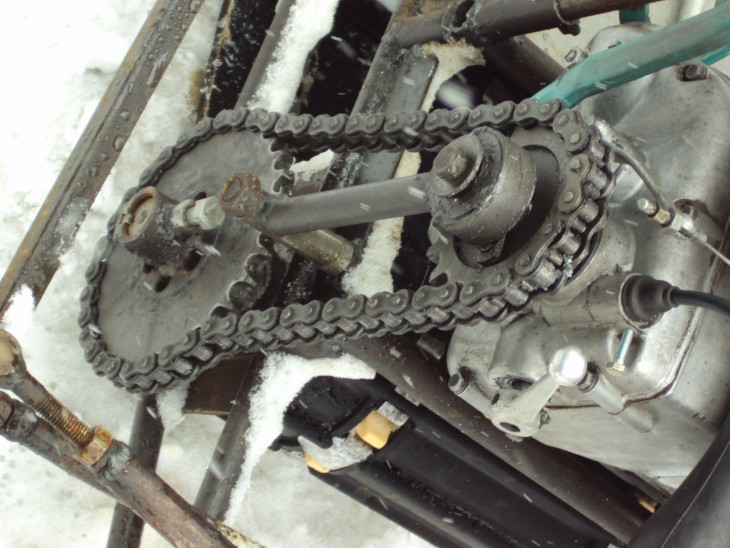
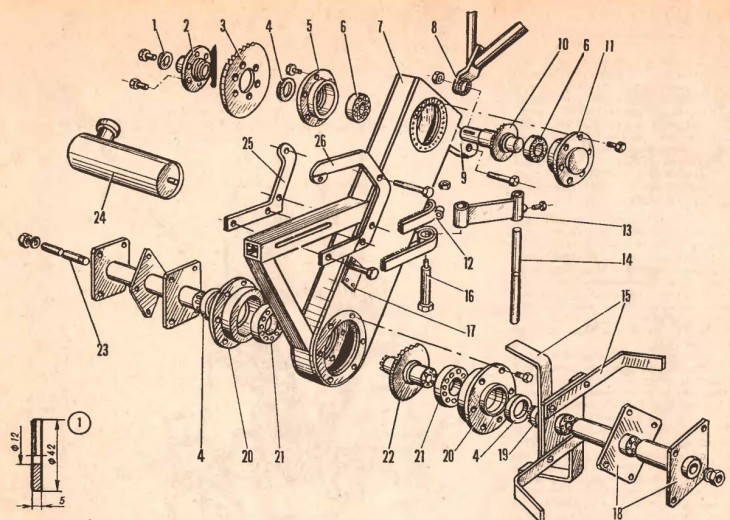
On the device, the pitch of the chains is 12.7 mm and 15.9 mm. Number of Teeth per sprocket:
- secondary axis - 20, 60;
- output axis - 11;
- axle - 40.
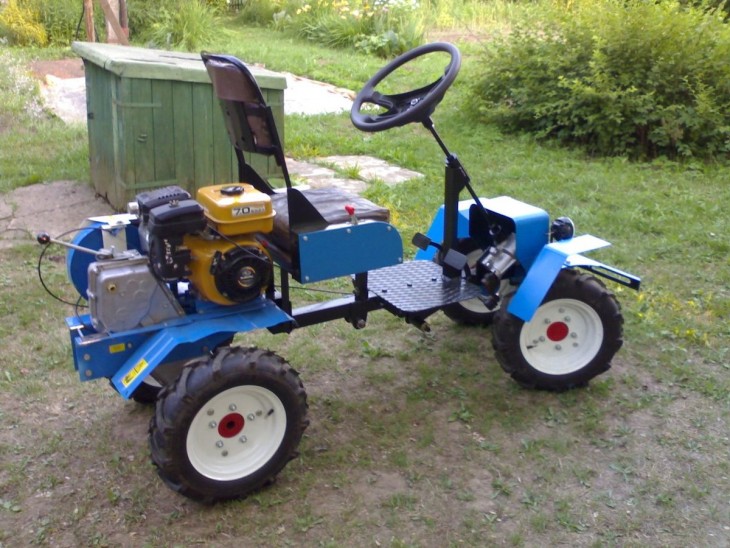
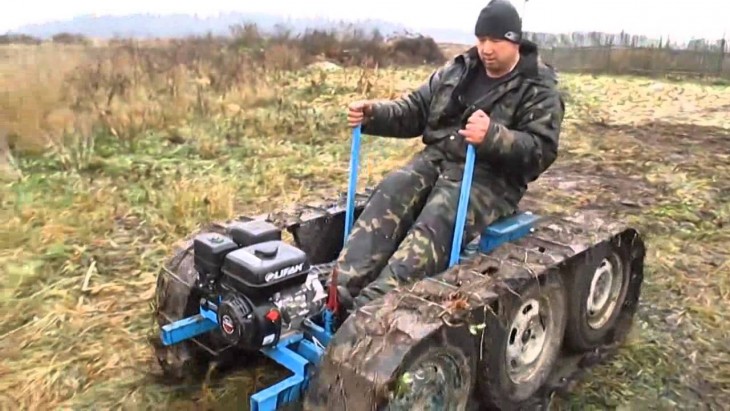
There are many similar devices that are based on drawings of the Arkhipov walk-behind tractor. Since its unit has a number of undeniable advantages.

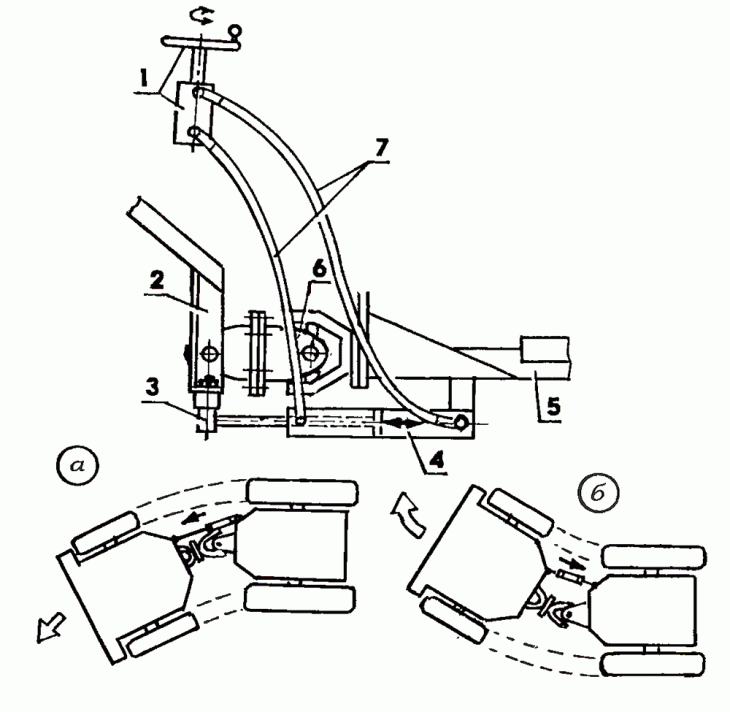


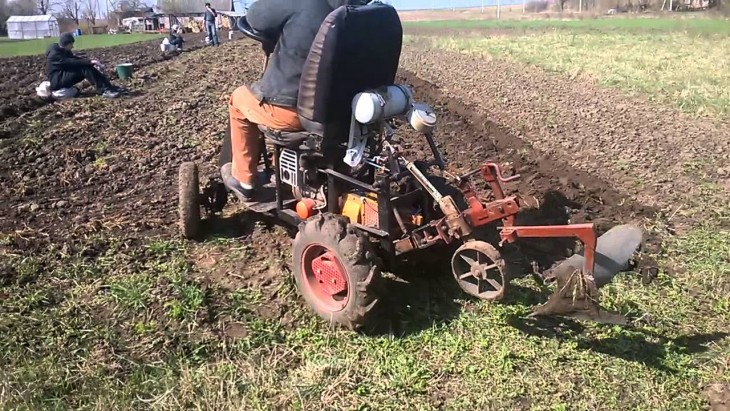
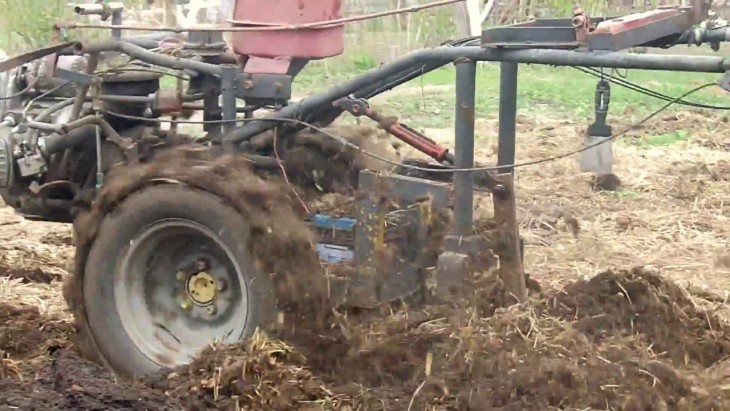
Tractors and tools that cultivate the earth are connected using hinges. This gives the walk-behind tractor more maneuverability. It can change the direction of travel, while it is not necessary to remove the plow from the furrow.
When processing land using a walk-behind tractor, many are faced with the problem of skidding the unit to the side. Arkhipov solved this problem. He made a shift of the axis of the plow slightly to the left with respect to the direction of movement.

The inventor was able to make an automatic level of depth of plowing the earth. Which is very practical, since you do not need to lower or raise the plow yourself each time. Consequently, land cultivation is much faster.
Instructions for creating the unit
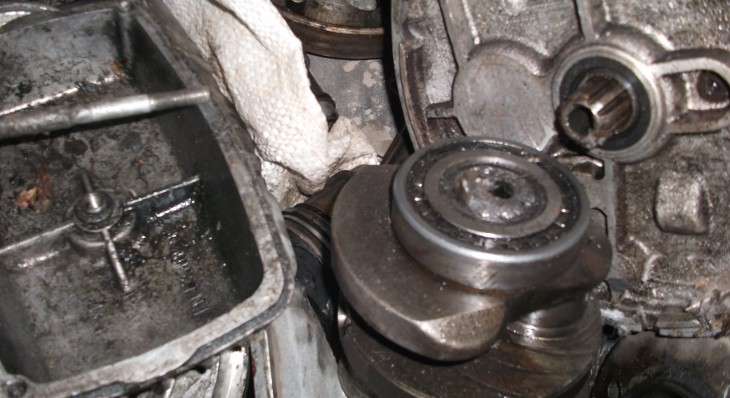
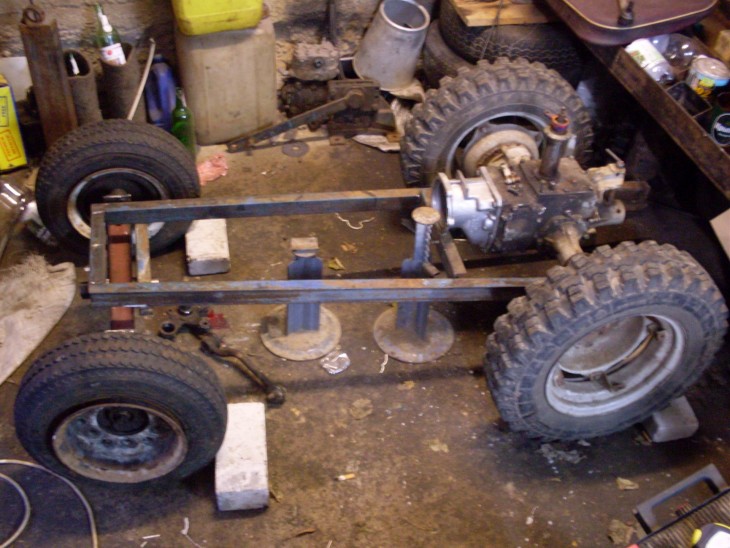
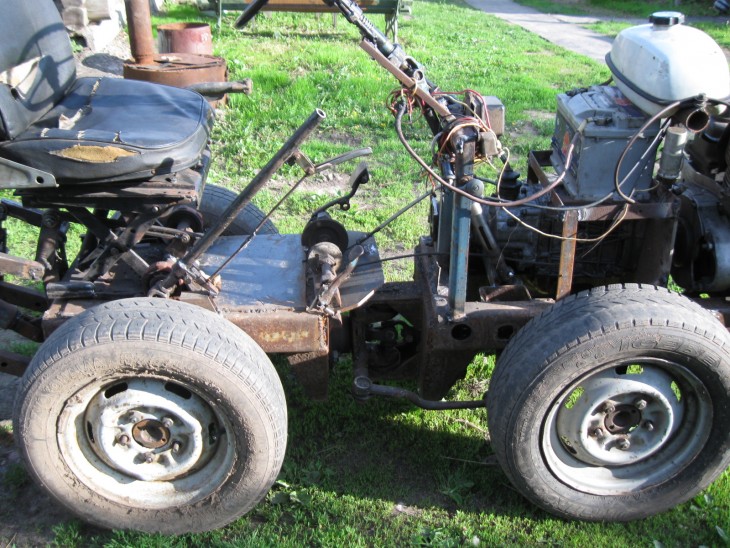
First of all, it is necessary to make a running shaft. To equip it you need to connect it with bearings. After this, the star is welded, and overrunning clutches are also installed.


They during the operation of the apparatus perform a differential function. At the end of the case is complemented by a motor and wheels. On the engine mount you can fix the steering system, traction and hiller for walk-behind tractor.
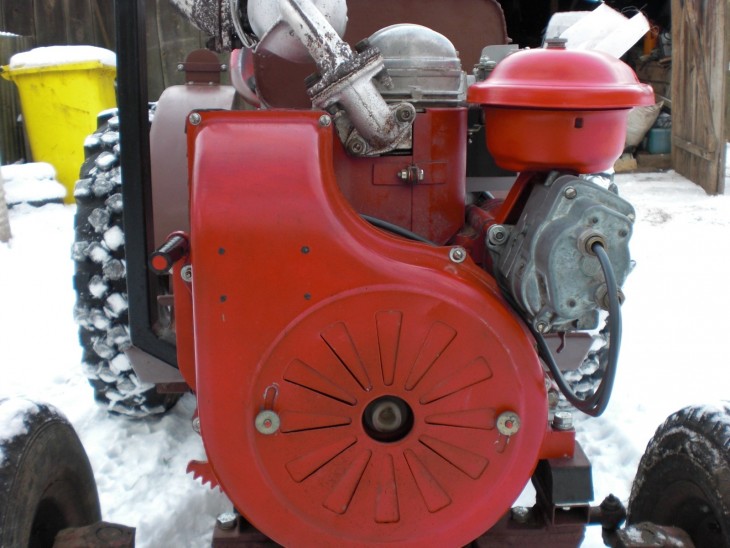
To connect the frame and the engine, two arcuate tubes are needed. Between which, when connecting, it is necessary to leave space for placing the tank under the fuel.
To connect the resulting structure using a special bracket, which is welded to the main part of the unit. Upon completion of all work, you can install the trailer on a walk-behind tractor.
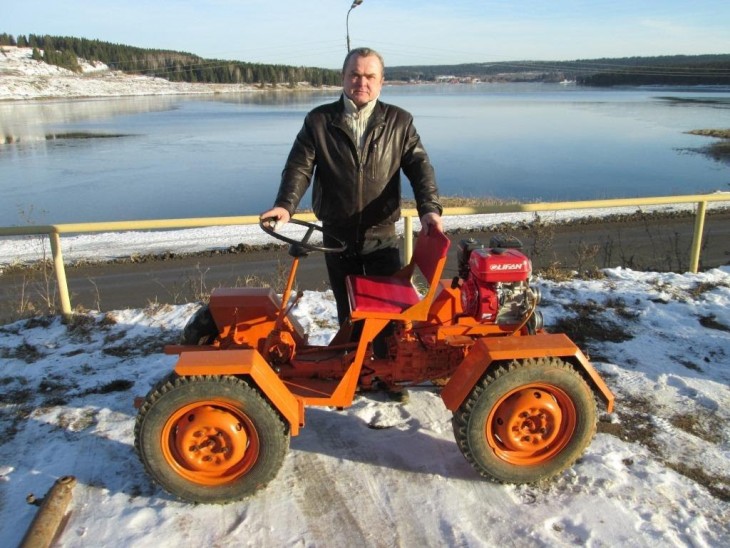
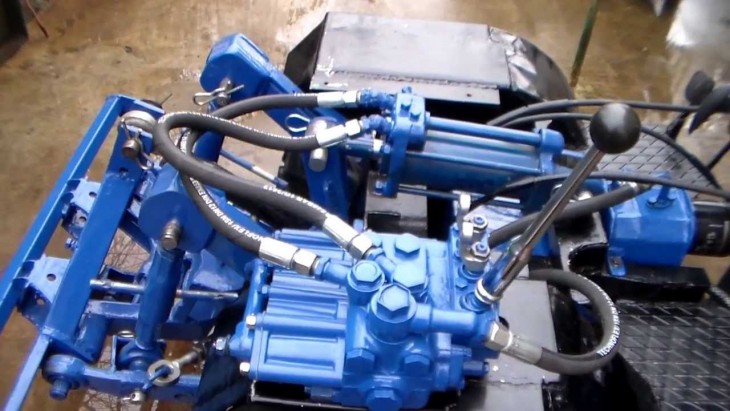
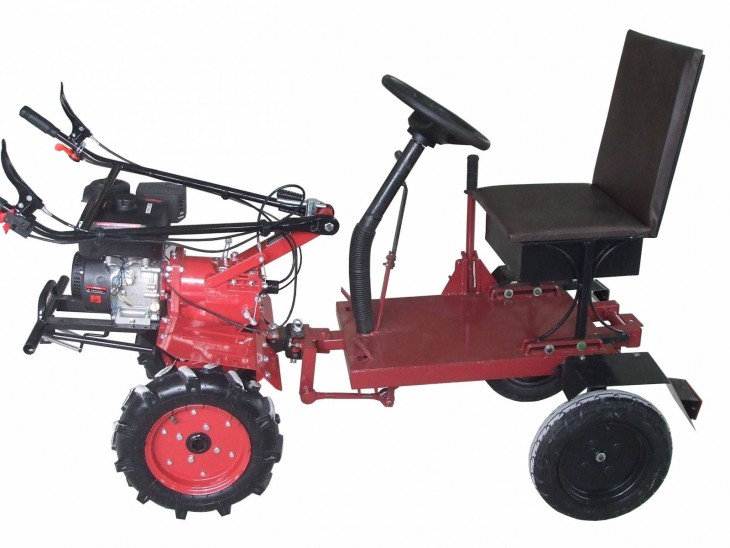
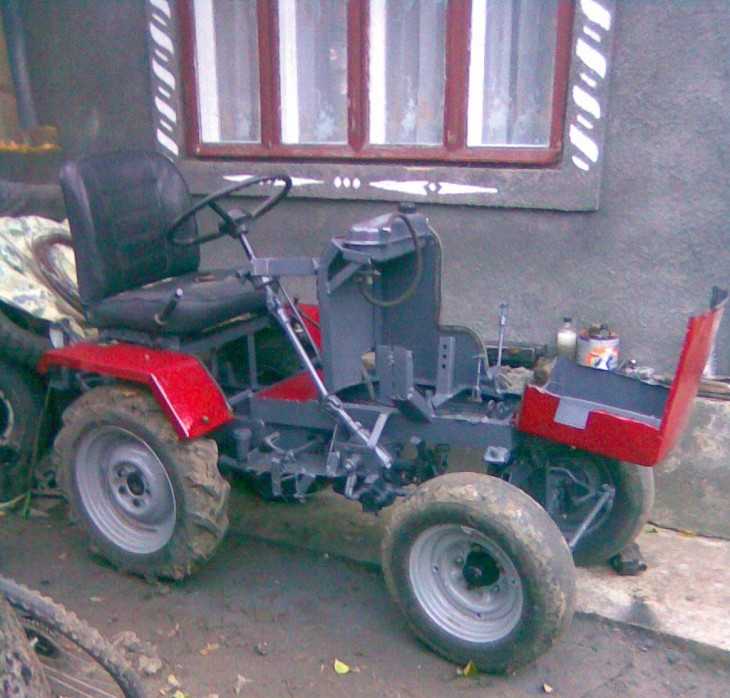
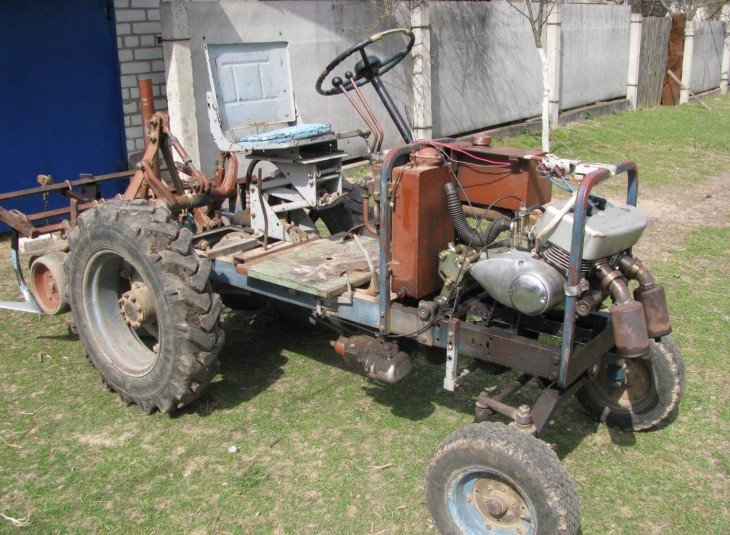
Motoblock modernization
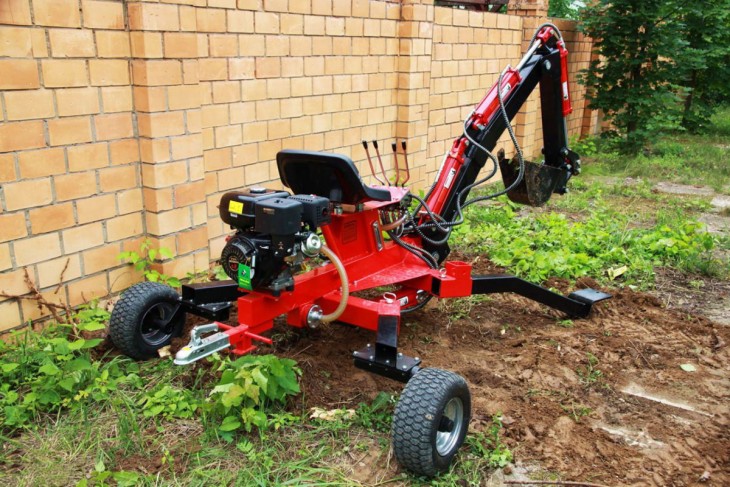
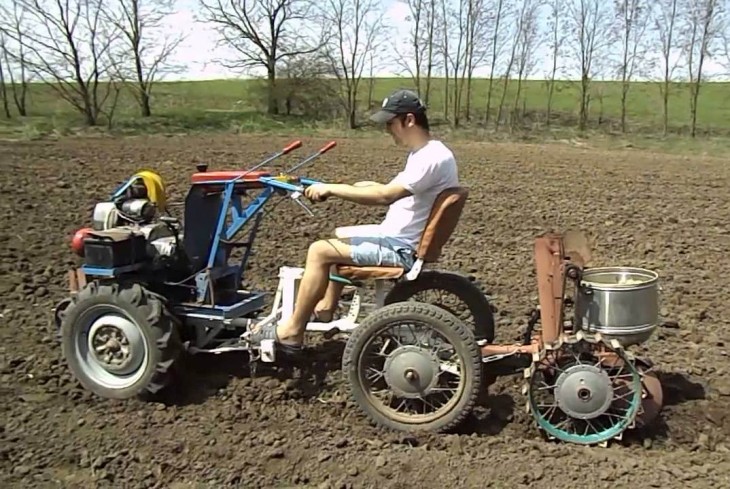
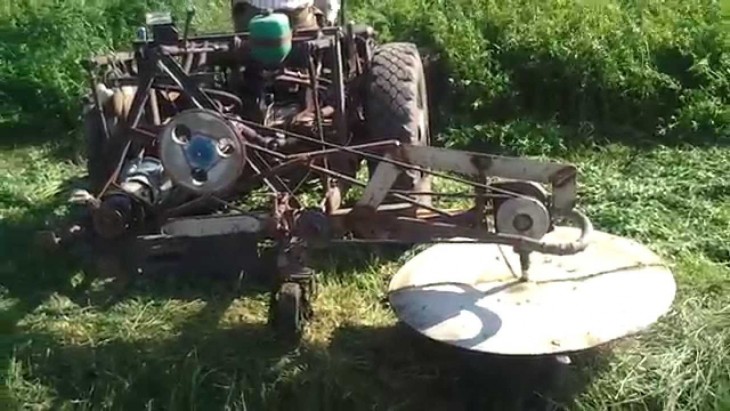
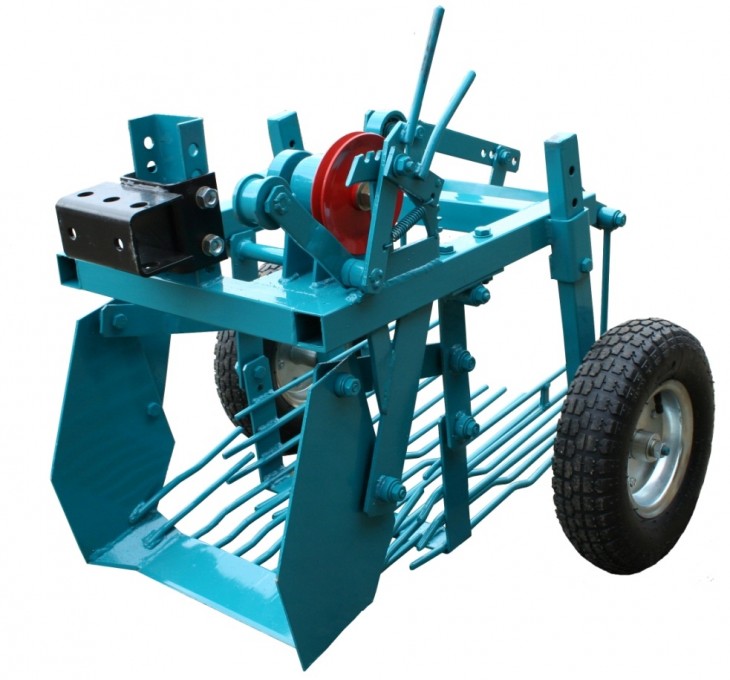
The adapter for the walk-behind tractor can be supplemented with various optional equipment.Which will not only plow the land, but also cultivate. Therefore, the Arkhipov walk-behind tractor is recognized as the most functional and practical.
Note!


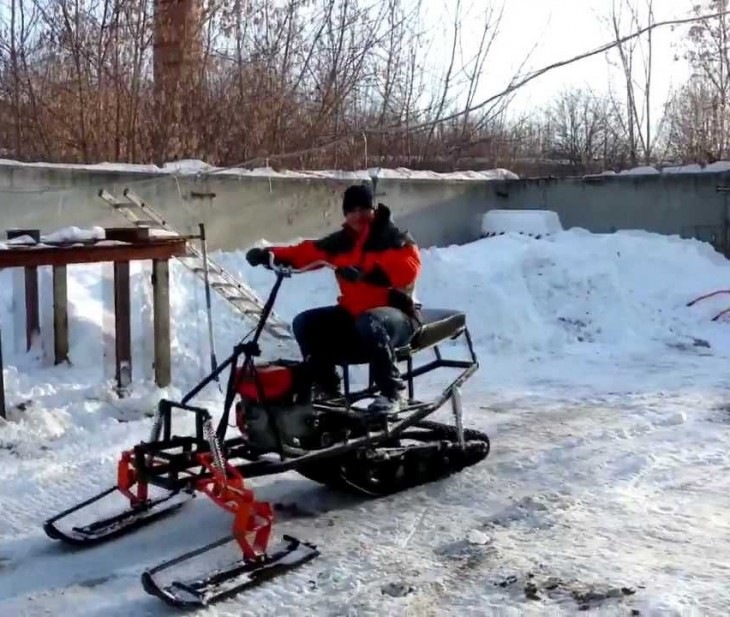
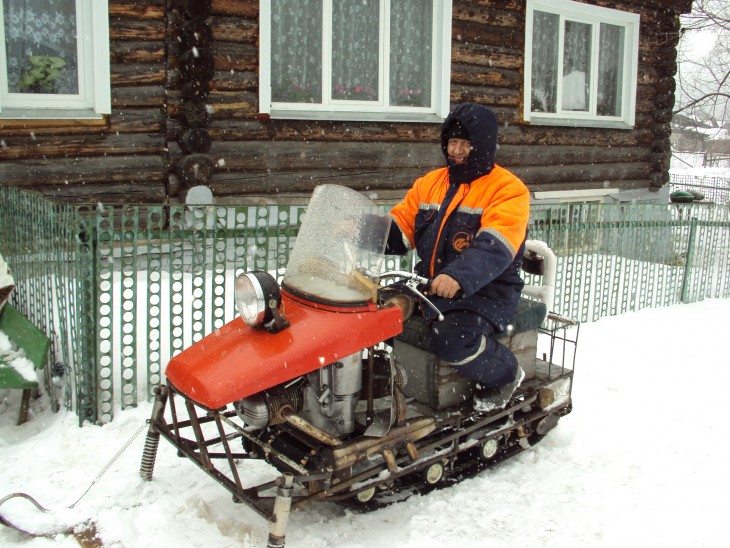
Many use the walk-behind tractor not only for agricultural purposes. It is very easy for them to clear the area near the snow. To do this, it is only necessary to install an additional roller on the unit, and one more asterisk.

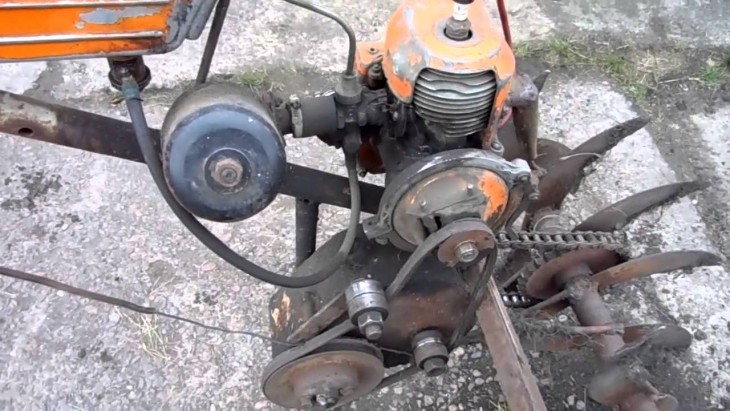
Like any equipment, the unit may fail, damage may occur. However, repair of walk-behind blocks is extremely simple. And it should not arise with the repair of great difficulties. So for repair you do not need special tools or additional equipment.

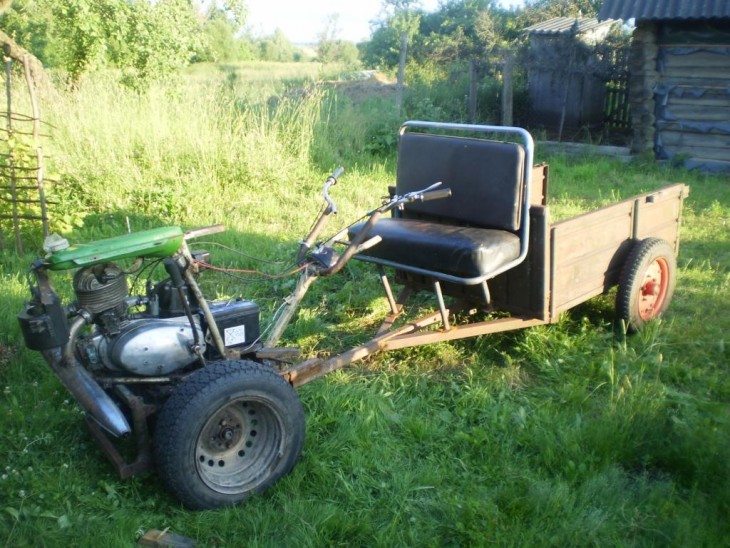
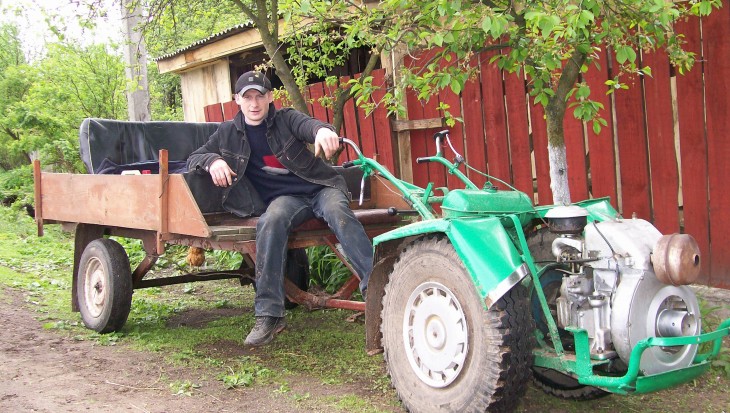
Photo motoblock
Note!


Note!