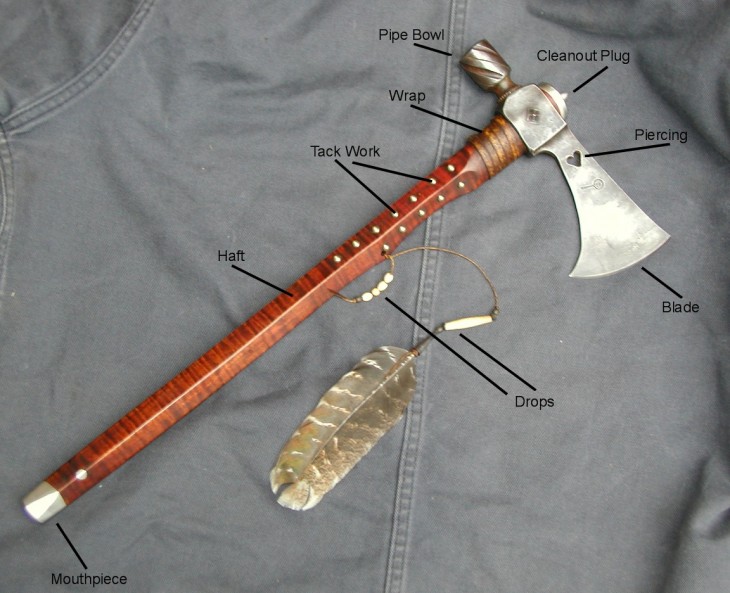
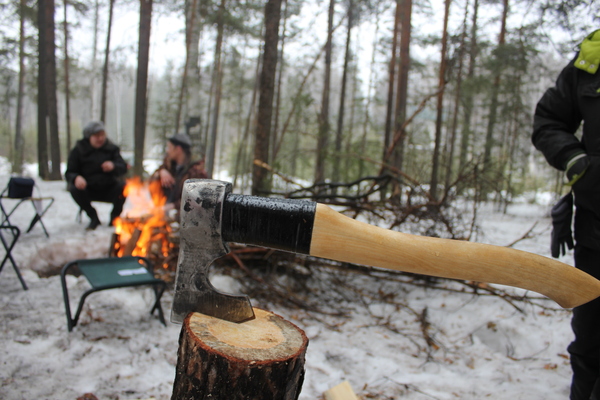
Those who live in their own home often need a tool such as a taiga ax in the country and on hikes. A good quality working tool is expensive and hard to find.
An ax from the market is not always benign. Therefore, we will make our own ax with the help of improvised means.
Review Content:
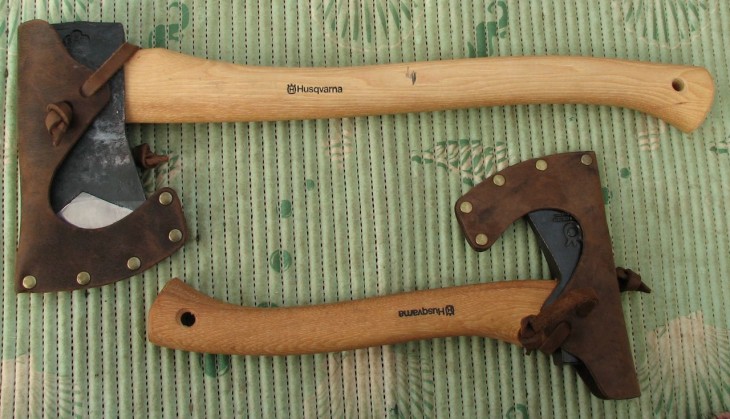
Varieties of axes
Consider the variations of axes:
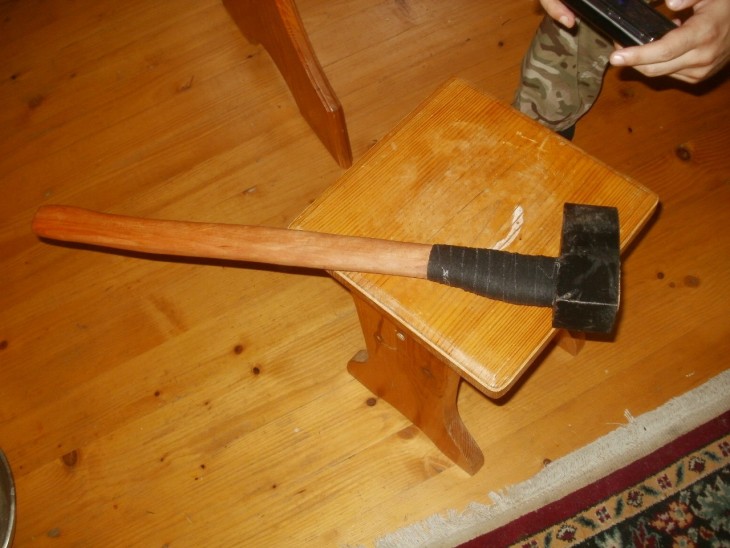
- The cleaver is a heavy cone-shaped ax. Due to its high weight, it is well suited for cutting large, hard woods.
- Joiner - of small weight and size, has a pointed blade. Use with careful, accurate, accurate work with wood.
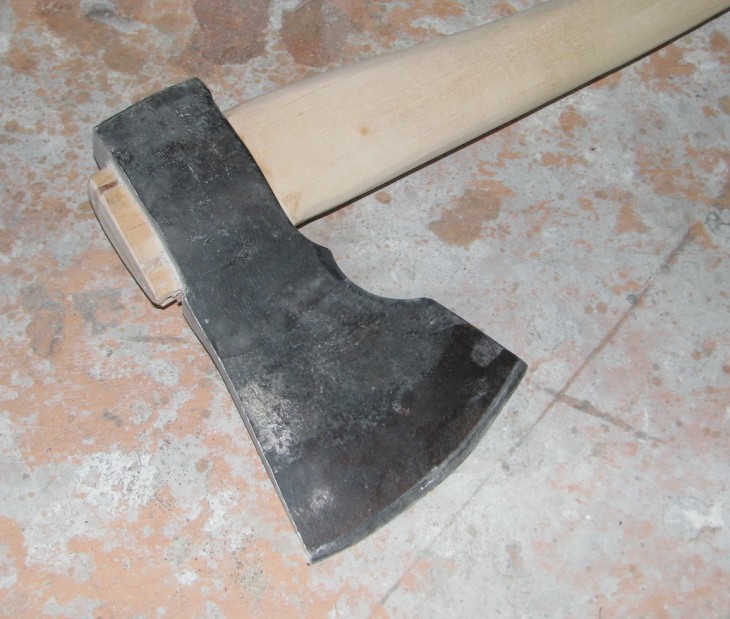
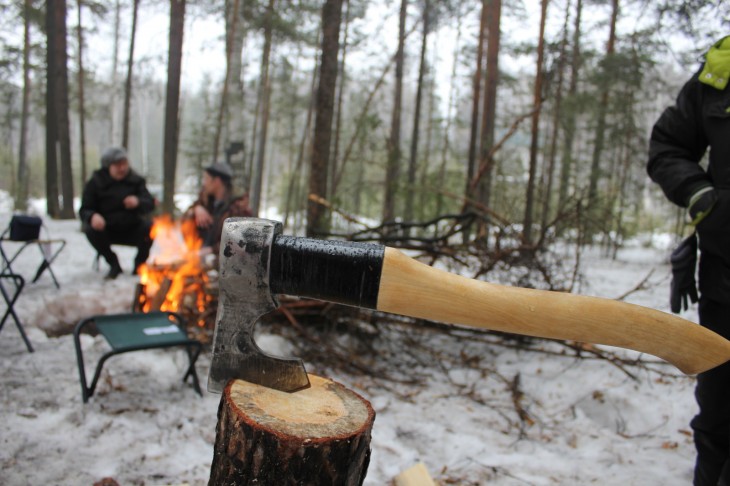
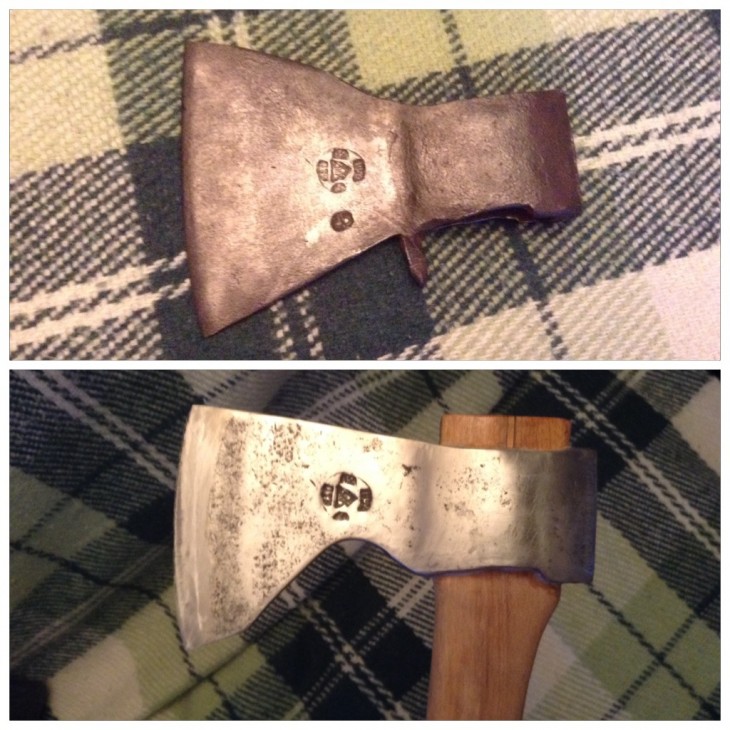
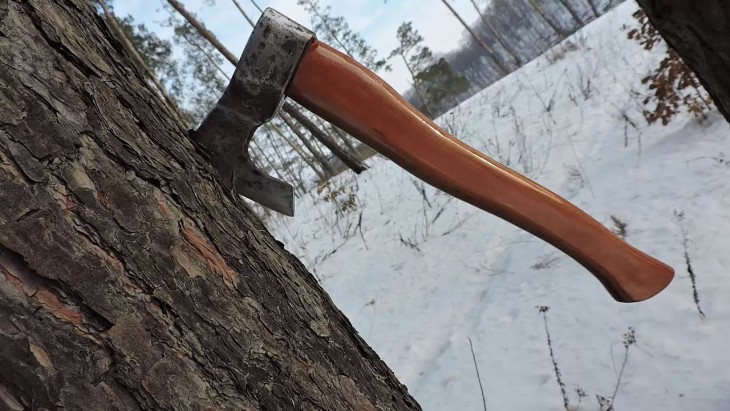
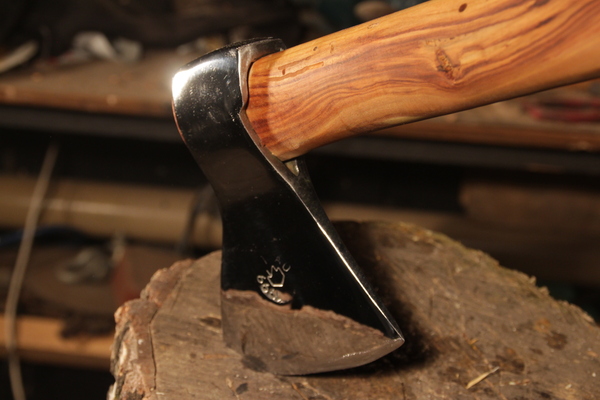
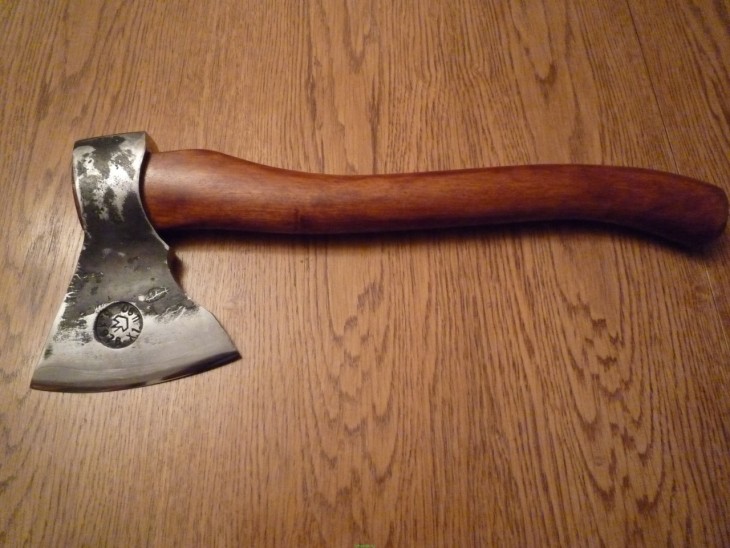
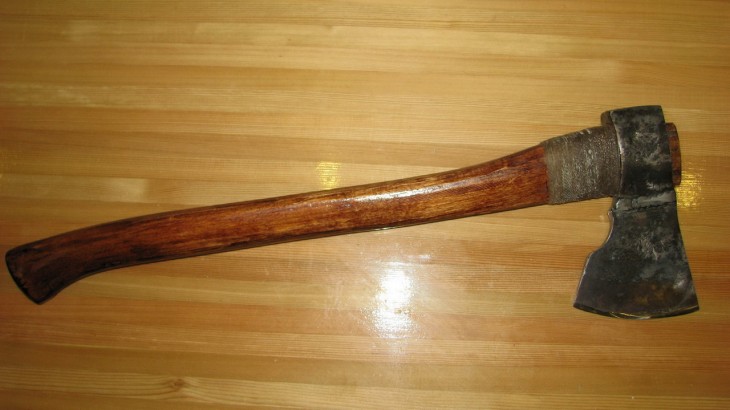
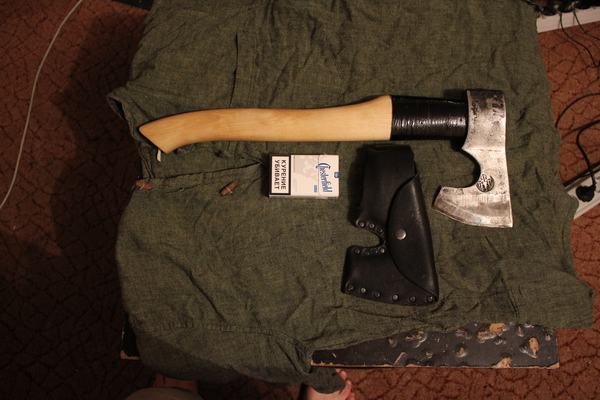
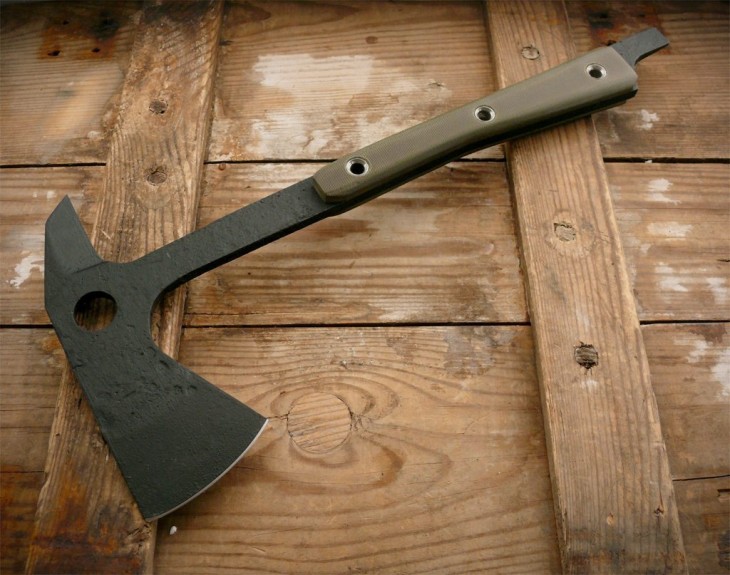
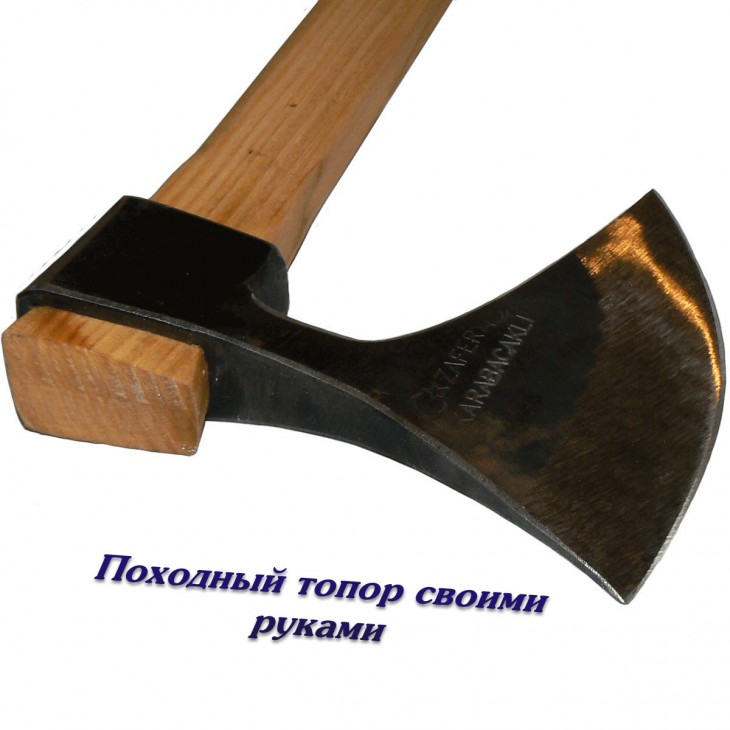
- Taiga - suitable for felling trees, harvesting trees, building huts, removing bark, twigs.
- Tsalda - designed to clean the area from shrubs.
- Kitchen (cook) - is intended only for cutting bones. It is a small hatchet with a short handle and a large "blade".
- Lumberjack - used only for cutting trees. Consists of a long hatchet and a wide, sharp blade.

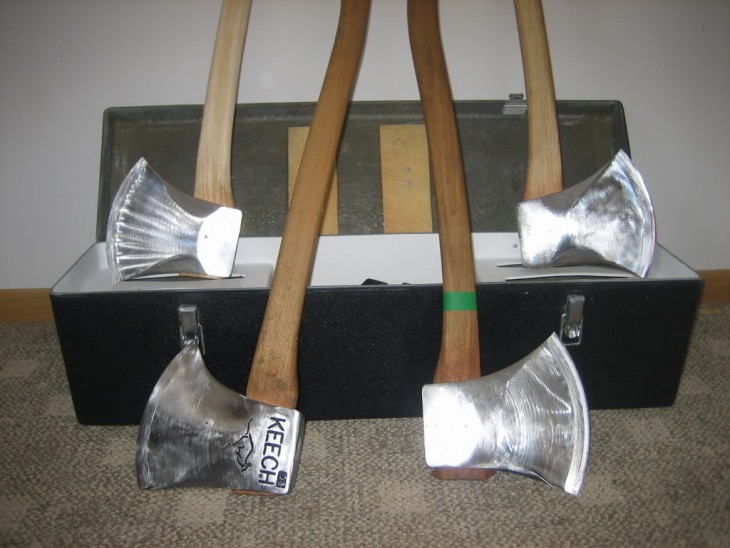

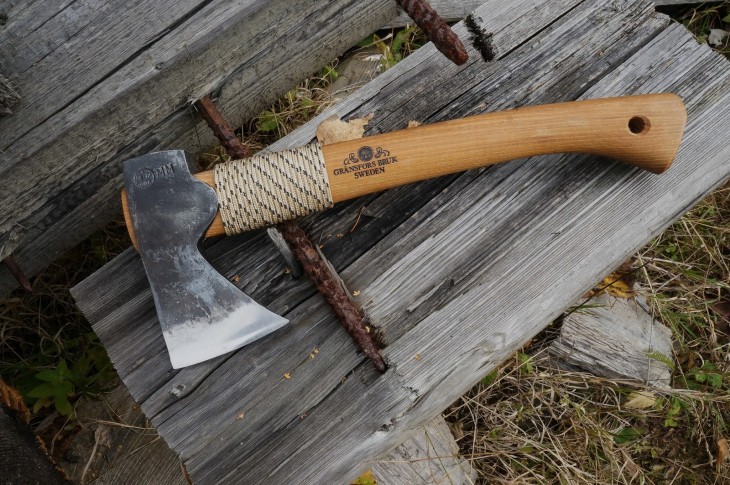
Of all these species, the taiga ax is the most useful and useful.
Distinctive features of the taiga ax:
- Light weight.
- A small area of the stitching surface (makes it possible to drive it as deep as possible into the wood).
- Specific sharpening of the blade (the rear edge is much smaller, thinner than the front.

This feature is made in order to use this type of ax as a cleaver (if the blow is delivered correctly. A conventional ax has the same shape of a blade for precise work with wood).
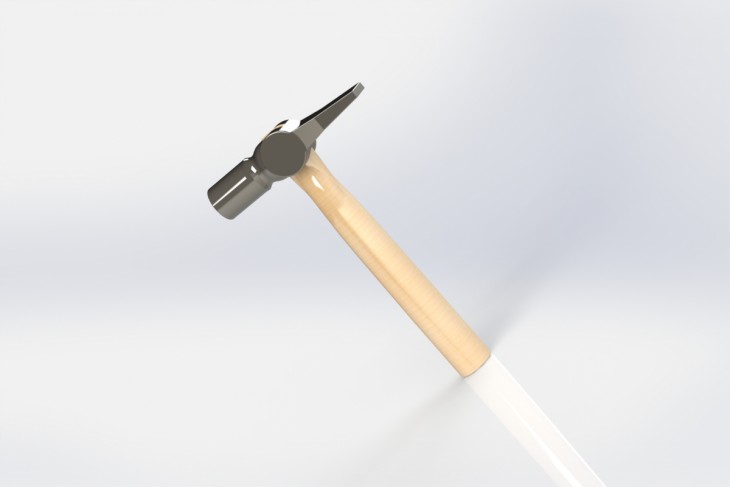
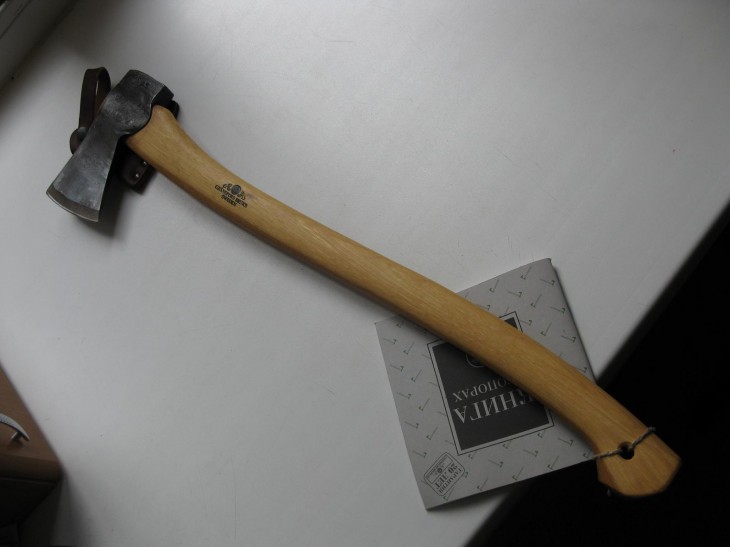
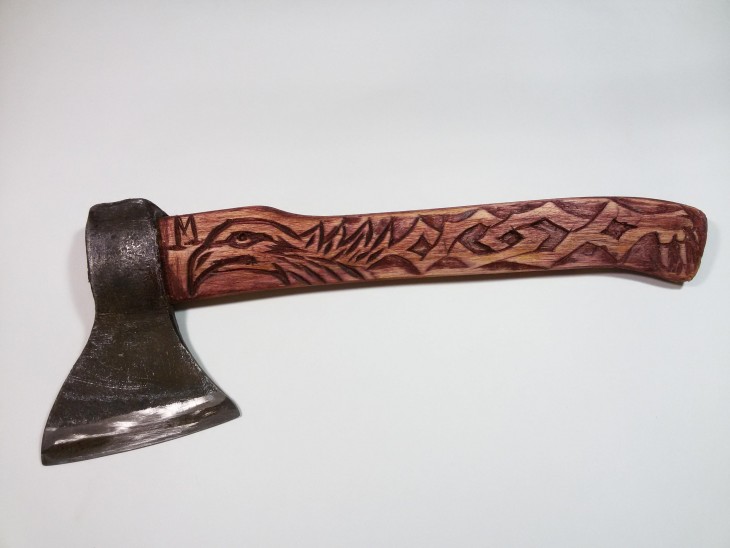
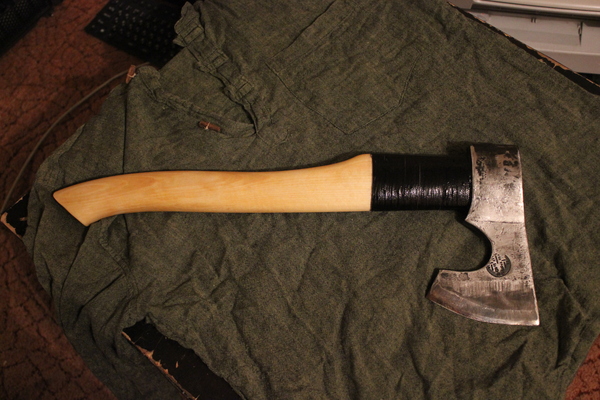
Making a taiga ax
Handle Material
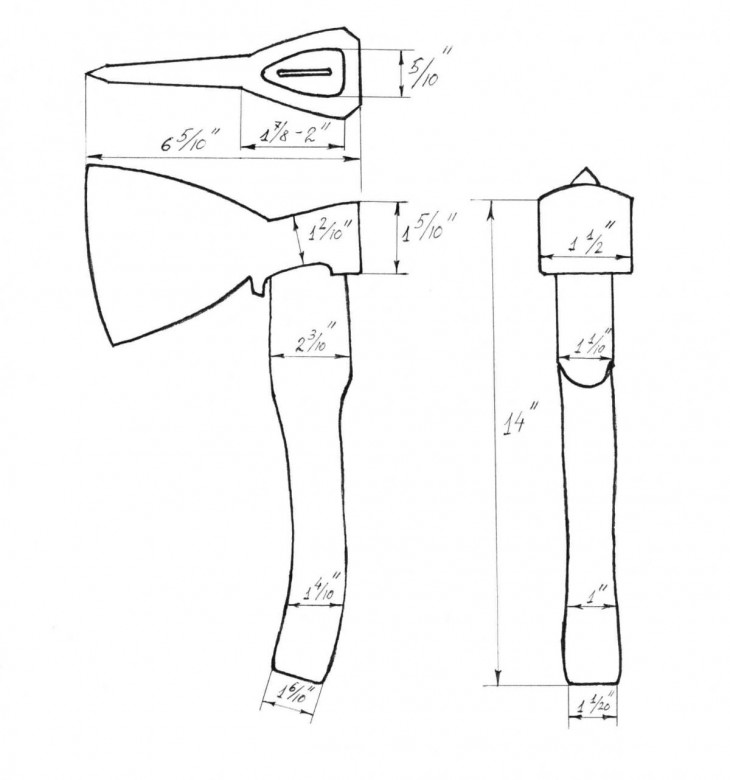
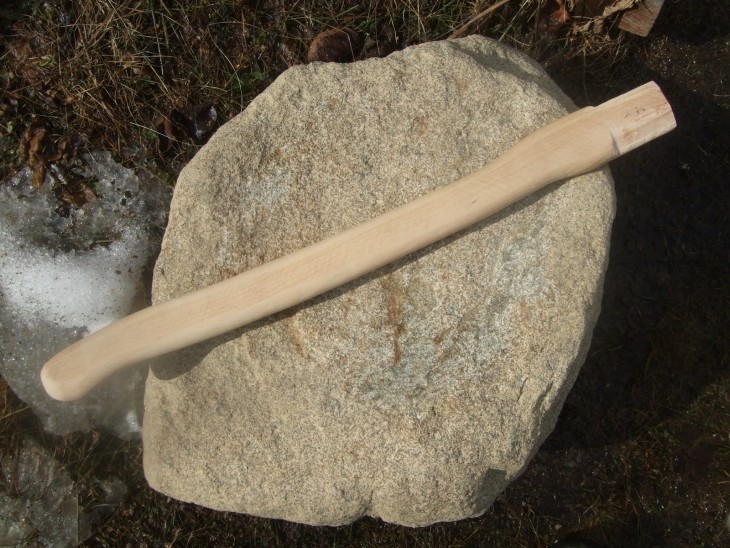
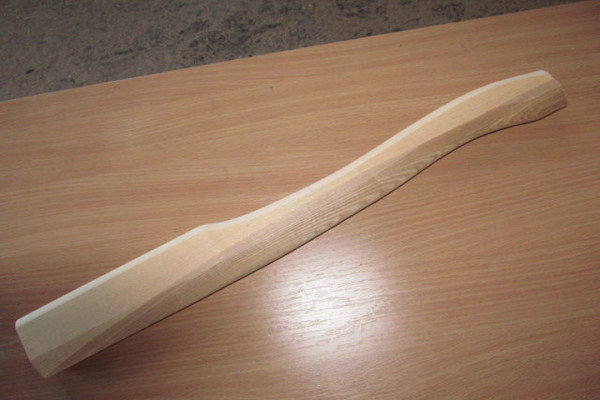
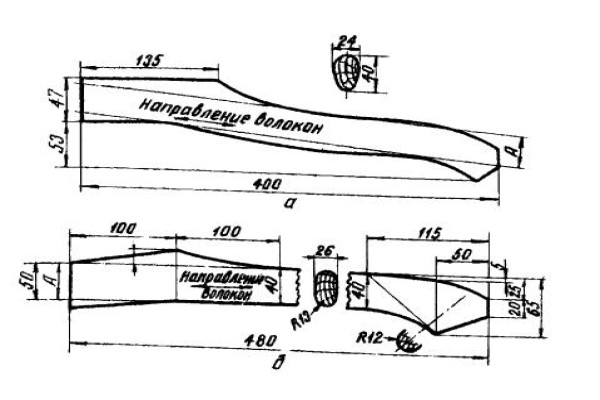
The function of an ax is primarily affected by its shape and length. The handle should be curved and the section oval.
For the hilt, species of trees such as maple, oak, ash, birch are best suited. Since these types of wood well tolerate vibration upon impact.

Harvesting begins in autumn
Dry in a dark place. Before use, the wood must be stored for about one year, and preferably five.
Only felled wood is not advisable to use as it dries out over time and will not stay in the eye.

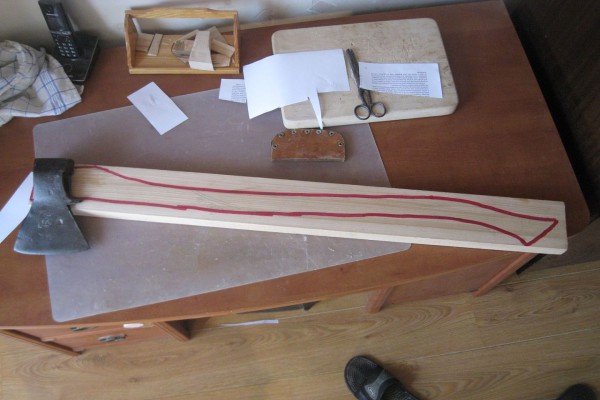
Create a cardboard template
On a large cardboard sheet, we outline the shape of the handle and apply it to a wooden blank. The template will help us make a more accurate hatchet.
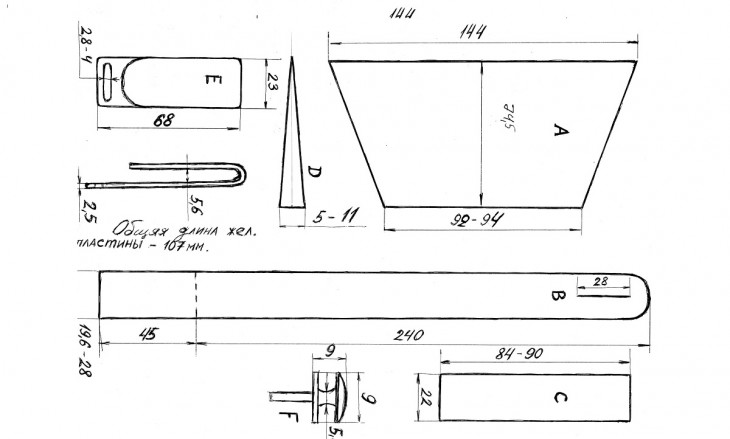
Handle material preparation
A one-year-old block of wood is cut parallel to the fibers. The workpiece for the handle should be longer than the template. The place that is inserted into the eyelet is made wider than the main part.
On both sides we outline the attached drawing, and do not forget to leave allowances. After that, they inserted the upper part into the eyelet, remove excess wood.
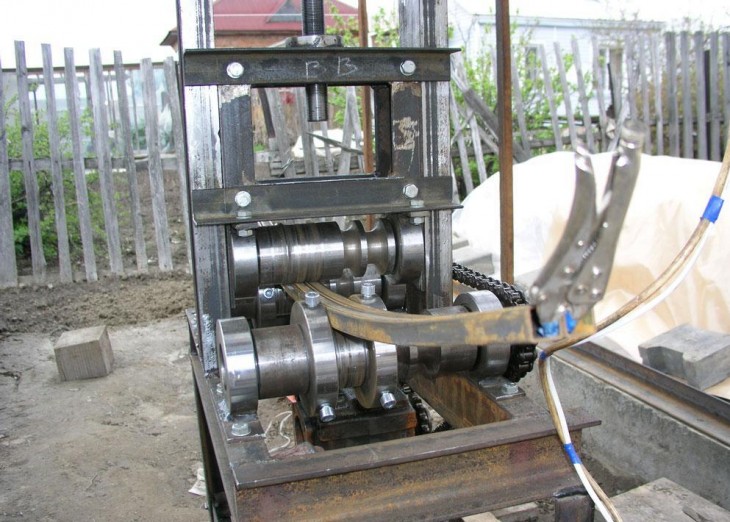
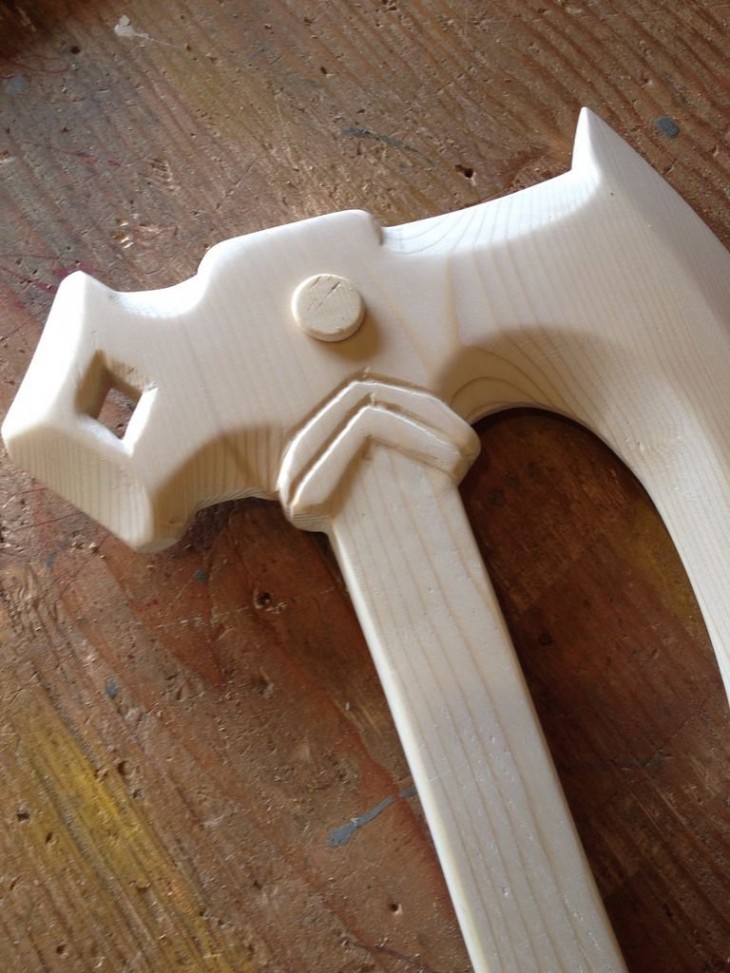
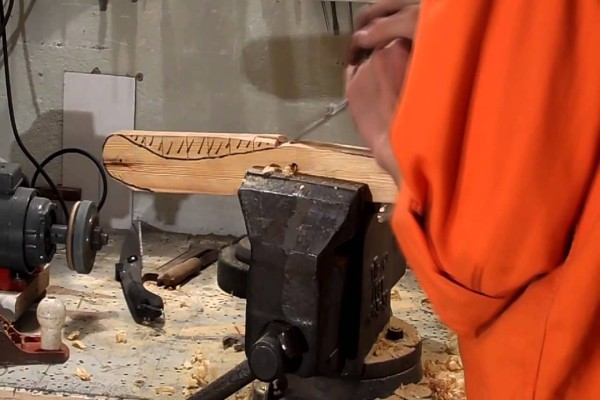
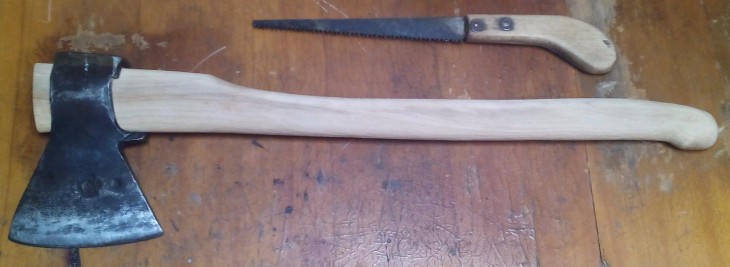
Ax Handle Cutting Steps
Before cutting the ax, you need to make transverse cuts, but so that they do not reach the line of the future handle by about 4-5 mm. Using a chisel, we remove the remaining wood and excess allowances.
Ore transitions and corners are made thanks to turning with a rasp. After the workpiece is done, bring the emery cloth to smoothness.
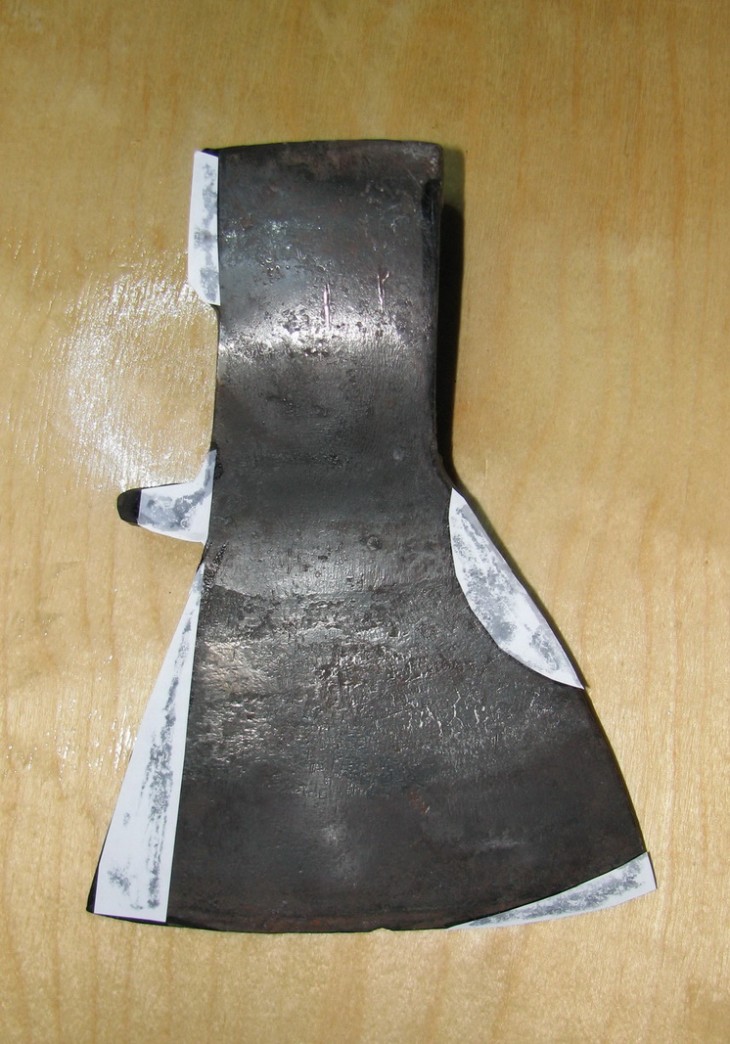
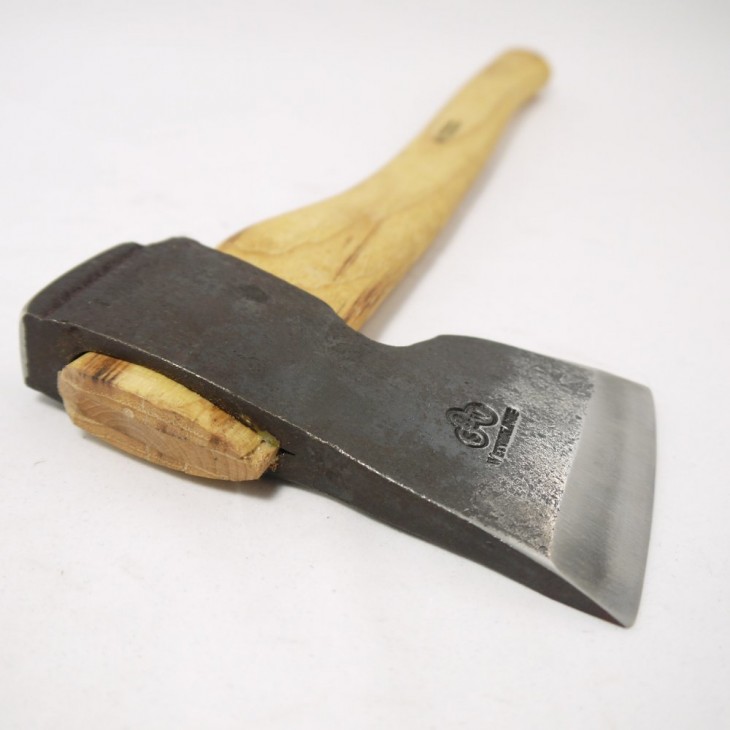
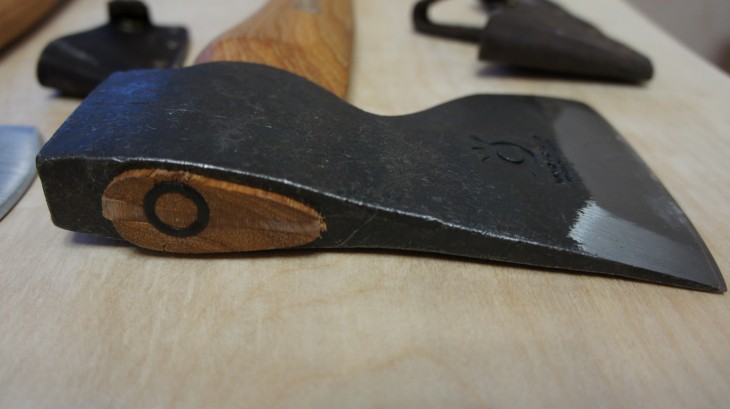
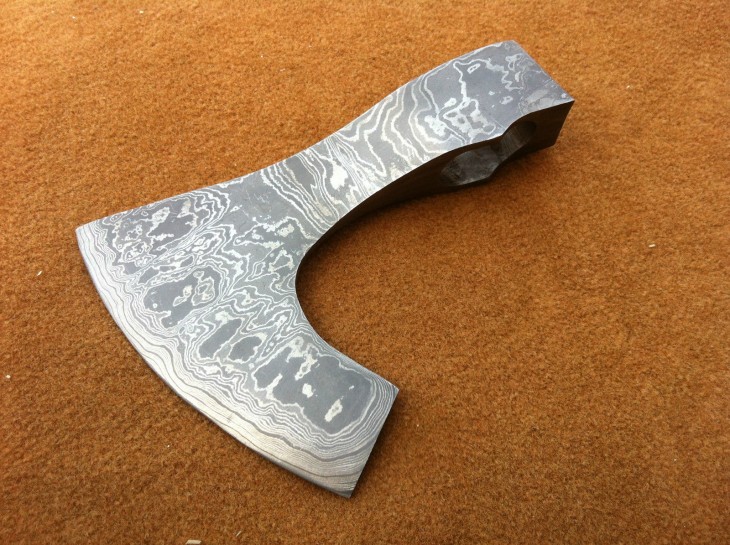
Purchase of a piercing piece for a taiga hatchet
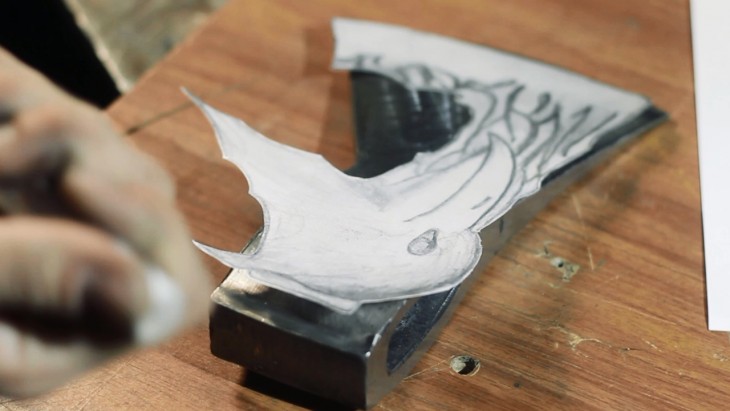
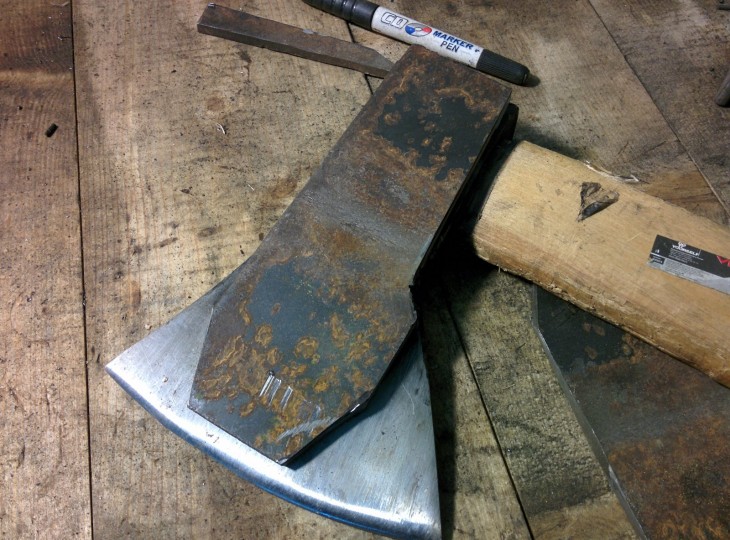
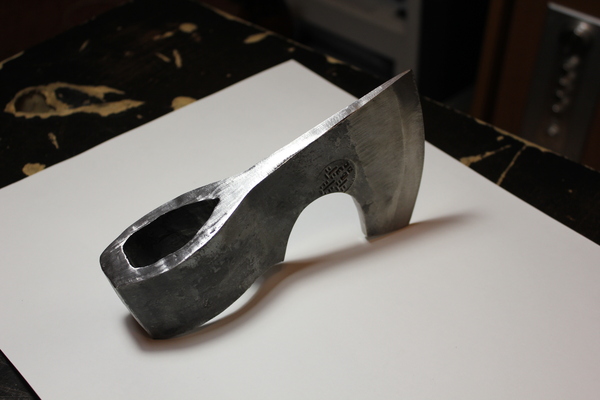
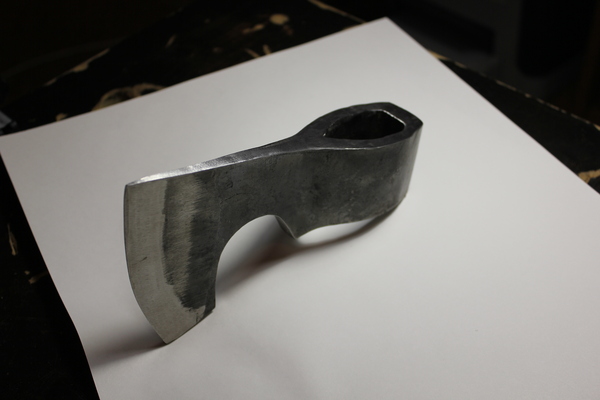
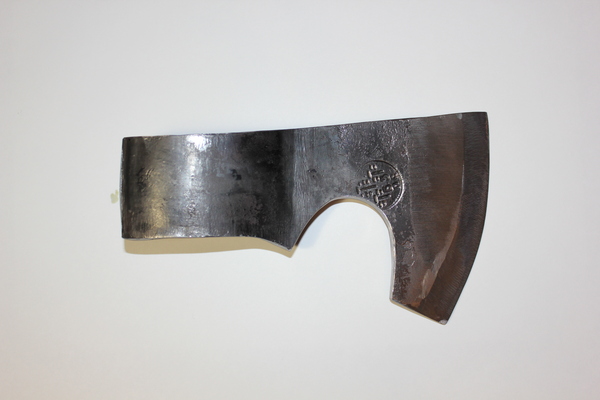
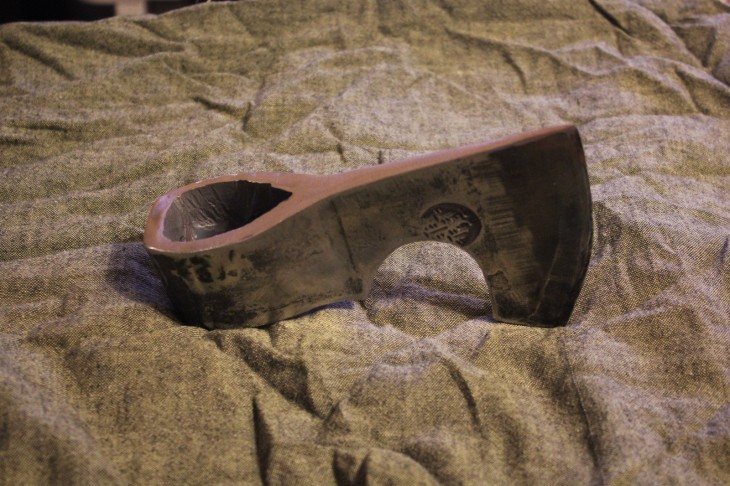
It is unrealistic to make a blade in a domestic environment. In this case, here is a list of what you need to focus on when buying it in the market or in a hardware store:
- GOST marking (indicates the quality of steel);
- The hole for the handle (eye) should be conical;
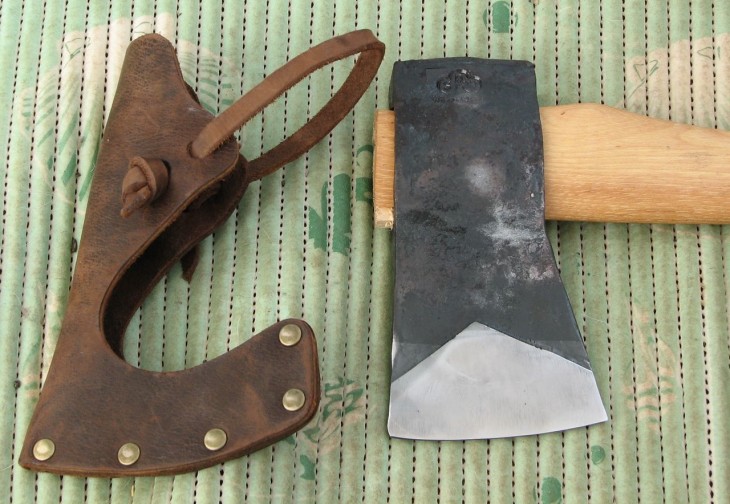
- The blade is smooth, without defects;
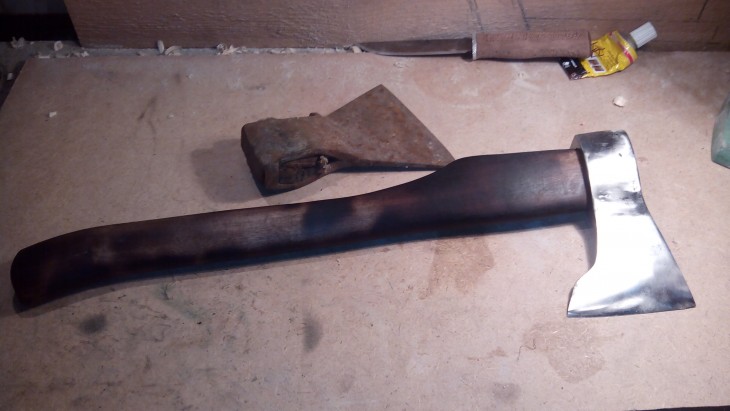
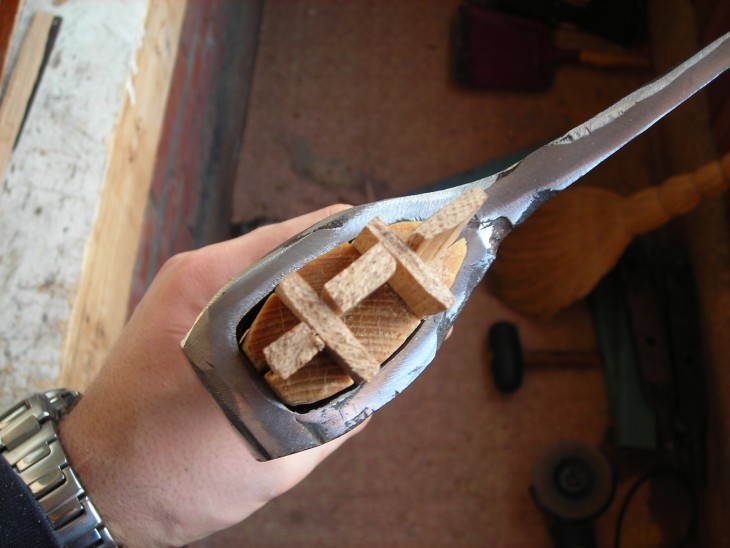
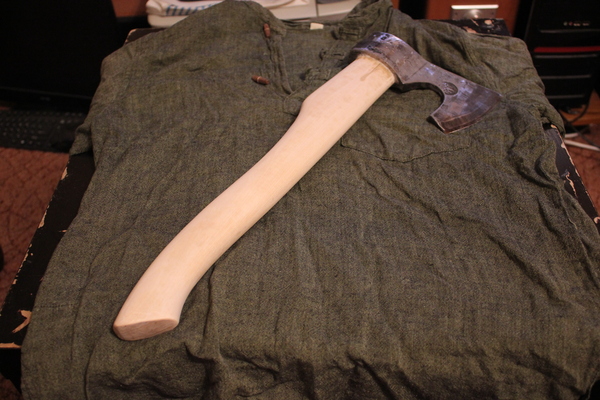
Ax picking
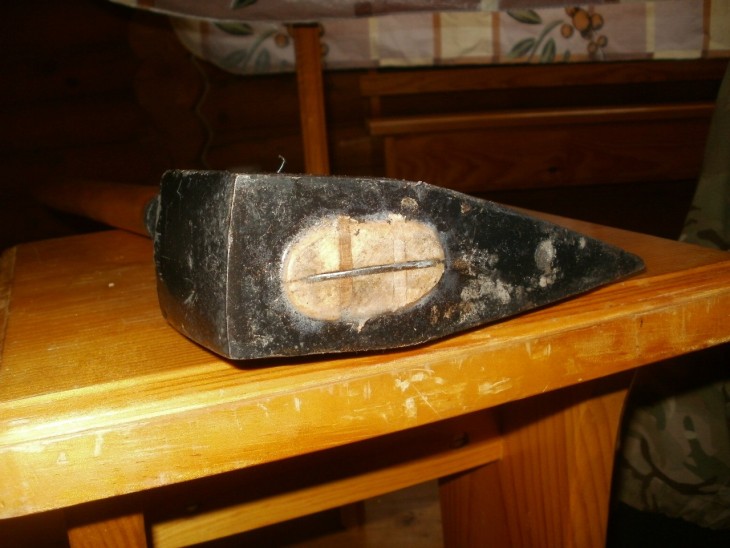
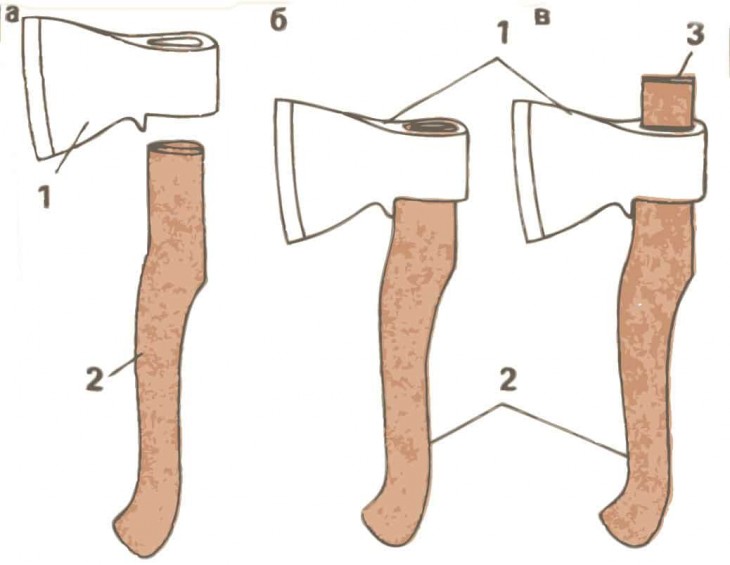
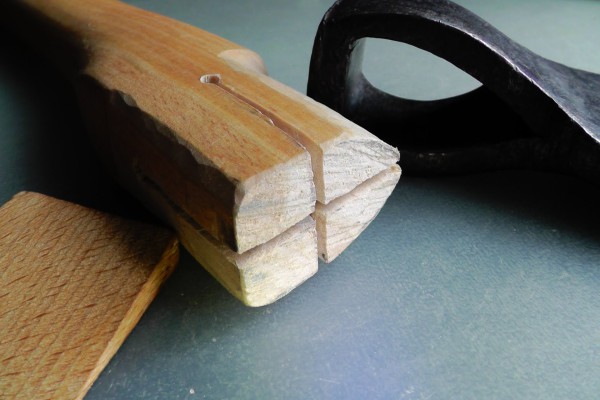
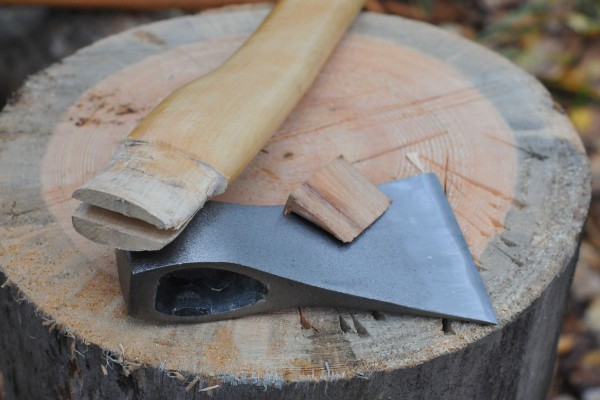
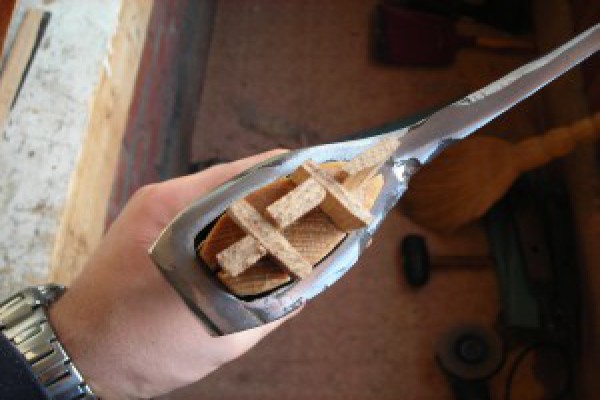
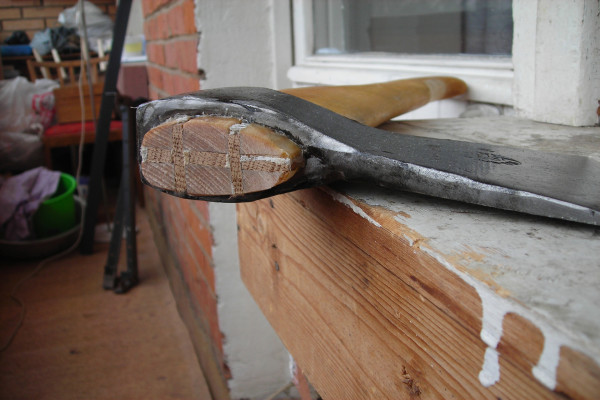
- The upper part of the handle is cut along and across.
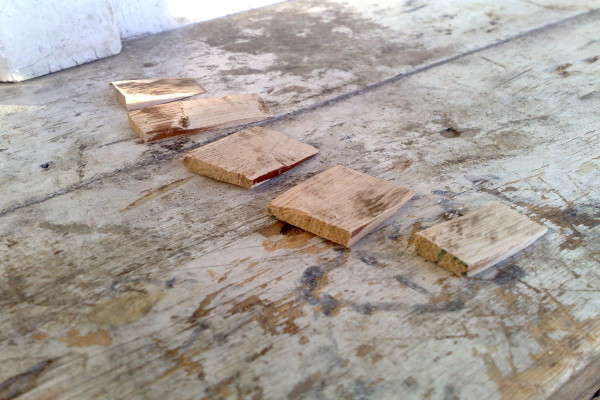
- We cut five pieces of solid trees.
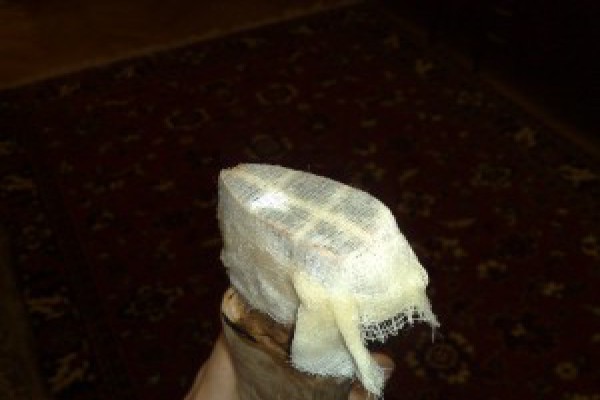
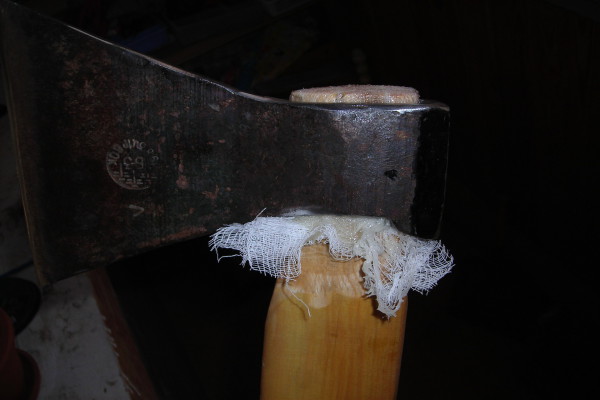
- Gauze soaked in resin, wrap the top of the handle for its best entry into the hole of the blade.
- With a hammer we drive in the handle.
- Hammer the prepared pieces into cuts at the top of the ax.
- After the structure dries, we cut off the protruding parts of the wooden pieces.
Note!


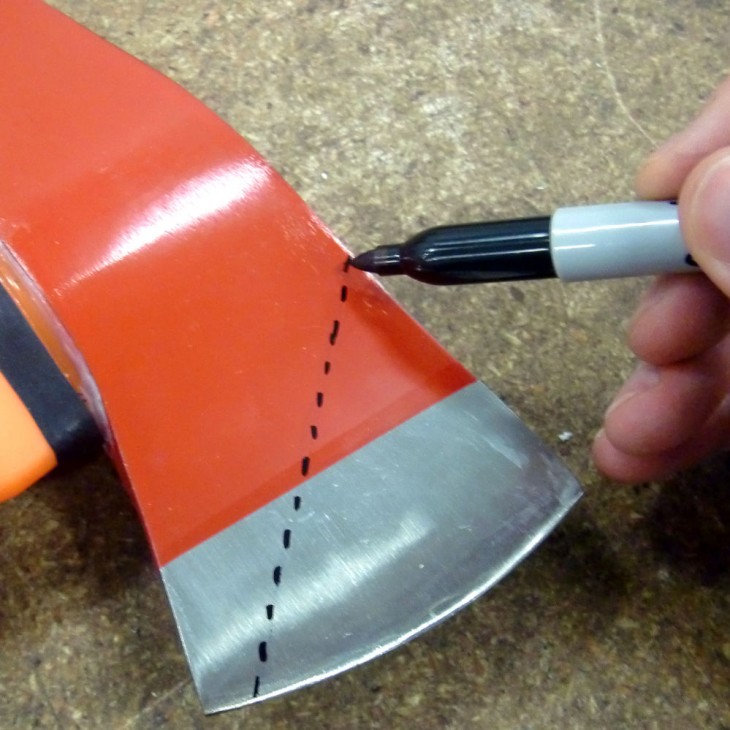
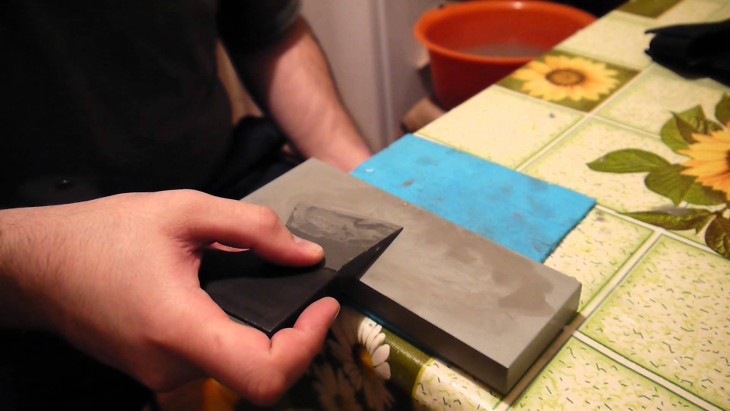
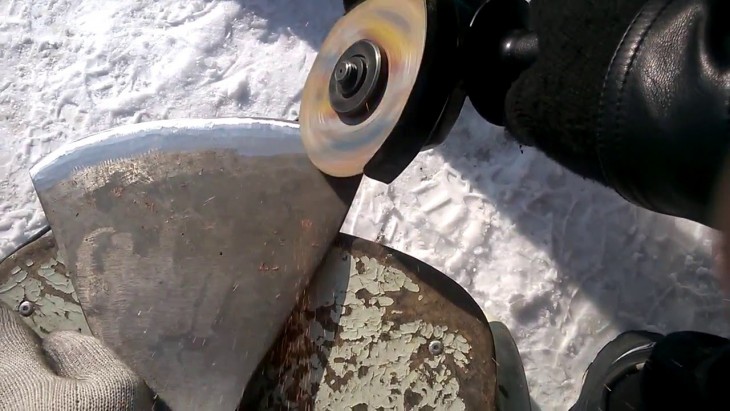
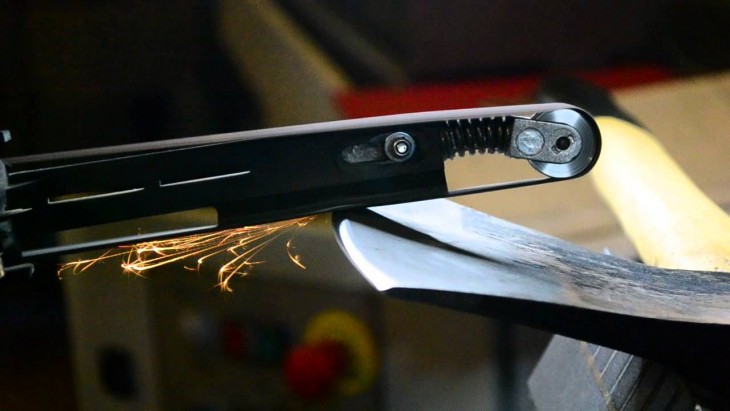
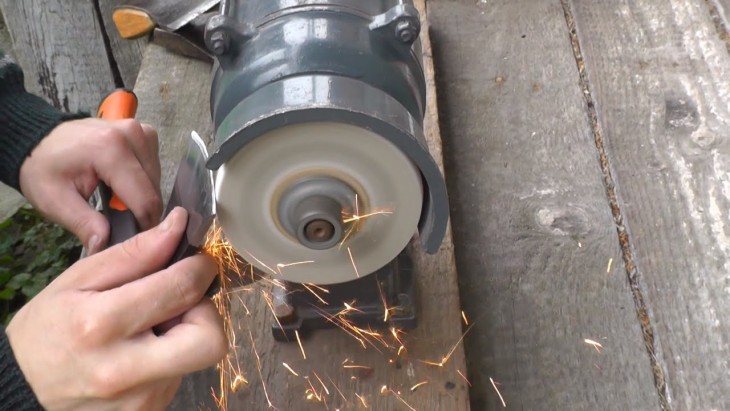
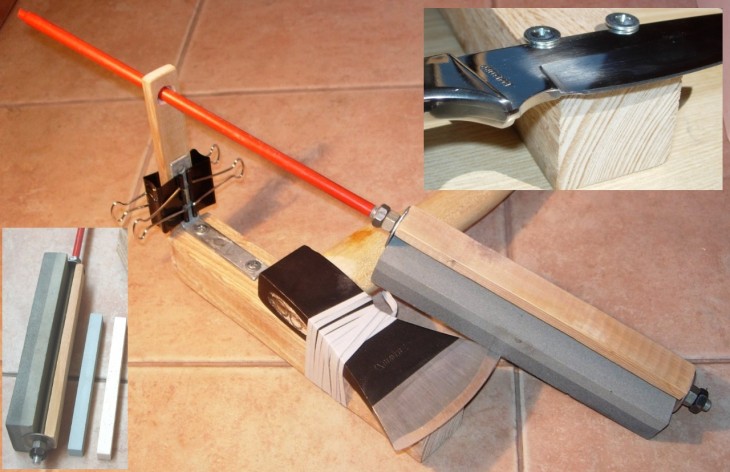
Sharpening the taiga ax
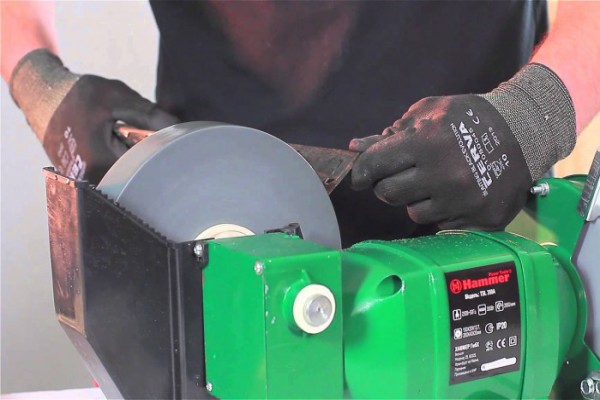
An excellent hatchet performance is provided by a properly sharpened blade. In accordance with the activity that you will perform with the help of an ax, the angle of grinding depends on.

Sharpening the taiga ax is performed at an angle of 30-35 ̊. If they will perform work with fresh wood, then sharpening is performed at an angle of 25 ̊.

If you use a grinding wheel for sharpening, then the handle of the ax must be kept at an angle of 40-45 ̊. We reproduce sharpening slowly, accurately.
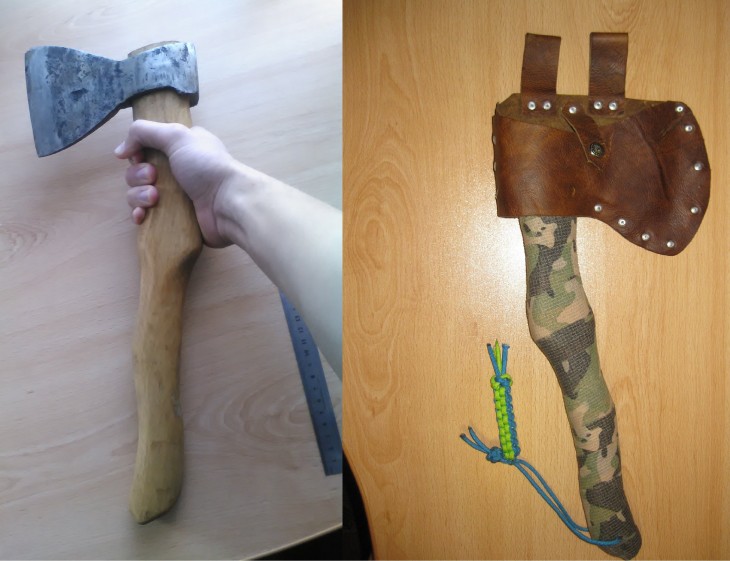
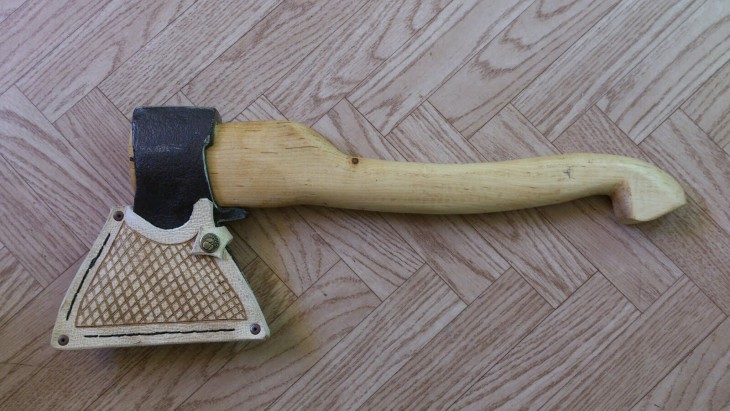
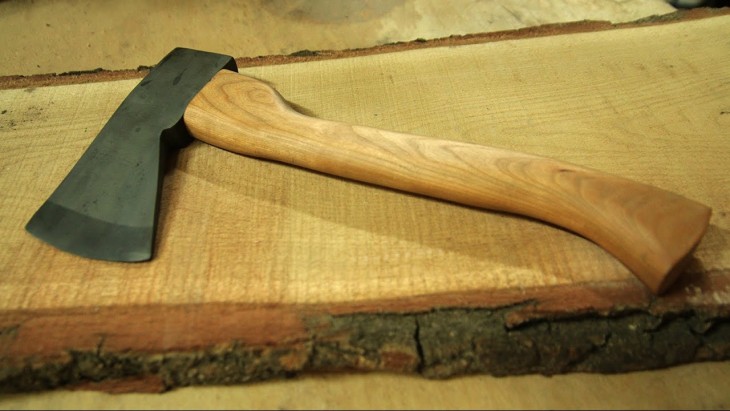
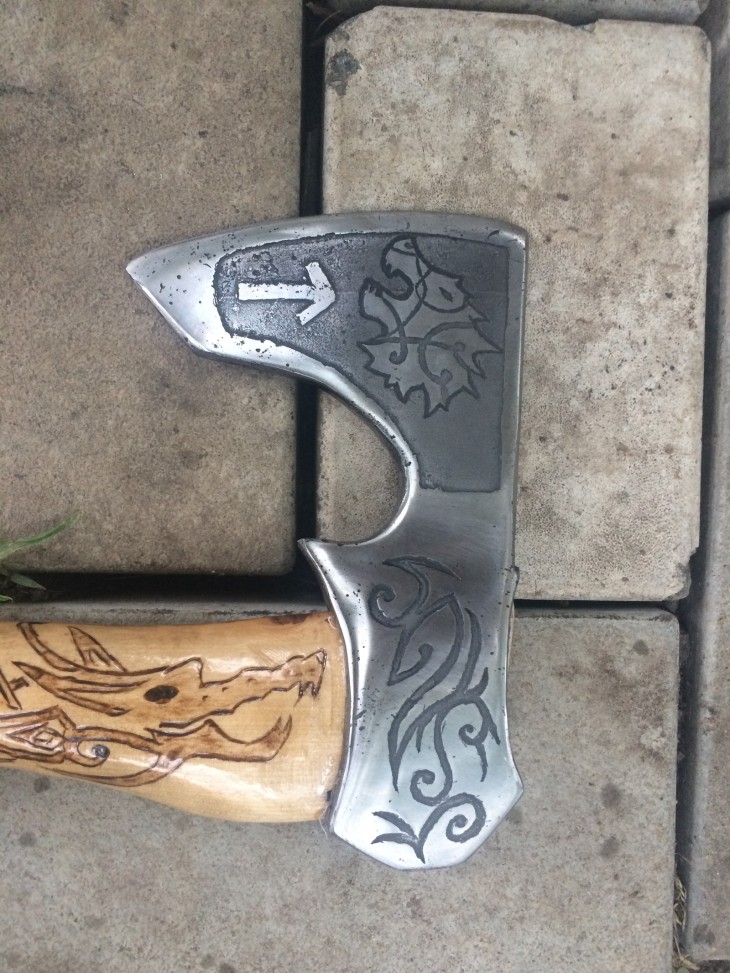
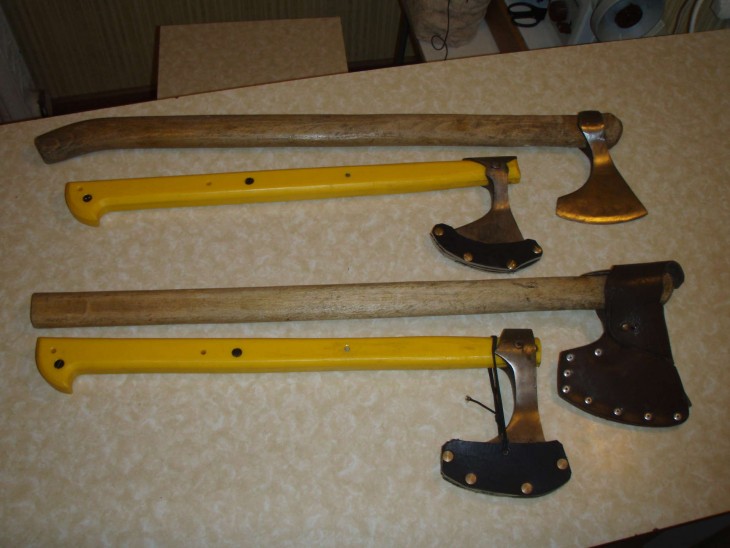
If you have in stock all the necessary tools, a photo of the step-by-step production of an ax, then its creation will not take a lot of time, effort and money, and in return you will receive a quality ax made by yourself.

But do not forget that with the piercing part made of high-quality metal, the ax will last much longer and if the handle is treated with linseed oil, it will not rot and deteriorate.
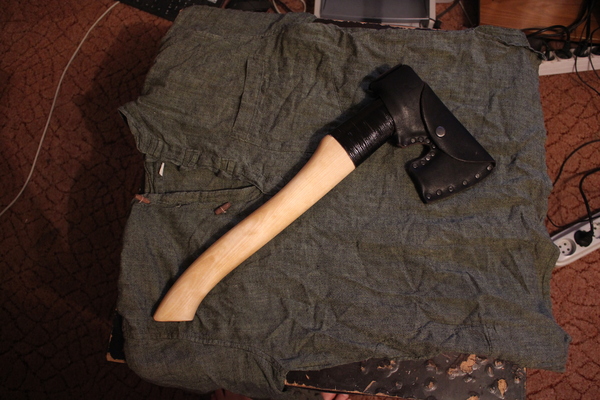
DIY ax photo
Note!


Note!