Familiar building materials and traditional wall and ceiling finishes are gradually being superseded by new proposals.
Liquid wallpaper has been developed for a long time, but this coating is still considered innovative, as it continues to conquer the domestic market.

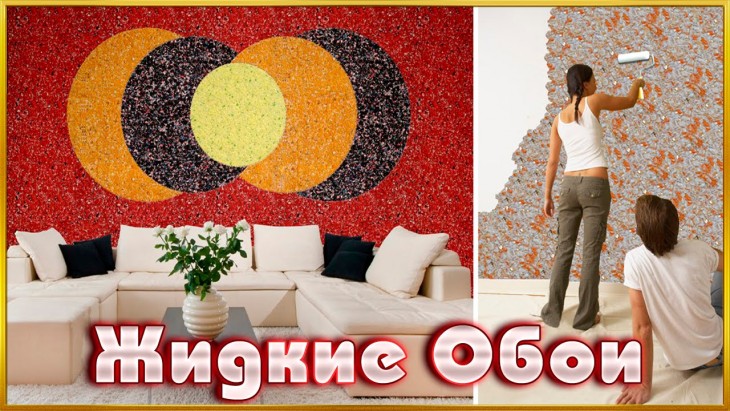
This designer find has not so many admirers. But lovers of original solutions, having seen photos of liquid wallpapers and using them in practice, often abandon the usual materials.
Review Content:
Why choose liquid wallpaper
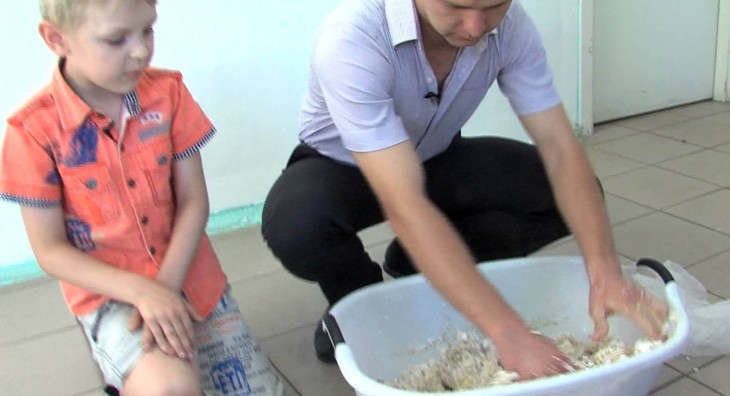
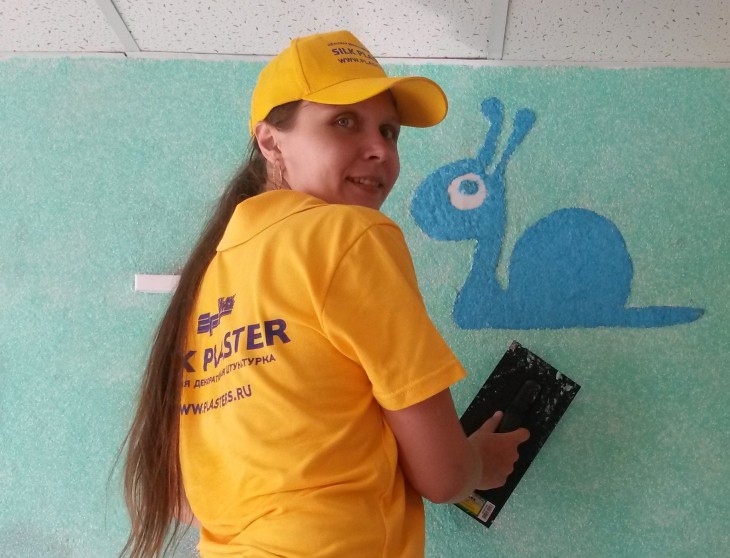
The liquid mixture is not like paper rolls, but due to such properties it is called “wallpaper”. The base can be purchased at any supermarket, diluted in a bucket of water and independently applied to the wall with a roller, brush or spatula.
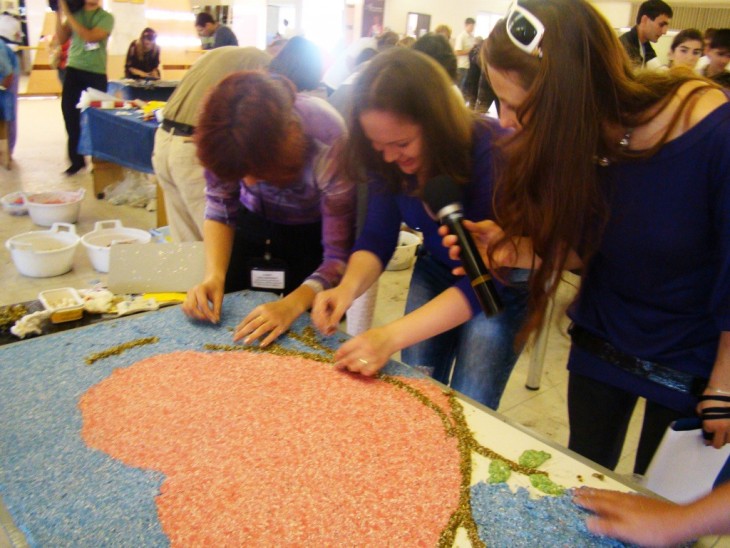
But the craftsmen got the hang of making the foundation even of their old newspapers and other waste paper. Additional inclusions and dyes make it possible to obtain a unique surface with a pattern.
Properties of liquid wallpaper
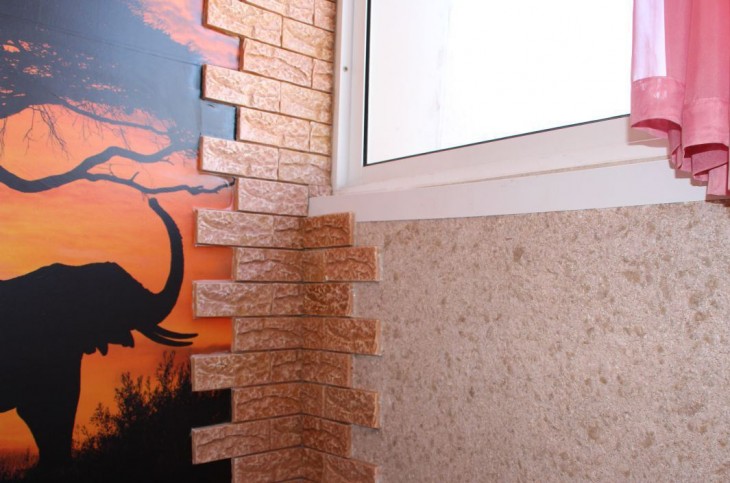
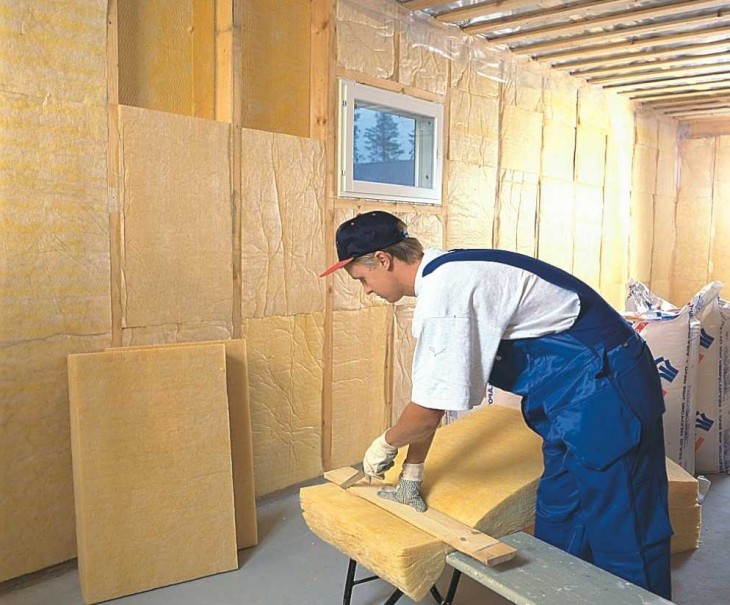
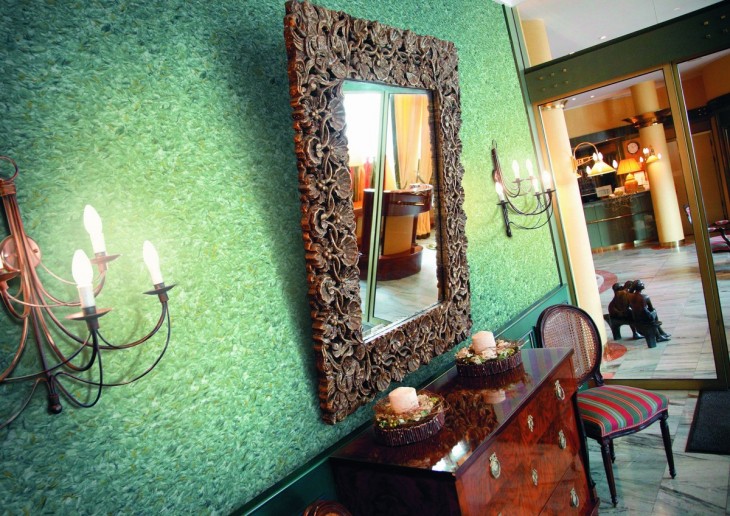
Liquid wallpaper has good thermal insulation performance - when they touch the walls seem warmer than glued with paper, fiberglass or treated with plaster and paint. Thanks to their practicality and aesthetics, many are interested in how to make liquid wallpaper with your own hands.

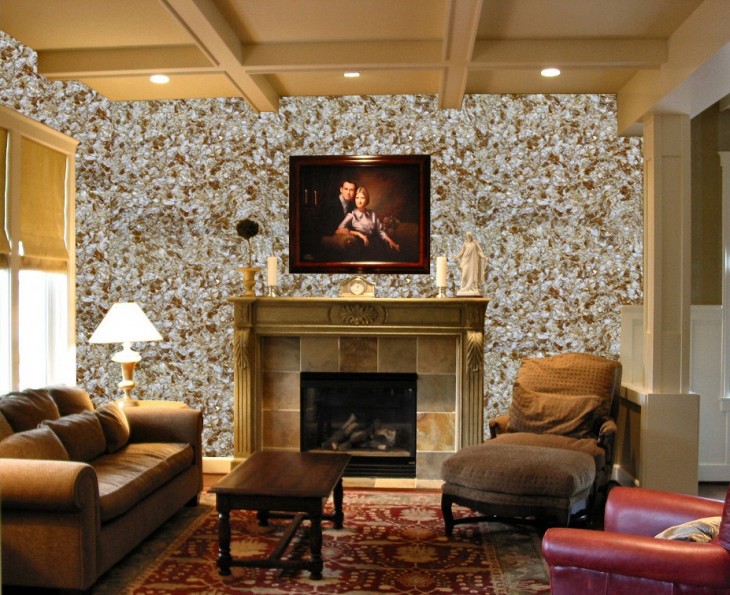
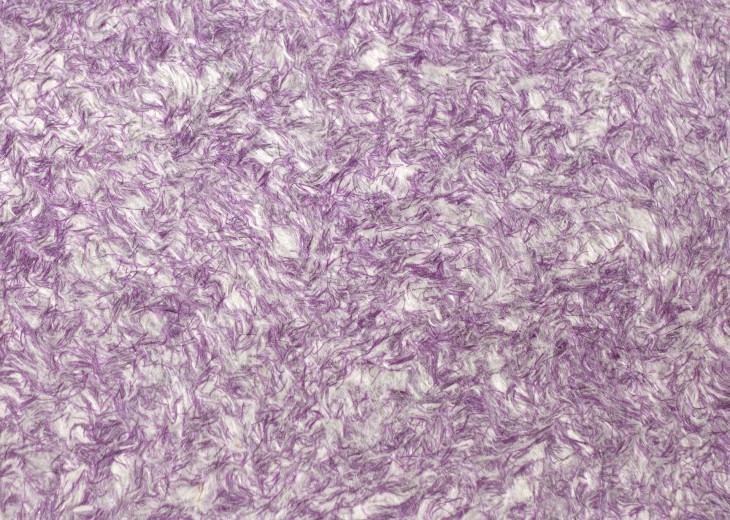
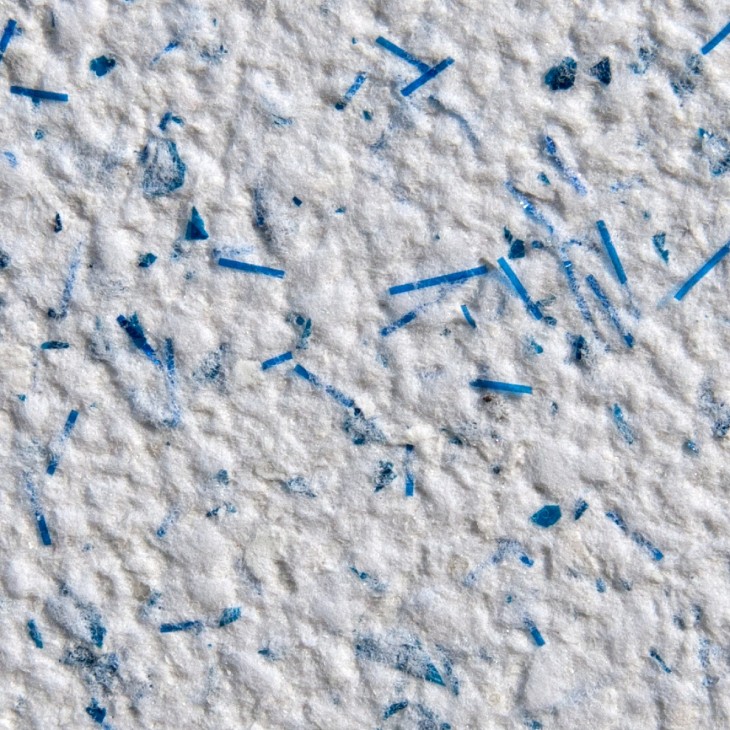
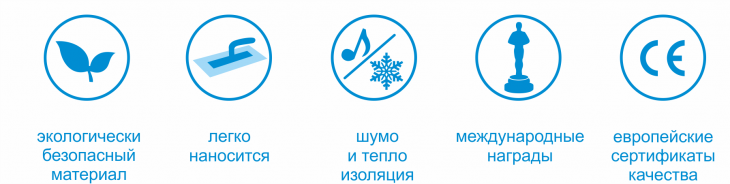
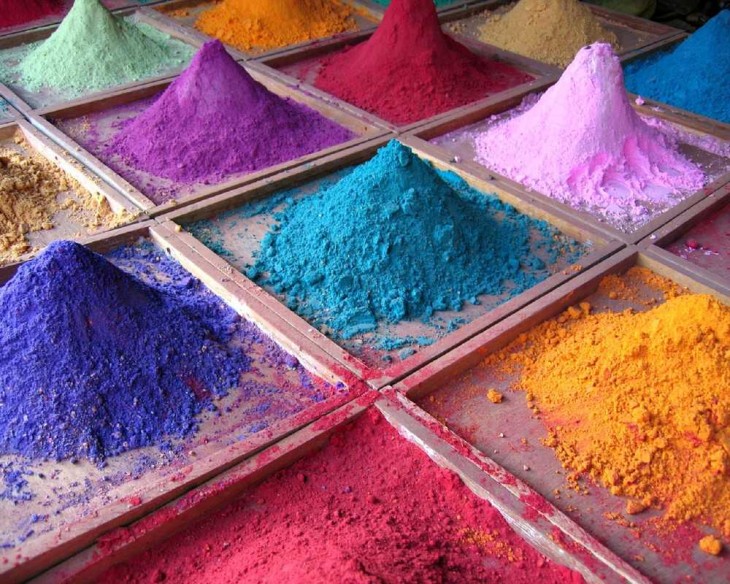
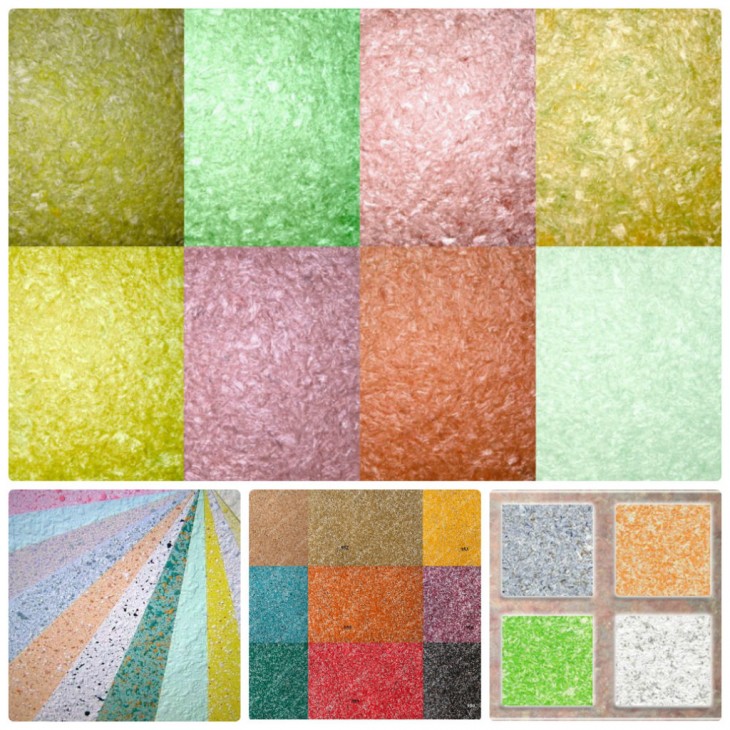
Dry mixes for liquid wallpaper are prepared on the basis of environmentally friendly materials - this is cellulose, hemp and paper. But such a basis is also good because, depending on the required decor, any water-based pigment and decorative inclusions (sequins, yarn, sand) can be added there.
The prepared mixture does not lose its “breathing” properties after drying, despite the adhesive bonding base.
Like felt, the wall absorbs excess fumes, and then dries safely when the air humidity levels are equalized.
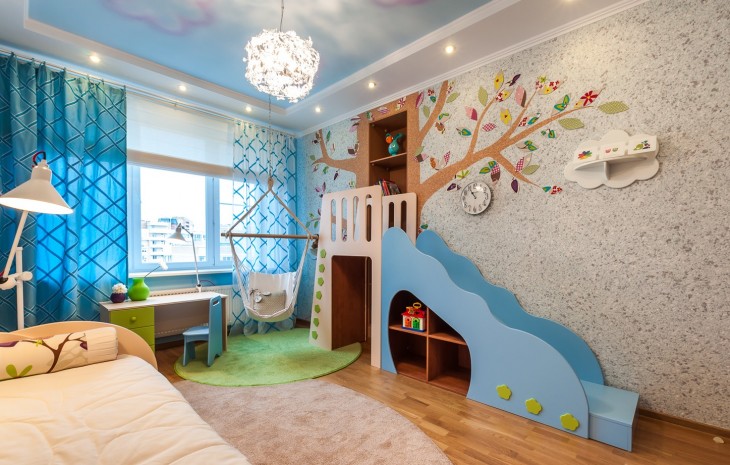
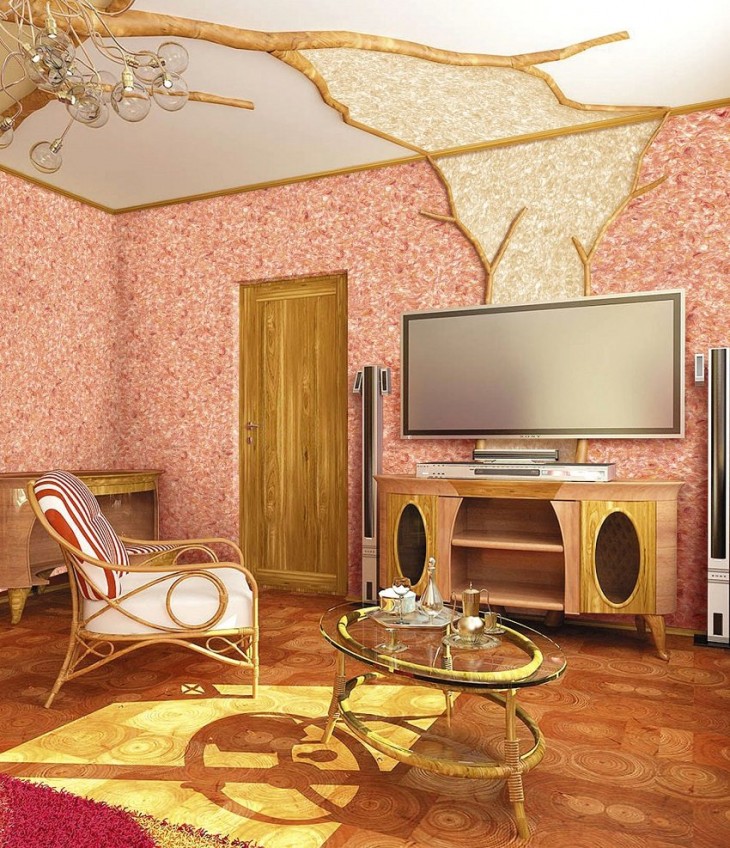
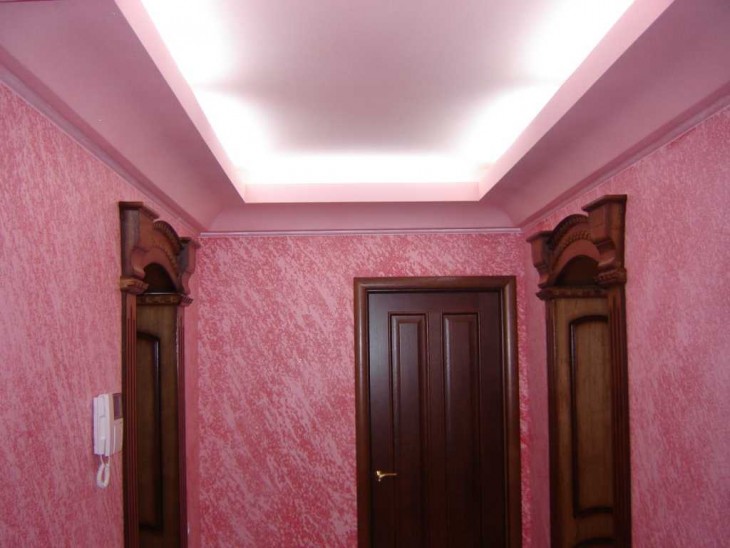
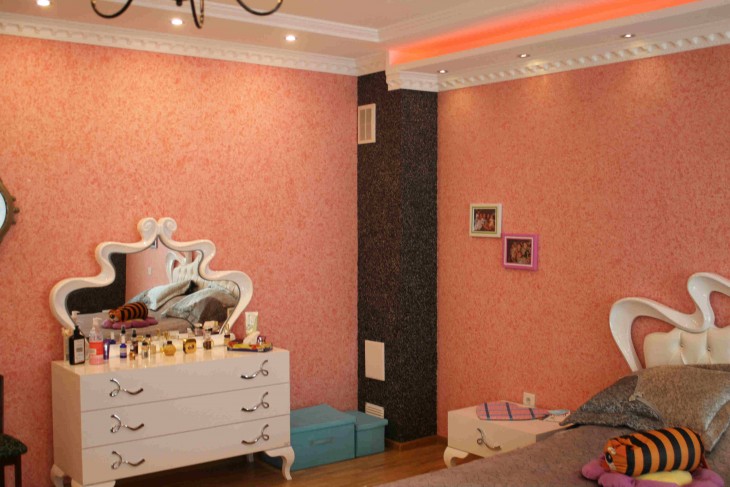
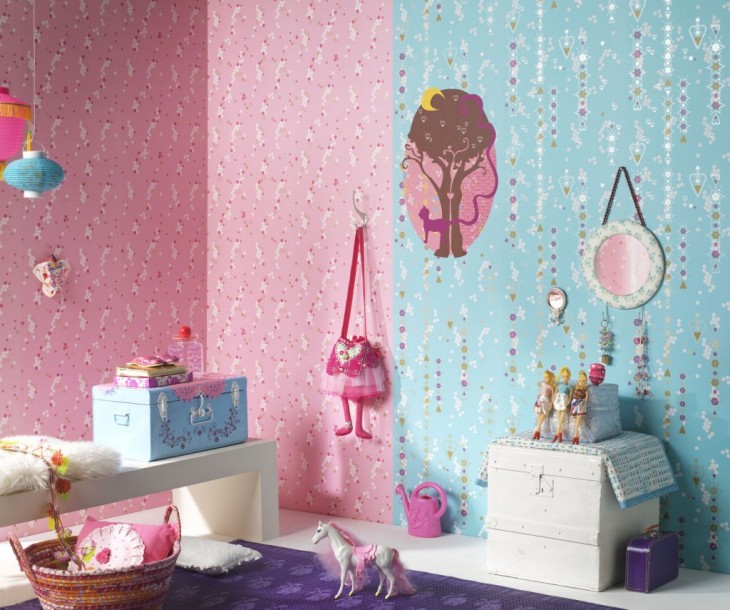
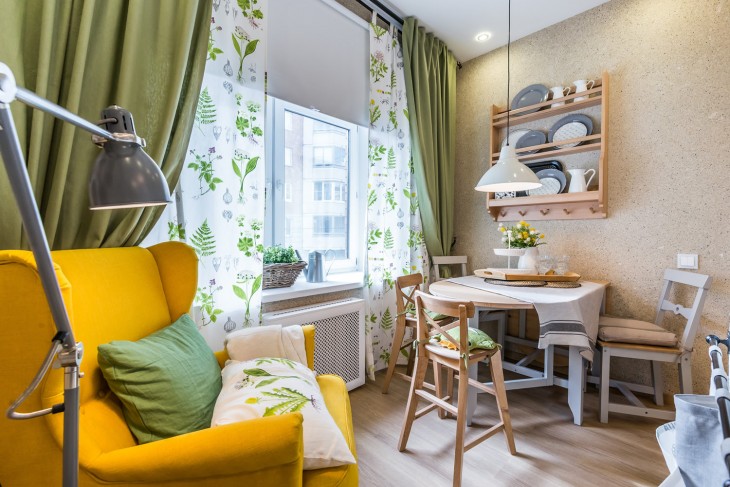
Liquid wallpaper is preferable to use:
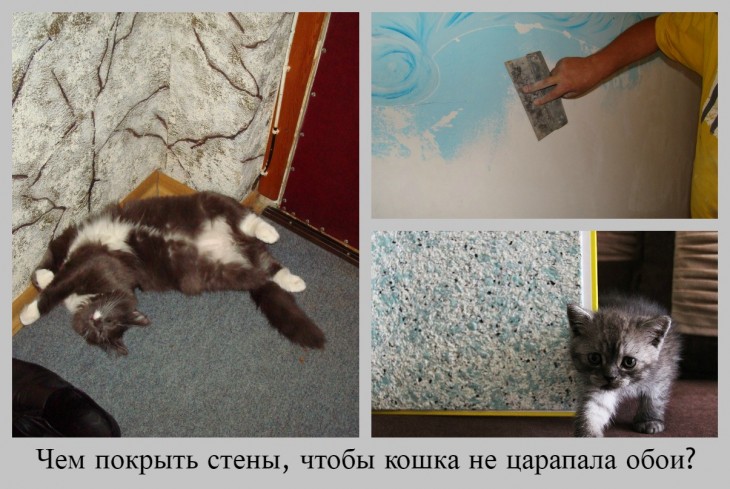
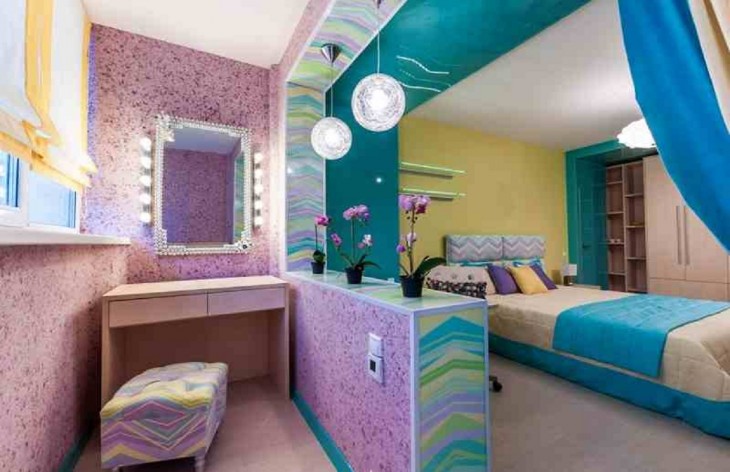
- in a children's room or in a teenager;
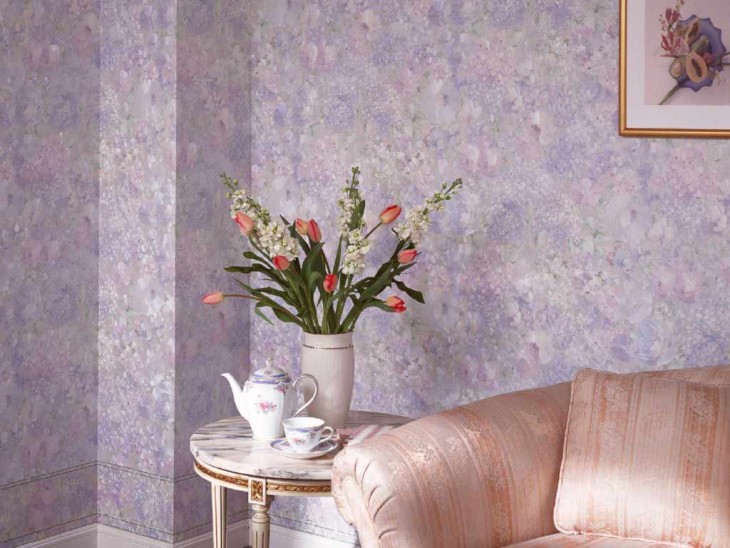
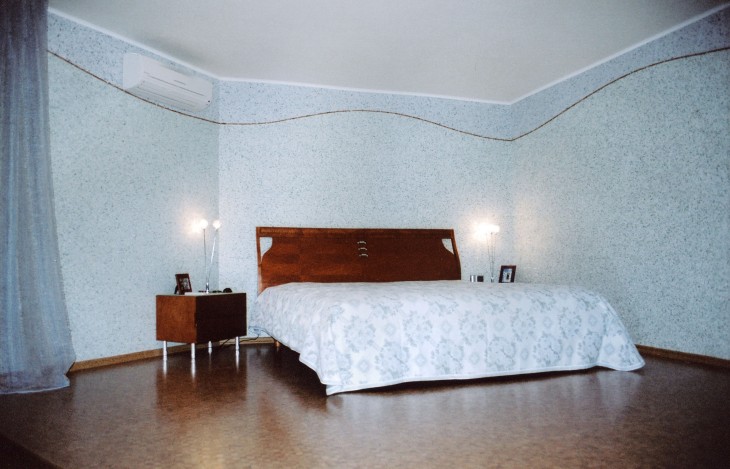
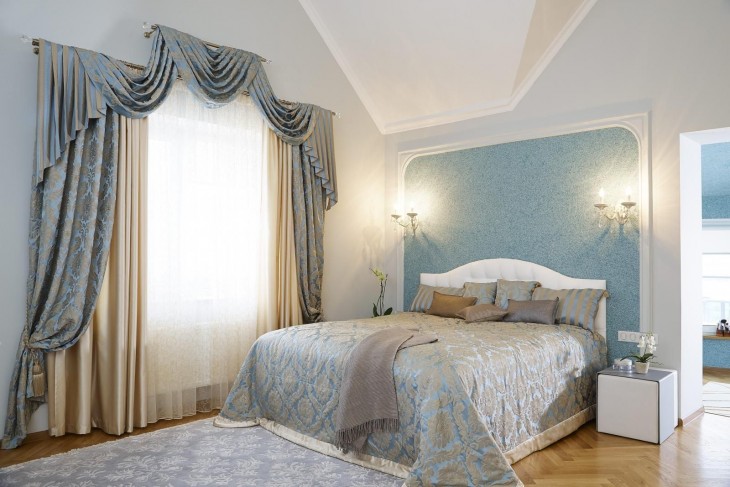
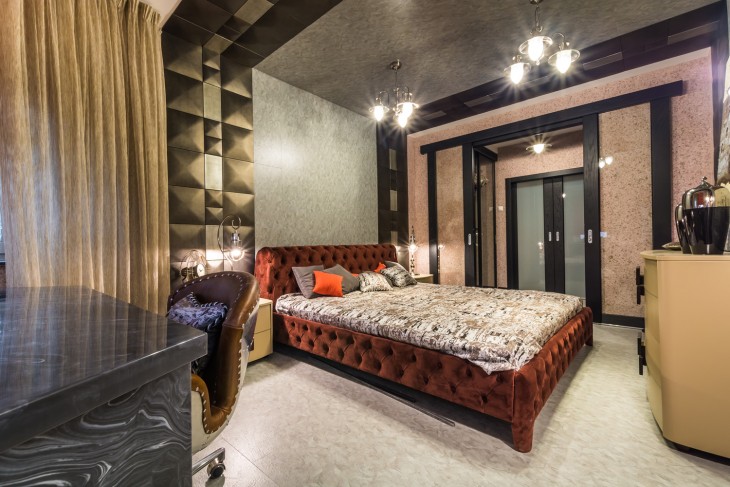
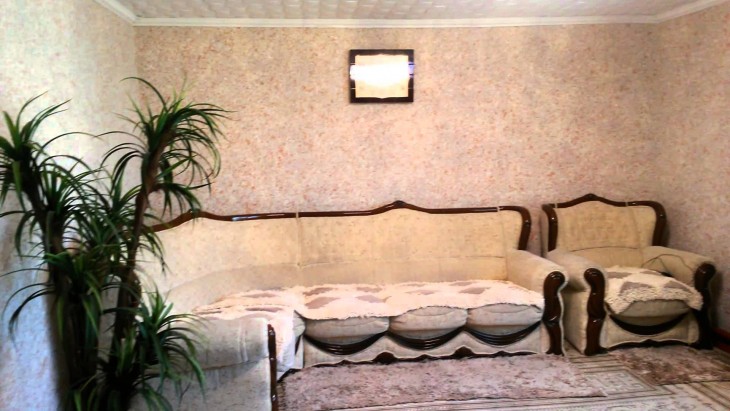
- in the bedroom;
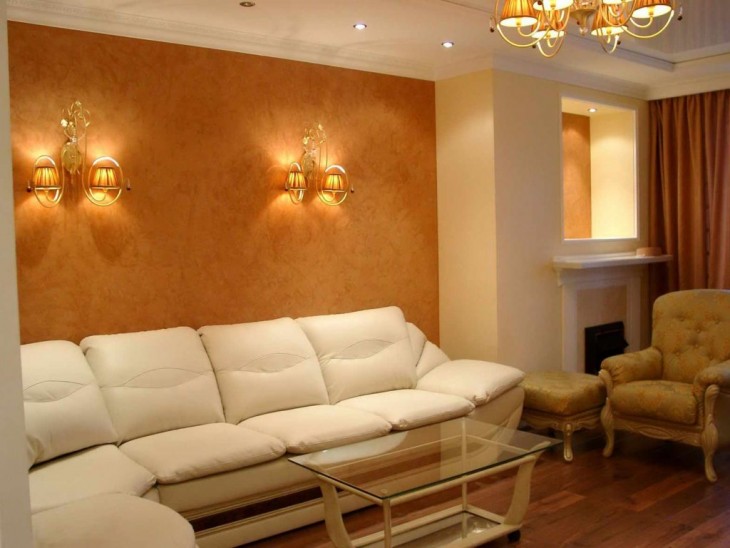
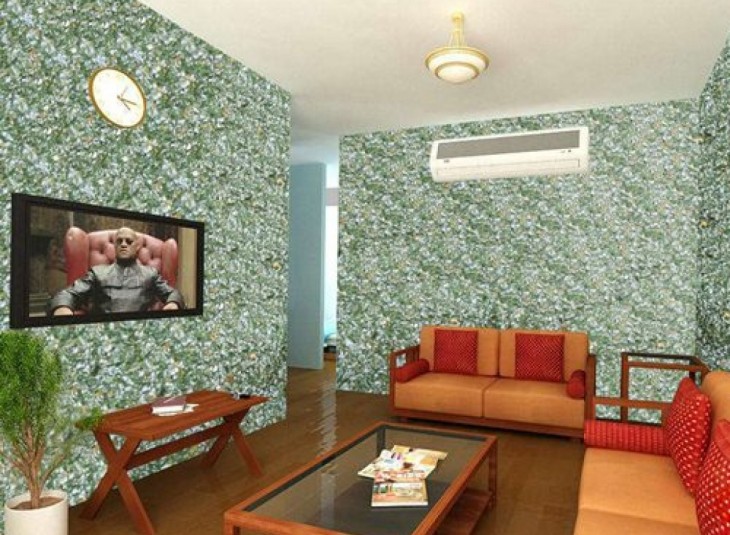
- in the living room;
- in the hall.
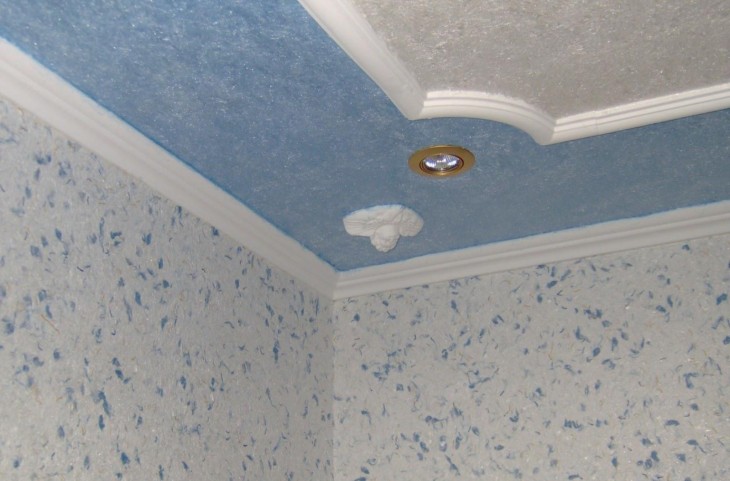
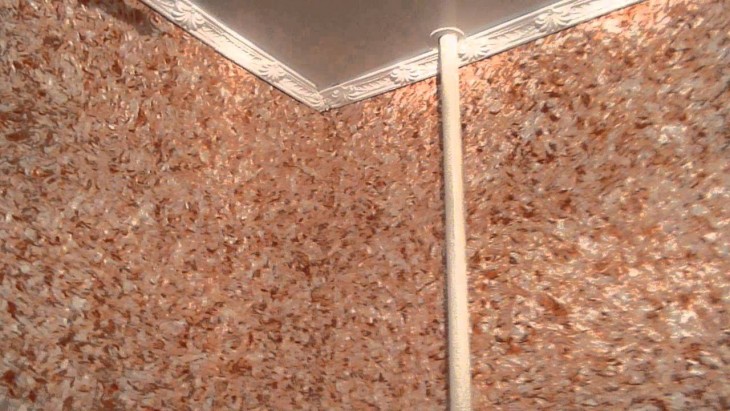
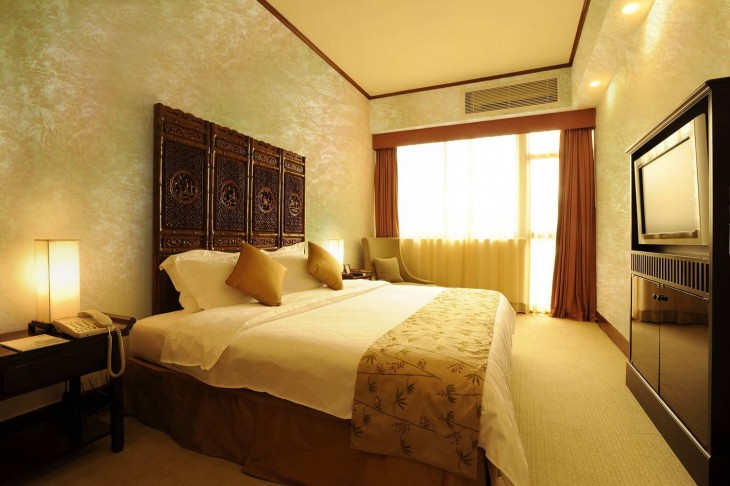
If you look at the finished surface, it seems that for liquid wallpaper you need a perfectly plastered surface. But this is not so, the coating combines the properties of paper or non-woven wallpaper and decorative plaster. For her, this does not need to be especially carefully prepared wall.
How to work with liquid wallpaper?
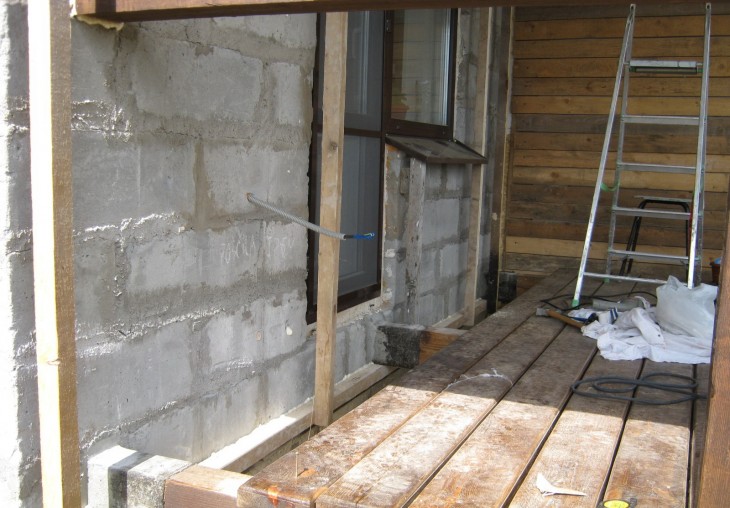
A standard wall without special defects and cracks, as well as post-construction processing with starting mixtures with a reinforcing mesh, is the basis for applying liquid cladding.
This is beneficial for those who make repairs in the apartment on their own, but do not have plasterer skills.
However, you still have to “get your hand in” the distribution of liquid mixtures on the wall. You can try a small area on the balcony or in the toilet, and then work with the decoration of the bedroom or the nursery.

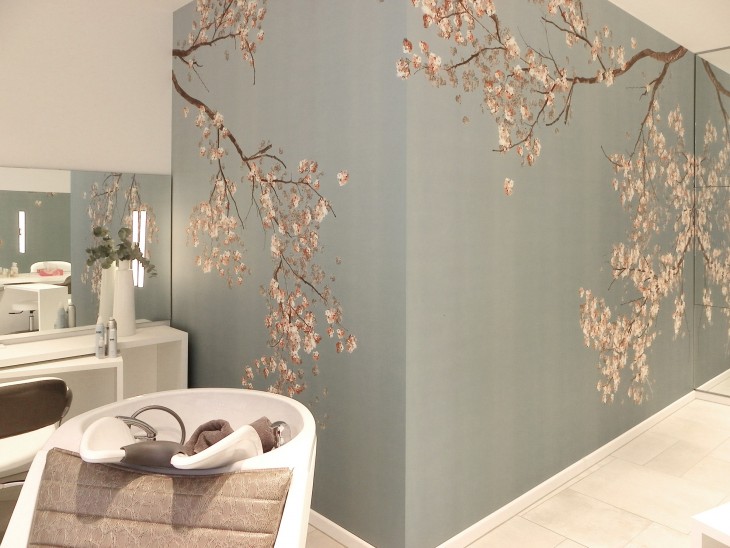
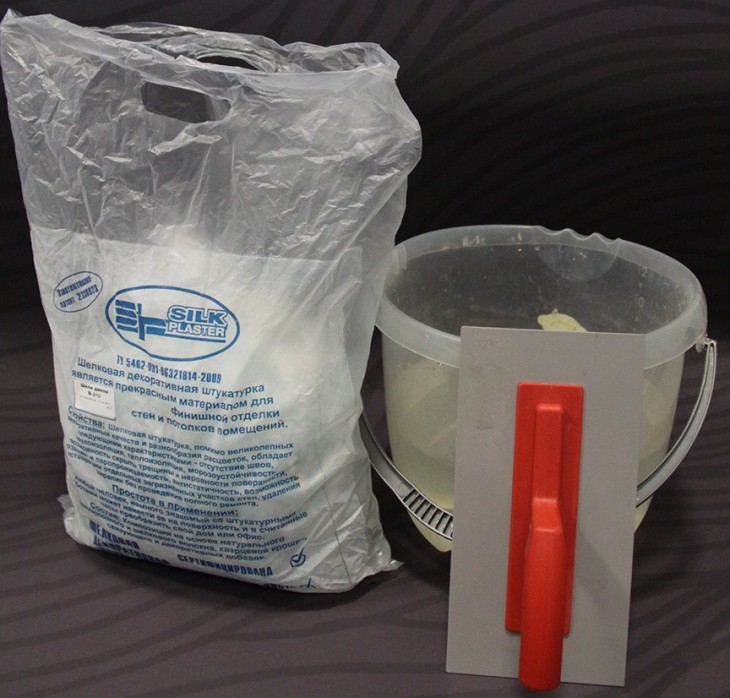
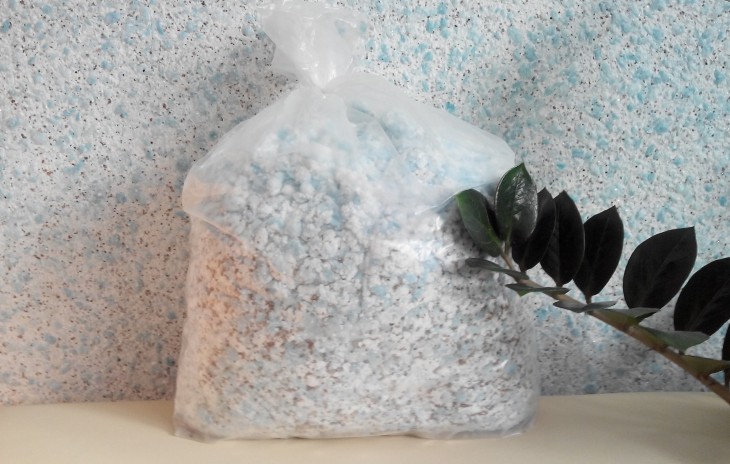
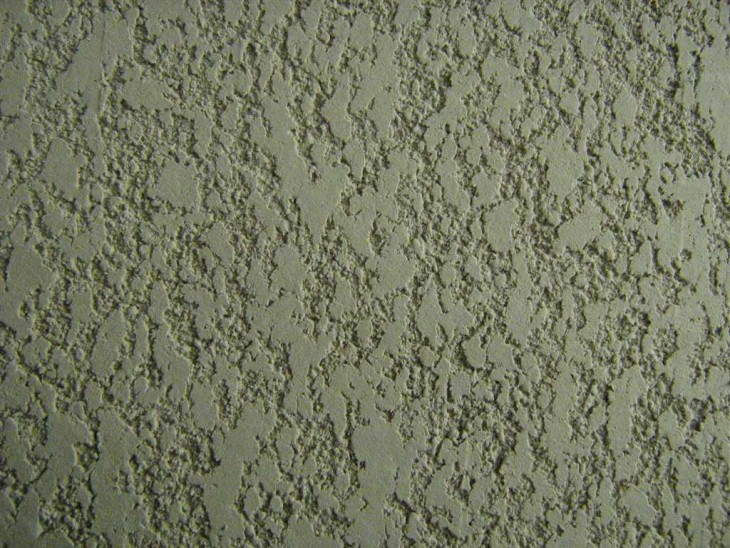
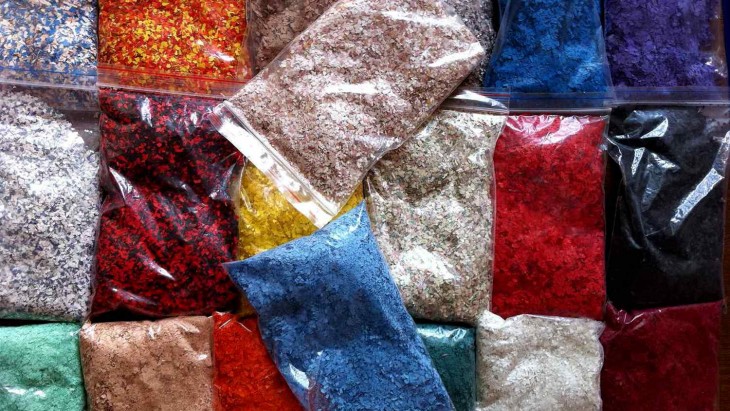
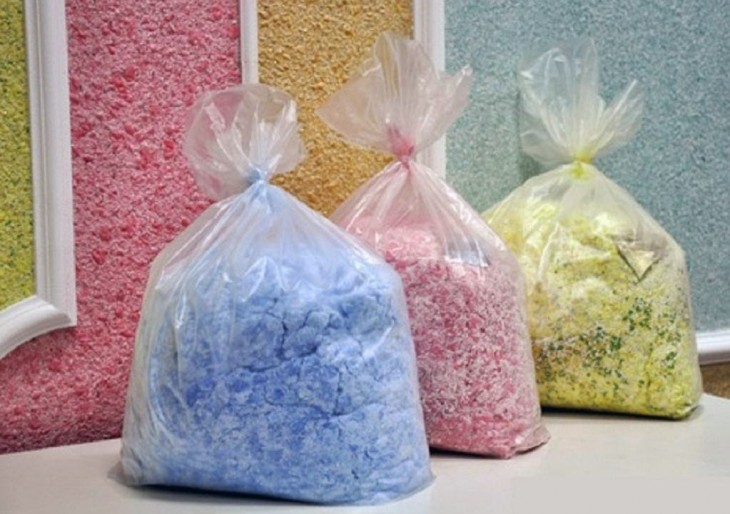
No matter how paradoxical it sounds, “liquid” wallpapers are a dry mix packaged in plastic bags. They can be colored or white, with pronounced inclusions or relatively homogeneous.
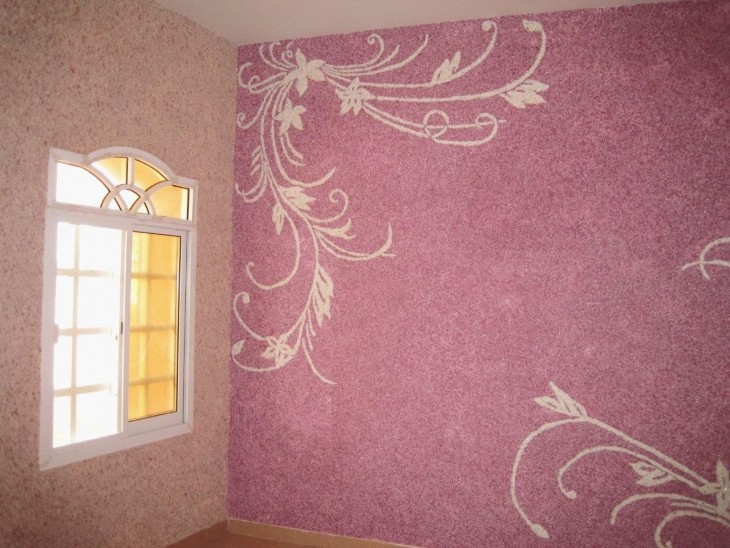
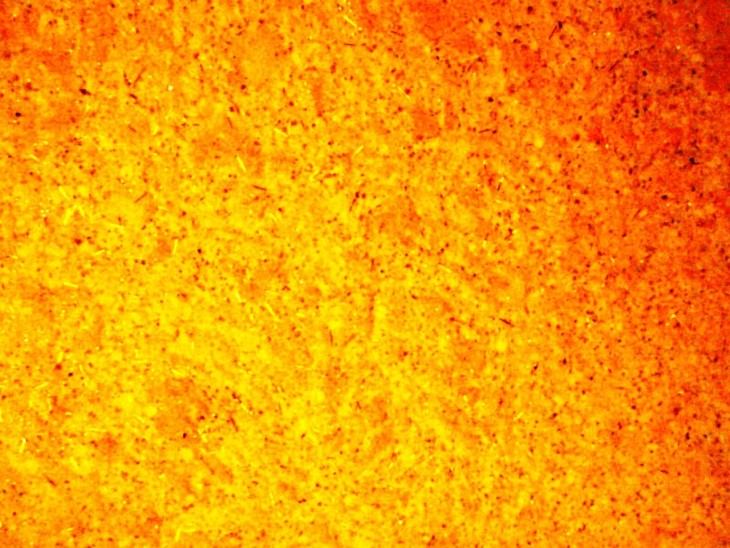
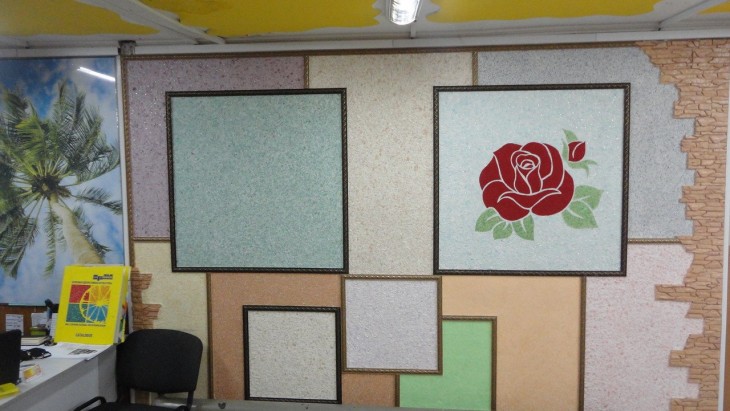
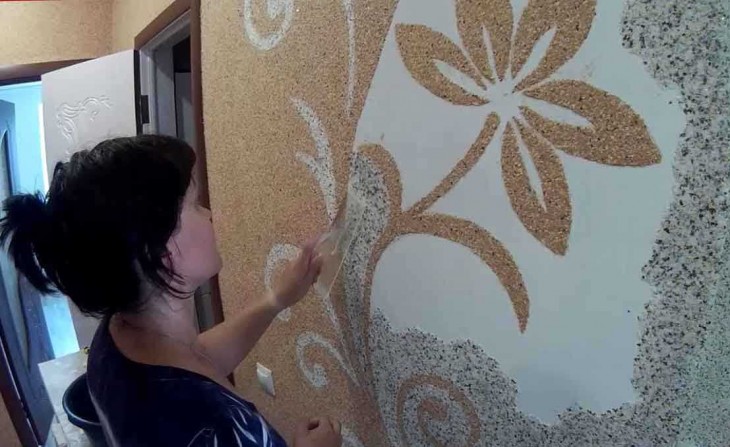
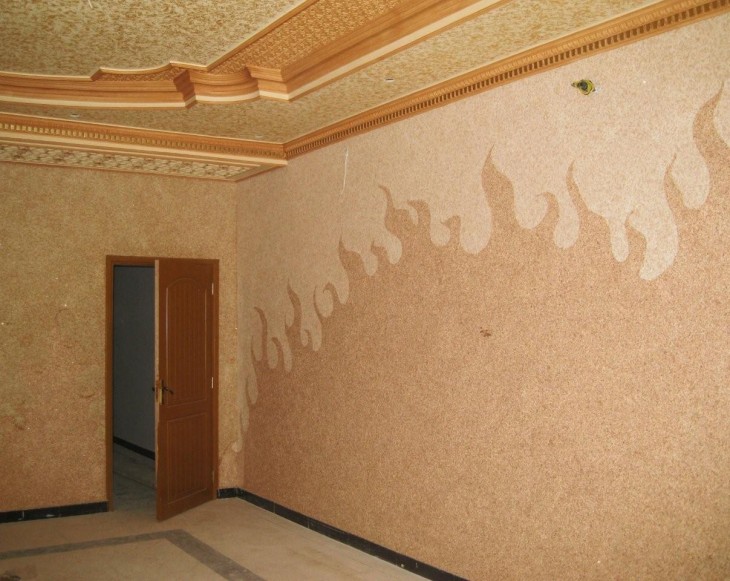
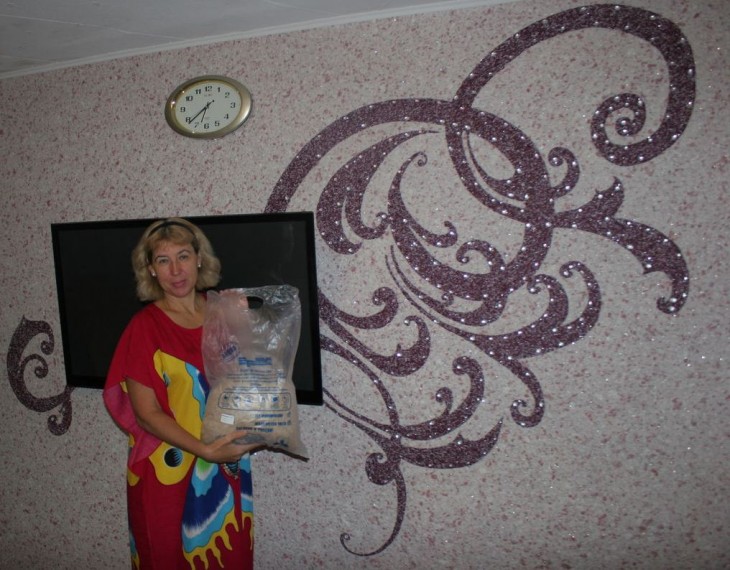
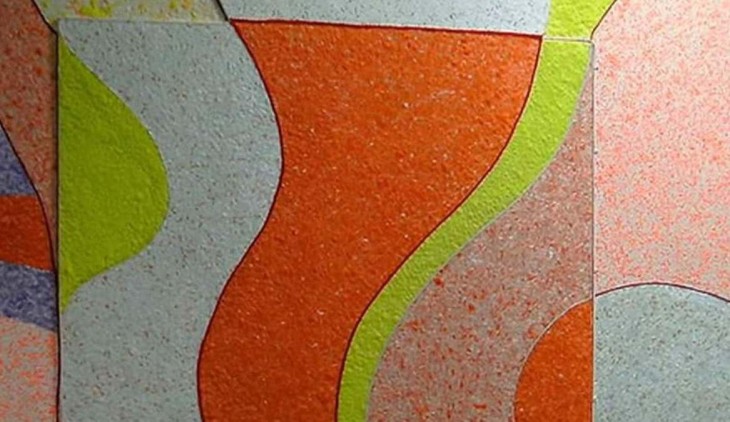
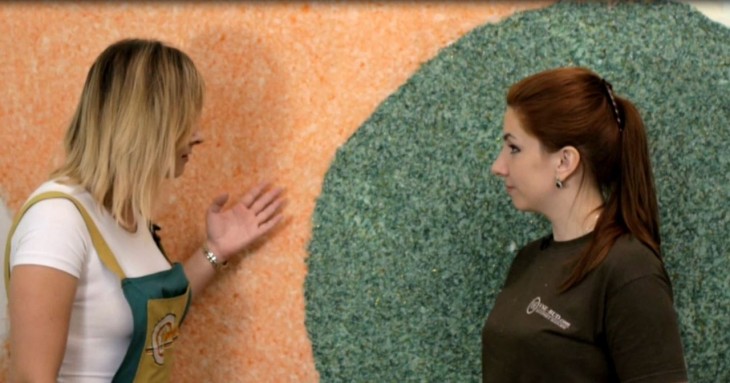
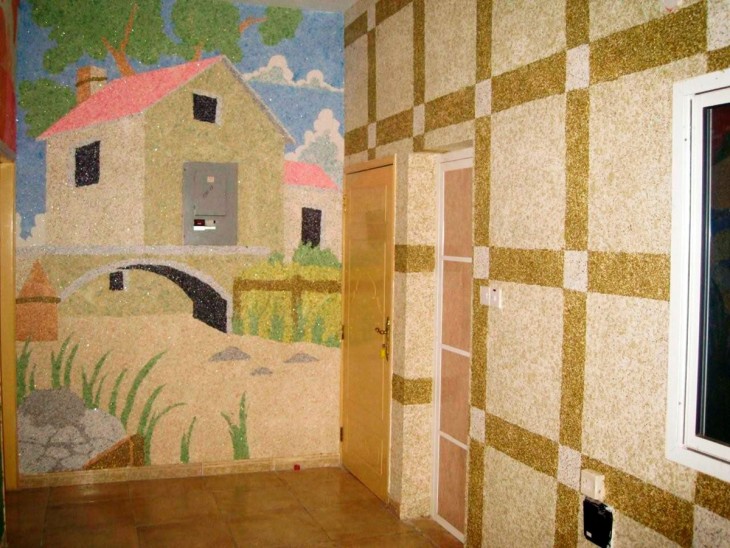
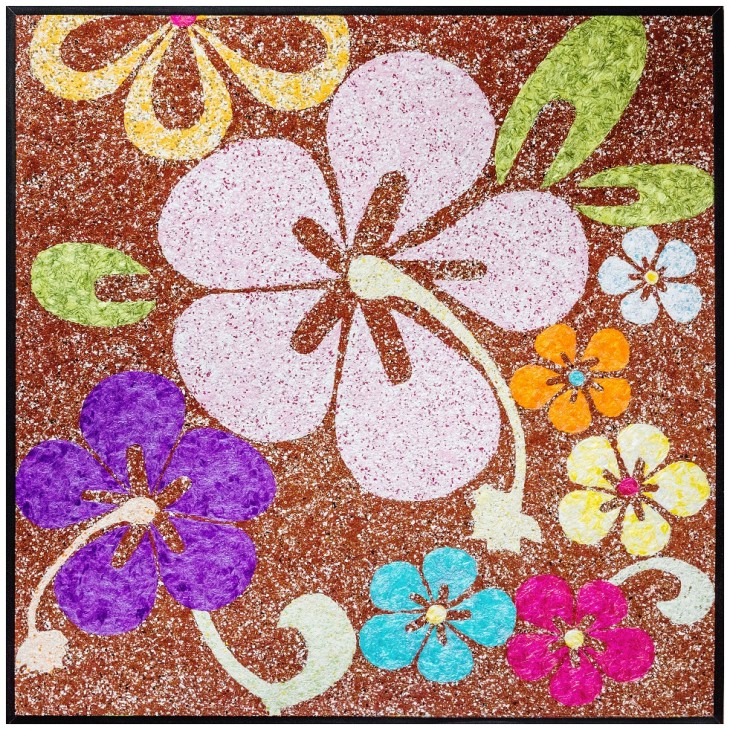
Dyes are added to this base when diluted with water before application to the wall. This is convenient when you want to get a gradual color transition or, conversely, for sharp contrasts to get a decorative panel.
Note!
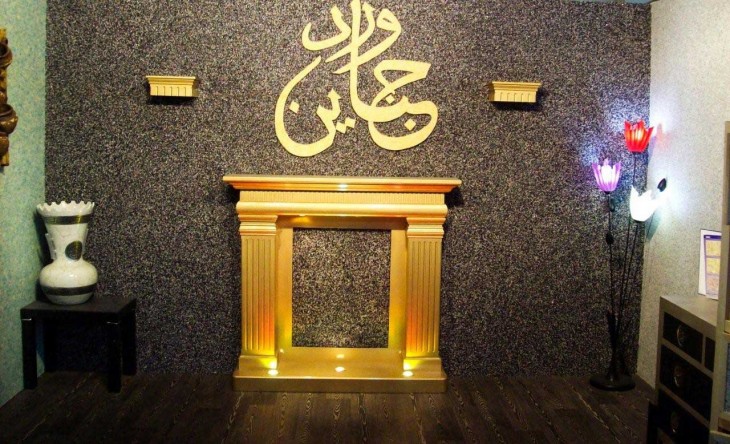
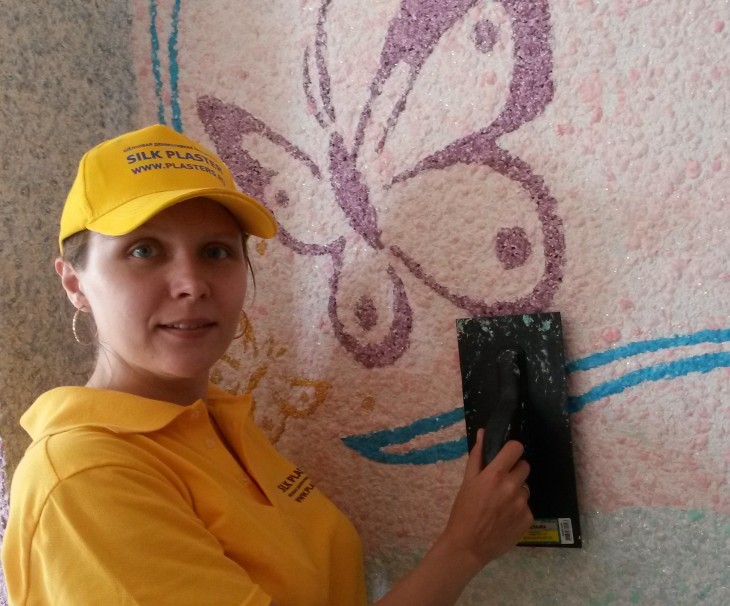
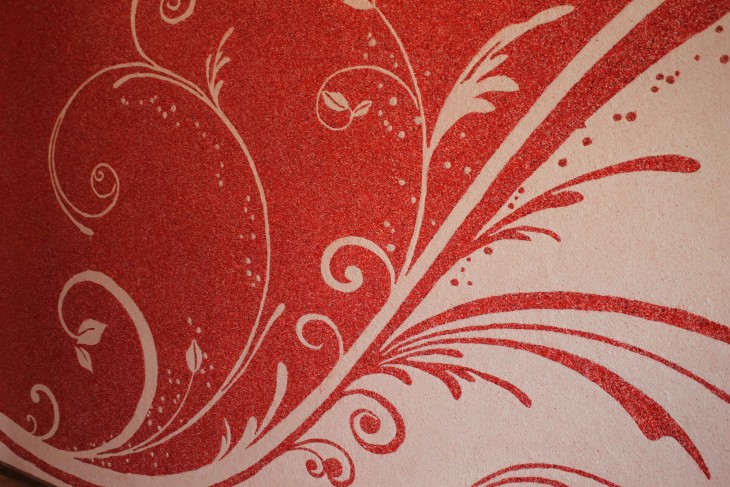
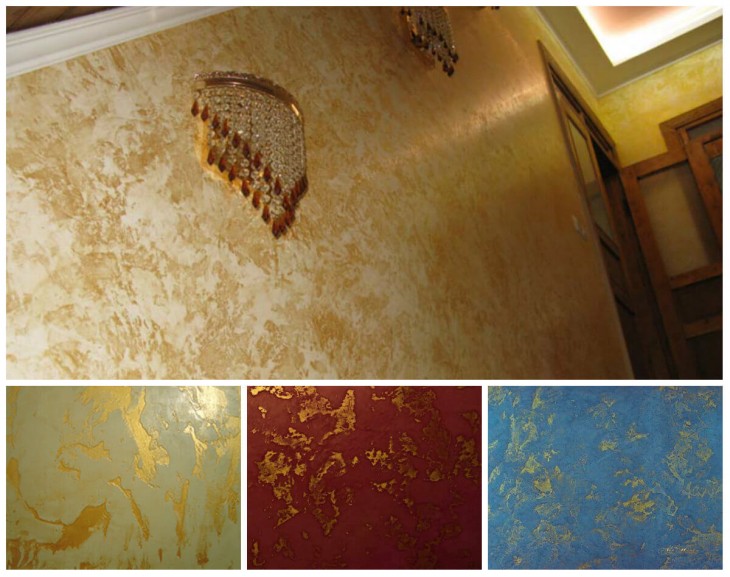
Paint can be added to the mortar or work on top of the treated wall or ceiling. To give some elements great luxury and beauty, you can add flickering sparkles to the decor or spray-spray a spray pattern.
But it’s worth trying on the “training” site how it will look ready-made.
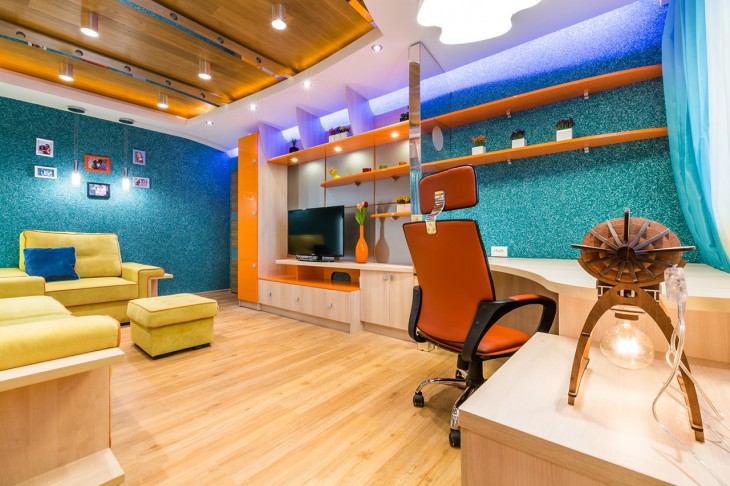
So, we summarize the properties of the surface covered with "liquid" wallpaper and take into account the tips of a specialist:
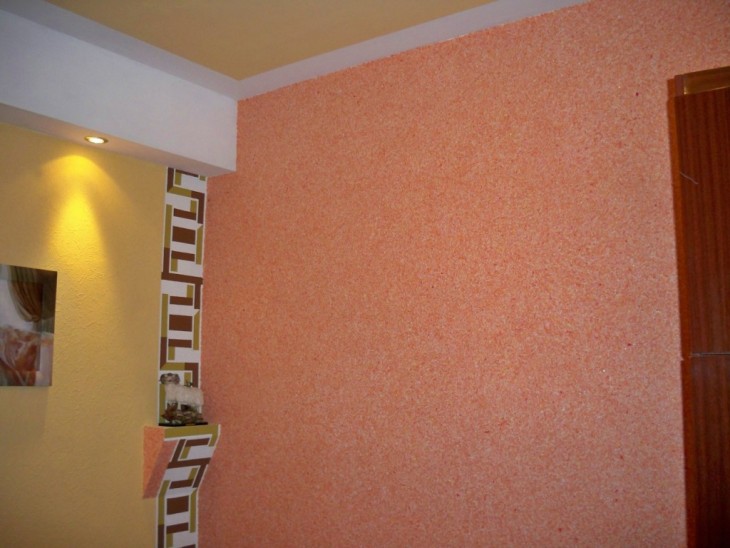
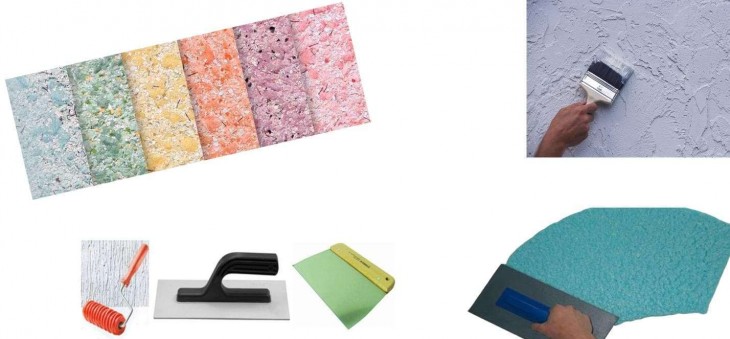
- the ability to vary the texture and color at the stage of dilution of the dry mixture and after drying, but keep the original color for a long time;
- It does not require careful alignment of walls and ceilings; it masks well small irregularities and defects;
- the basis of environmentally friendly materials, additionally treated with a "non-combustible" composition;
- the thickness of the layer is chosen at will, can be applied in 2-3 layers, including color blocks;
- the porous material is pleasant to the touch, has excellent heat and sound insulation properties;
- independently optimizes the temperature and humidity in the living room, creating a comfortable living environment;
- the mixture does not absorb odors and does not give them away when applied, respectively, when repairing one of the rooms, the family does not feel discomfort;
- liquid wallpapers have antistatic properties, do not accumulate dust and do not deter static electricity and radiation from working devices;
- the surface has no seams and does not require adjustment, like ordinary wallpaper.


Tip: In case of accidental contamination of the wall section, it is not necessary to repair the room. It is enough to gently soak the stained fragment, remove it with a spatula and apply the diluted solution again.
How to make a liquid base
There is no difficulty in preparing the liquid mixture, since any packaging of the standard edition has all the necessary components. All plasticizers, fibers, inclusions and dry glue are in such a proportion that gives the best consistency.
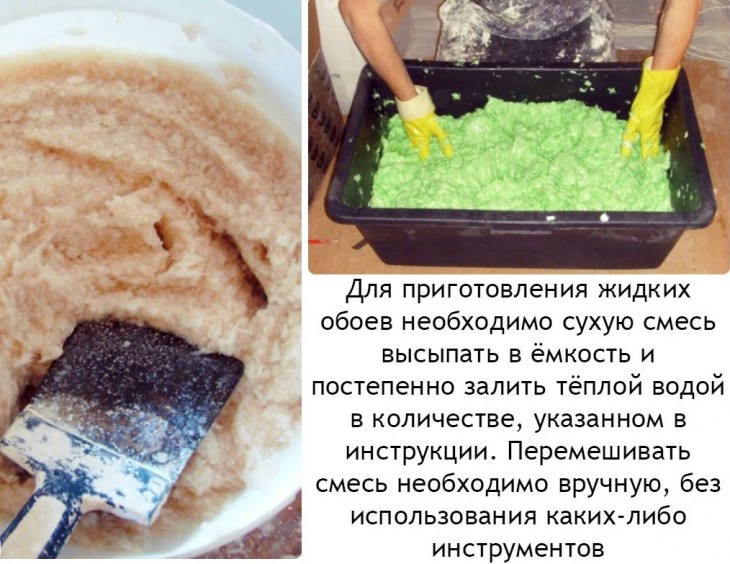
It is important not to lose the instructions, which indicate the ratio of water to dry matter. But even if you are a little mistaken in cooking, you can fix everything by varying the consistency to the density of sour cream. A standard package usually goes half a bucket of water.
Note!

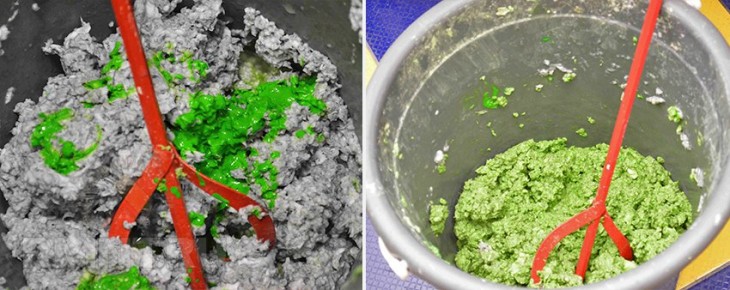
Caution: The exact proportion is important when pigment is added during kneading. So that all the walls have the same color, it is important to buy the mixture in bags from one batch, diluting everything the same way - with 1 ampoule of tinting to 5 liters of water.
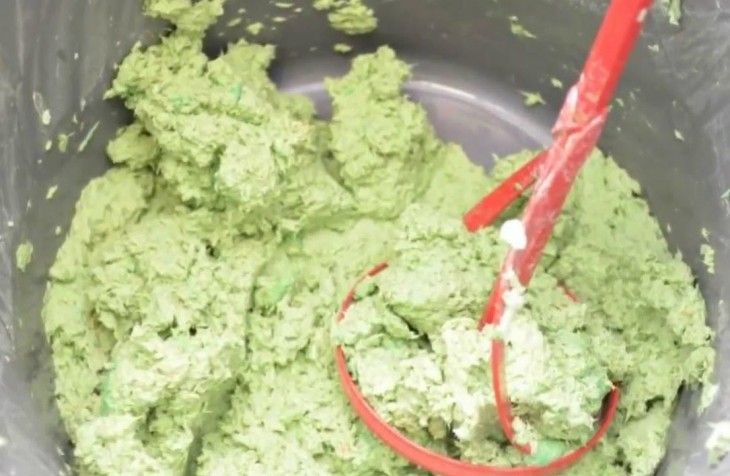
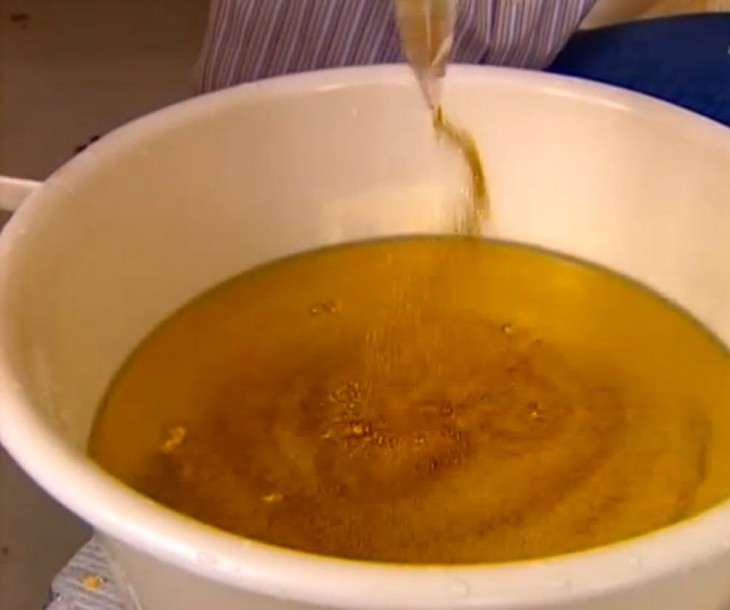
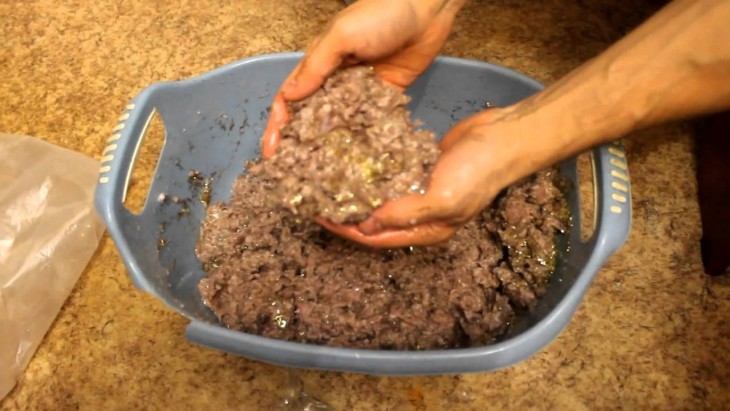
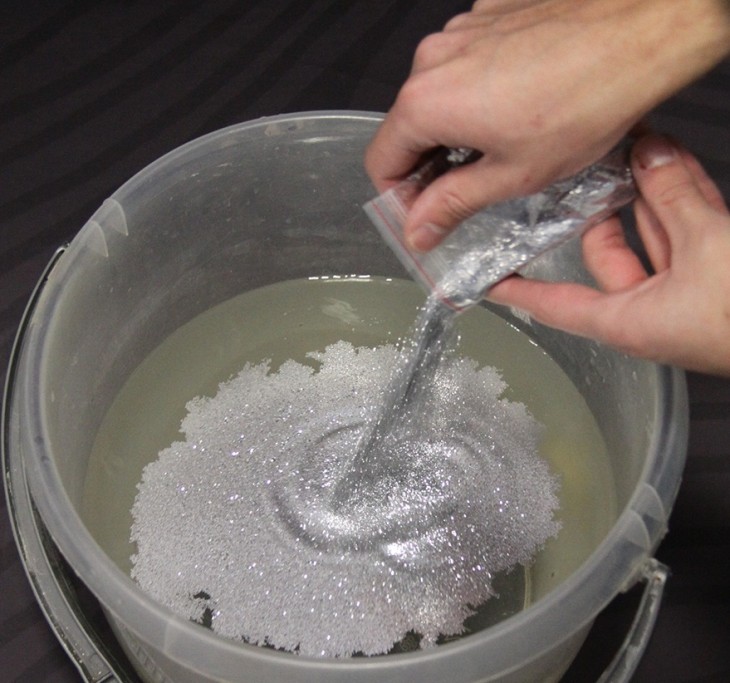
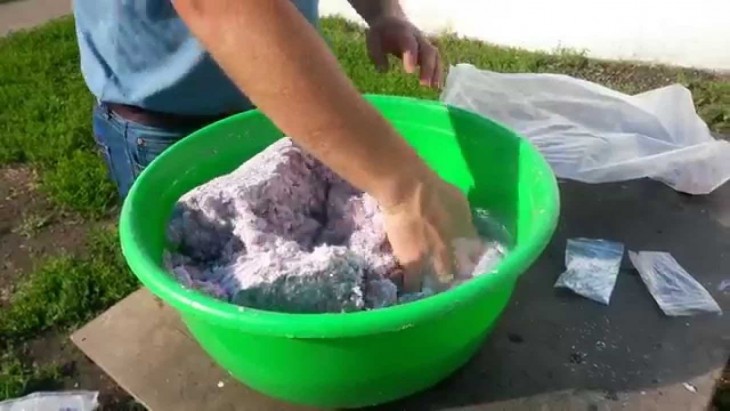
Water should be warm, at a comfortable temperature, it is important not to “hard-boil” the mixture, otherwise it will lose some of its unique properties. It is poured into a wide container so that the dry mixture swells before application.
It should not have a lump and sticky inclusions that should be distributed evenly, even if the decor was in the bottom at the bottom.

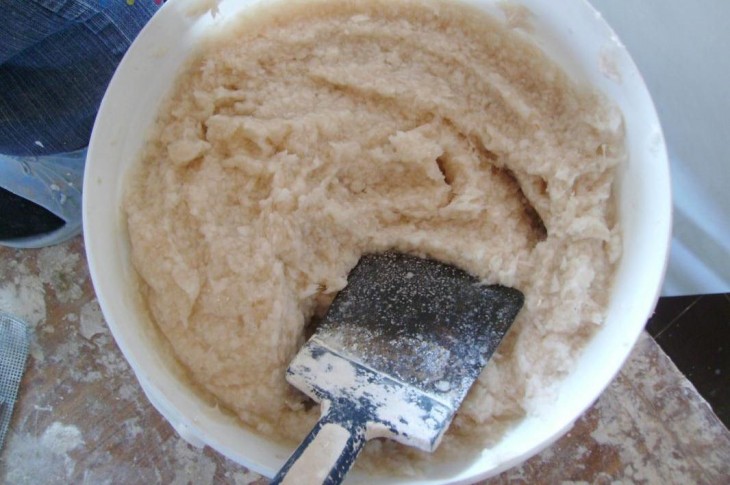
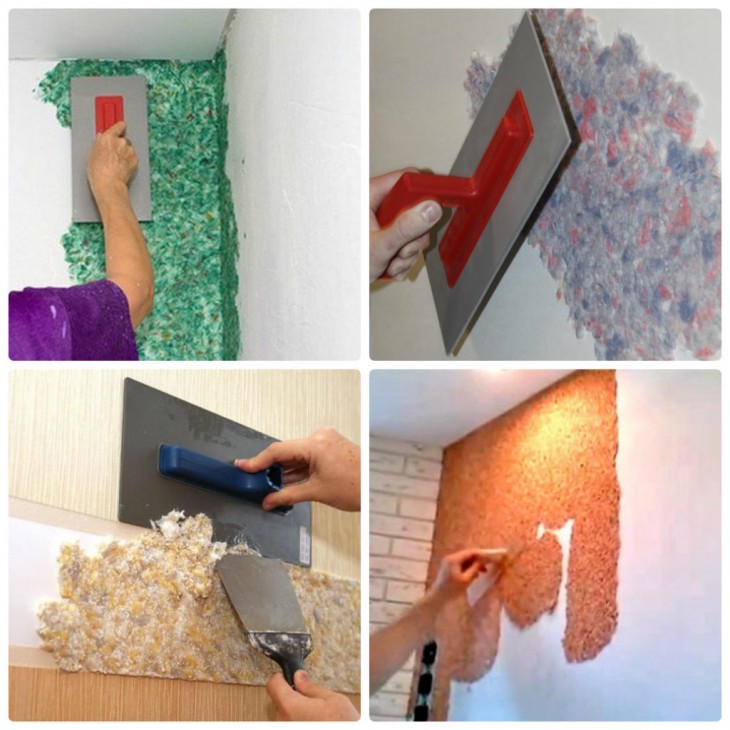
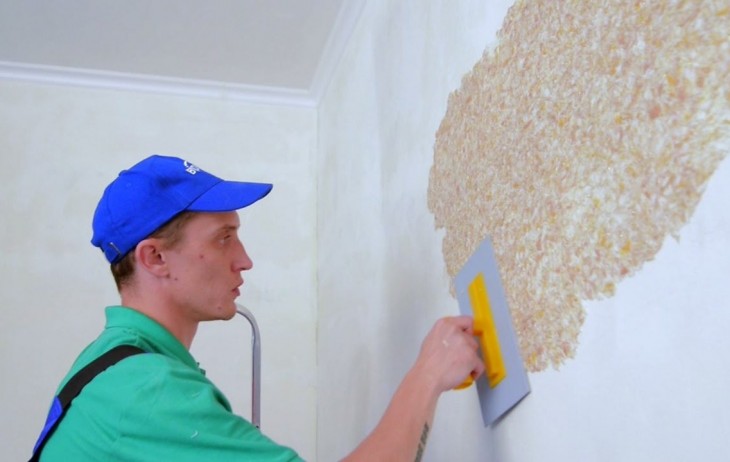
Surface application
The mixture is poured all at once, poured with warm water and stirred occasionally. The consistency can be varied for the instrument that is intended to work.
For spraying from a spray gun or a building spray gun, it must be liquid, uniform, without large inclusions.
Note!
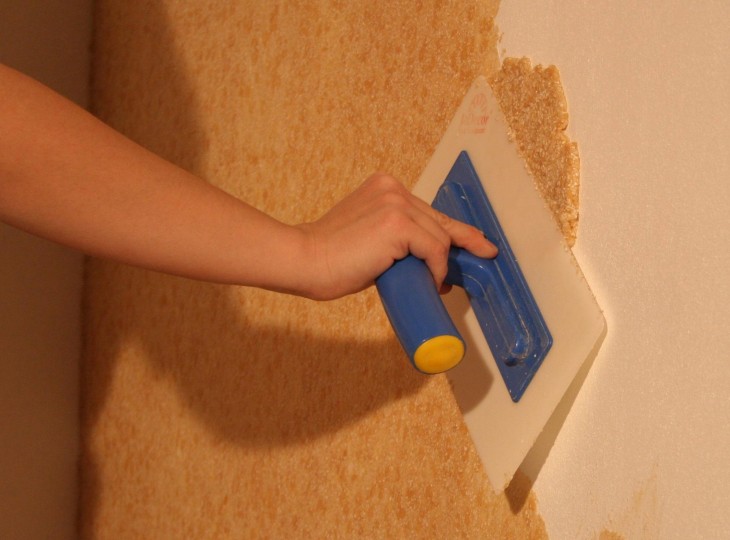
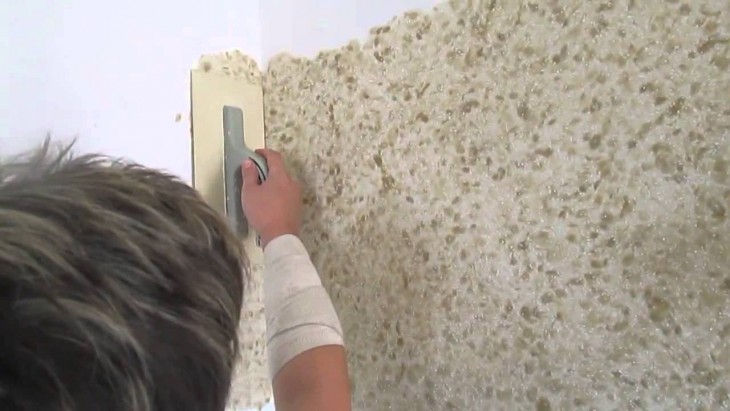
For applying and distributing manually with a leveling tool, it is better to make the foundation as thick as plaster, but plastic.
The finished composition is covered with a film and left to swell for 10-12 hours, so it is better to prepare liquid wallpaper in the evening, and work in the morning.
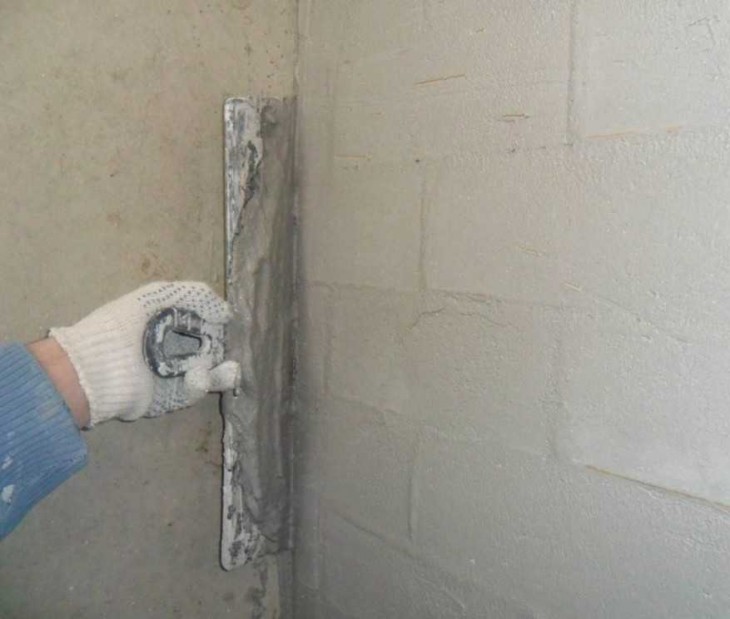
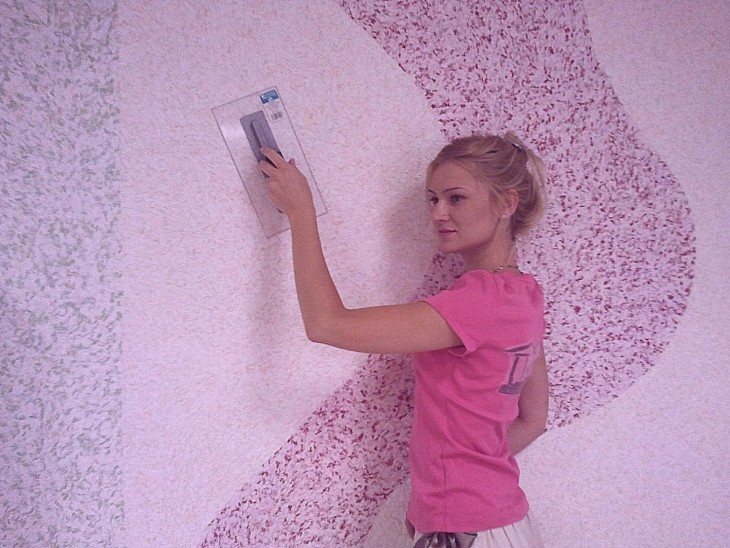
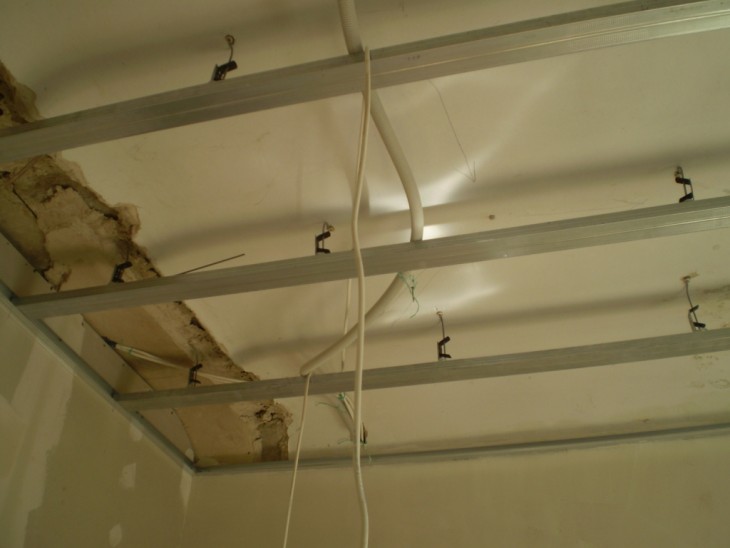
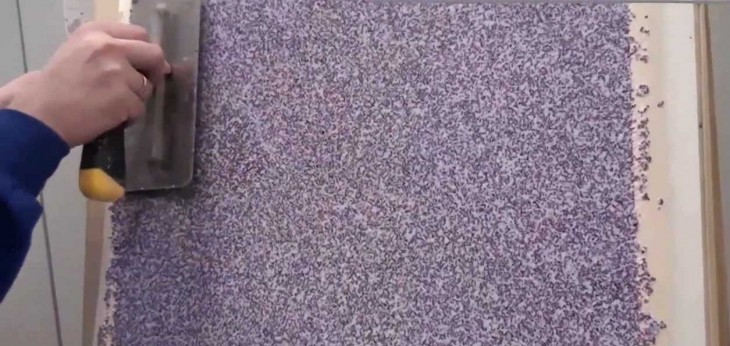
Walls, before applying liquid wallpaper, have to prepare. They should be clean, even, slightly rough or primed.
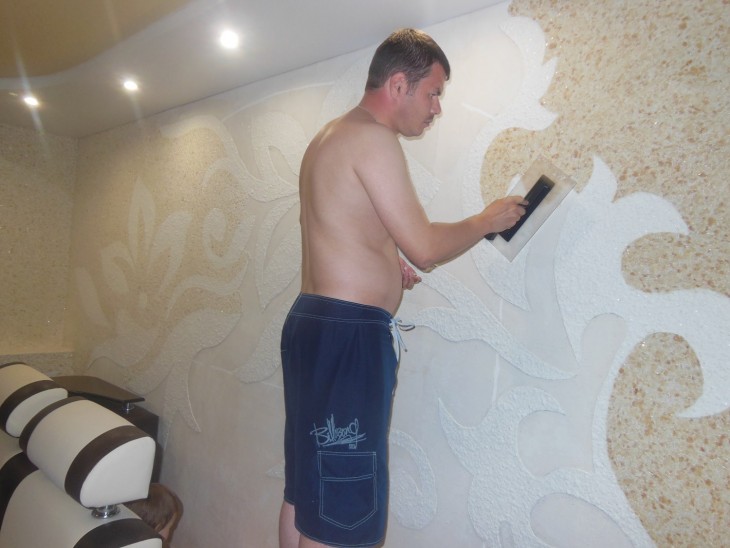
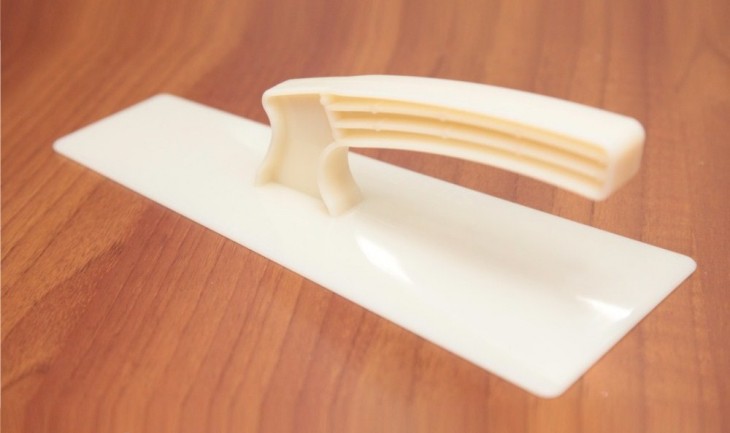
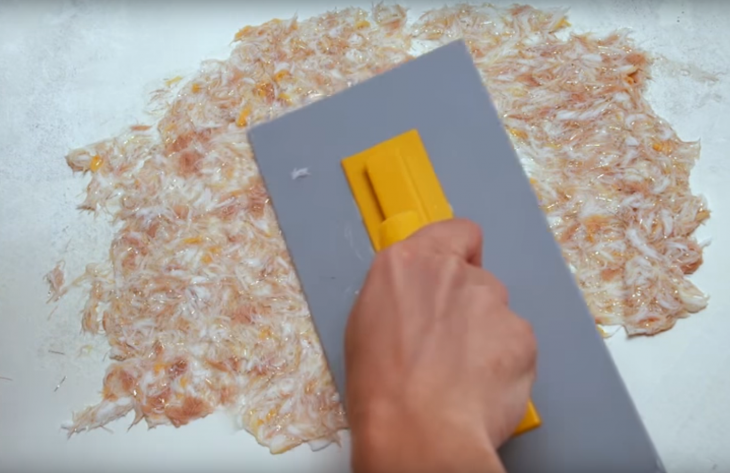
Peeling off paint and plaster fragments are recommended to be removed with a spatula. They work with a spatula and trowel, evenly distributing the thick mass.
Before starting work, see a master class on liquid wallpaper.
DIY liquid wallpaper