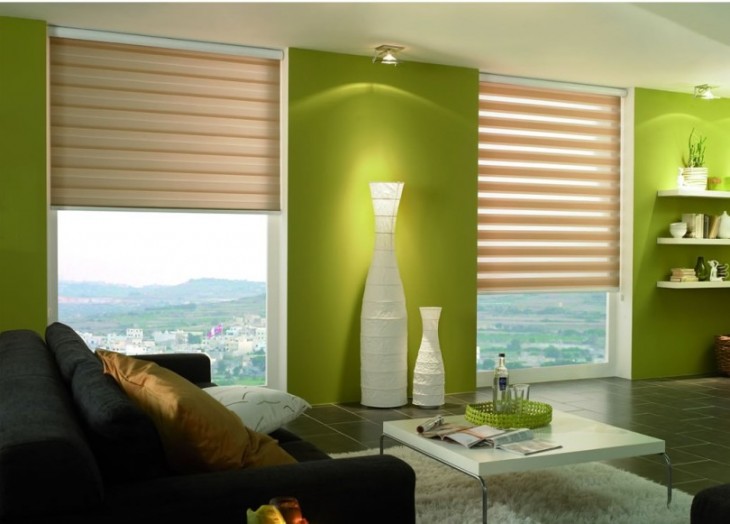
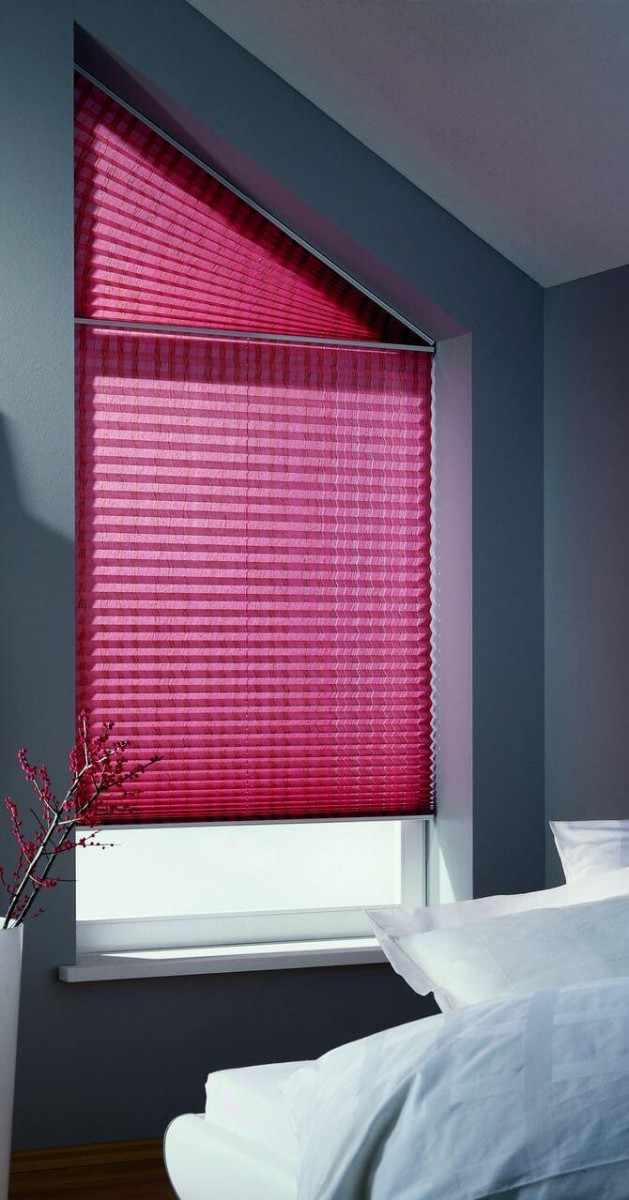
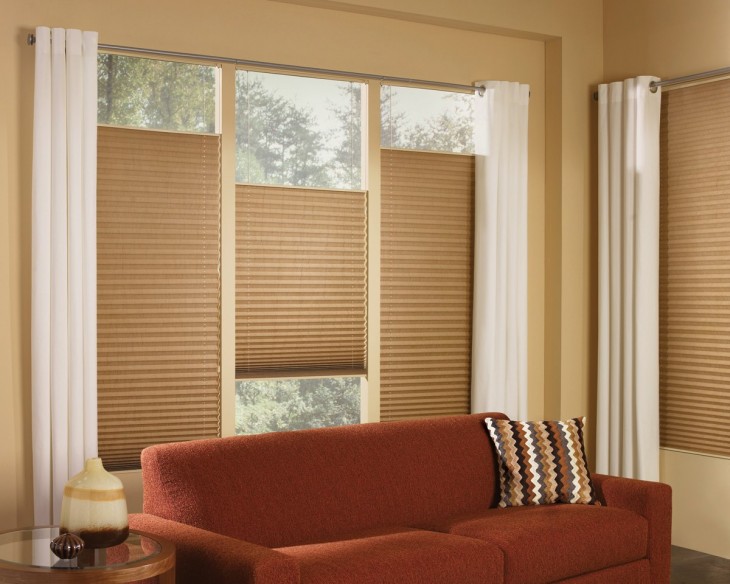
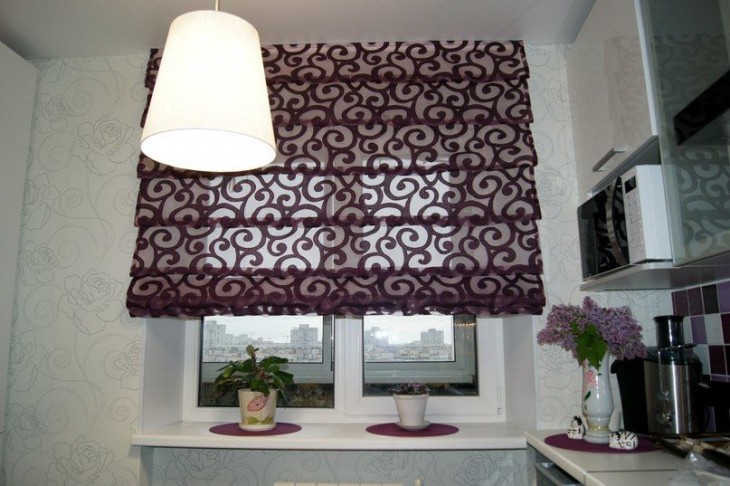
Blinds are a light-protective accessory, which is very popular due to its practicality and functionality.
On sale you can find a large assortment of these beautiful and stylish products that differ from each other in their design and value. And having shown a little imagination, you can completely save on their acquisition and make blinds with your own hands.
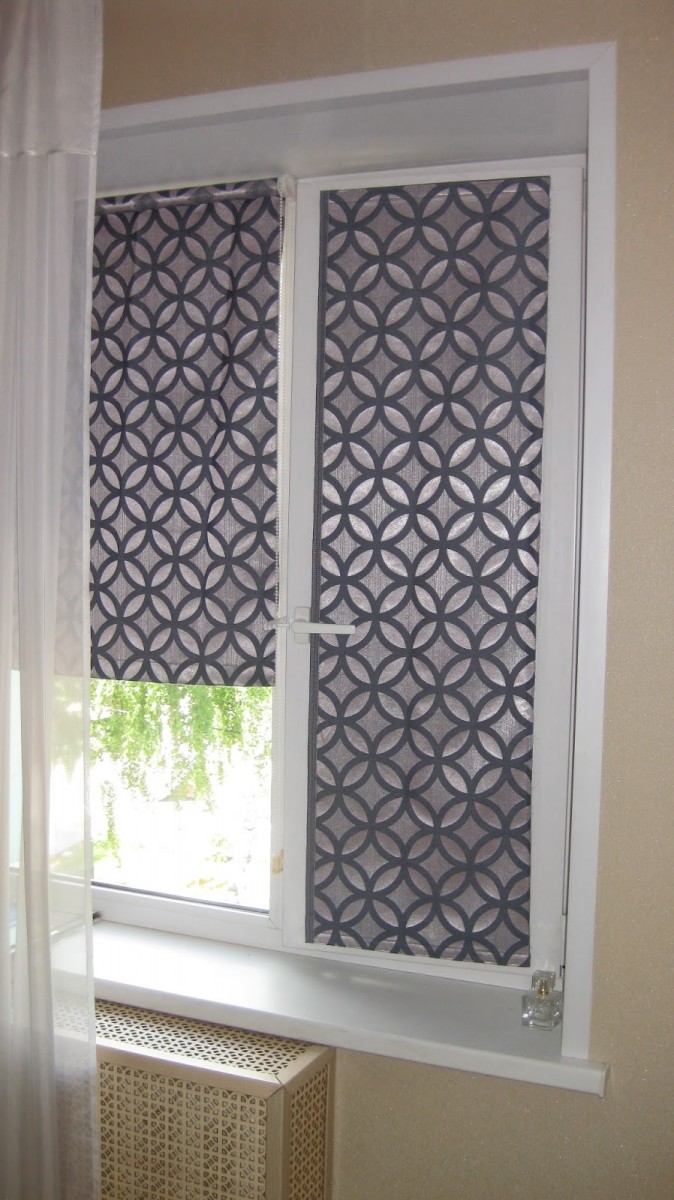
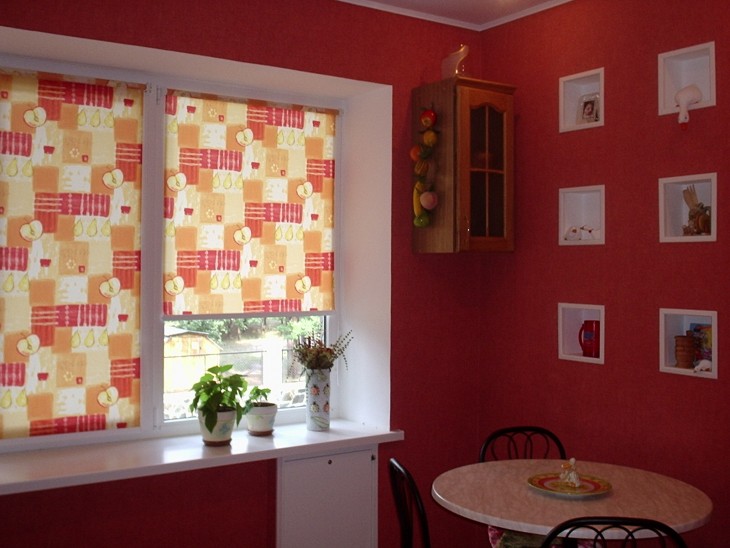
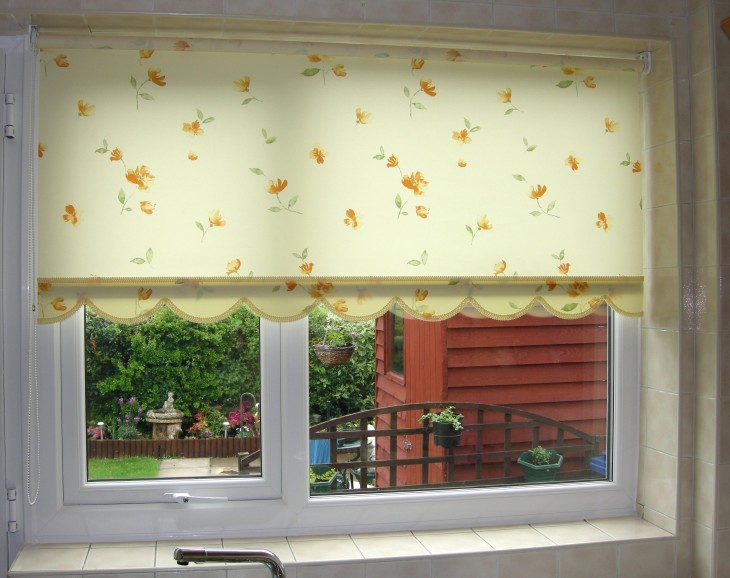
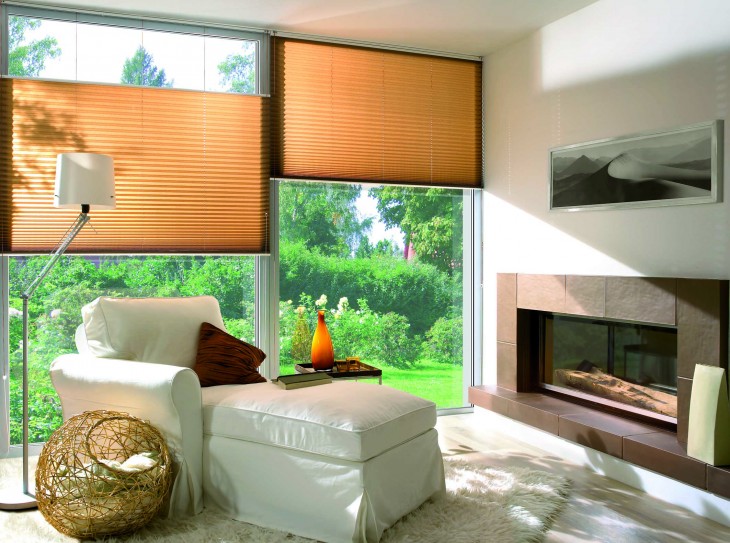
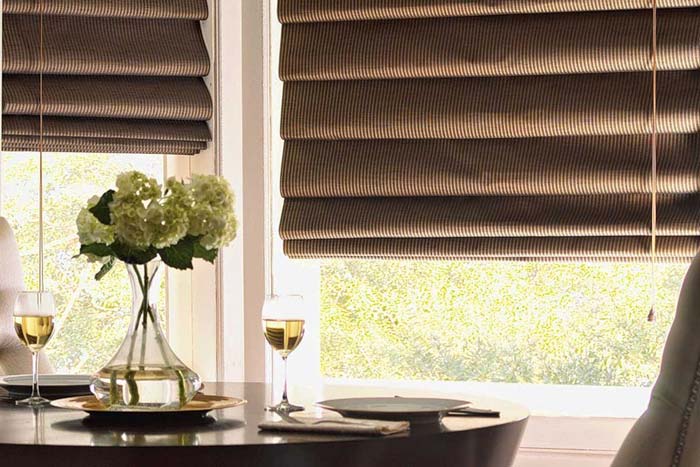
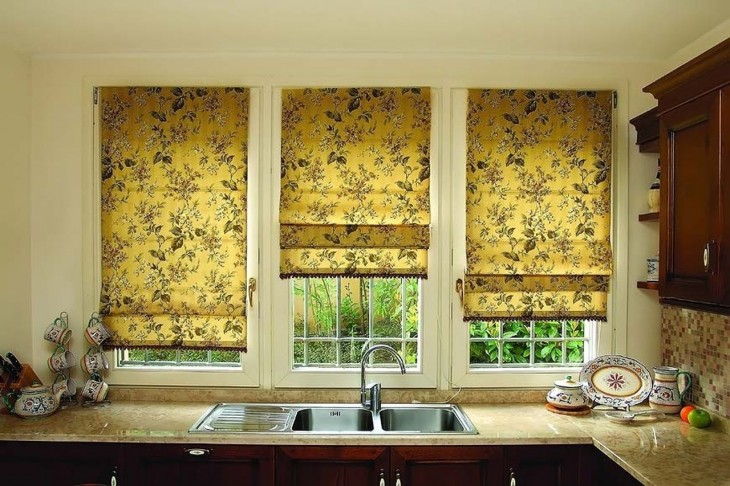
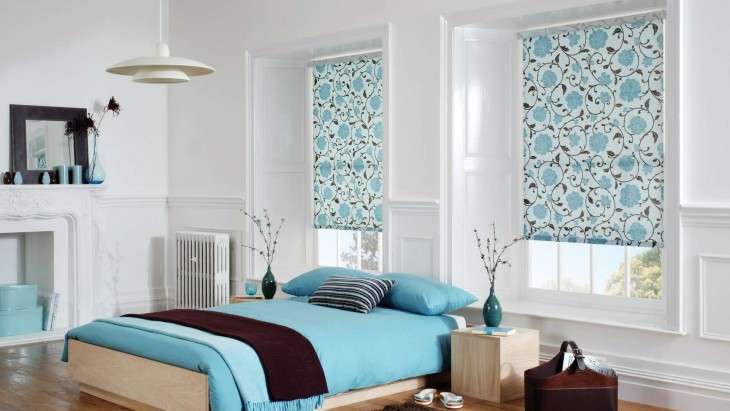
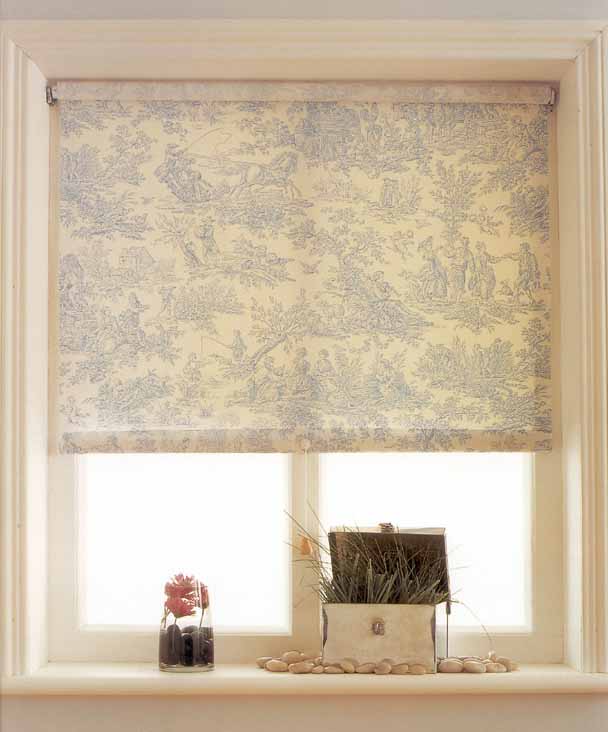
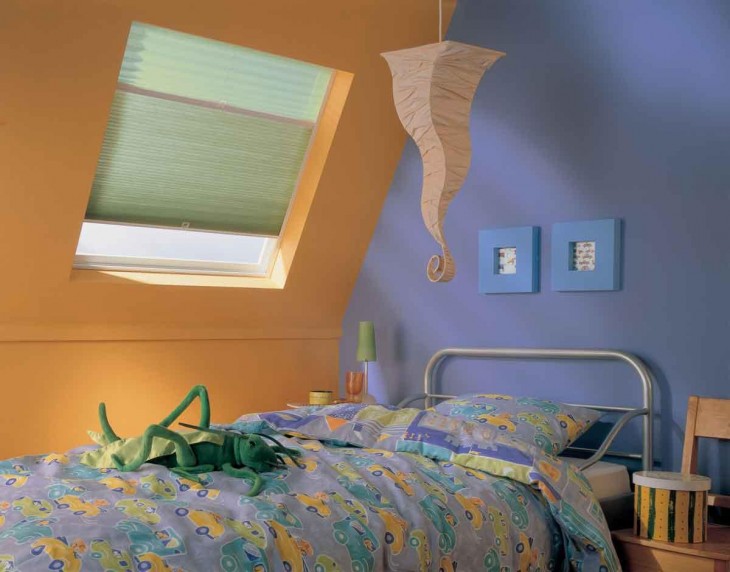
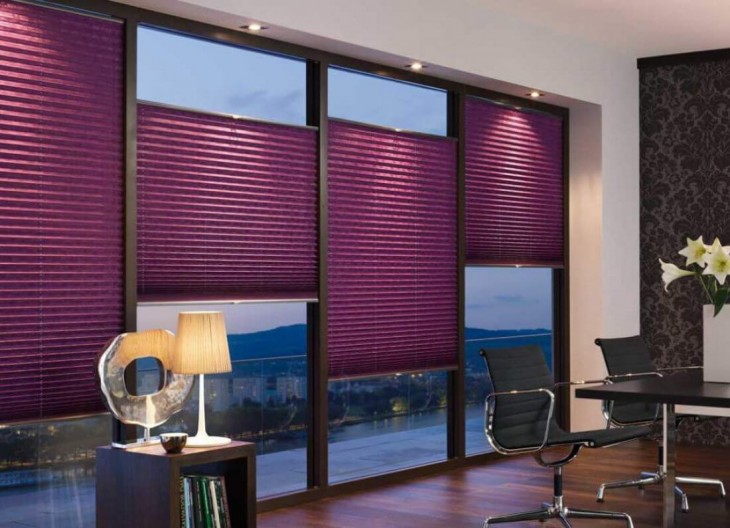
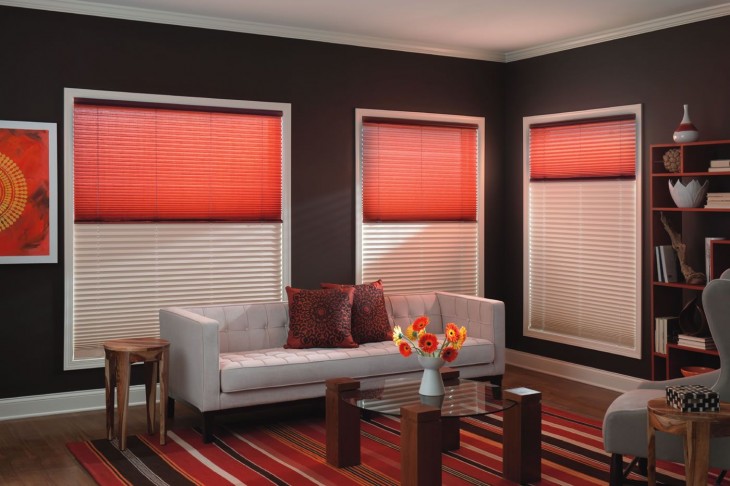
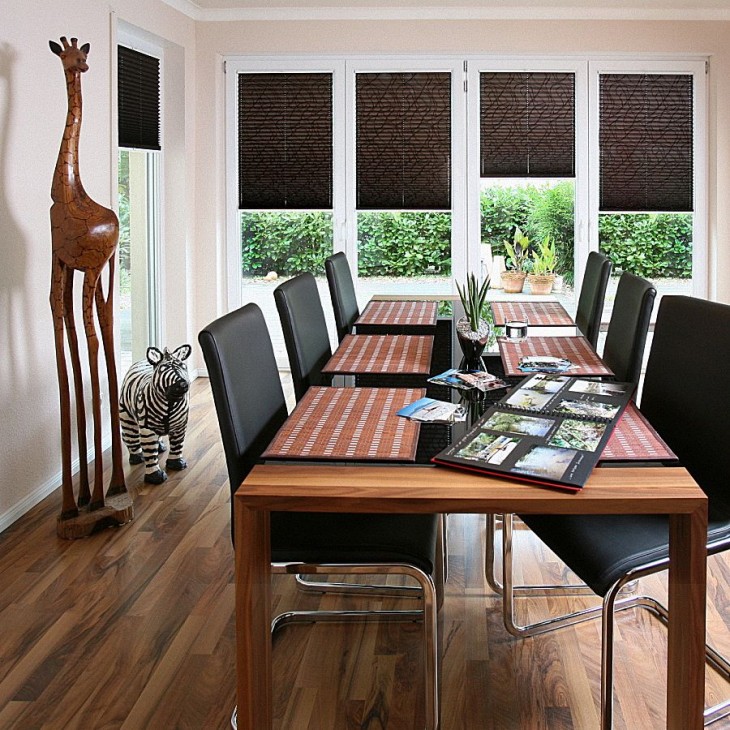
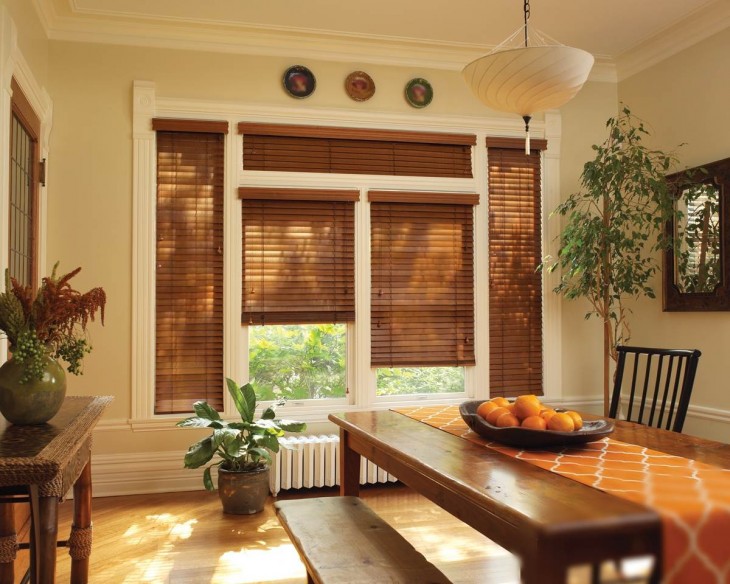
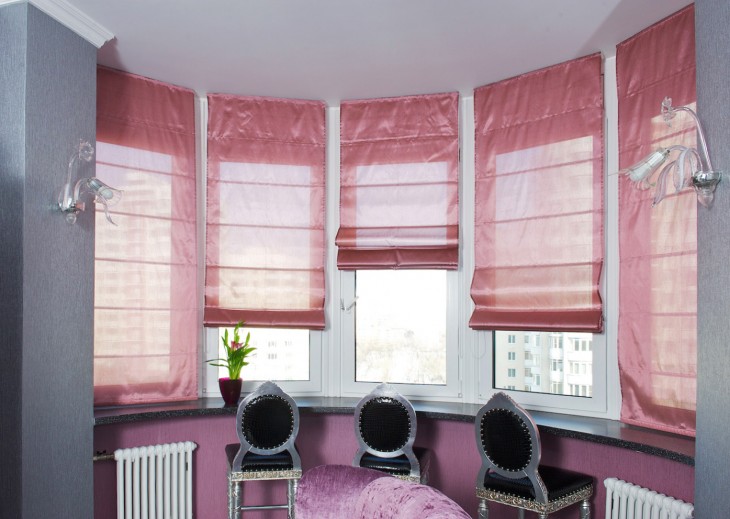
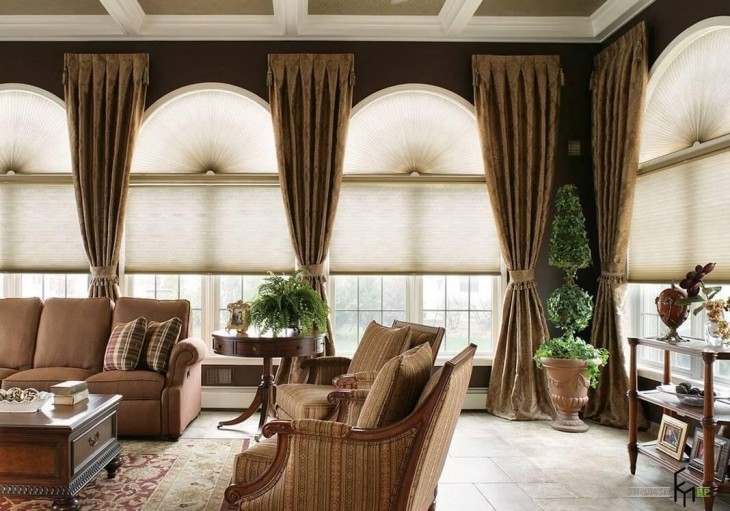
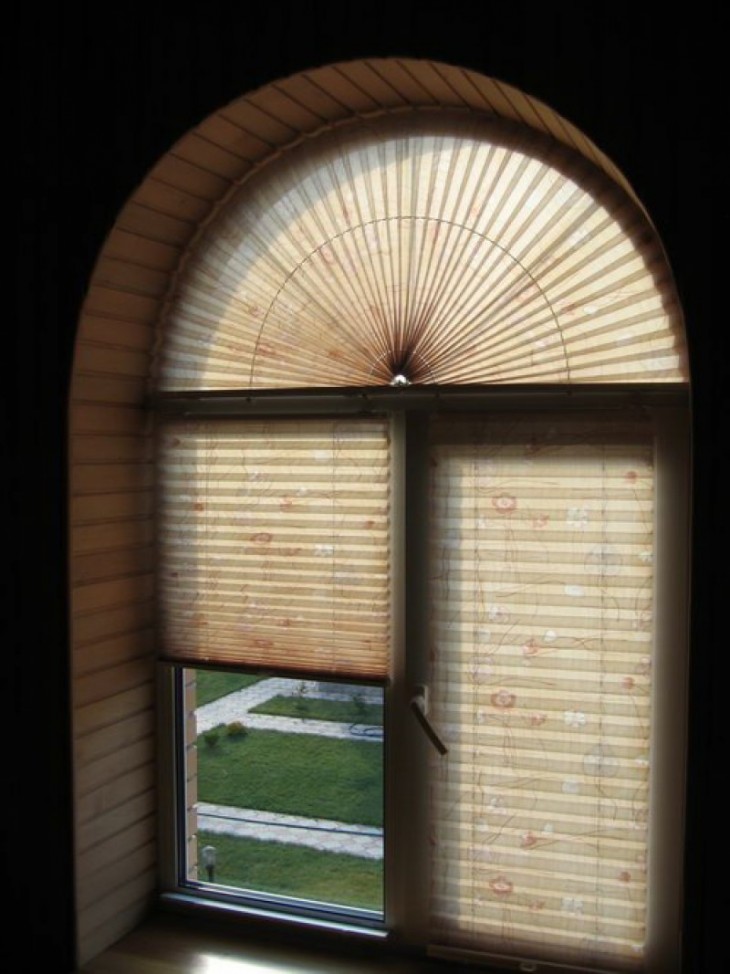
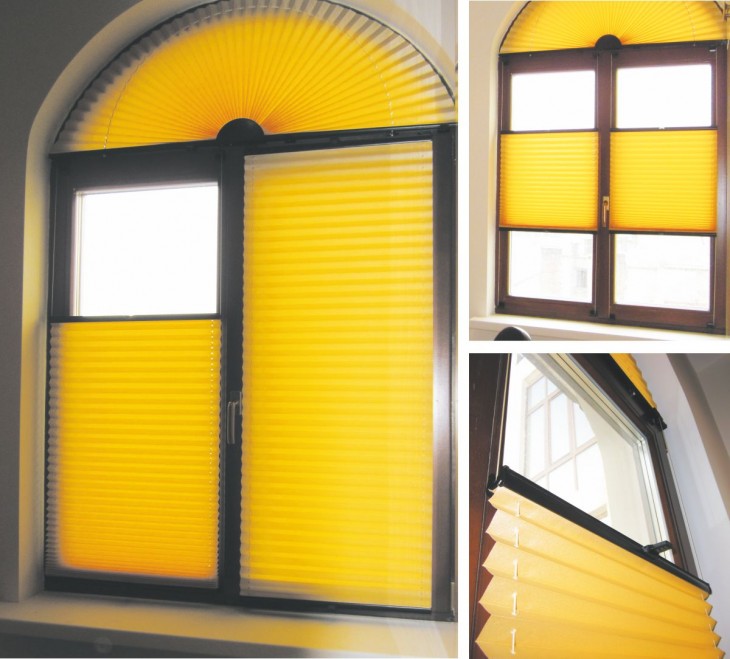
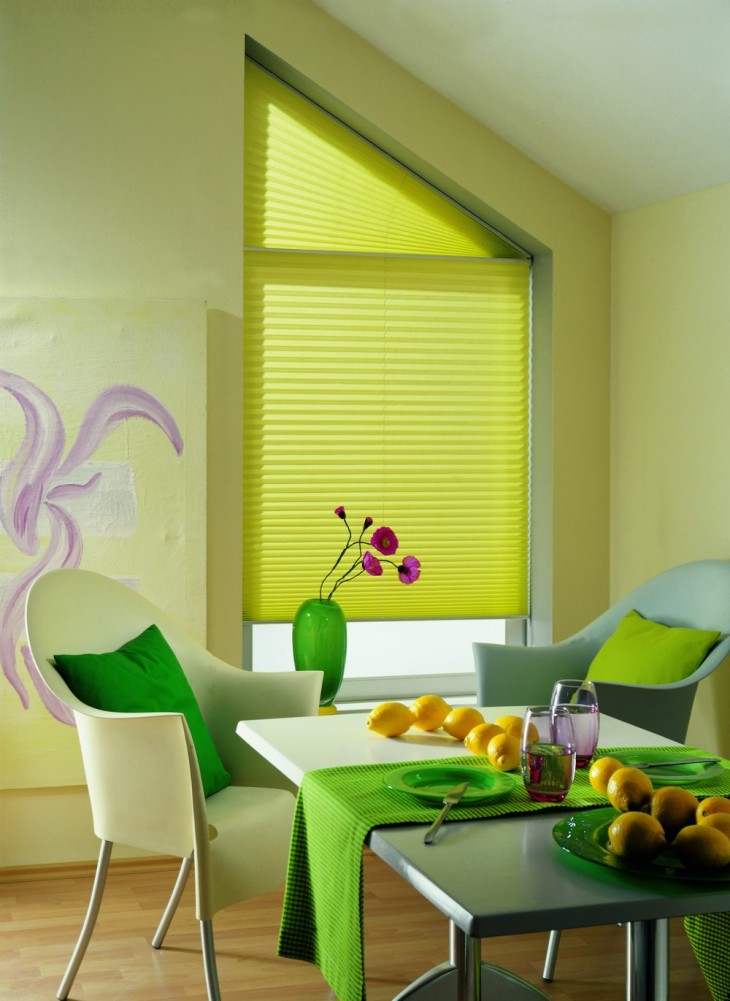
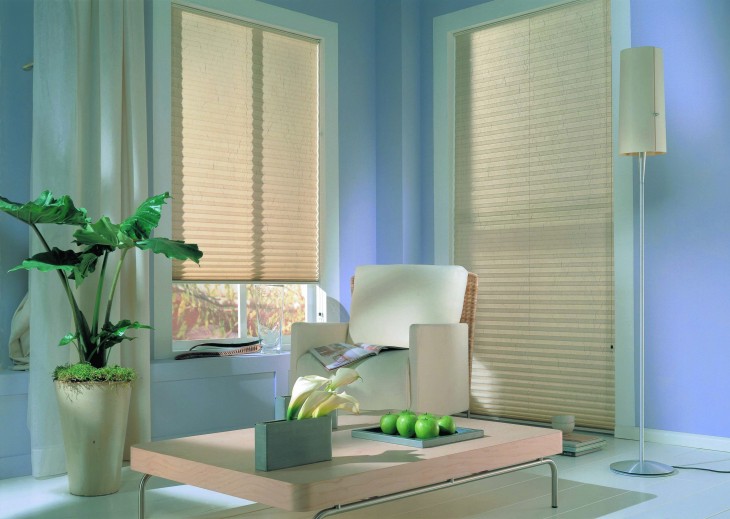
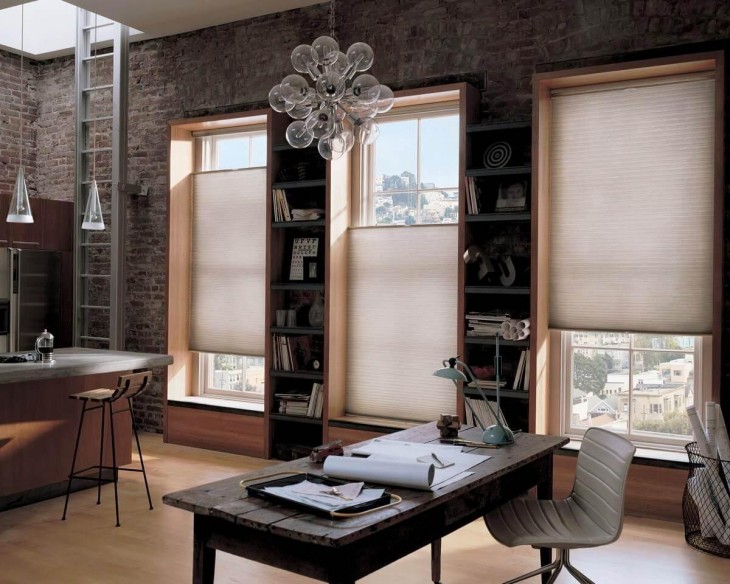
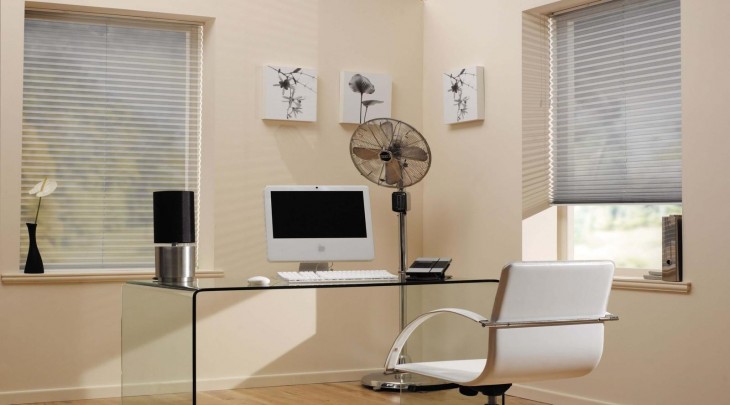
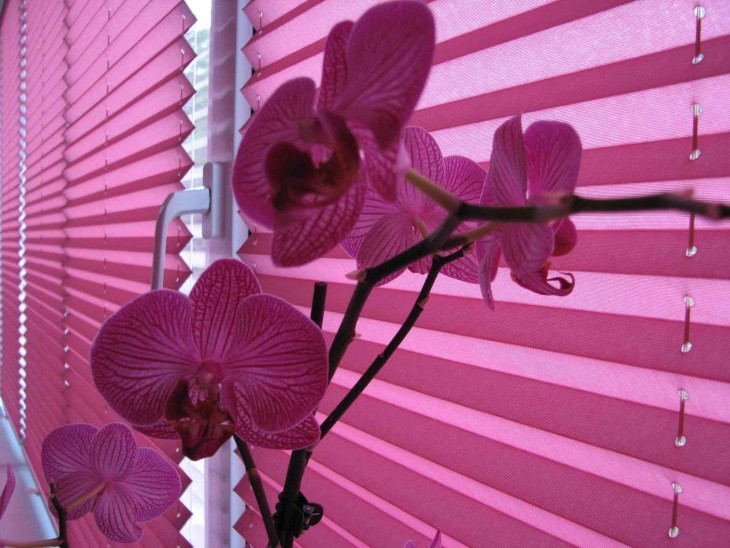
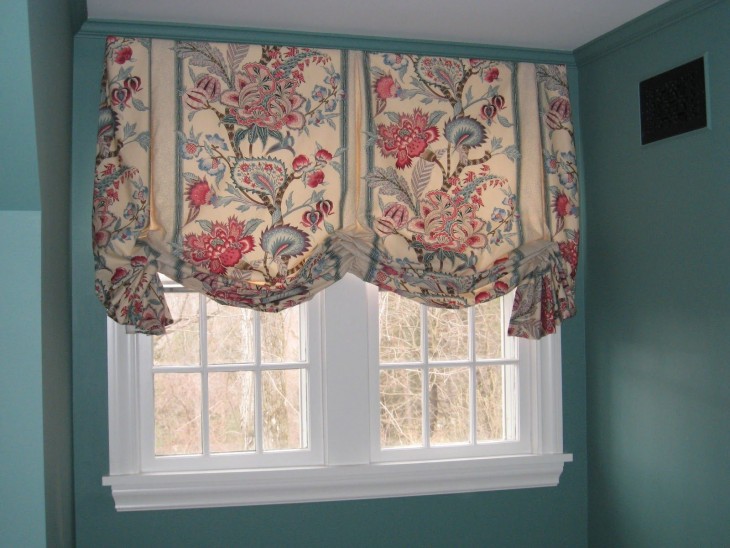
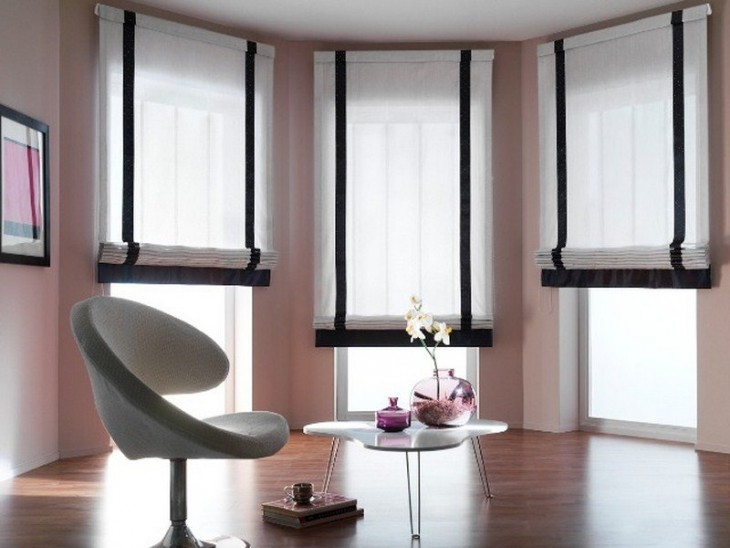
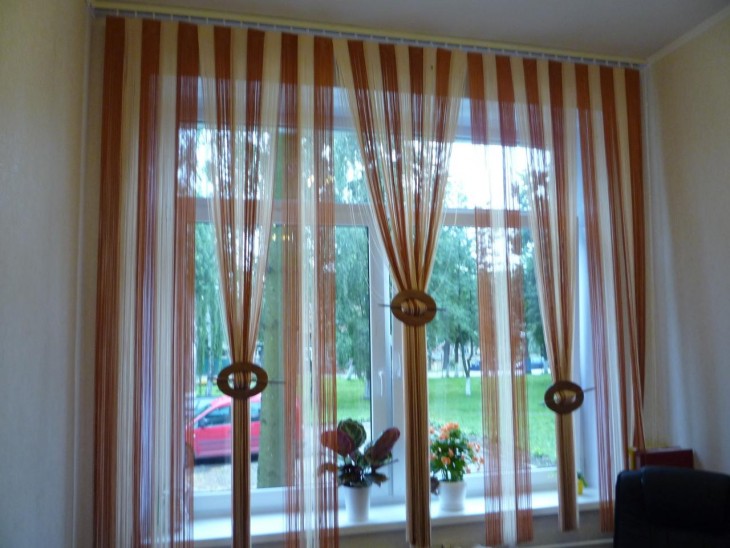
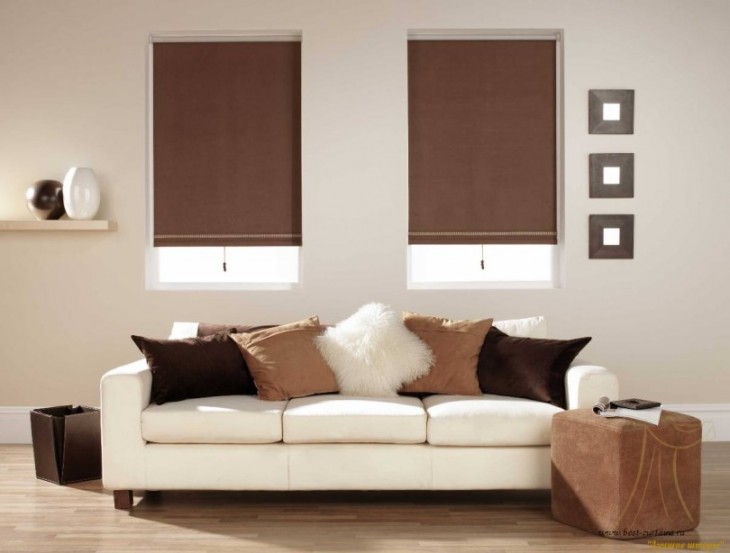
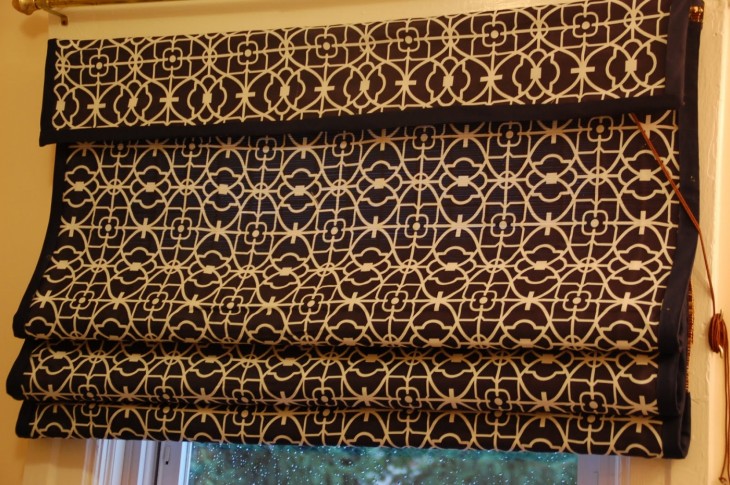
Before proceeding to their manufacture, it is advisable to view photos of the blinds in real interiors, as well as determine whether they will occupy the entire space of the window opening and the nearest wall.
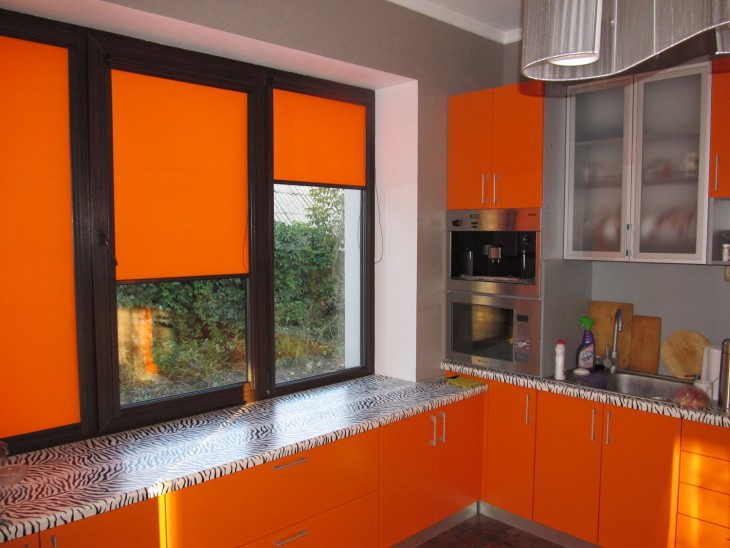

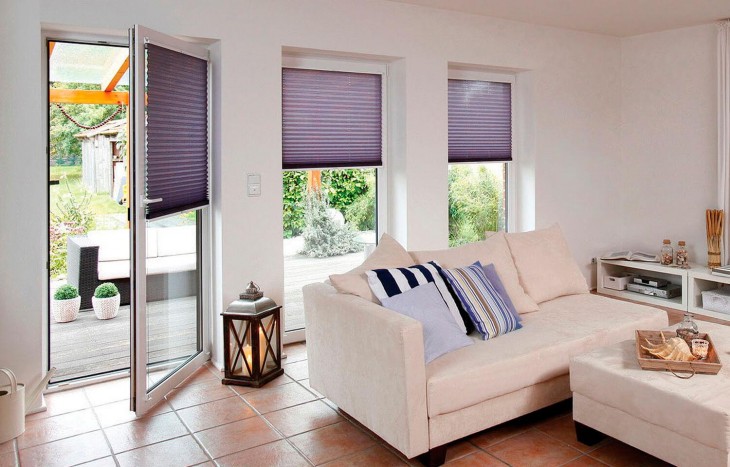
Such curtains can be fixed on separate casements of the window, without restricting access to the handle of the window frame, as well as on the piers located above the window.
Accordingly, you need to calculate the size of the window sashes, or the distance between the side slopes, as well as the height from the upper slope of the window to the windowsill. In the latter embodiment, it is necessary to provide a lap of at least 5 cm on the side piers and about 10 cm - under the cornice.
Review Content:
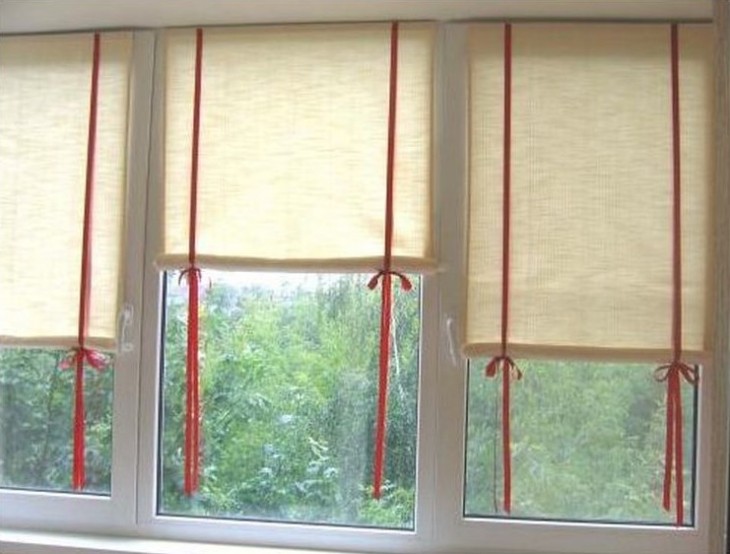
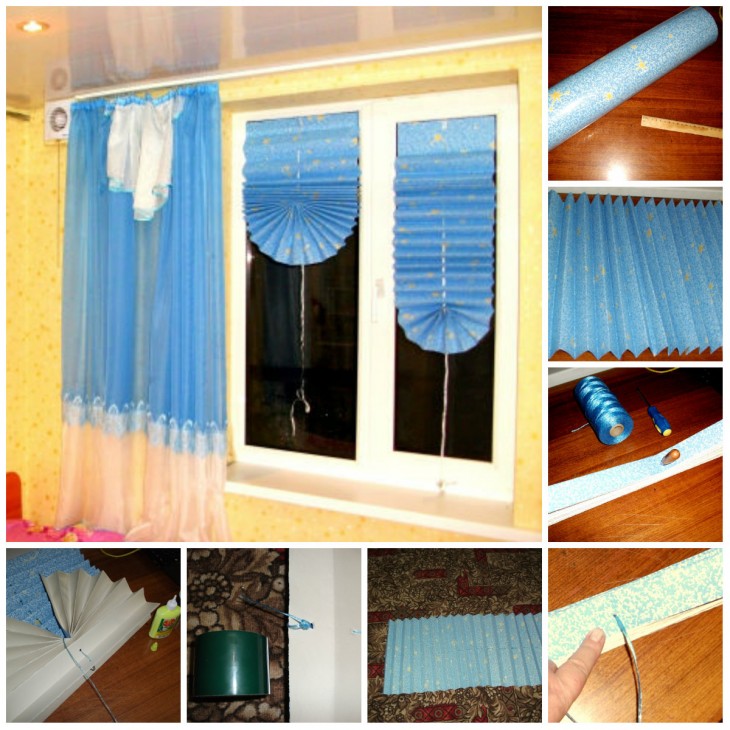
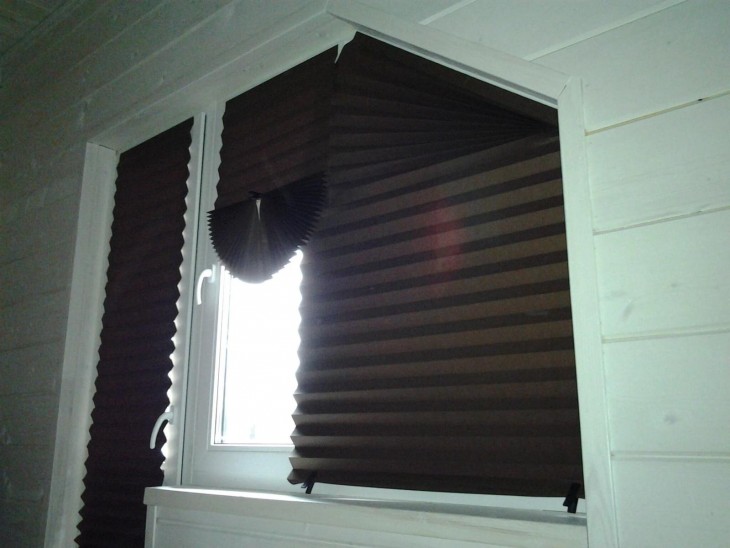
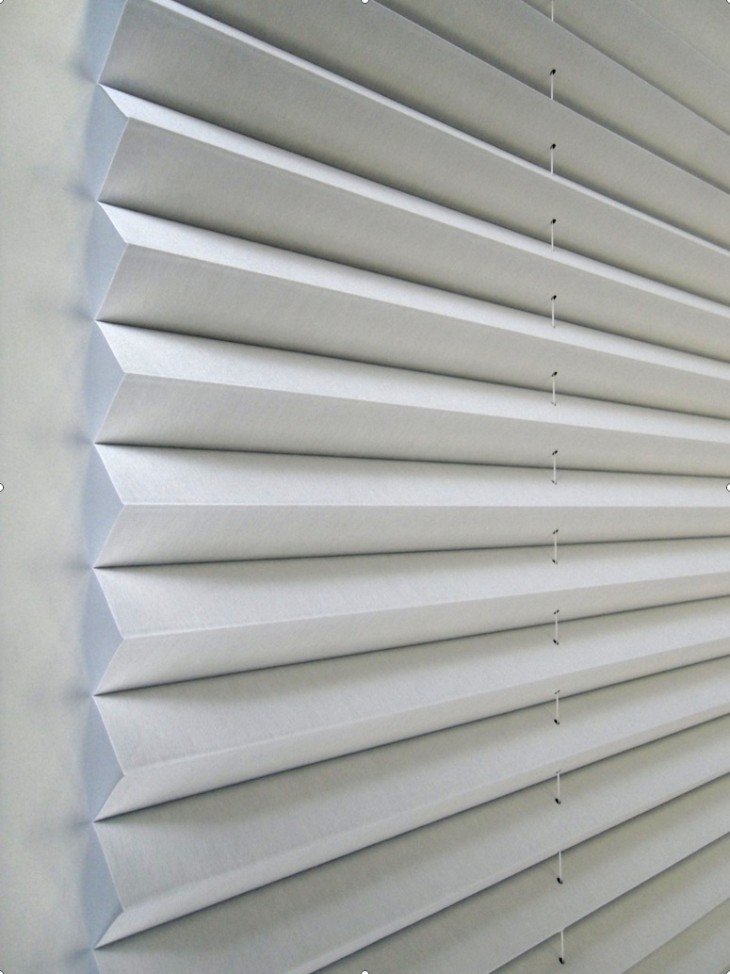
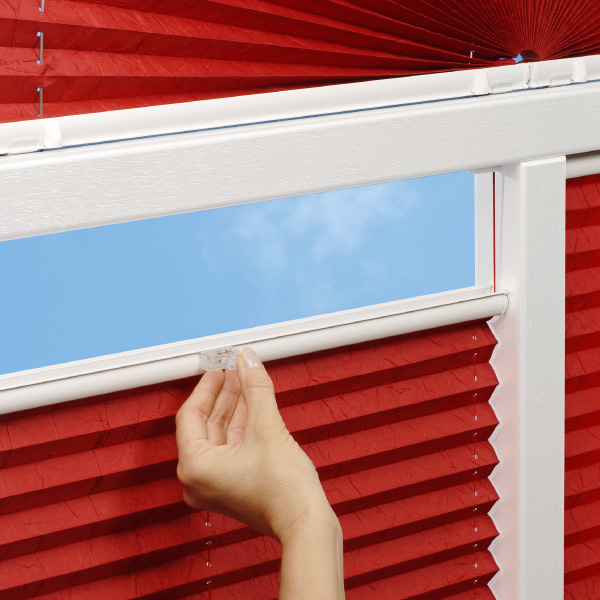
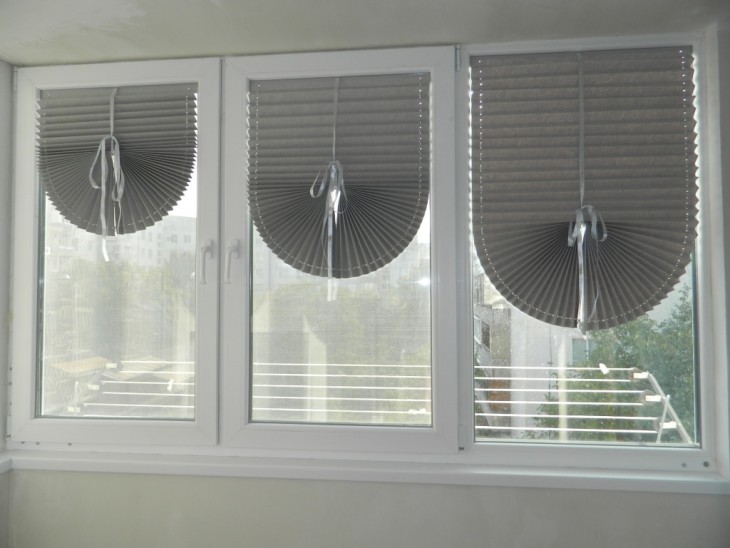
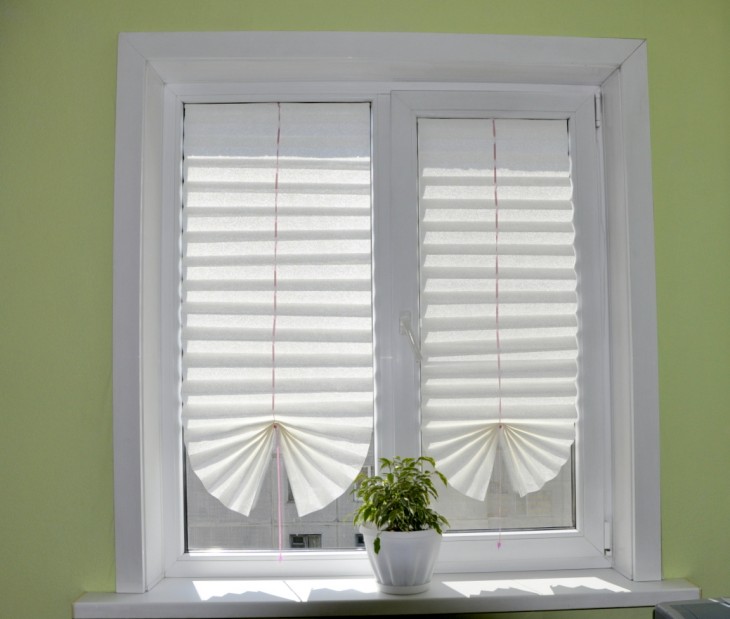
Half-pleated pleated paper blinds
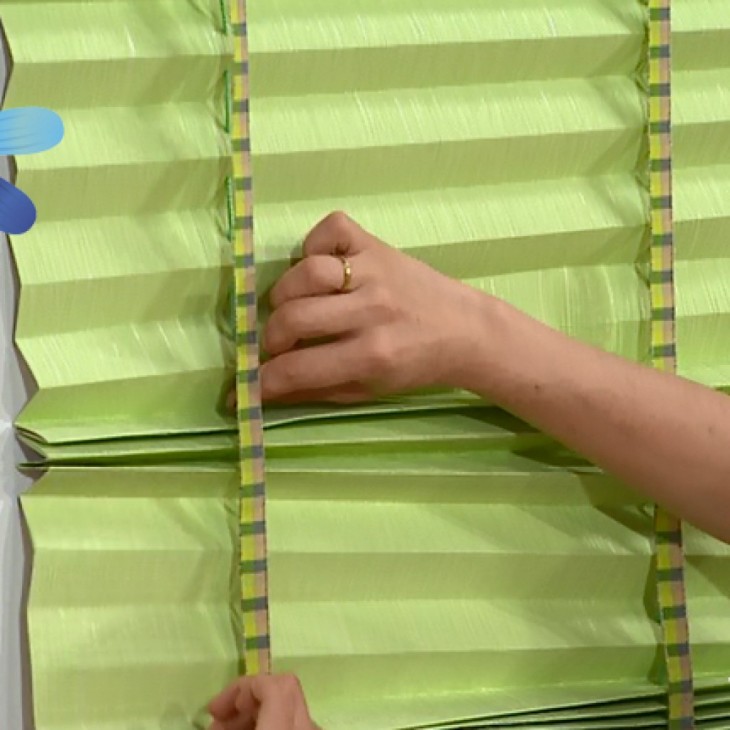
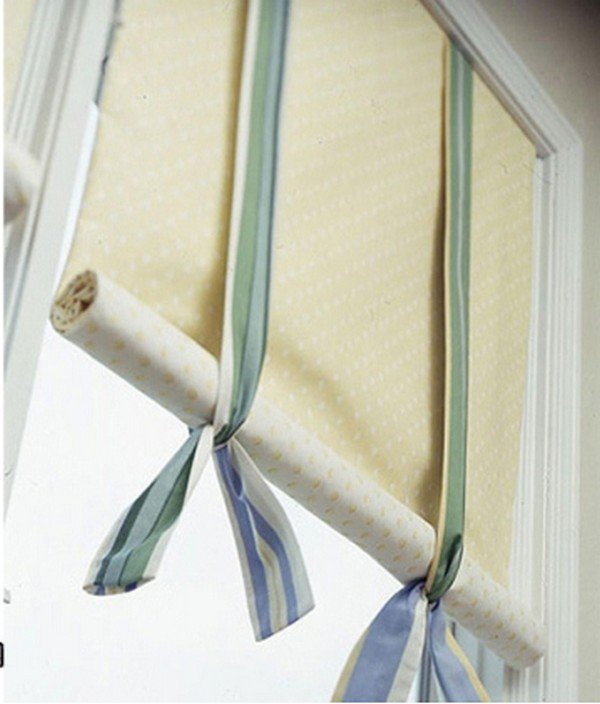
Having decided to understand the question of how to make blinds, it is worth recognizing that one of the most inexpensive and easiest to manufacture are blinds made of paper using the "pleated" method.
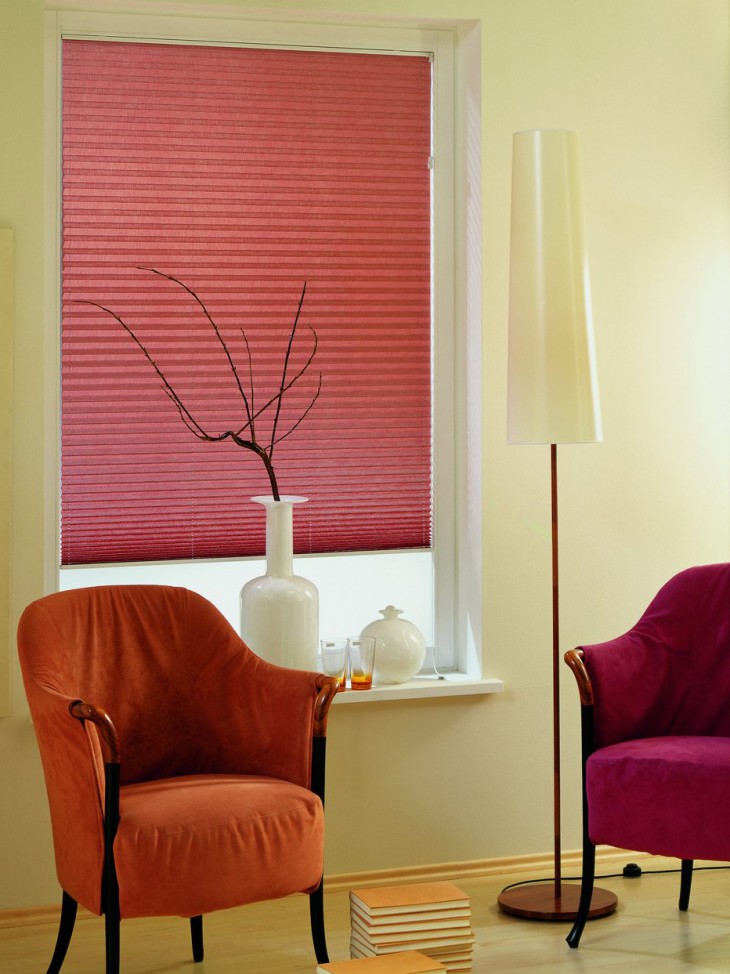
They make it easy to refresh the interior or protect window glass during the repair work.
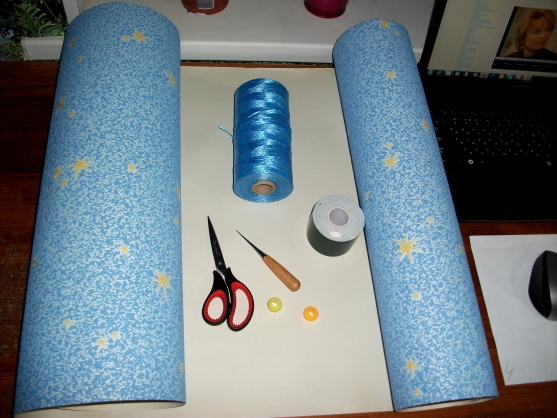
To perform this type of curtains you will need:
- solid paper cut (plain or with a pattern);
- scissors;
- ruler or flat bar;
- pencil;
- paper clips;
- awl;
- strong cord;
- double sided tape;
- cardboard;
- locks for clothes or volumetric buttons.
Work should be performed on a flat, free surface.
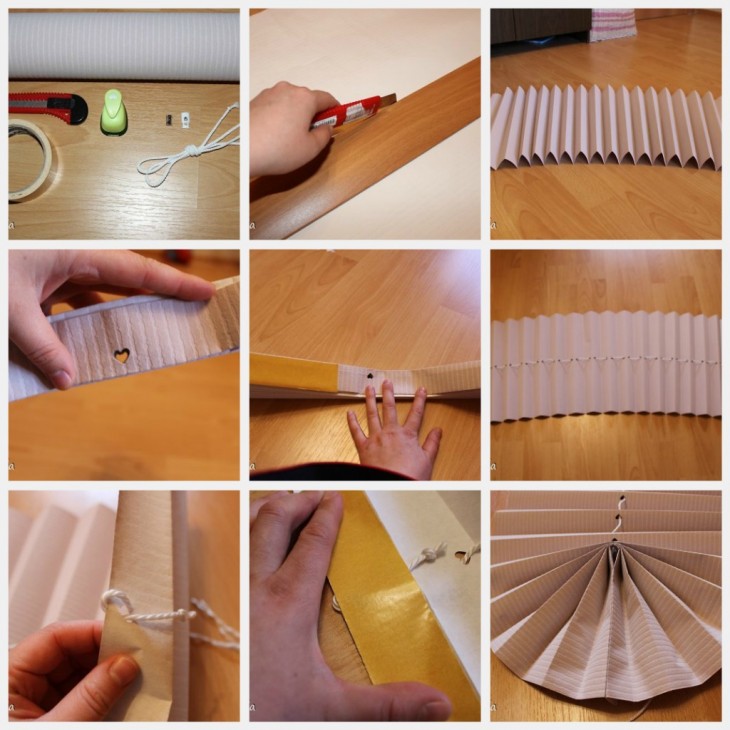
Instructions on how to make pleated blinds with your own hands is as follows:
- Prepare a paper strip. Its width should exceed the window sash by 0.5 cm on each side.
- Draw strips of the desired width (up to 4 cm) on the back of the paper. It should be remembered that the wider the strip, the more massive the blinds will look.
- Fold the paper where the lines are drawn. If the paper is very thick, you can first use a ruler to draw sharp scissors over them so that the folds are more even.
- Fold the entire strip of paper with an accordion, fix the edges and the middle with clamps.
- Measure the middle of the resulting structure and pierce it with an awl through it.
- Insert the cord into it.
- Tie a knot at the top or fasten a button.
- To make the base more rigid, glue cardboard strips to its extreme levels.
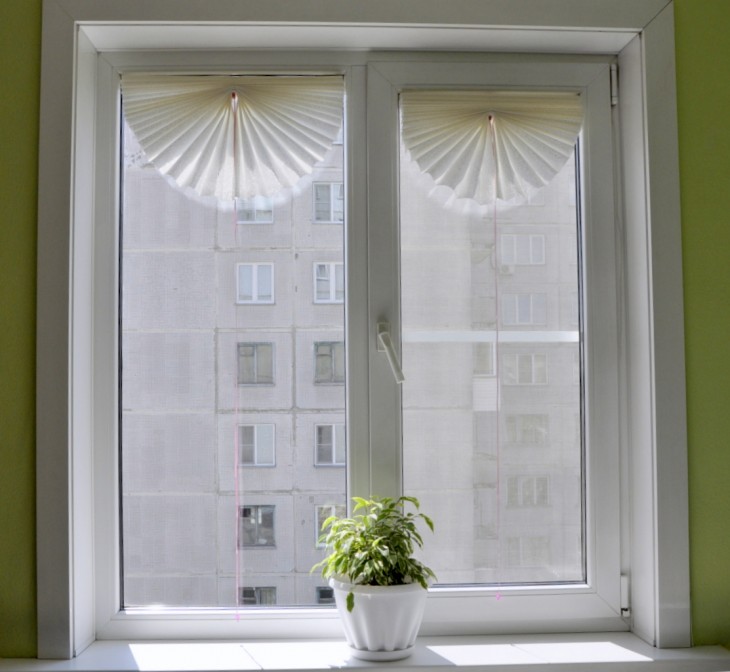
Push the clips into the bottom of the cord. - Using double-sided tape, glue the blinds on the inside of the cornice.
- Attach scotch tape to the tip of the lower edge of the blinds and make a hem in the shape of a semicircle.
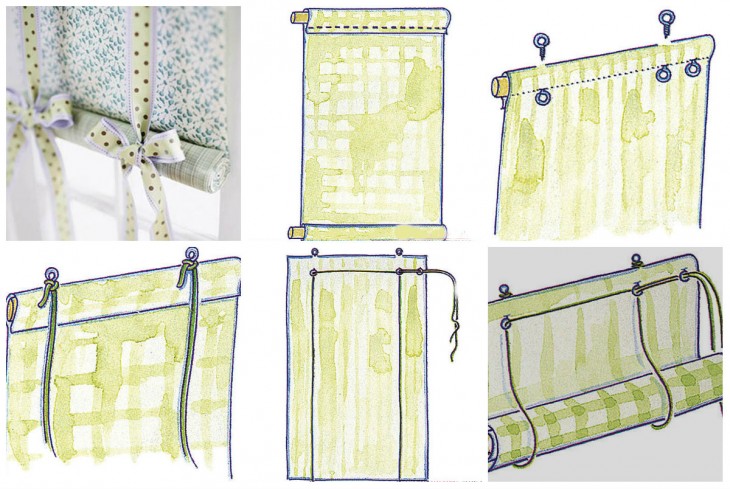
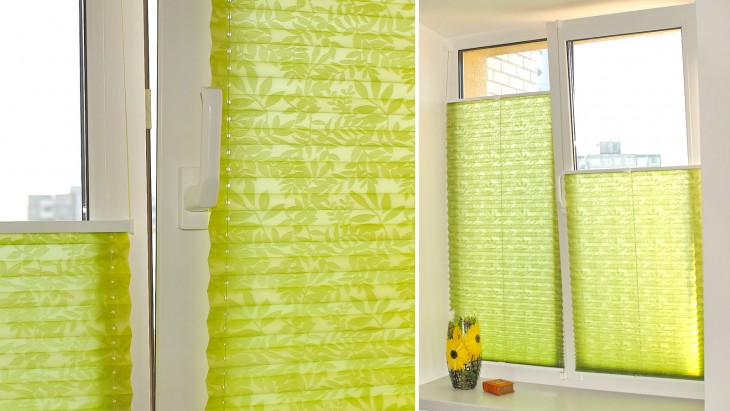
Straight-pleated paper blinds
Direct pleated wallpaper blinds are made according to the same technology, but here three rows of cords are needed: 1 is placed in the middle and 2 at the edges with an indent of 3-5 cm.
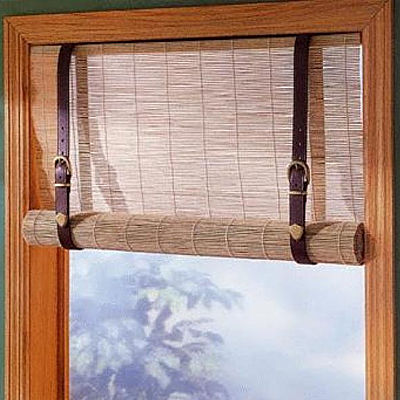
Instead of paper, you can use cane sticks, newspaper tubes.
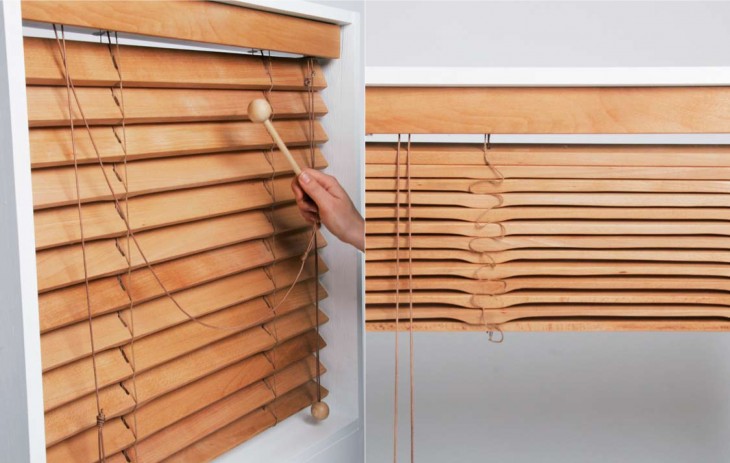
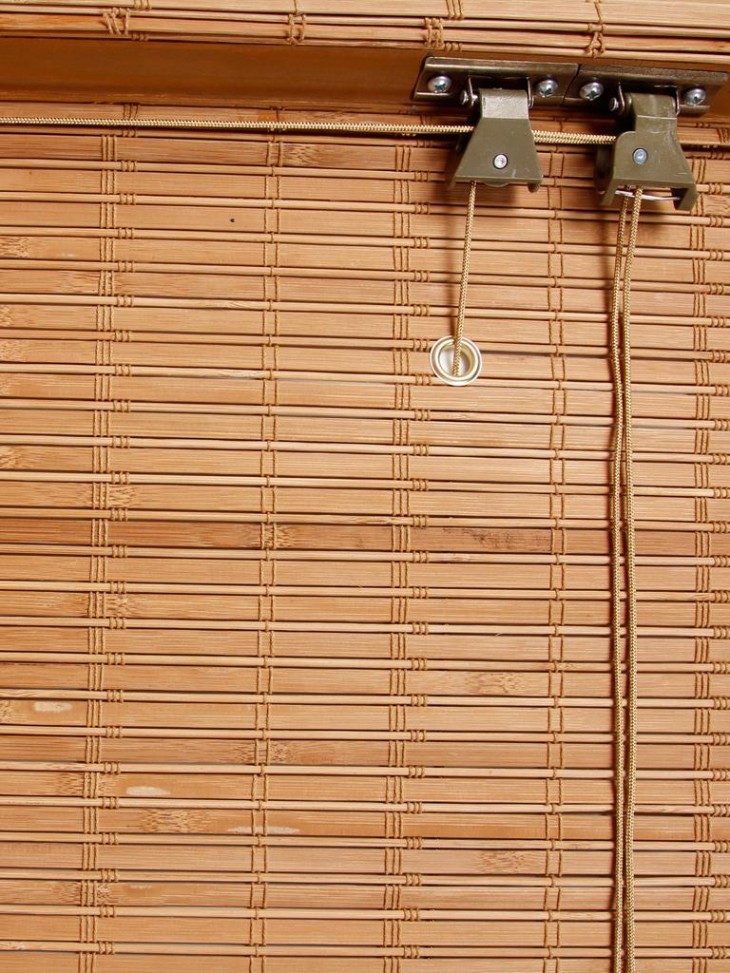
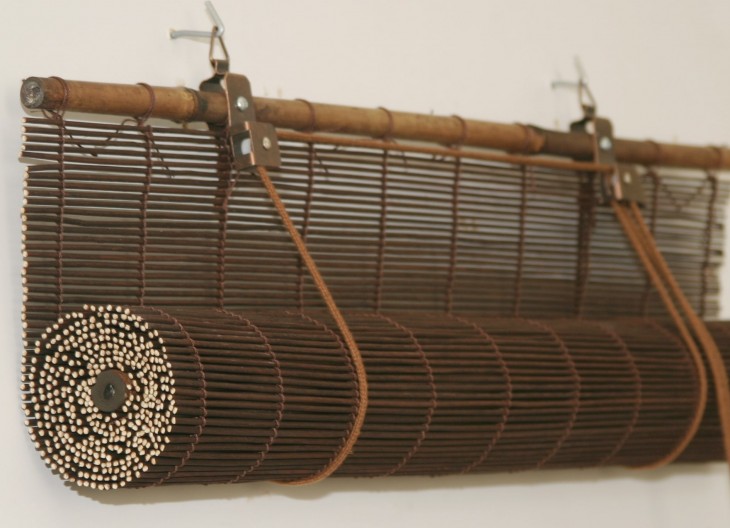
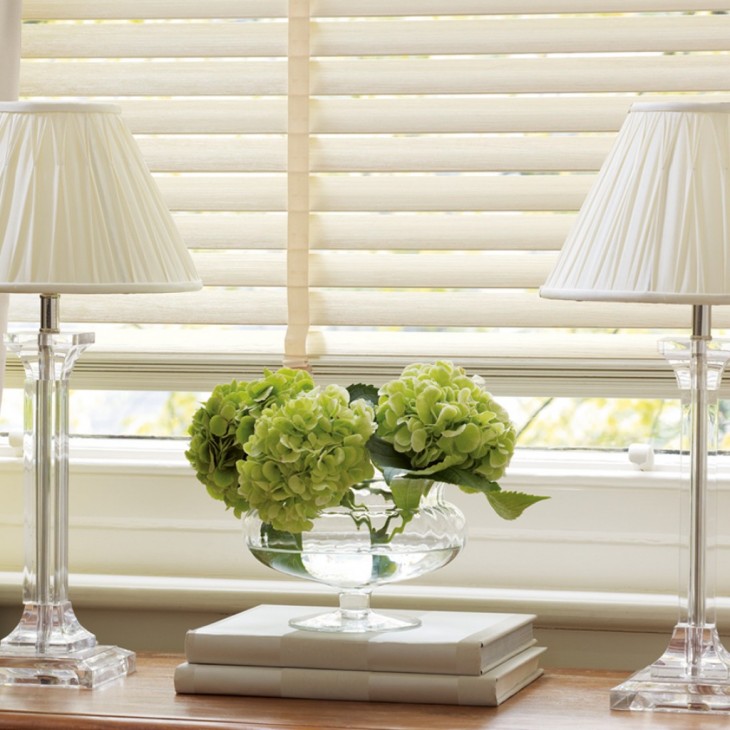
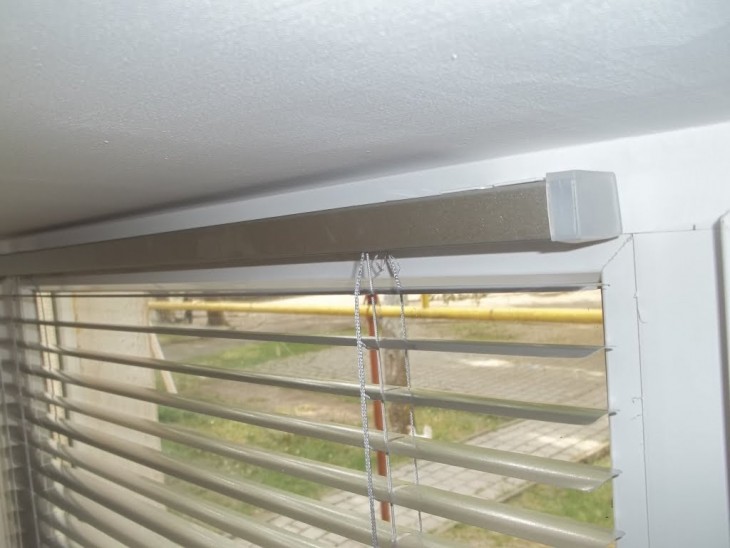
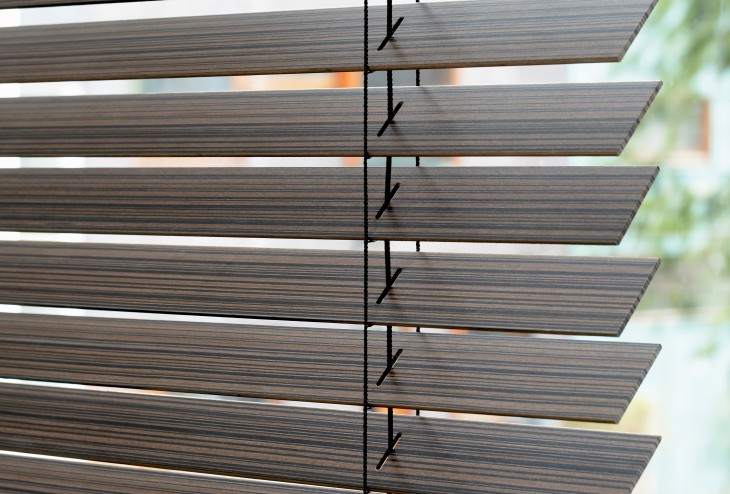
Horizontal blinds: manufacturing scheme
For the manufacture of horizontal blinds you will need:
- boards, a sheet of plastic, plywood or plexiglass;
- sawing machine;
- grinder machine;
- drill;
- liquid products for processing wood products (stain, varnish);
- glue;
- cord;
- wooden beam for cornice;
- fasteners.

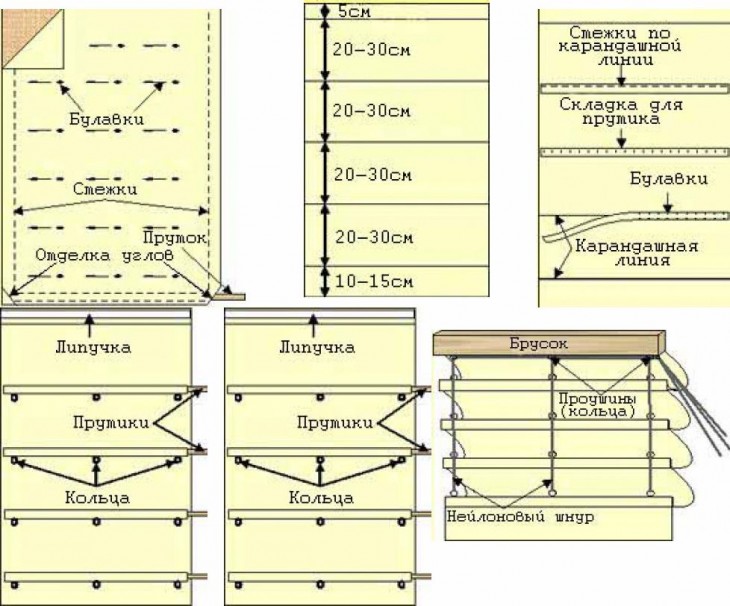
The sequence of steps in the manufacture of such window shades is as follows:
- Cut strips of existing material.
- Finish the edges (sand and round off a bit).
- Prime all wood elements, cover with stain or varnish and dry.
- Mark the center of each individual plate, make holes with a drill. Do the same with the cornice and screw into it a small ring in the middle.
Lay out the parts on a flat surface.
After that, you can master the technology of how to install the blinds on the windows:
- Thread the cord into one of the side holes of the cornice and secure the first with a knot or stapler.
- Pass the cable through a similar hole in the strips, each time beneath the lowest lamella, tying a knot or securing the button (this can also be done using glue).
- Insert the cord from the opposite side in the same way.
- Perform central lacing without glue so that the lamellas move freely along the cord.
- Design the lifting mechanism of the blinds as follows: starting from the lower bar and reaching the cornice, throw the cord through a pre-fixed ring, then lower the cord from the inside of the curtains, connect both ends and push it into the stopper.
- Fix the brackets to the wall and hang ready-made protective curtains on them.
- Test their operation by pulling on the cord located in their central part.

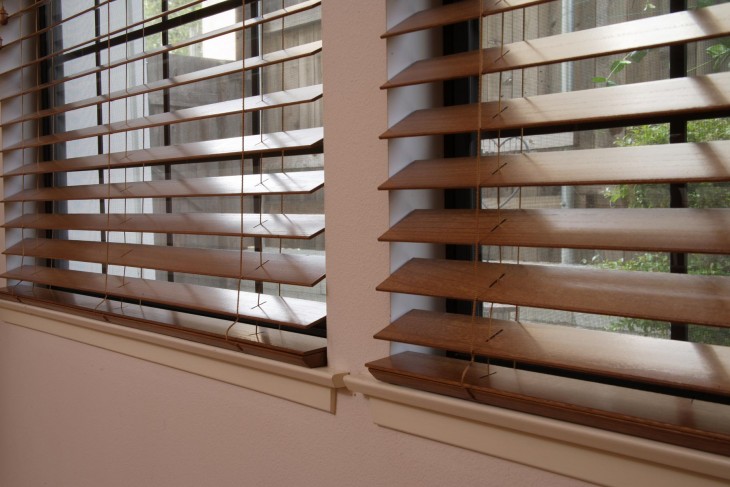
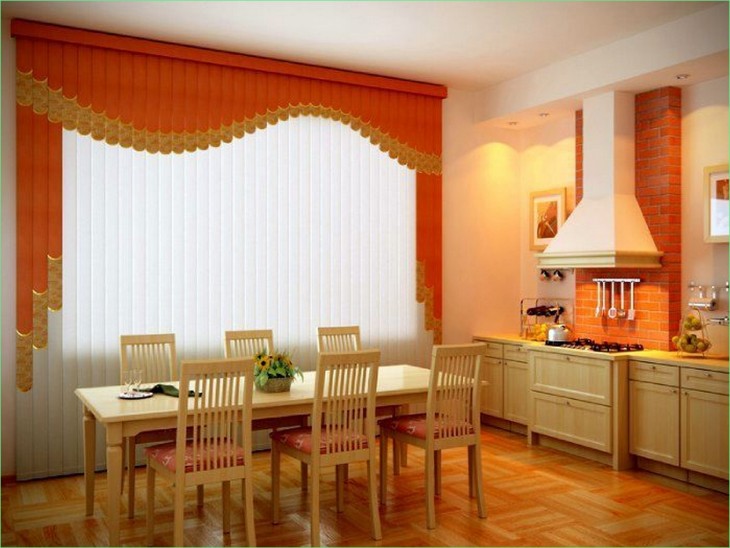
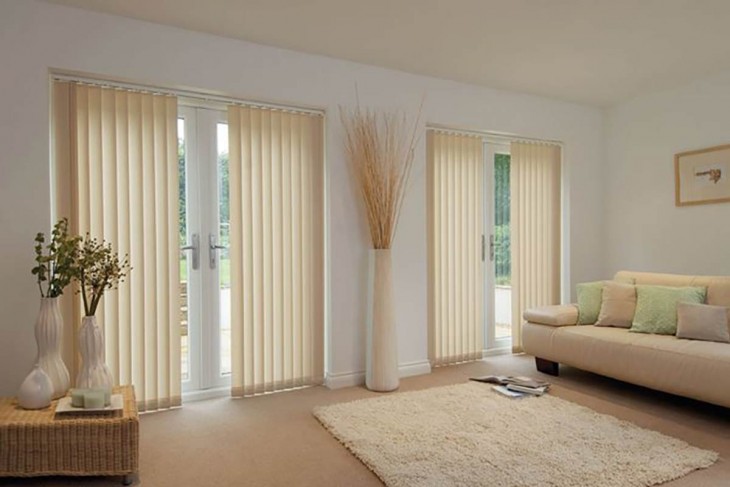
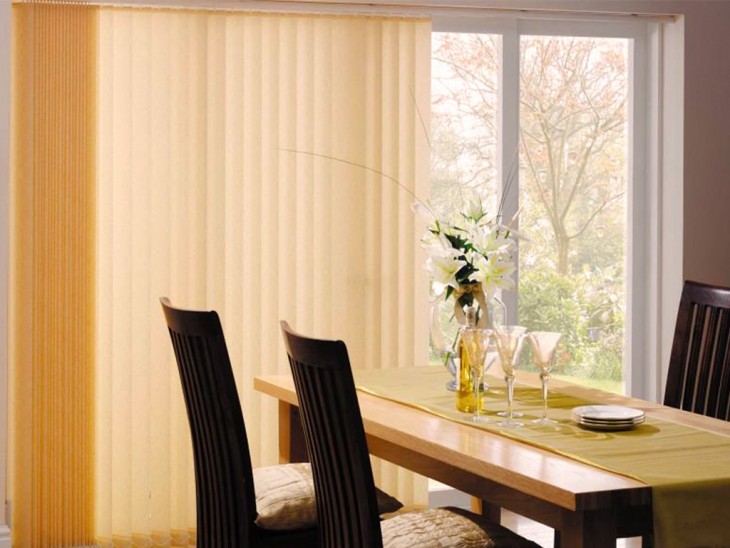
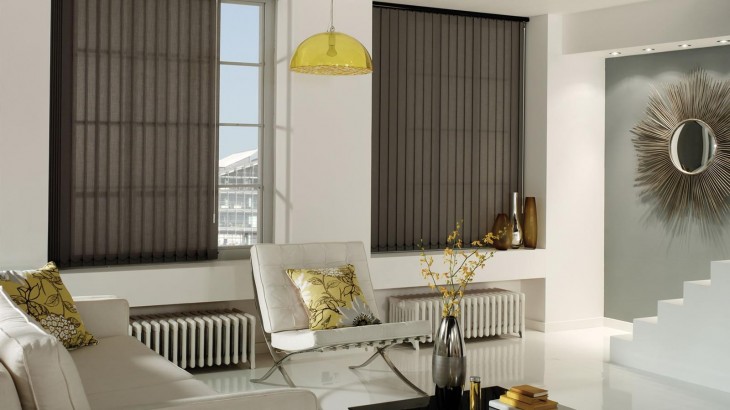
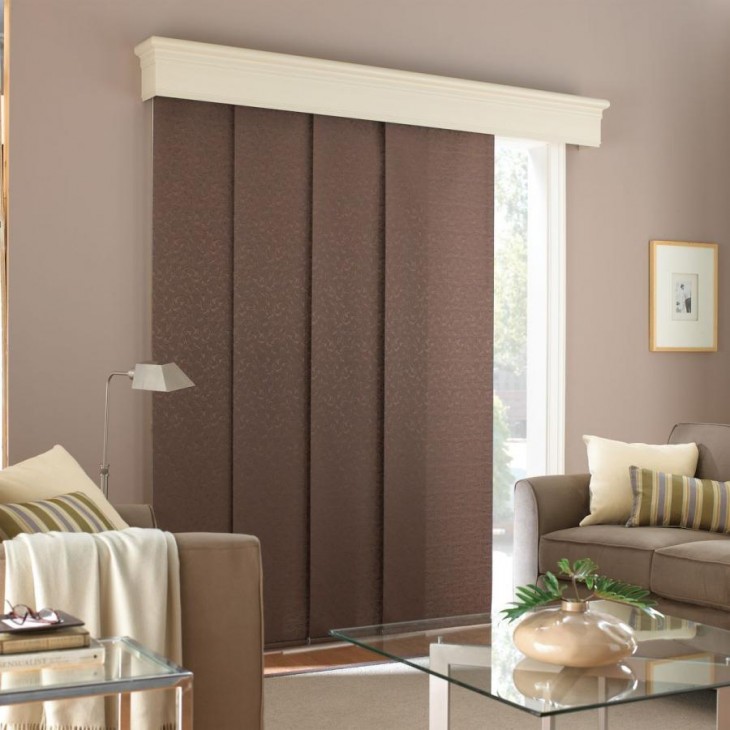
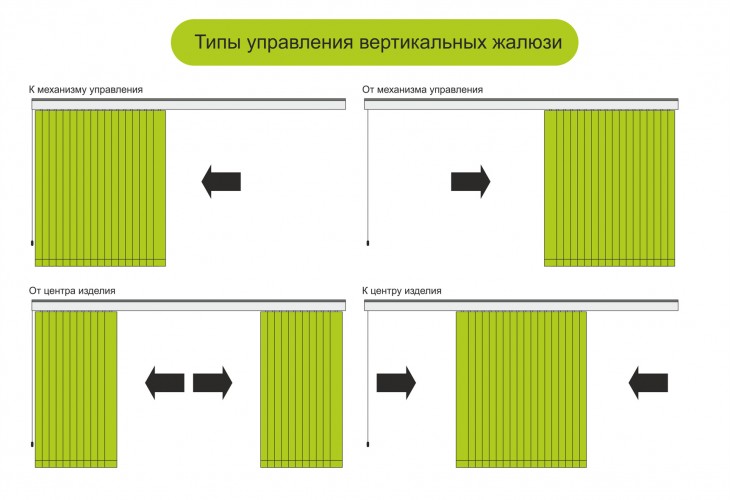
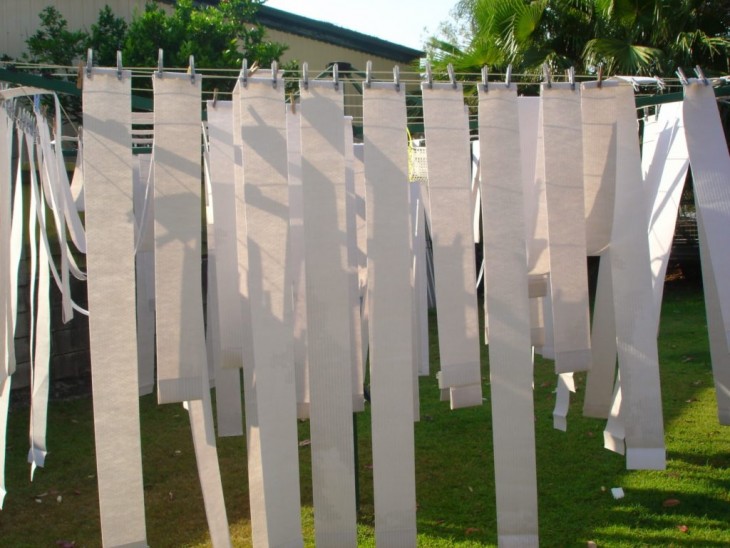
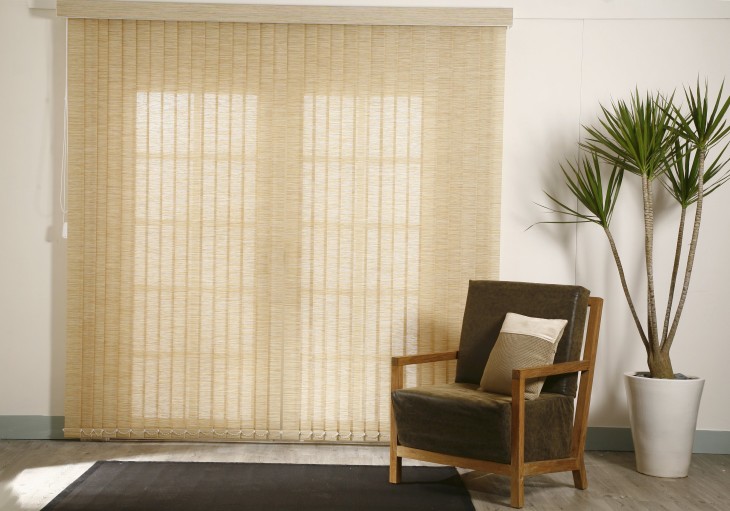
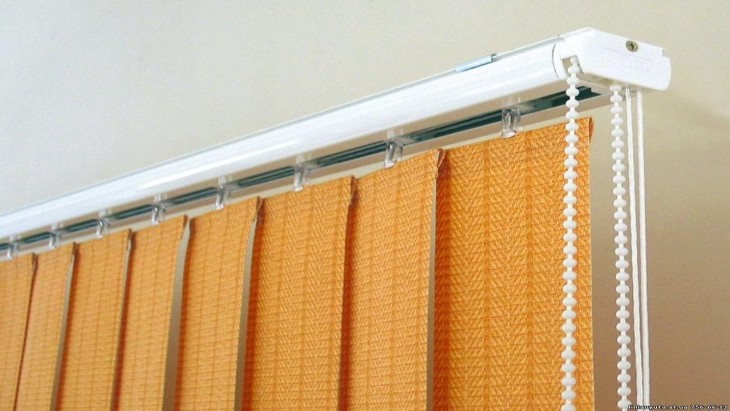
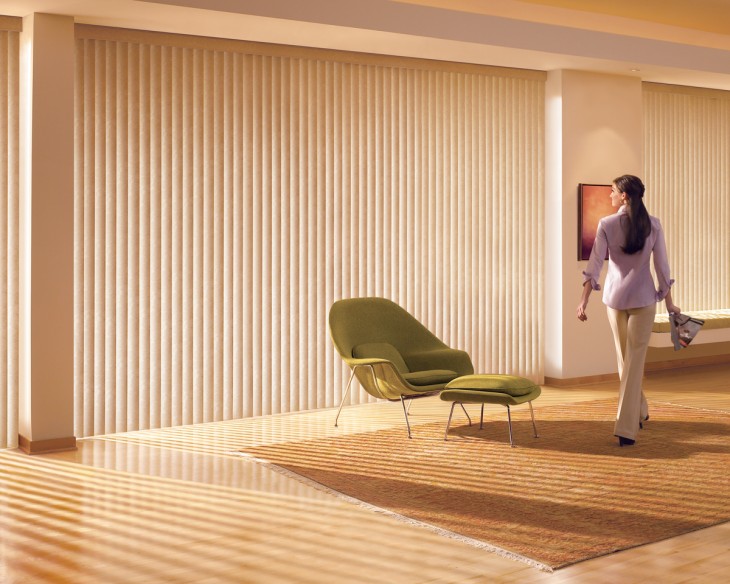
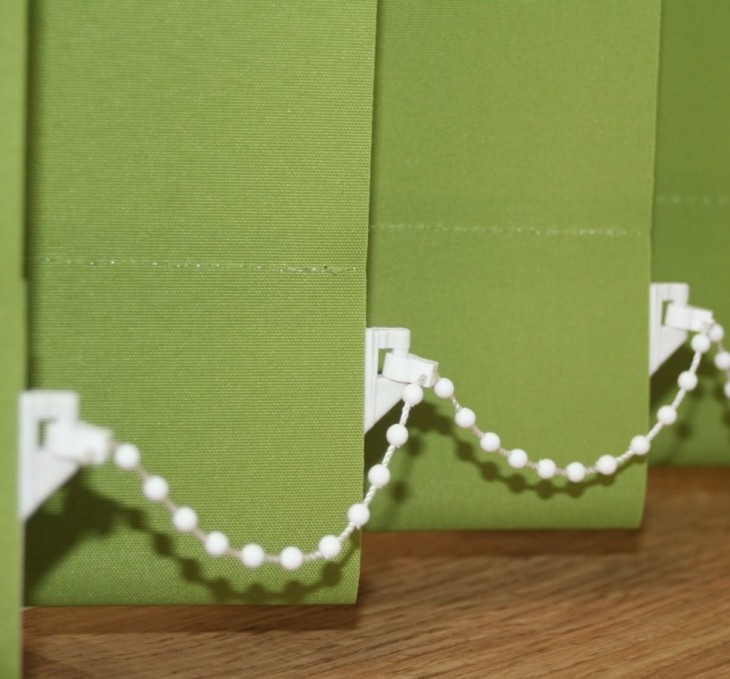
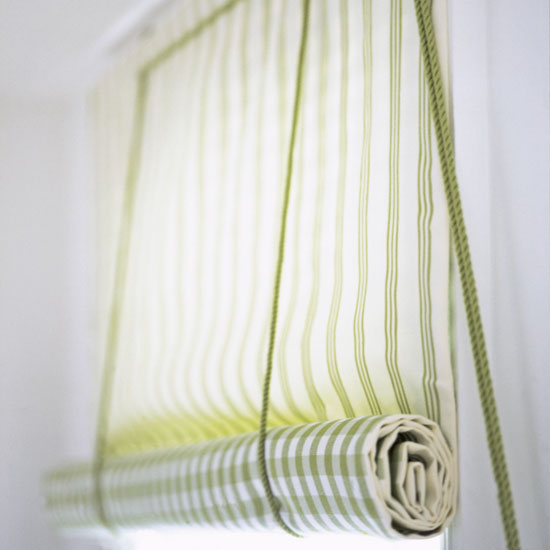
Vertical blinds
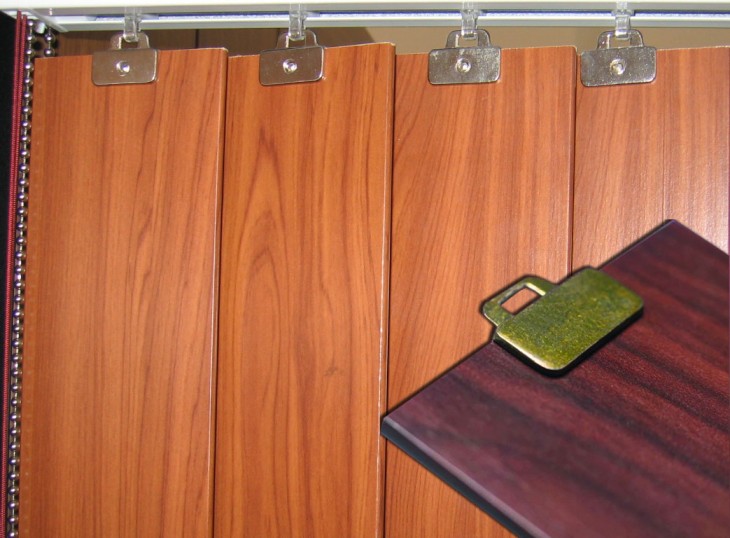
Blinds can be not only horizontal, but also vertical, and can be made of various materials, including lining. Such curtains look quite massive, but very original.
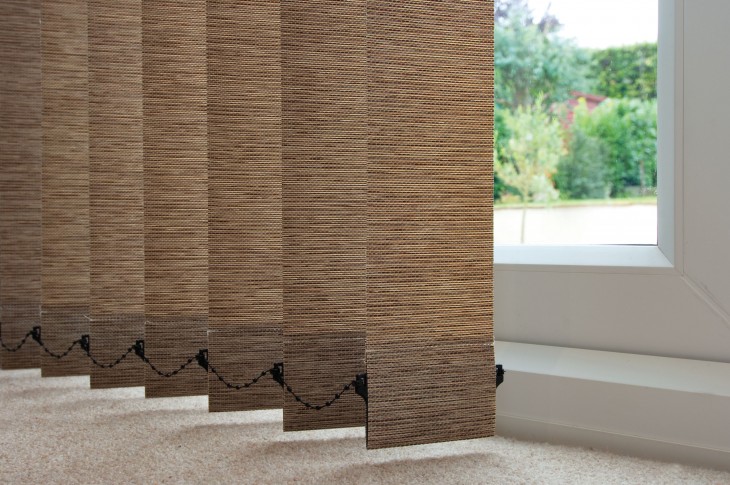
For their manufacture you will need a cornice and accessories. The strips dissolved on a special machine must be made of the same length, sanded and varnished.
Note!
Then, using self-tapping screws, you need to fix metal clips on them, and then proceed to the final assembly of the structure.
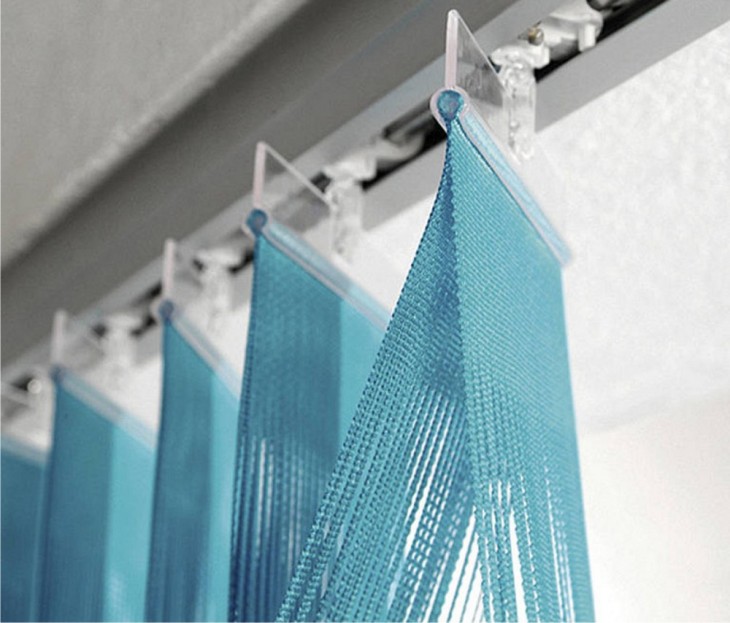
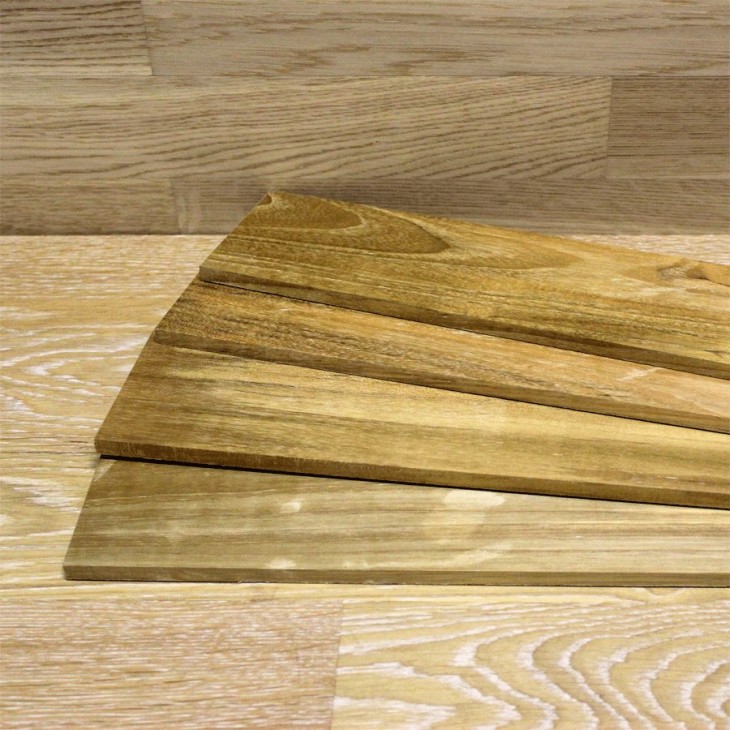
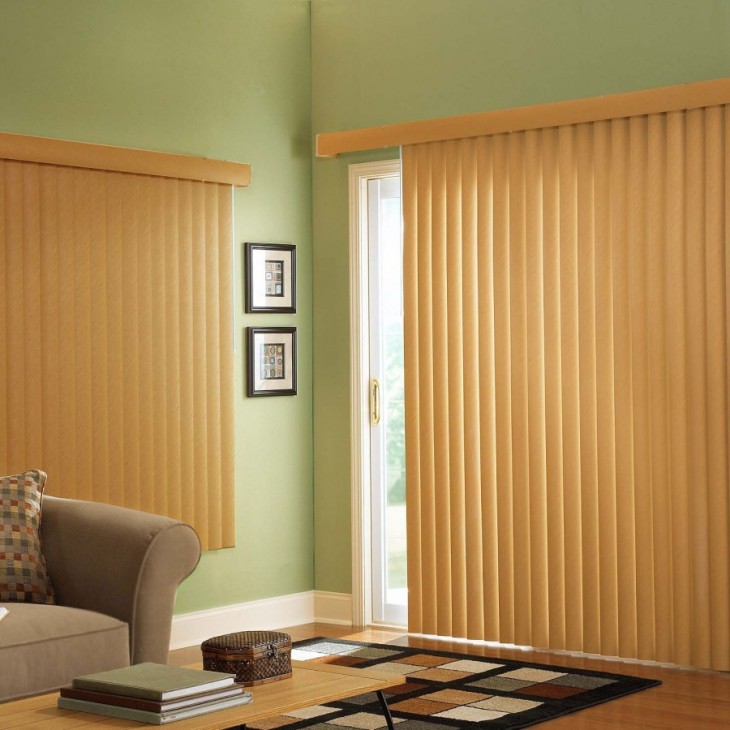
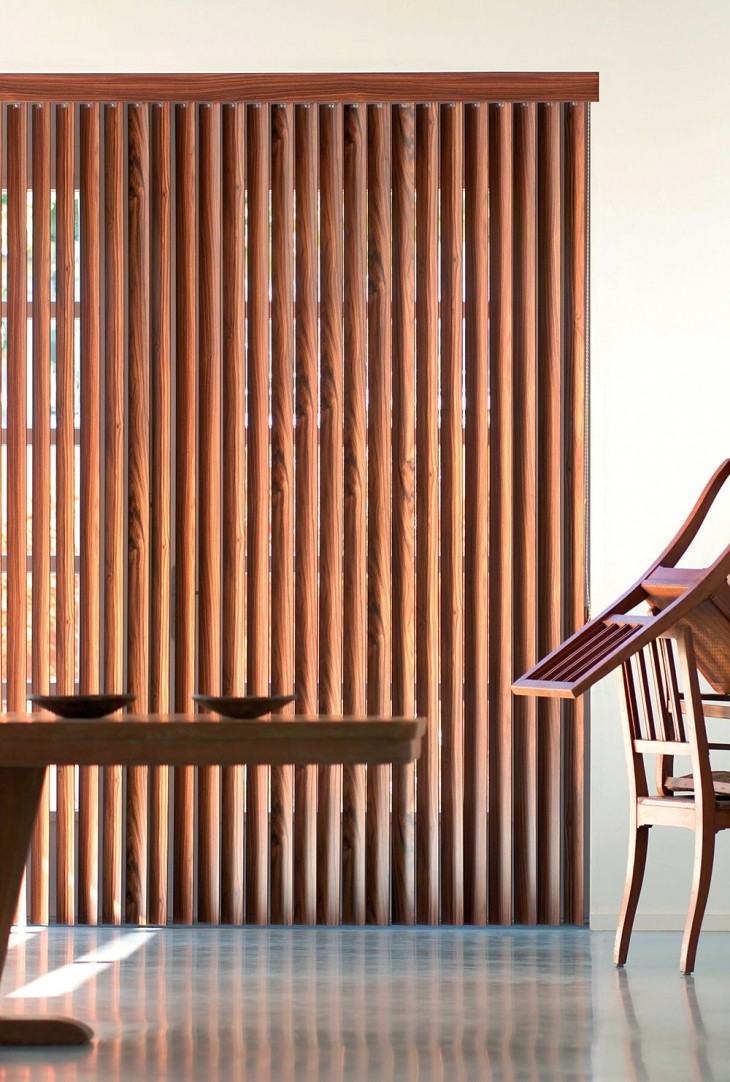
You can also independently make vertical slats of wood or plastic (including plastic bottles), or sew blinds from fabric.
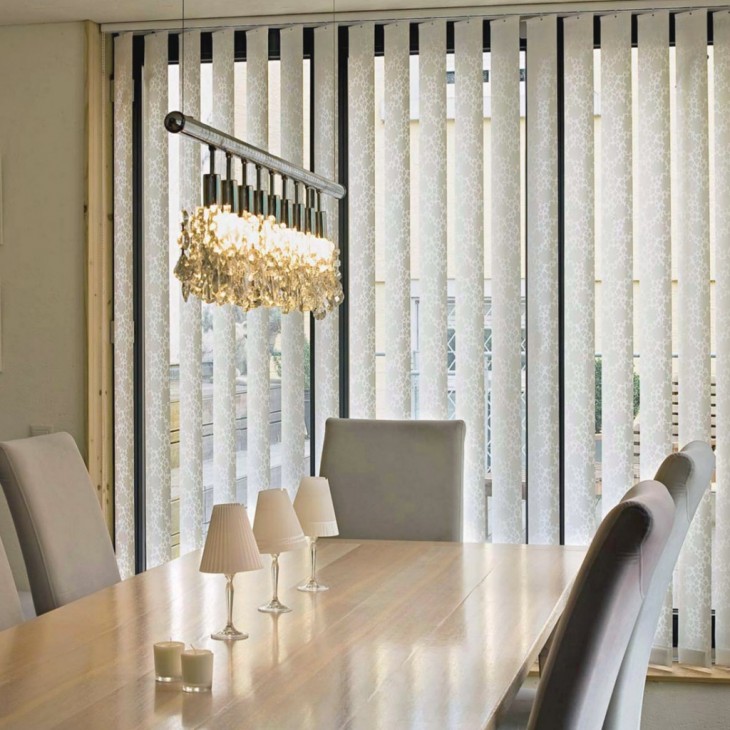
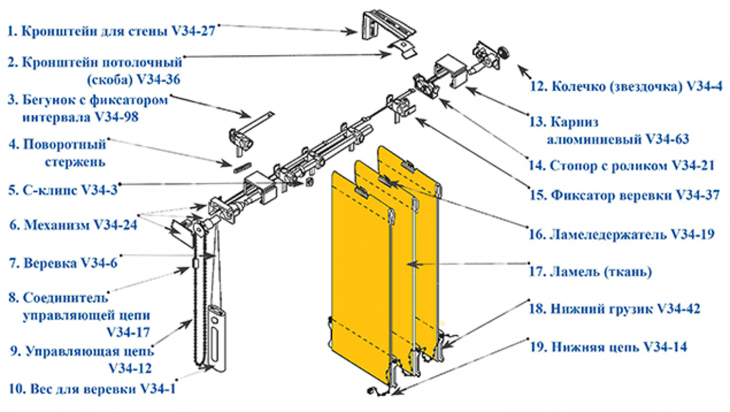
Production of the rotary mechanism
In order for the louvre plates to move up and down, and also about their axis, it is desirable to equip them with a rotary device.

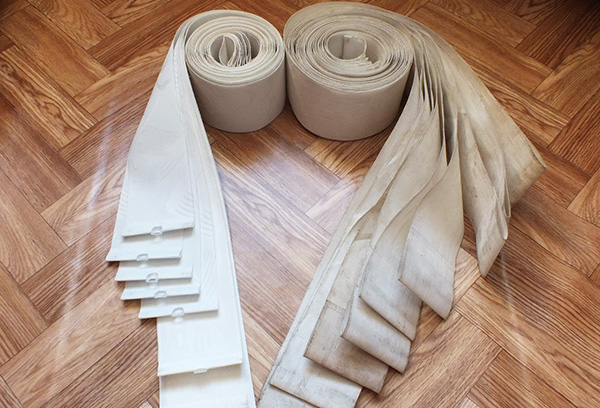
Its function can be performed by a strong cord or strip of fabric, a suitable length of which is considered to be twice the height of the blinds plus at least 10 cm under the retainer.
The tape must be glued to the end of each plate. Next - pass the cord through the ring fixed in the cornice, then downward from the inside of the blinds, without gluing, then connect both ends and put on the stopper-clamp.
By pulling one edge of the braid, you can give the planks a vertical position, and after the other - arrange them horizontally.
Note!
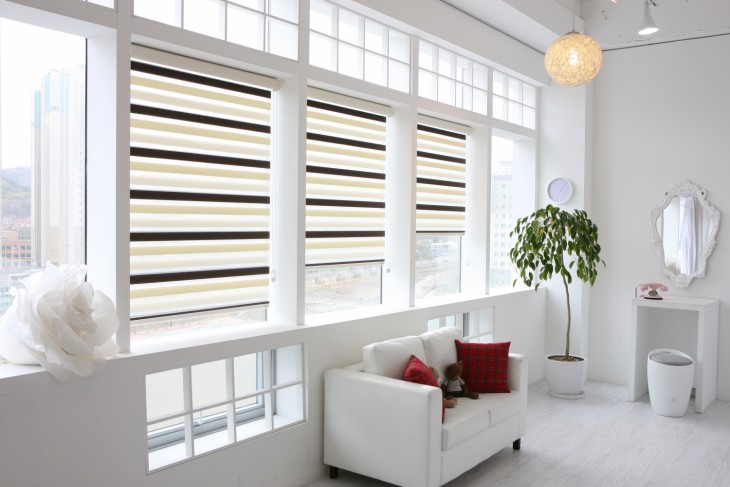
As can be seen from the description, the manufacture and installation of blinds is not particularly difficult. All this is affordable even for a beginner.
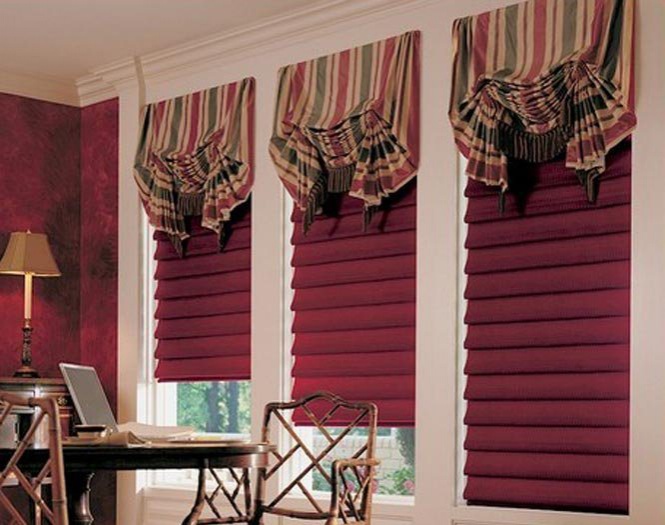
DIY blinds photo


Note!