Literally 10-15 years ago, only the old women could see the hoop in their hands, and the valances, pillows, towels embroidered by our great-grandmothers were hidden far away in the closet.

Now the situation has changed - everyone embroider, and schoolgirls at home economics classes, and young mothers who guard their little ones in the sandbox.
The addiction to embroidery is declared publicly by the stars of show business, famous athletes.
Needlework stores offer ready-made kits, in which a drawing scheme is embedded, the necessary materials - canvas, threads, needles. It’s fashionable to embroider, it’s fashionable to decorate not only your home, but also your clothes with embroidery.
Review Content:
Types of embroidery
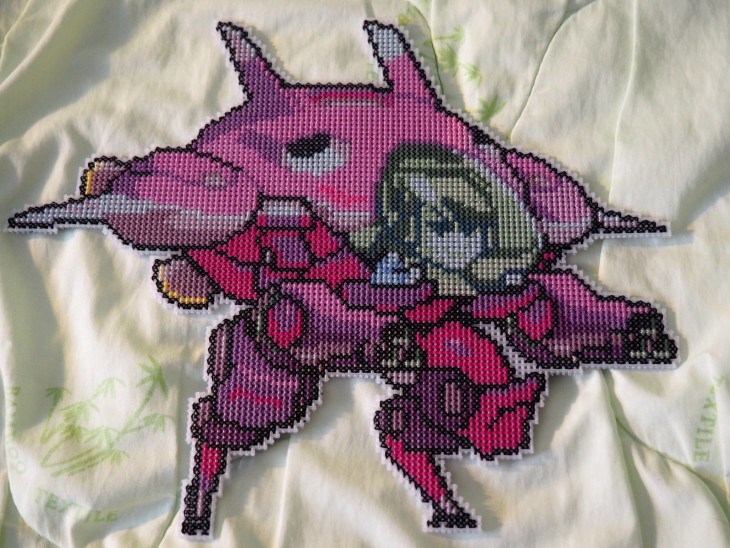
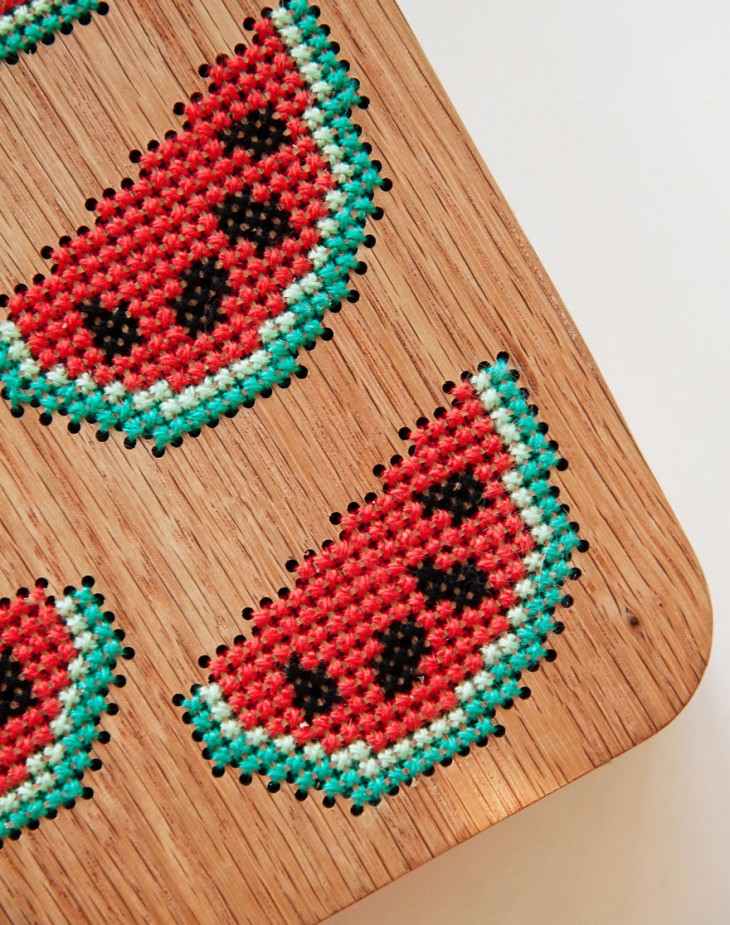
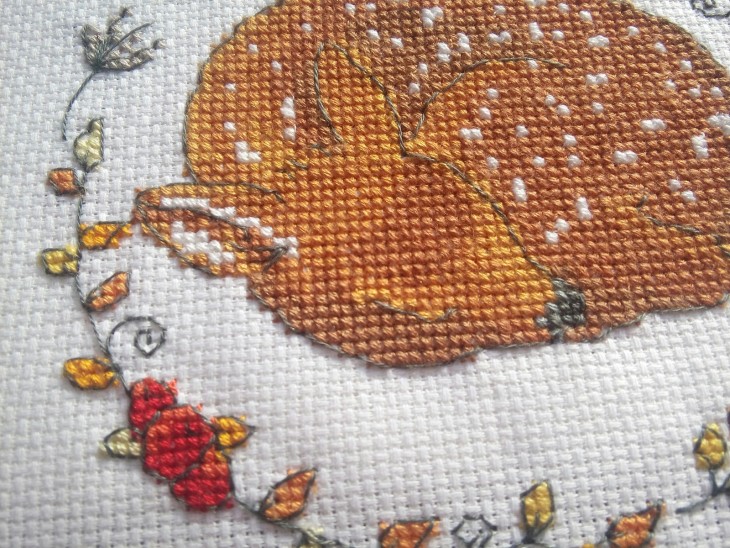
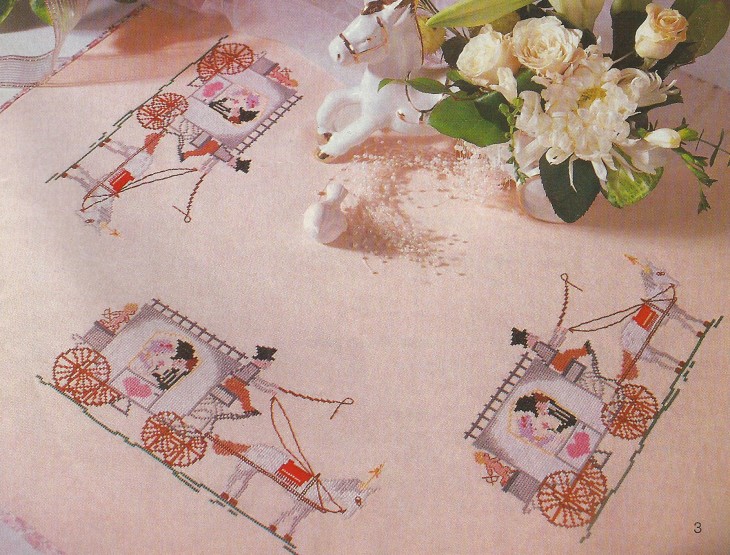
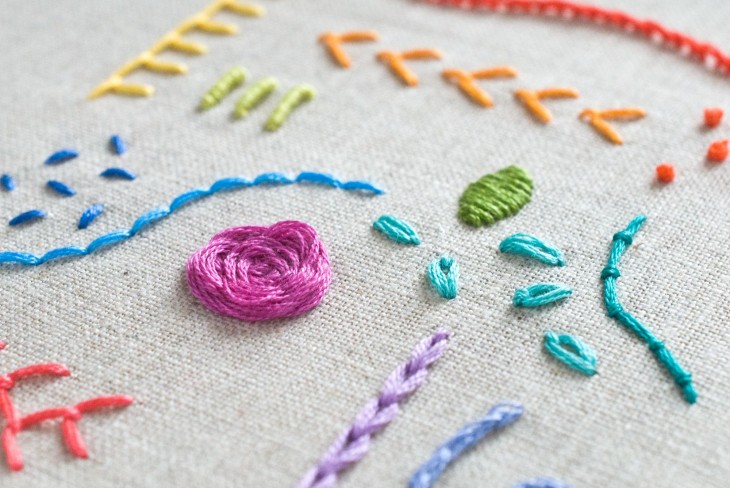
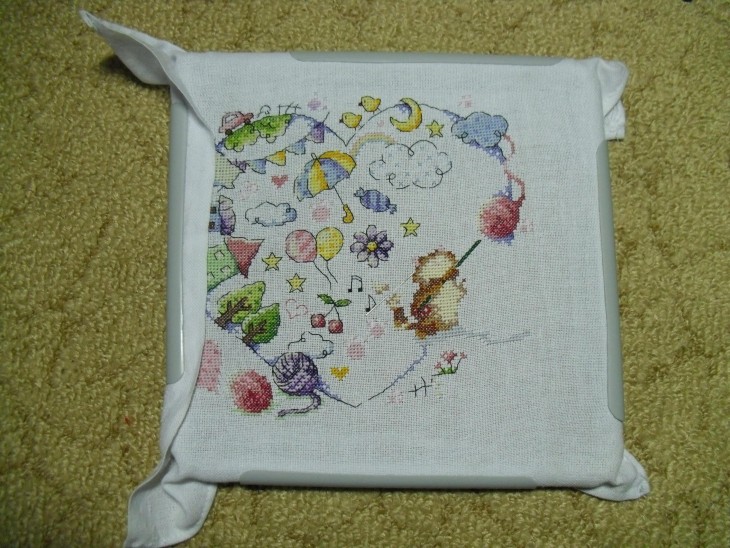
Cross stitch traditional, known since ancient times, is the most popular. And no wonder - this is the simplest type of embroidery, there are only two directions of the thread - the lower from corner to corner of the cell, and the upper - crossing it.
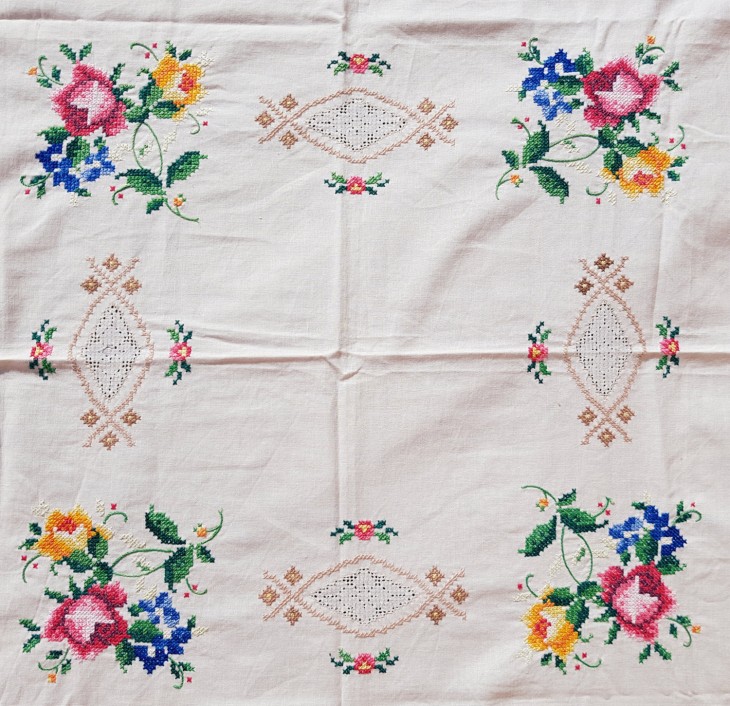

Next came "aerobatics" - all lower strings should lie flat, the slope should be made of all half crosses in one direction. Half cross, quarter cross, backstitch, petit, French knot ...
If you understand what this is about, you are our person, that is, a needlewoman, you have your own “hamster mink”, in which there are stocks of thread-sets-circuits under the general name “I will embroider this”.
This is about cross stitch.
But there are still embroidery options:
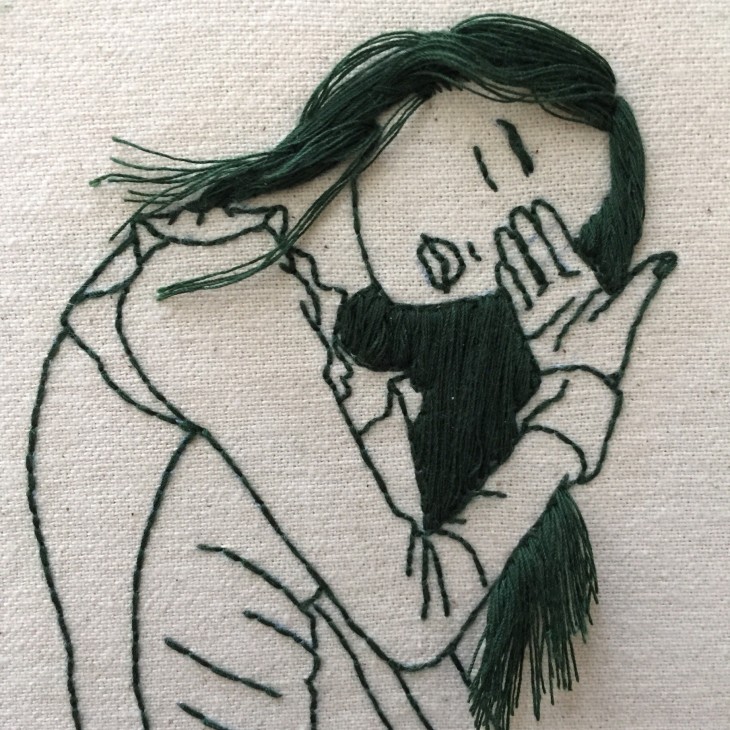
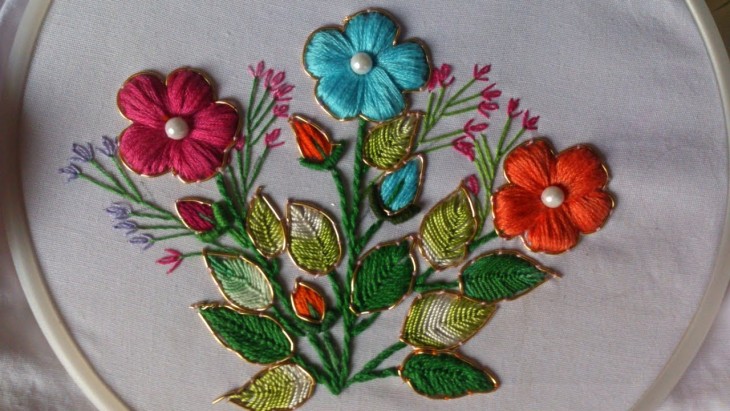
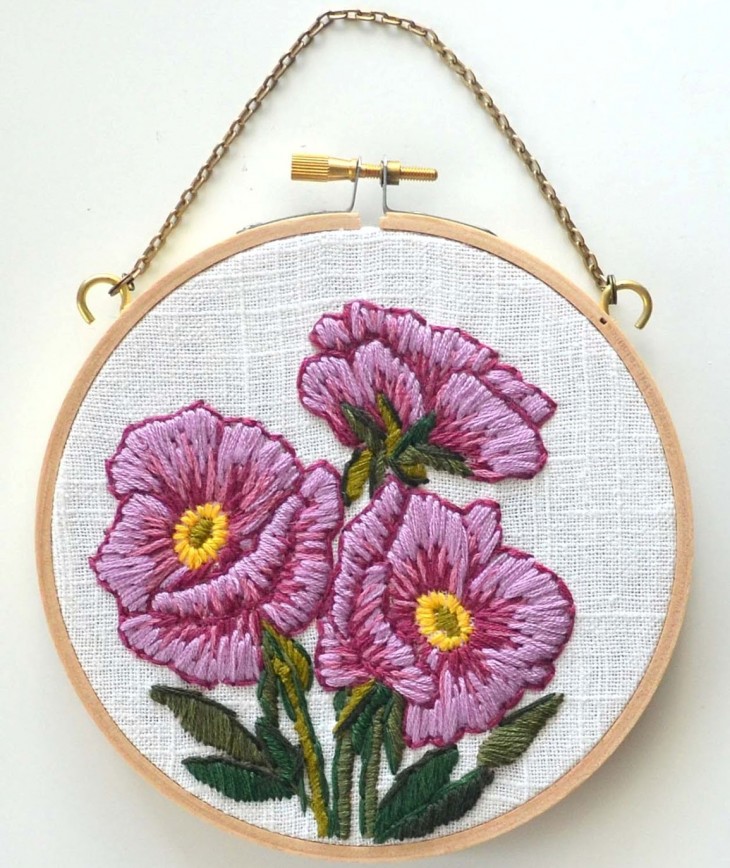
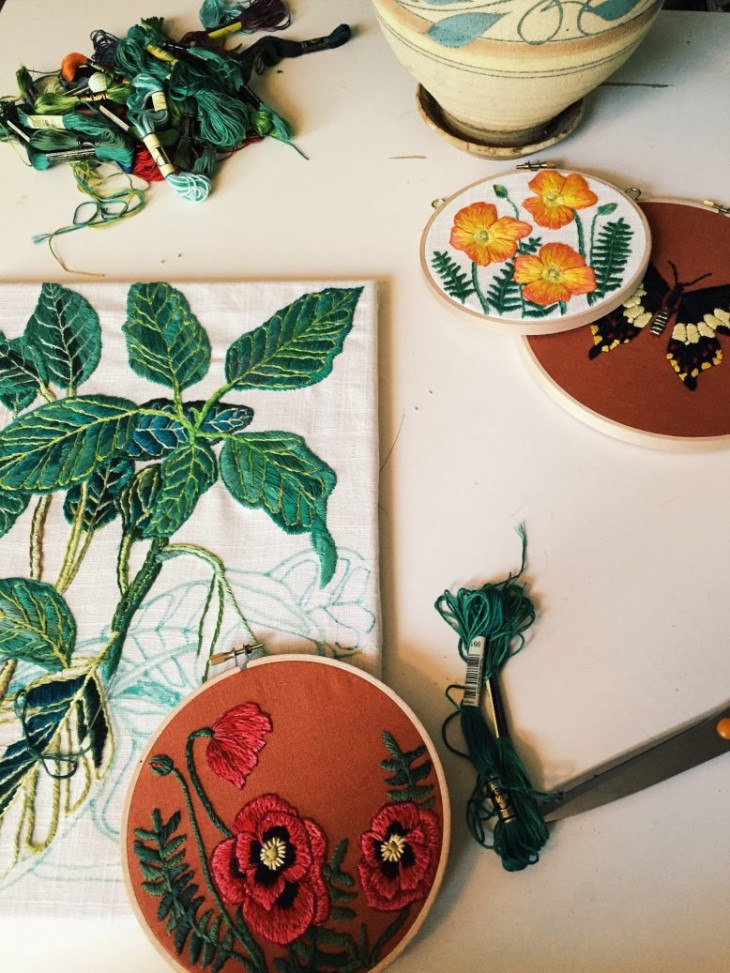
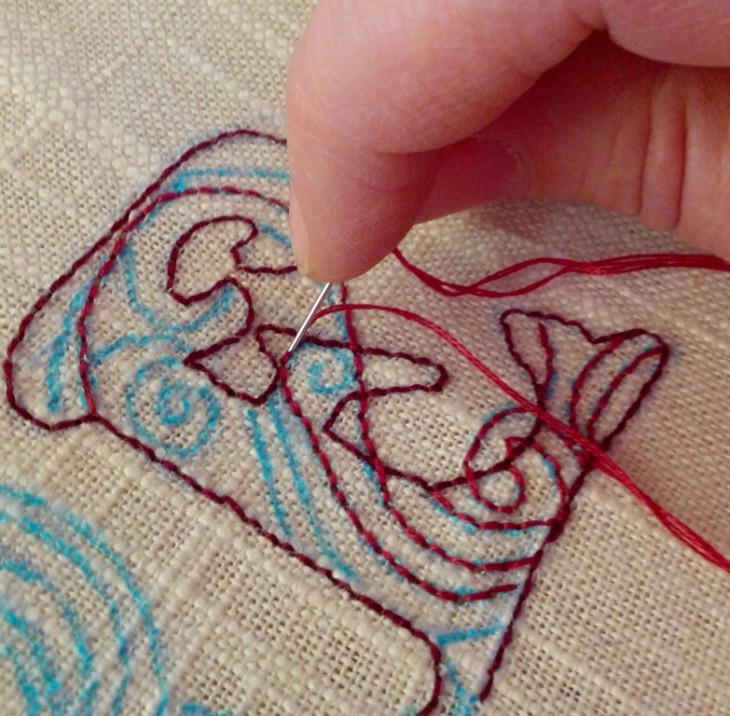
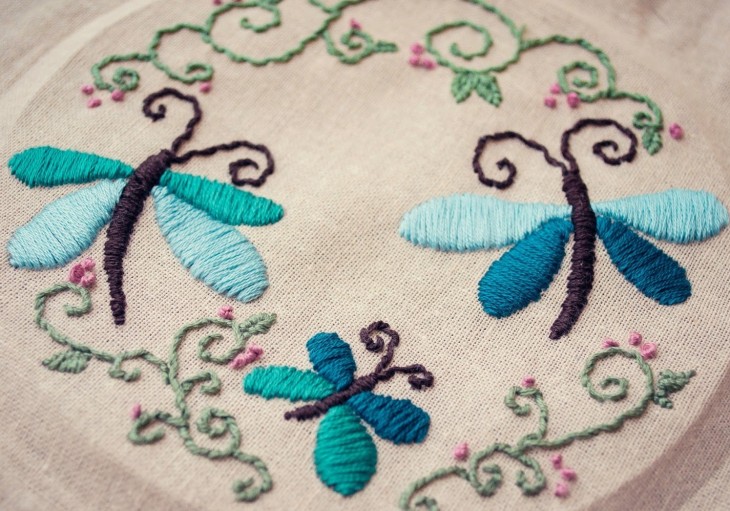
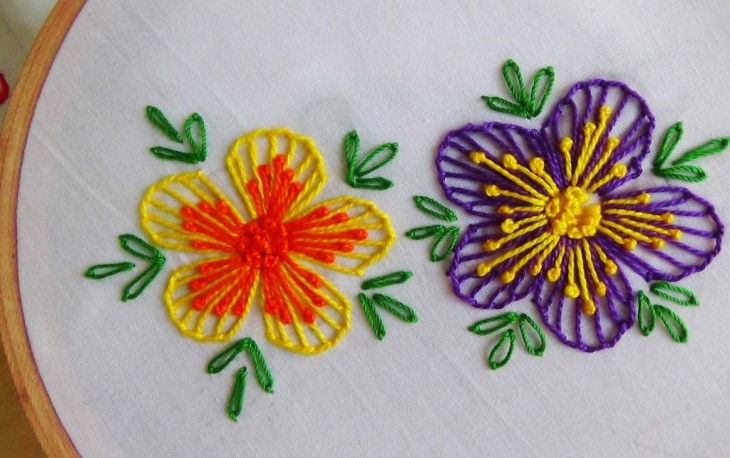
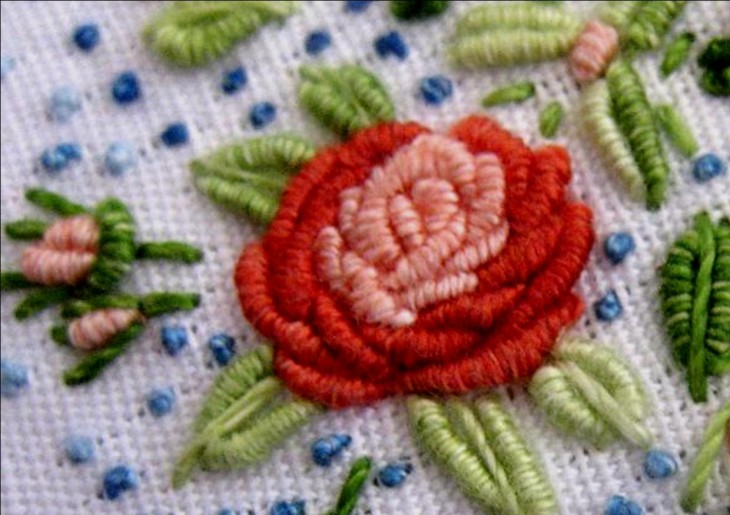
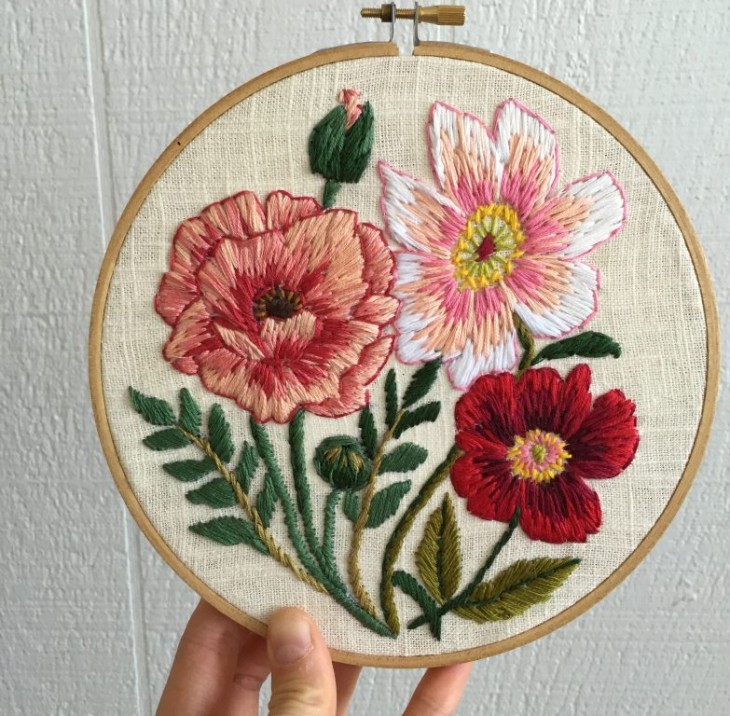
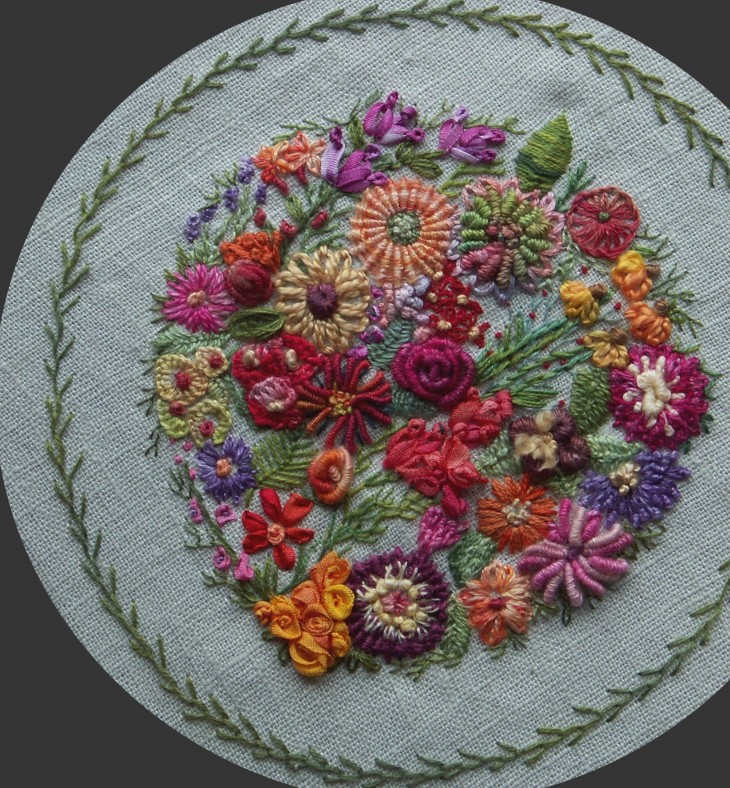
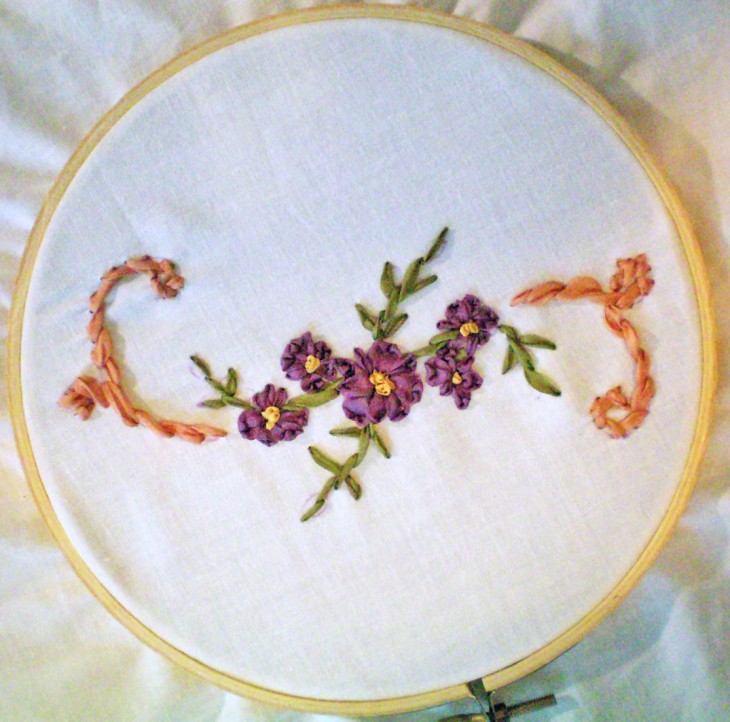
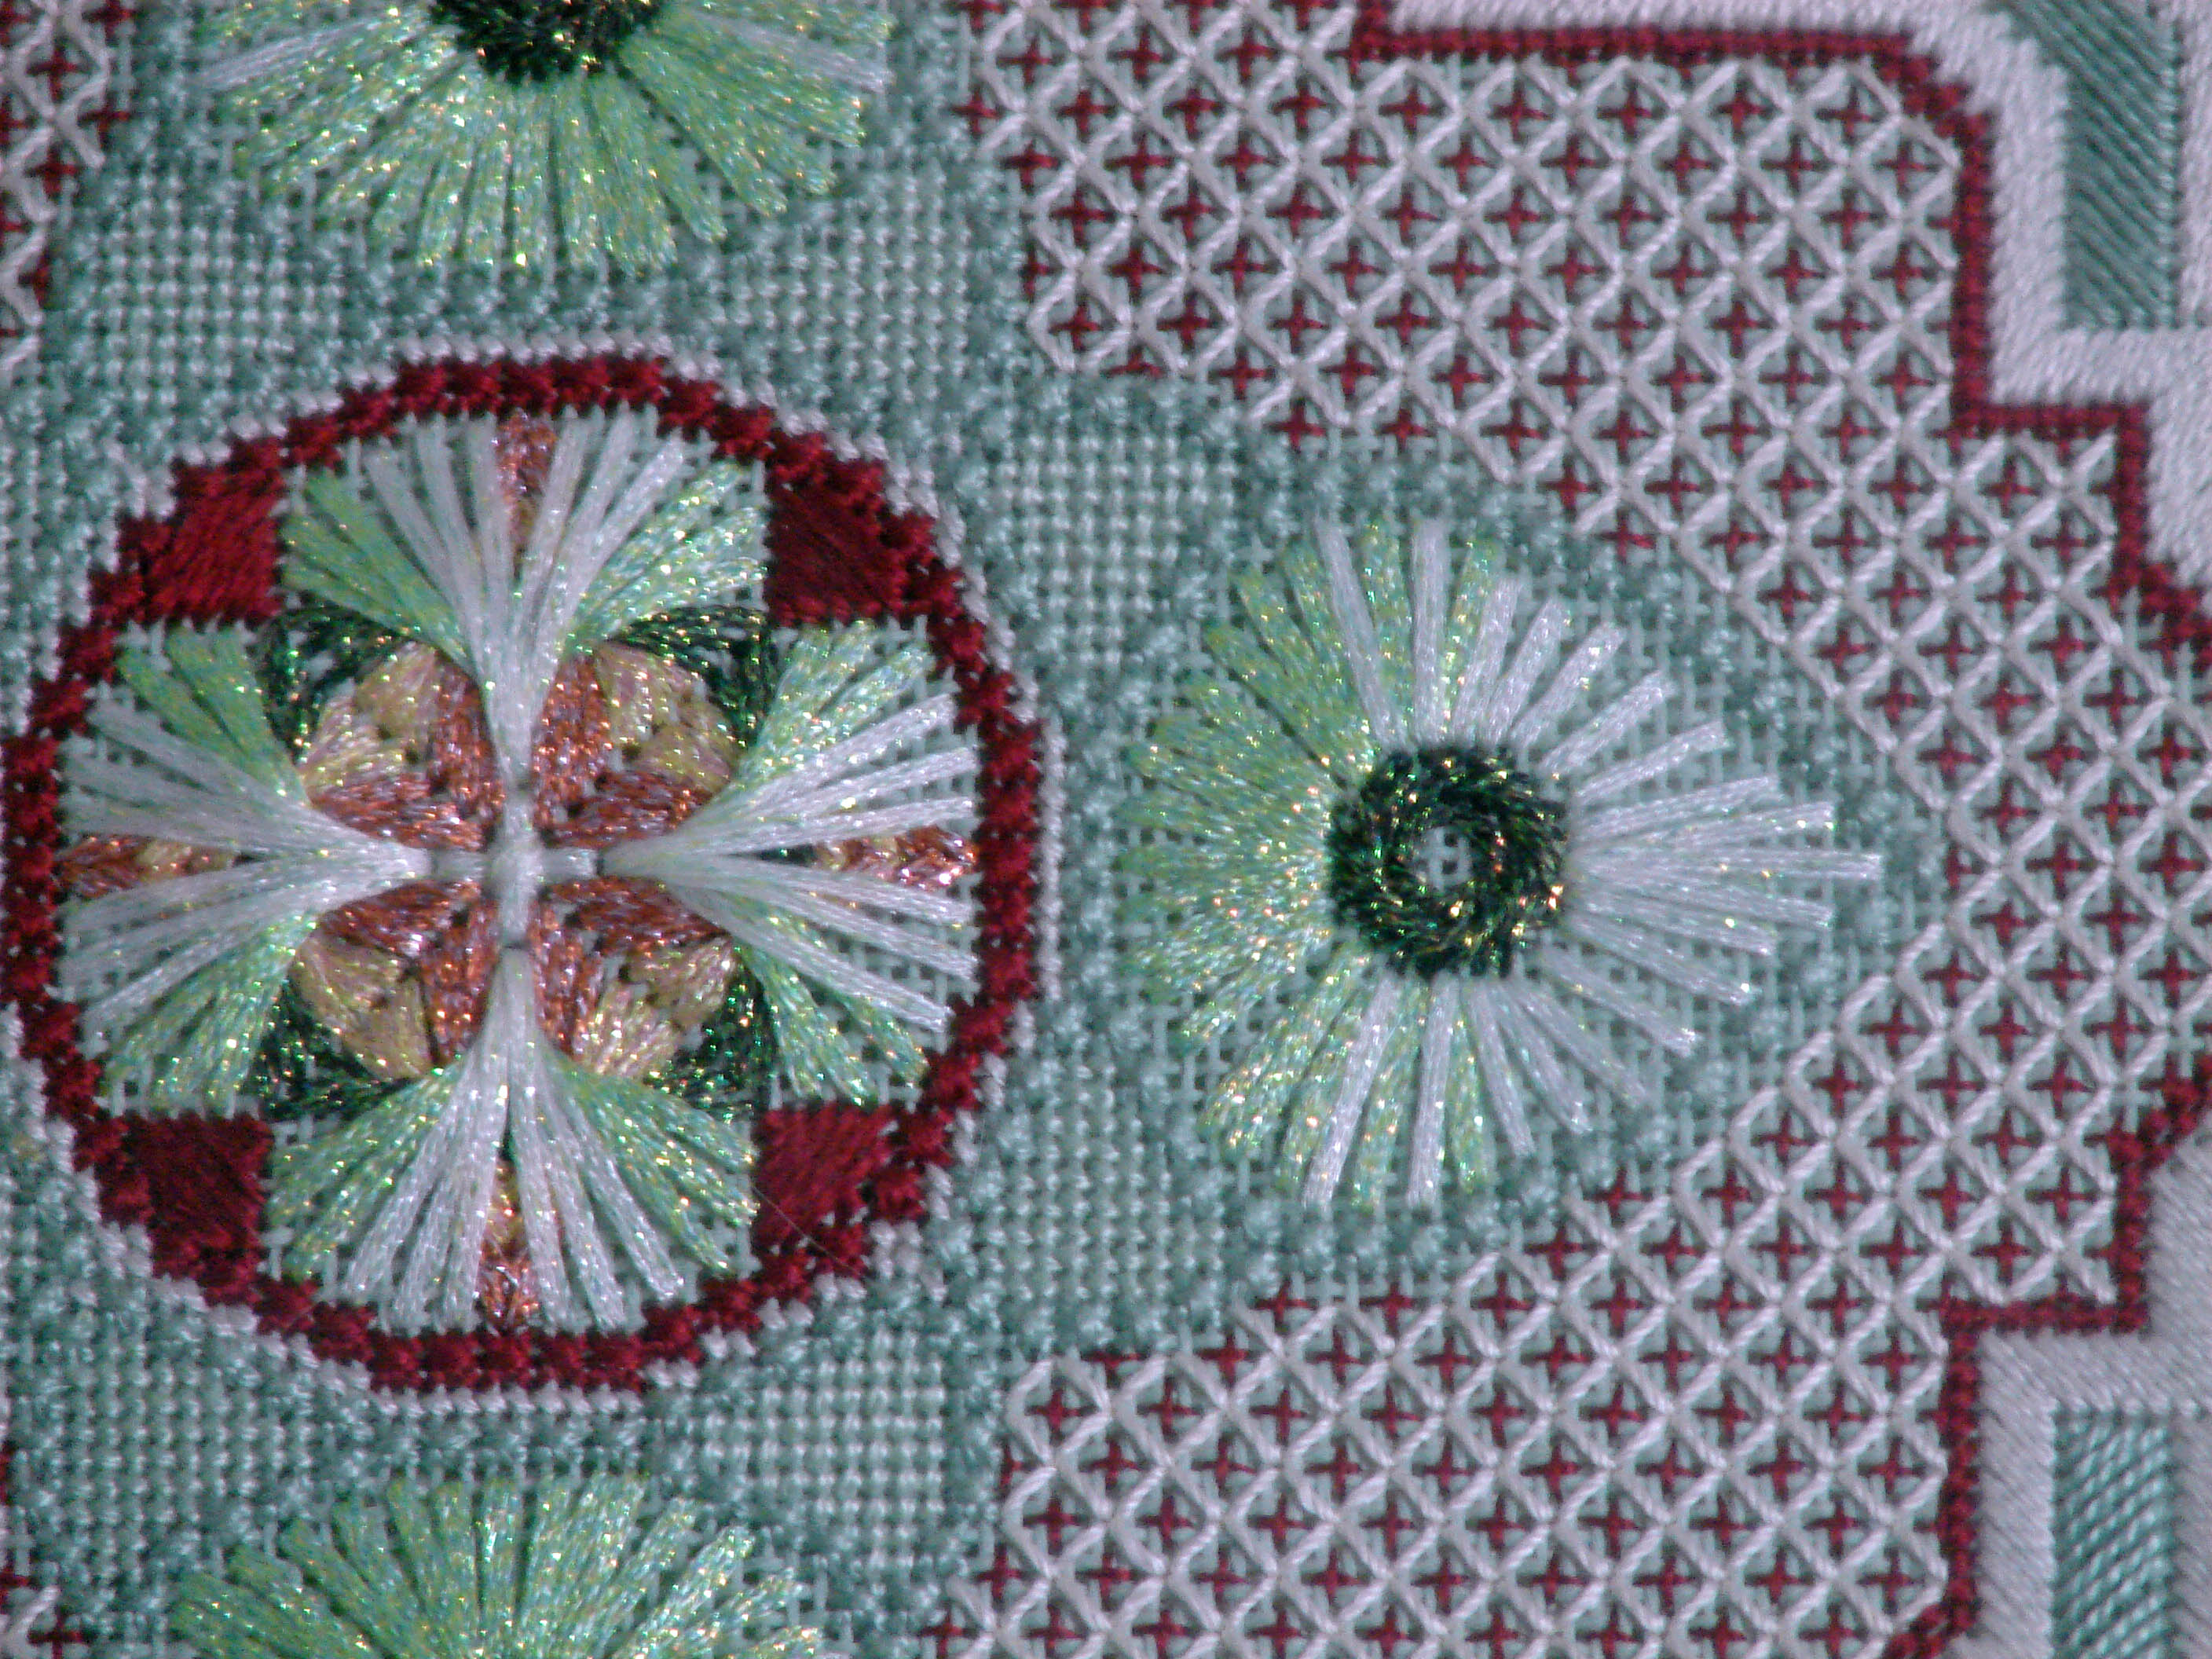
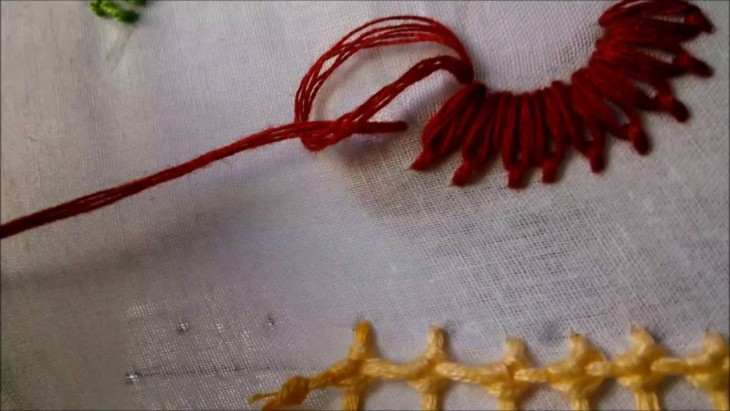
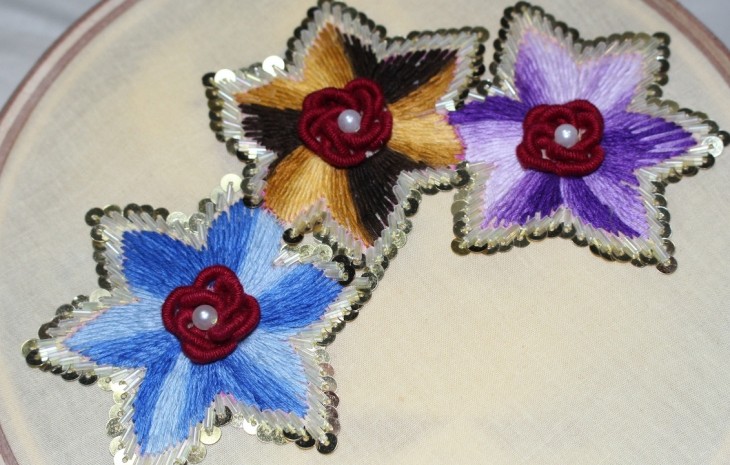
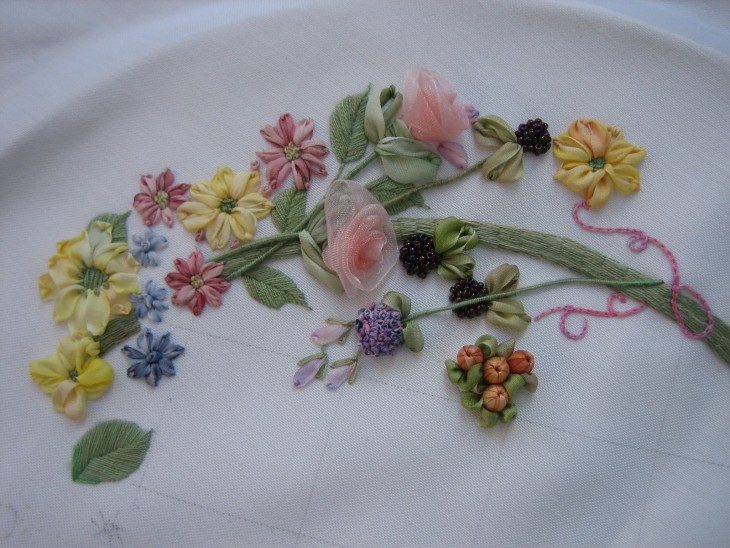
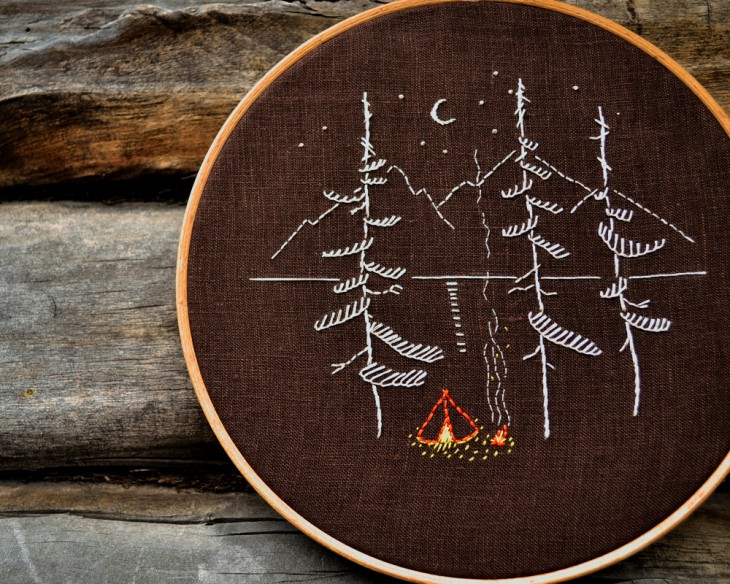
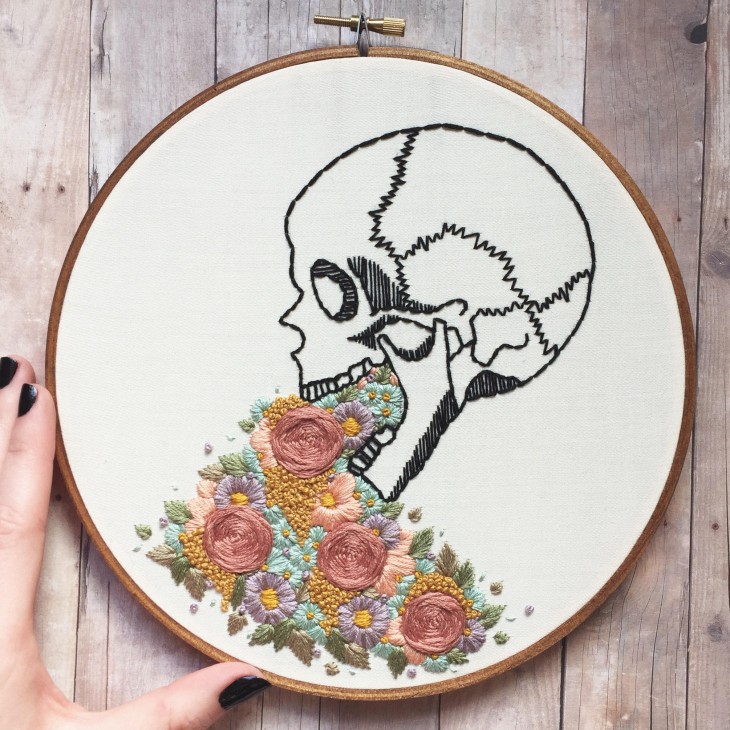
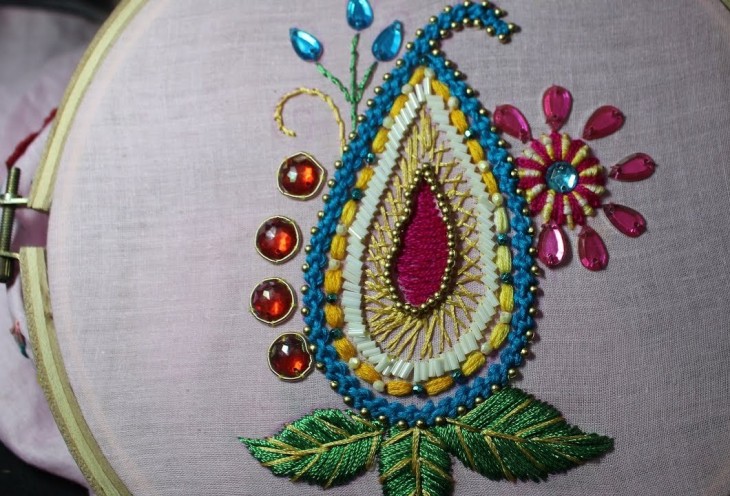
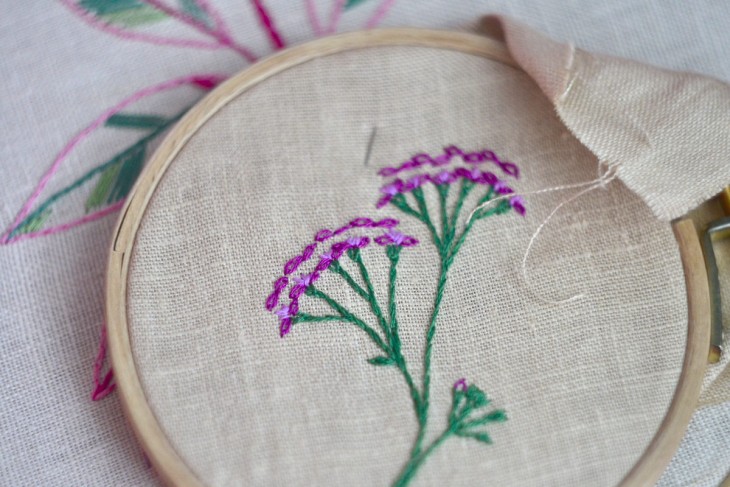
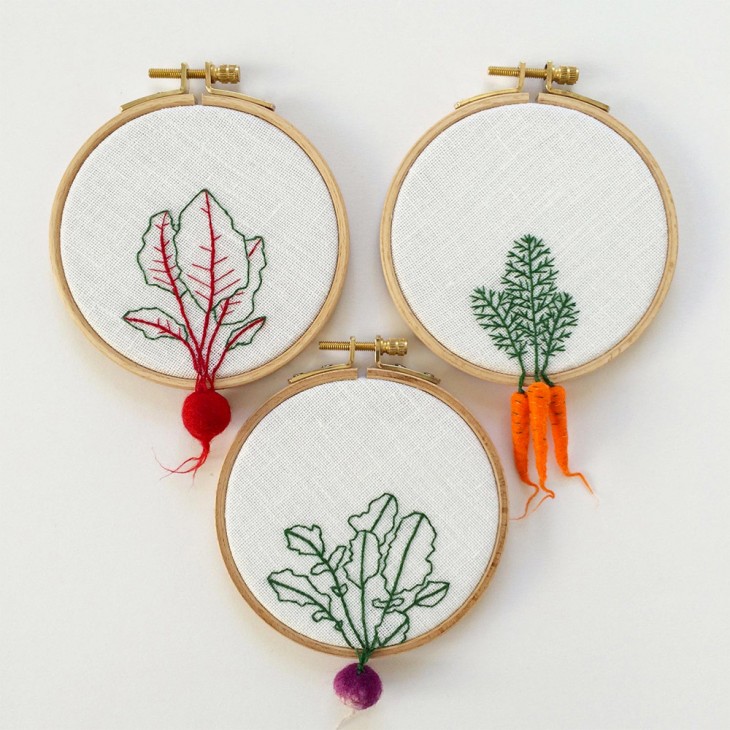
- Stroke is not for everyone, experienced craftswomen undertake stitch embroidery, as a result, volumetric colorful works of amazing beauty are obtained.
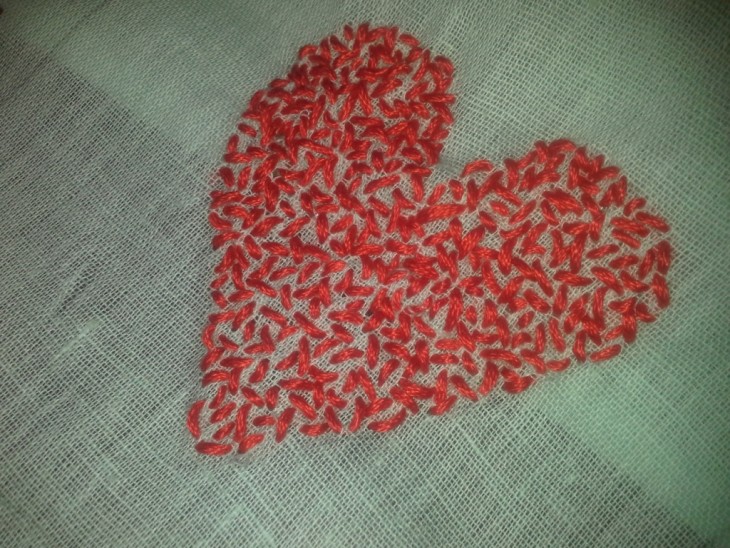
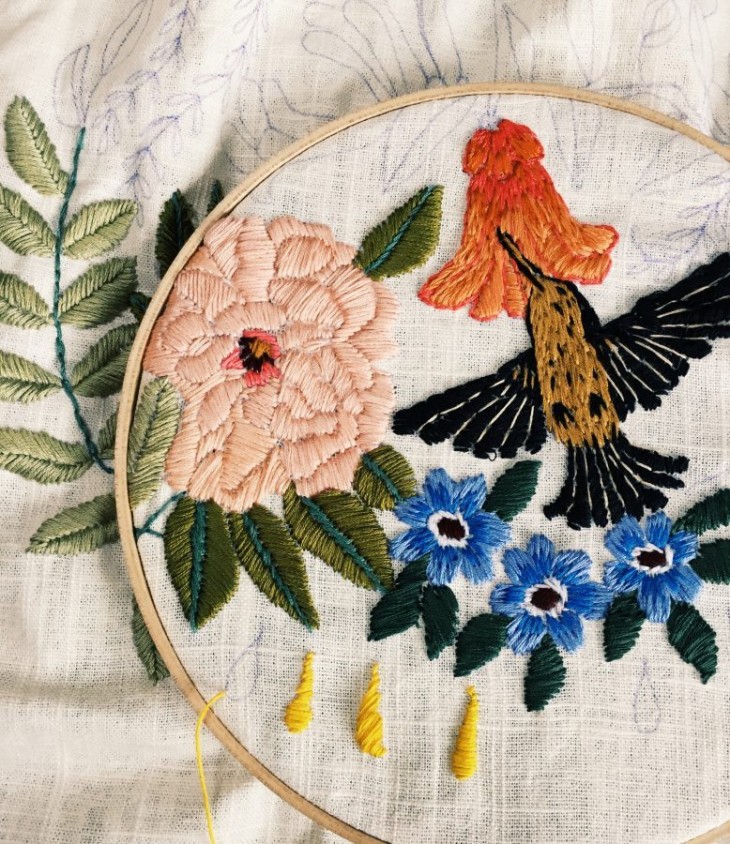
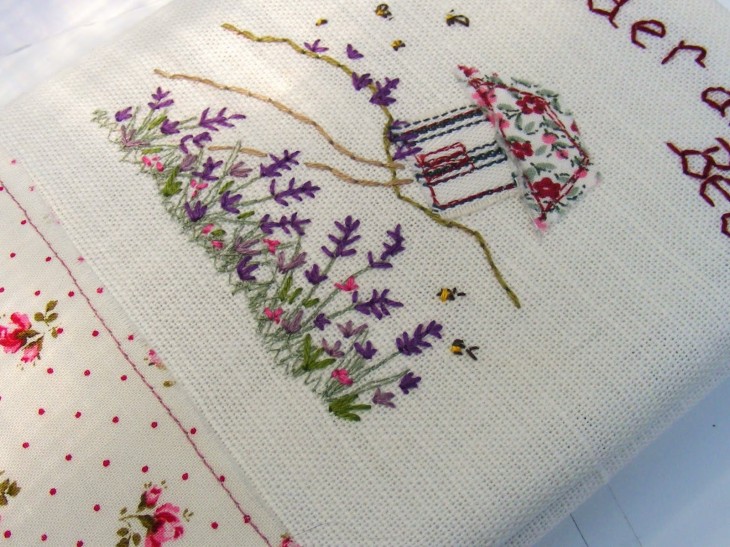
- Long stitch is somewhat similar to satin stitching, but simpler - the work is done in the vertical direction, the stitches are stacked next to each other, they only differ in length except the color of the threads: long-short, they create the effect of volume.
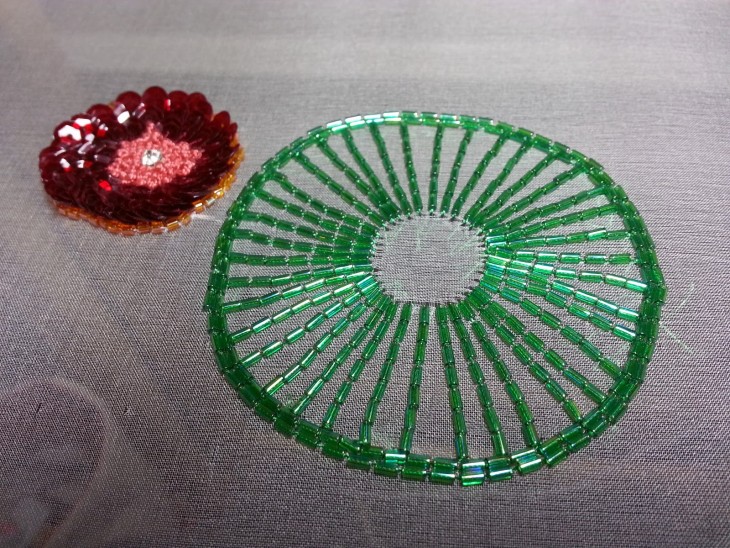
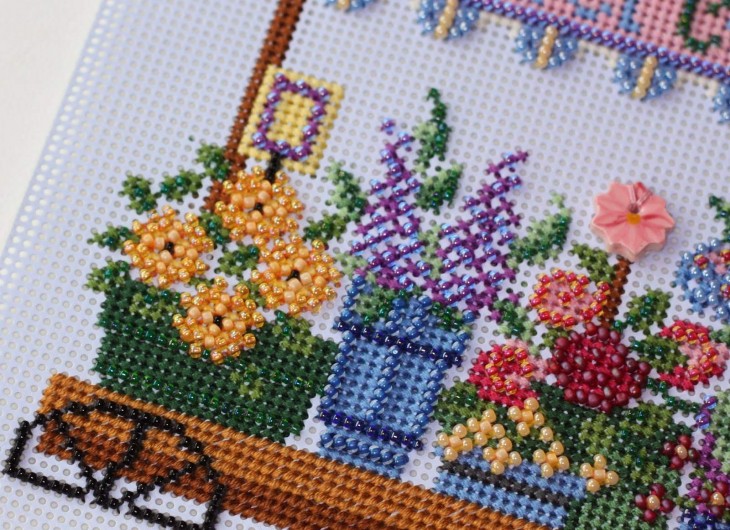
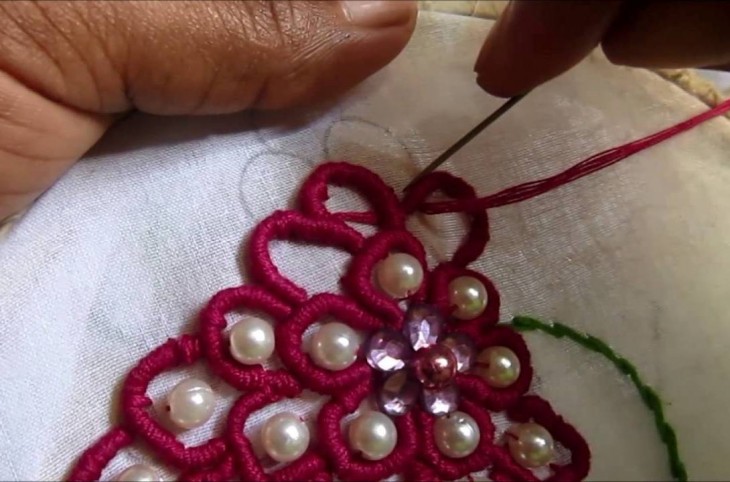
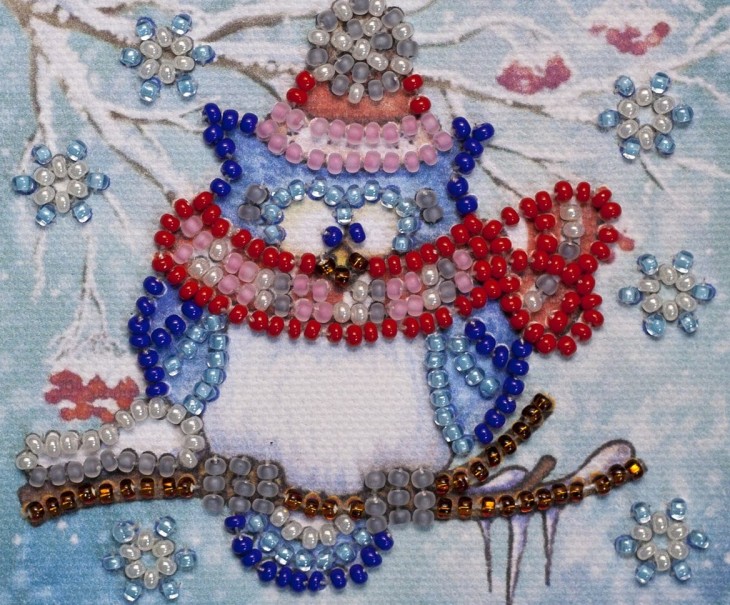
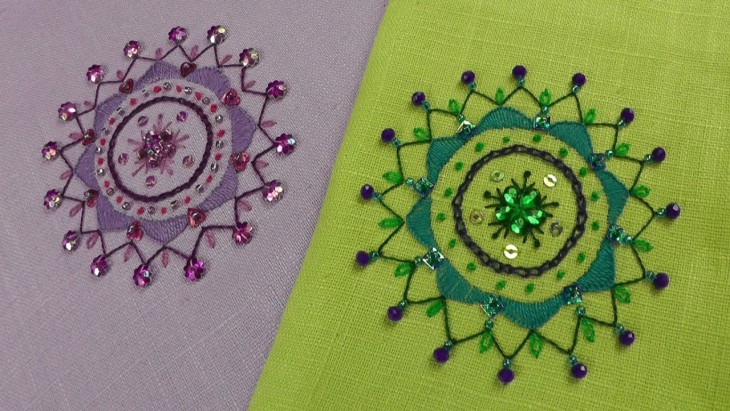
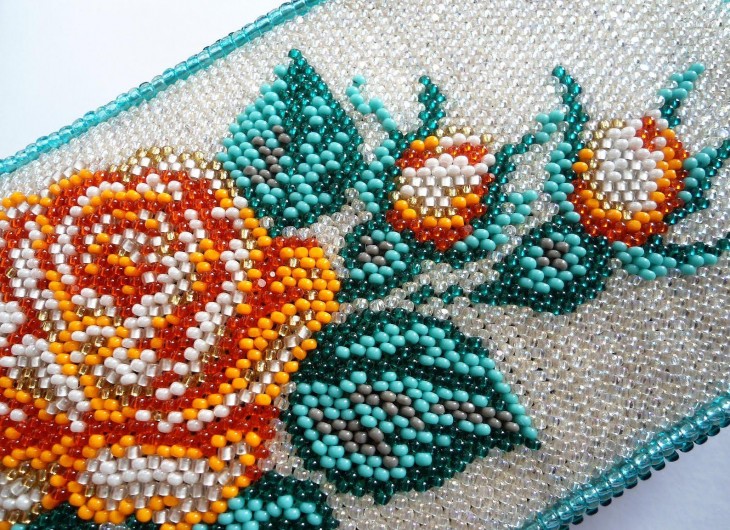
- Beadwork - for her, ready-made basics with a pattern are usually purchased, the craftswoman puts stitches with beads on the pattern - this gives the effect of volume - the sheen of the bead emphasizes, highlights individual elements of the panel.
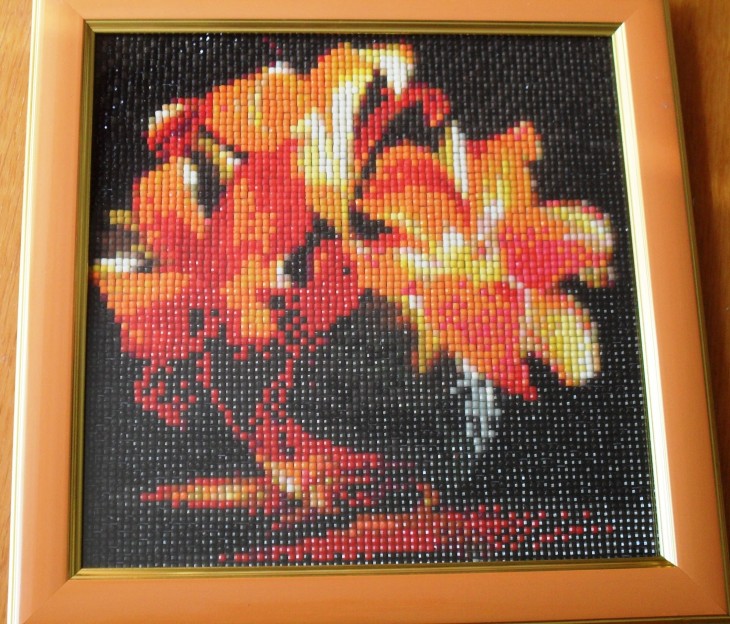
- Diamond embroidery - in fact, not quite embroidery - small square elements of a future picture are laid on a sticky base with a pattern.
Work also requires accuracy and painstakingness - I just put the square crookedly - it stuck, and it’s difficult to fix the error.
But such paintings look spectacular - mosaic elements are usually faceted and shine, overflowing.
There are other embroidery techniques, we called only the most popular. Any technique requires perseverance, painstakingness, accuracy, so many people take up work, but not all bring it to the end.
But those who once “got hooked” on embroidery are unlikely to abandon it, even if the fashion for needlework passes.
How to distinguish a real needlewoman
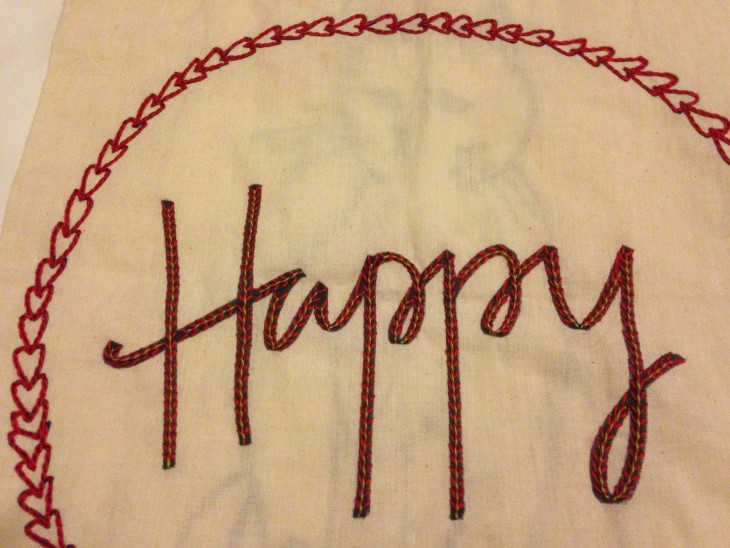
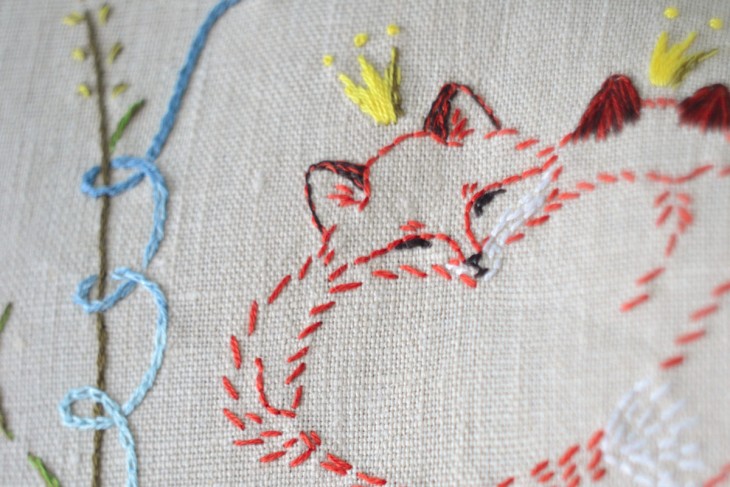
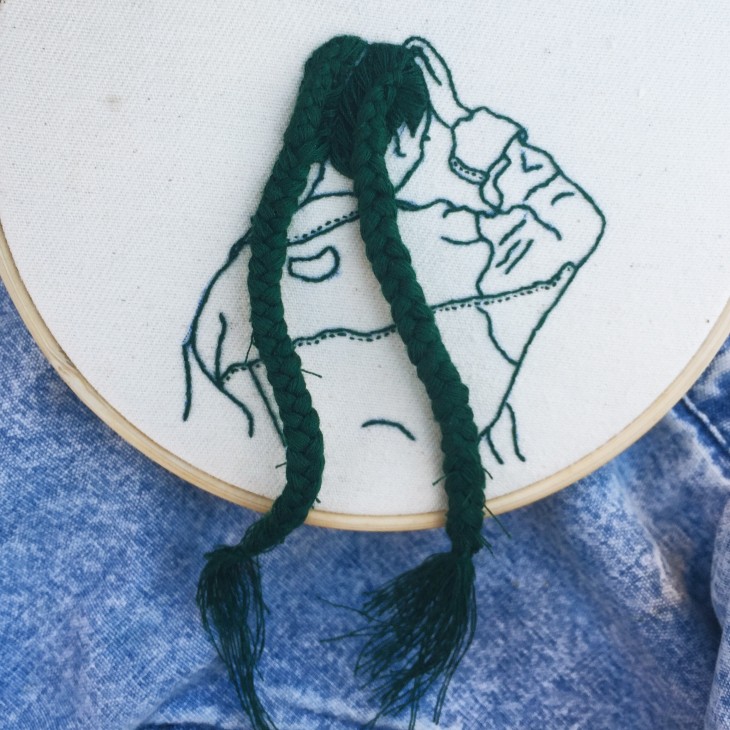
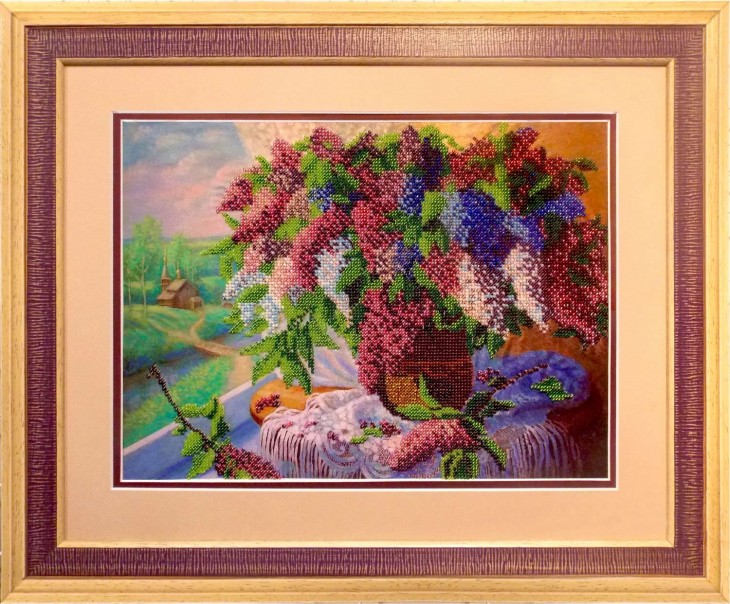
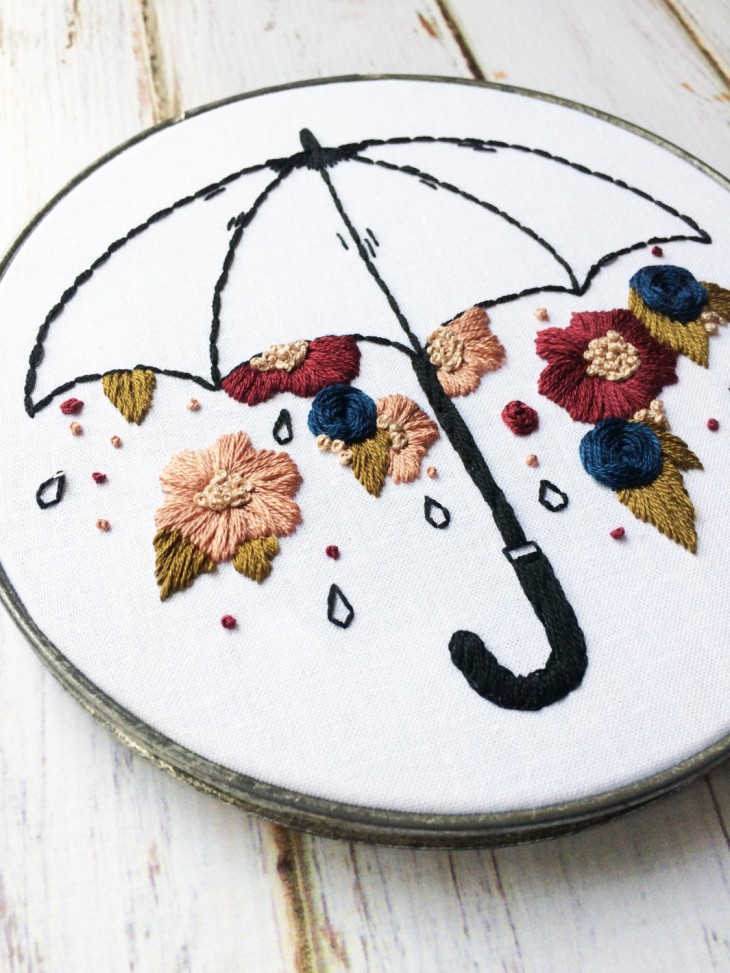
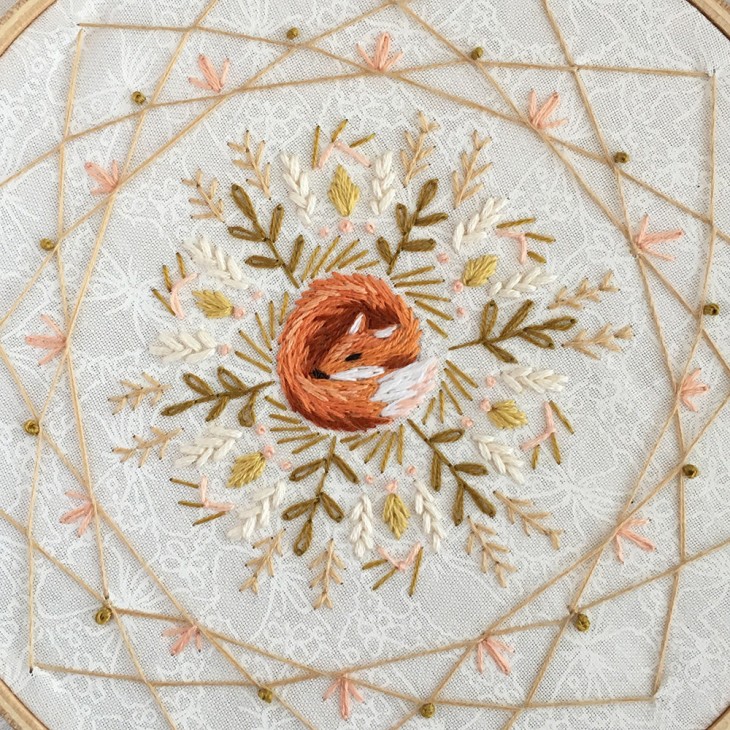
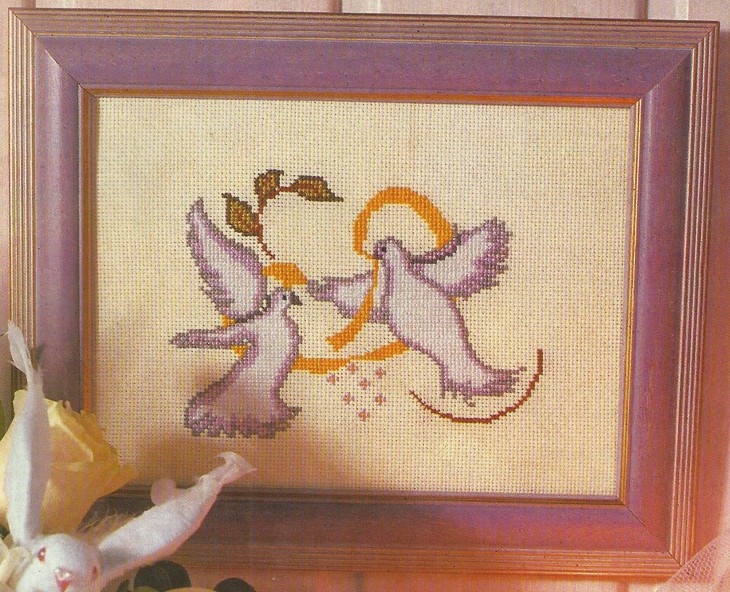
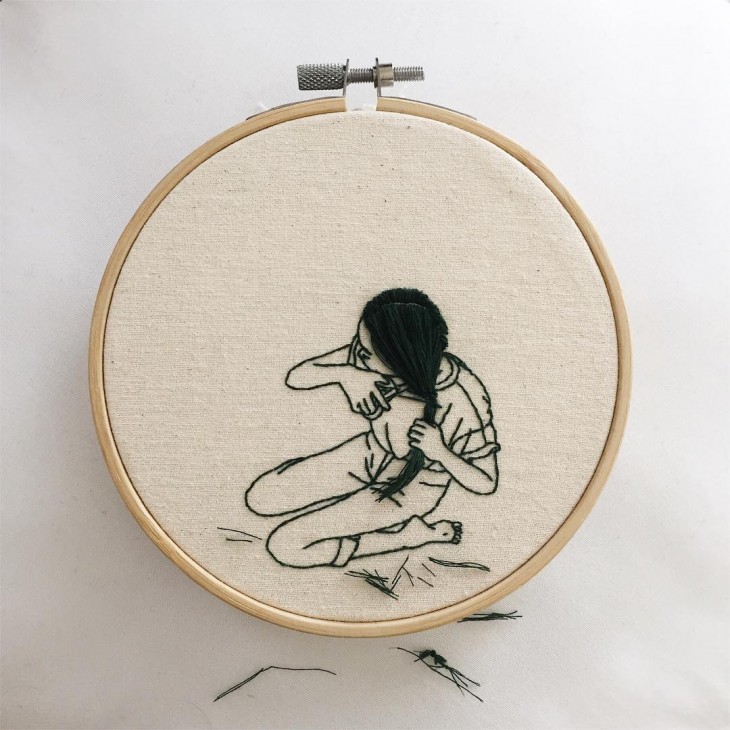
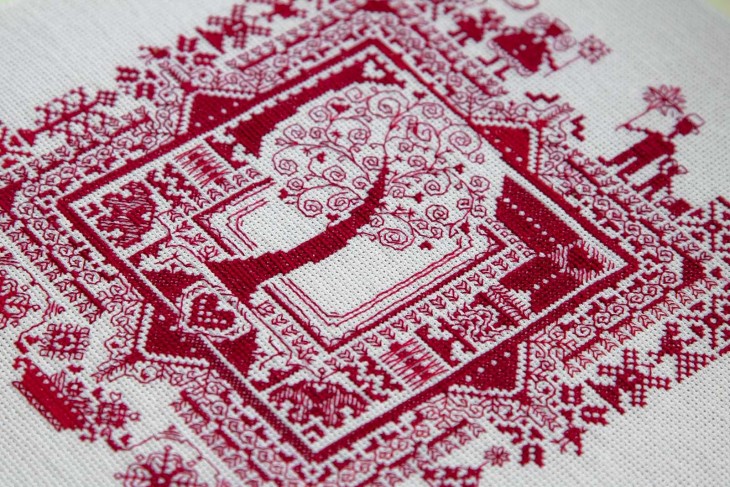
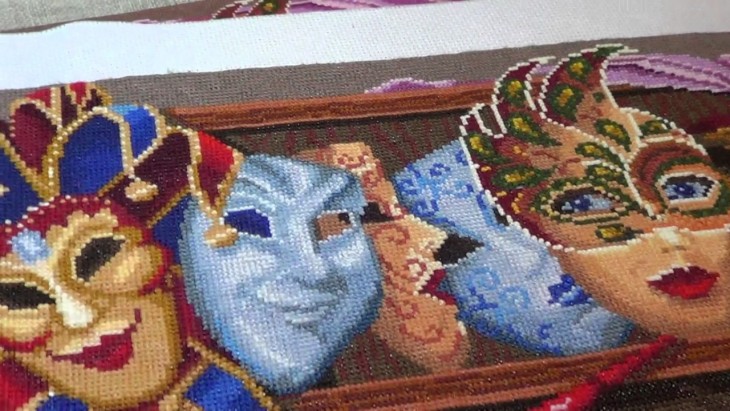
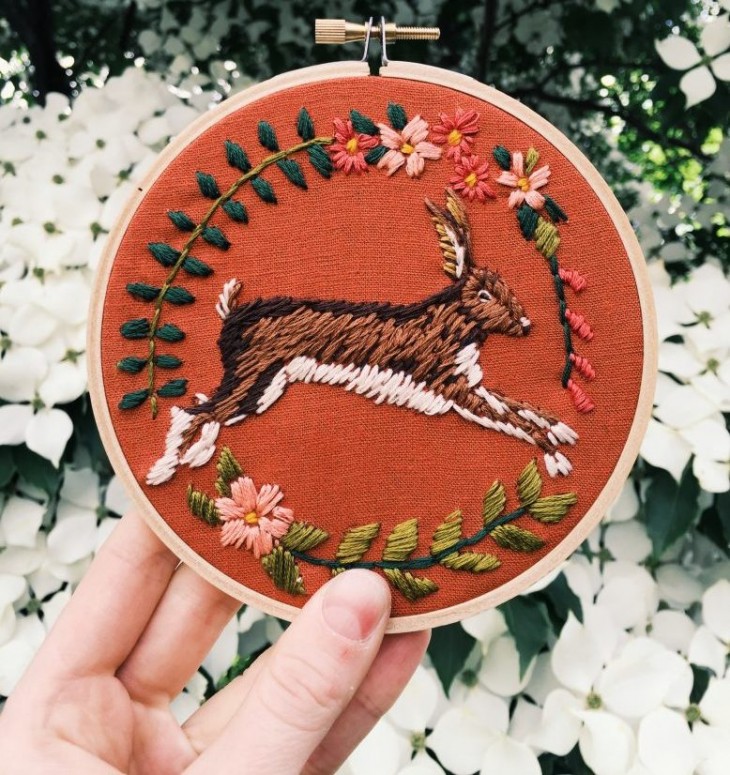
The true embroiderer, having mastered the basics, will not stop there. She is no longer satisfied with the proposed sets and schemes - she takes on more complex works over and over again - this is how embroidered copies of famous paintings, portraits made from photographs, and author's schemes appear.
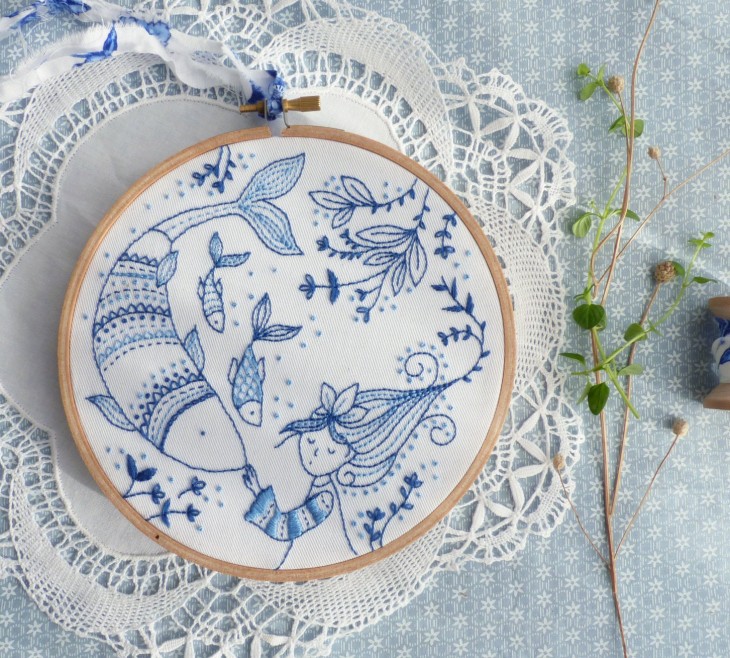
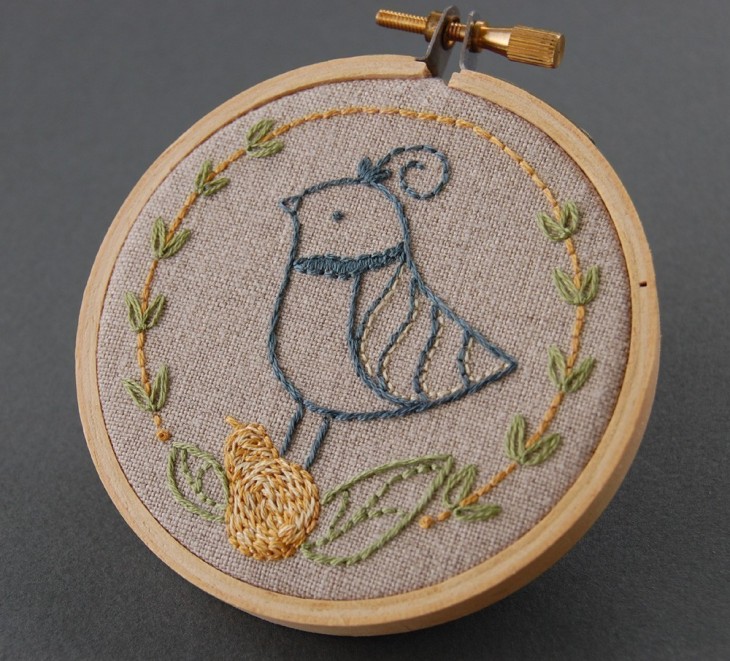
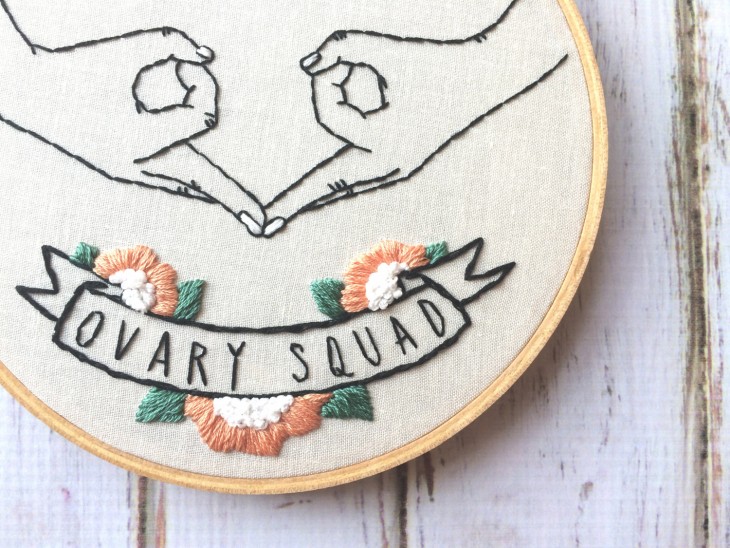
Look at the photo of embroidery - it is difficult to distinguish an embroidered picture from a drawn one.
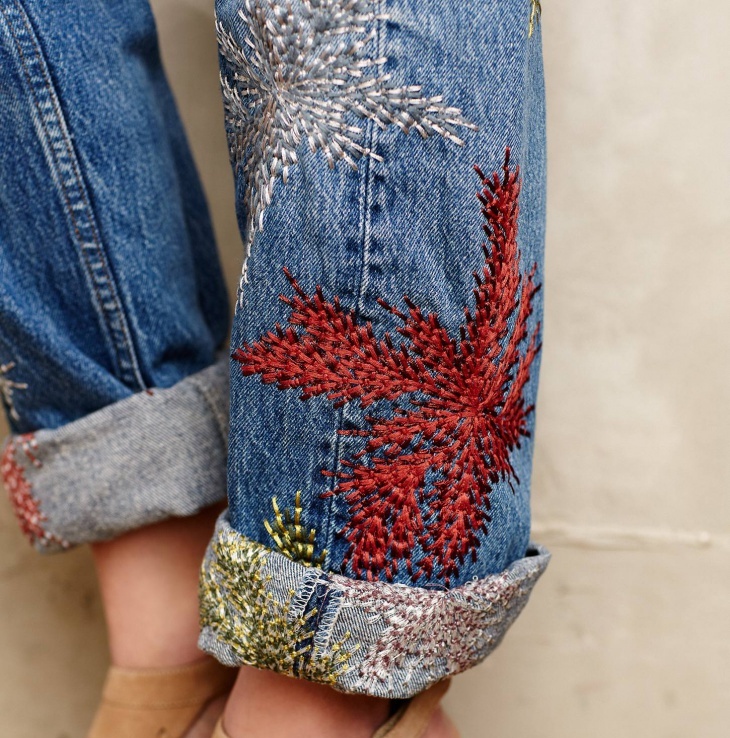
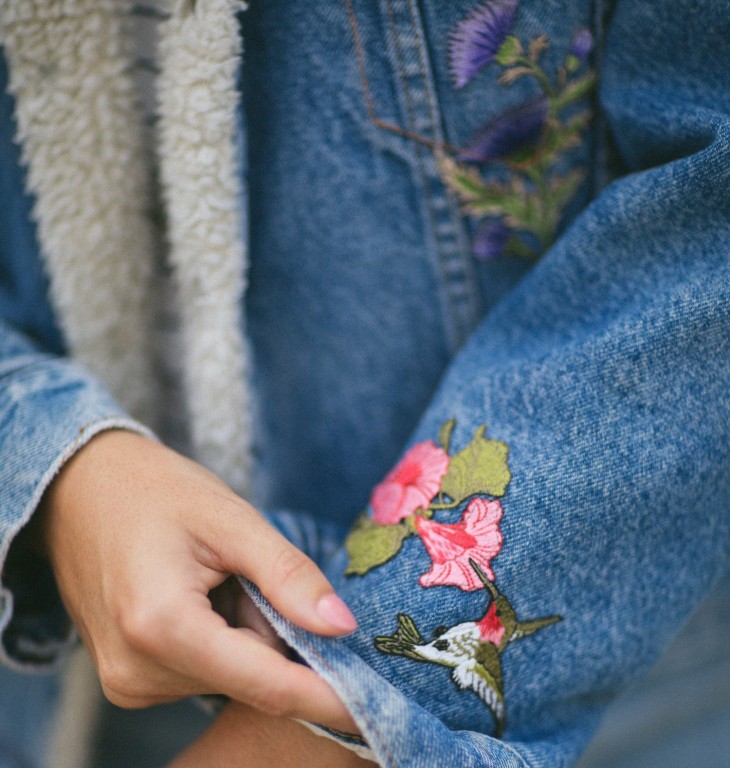
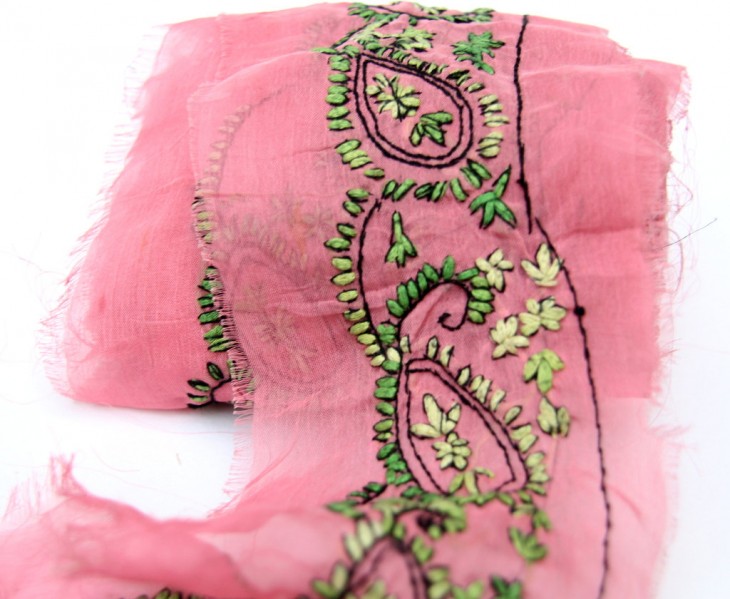
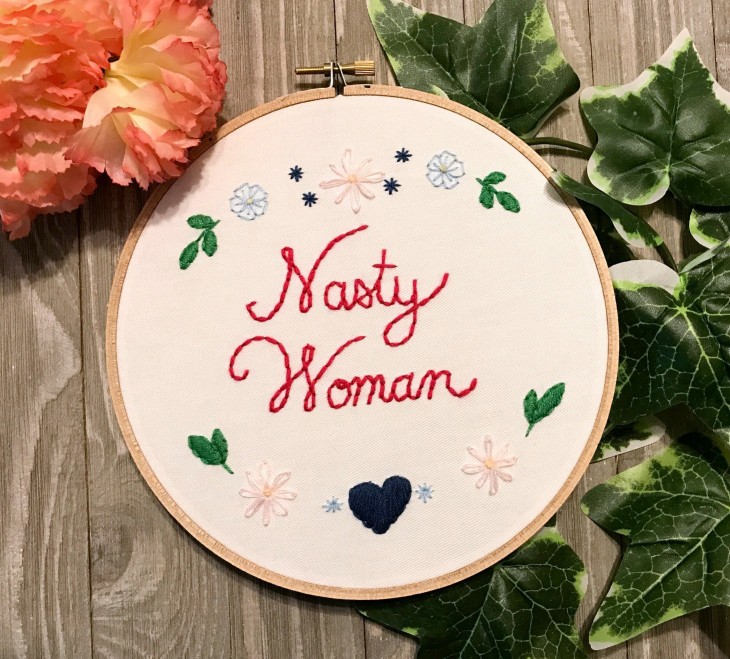
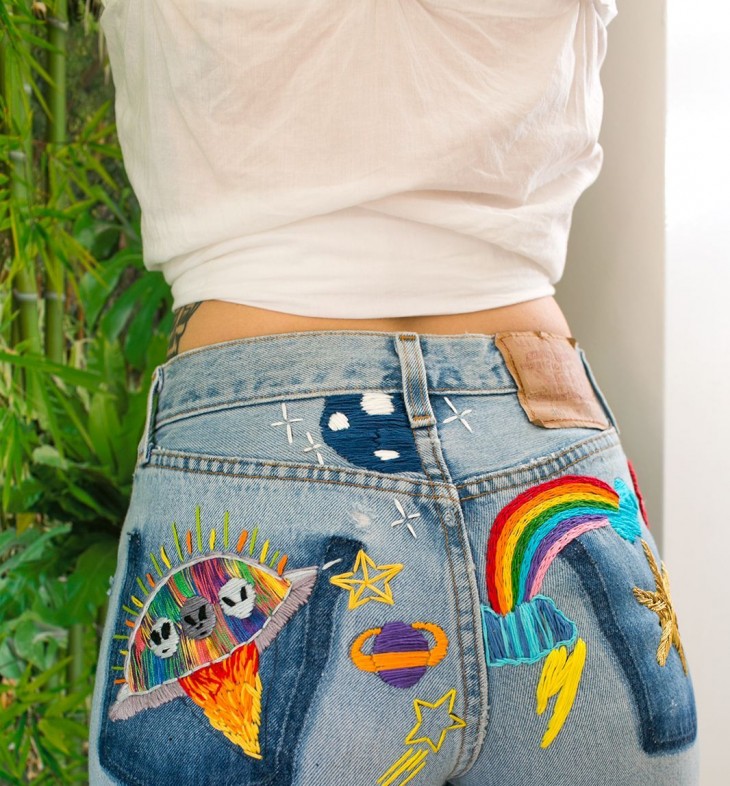
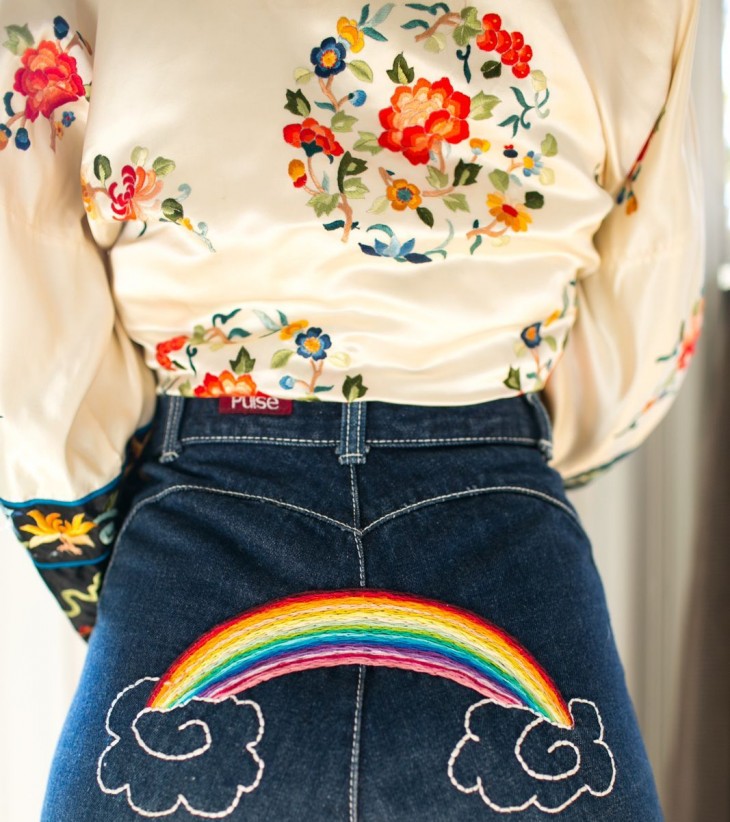
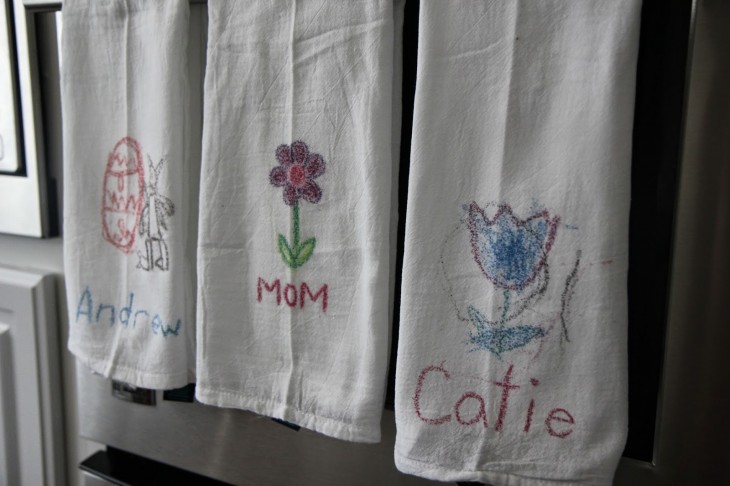
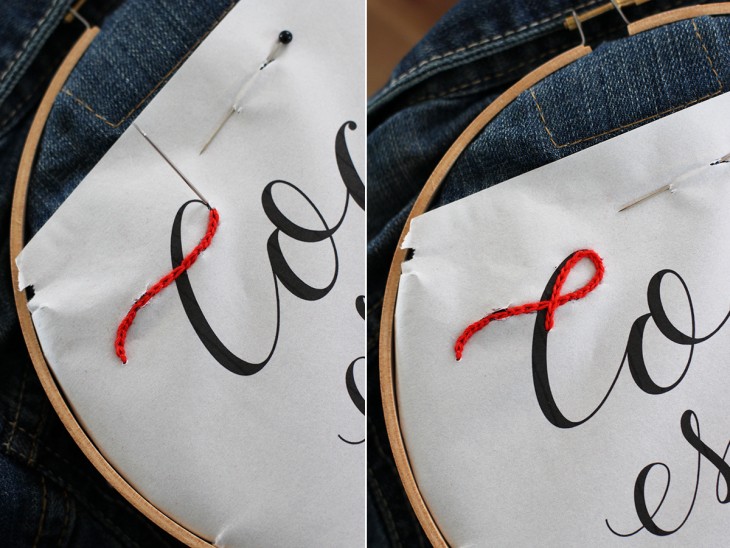
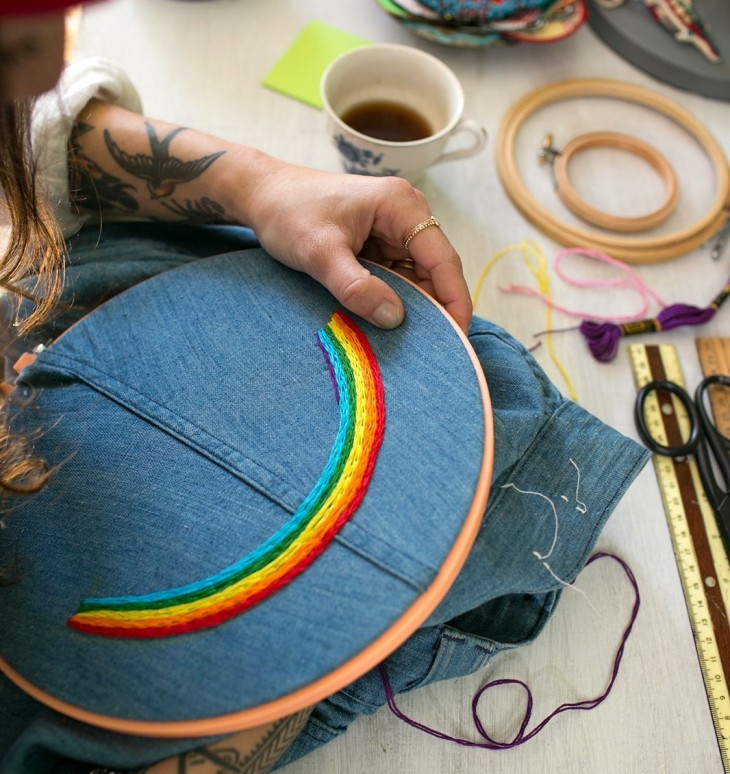
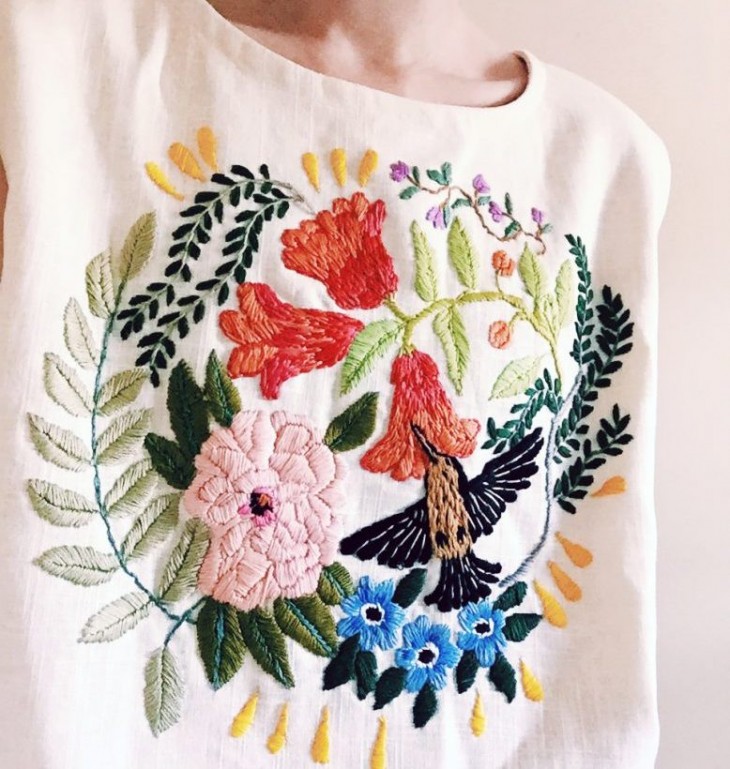
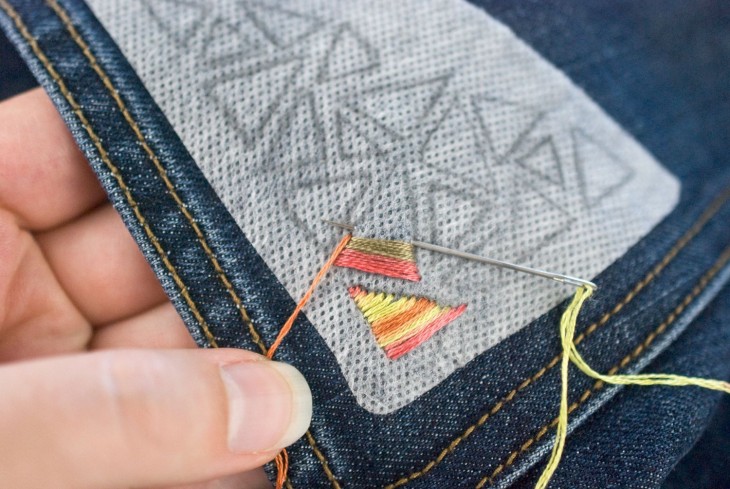
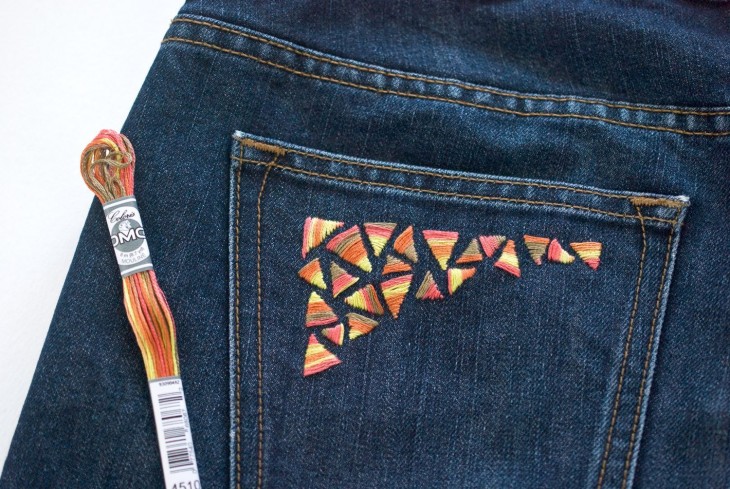
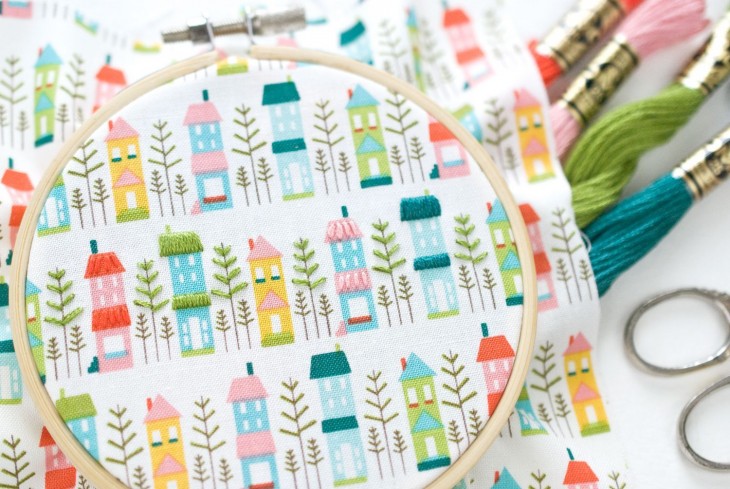
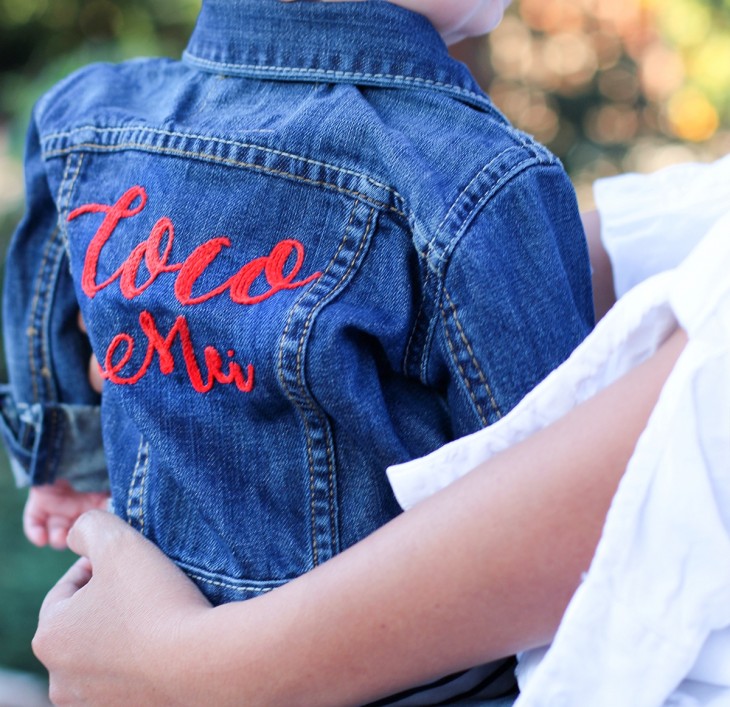
Recently, embroidery on clothes has become fashionable - denim jackets are embroidered with a cross or satin stitch - the pattern on the back of such a model looks spectacular with a cross. Embroidery complements jeans, children's clothing, women's blouses, men's shirts - satin stitch embroidery on a shelf near the breast pocket looks voluminous.
Note!

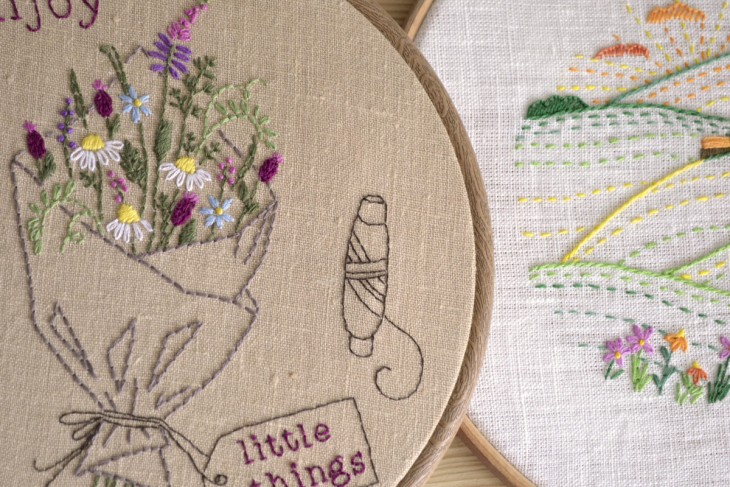
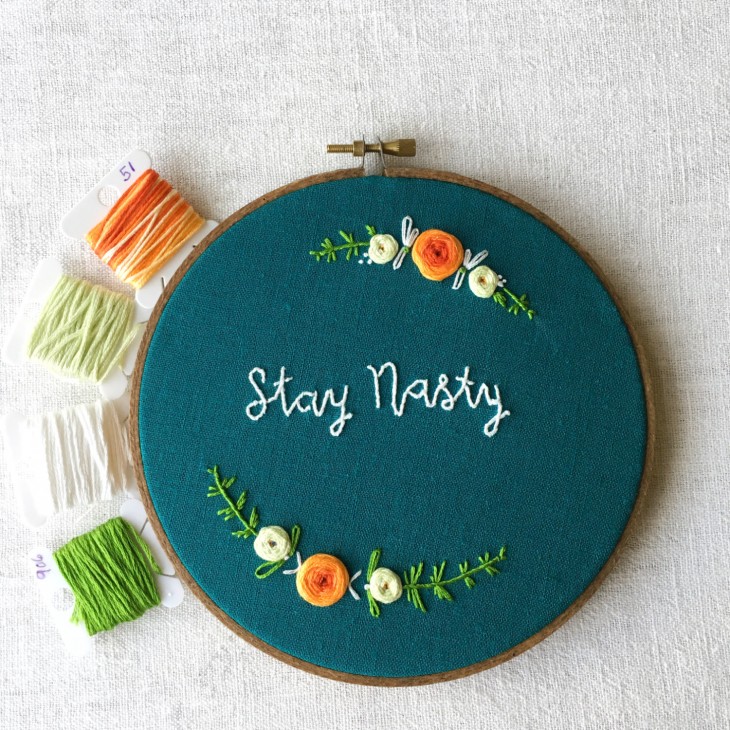
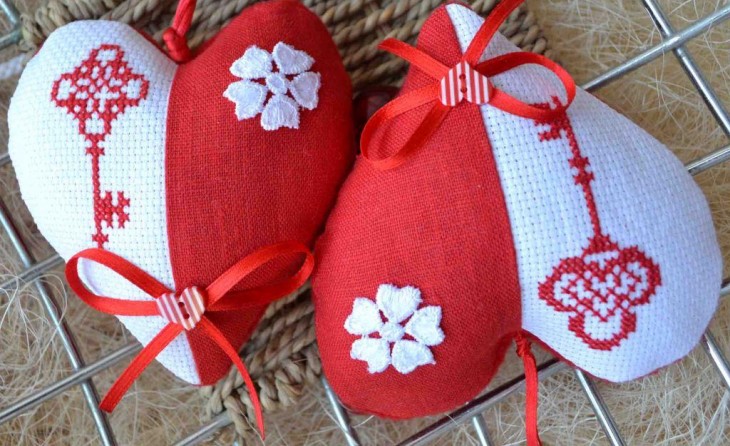
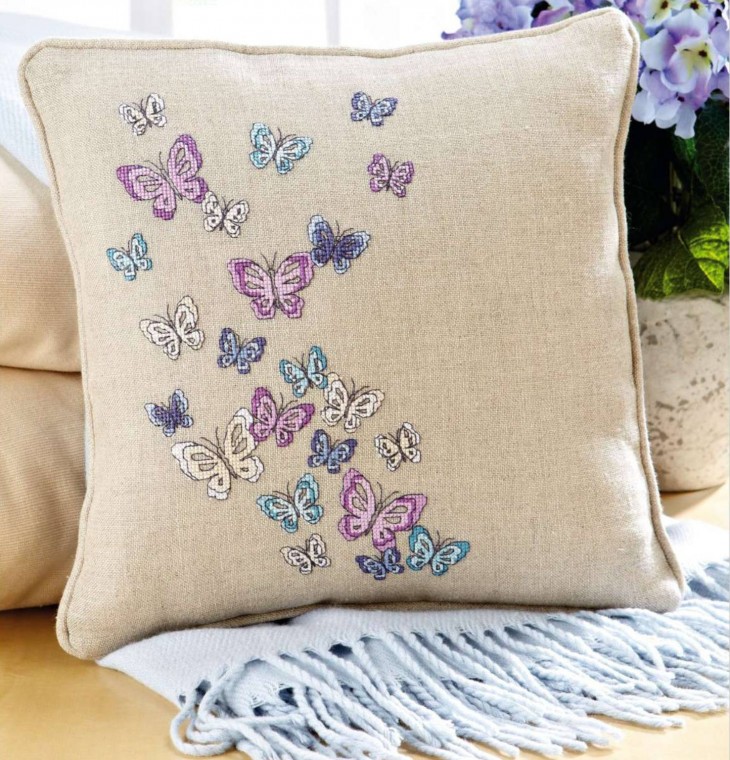
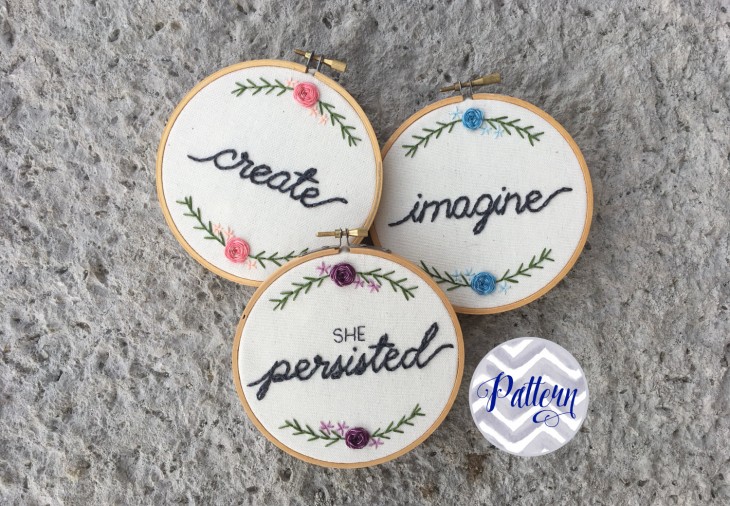
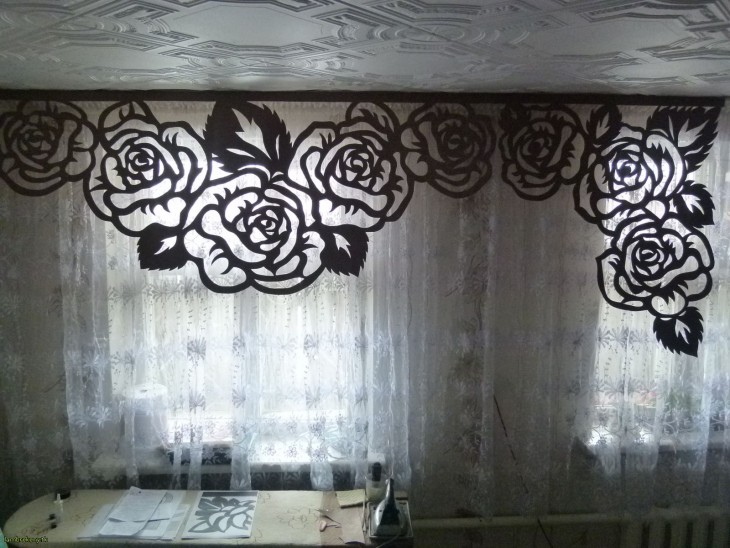
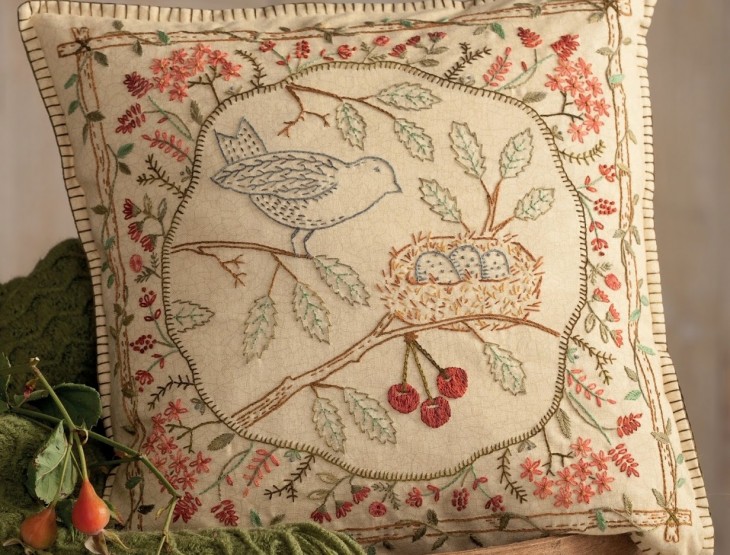
The pillows embroidered by grandmothers are taken out of the closet and decorated with sofas. They are complemented by already modern embroidered “little thoughts”.
Bags embroidered with a cross and rhinestones complement the modern wardrobe of a stylish lady, and even an evening outfit can be complemented by a hand-embroidered clutch.
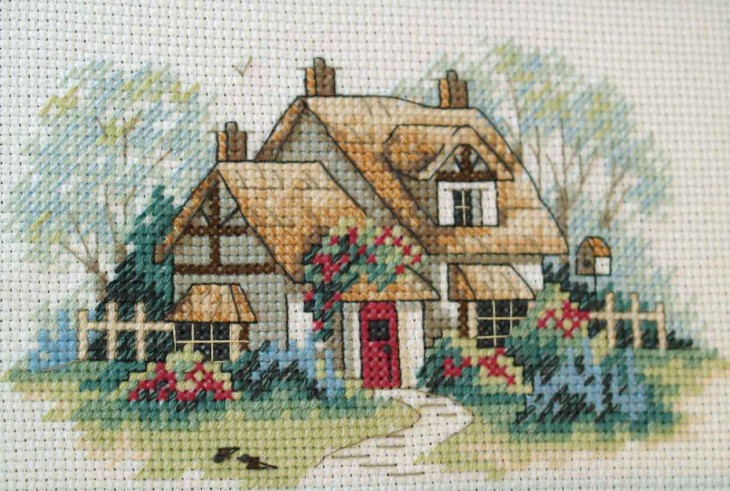
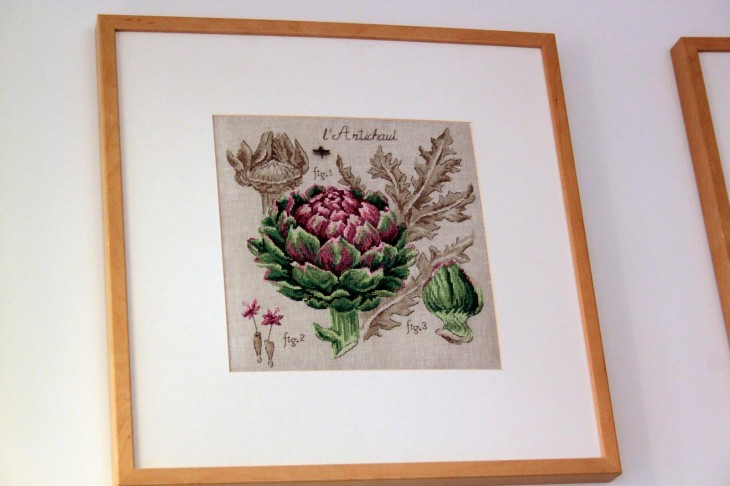
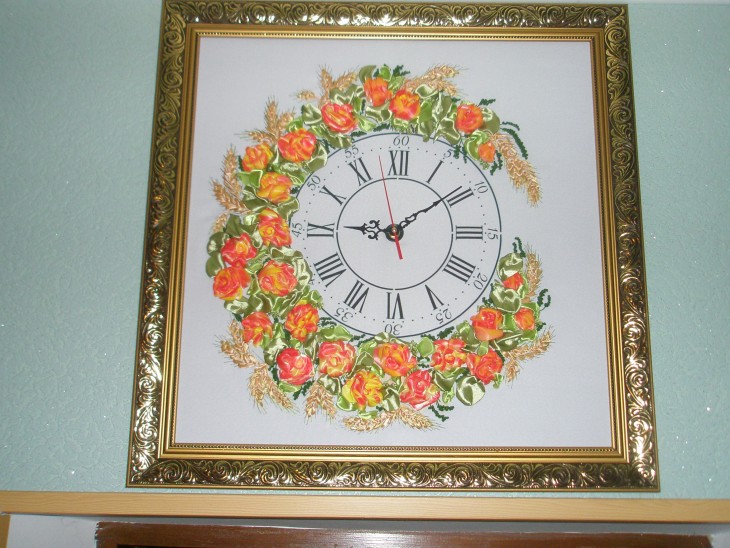
Paintings, panels, samplers - adorn the walls of apartments. The true embroiderer also carefully treats the design: in baguette workshops, such embroidered paintings complement the mat, baguette, turning into a work of art.
Passe partout is made single, double, curly, often finished, as if it were a continuation of the picture. The true needlewoman knows all the subtleties - how best to design embroidery.
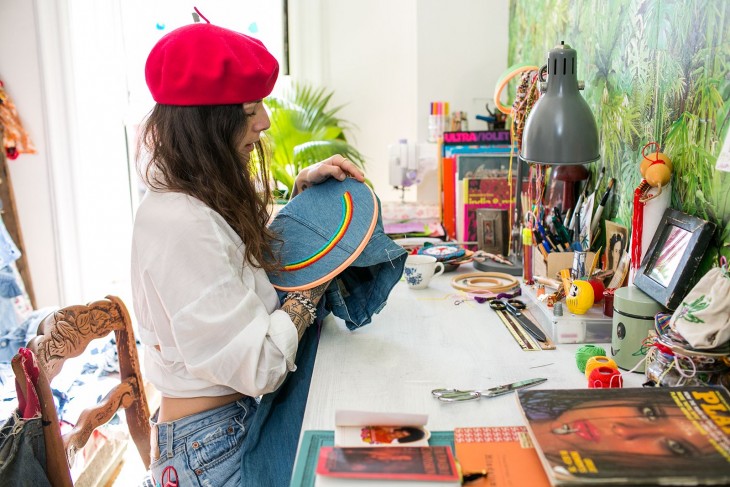
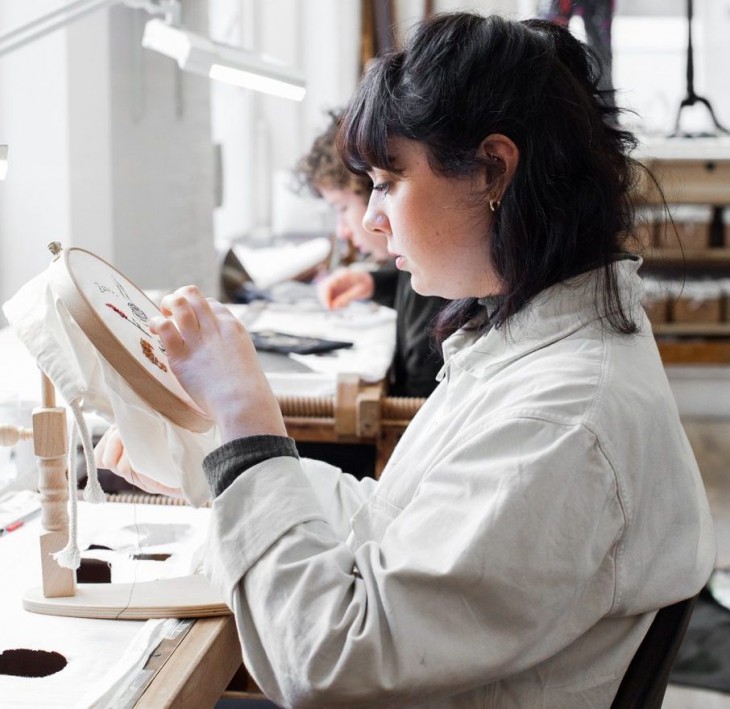
Workshop on embroidery at home
If you really want to, you can achieve perfection in any form of art, and needlework is also art.
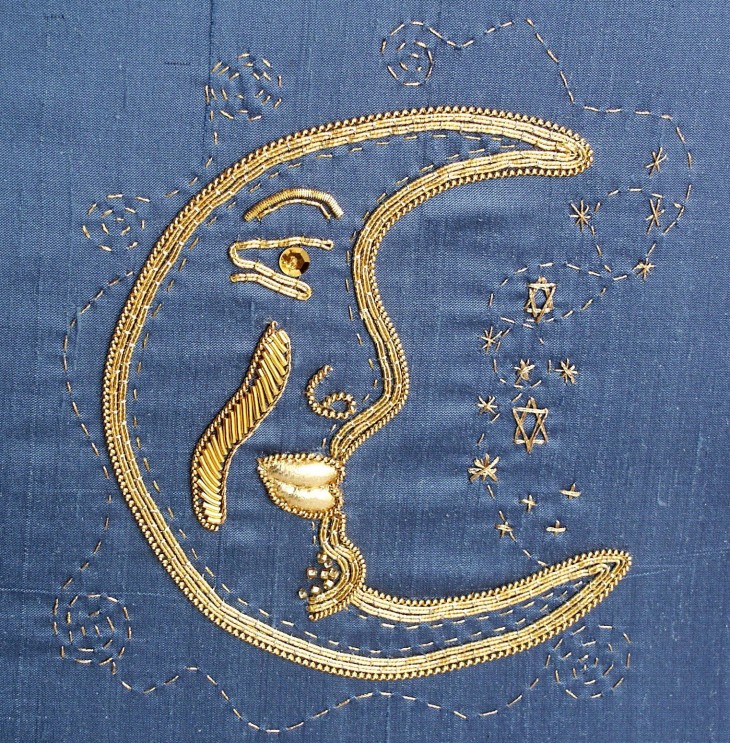
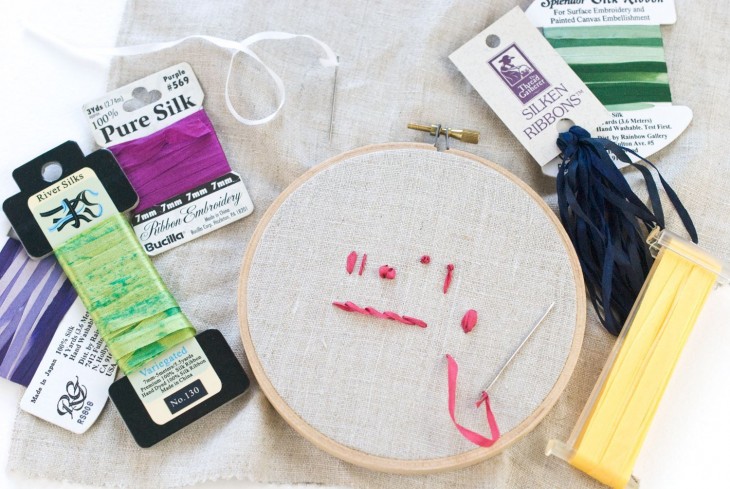
Japanese craftswomen embroider exquisite work with the finest silk threads on a silk cloth - probably nothing can be compared with them. This is not embroidery - every work is a masterpiece.
If you desire perfection, you too. In the meantime, a few recommendations on how to do your own embroidery.
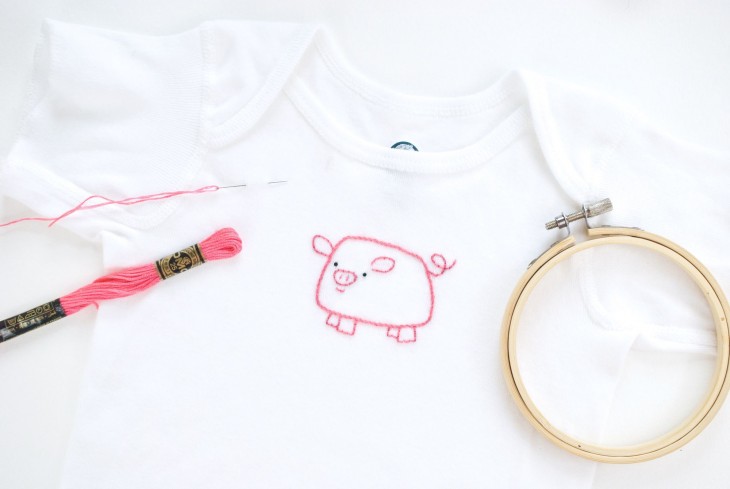
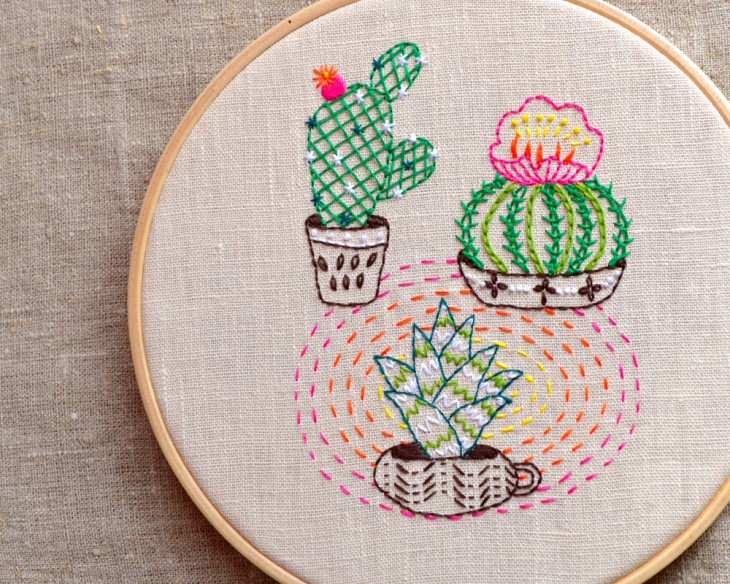
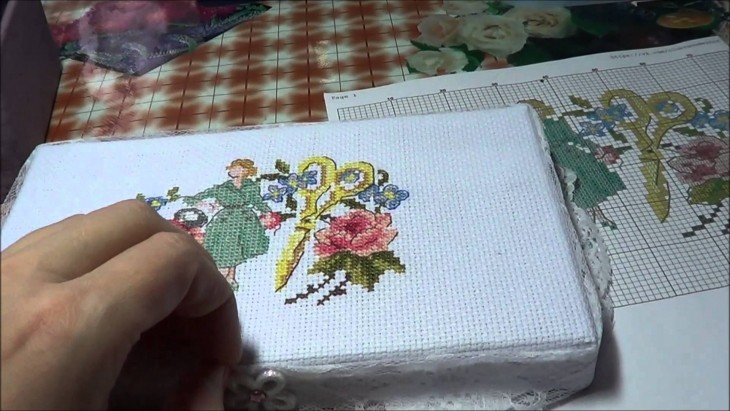
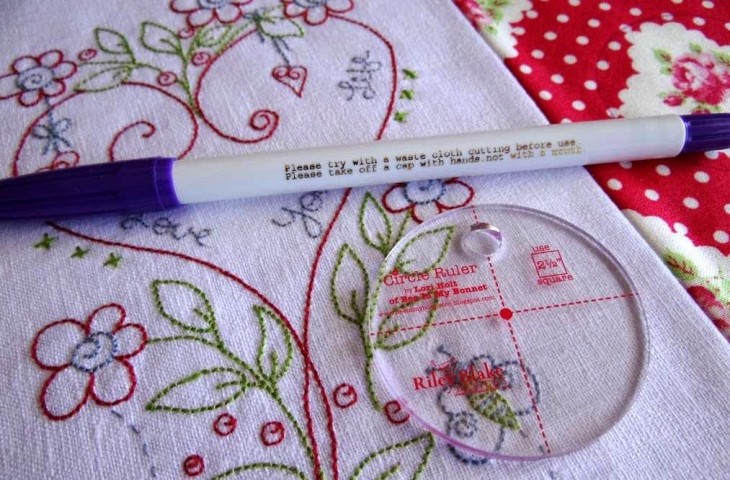
To get started, choose a simple scheme - it is better to buy a set with selected threads. The icons on the diagram correspond to the thread numbers indicated in the key to the diagram.
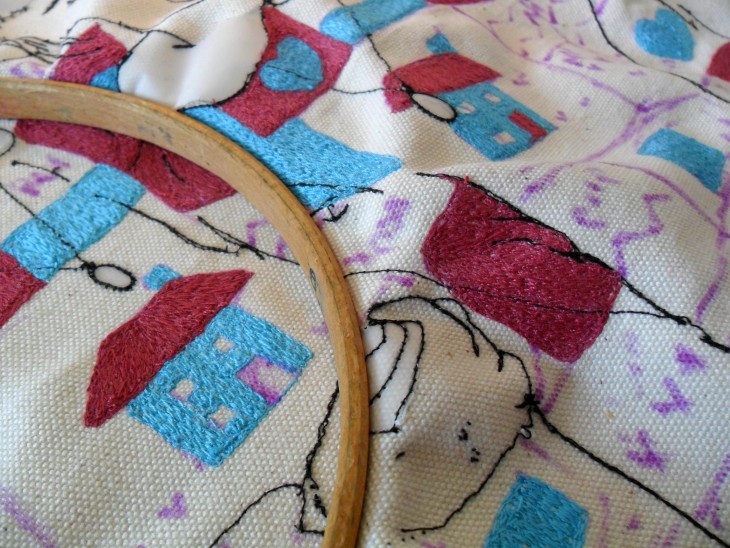
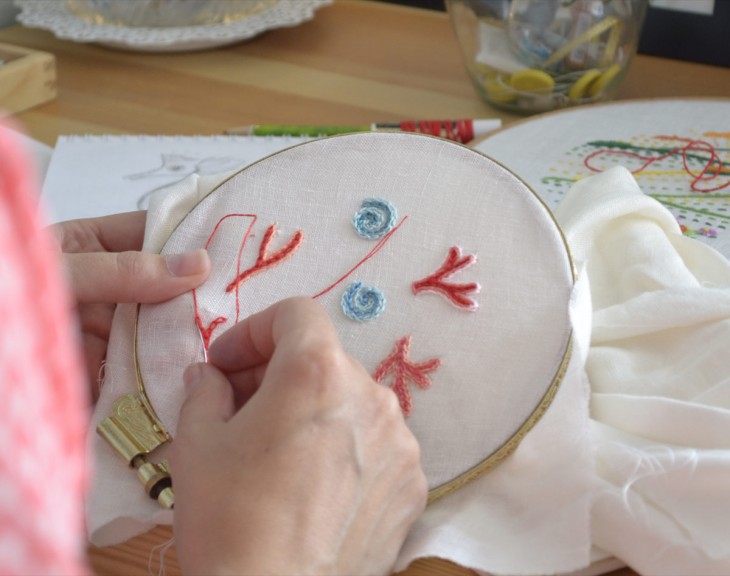
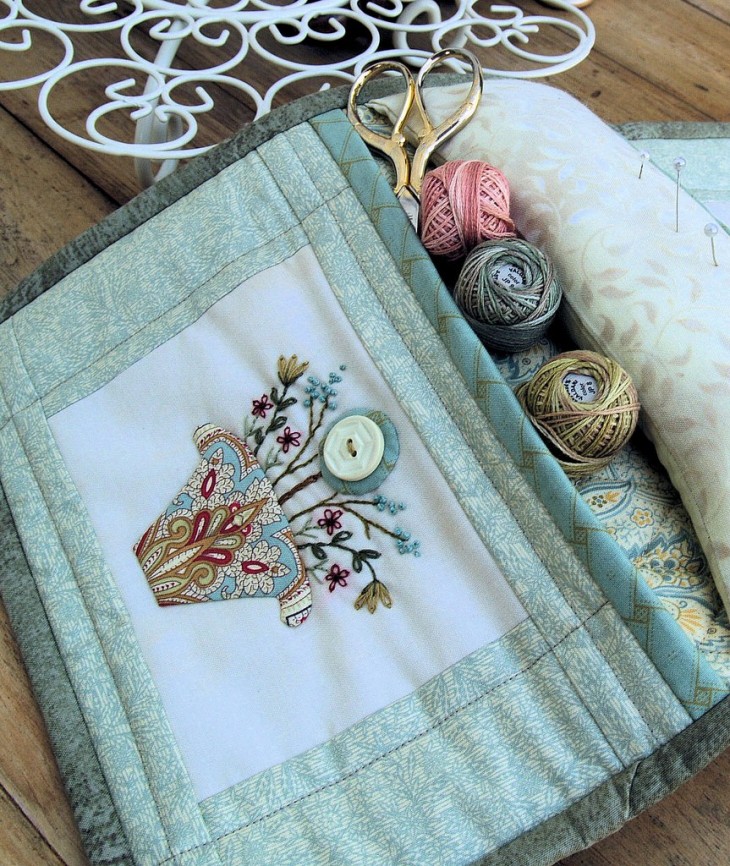
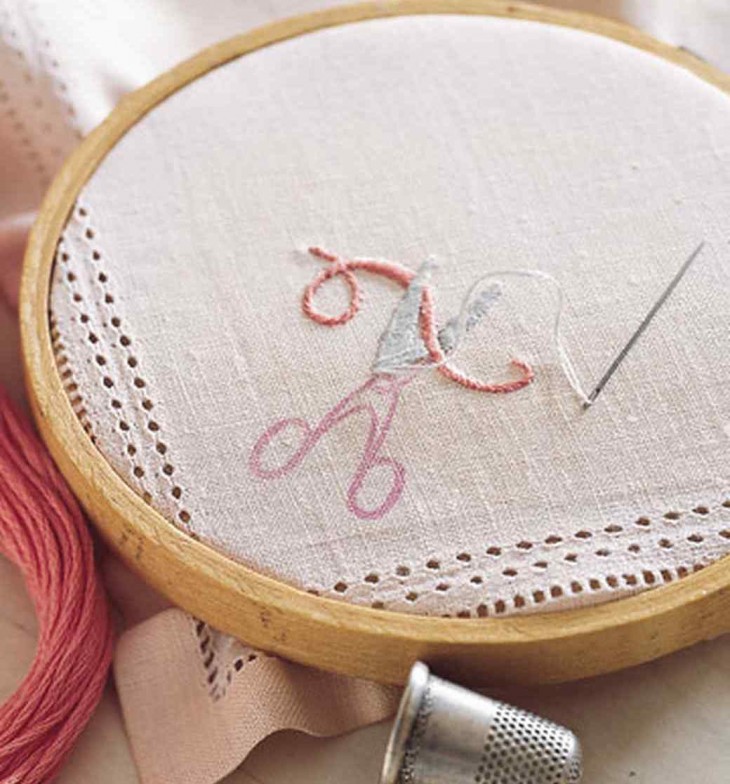
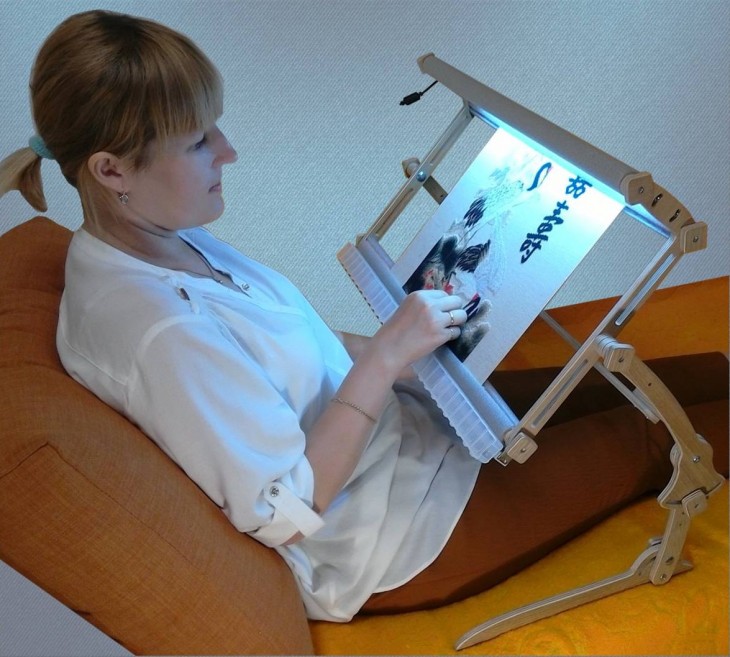
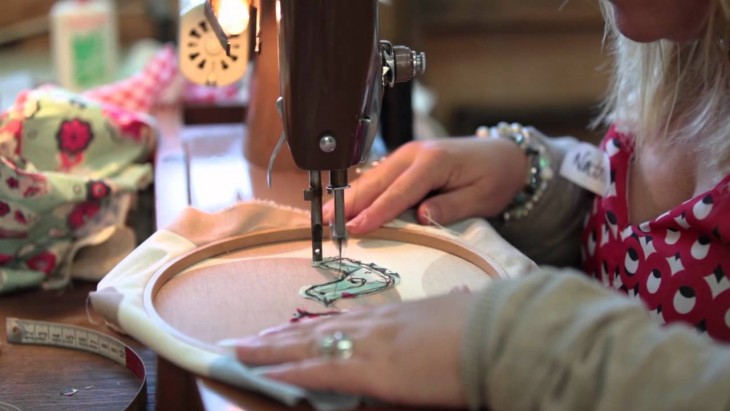
Choose a dense canvas - on a soft, friable cross it will not turn out even if you only master the basics of embroidery. To hoop the canvas into the hoop or not is a matter of habit. It is difficult to embroider on hands - buy a hoop, a stretched canvas will make it possible to lay the thread straight.
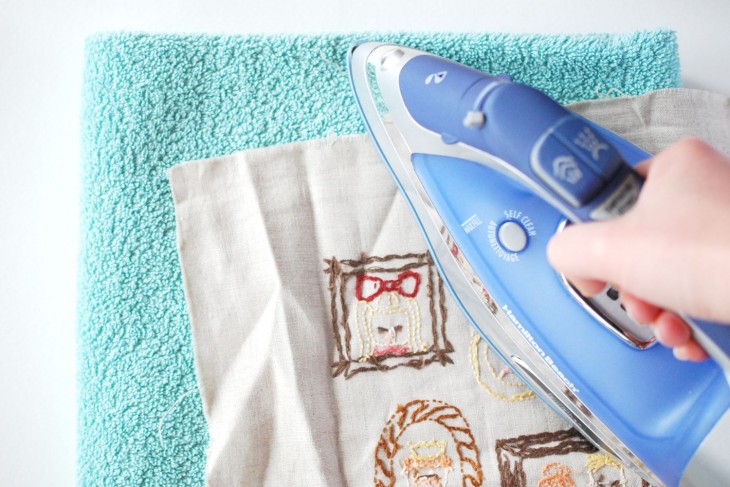
Do not make floss threads long, they will be confused, and the embroidery will turn out ugly. Never make knots - neither at the beginning of work, nor when fastening the thread. The canvas stretched in a baguette cannot hide irregularities.
How to start a thread - there are various ways, choose the one that is convenient for you. Often, on the reverse side of the work, a small end of the thread is left, and then during the embroidery process it is passed under the cross stitch. And the wrong side will remain neat, and the thread will hold tight. They also fix the thread at the end of the work - under the thread.
Note!
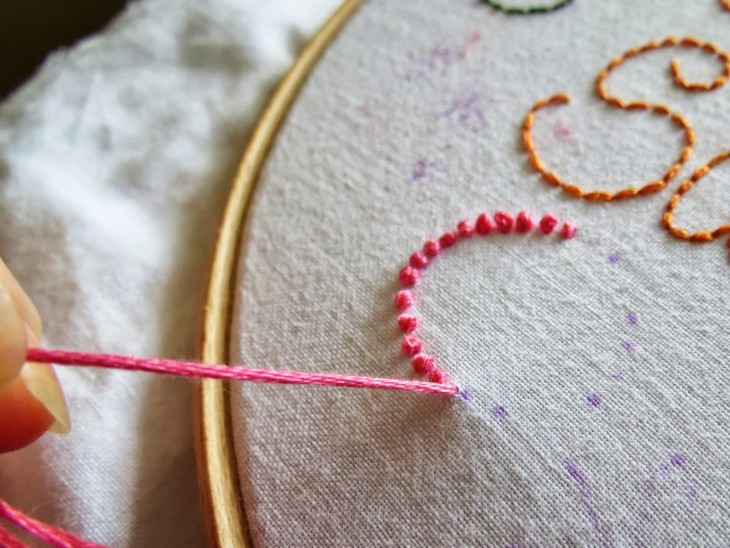
Embroider by guiding the thread from top to bottom, making a gentle tension so that the thread does not tighten and sag.
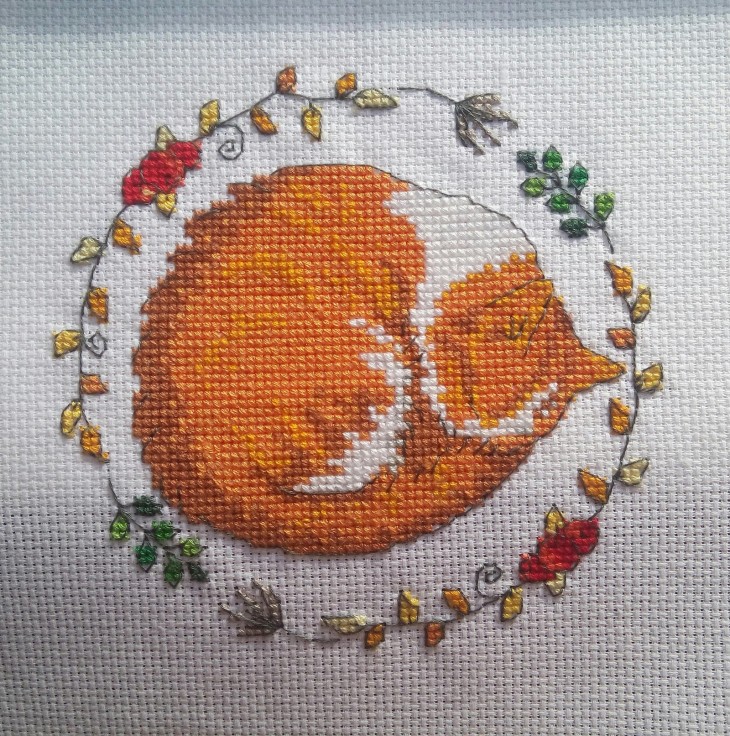
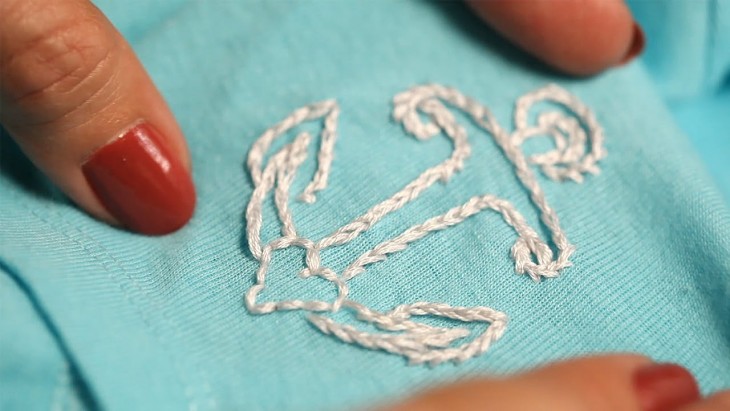
Sew the first row in a half-cross - passing all the cells in the required color. Then put the second row on top - in the end you get an even row of crosses. The next row is also sewn. If necessary, completing a thread of one color, take a different color.
So, row by row, from under your hands a masterpiece will be born. Over time, you will master other types of seams, complicate the drawings. Create, decorate the world with your presence and creations created by your hands.
DIY embroidery photo