When there is a need for tiling in a new apartment or house, as well as if you need to update the walls and floor in the kitchen, in the bathroom or in the corridor, the idea immediately comes to learn how to lay tiles with your own hands.
If you take the laying of tiles, you can not only save money and, due to the difference in price, buy the best quality tiles, but also get creative freedom and get rid of the hassle of marriage during installation, because sometimes the owner of the house and apartment have to go to remake , or come to terms with the non-aesthetic appearance of your floor and walls, masking shelving flaws.
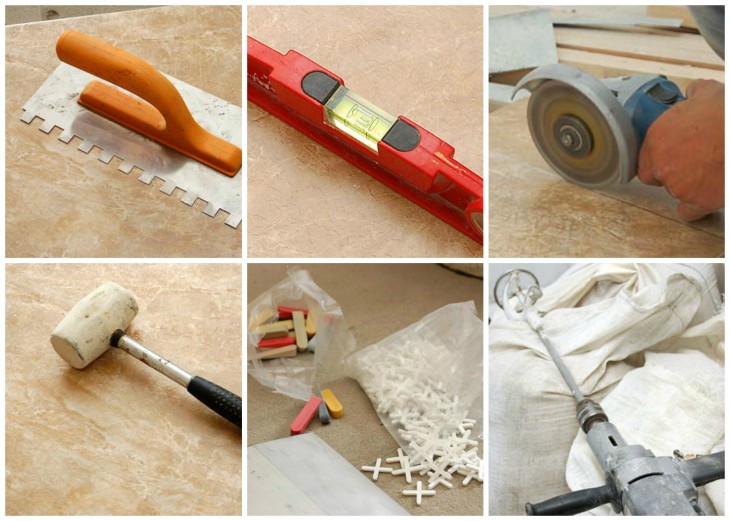
Not only a variety of tiles, but also a wide selection of tools and adhesives make this idea more attractive.
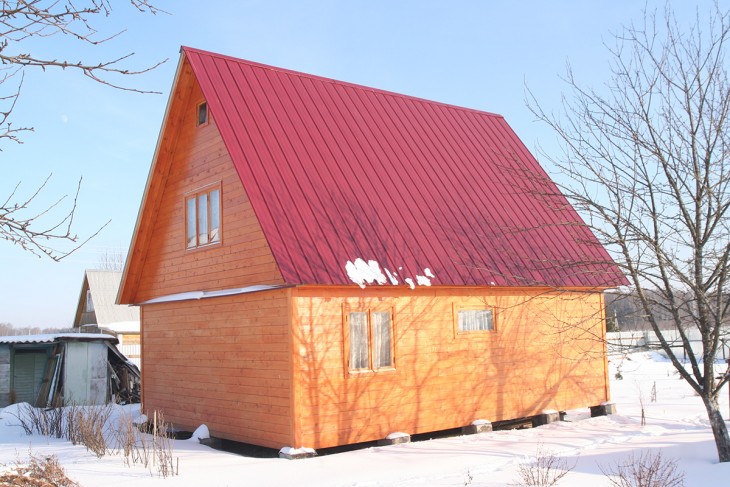
Even if there is no need for major repairs, tiles and brooms are asked for concrete cover in front of the house or in the garage.

Review Content:
Tile Laying Methods
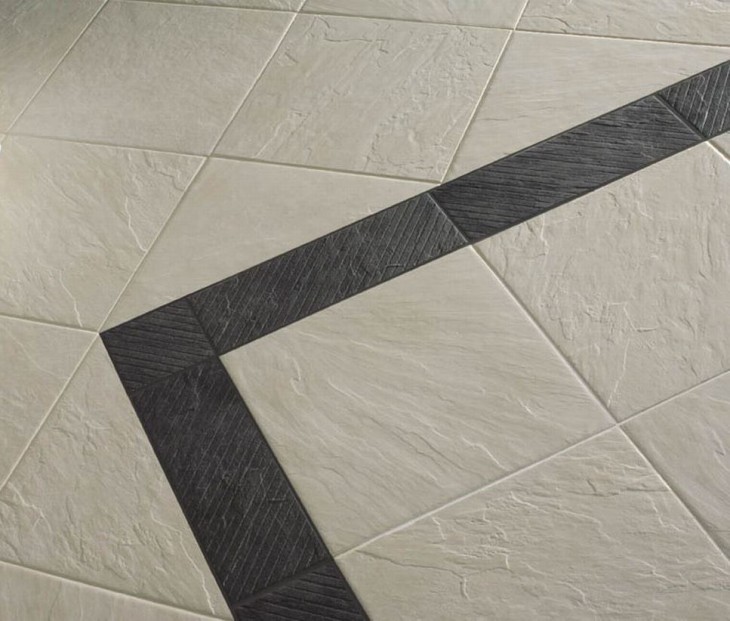
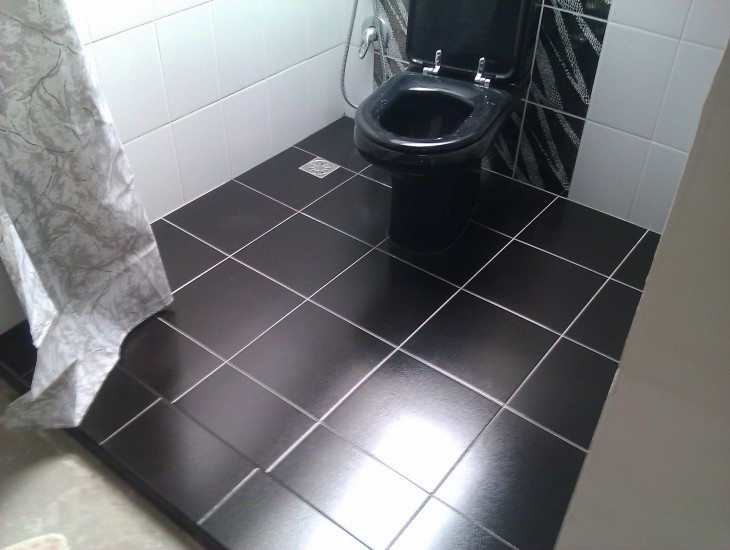
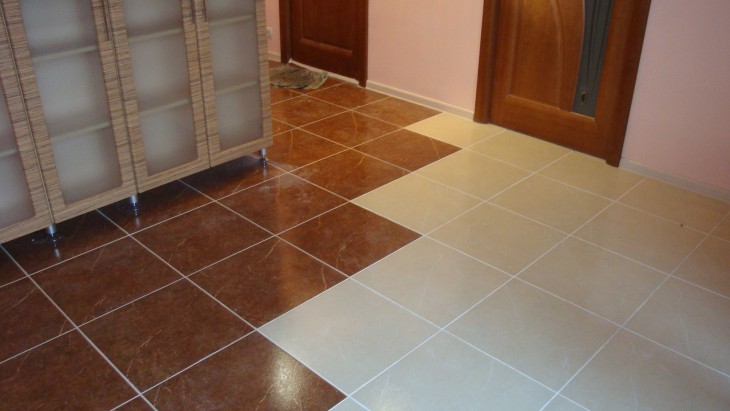
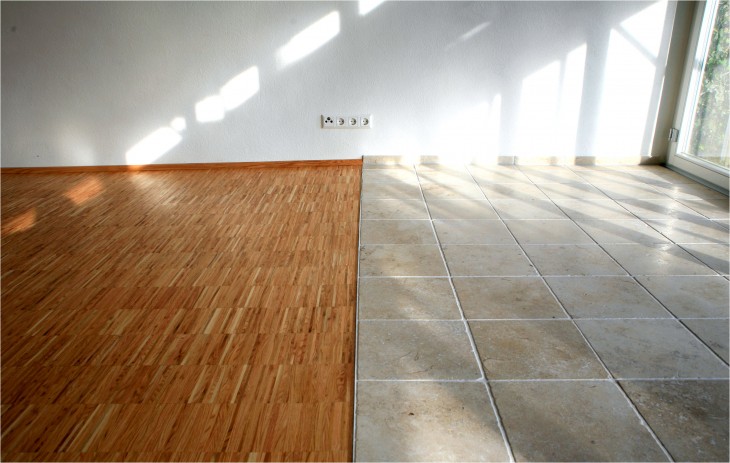
The whole variety of patterns when laying tiles on the floor or wall fits in three main ways:
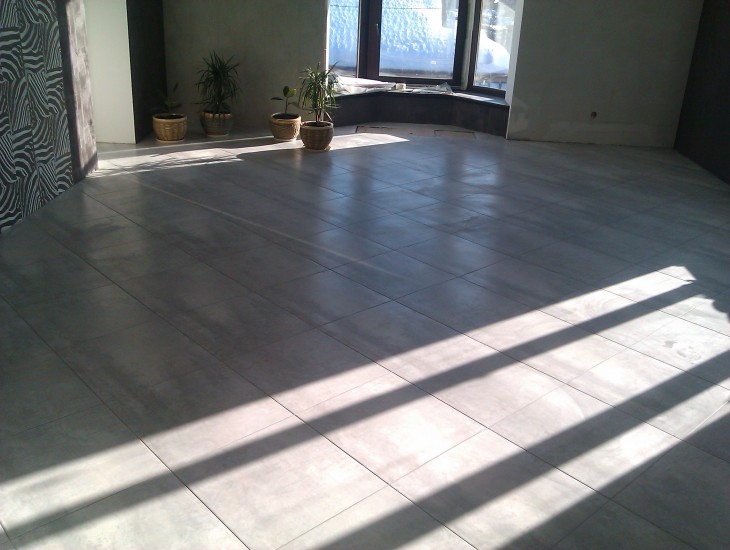
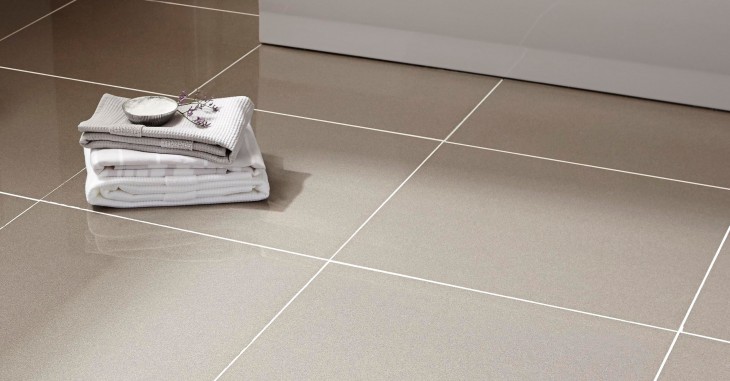
The traditional way: tiles are laid parallel to the walls and floor, joint to joint. With this method, the smoothness of not only the surface, but also the seams is important.
Even small deviations in the size of the tiles will require adjustments and special selection during masonry.
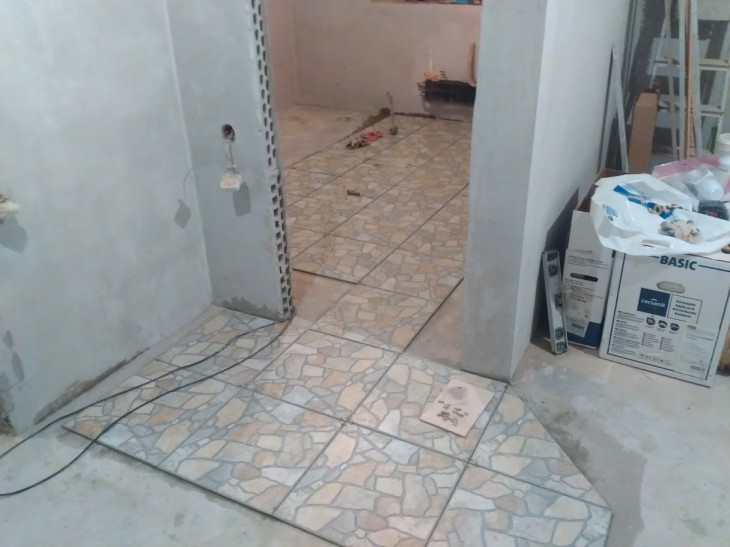
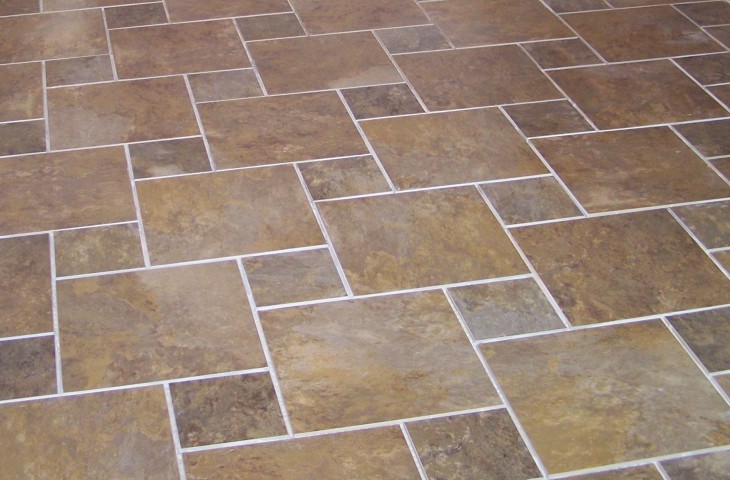
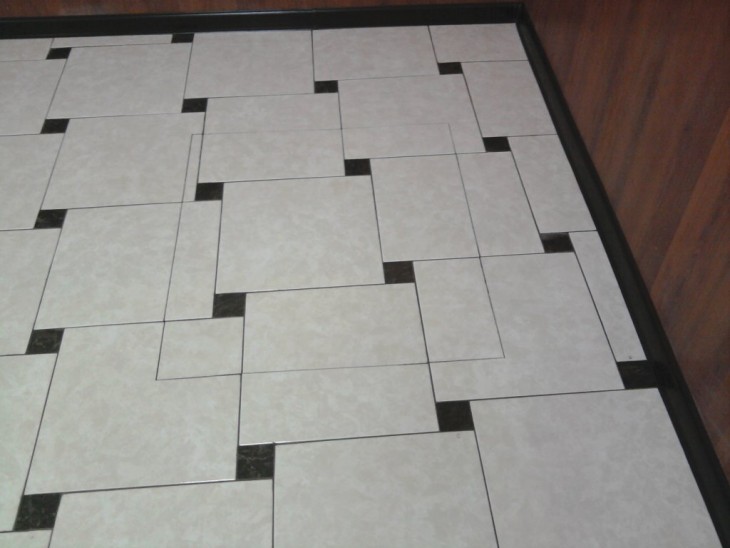
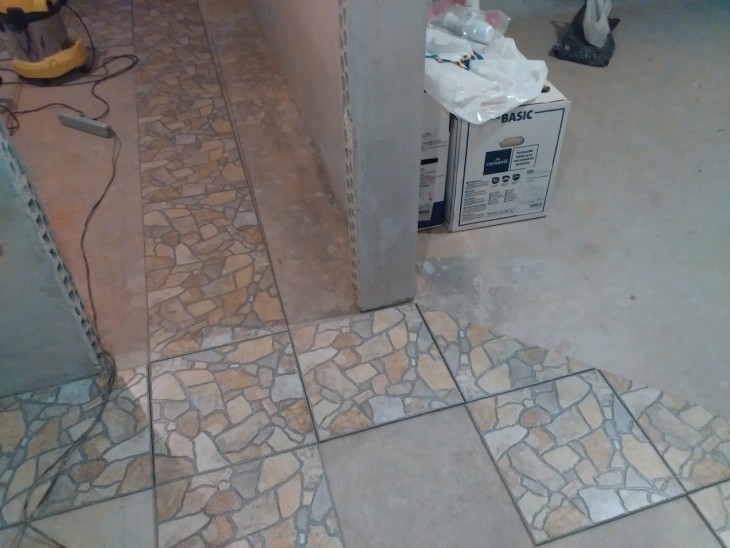
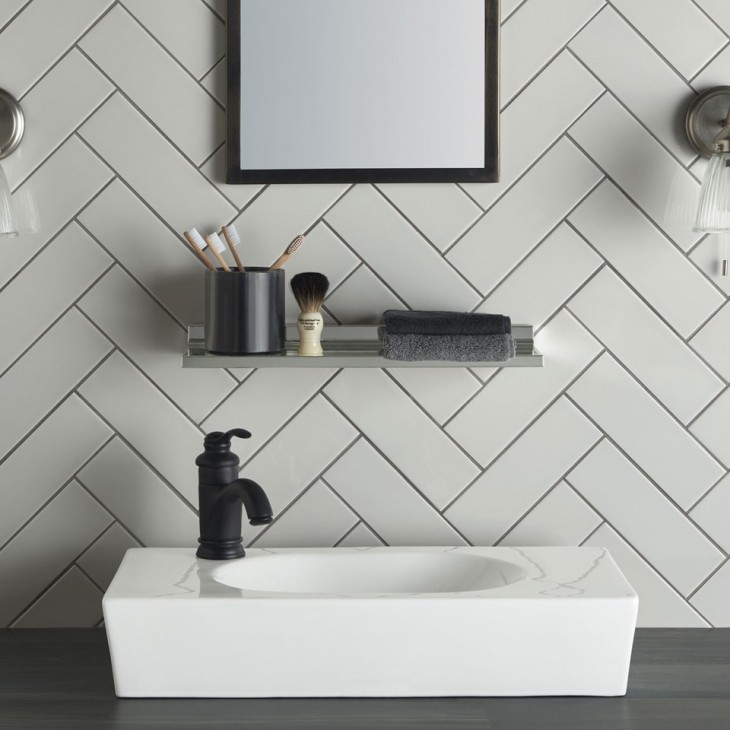
The dressing method involves the location of tiles with an offset in the middle of the rows, or in a special pattern, while tiles of various sizes can be used. With this masonry, minor deviations in the standards for the width and length of the tiles are easily masked.
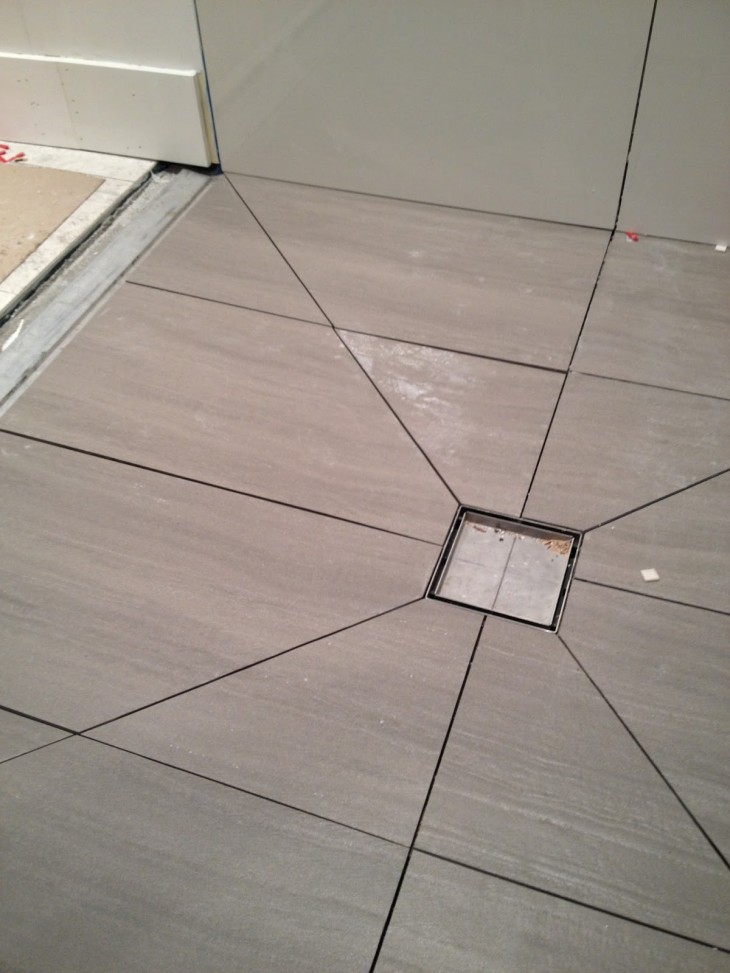
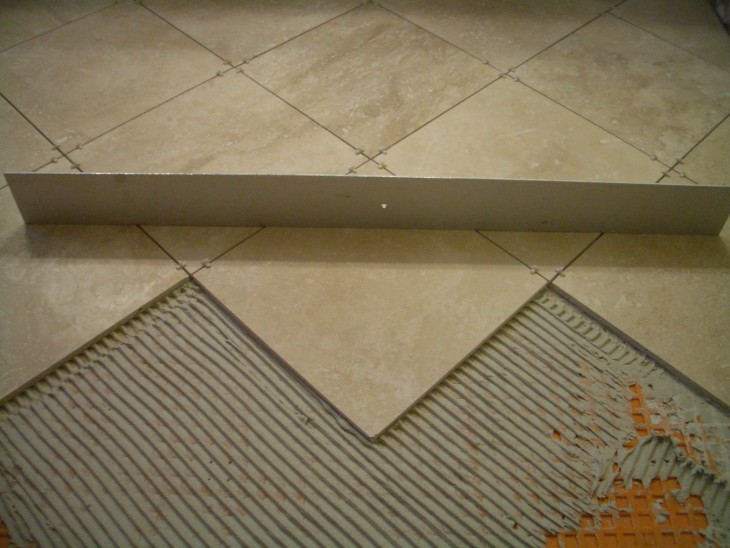
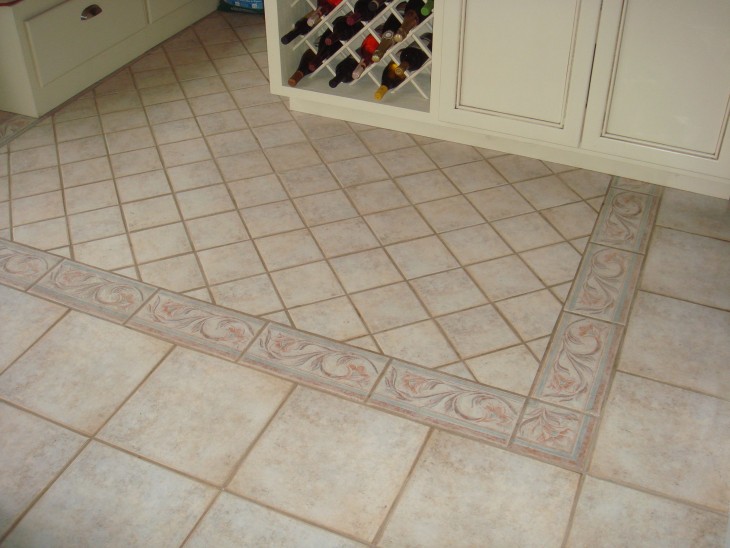
Diagonal masonry is the most complex and time-consuming way in which you need to show special skill to maintain clear perpendicular lines and geometrically verified adjacencies at joints and corners.
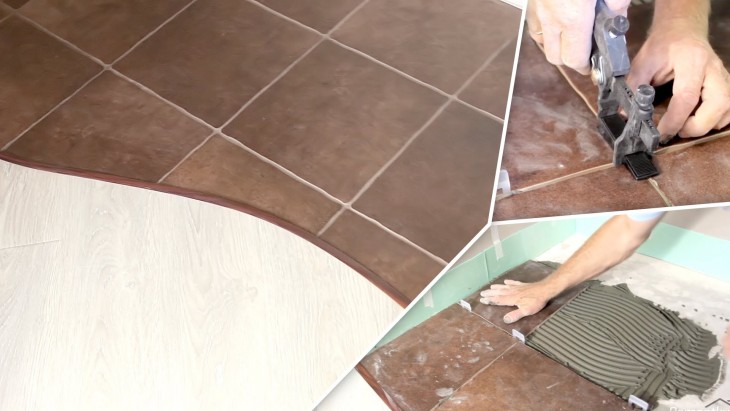
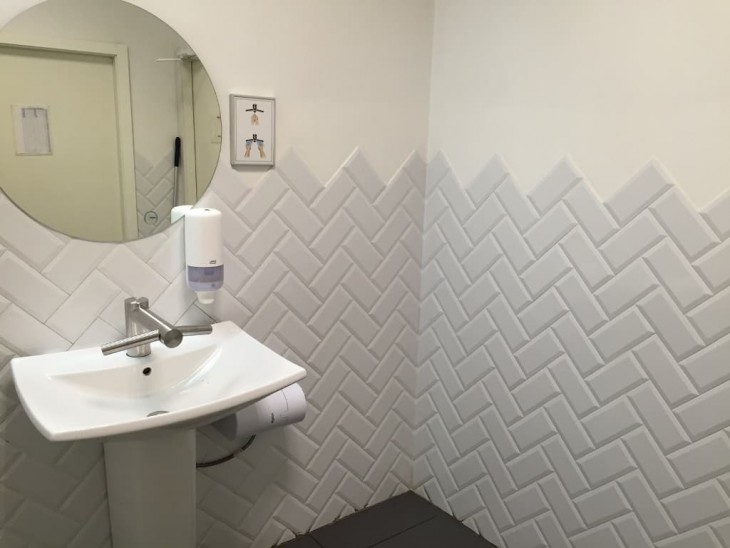
More clearly, the ways of laying tiles are depicted in the photo.

Tile Laying Steps
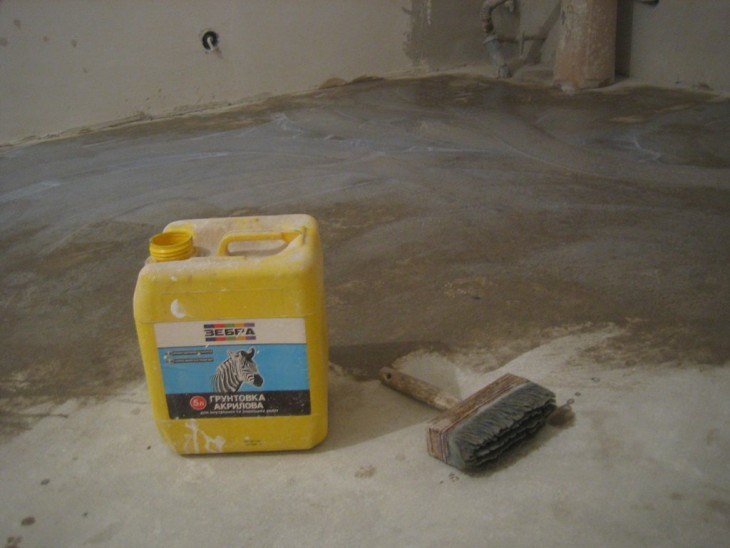
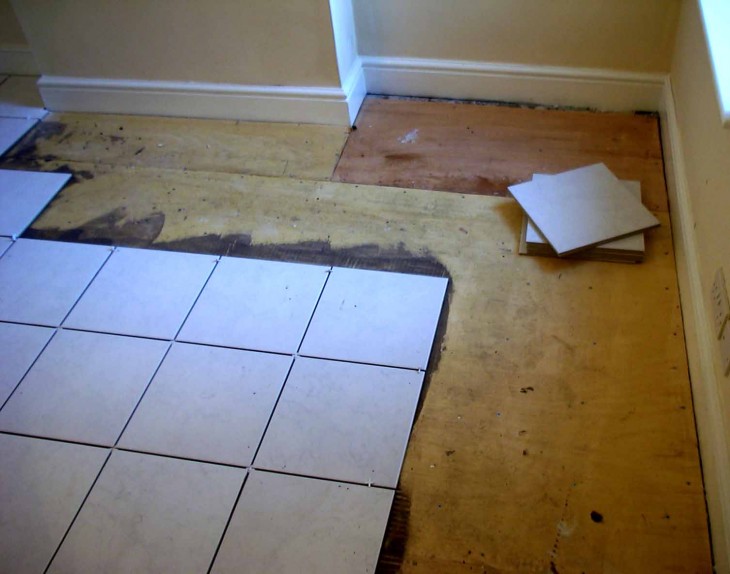
The result of the work will largely be determined by what surface the tile is laid on. Before you begin the installation process itself, you need to take care of preparing the surface, which should be perfectly smooth and clean.

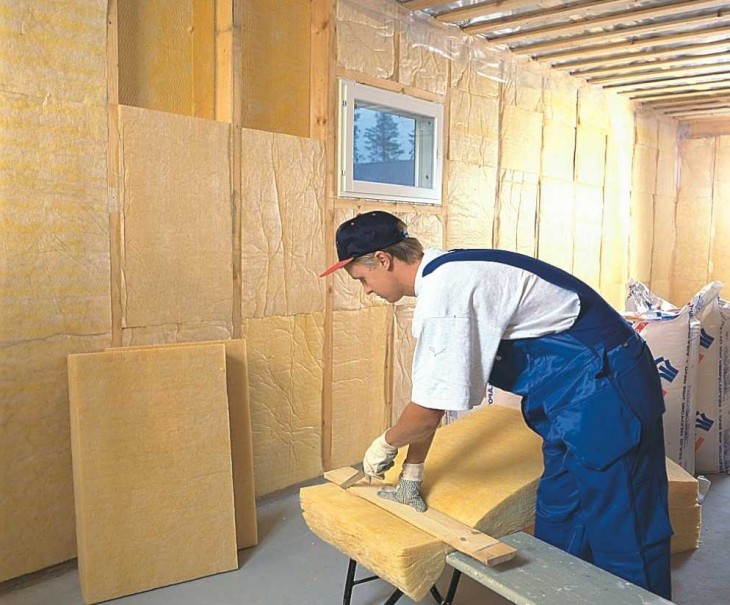
The traditional way to get a flat surface for the tiles is a concrete floor screed and wall plaster. You can also use various modern materials, such as drywall and various mixtures for leveling floors.
We will analyze the whole process in the form of a brief step-by-step instruction:

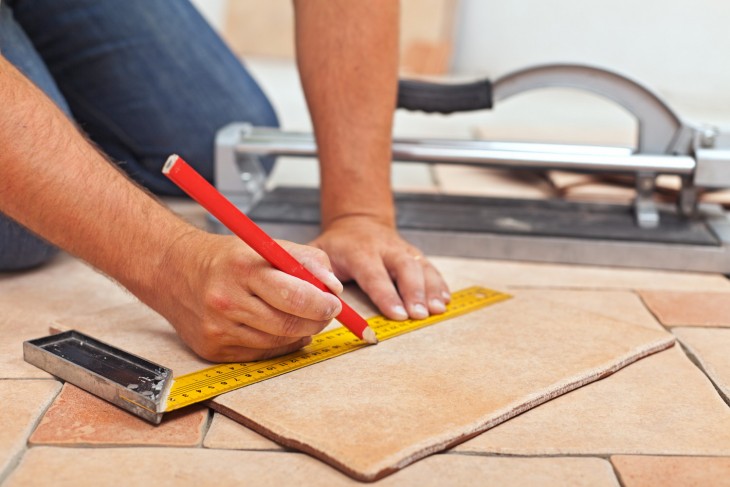
Step 1
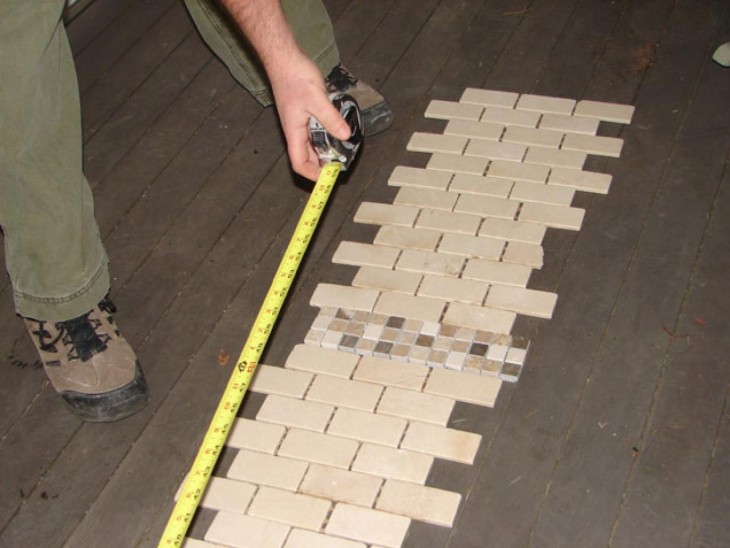
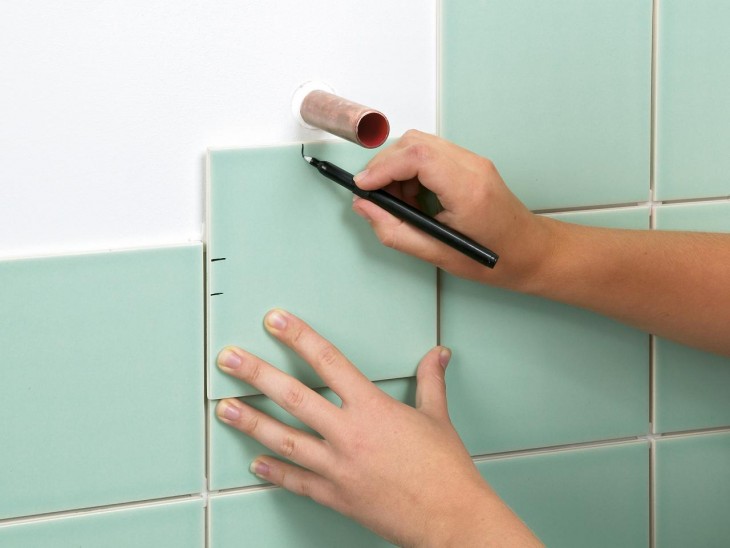
Measurement and calculation of material. This simple step involves measuring the area that will be covered with tiles and calculating the amount (in pieces) needed to lay the tiles.
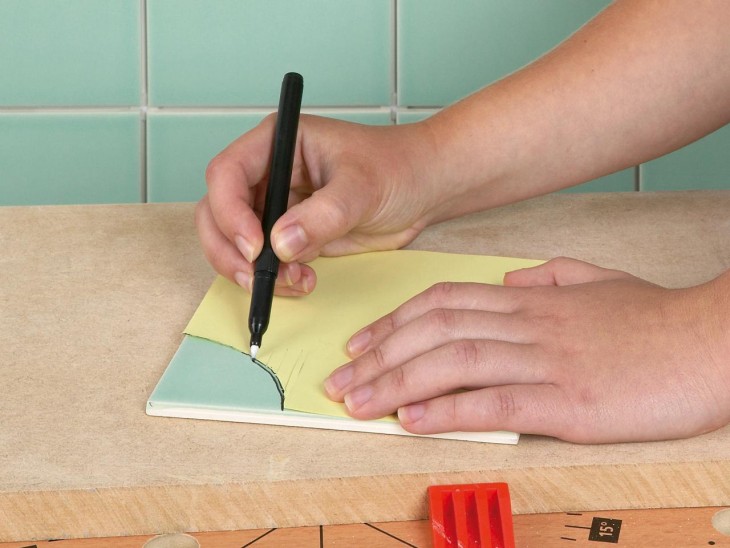
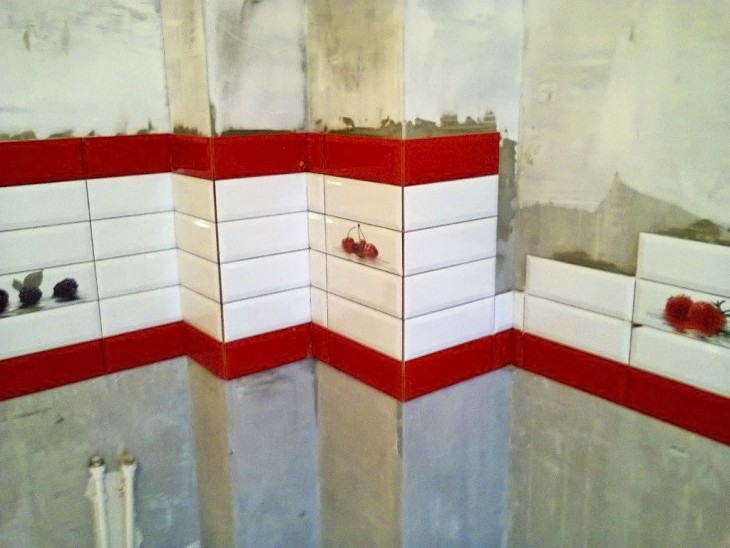
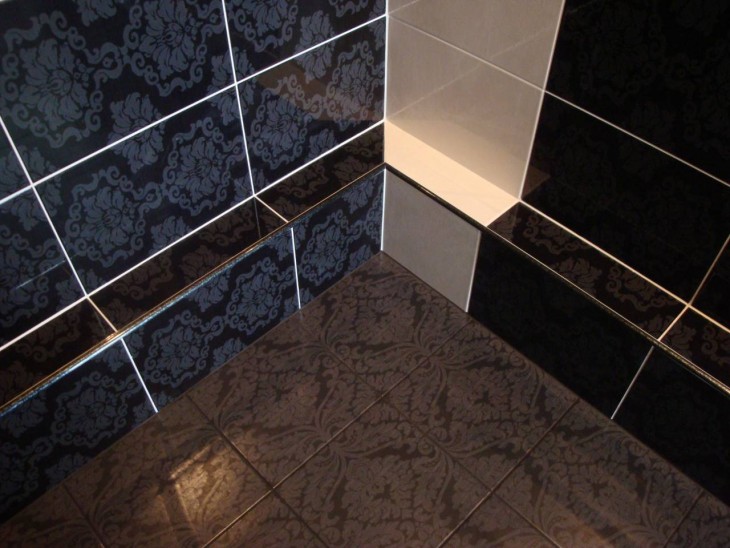
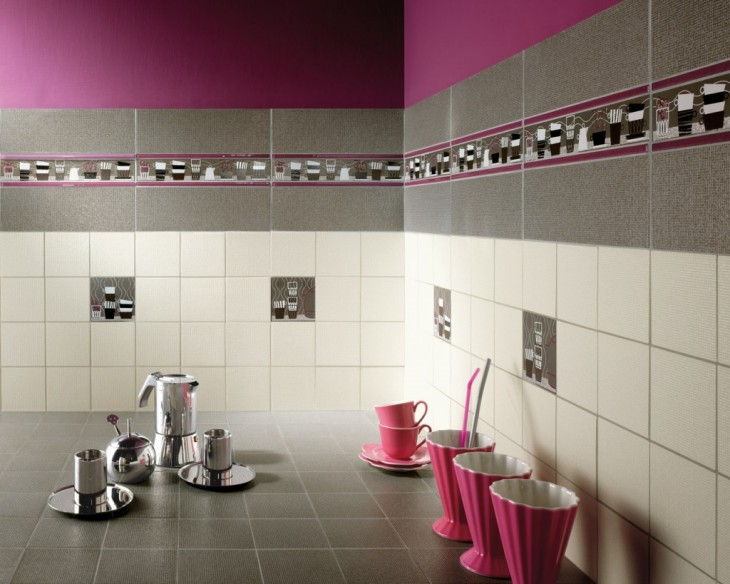
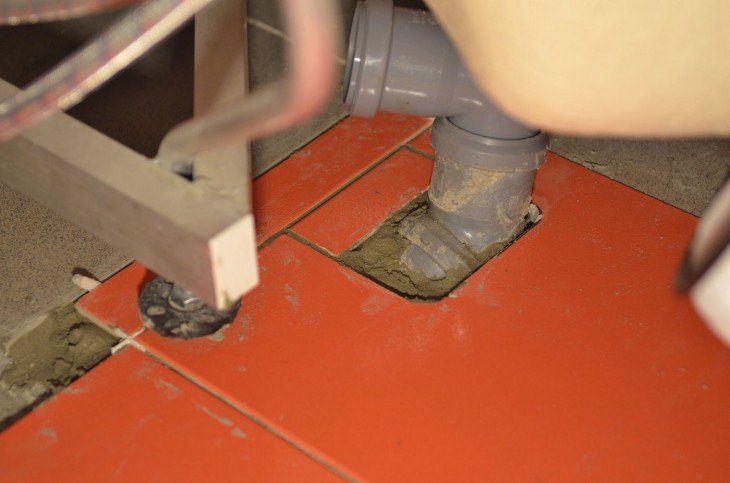
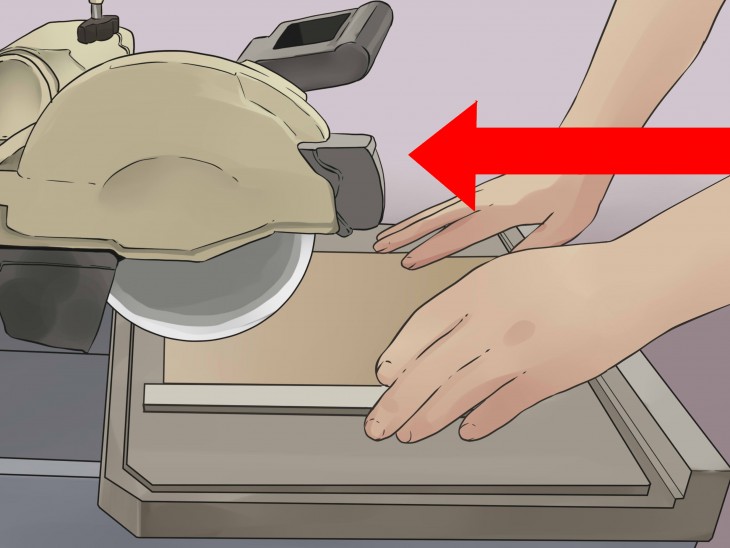
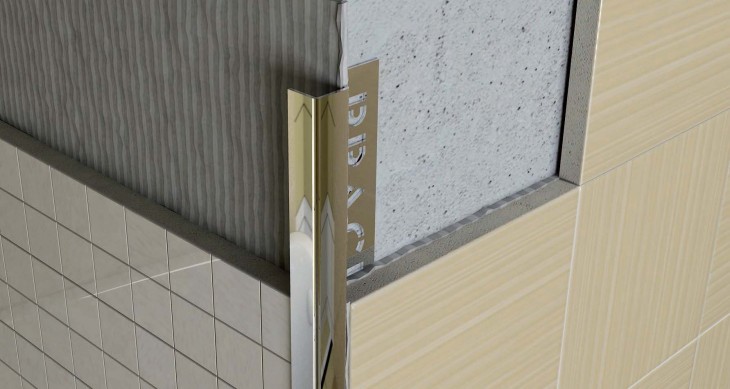
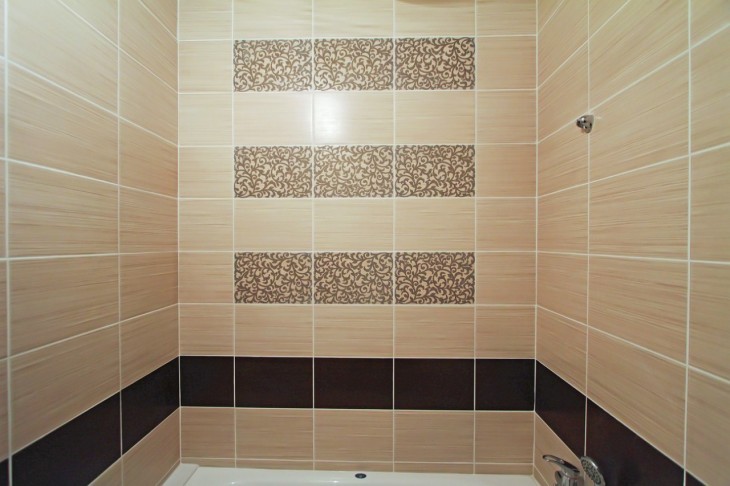
Niches and corners require special attention, for the design of which you need a design that is pleasant to the eye and a special trim of the tile.
Step 2
Creating a styling layout. This step is especially recommended for beginners.
Note!
When creating an accurate, preserving the scale of the drawing on paper, you can check your calculations and finally decide how you will lay the tile by color, size and method of installation.
Step 3
Surface check. When checking the level and plumb, the differences should be no more than 2 mm. Sponges, wrinkles and pits can be smoothed out by grinding or hard putty.
You must also tap the surface to check the strength of the coating layer. At the final stage, you need to clean the walls and floor of oil stains, dust and sand.
Step 4
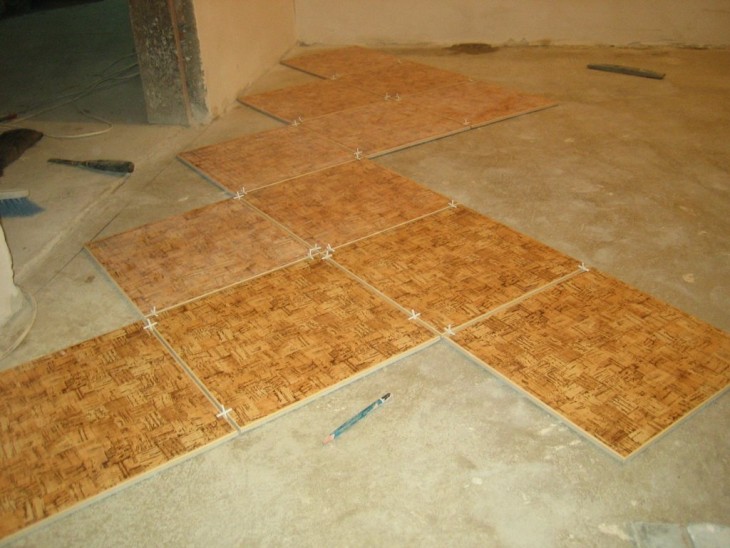
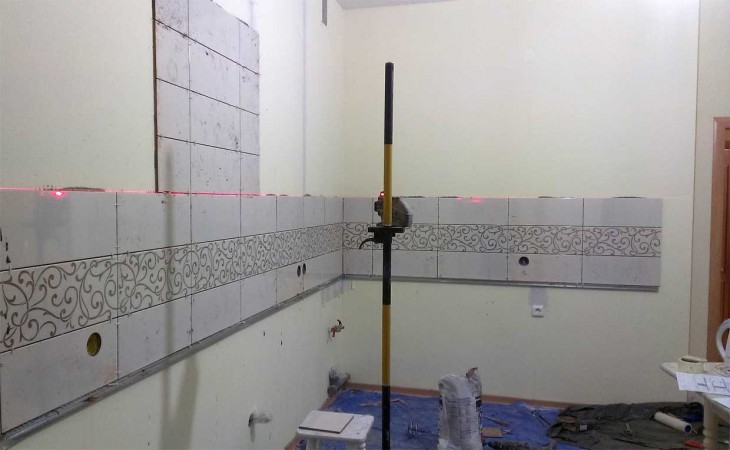
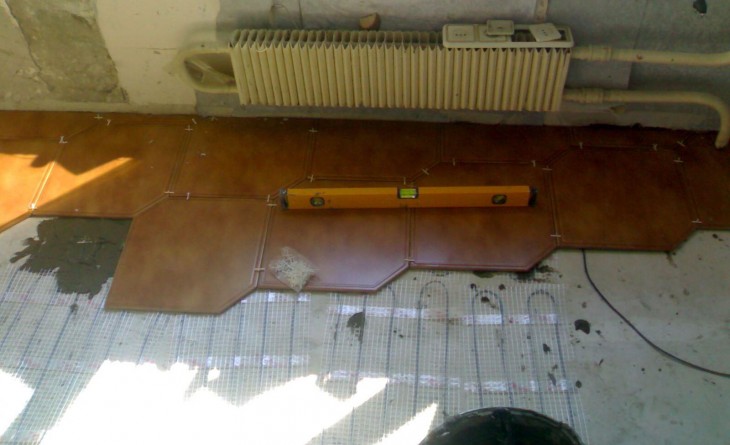
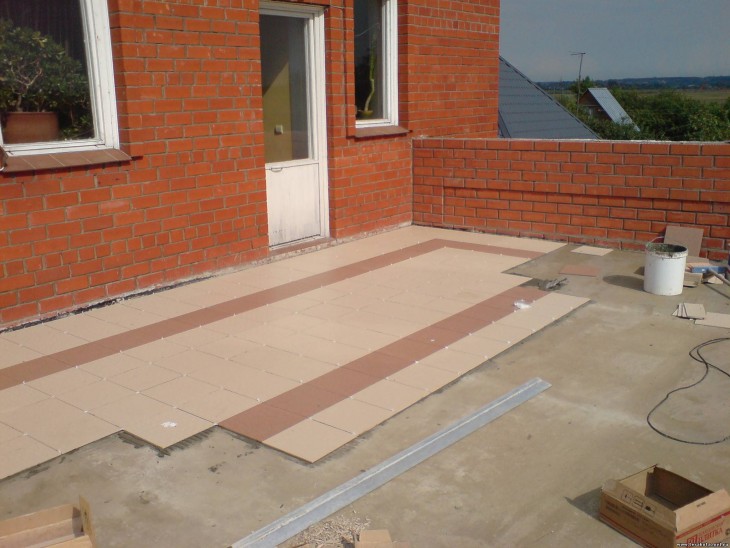
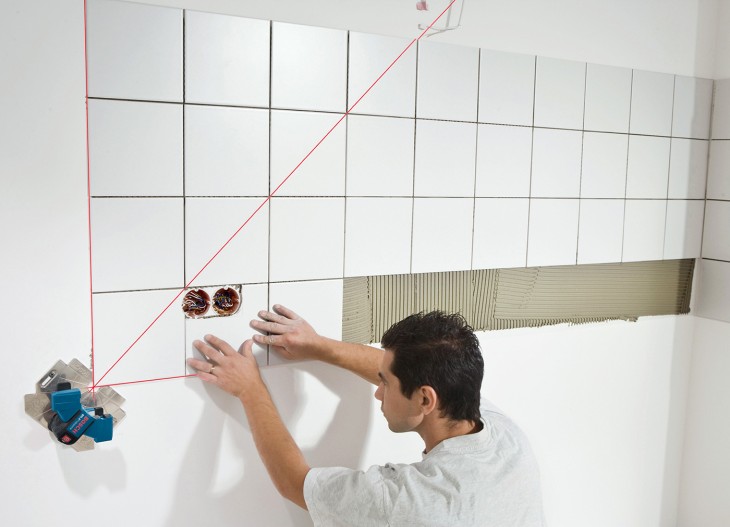
Landmarks. Depending on the selected pattern, at this stage, the approximate rows of tiles (in the center or from the middle, vertically or horizontally) are laid out without gluing, from which further laying will go.
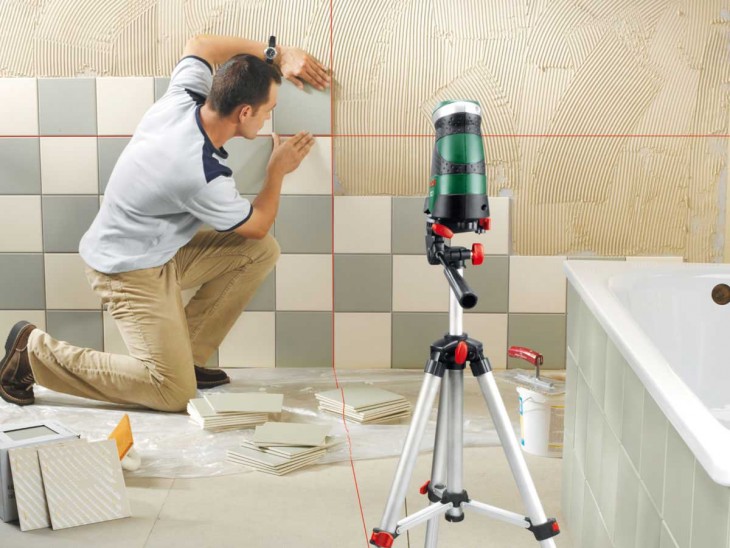
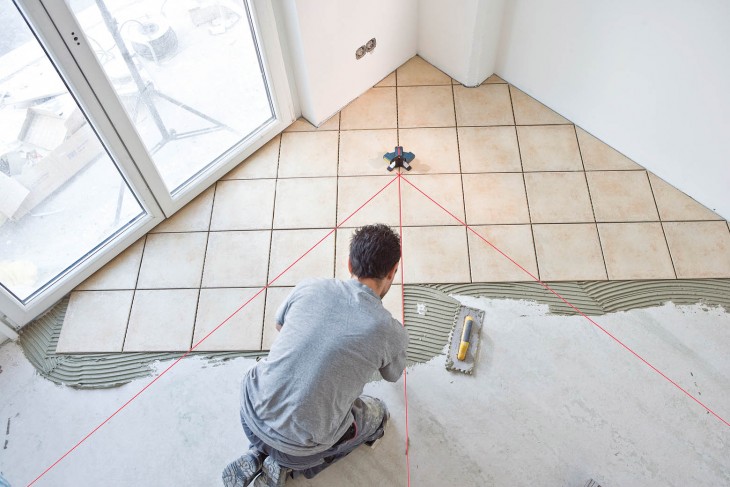
To maintain an even horizontal and vertical just above the expected surface of the masonry, a thread is stretched by about 5 mm. You can also prepare special rails with plumb lines that will help verify the evenness of the masonry.


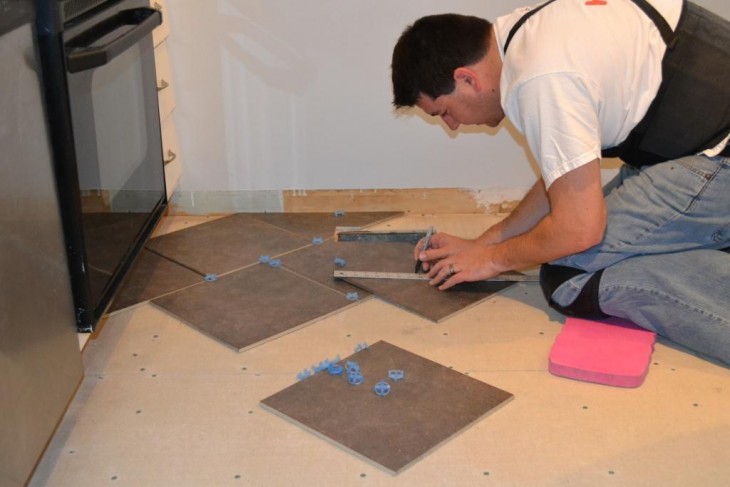
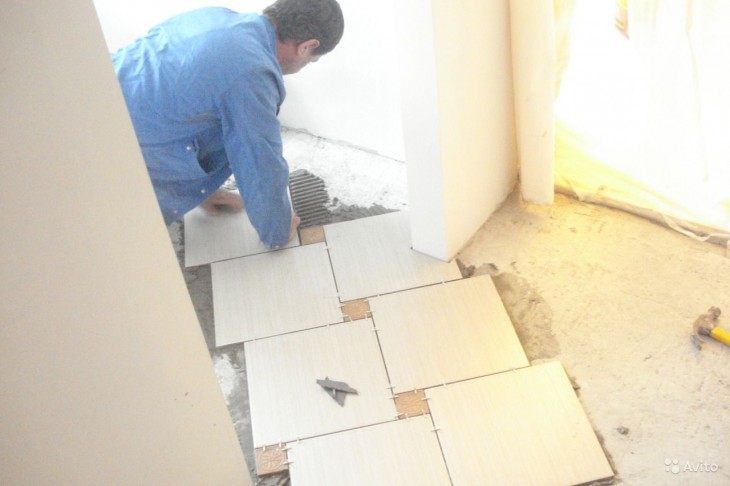
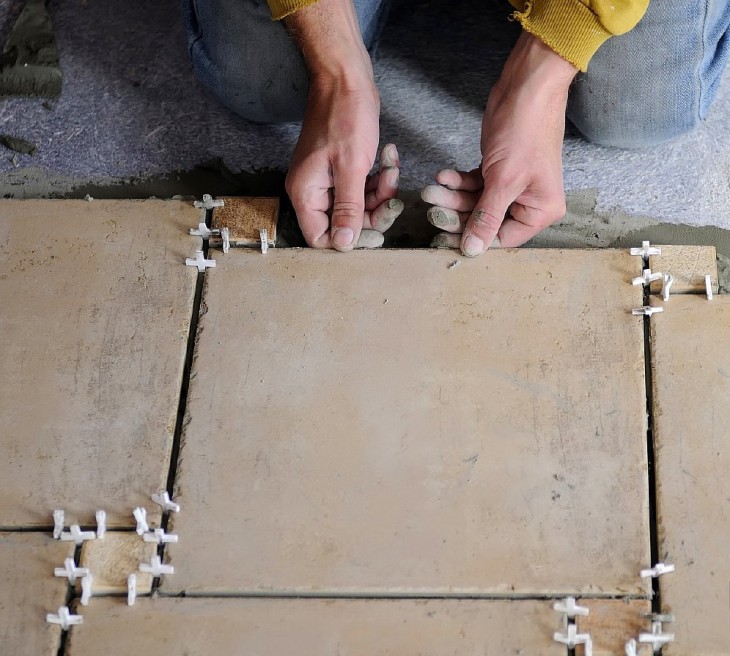
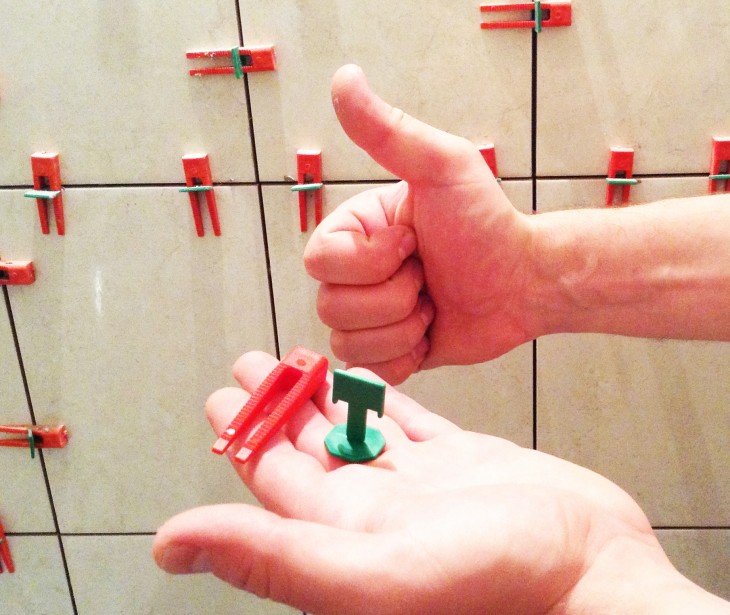
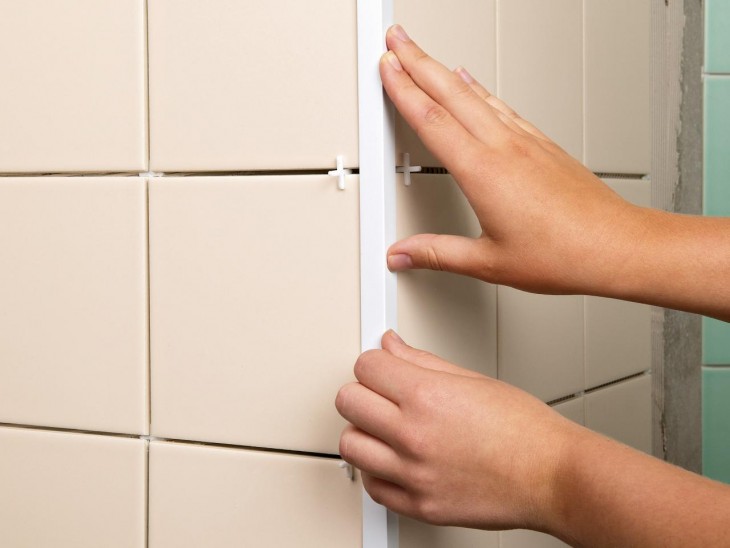
To preserve the standard width of the gaps when laying tiles, homemade simple devices called crosses are used.
Note!
Step 5
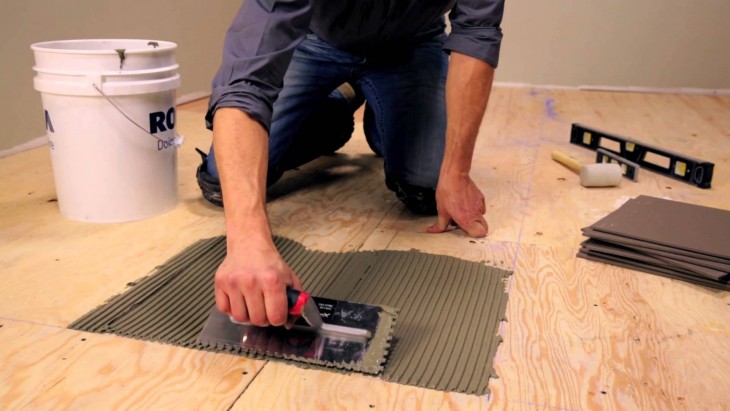
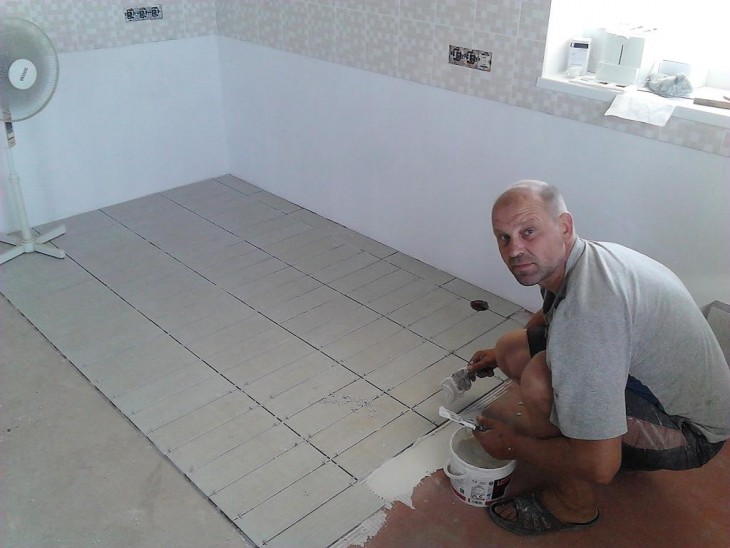
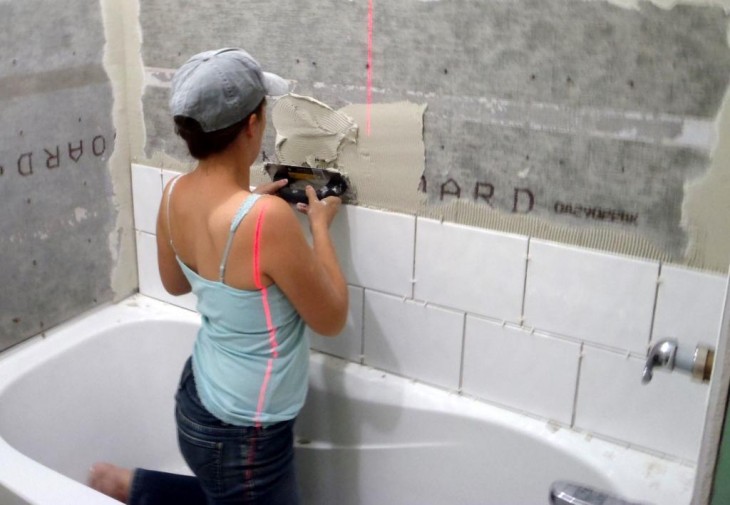
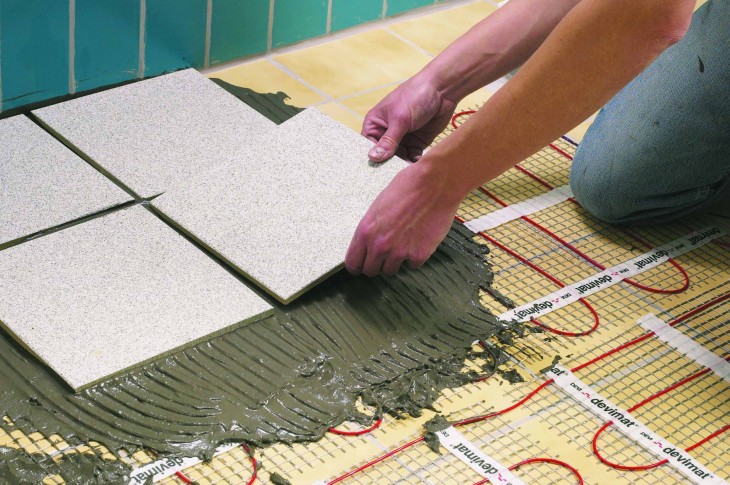
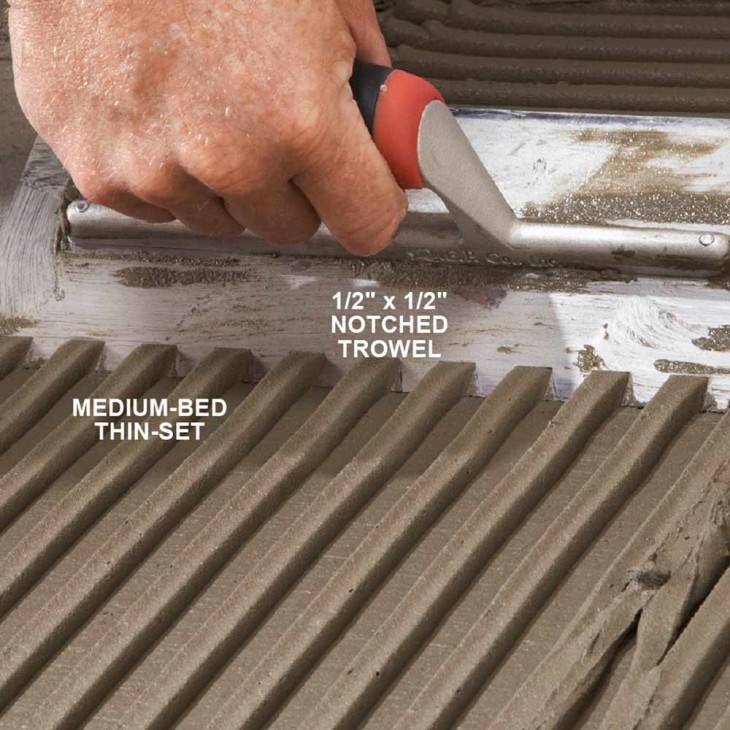
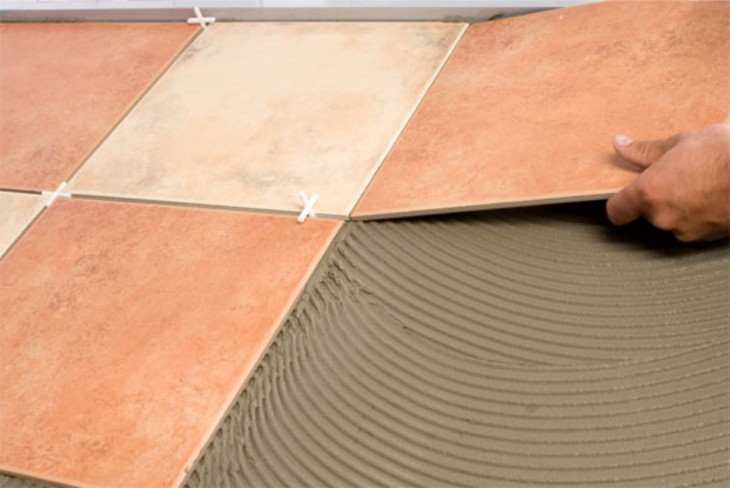
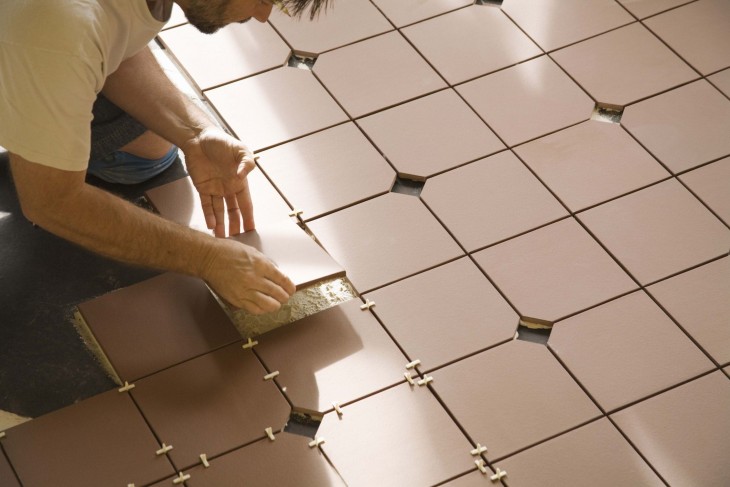
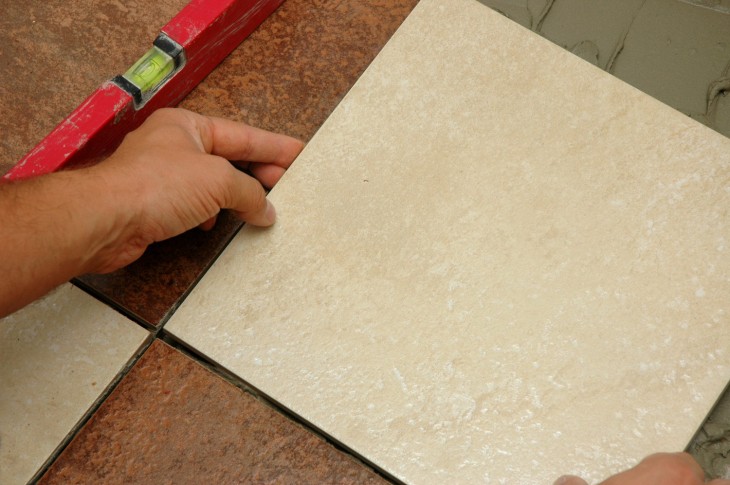
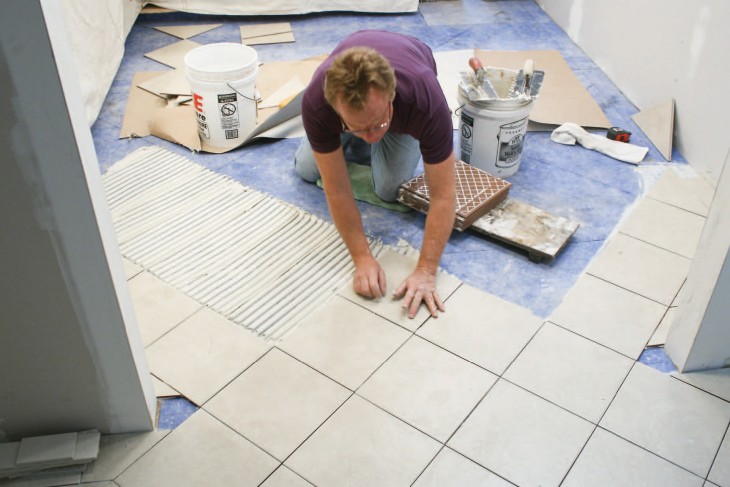
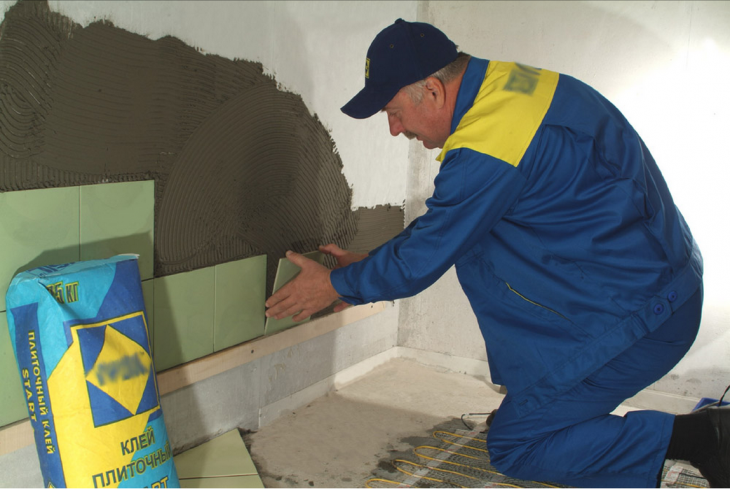
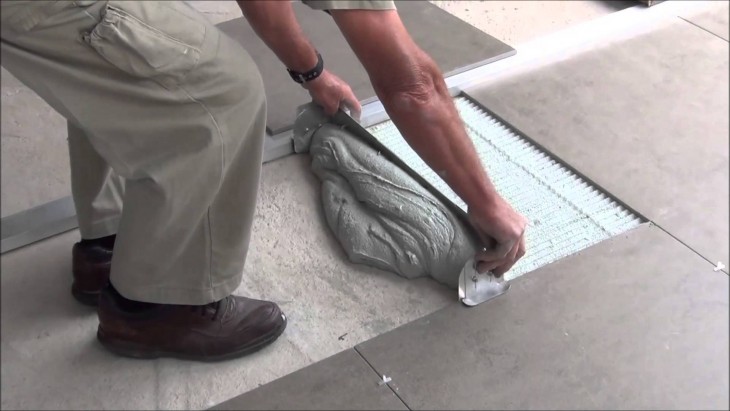
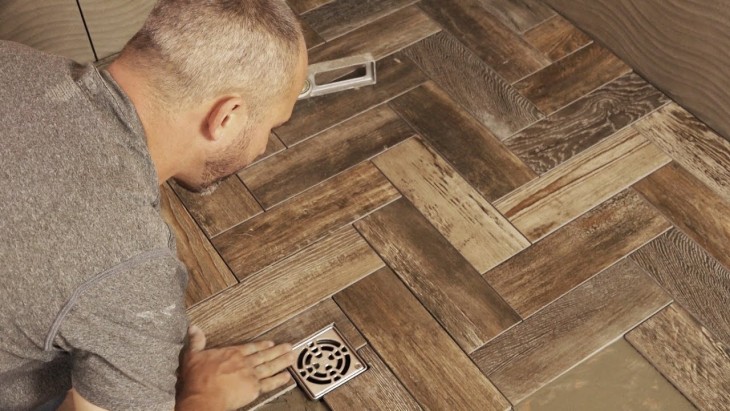
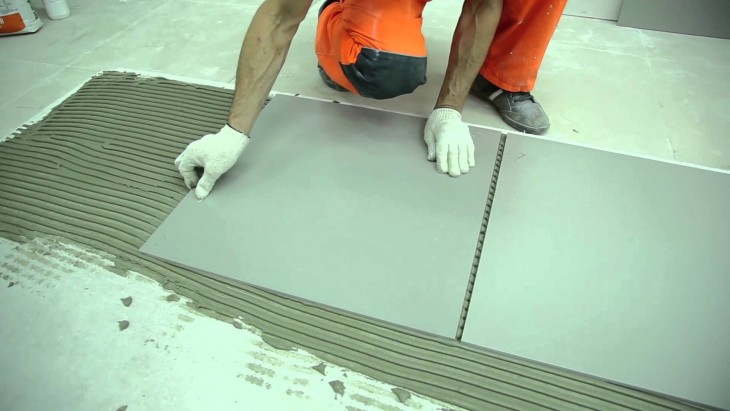
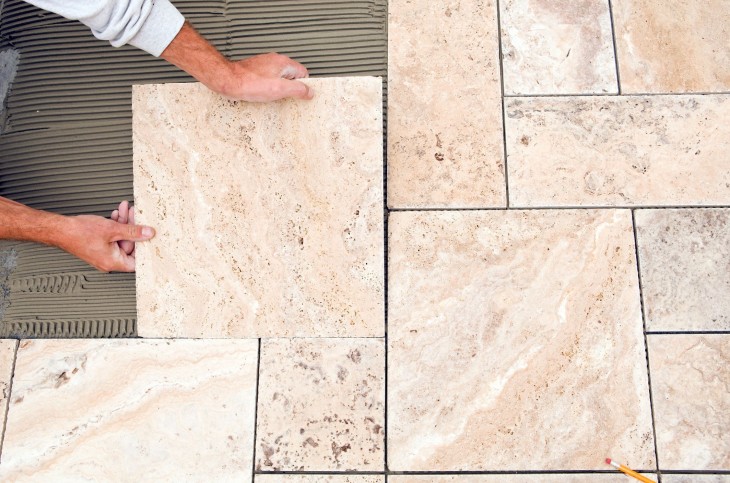
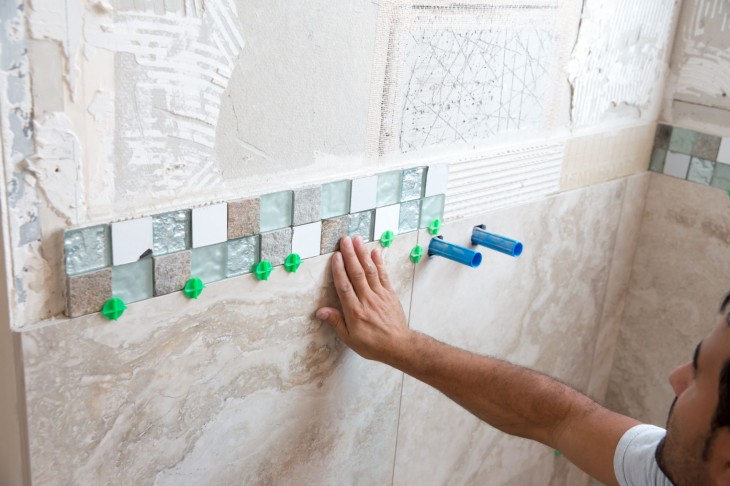
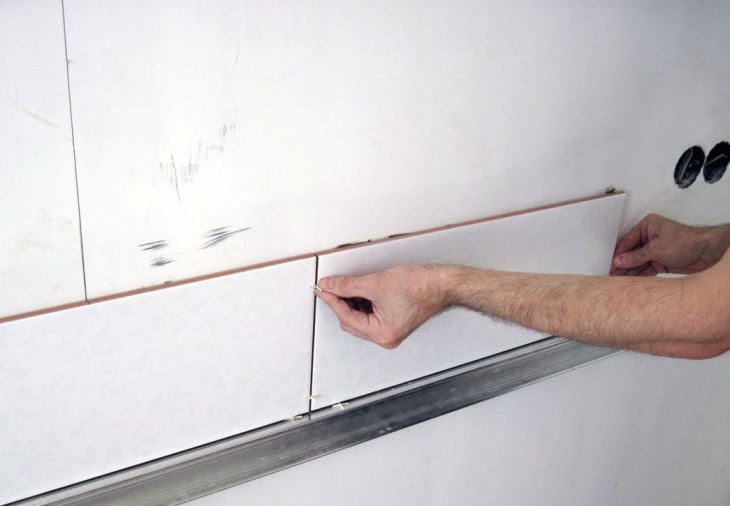
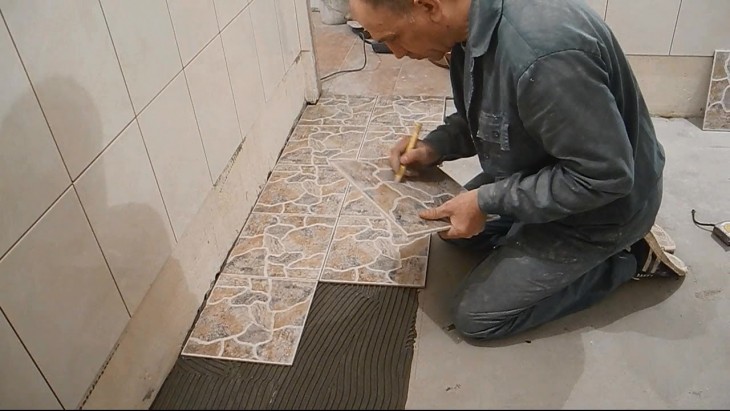
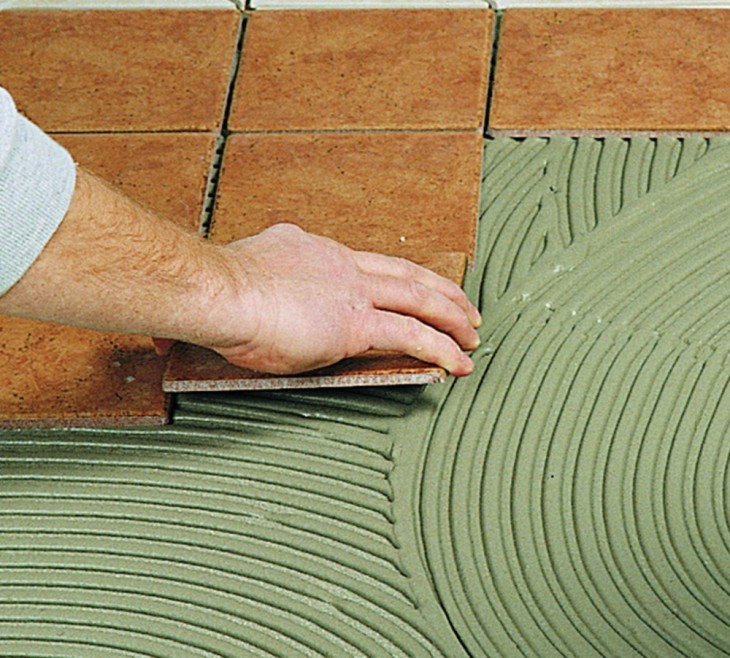
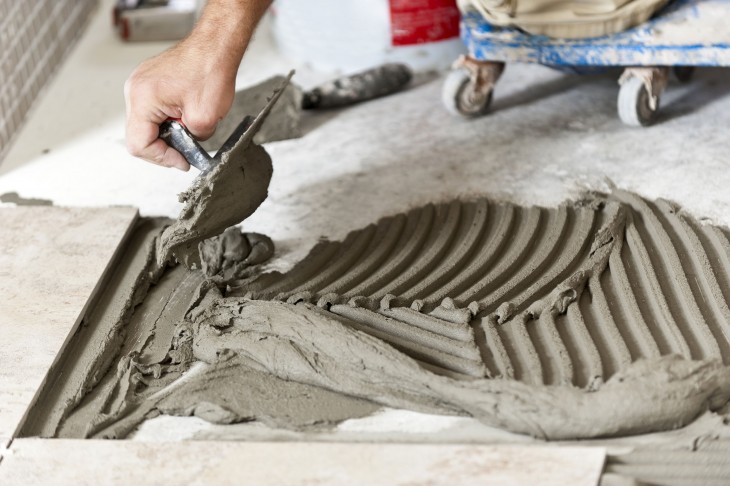
Bonding beacons and masonry. The beacon tiles are glued in the center or at the beginning of the rows and serve as a standard for determining the height and adjusting the row line. When laying the tiles on the floor, apply the adhesive mixture to the surface, then lay the tile and tap on it with a rubber hammer.
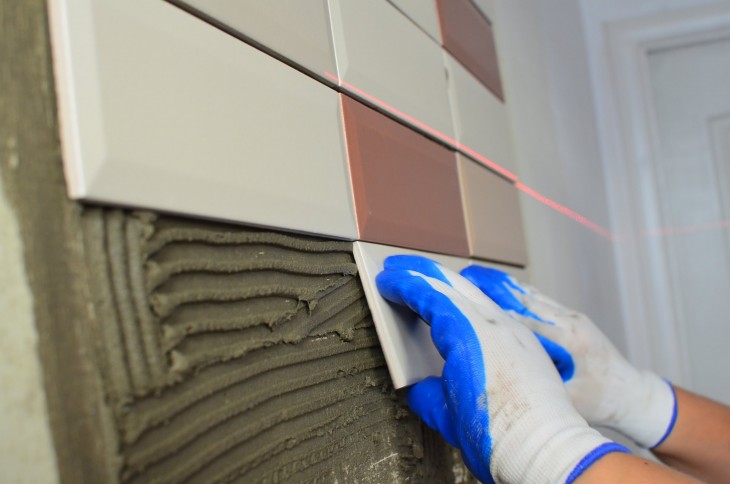
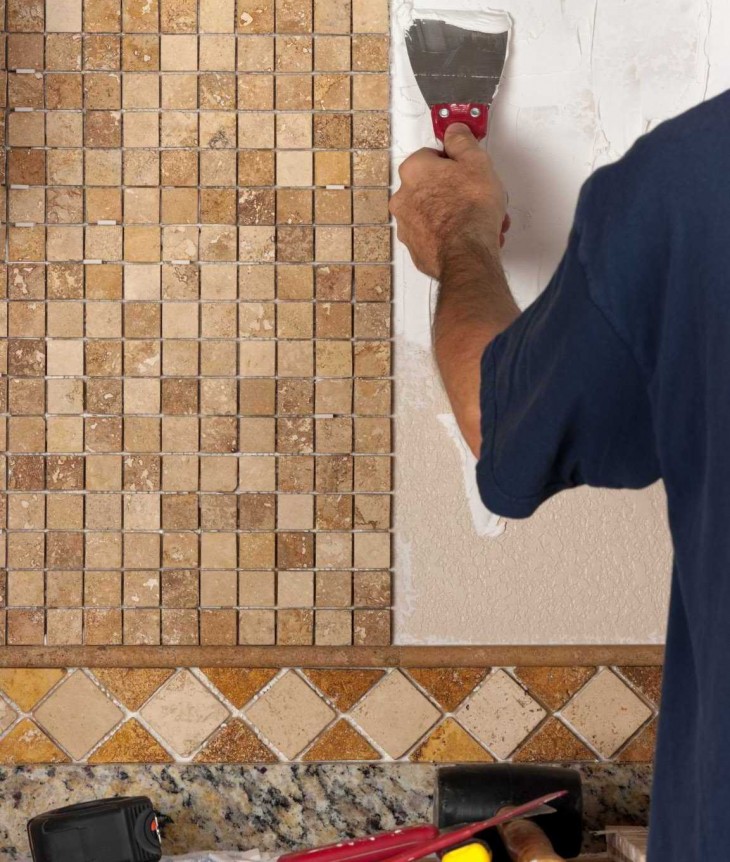
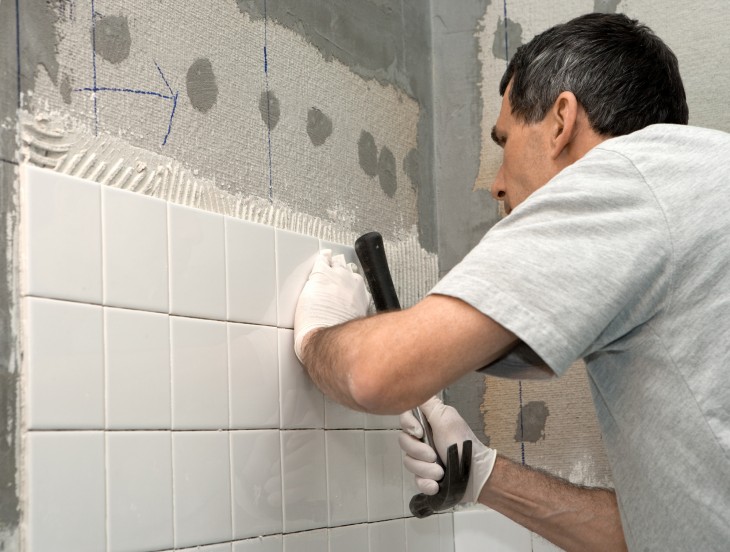
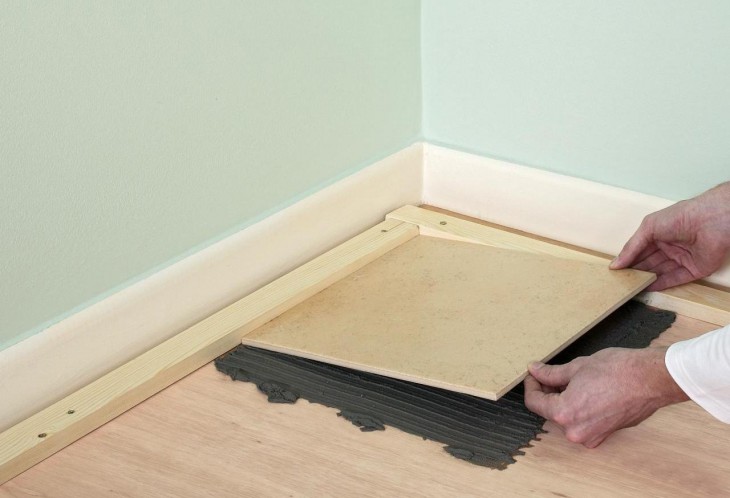
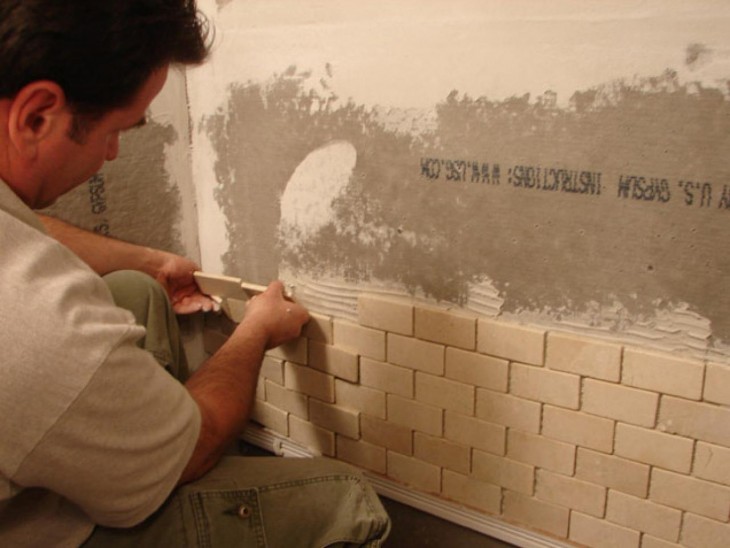
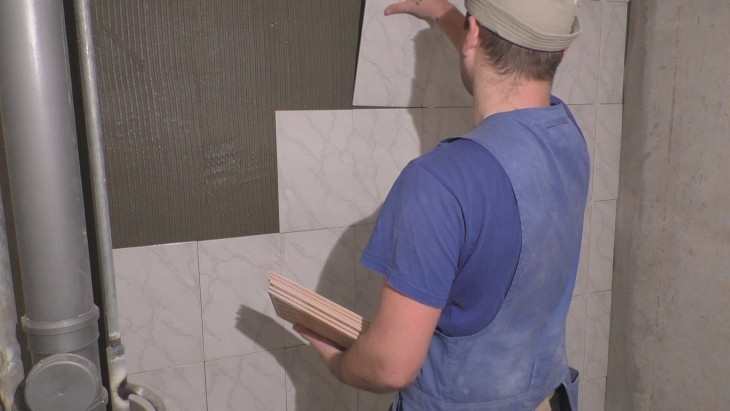
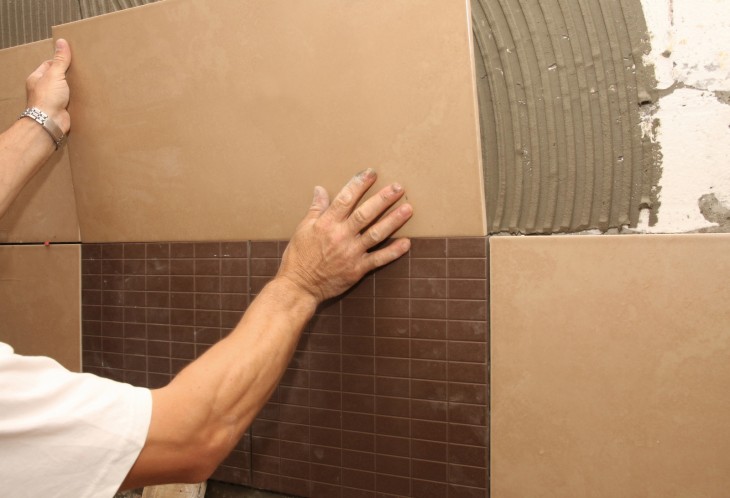
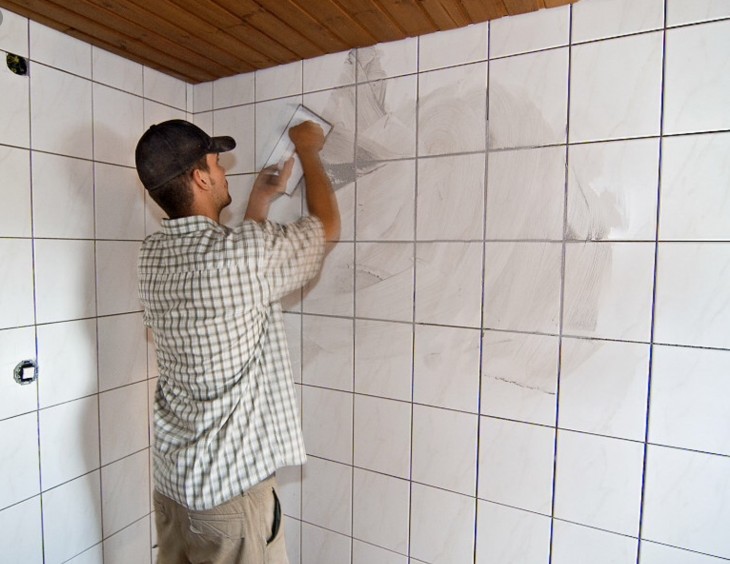
When covering the walls, the adhesive solution is applied to the tile, it must be leveled with putty and pressed to the surface.
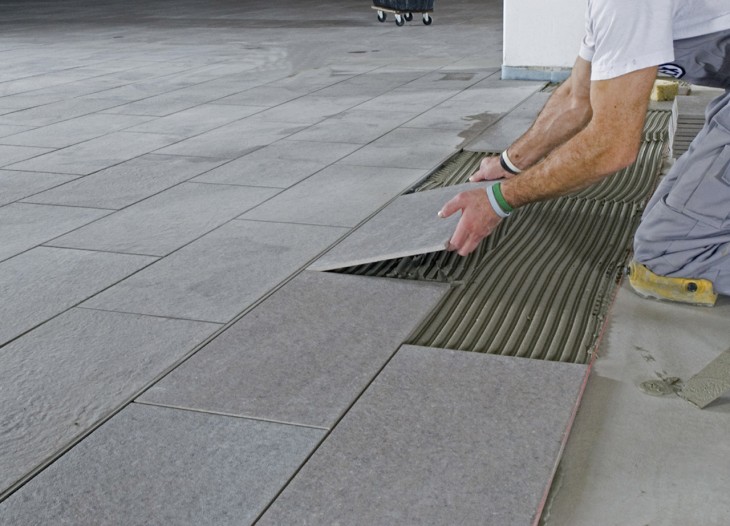
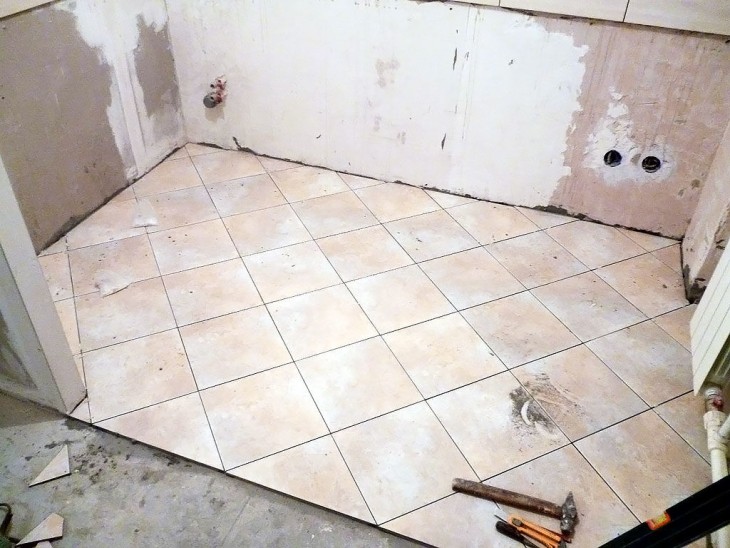
Typically, floor tiles are laid from the center to the walls, and work starts from the wall opposite the door. Tiles are laid in horizontal rows from bottom to top.

Step 6
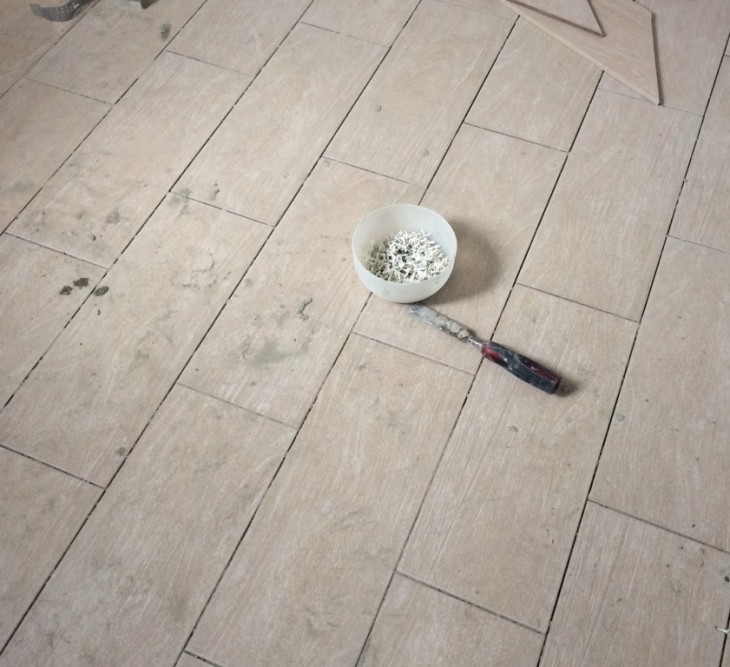
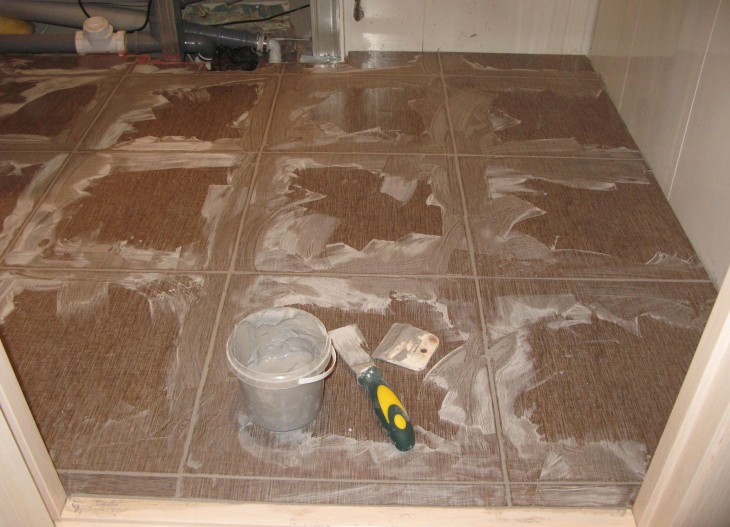
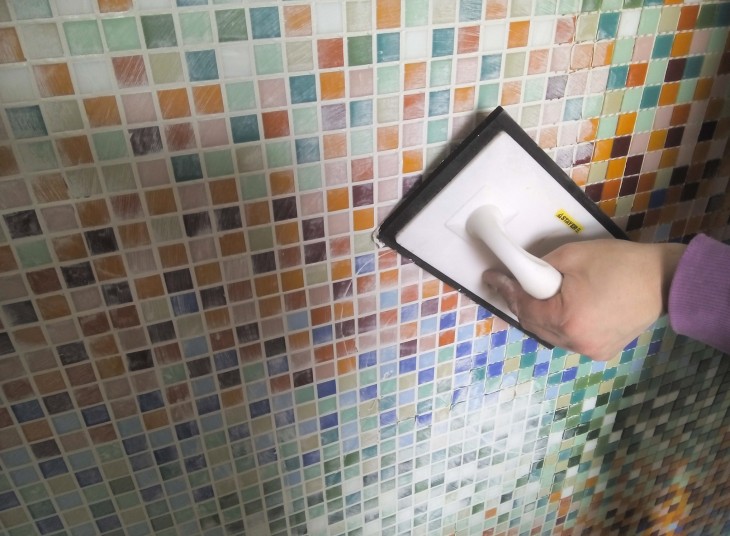
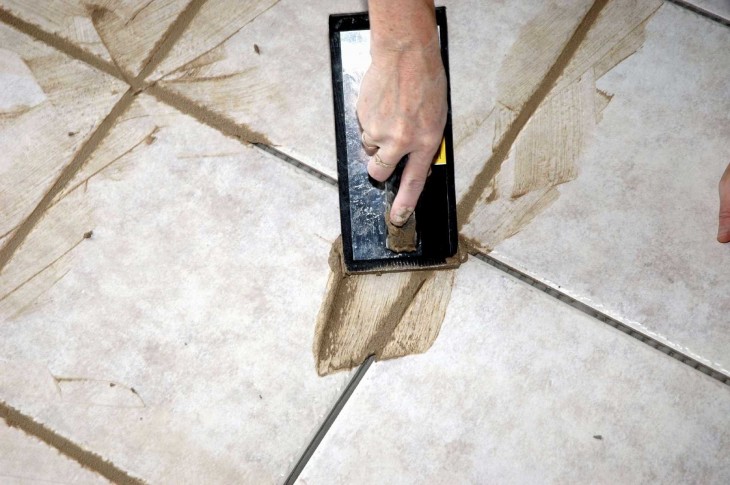
Filling (grouting) of joints. It is necessary to apply a special solution in the area of the seams, and after even distribution and filling of the recesses, remove excess weight.
In order to avoid stains on the tile, especially if a matte variety of tiles was used, it is necessary to treat the surface with sealant before filling the seams.

Note!
A beginner in this business will need not only clear instructions, tools and materials of good quality.
When laying tiles, the help of a friend will never hurt, you also need to find an opportunity and practice on small areas.
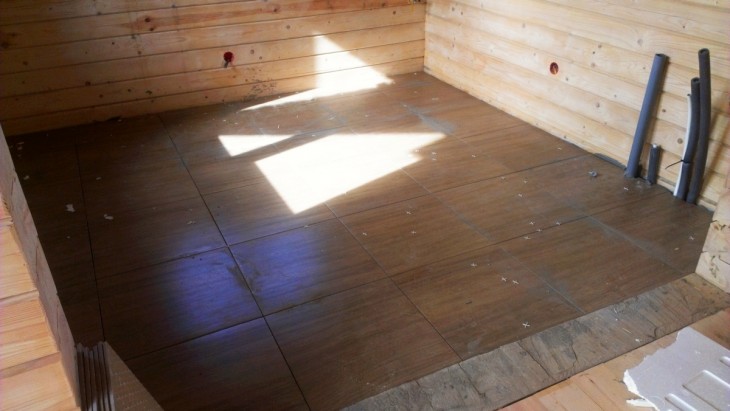
DIY tile laying photo