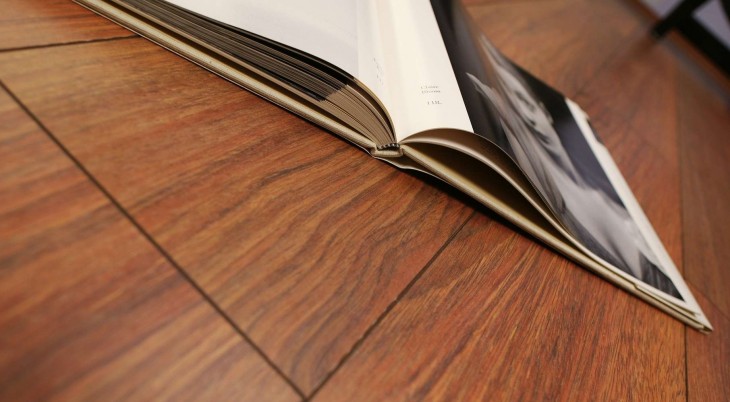
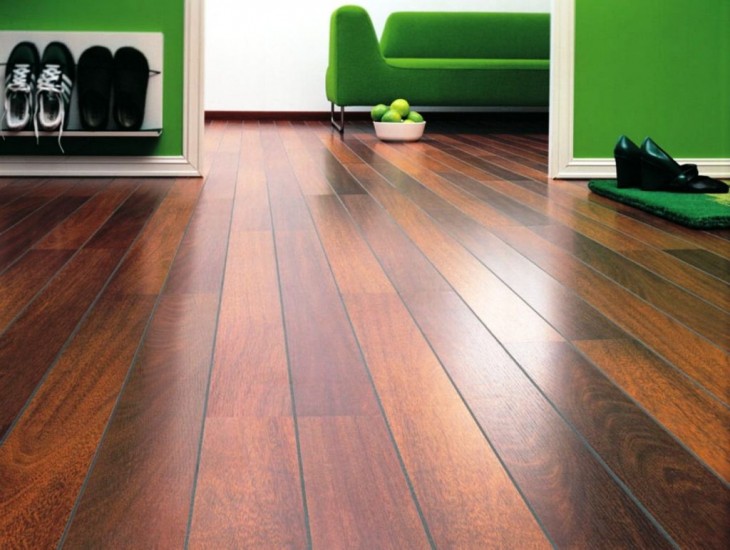
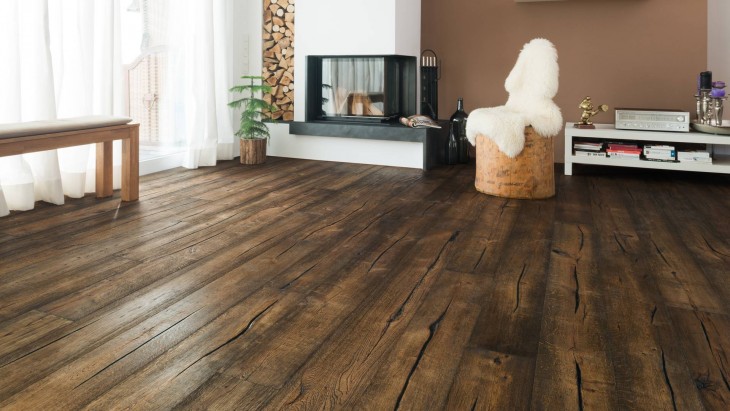
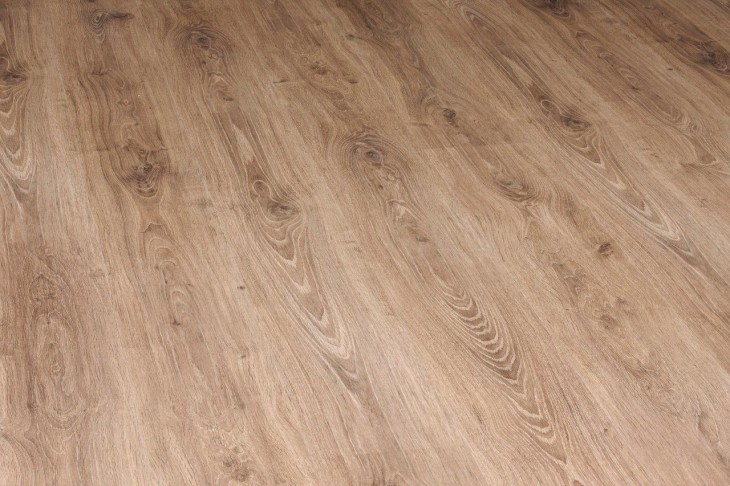
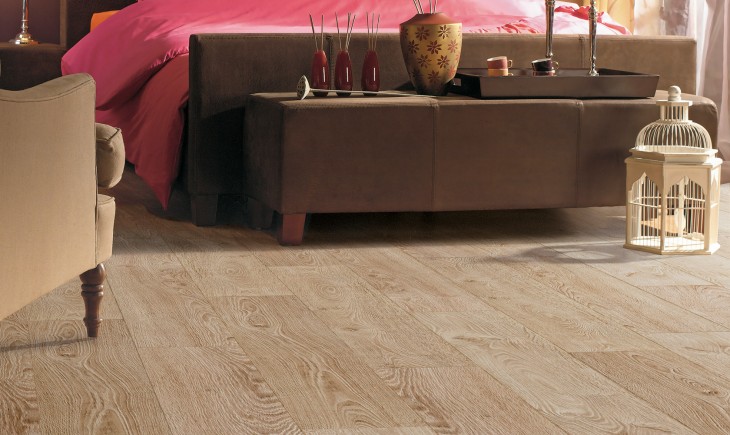
Laminate - wood flooring, often used for repairs in residential and non-residential premises. Reliable, practical, aesthetically pleasing, budget - assortment range is able to satisfy the needs of any consumer.

And for those who do repairs on their own, accessibility and ease of operation is important.

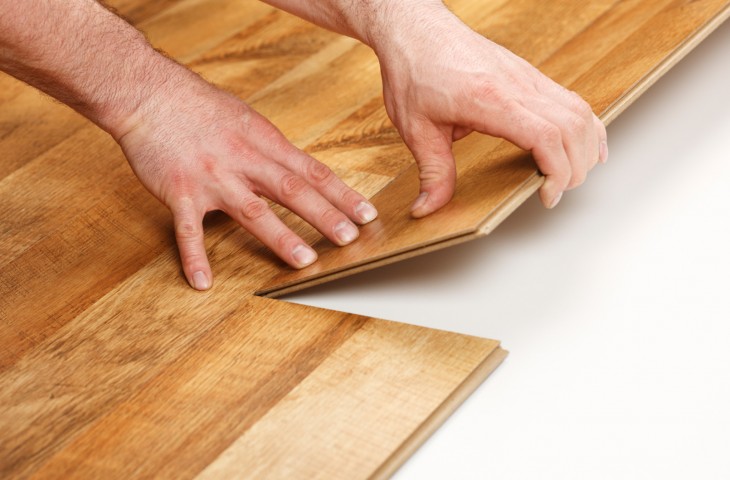
The lack of special building skills will not be a barrier to the purposeful person - a photo of the correct laying of the laminate will clarify for you all the difficult moments.
Review Content:
For which floor can a laminate be used
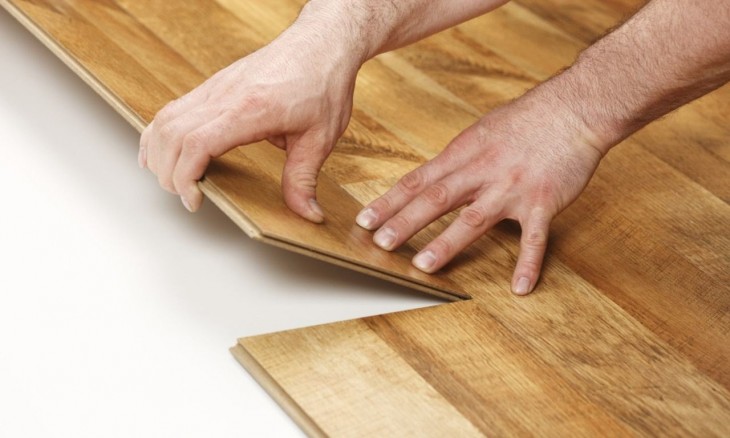
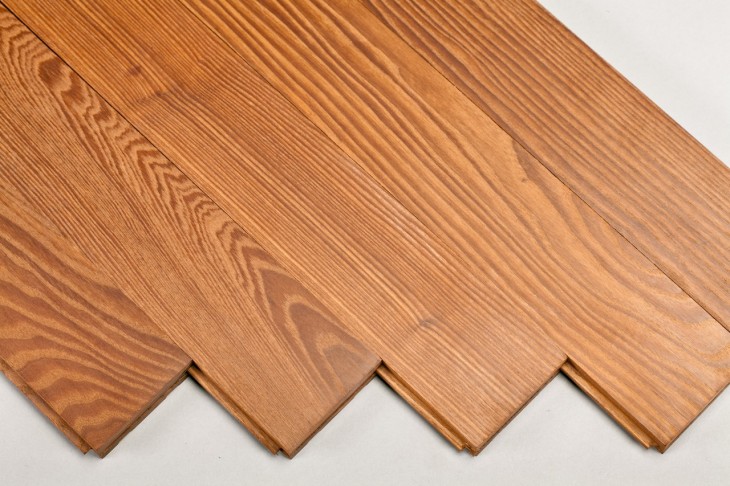
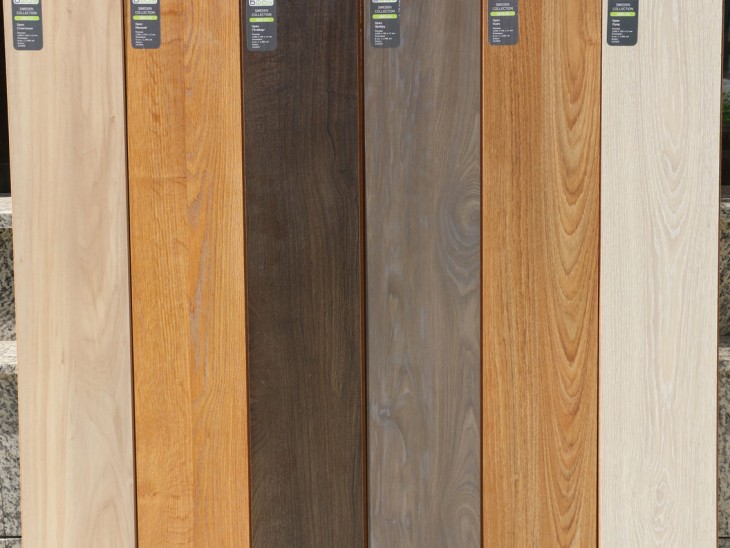
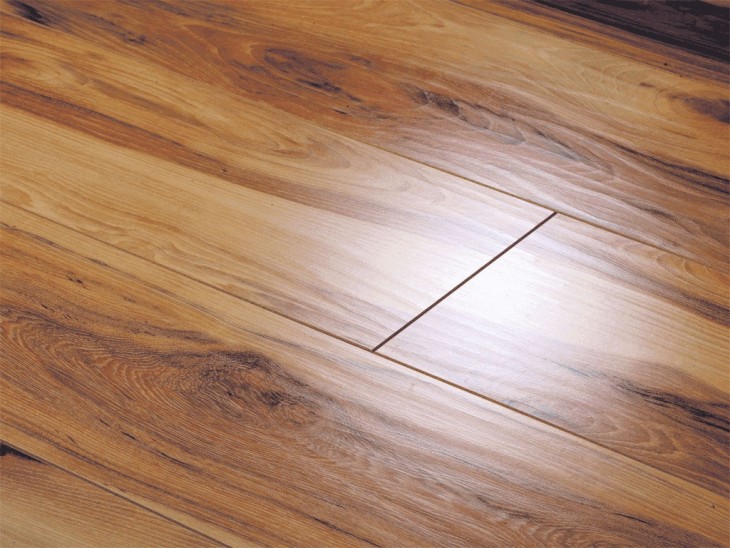
Those who already held laminate panels in their hands, know that they are not homogeneous in structure, have several layers, and on the sides there are special locks for fastening.
It is not difficult to work with such a fixing system, but one must know and observe the technological features of the installation.
The type of lock varies among individual manufacturers. With rare exceptions, laminate laying instructions do not use glue.
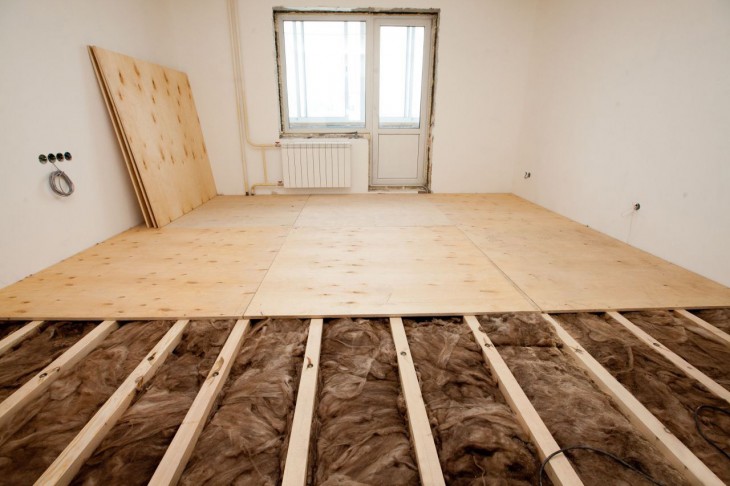
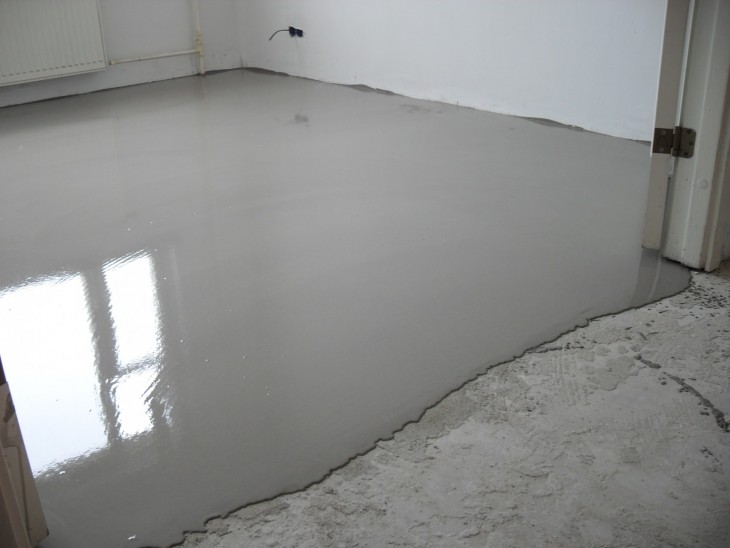
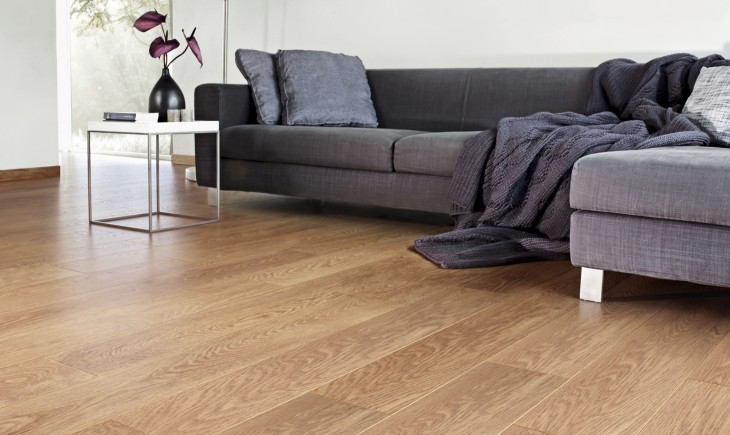
The laminate is laid on any floor - concrete, wood, with tiles, parquet, linoleum, the main thing is that it is solid, dry and even.
If these conditions are not met, the duration of operation of the laminate will be significantly less than the manufacturers of this product guarantee.
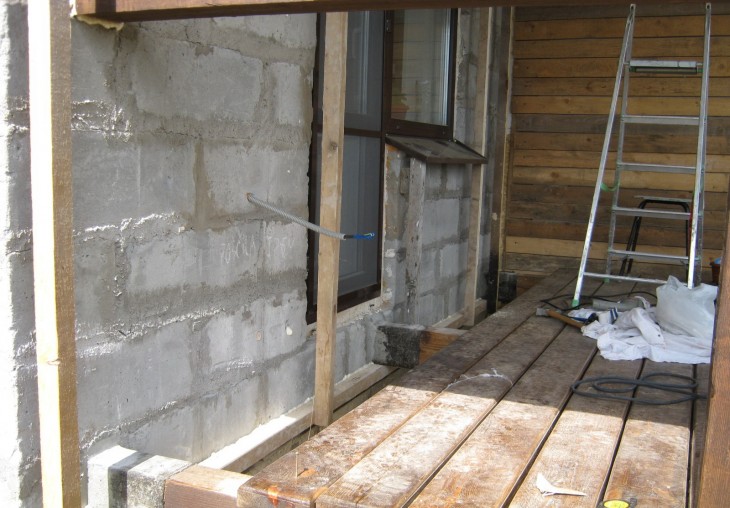
Horizontal bumps, slope should be eliminated. Depending on the type of floor, leveling can be carried out for concrete floors with a cement screed, primer.
For wooden - repair, replacement of damaged elements, surface treatment with a grinder.


What you need to know for a home master when working with a laminate
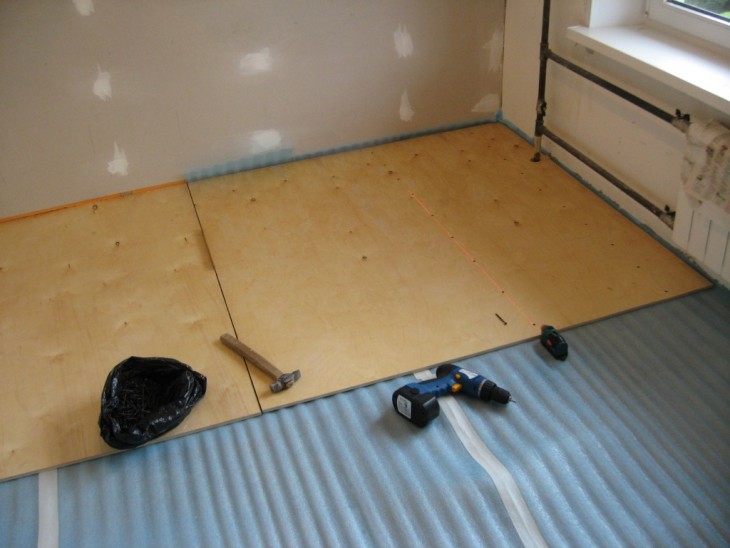
Before laying the laminate with your own hands, leave the material brought from the store in the repaired room for two days: for multi-layer plates it is important to adapt to the microclimate of your home.
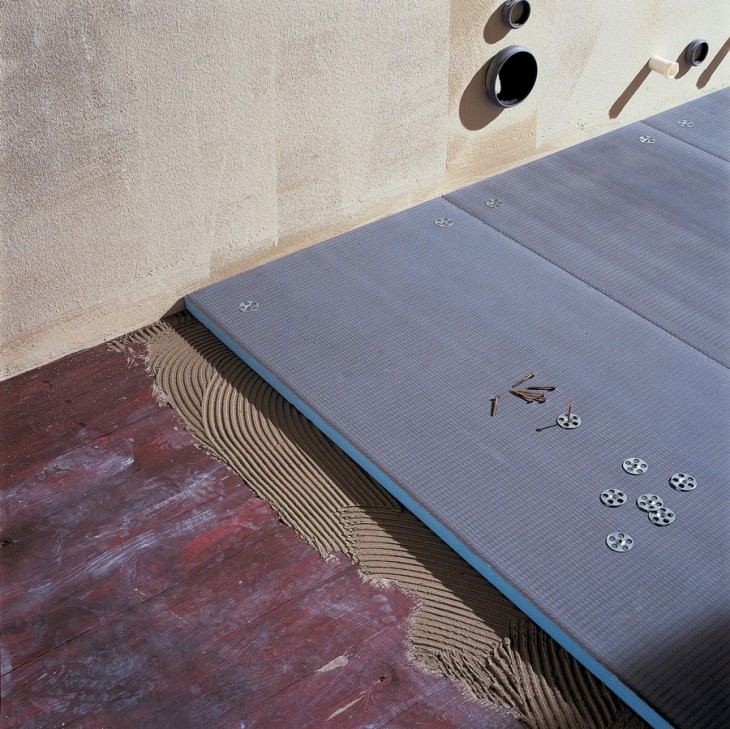
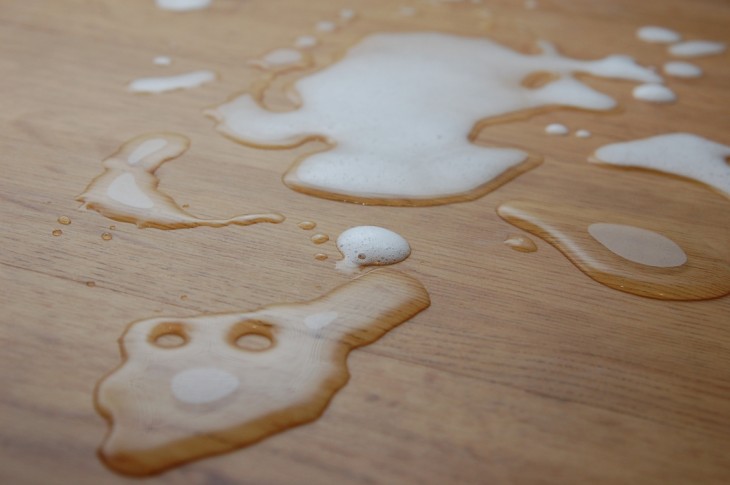
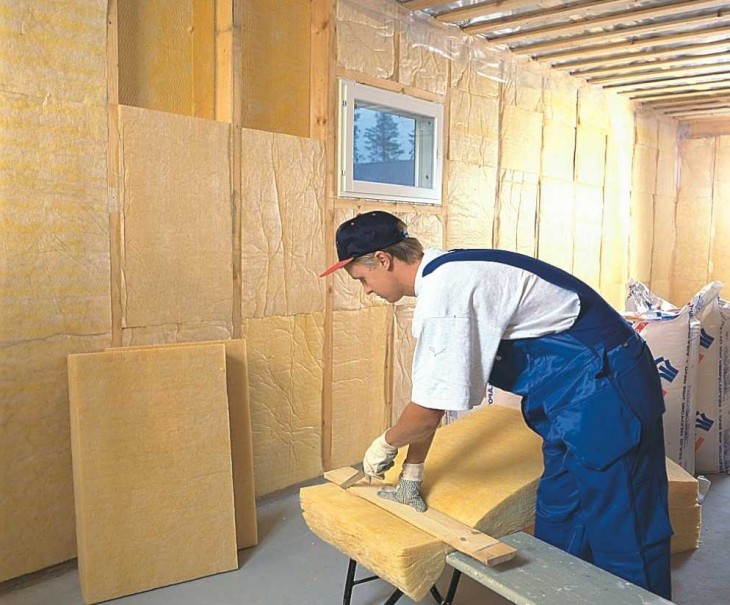
Do not allow direct contact of the laminate with concrete surfaces - they are easily moistened by themselves and transfer moisture to their "neighbors".
With increased humidity, the laminate panels delaminate and lose their consumer properties. Therefore, a vapor barrier layer must be placed between the new coating and the concrete floor.
The most suitable material is polyethylene (200 microns thick). Less commonly used for these purposes is a diffuse membrane. For protection against moisture to be effective, there should be no tears, bare spots - lay sheets with an overlap with a margin of more than 15 cm.
For non-concrete floors, polyethylene insulation is not needed.
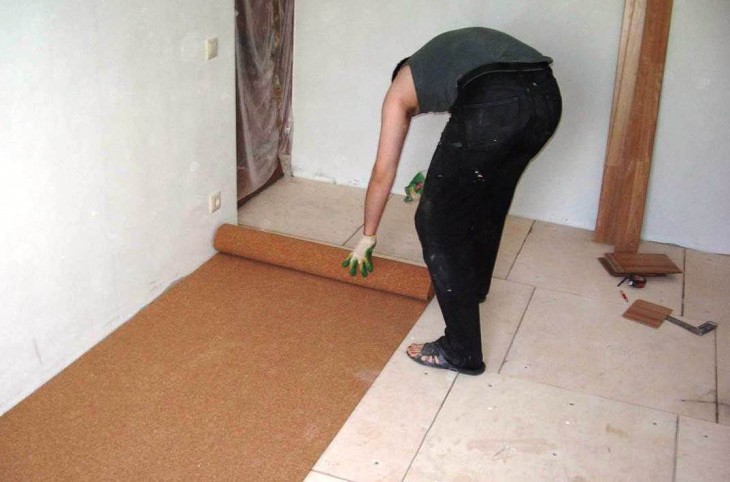
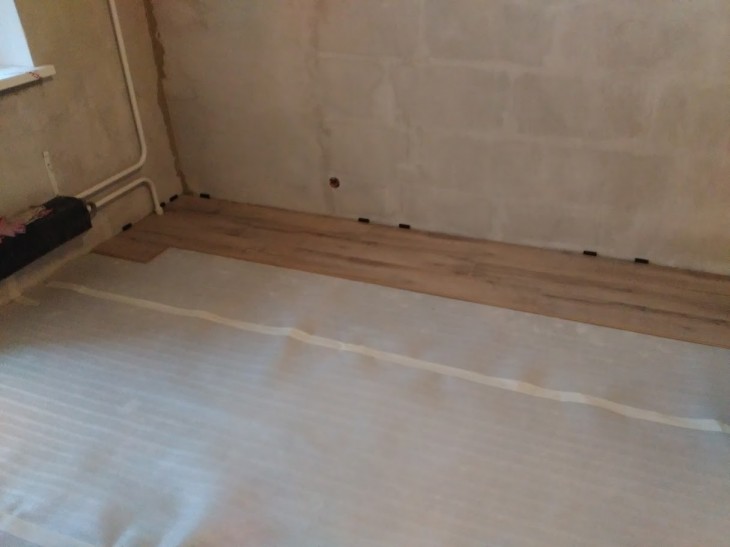
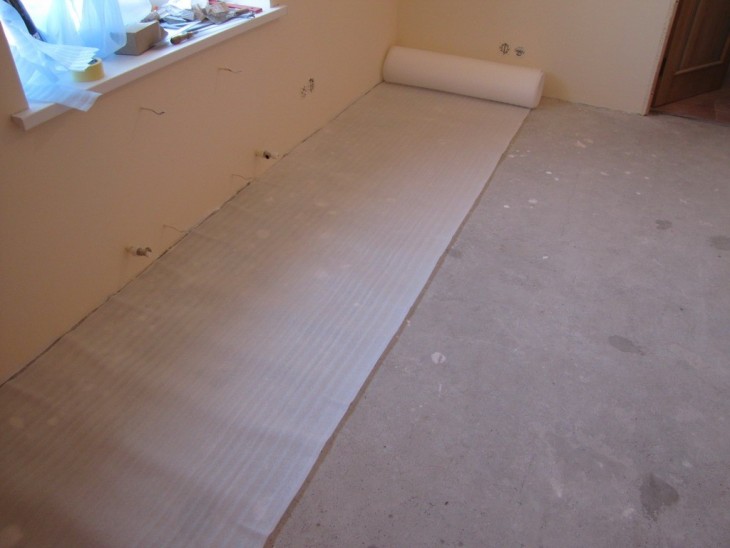
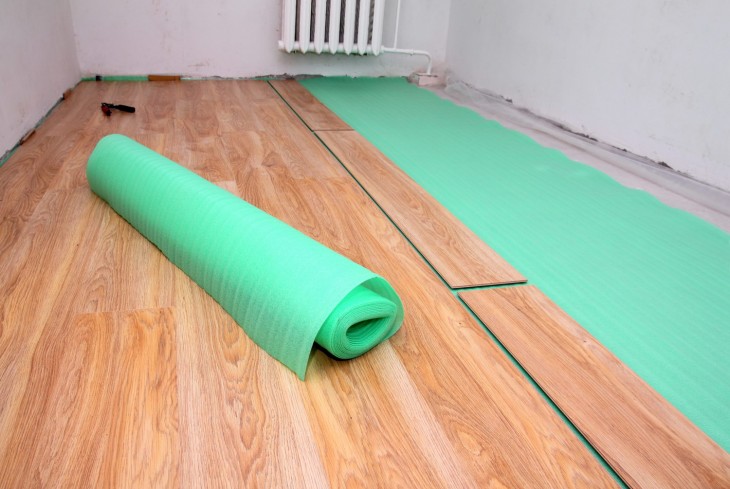
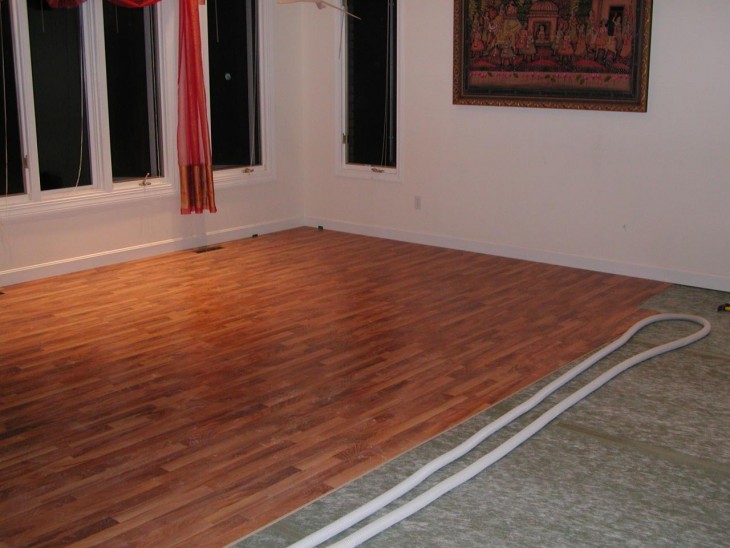
What is the substrate for?
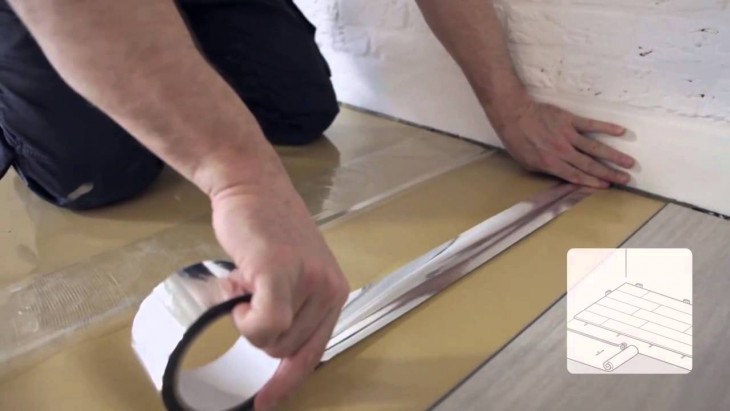
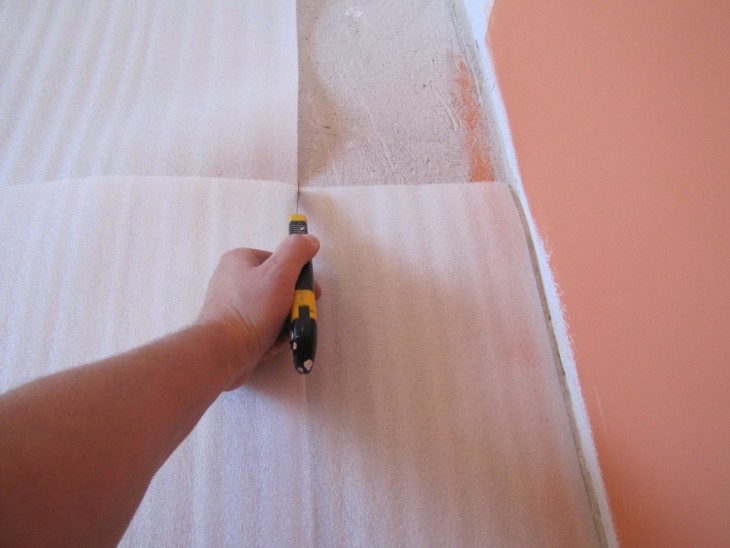
A mandatory part of the preparatory work is to send out the substrate. It is needed to ensure better operation and installation of the laminate: noise insulation, thermal insulation, smoothing out minor floor irregularities, additional protection against moisture.
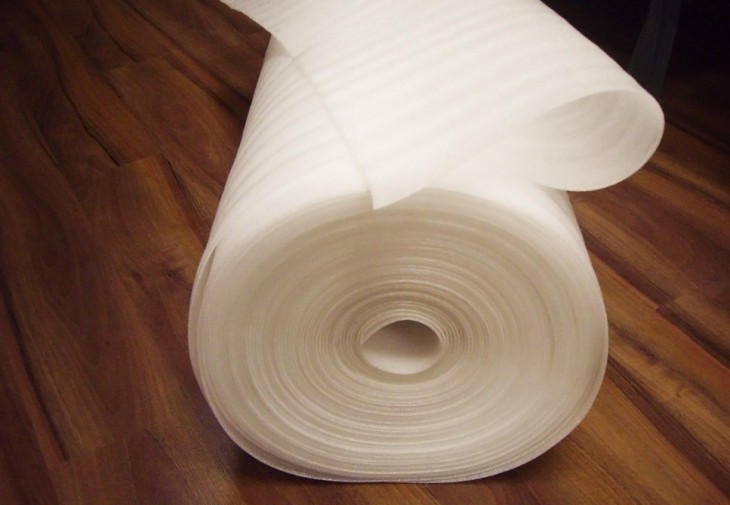
The substrate may be linoleum, polystyrene foam, air bubble film or other specialized materials.
Note!
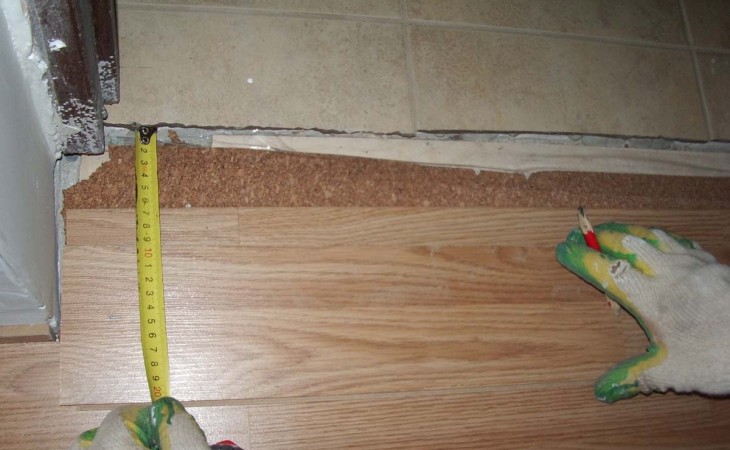
The layer thickness is on average 3-5 mm depending on the type of laminate (pay attention to the manufacturer's recommendations).
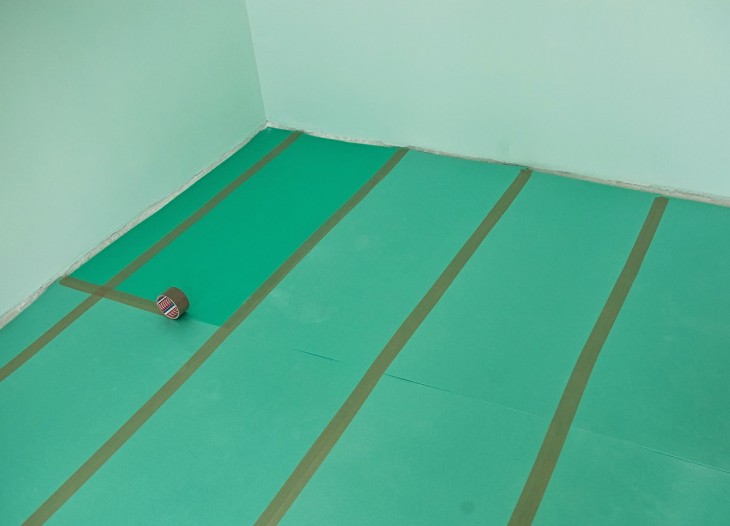
When covering the floor, place the backing sheets without overlapping, fix the joints with tape.
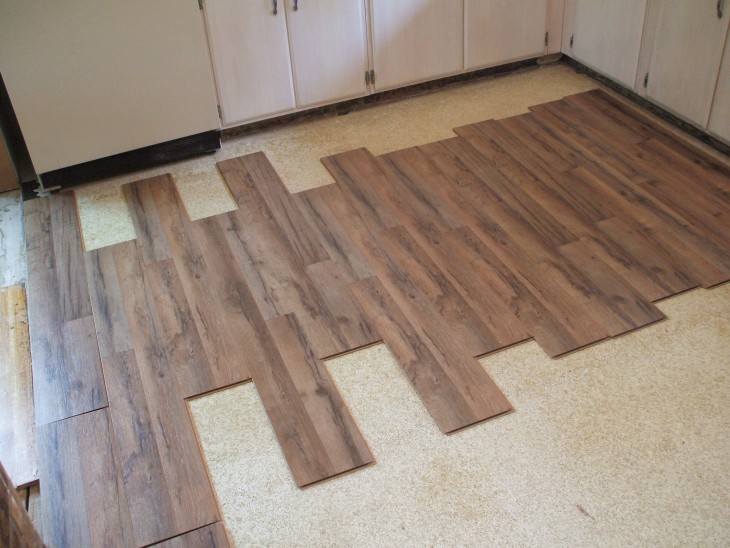
How to plan the optimal layout of the laminate
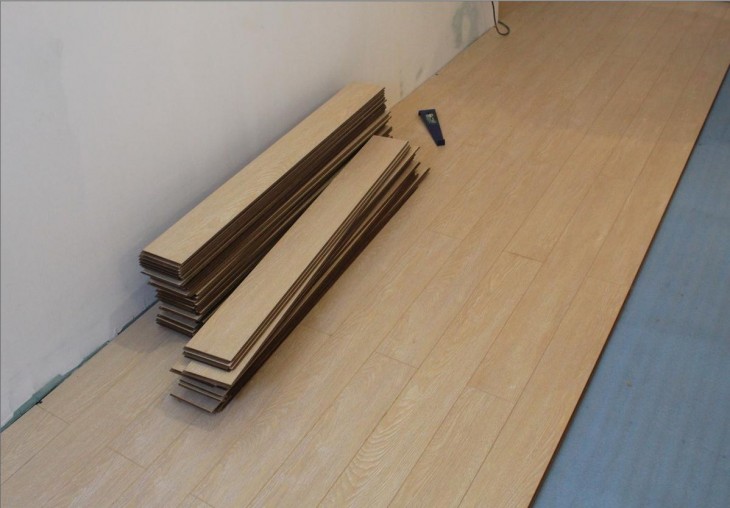
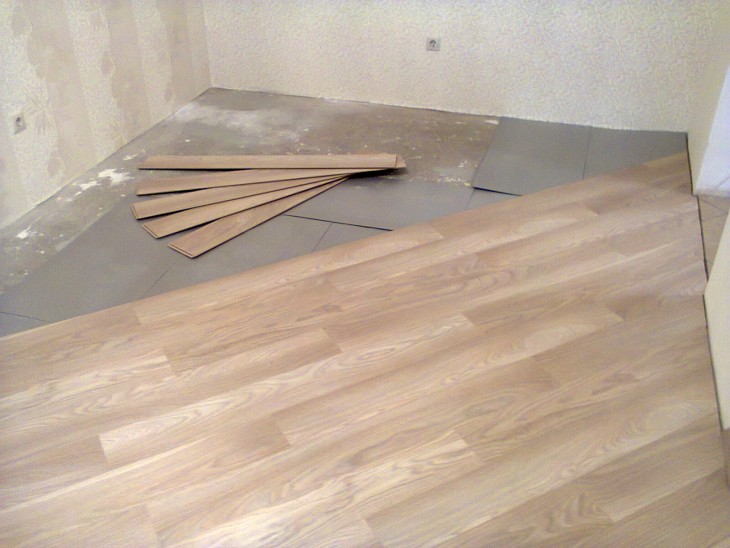
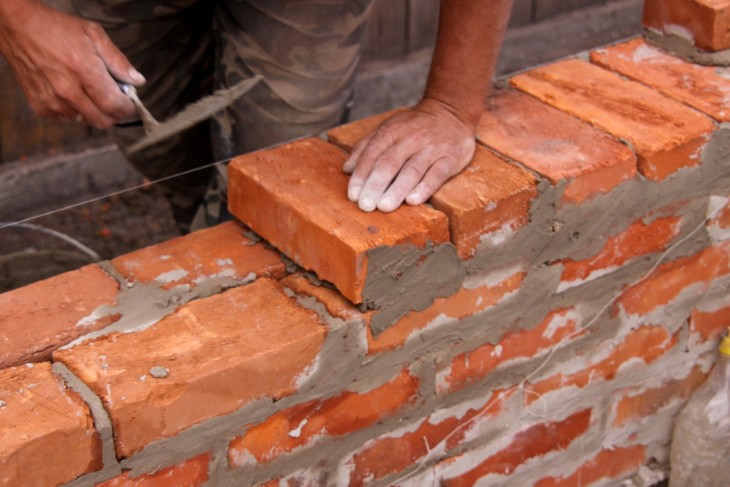
Laminate strips are distributed in shifting rows, cruciform joints are not permissible. Offset is preferably half the panel. But at home, many prefer not to fit in the center (like a brick when laying), but to focus on the size of the segment, which is successfully joined with the previously laid side by side.
Professional craftsmen do not recommend doing this - it reduces strength and is less aesthetically pleasing. But the final choice is yours - manufacturers allow the row to be offset by a third of the total length of the laminated panel.
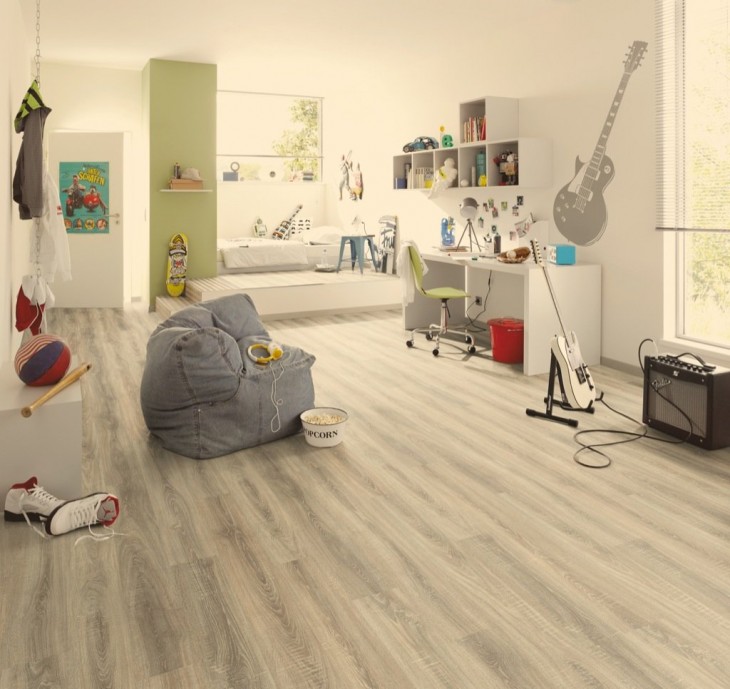
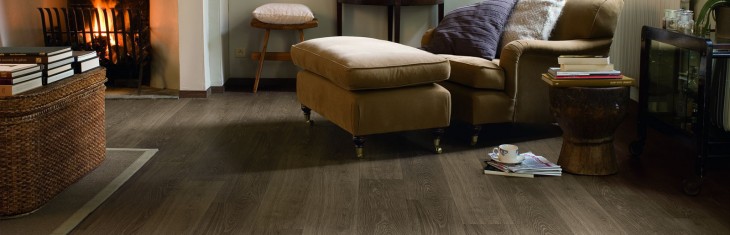
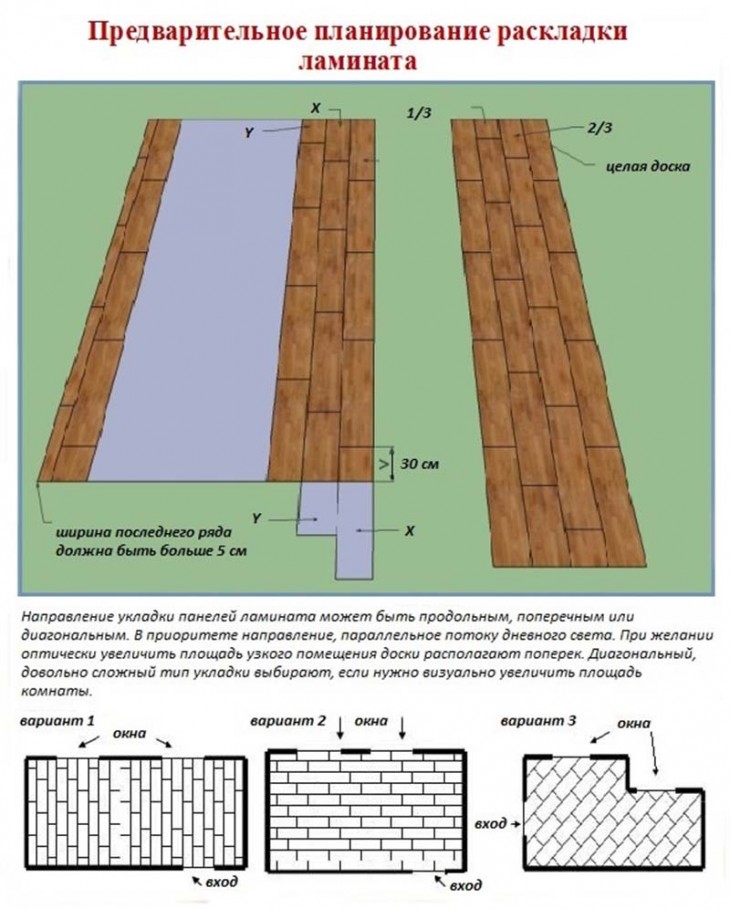
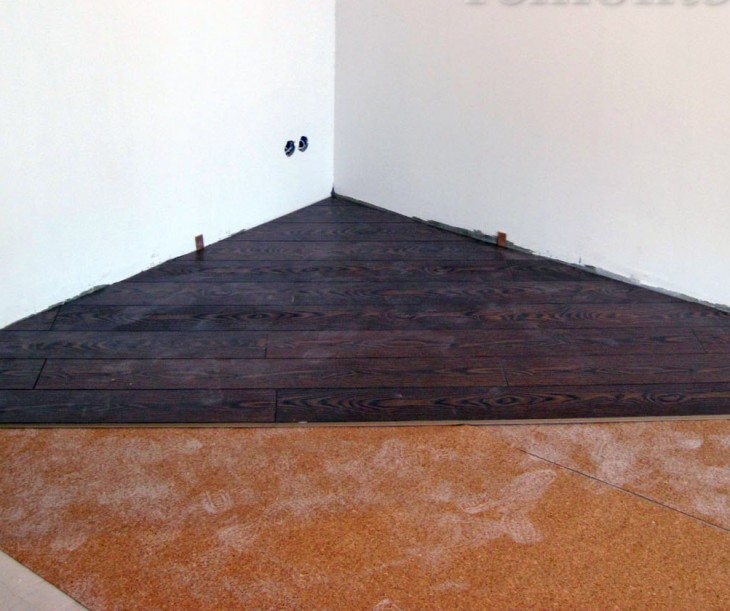
Choose the option of row direction most suitable for you - longitudinal, transverse or diagonal. In most cases, they are oriented parallel to the stream of daylight.
Note!
Cross and diagonal styling is chosen if you want to change the visual perception of the shape and size of the room.
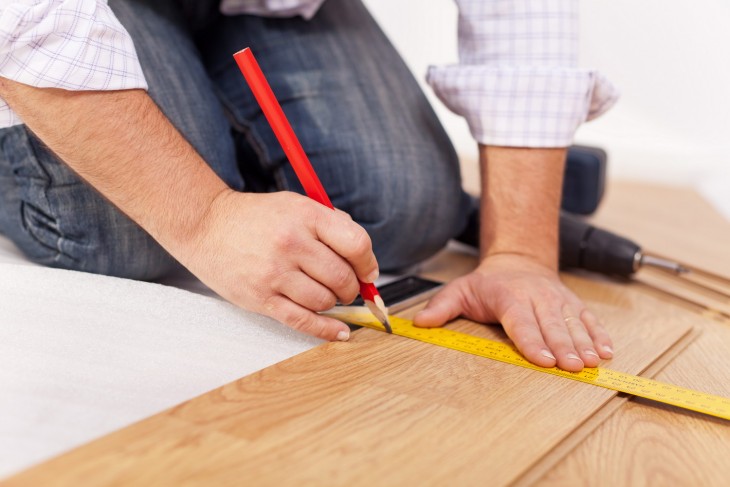
Implement the plan of future work on paper - this will help to rationally use your working time and materials. Calculate how many solid and cut panels are needed for each complete or incomplete row.
It is necessary to consider:
Dimensions, ledges, openings, architectural features of the room. If the room has a large fireplace, it is advisable to start rows from its central axis.

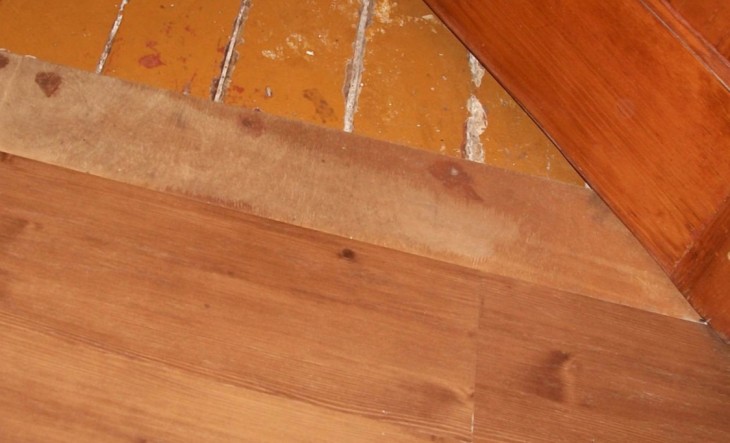
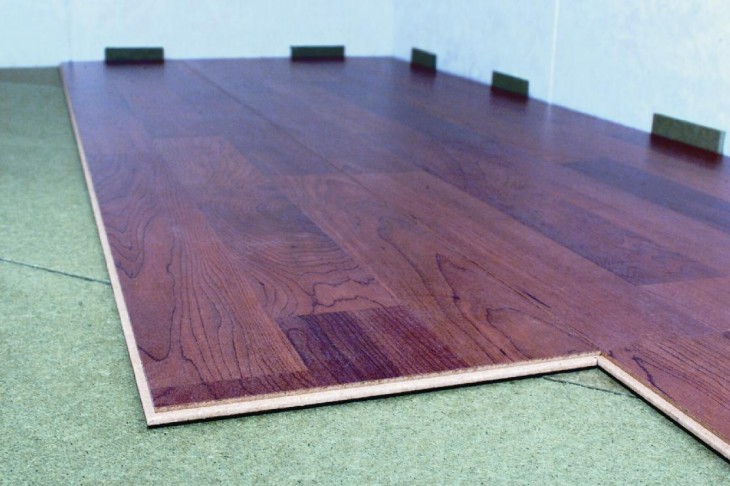
Be sure to mark 1 cm of the technological gap around the perimeter of the room.
Remember that the protruding part of the mounting part - the comb of the panel - is cut off for the first row from the wall.
Note!
It is not allowed to lay a sawn panel with a width of less than 6 cm.
If preliminary calculations show that the last row is 5 cm or less, then the width of the plates of the first and last row is simultaneously adjusted to approximately the same size.
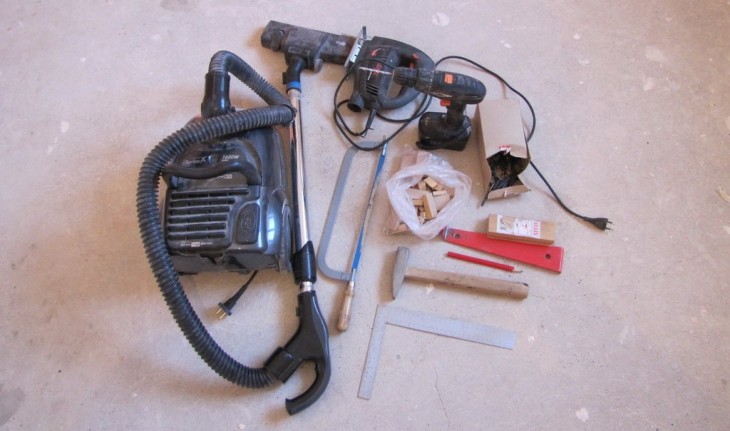
In the hands of a laminate panel - how to proceed
The preparatory work has been successfully done; you can proceed with the installation of the panels.
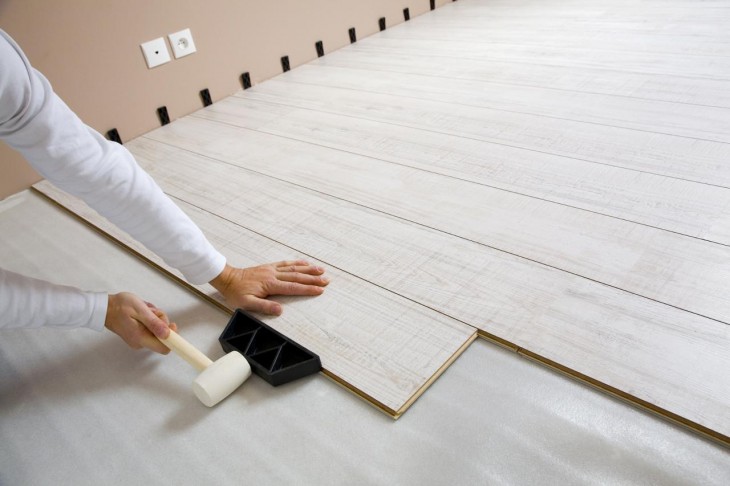
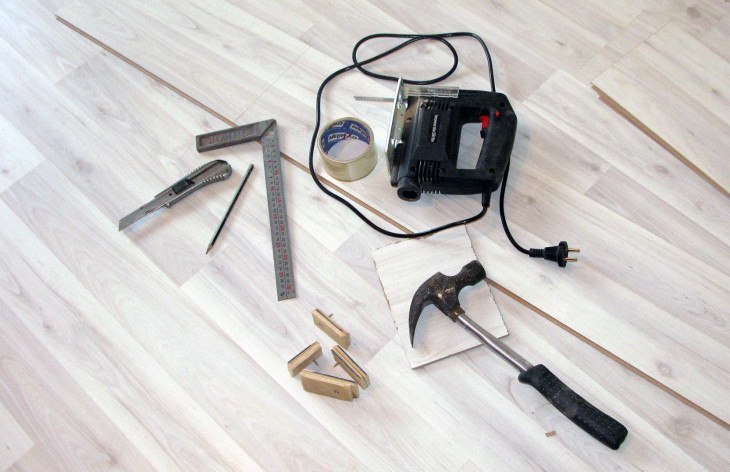
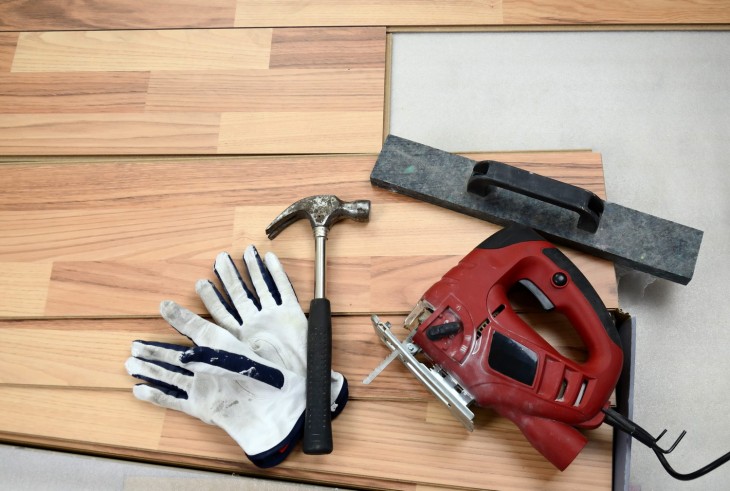
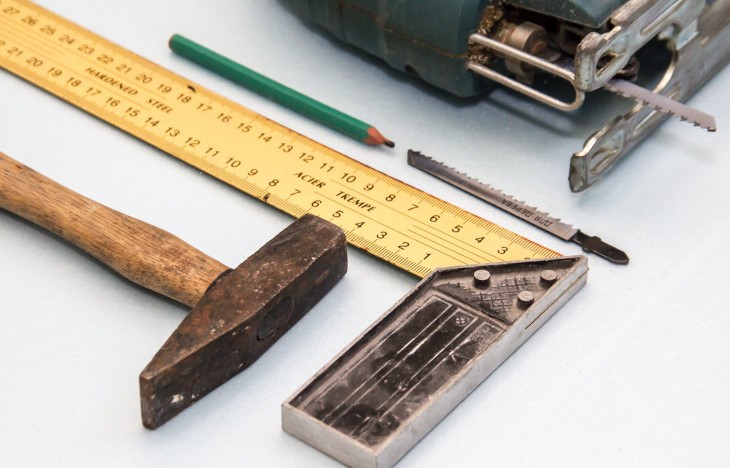
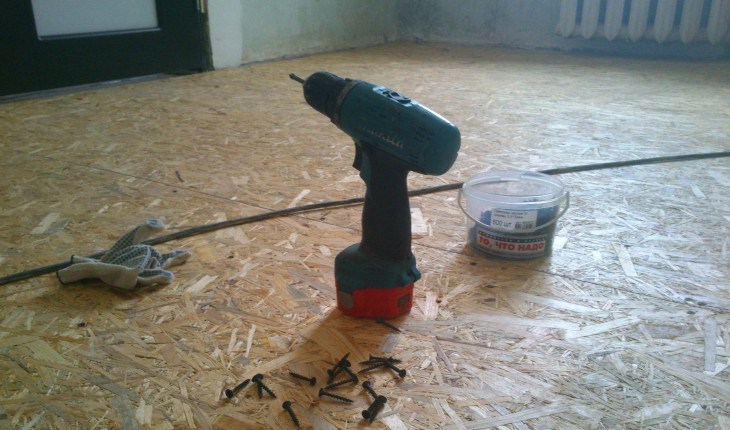
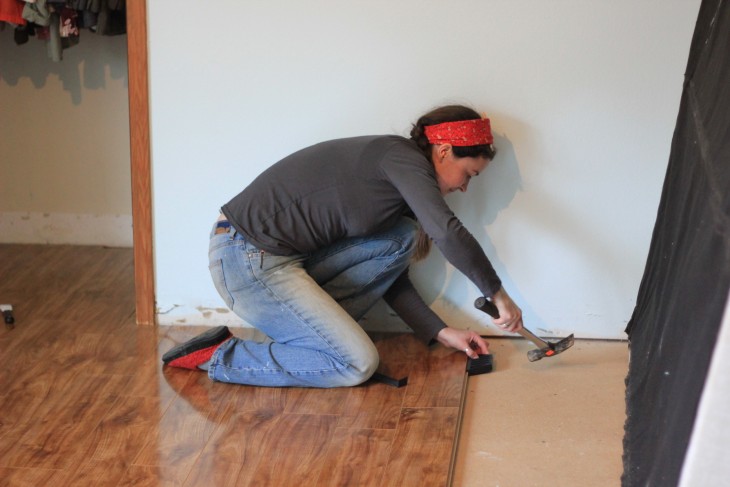
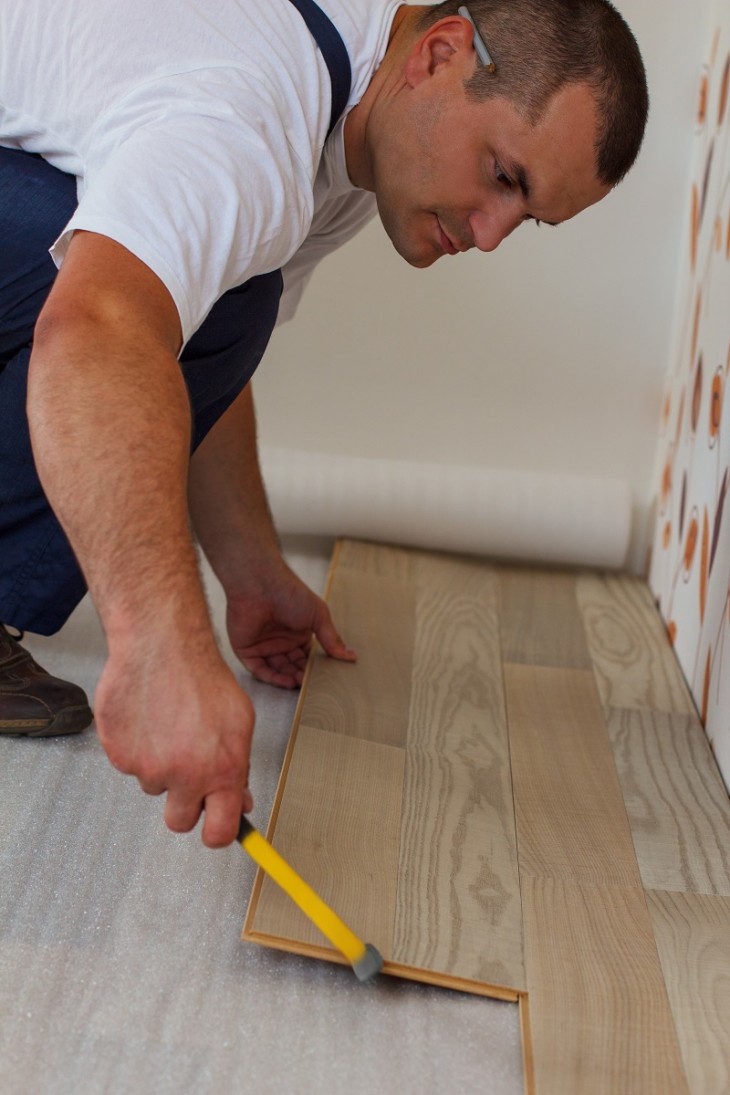
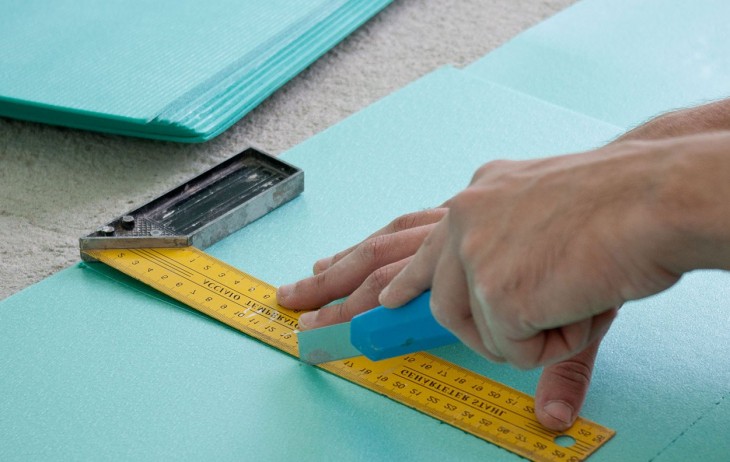
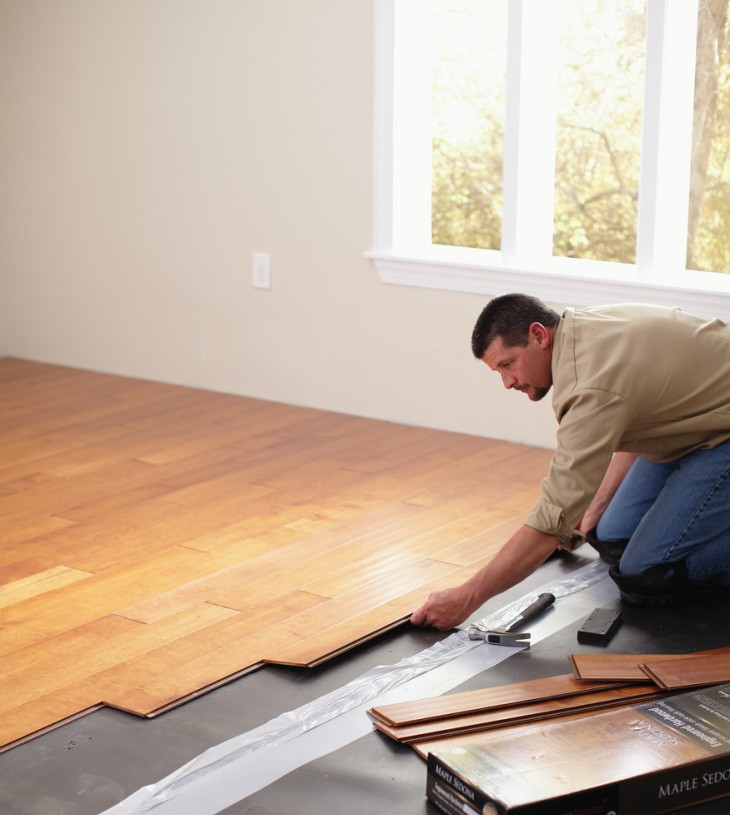
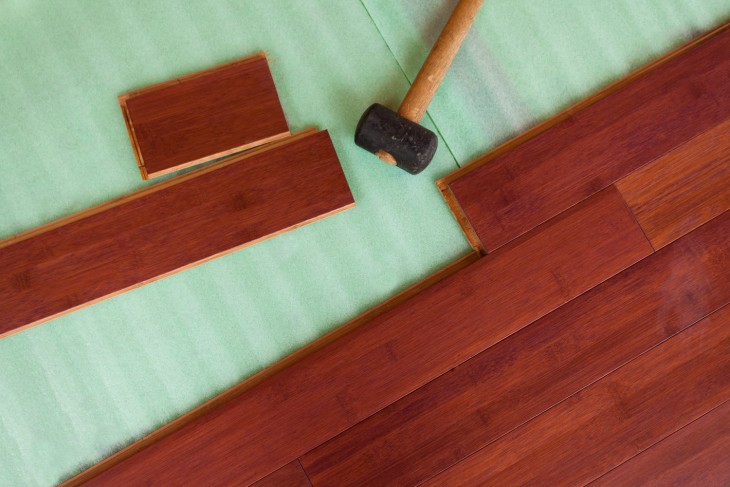
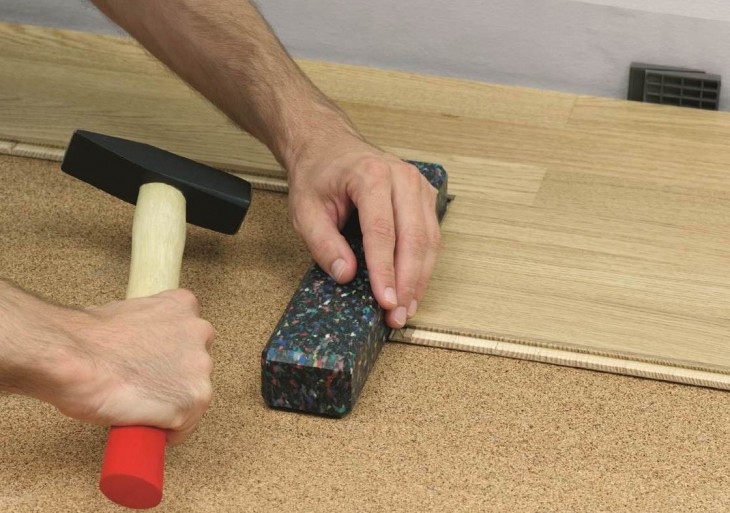
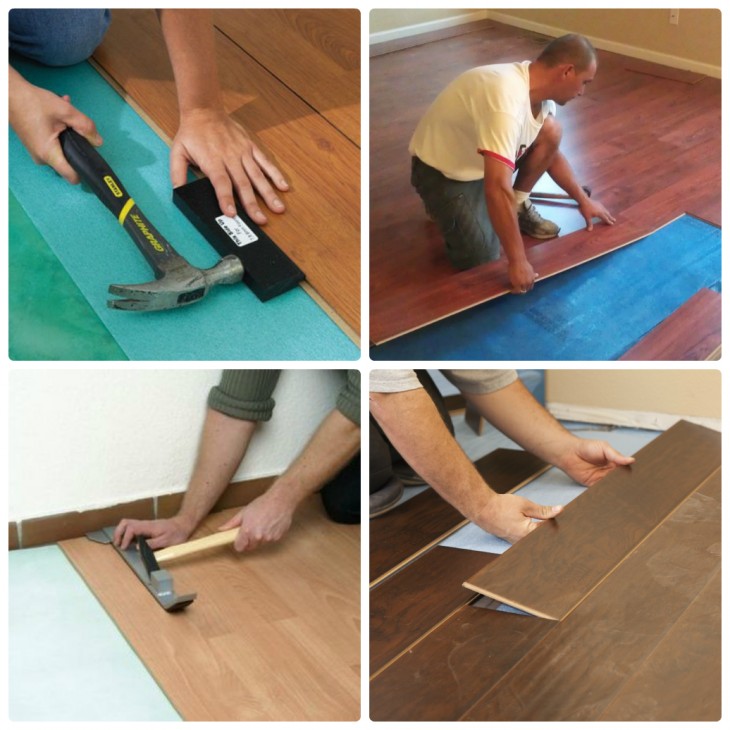
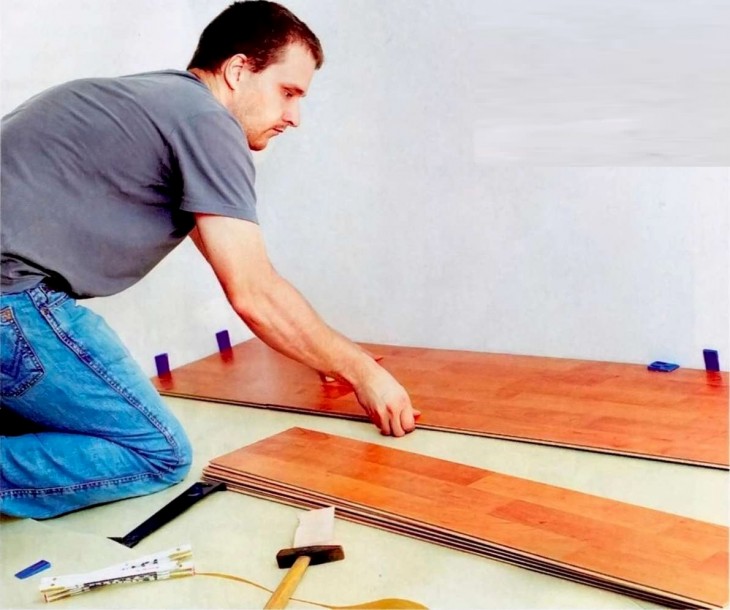
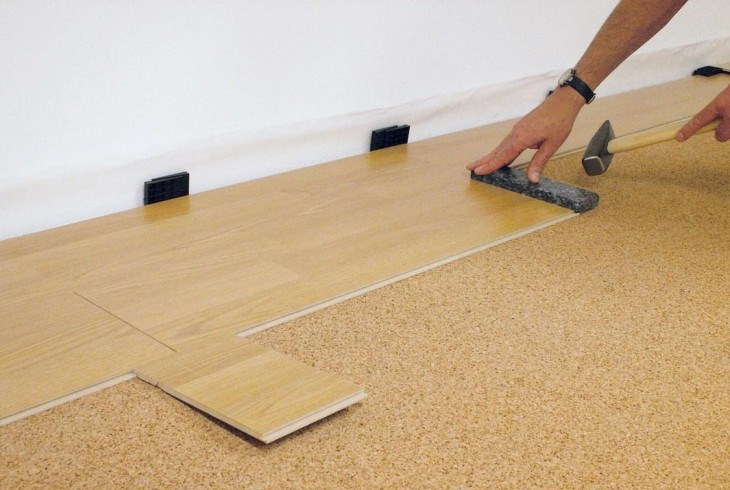
To lay the laminate you will need a minimum of tools. The main ones are a miter saw (can be replaced with a jigsaw) and a hammer.

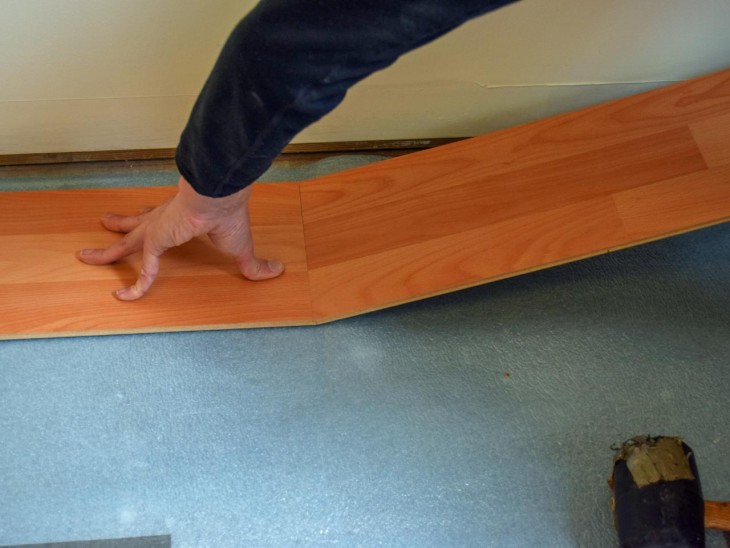
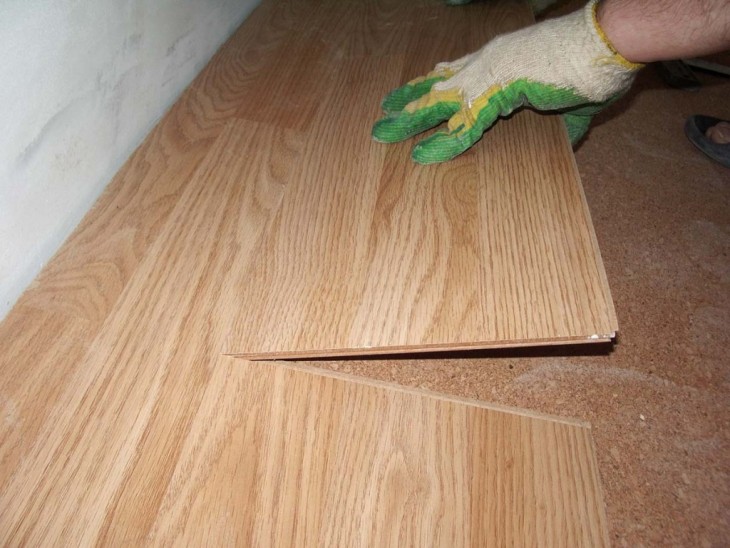
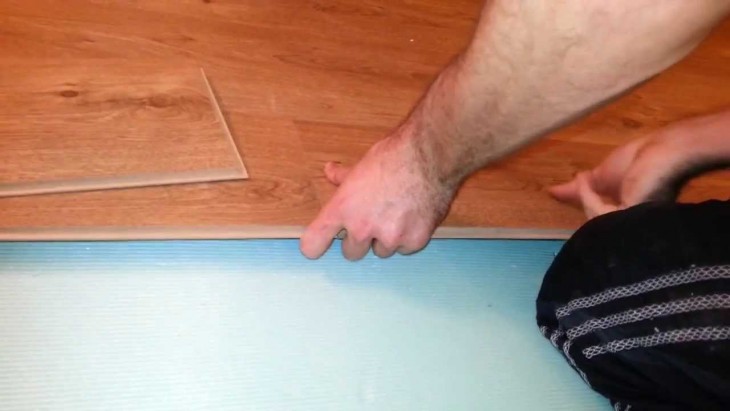
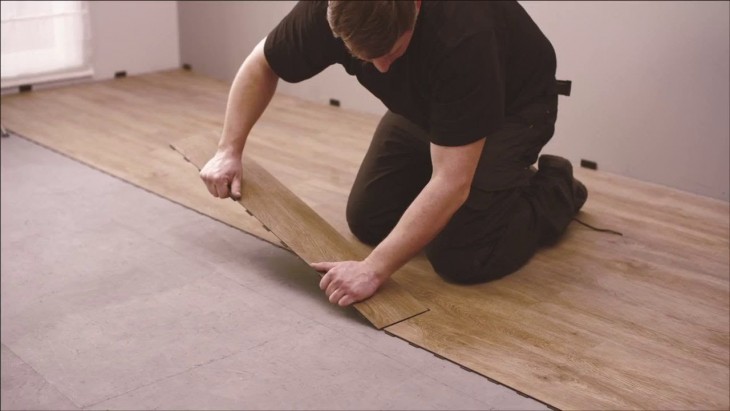
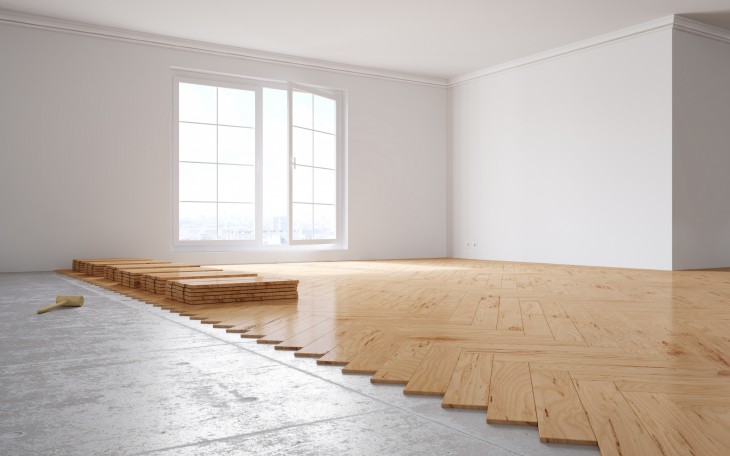
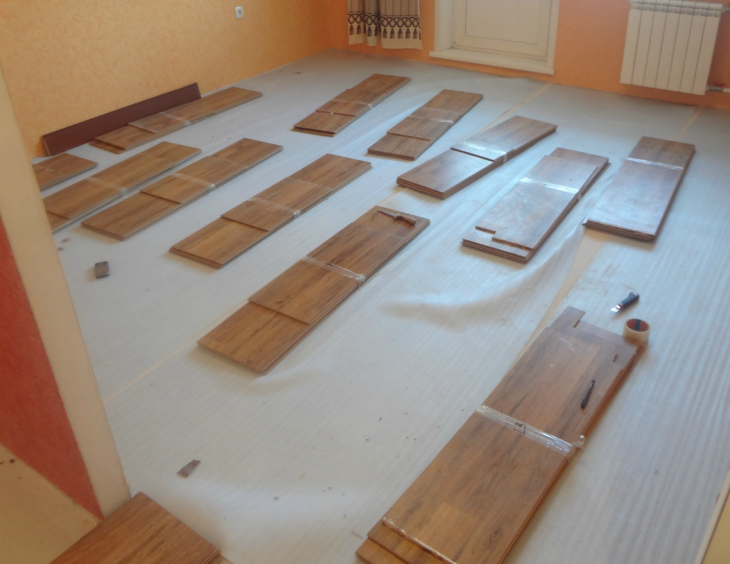
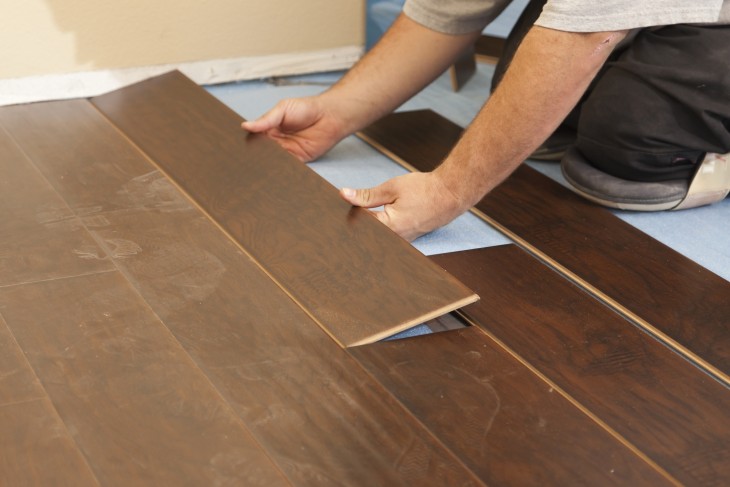
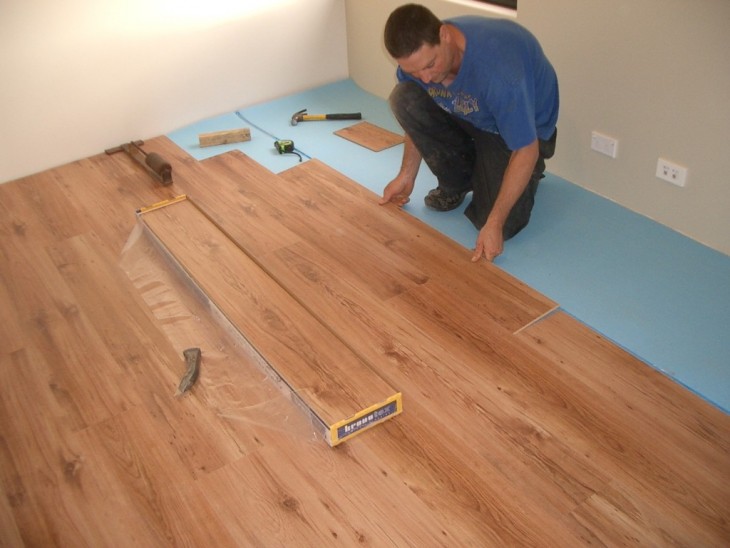
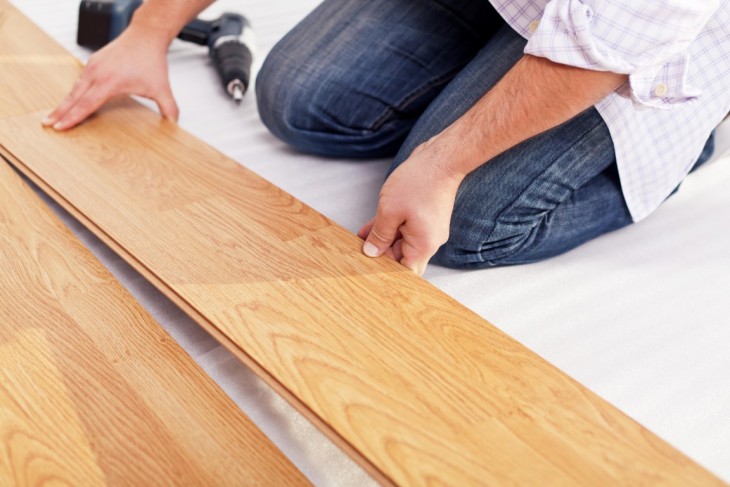
Work begins on the left side, choose the far corner. You can build up the laminate flooring gradually by attaching one element to a row.
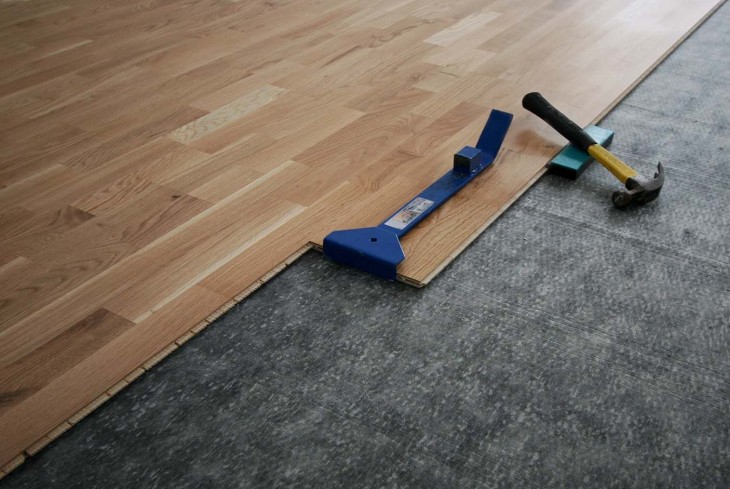
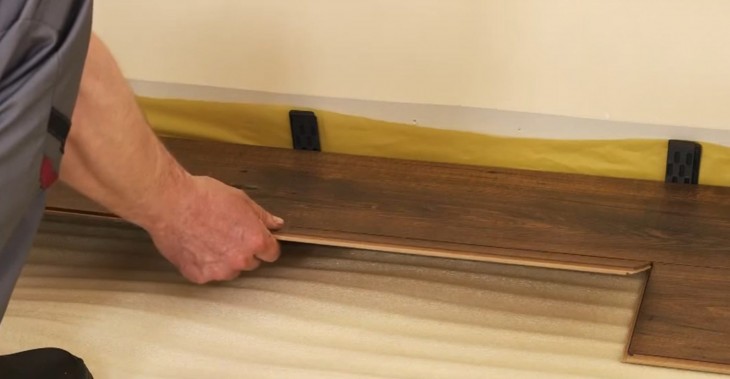
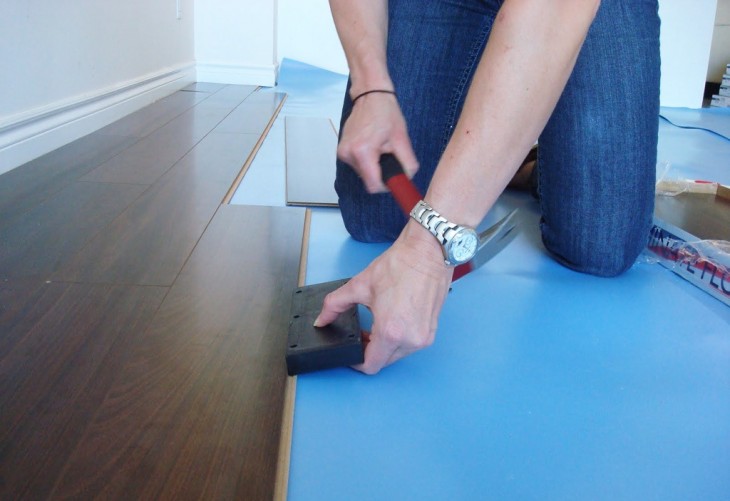
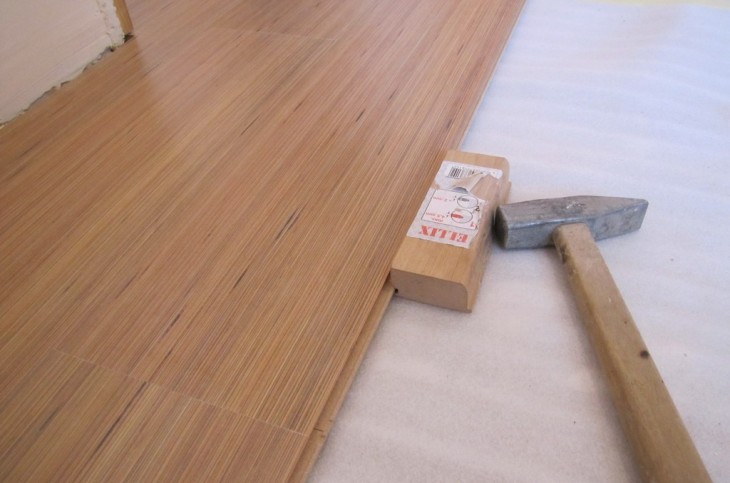
Another way is to assemble the row freely and only then transfer it and fix it in a permanent place. To tightly snap the lock, it is allowed to lightly tap the panels with a hammer.
In order to avoid damage to the laminate, it is pre-covered with unnecessary trim.
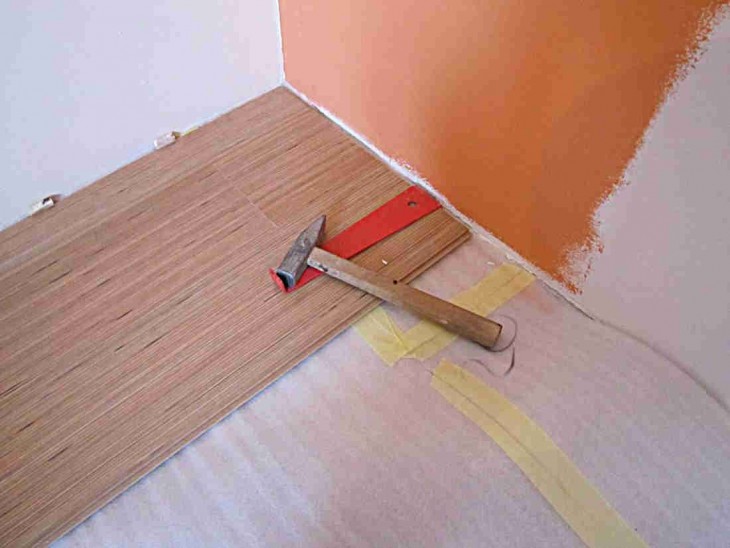
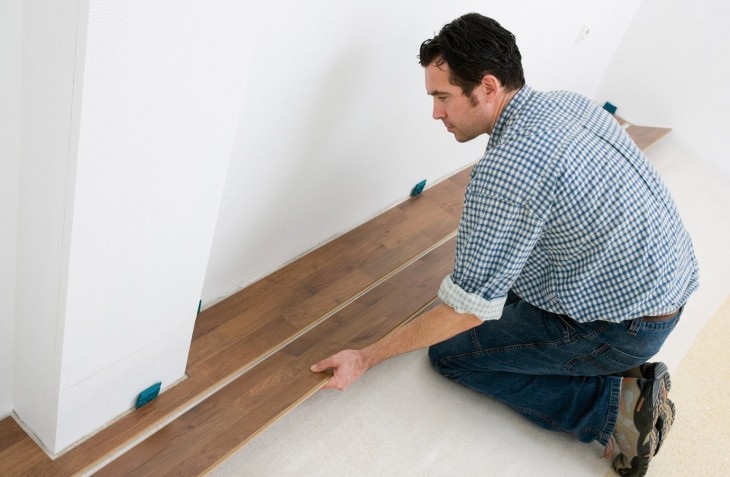
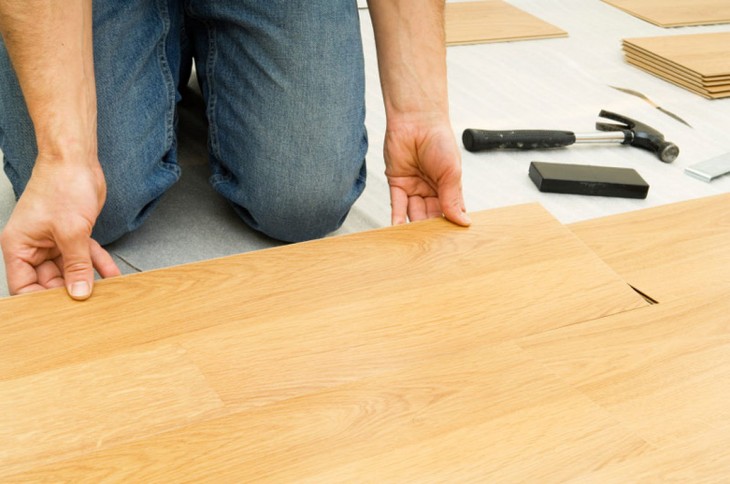
Getting to the front row. We saw off the comb at the panels, if necessary, adjust the width of the row, the length of the outer panels. The side adjoins the wall with the already missing scallop.
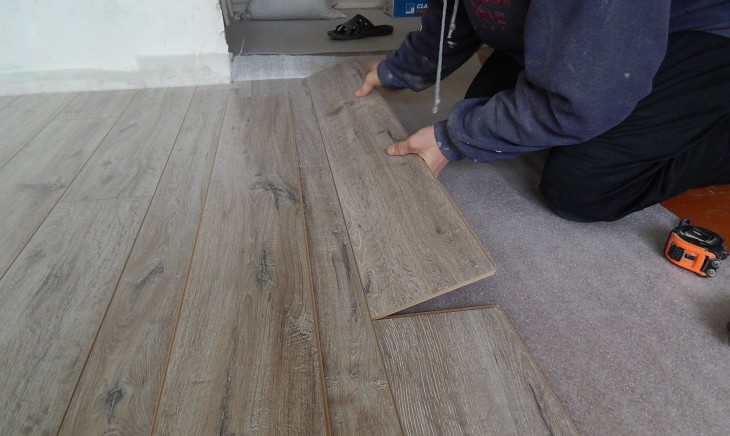
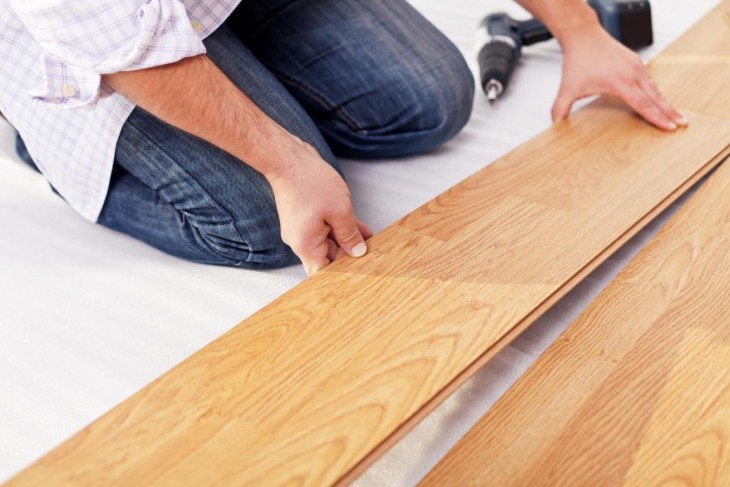
We start the second row, shifting the panels by 1/2 or 1/3 part, we monitor the length of the extreme elements.
Along the perimeter of the room to be repaired, we set spacer wedges at a distance of about 25 cm. As a result, a deformation gap of 8-10 mm (less than the width of the plinth) should be obtained.

Subsequent rows are stacked similarly to the second, taking into account the spacers.
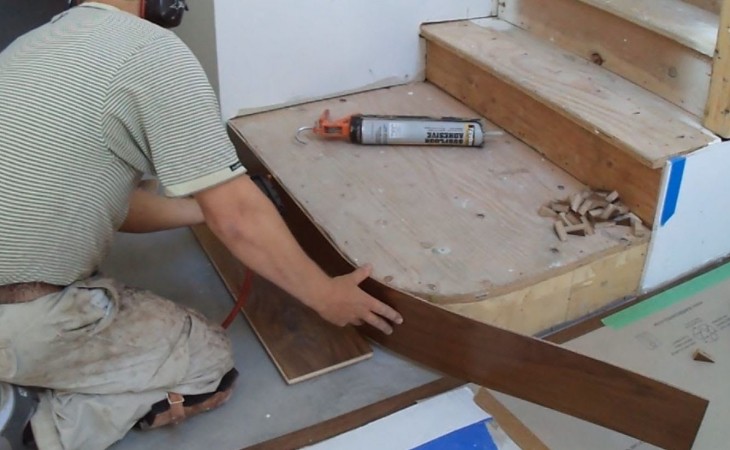
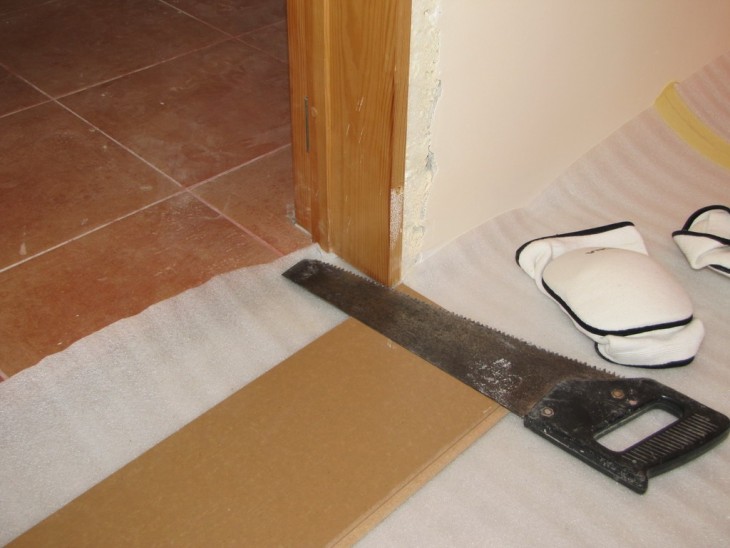
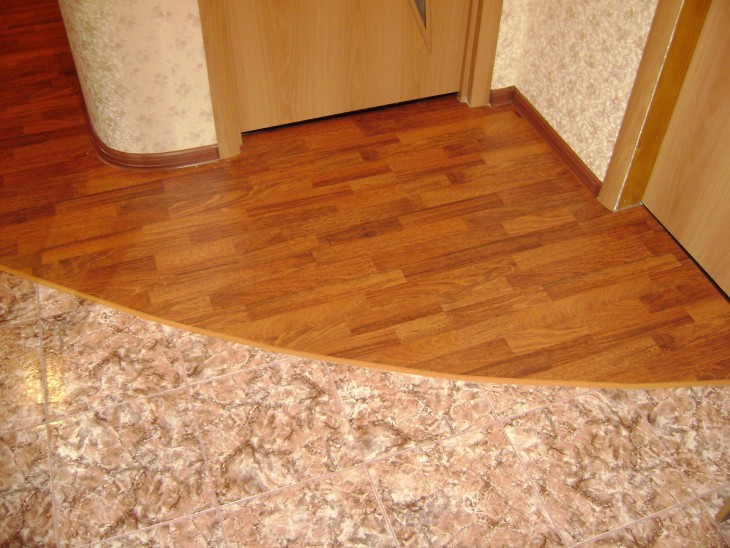
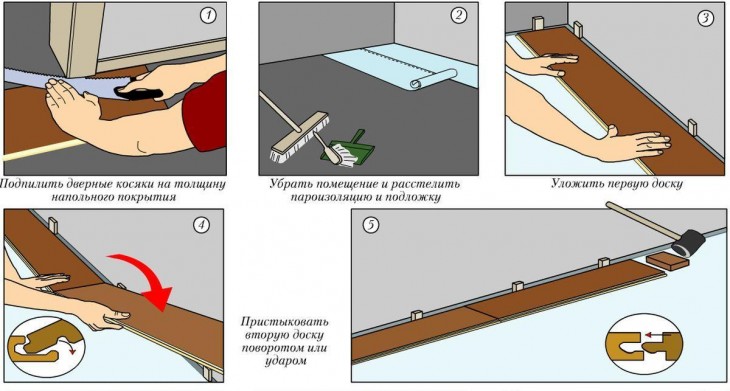
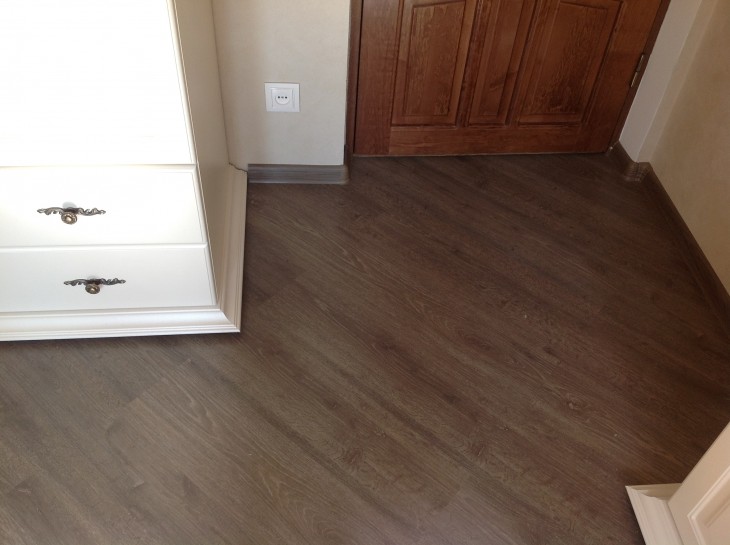
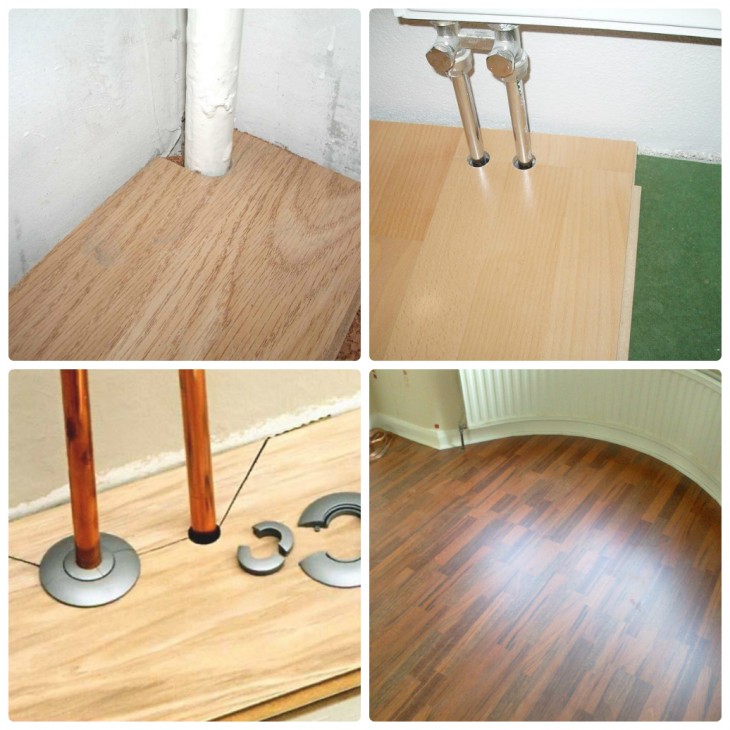
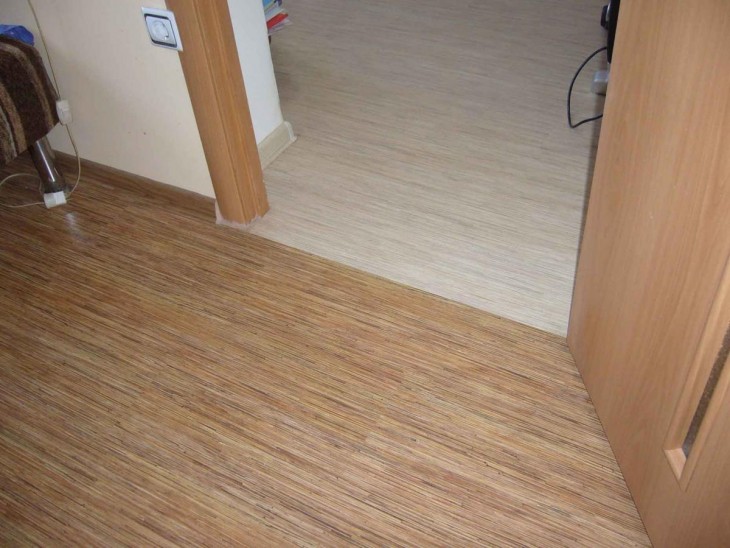
To carefully lay the laminate on the floor near the doorway, it is necessary to eliminate the gap between the floor and the jambs. To do this, with the help of a saw, shorten the rack of the box by the thickness of the plate and fix the new coating.
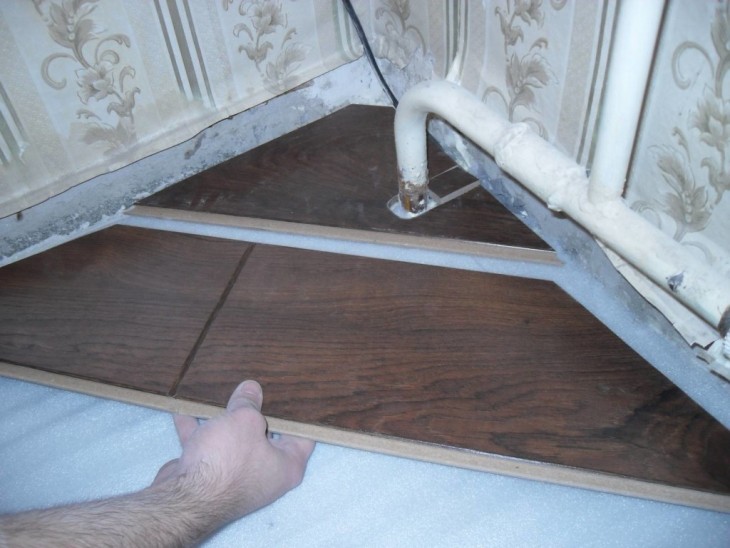
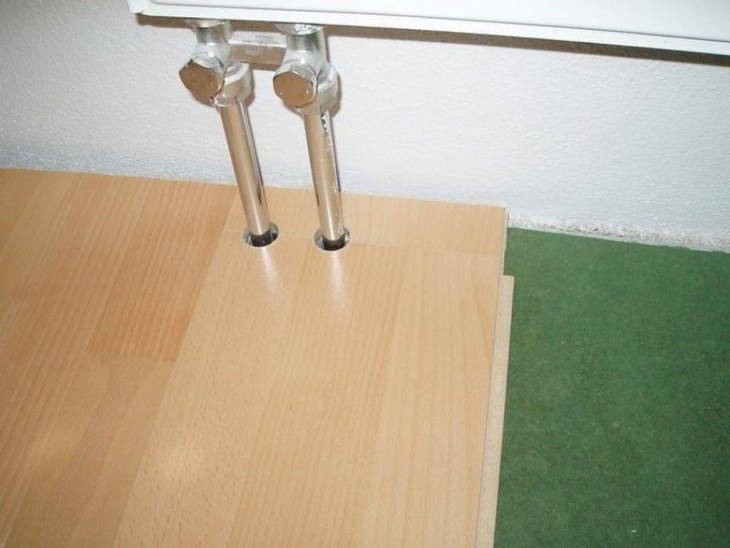
Pipe and laminate: drill a hole in the plate larger than the diameter of the pipe by 10-15 mm. Seal this place later.
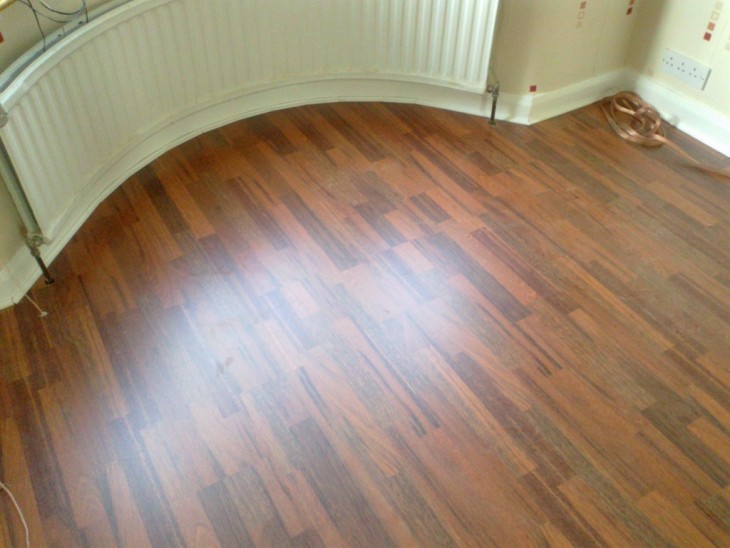
Use glue to better fix the scraps of panels (under radiators, near the doorway, pipes).

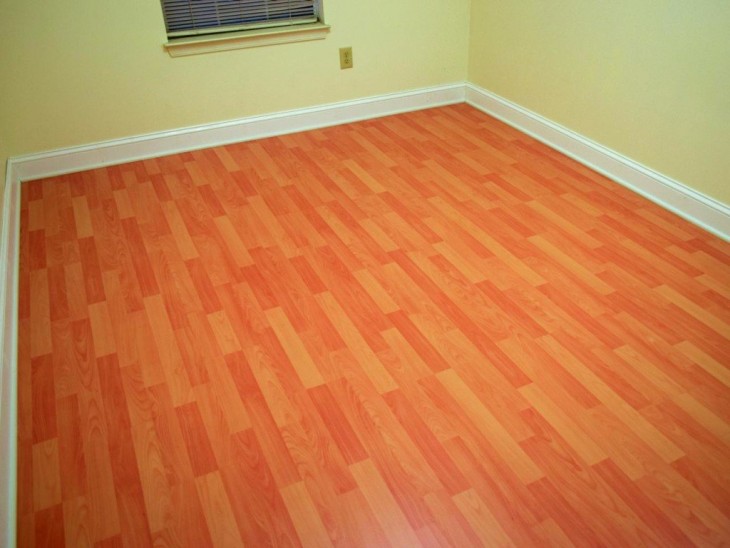
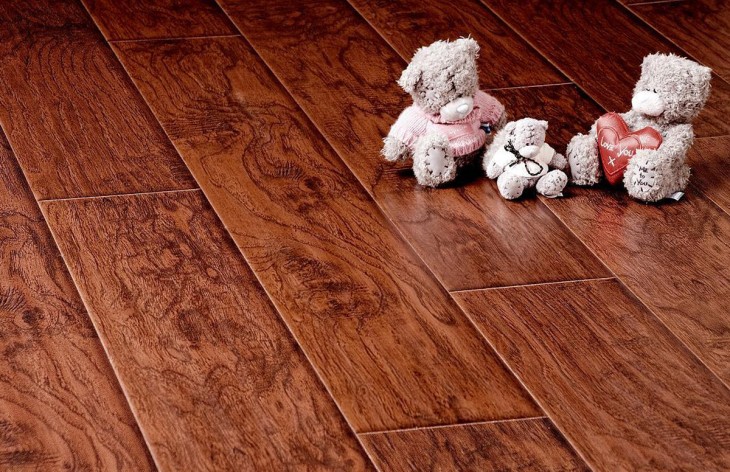
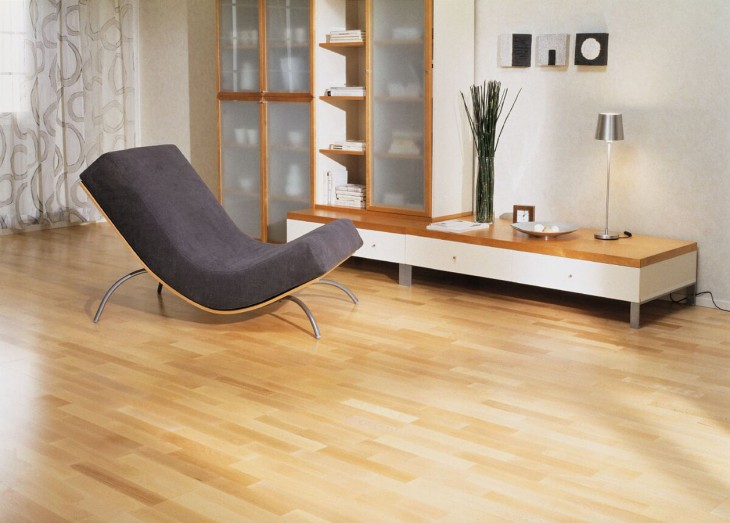
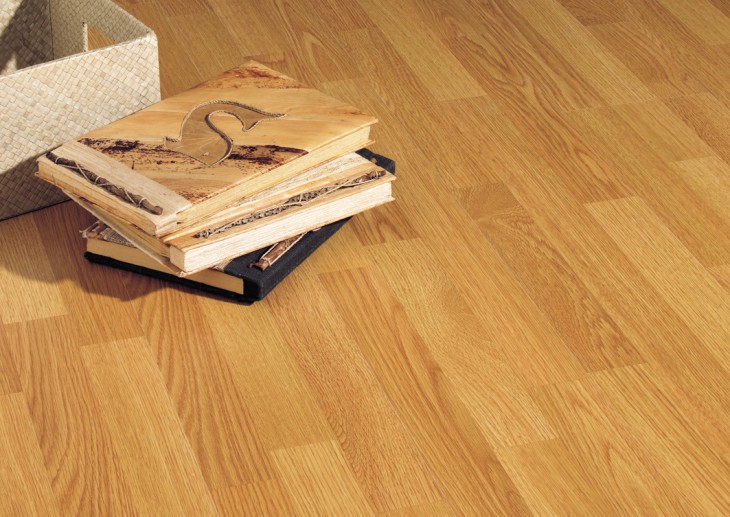
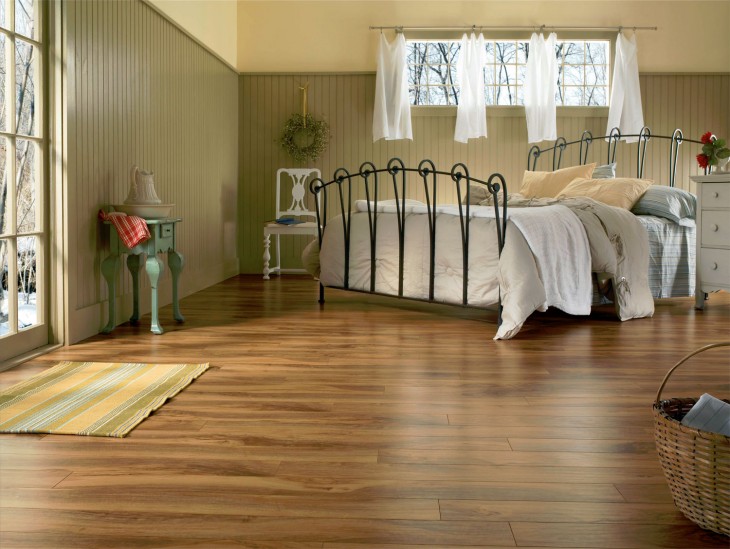
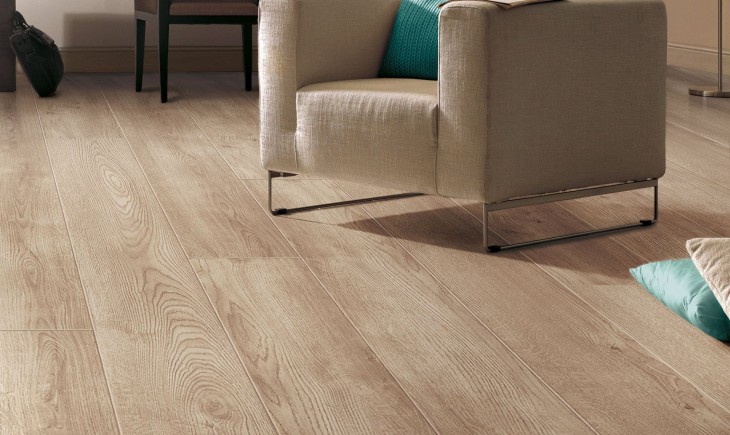
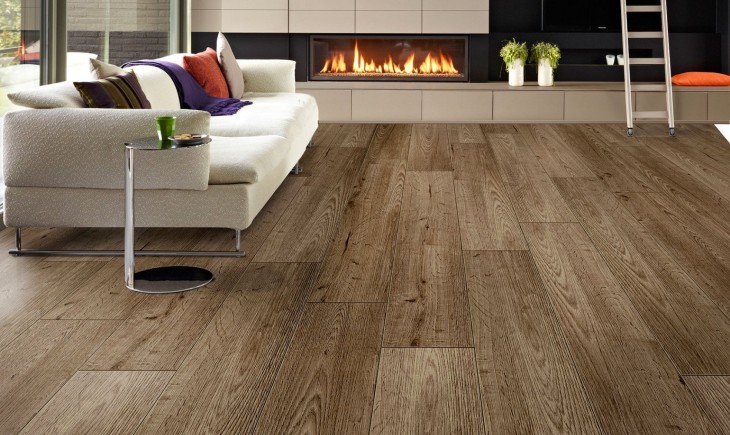
Work is done! And the renovated room pleases the eye with quality laminate flooring.

DIY laying laminate flooring