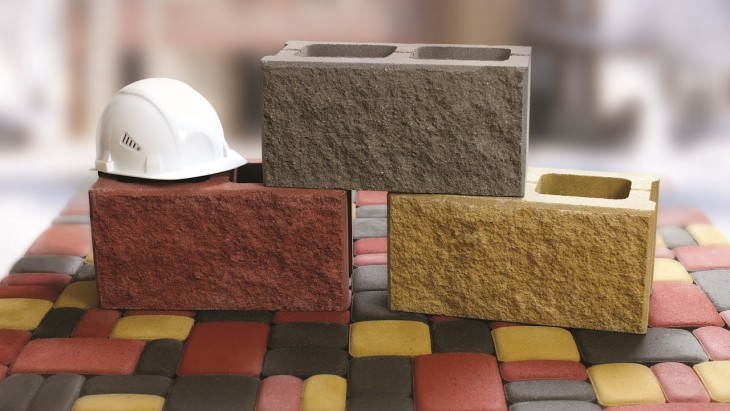
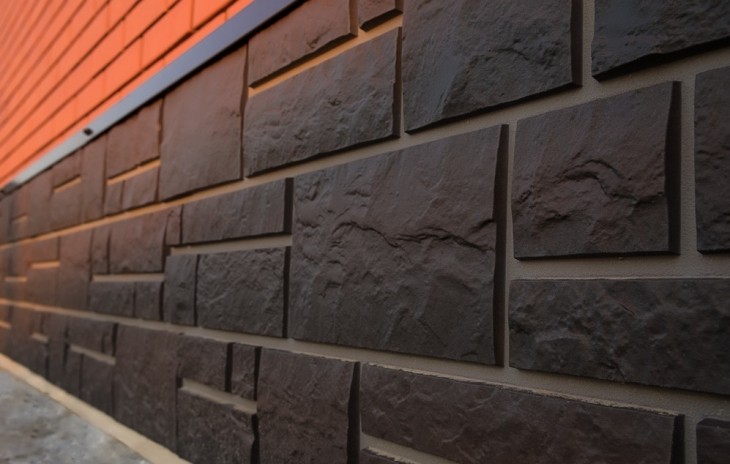
It has become popular to lay tracks with concrete tiles, but its prices are not so low, of course, depending on the quality.

The purchase option very often does not last long and cracks appear on the tracks at low winter temperatures.

You can conclude that laying paving slabs with your own hands is the best reliable option, which does not require special equipment and professional skills.
First you need to carefully study the process technology and correctly knead a suitable solution.
Review Content:
The main methods of laying paving slabs
Most often, paving slabs are laid in two available ways:
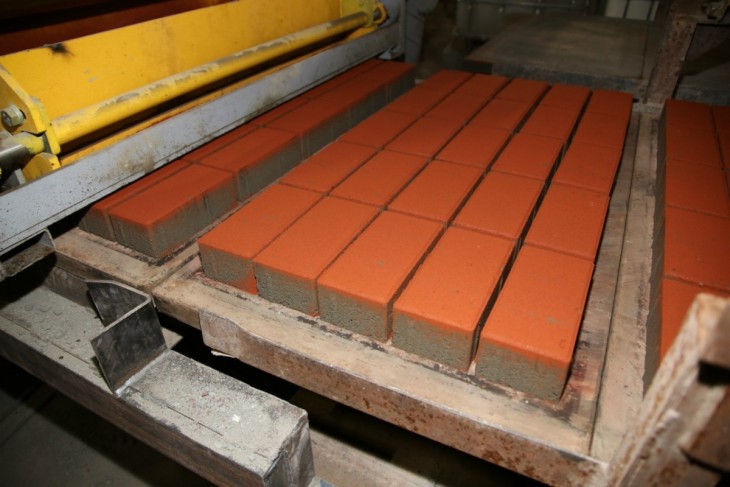
Vibration casting
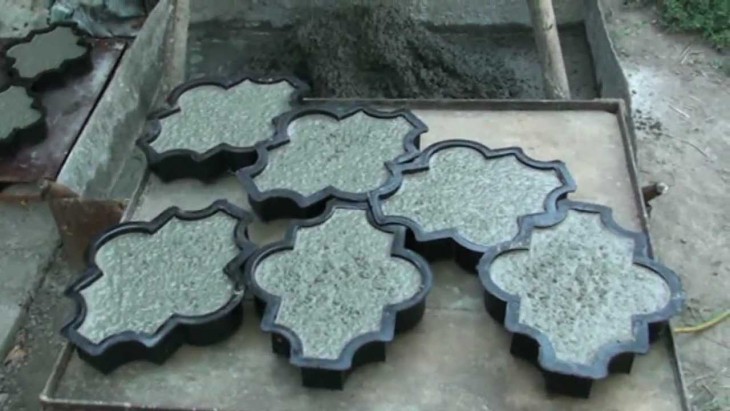
Special forms with the help of vibration exposure are poured with the finished solution and thoroughly compacted.

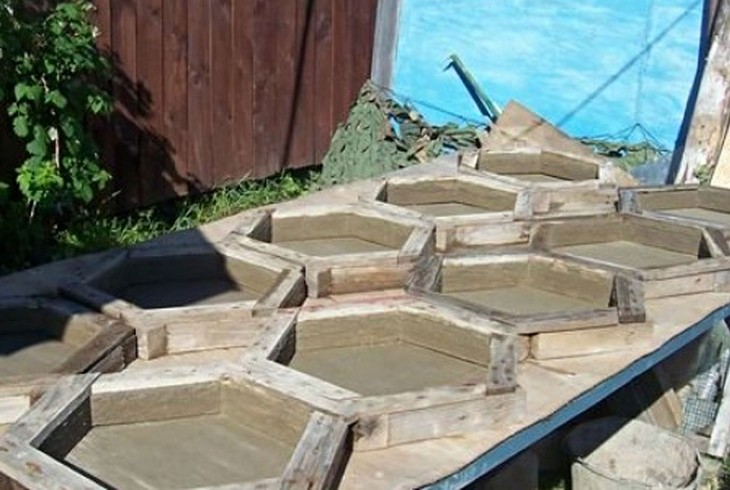
Then the full forms must be dried on the shelves for two days, after which the finished tile is obtained.


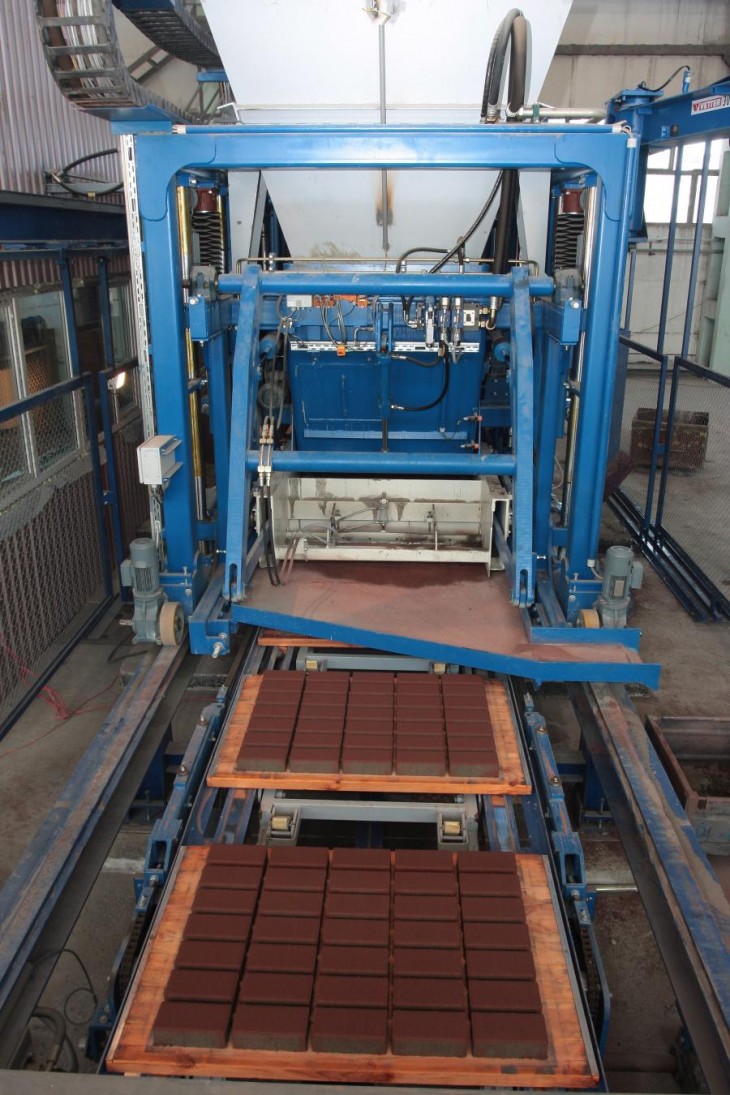
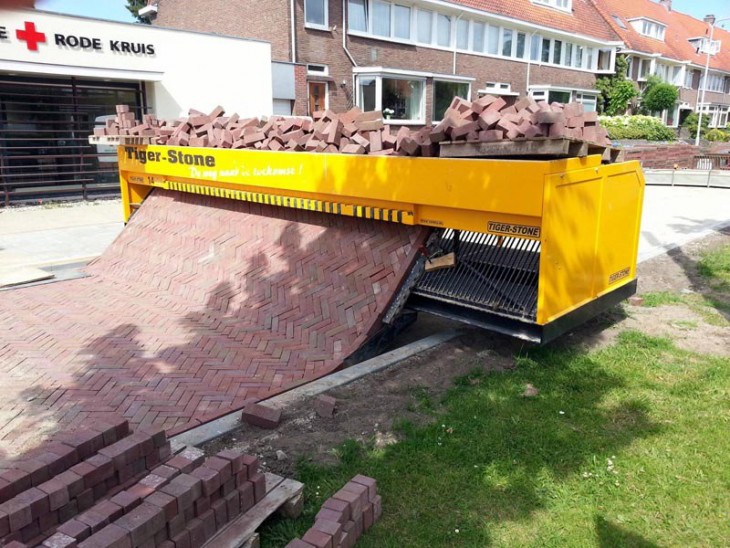
Vibrocompression
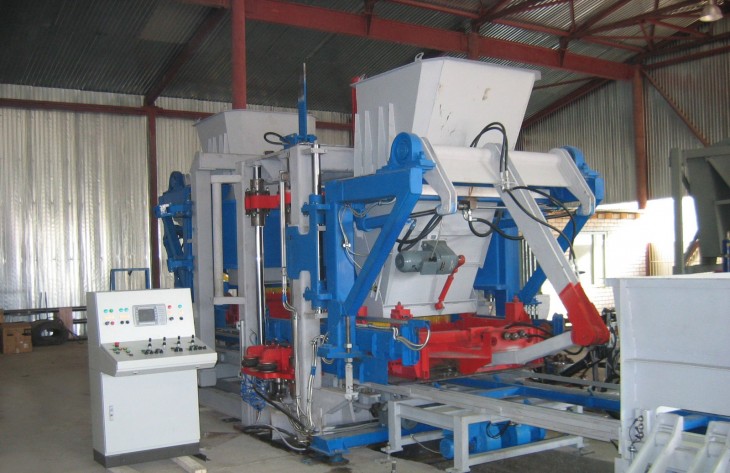
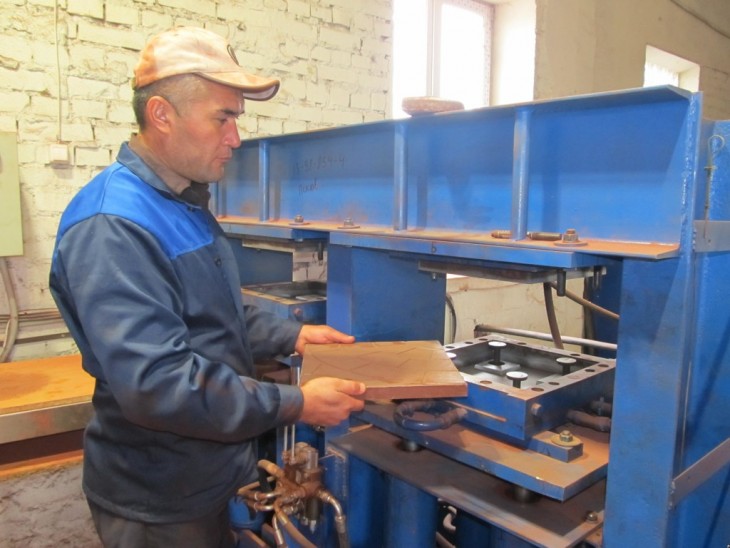
For this process, you need quite expensive special equipment (a press and a chamber for heat treatment). Similarly to the first method, a solution is pressed into a mold and dried at an elevated temperature in a heat chamber.
It is possible to make the tile yourself only with the help of vibration casting using the most common tools available.
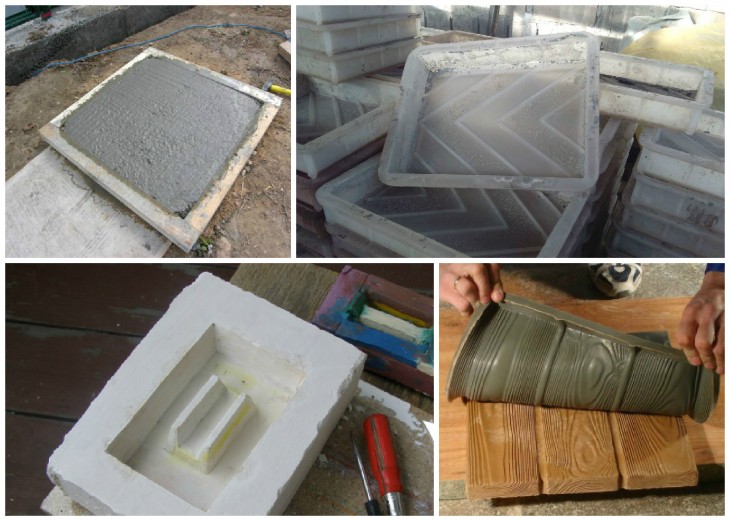
Tools
Before you make paving slabs, you need to know the steps of the production process:
- prepare forms for tracks;
- mix the concrete mix correctly;
- decompose it into forms on a vibrating table;
- dry the finished form for about two days;
- carefully remove the finished tile.
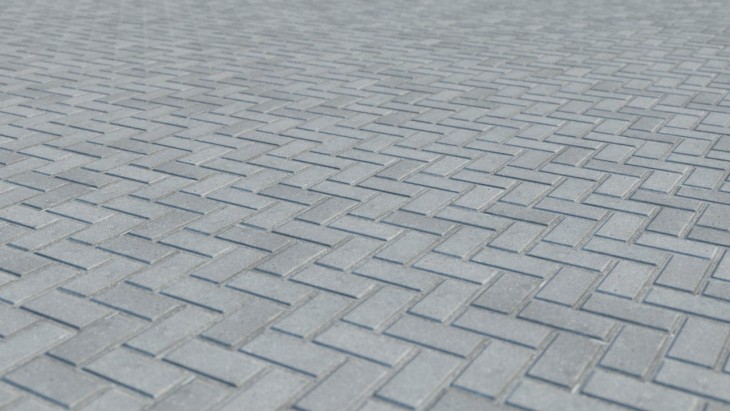
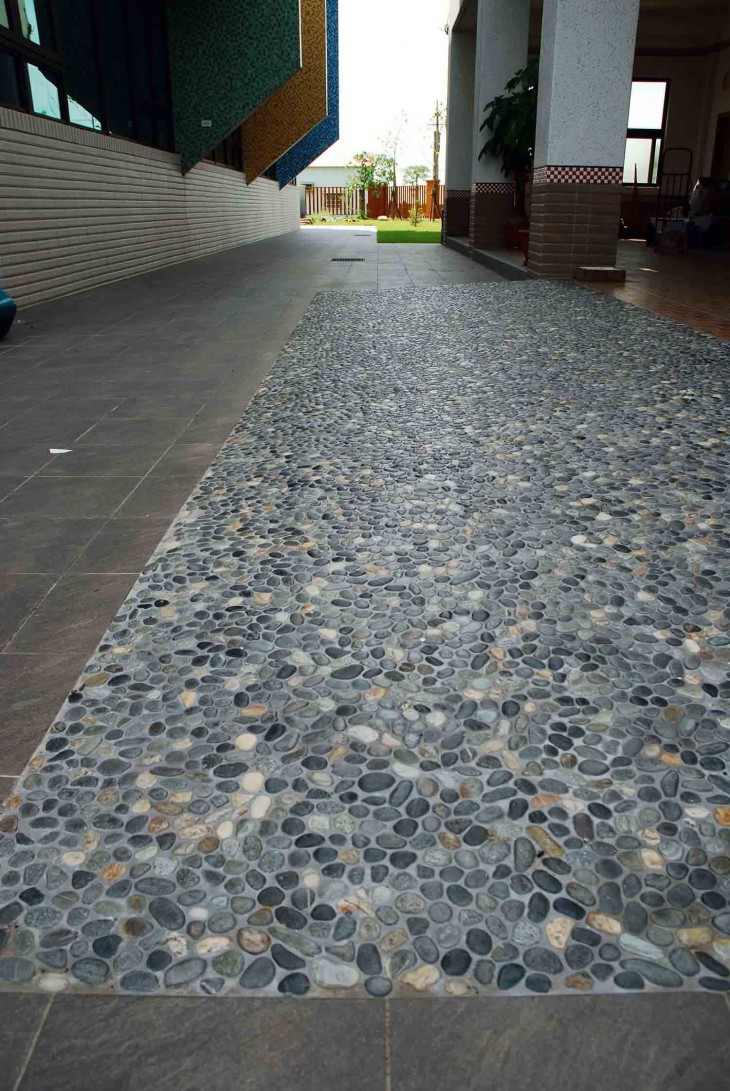
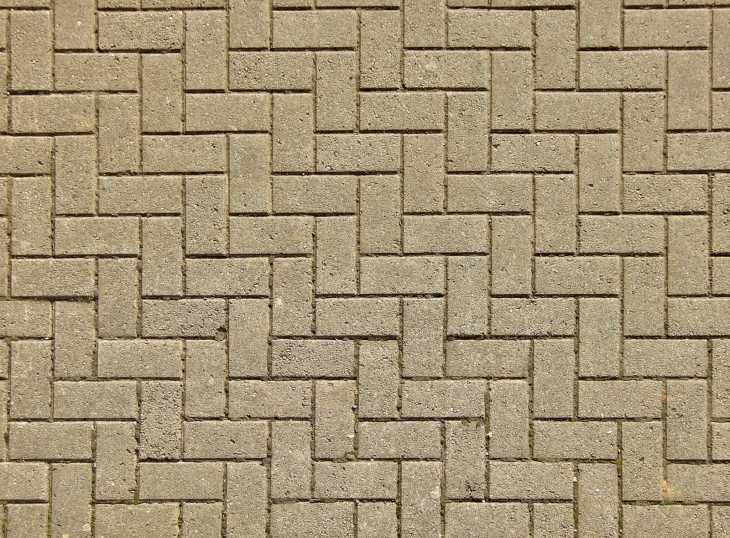
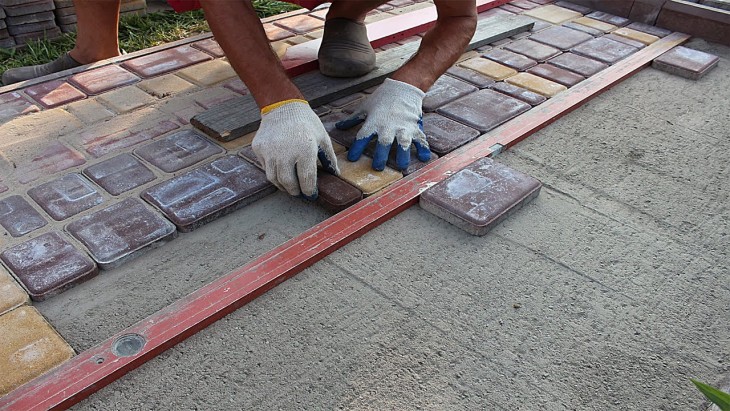
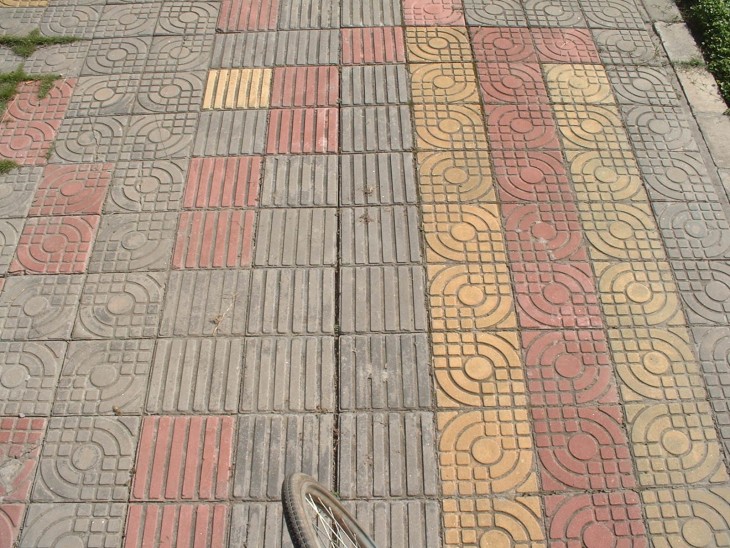
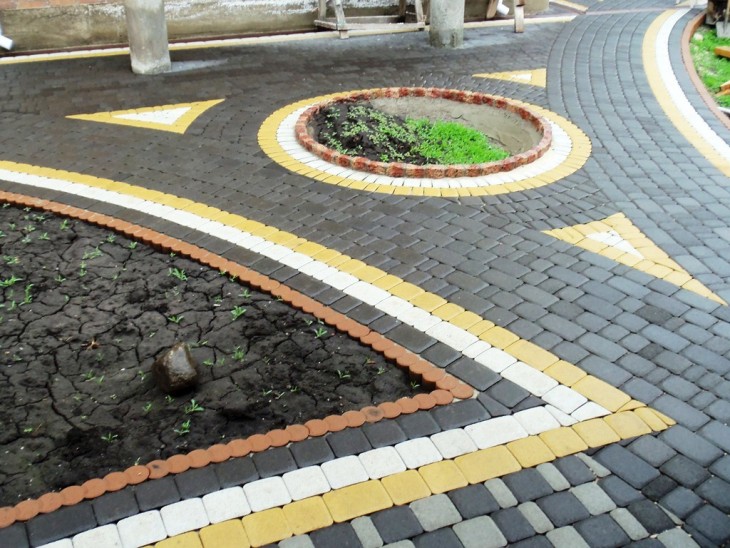
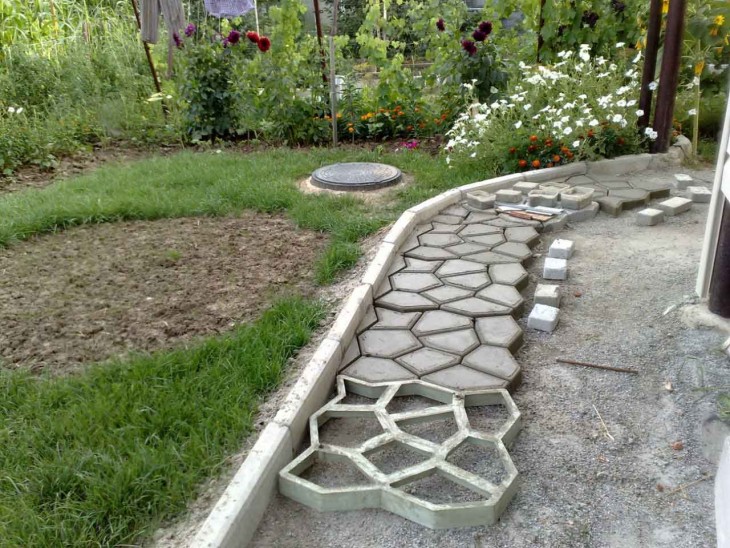
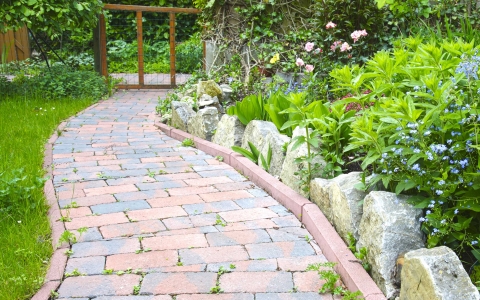
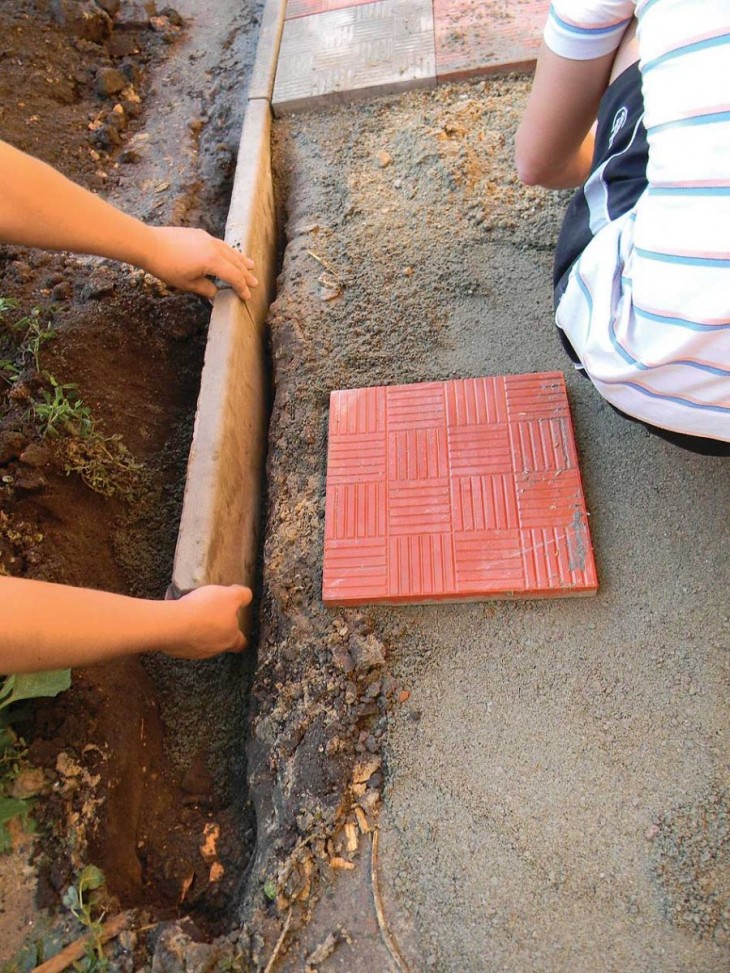
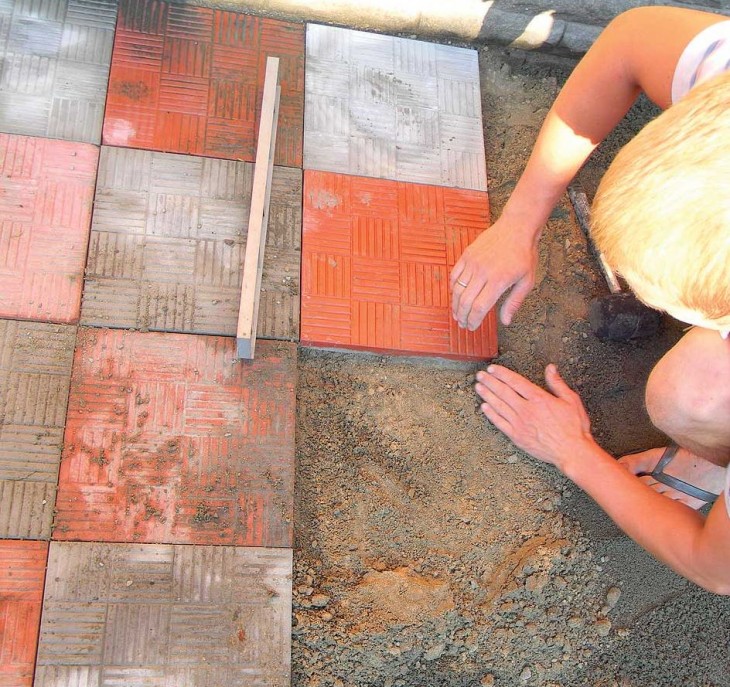
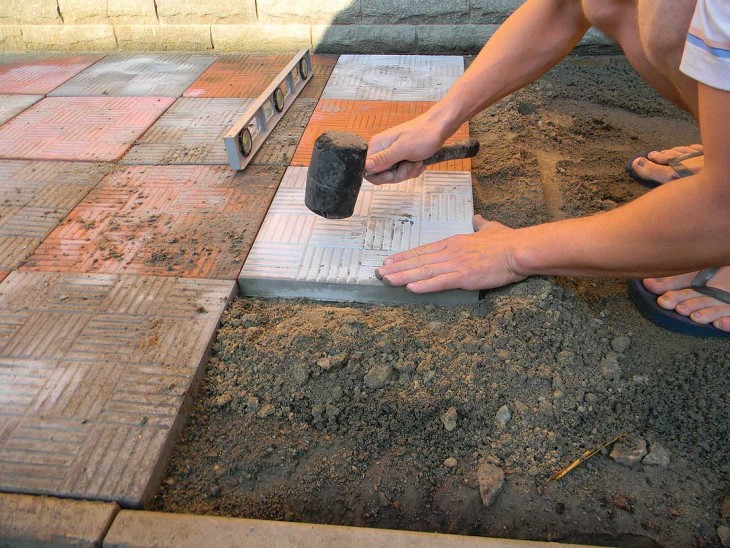
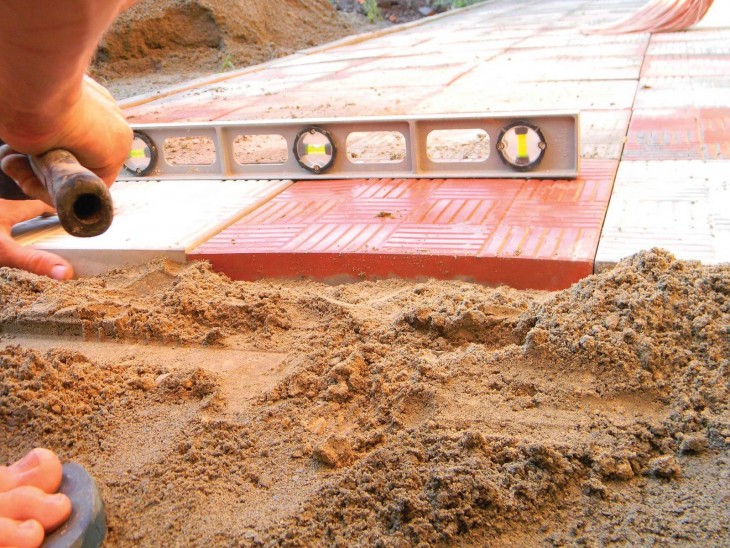
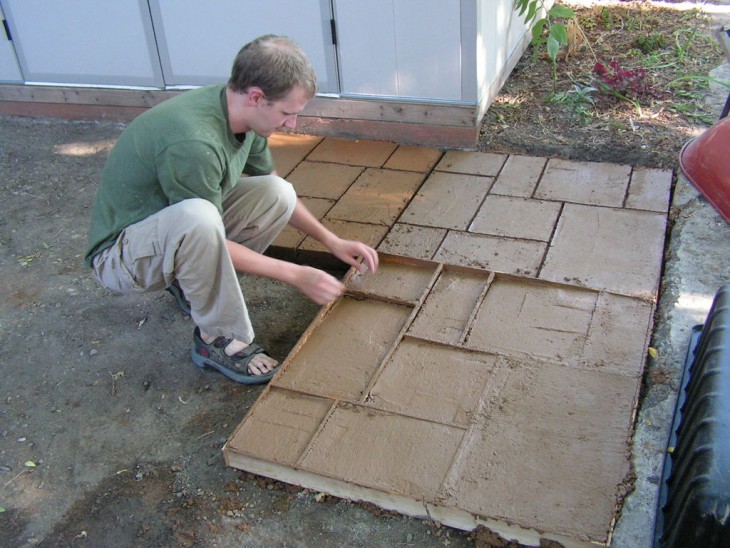
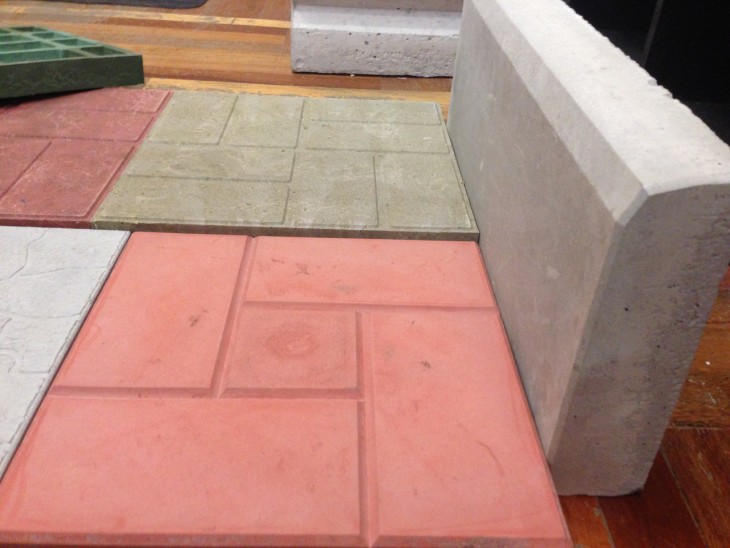
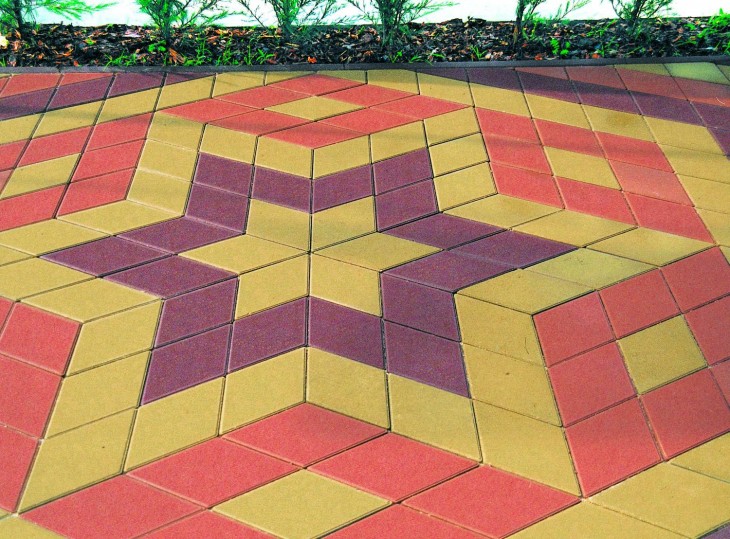
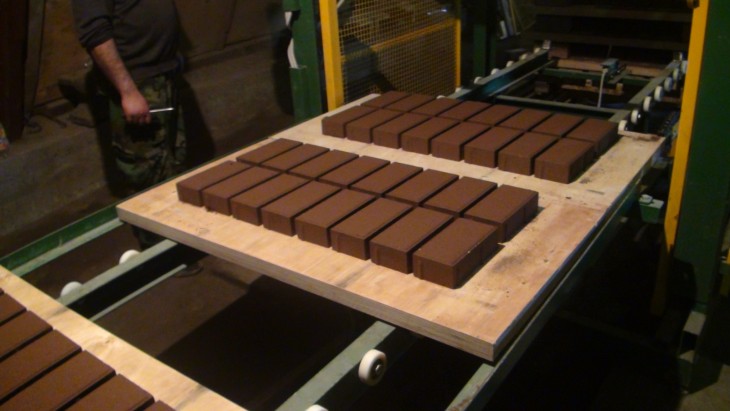
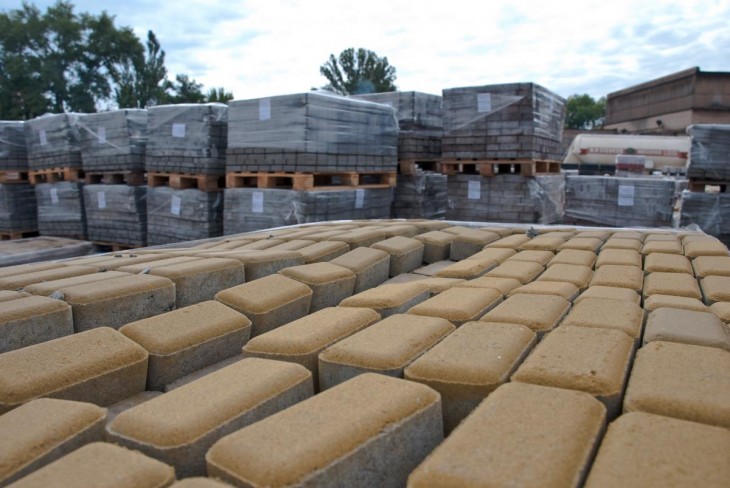
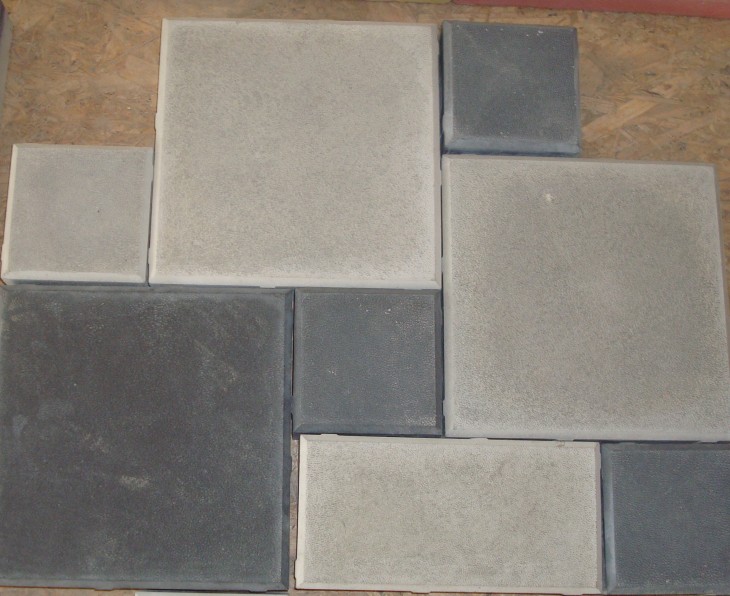
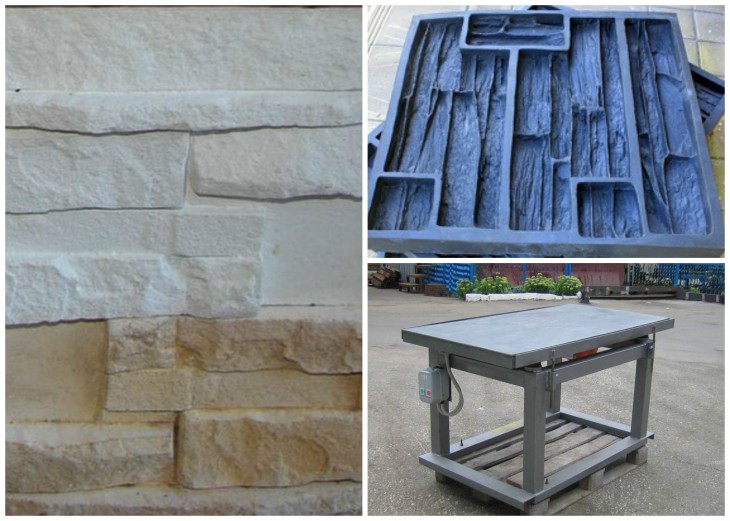
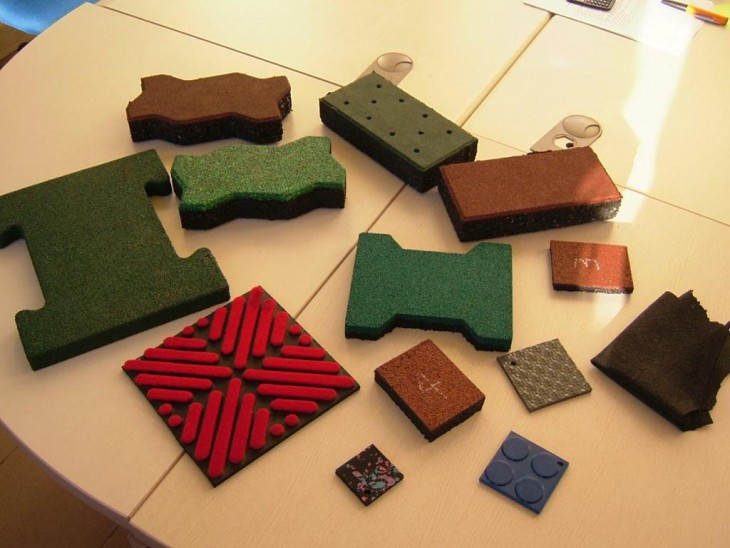
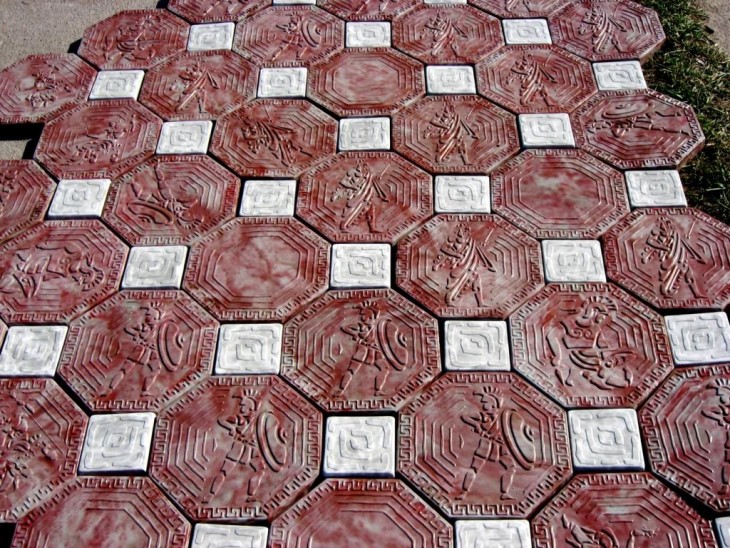
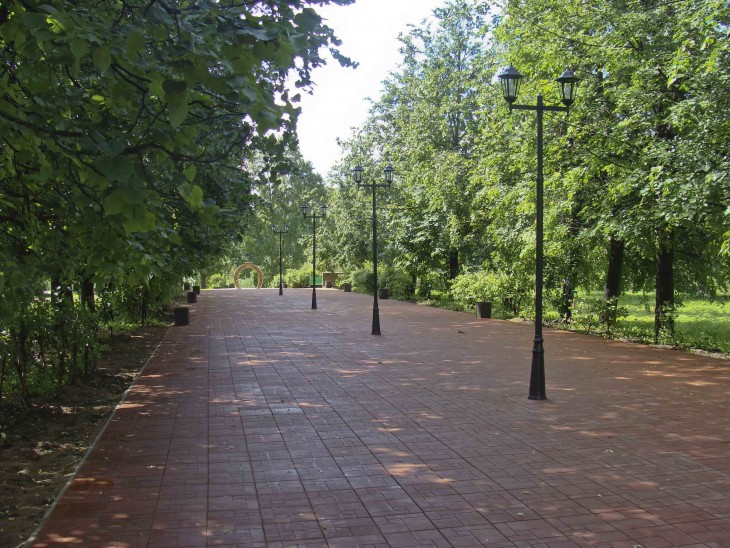
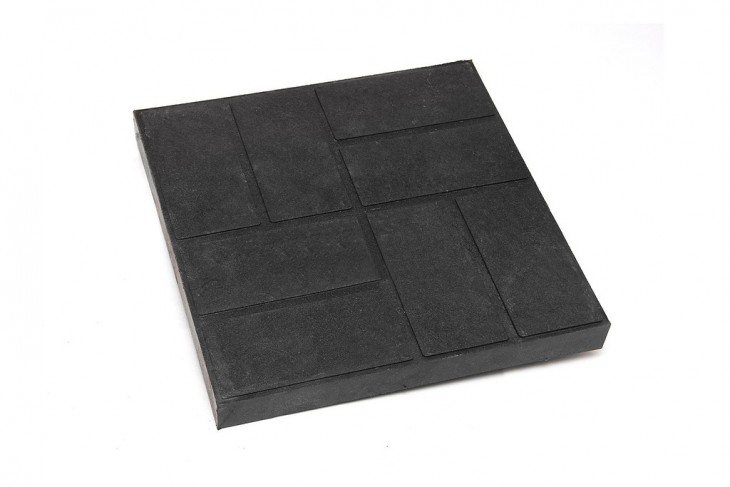
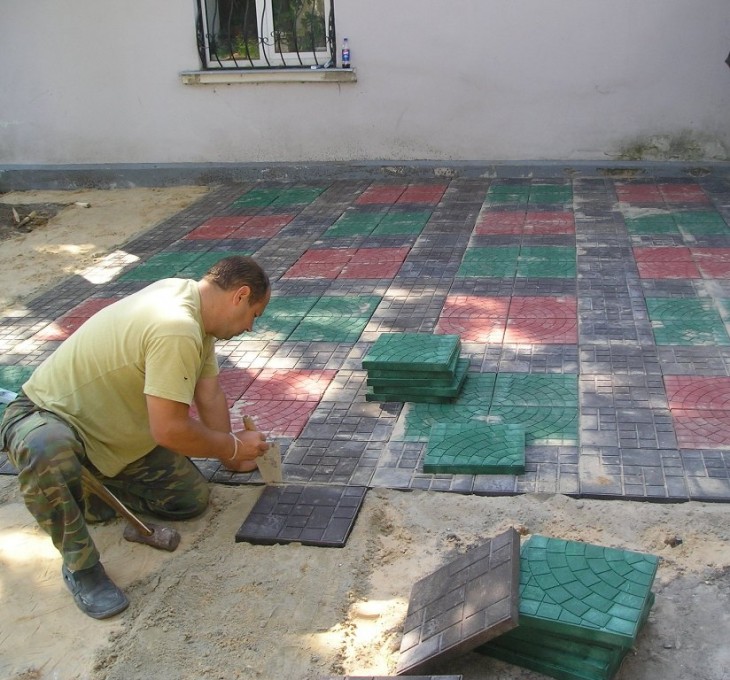
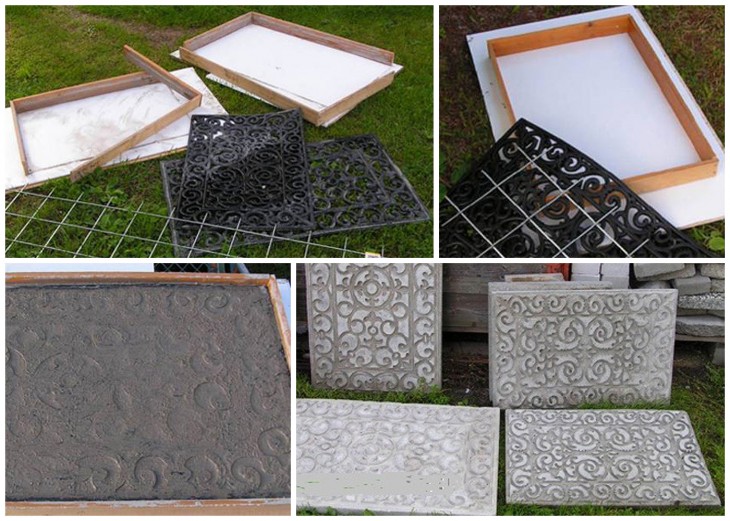
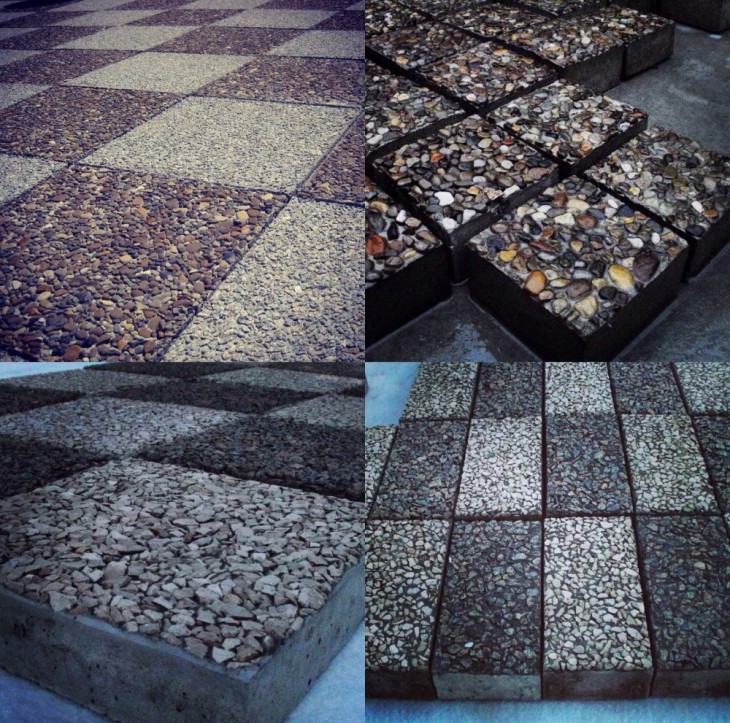
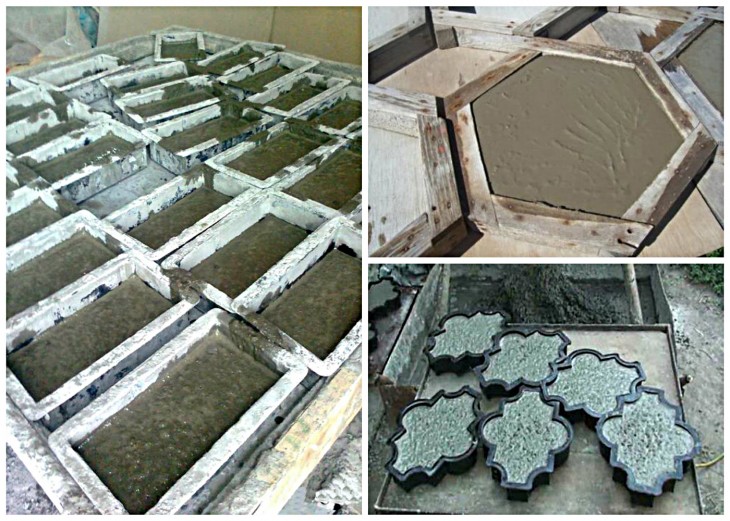
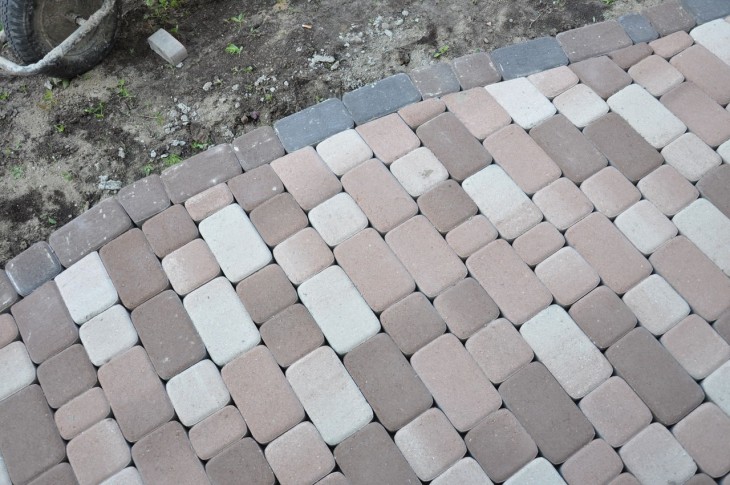
You need to know that such a track is weak and will not be able to withstand too much stress. It is reasonable to use it locally, that is, in garden or summer cottages. An accessible example is shown in the photo of paving slabs.
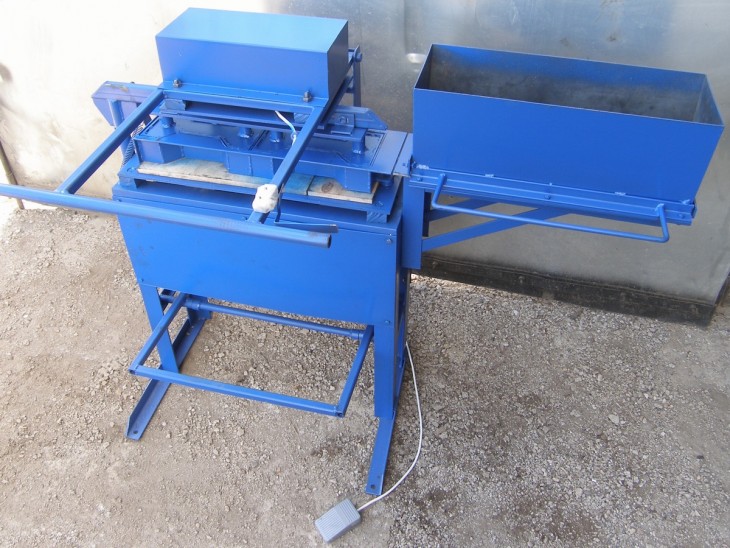
For the process of creating tiles, the following equipment is required:
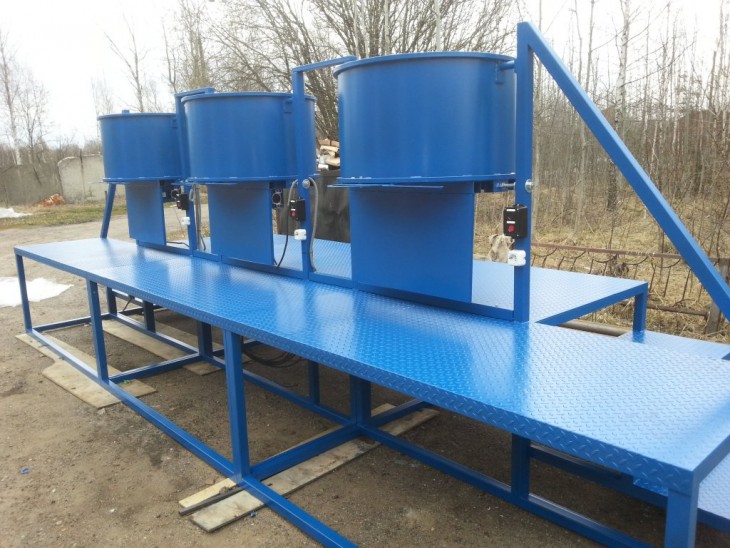
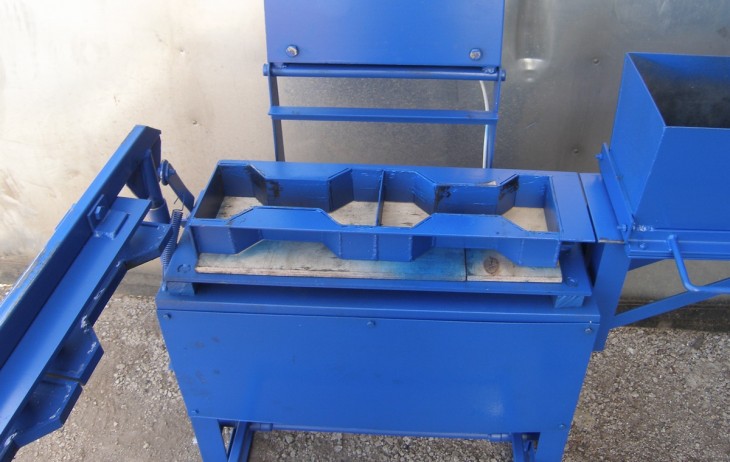
- It is very difficult to manually mix the solution to the desired consistency, so you need a concrete mixer.
- A vibration table that is easy to make with your own hands. Sheets of plywood and metal, pipes and iron corners will come in handy. You also need to purchase an electric motor that will create vibration.
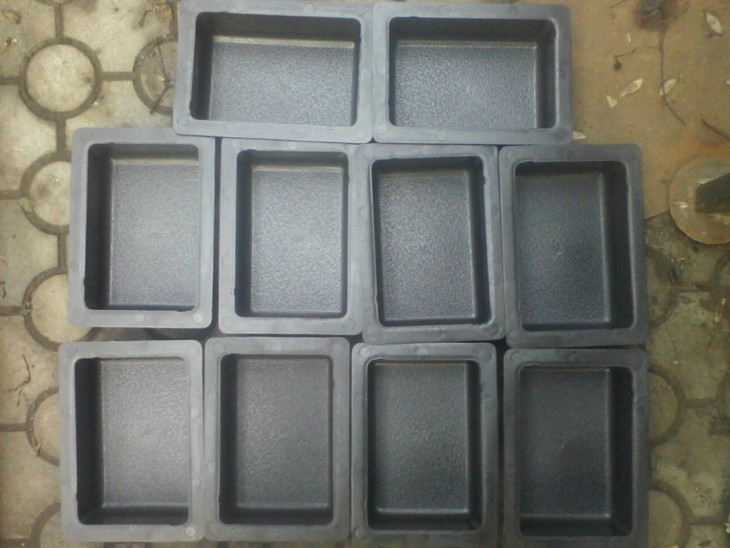
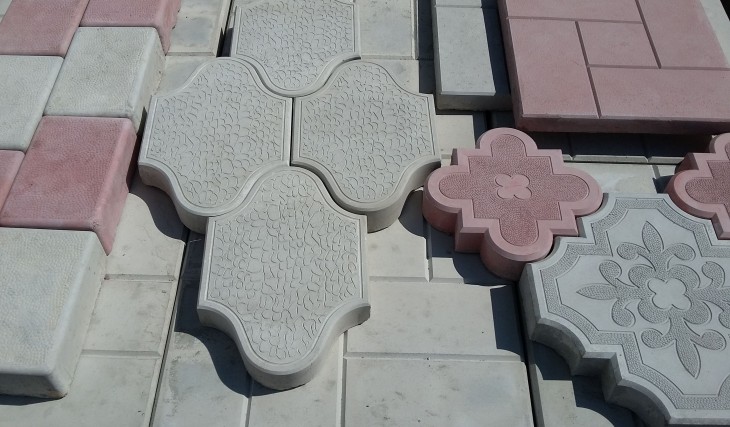
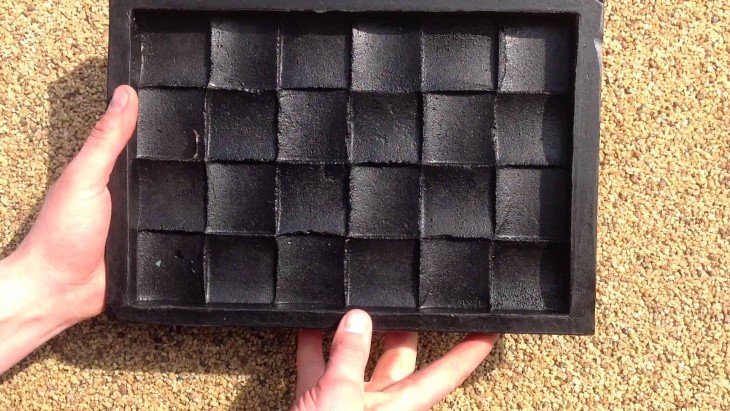
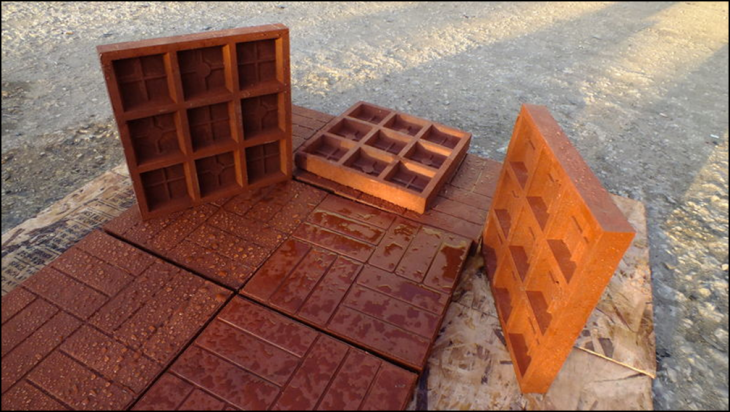
- Layout molds can be found on the building materials market. They are made of various materials: silicone, plastic, polyurethane.
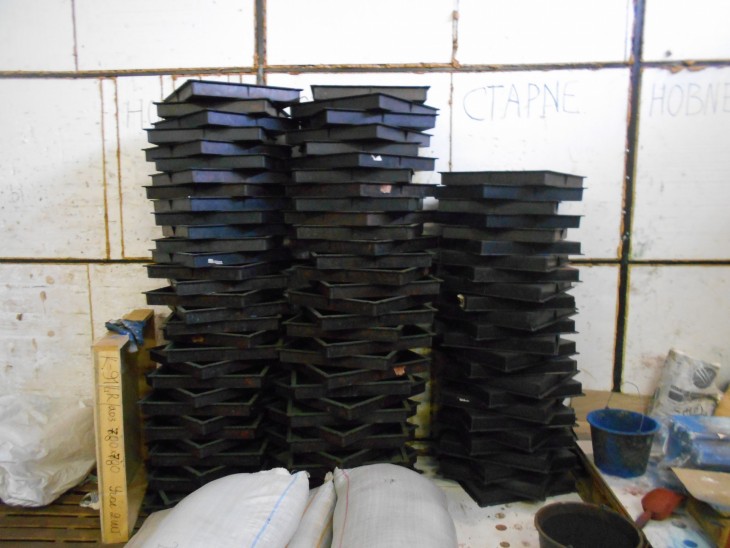
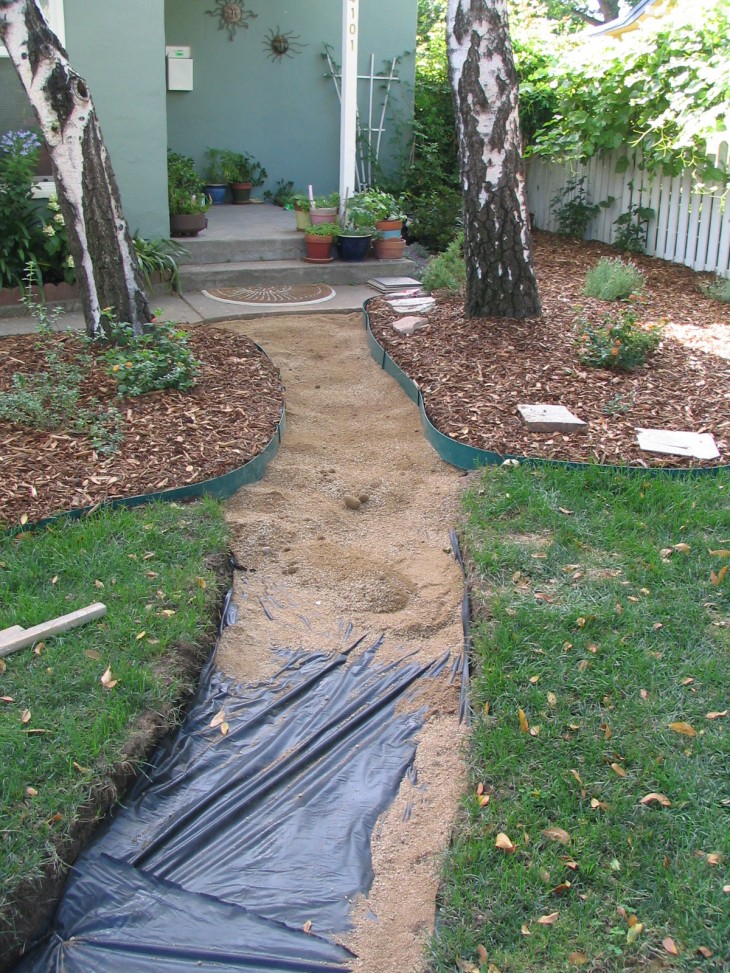
- Equip a place for drying tiles. The surface should be strictly horizontal to avoid unnecessary smudges. The racks should be closed from the rain and be in the shade, as the ingress of sunlight provokes cracks.
- You will also need buckets, a shovel and a level.
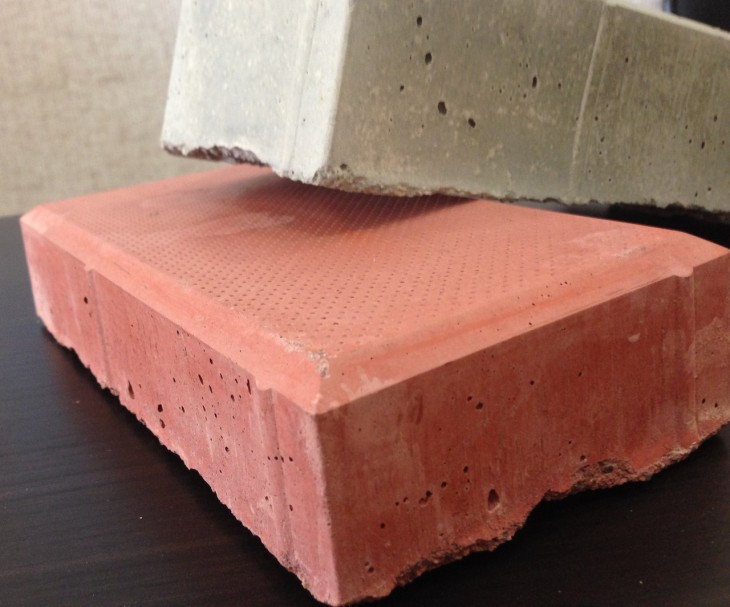
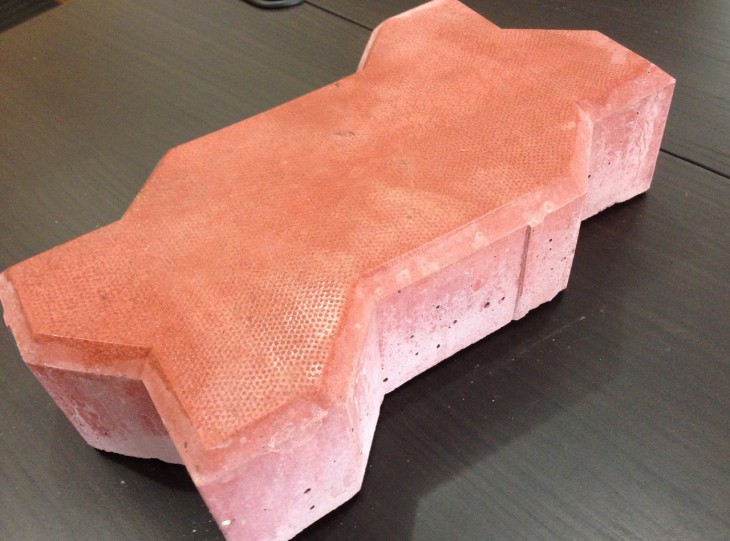
Molds for tiles can be made with your own hands with the help of wooden boards, which are fastened together by self-tapping screws. Or make them out of plastic or gypsum.
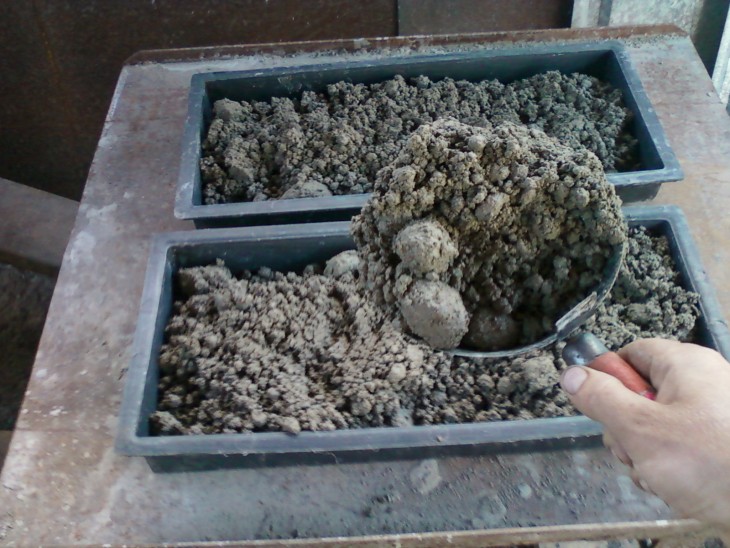
Mixing quality mortar for tiles
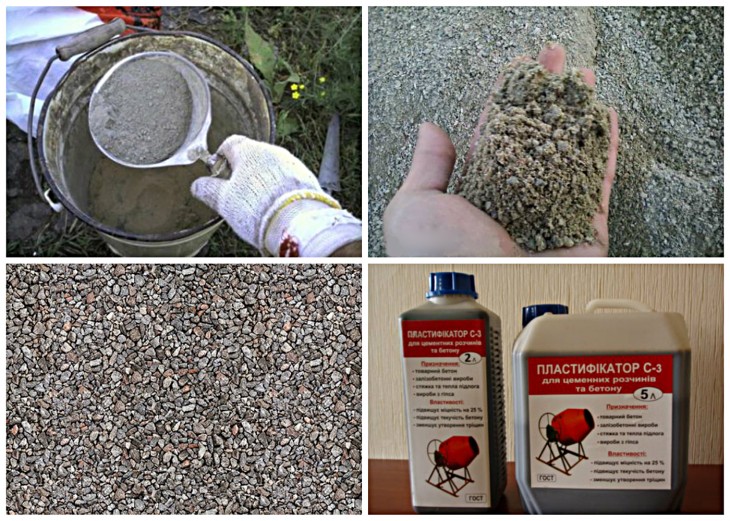
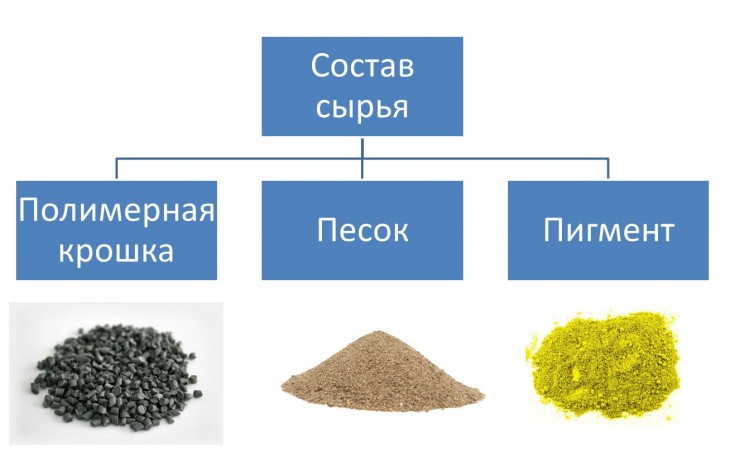
The composition of the solution includes:
- high-quality cement;
- fiberglass or fiberglass. Its size should correspond to the size of the filler;
- a plasticizer that will make the mixture viscous and durable;
- water;
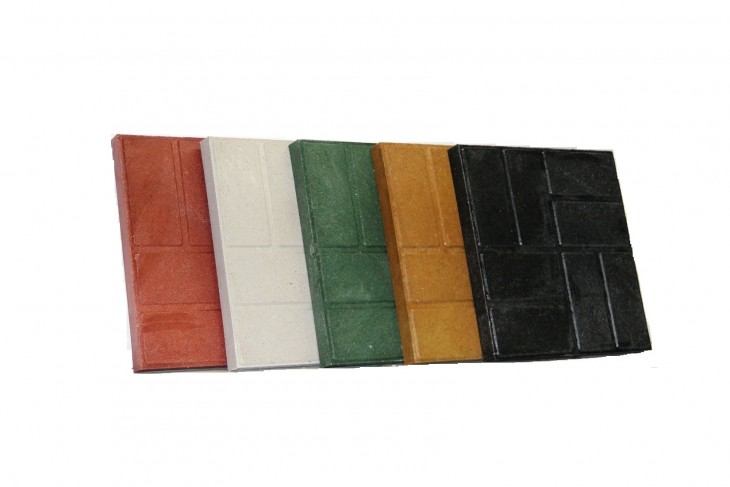
- filler (pebbles, sand) and dye. If you want to achieve a bright shade of paving slabs, it is better to use ready-made colors, and slightly noticeable tones will be obtained from natural natural dyes;

All these components must be kneaded in a certain dose, without allowing the formation of lumps.
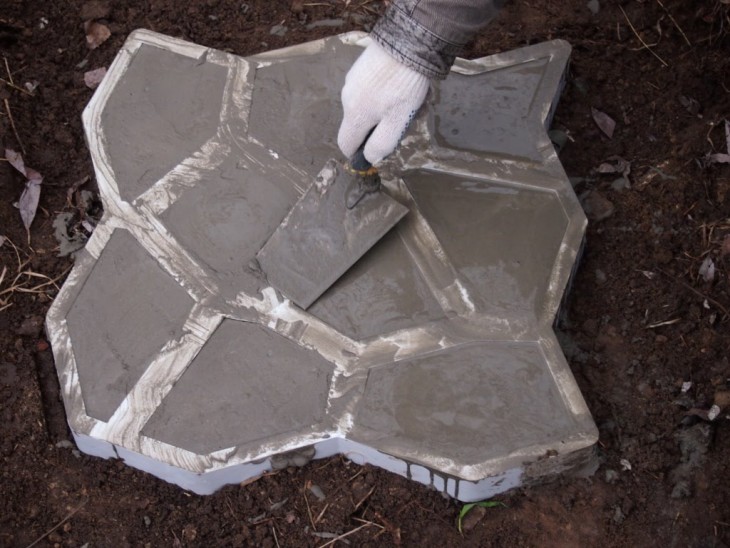
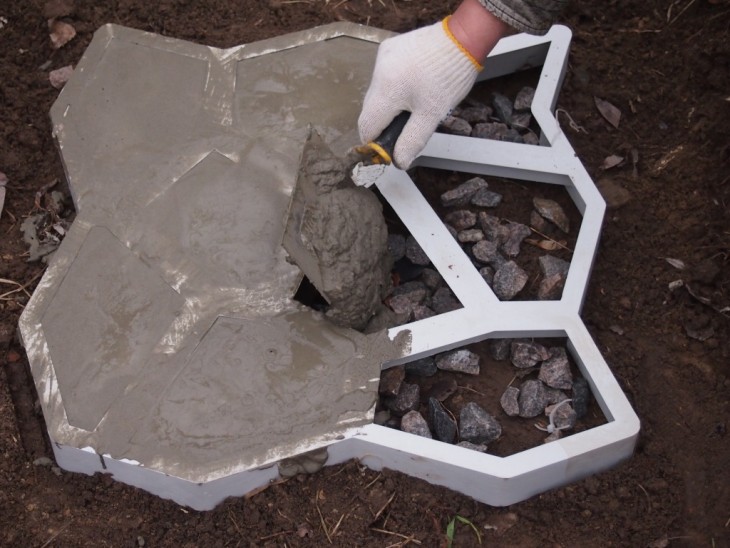
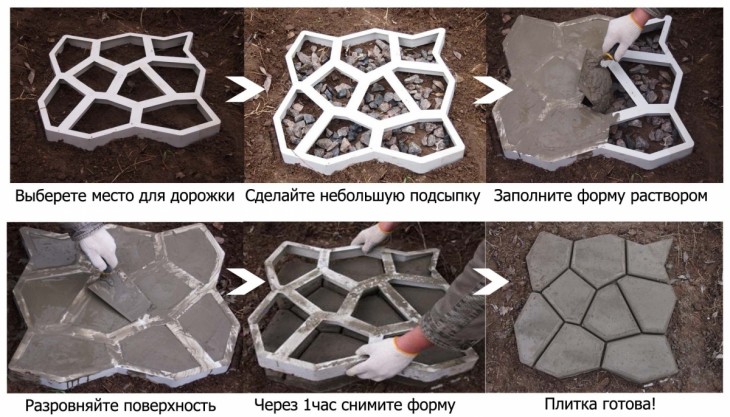
Immediate work steps
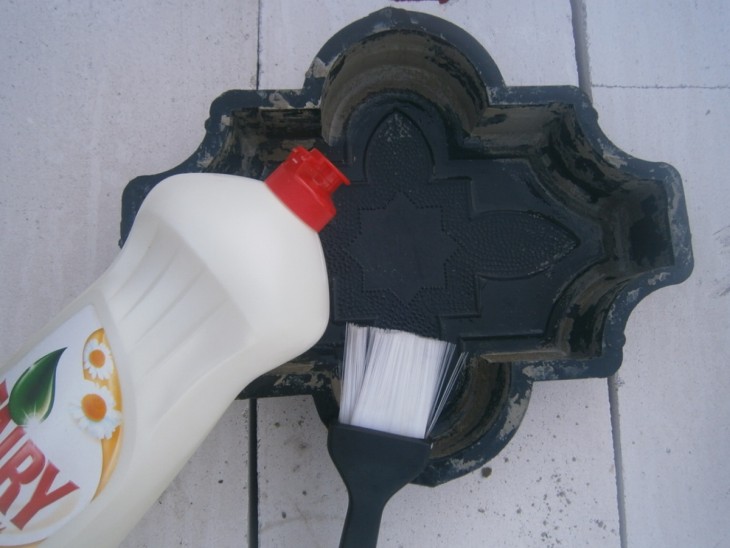
Before filling out the forms, they must be lubricated with a solution: a ready-made emulsion, vegetable or motor oil, or a solution of soap.


The solution itself includes the following sequence:
- The sand is combined with a dye and a plasticizer, knead for a maximum of 40 seconds.
- Then mix cement and gravel for another 60 seconds.
- Gradually gently introduce water.
- Knead (one minute) fiber into a concrete mixer.

The mixture should be quite thick, but at the same time easy to drain into shape.
Note!
Next, pour the finished solution into the forms located on the vibrating table. Transfer forms to drying racks for two days, covering them with a film.
When the concrete is completely dry, it is necessary to carefully remove the finished tile. It is reasonable to spread the bedspread and knock out the tile with a soft rubber hammer. Pre-form can be dipped in hot water (70 degrees), for easier extraction.

Before laying paving slabs, it needs to "reach" to final readiness and hardness for another month.
Used molds must be immersed in saline, thoroughly cleaned and dried for future use.
The process of manufacturing tiles is quite fascinating, and the finished product is distinguished by the quality, reliability and originality of the composition.
Note!
It is important to correctly study the process, not to deviate from the norms of mixing the solution and to observe the time intervals.
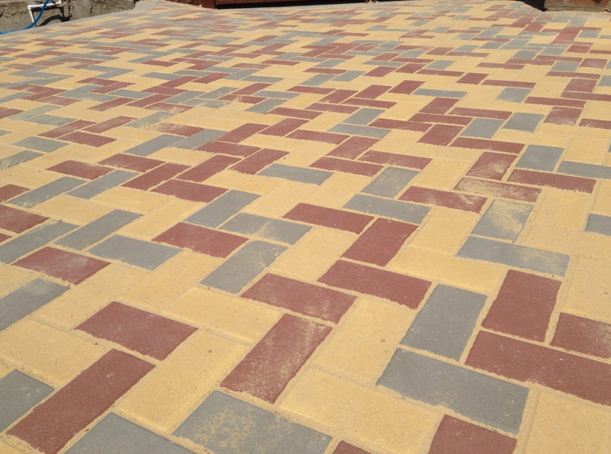
Paving slabs in the country, created by your own hands, will not leave indifferent guests with its individuality and unique shape!
DIY paving slabs
Note!