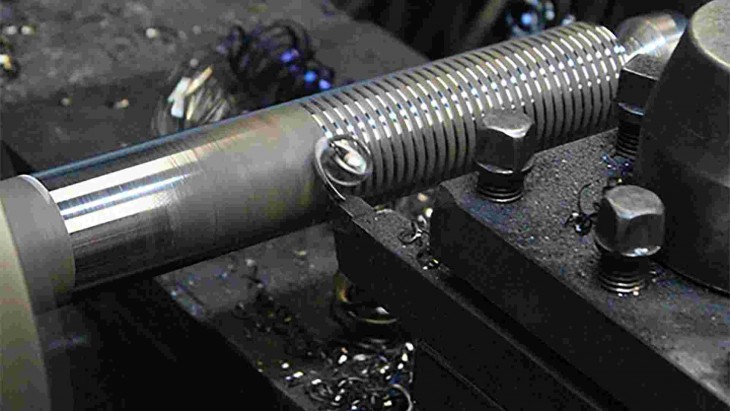
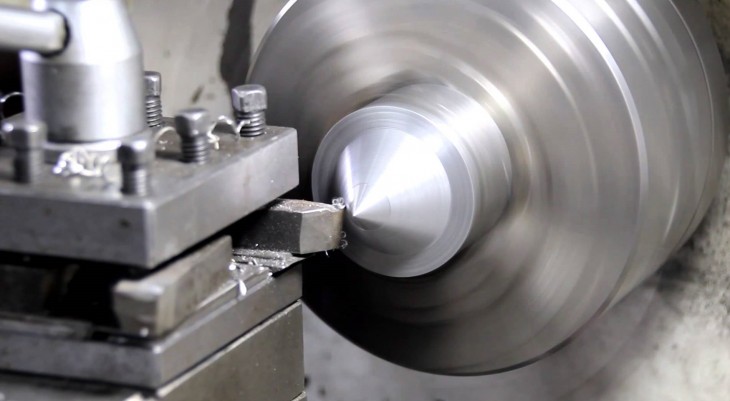
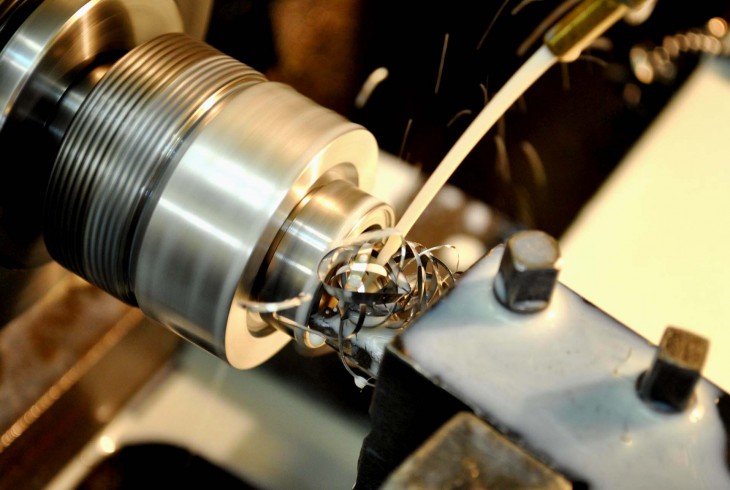
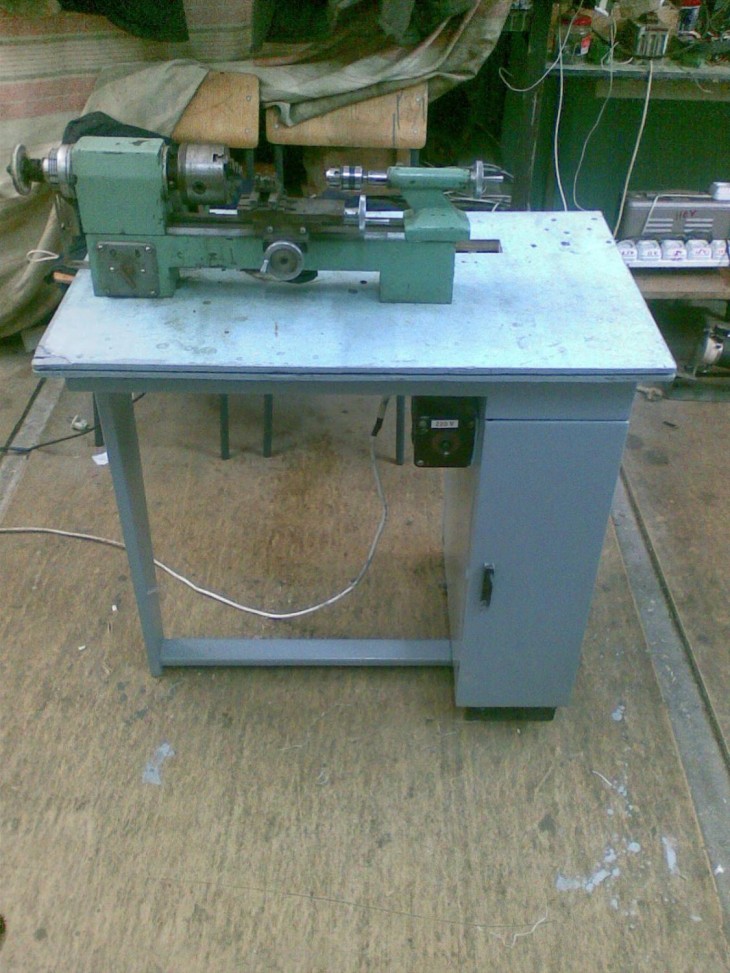
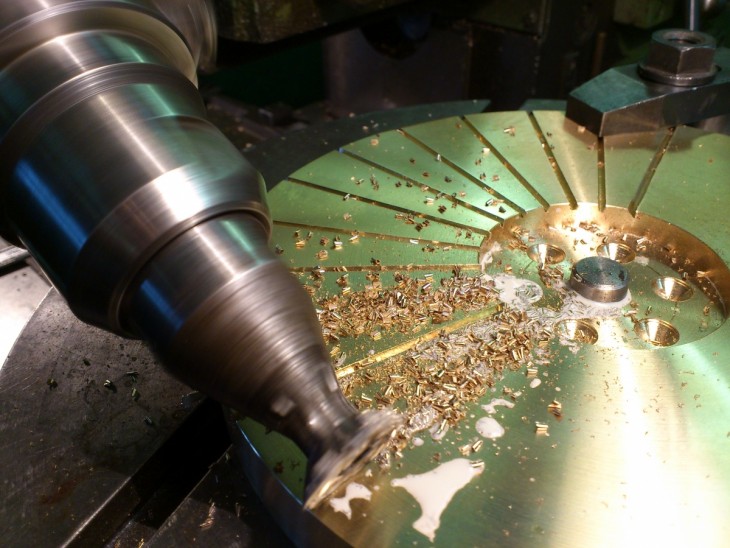
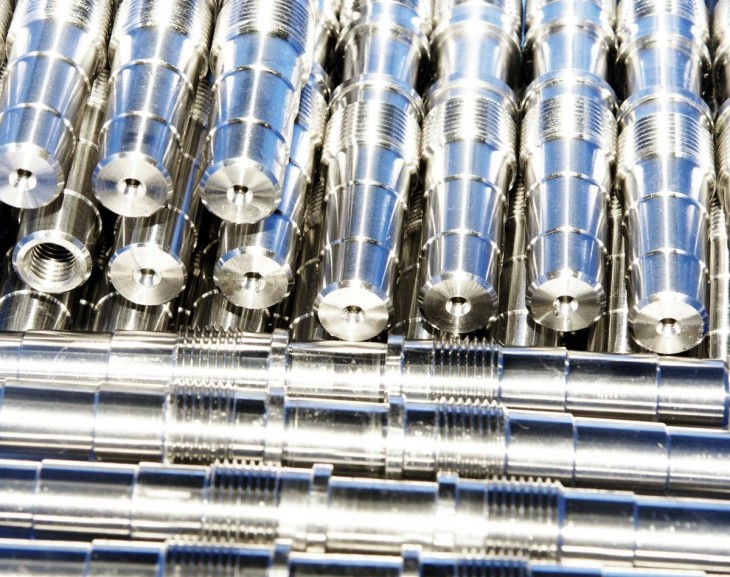
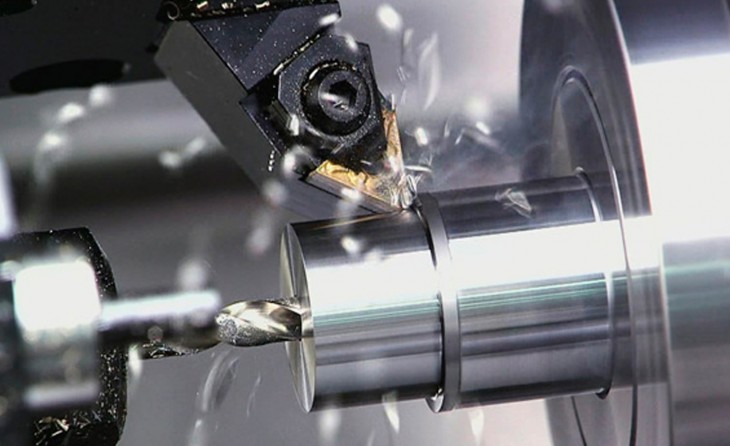
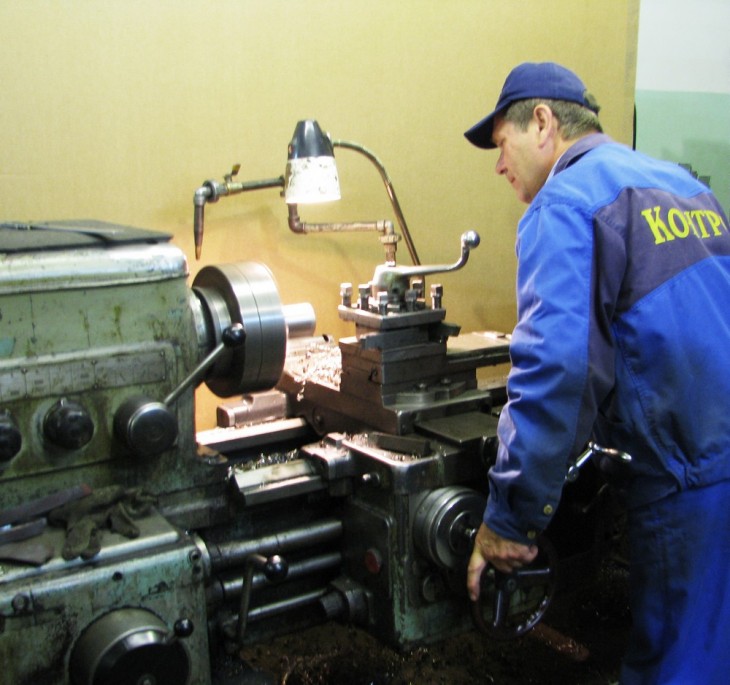
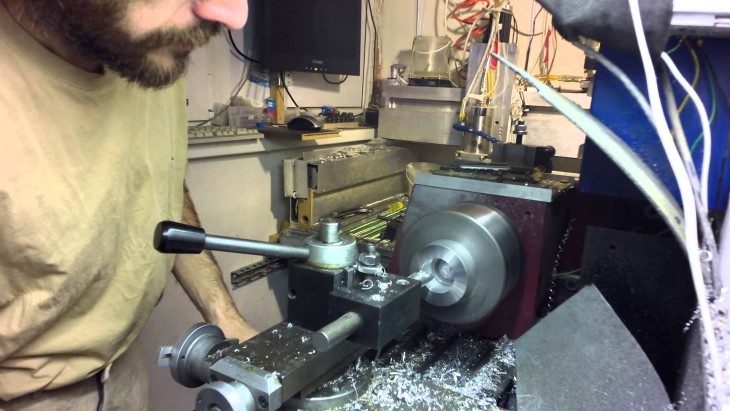
Modern processing of metal parts is almost impossible without a lathe. To save money, you can make this device yourself.
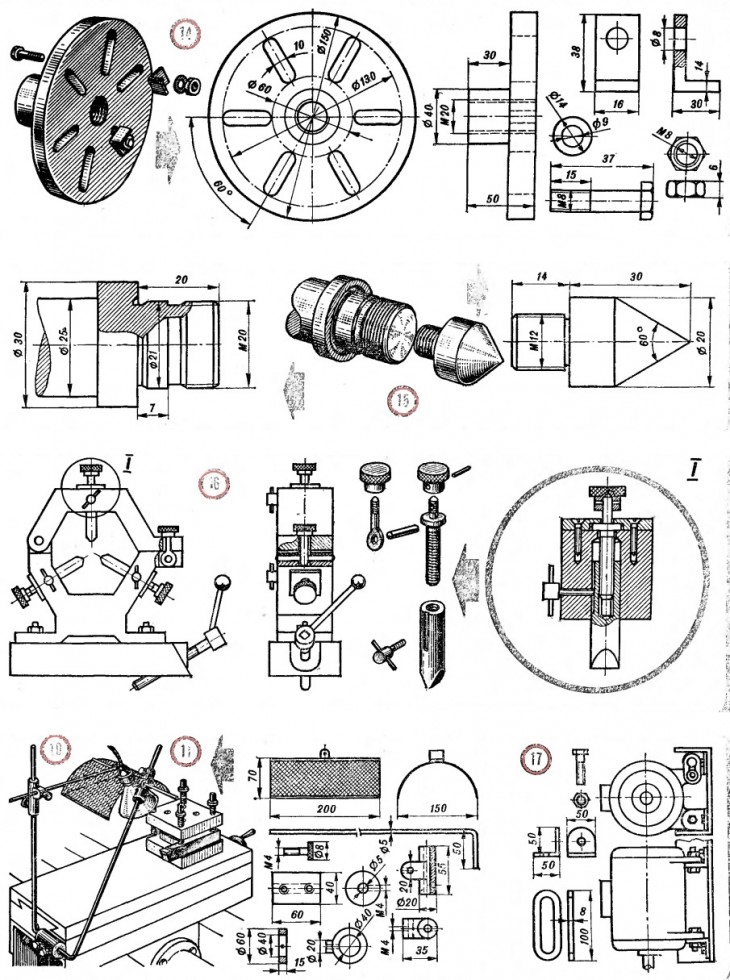
Making an ego is actually not as difficult as it seems, and a drawing of a lathe can be easily found on the Internet. The design of the machine can be very diverse, as well as its dimensions.

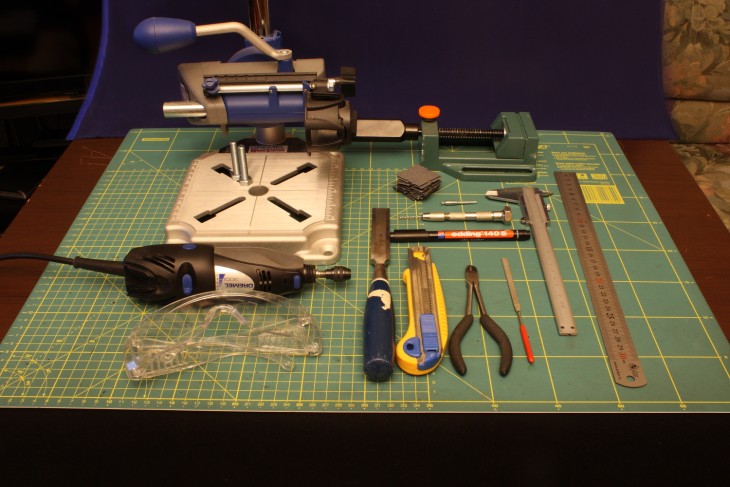
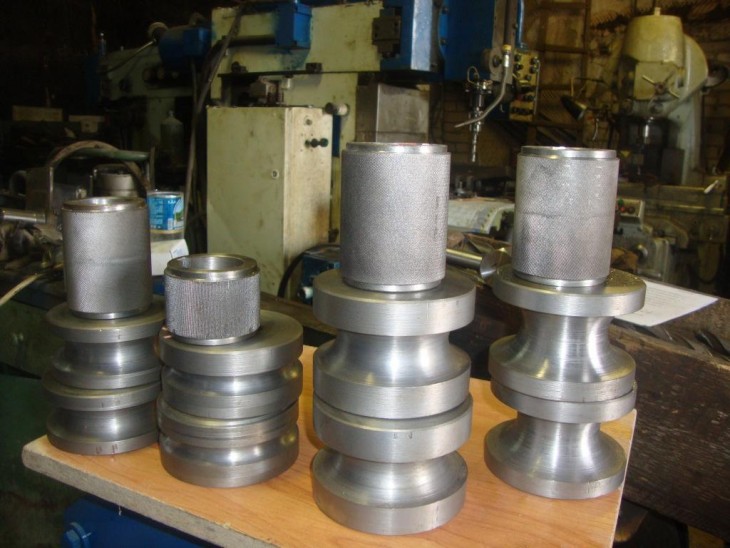
The material for its manufacture at home is easy to find in any garage.
Review Content:
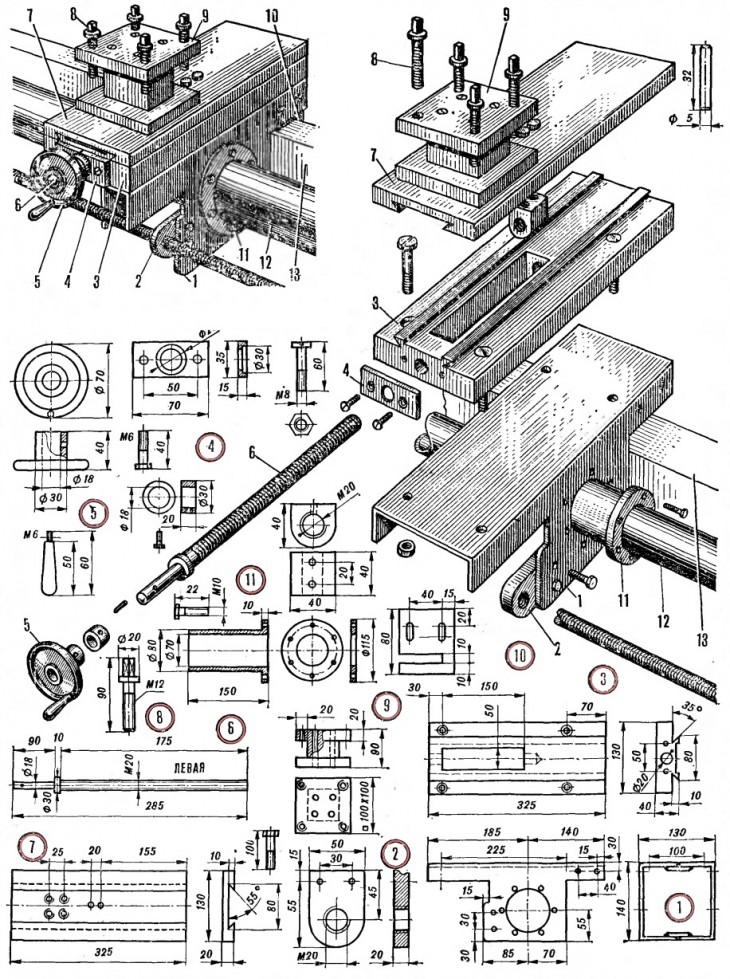
Lathe device
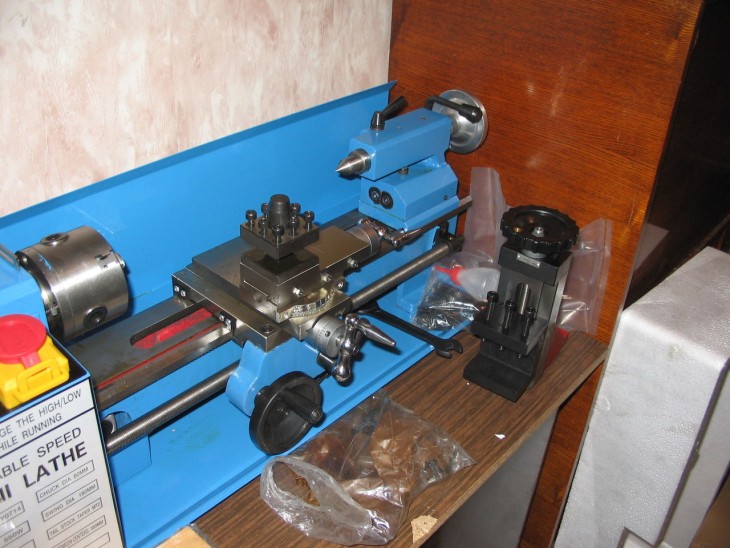
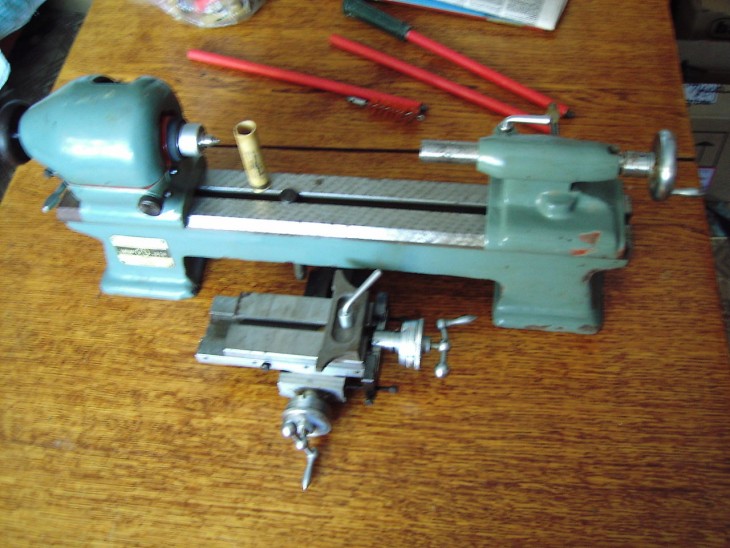
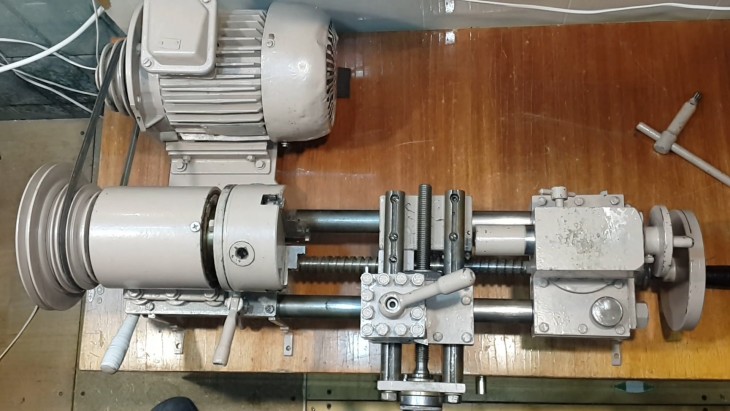
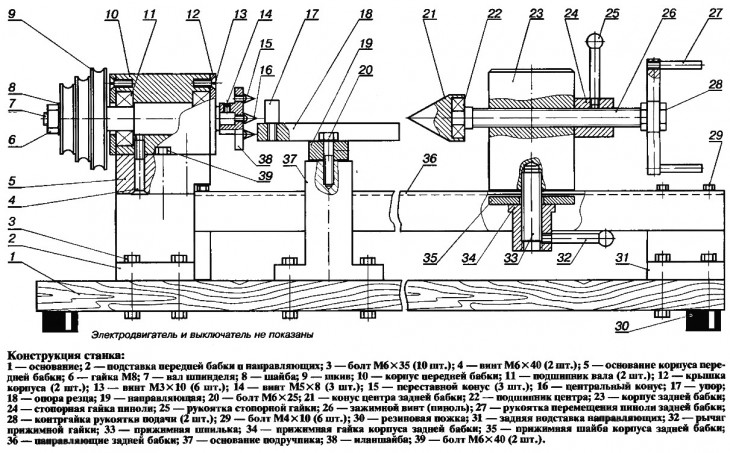
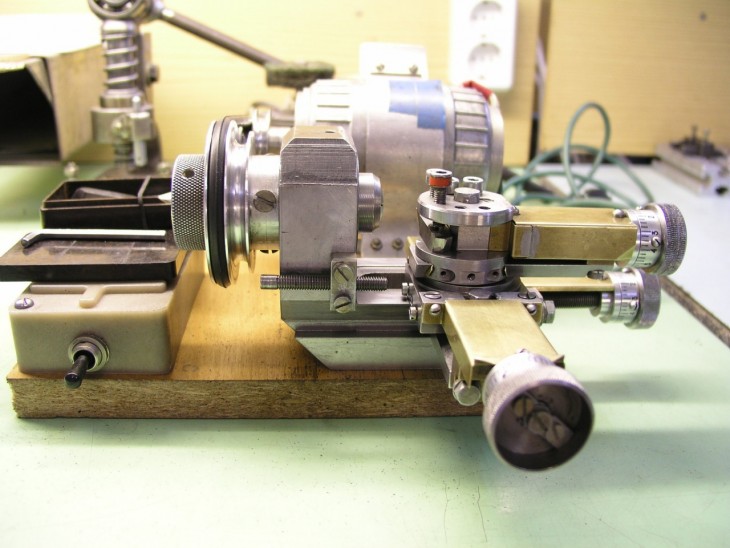
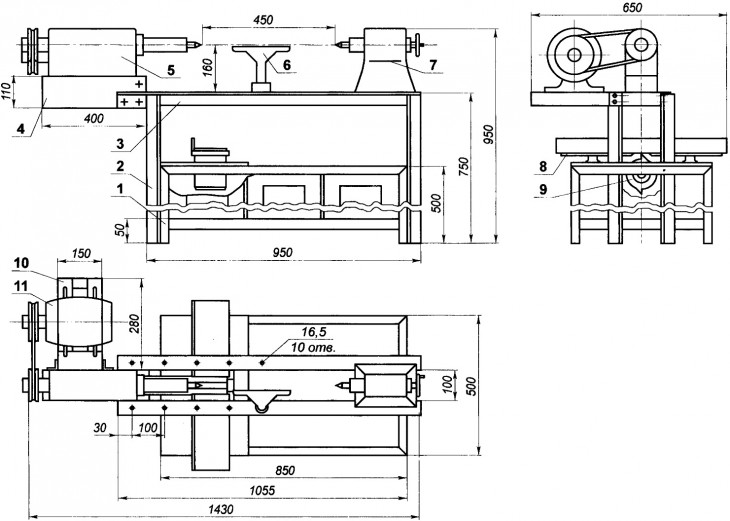
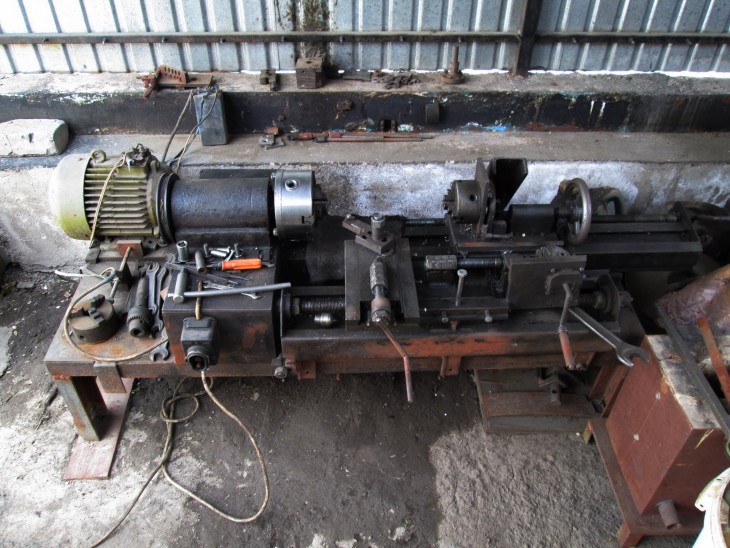
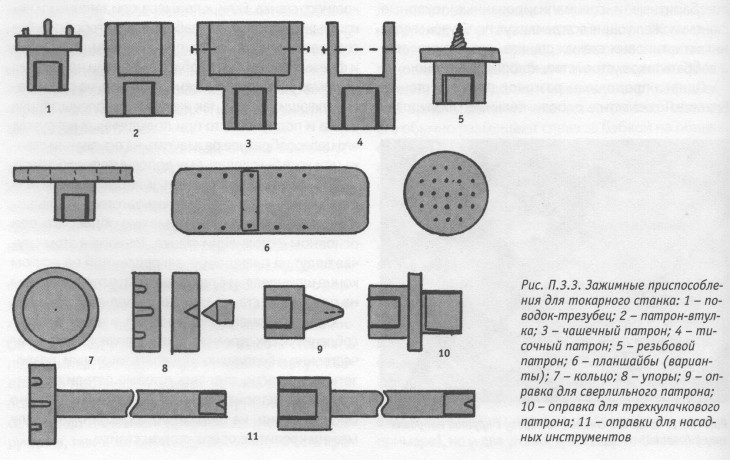
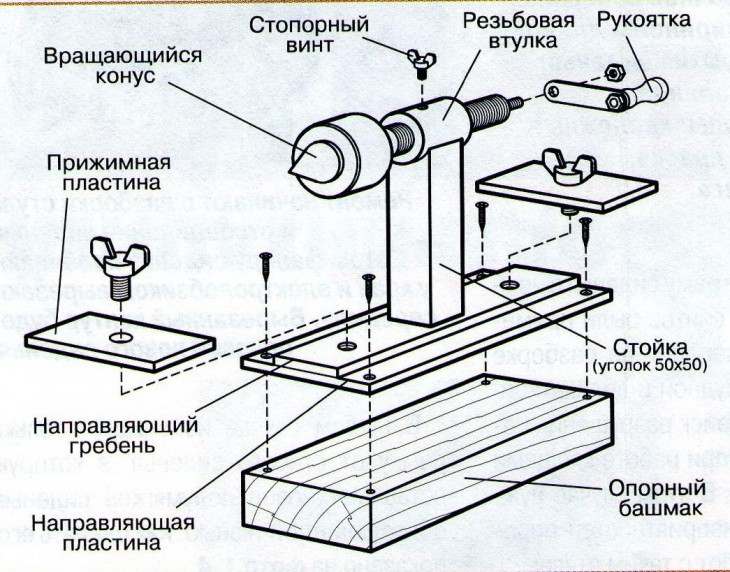
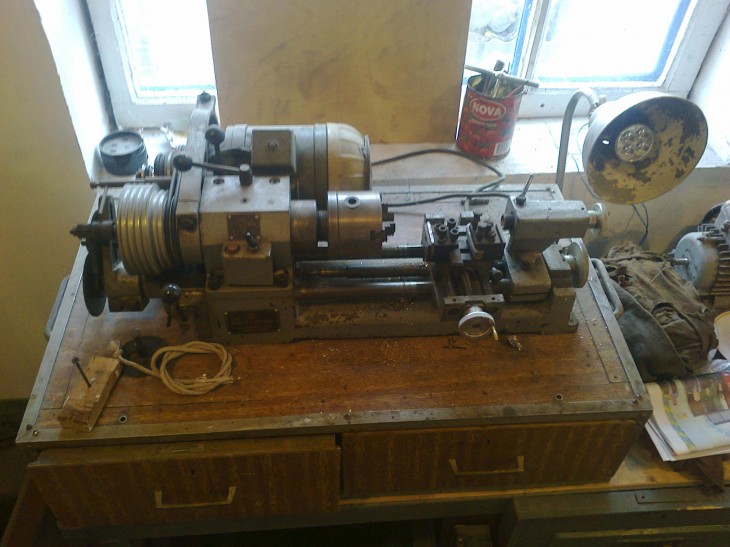
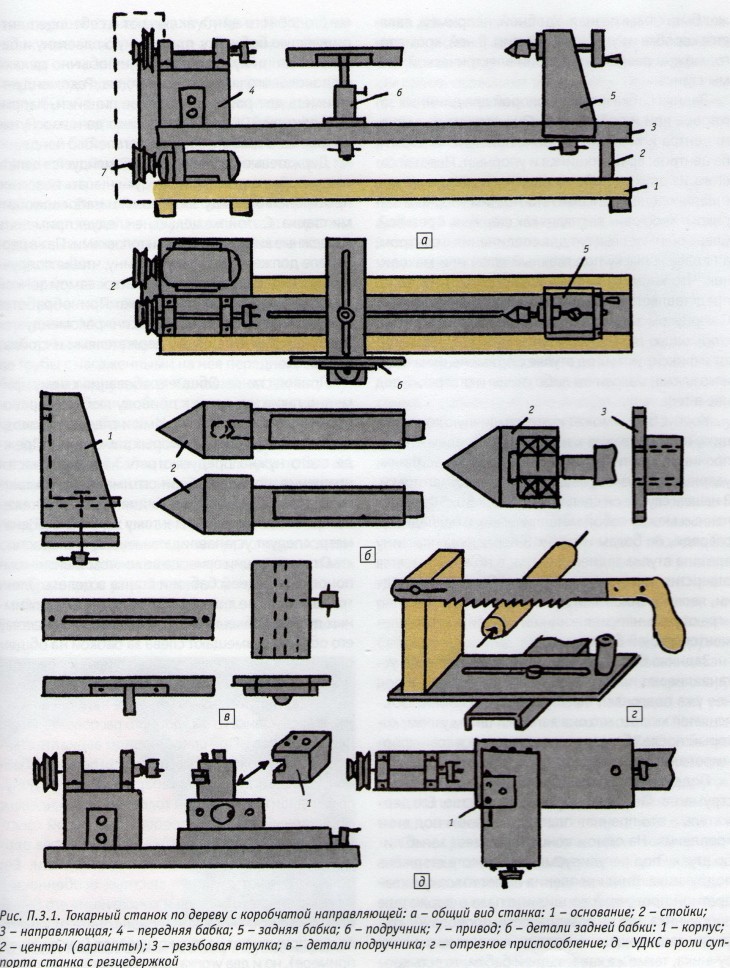
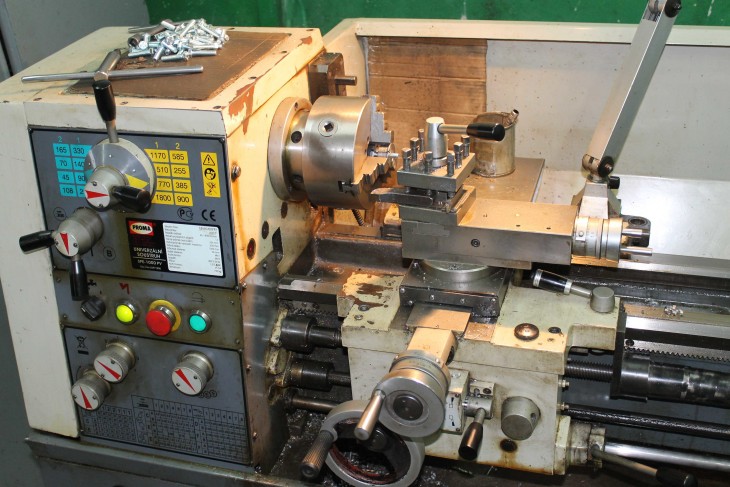
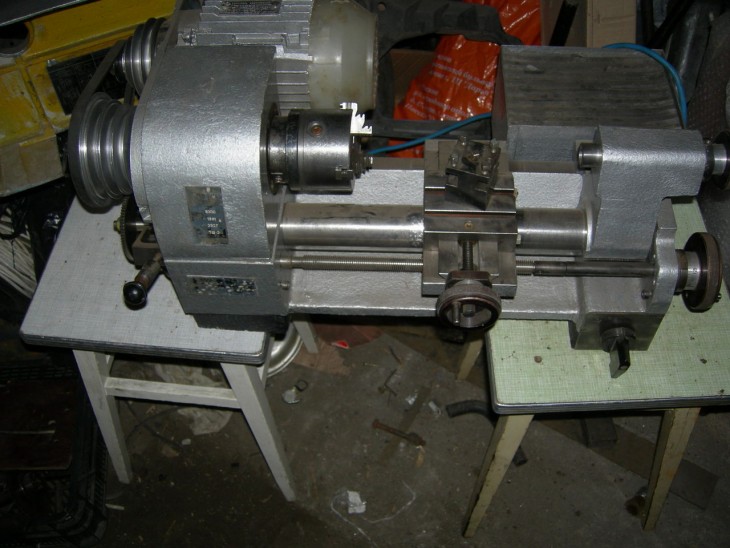
It is impossible to make a lathe with your own hands without knowing its structure, so below we present its main parts:
- Drive unit. The basis of the mechanism that generates power. For a low-power machine, a drive from a drill or a washing machine is suitable;
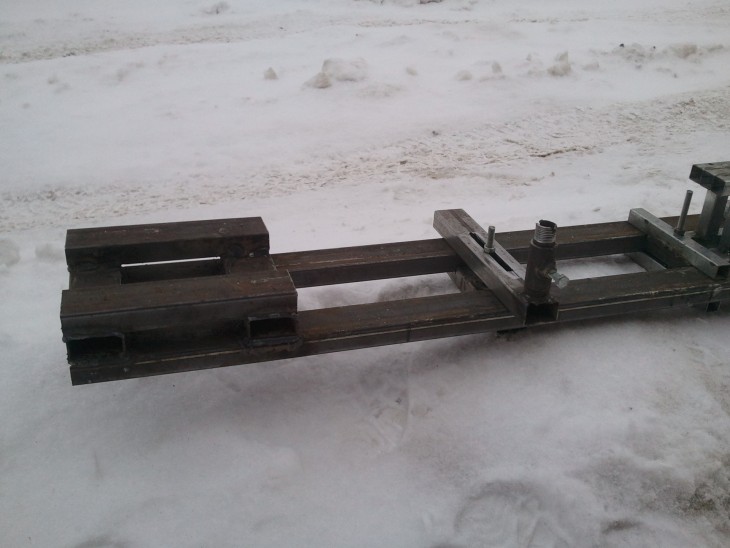
- Bed. For manufacturing, a steel corner or a frame made of wood is suitable, this is a kind of supporting frame, so it must be durable to withstand vibration;
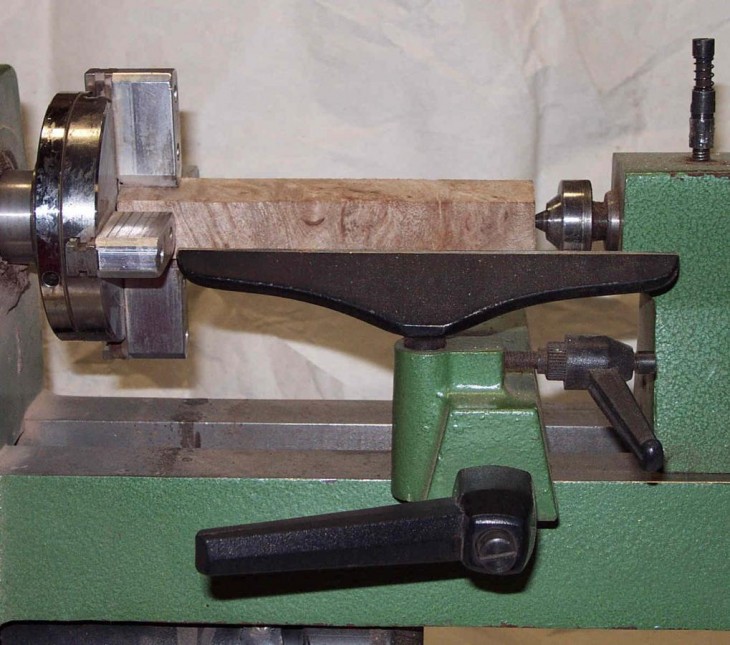
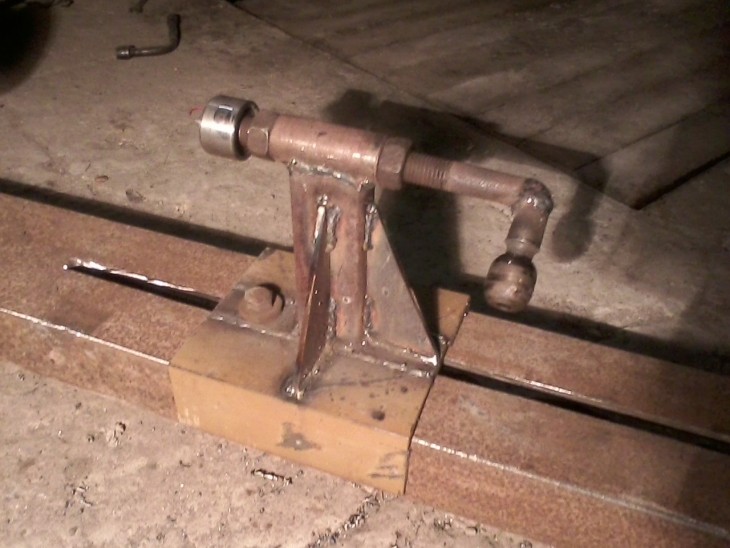
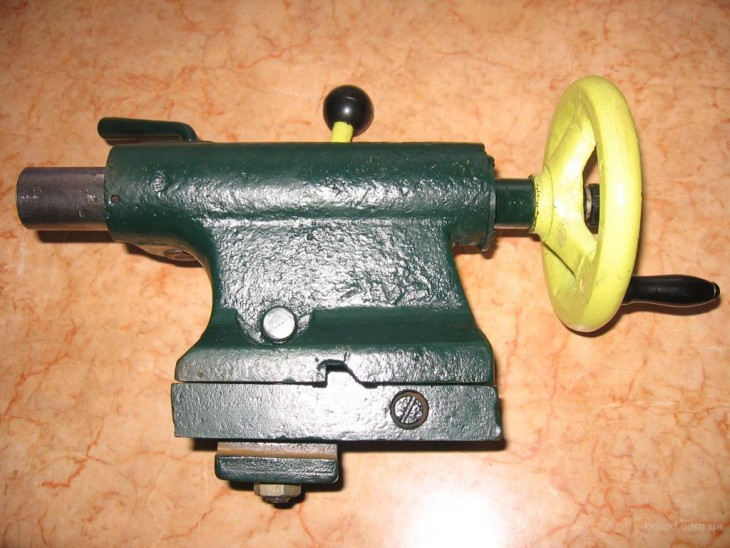
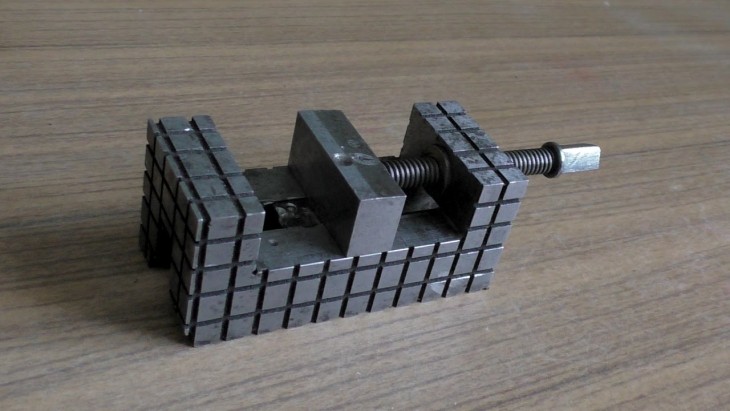
- Tailstock. It is made by welding a corner to an iron plate. It is needed for fixing during processing of the manufactured device;
- Front headstock. Mounted to a movable frame, similar to the tailstock;
- Caliper Carries out a role of a support of a working part.
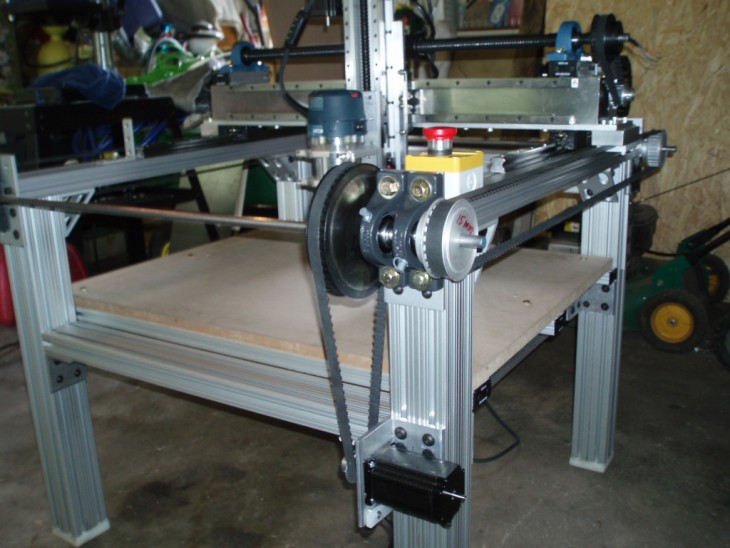
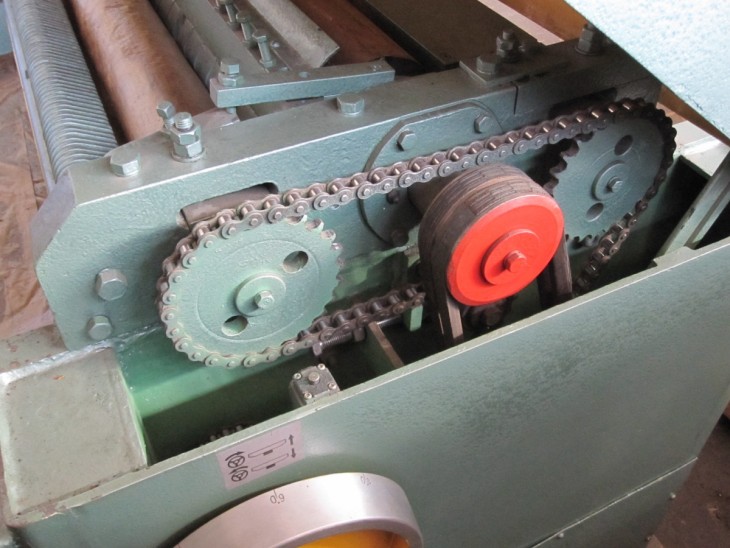
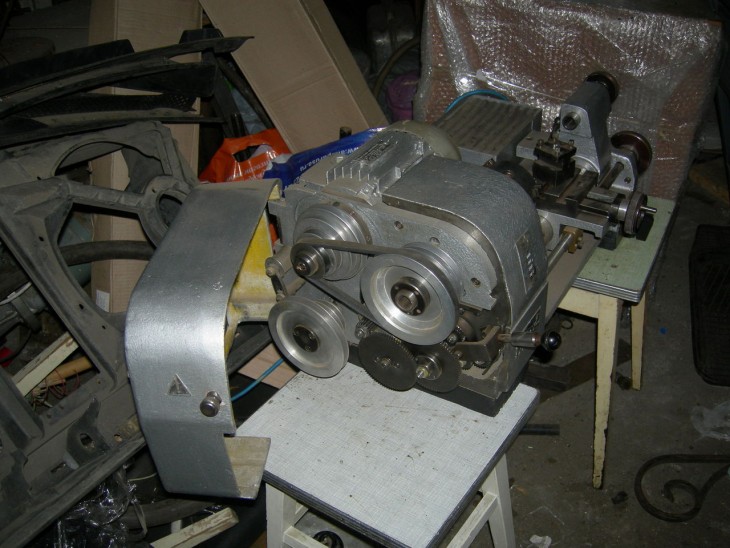
The torque is transmitted by the engine to the working part using the following options:
- Chain;
- Using a belt;
- Friction.

Each has its own advantages and disadvantages. Belt - the cheapest and most reliable, easy to manufacture. But the belt wears out quickly, it is necessary to replace often.
Chain is more expensive, it is more bulky, but it lasts a long time. According to its advantages and disadvantages, the friction is in the middle position. It is worth noting that photos of a lathe with different gears are available on the Internet, and you can easily study them in detail.
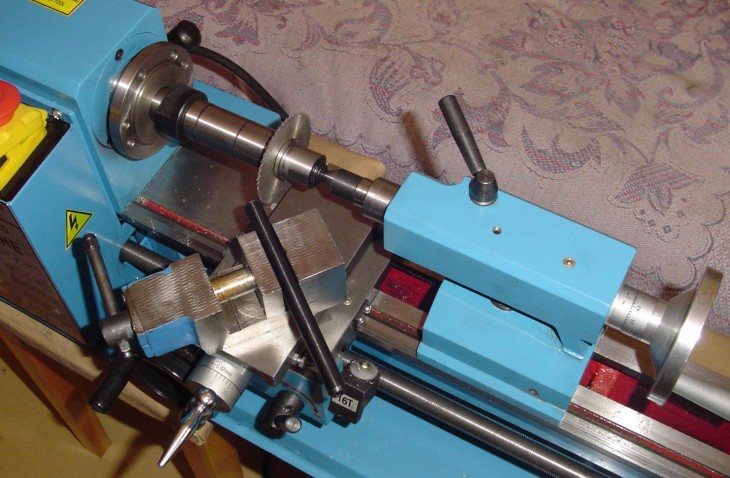
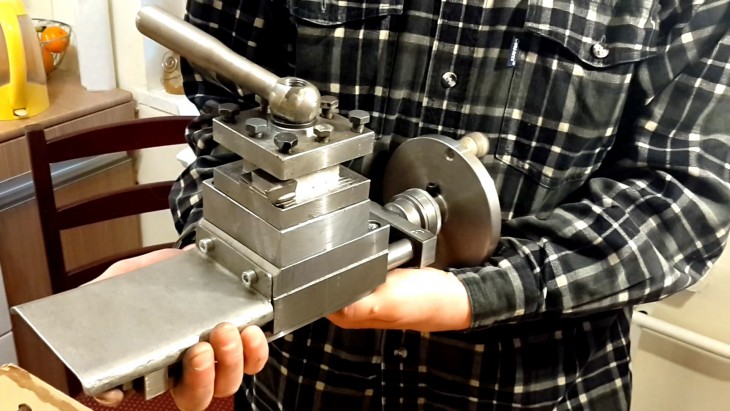
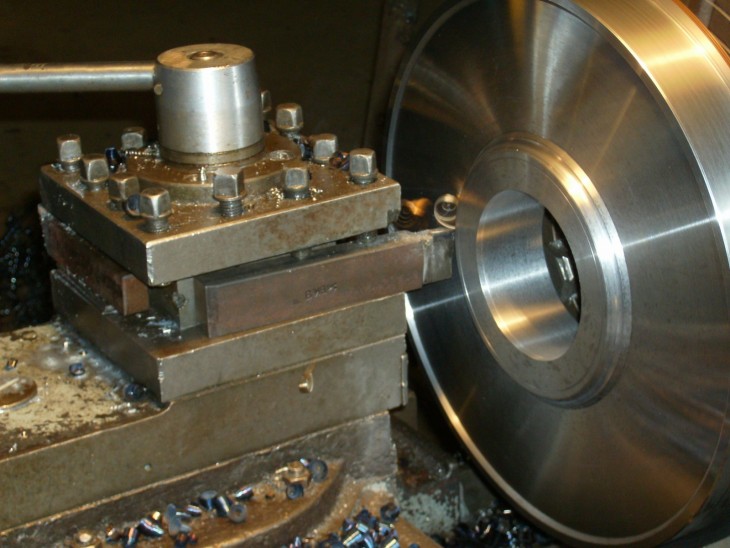
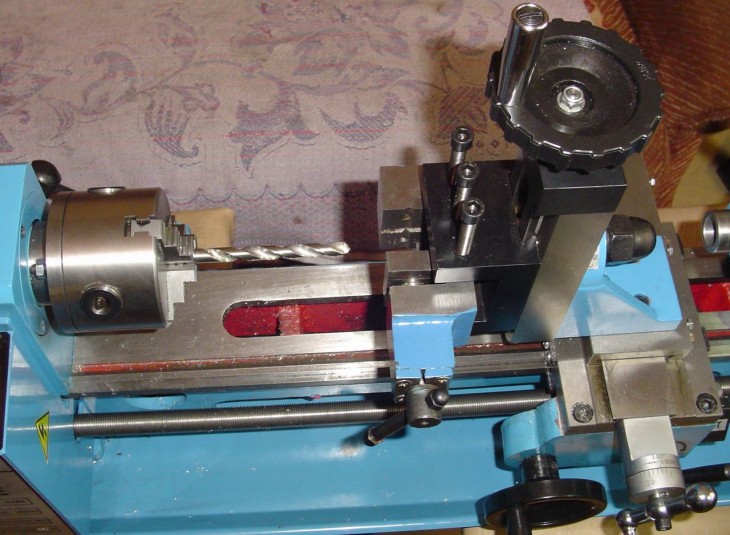
The support is an extremely important part of the machine. It regulates both the amount of expended work forces and the quality of the part.
It moves in different directions and is therefore highly susceptible to wear. Do not forget to adjust it before starting work.
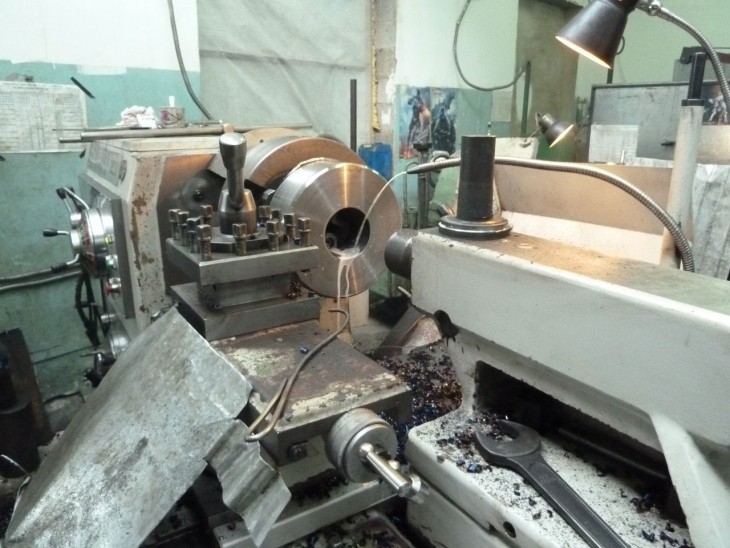
Mechanism assembly sequence
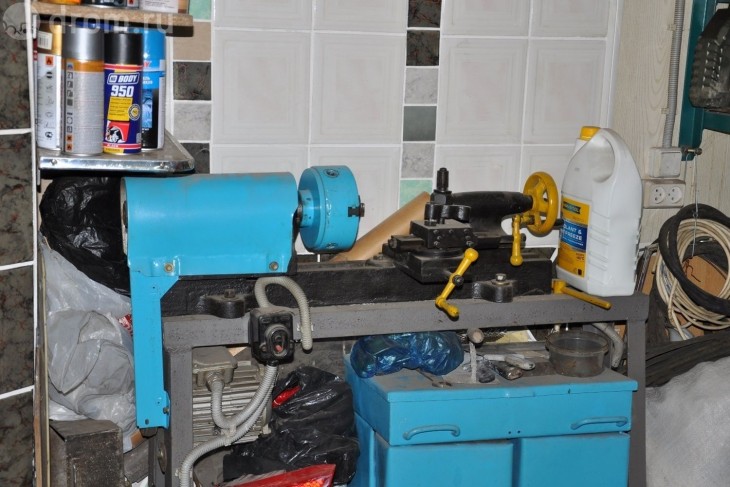
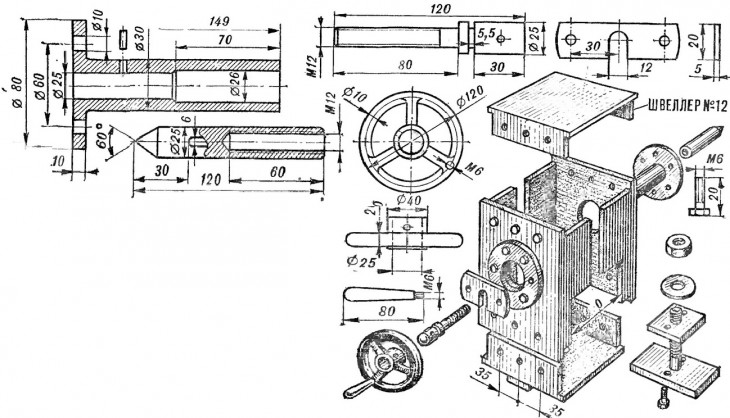
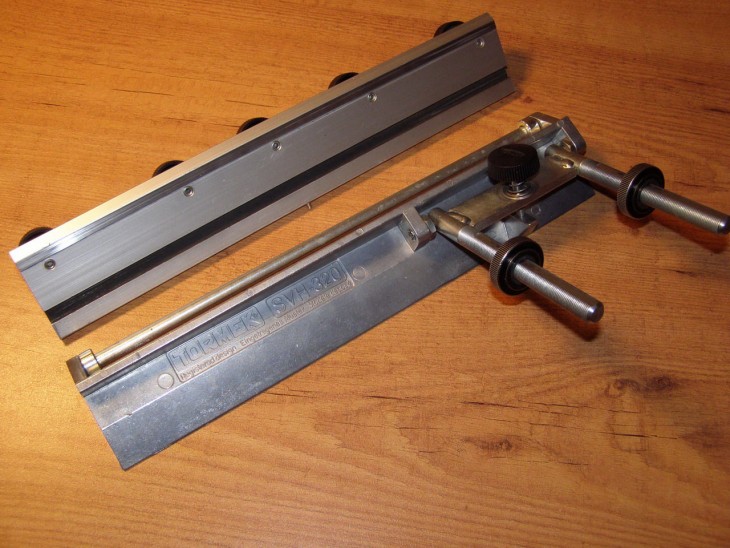
We assemble the machine frame using channels and beams. The larger parts you plan to work with, the more durable the frame should be.
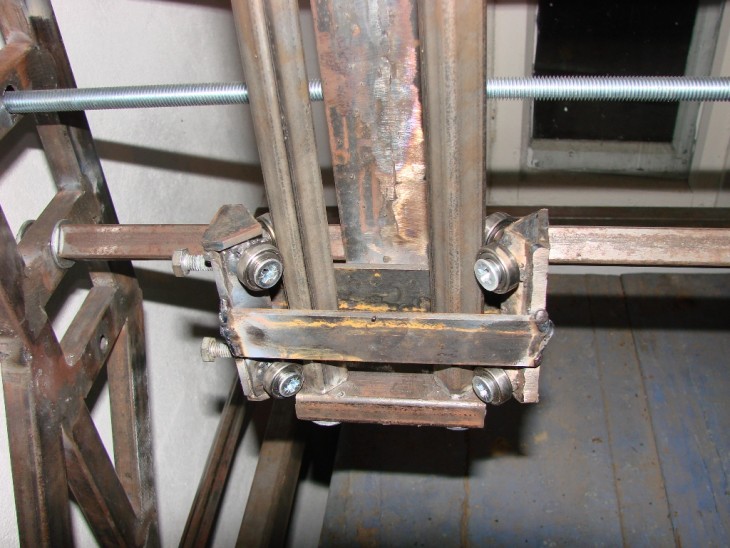
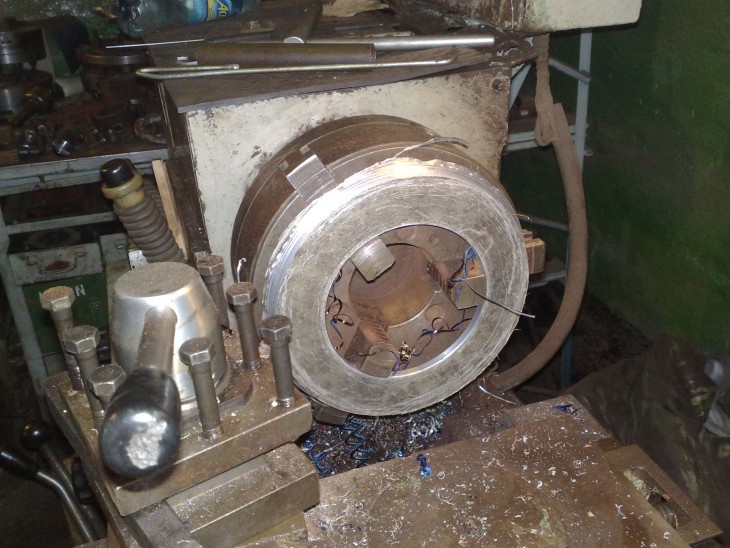
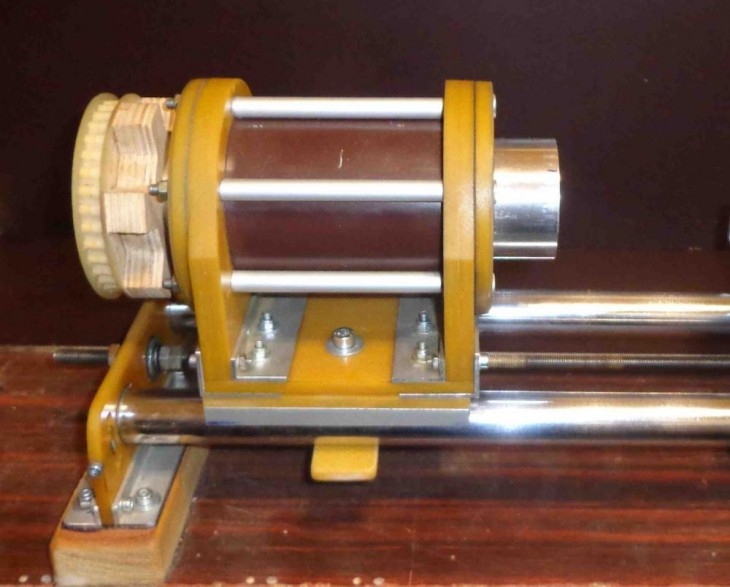
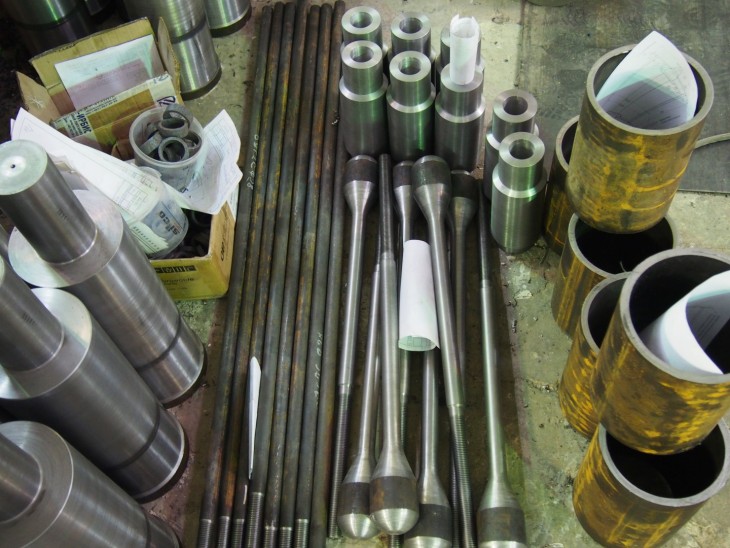
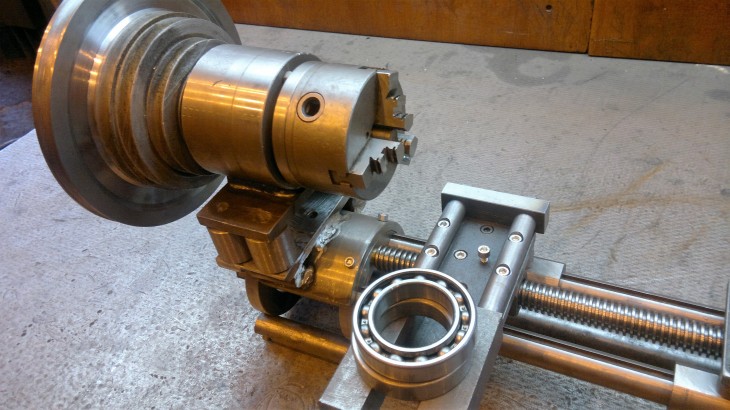
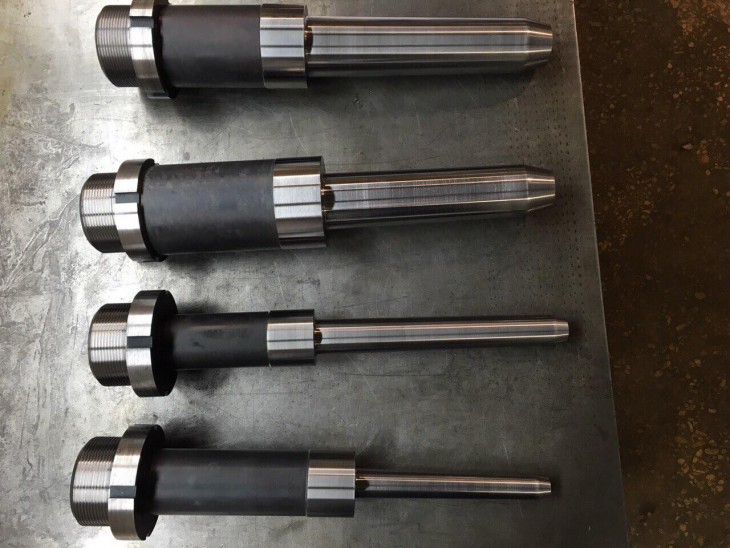
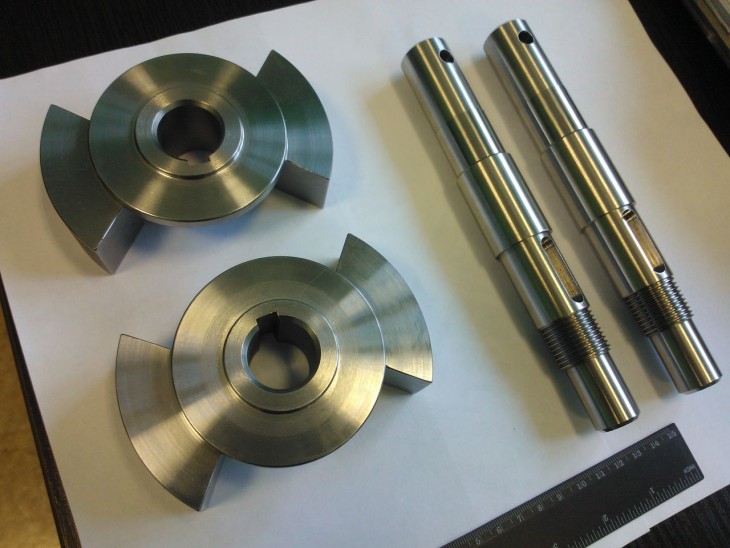
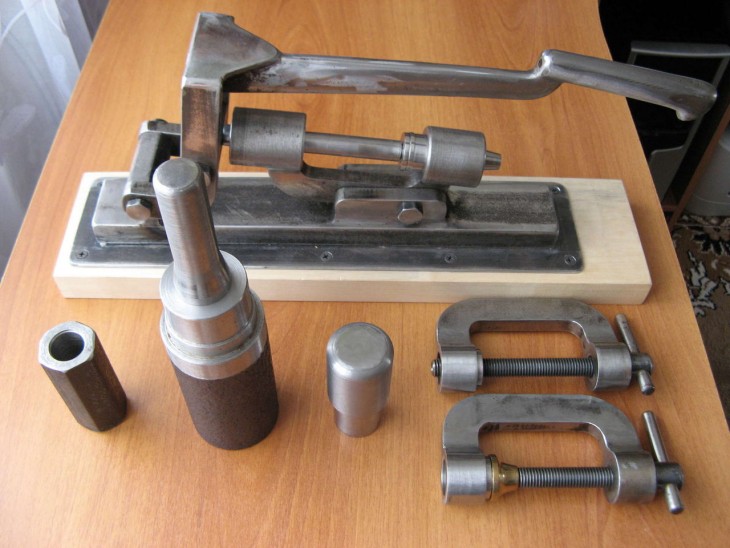
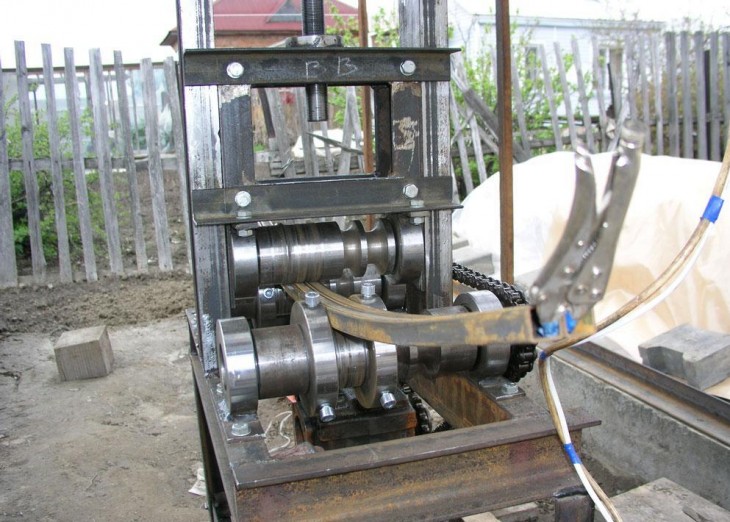
For the production of the headstock, we need a hydraulic cylinder with a wall thickness of 6 mm or more. We press 2 bearings into the cylinder. Using large diameter bearings, lay the shaft.
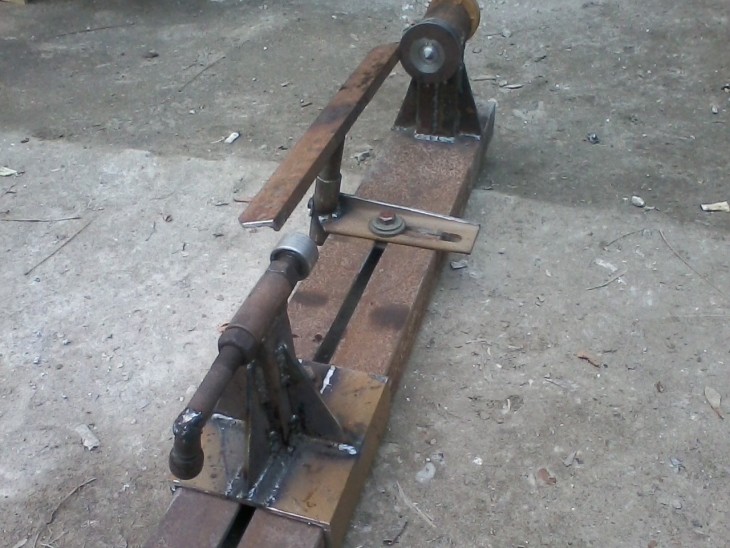
Fill the lubricant into the hydraulic booster. Then we establish a support with guides and a pulley.
Set the handcuff to give the cutter stability. From below we fasten a small strip of metal, betraying the working part of wear resistance.

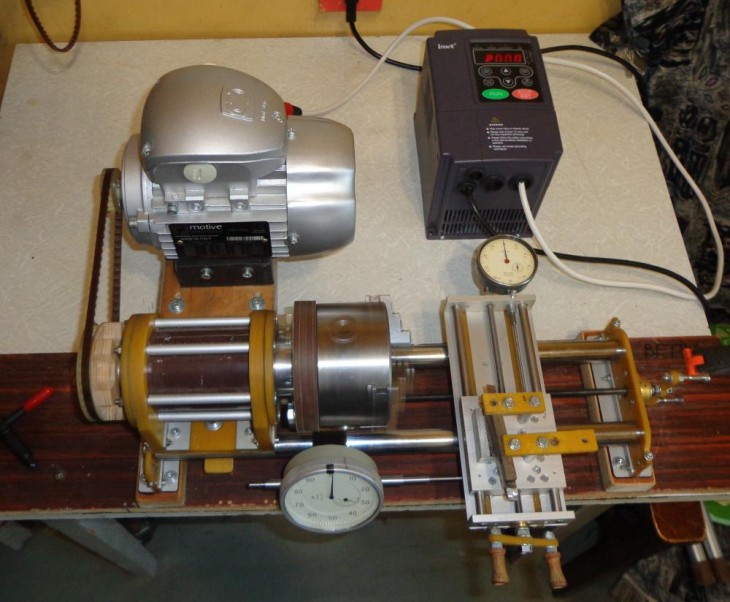
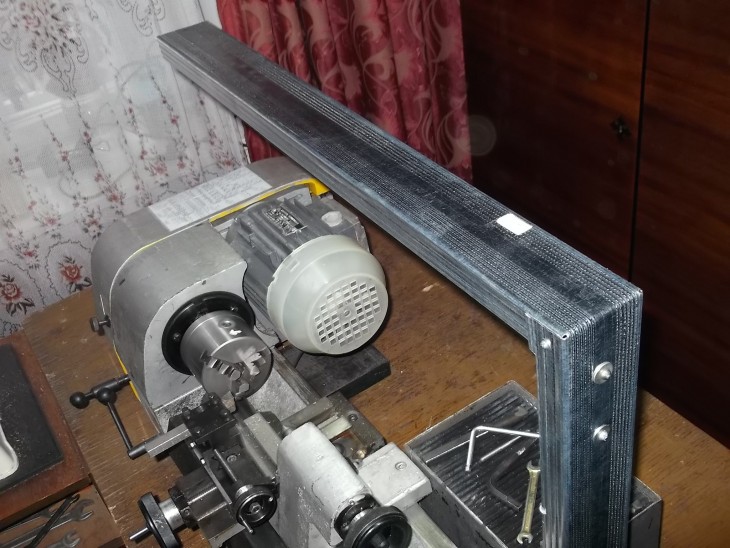
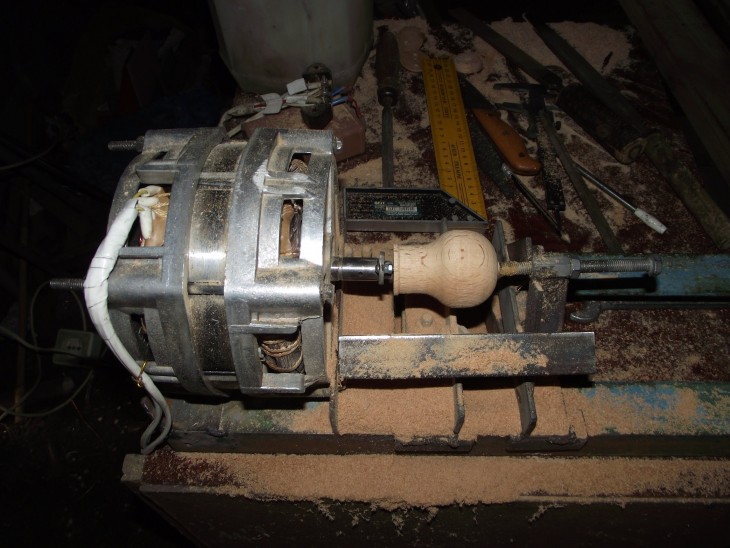
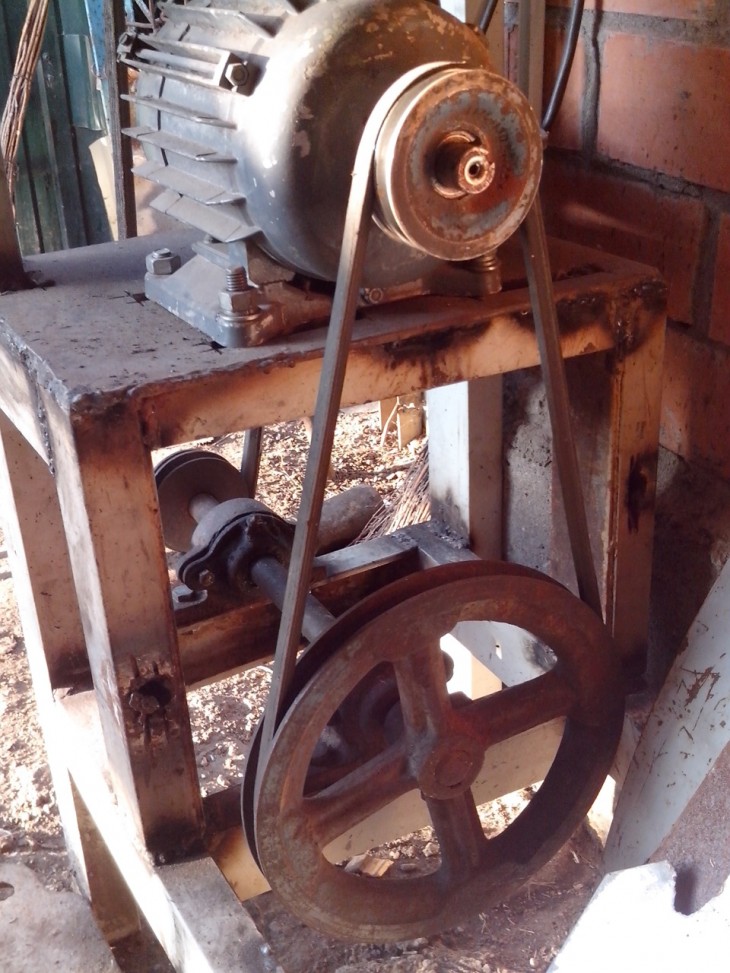
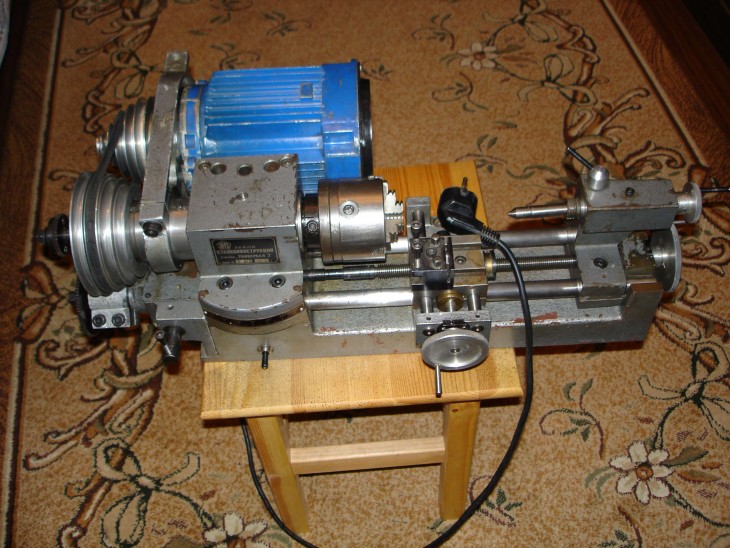
Which motor to choose?
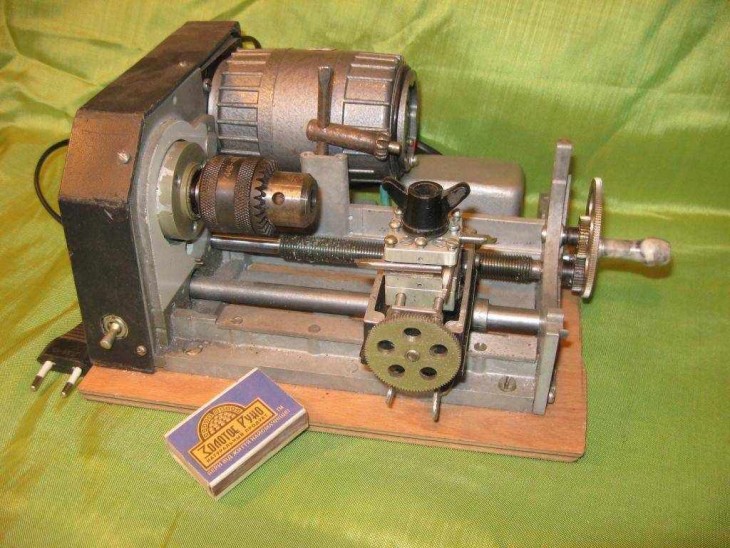
A motor is the most important part of any machine, because without it it would not function. The total power of the machine depends on its power. A motor with a capacity of up to kilovolts (old sewing machines can serve as a donor) is suitable for the manufacture of small parts.
1.5-2 kW motors. used in the processing of large parts. In no case do not forget about the insulation of all electrical parts.
To install the motor correctly, it is better to call an electrician than to get injured.
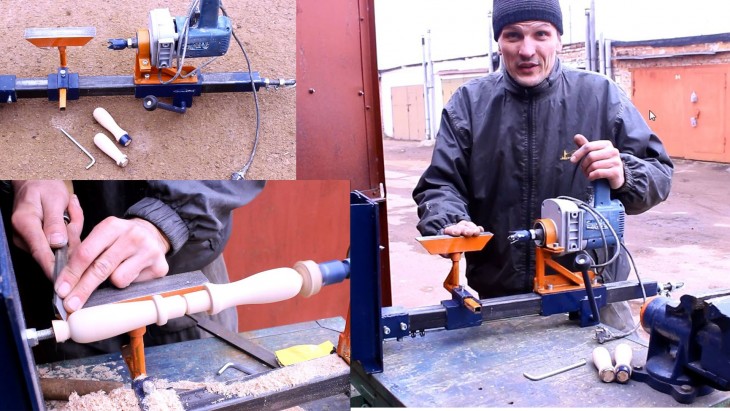
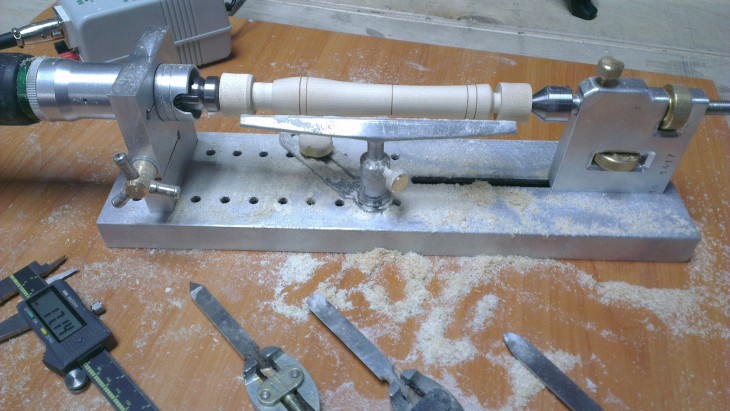
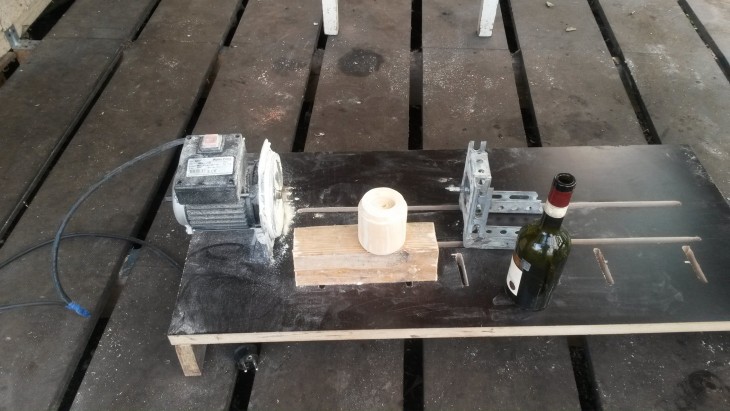
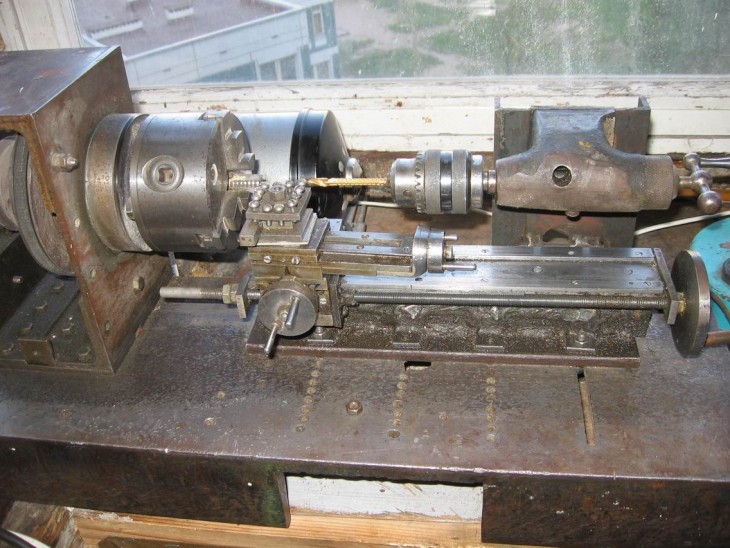
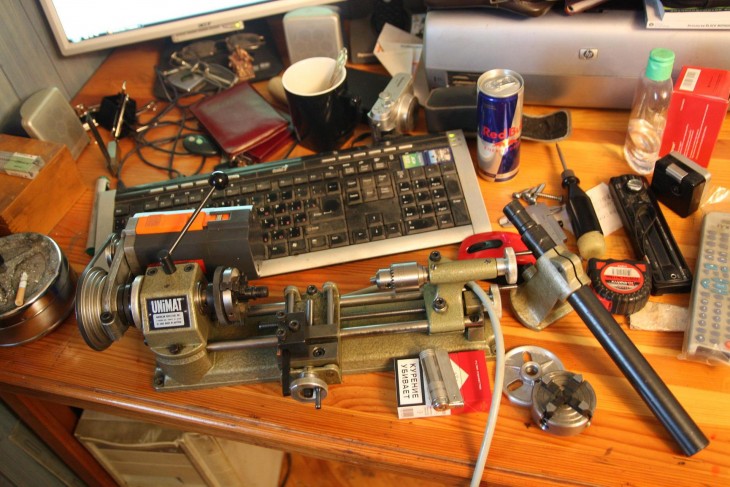
How to make a lathe from a drill?
To save on spare parts and simplify collection, it is allowed to use a drill as a drive. This design has its advantages:
Note!

- the design is assembled and disassembled at any time;
- it is transported and transported quite simply, because it is quite simple to disassemble it;
- cost savings;


But this method has its drawbacks, because the drill has a low torque, which will make it almost impossible to process large parts.
It is worthwhile to modify a metal lathe with a drill only when a large amount of work is not planned and it is necessary to manufacture small parts.
To manufacture this type of lathe for metal, you need ordinary parts (with the exception of the motor and the headstock). The drill takes over the function of the headstock.
Due to the compactness of the machine, the role of the bed can perform a flat surface or workbench. The drill itself can be fixed thanks to a clamp or clamp.
The following safety precautions must be observed:
Note!
- Upon completion of the layout of the machine, it is necessary to check the serviceability.
- the electric motor in the machine must be protected by a casing;
- electric motor power should be covered by your electric network;
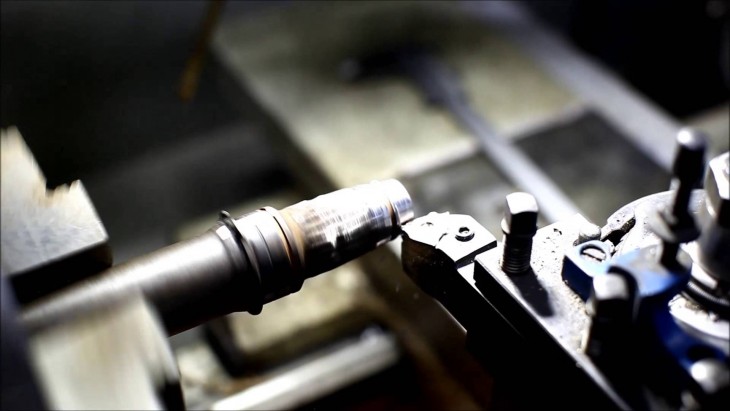
- the working tool can only be located parallel to the surface of the workpiece. Otherwise, he will bounce;
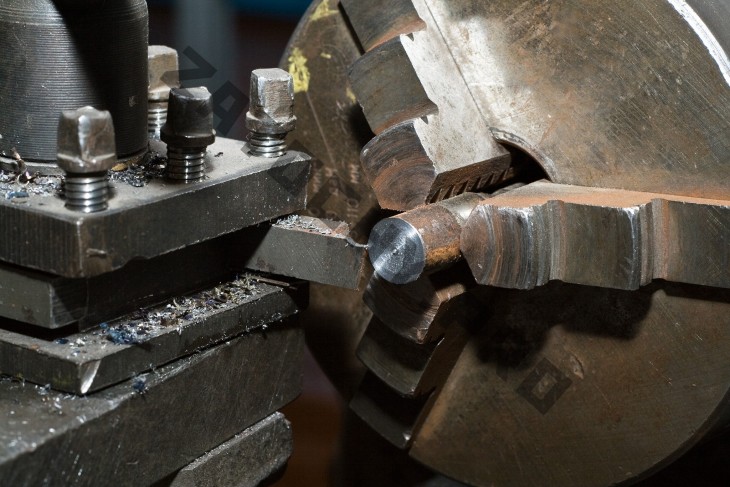
- when machining end planes, the latter should be supported against the tailstock;
- You can only start work using eye protection from chips;
- After work, the workplace must be left clean.
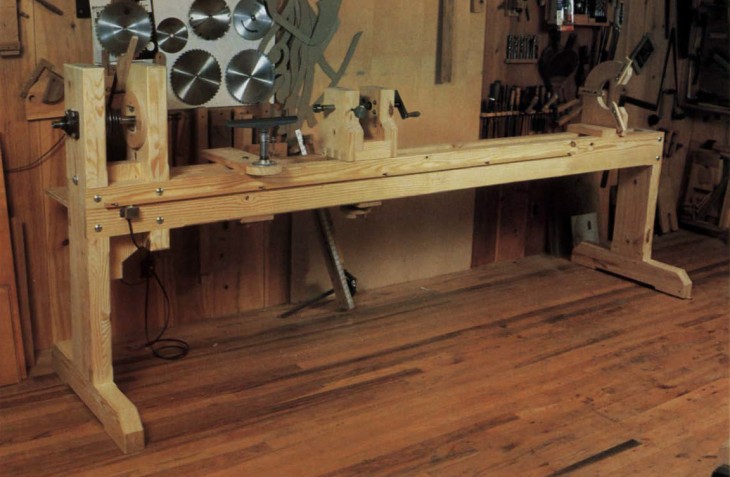
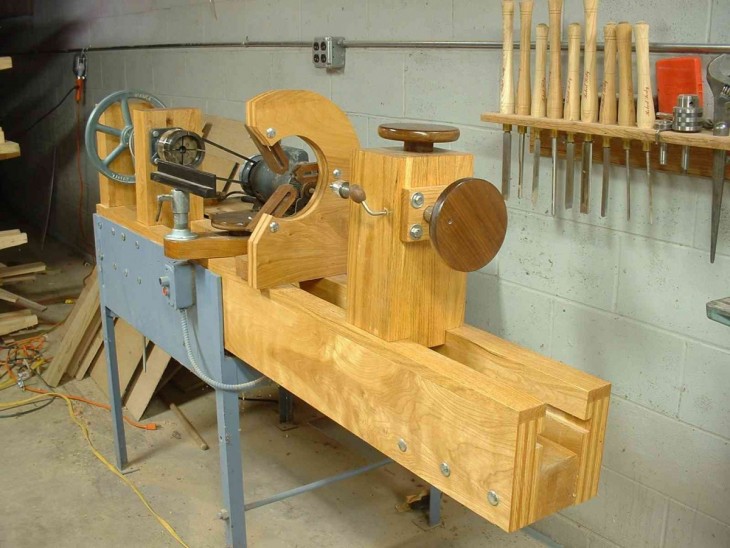
A woodworking machine requires the same safety precautions as a metalworking machine.
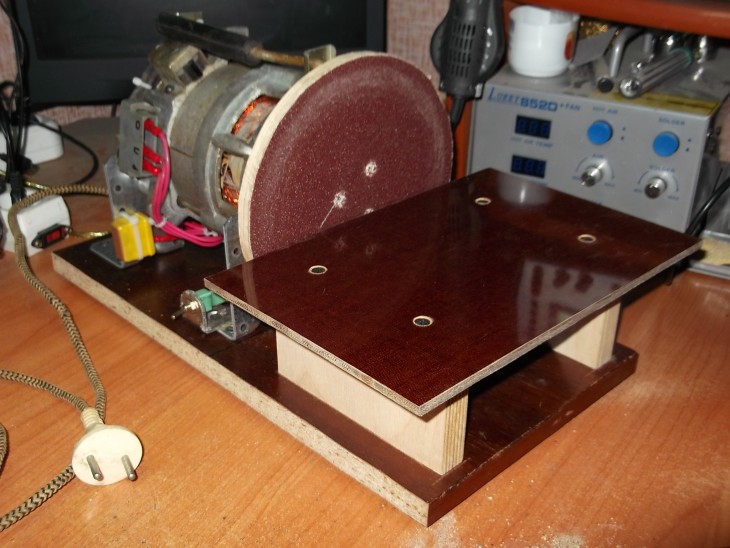
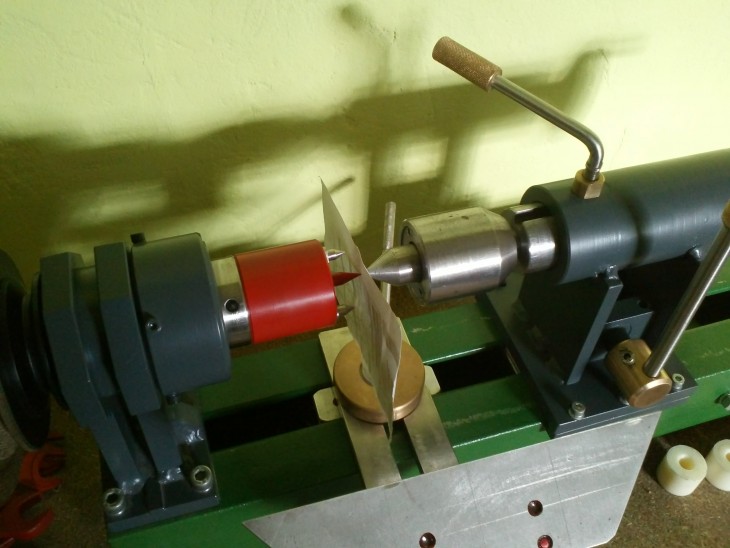
Change machine
When it is necessary to install conical holes, we fasten two files so that a trapezoid shape is obtained. Next, we mount the device on the springs for supplying the file.
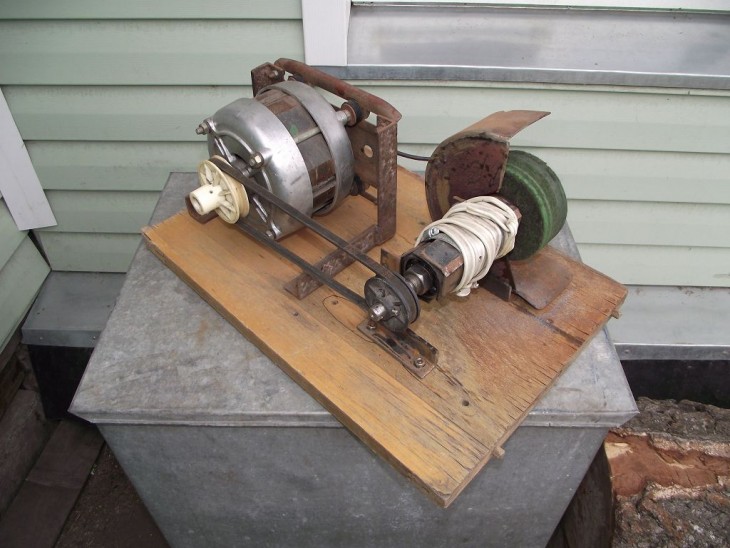
To grind various blades, we attach a grinding wheel to the engine.
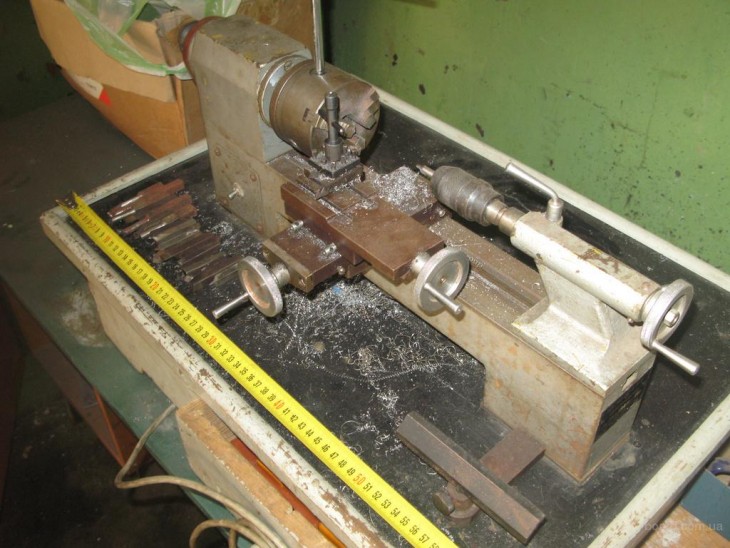
Summing up, I want to say that the assembly of the machine is quite simple. It is quite possible to make a homemade lathe at home with the help of improvised materials, which is quite an economical event.
You can adjust the size and power of the equipment yourself, as well as carry out the necessary modifications.
Note!


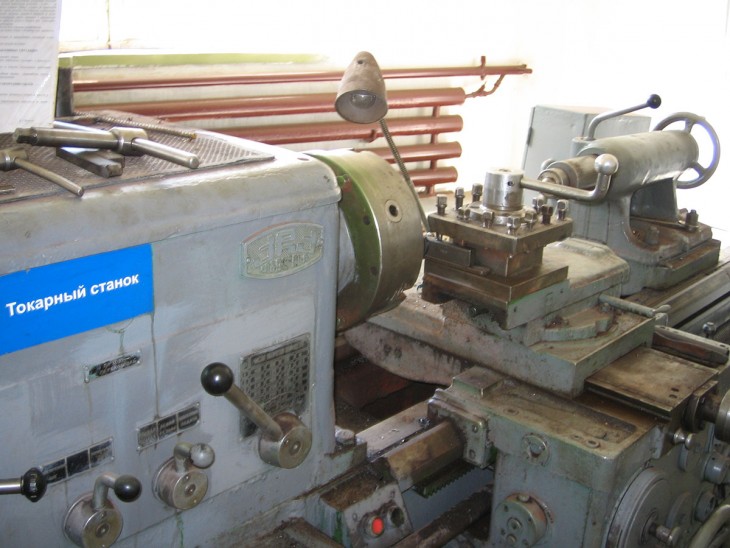
DIY lathe photo