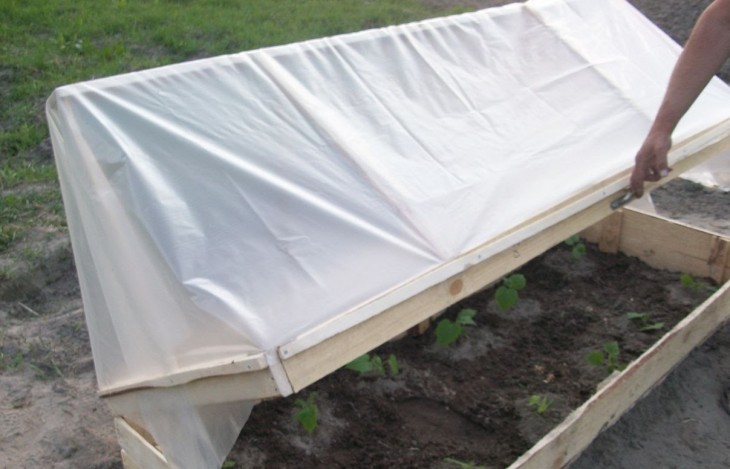
First of all, the greenhouse is designed to protect various garden and garden plants from the effects of negative atmospheric factors (hail, rain, snow, wind, and so on).
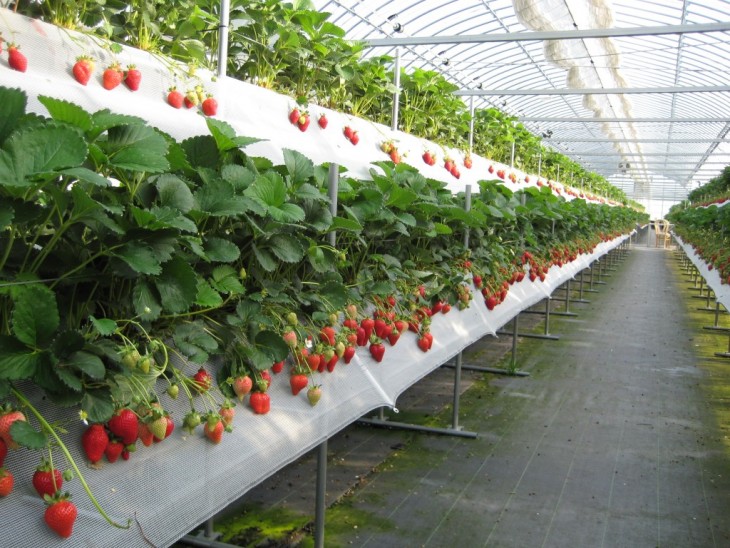
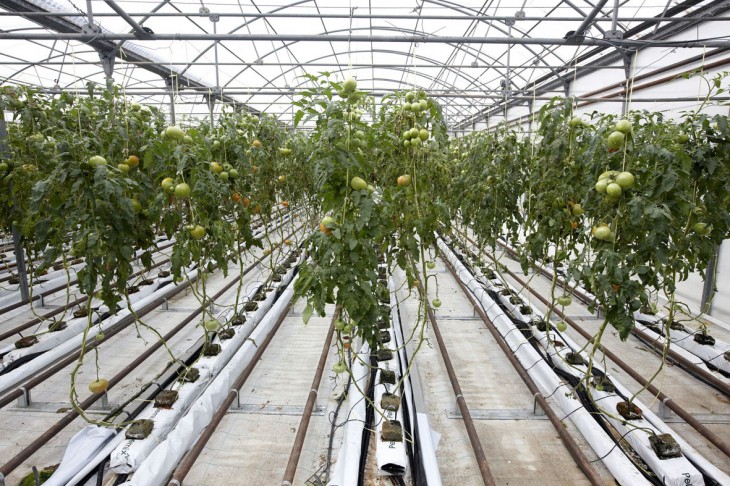
A favorable atmosphere is created inside the structure, which allows you to grow various fruit crops, and their yield in such conditions increases several times.
As for vegetables and greens, the time of their harvest comes much earlier in comparison with the same species if they are grown on open ground.
A huge advantage of installing greenhouses on a garden plot is the fact that an excellent harvest, and in the case of some crops more than once, can provide vegetables and herbs throughout the winter-spring period.
This can be very cost-effective, especially considering that the price of these products in stores during the indicated period of time is quite high.

Review Content:
Place for installation of the greenhouse
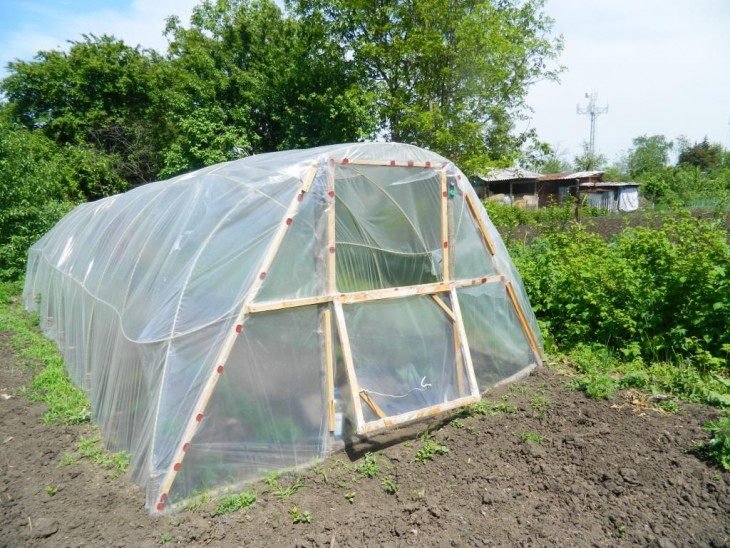
The idea to build a greenhouse with your own hands comes to the mind of many gardeners and gardeners. But before starting work, you must first familiarize yourself with the stages of construction of this structure and, most importantly, determine the shape of the greenhouse and its location.
It must be remembered that it is put not for one year. The average time of its operation can be almost ten years.
The best option in this matter will be consultations with specialists. Their advice can be obtained either directly (if such a master is included in the circle of friends) or via the Internet.
Among the recommendations on how to make a greenhouse with your own hands, consider the following:


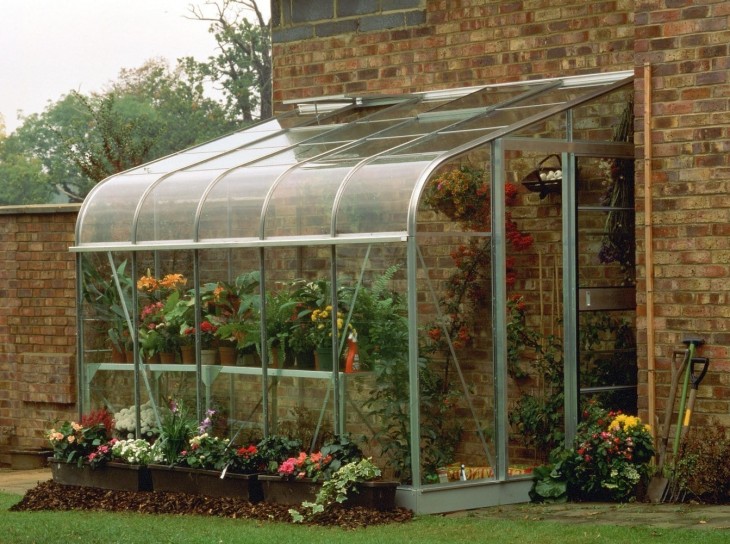
- The place where the greenhouse will be installed should be flat, protected from wind loads. At the same time, the sun's rays should completely cover and heat the structure.
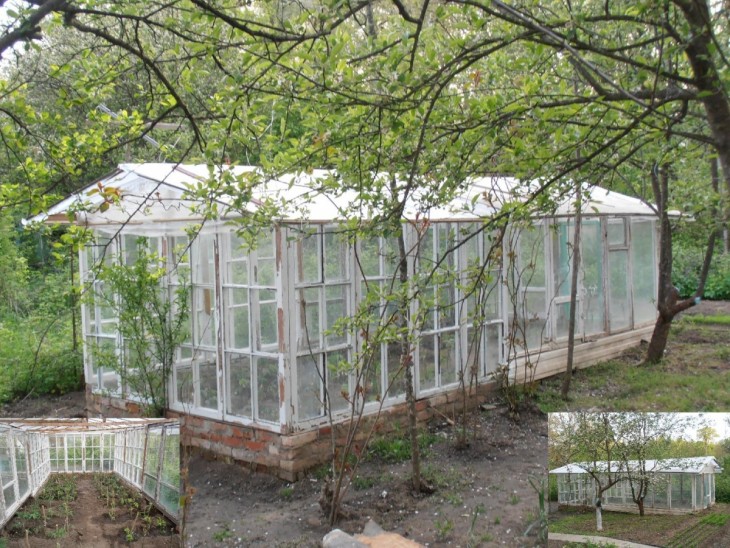
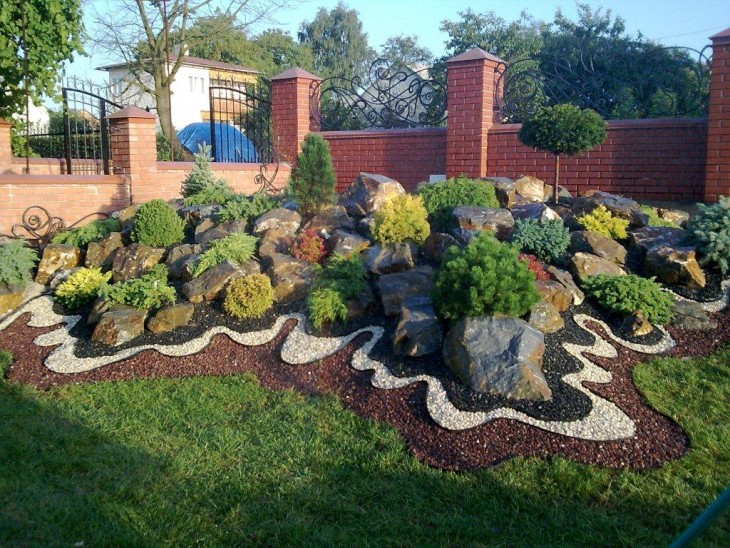
- No need to arrange a greenhouse in darkened places, near a fence or trees.
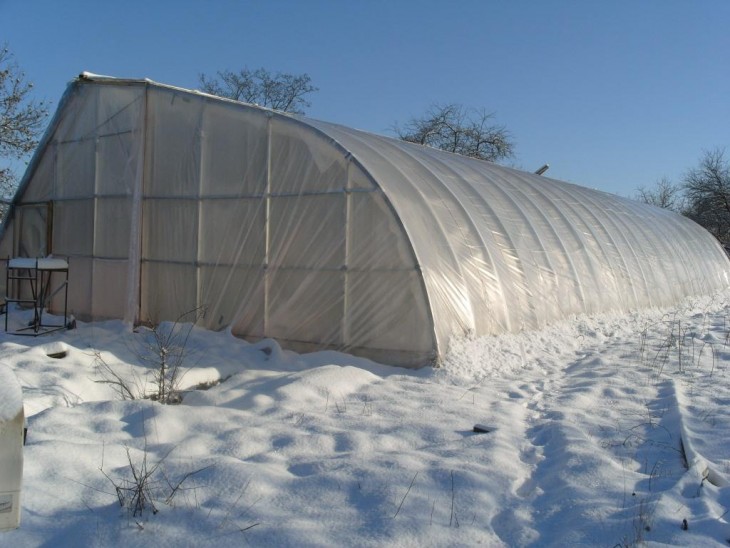
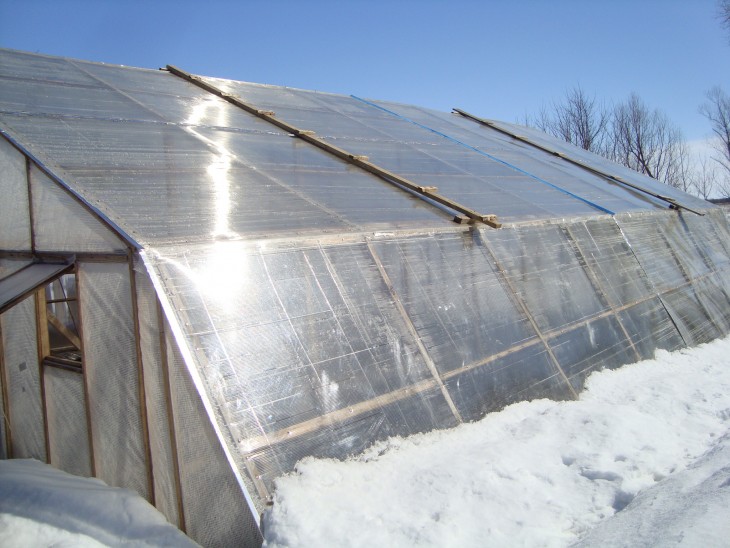
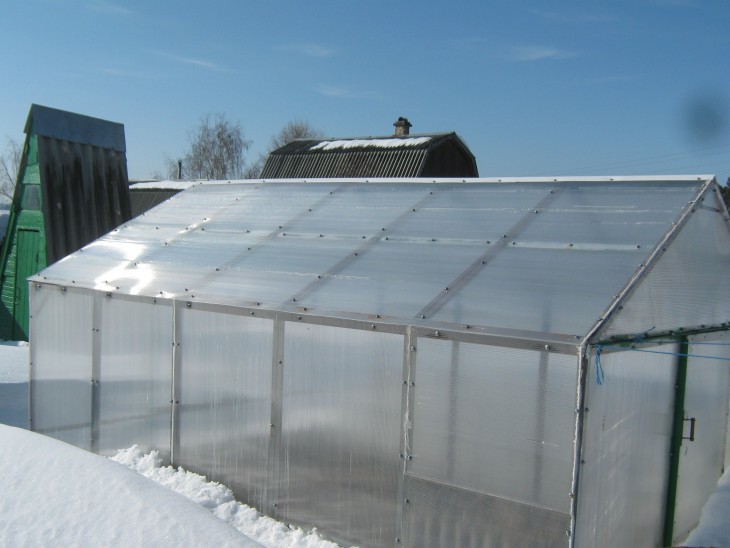
- In the case of the winter version of the greenhouse and growing plants in the cold season, it must be borne in mind that snow falling on the cover of the structure can prevent the penetration of sunlight. Therefore, it is necessary to ensure that this does not happen and to remove snow caps in time.
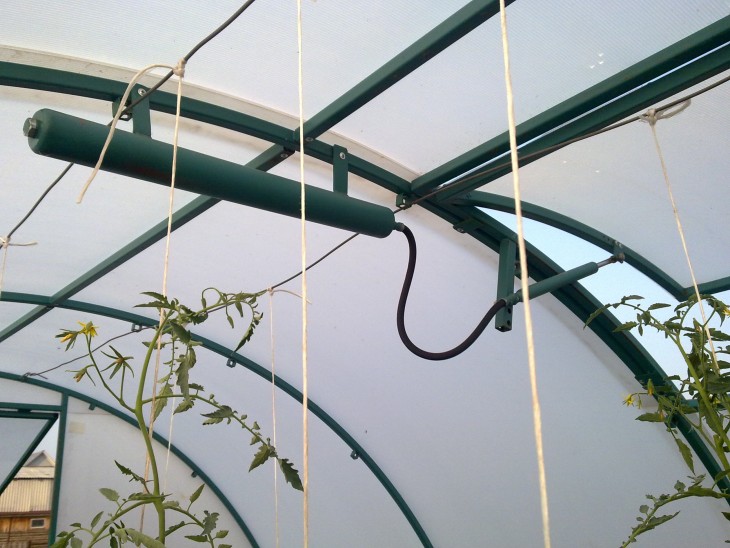
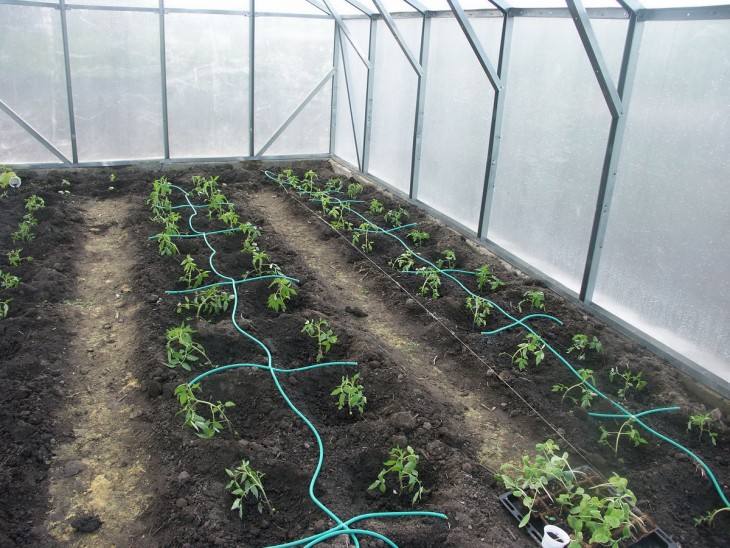
In addition, due to the lack of heat and light in the greenhouse, it is possible to organize the supply of electricity and irrigation in the greenhouse by installing an irrigation system.

Where to start the construction of a greenhouse?
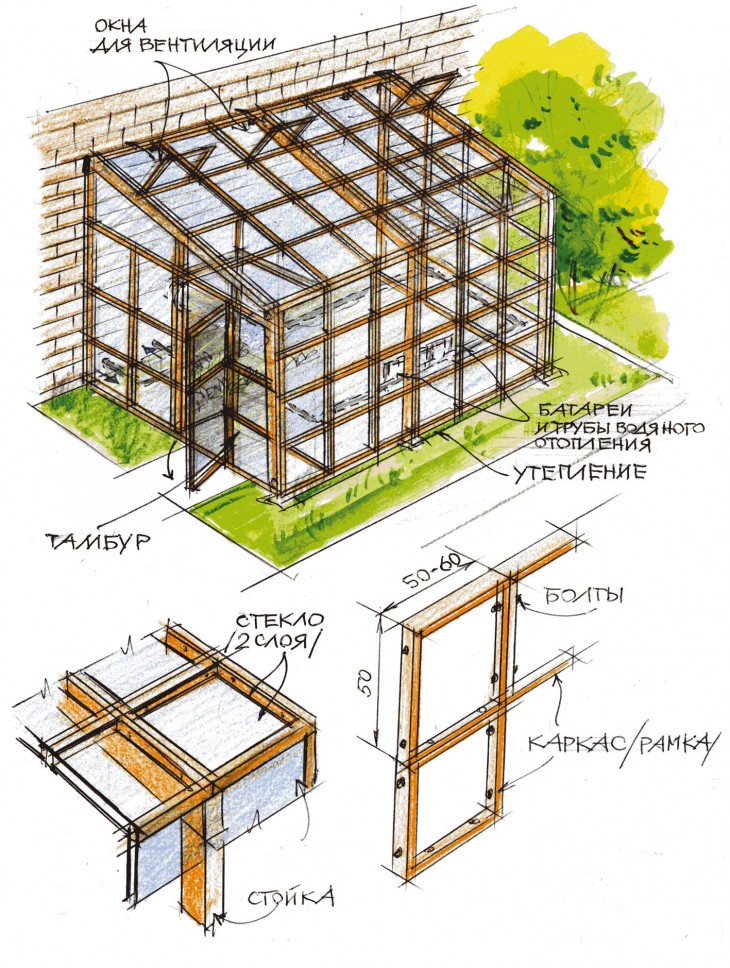
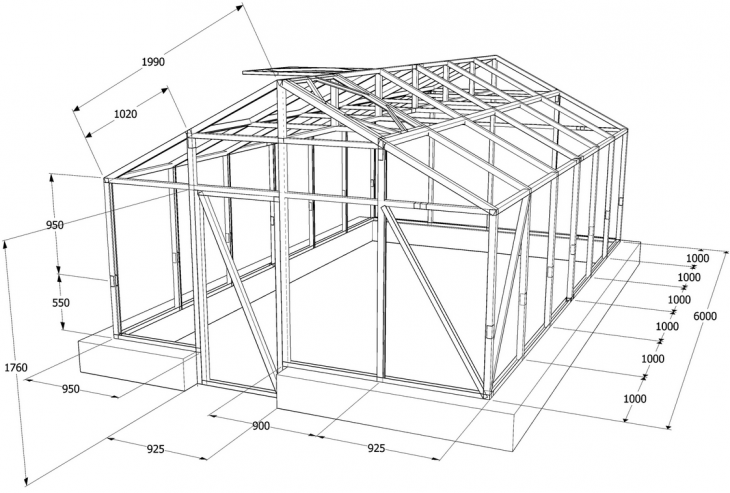
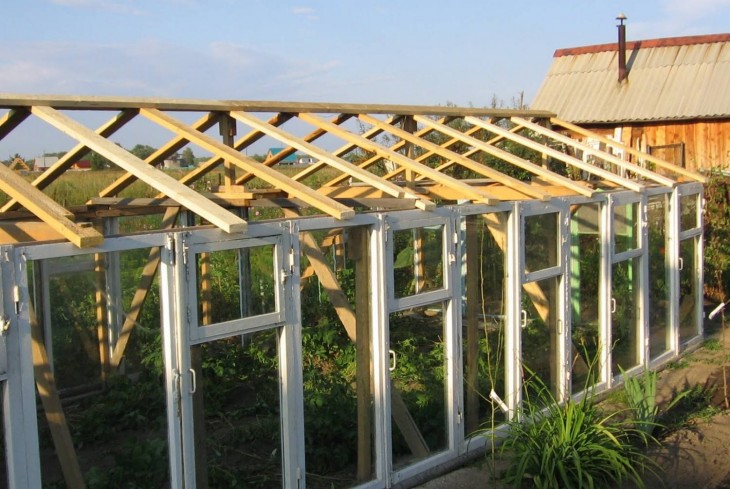
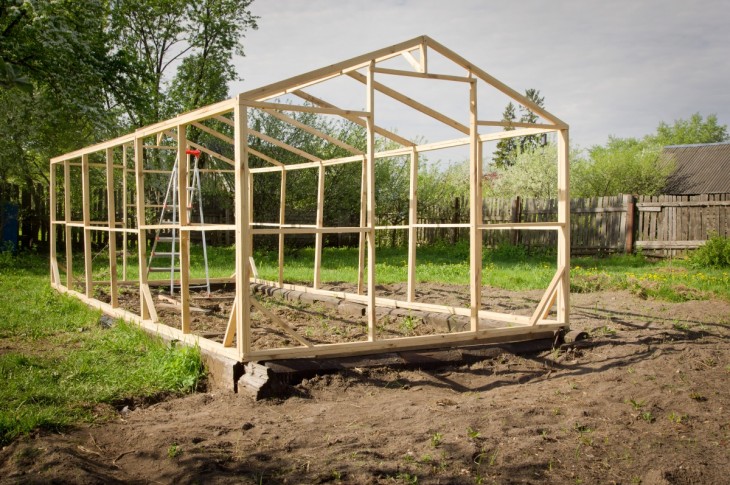
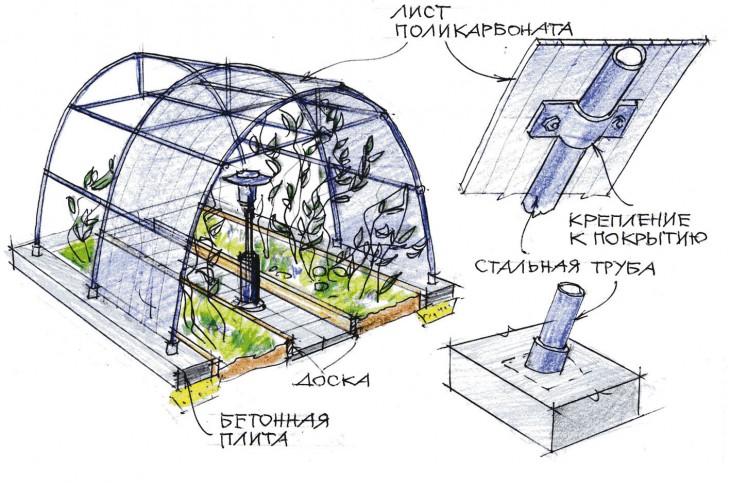
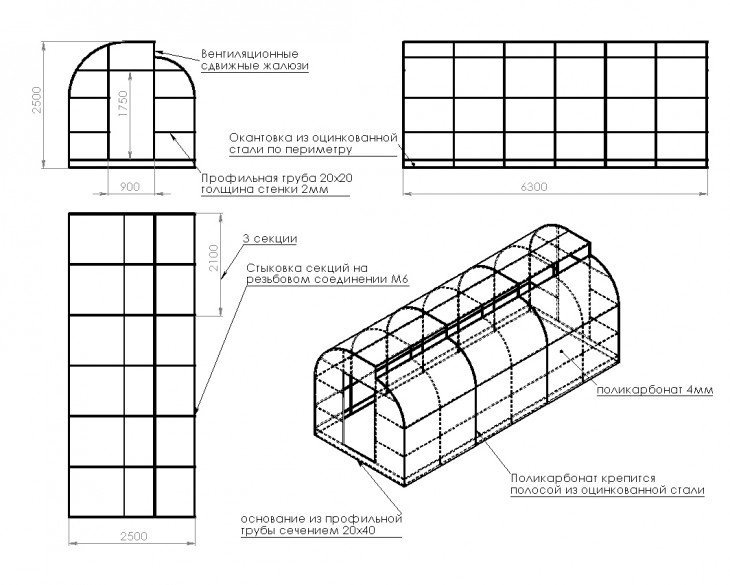
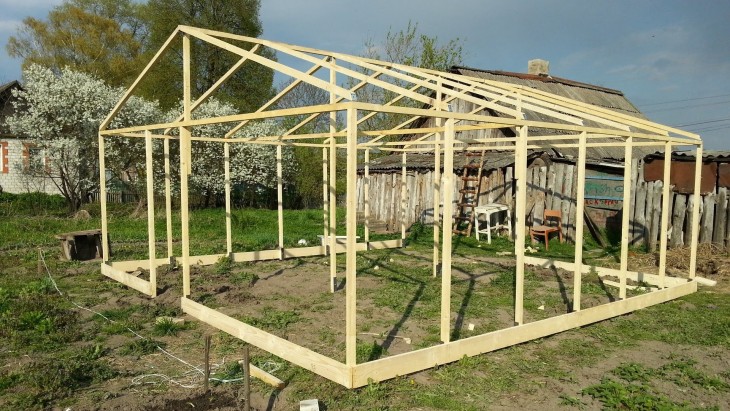
In the construction of any structure, including the greenhouse, it is best to start the process with design. Create drawings of the greenhouse, reflecting its external forms and basic materials that will go to its device.
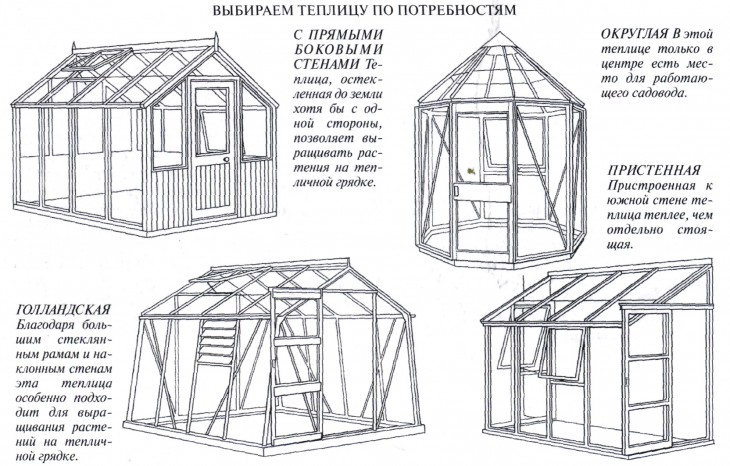
The design itself can be small, with an area of about two by three meters and a height of two and a half meters. Or a large, three by six meters in area with a similar height.
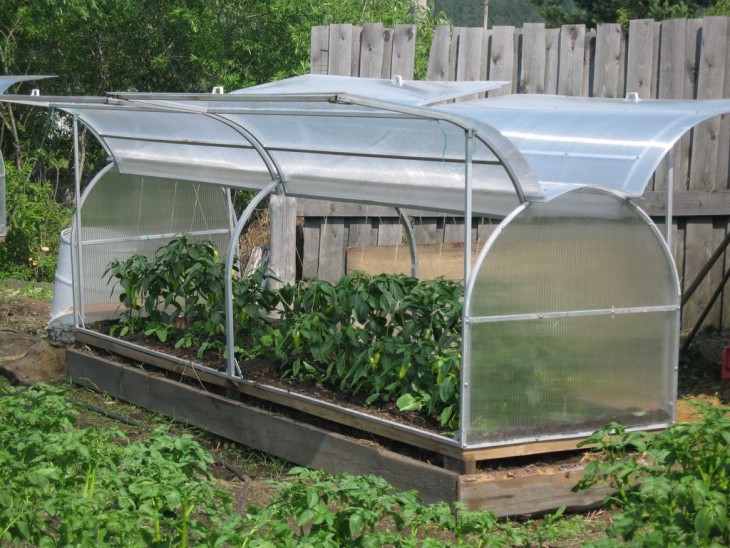
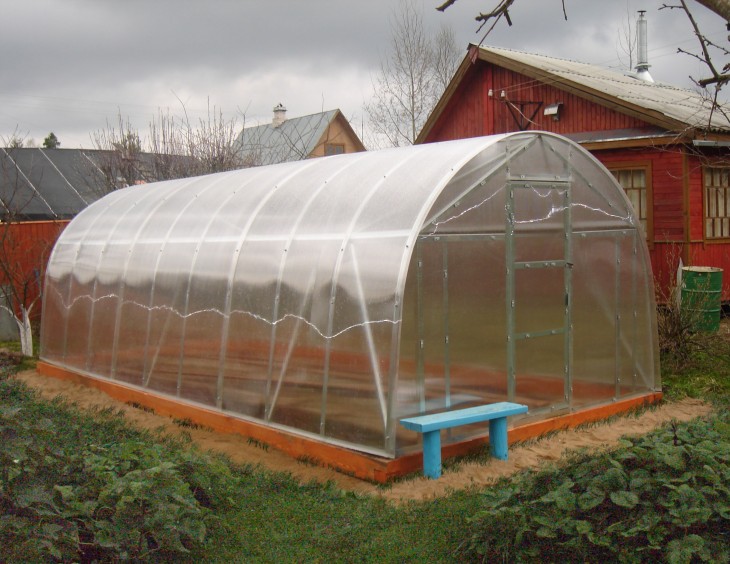
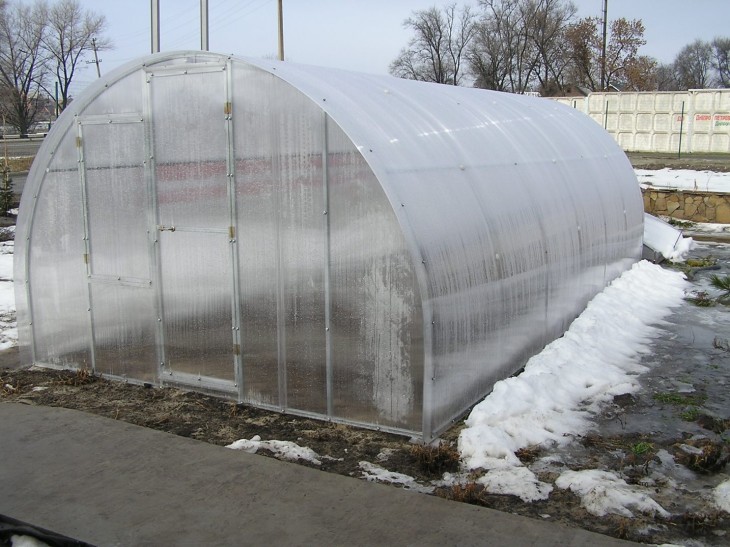
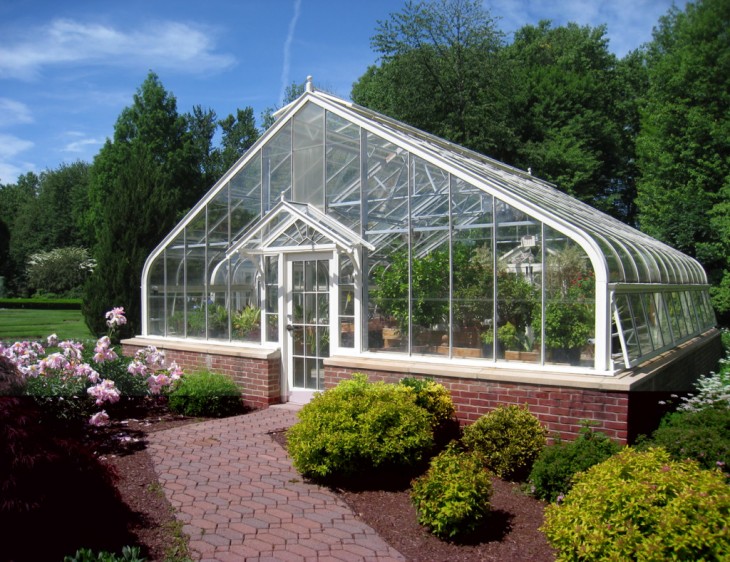
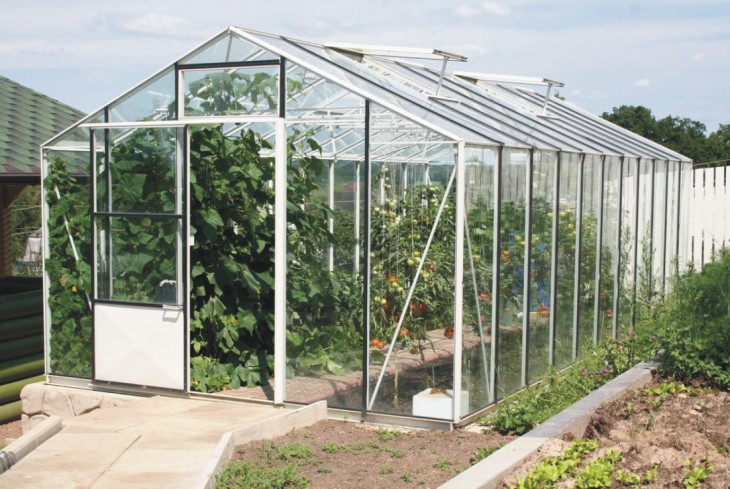
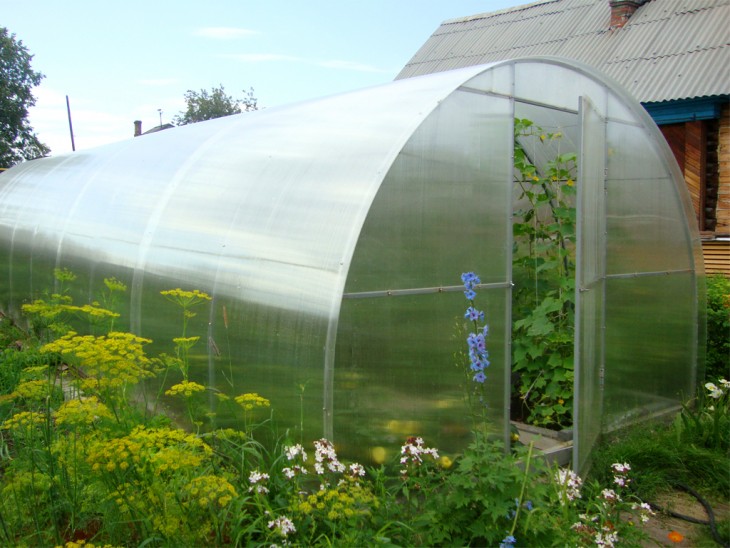
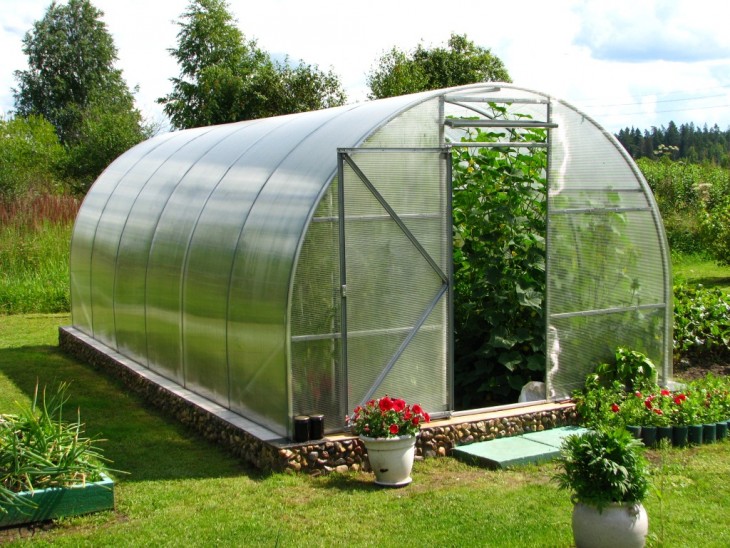
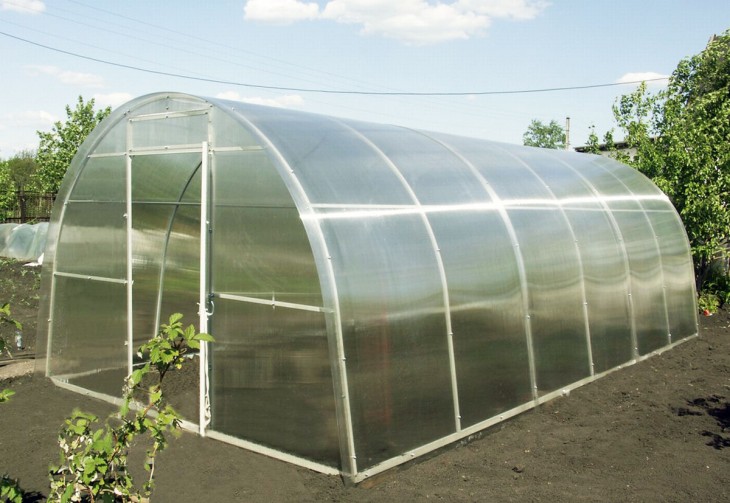
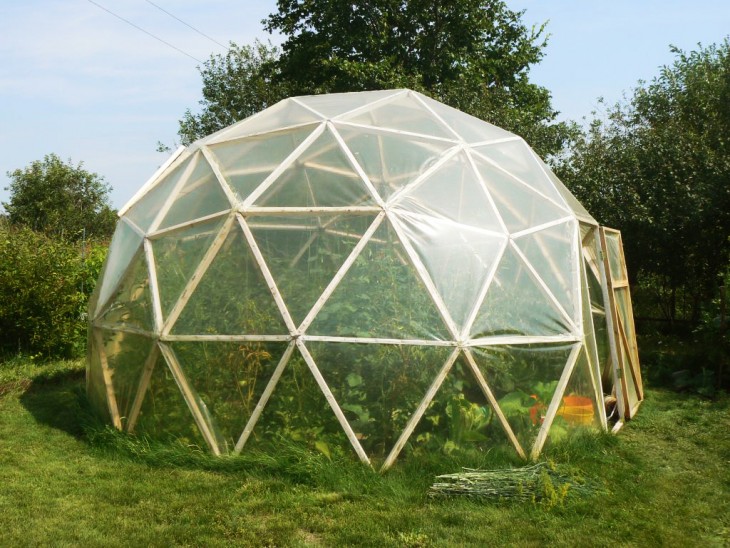
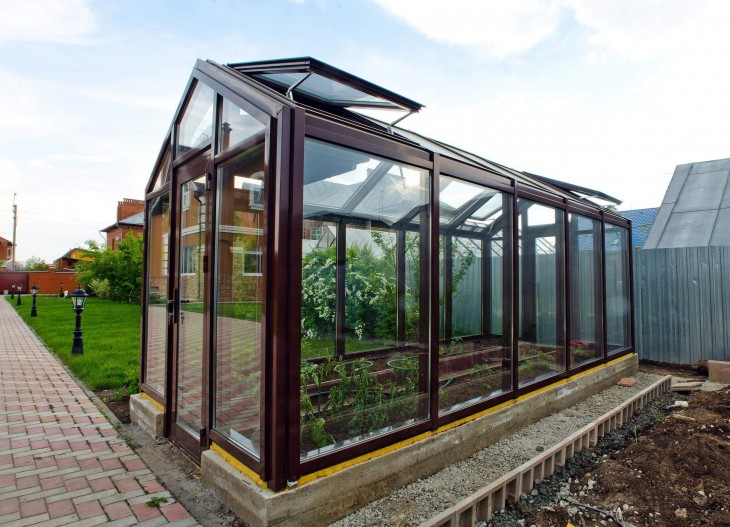
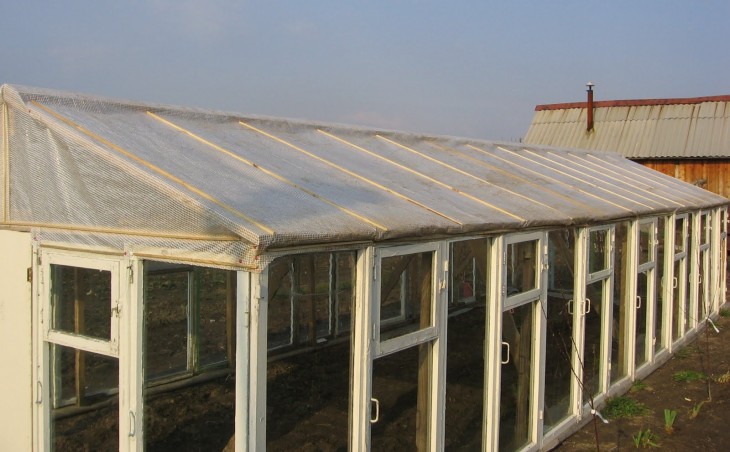
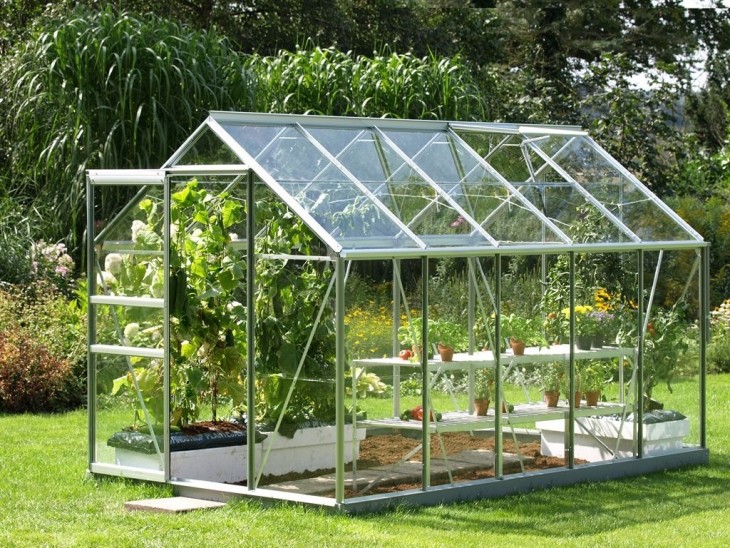
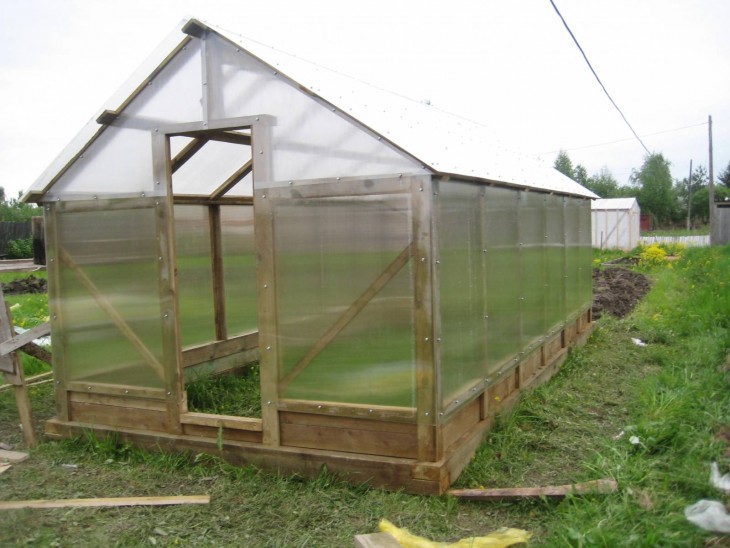
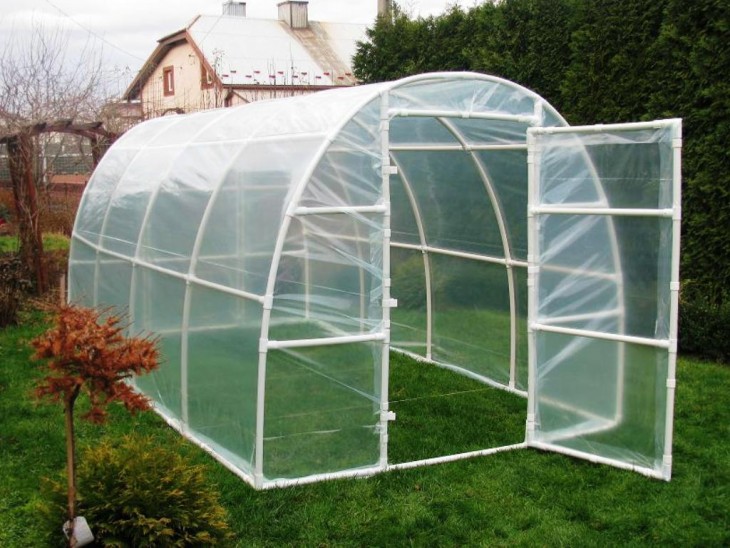
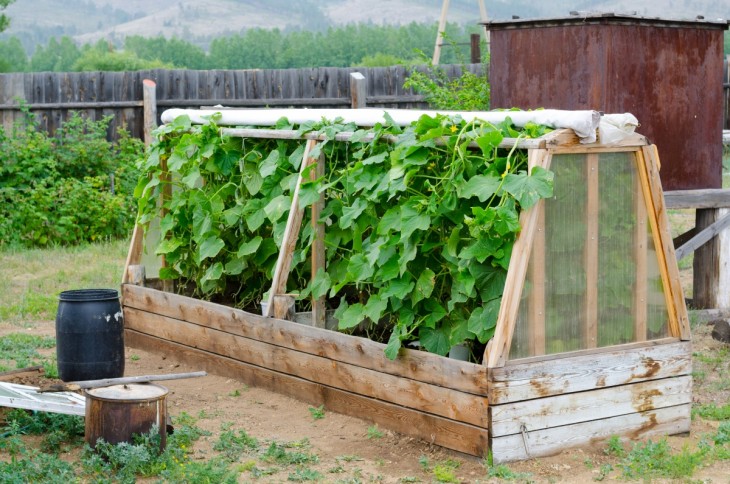
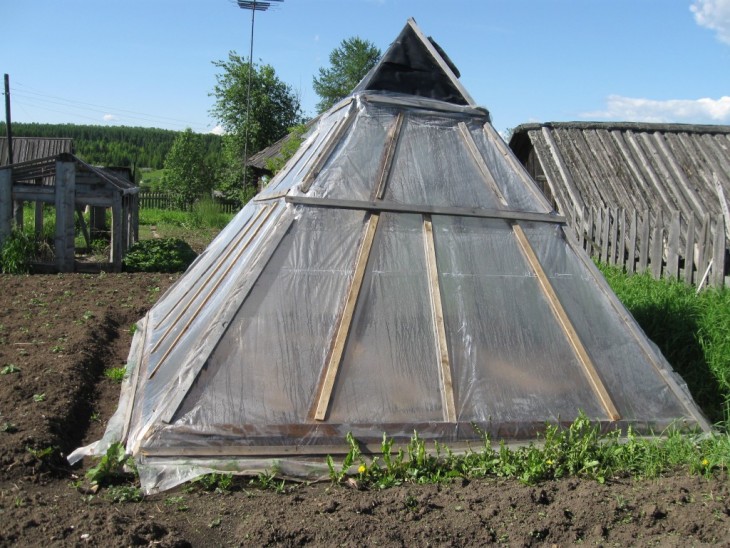
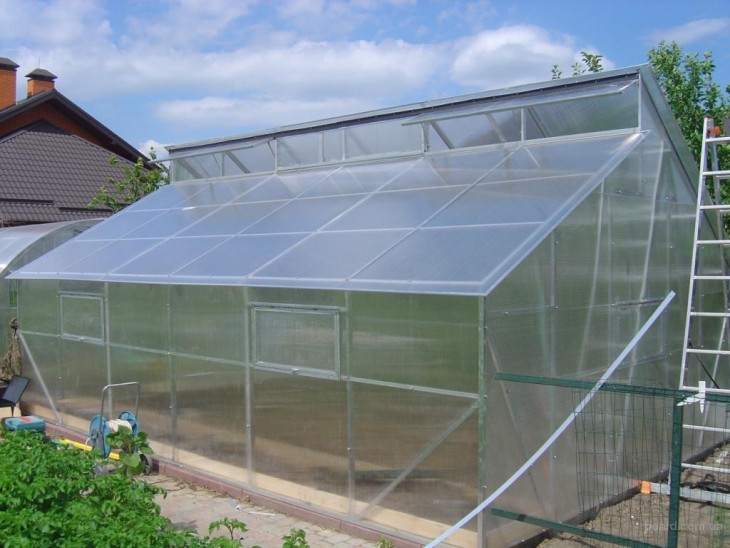
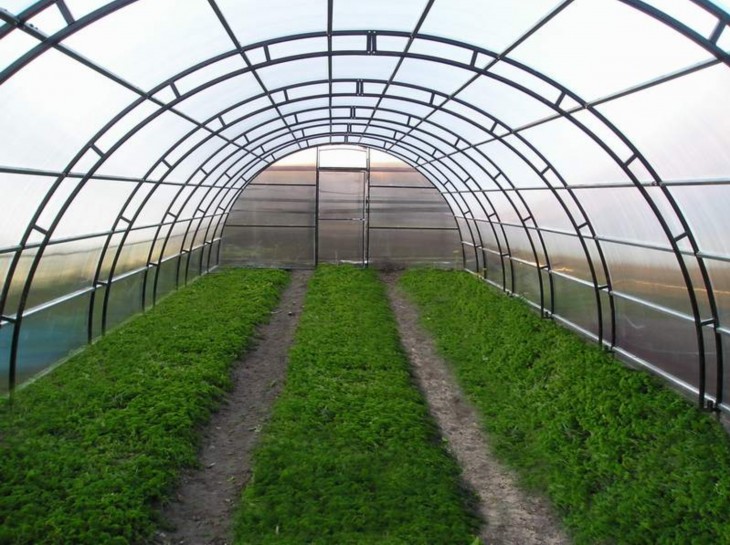
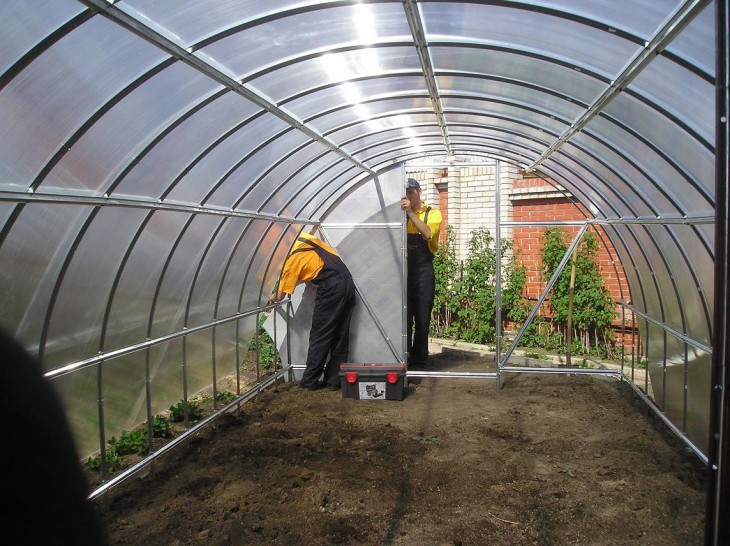
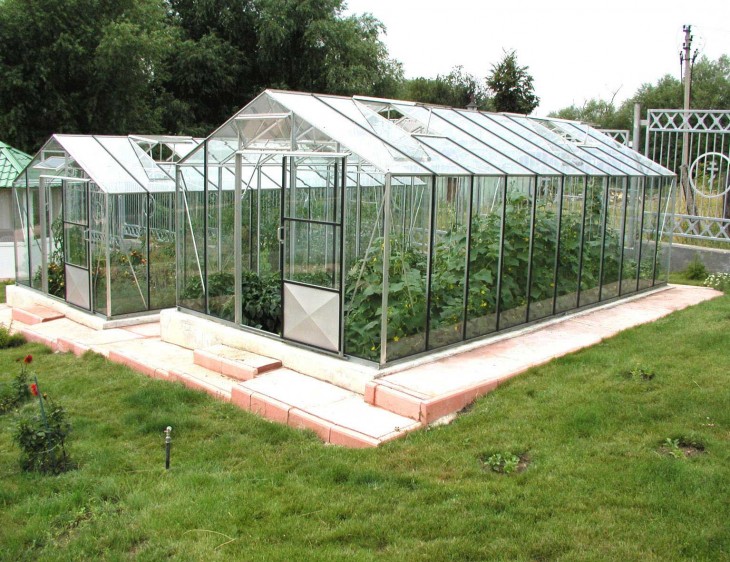
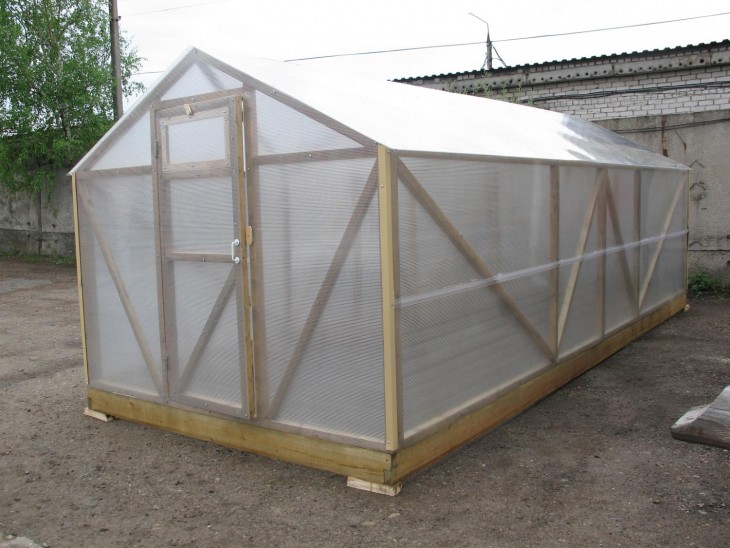
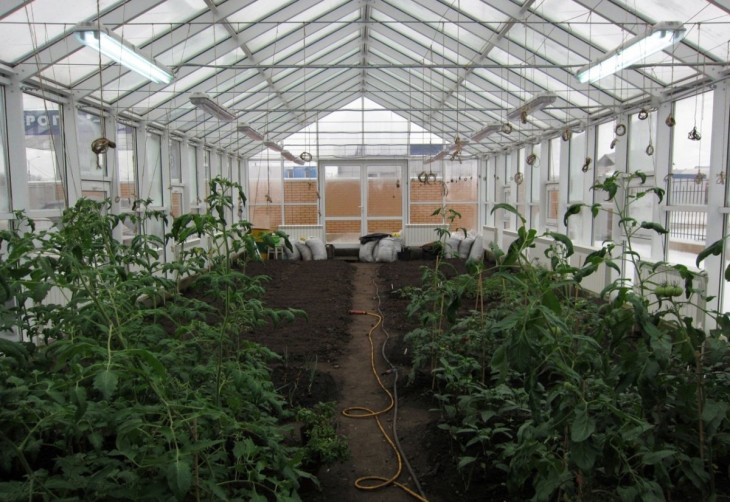
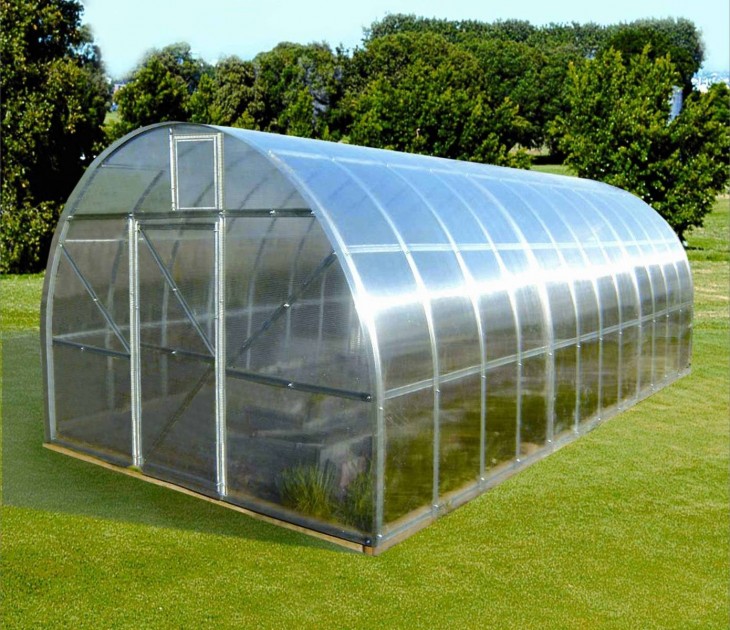
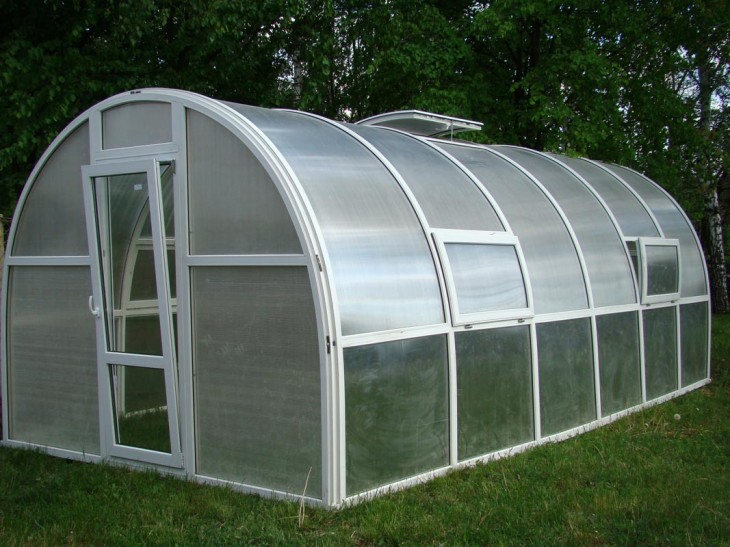
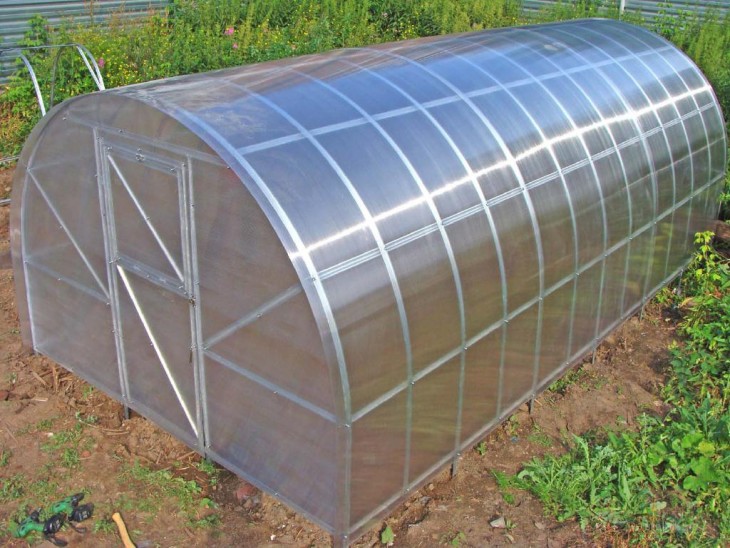
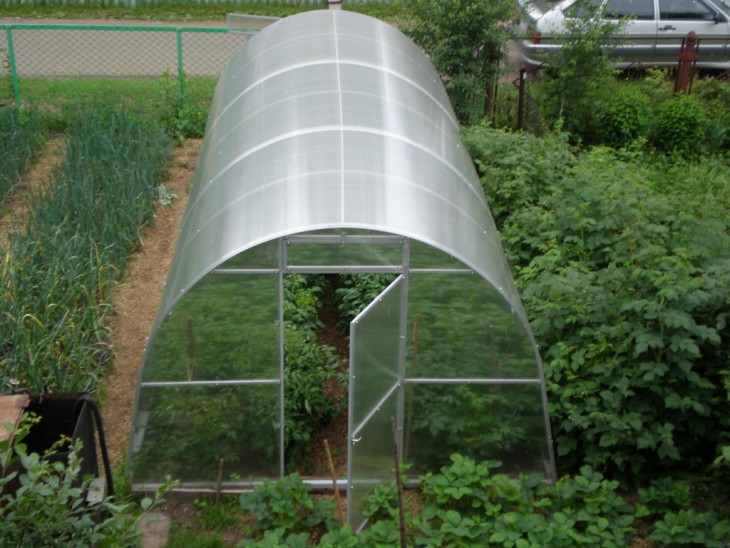
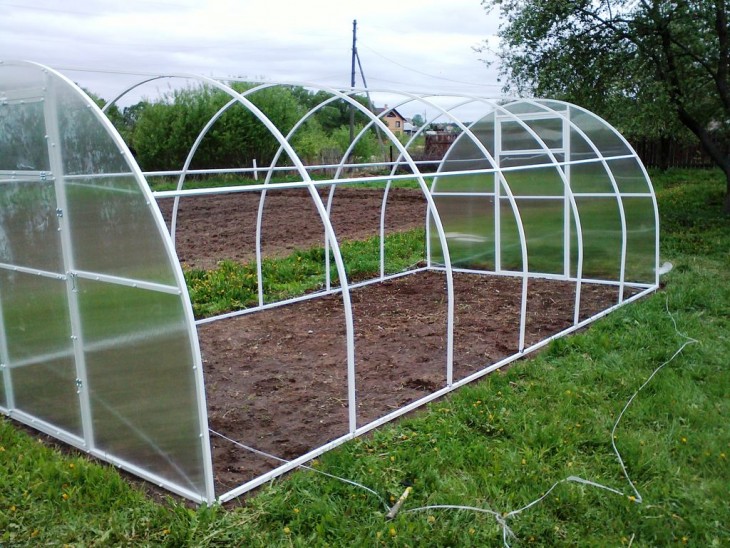
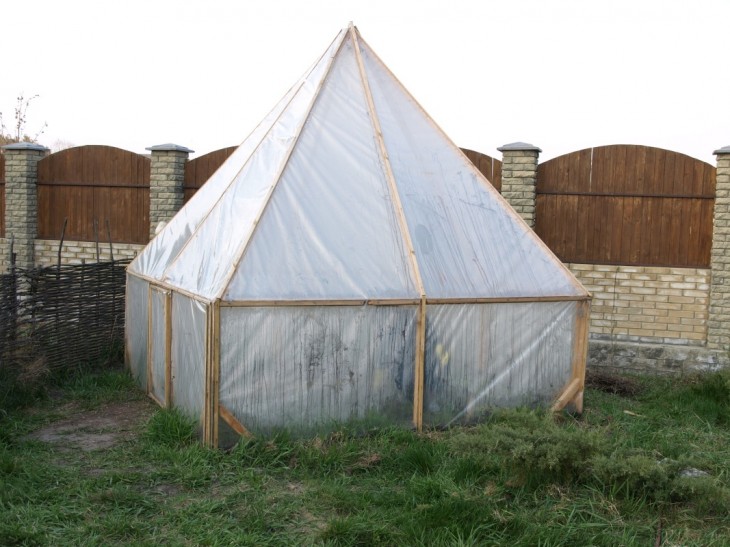
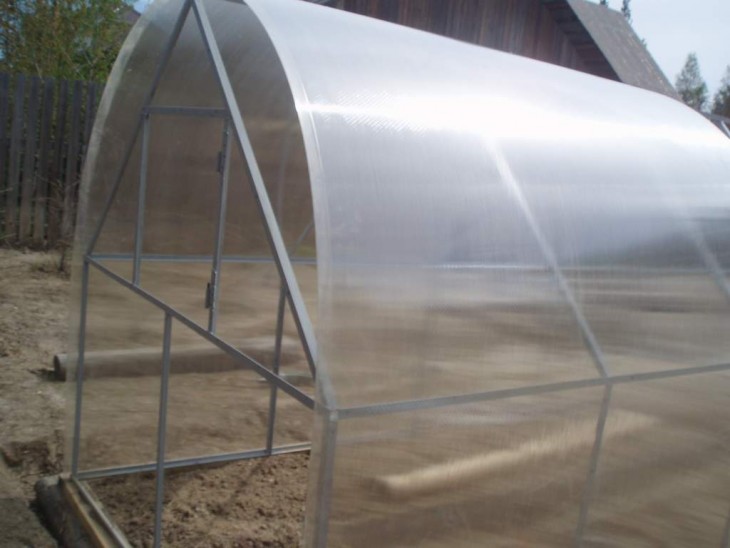
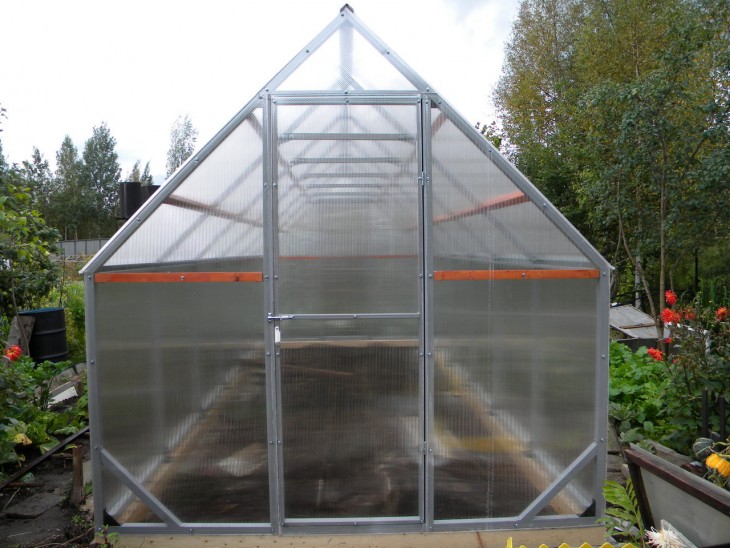
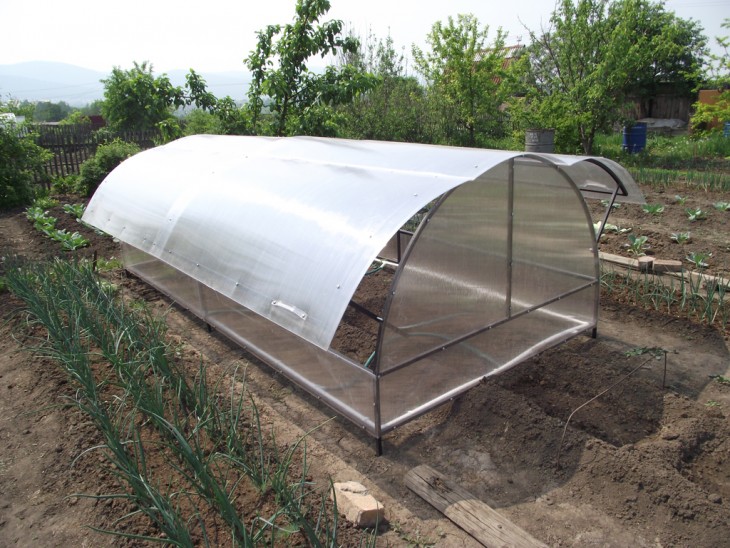
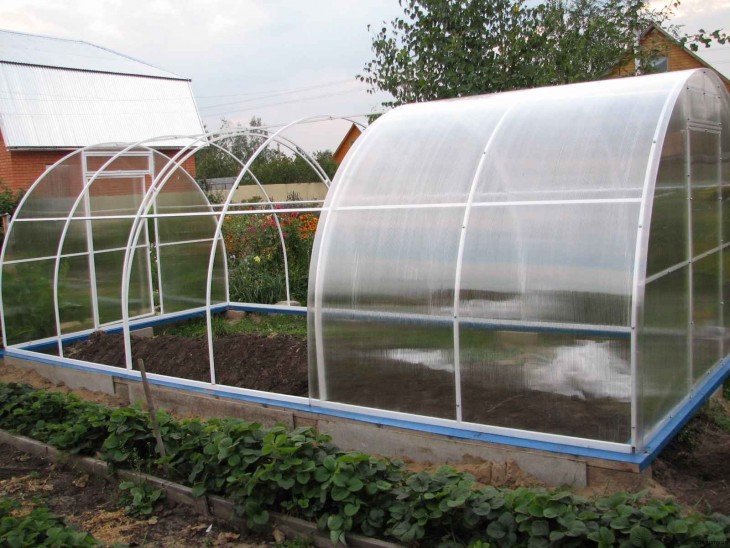
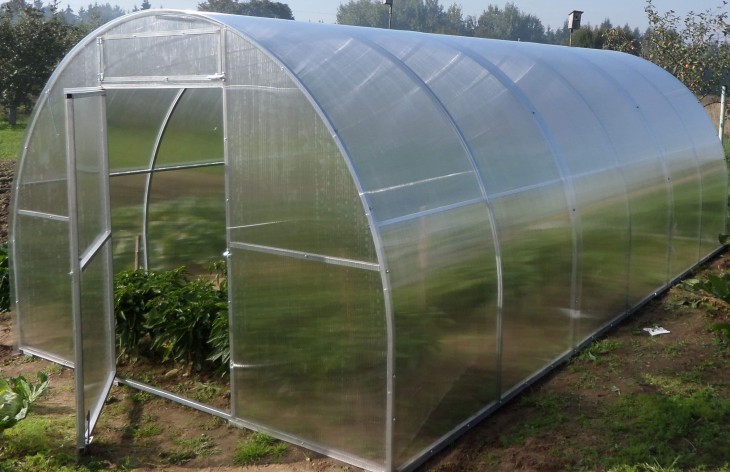
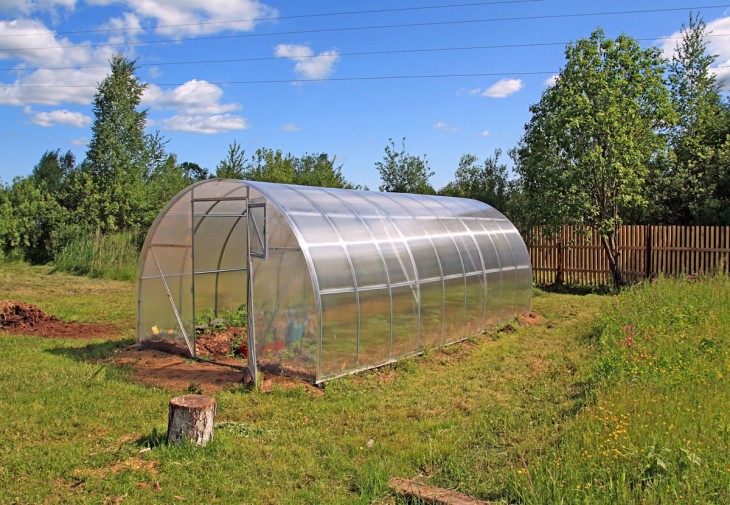
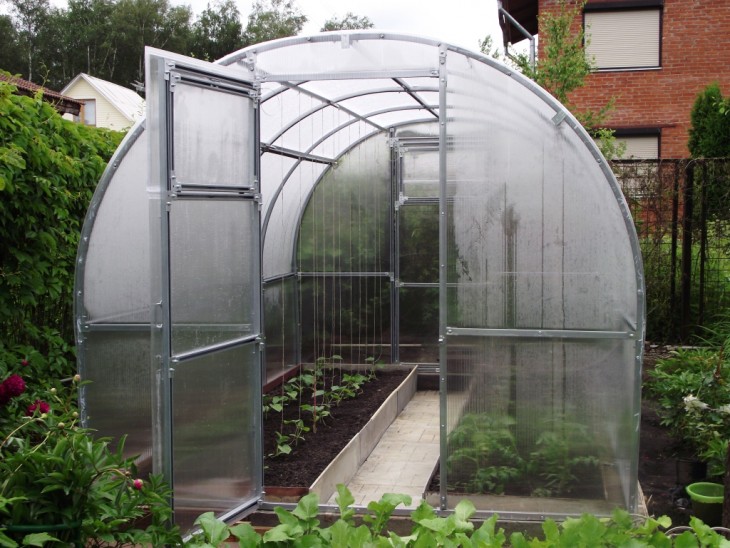
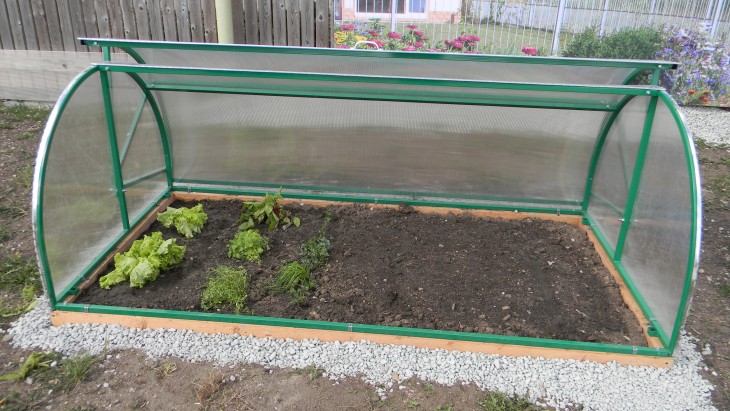
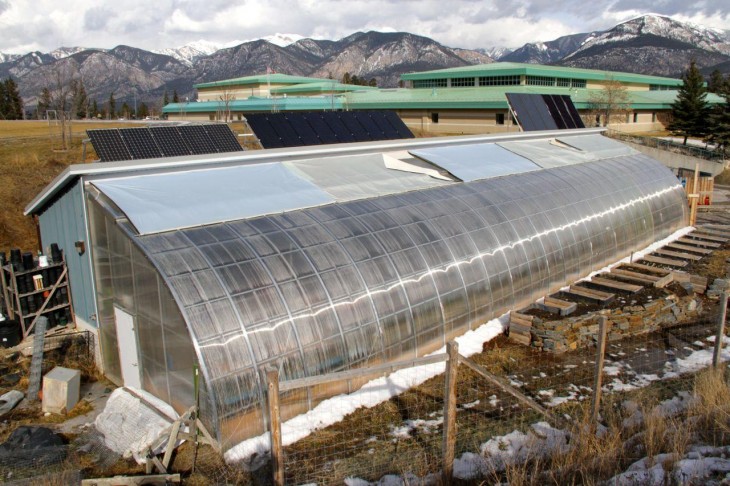
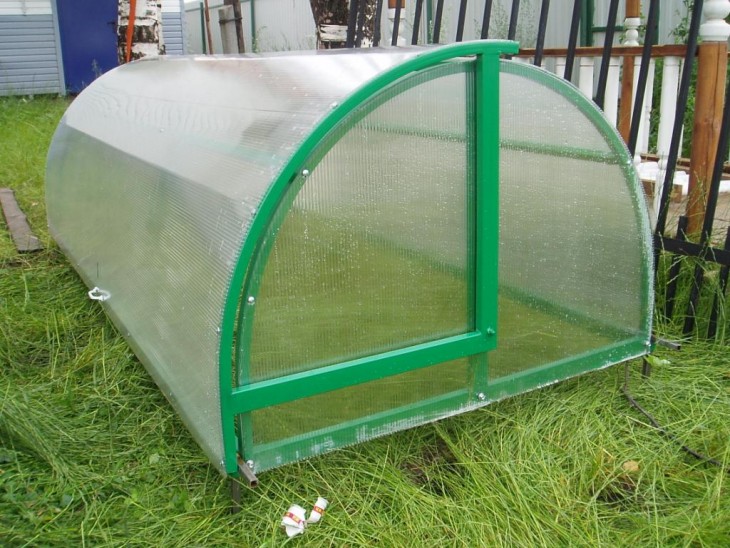
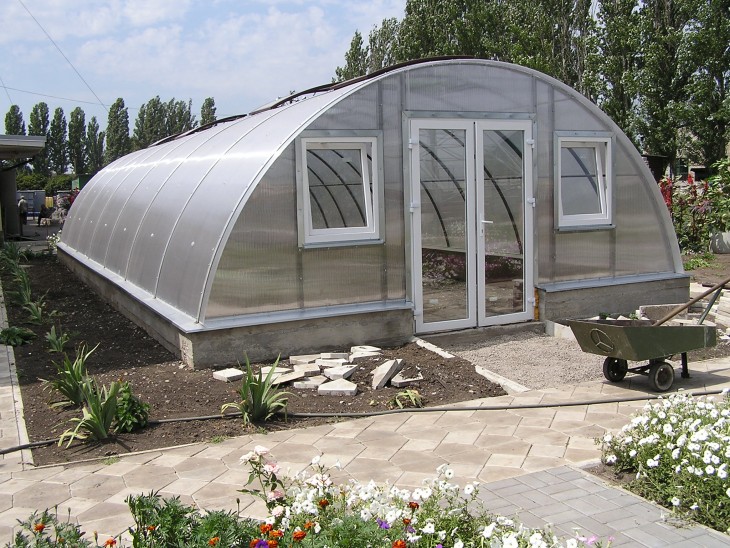
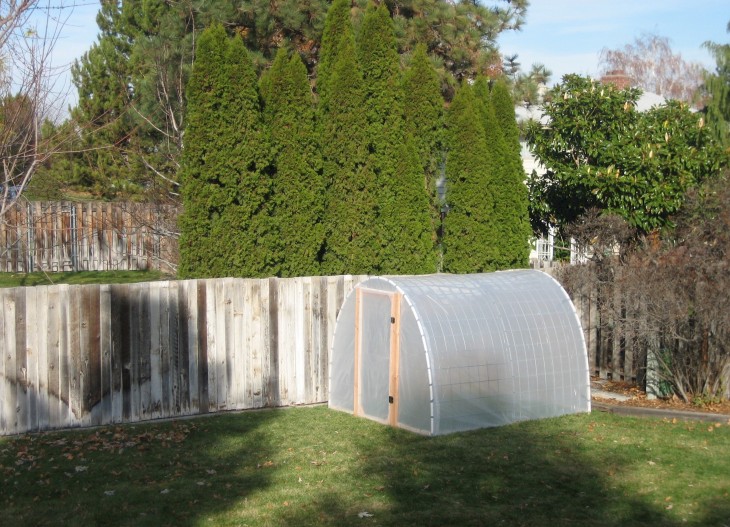
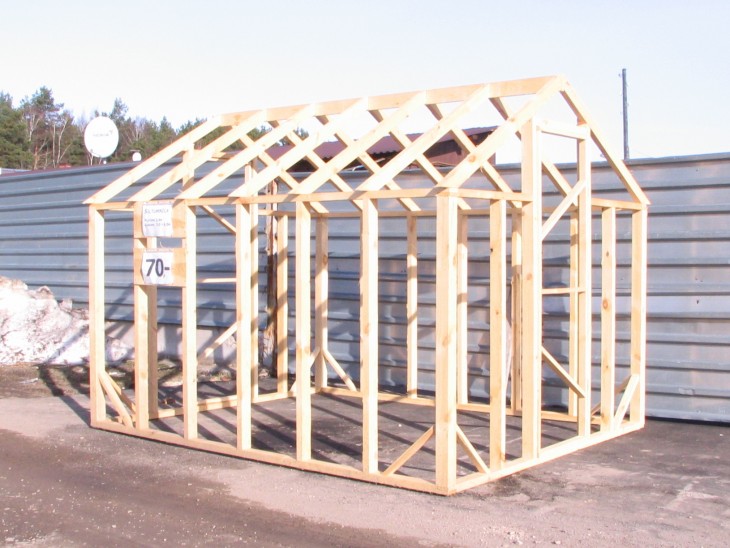
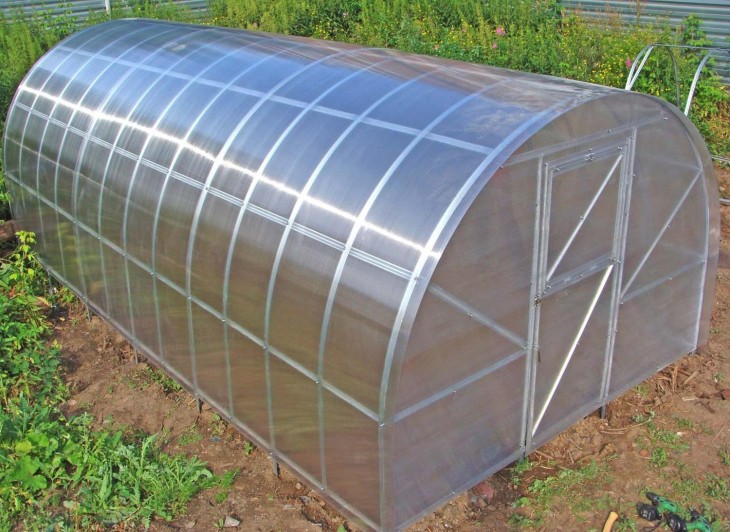
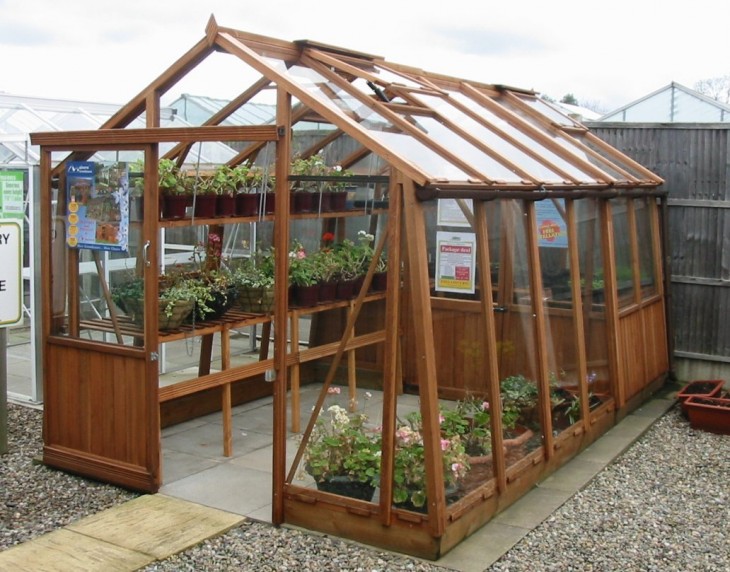
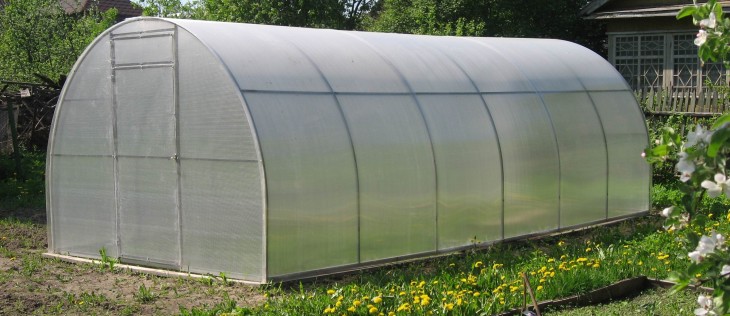
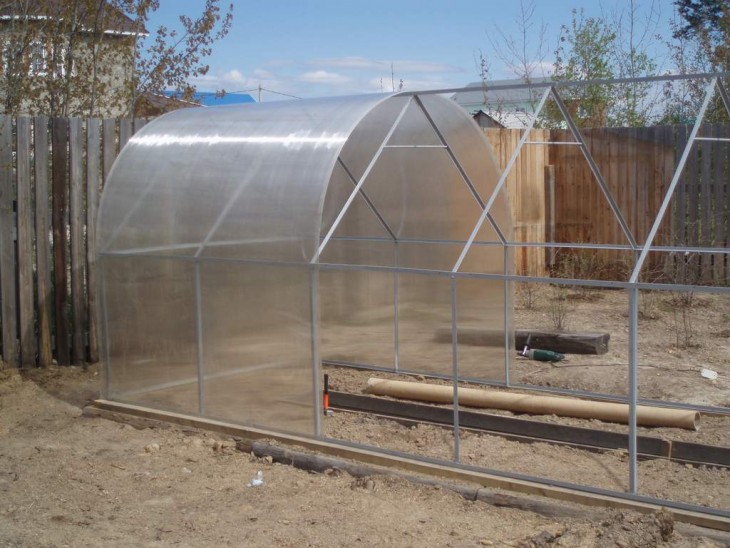
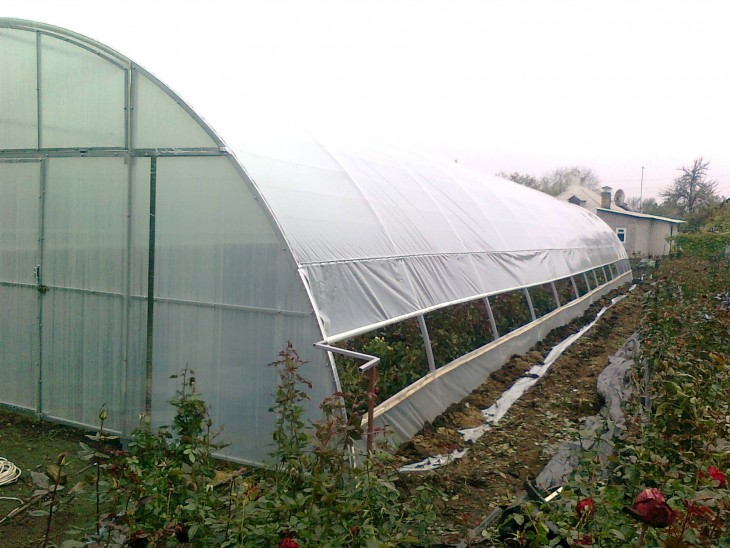
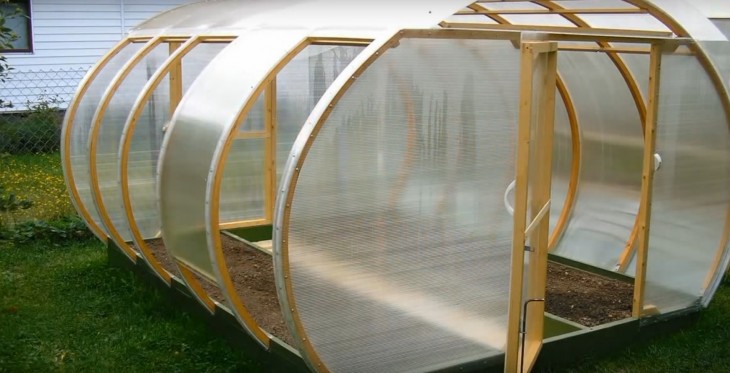
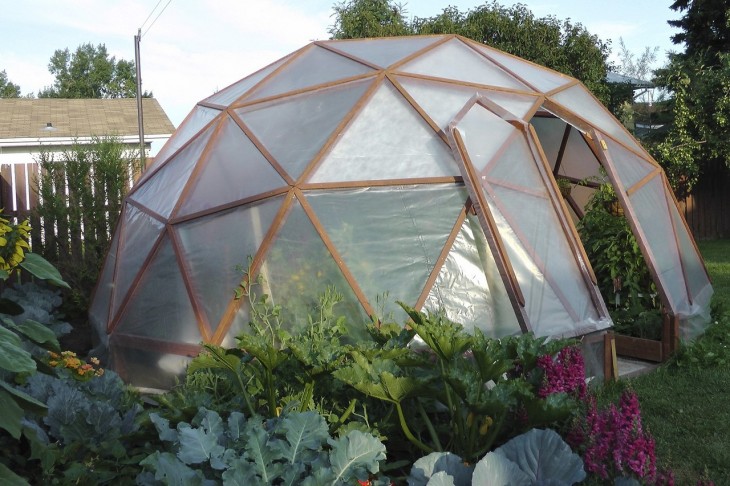
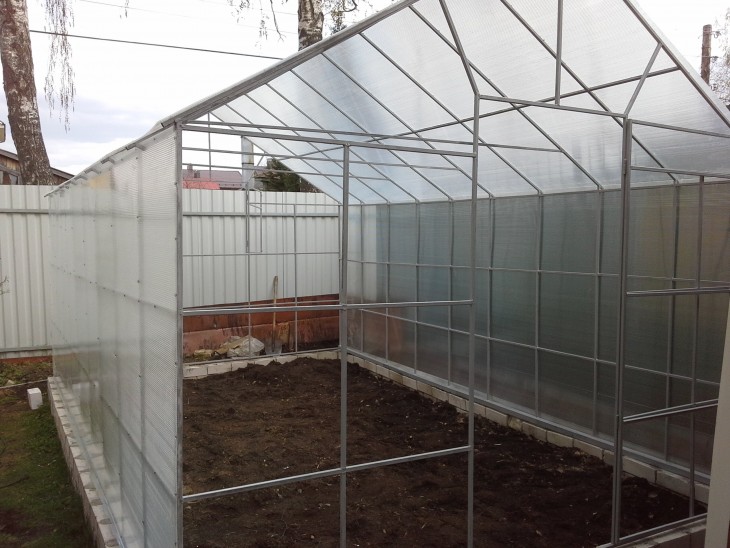
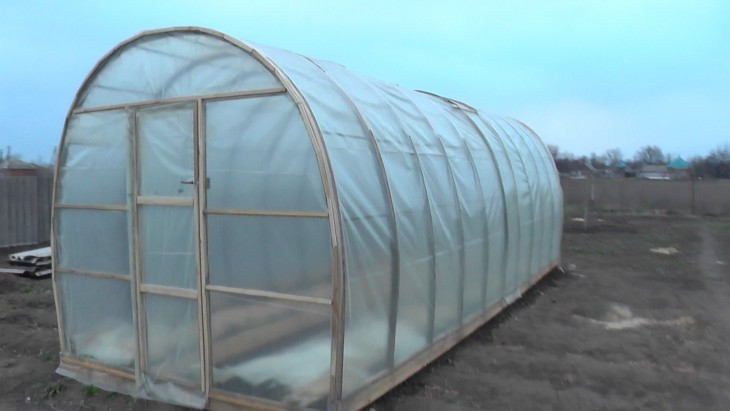
Of the most popular configurations that are used when installing greenhouses, arched and gable greenhouses stand out. When choosing one of the species, not the last, but possibly the most important role, is played by the factor of choosing the types of crops that will be grown in the greenhouse in the future.
For example, the arched type is more suitable for planting low-growing crops, that is, tomatoes, eggplant, peppers. The gable type will contribute to the better growth of tall crops (tomatoes of this species, cucumbers and flowers).

In general, creating a good greenhouse project is not difficult. If you can’t do it yourself, then on the Internet there are always various standard designs of similar designs.
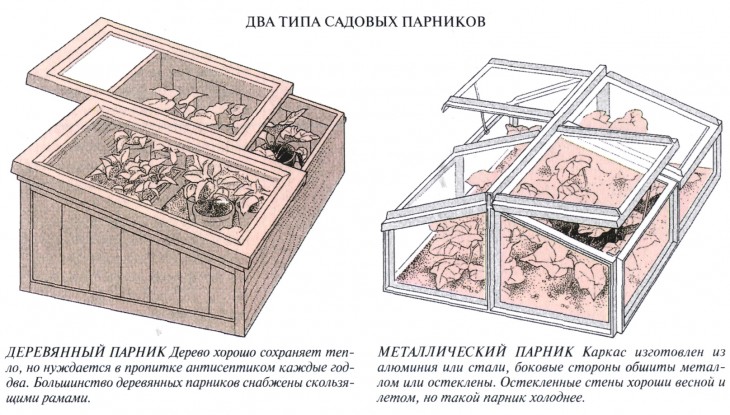
Selection of materials for coating and frame
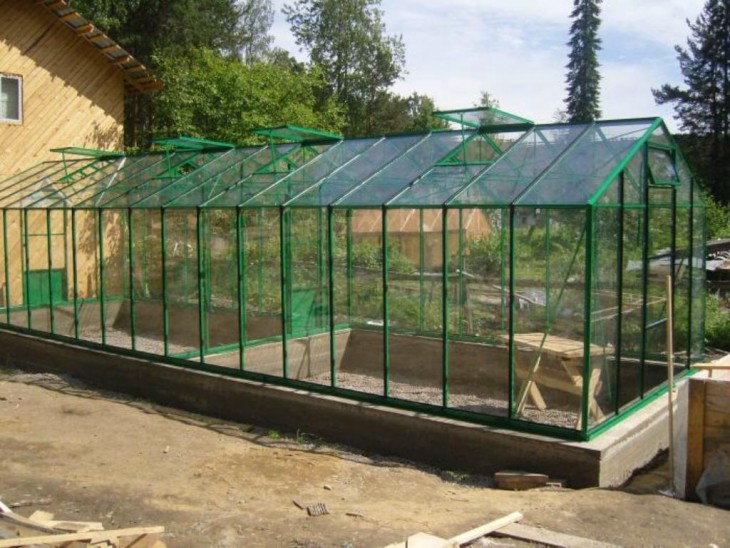
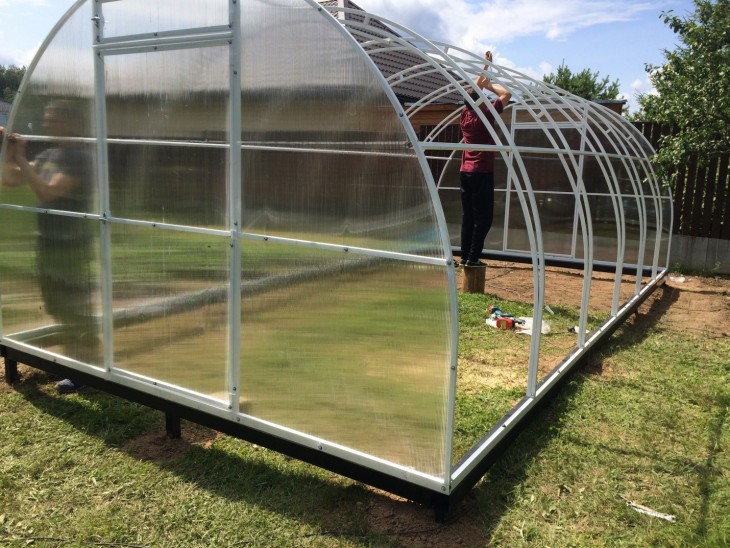
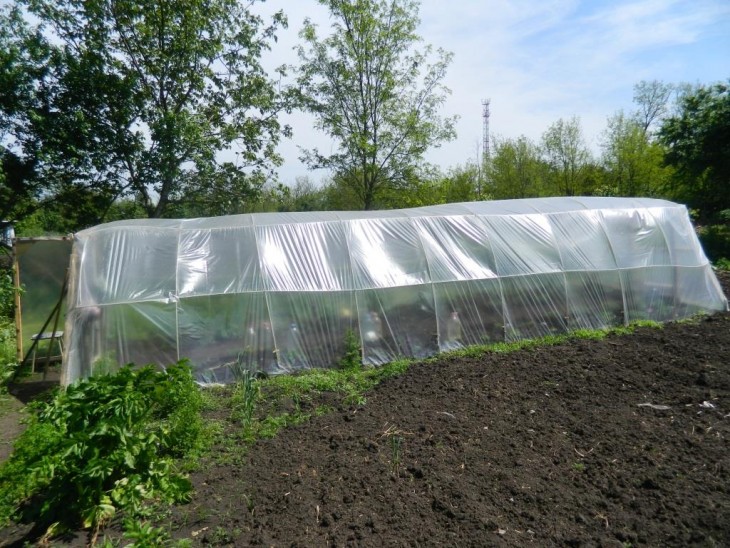
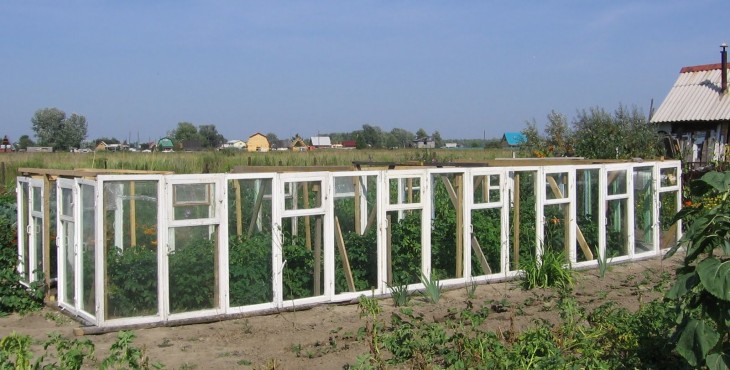
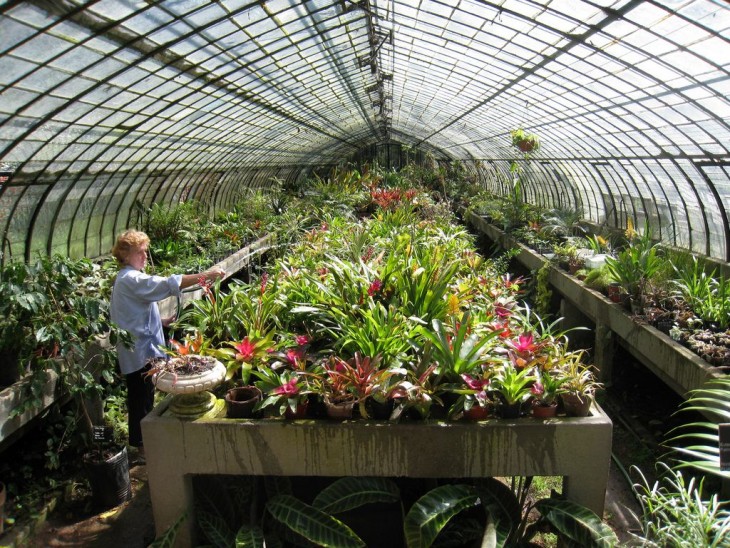
One of the most common basic materials used in the construction of greenhouses is polycarbonate. Its attractiveness comes from a number of characteristics, the advantages of this material in comparison with other types of materials used in the construction of such garden structures, for example, film or glass.
Note!

Among the main characteristics distinguish: light transmission, thermal conductivity and strength. One of the main advantages of the material is its lightness and ductility. The internal composition of polycarbonate allows you to bend sheets without the risk of destruction.
In addition, an additional advantage is the price component. Polycarbonate is considered a cheap material, which further increases its relevance.
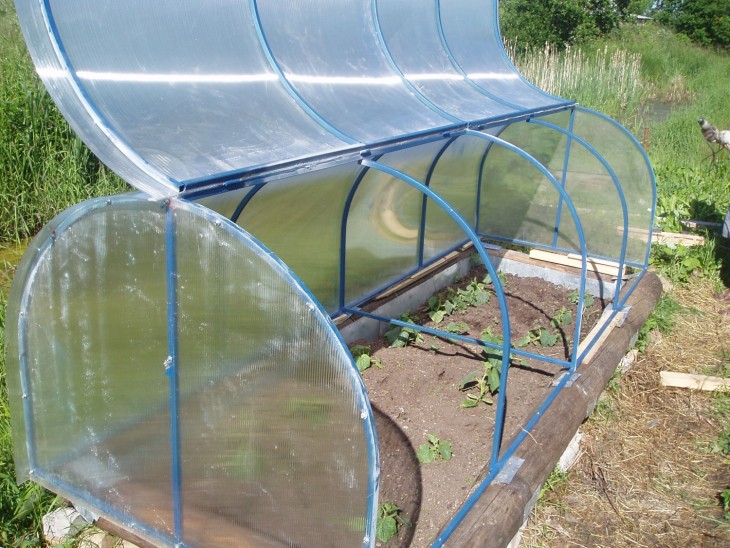
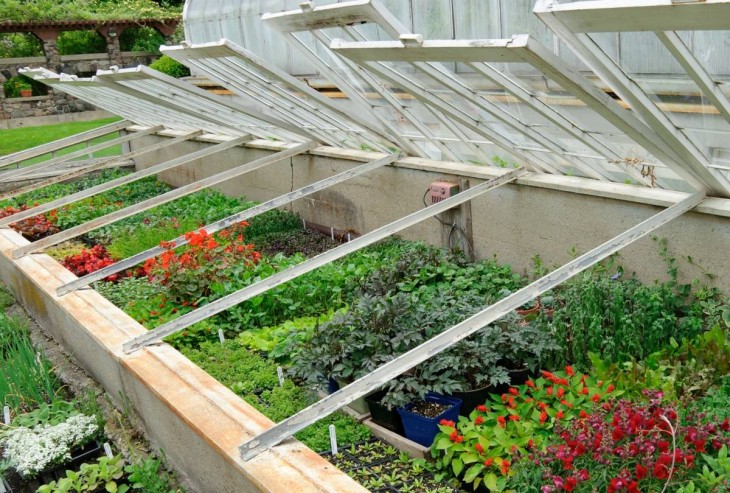
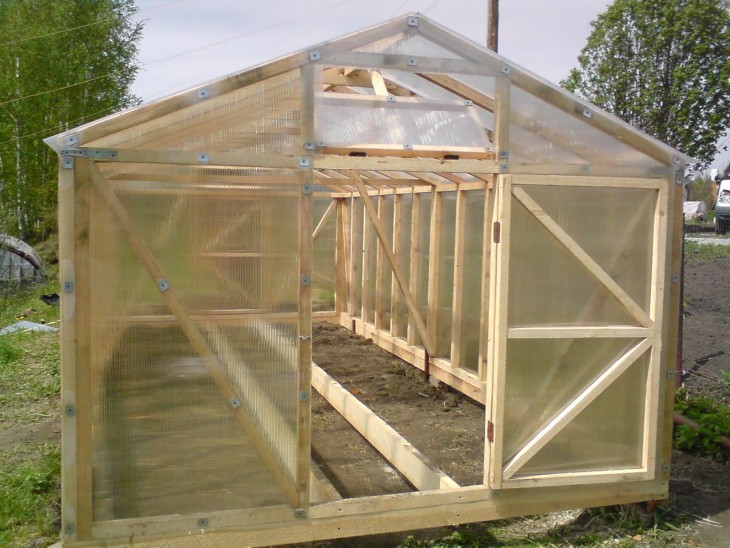
Already with the direct process of arranging polycarbonate sheets, it is best to use a double sheet fastening system. Rigid and with opening. Thus, a ventilation system is formed in the greenhouse.
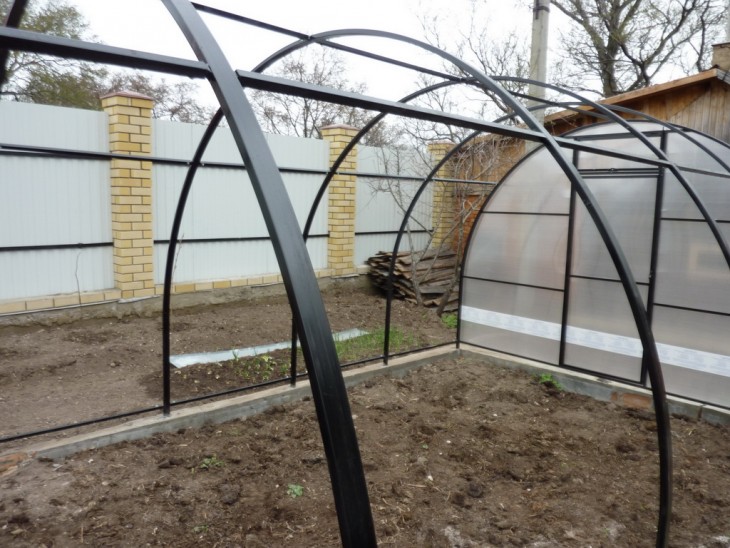
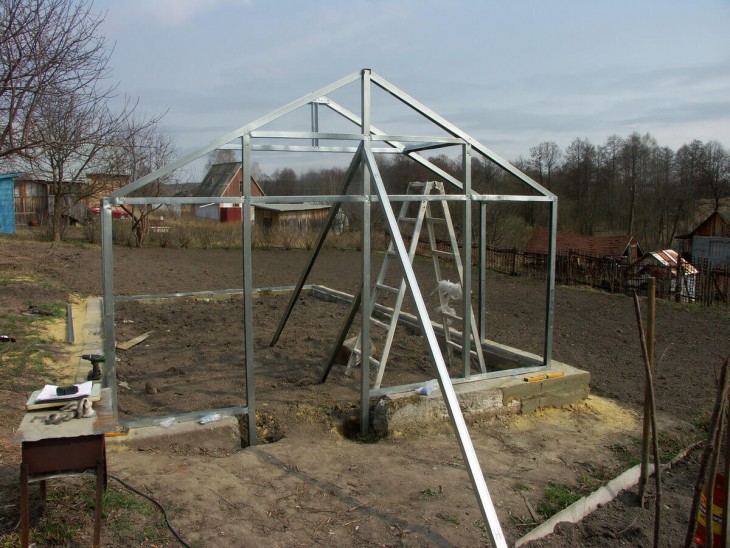
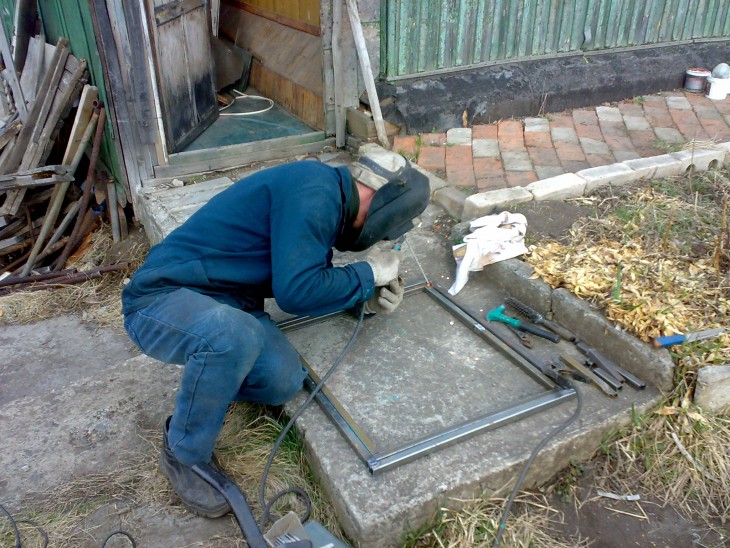
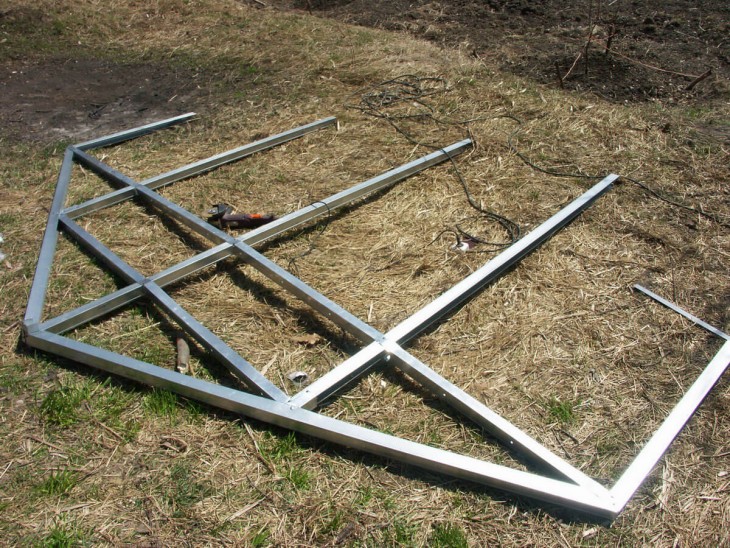
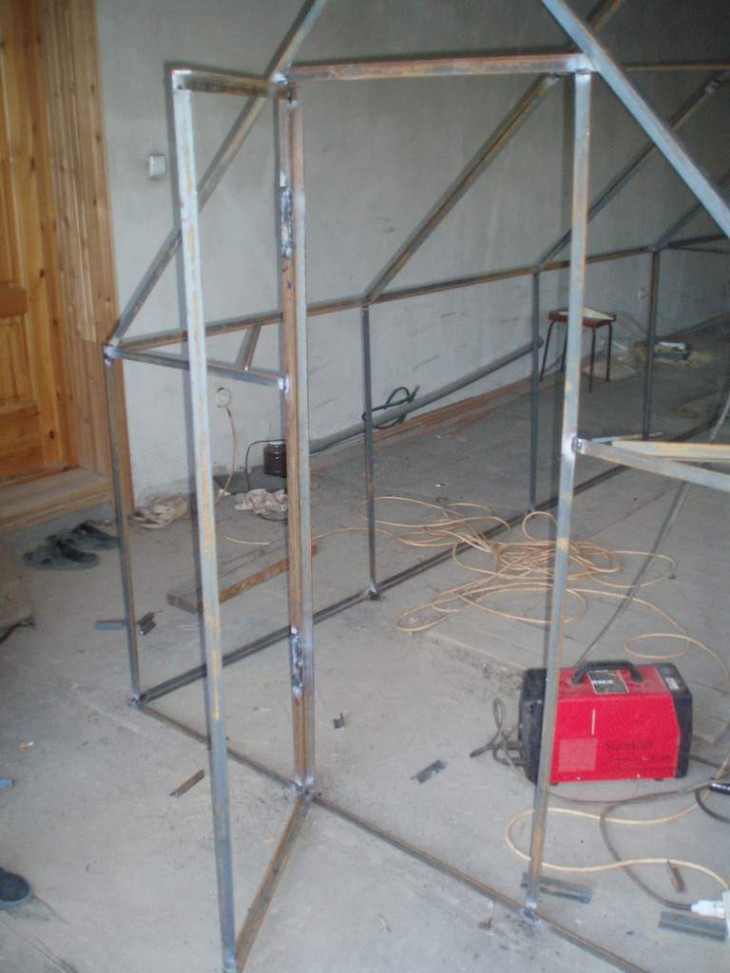
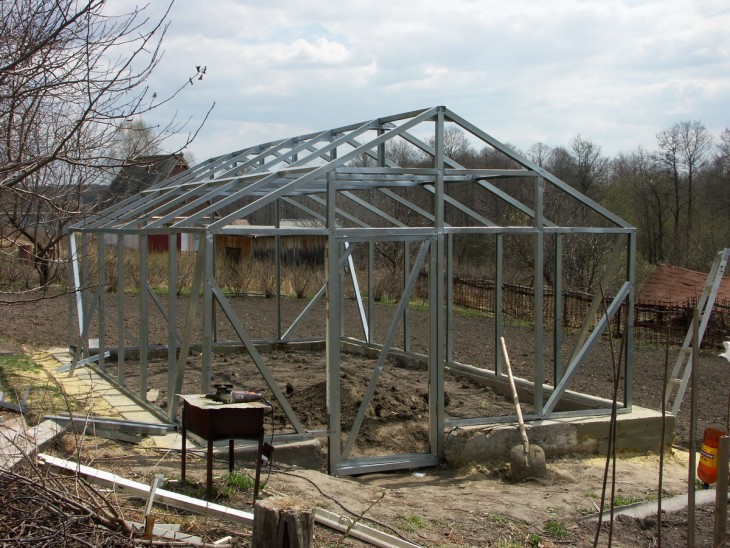
Having decided on the material for covering the greenhouse, you can proceed with the selection of the frame. There is a wide selection of profiles that can be used when installing the frame system. This may include metal pipes with a round, rectangular or square cross section.
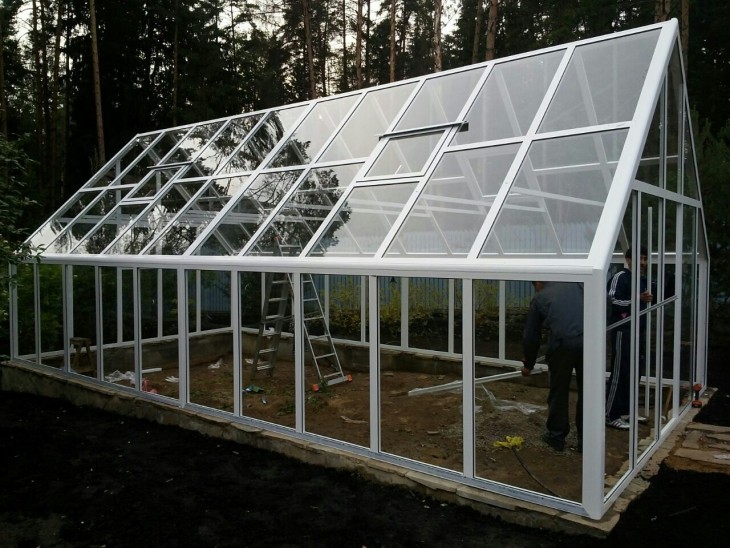
Each designated species has its advantages and disadvantages. The most suitable are galvanized square tubes. This profile is perfectly characterized by high strength, as well as the presence of galvanization, which protects the structure from corrosion.
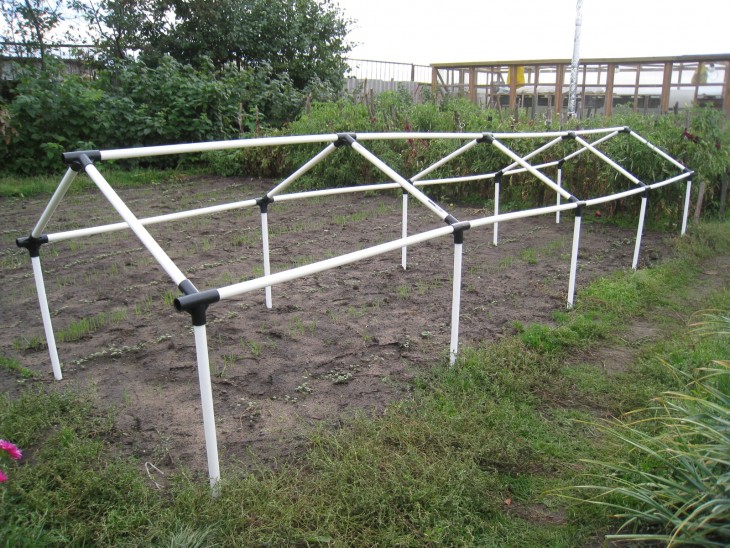

However, plastic is gaining wide popularity among materials today. Pipes made of metal are in many ways inferior to pipes made of plastic, and many have already appreciated it.
Note!

Plastic greenhouse is a modern high-quality design, characterized by many positive qualities, thanks to the special properties of the material.
Of these, it is worth noting that plastic pipes can be easily cut, glued and welded. It is an environmentally friendly material, not subject to corrosion, mold, withstanding various atmospheric loads.
Given the appearance of the greenhouse, you can choose either rigid PVC pipes for gable or single-pitch structures, or flexible PP or PVC for arch types.
In the end, no matter what the choice of the one for whom the do-it-yourself greenhouse from pipes is already a decision, he can always compare and choose the most optimal frame option.
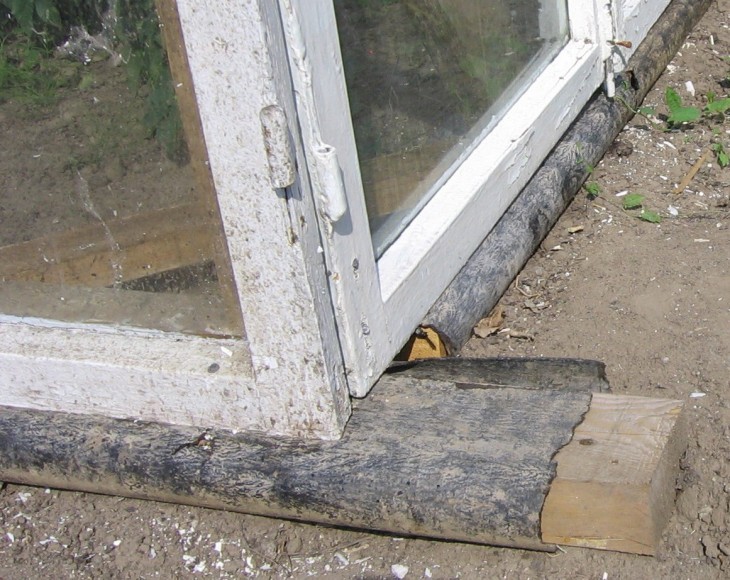
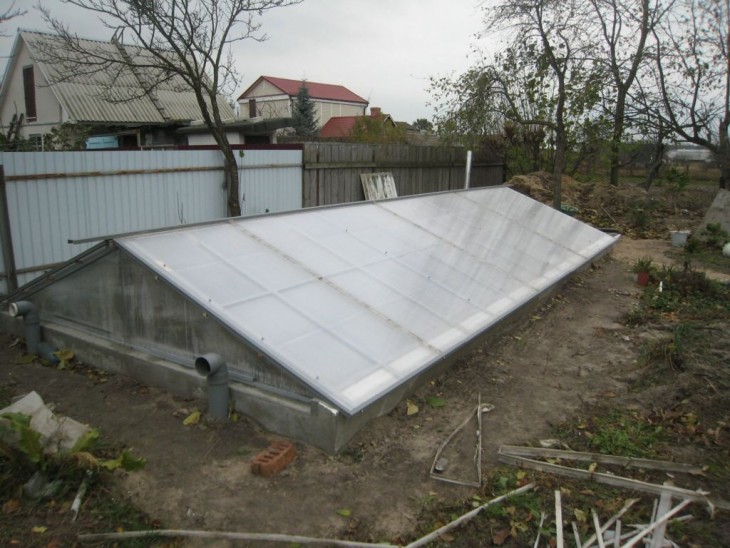
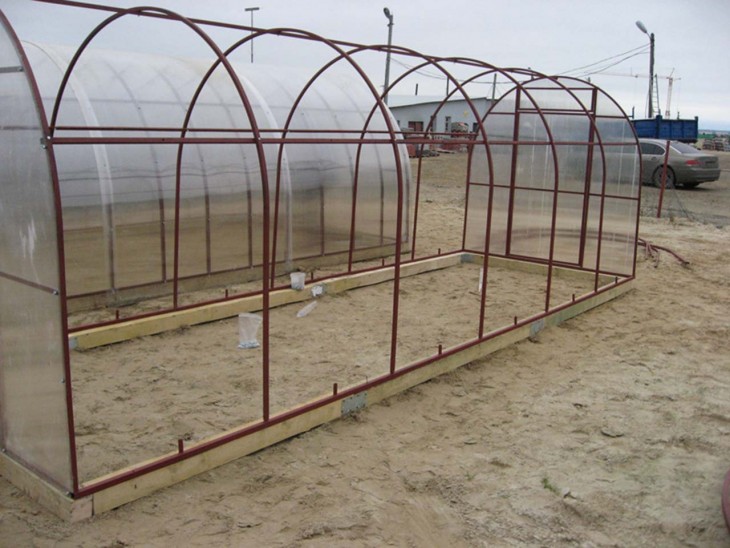
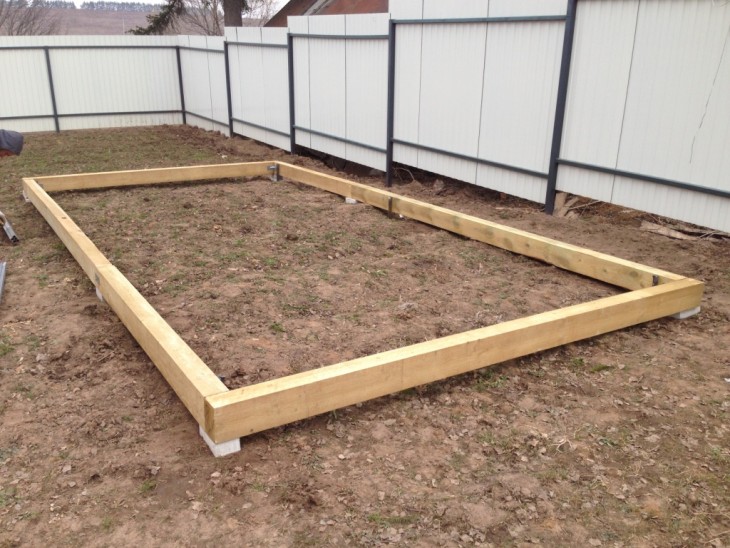
The foundation for the greenhouse
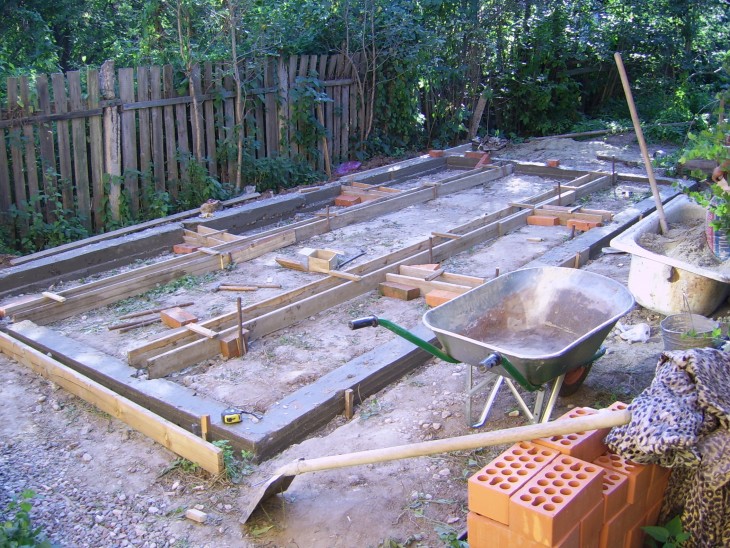
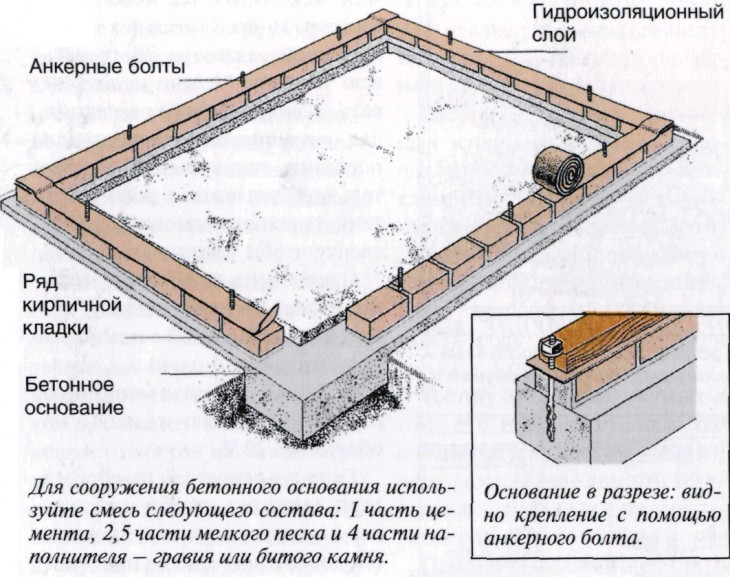
Of course, you should not install a greenhouse on clean soil. A foundation is needed. Based on the fact that the design itself belongs to the lightweight types, however, requiring stability, the basis for it is made as follows:
Note!
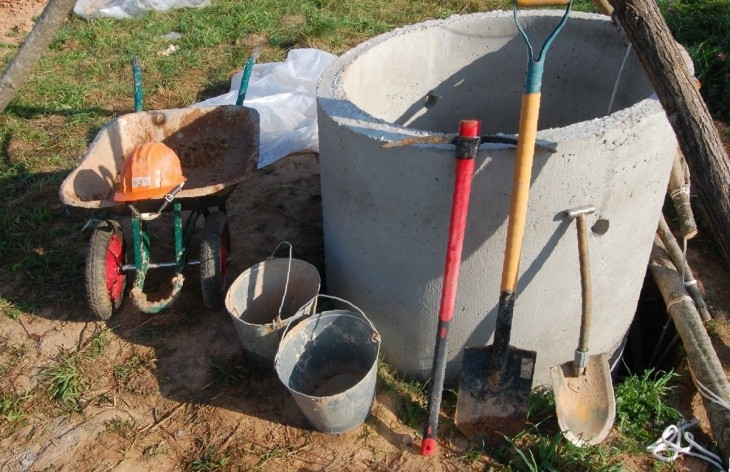

- Digging a trench.
- A sand bed with tamping thickness of 20 centimeters is arranged.
- Along the trench, formwork is placed on both sides of the trench.
- A reinforcing mesh is laid on the bottom of the trench over the entire area of the sandy base.
- The trench is poured with concrete. The upper concrete level mark is equal to the width of the installed formwork board.
When performing these works, it is imperative to remember that if the greenhouse itself is installed very quickly (within one or two days), then with the installation of the foundation it will take almost a month for a good setting. Therefore, such work should be done in advance.
Final stage
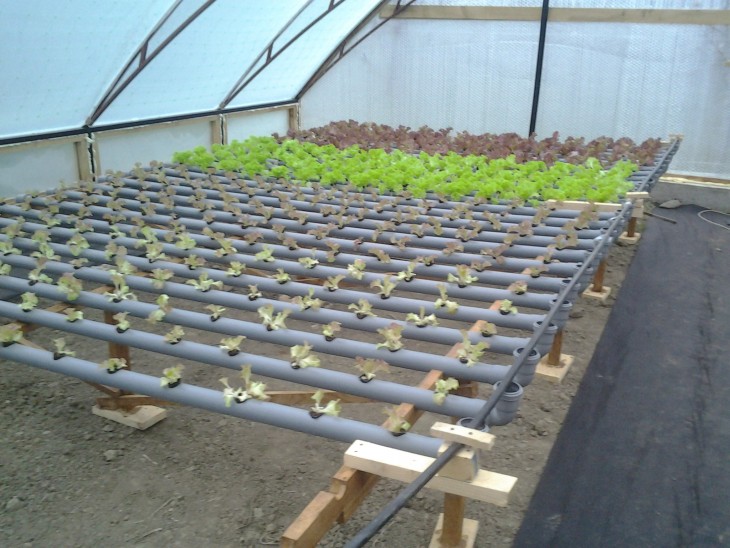
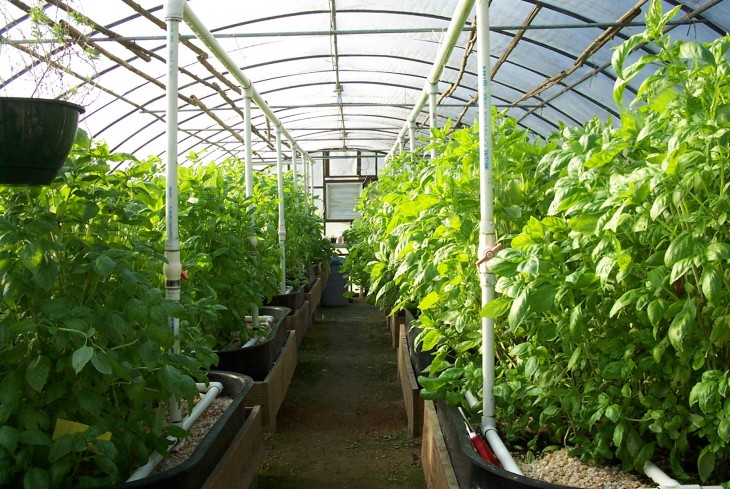
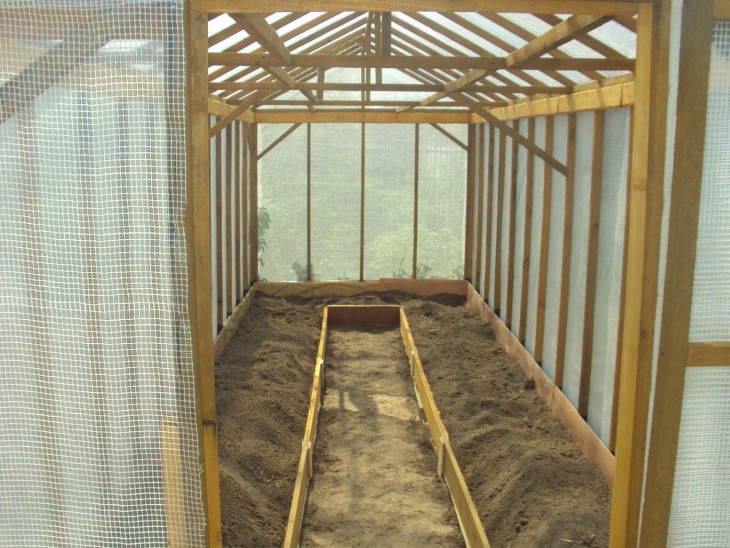
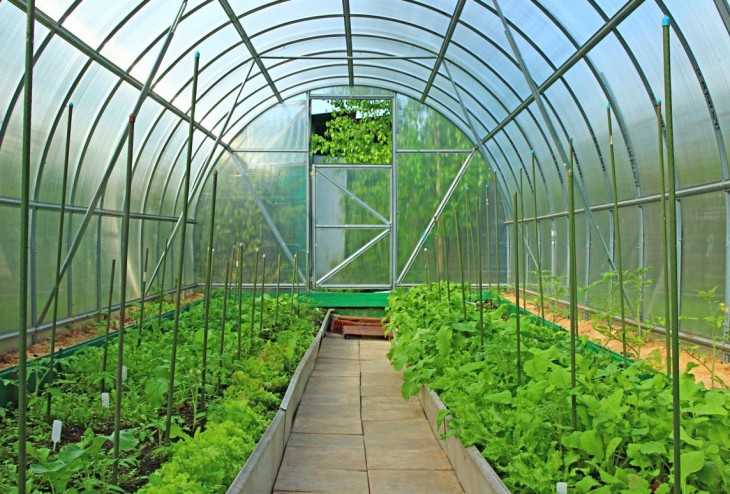
When the design is completely ready, it will be possible to proceed to the internal equipment. Placement of beds and passages, determination of places for piping for irrigation, and so on.
Many people like to photograph their work. Some people prefer to shoot the whole process of work, while others prefer to take pictures based on the results of work.
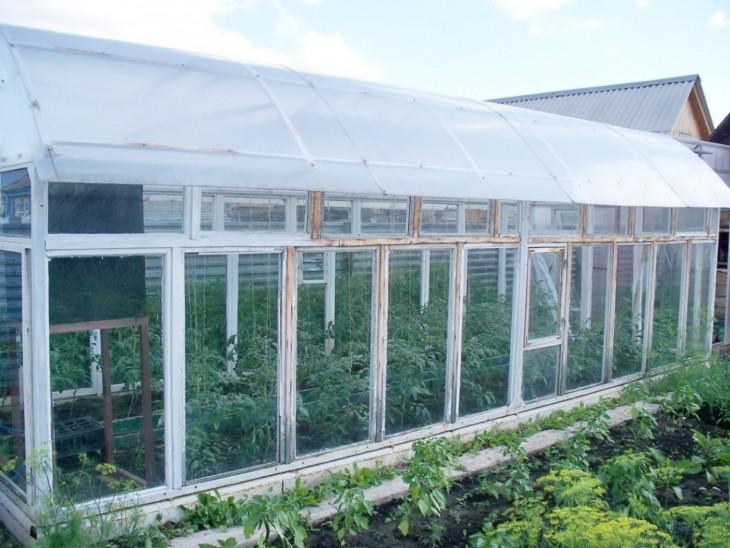
But with special pride, friends and acquaintances are always presented with a photo of a greenhouse made by their own hands, where tomatoes, eggplants and other all kinds of vegetables and herbs are ripening to full growth.
DIY greenhouse photo