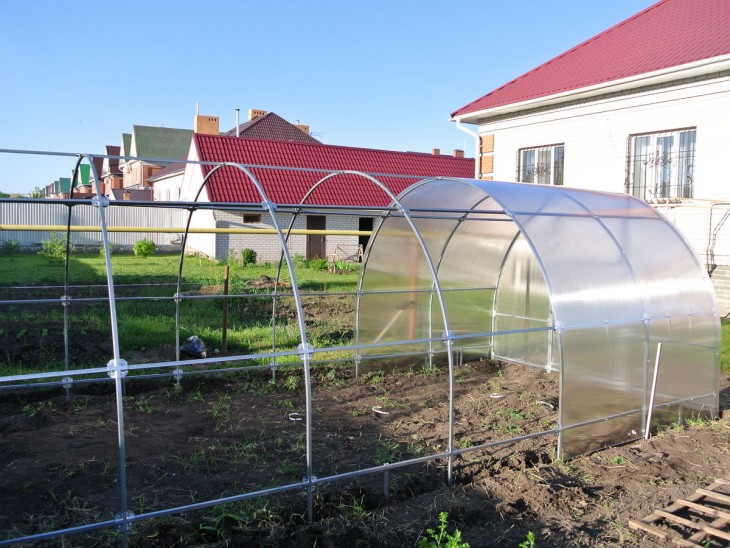
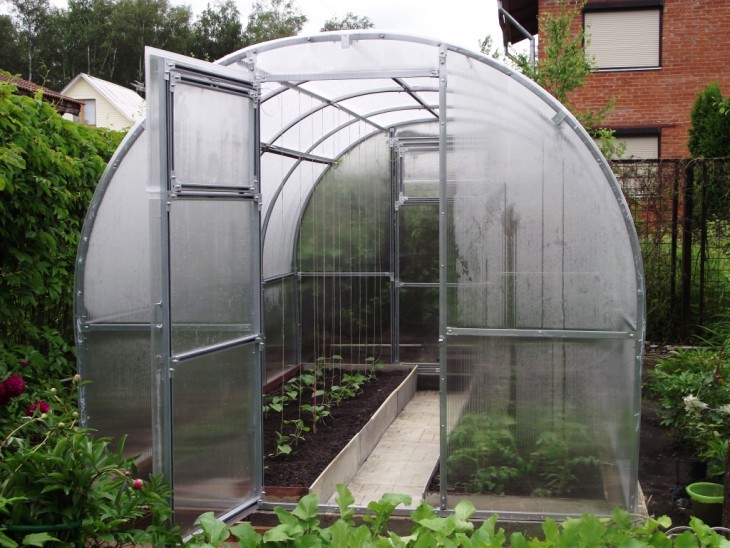
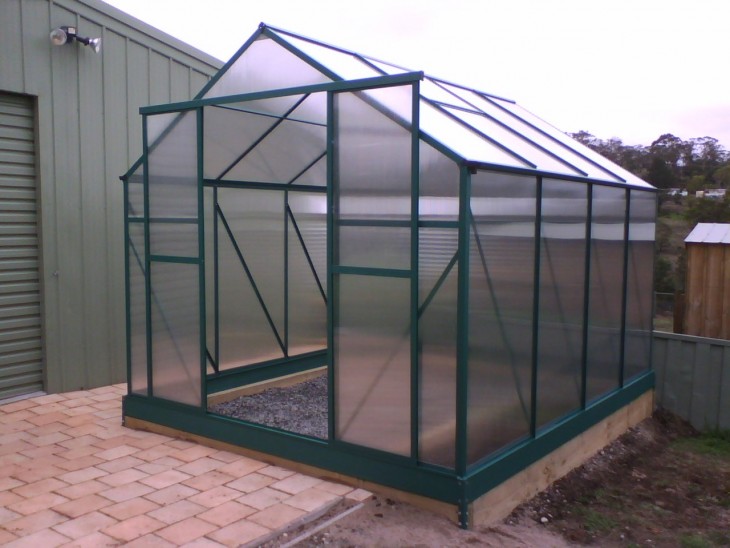
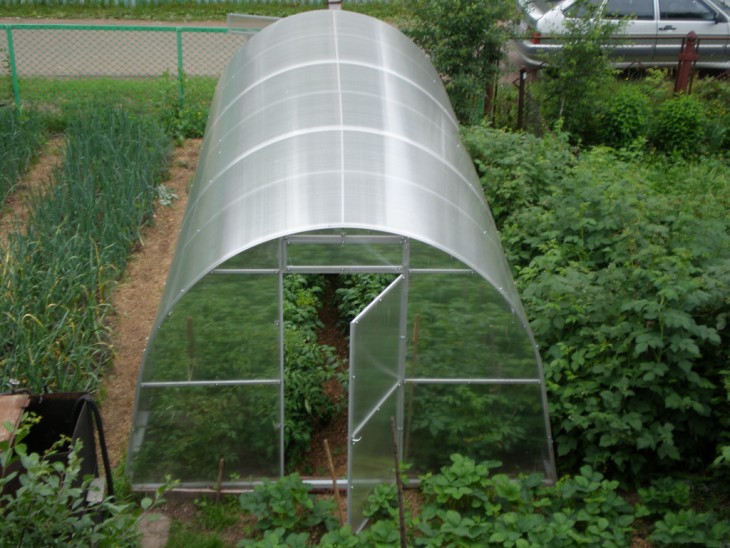
An excellent help for summer residents can be a polycarbonate greenhouse. With the help of such a greenhouse, you can get a good harvest of early vegetables, protect seedlings in the spring and even organize a flower greenhouse in it.
Moreover, self-installation and assembly of a polycarbonate greenhouse will not take much time and does not require special knowledge and skills during assembly.
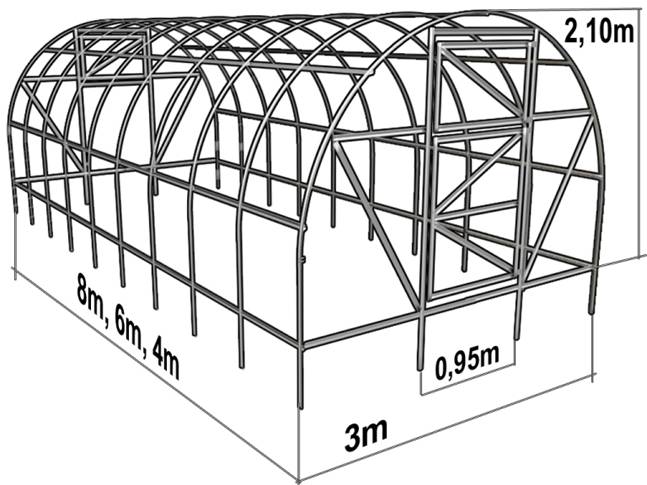
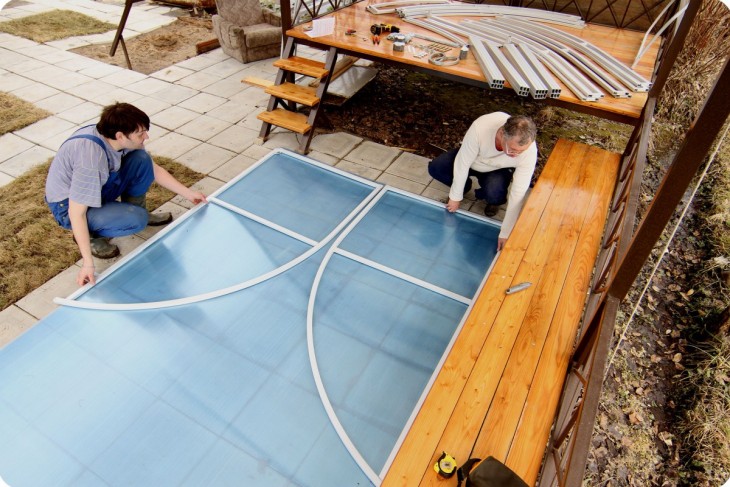
In order to assemble a greenhouse with your own hands, you will need a set of prefabricated elements consisting of an aluminum profile and polycarbonate sheets themselves.

Review Content:
Preparatory work
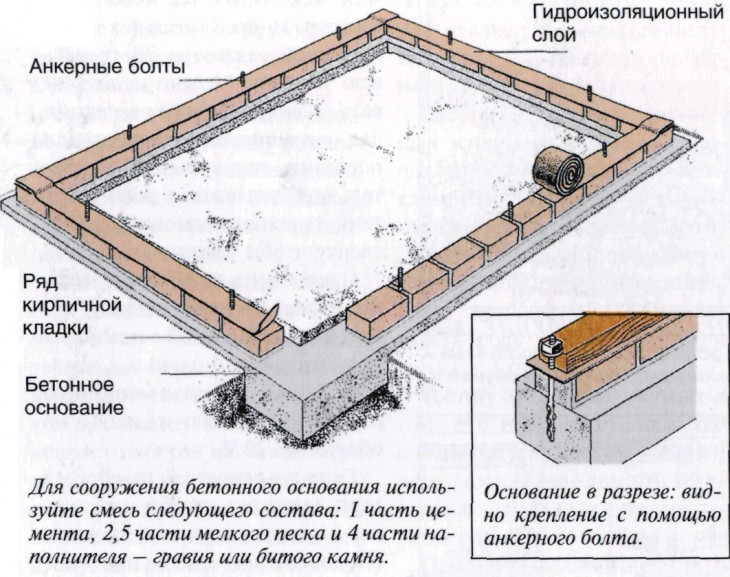
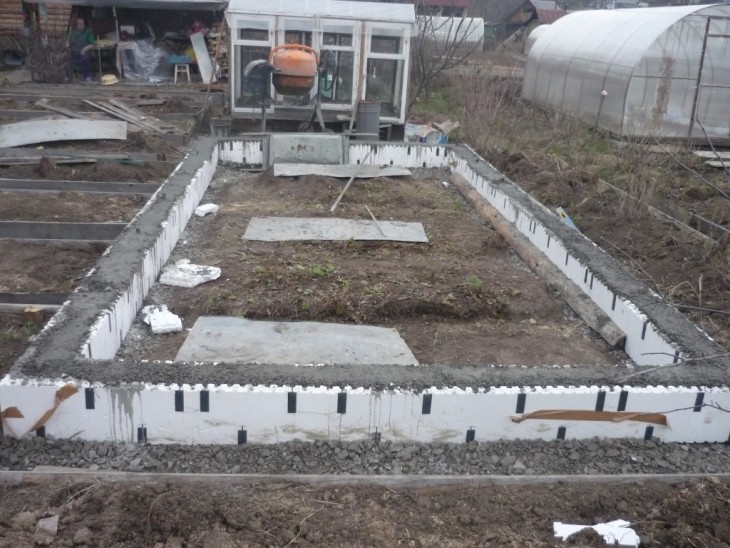
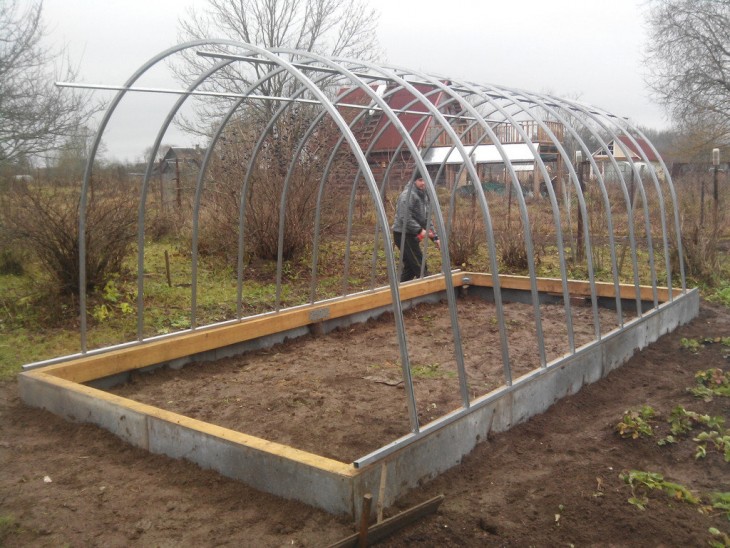
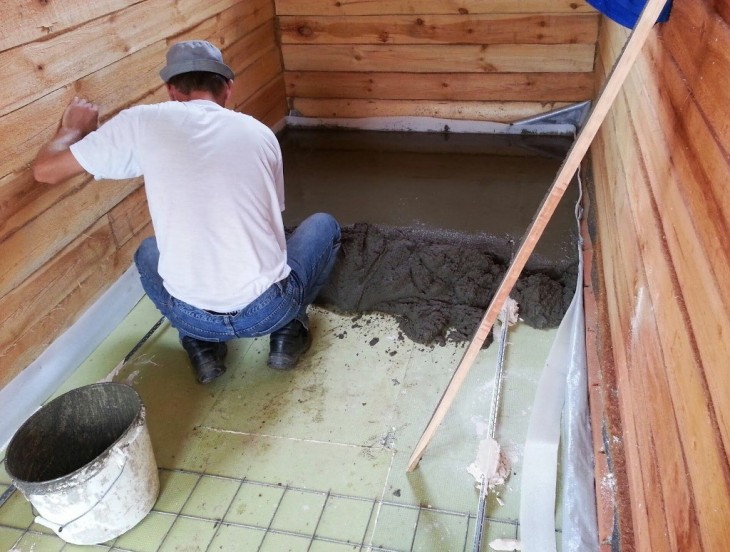
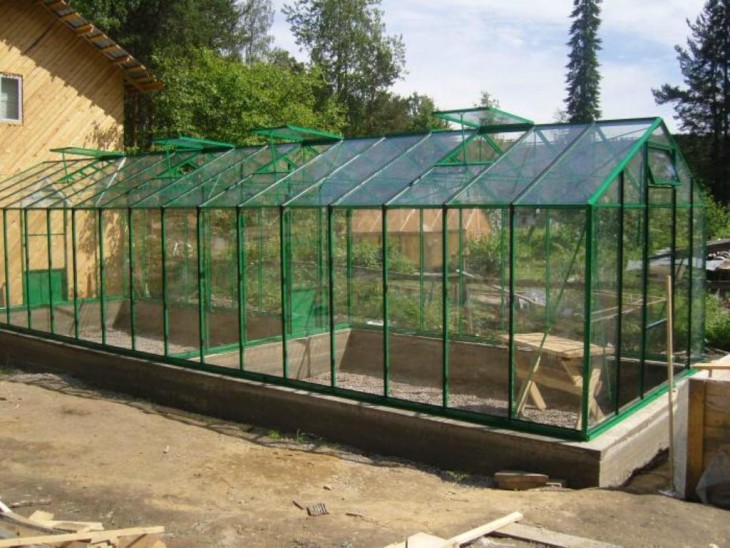
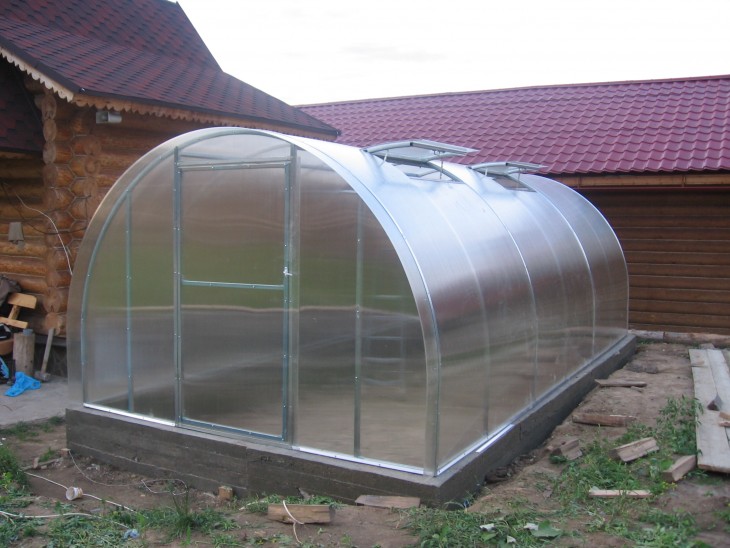
It is not difficult to assemble a polycarbonate greenhouse with your own hands, however, in order for it to last a long period, it is necessary to fill the foundation for the greenhouse on which the structure will stand.
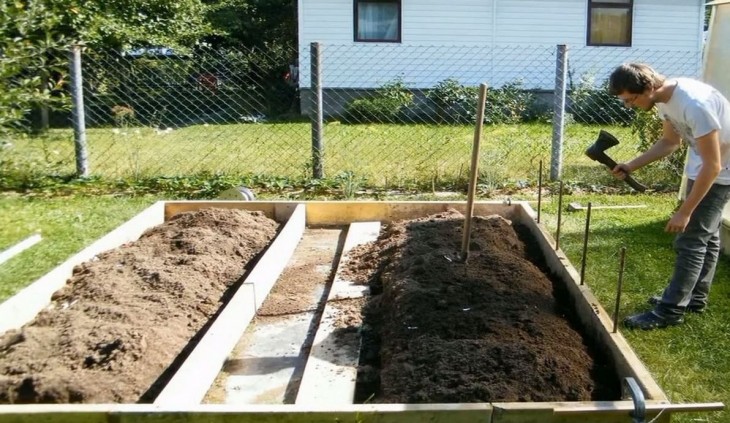
It is very important to establish the basis correctly. Since such a greenhouse belongs to the category of lungs, it is possible to cope with the task if you pour a tape, cement base under the greenhouse.
When pouring the foundation, it is important that it is level, otherwise the greenhouse will not stand level and there is a risk of mechanical damage.
As for the thickness of the foundation, the base of the greenhouse should exceed the thickness of the lower profile.

How to install a polycarbonate greenhouse
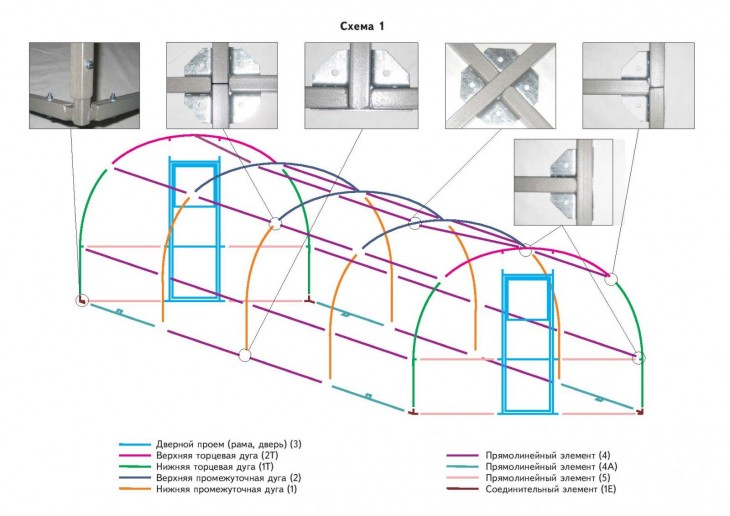
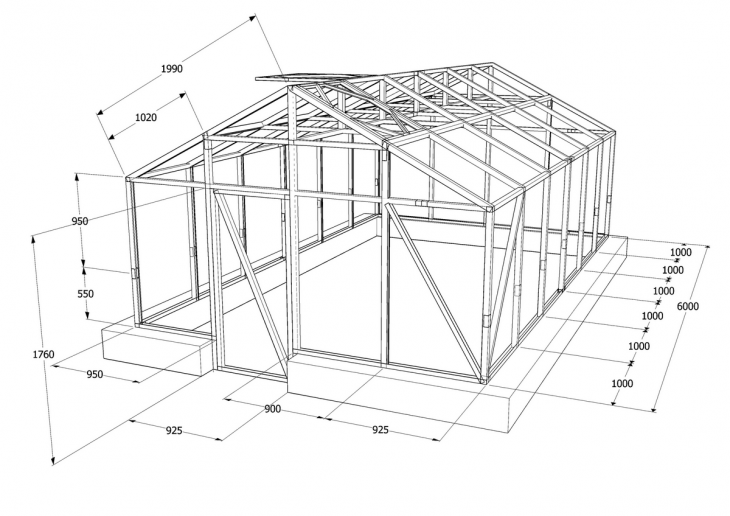
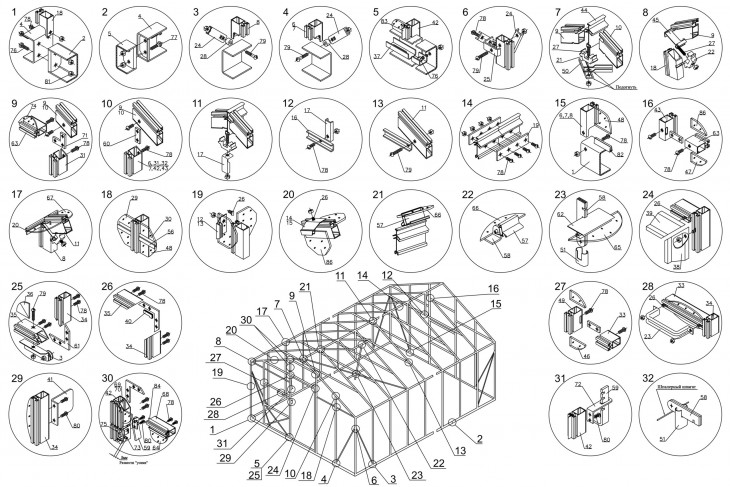
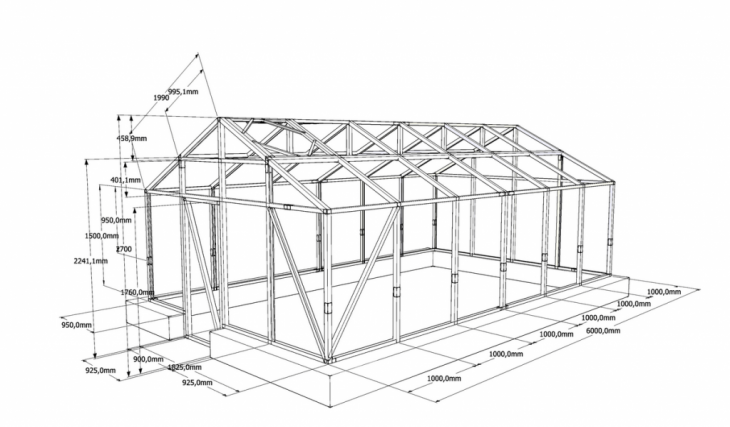
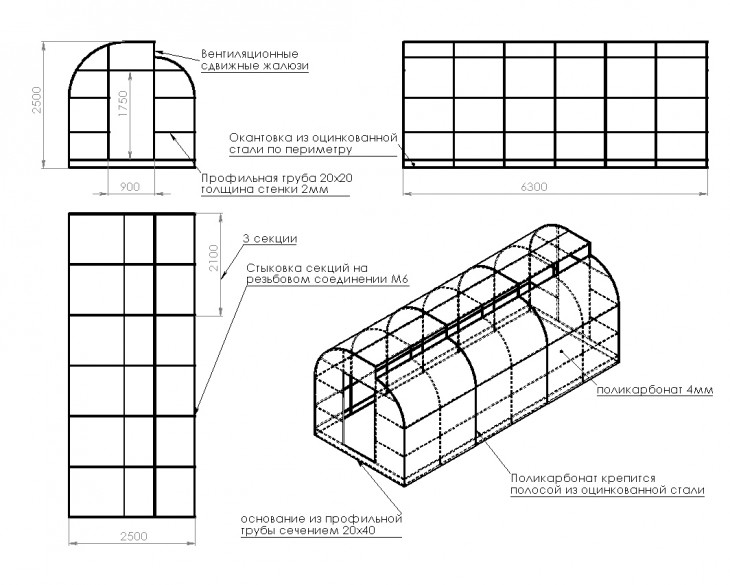
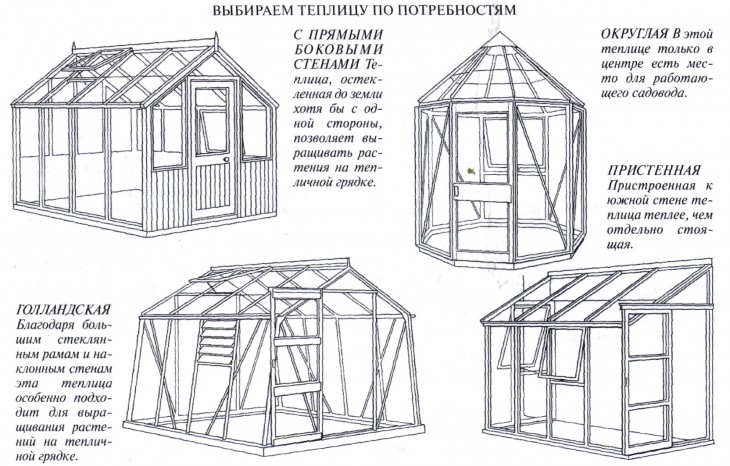
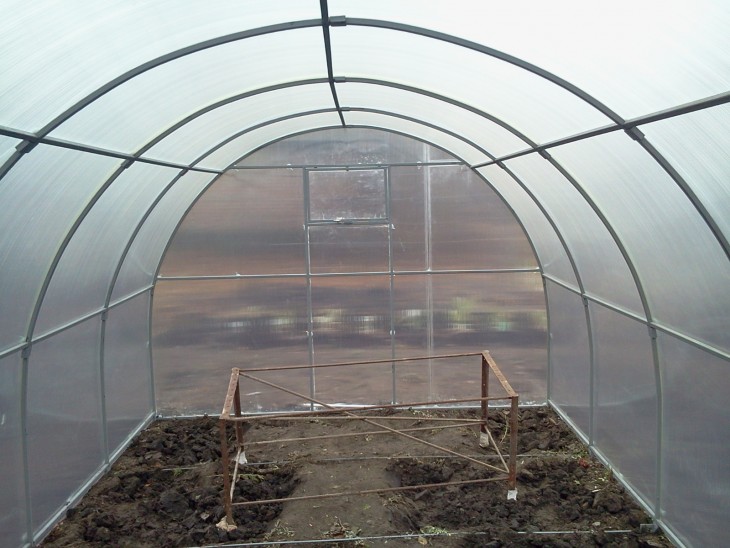
Before proceeding with the assembly of the greenhouse, it is necessary to decompose separately all the details of this design, as well as carefully study the drawing of the polycarbonate greenhouse.
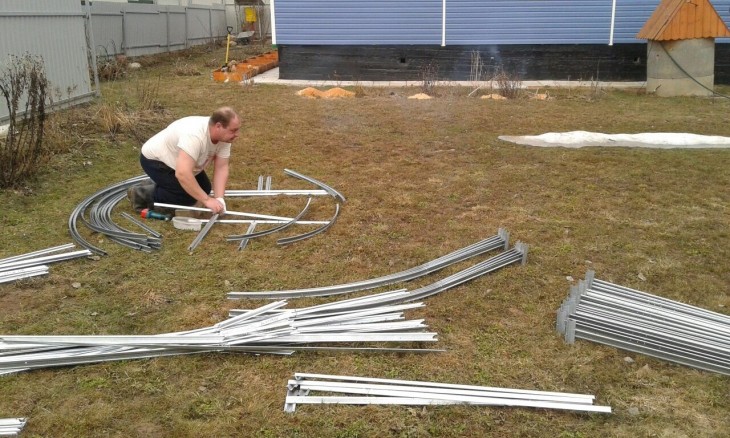
This is necessary in order to properly connect the structural parts. The installation of the greenhouse begins with the installation of the base, which includes the lower profiles.
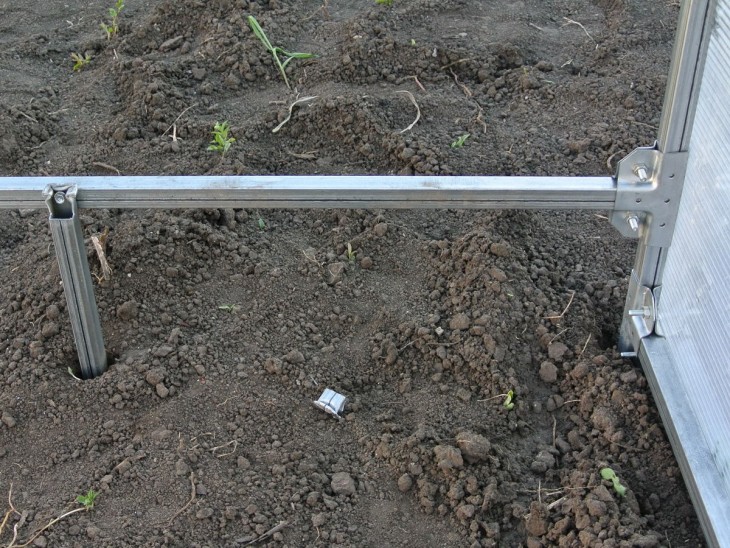
If we consider in more detail, then first on the cement base are laid out such structural elements of the greenhouse as the supports of wall surfaces and corners.
After that, all the parts are connected and firmly fixed with jumpers. Further, support profiles are mounted vertically on the rounded corners and bolted to horizontally standing bases with bolts.
When installing support profiles, it must be borne in mind that they should be 2-3 pieces on each wall surface. They should not be fixed to the lower supports very tightly, because polycarbonate sheets will later be inserted into these grooves.
Next, the upper support profiles are mounted, thereby allowing the frame to be additionally fixed so that it becomes a reliable base for installing the roof. In addition, they are endowed with the additional function of draining water.
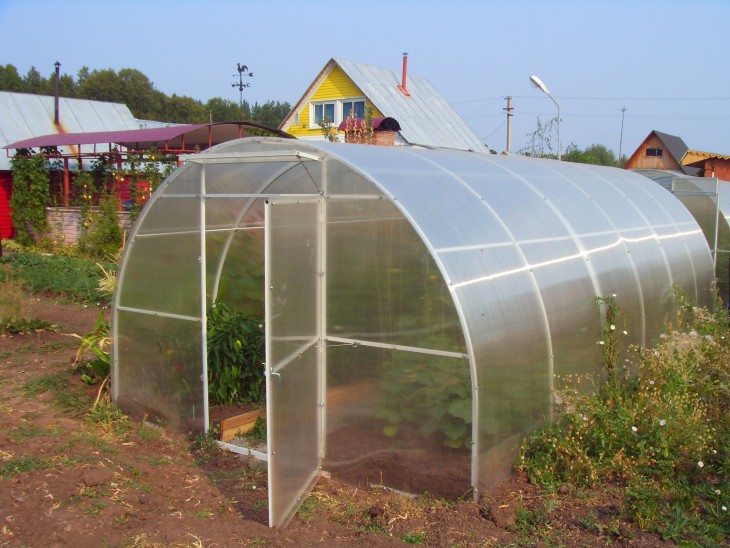
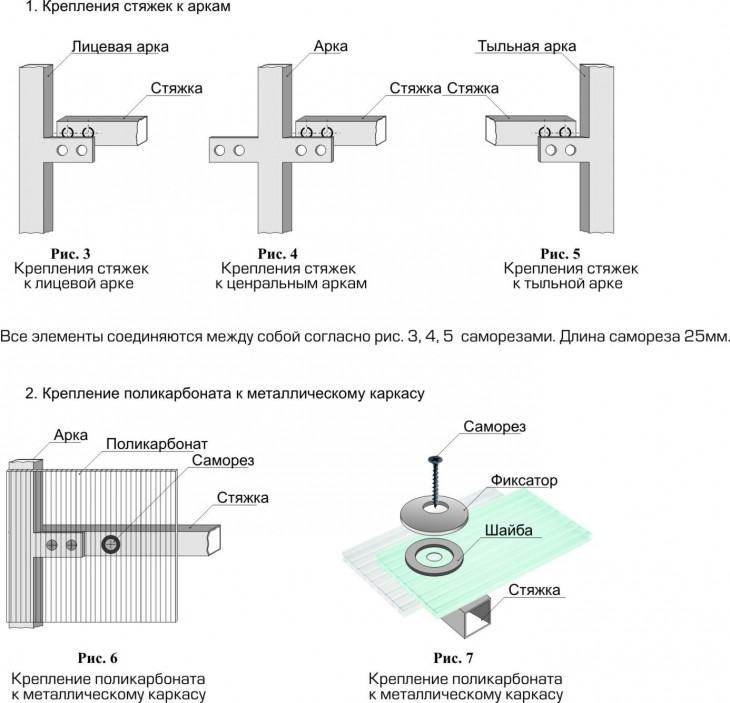
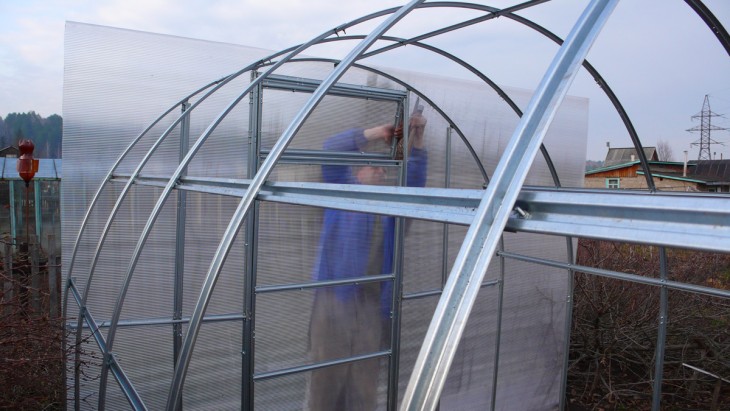
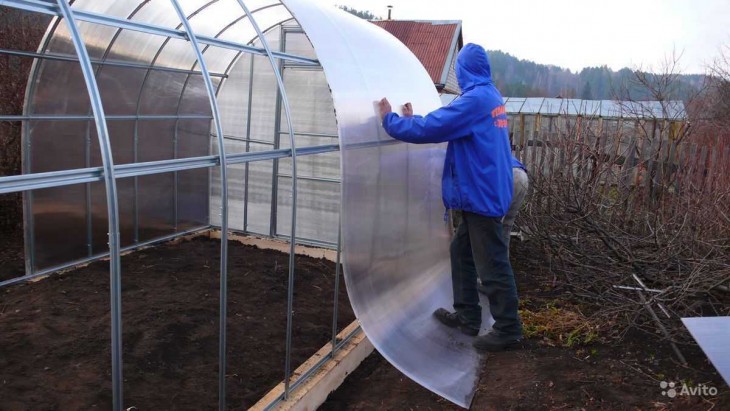
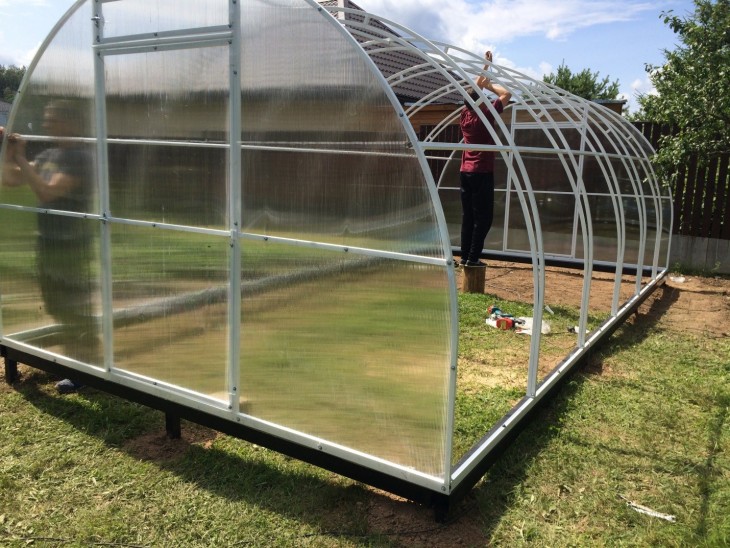
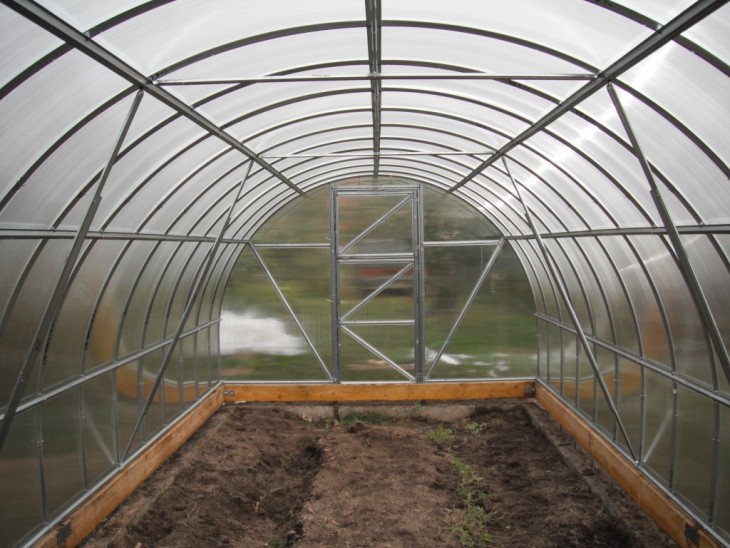
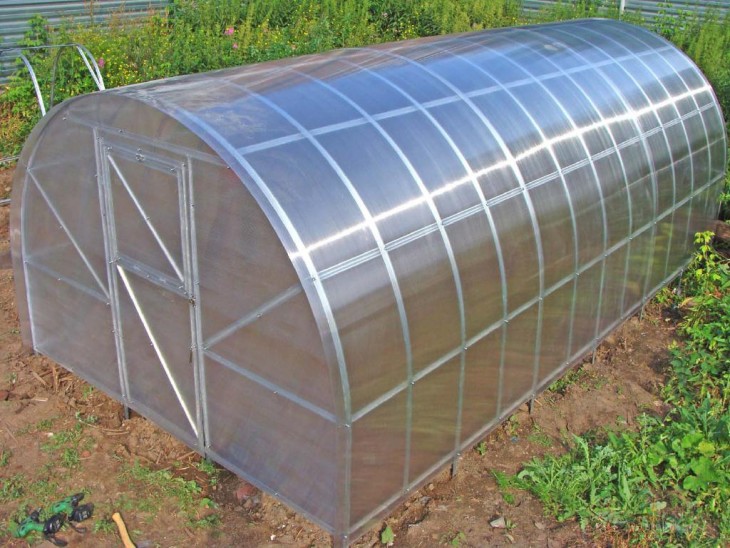
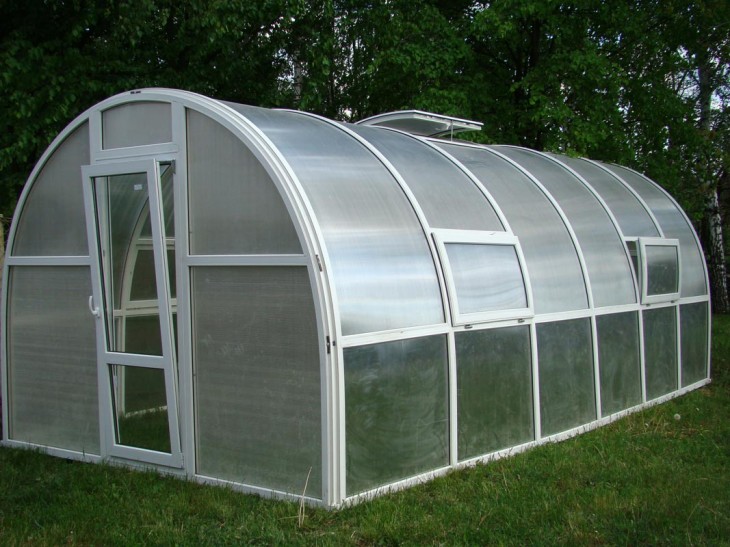
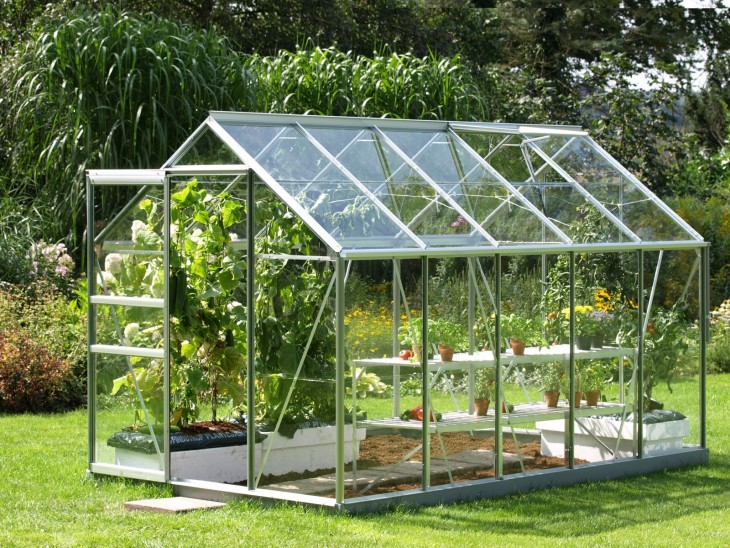
Further, in the grooves located on vertically standing bases, polycarbonate sheets are mounted, as in the photo of a polycarbonate greenhouse. The profiles must be tightly screwed onto the base.
Now you need to install the edges of the rafters for the roof. They need not be tightly screwed to the support profiles. Then you need to install the ridge support.
And only after that, they will be carefully introduced, and the end result is a firmly fixed joint with the ridge, you can screw the rafters to the upper horizontally standing supports.
Note!


After this, additional rafter supports are installed. To do this, they are twisted to a fixed ridge.
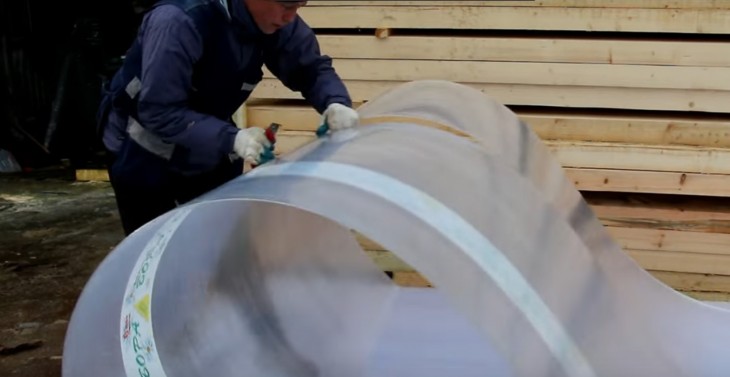
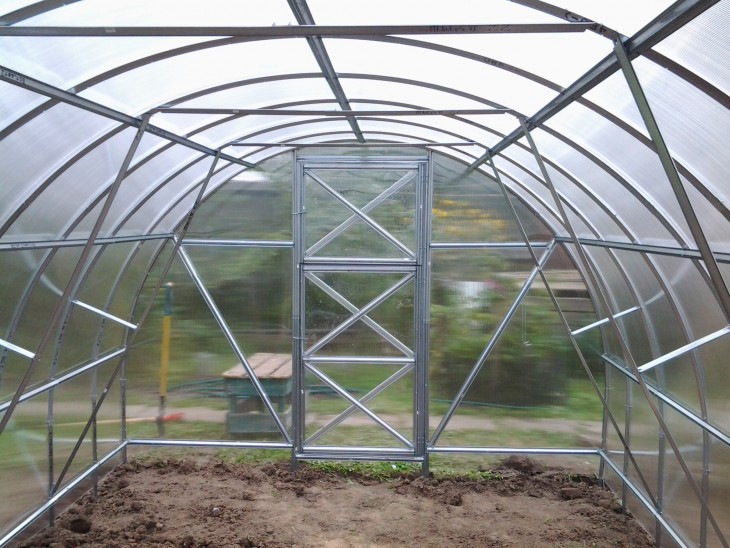
Polycarbonate sheets are additionally strengthened by thin racks. Fixation, which should occur diagonally. Racks are inserted into the empty grooves of the support.Then from sheets of the fixed polycarbonate it is necessary to remove a special protective film.
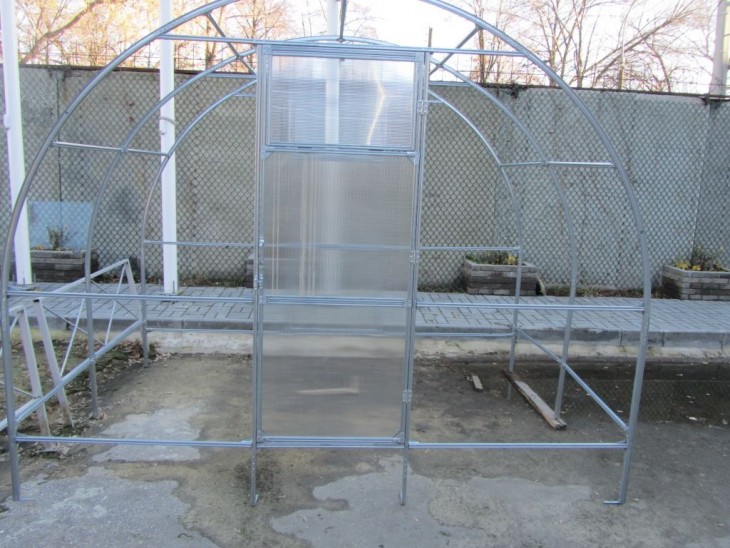
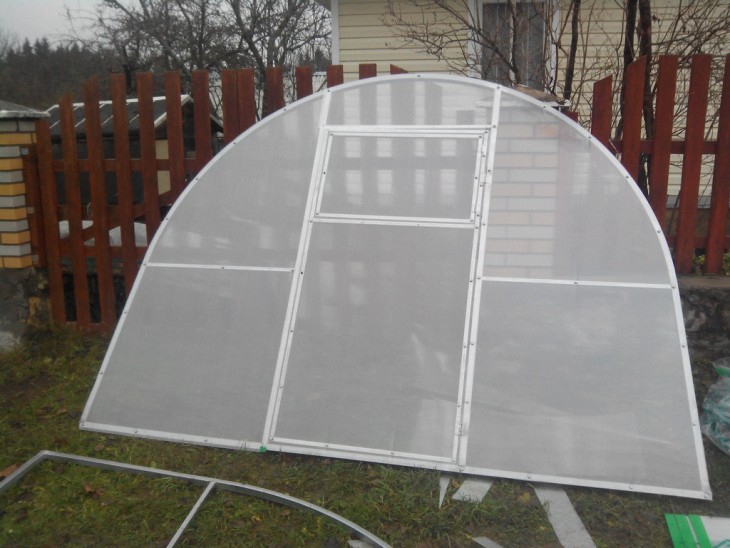
It is necessary to install a separate lifting window on the roof. To do this, the assembled window is installed in the free gap between the supports.
The roof of the greenhouse is additionally fixed by using staples. The brackets are installed in the gap between the rafters and the wall profile supports.
Then all the joints located between the polycarbonate and the grooves of the supports are covered with a special sealant. And the joints between the two supports must be closed with another thin support.
Note!
At this stage of the work, polycarbonate is installed in the free grooves of the supports. Next, both door elements are mounted, and the door is installed in a special opening. The door is hung on hinges.


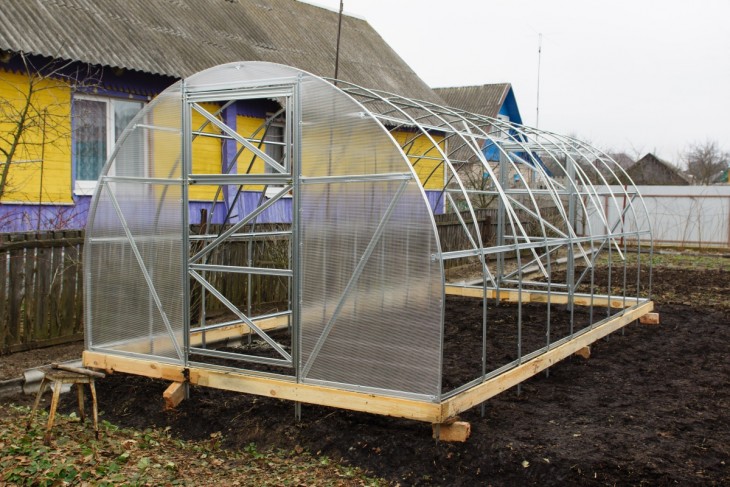
After that, the base assembled from the profile is fixed to the finished cement foundation with brackets.
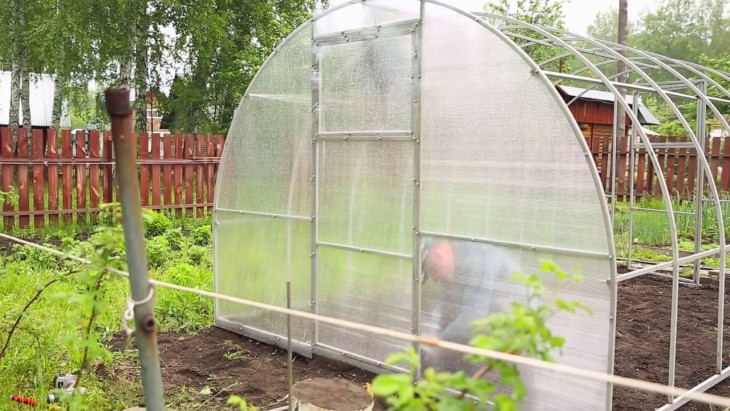
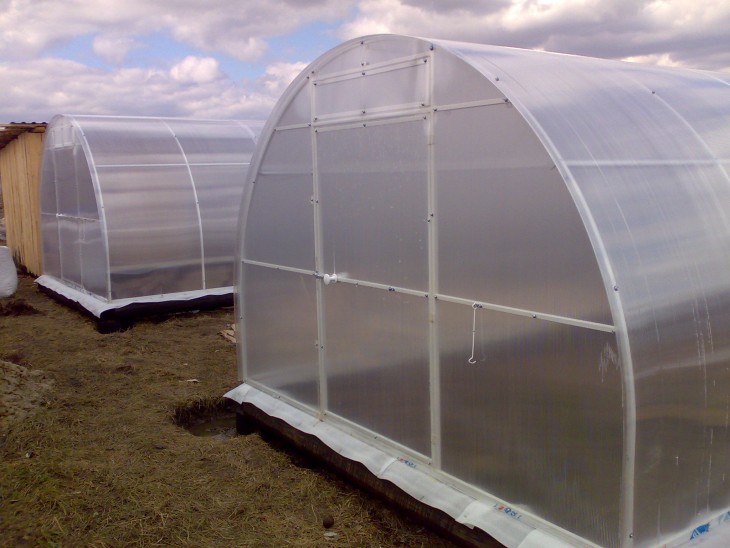
With the help of a detailed description of how to make a polycarbonate greenhouse with your own hands, you can easily cope with this task. In this case, you need to pay attention to the strength of the connection of all parts of the structure. In addition, each joint must be smooth, because in the future this will ensure the strength and long life of all the greenhouse structures.

The final stage of assembling the installation of the greenhouse is the installation of adapters on the profile drains, fixing the pipes that will divert precipitation.
Separately installed fasteners to open windows.

DIY polycarbonate greenhouse


Note!