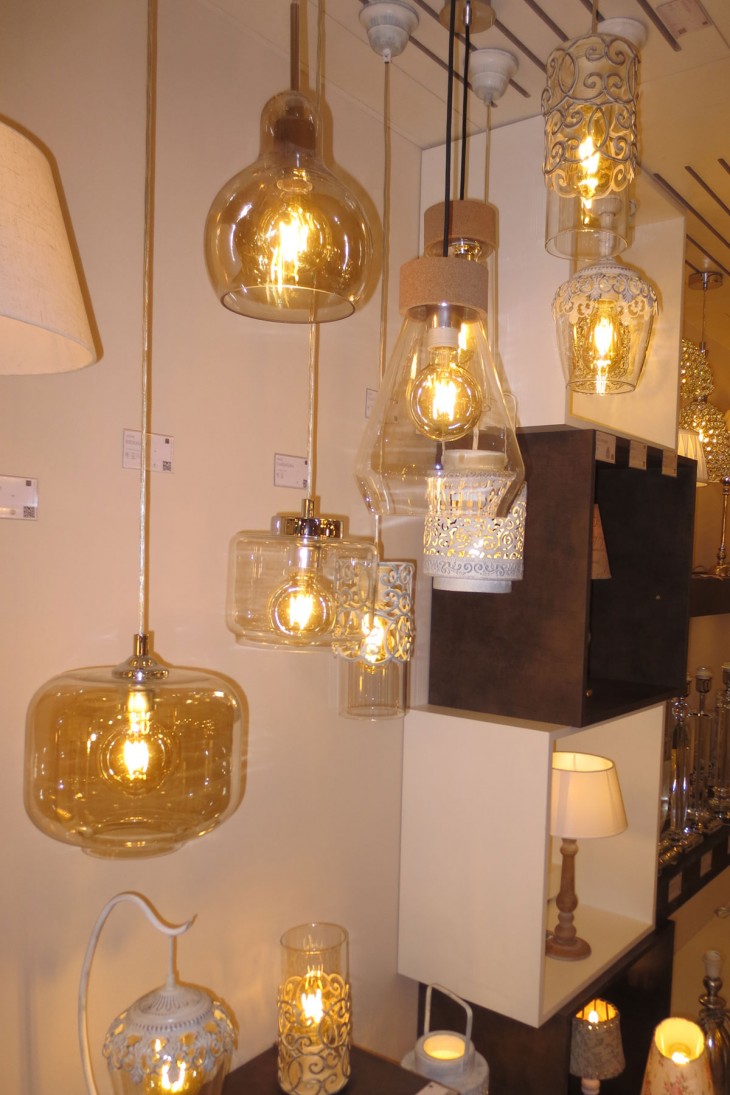
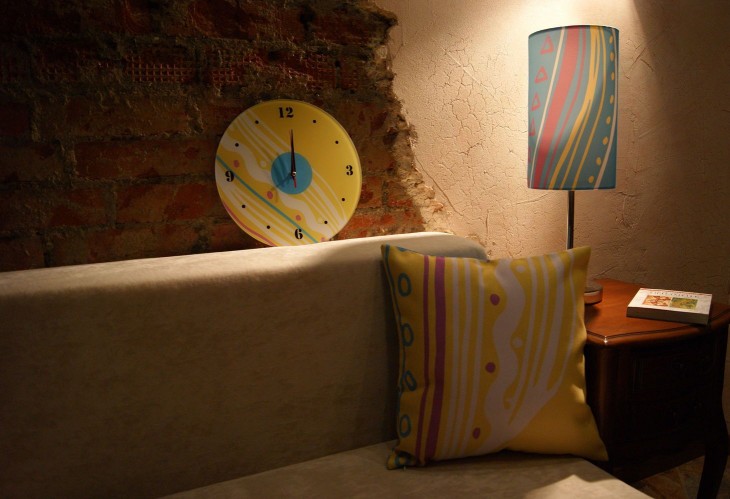
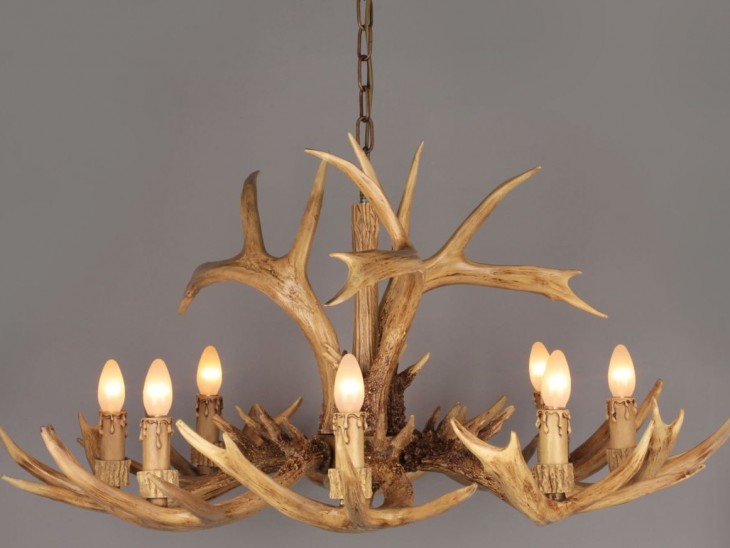
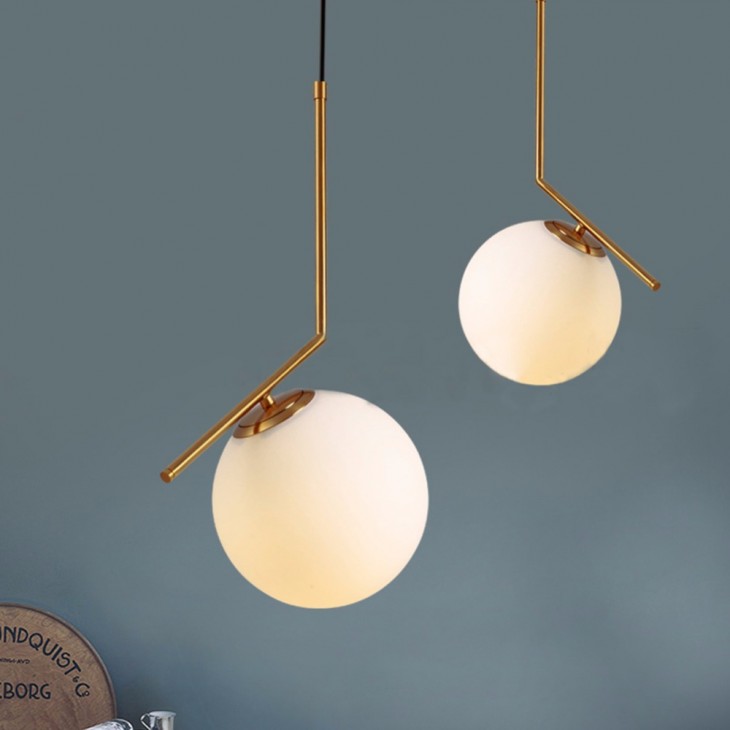
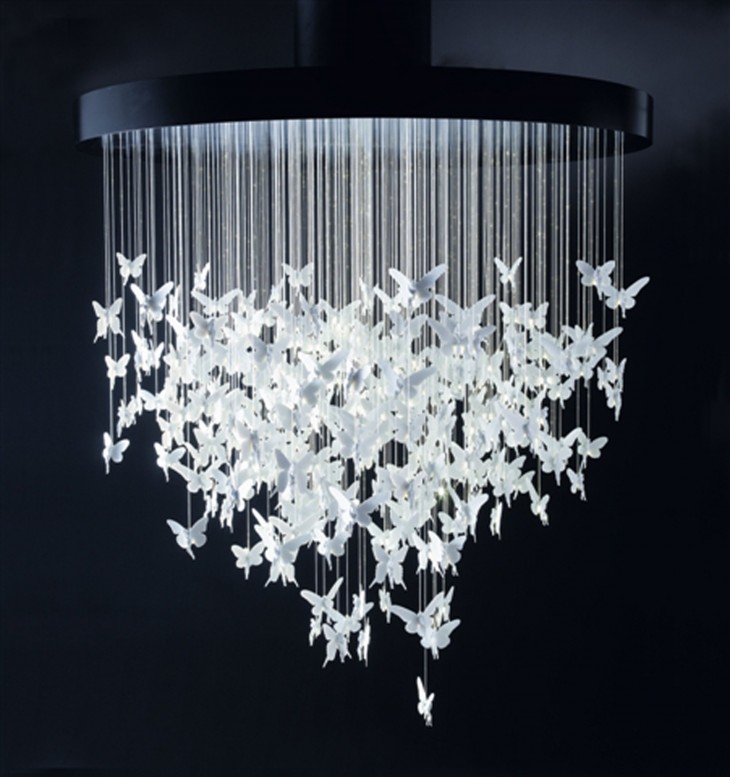
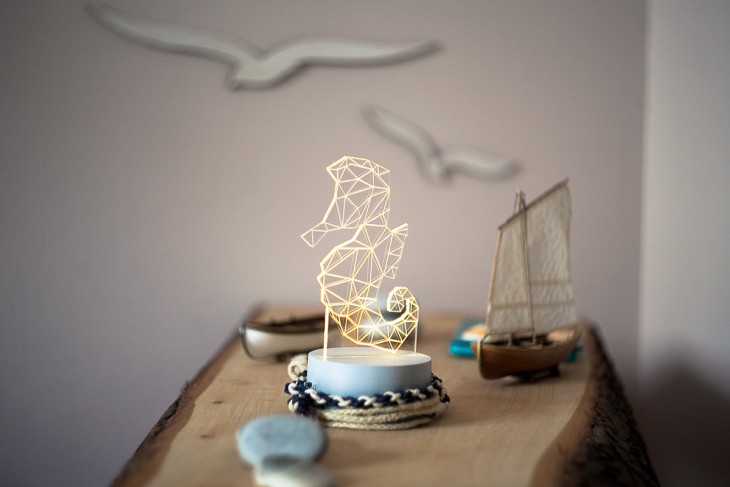
Lighting devices can not only dispel the darkness, but also give an unusual aura to your interior.

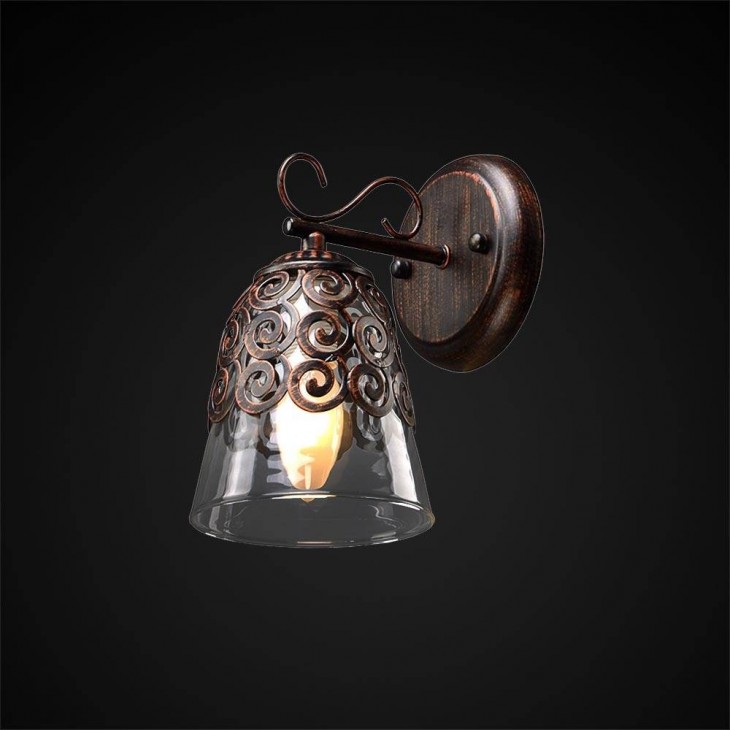
There are many diverse ideas with which you can make a wall lamp or any other type of lamp with your own hands.
You yourself are able to create a masterpiece that is not in any store.


Review Content:
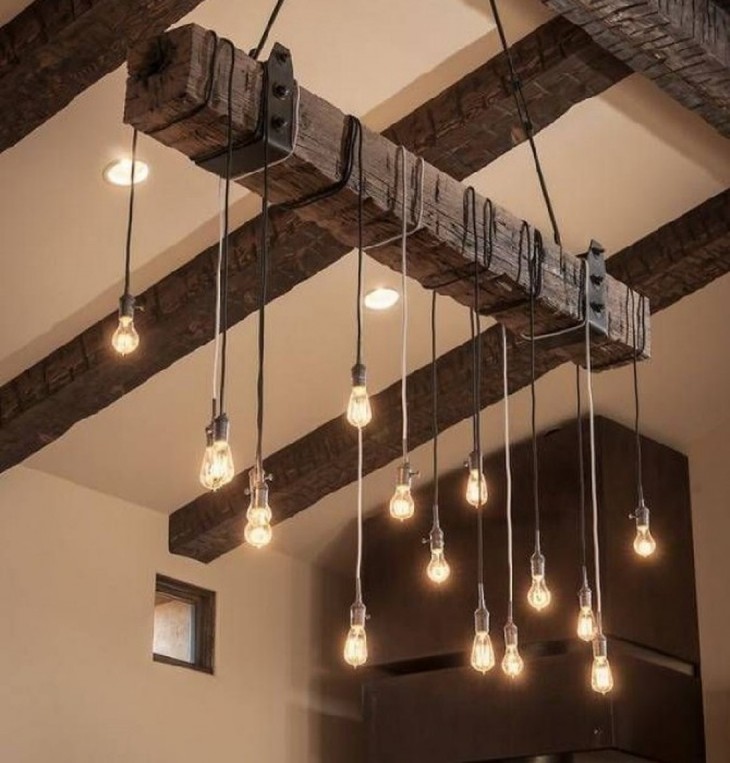
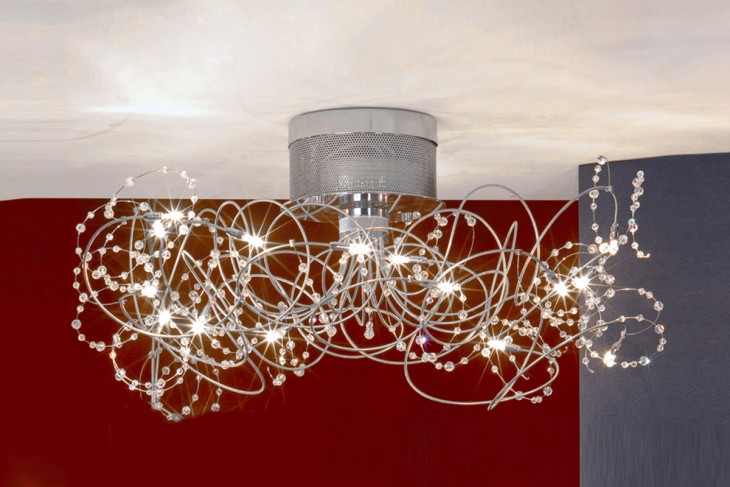
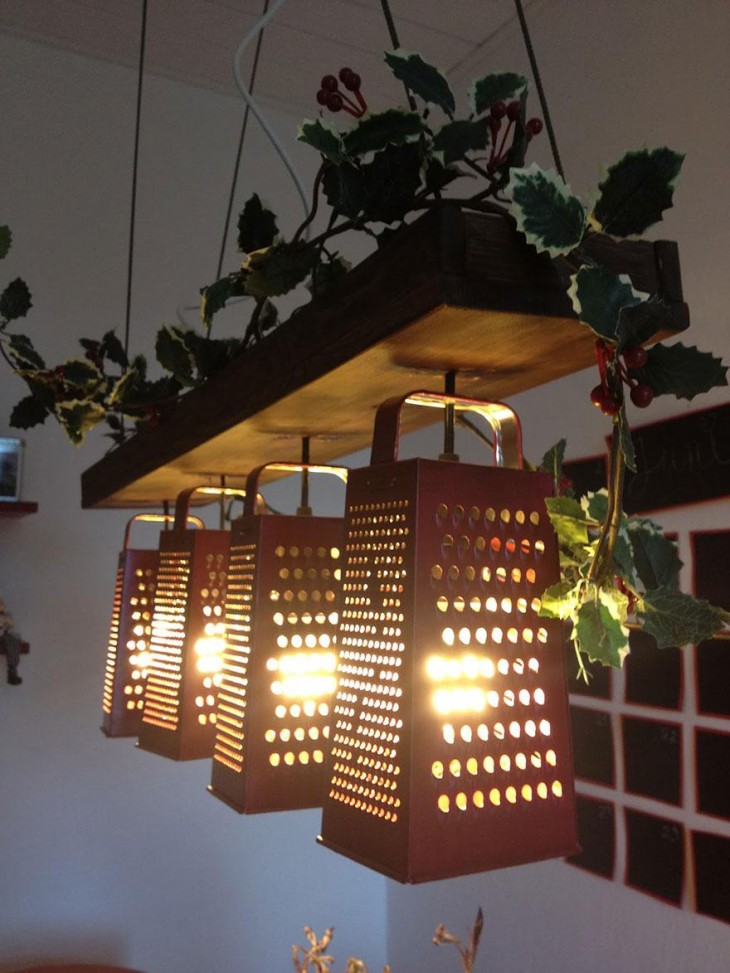
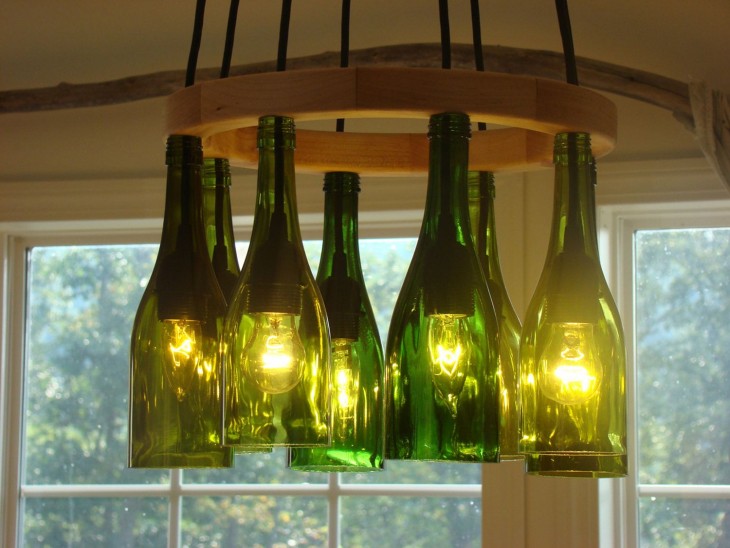
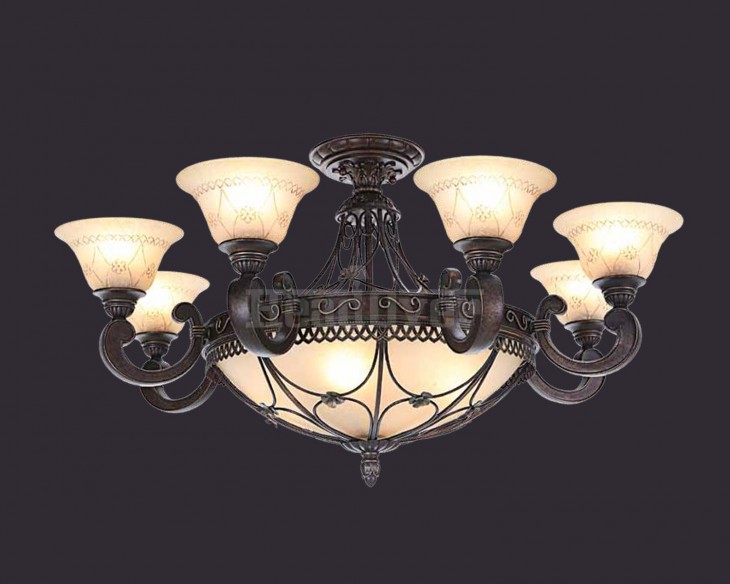
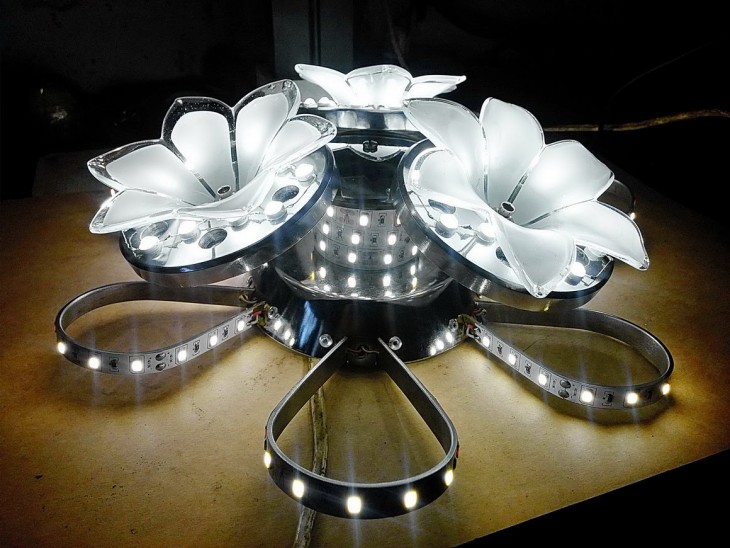
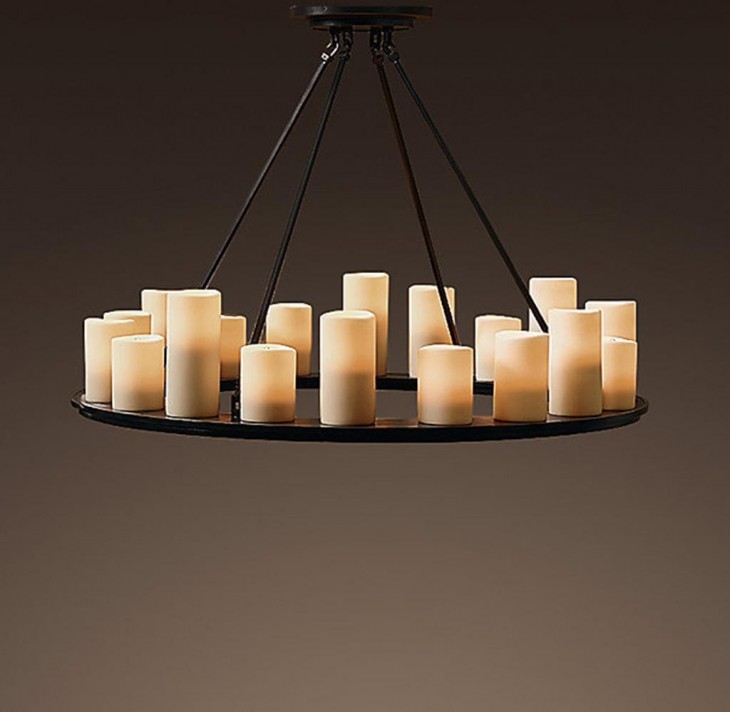
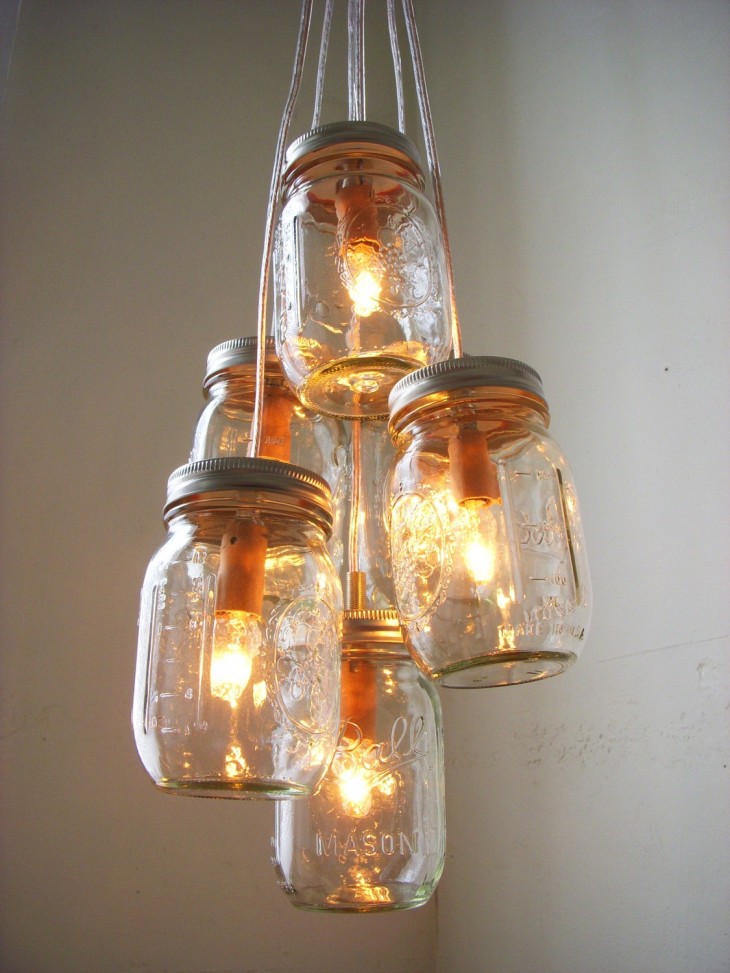
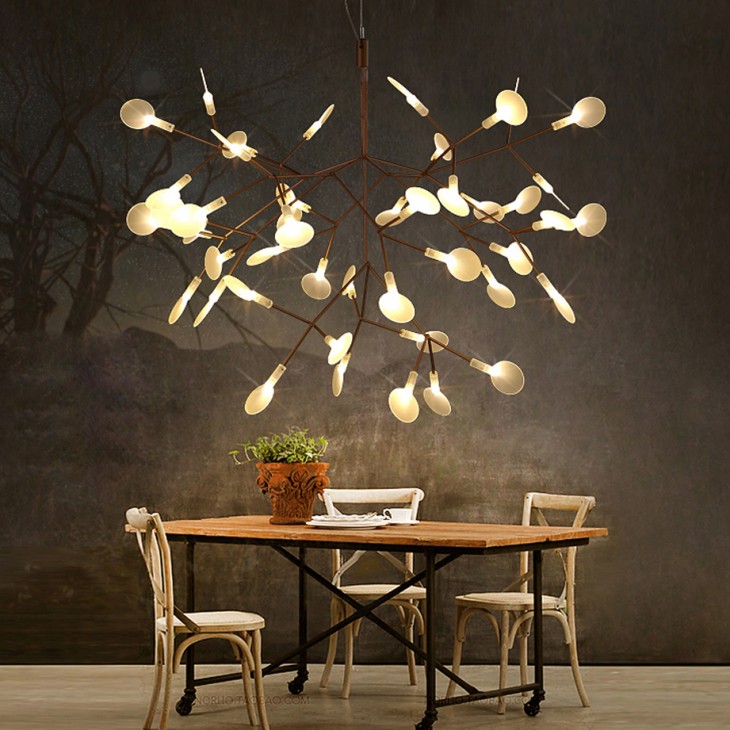
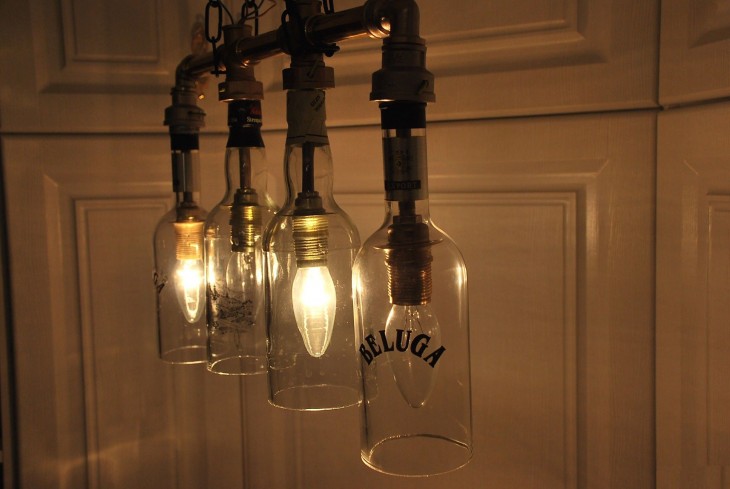
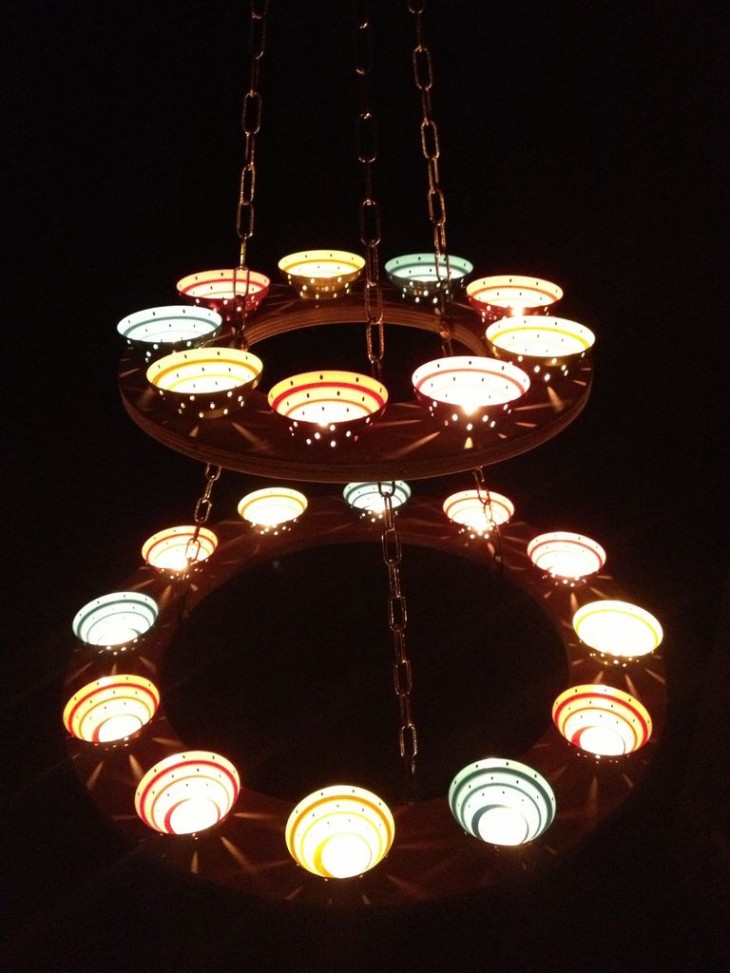
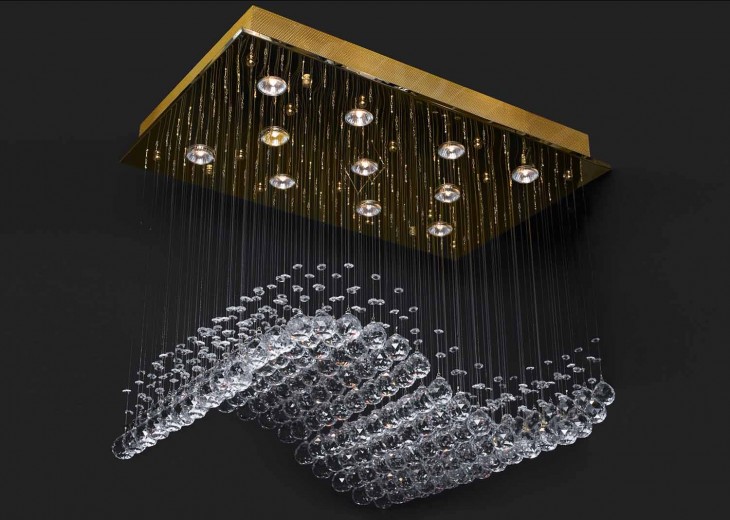
Creating an extravagant chandelier
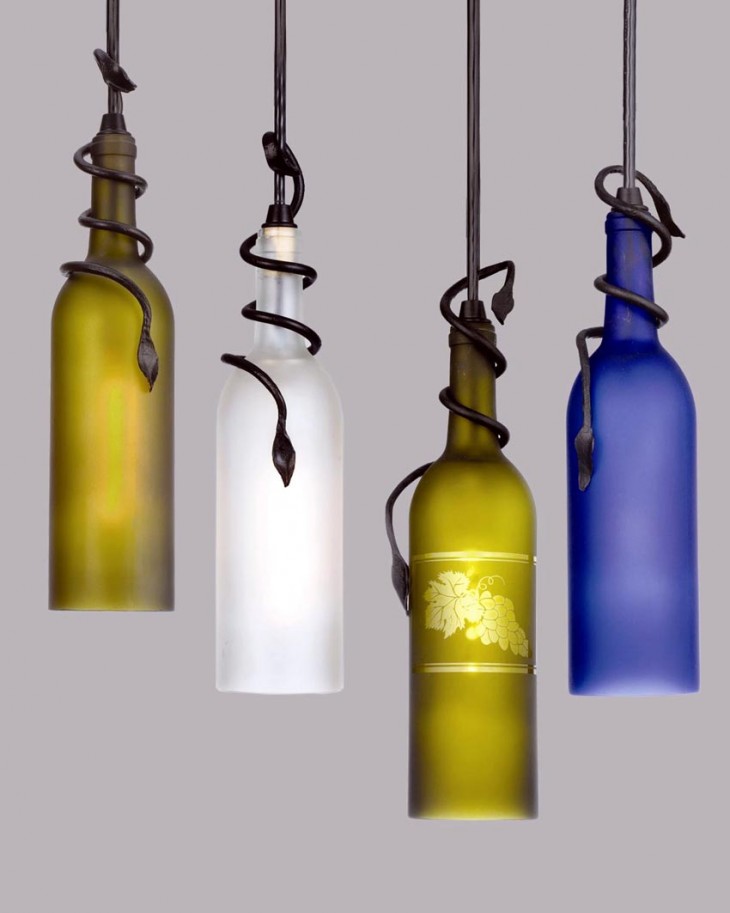
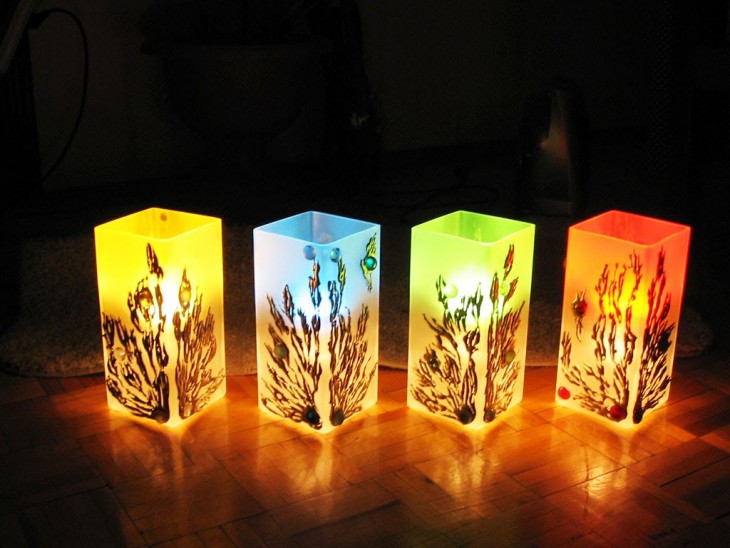
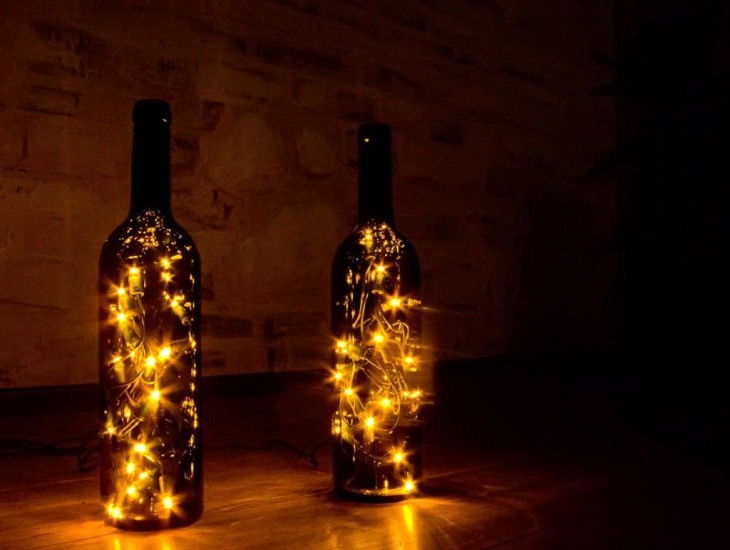
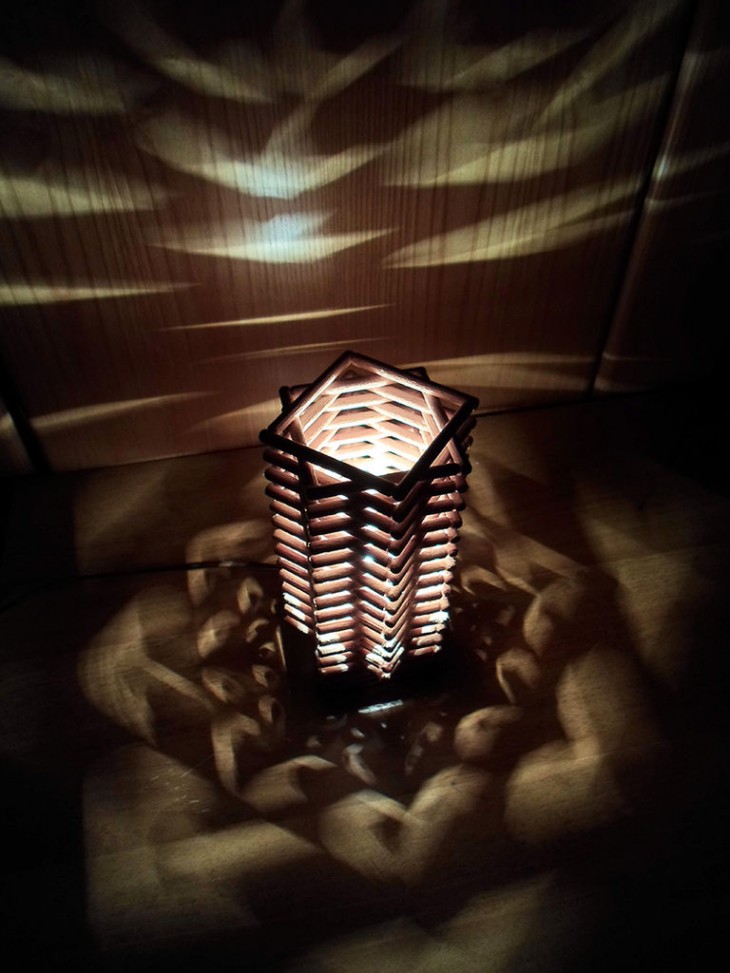
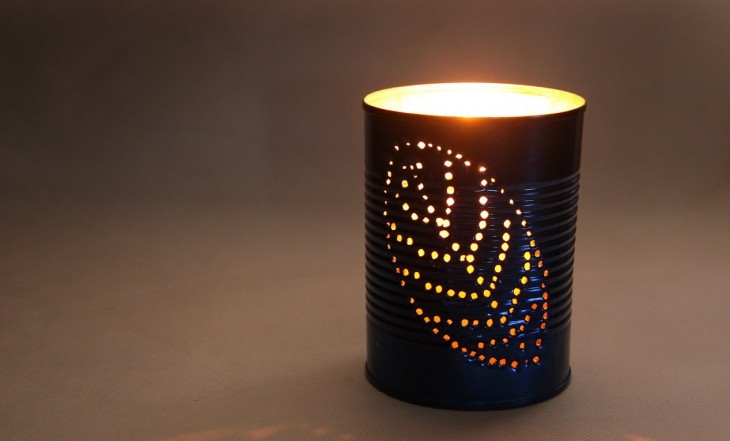
A very original thing is obtained from the simplest materials, the bulk of which can be saved after a picnic. Lamps from various containers will look spectacular.
For this you will need:
- oval plastic bottle with a capacity of 5 liters;
- disposable spoons;
- cable with chuck and plug;
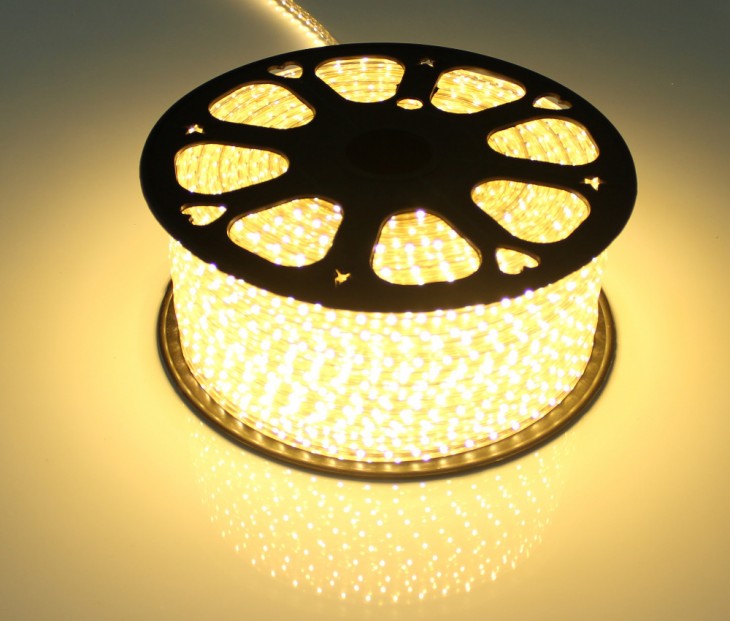
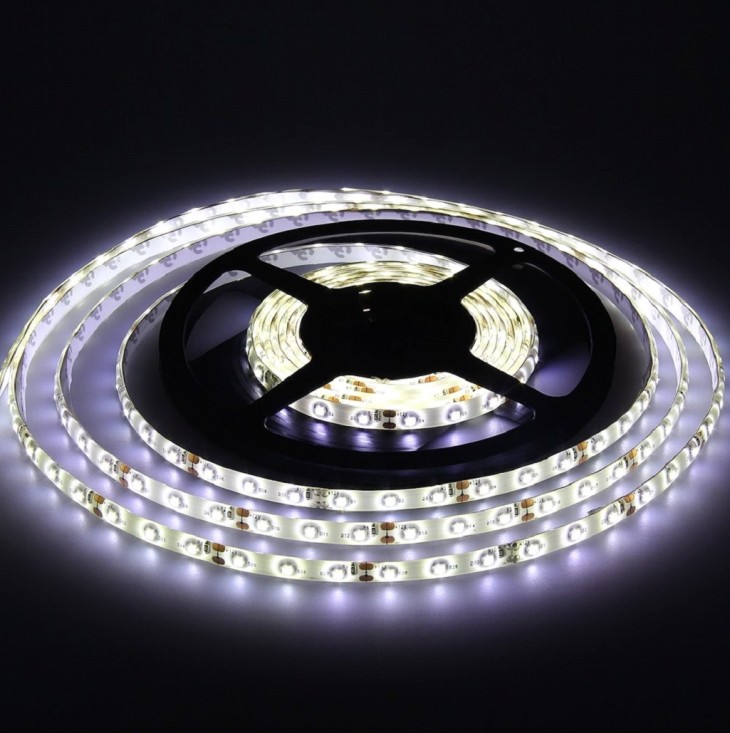
- low power LED lamp;
- pliers;
- glue gun;
- screwdriver;
- stationery knife.

To avoid fire, use only the LED bulb!
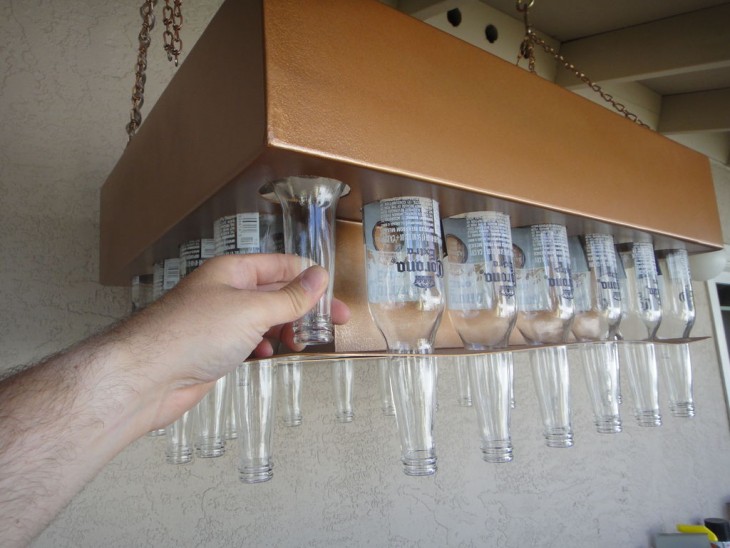
Carefully cut the bottom of the bottle with a knife, then remove the handles from all plastic spoons. In place of the cut, apply a small amount of hot glue from the gun, stick them on the bottom of the container.
Approximately you will need about seventeen pieces. Place the next and other rows in a checkerboard pattern.
In order to hide the neck of the bottle, put ten to twelve spoons without a handle on the glue so that they form a ring.
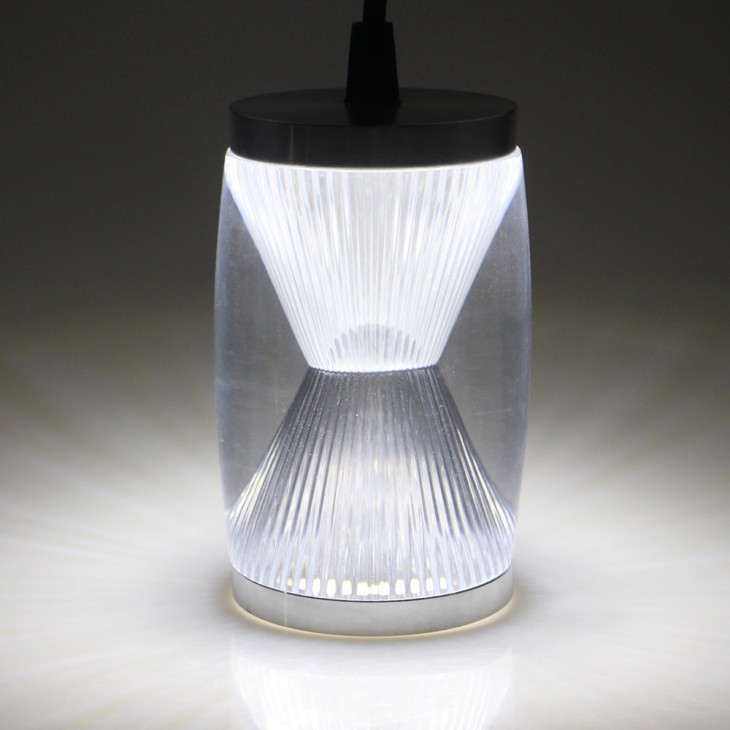
Pull the lamp holder and cable through the hole at the bottom of the bottle.

If there is no desire to make this part with your own hands, it is possible to purchase it in any department of household goods - the wire, cartridge and plug are already connected together.
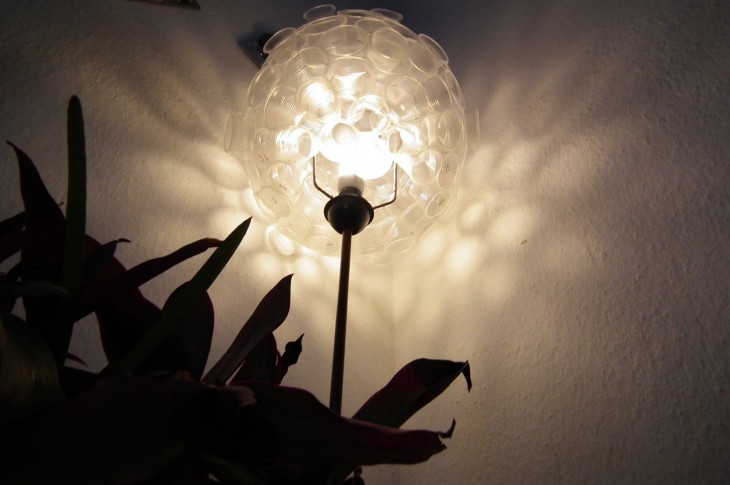
In the lid, make a hole for the cord by drilling it with a drill or a hot self-tapping screw. Screw the lid on, put on the previously prepared ring from the spoons. Exclusive LED luminaire ready for use.
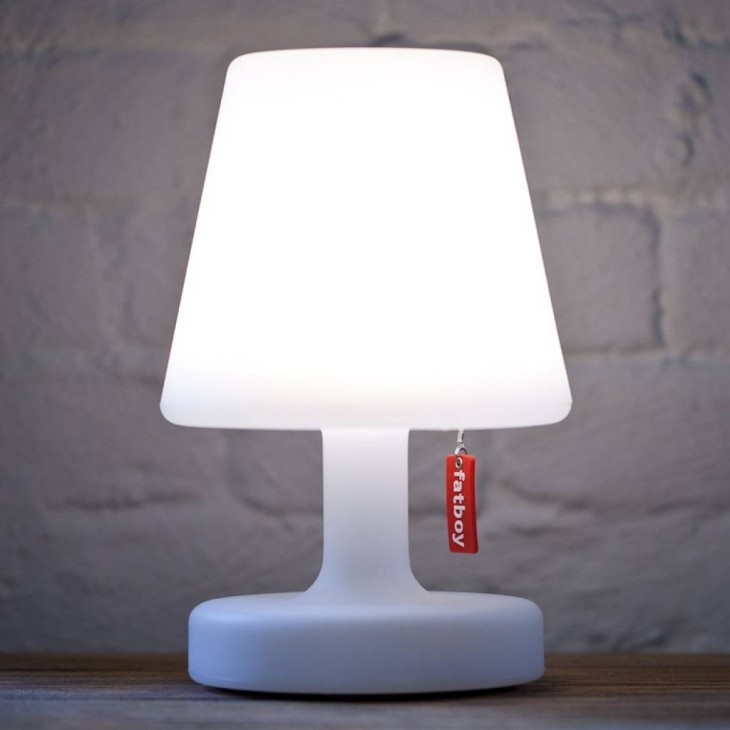
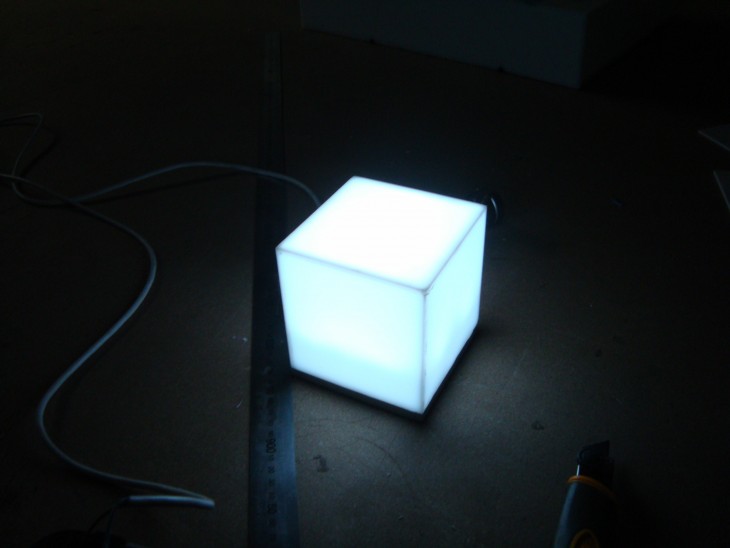
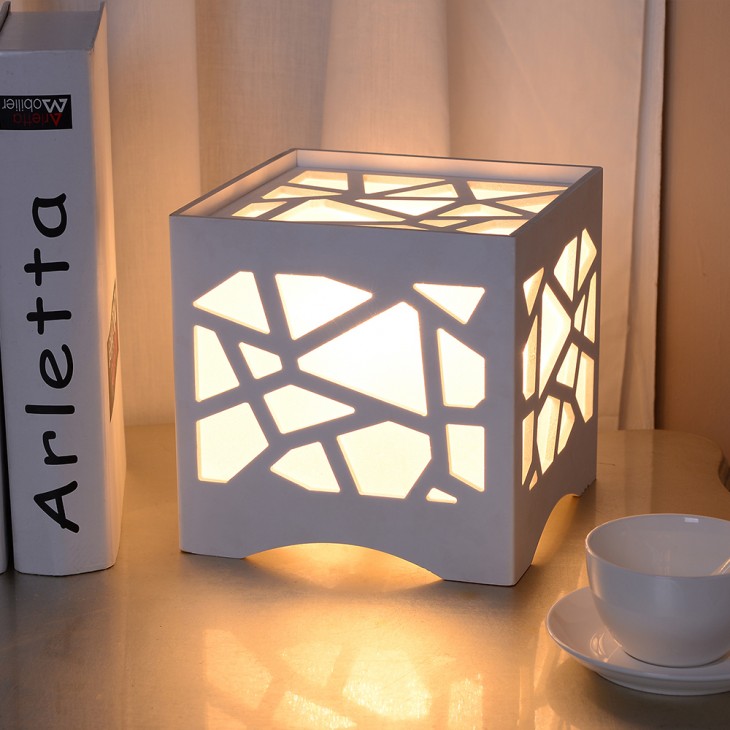
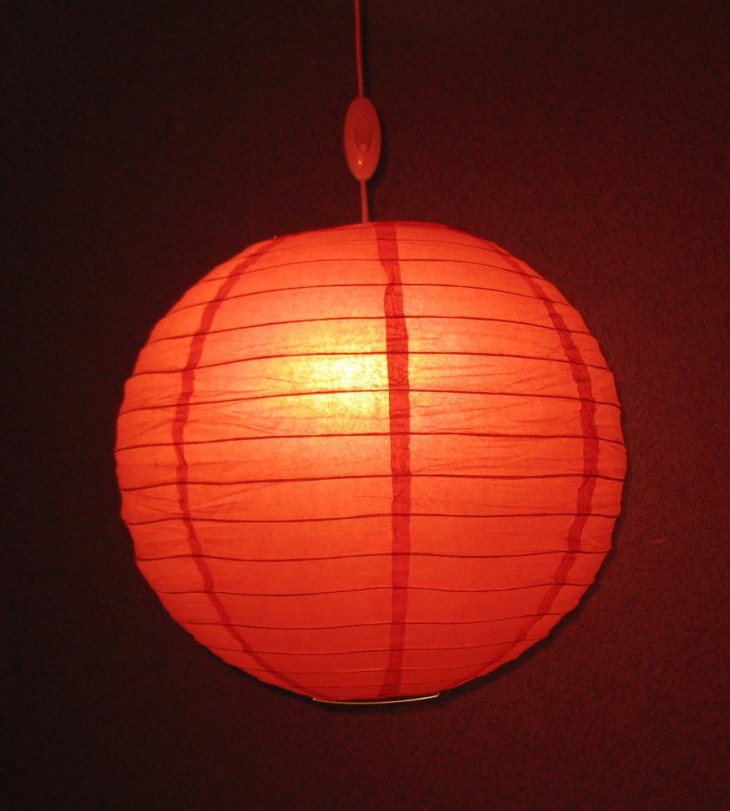
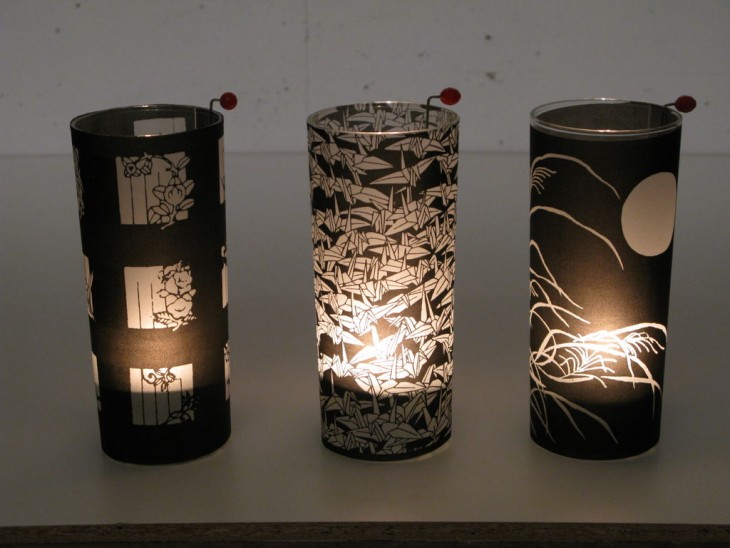
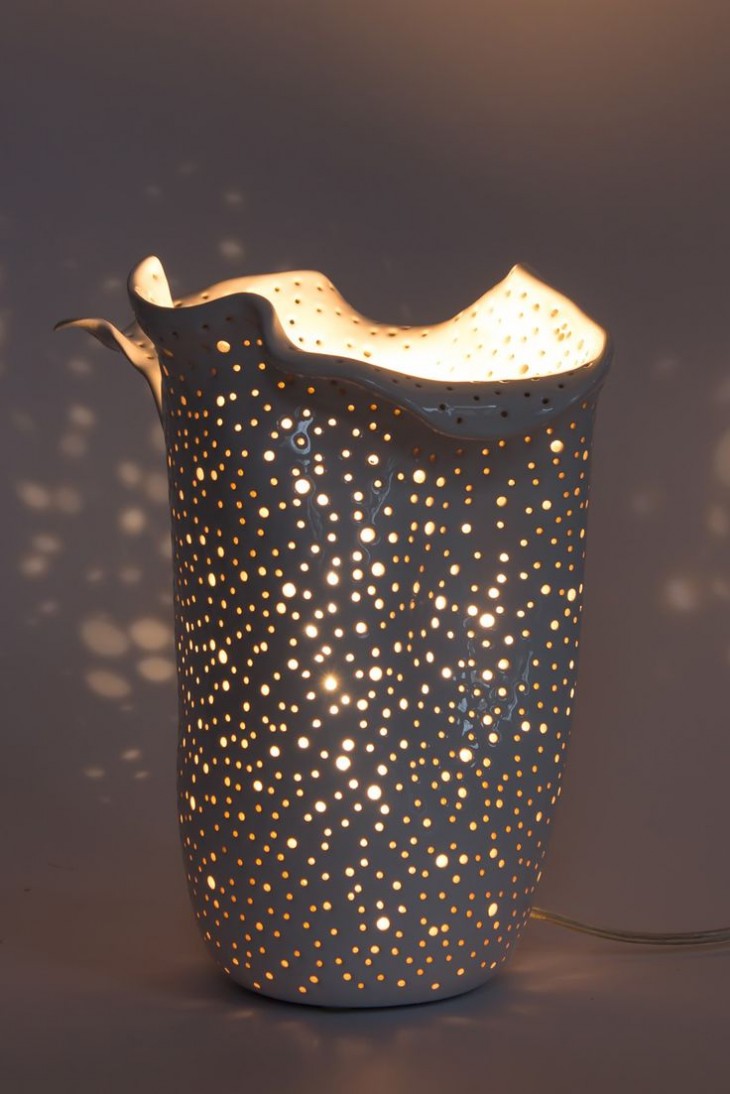
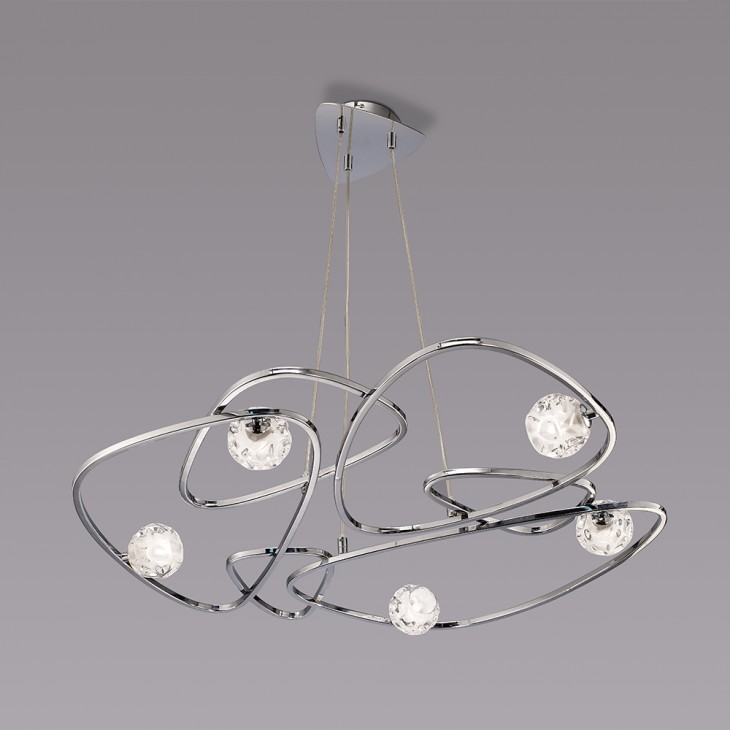
A few ideas for creating lampshades
Simply create a lamp from improvised materials for the house or cottage.
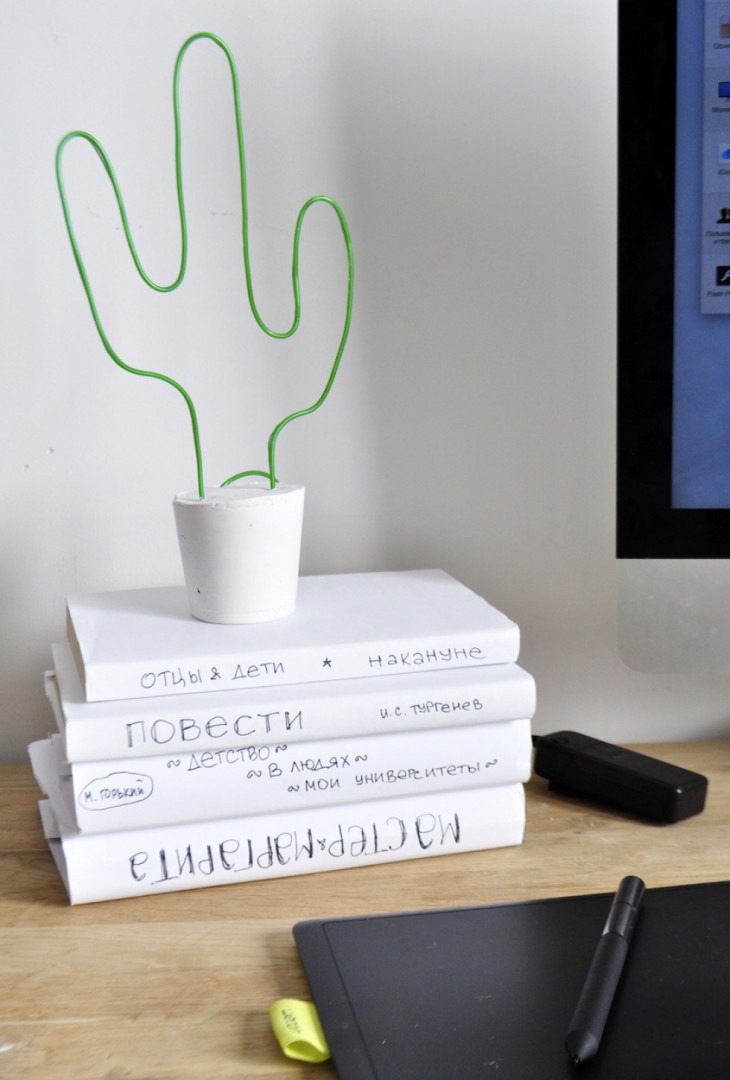
Idea N1
- any hollow dishes (it can be an old pot or a flower pot);
- wire;
- polyurethane foam and gloves;
- paint and brush;
- sharp knife;
- pliers.
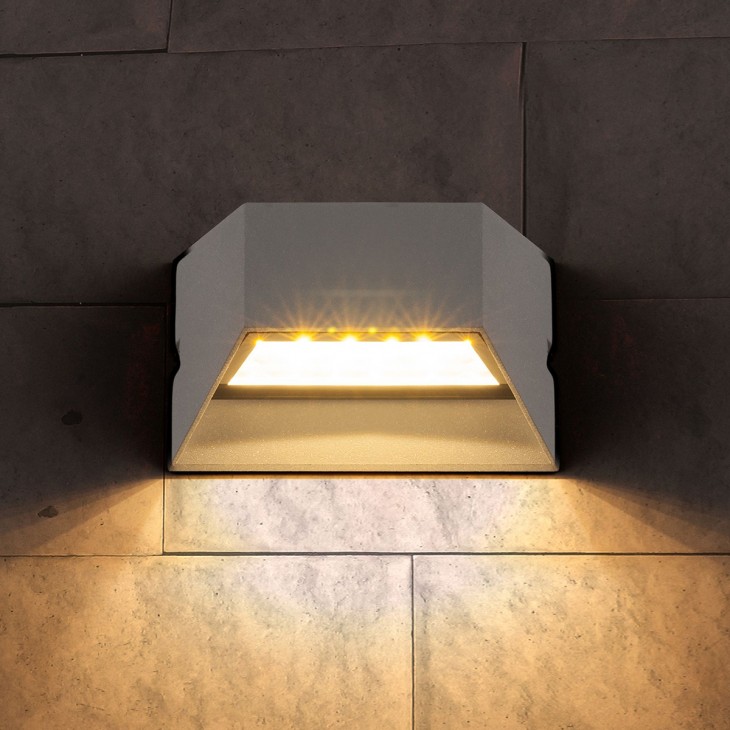
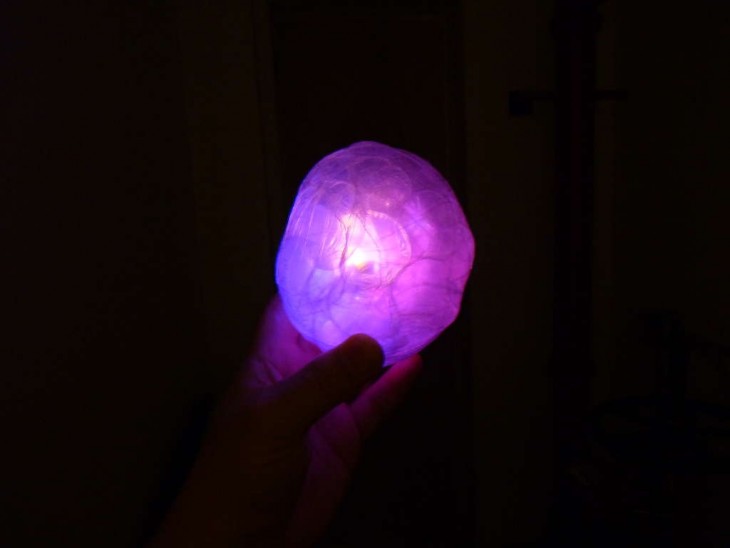
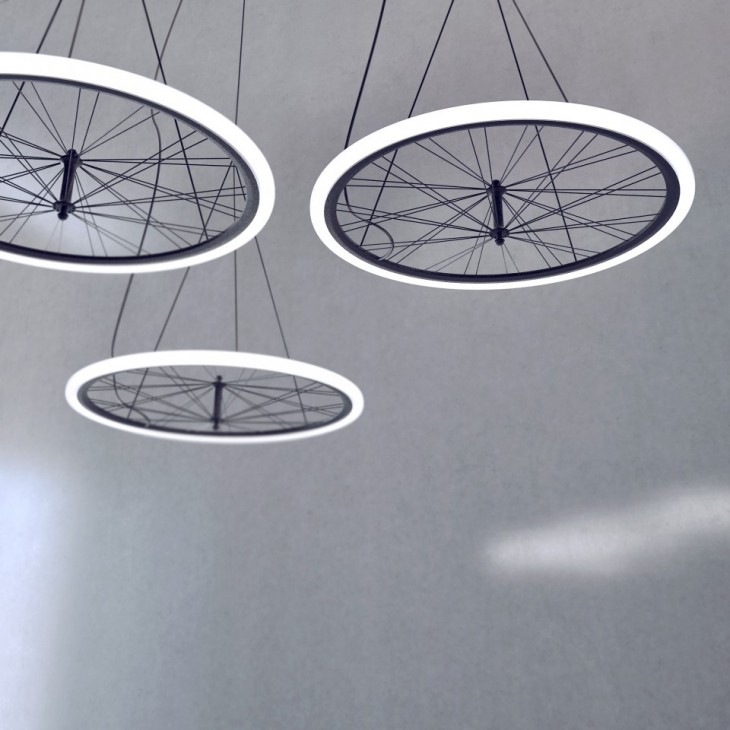
The object, taken as a basis, place the bottom up. Wind the wire on the product the way you want to see the lampshade, since all the turns copy its shape. Put on gloves and squeeze the foam a little on the frame so that it completely covers the wire, leave to dry.
Then with a knife, give the contours more evenness and paint in any color. This option will be best for a street lamp.
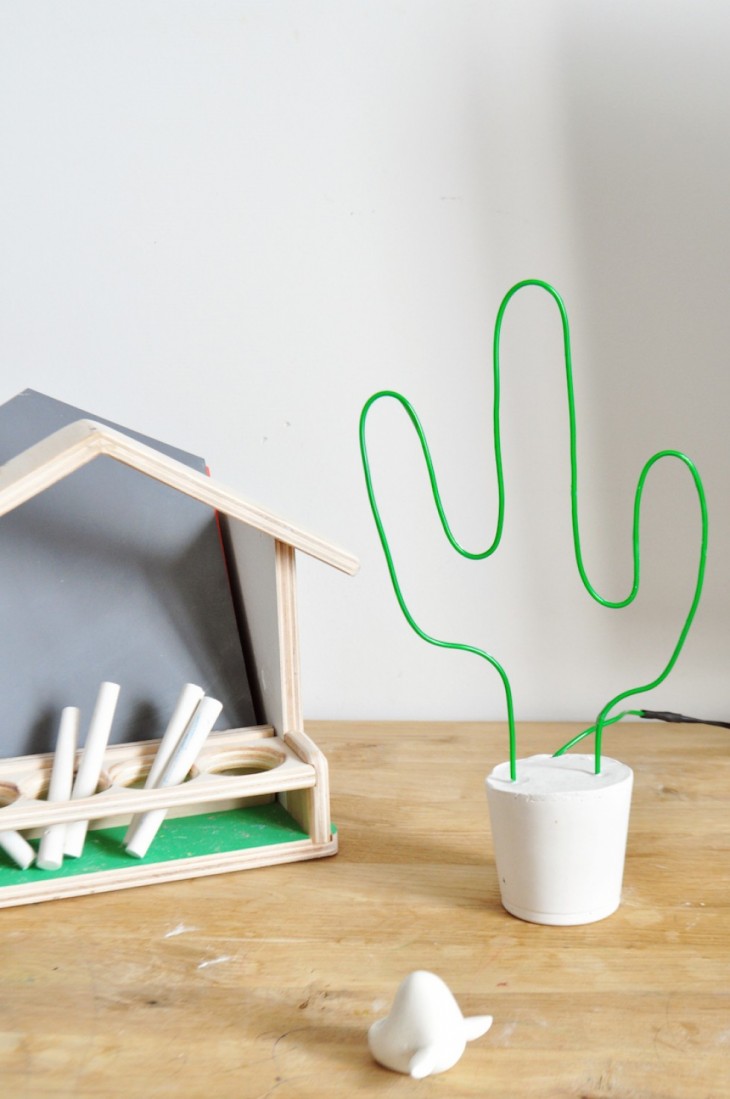
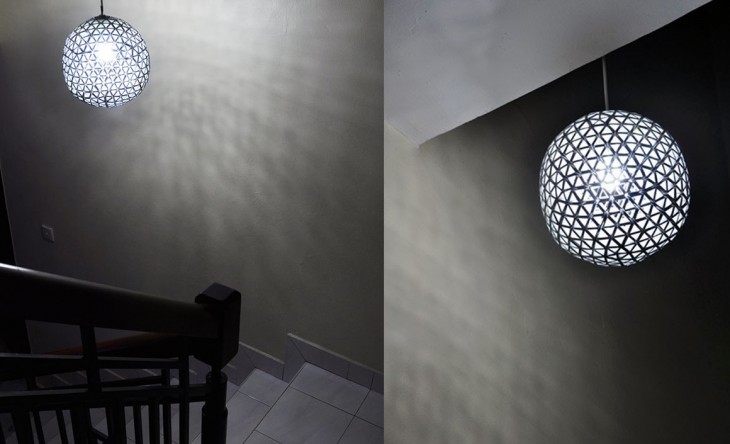
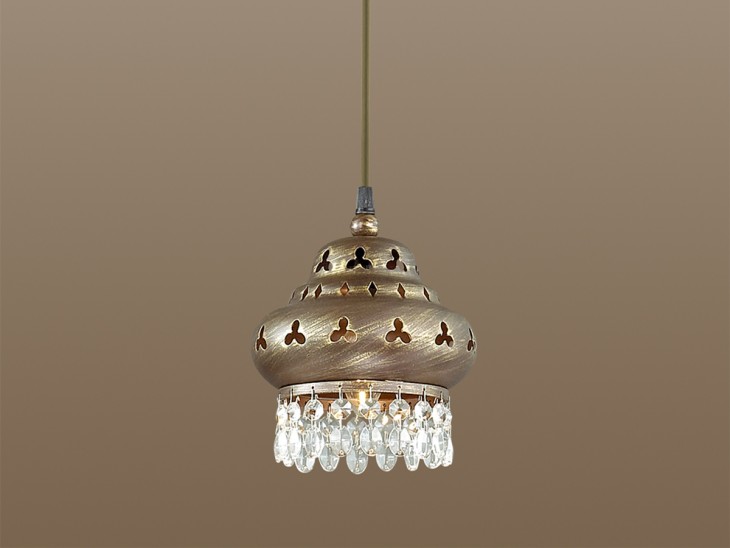
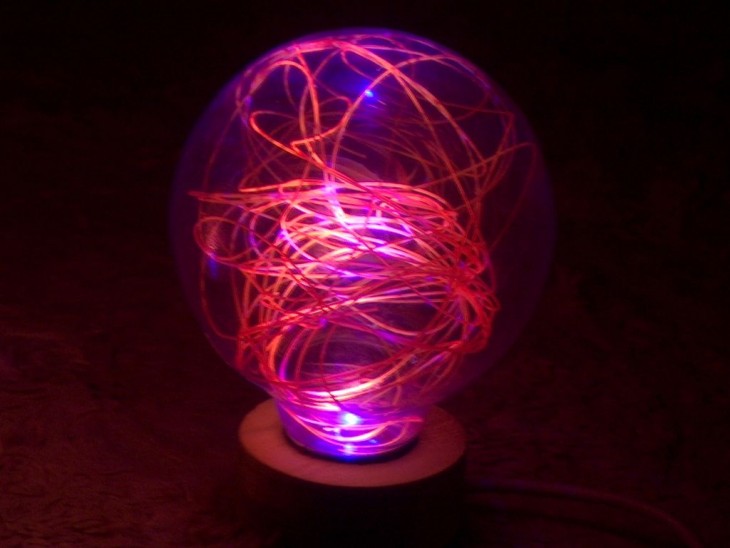
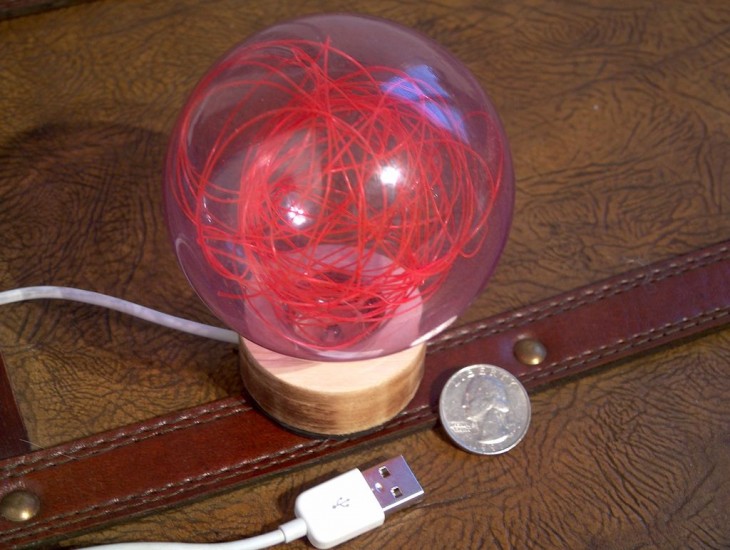
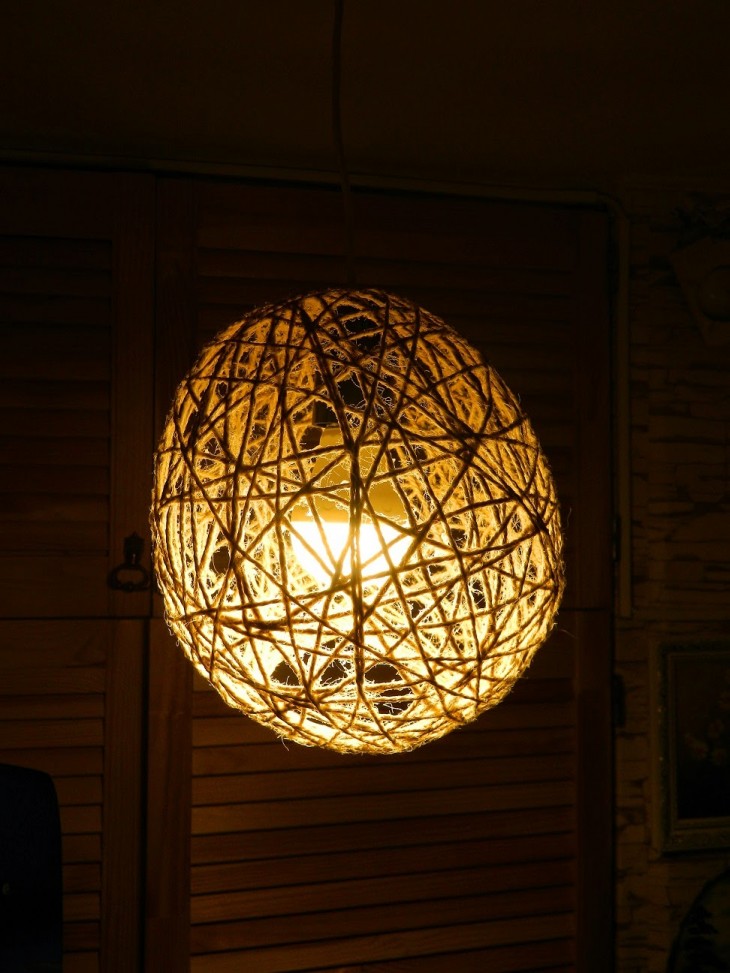
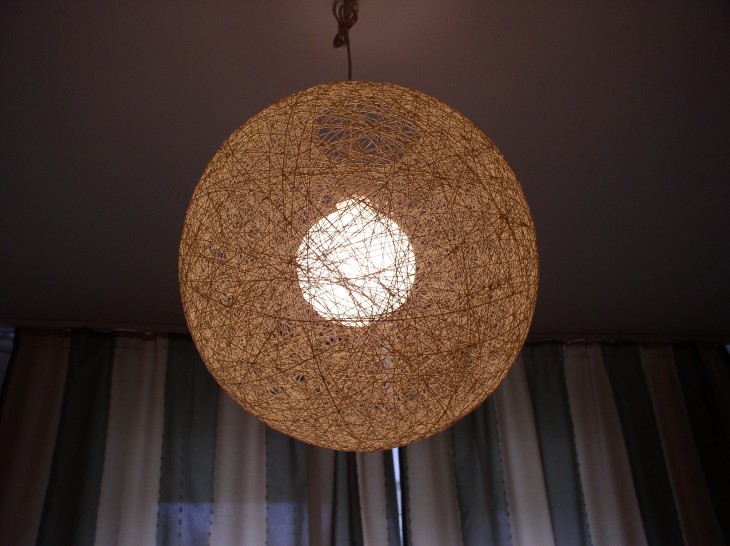
Idea N2 - Classic
- thick wire;
- pliers;
- a small bottle of water.
Note!

To make the upper central element, wind a wire around the bottle, then remove it and cut off the excess. The ends must be fixed so that they form a ring the diameter of which should allow the cartridge to pass through at the bottom, and at the top - not allow it to come out.
Next, from the wire you need to make a large outer ring. To fix it, you will need four equal pieces of wire. Connect one edge of each with a small one, and the other with a large ring. The upper part of the lamp is ready.
The largest will be the lower circle of wire, it must be attached to the second upper one, evenly placing five identical pieces of wire.
To decorate the frame through the second upper ring, thread the wire, giving it a wavy shape, wind on the base. Draw the bottom ring in the same way.
Cover the lampshade with fabric, it is recommended to do this directly on the frame. The seam can be taped. So, in skillful hands, ordinary things turn into a work of art.

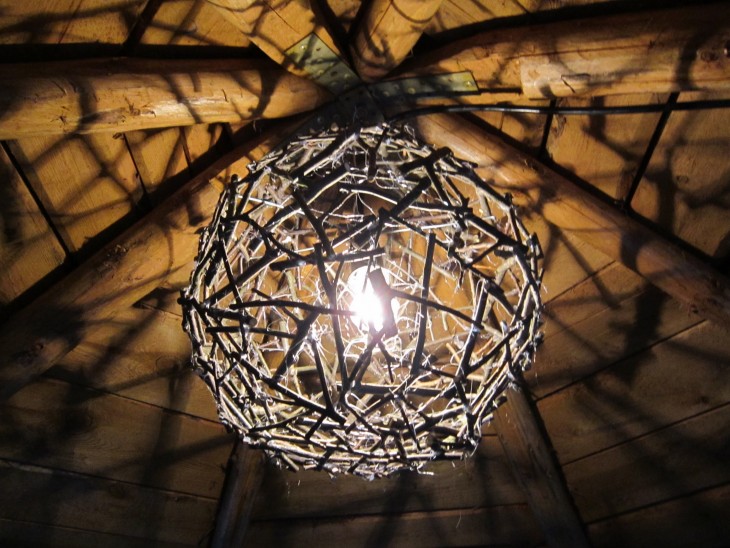
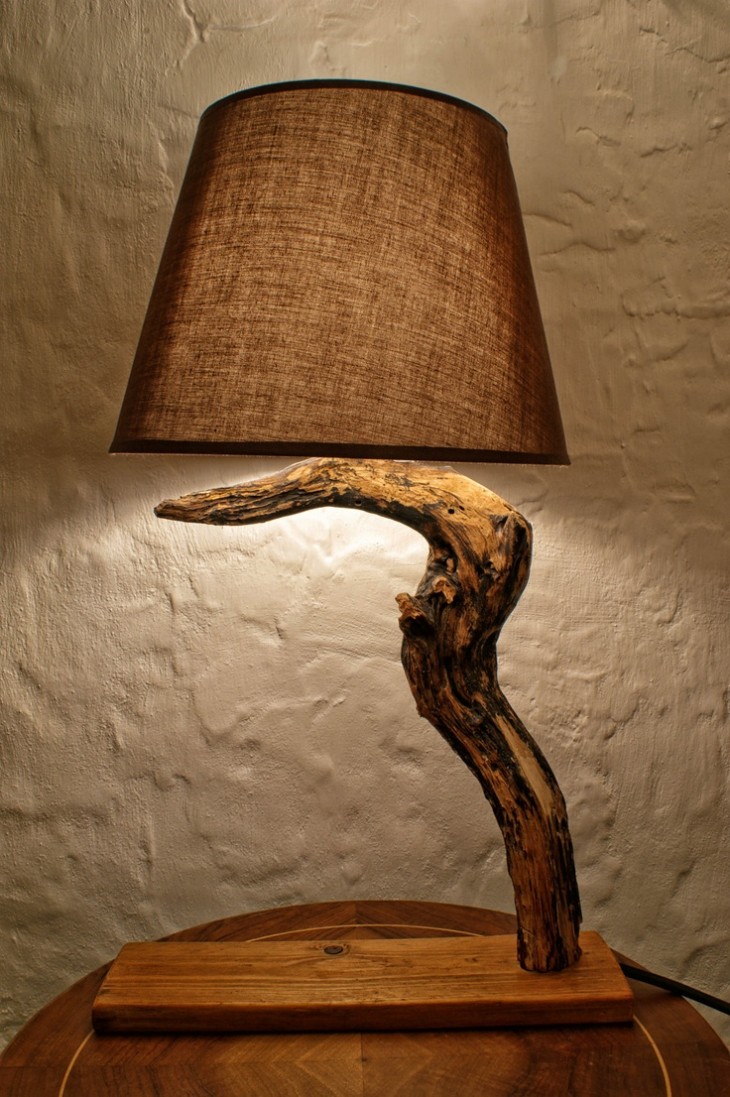
Note!
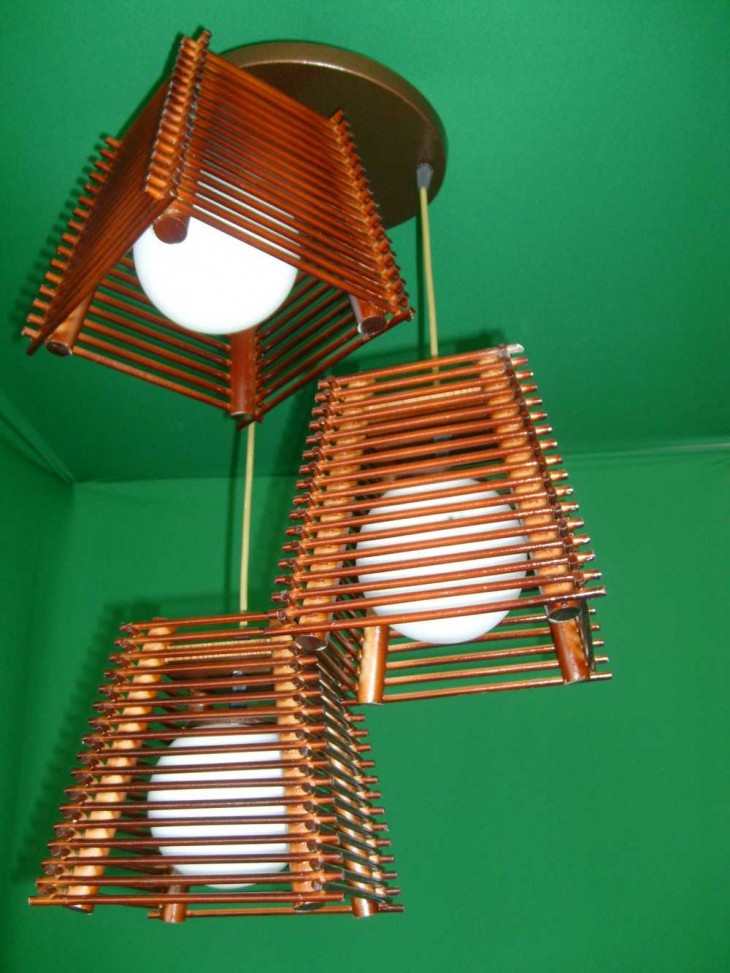
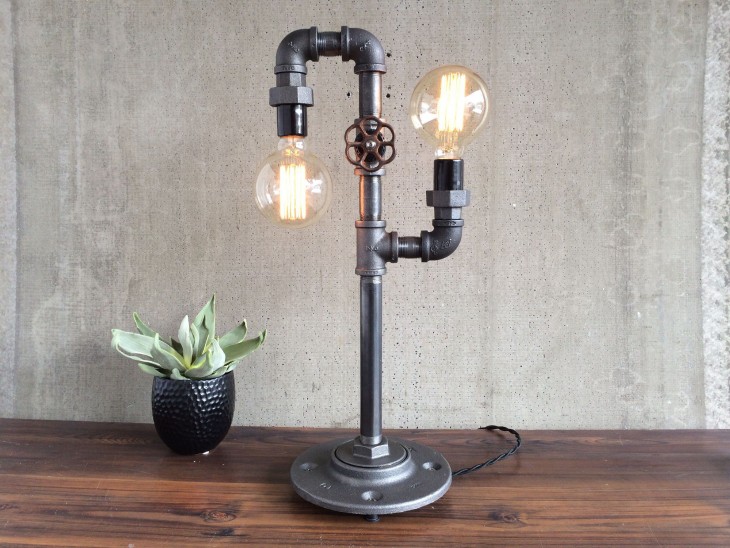
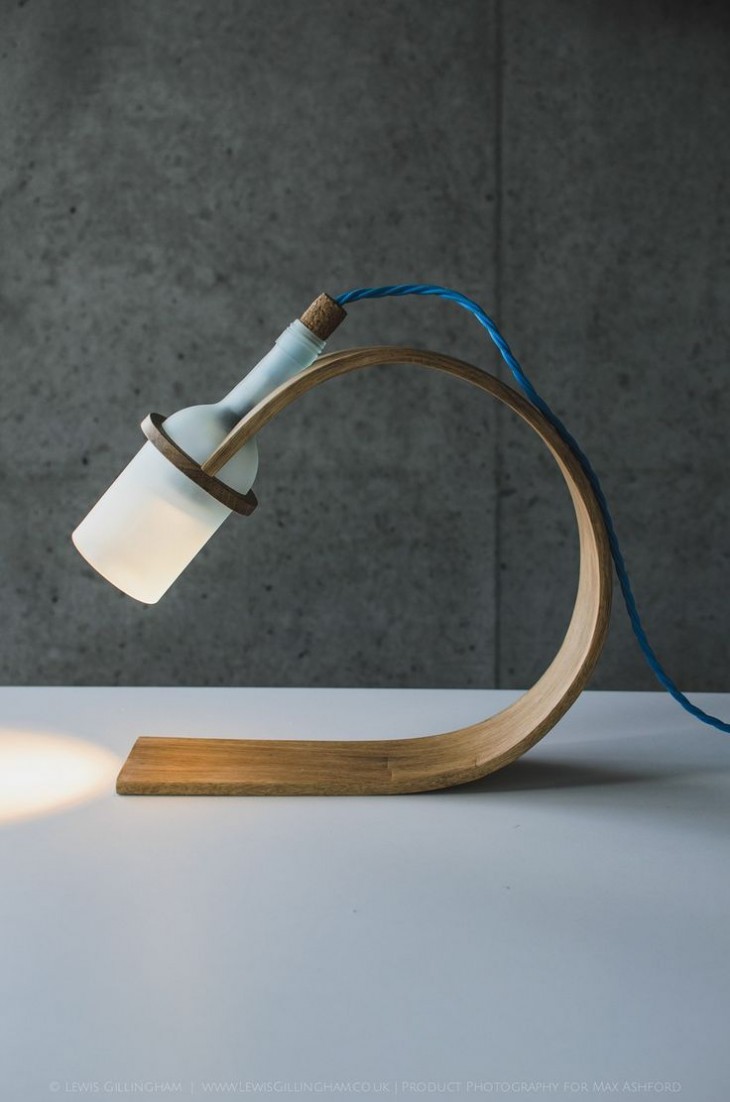
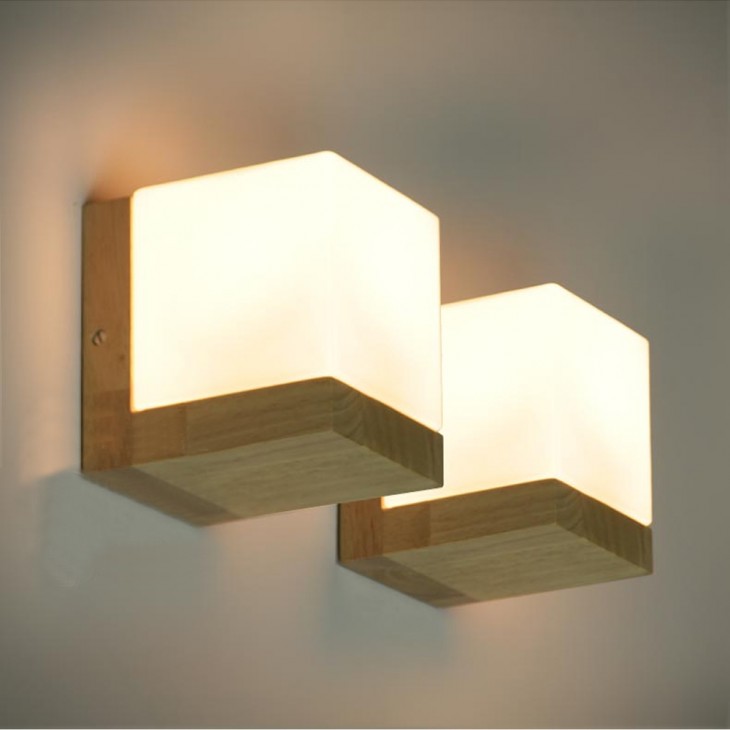
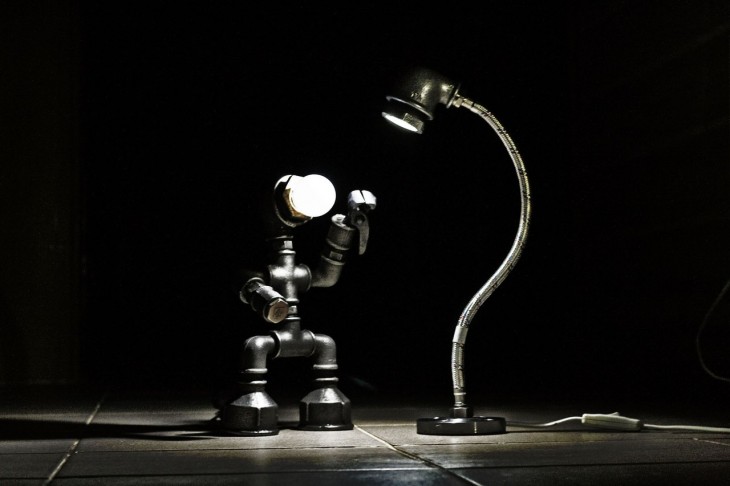
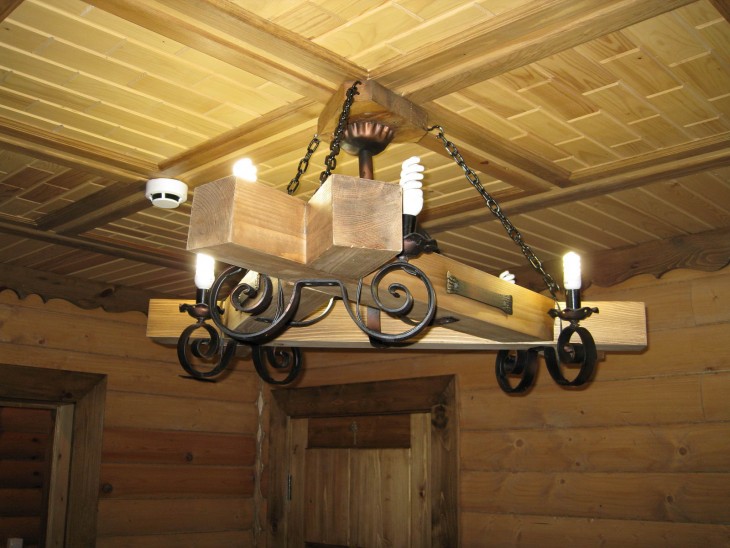
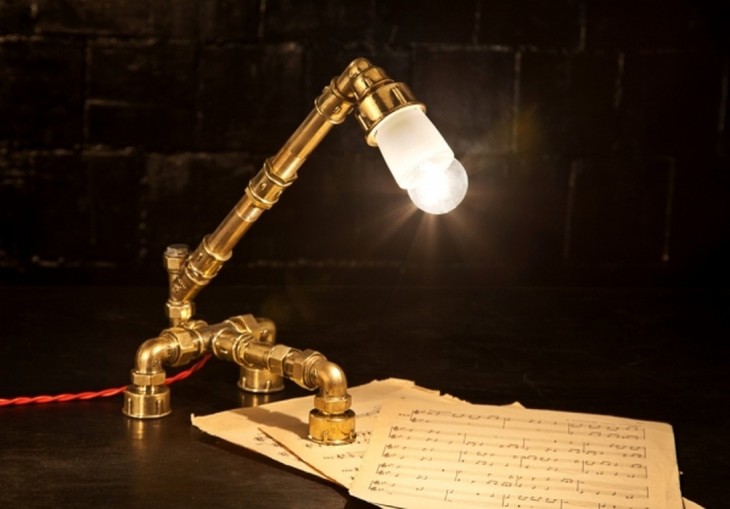
Take a branch with an interesting shape for a walk through the forest; an excellent lamp made of wood will come out of it. Wash the branch and with a knife peel off the bark from it, cover it with varnish for the tree. For good stability, screw the lamp to a heavy stand with screws, it can also serve as a tree.
A better option is oak, find a broken branch and saw off a circle of at least five centimeters thick from it. It is also varnished or painted.
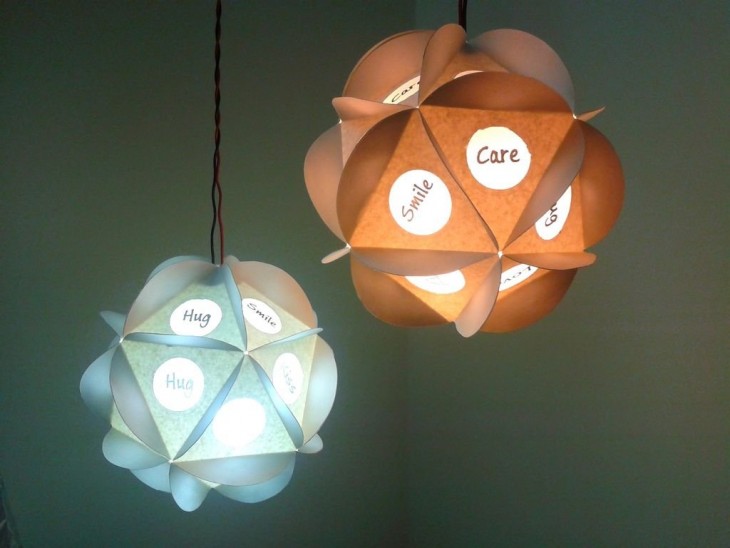
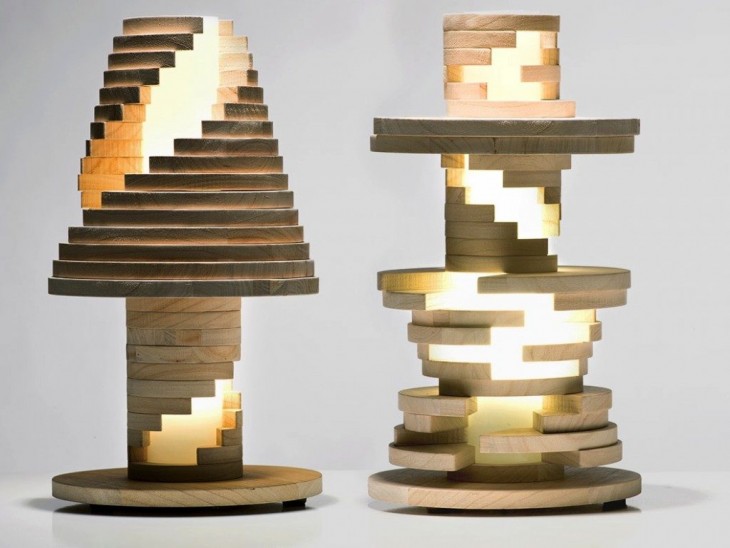
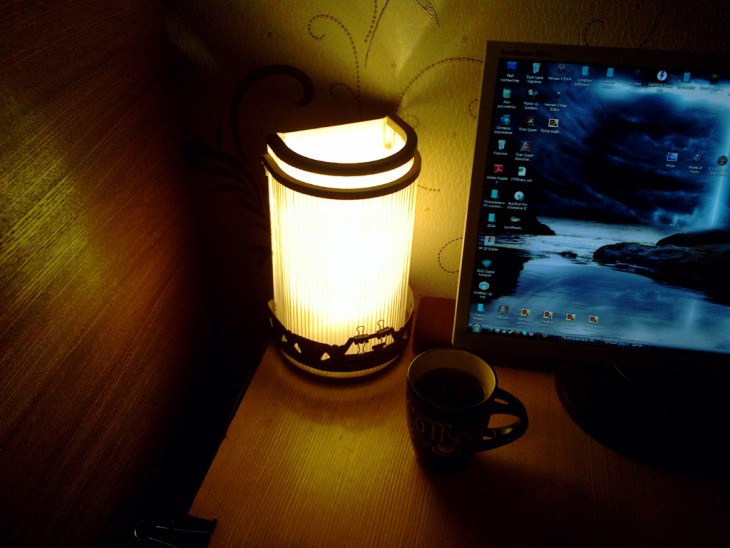
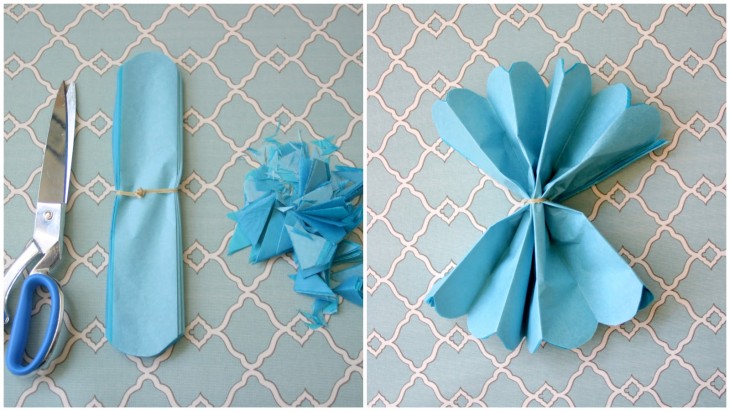
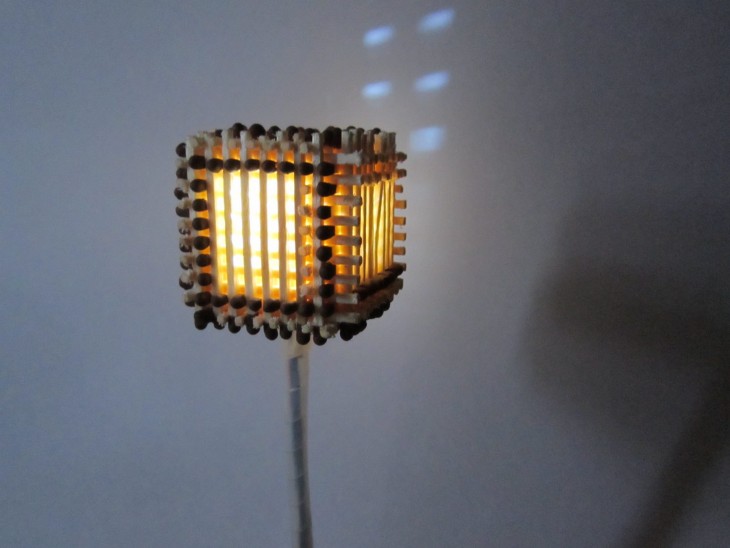
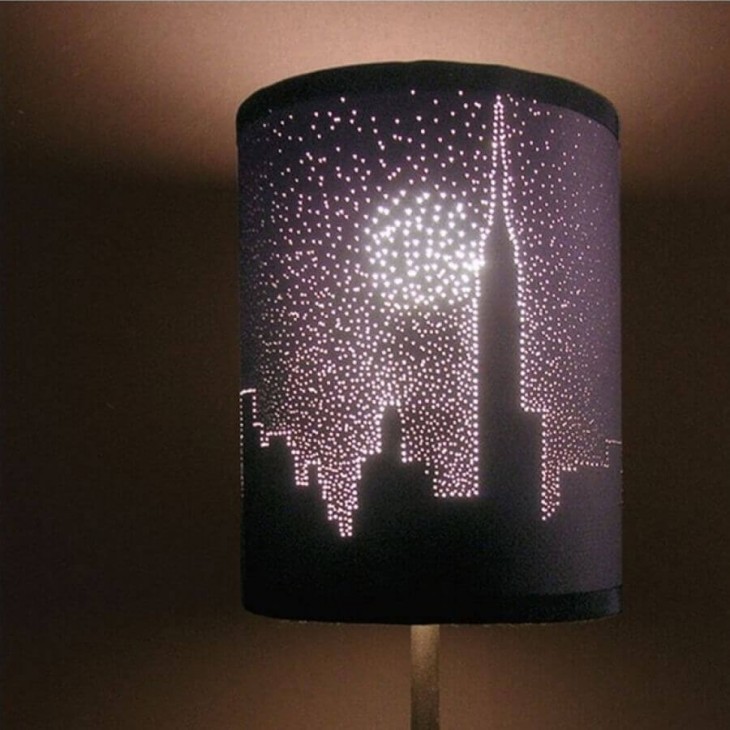
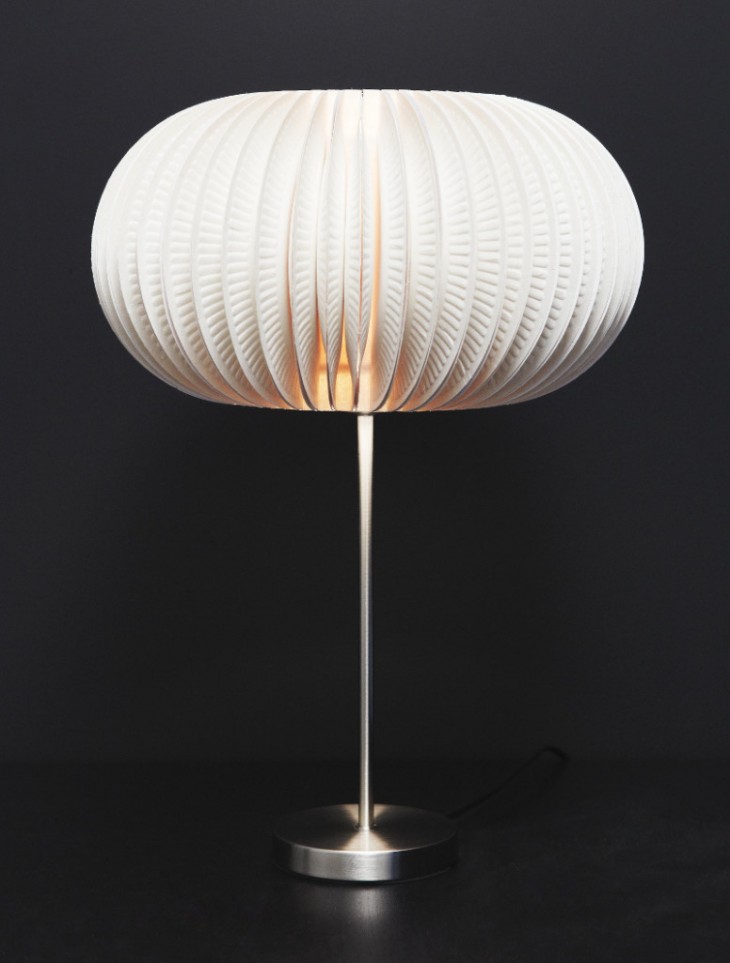
Making a lampshade with children
There is an option of making a lampshade with children. The frame will require a canister or bottle with a capacity of five liters. You need to roll paper strips with a tube, it is best to wrap them on a pencil or a sushi stick, then glue the remaining edge with glue.
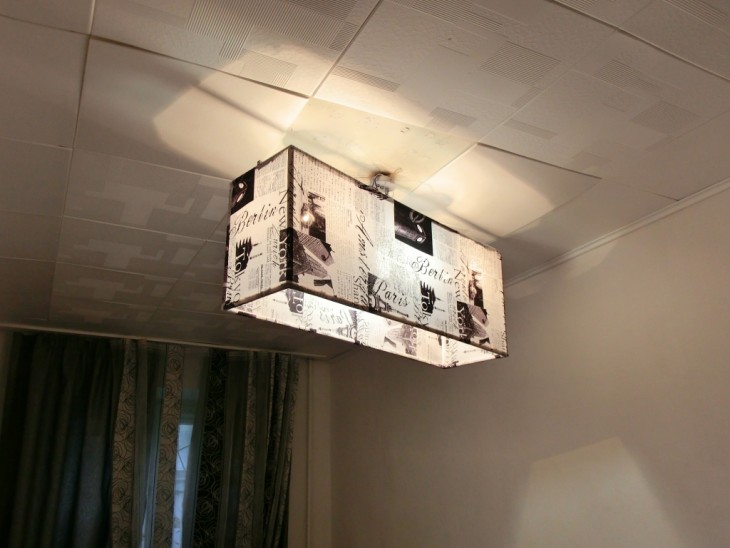
These blanks must be glued to the frame in several layers so that there are no gaps. When the glue dries, the lampshade can be put on a table lamp or make a ceiling lamp that looks very unusual.
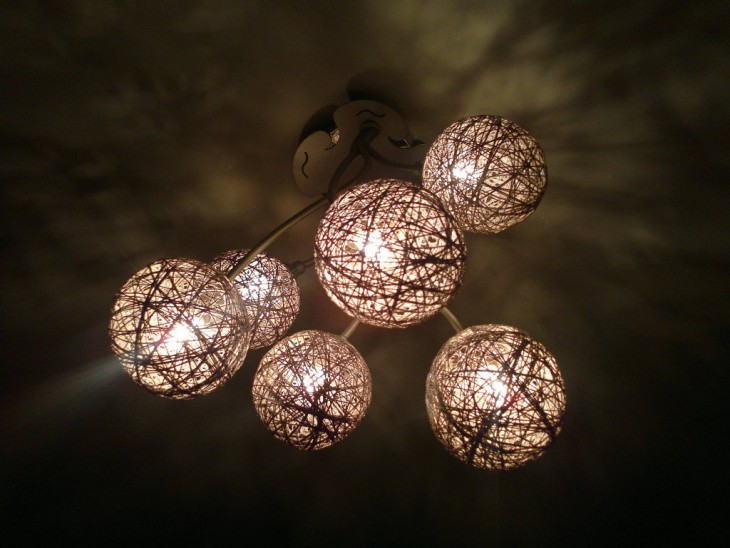
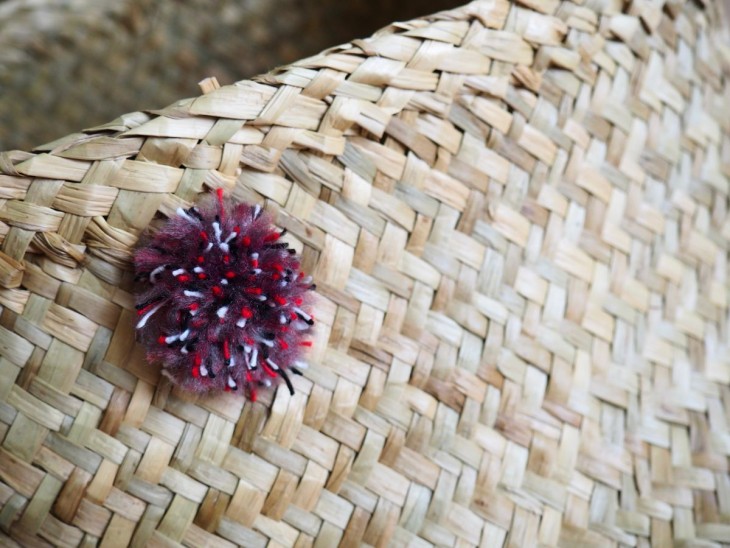
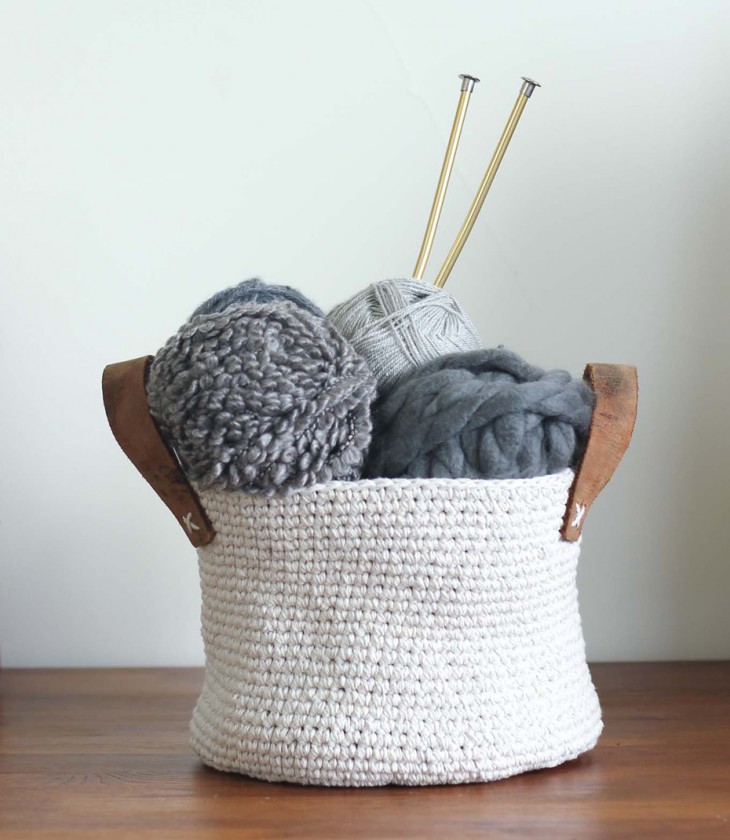
Experienced needlewomen can knit a lampshade with knitting needles or crochet, decorating it with knitted flowers, ribbons.
To give the product the correct shape, you can use a starch solution or ordinary PVA glue. Look at the proposed photos of knitted lamps, how much tenderness and comfort they have!
Note!
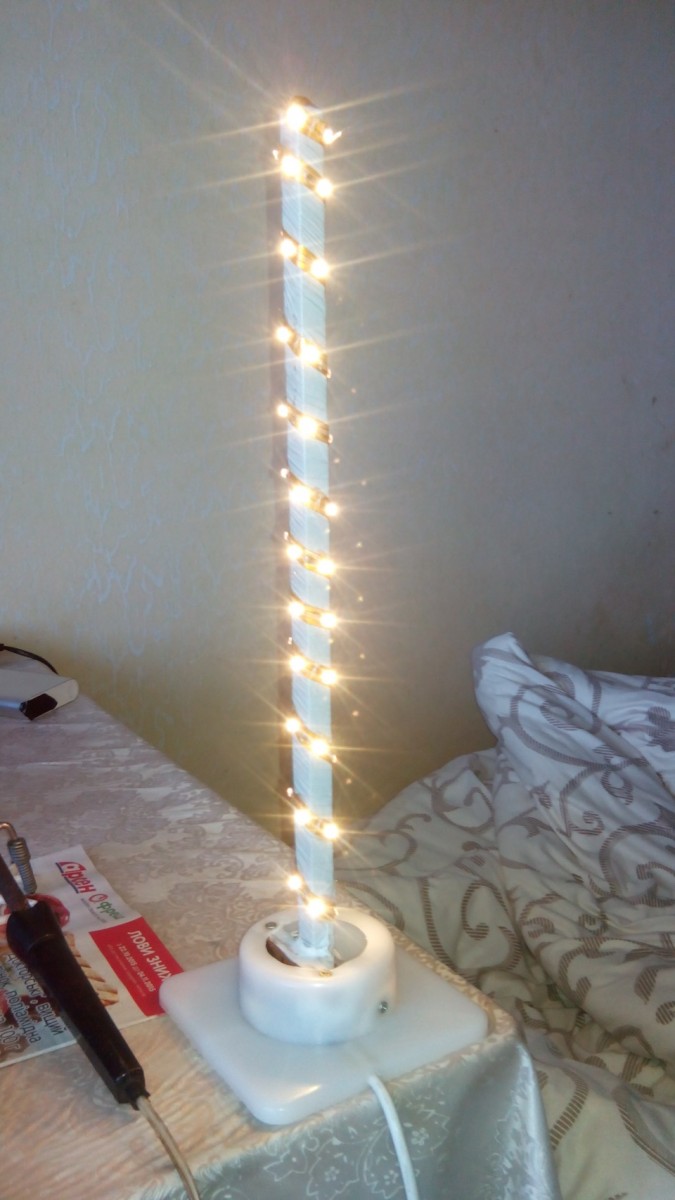
This article told you how to make a lamp yourself. Using the information received and your own imagination, now you can create an exclusive lighting fixture for any room.
DIY lamp photo

DIY birthday numbers - 67 photos of creating unique gifts
DIY bathhouse - 83 photos of a step-by-step demonstration of the entire construction process
DIY candy bouquets: 70 photos of creating caramel and chocolate flowers
Crafts in the kindergarten (76 photos): ideas of interesting crafts for children