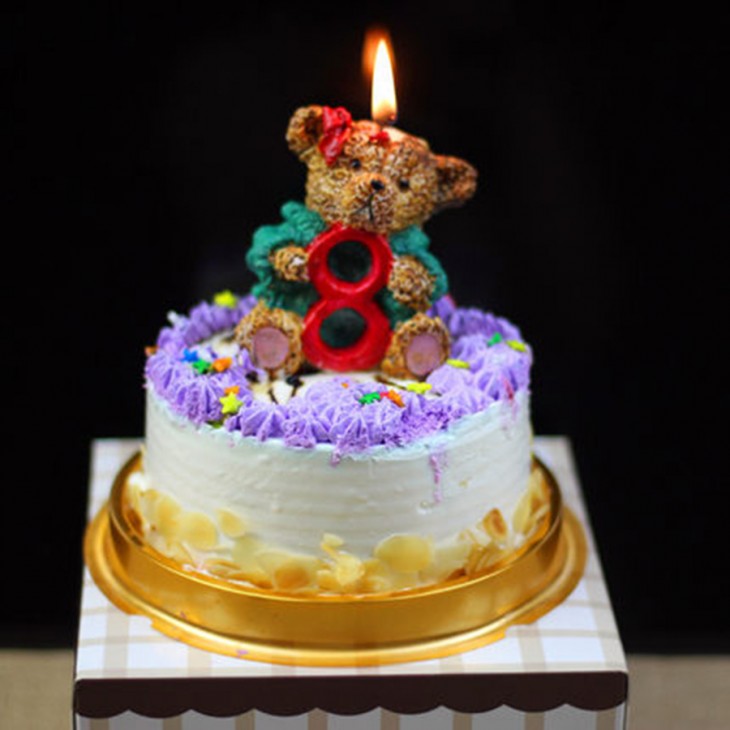
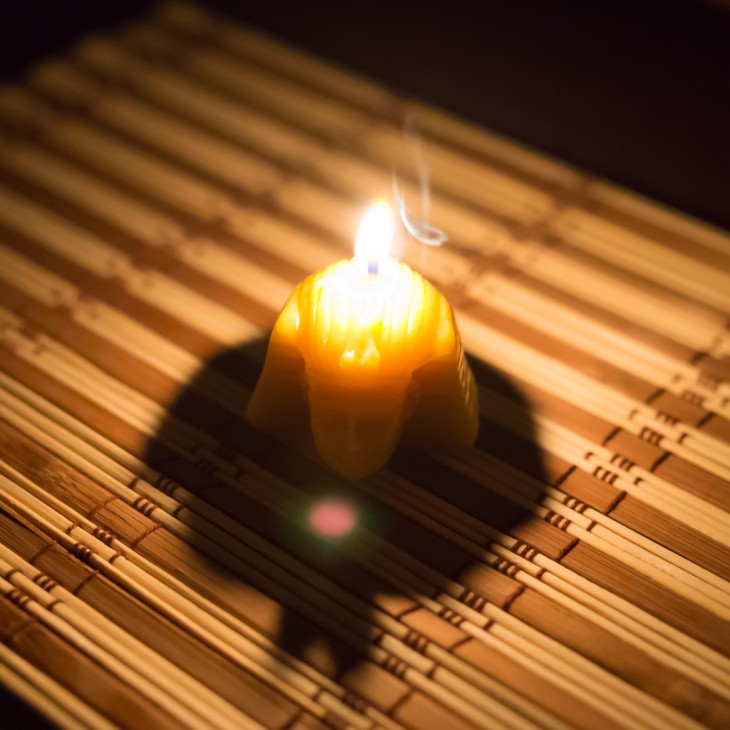
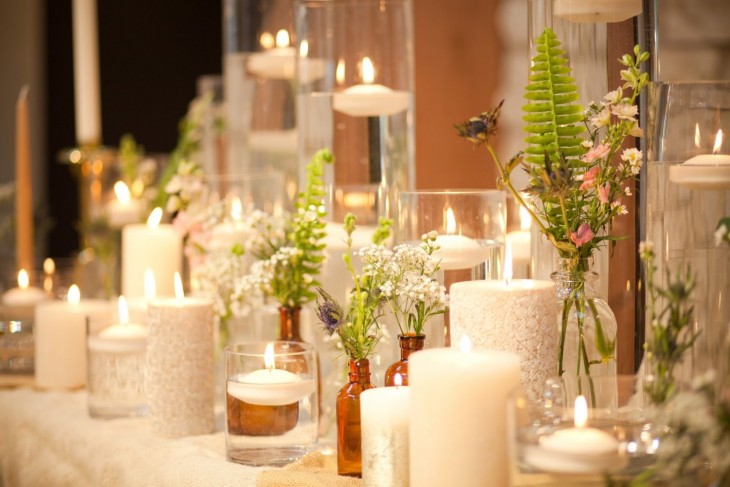
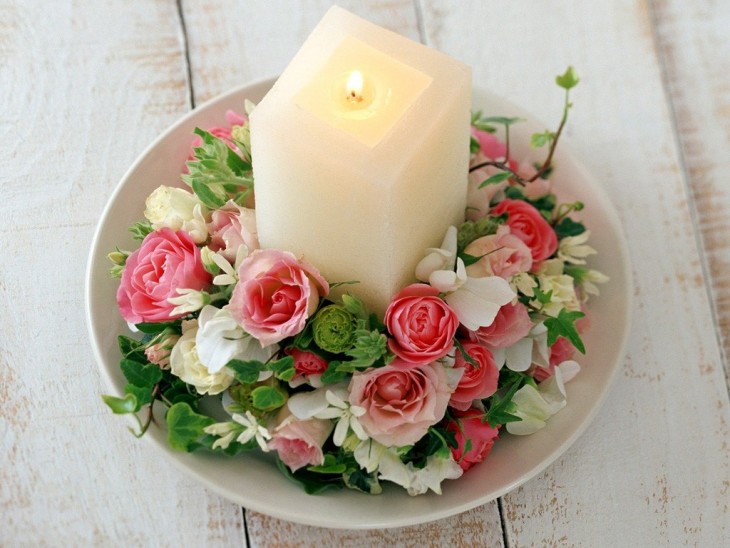
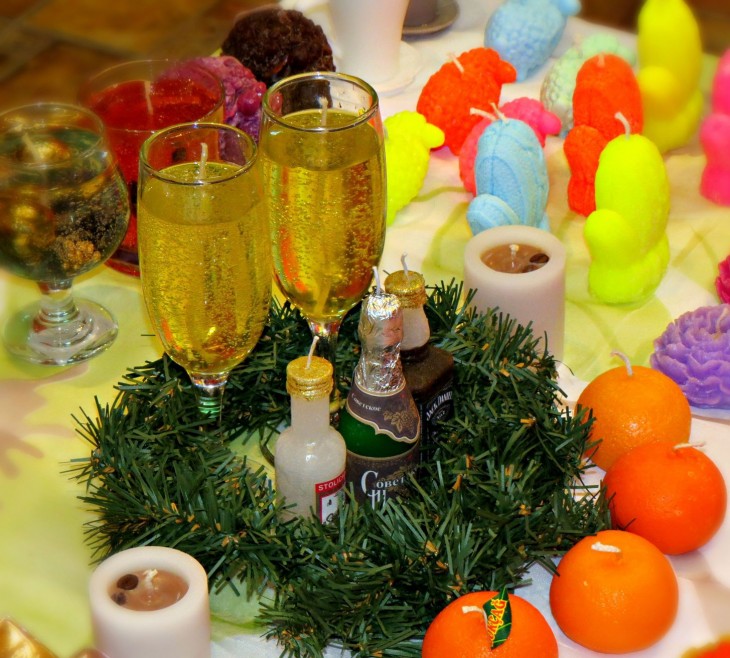
Decoration of the festive table, parts of the interior, magic wand in case of a sudden outage, a nice gift to loved ones. What is it? Candles made by hand!
Yes, yes, such an occupation also exists. Moreover, those who are fond of such a hobby get incredible aesthetic pleasure from this.
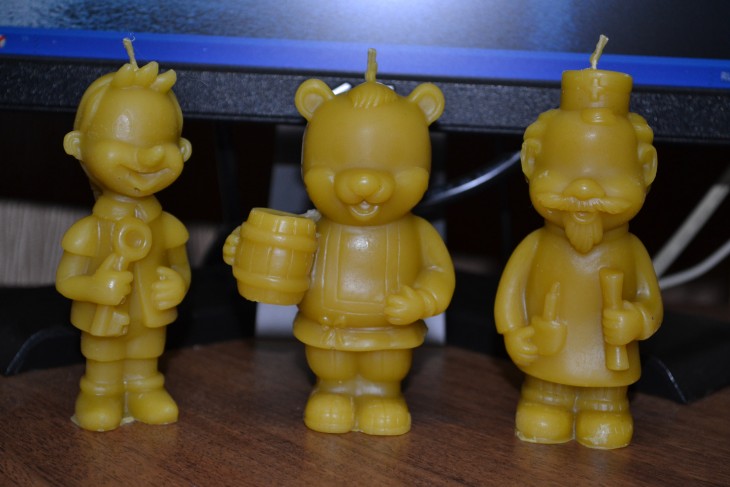
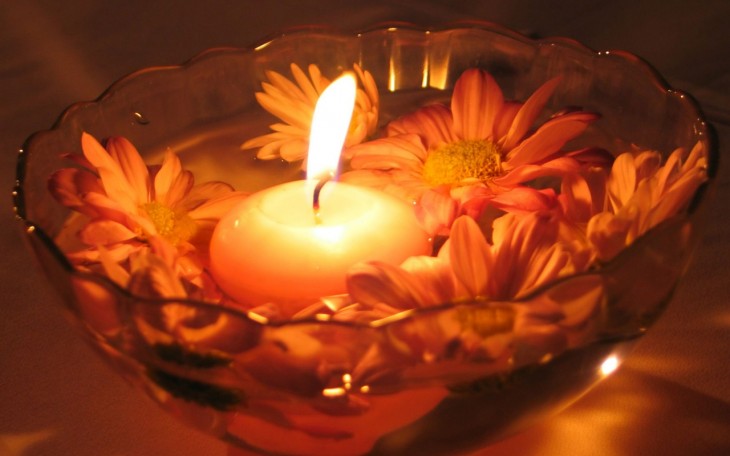
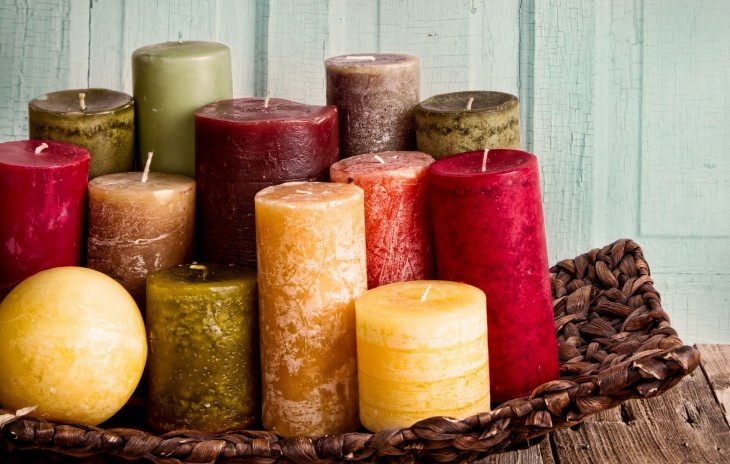
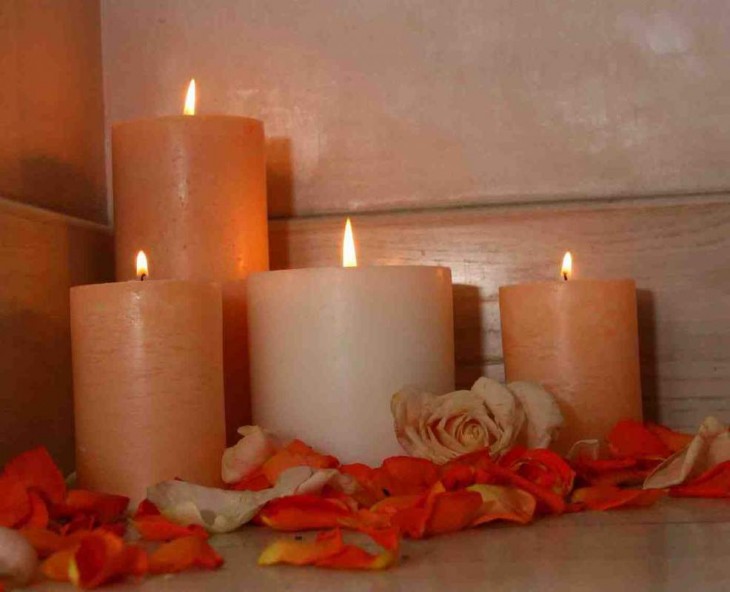
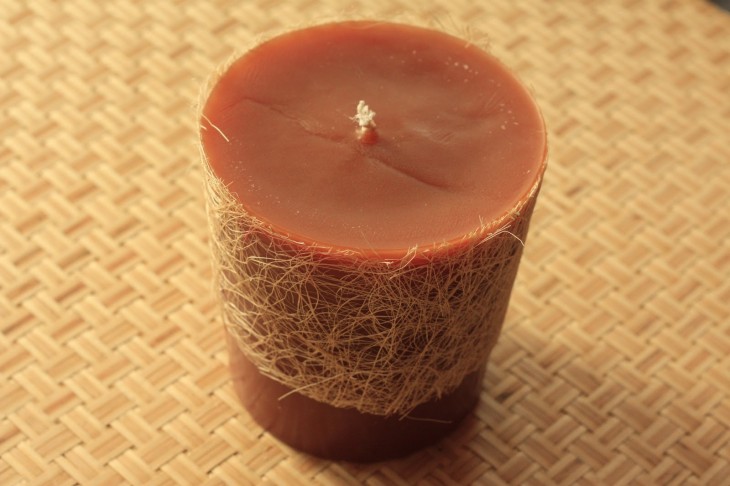
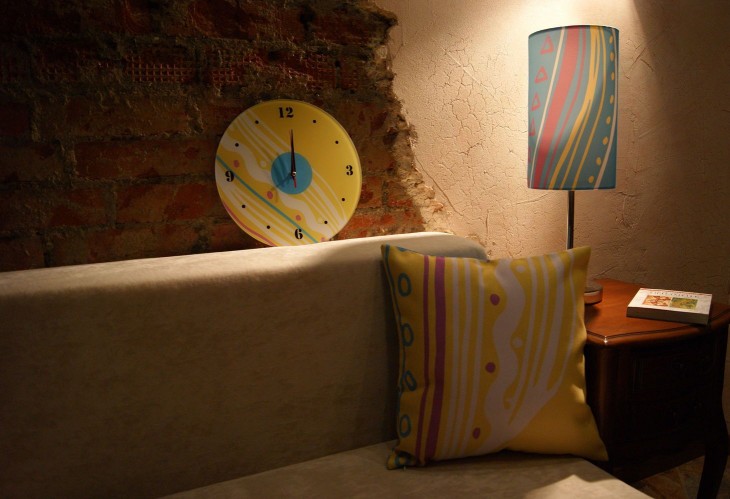
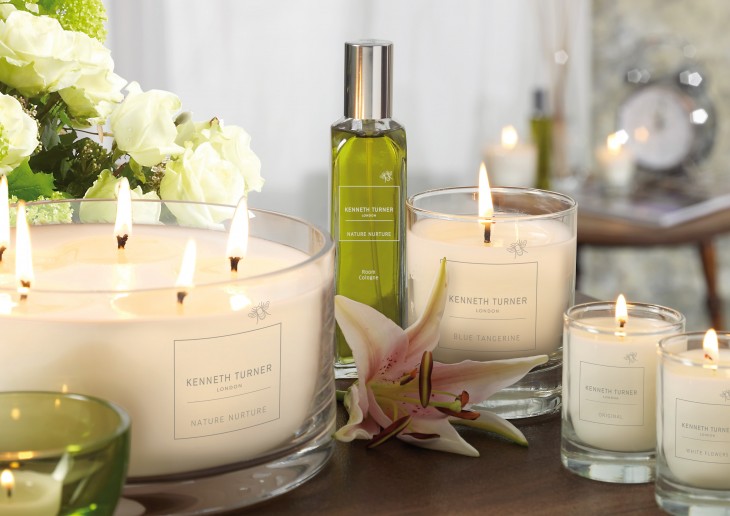
You can watch endlessly on a photo of candles made by yourself ...
Review Content:
Essential - Easy Access
Anyone can make candles. What do you need?
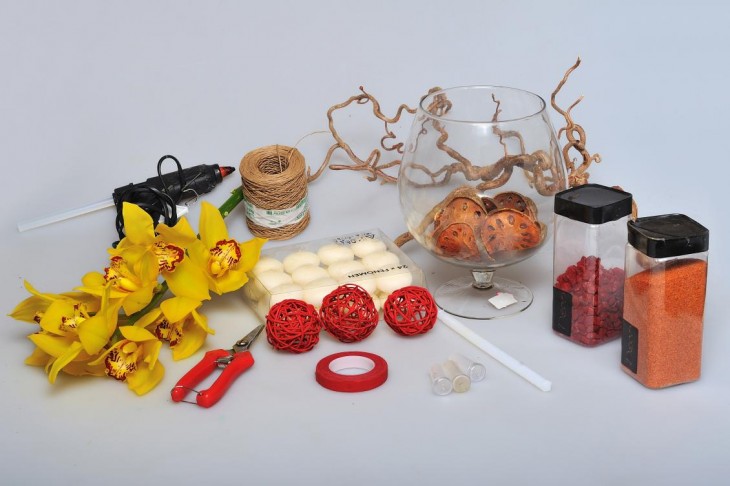
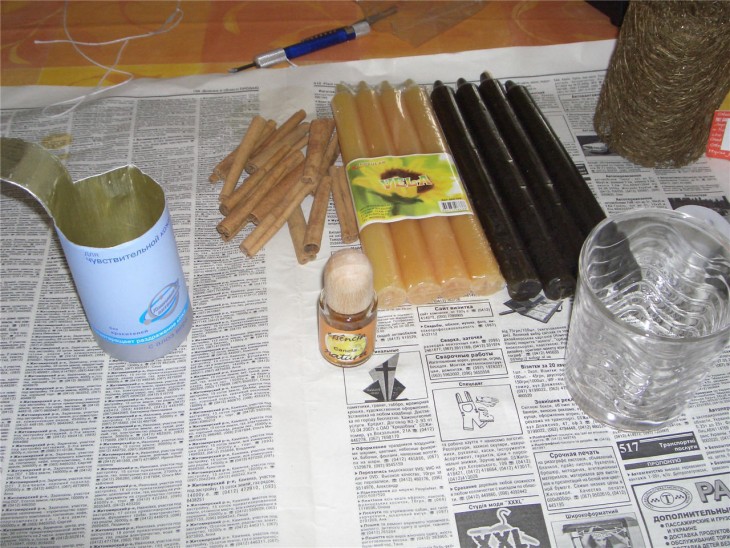
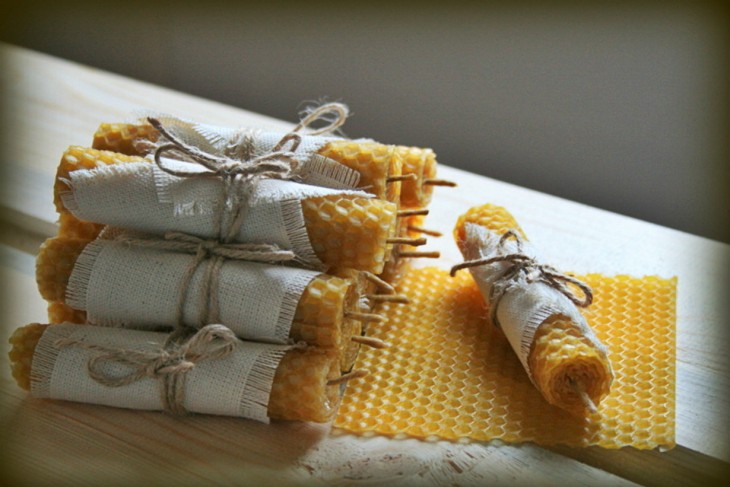
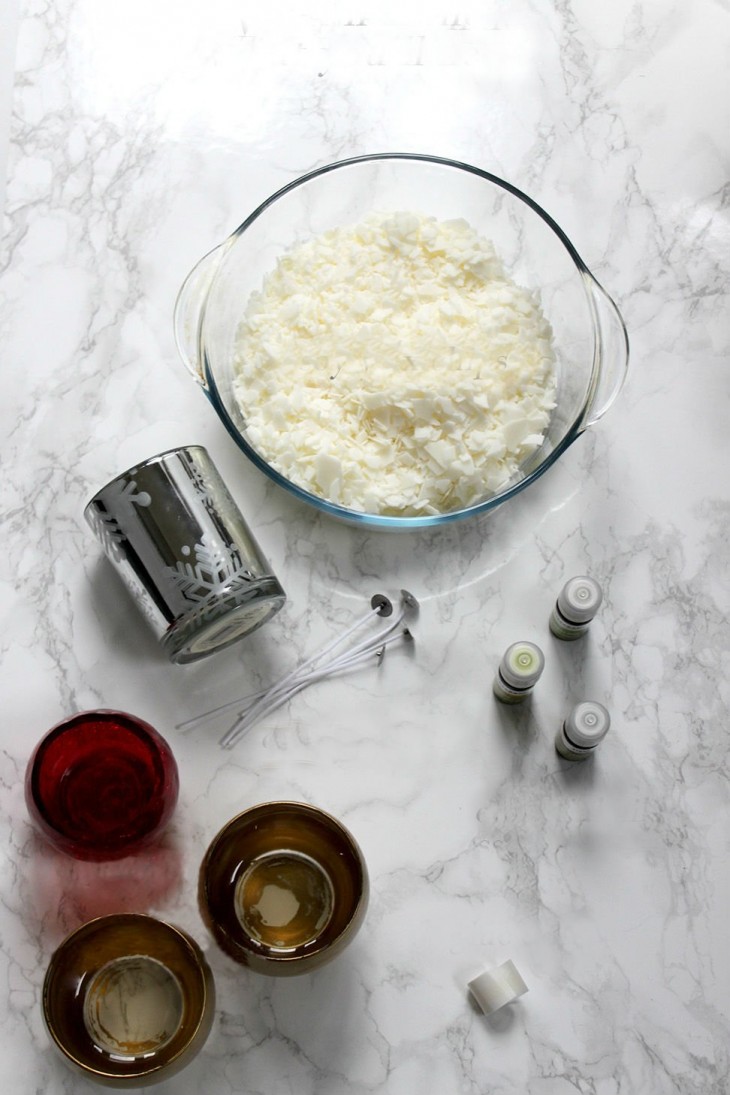
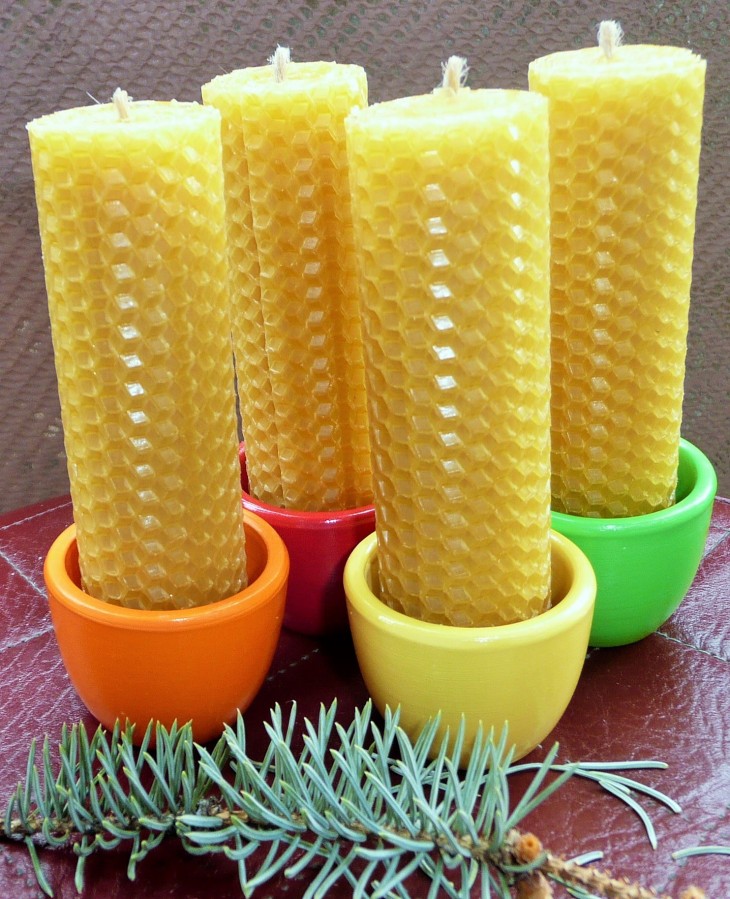
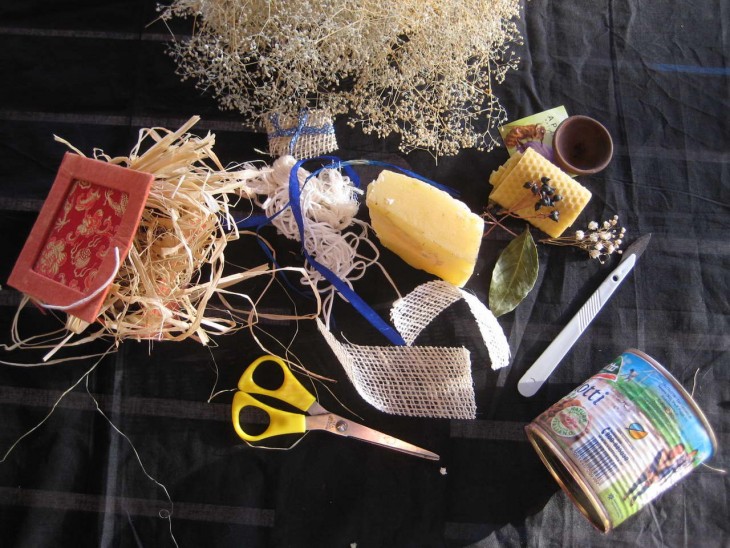
Wax
Sometimes it can be successfully replaced by paraffin. The difference between them is that wax, because of its naturalness, does not emit soot, while paraffin, completely burned, smokes.
These are simple materials, the acquisition of which is not difficult. You can find them in any needlework store or, in extreme cases, melt an already finished candle, the cost of which is quite low.

Wick
There are also two options: remove from an unnecessary candle or make from cotton-based threads. Twisting them is strongly discouraged - the flame may go out.
It is also worth considering that a too thick wick will make the candle melt faster, while emitting a lot of smoke.
The length of the wick is determined by the size of the candle, plus a small length for convenient ignition.
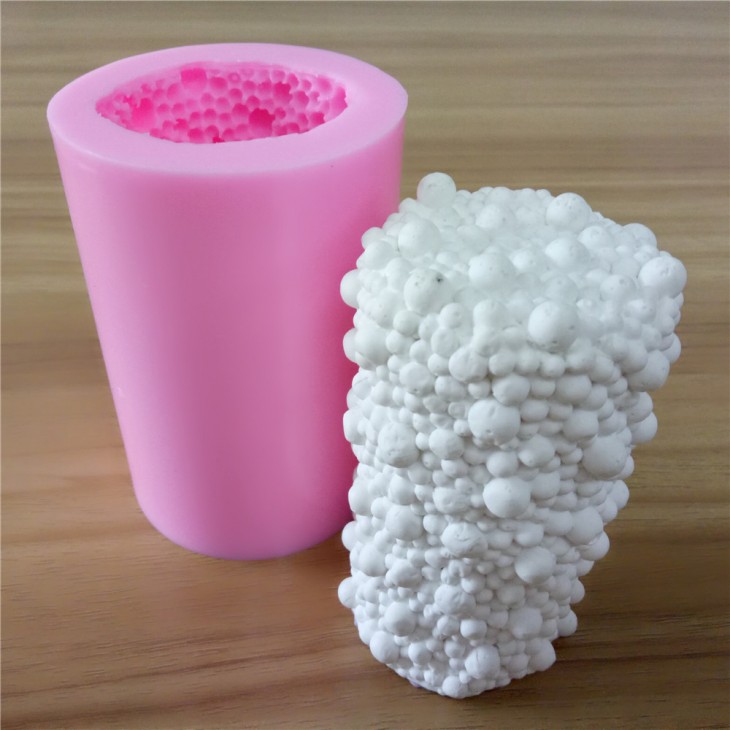
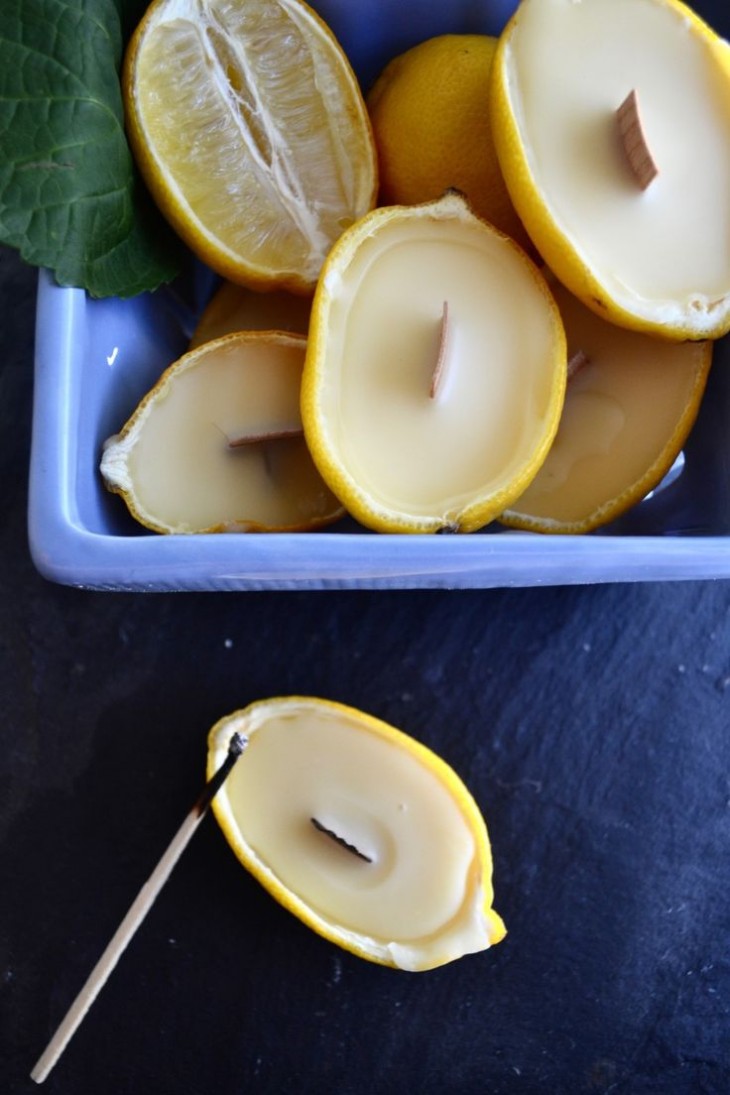
Cookie cutter
A hollow container made of any material. The only thing: the edges of the form should be straight and not taper.
The available materials are:
- Saucepan and metal utensils for a water bath;
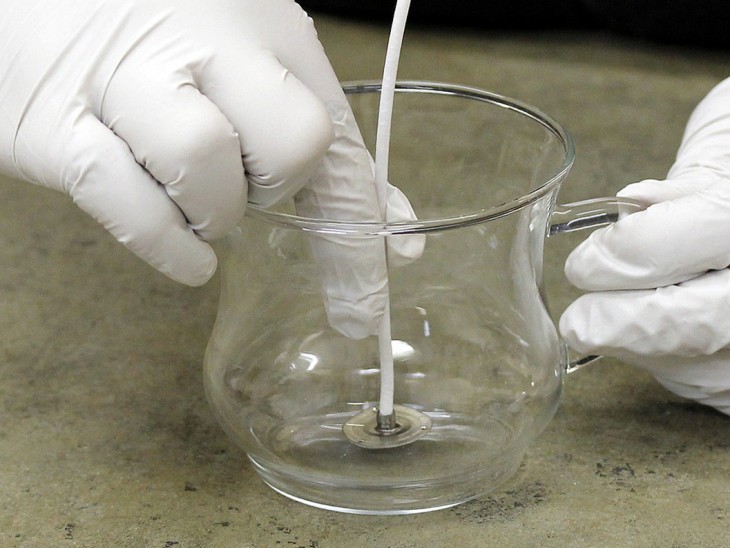
- A wand or any long thin object (pen, match) to fix the wick.
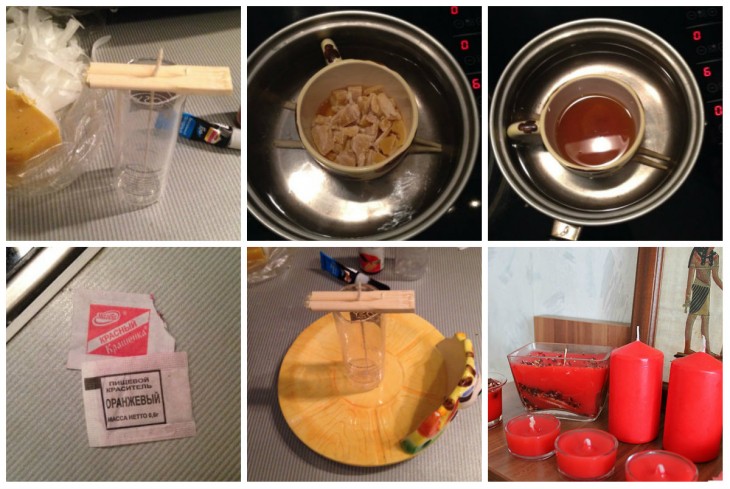
Candle making
Having prepared all the necessary materials, you can begin to create. A detailed workshop will show you how to make candles with your own hands quickly and beautifully.
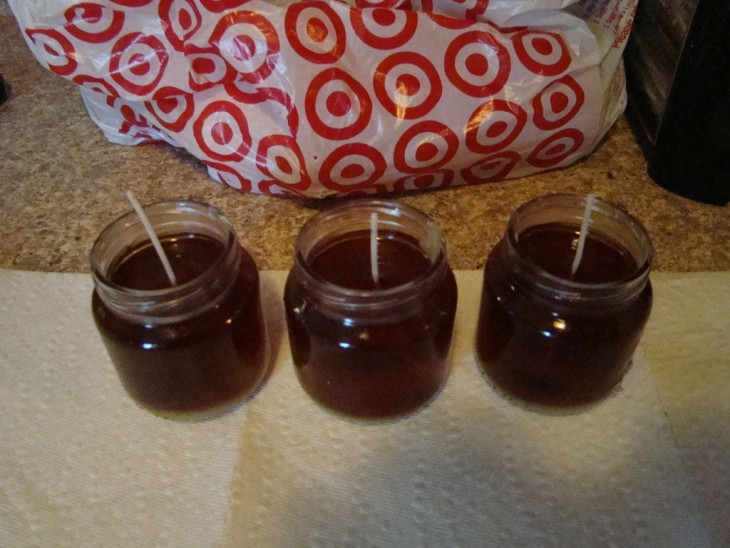
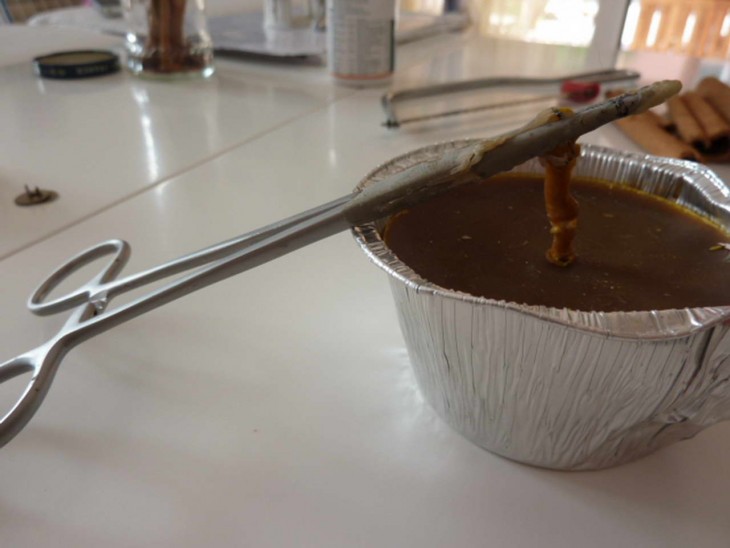
In the prepared mold for the future candle, lower the wick, one end of which is fixed on a stick, and placed on a container.
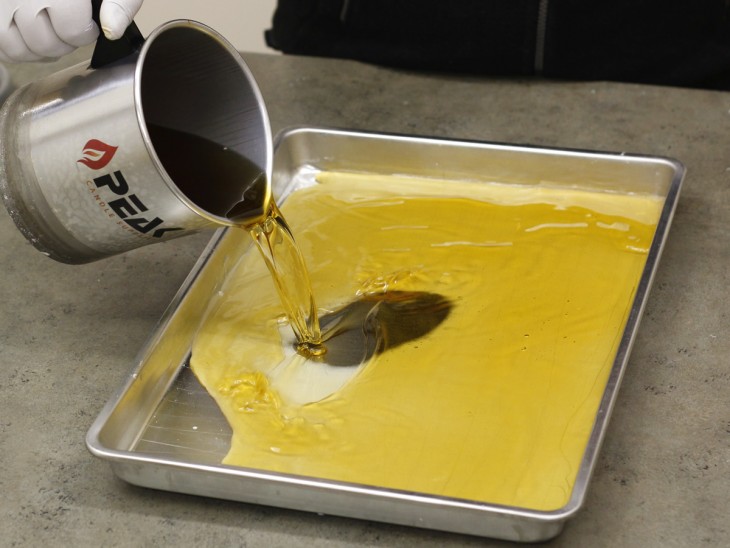
Grind paraffin or wax in a water bath. The fire should be small, and the process must be monitored, and in order to avoid lumps, constantly stir the mixture.
It should be borne in mind that the temperature of the molten material is rather high, so you should handle it with care.

Pour some molten paraffin (wax) into the mold with the prepared wick. Place the tip of the cotton thread in the middle and allow the material to solidify a little.
Wax has the ability to quickly cool, so you need to work with it quickly.
Note!

With the remaining melted material, fill the mold to the required level.
Wait for the candle to solidify and cut off the excess part of the wick. It is recommended to do this after at least 24 hours.
It remains only to remove the candle from the container. For ease of removal and to avoid damage, the form must be sent to the freezer for half a minute or immersed in hot water.
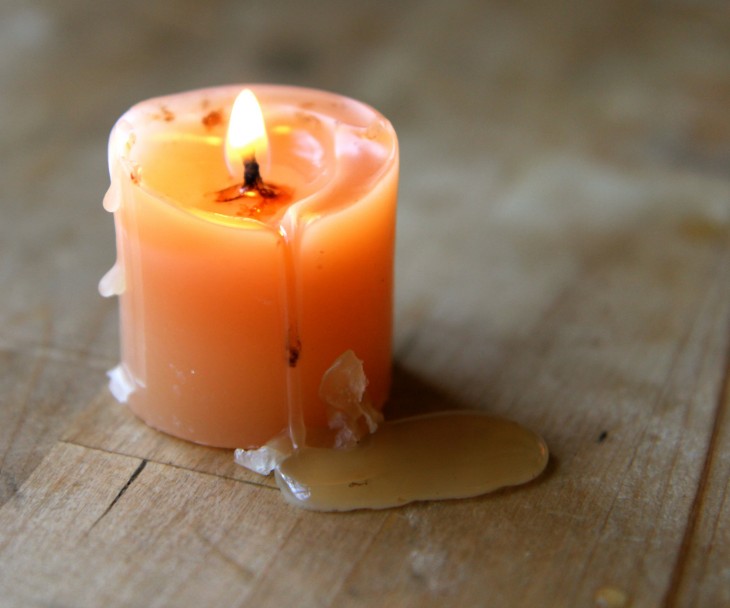
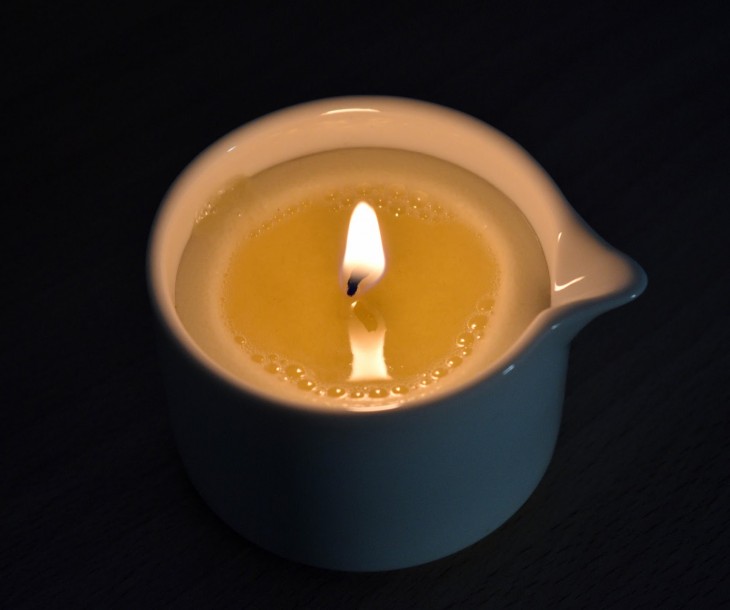
You can light a finished candle only a day after the end of its manufacture. During this time, it will have time to completely freeze, which will positively affect its operation.
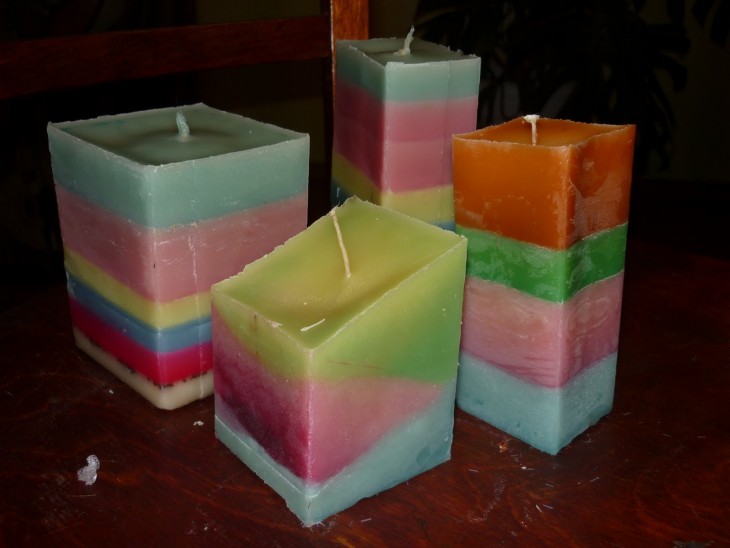
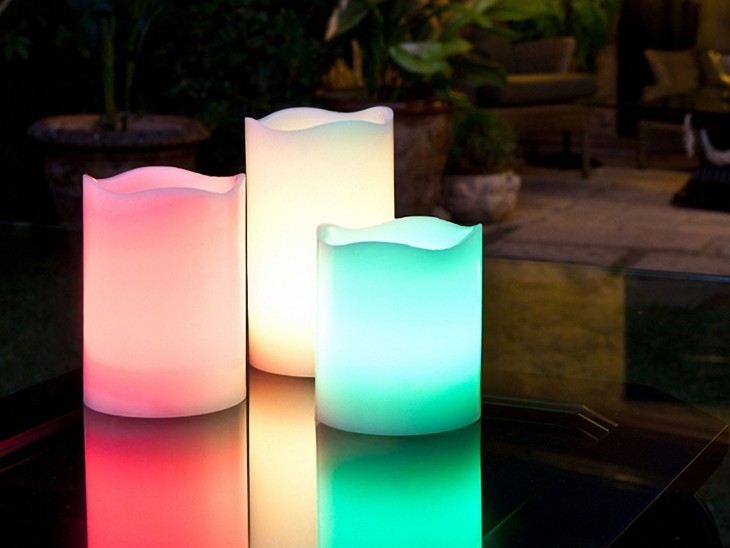
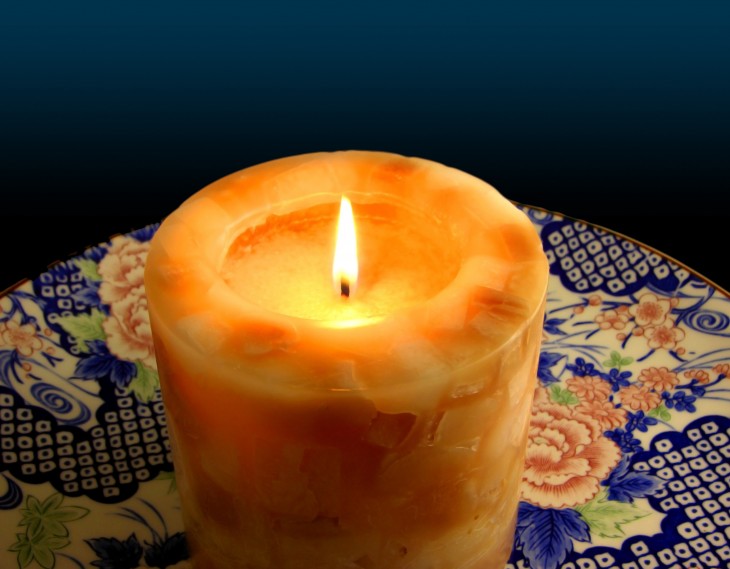
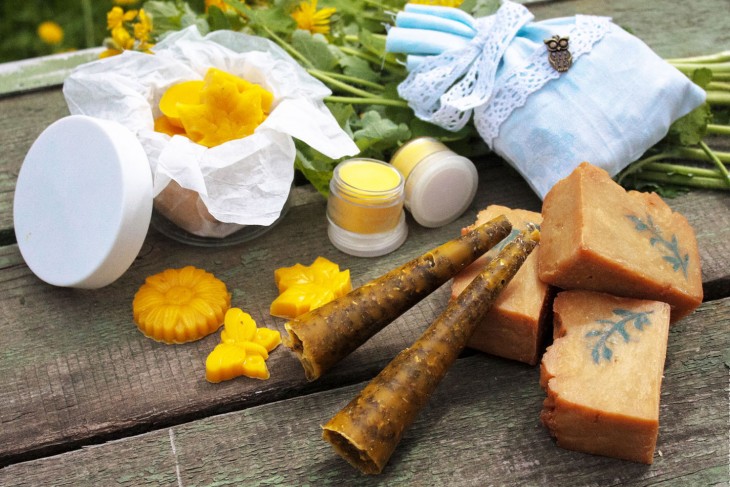
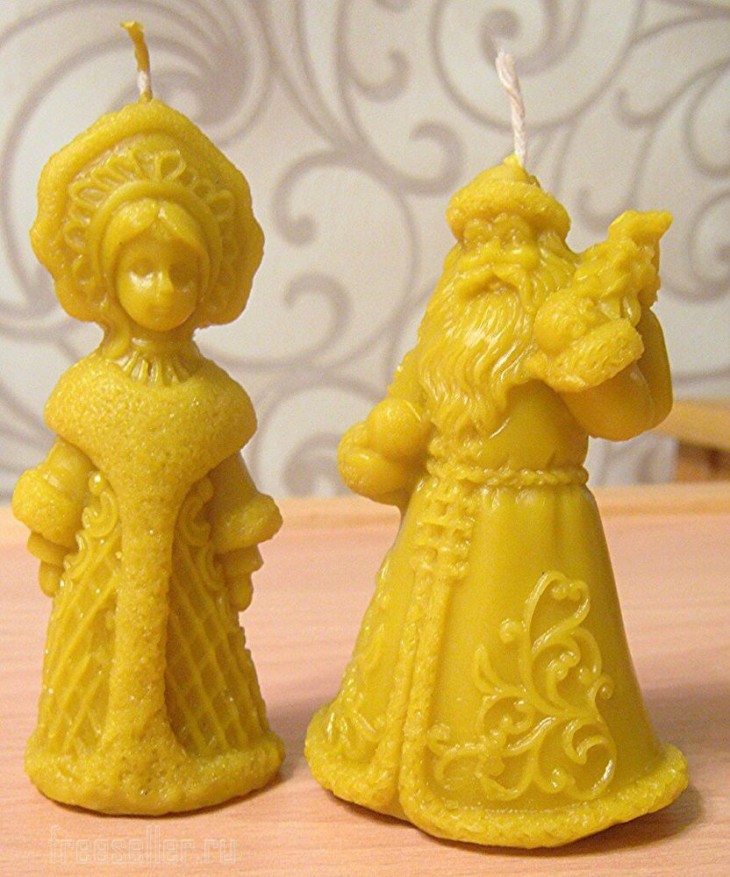
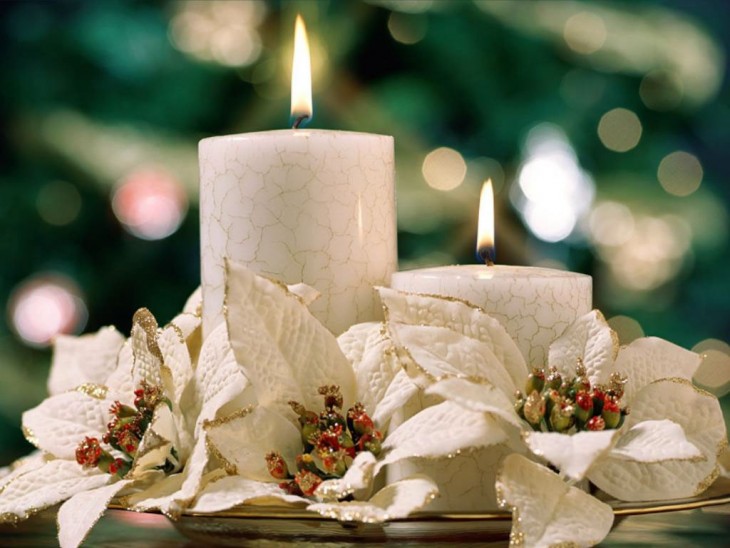
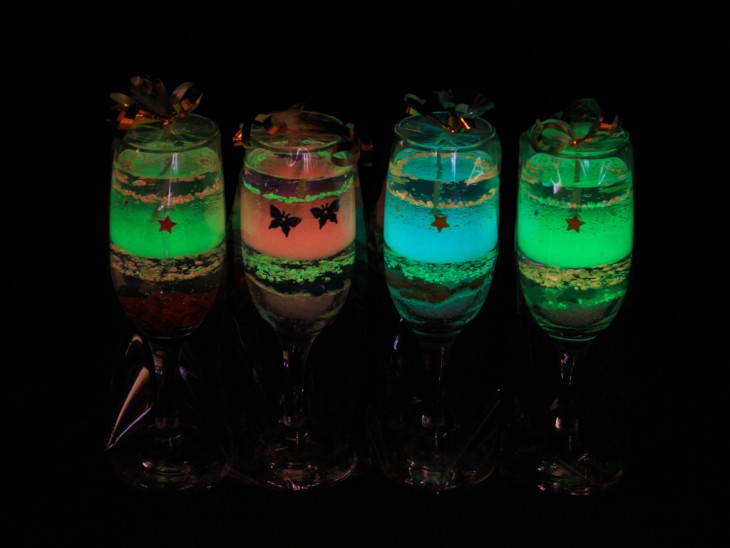
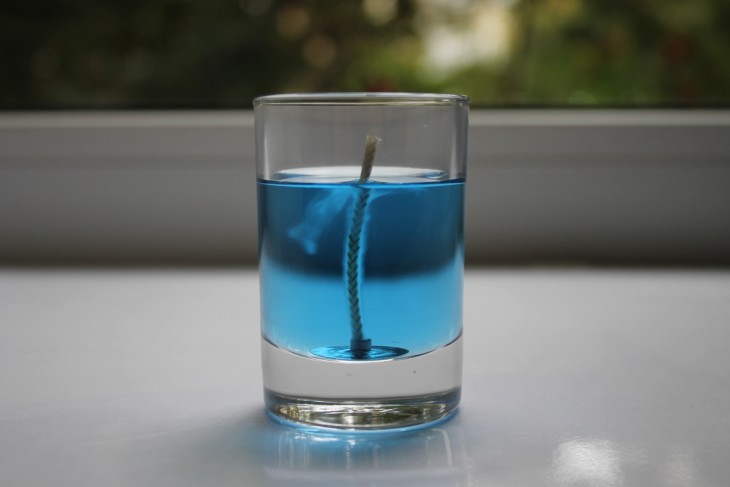
Candle Color
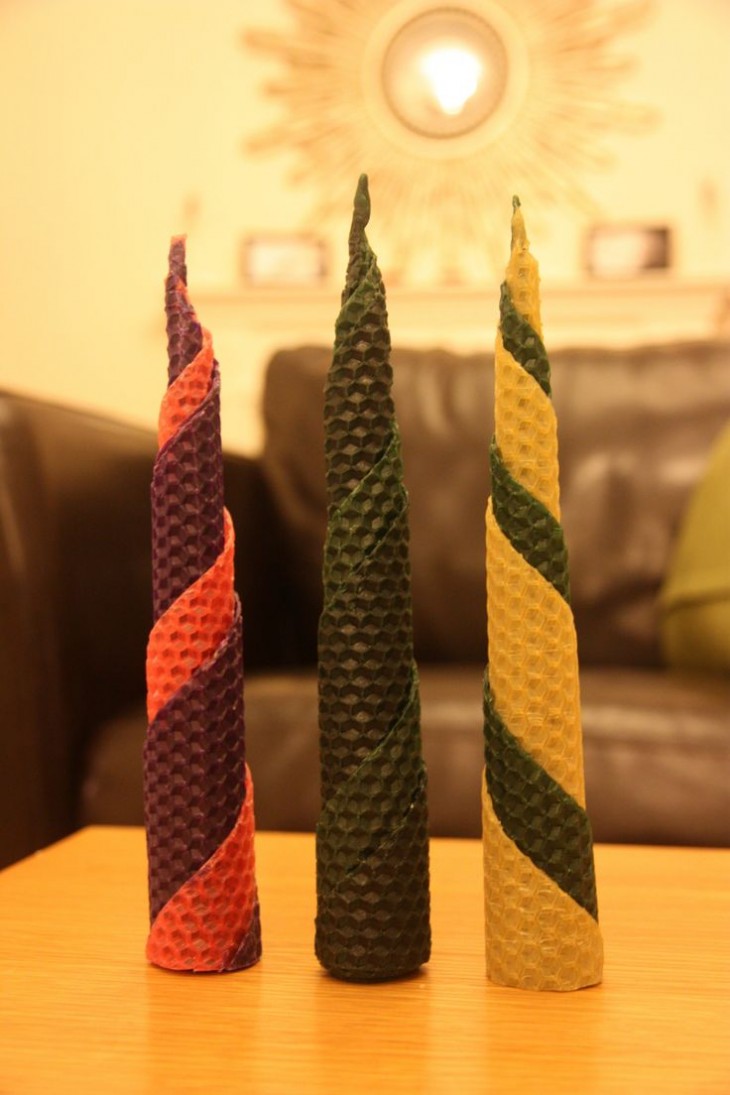
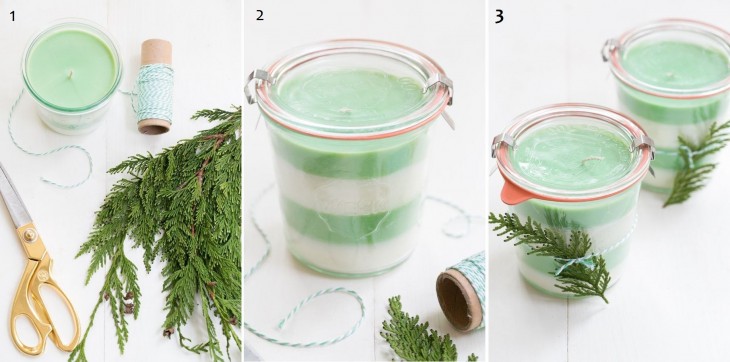
You can make candles at home not only in the main (white) color, but in absolutely any shade.
In order to paint a wax product, you can not use paints. Oil or acrylic they will not fulfill their purpose, but only stick together in molten paraffin, turning into unattractive colored flakes.
Note!
Wax pencils will help to give the desired shade. They mix perfectly with the selected material by adding small pieces directly during the melting process.
Using several pencils, you can create a real rainbow of shades, gradually pouring in the form of paraffin of various colors.


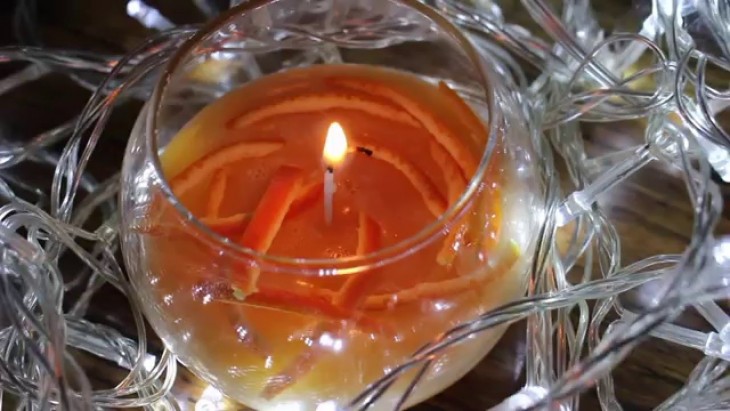
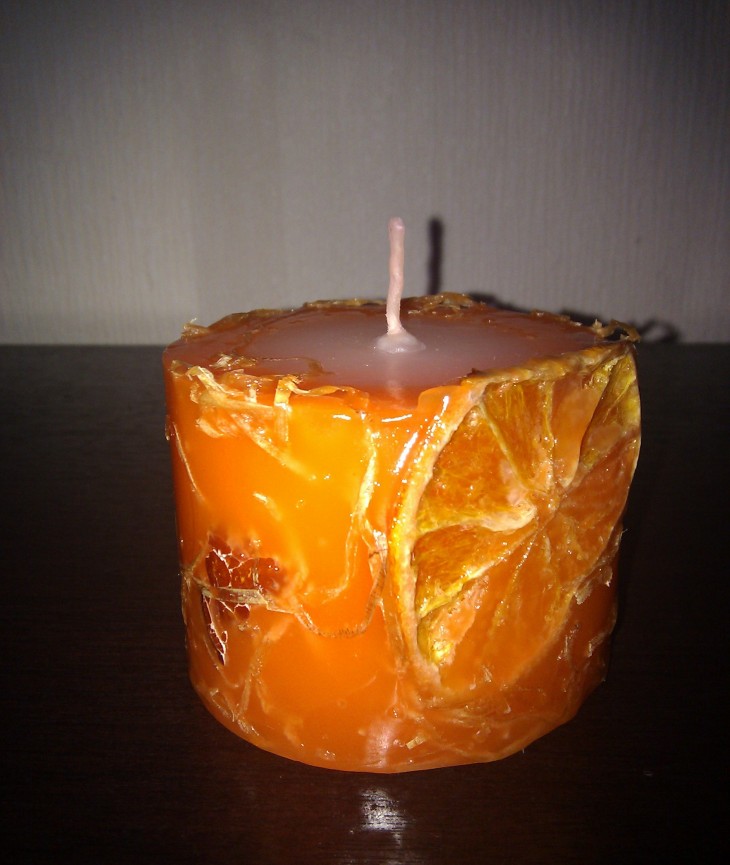
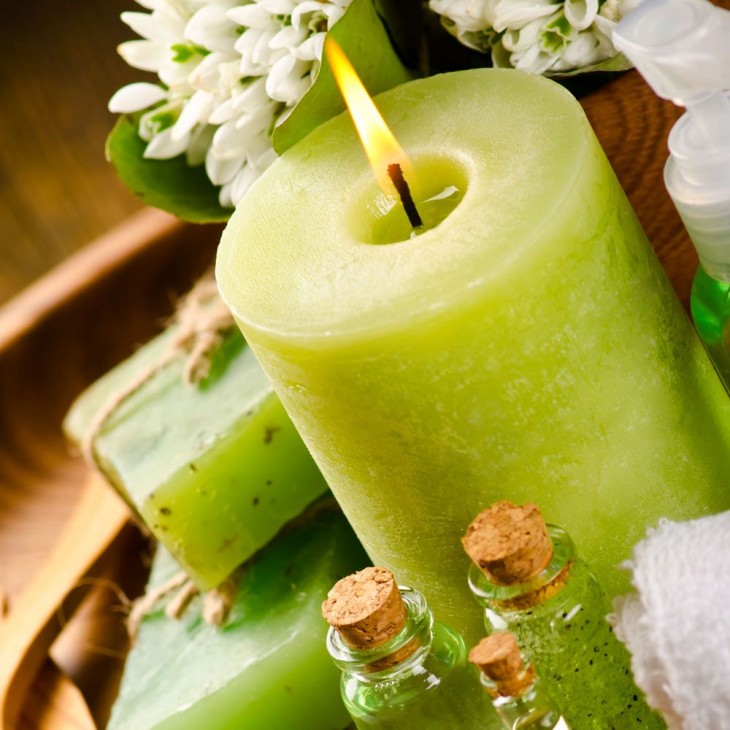
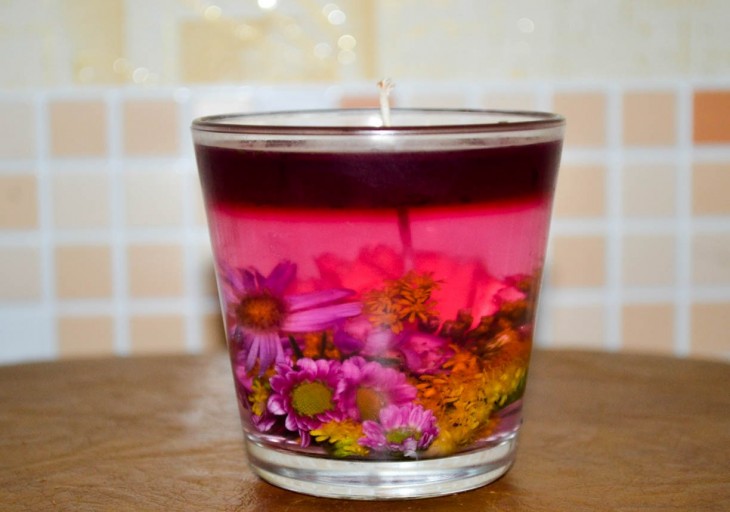
Aromatherapy
Making wax products, they only paint it, but also make it give flavor. The fragrance of a burning candle can create an atmosphere of peace and comfort, as well as energize or, conversely, relax.
In order to make a beautiful candle that will delight your eyes and smell, you will need essential oils. They are sold in great abundance at any pharmacy or cosmetic store.
A few drops of oil will give the future candle a unique aroma.
Note!
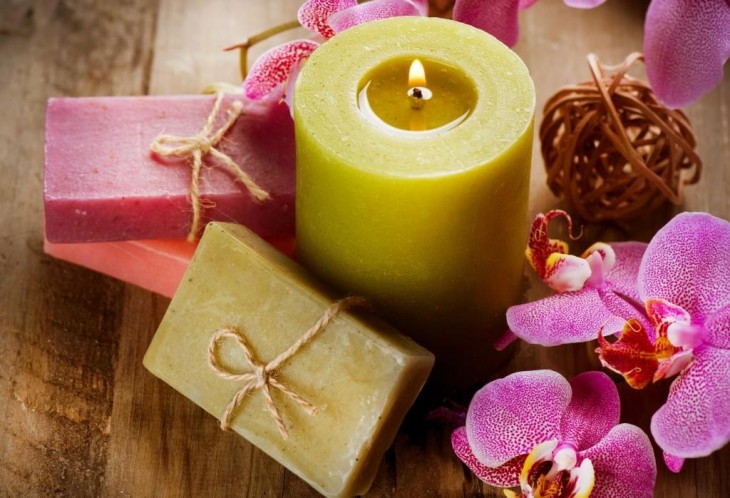
When choosing a smell, you need to be guided by the purpose or color of the wax miracle:

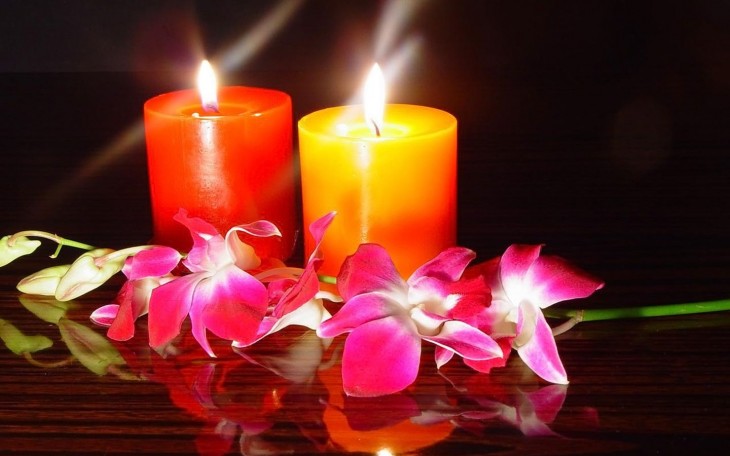
- Relax will give lavender oil, and a candle, in this case it is better to paint it in light purple;
- Bergamot can also relax - the green color of the candle is suitable for this;
- orange can improve mood - a bright orange tint will complement the effect;
- ylang-ylang will set in an intimate mood - the lilac or pink color of the candle will just be in place.
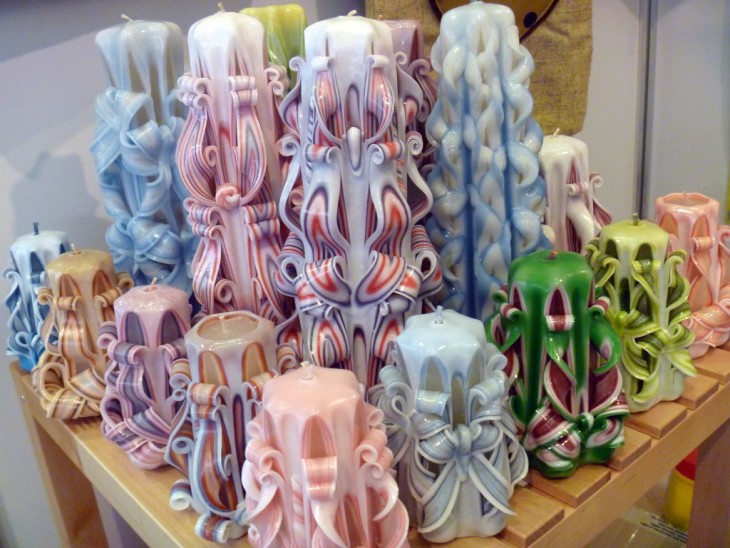
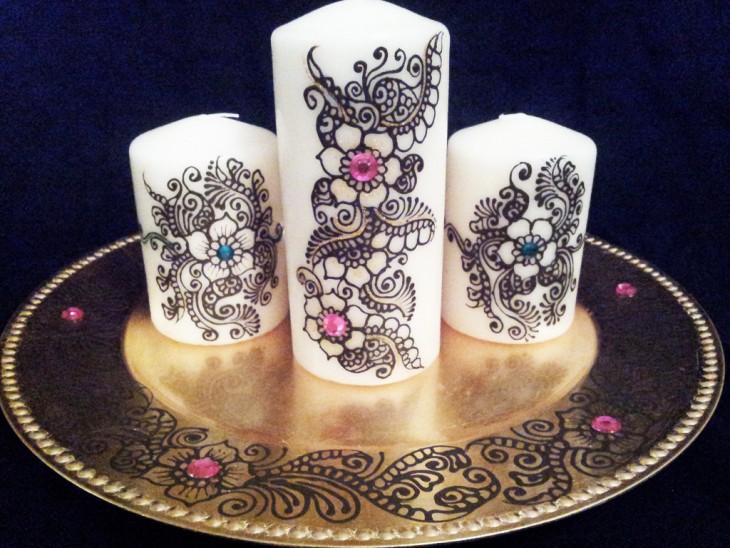
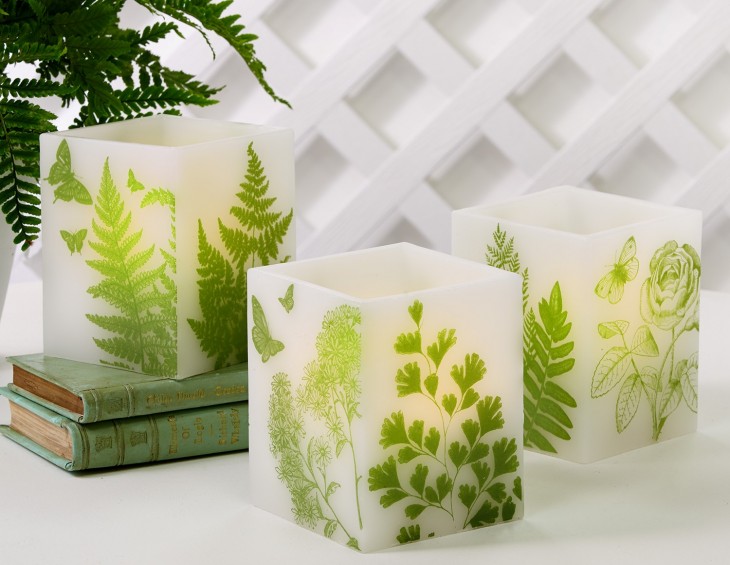
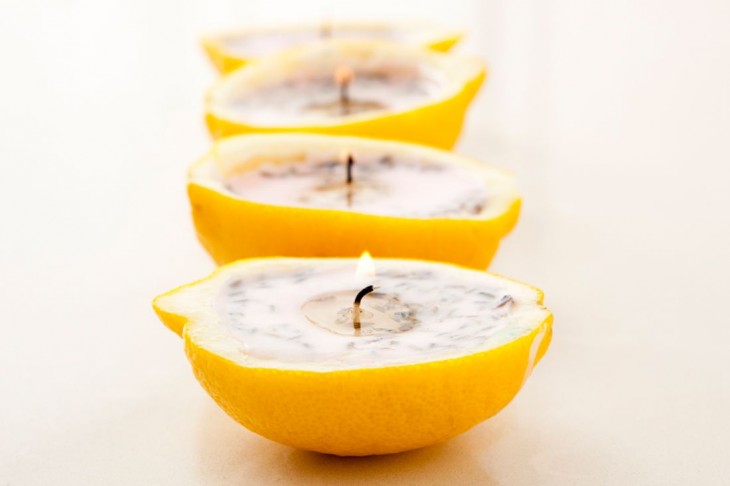
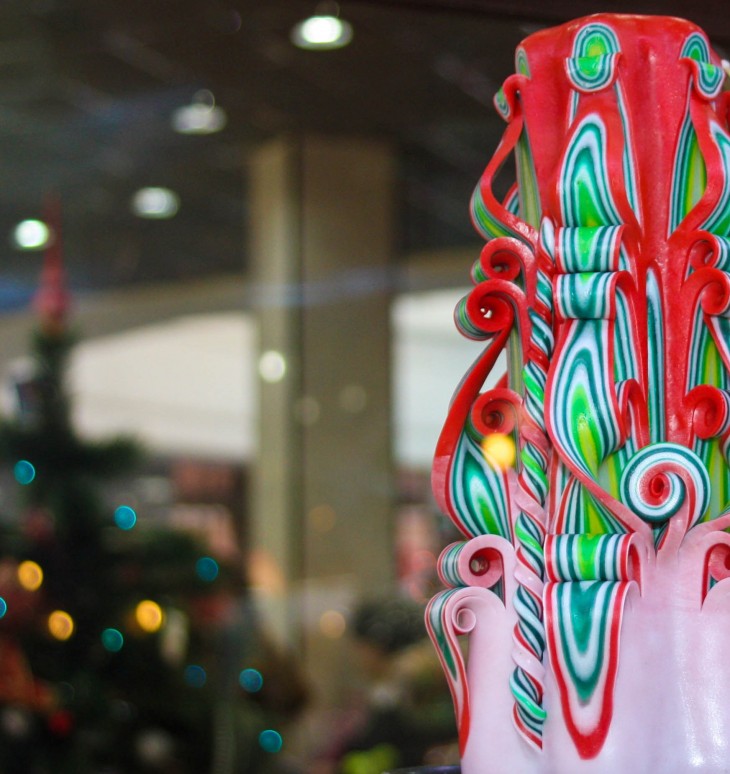
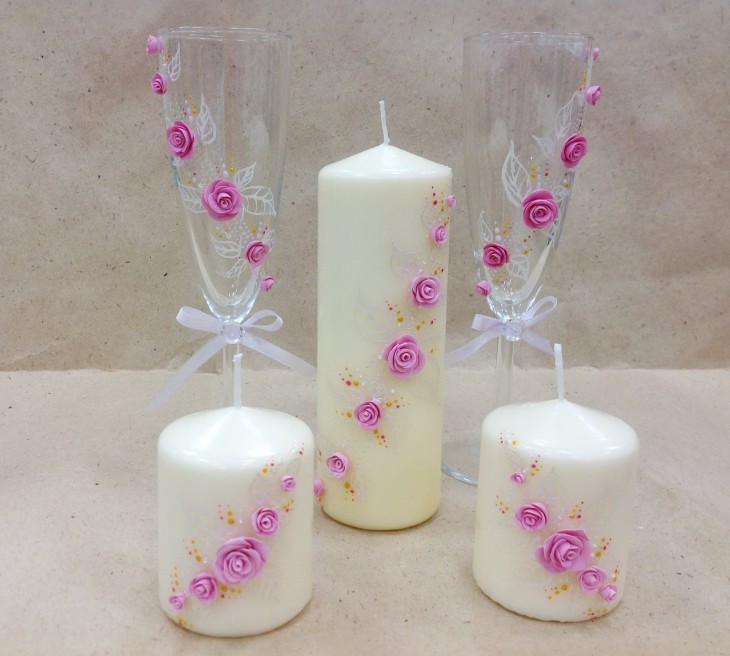
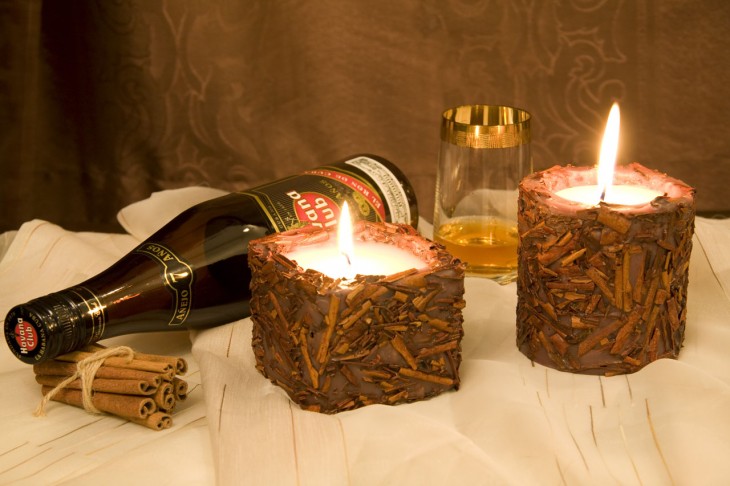
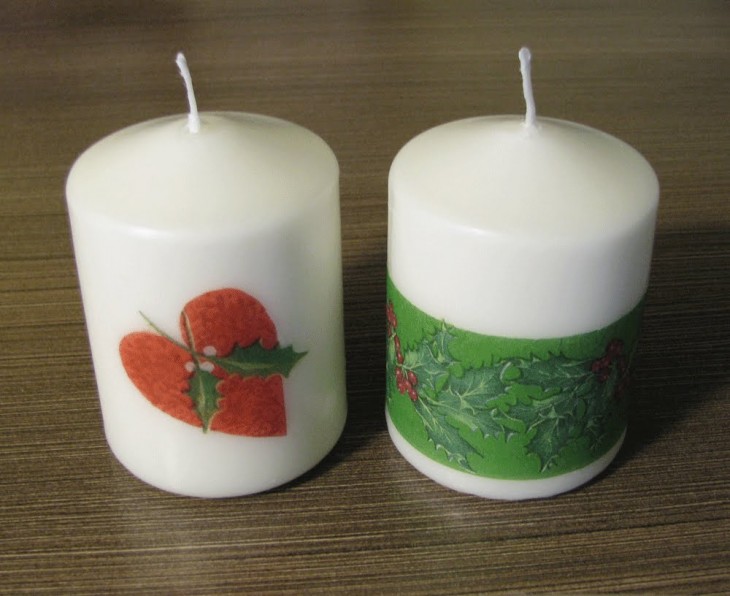
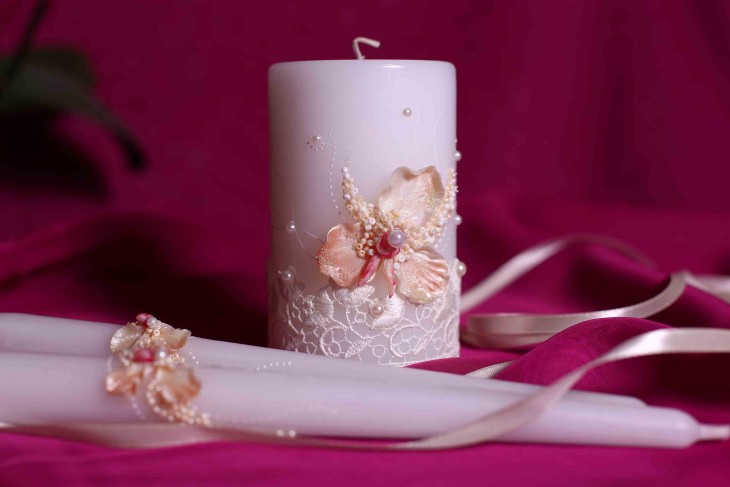
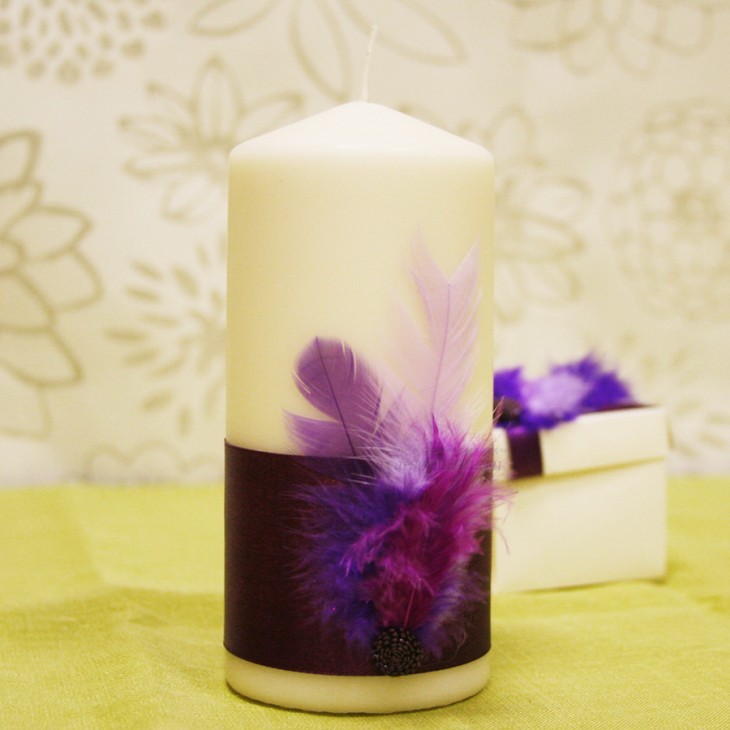
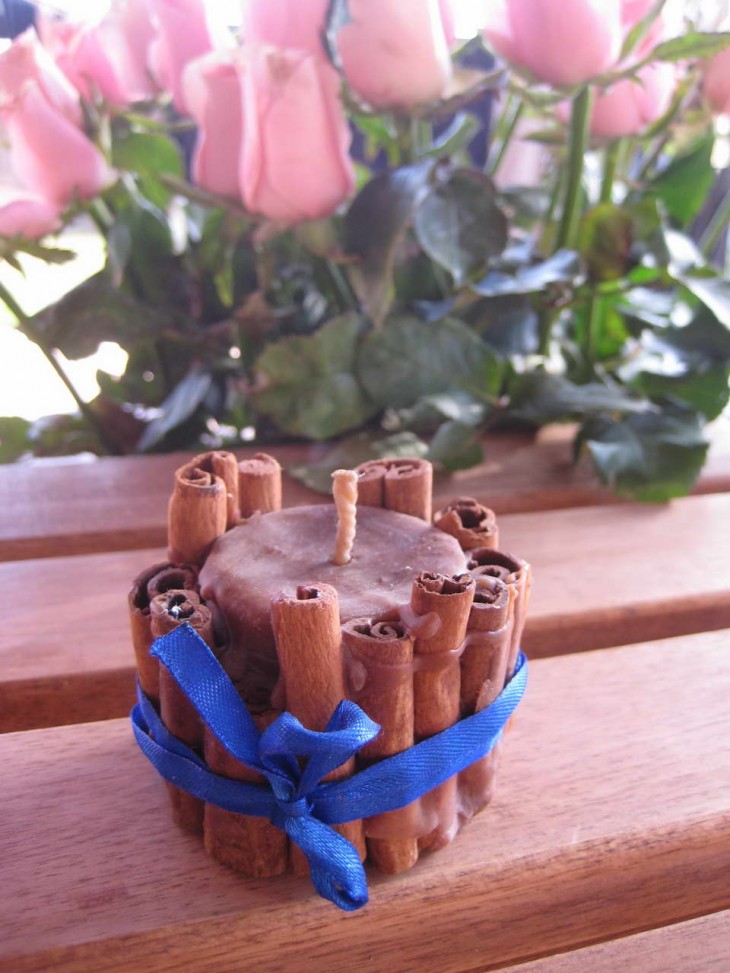
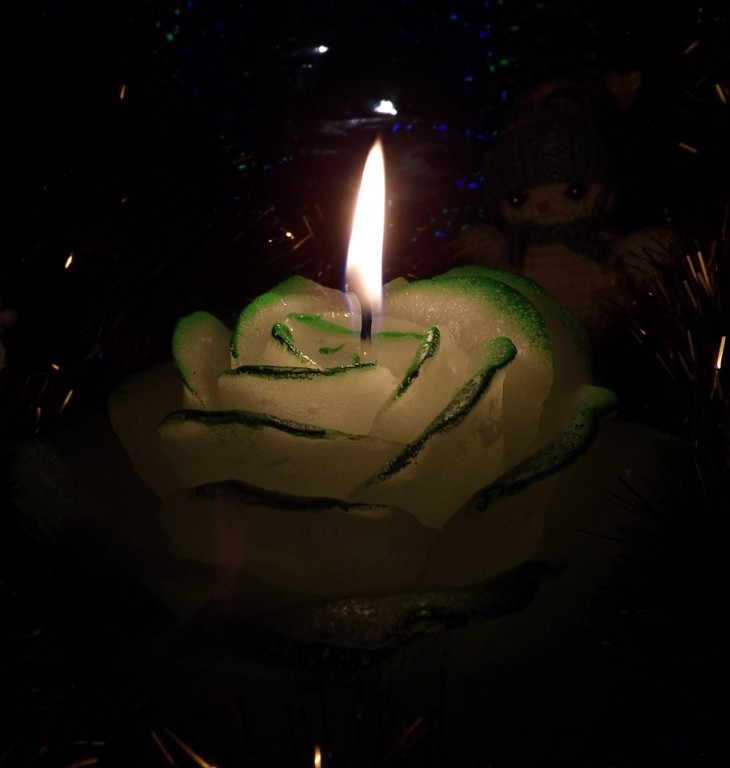
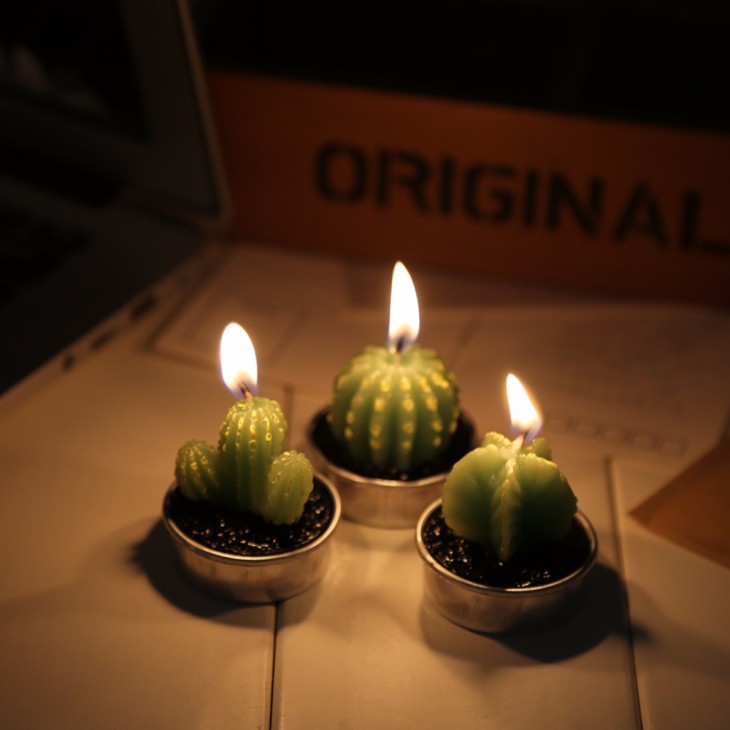
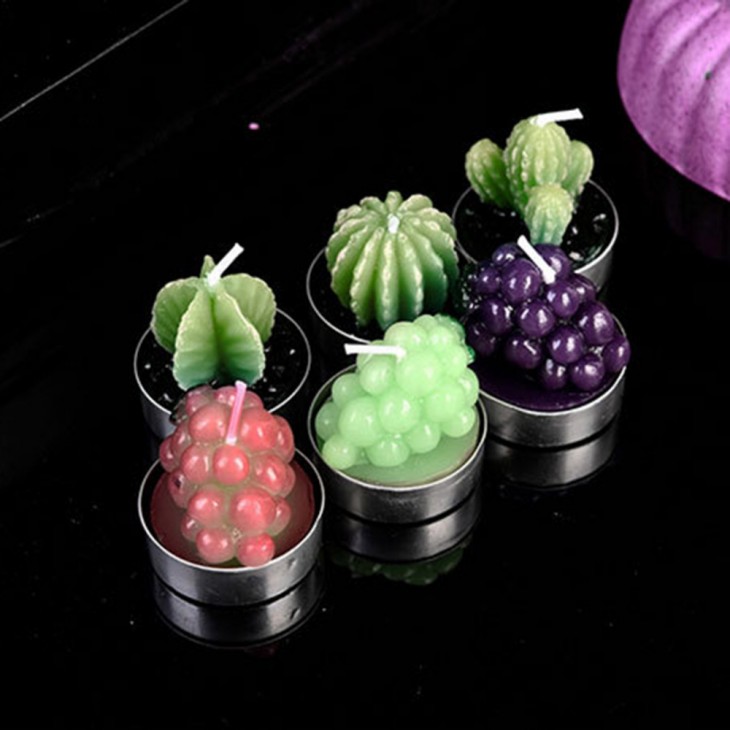
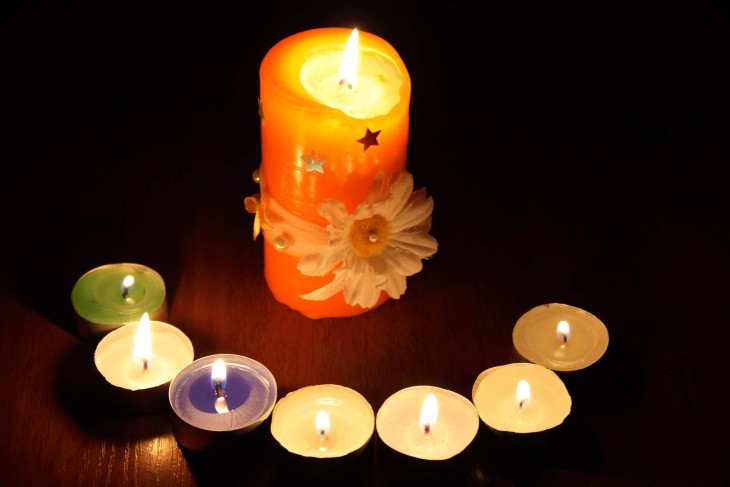
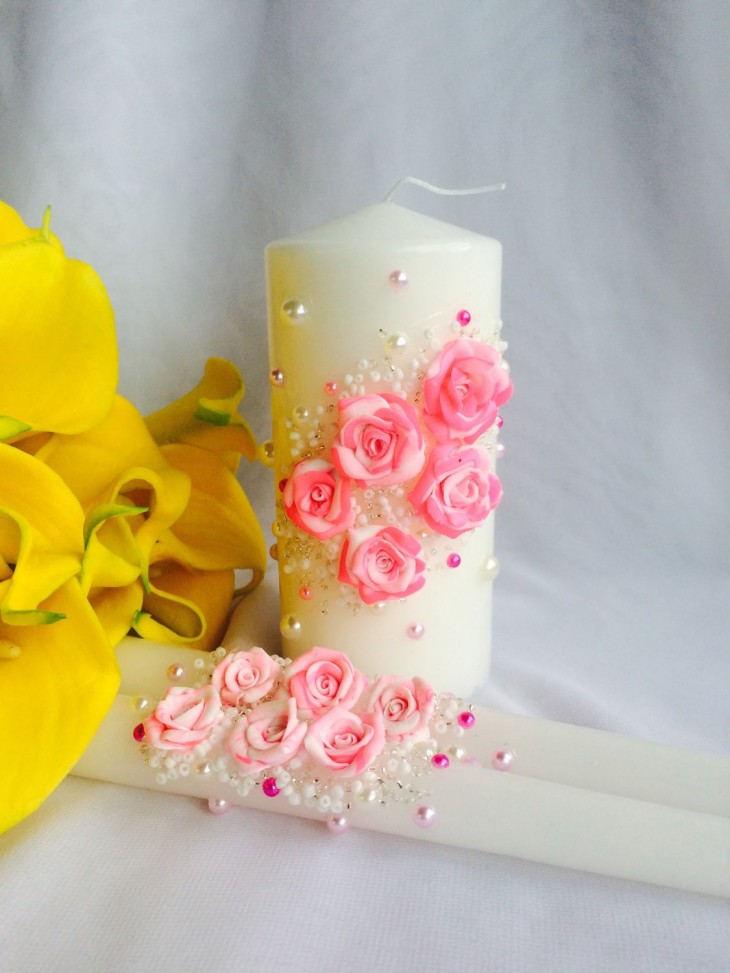
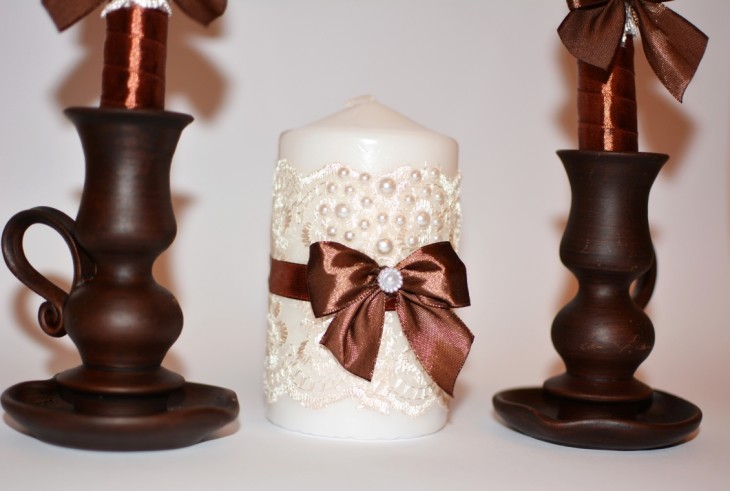
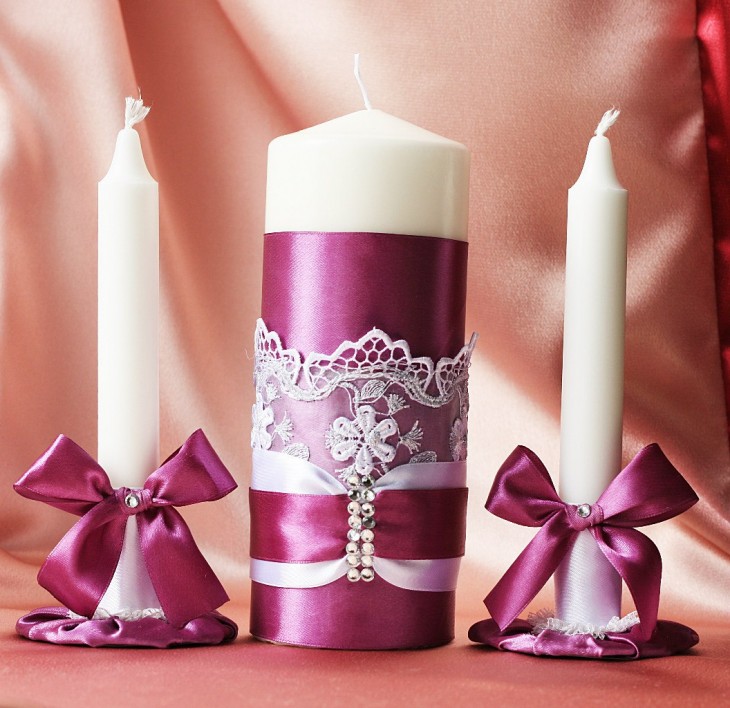
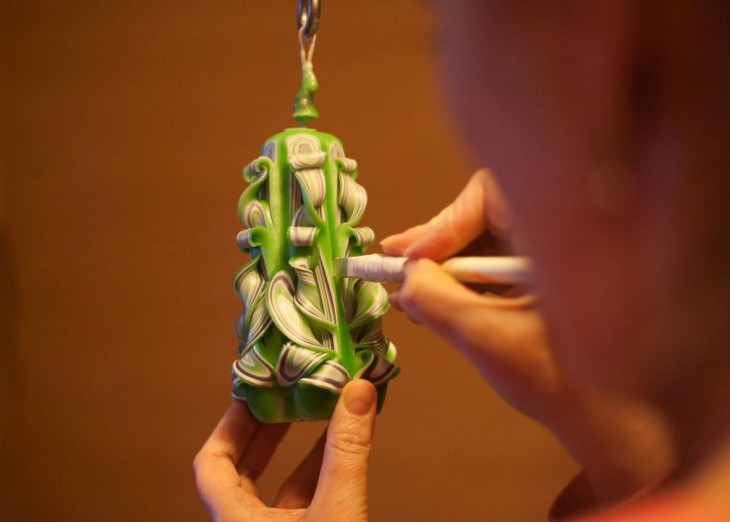
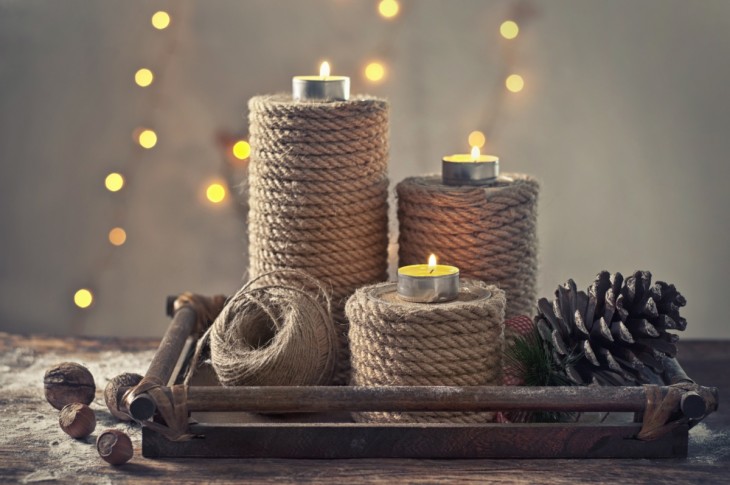
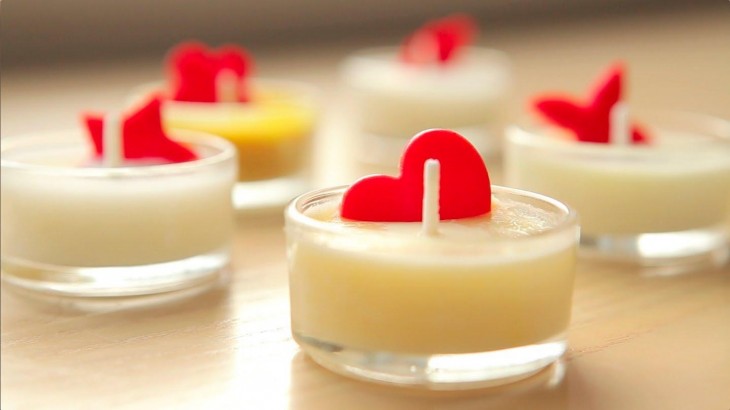
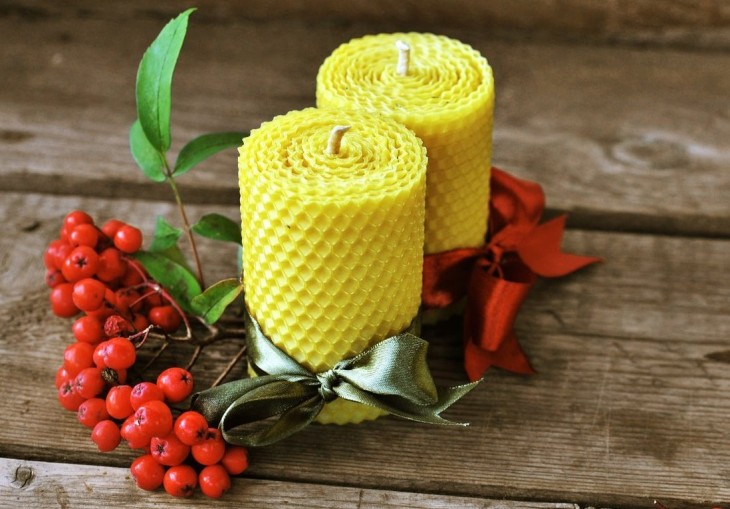
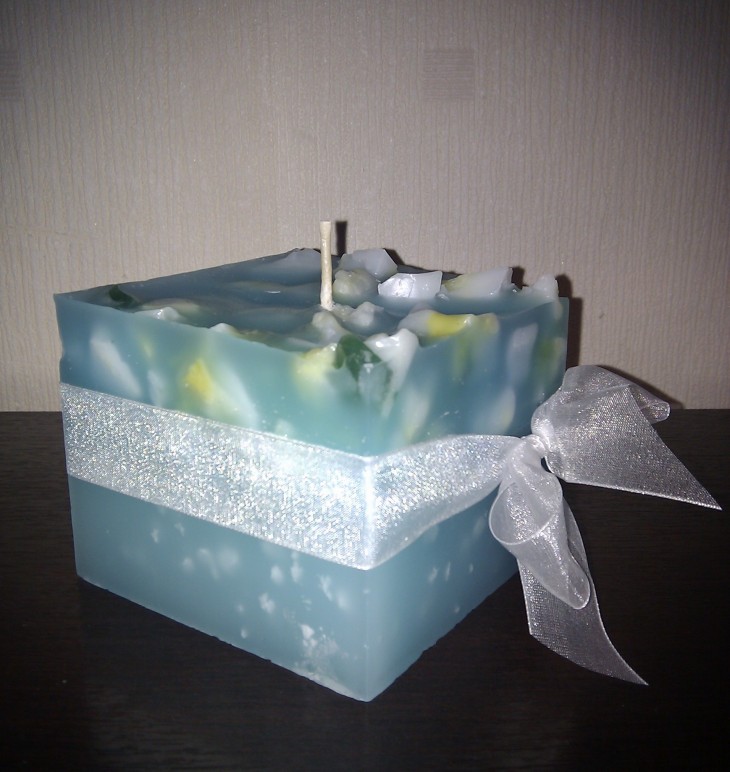
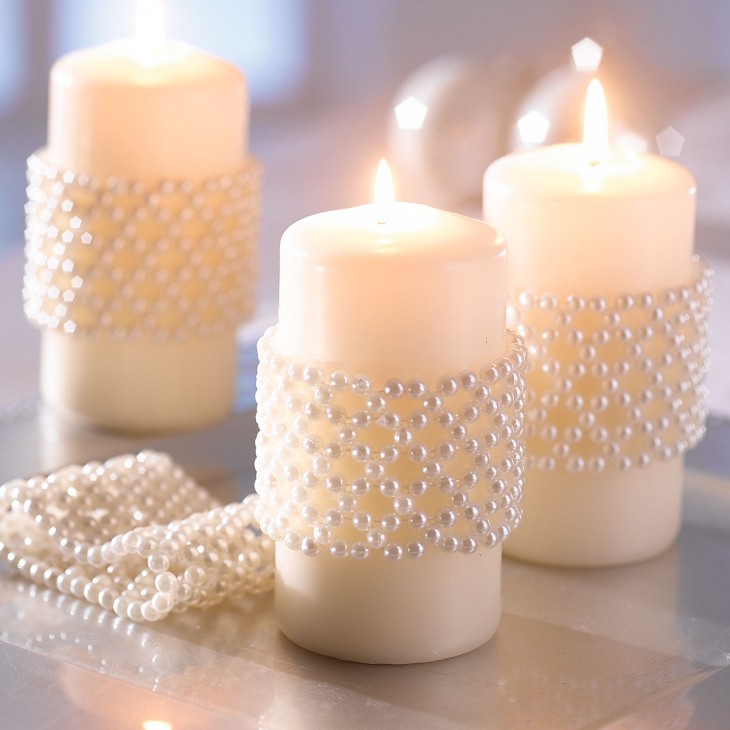
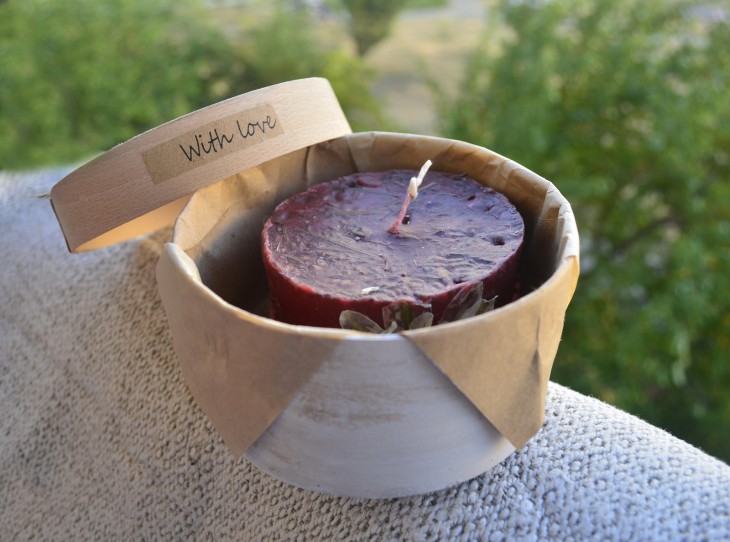
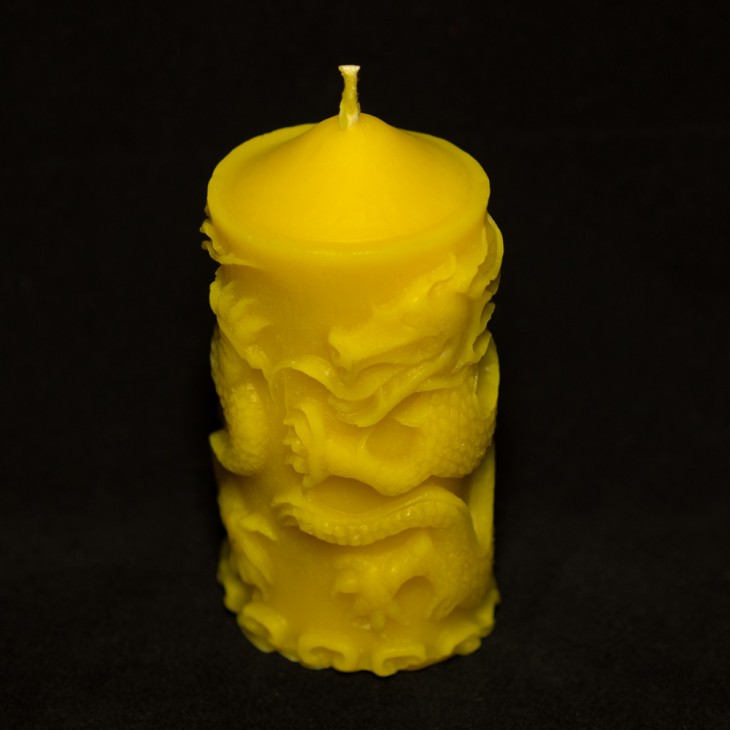
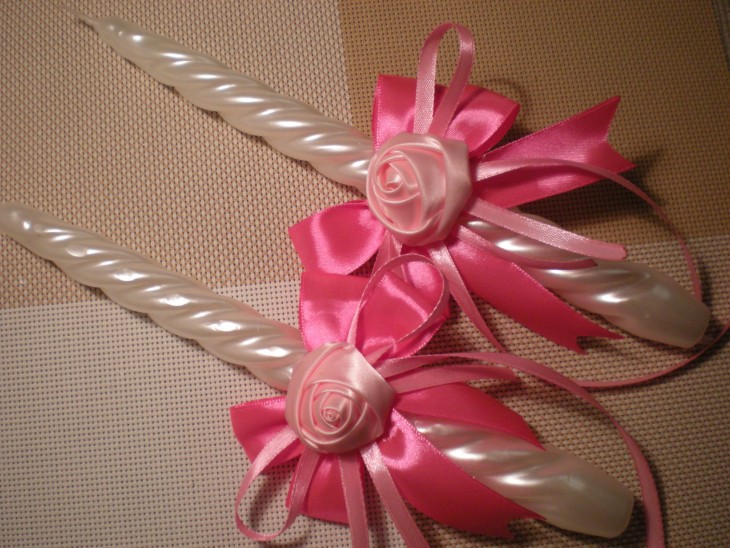
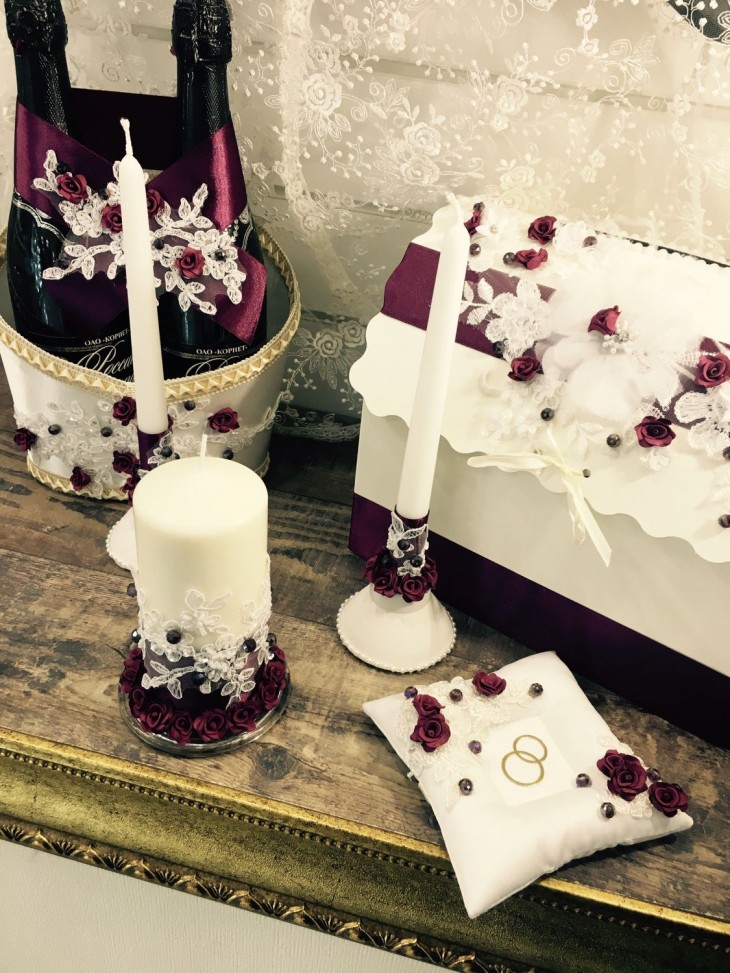
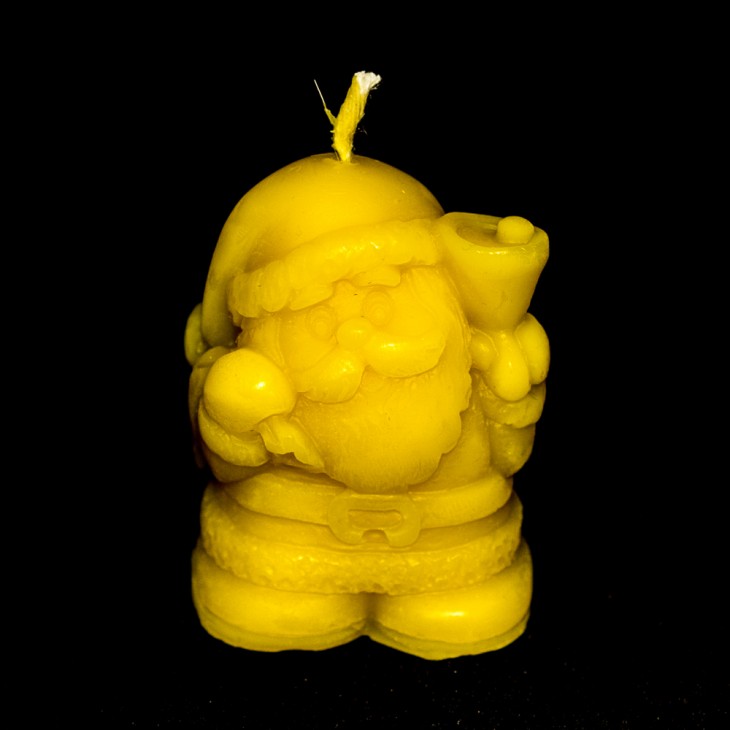
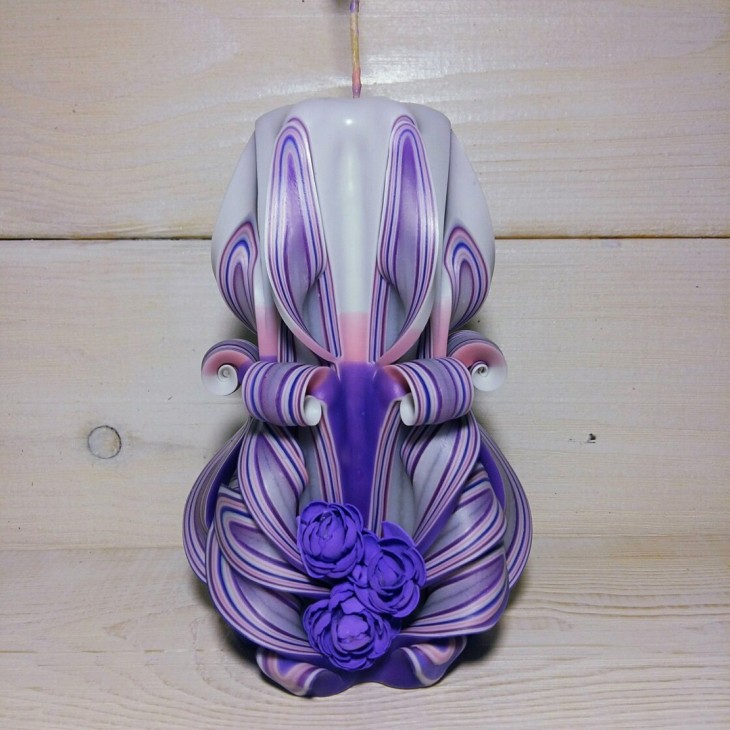
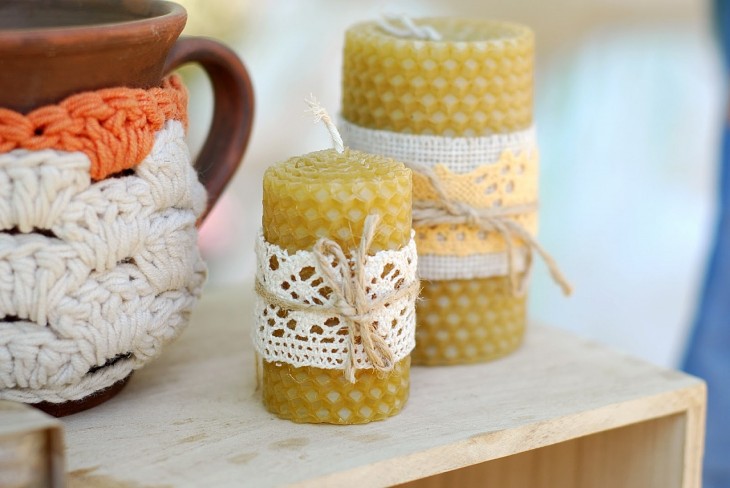
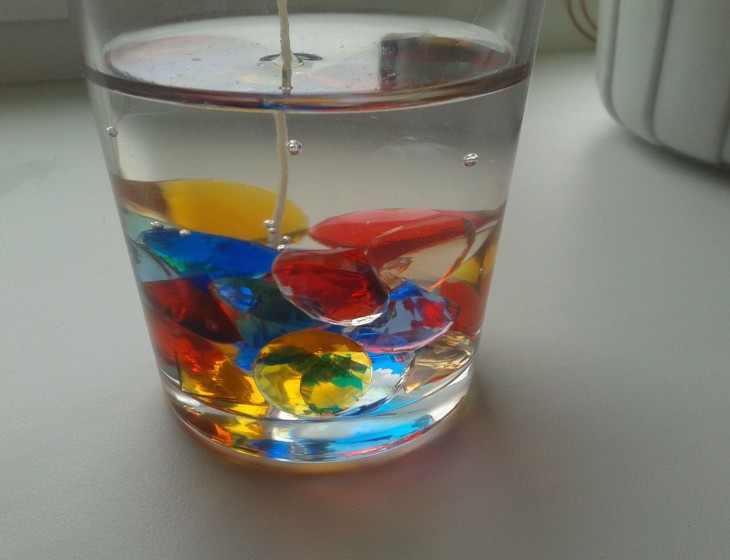
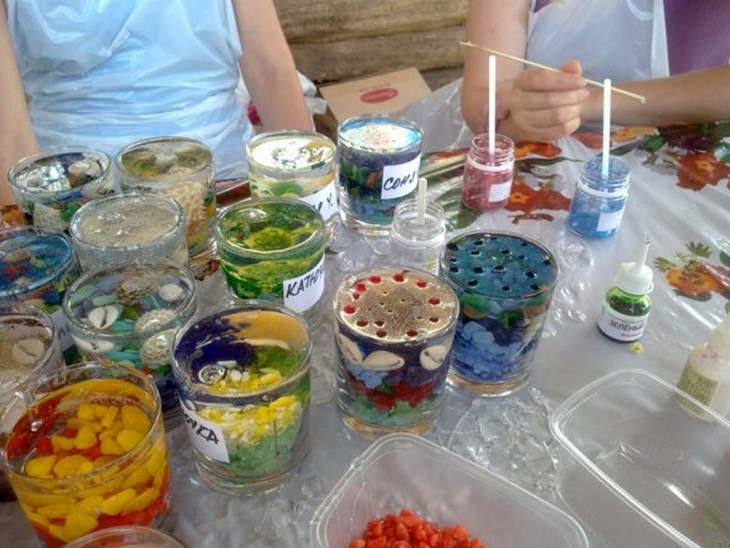
Wax works of art
Candle decoration belongs to the real top of wax craftsmanship.
You can decorate a candle in various ways:
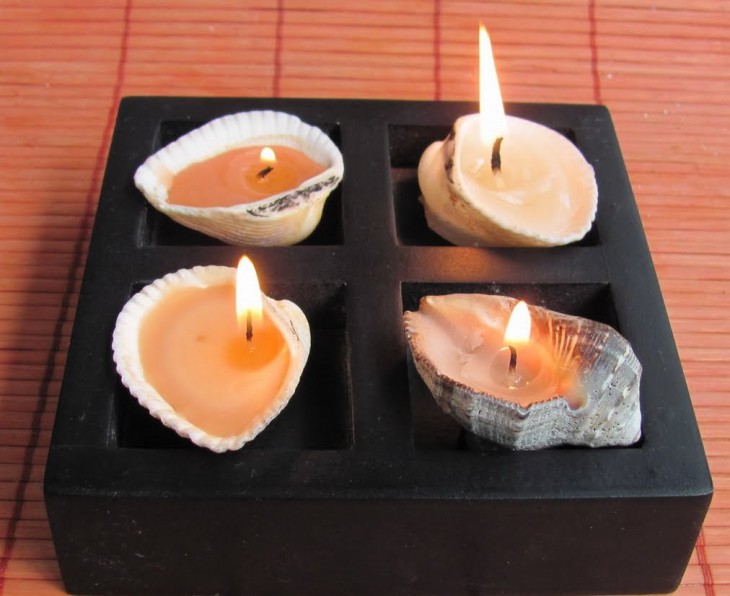
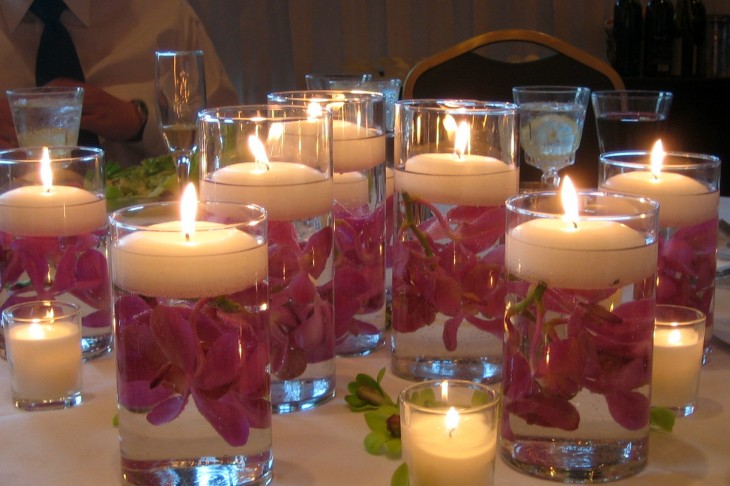
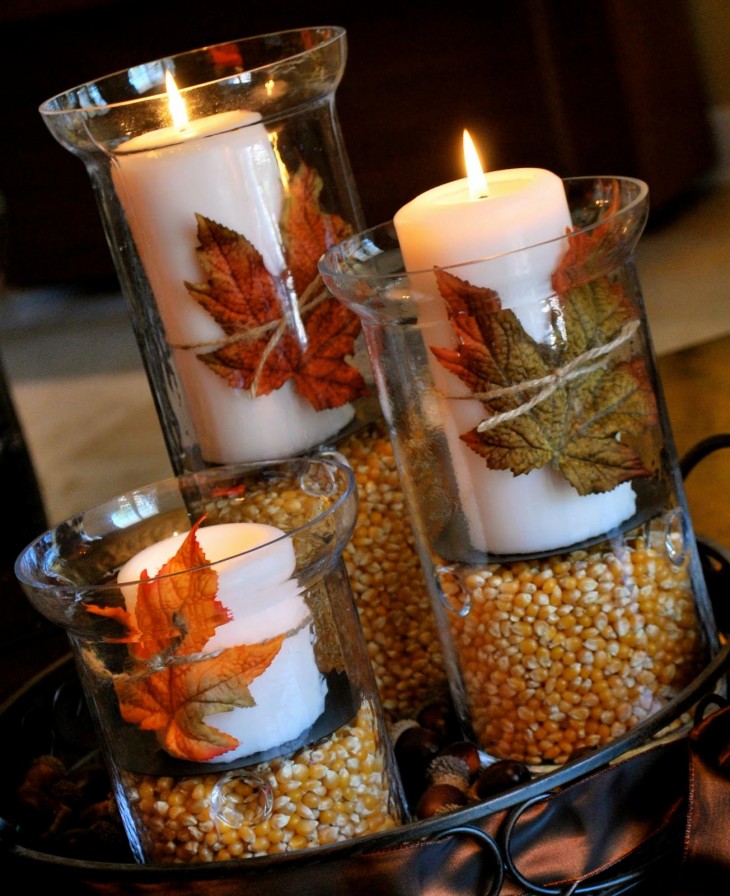
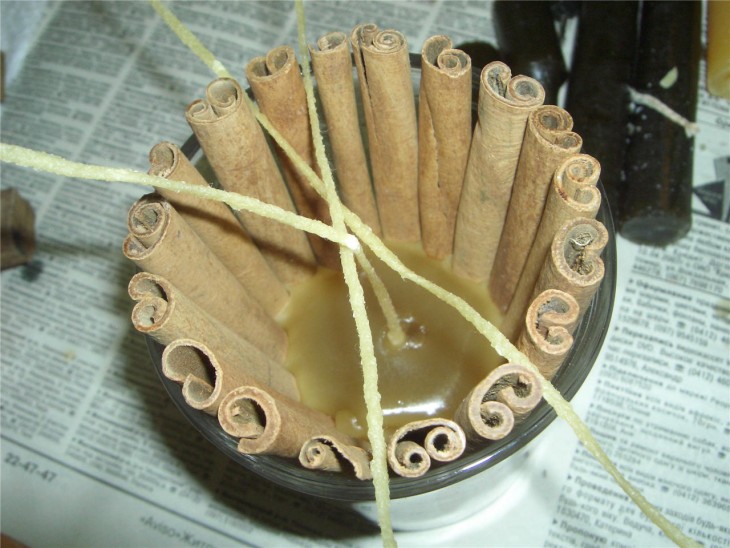
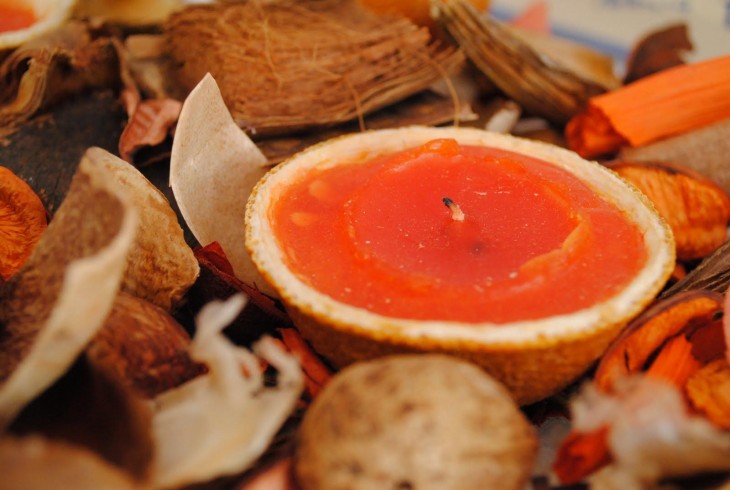
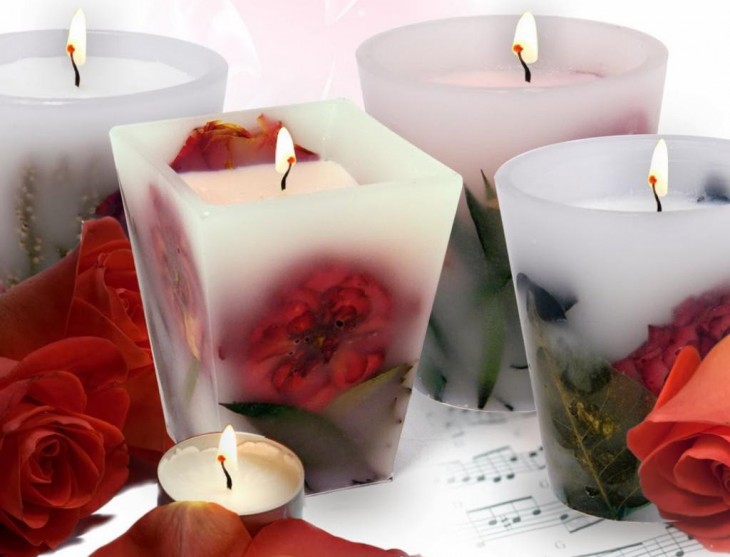
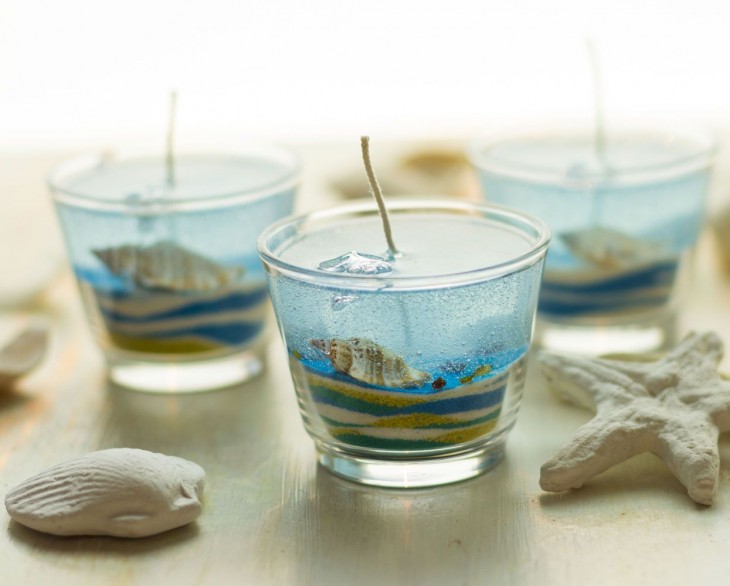
- Natural materials - pebbles, shells, twigs and others. Basically, they are placed on the bottom of the mold before adding molten paraffin.
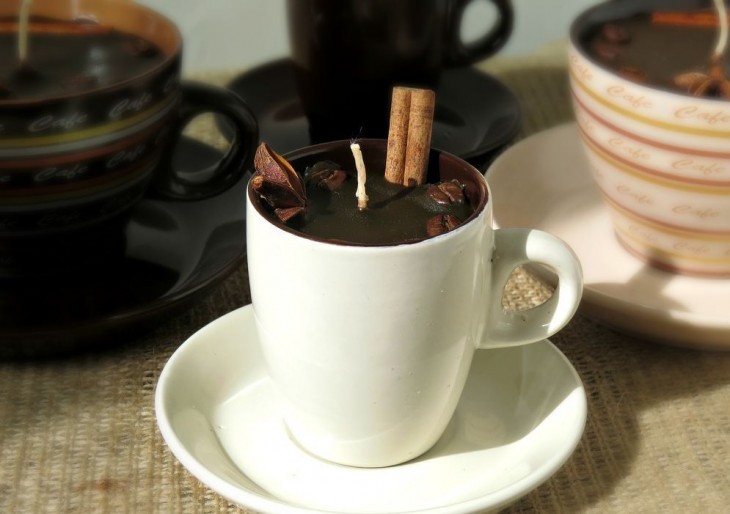
- Food products - coffee grains and dried fruits. Such materials can be placed throughout the volume of the mold, gradually filling the wax and giving it the opportunity to fix the decoration.
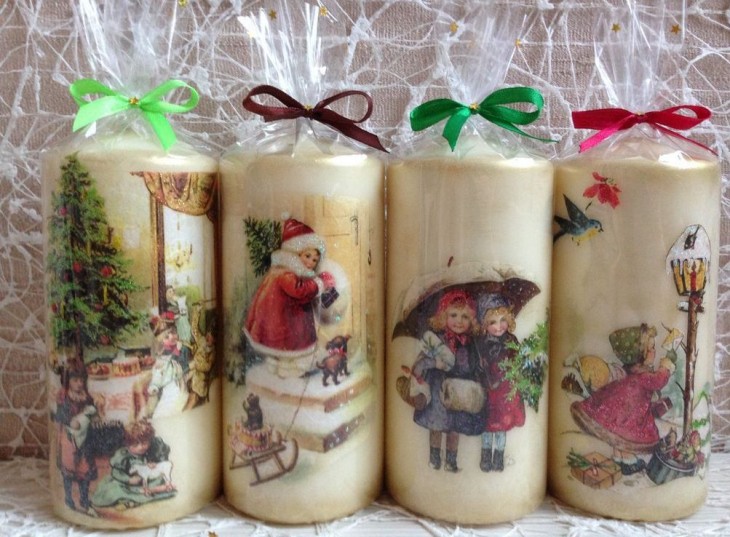
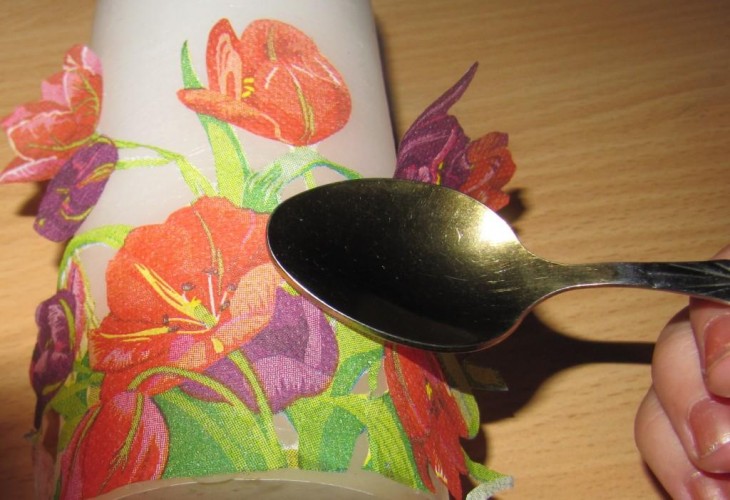
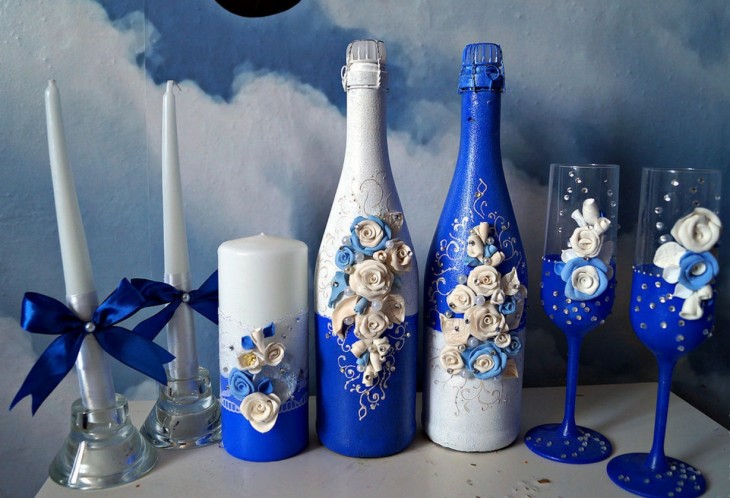
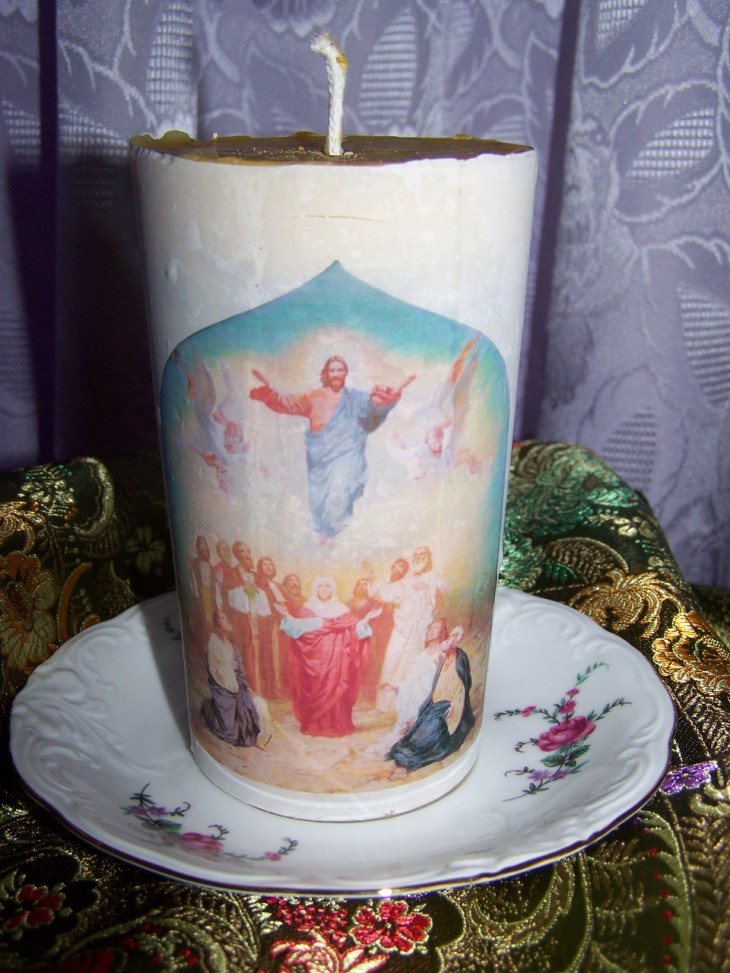
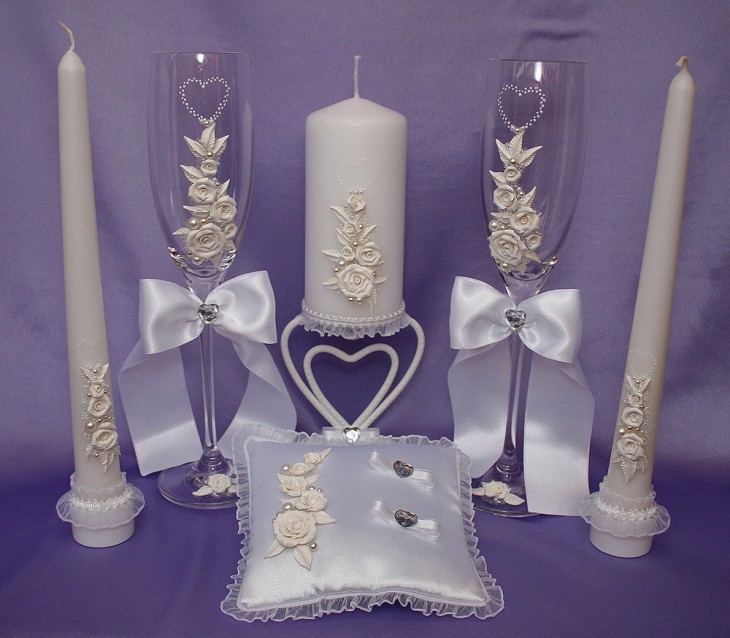
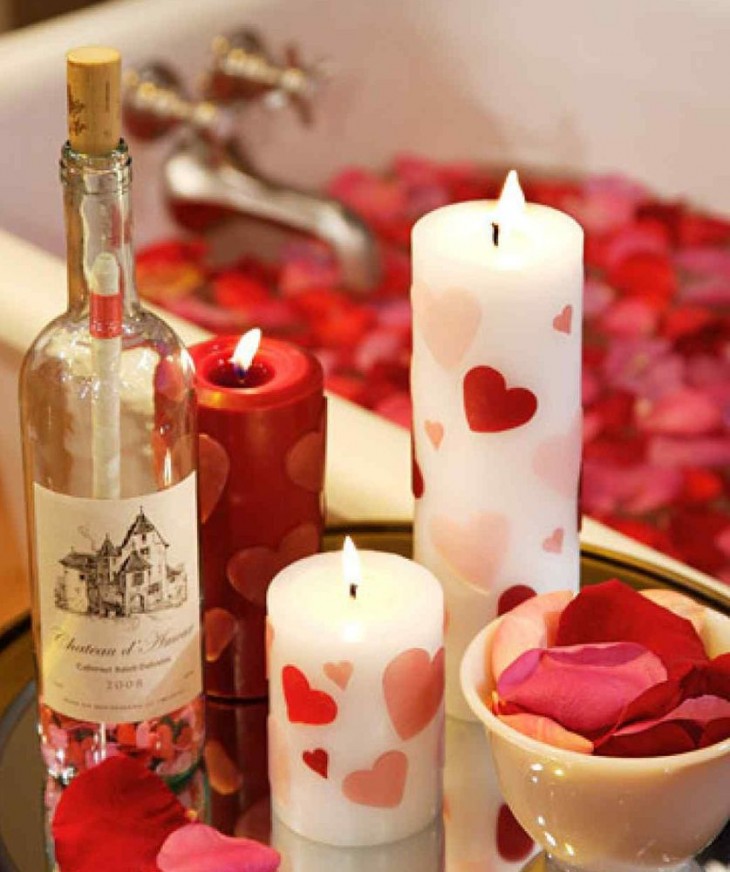
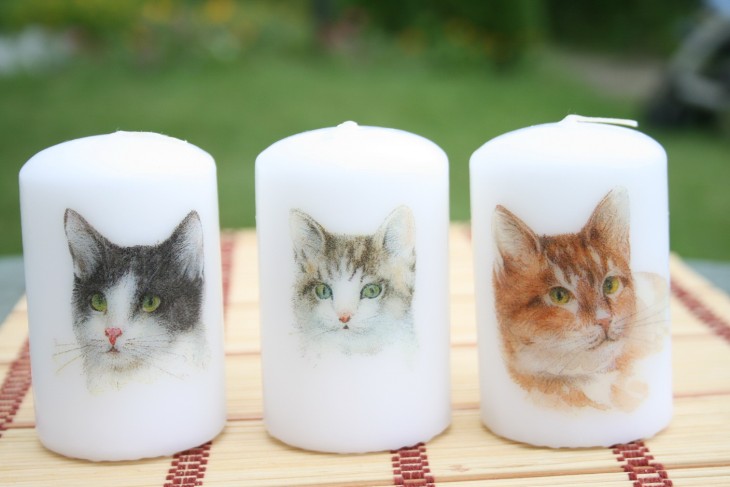
- Decoupage. The technique is known for a long time and is successfully used in the manufacture of candles. The color pattern of the napkins is placed on the surface and fixed with glue designed specifically for candles. This fixation protects against paper fire.

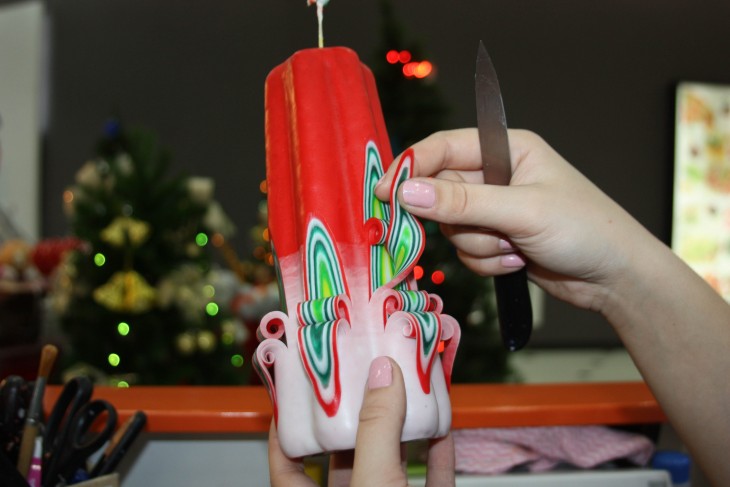
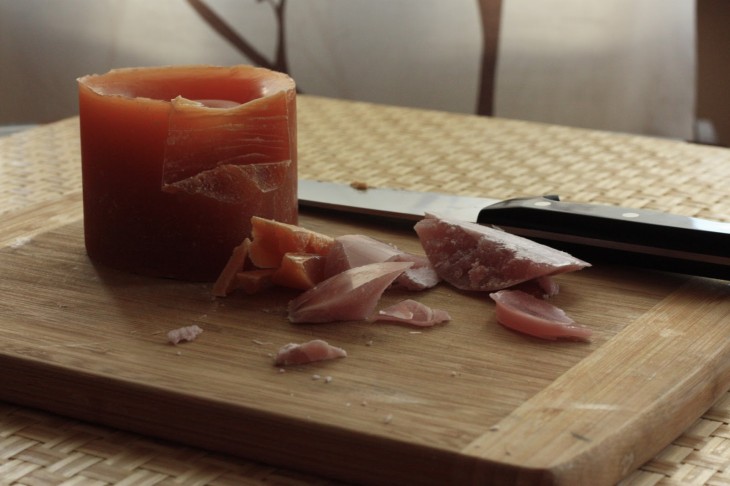
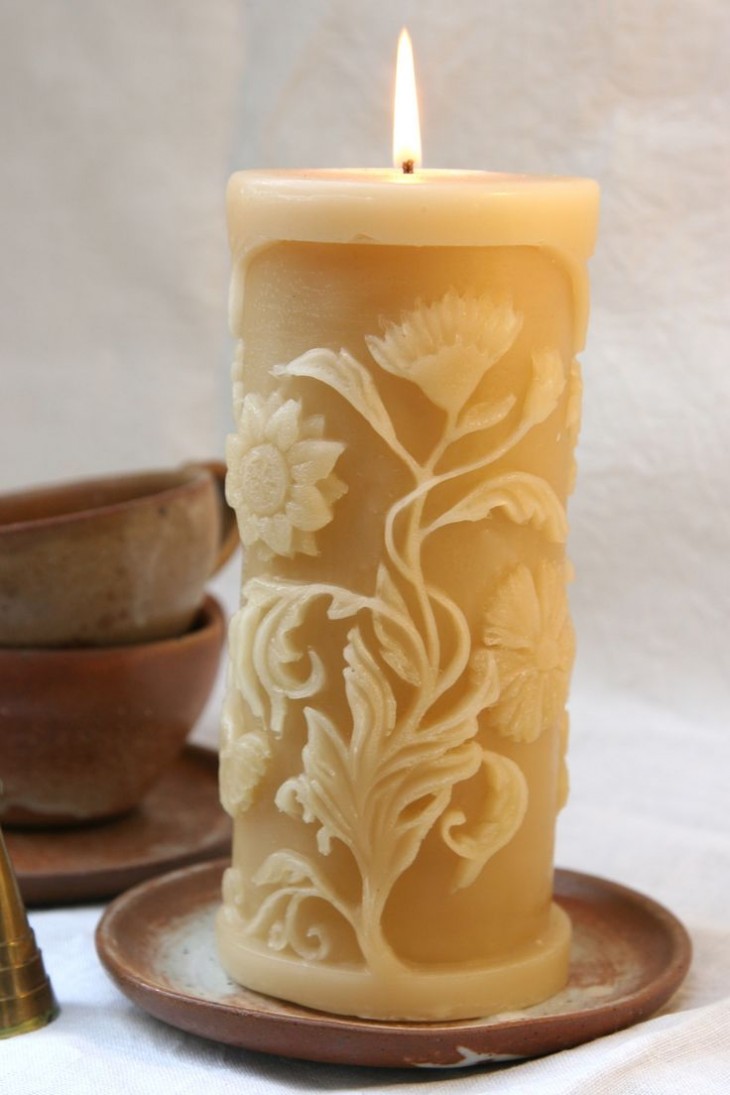
Separately, it is worth highlighting the carved decoration of candles. Not everyone can accomplish this - perseverance and accuracy will be required, but the result exceeds all expectations.
For cutting you will need: stationery knife, paper and pen. Wrapping the candle with paper, determine the size of the future drawing, the excess is cut off. A pattern is applied to the remaining rectangle.
The candle is wrapped again with paper and secured with tape. Carefully acting, they outline the knife along the contour with a knife, and then excess layers of wax are cut out.

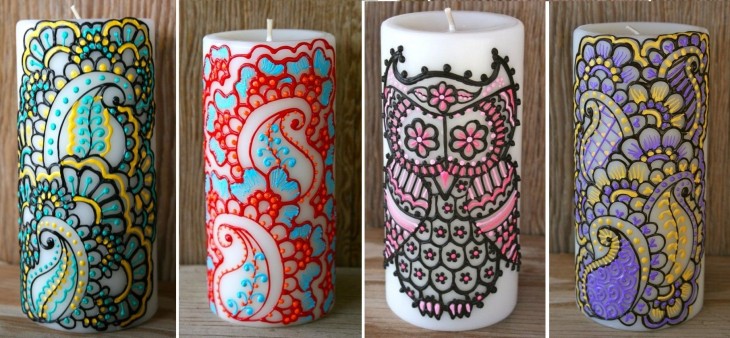
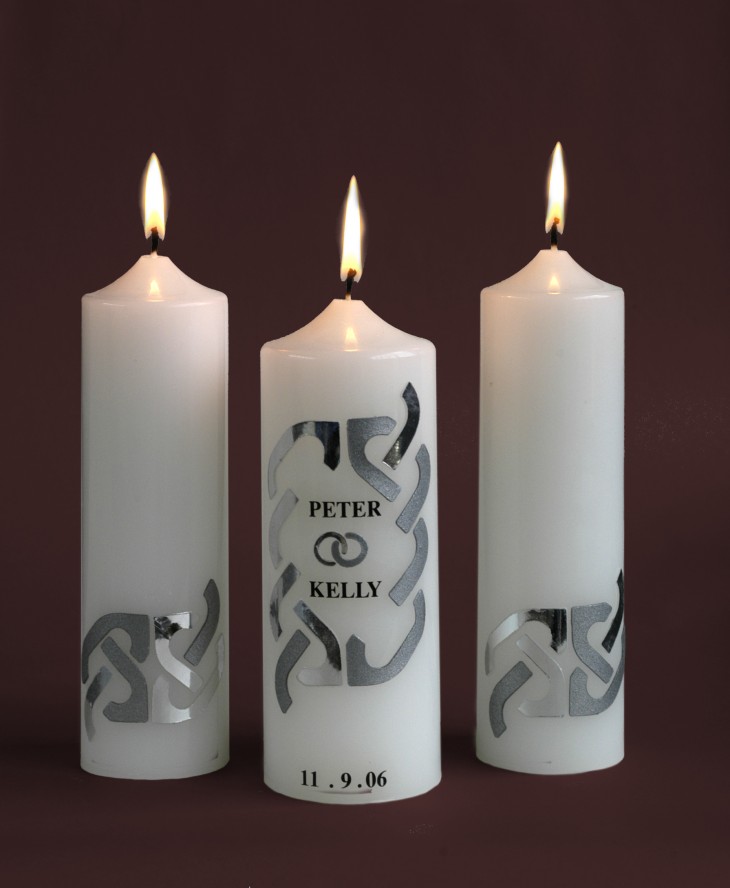
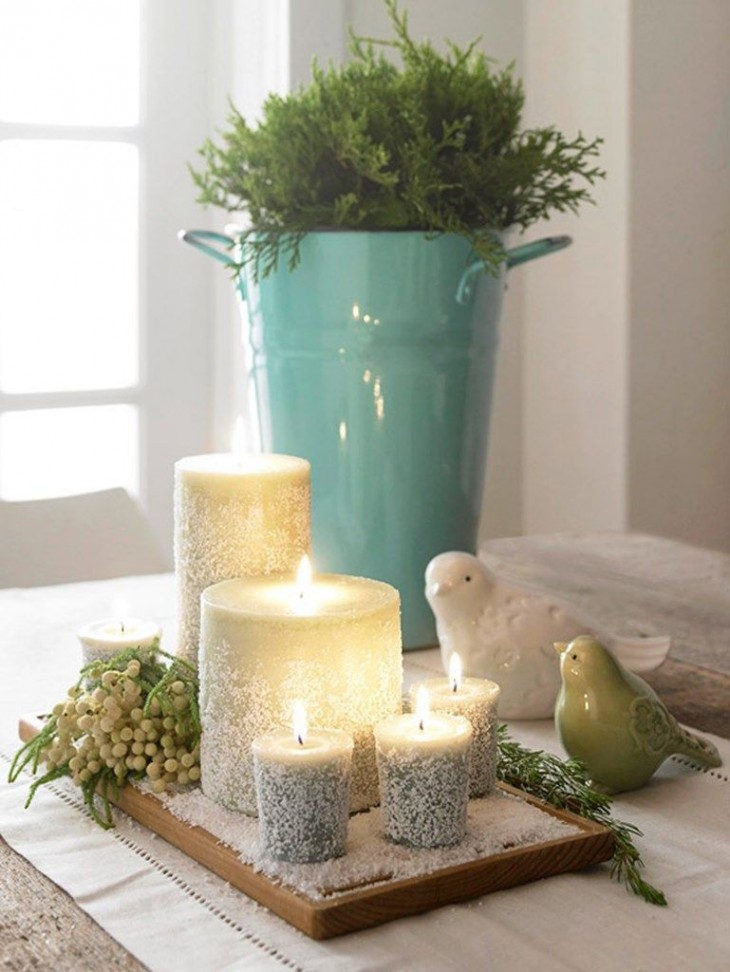
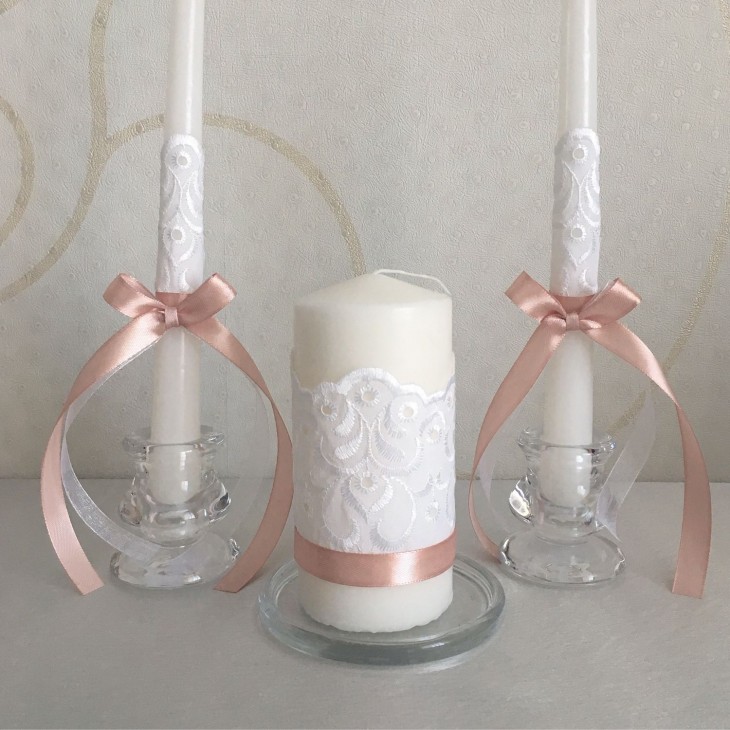
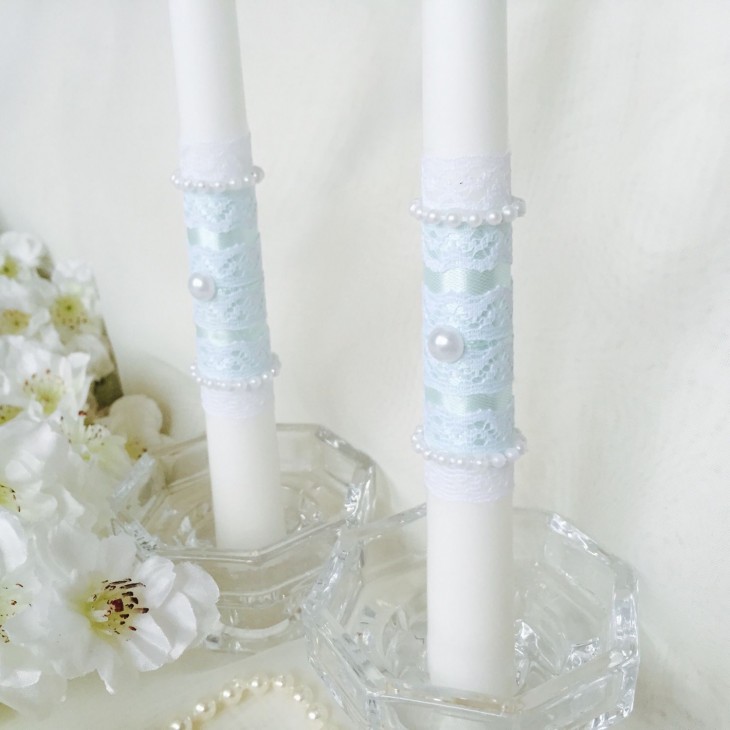
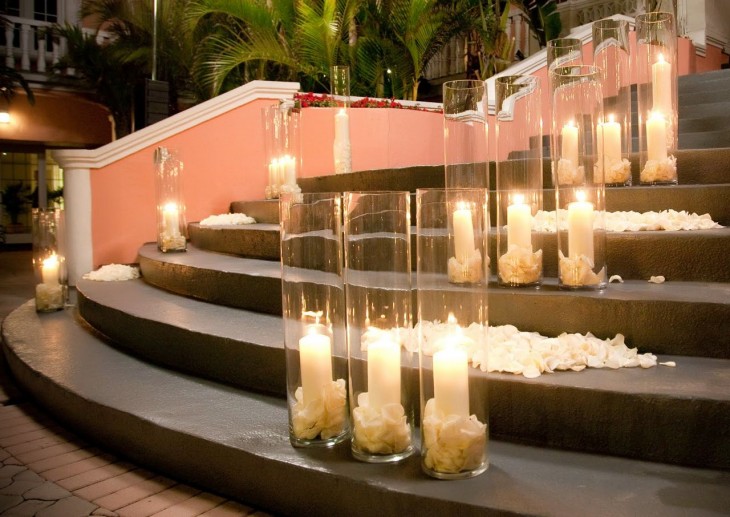
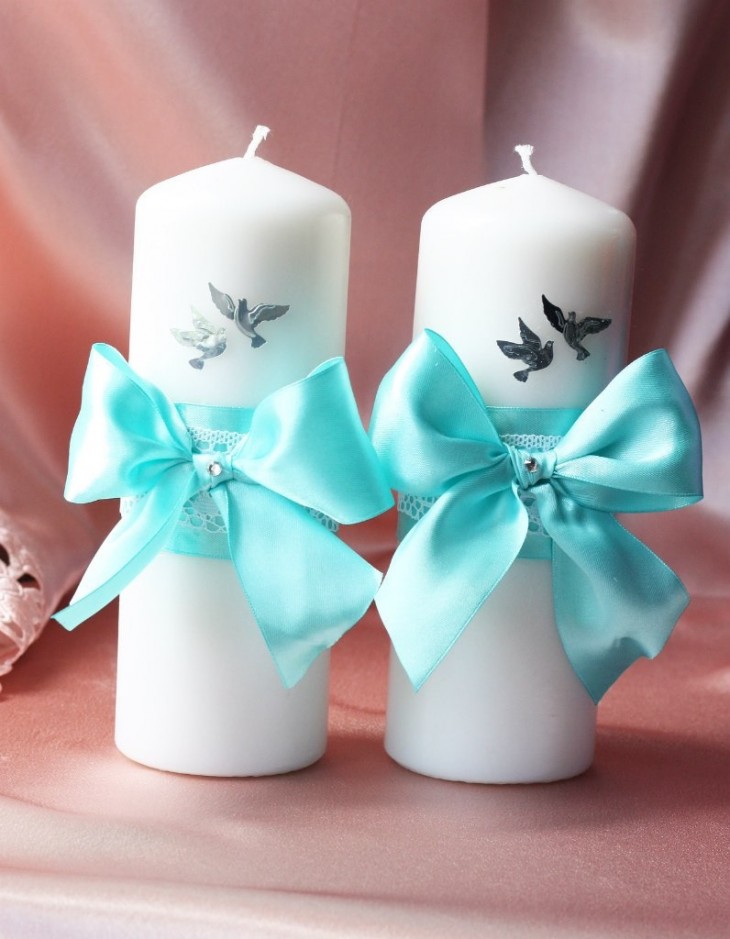
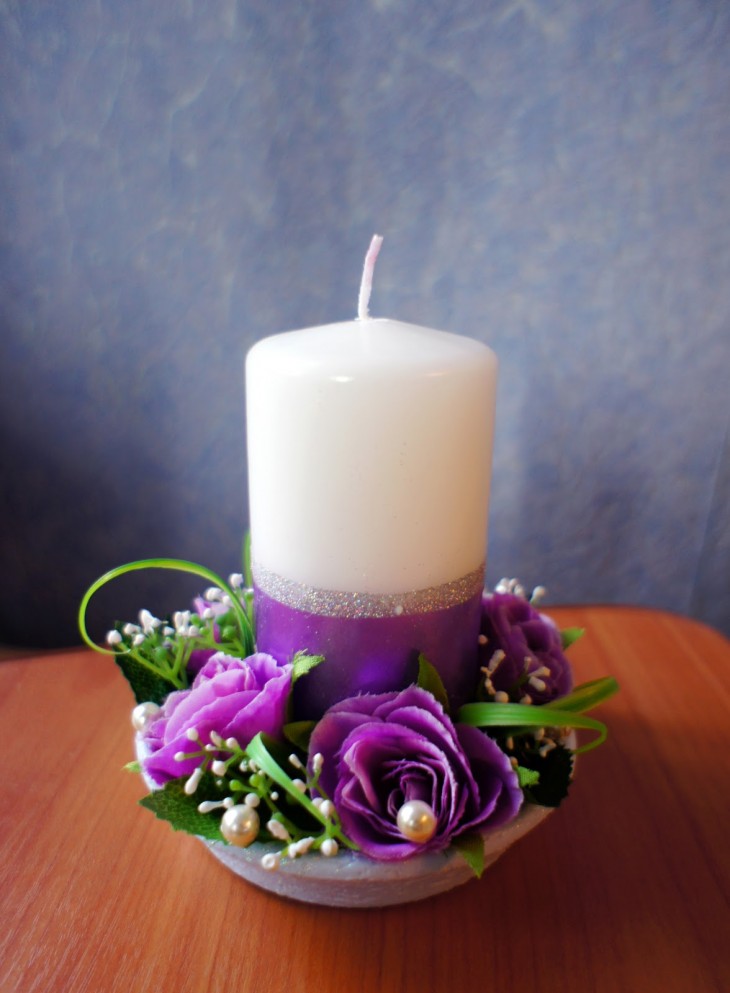
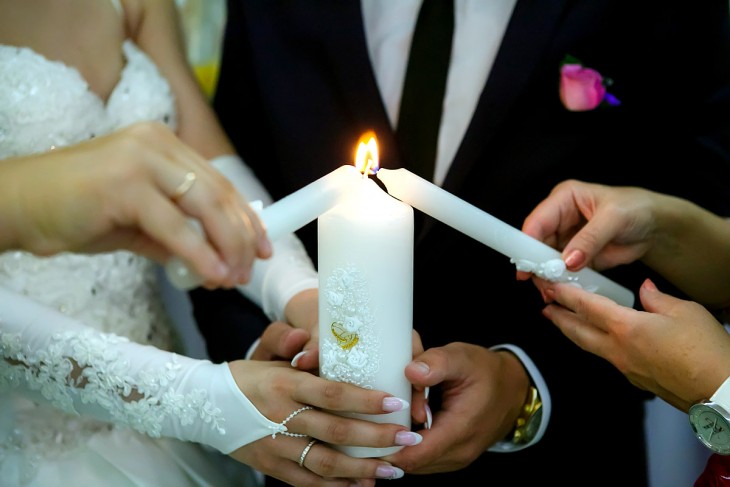
You can use such candles at a wedding, to decorate the table or just for the interior.

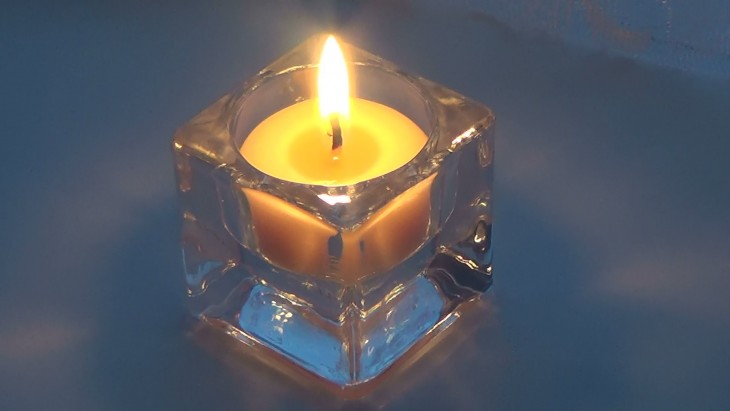
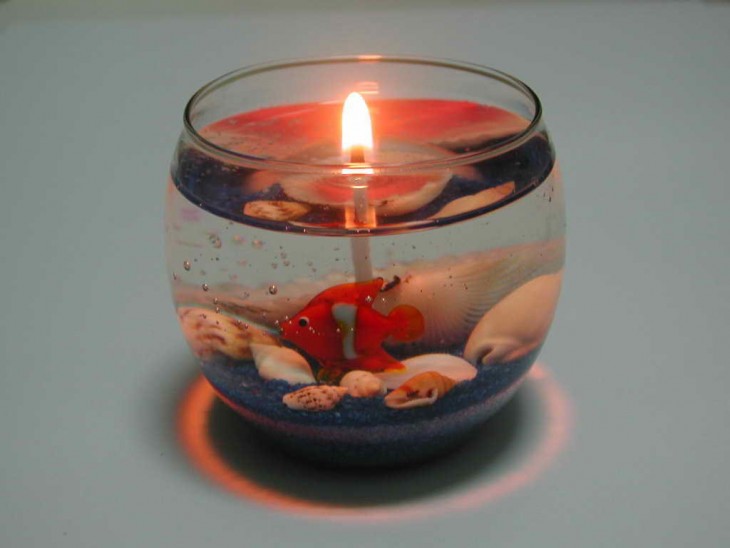
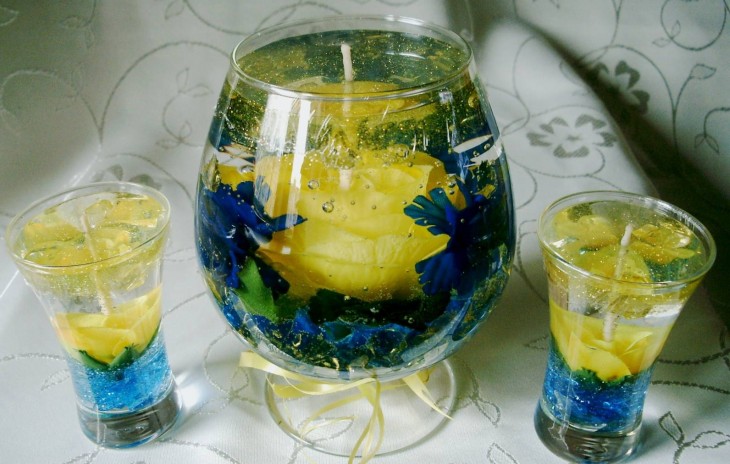
Transparent candles
You can make completely transparent candles using a special gel.
The advantages of such material are:
- lack of smoke, smells and soot;
- transparency (for beauty and decor);
- the possibility of self-cooking.
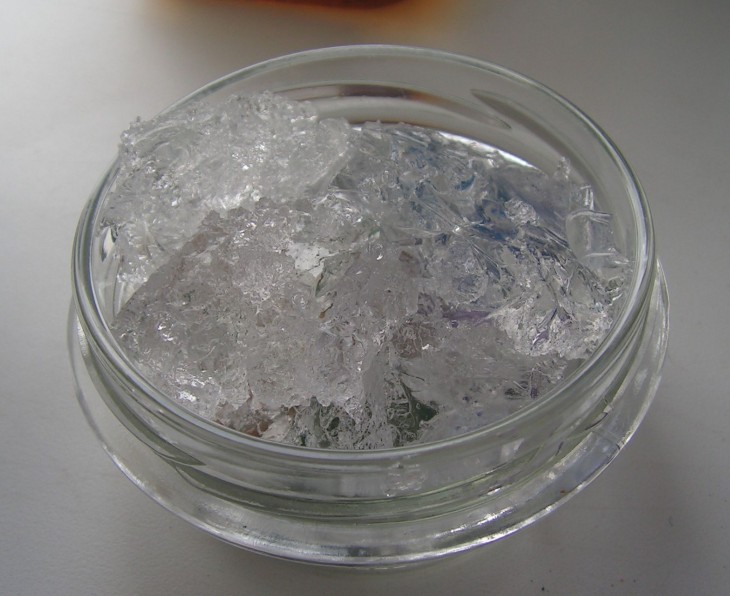

How is the gel prepared? Glycerin, gelatin and tannin are mixed in equal amounts, the same amount of water is added to them, all this must be put on a small fire and cook until the liquid evaporates.
At first, the gel may be cloudy, but in the process of cooling it will acquire transparency.
Working with the gel is not very different from using wax, but there is still a slight difference:
- after the candle hardens, it cannot be taken out of the mold, therefore it is better to use a glass and transparent container;
- Before the process of adding the gel, the form should be slightly warmed up - this will protect against the appearance of air bubbles in the candle.
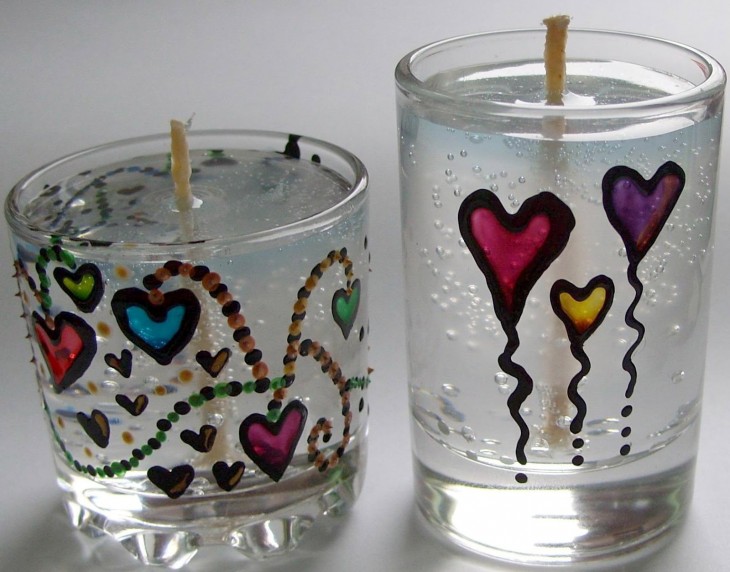
You can colorize, scent and decorate a gel candle in the same way as any other.
Knowing how to make candles on your own, you can always have on hand a beautiful table decoration, an exclusive gift for friends and relatives, as well as use your works in the interior.
DIY candles photo