Children are indefatigable dreamers, and their activity is capable of endlessly touching and delighting adults. When the results of creativity are in a clearly visible specially designated place - young fidgets are delighted.
The equipment of the exhibition board is not always associated with high cash costs. Any interested parent can make children's stands with their own hands.
Review Content:
How to choose the right material
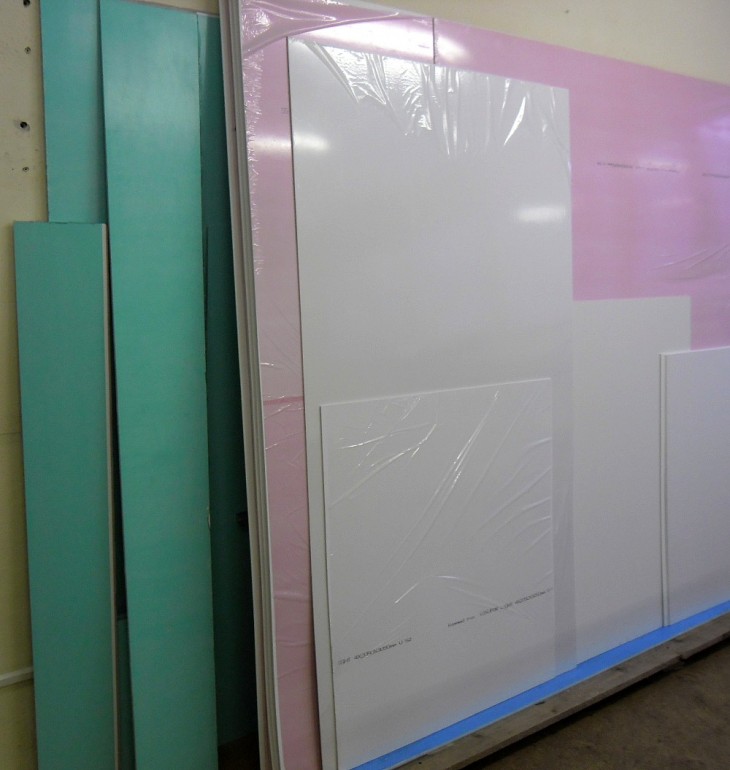
Among a large assortment of modern stands, more and more consumers opt for cork boards. They are convenient to use, reliable, durable, affordable.
Natural material - cork oak bark - meets the general safety requirements for children's products and has a number of positive qualities:
- ecologicaly clean;
- easy to clean, does not attract dust;
- moisture resistant;
- refractory;
- resistant to chemical attack;
- not damaged by fungus, insects;
- not electrified;
- shockproof;
- wear resistant.
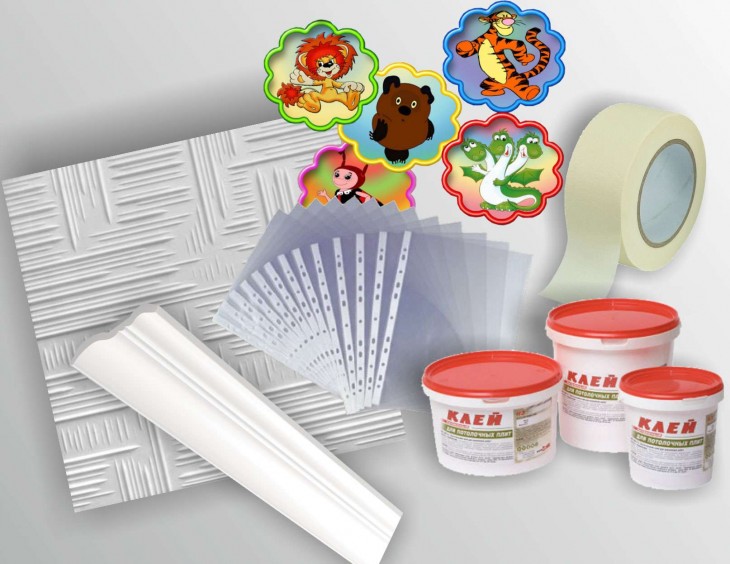
Cork stands will be a win-win option for both home and kindergarten.
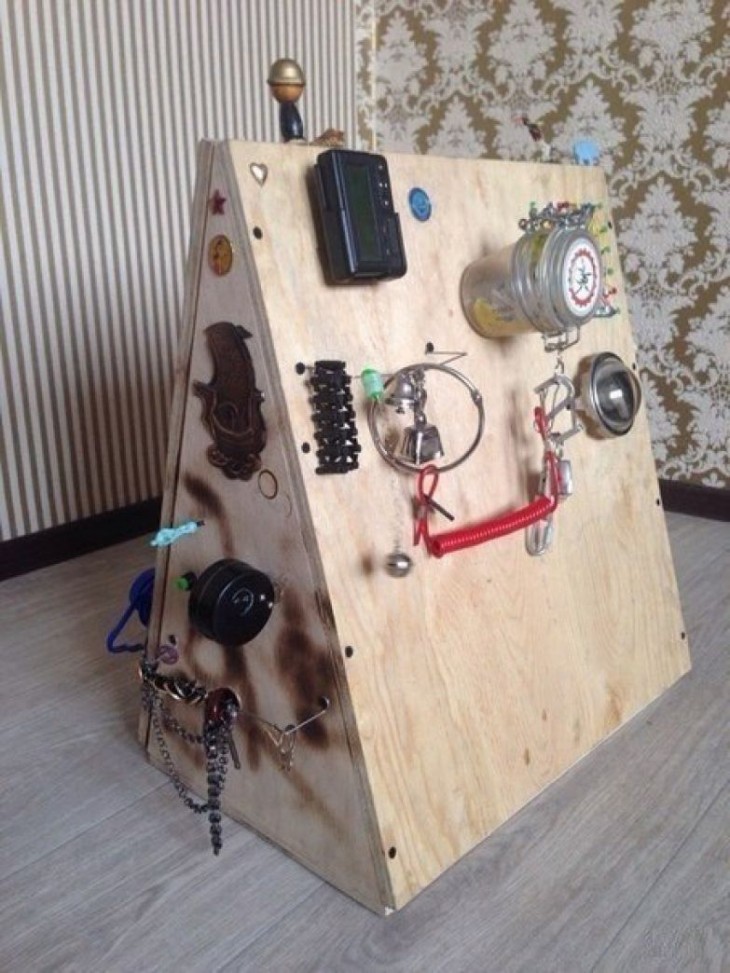
How to make a stand
You do not need to have special craft skills and knowledge to please yourself and children with a functional novelty in the house.
Think in advance how to harmoniously fit a new stand into the interior.
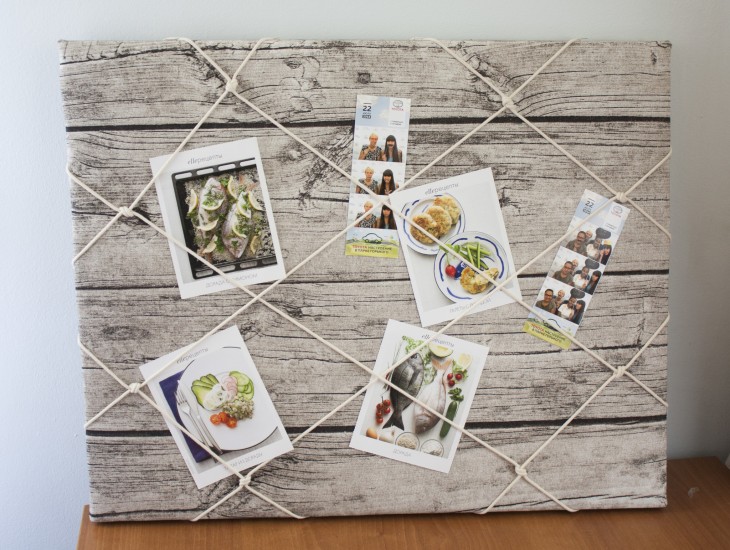
You can experiment with the color of the board itself - dye or drape the fabric with the desired color, or with the frame, choosing the best combination.
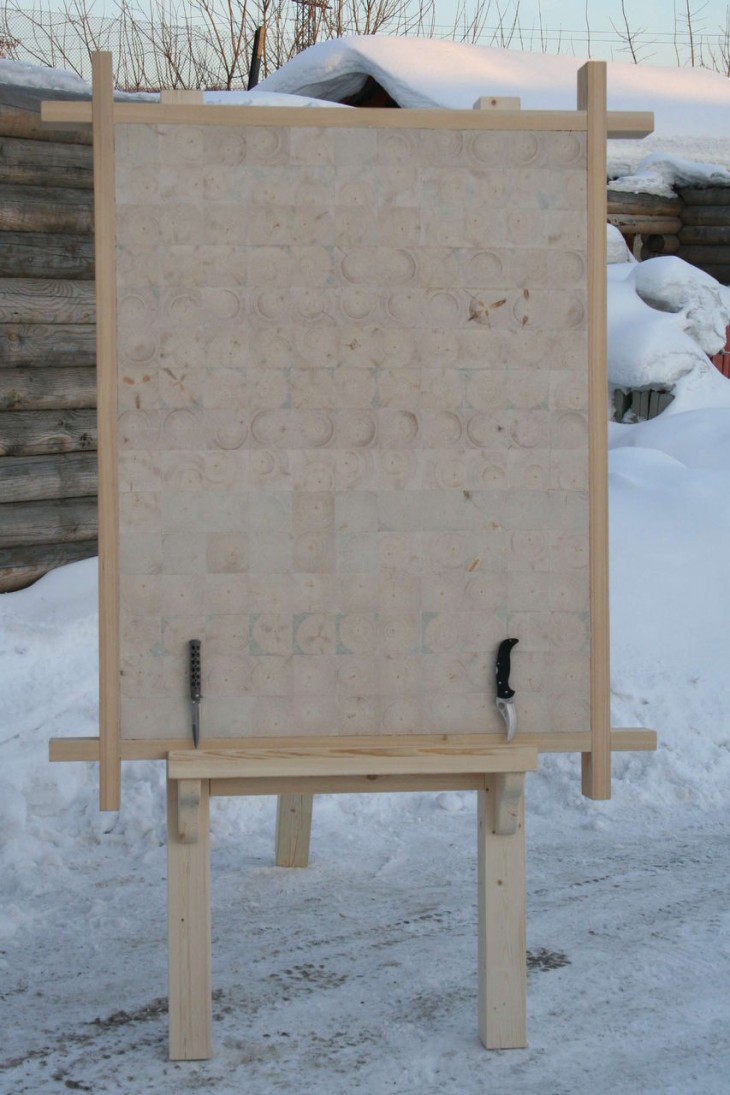

The frame is usually made of wood, plastic, metal profile. It is also advised to use cable channels, the width of which slightly exceeds the thickness of the board.
Choose the type of wall mount for the stand: fixed version with glue or freely hanging on hinges.
The minimum set of blanks and tools used, 30 minutes of work - and the result will be on the wall.
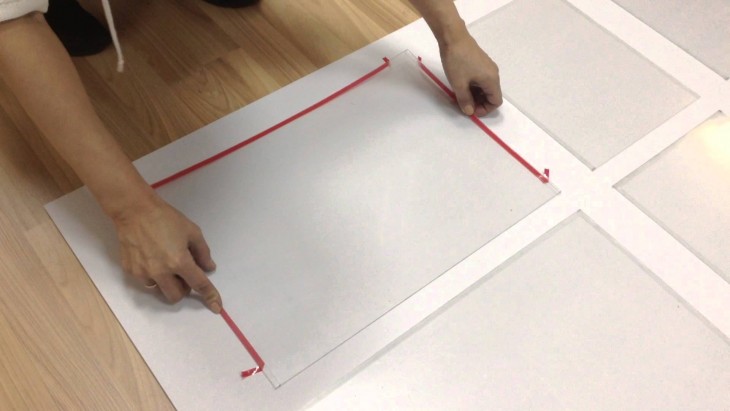
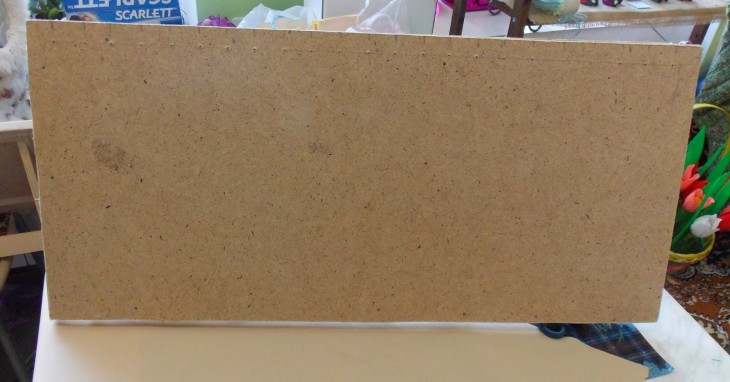
Determine the desired dimensions of the stand, prepare a cork sheet in size.
Choose the material for the back wall - plywood, fiberboard.
Glue both sheets. Glue - liquid nails, you can use another. Pre-degrease the surface, after applying the glue, firmly press the parts to each other. Optionally, with a cloth, tighten the working surface of the stand.
Attach the previously prepared frame to the base. If desired, attach hinges for fastening on the reverse side.
Fix the stand on the wall with glue or double-sided tape for a fixed version. For an alternative way - hang on loops.


How to rationally use the stand
After you made a stand with your own hands, you can begin to actively operate it.

Note!

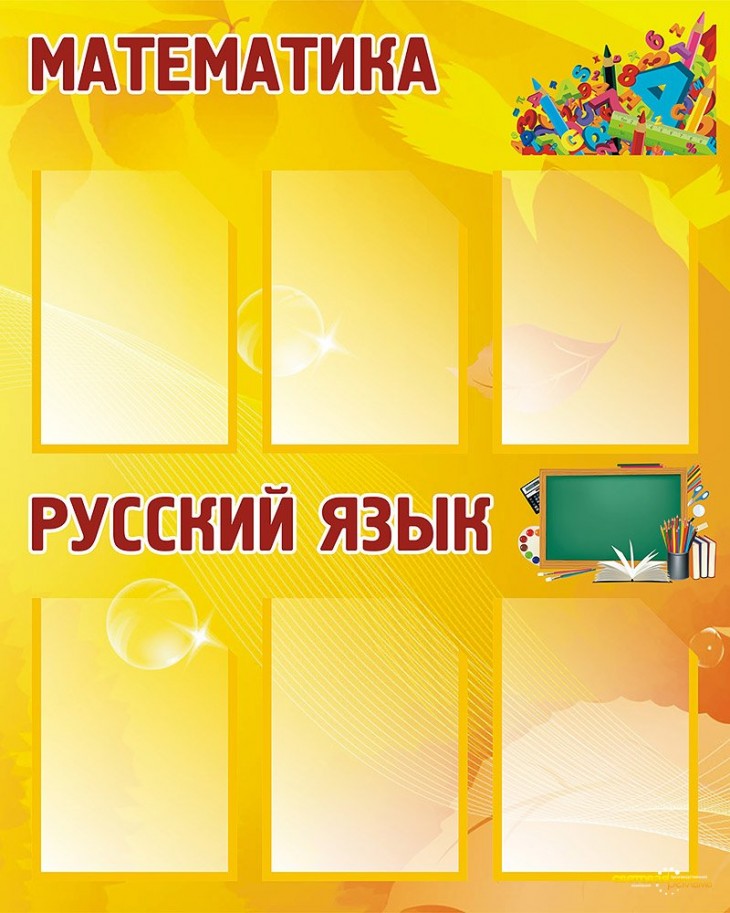
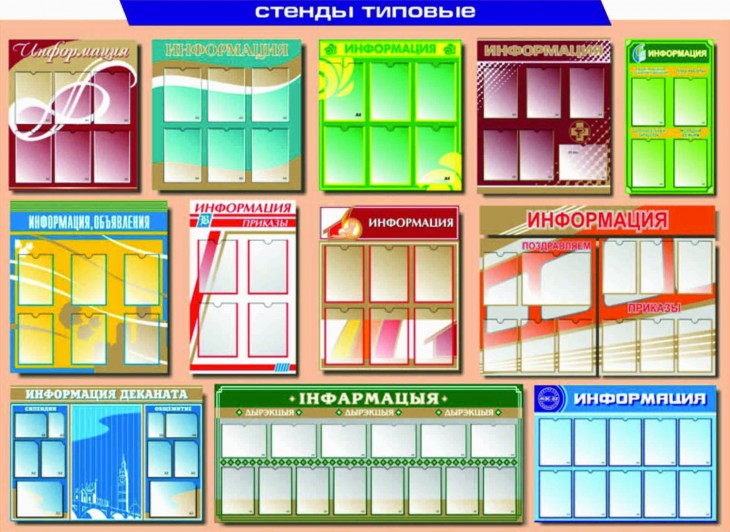
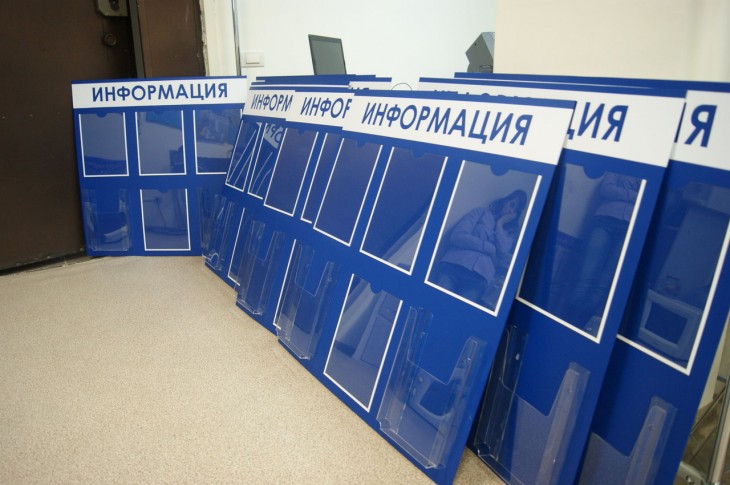
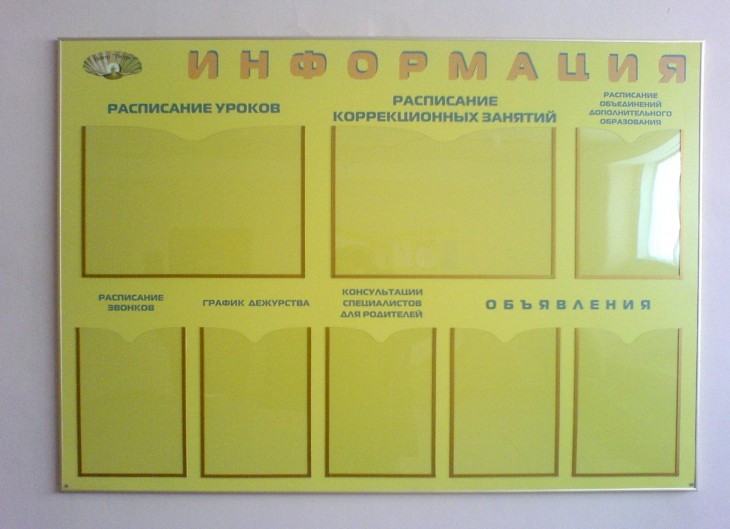
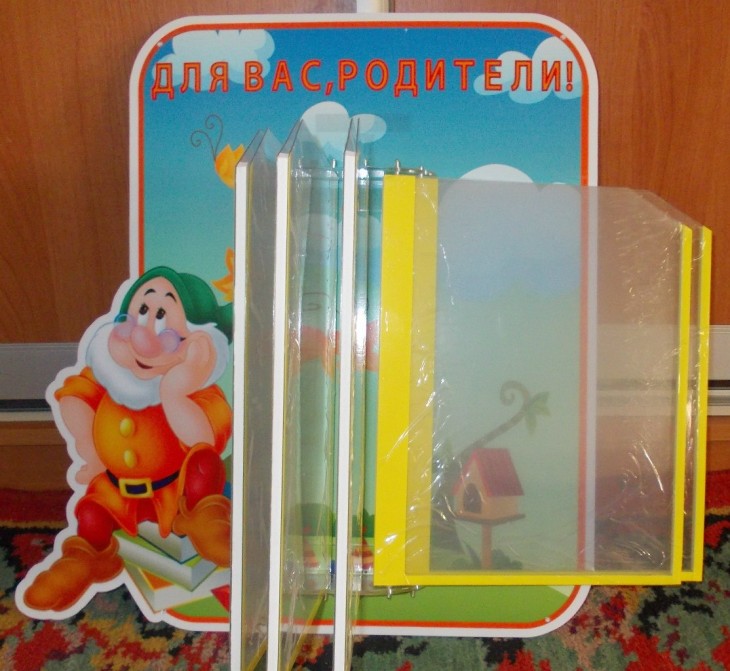
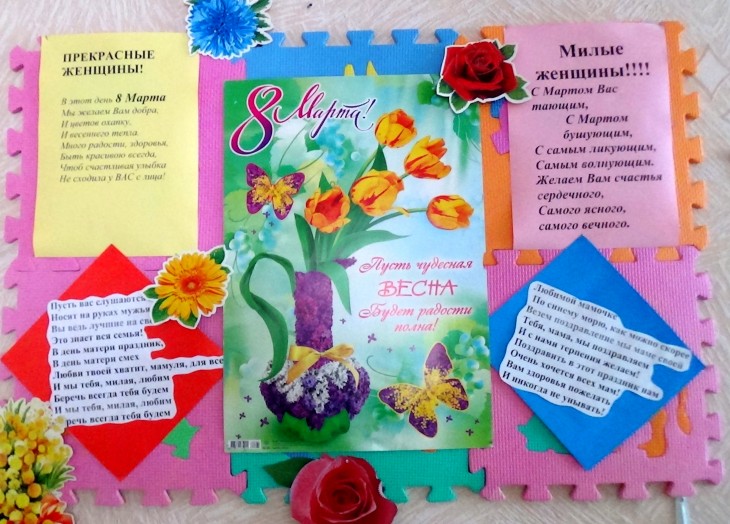
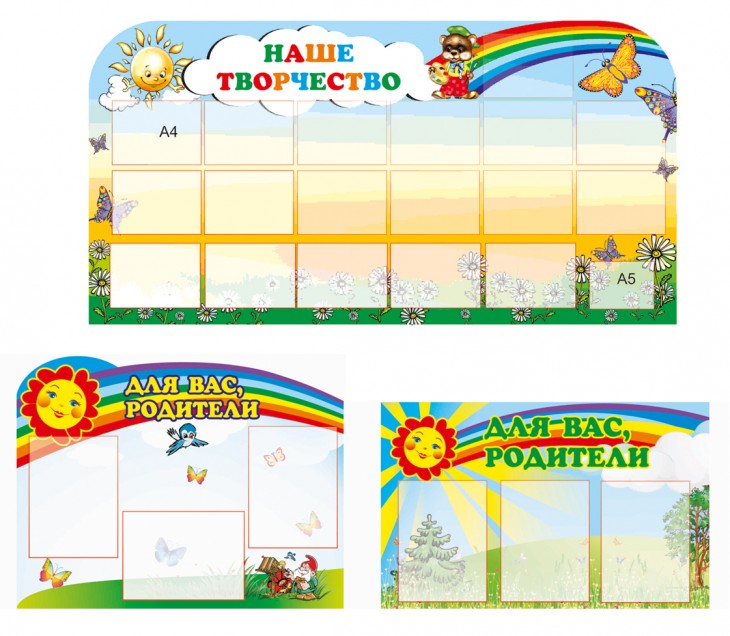
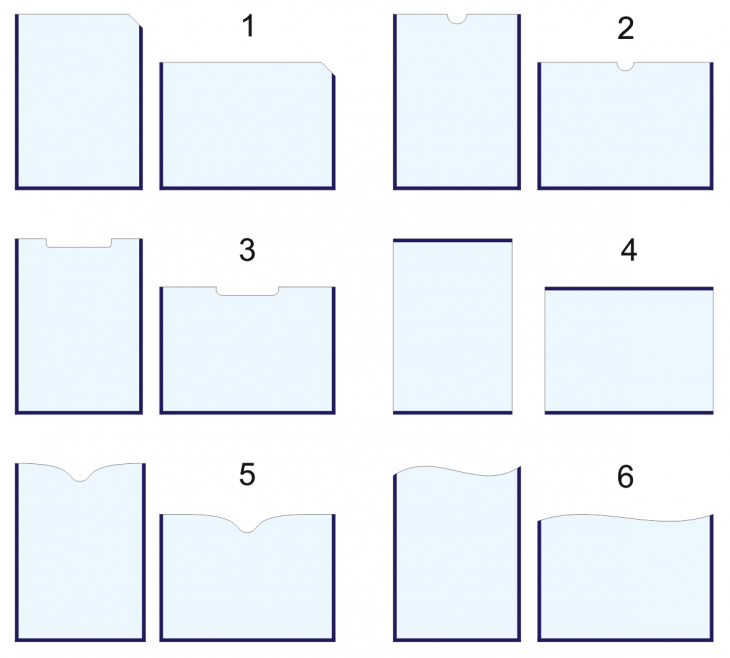
There are two main design methods. You can fix pockets on the surface of the board. It can be files for papers, or transparent pieces of thin plexiglass, mounted on a double-sided tape.

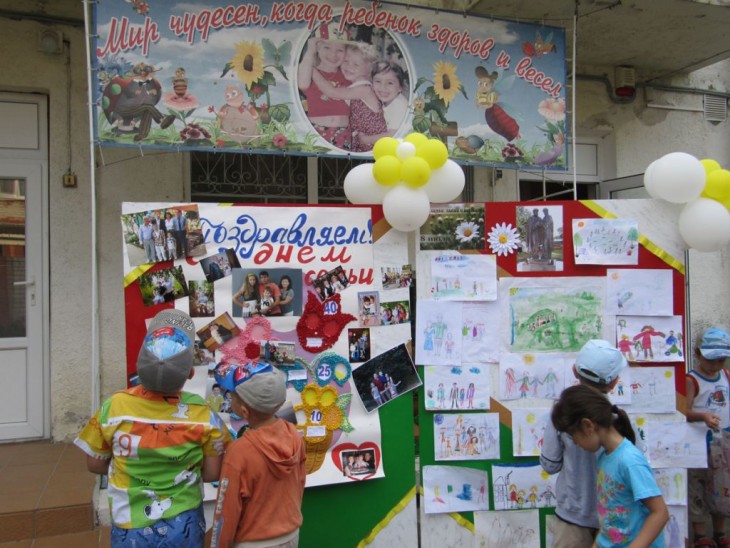
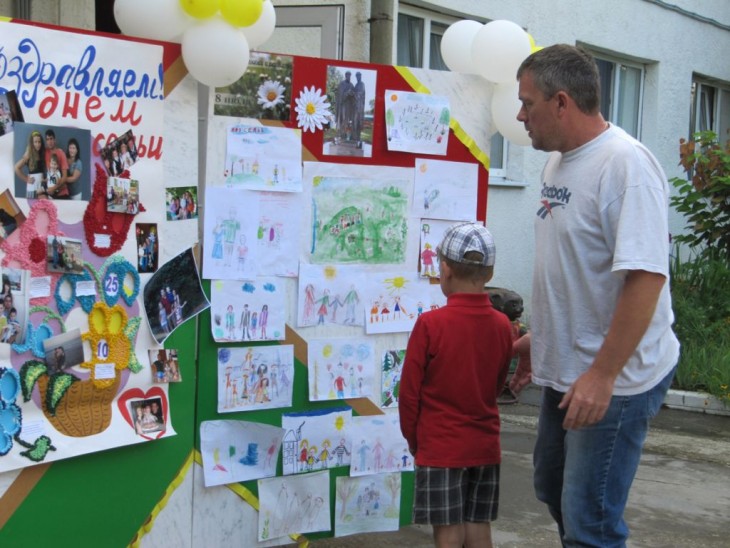
This type of decoration is used for information stands.
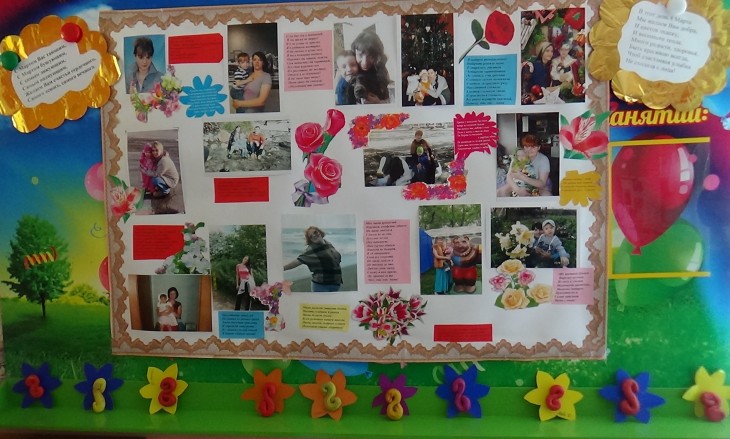
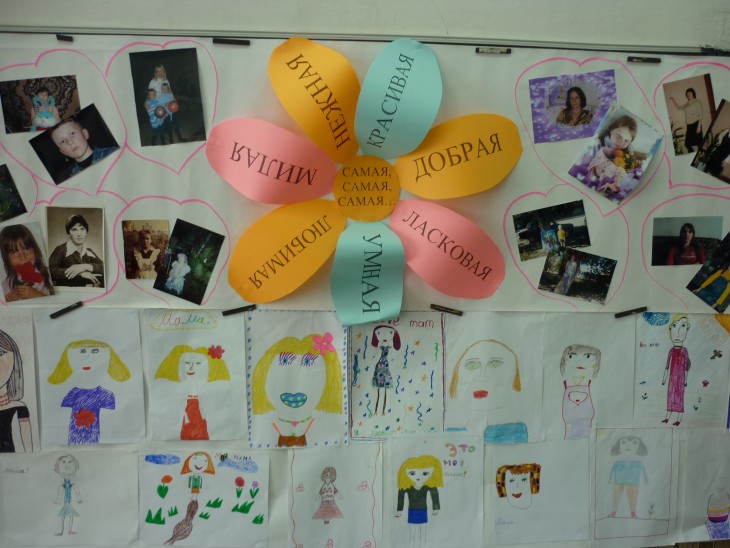
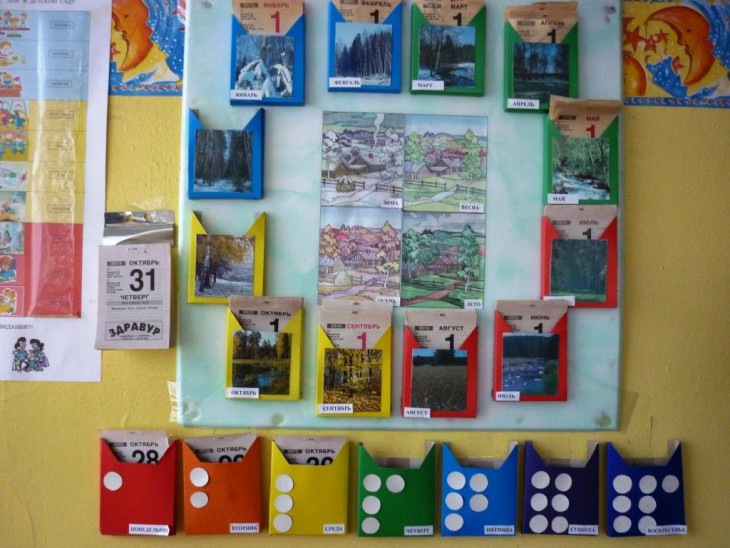
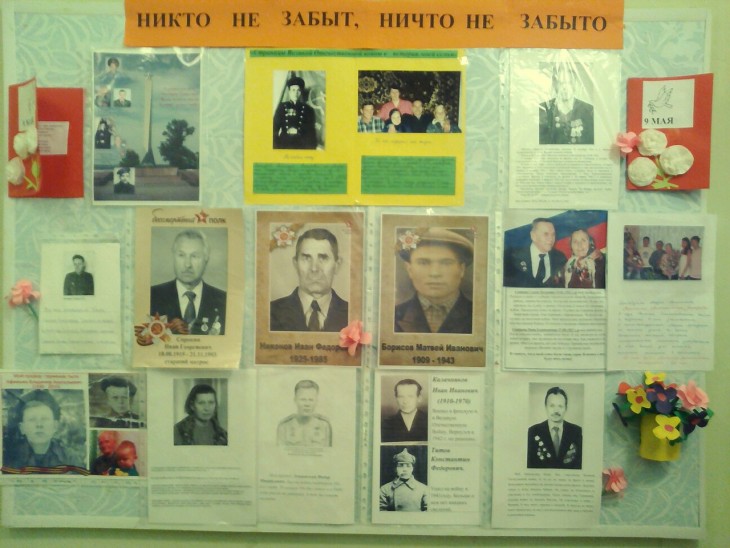
Pockets of paper are placed with important information that parents should know about the working hours, routines, and the rules of conduct for children in kindergarten.
Information can be updated daily (power menu) or as needed.
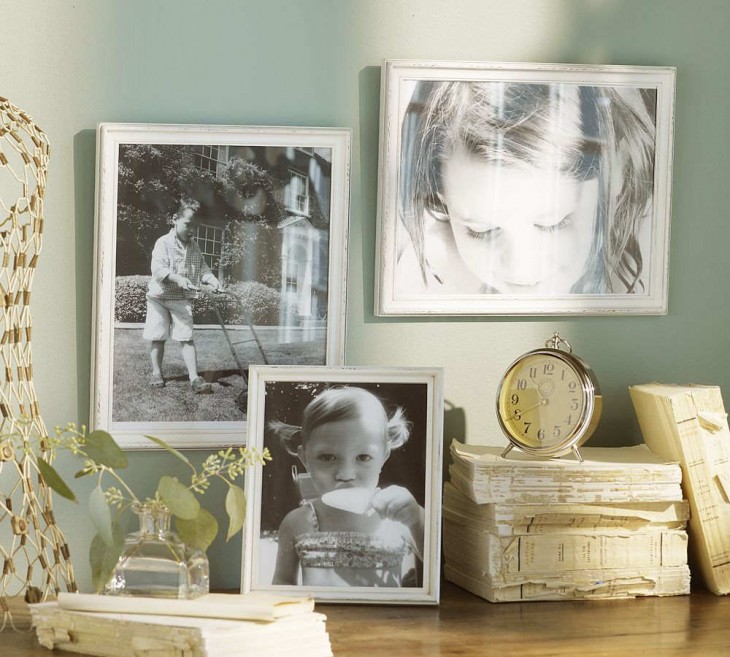
Stands are actively used by people of different ages both at work and at home.Reminders of important events, planning for the near future, pleasant memories captured in photographs, visualization of your desires, convenient organizer - each independently adds the most relevant for himself to the list of useful functions.

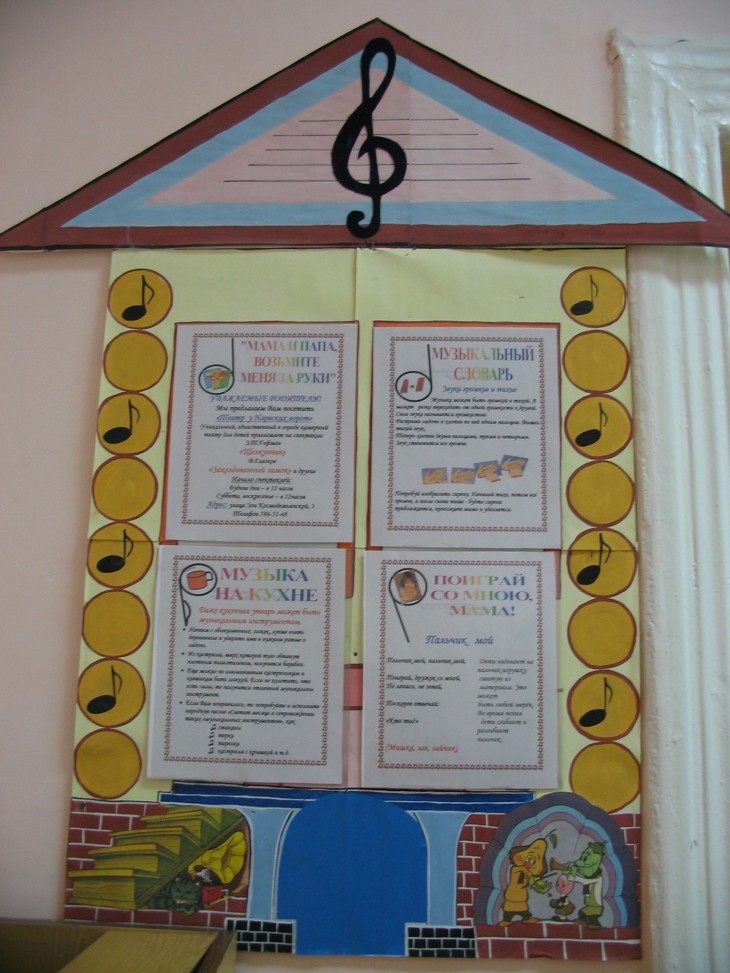
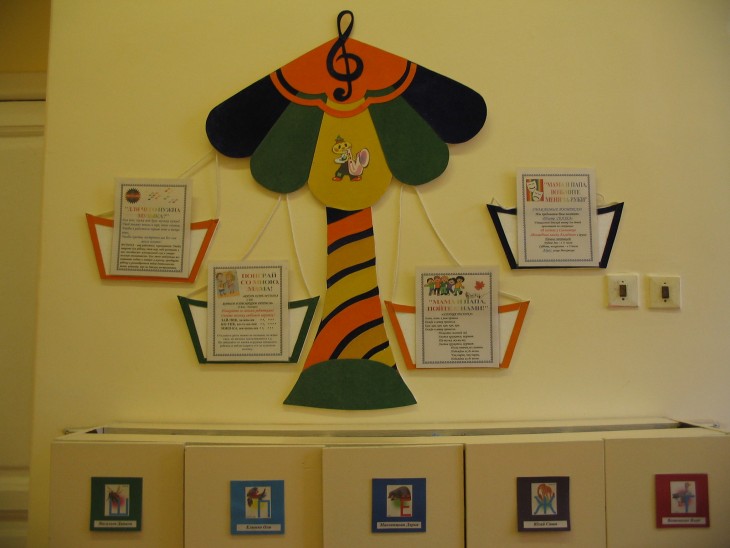
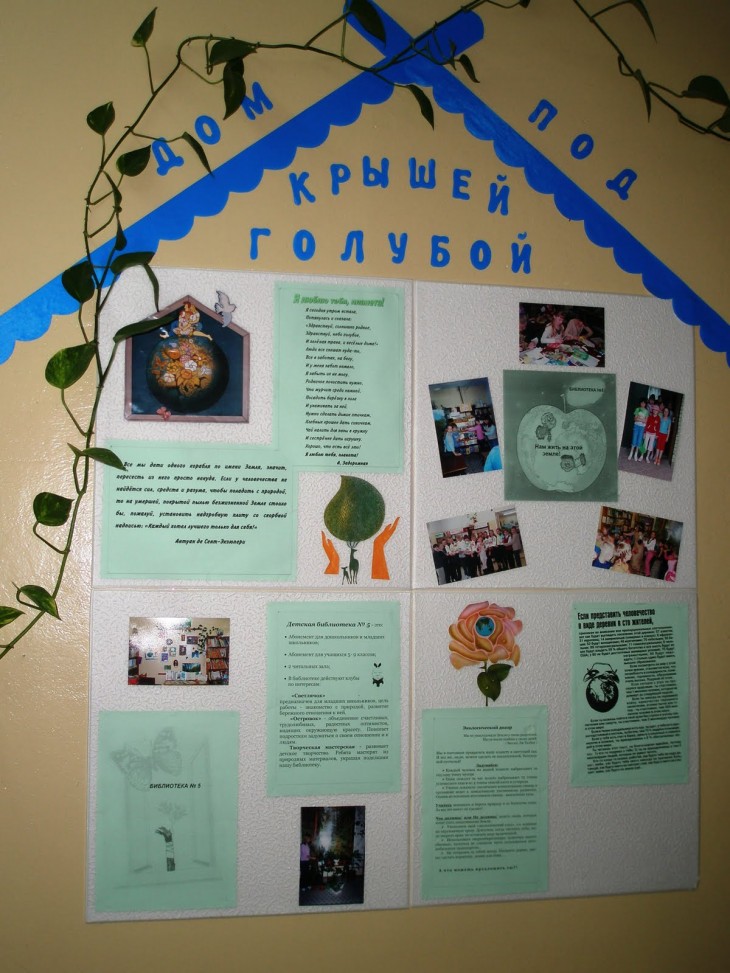
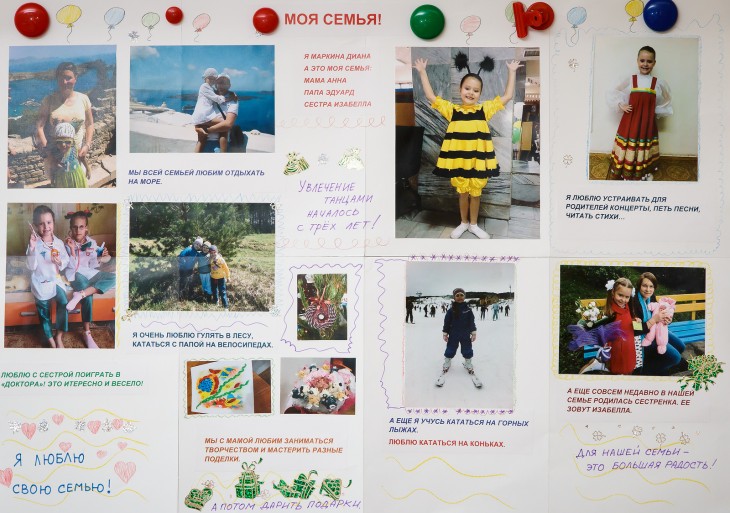
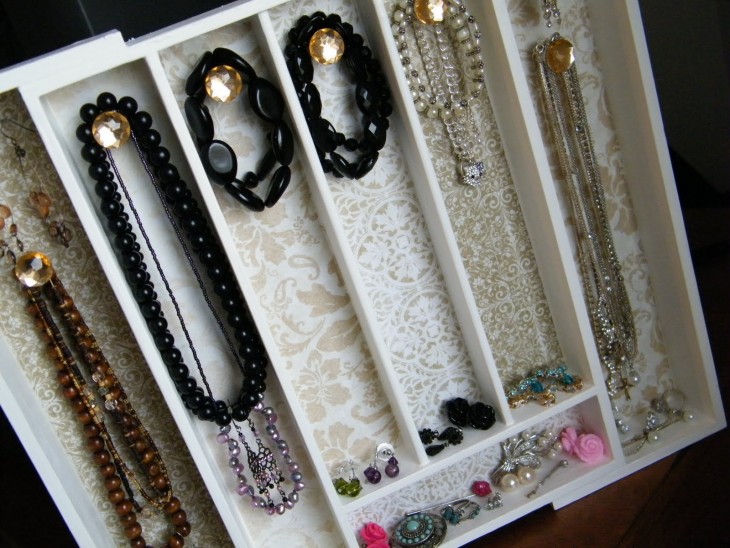
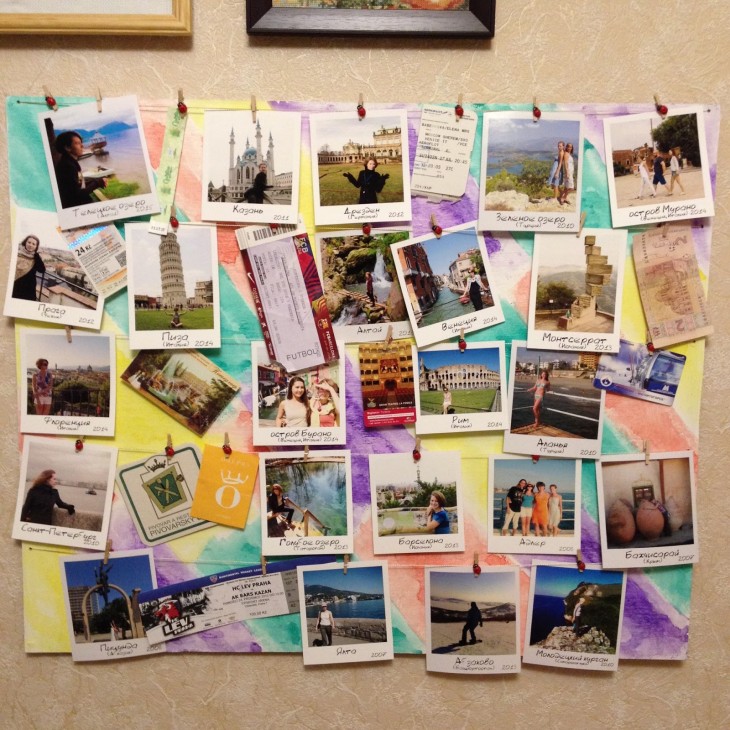
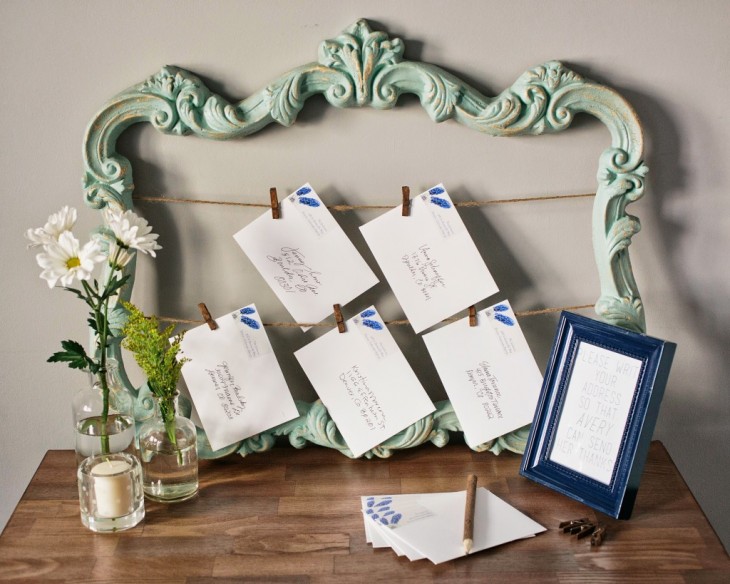
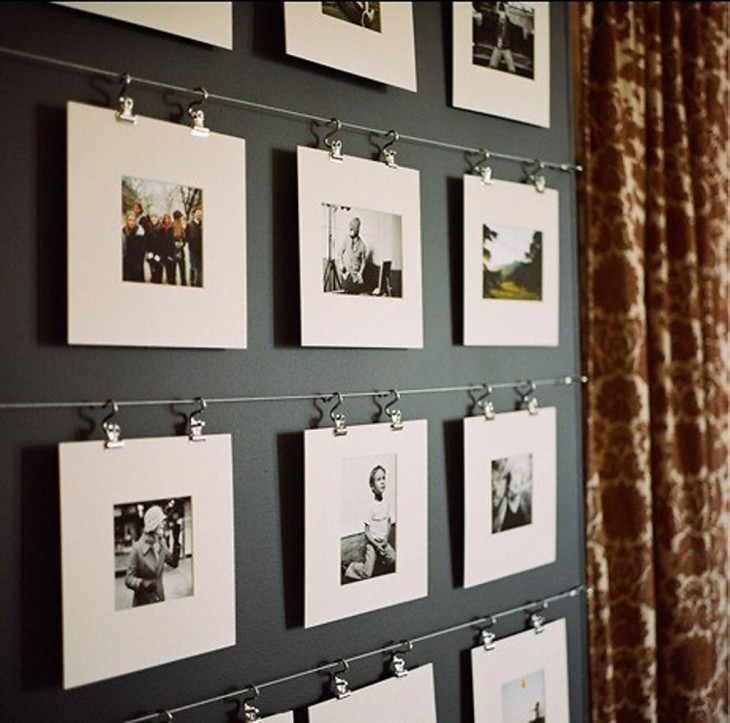
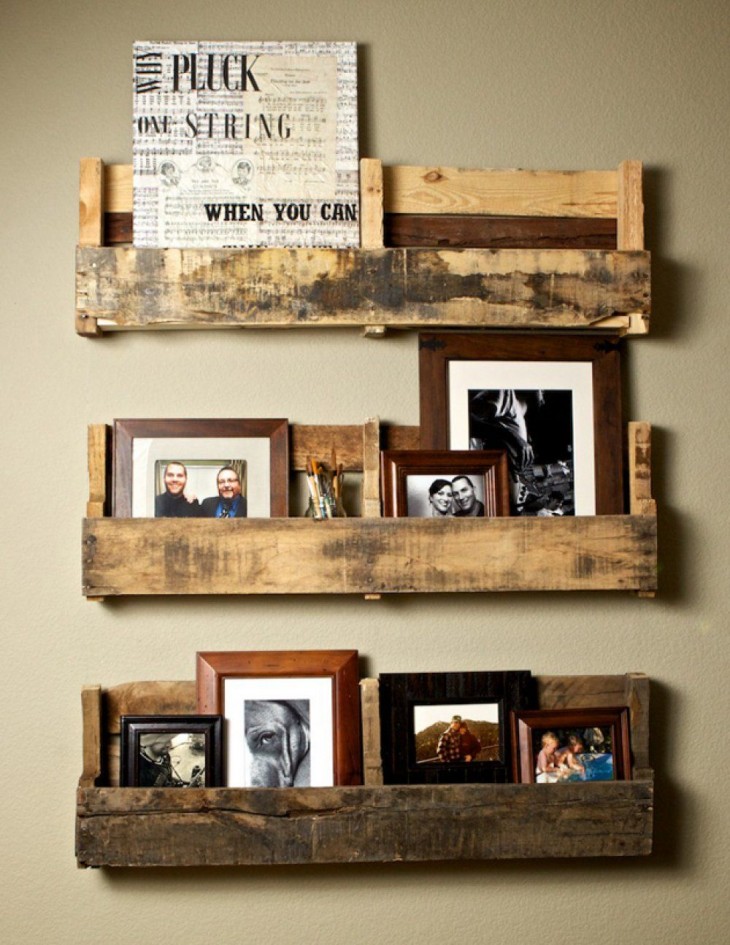
At the demonstration stands made of cork, the necessary items - photographs, pictures, paper notes, small souvenirs are fastened with buttons, pins, tailor's needles.
Note!

The surface of the board does not suffer from this, holes are not visible to the eye. When designing a stand for children, you need to ensure that sharp objects can not harm the kids.
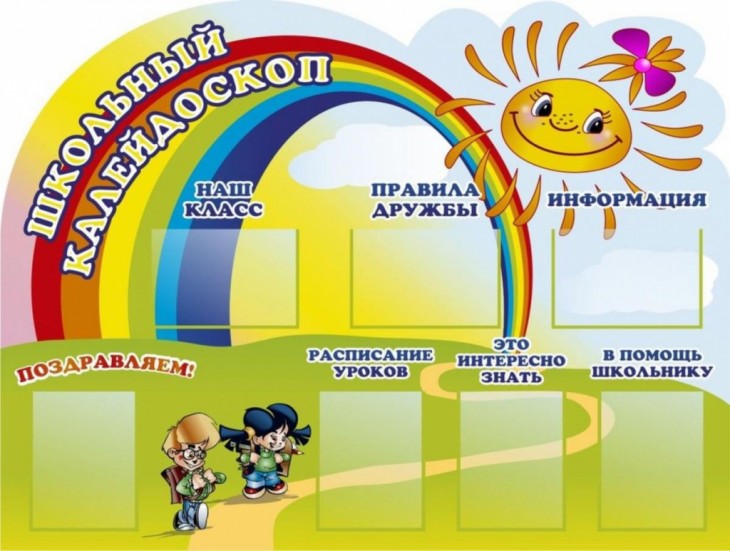
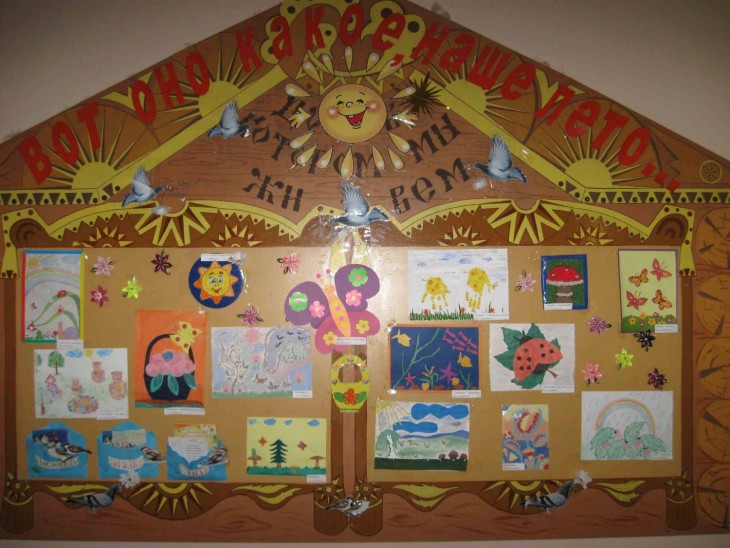
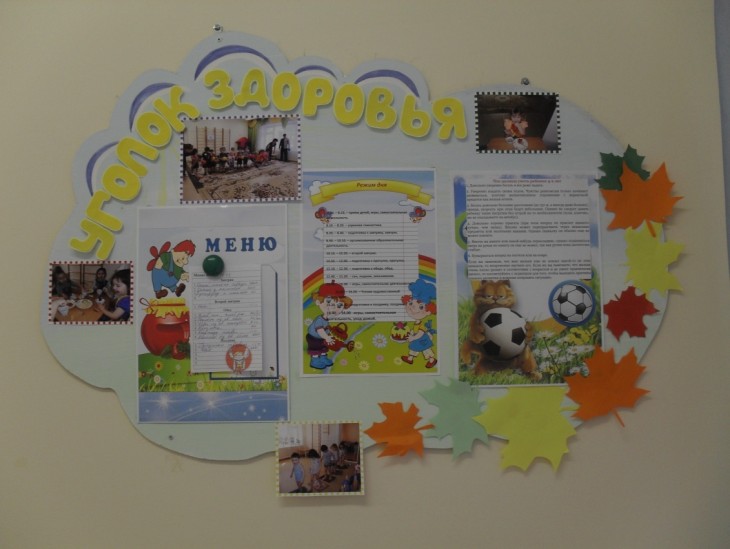
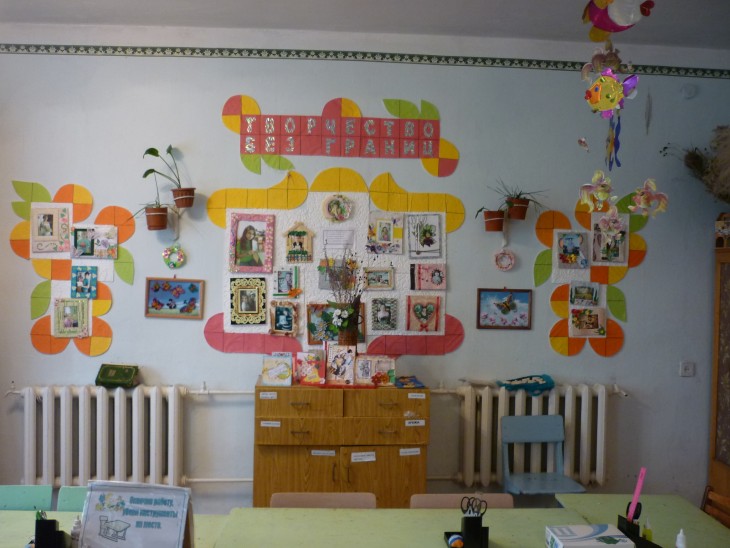
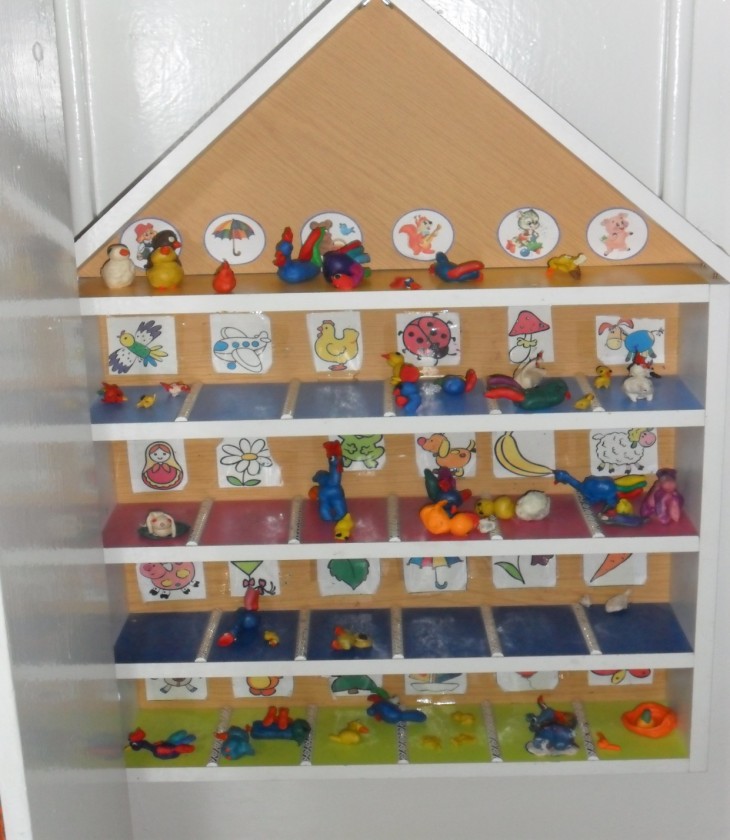
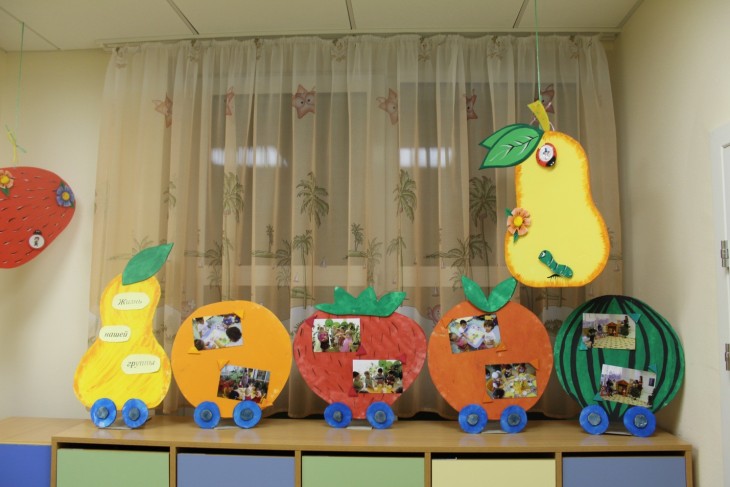
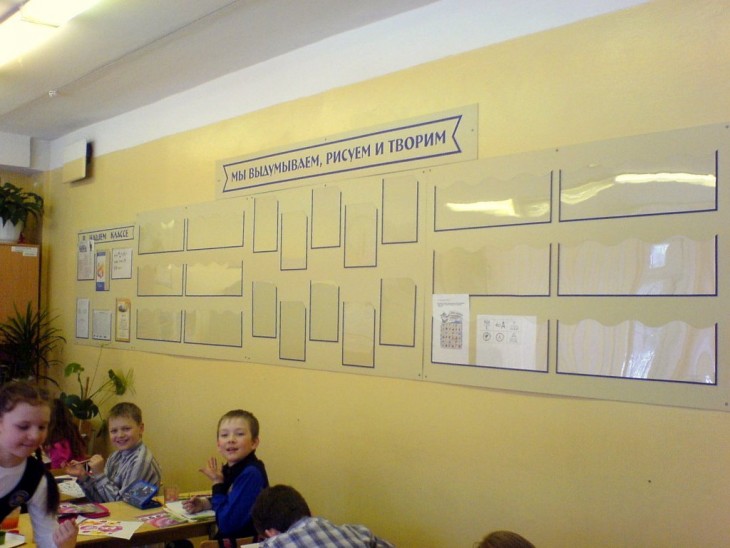
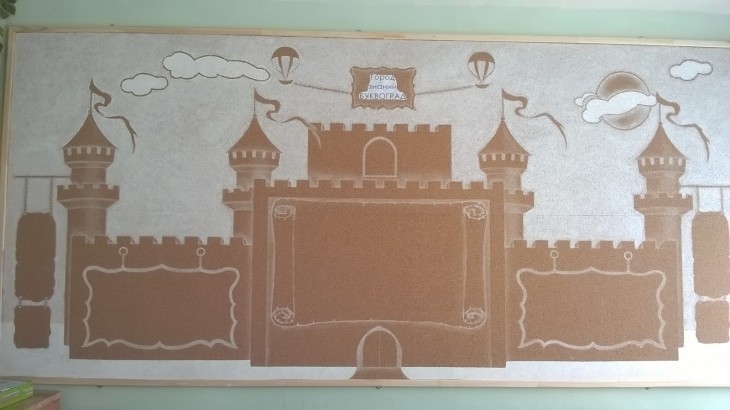
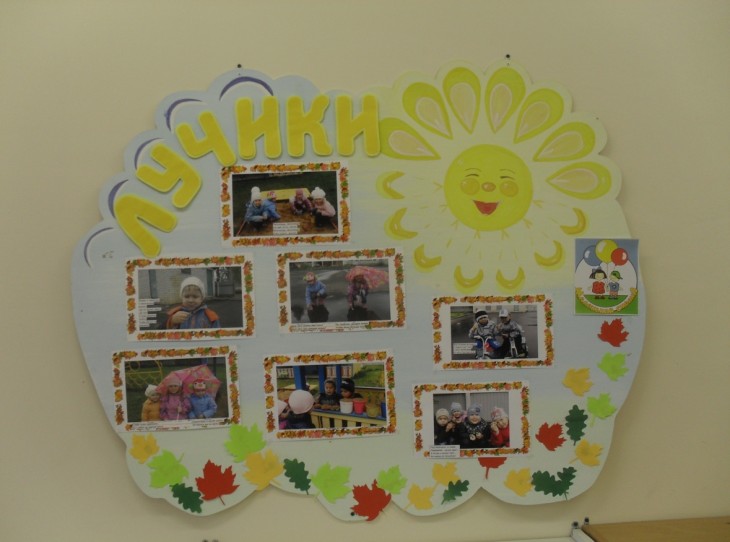
The stand, on which the teachers fix the results of children's work for the day, has always been popular with caring parents. And the children are happy to present new crafts and organize mini-exhibitions already in the apartment.
Take a photo of the filled stand as a keepsake, and let it be constantly updated - the world of children's imagination is inexhaustible.
DIY stand photo
Note!