To make a new rack that will ideally fit the size and design of the room is a simple and doable task. Especially if the list of "pluses" has considerable savings and the possibility of self-realization.
With the help of the new rack, you can easily organize the space, zone the room, and effectively and accurately place all the small things and accessories.
The main thing is to decide on the drawing and diagram, find the materials and proceed with the assembly.
Review Content:
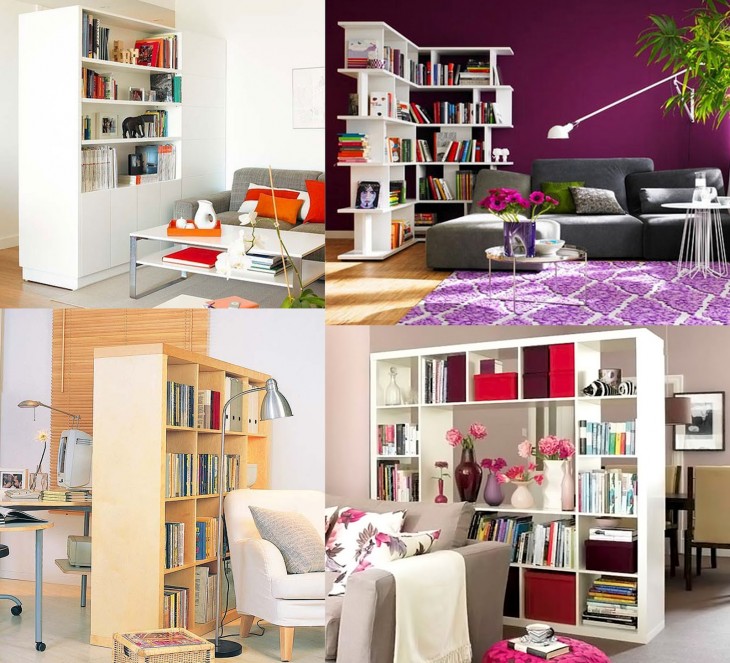
Rack Ideas
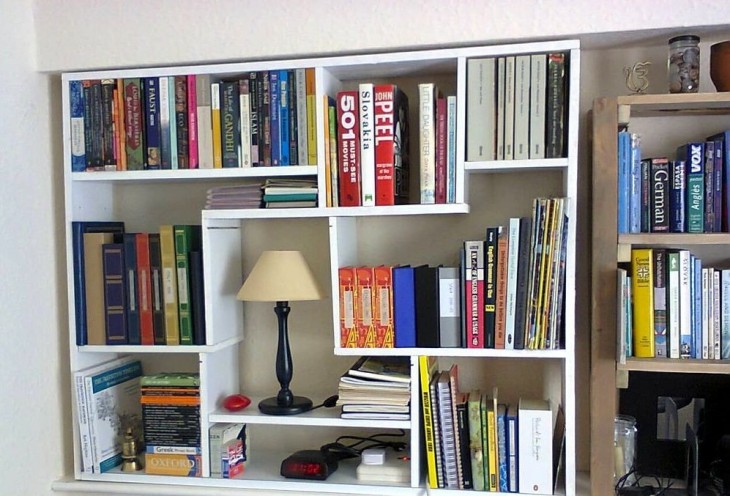
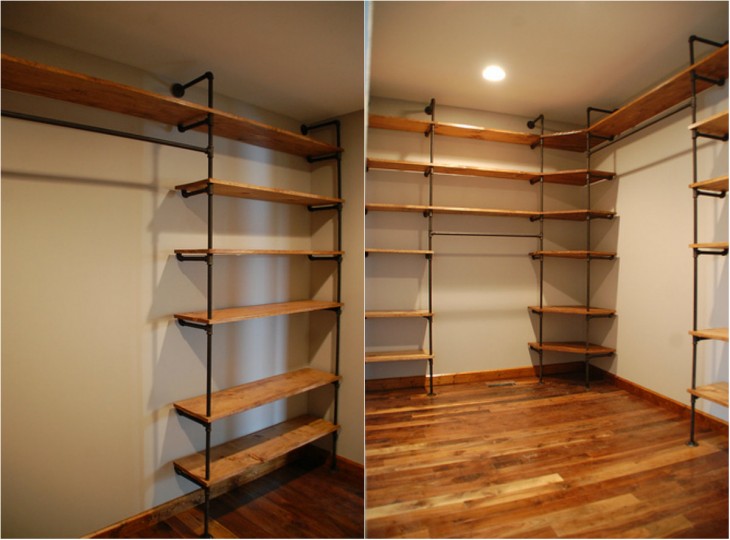
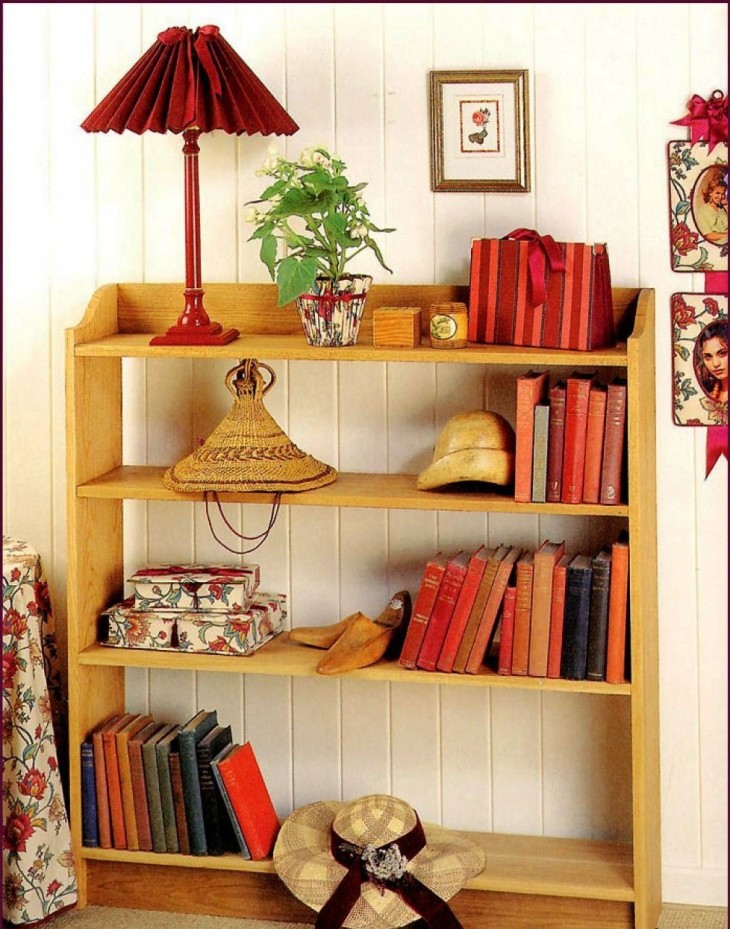
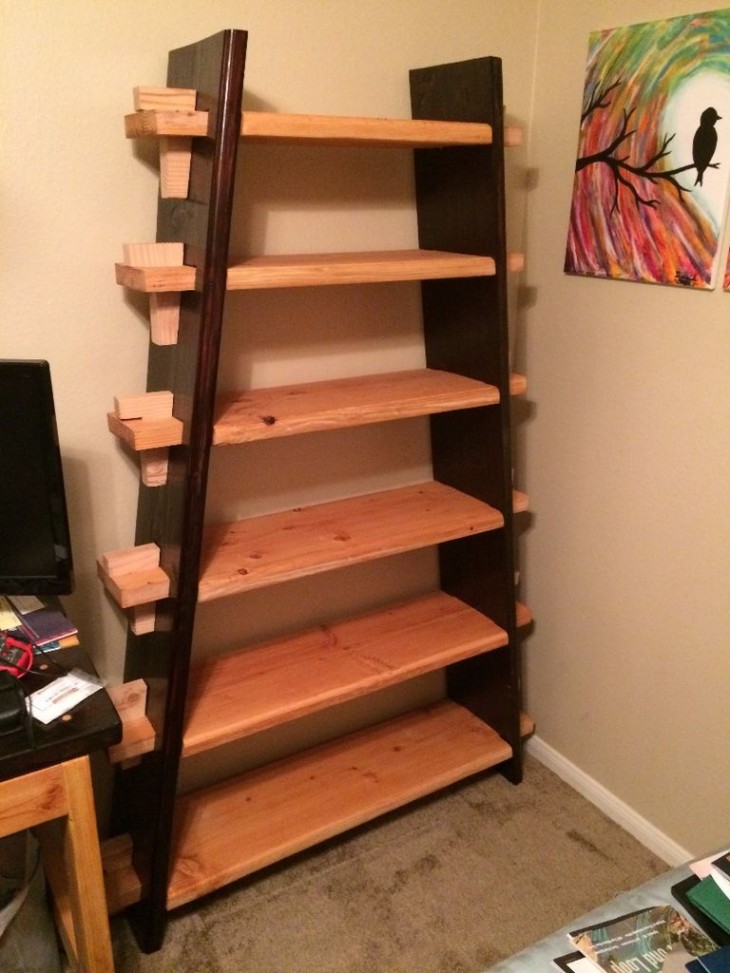
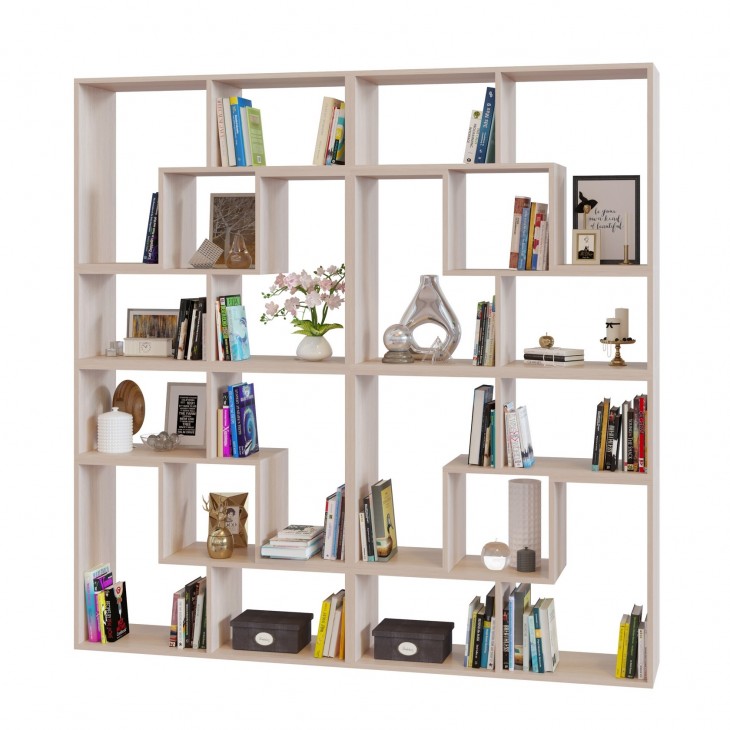
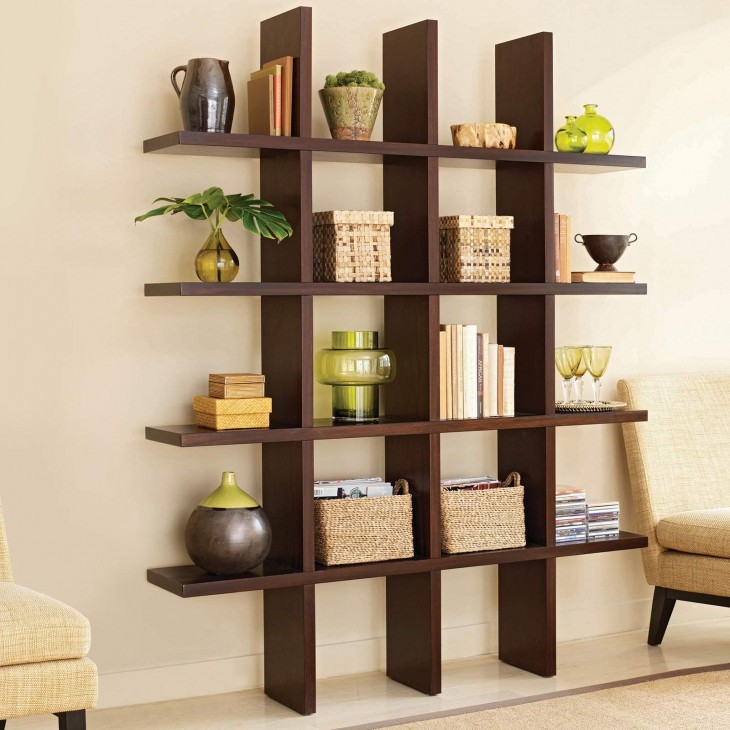
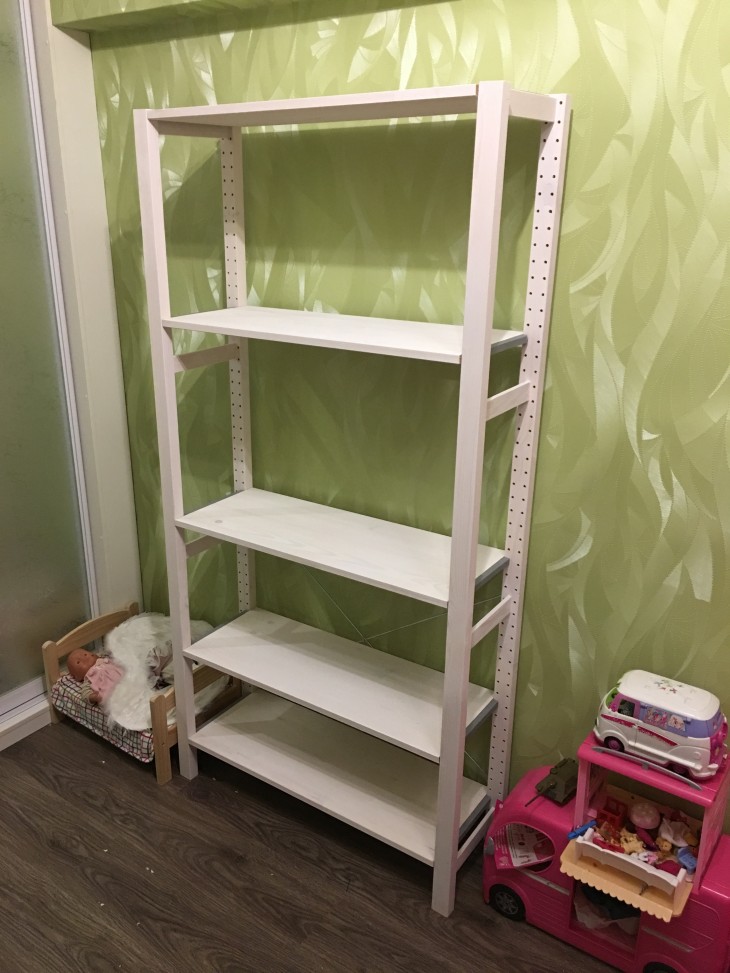
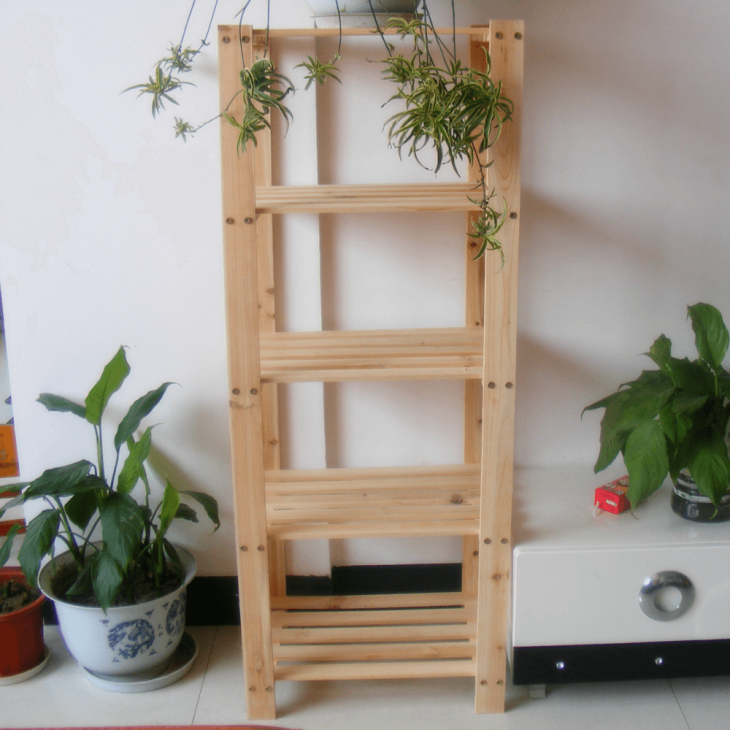
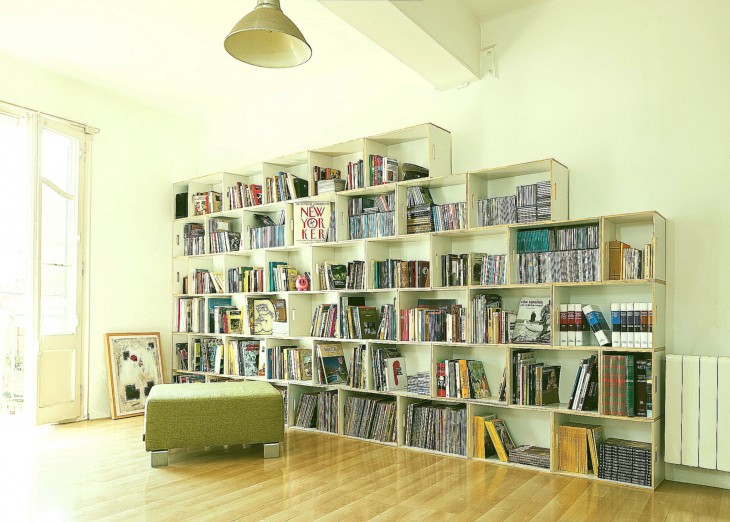
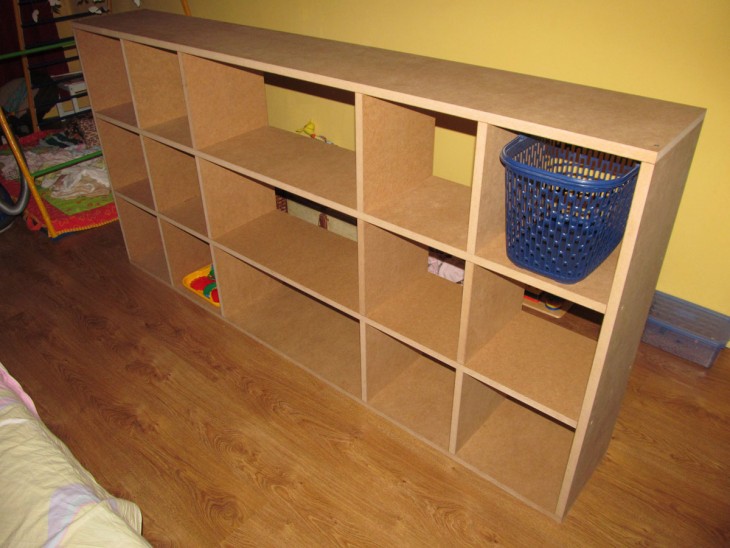
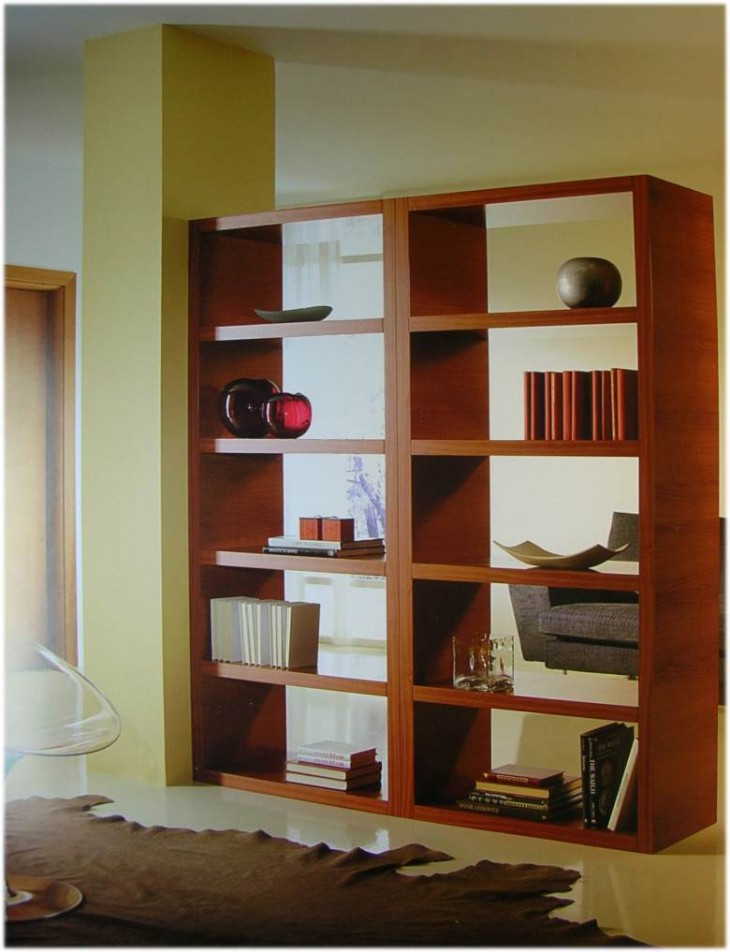
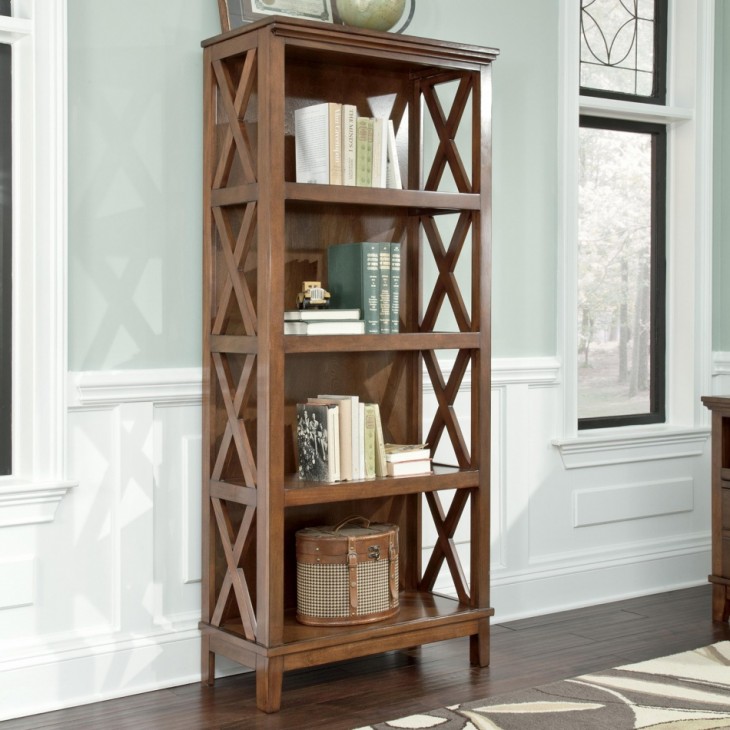
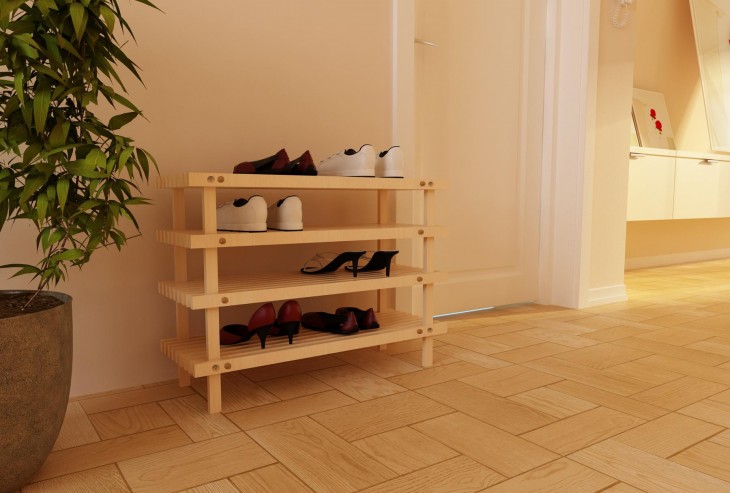
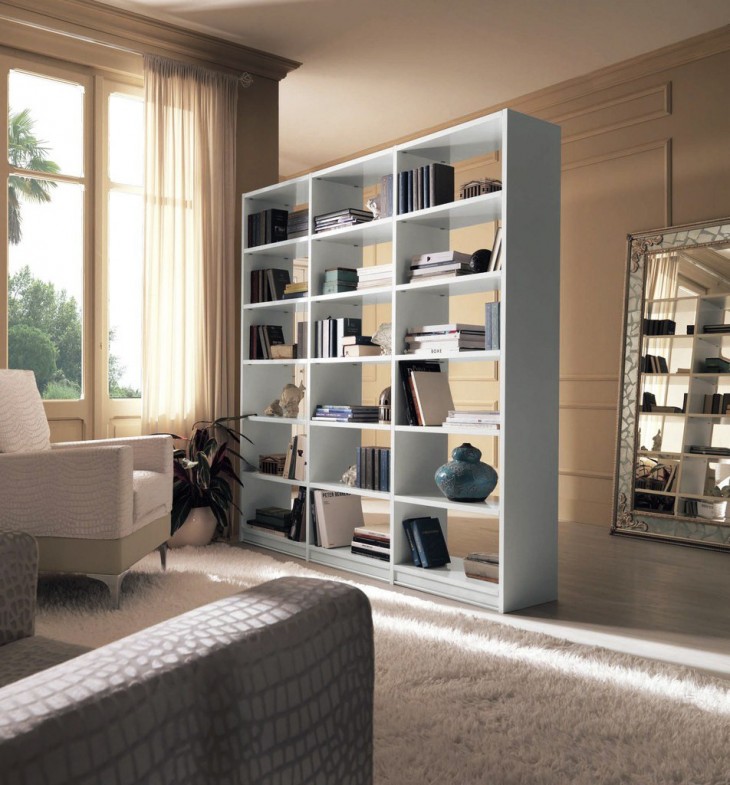
The design of the wooden shelf is characterized by an abundance of identical through open shelves. The simplicity and versatility of the design determines its practicality, perfect match with any interior style and room.
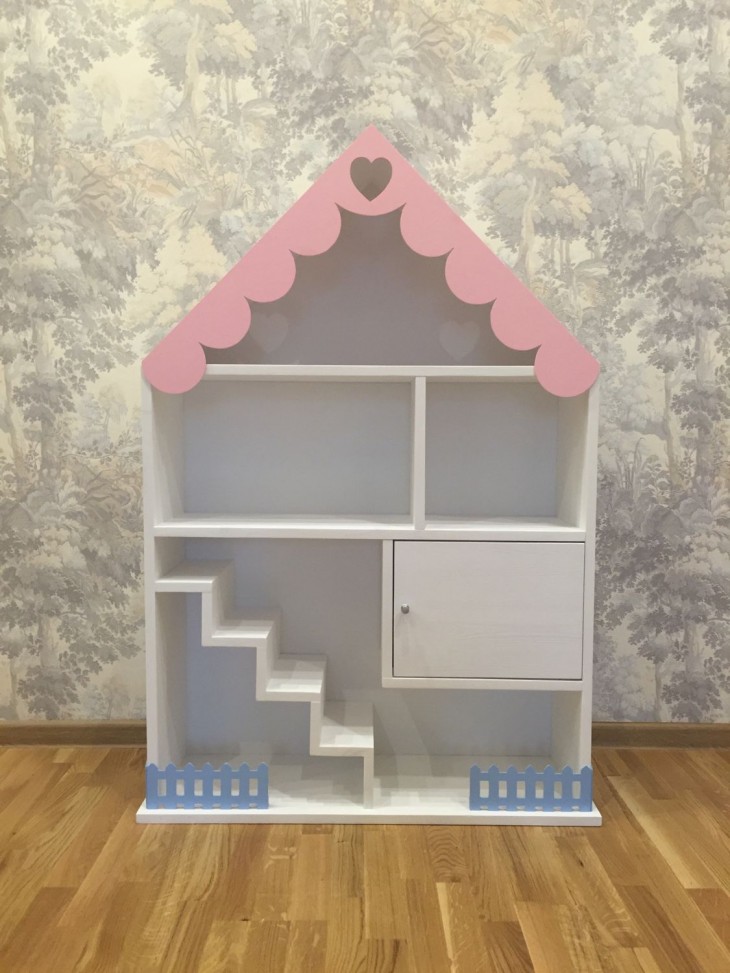
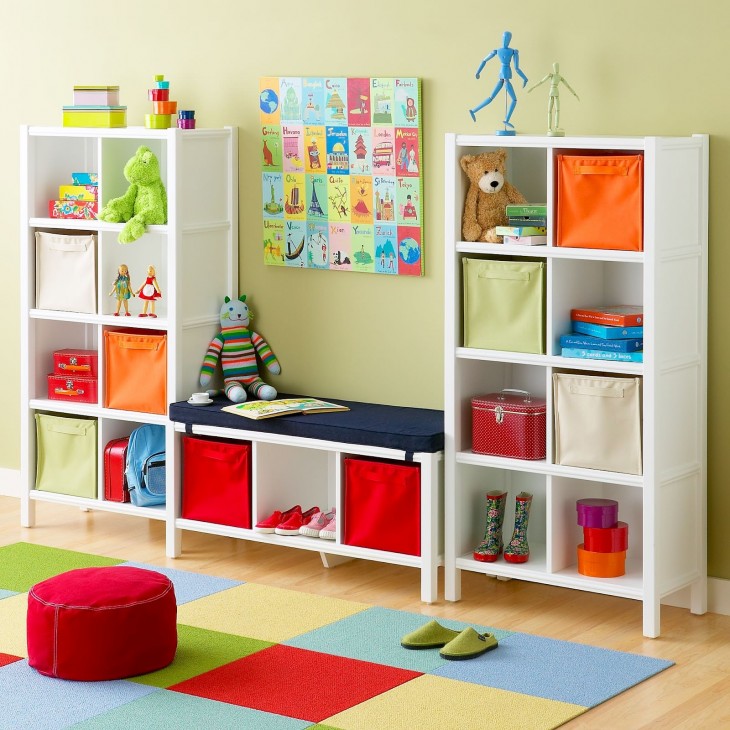
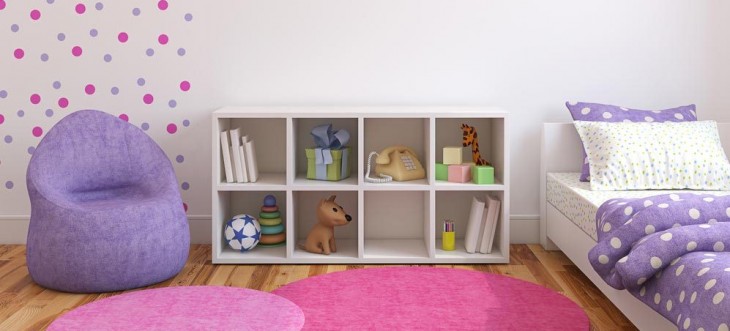
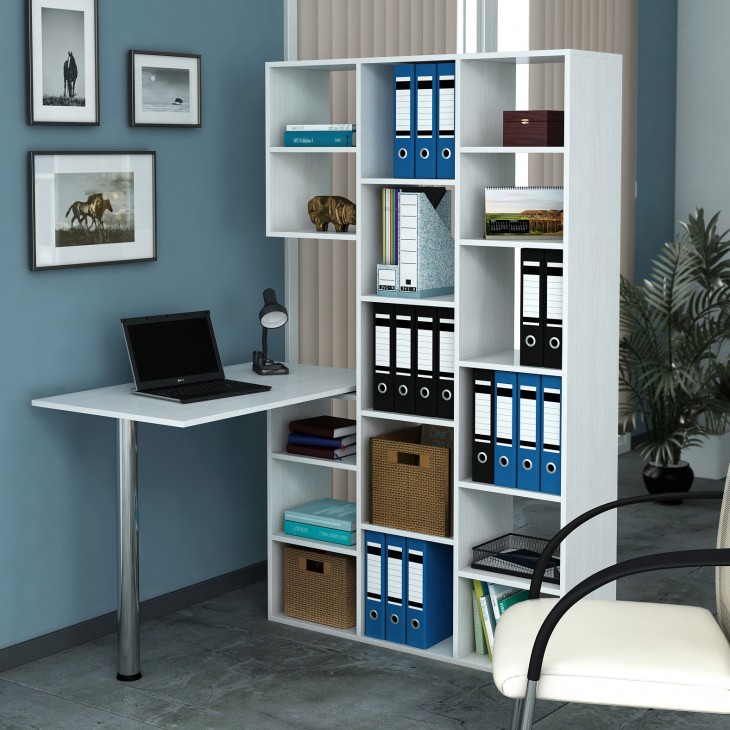
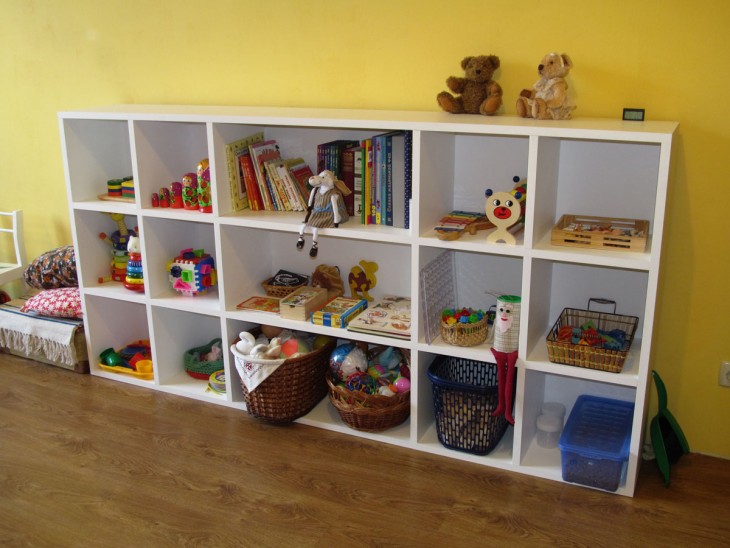
In the children's room, the rack will accommodate all the toys, books and trinkets, while due to the openness of the shelves it visually expands the space.
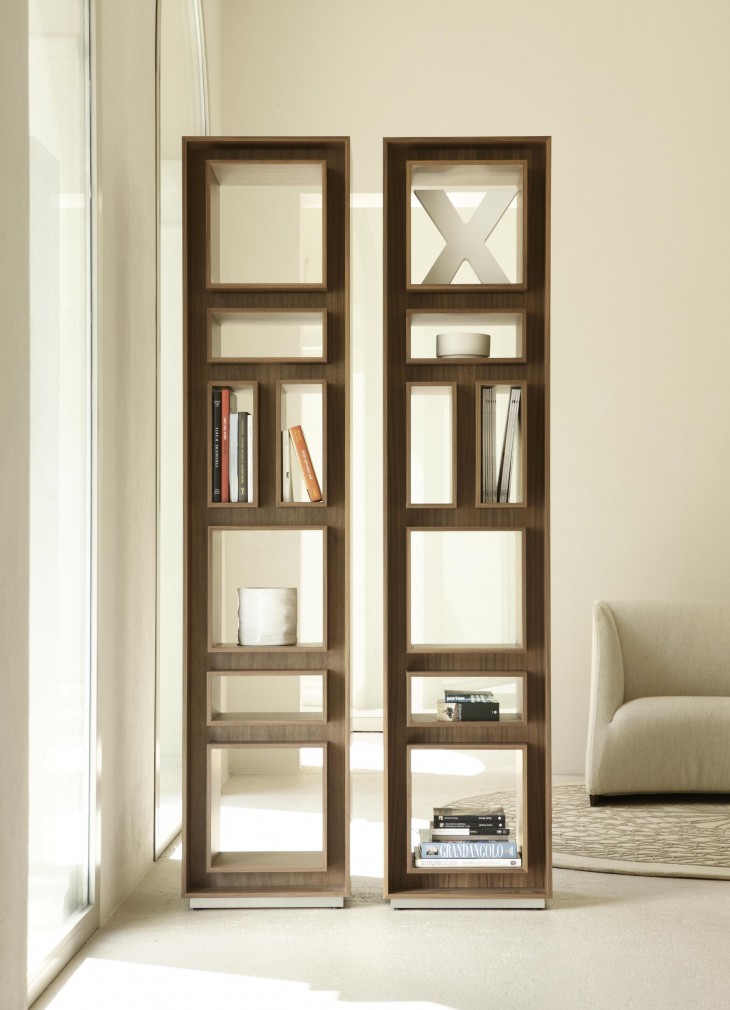

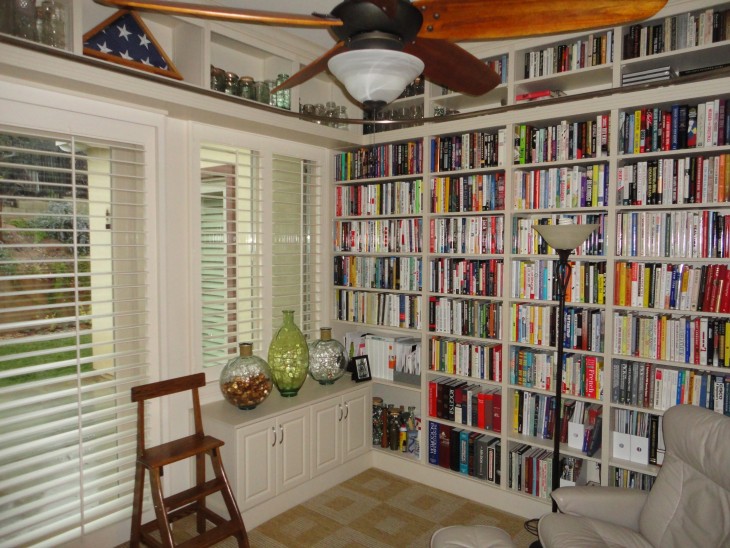
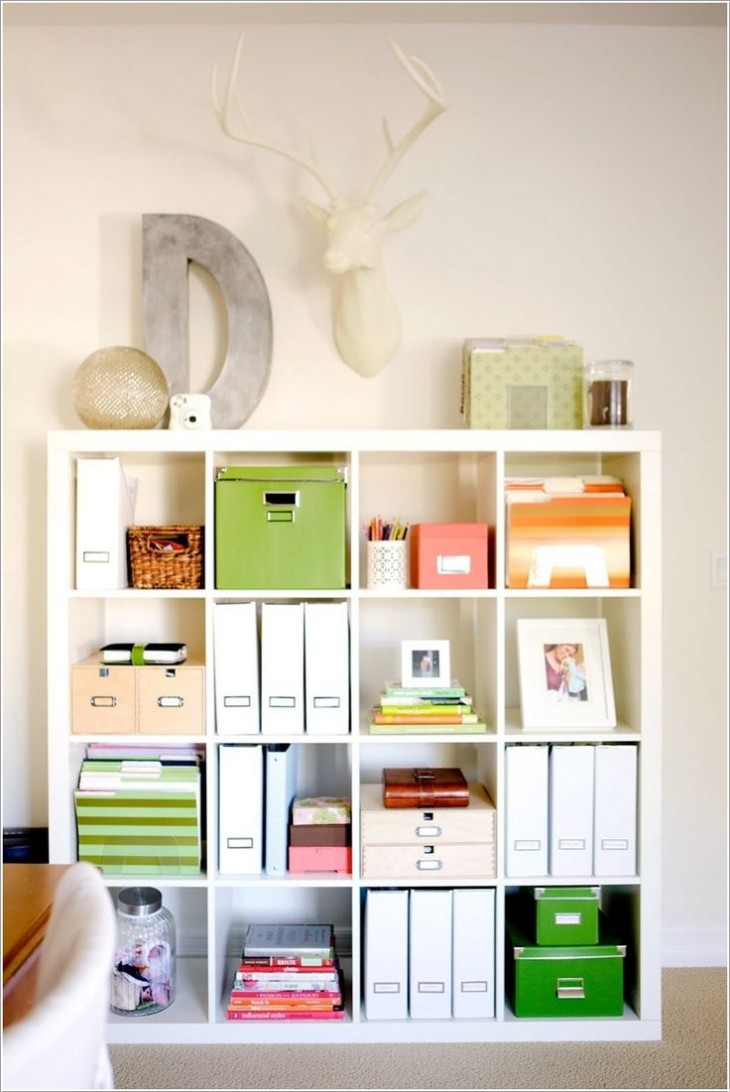
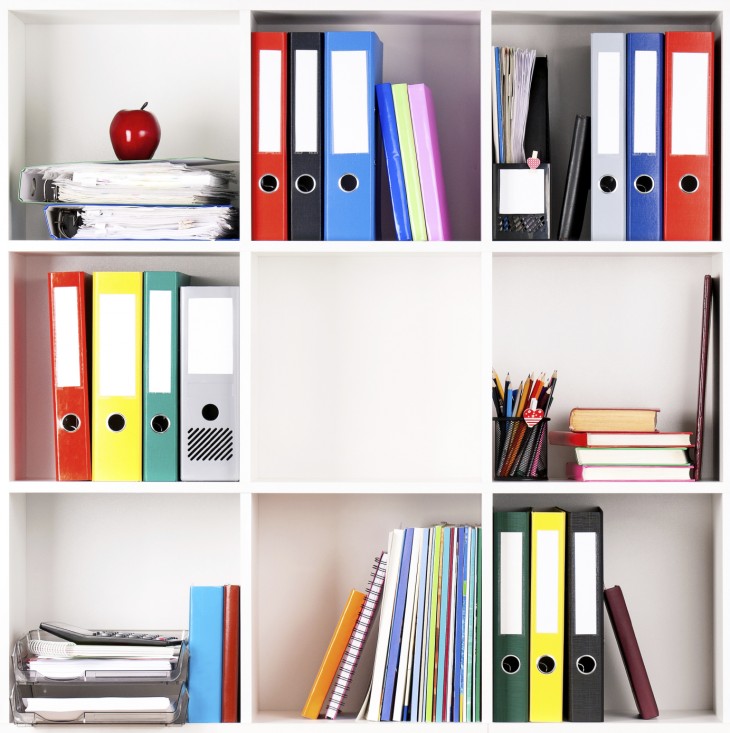
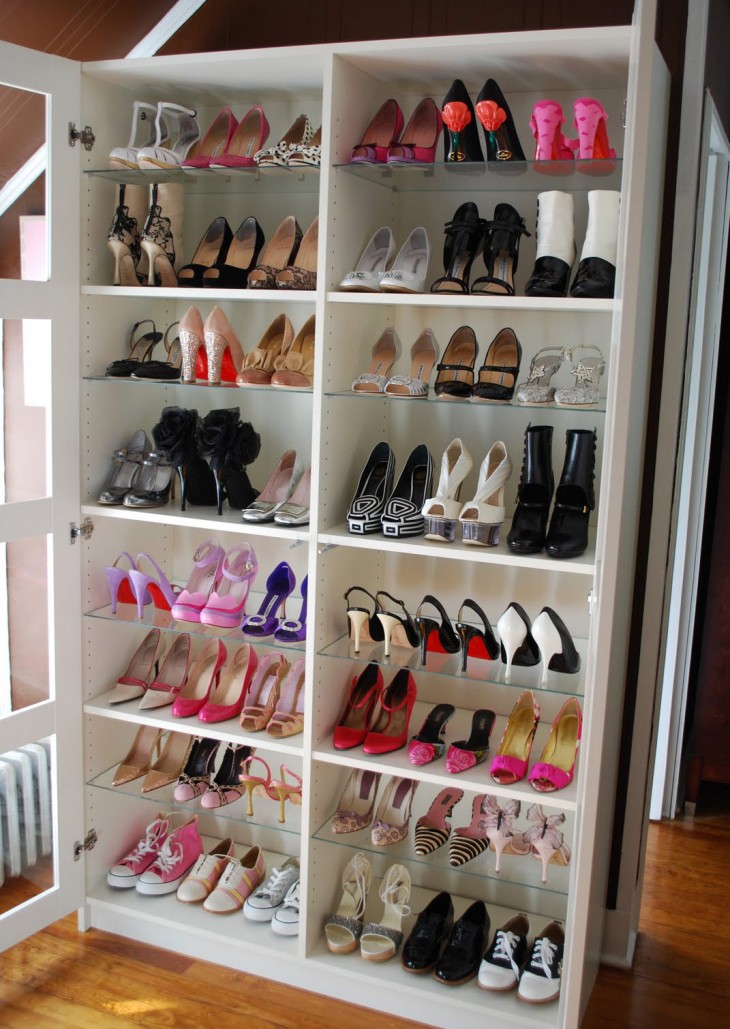
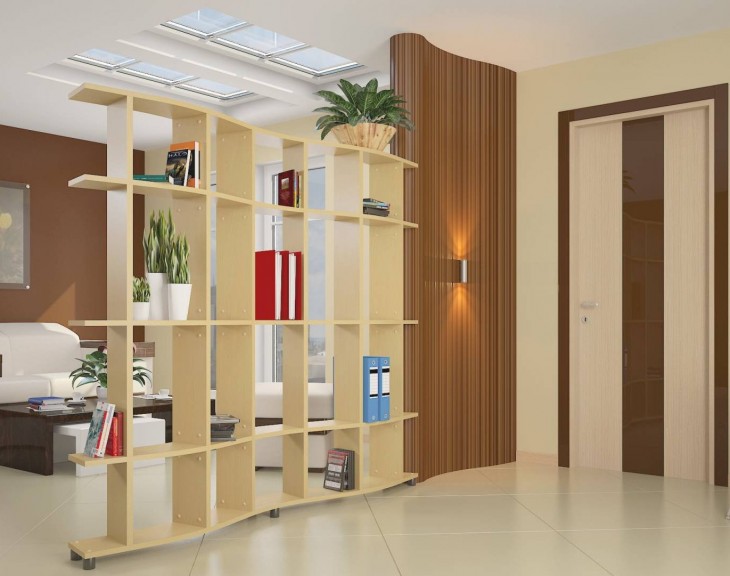
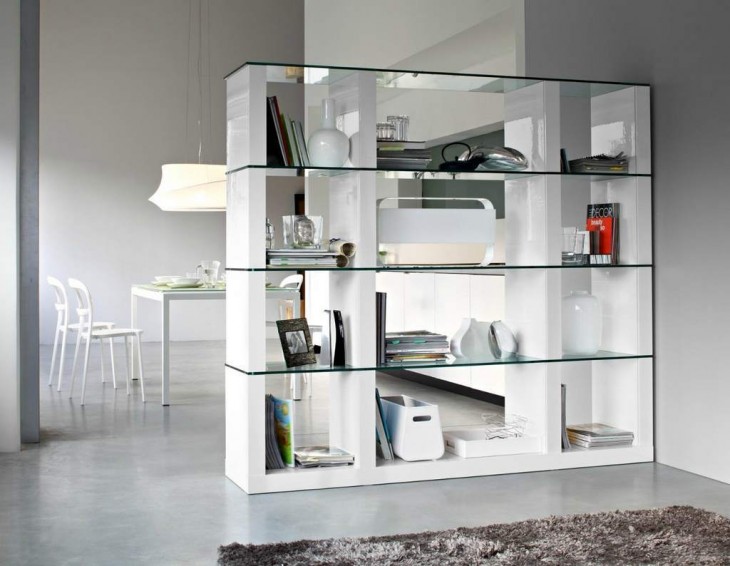
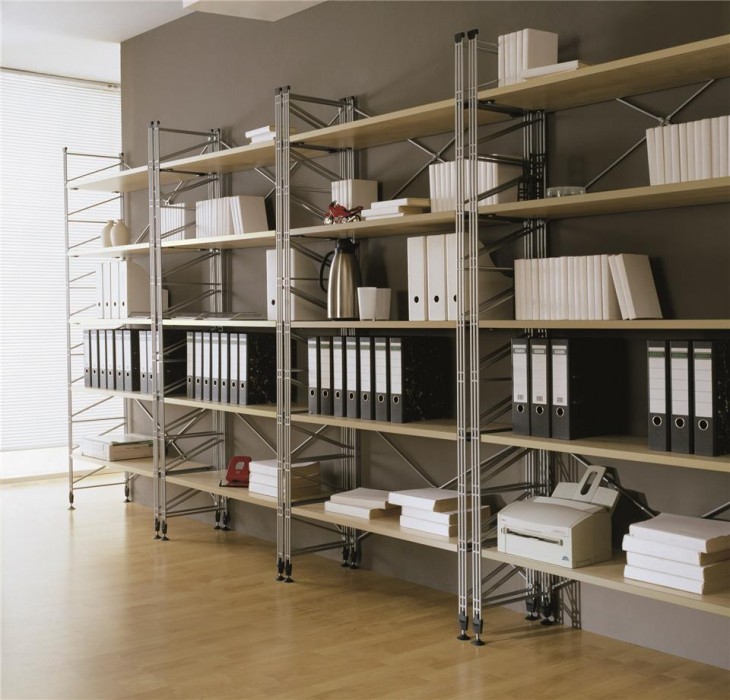
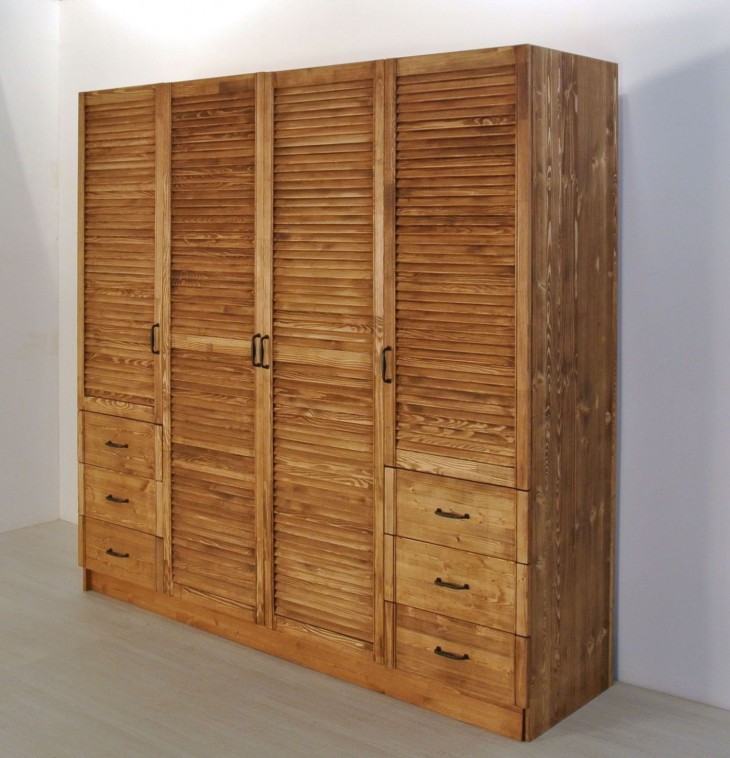
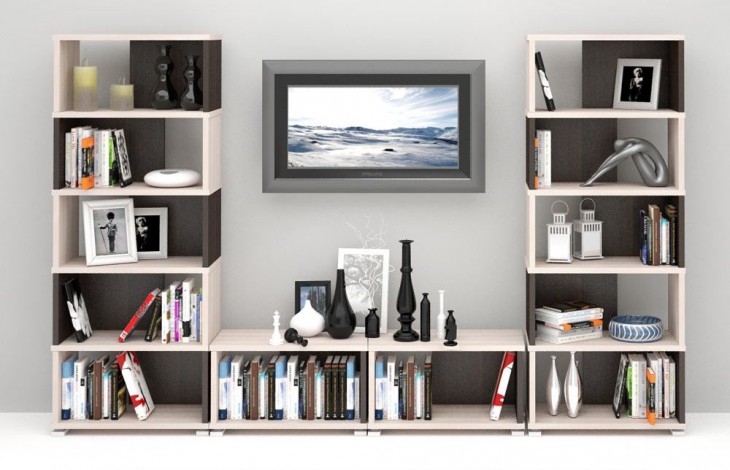
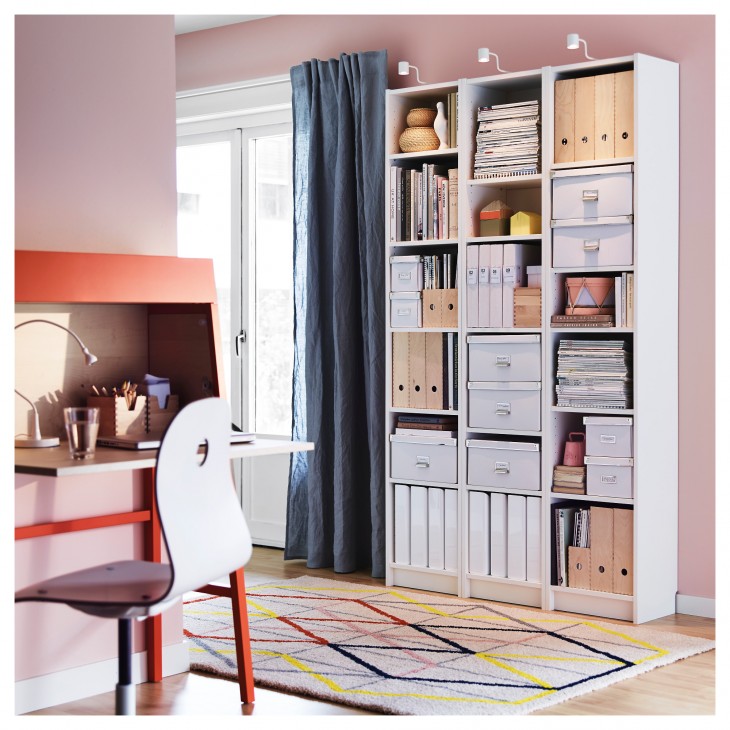
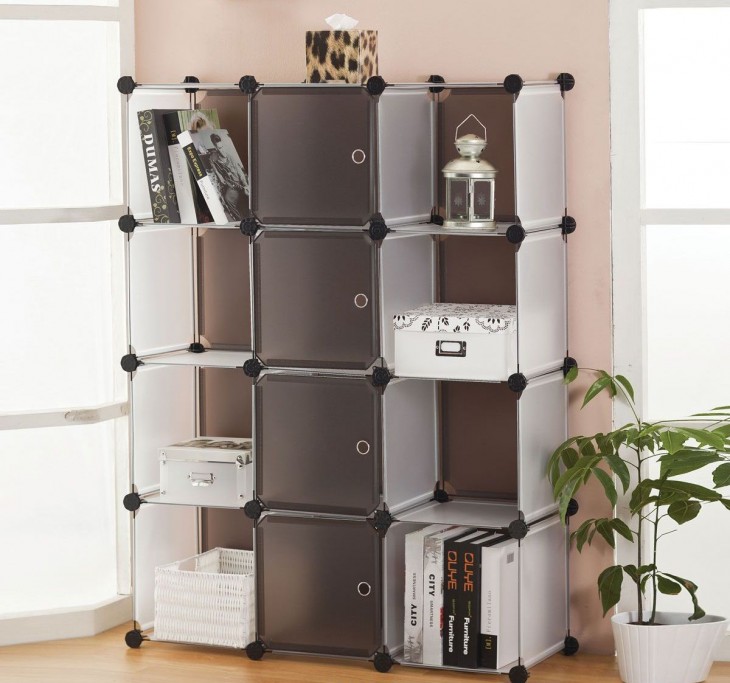
The cabinet comes in handy half-closed shelving throughout the wall with the maximum number of surfaces for placing books, folders or stationery.
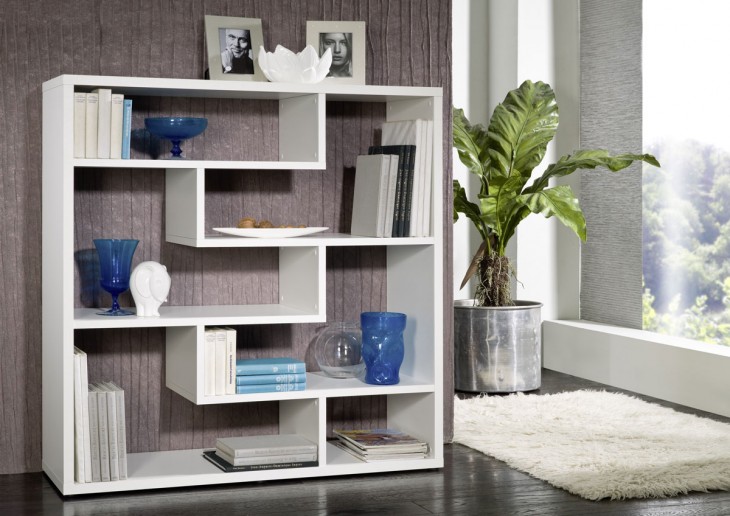
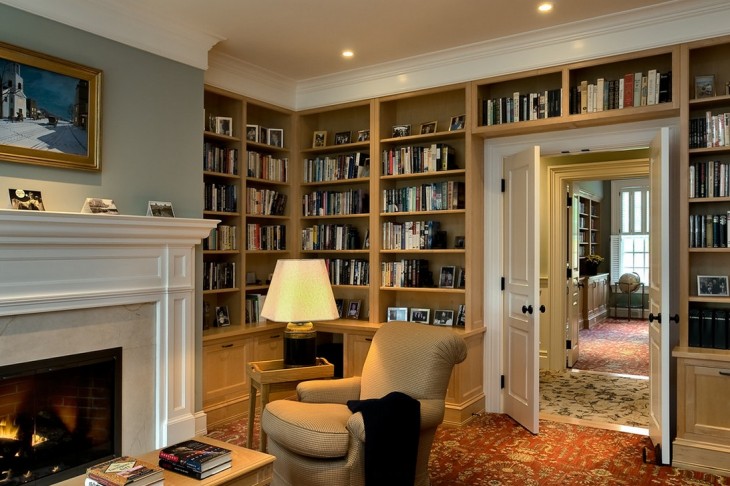
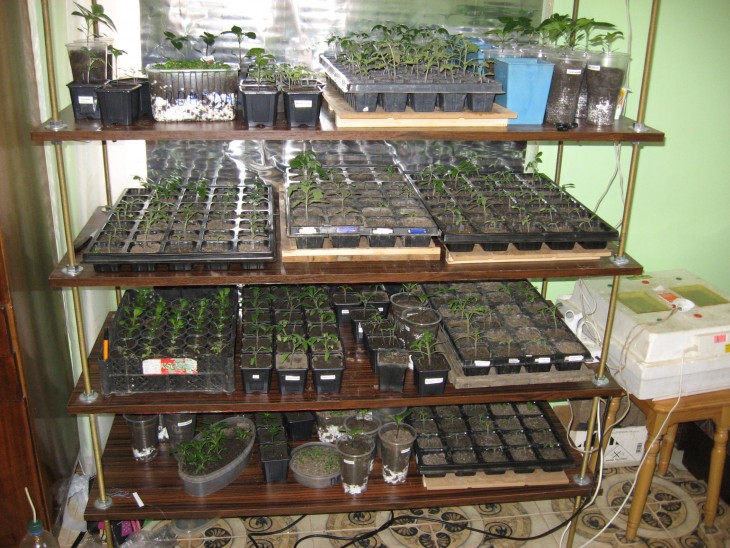
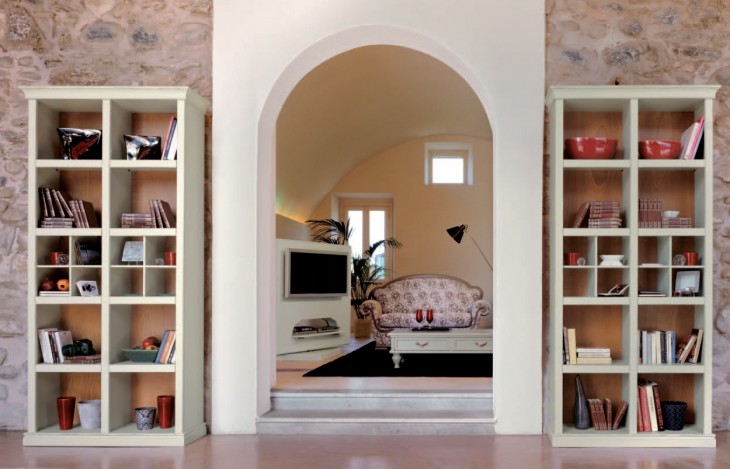
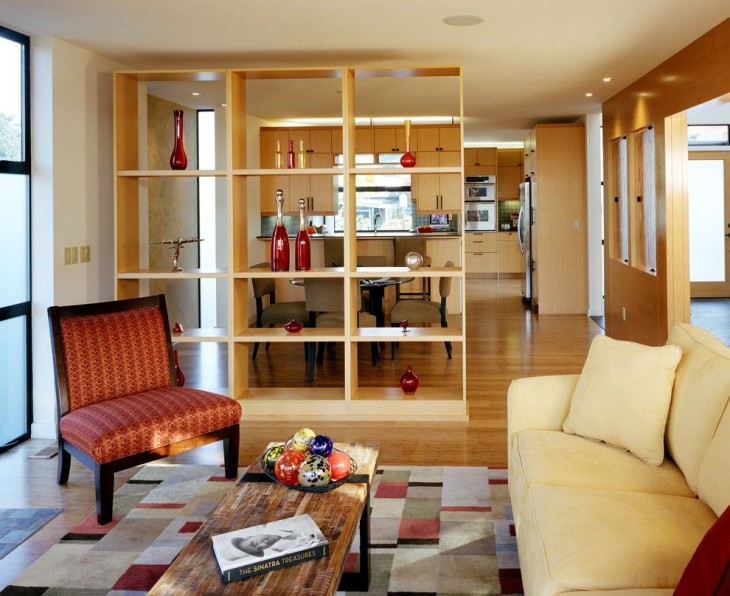
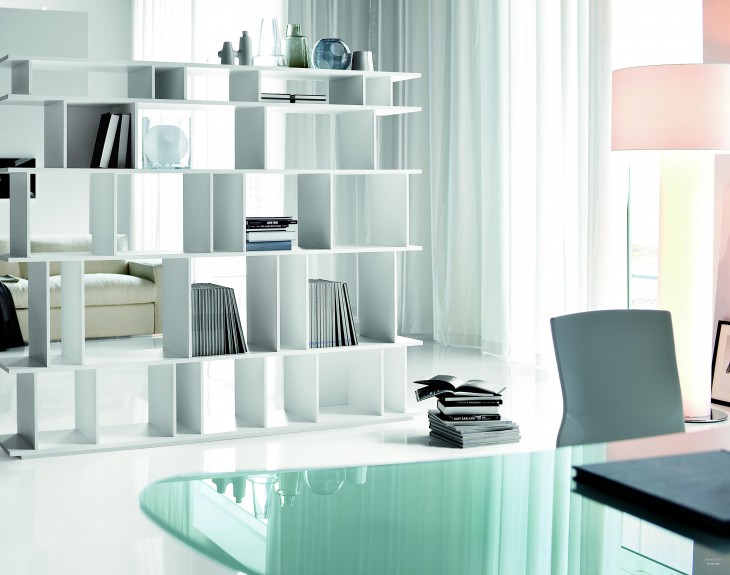
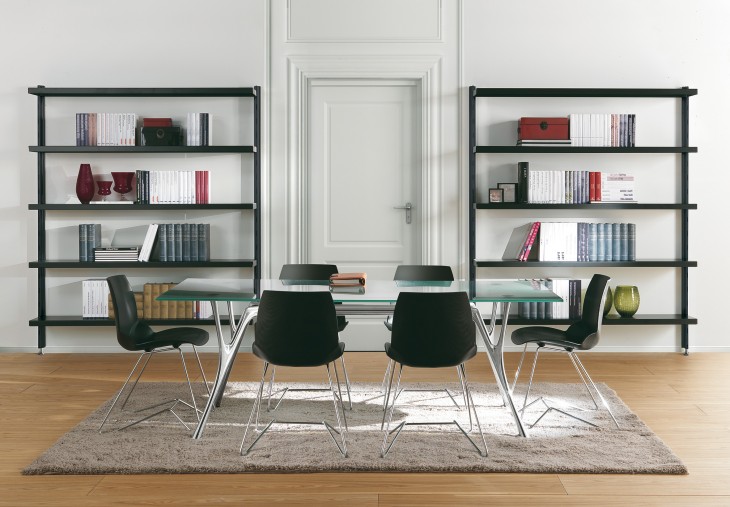
The most common place for the rack is the living room, where this subject of time has more aesthetic tasks: spectacular accessories, photo frames, dinner sets, indoor flowers are symmetrically and organically placed on the shelves.
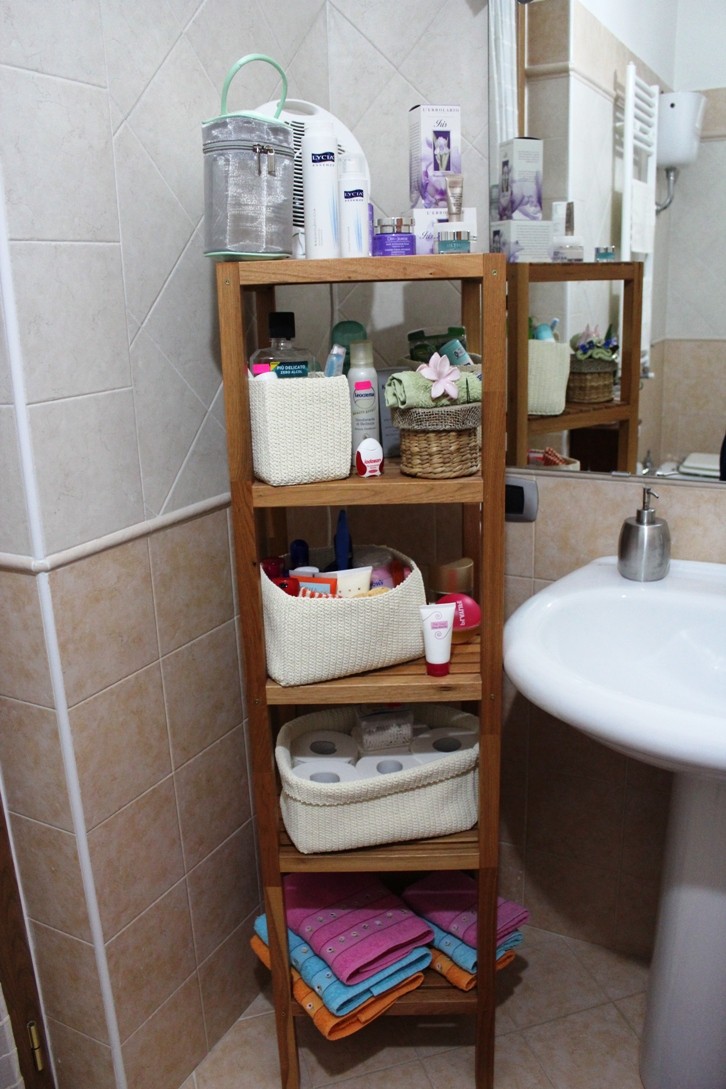
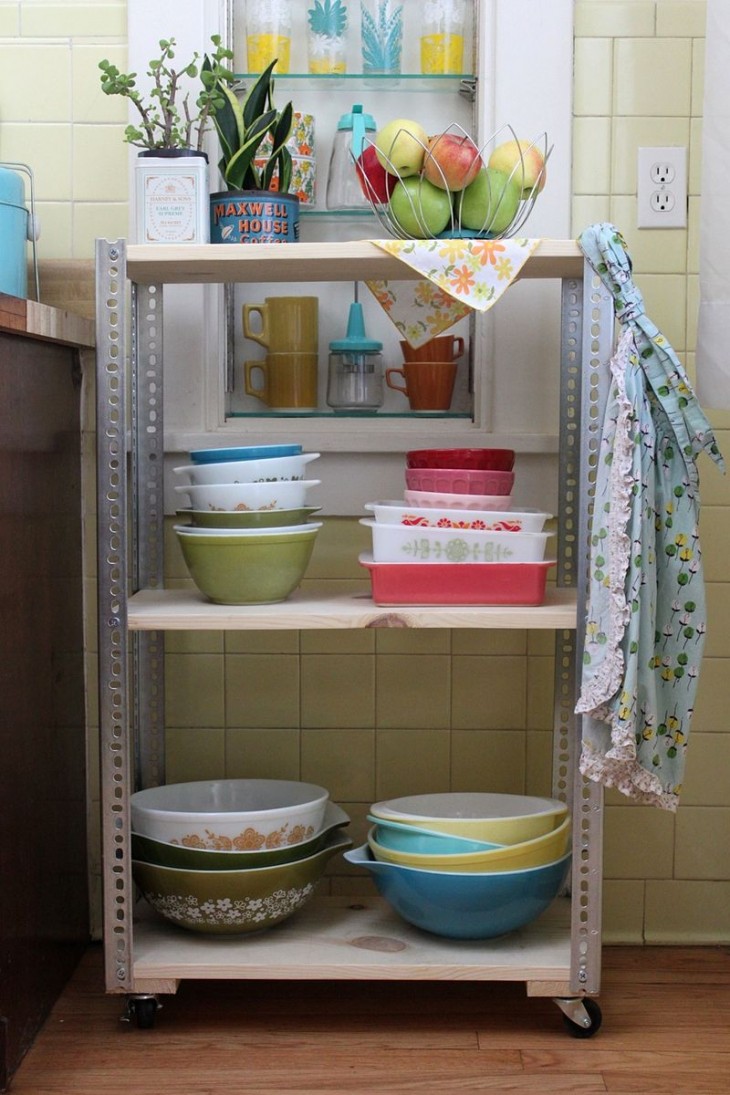
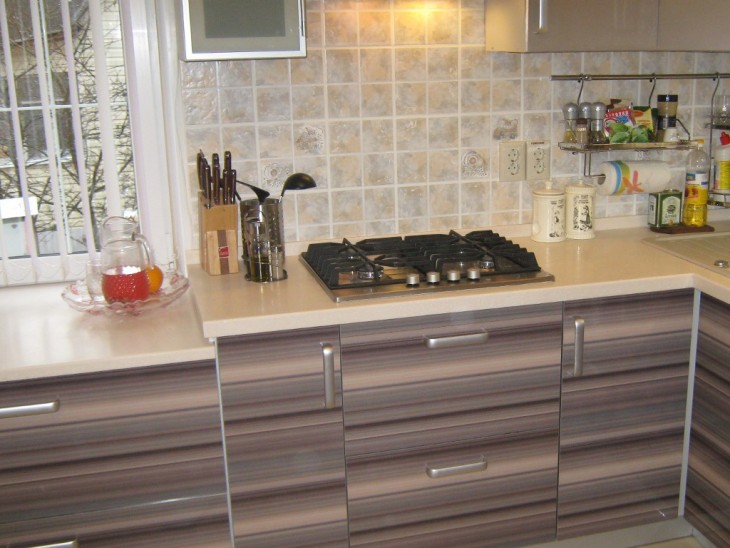
For dishes, jars with cereals or seasonings, they also put a rack in the kitchen.
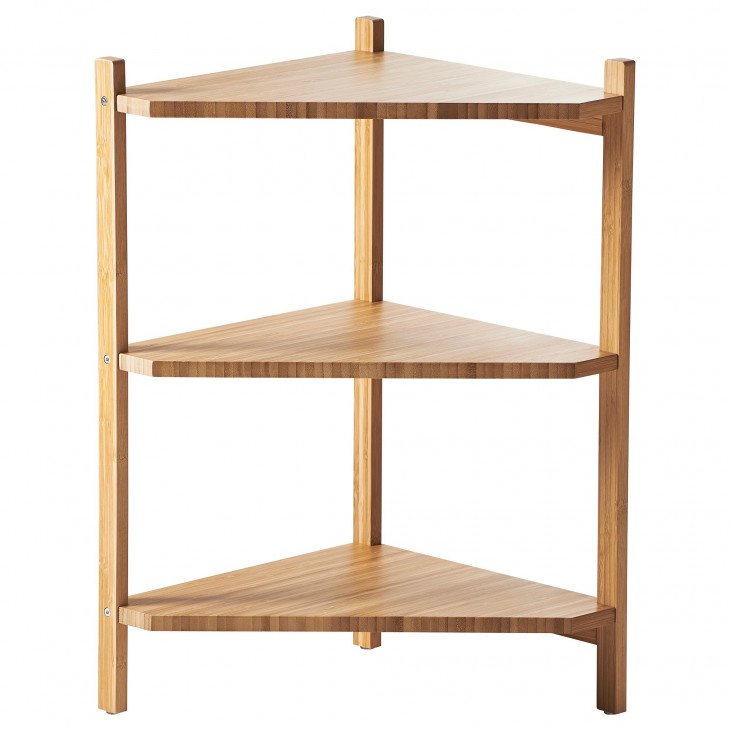
What are the shelving
Just look at a few photos of the shelves to see the whole variety of their shapes, sizes and colors. However, all designs are divided into several typical groups:
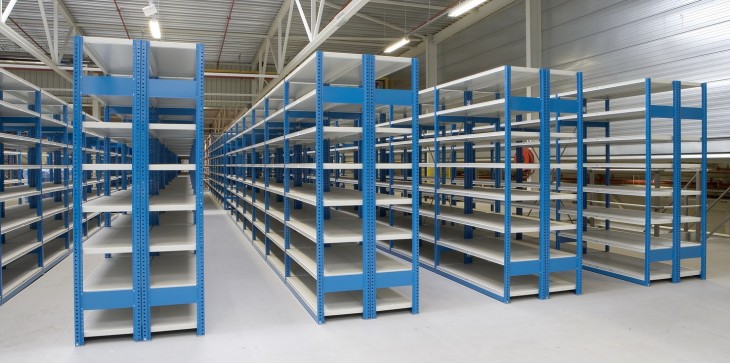
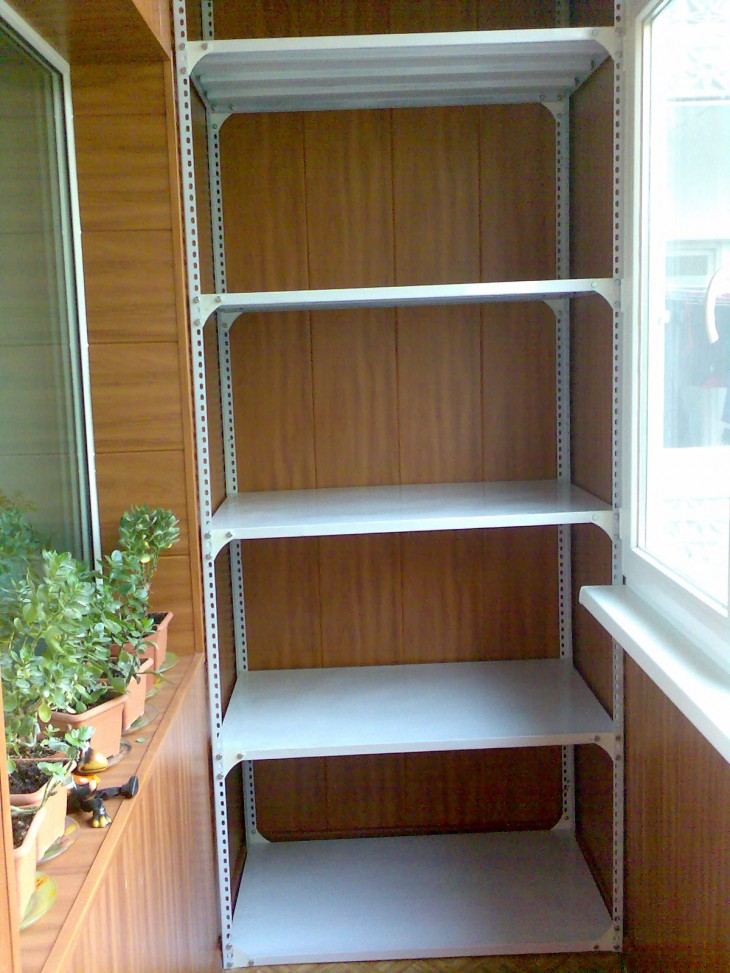
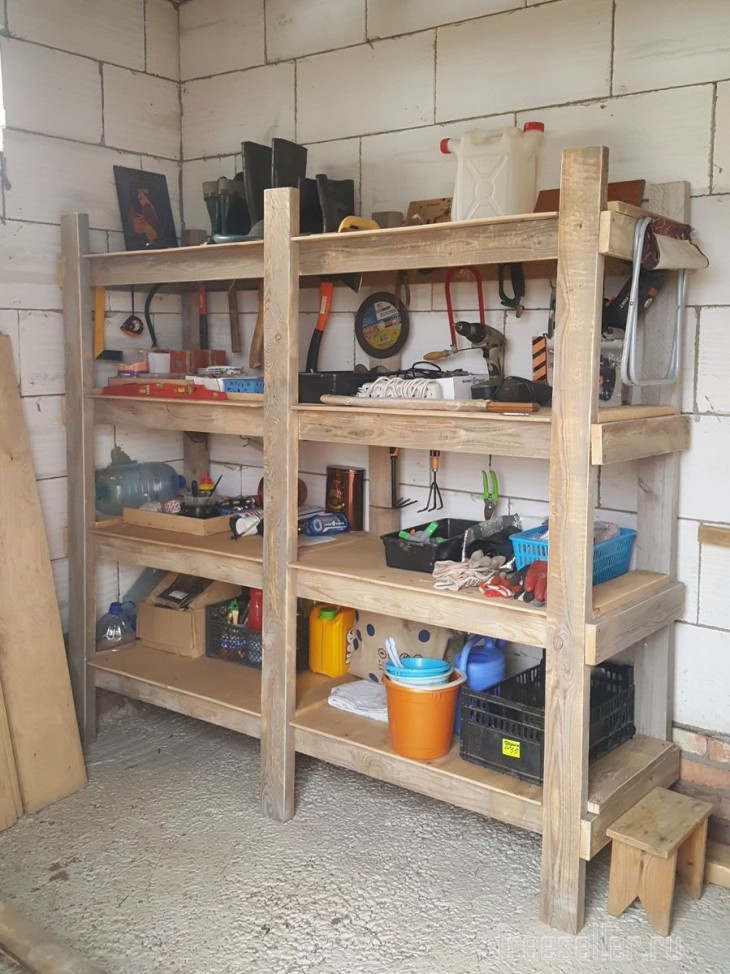
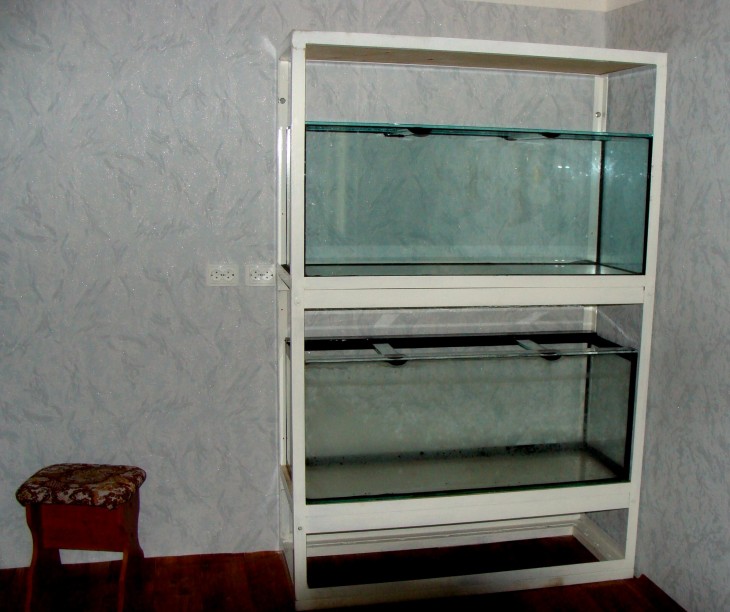
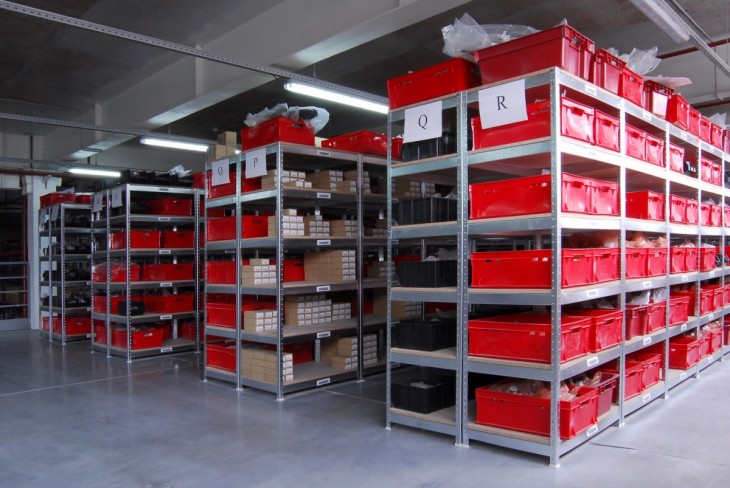
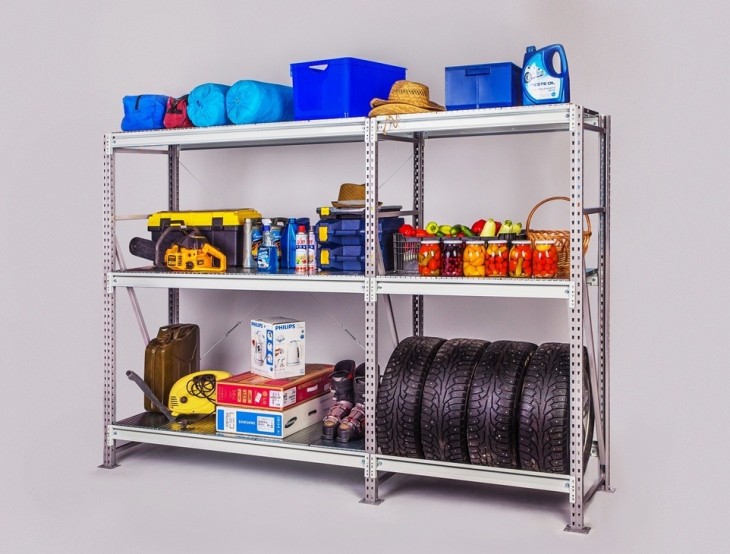
Stationary shelving
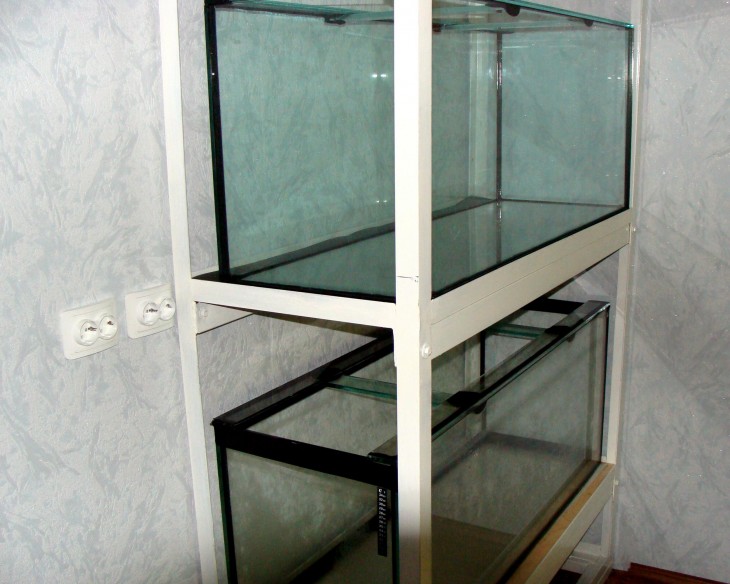
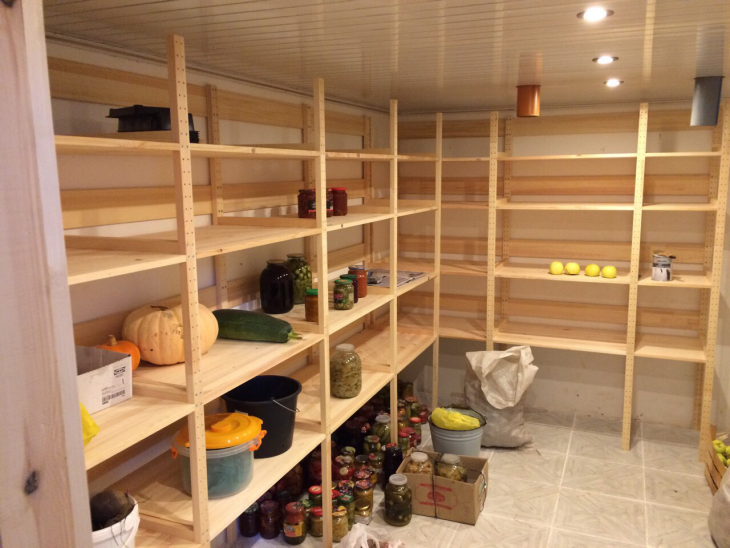
They are distinguished by reliability, strength and massiveness, however, their movement is impossible without dismantling the structure on separate racks and crossbars.


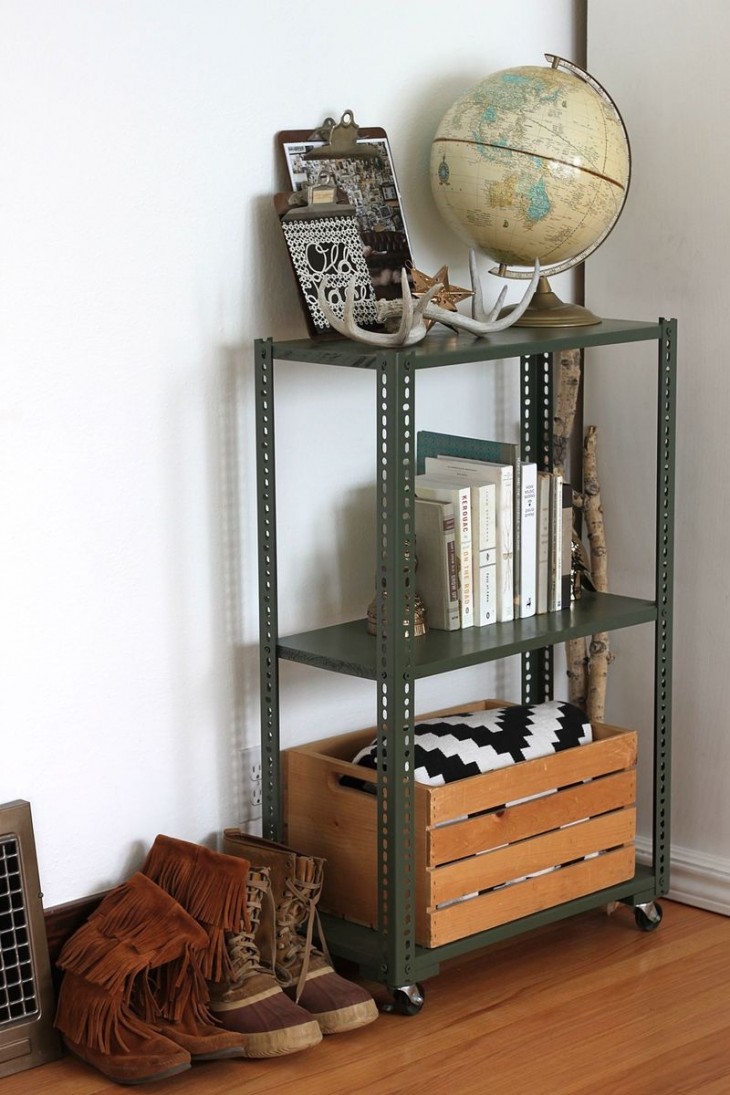
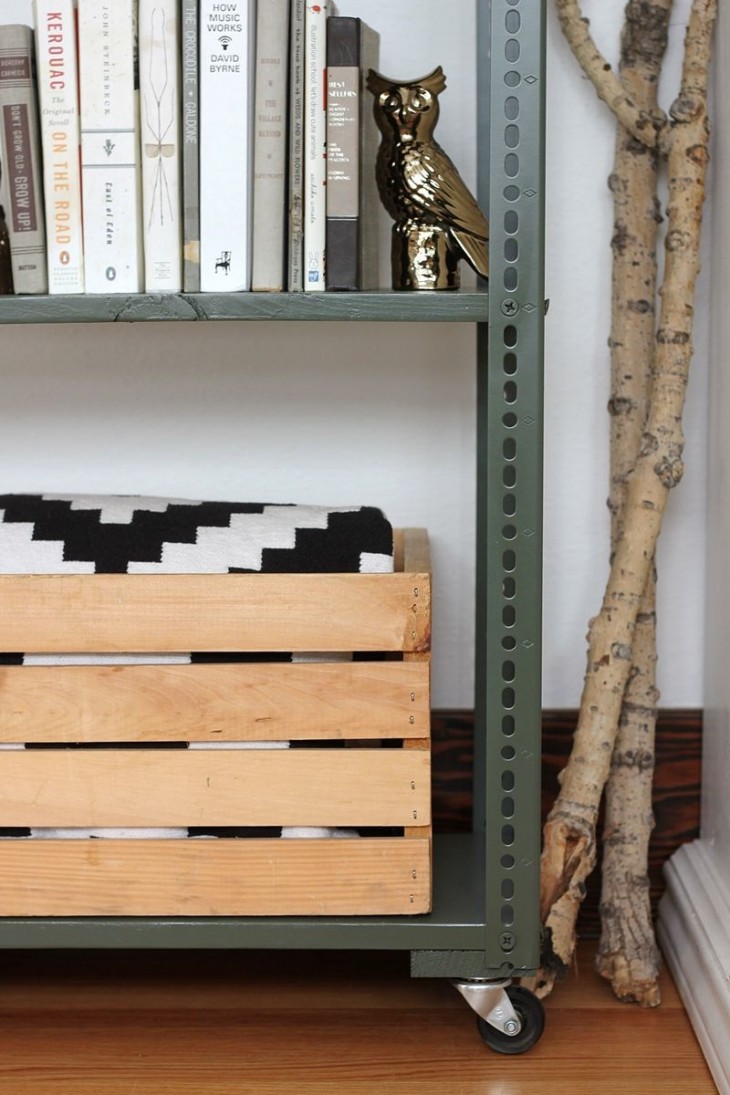
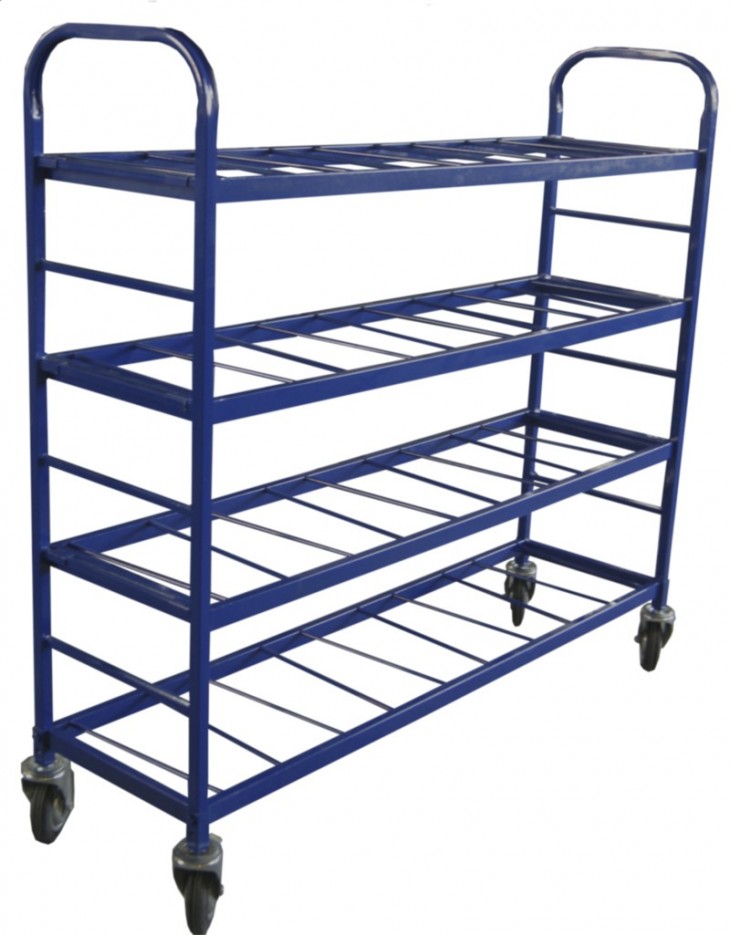
Mobile mobile shelving
Complemented with wheels and made of lighter materials. This option is convenient for fans of permutations.
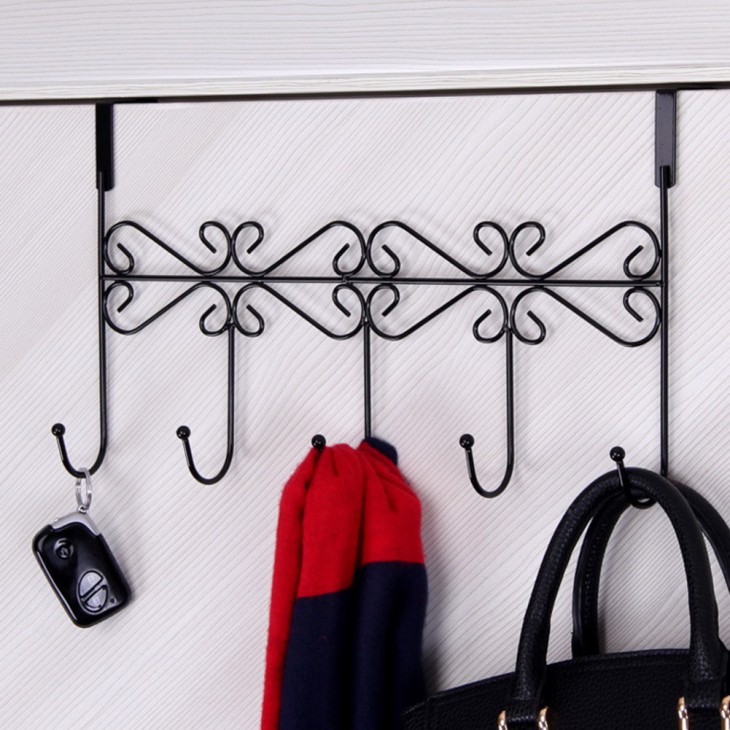
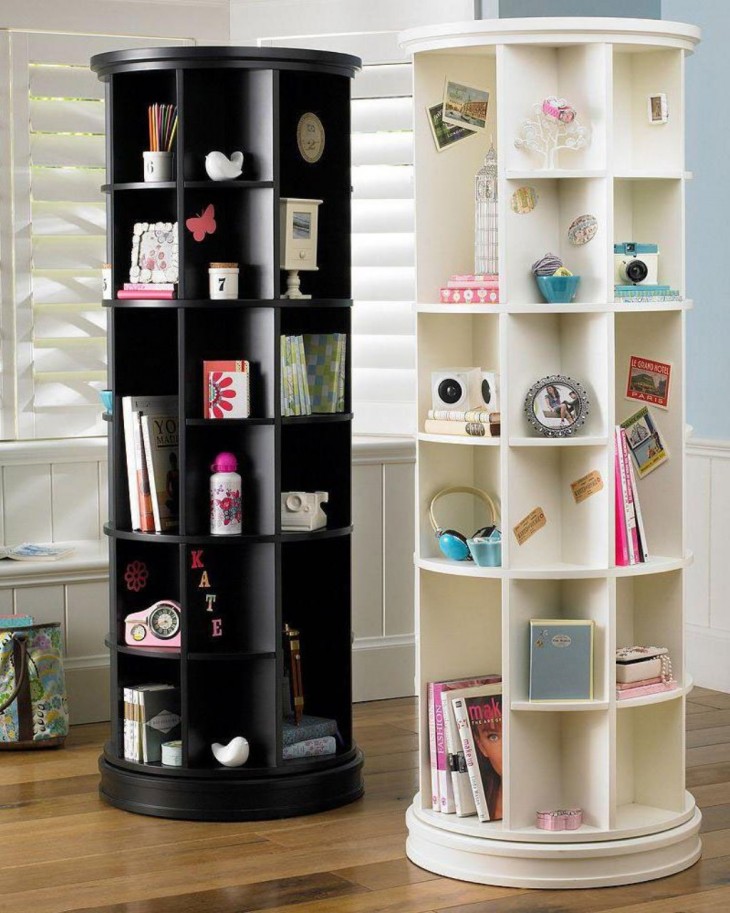
The original place to place frequently used items, such as seasonings, personal hygiene items or keys, will be a rotating design.
Hinged racks
3-4 connected shelves consist of hinged racks, which are popular in small areas, as they are compact and do not occupy free space on the wall or floor.

Standard shelving: requirements
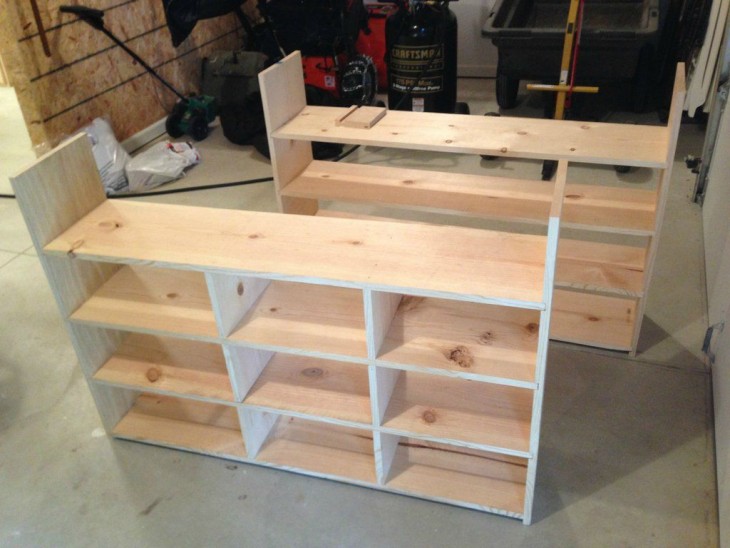
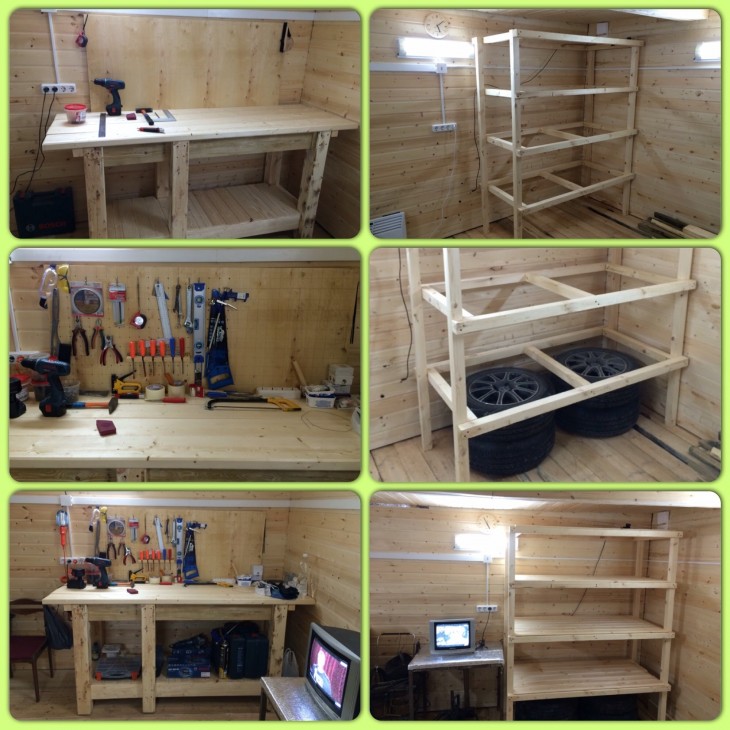
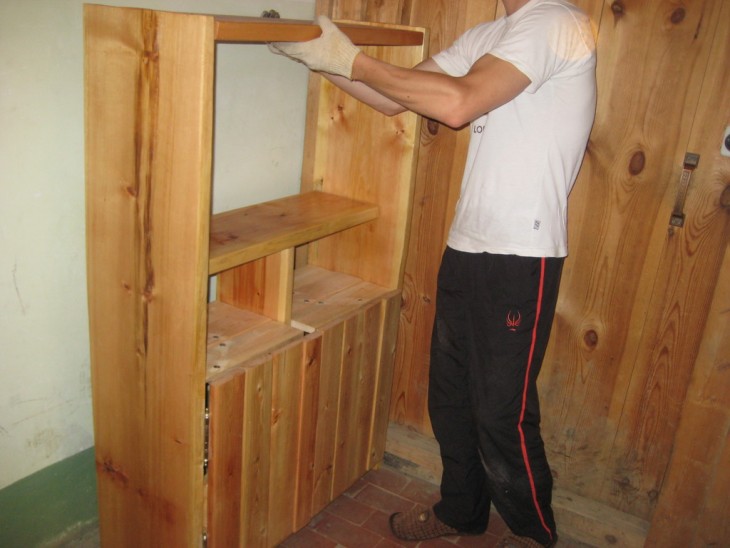
Before you start sawing and assembling the rack, you need to decide on a suitable drawing. First you need to accurately measure the space and take into account that for heavy objects the thickness of the shelf should be at least 25 cm, length - at least 90 cm and no more than 150 cm, while the optimal shelf depth is 50 cm, height - 55 cm.
Necessary materials
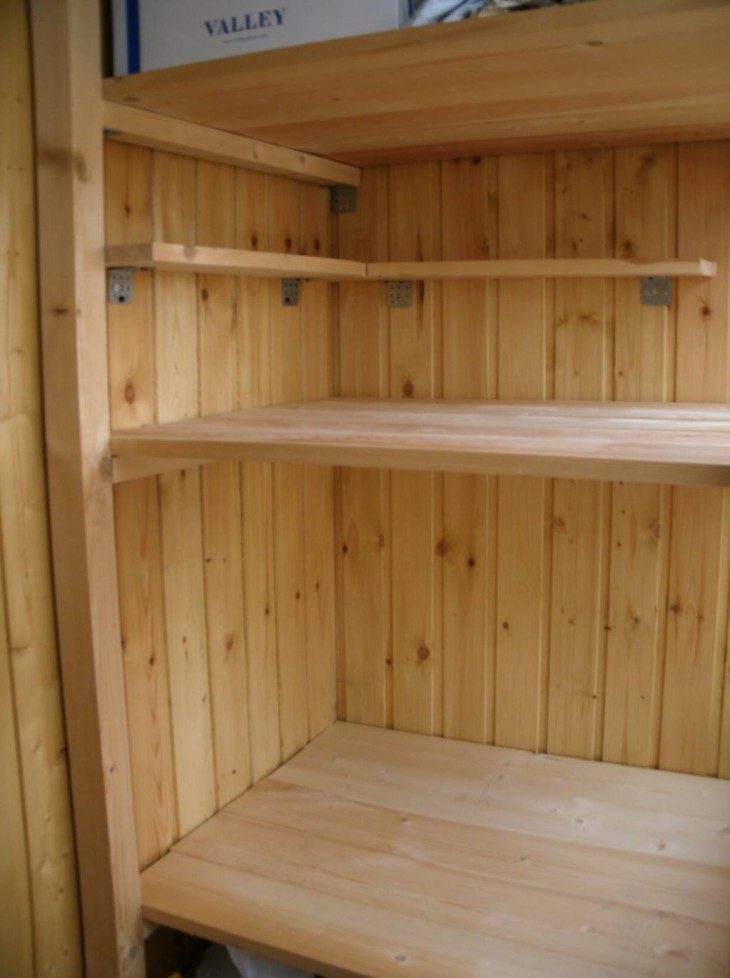
The shelf made of natural oak, pine or mahogany with a moisture content of not more than 12% will last a long time.

All materials are sawn to the required size several days before assembly and processed with antiseptics and other special woodworking agents.

As for the additional elements, you will need plywood or chipboard, shelf holders, plastic or metal corners, clips, legs on castors.
Note!
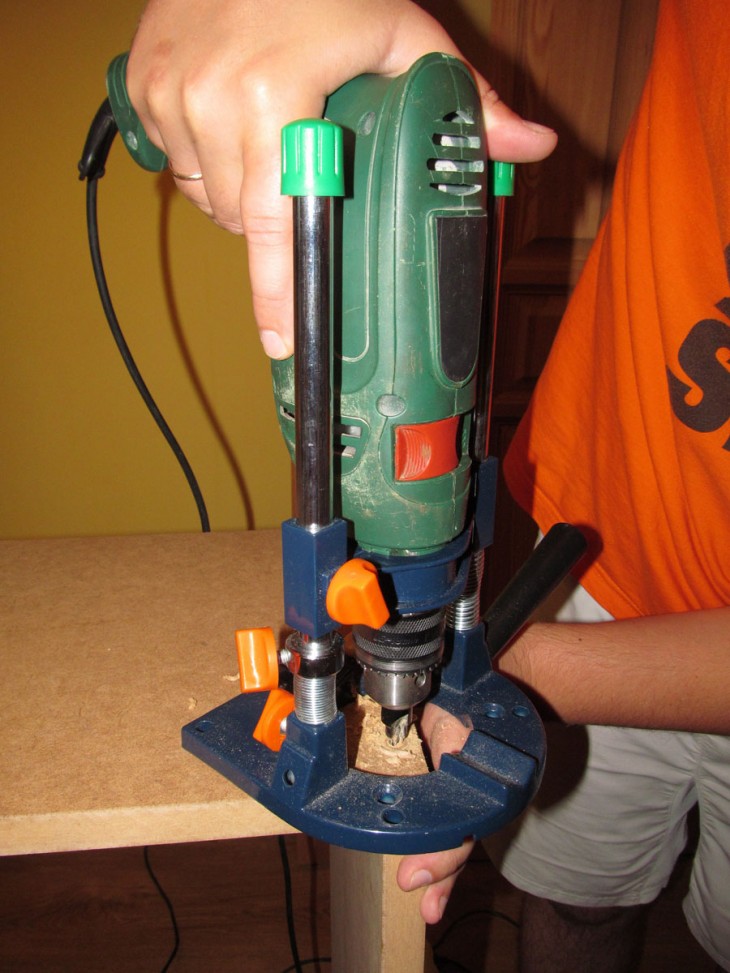
To work with wood, you will need a standard set of tools: self-tapping screws, jigsaw, grinder, nails, level, electric drill, ruler, hammer, tape measure.
The list of necessary materials ends with paints and wood glue.


Shelf assembly diagram
Do-it-yourself shelving is easy if you follow a certain algorithm:
- Put markings on the side boards and the back wall with a pencil for fastening the shelves;
- Start work from the ground. To fix the back wall on the lowest shelf with screws, and in case of its absence, fix the side walls.
- Fix in marked places metal or plastic corners that will hold the shelves;
- When mounting the elements of the rack, it is necessary to carefully monitor the evenness of the structure;
- For greater strength, it is recommended to coat all holes with glue;
- At the end of the assembly, fasten the cover with screws on top of the rack;
- If necessary, coat the product with varnish or paint, having previously ground the surface.
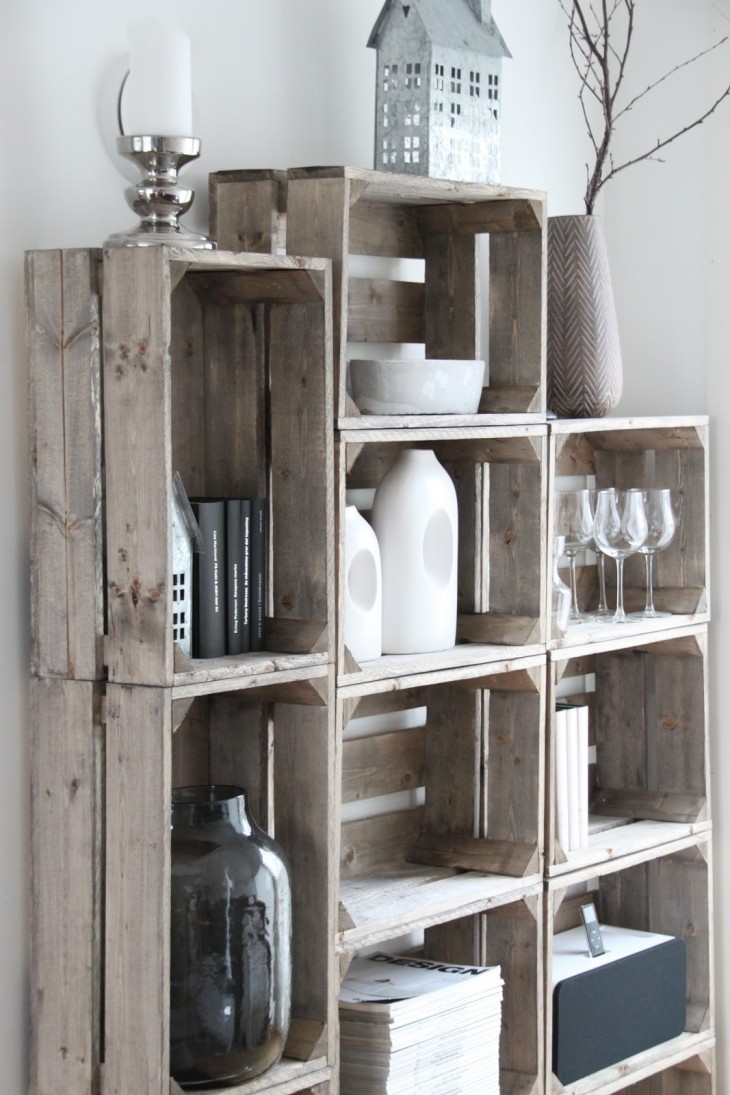
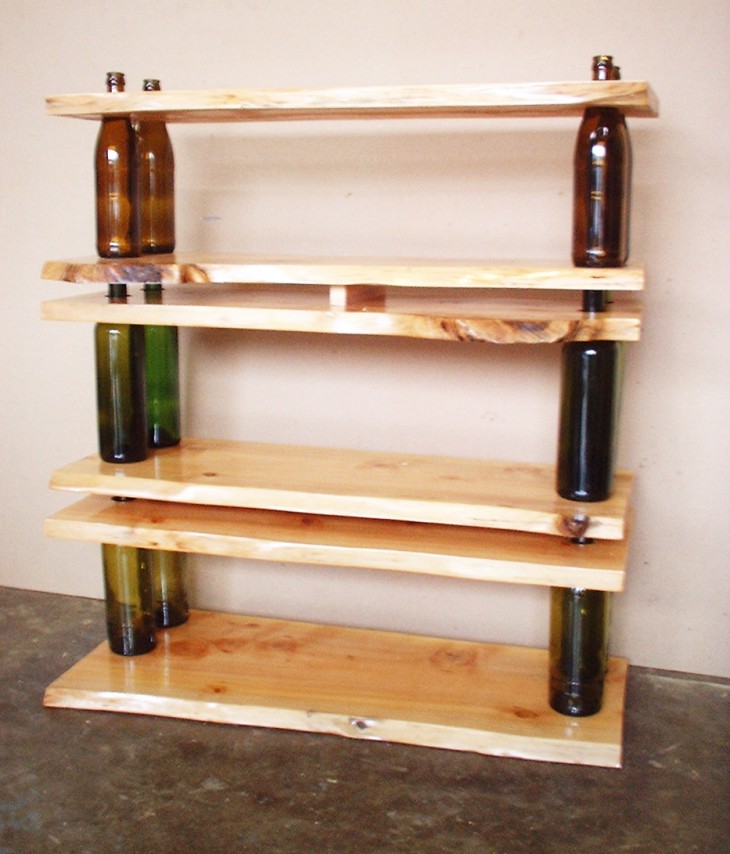
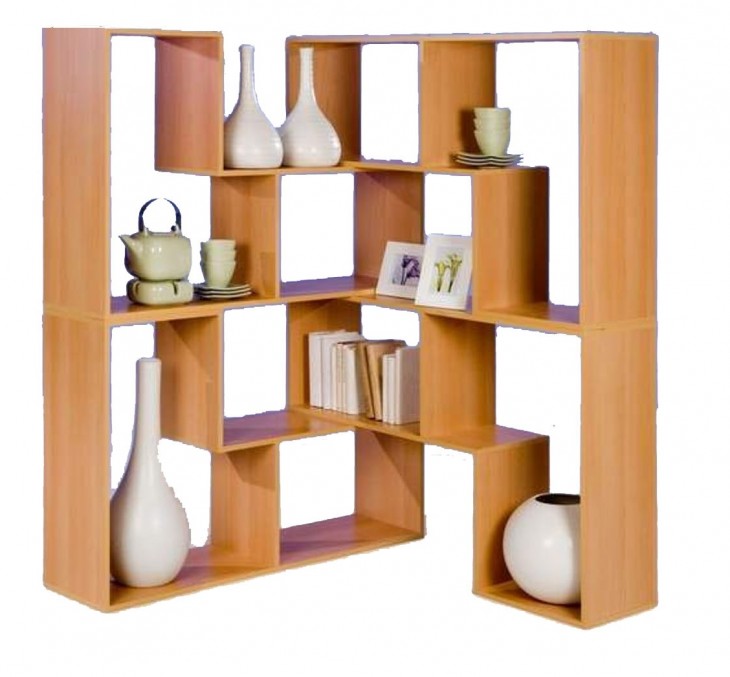
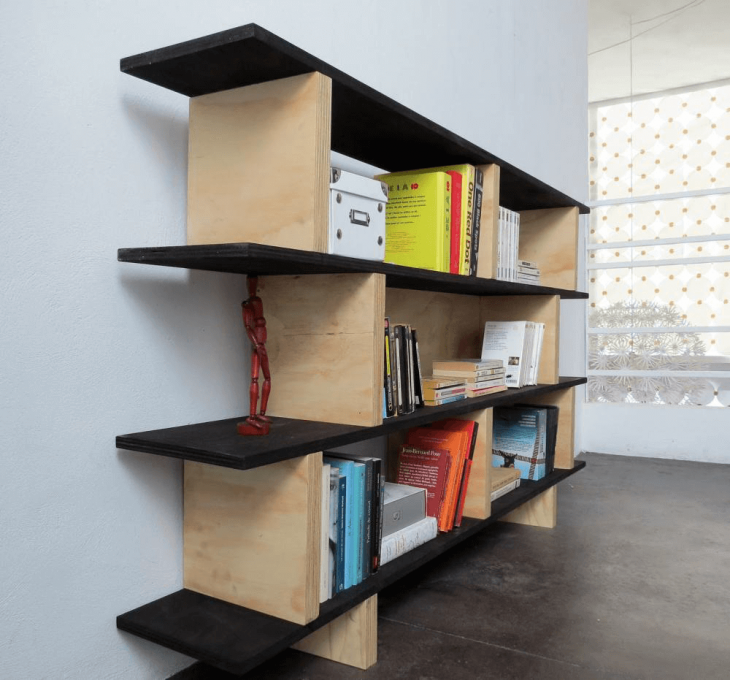
Original shelving
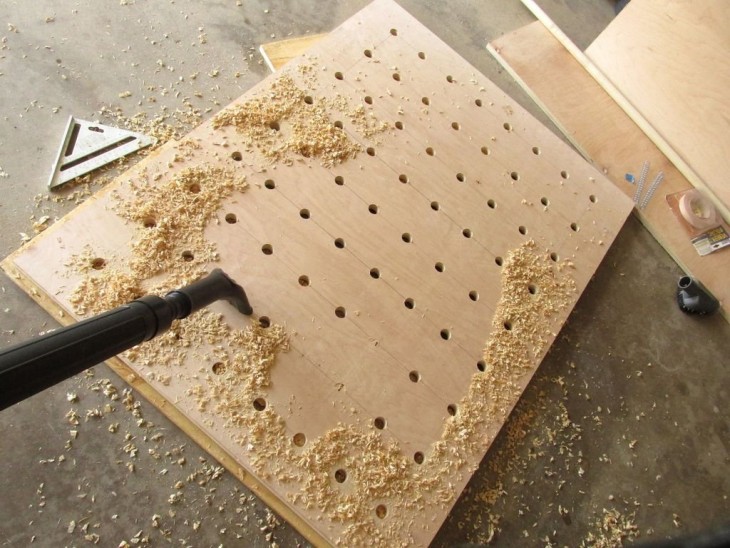
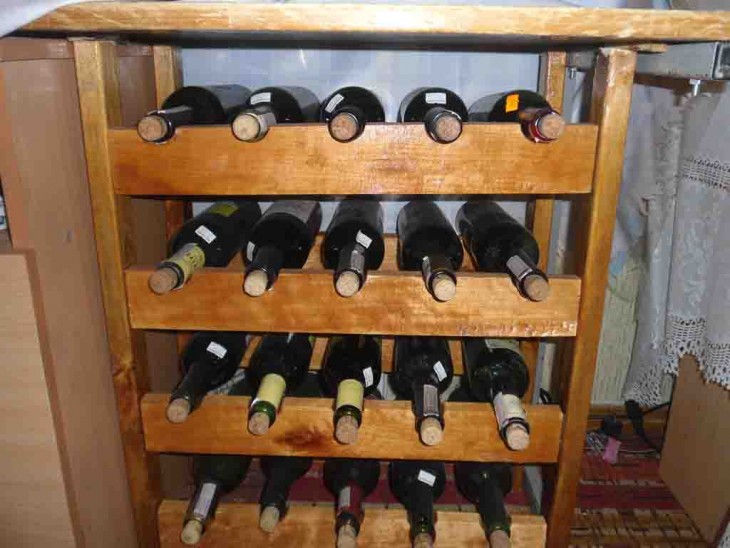
Often a rack made by hand from wood is distinguished by its originality and non-standard. So, you can make a rack of 6 identical boards and 12 glass bottles.
To do this, at the ends of the base board, it is necessary to drill a pair of holes corresponding to the bottle bottoms, and for the necks on the next board. In total, three original shelves turn out, which must be reliably fixed together with the help of a rack and screws.
Note!
An interesting solution would be a rack with a rope frame connecting 4-5 shelves and placed on the wall with hooks or nails.
True, heavy objects can break the structure, so use a place to store towels, photographs or fakes.
When making the rack independently, all the dimensions of the square area are taken into account, a suitable shape, color and texture are selected, which ultimately allows you to get an original and ideal design.
DIY rack photo

Note!