Sewing curtains yourself is not so difficult. This is the strength of any housewife. The resulting result will surely please and pleasantly surprise you and your loved ones.
The design solution can be chosen according to your wishes, since the Internet is full of photographs of various options for curtains.
The main thing is to carefully familiarize yourself with the technique of sewing. Only a few basic types are distinguished from a huge assortment of curtains; everything else is their modifications.
Having mastered the technology of how to sew the main curtain options yourself, you can safely take on any kind of curtains.
Review Content:
Types of Curtains
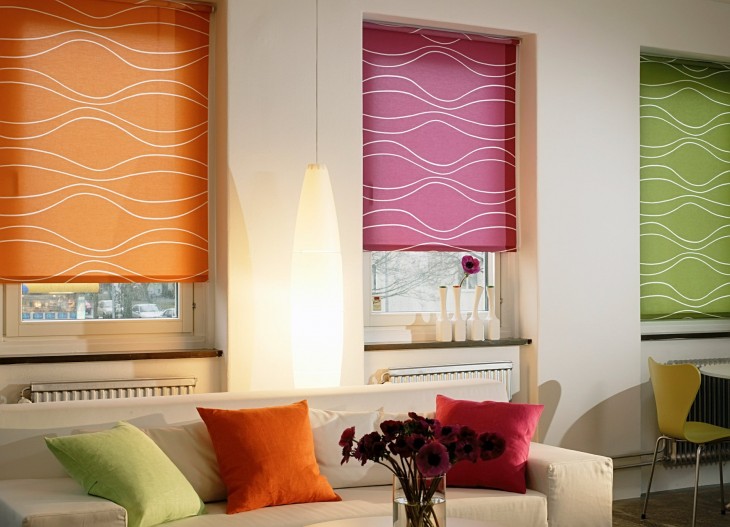
Today there are many different types of curtains, of which about a dozen are considered basic. Some of the basic models differ from each other only by the individual subtleties of the constructive solution.

All others are based on the top ten, therefore, having mastered sewing the main options for curtains, they should not have difficulties.

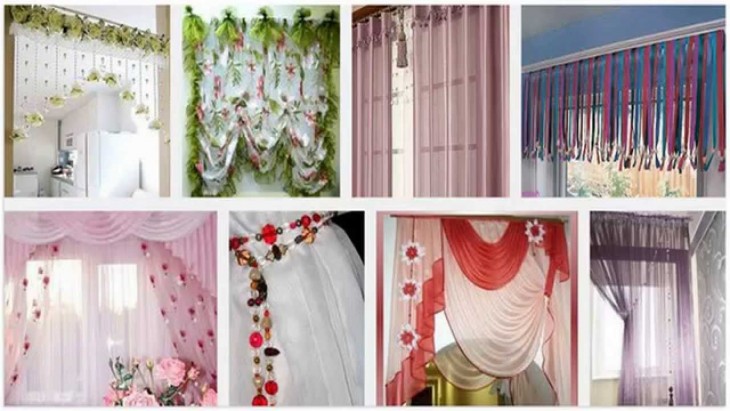
The most popular types of curtains are:
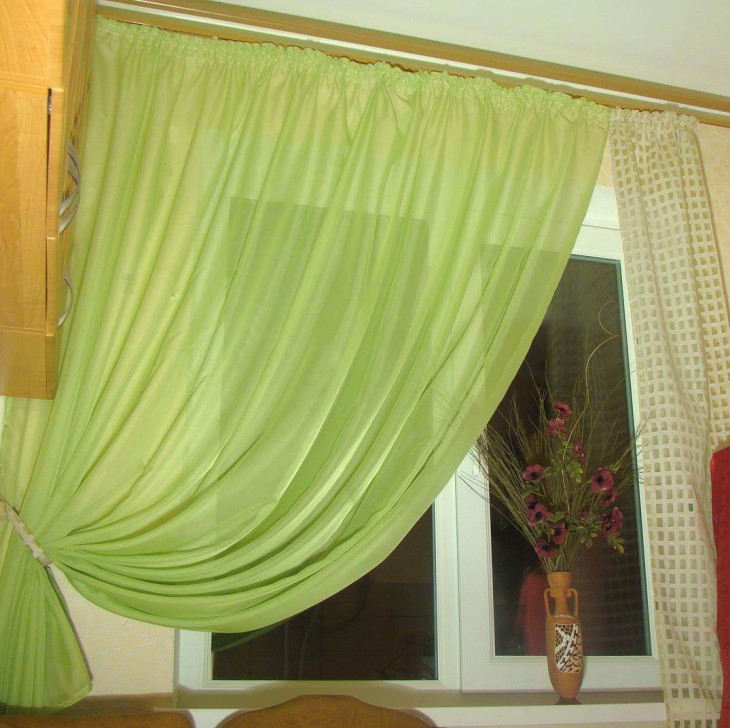
- English curtains;
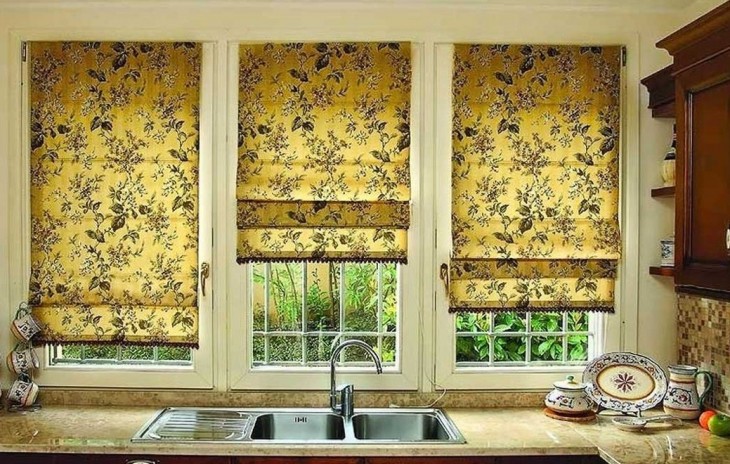
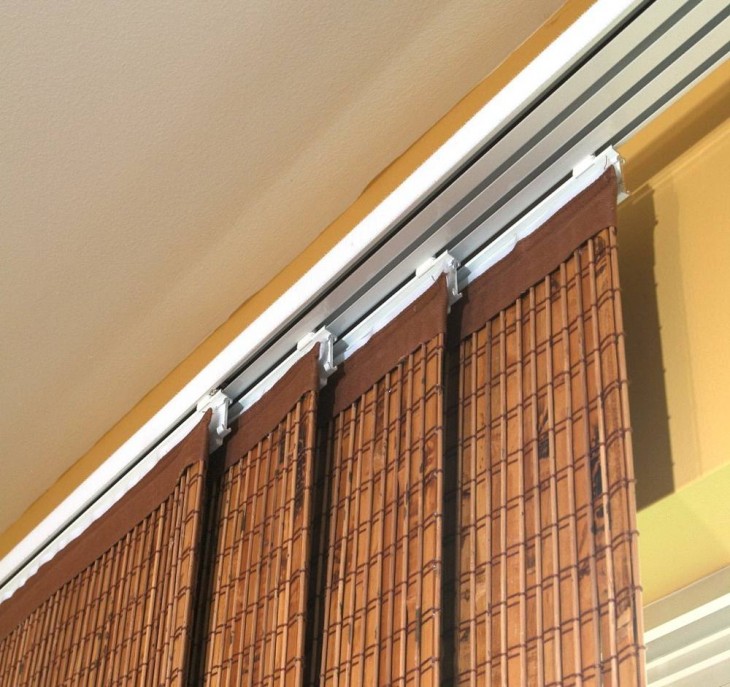
- Roman curtains;
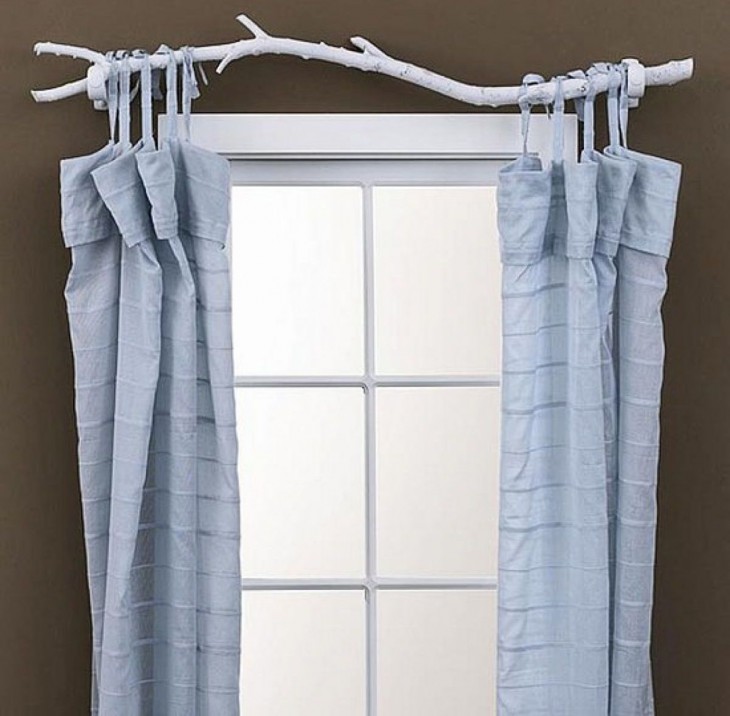
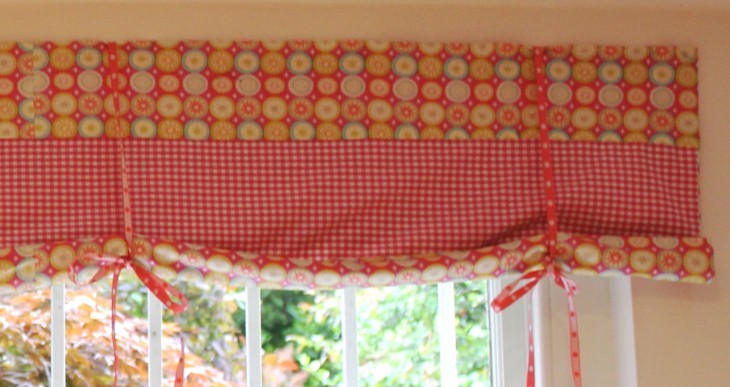
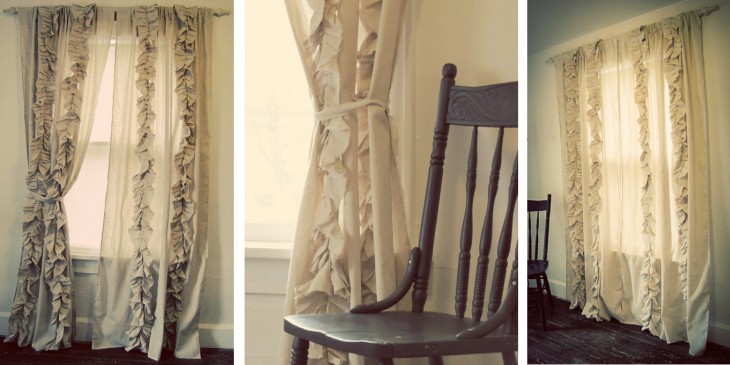
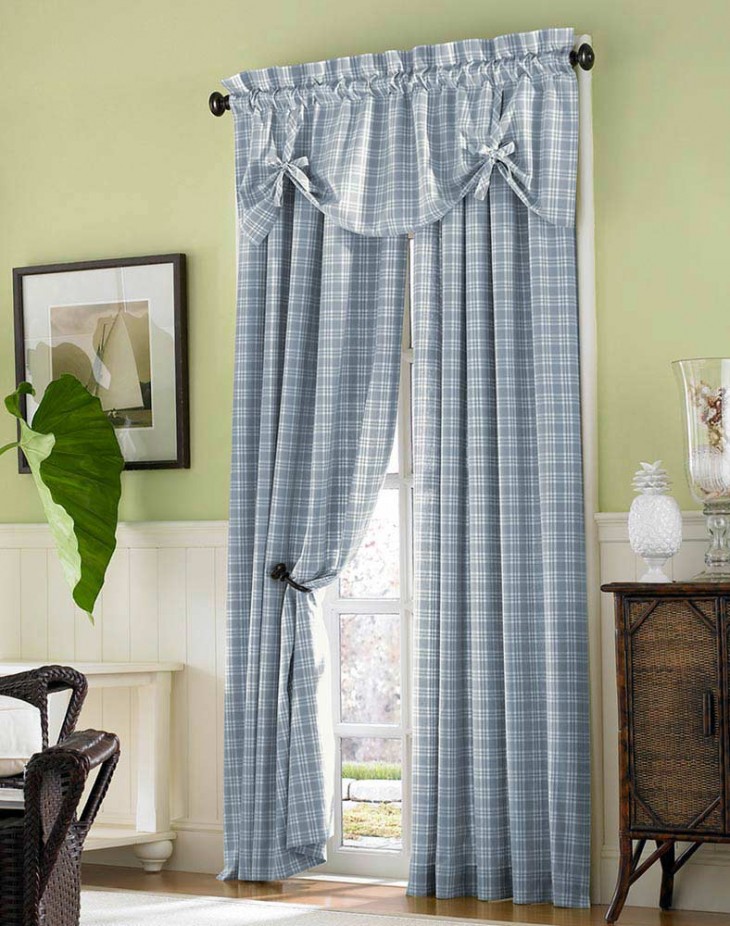
- simple blinds with ties;
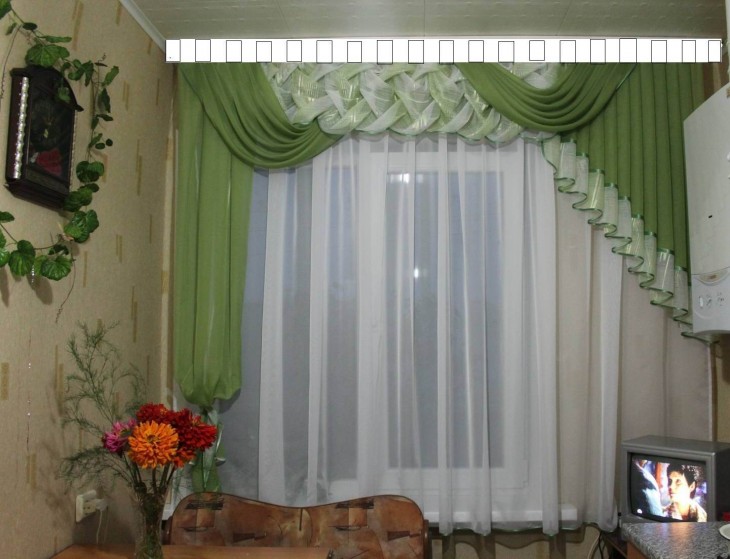
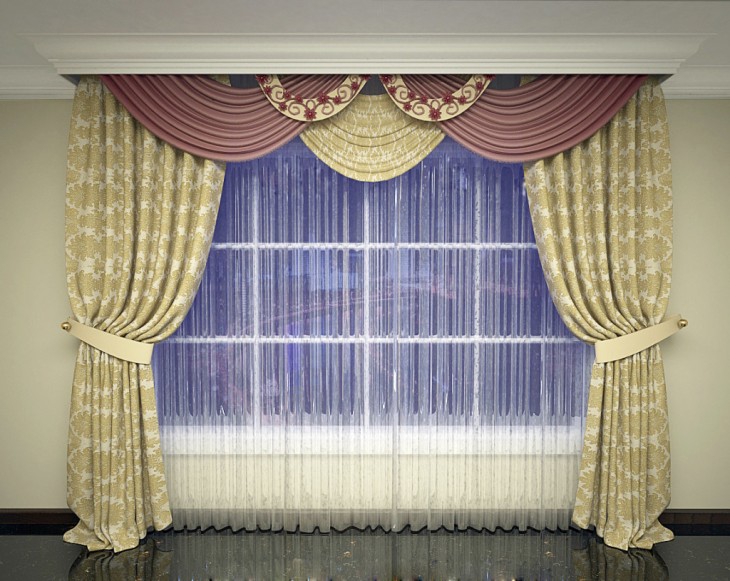
- lambrequins.
To sew any curtains you will need:
- Sewing machine;
- Material;
- Threads in the color of the curtains;
- Pins, scissors, centimeter tape, chalk.
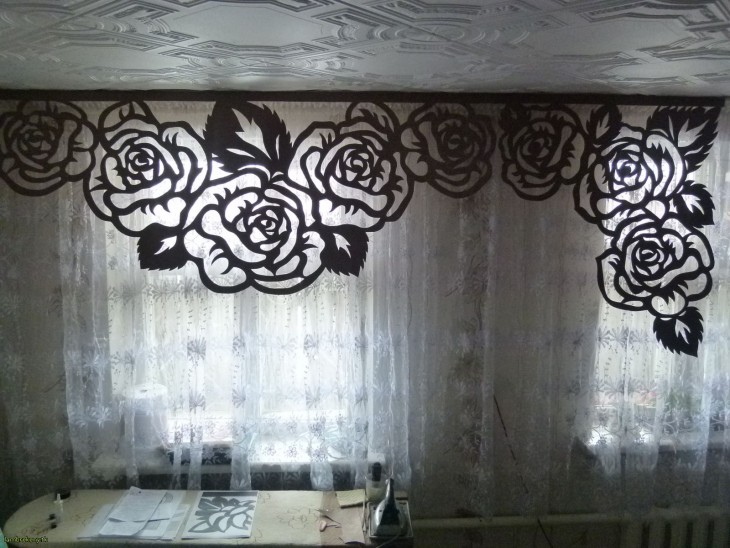
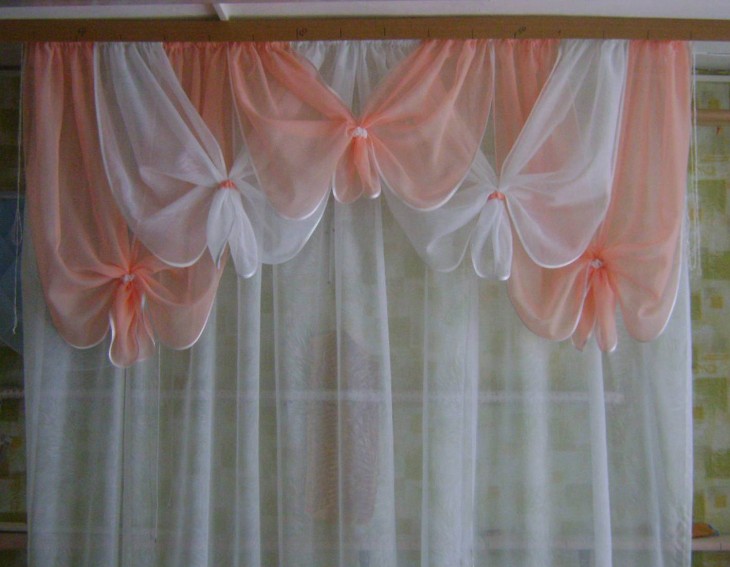
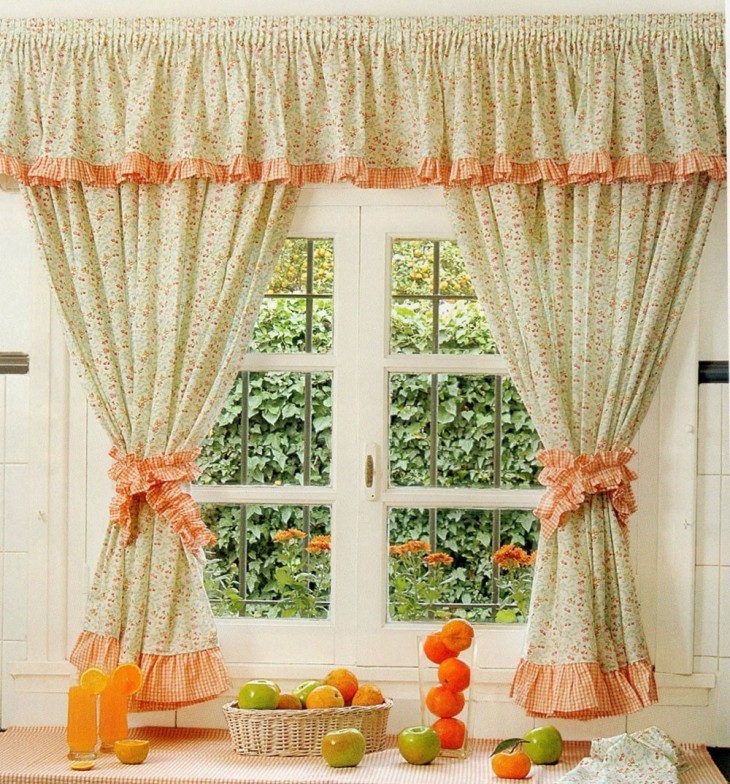
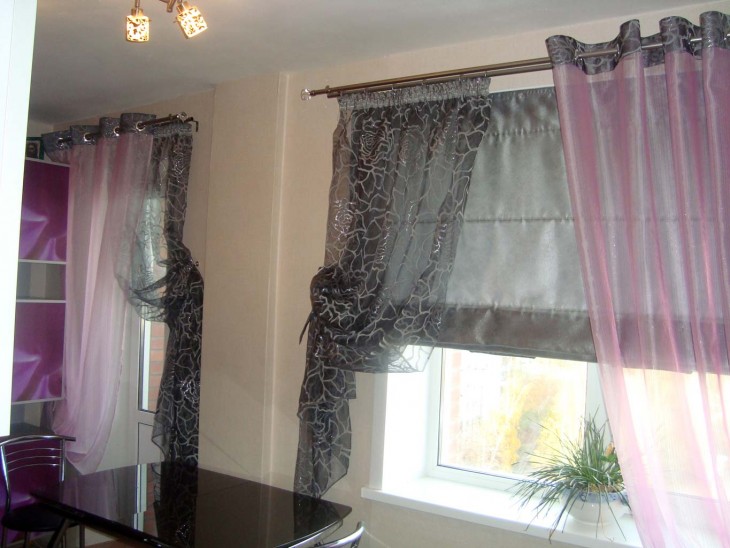
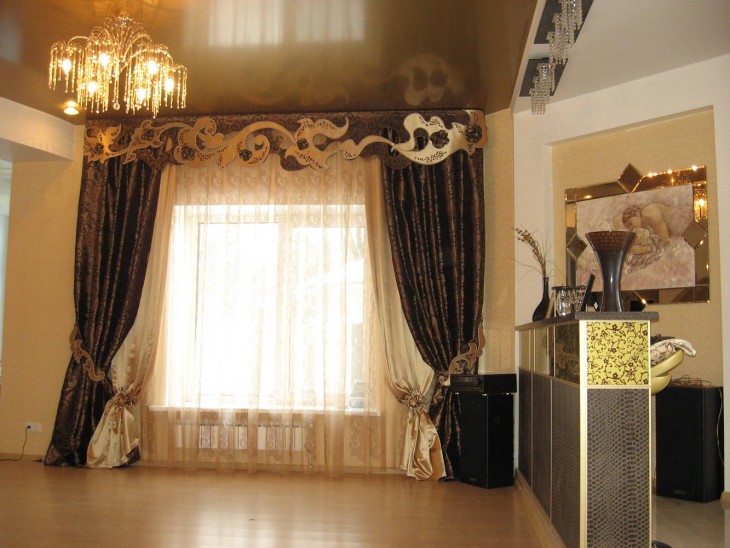
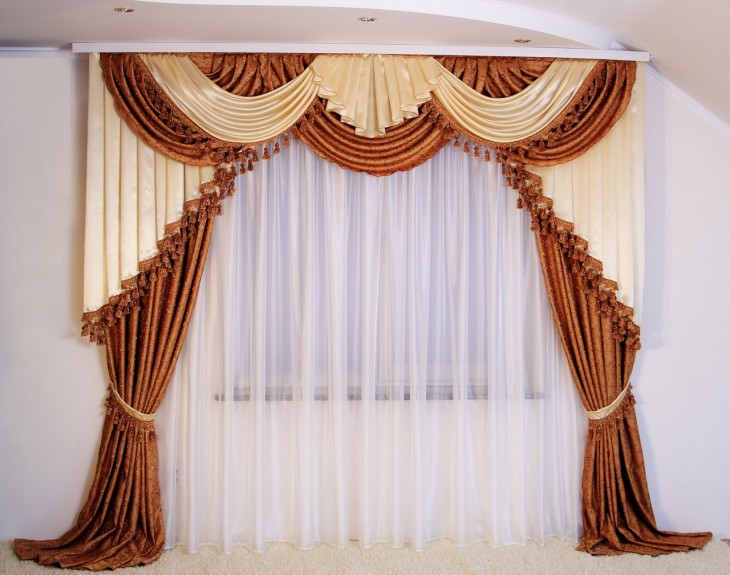
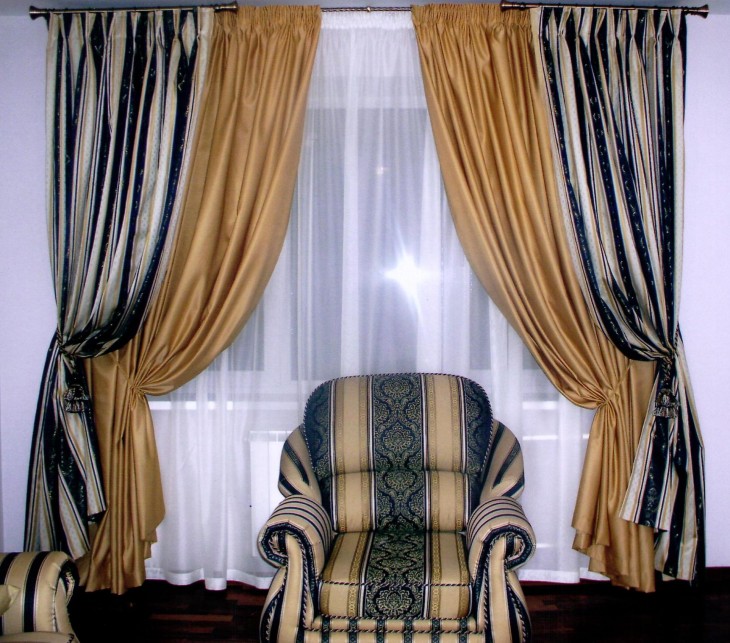
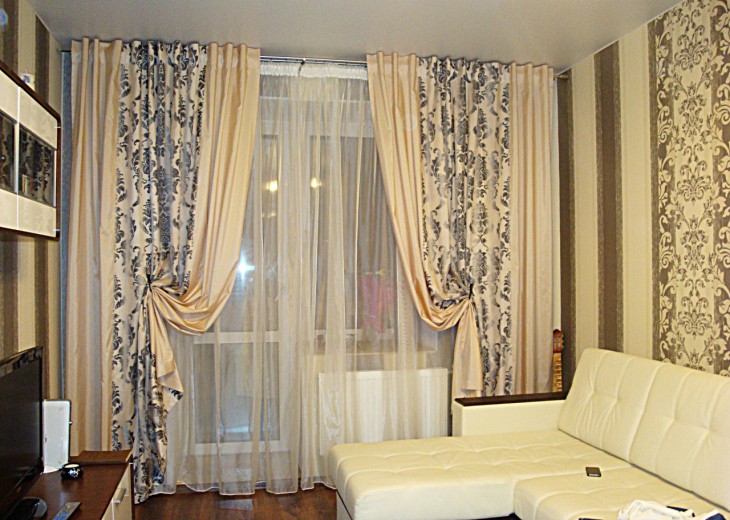
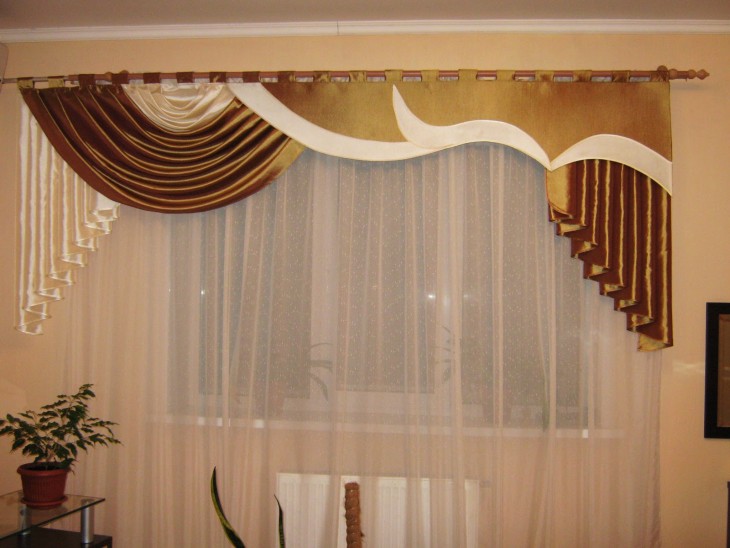
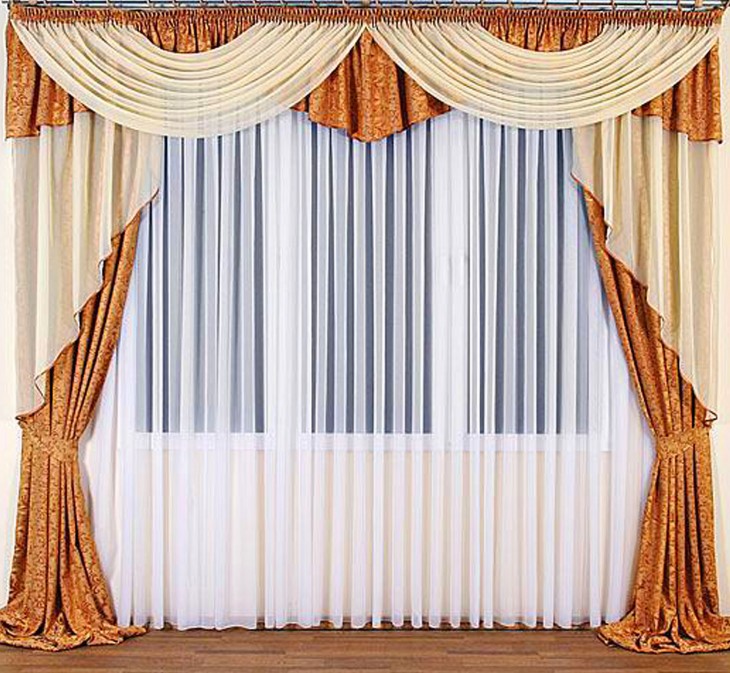
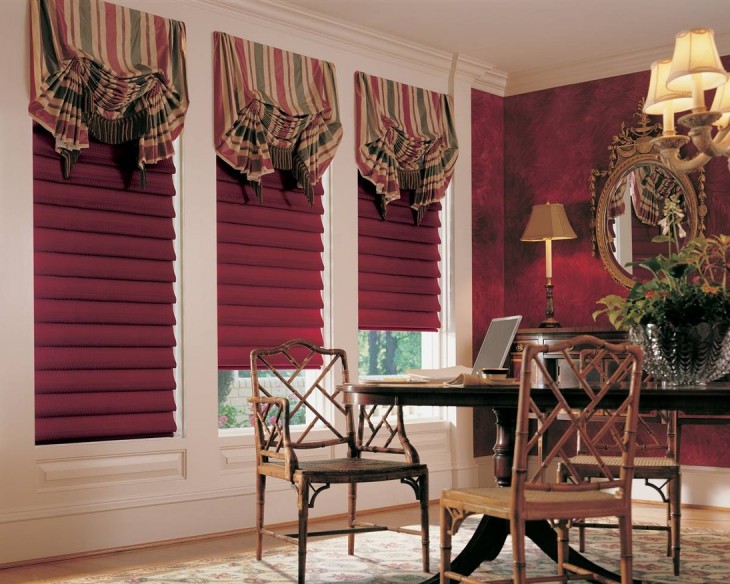
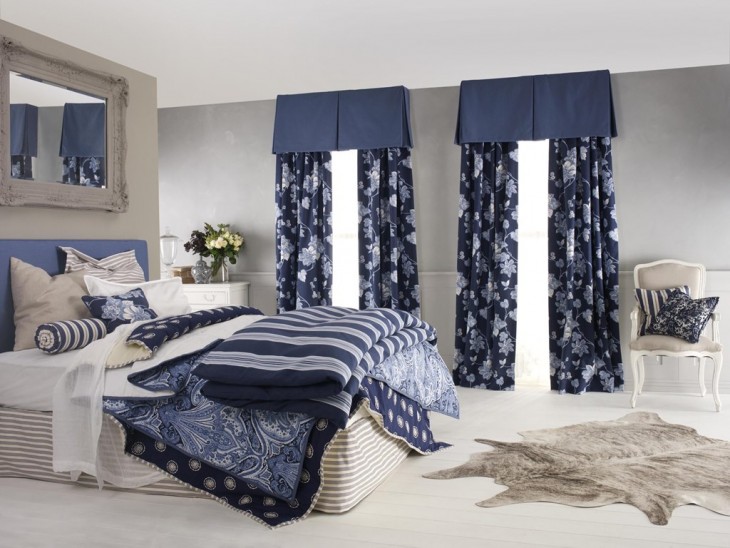
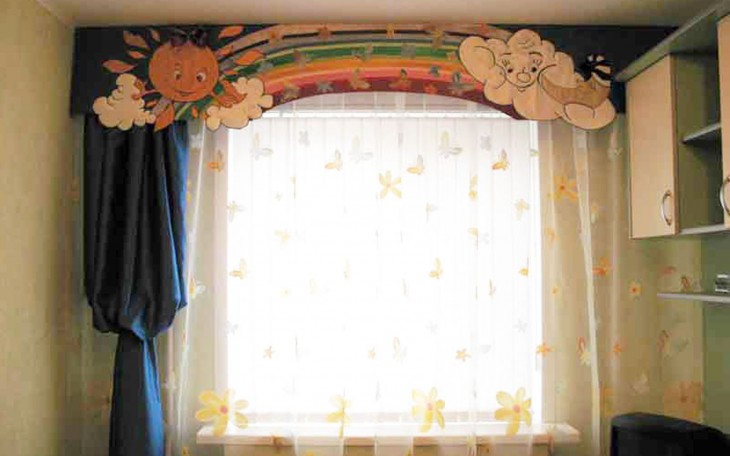
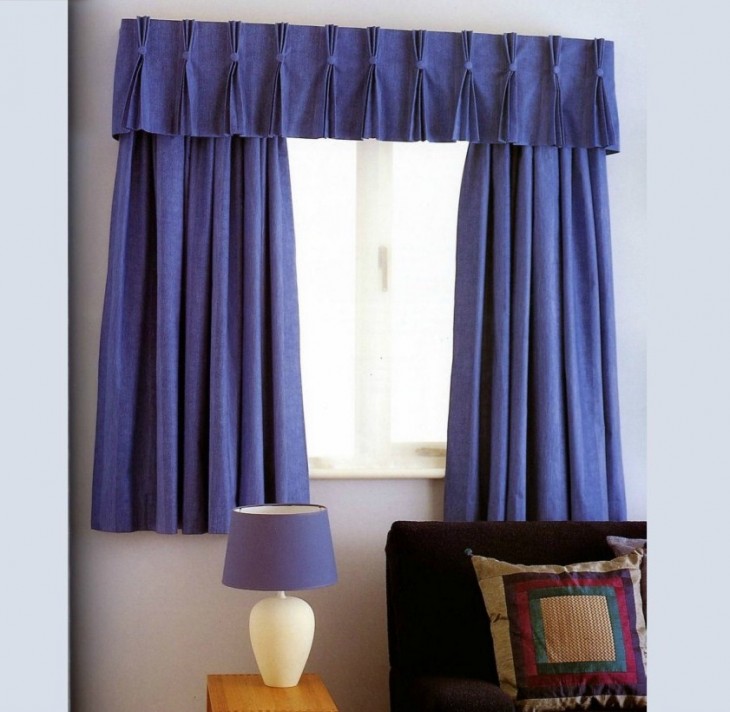
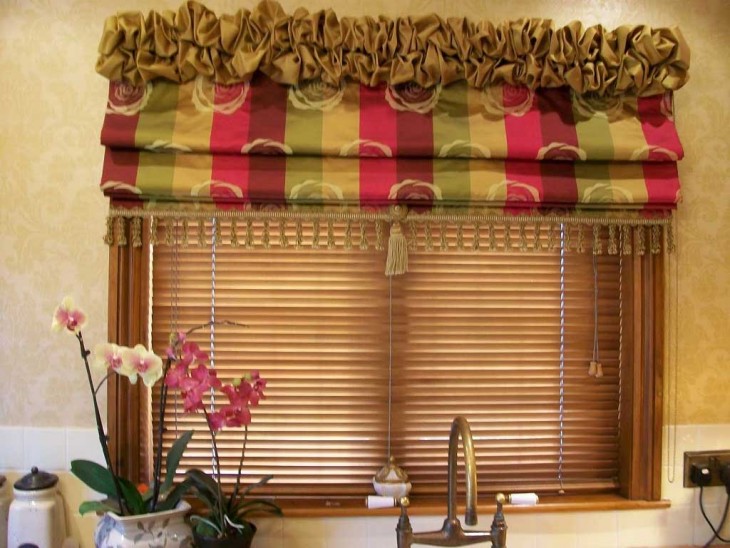
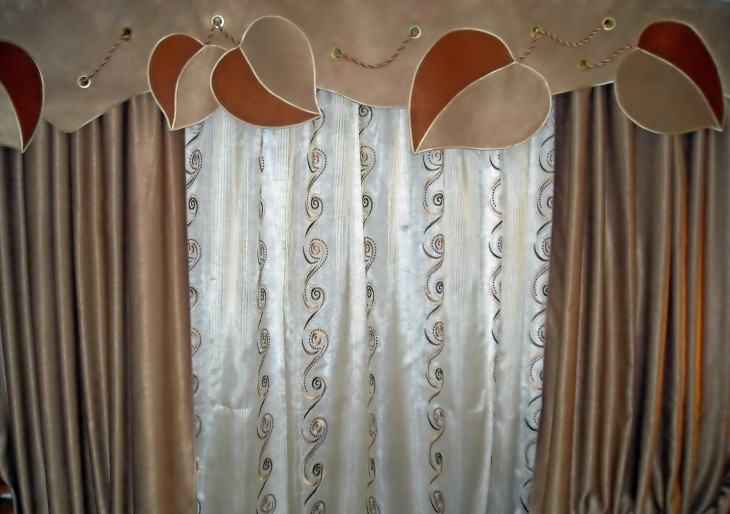
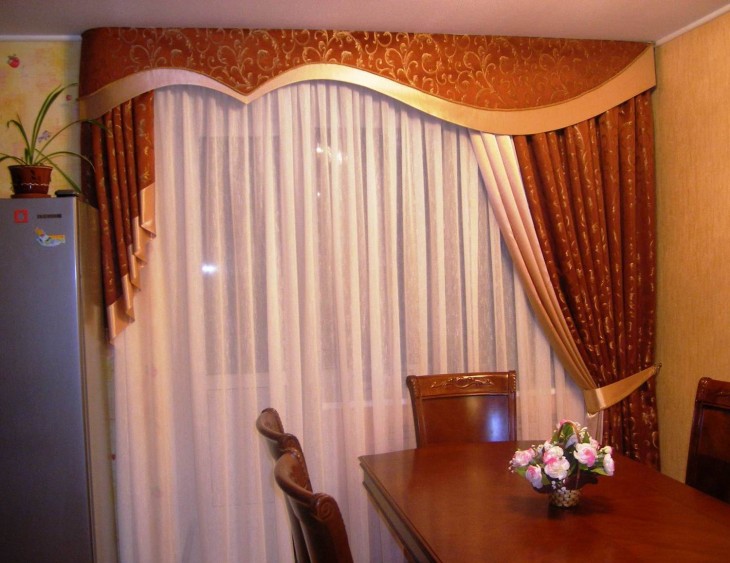
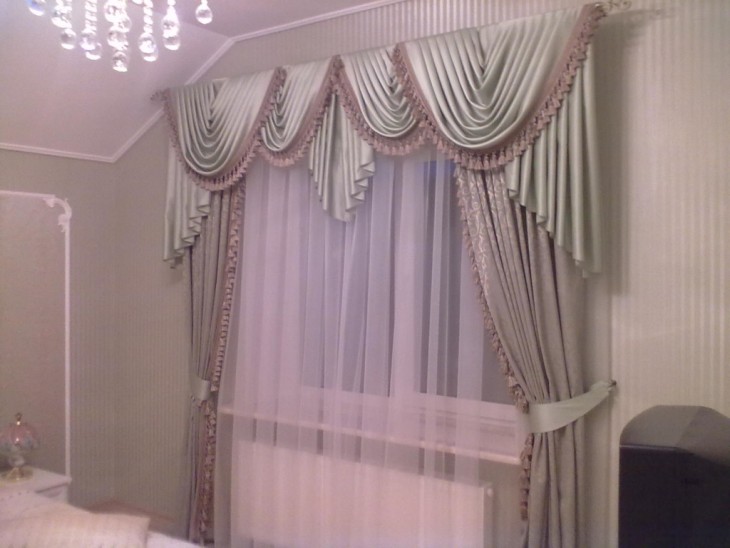
We sew lambrequins
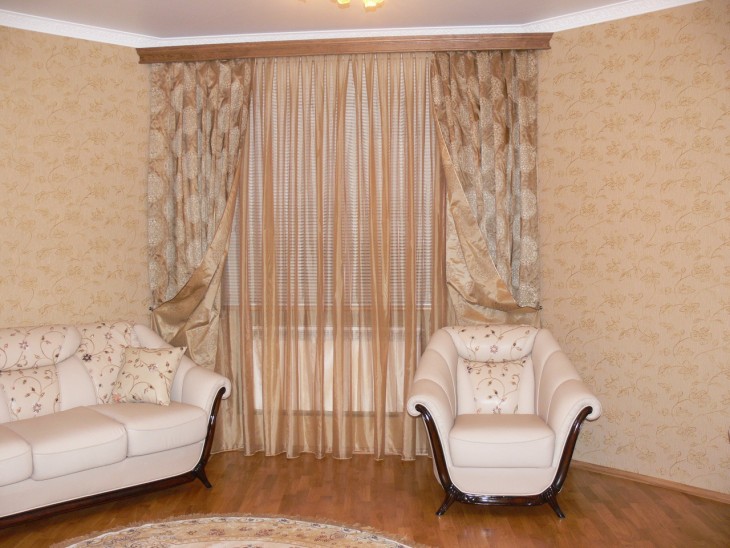
Sewing curtains with lambrequins is not particularly difficult. Despite the simple construction, such curtains look pretty nice.

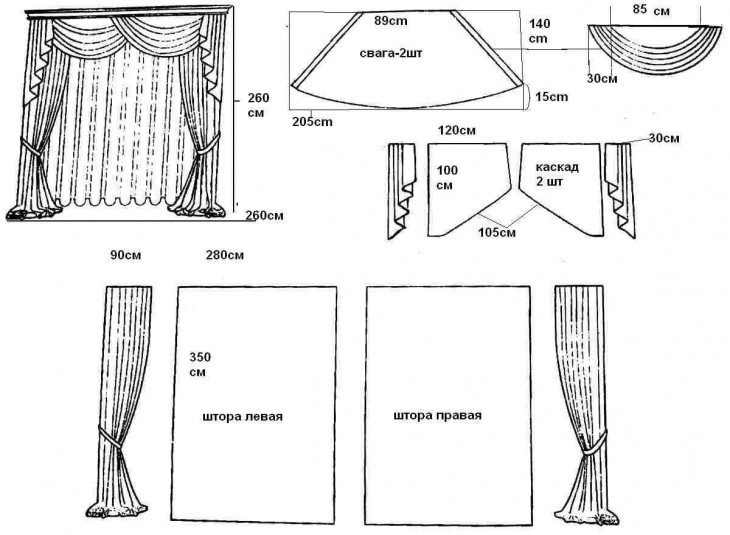
First you need to make the necessary patterns, this will greatly simplify the subsequent work.
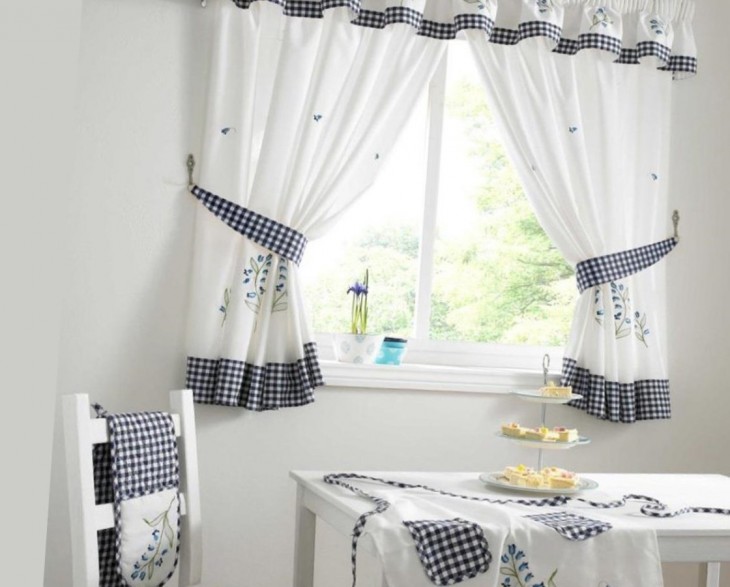
Next, select the appropriate fabric. Material for lambrequins can both coincide in color with the curtains, and differ from them. There are no rules.
The main thing is that the curtains and their decorative details are combined with the overall interior.

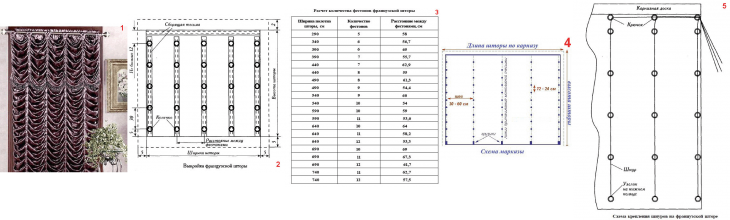
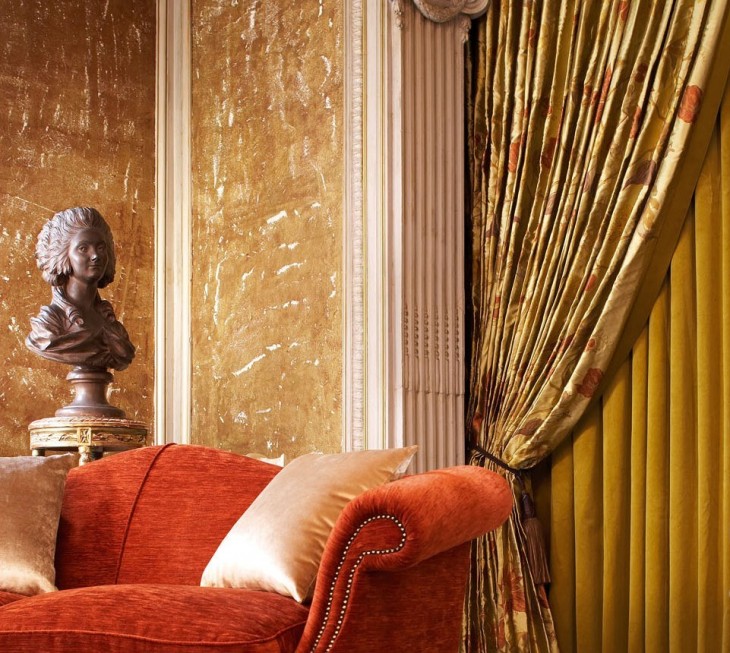
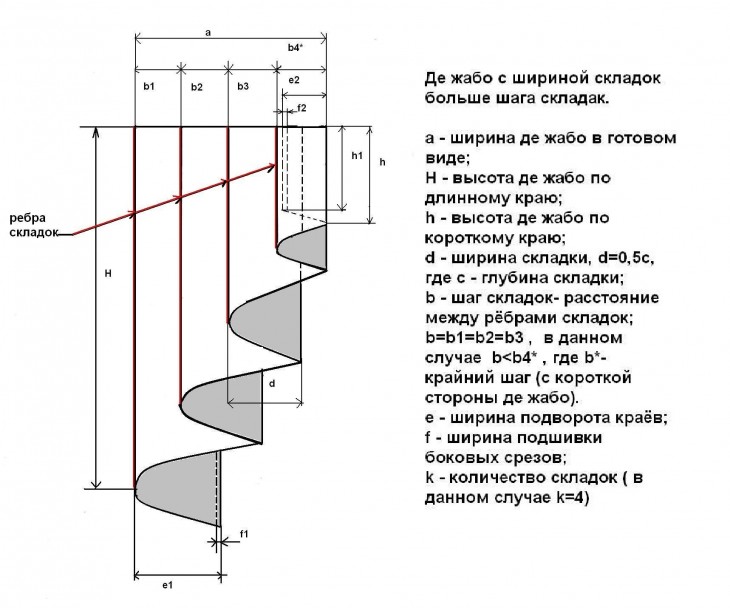
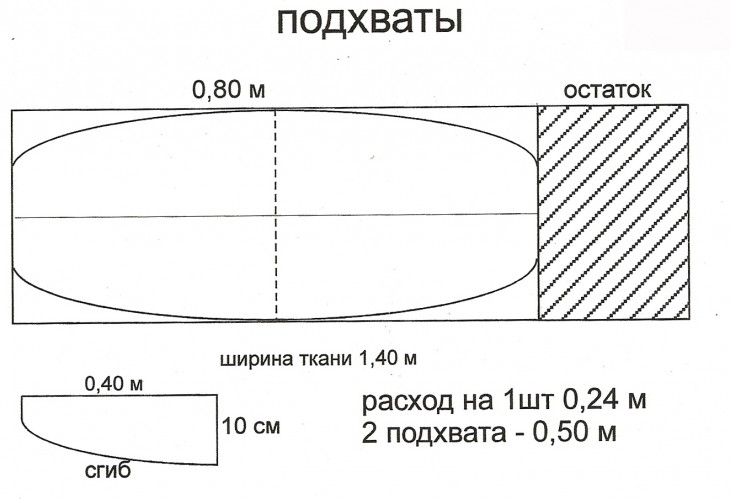
To calculate the amount of tissue needed for a pelmet, you first need to determine the length of the curtains. For the lambrequin itself, approximately 1/5 of the total footage of the fabric will additionally be required.
Do not forget about the bends, they also need to be taken into account when calculating. You also need to decide whether to make folds and how much.
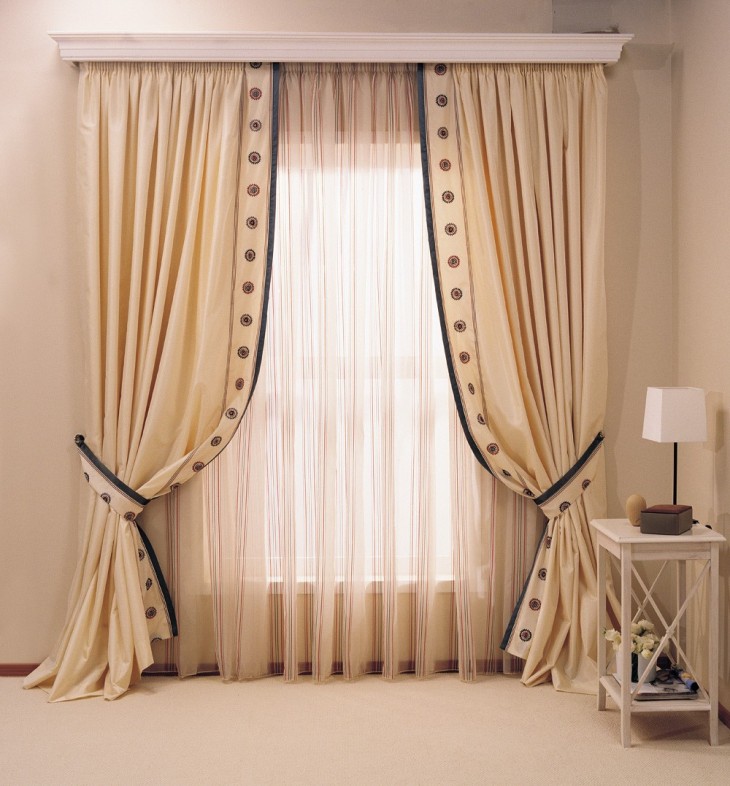

The next step is to bend the material in the upper part of the future curtain, thereby creating a pocket for the bar. It is recommended to process it using the back seam.
Next, we form, fix with threads and iron folds, pre-hemming the edges of the lambrequin.
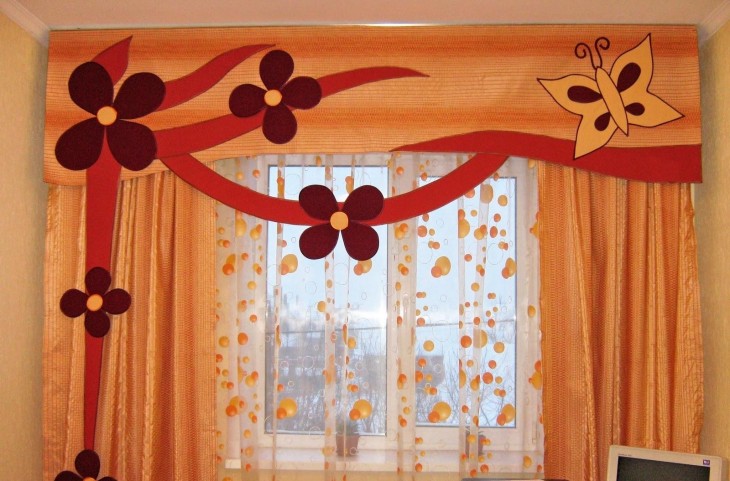
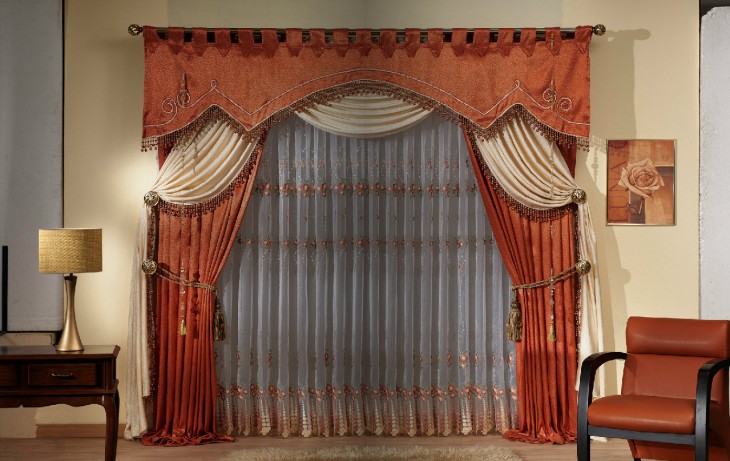
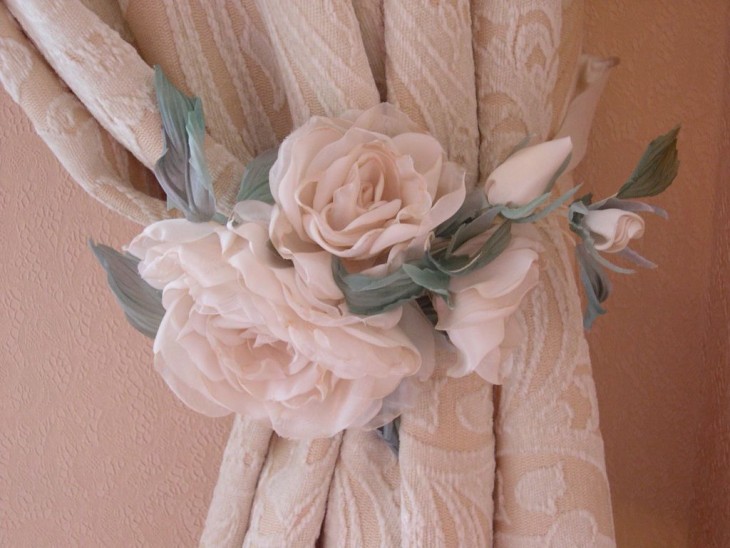
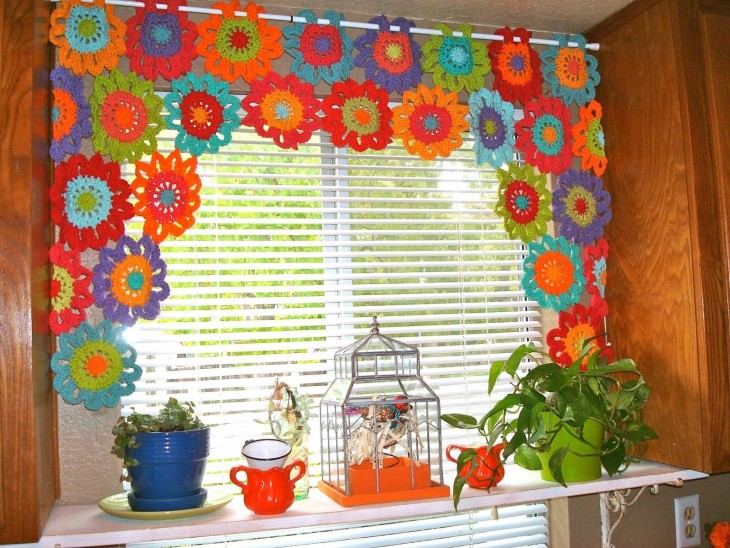
The manufacture of a lambrequin requires precision and accuracy at every stage. Light material will perfectly decorate beads and organza flowers. Fringes are great for heavy fabrics.
Note!

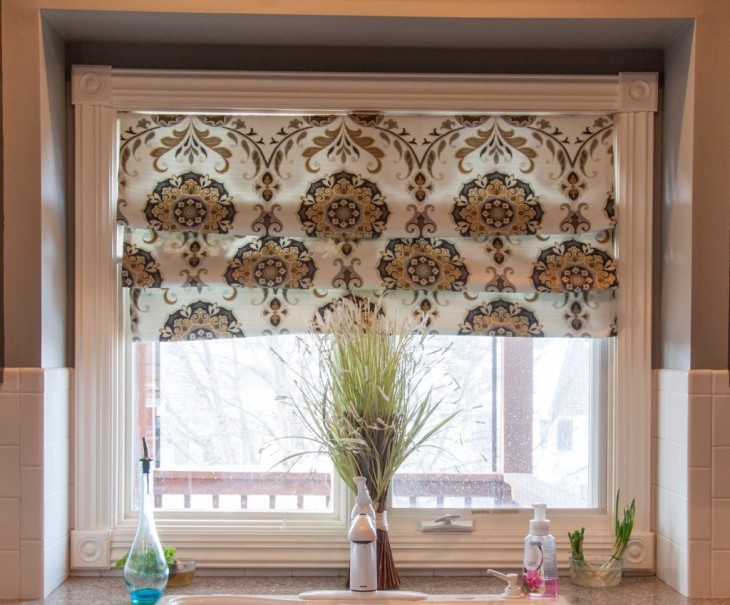
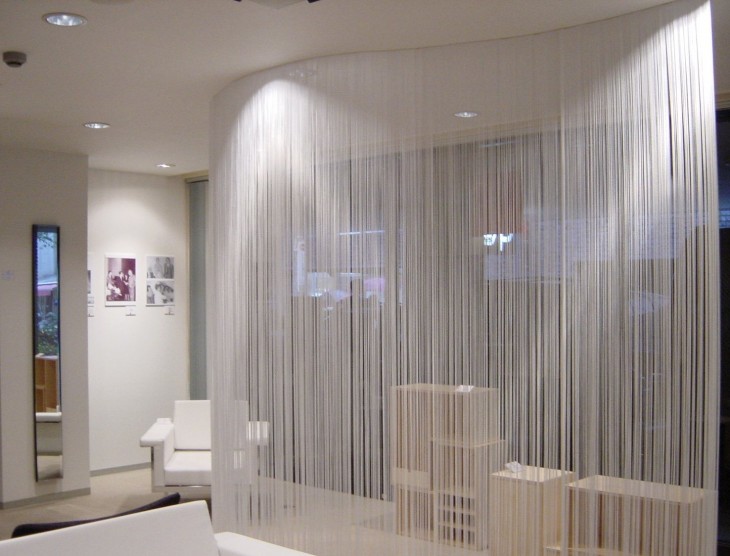
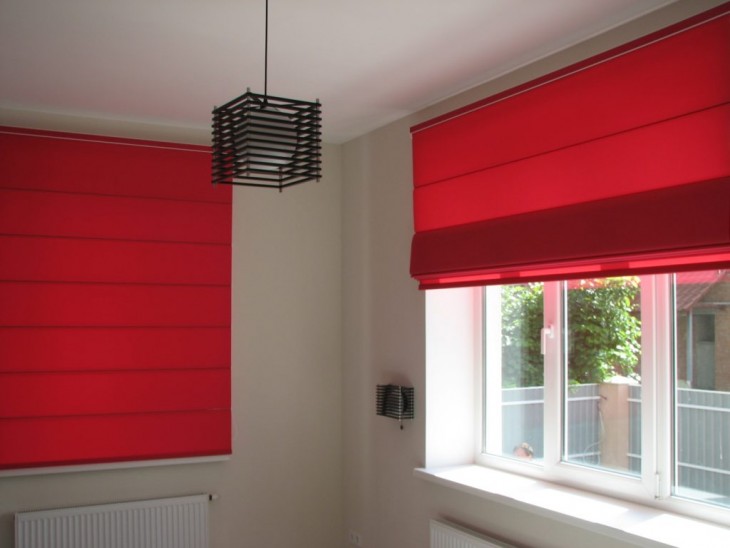
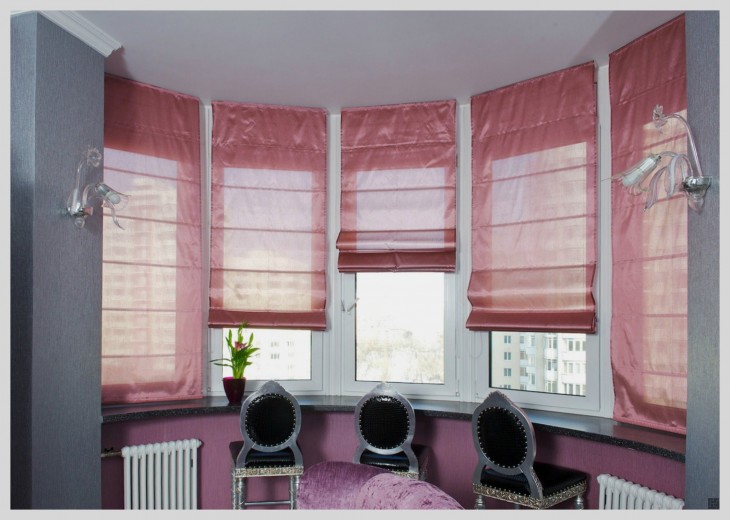
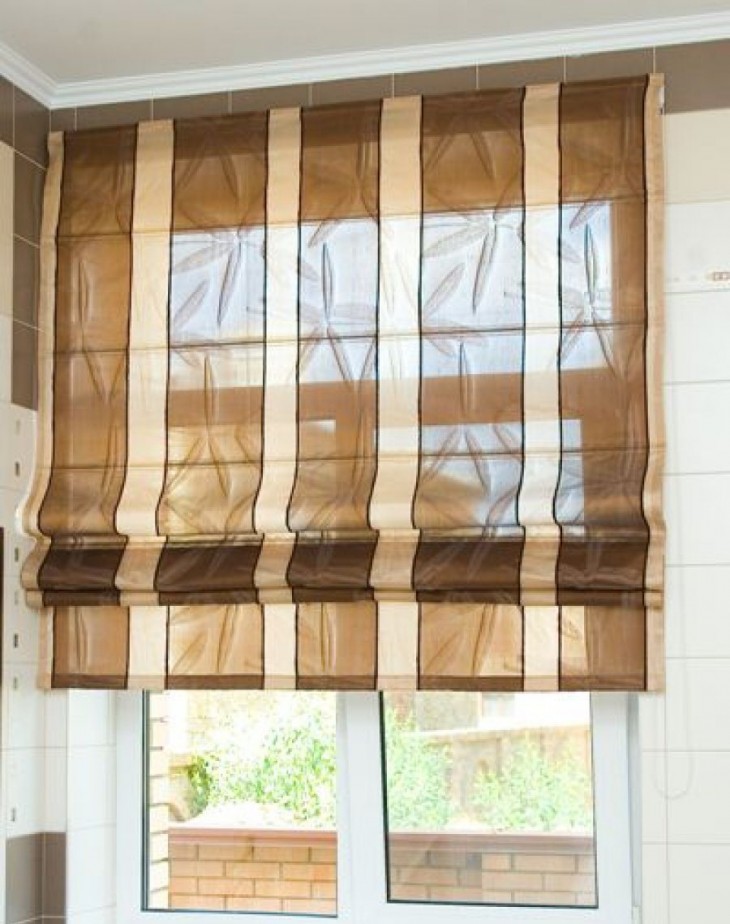
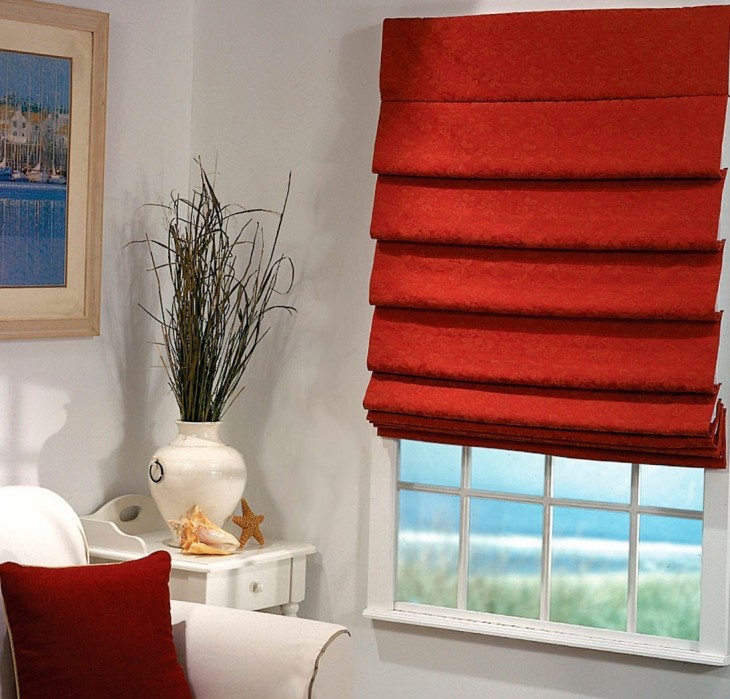
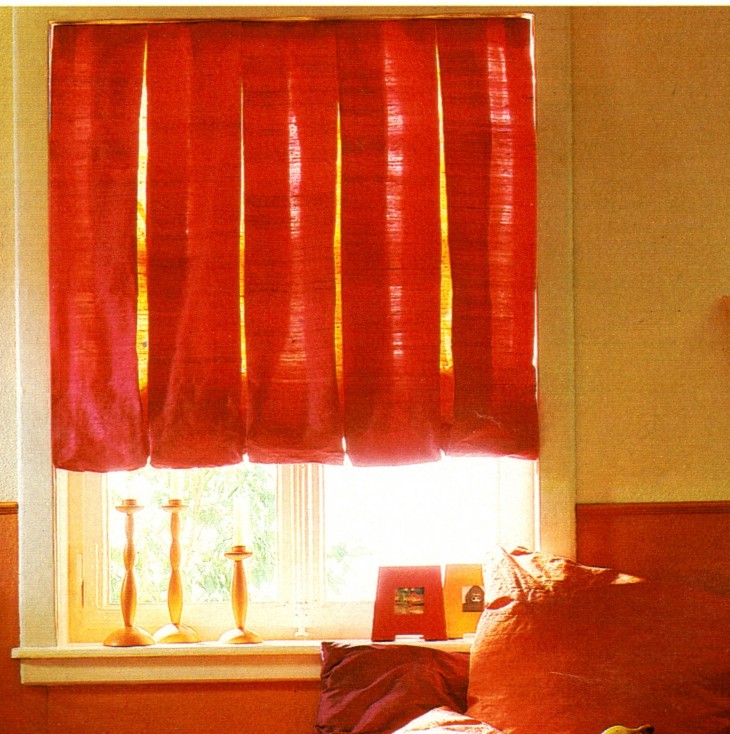
Step-by-step instruction for the manufacture of Roman curtains
Roman-style curtains are quite popular today. Let's look at how to do it yourself.
- We measure a window opening. To the resulting sizes we add 5 cm for each side to the seams and 12 cm to the length. Thus, the required amount of material is calculated;
- We select the fabric. This should not cause difficulties, since today's choice of materials is simply huge;
- With chalk or soap we draw lines of allowances;
- We fix a special adhesive tape on the beam and the upper edge of the curtain;
- We bend, iron and hem the bottom edge of the curtain;
- Sew the trim;
- We fasten the rings to the curtain with wide stitches;
- We attach the entire canvas to the beam;
- We put the rope into the rings, tighten it and cut off the excess.
- We get elegant and expressive curtains.

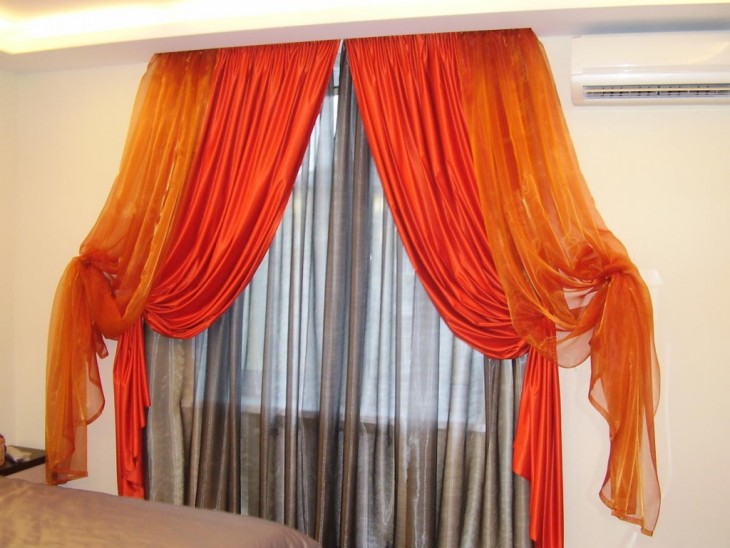
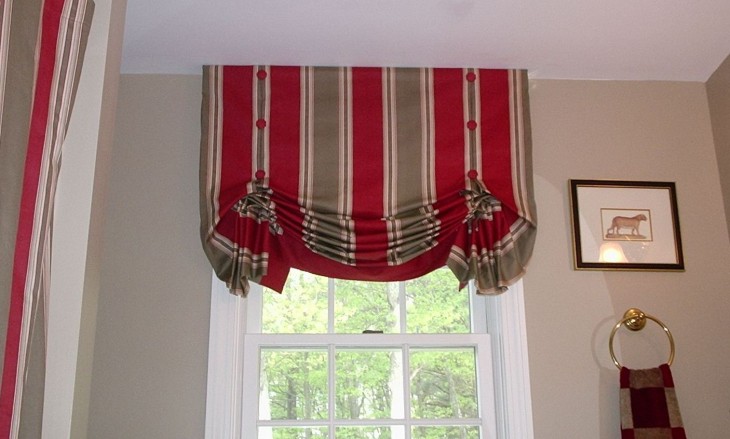
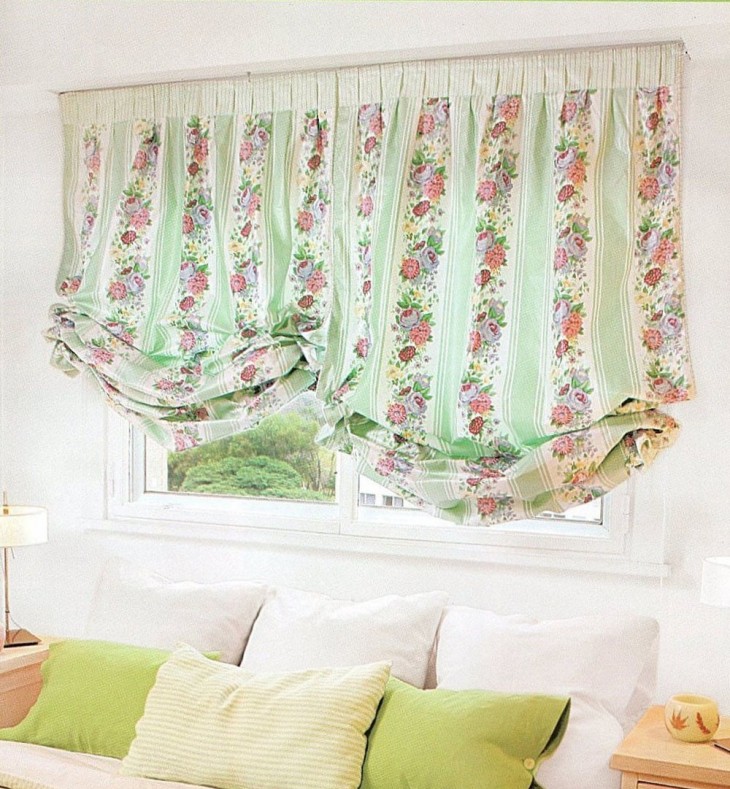
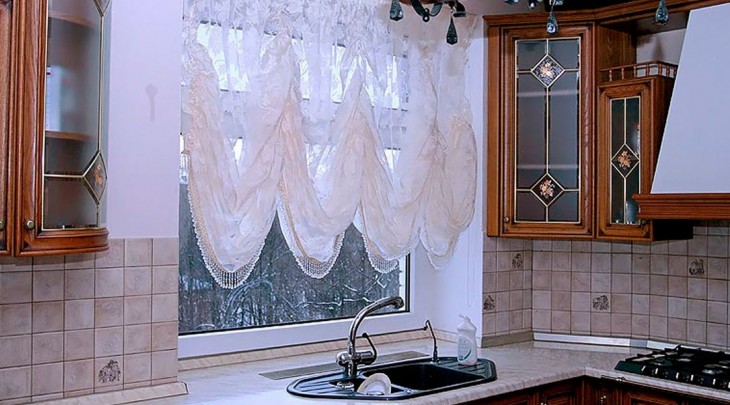
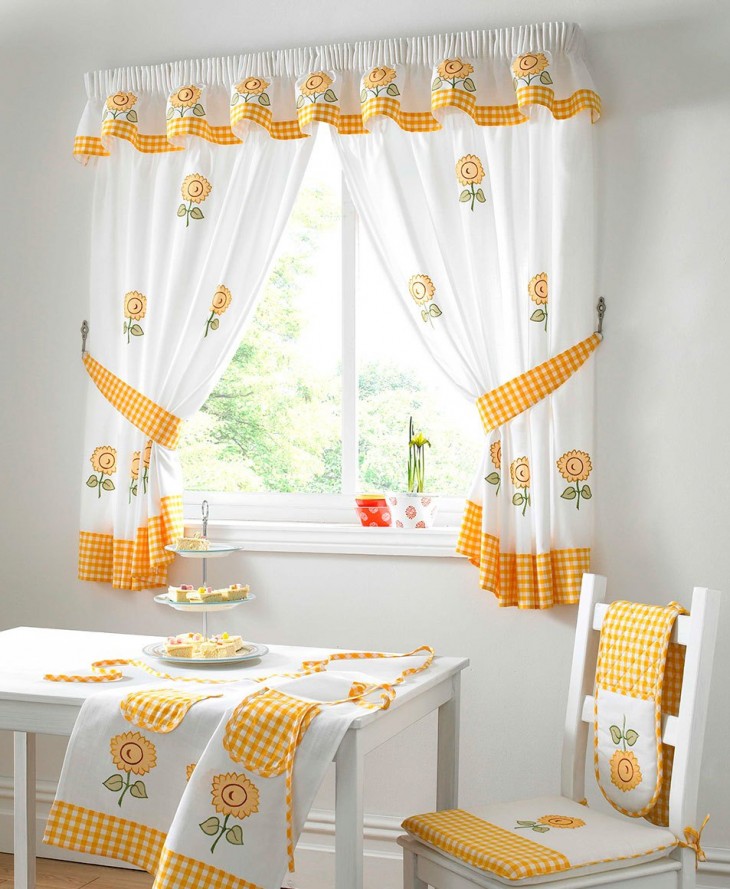
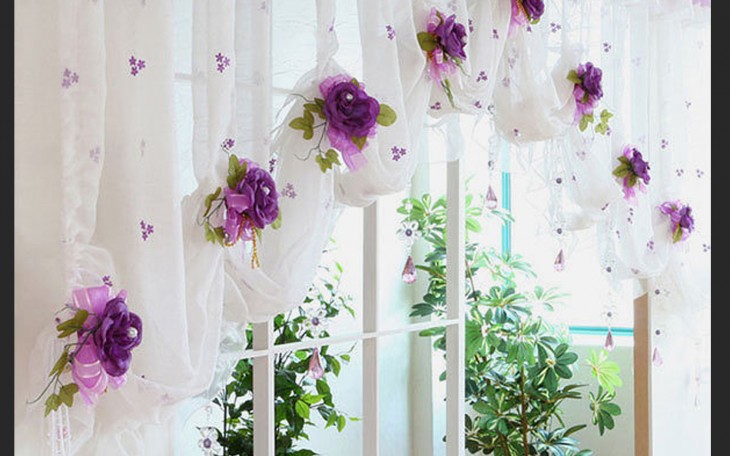
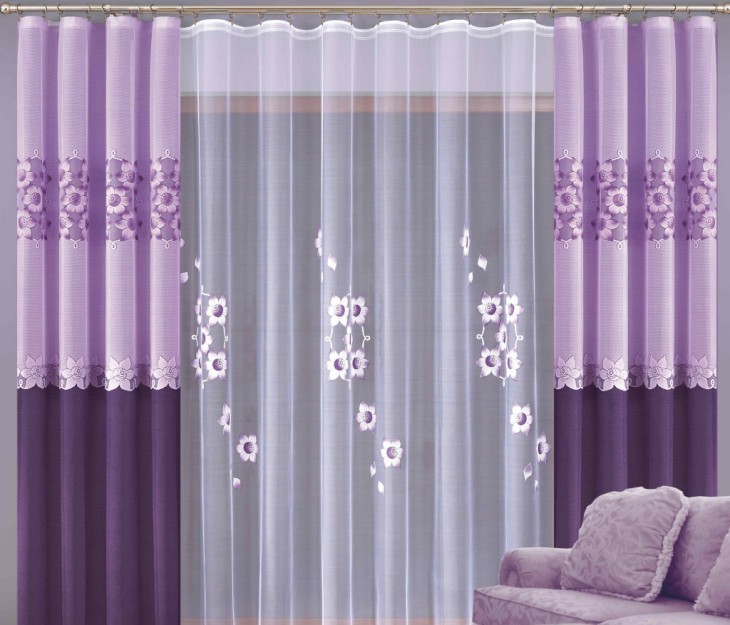
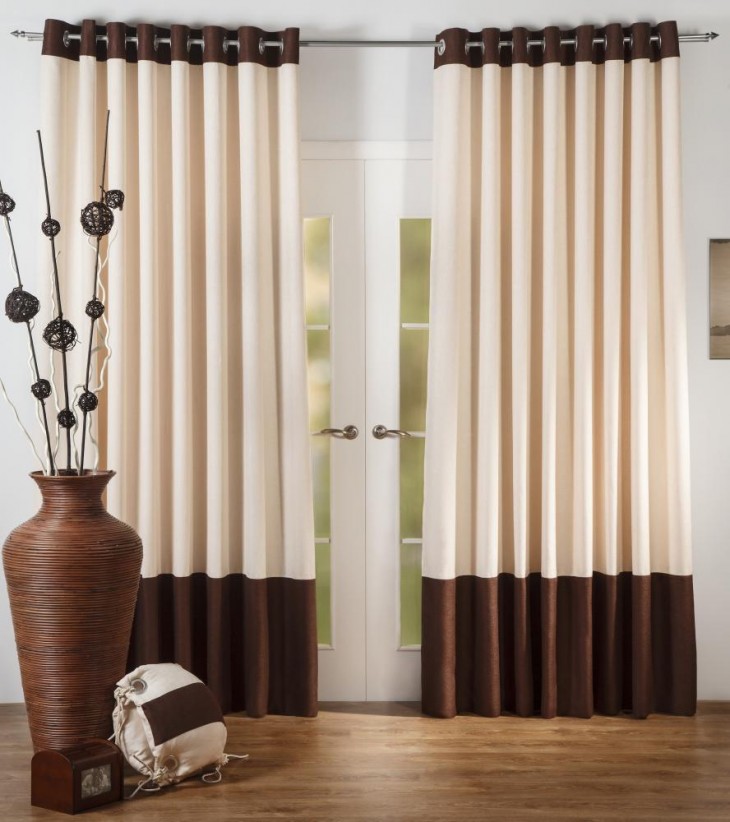
Master class how to make English curtains with your own hands
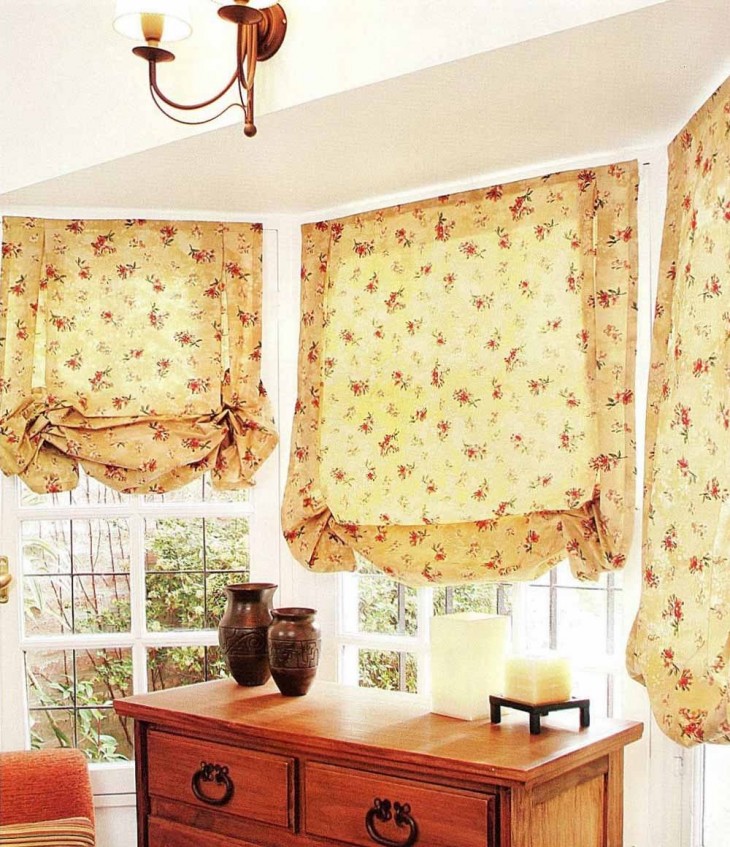
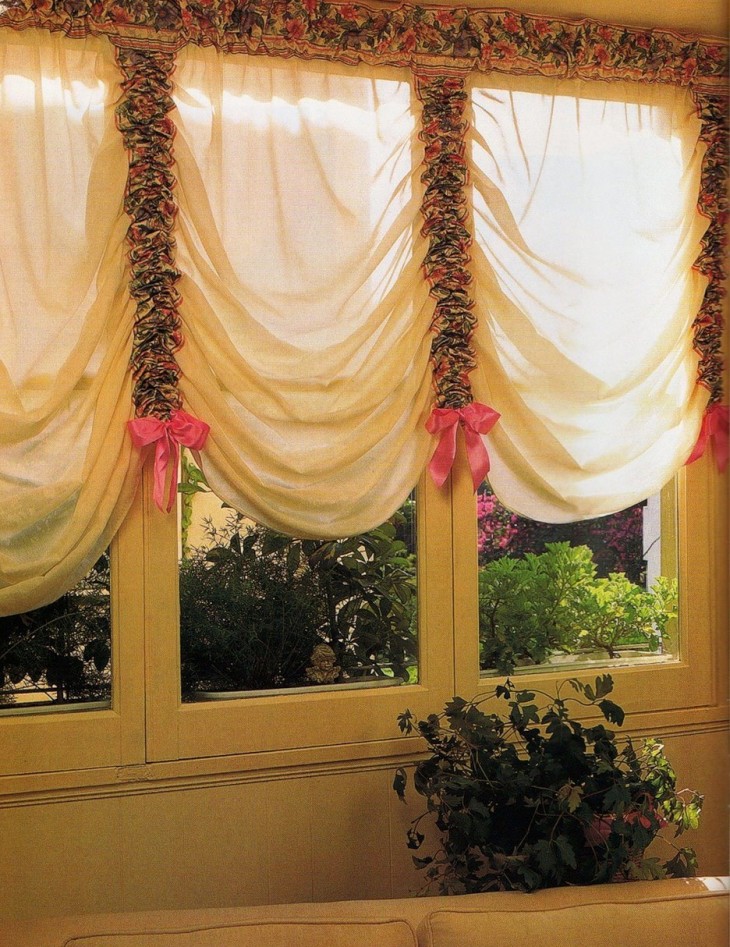
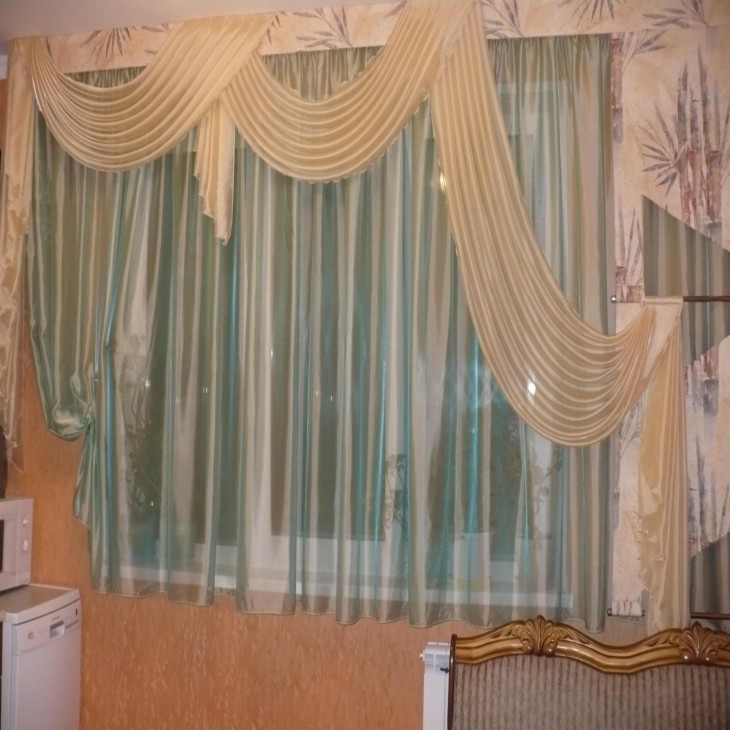
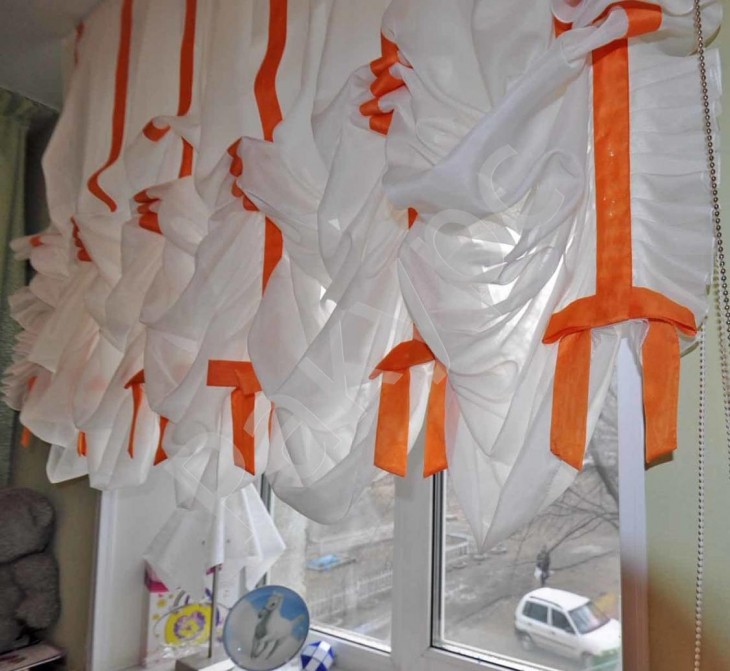
English curtains look elegant and airy in any interior. Sewing them is not difficult.
First, we calculate the required length of fabric for a particular window. Do not forget about seam allowances and planned folds.

Satin and muslin fabric are perfect for English curtains. We also need a satin ribbon.
We mark the location of satin ribbons on the material. We take the tapes themselves, twist them 1 cm on each side, iron them, pin them to the fabric with pins and sew them on.
Note!
Then we fix the upper edges of the ribbons, hem and iron the bottom of the curtain. Our curtain is ready!

A DIY item is unique. It stores the energy of its creator and helps to fill the house with warmth and comfort. It’s not difficult to sew the curtains yourself.
We hope that this article will help you with this. Good luck
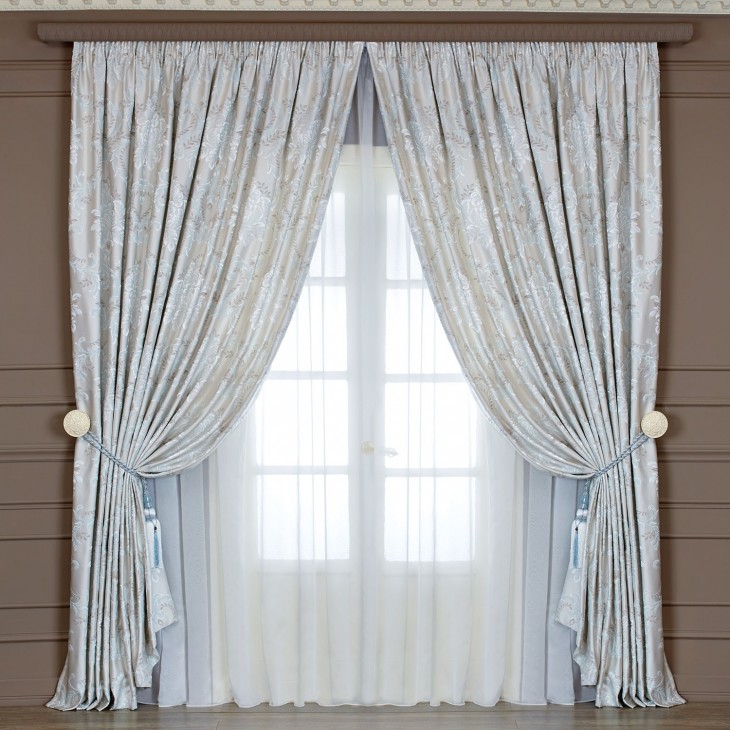
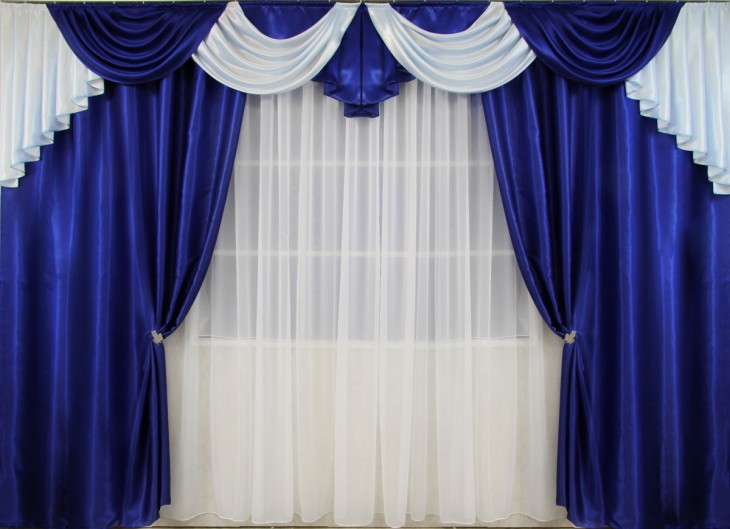
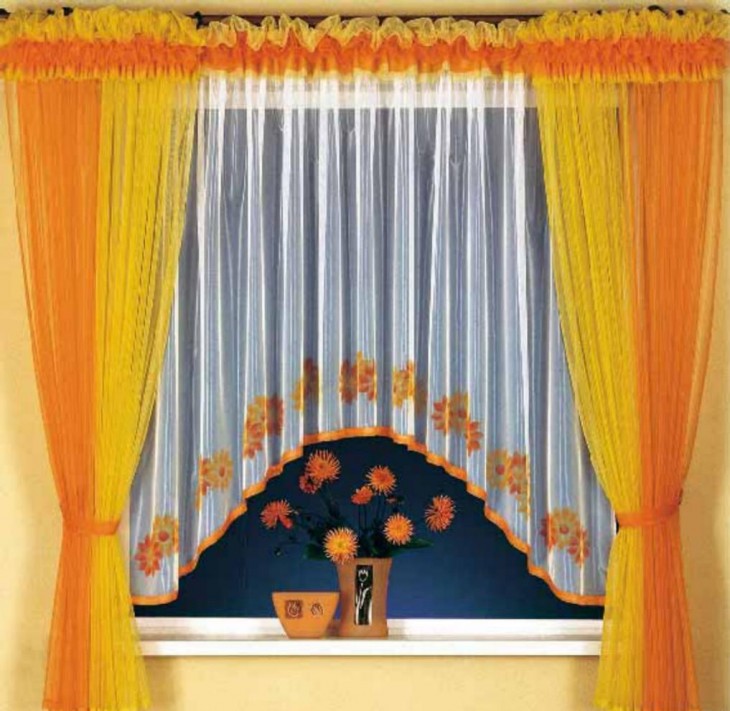
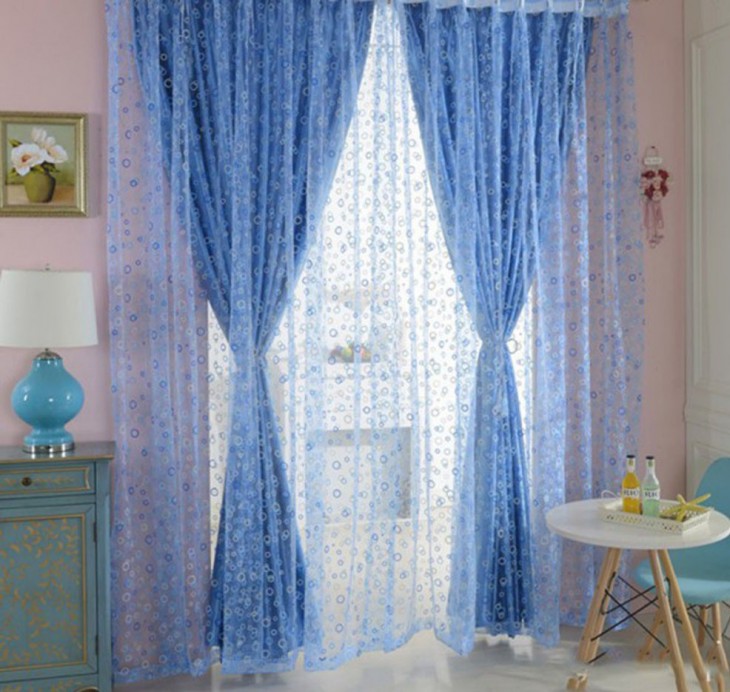
DIY curtains photo


Note!