Puttying the walls is not only a mandatory stage of major repairs, but also a necessary procedure before partial cosmetic changes to the interior.
In order to enjoy the process and the result when painting and facing the walls with your own hands, you first need to learn how to putty, otherwise bumps, wrinkles and dimples appearing on freshly painted walls can become a long-lasting demonstration of negligence by a home master.
Review Content:
Types of putty materials
Putty - the material with which the wall is covered during tearing, is sold in finished form or in the form of a dry mixture. The assortment available for sale differs not only in quality, but also in composition.


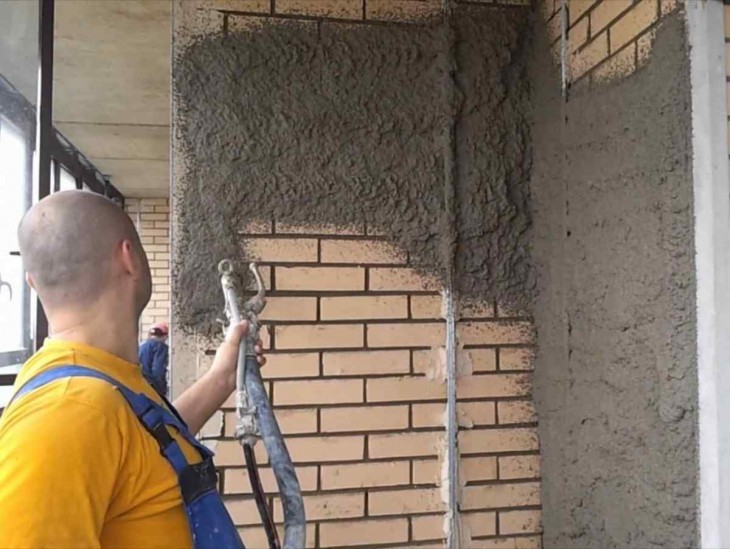
The most universal are gypsum dry mixes, which are suitable for treating any surface, are easy to apply and retain their shape when dried. For maximum moisture resistance, cement mixtures are used.
There are also gypsum-cement ready-made solutions on a polymer emulsion, which combine all the positive effects of gypsum and cement putty. A container with such putty needs to be kept closed, it dries quickly and loses quality.
Acrylic mixtures have the highest quality indicators: they are more expensive, they are sold in dry and diluted form.

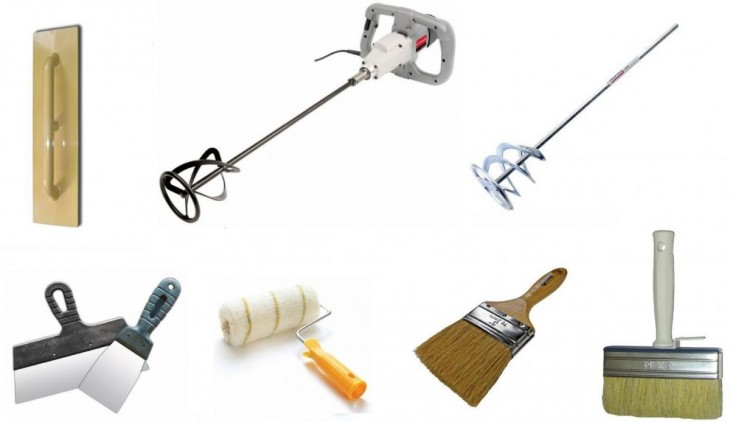
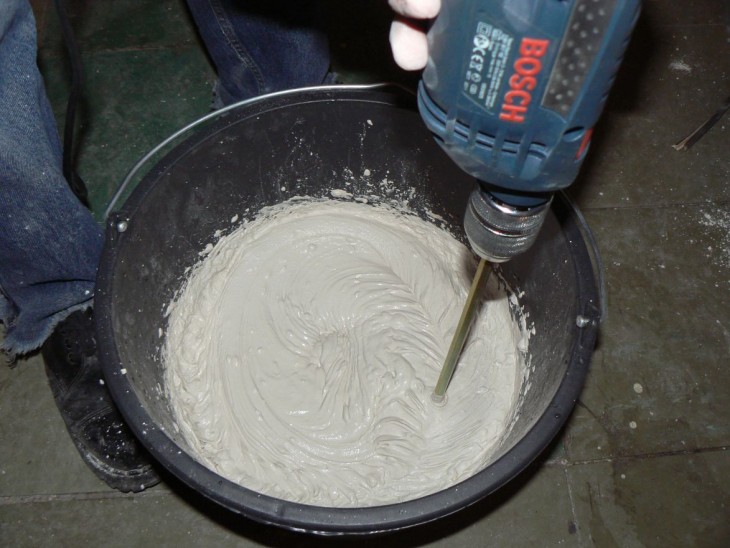
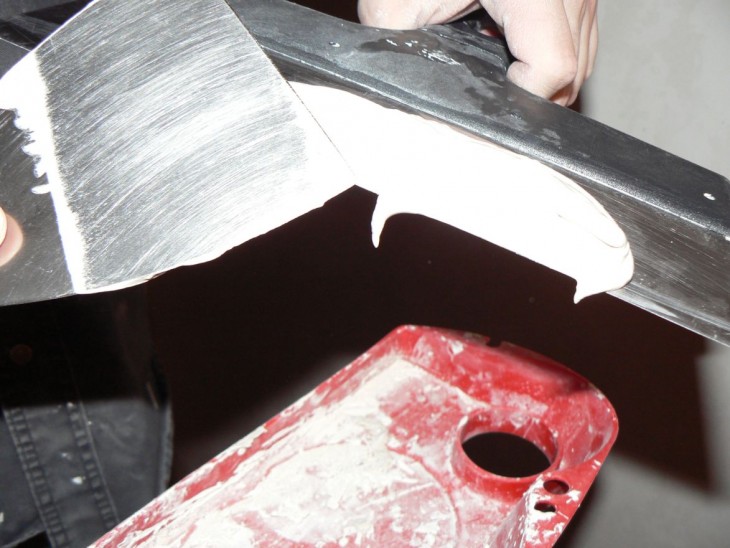
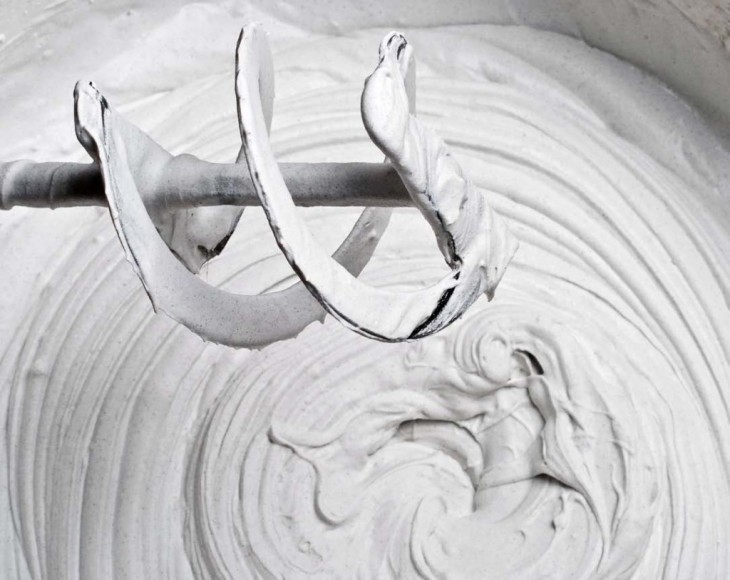
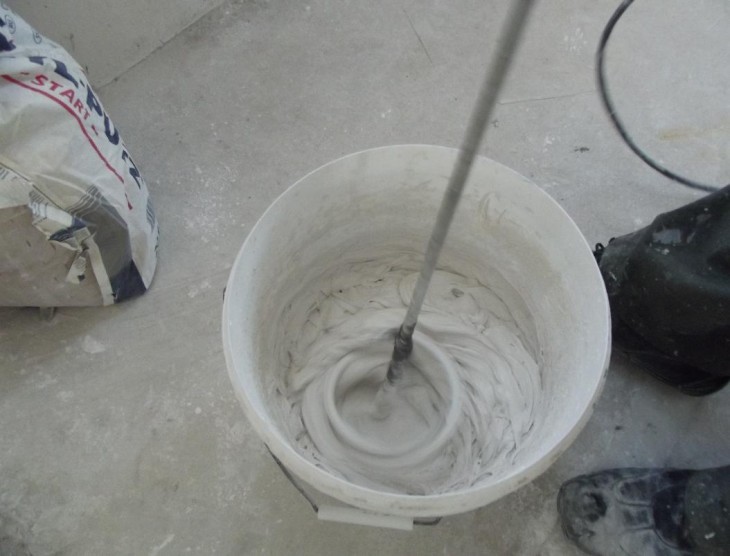
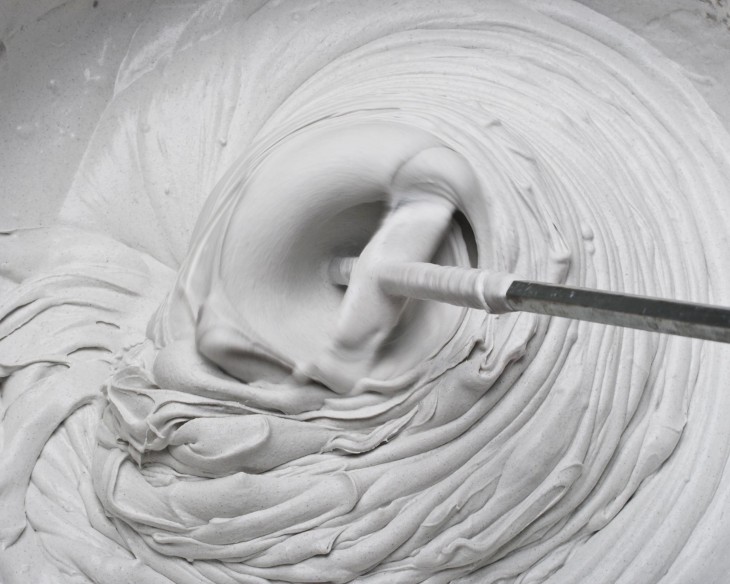
Dry putty powder is diluted in water with a construction mixer, dilution nuances can usually be subtracted on the packaging.
The main thing is to get a homogeneous mass, not too liquid to drain from the walls, and not too hard - to provide perfect adhesion to the surface.
It must be remembered that the prepared putty solutions, regardless of whether they are prepared from a dry mixture or if the container with the finished putty is open, are short-lived, they are not suitable for use after 24 hours.


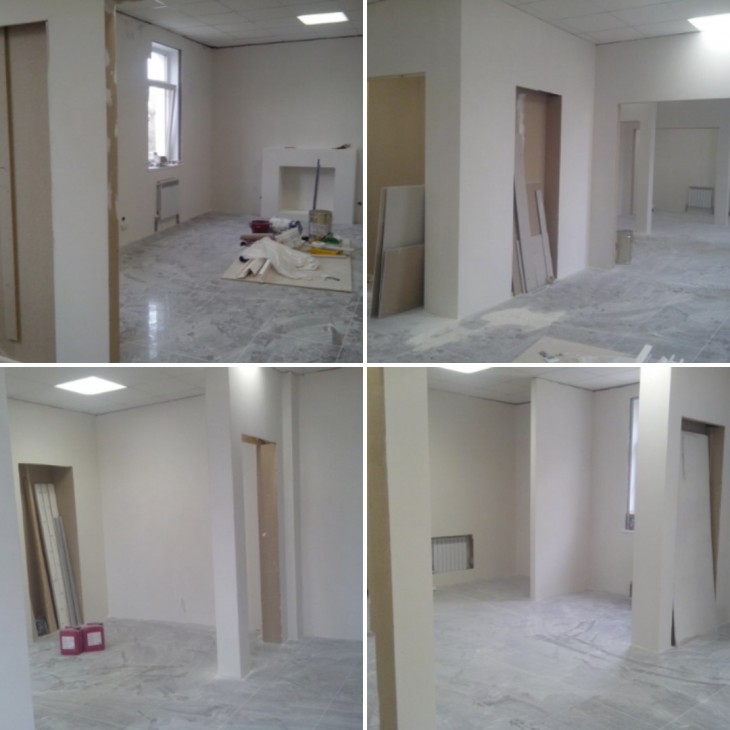
Putty stages
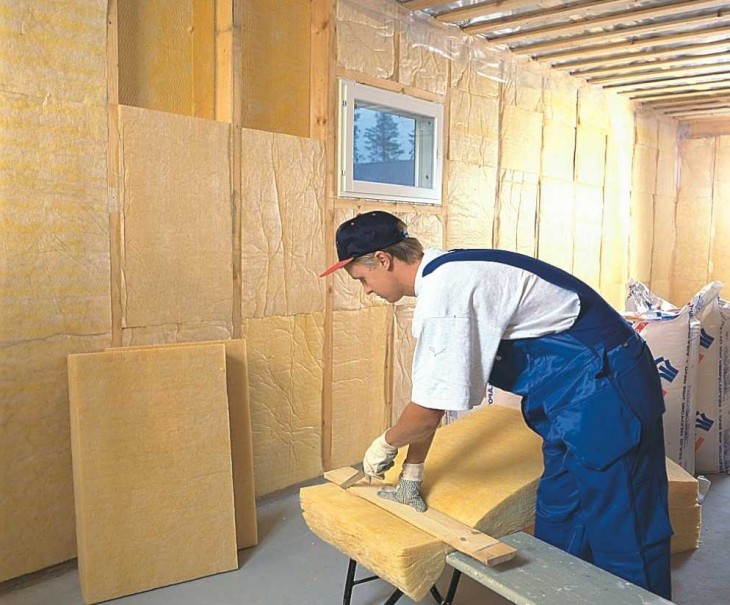
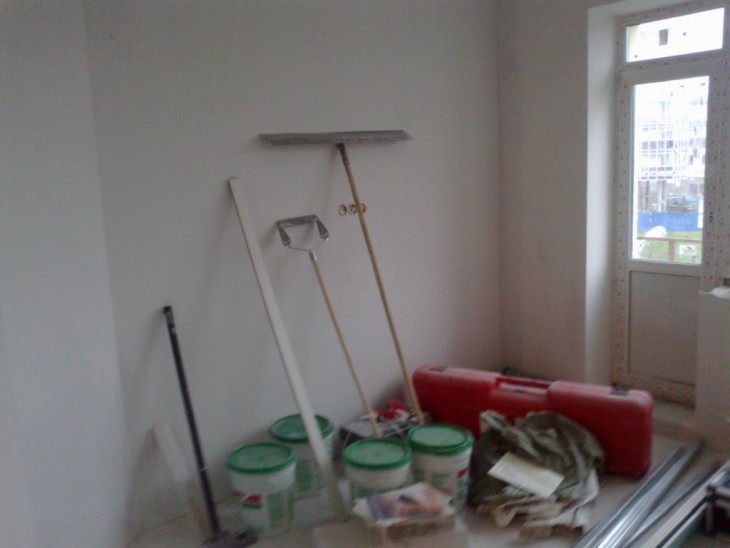
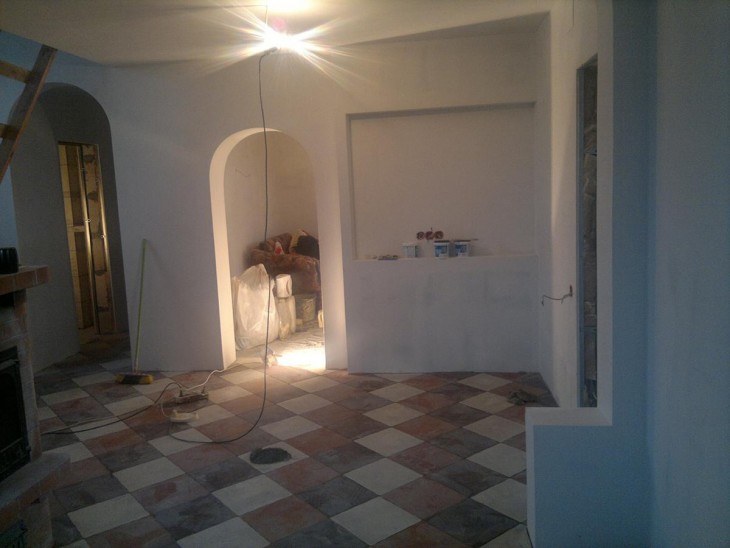
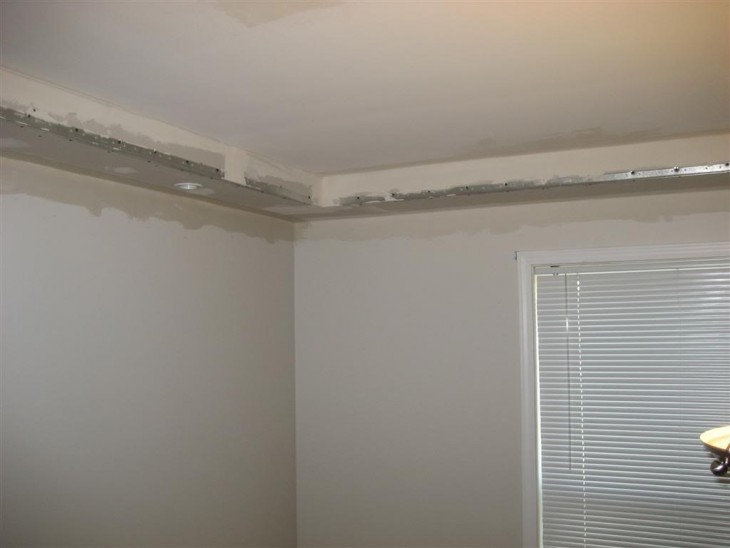
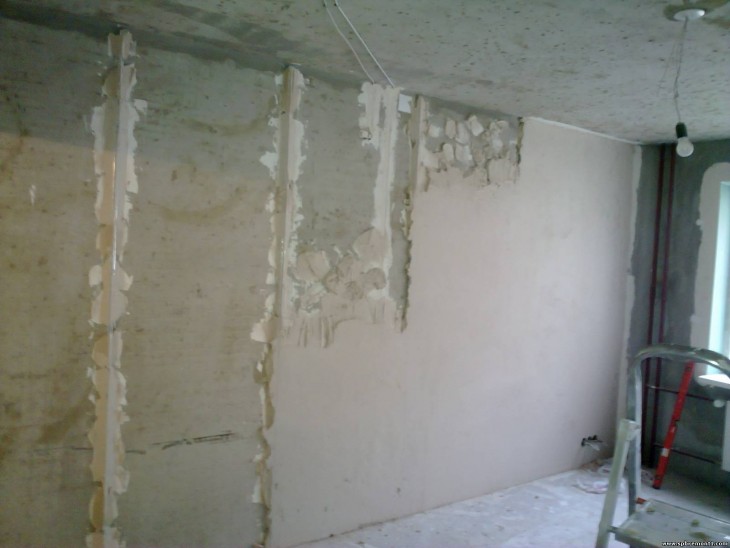
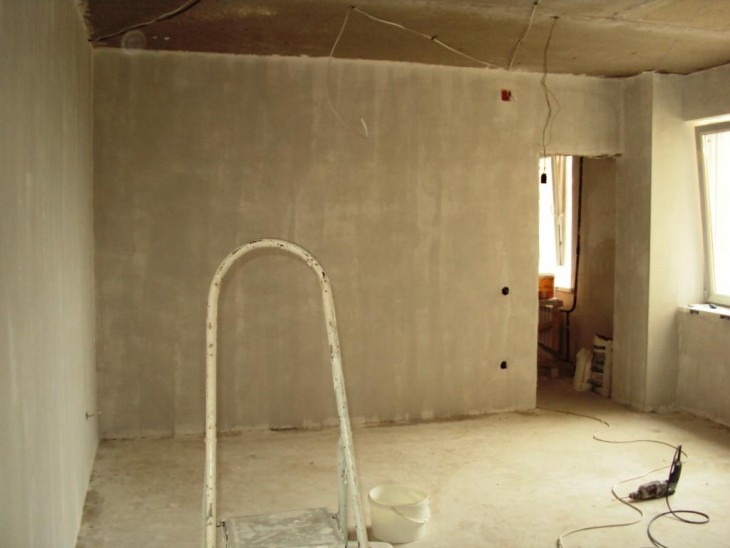
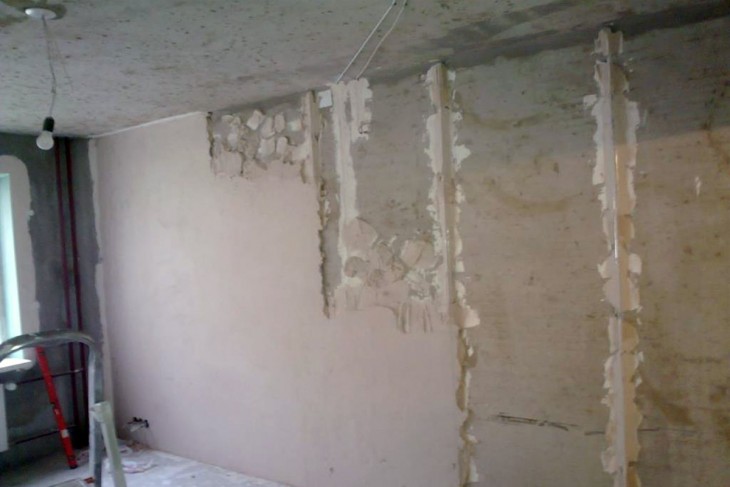
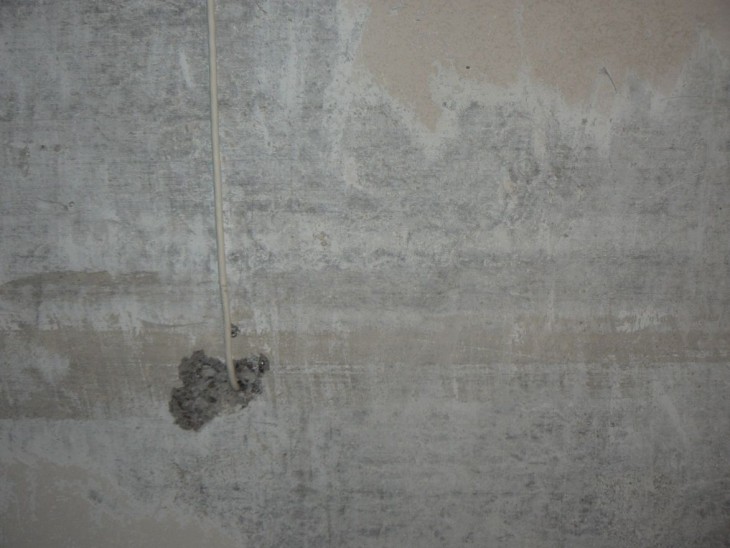
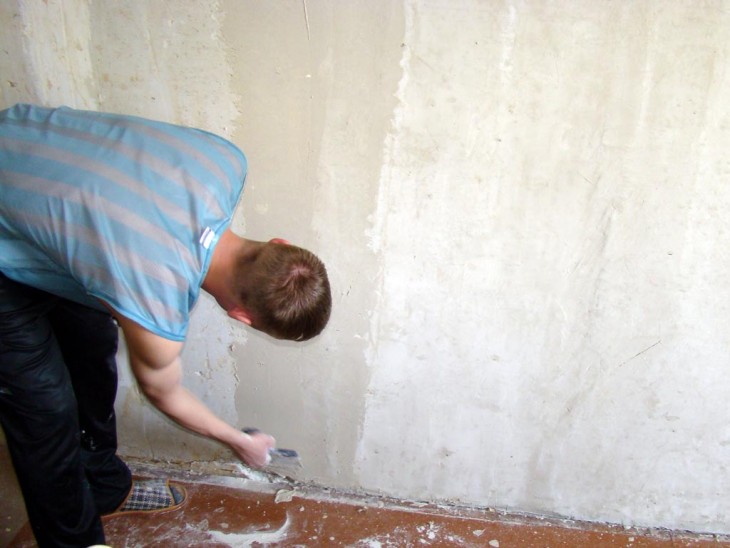
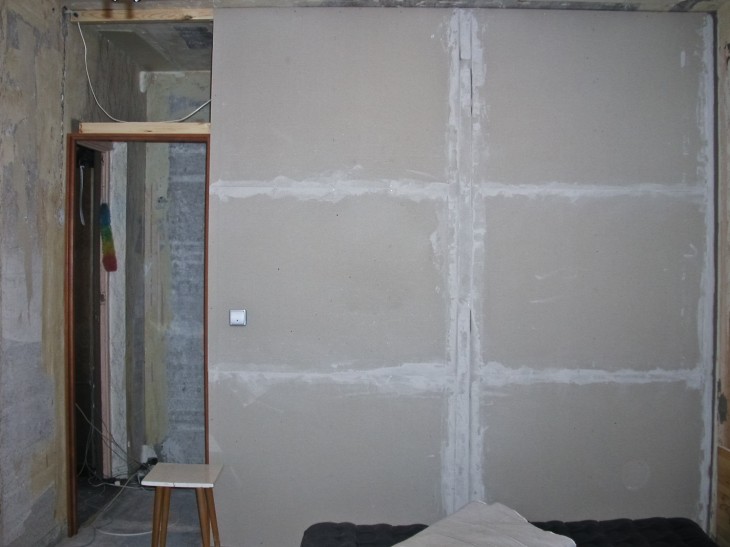
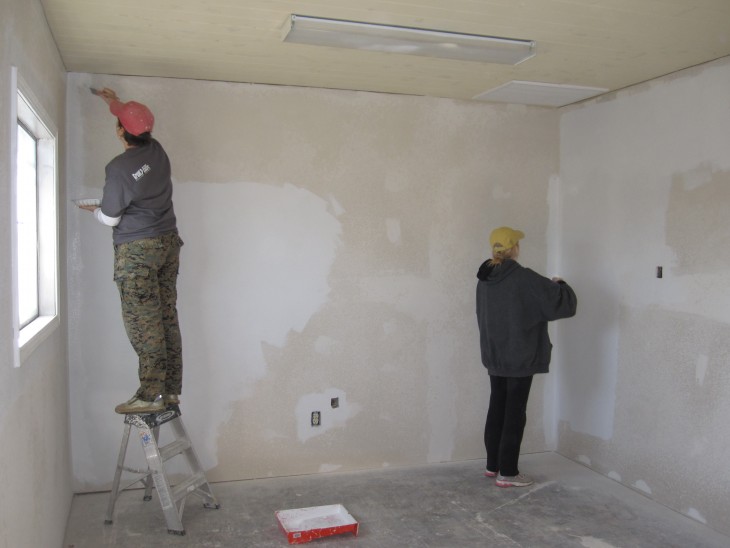
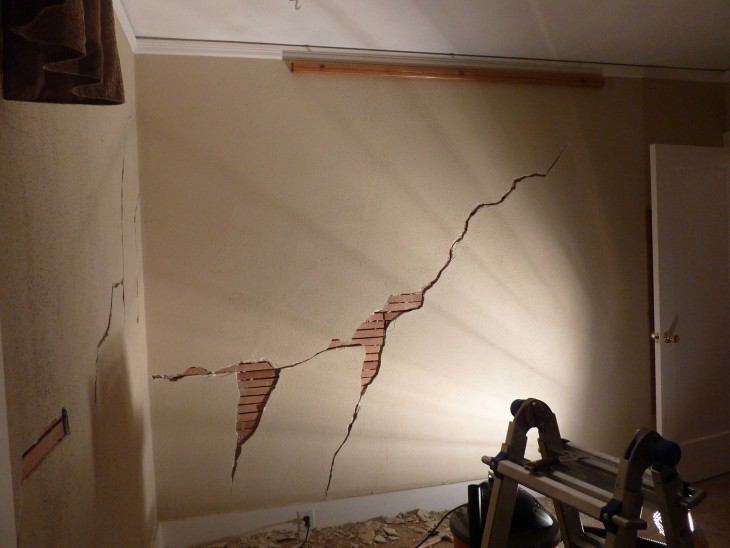
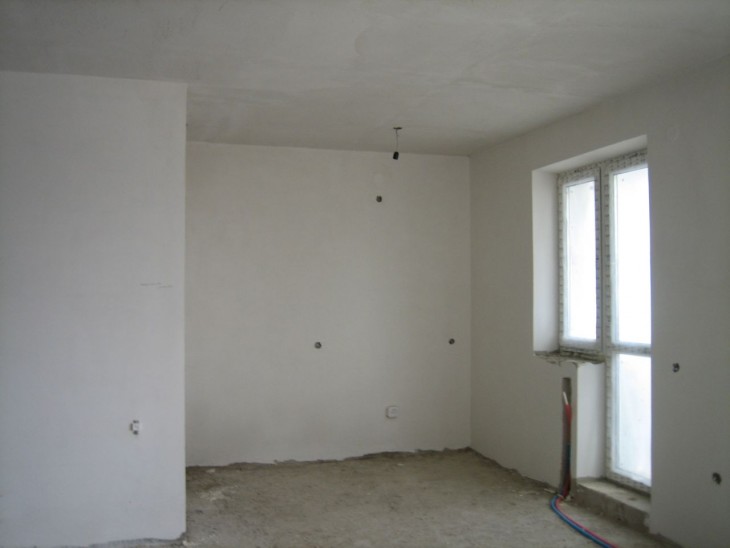
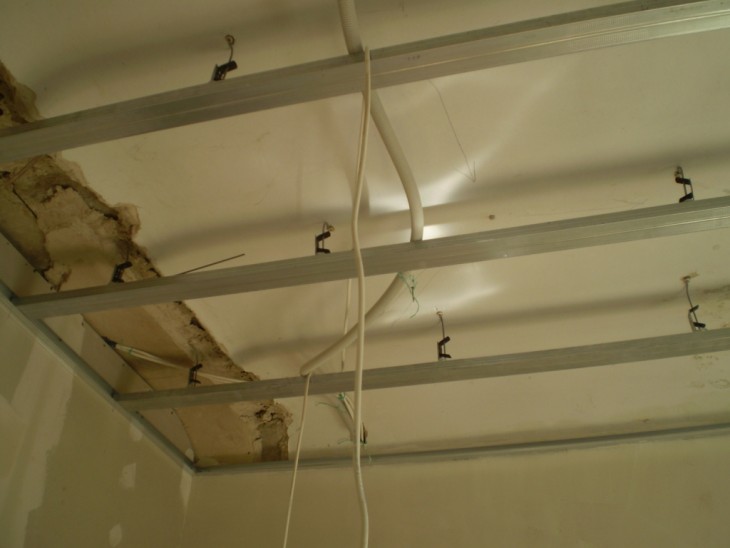
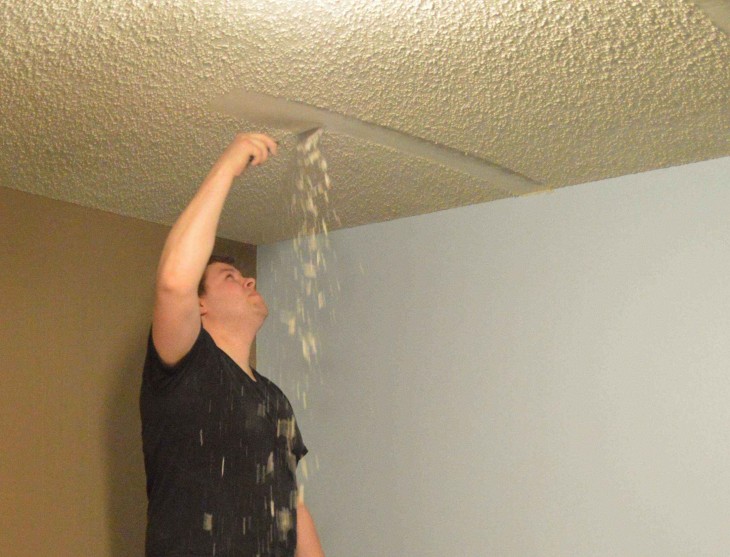
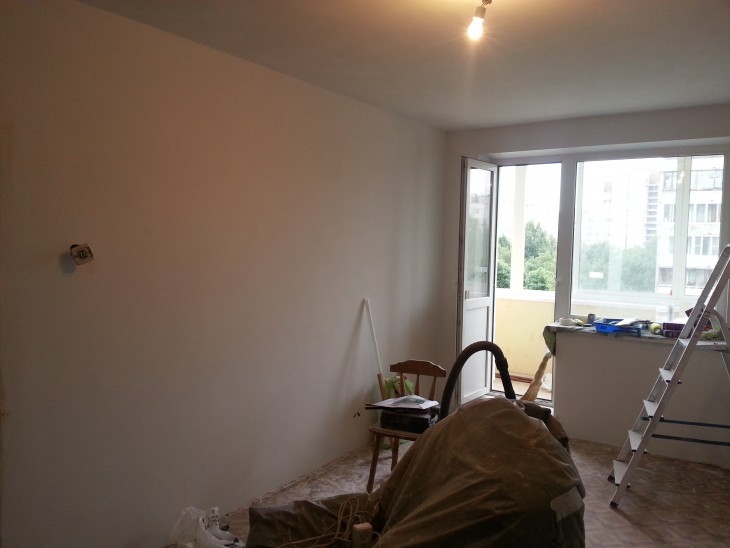
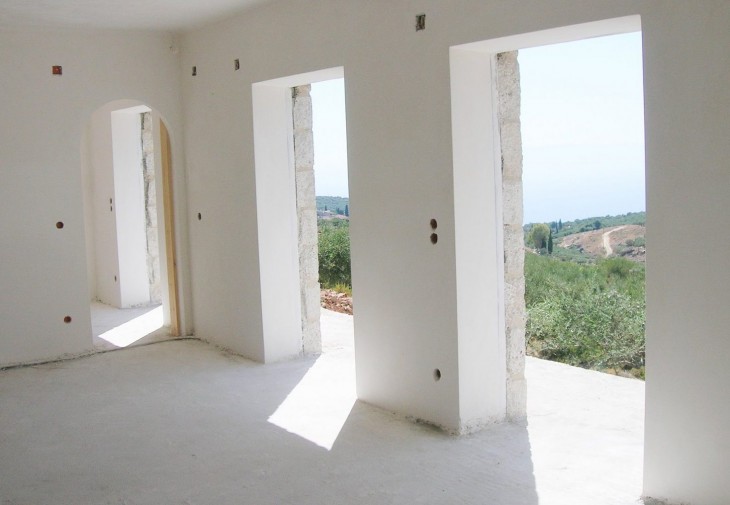
To prepare for puttying, you need to clean the walls - remove the layer of old wallpaper, paint, and if mold is present, treat the surface with special solutions.
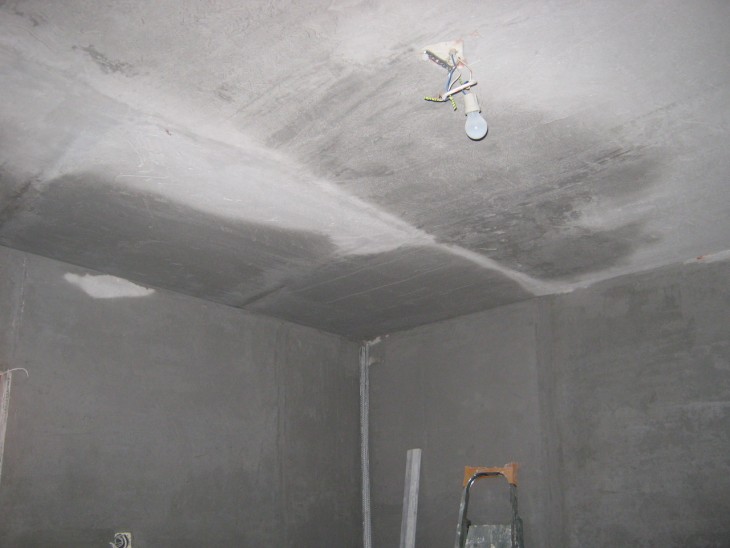
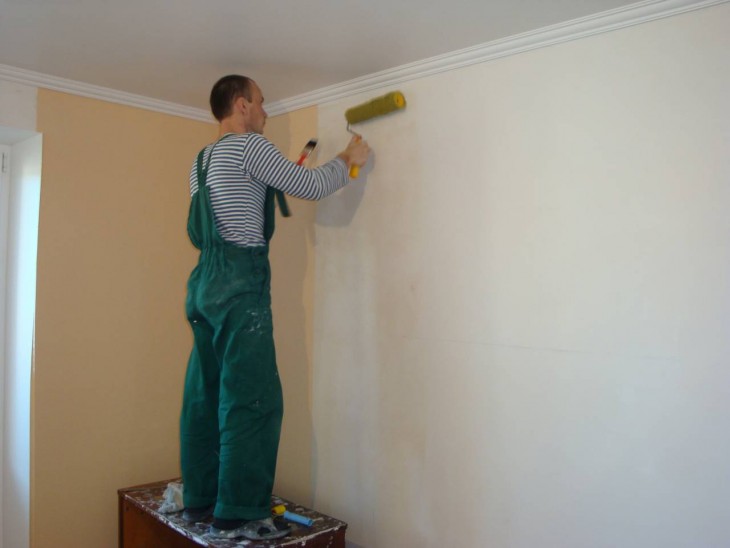
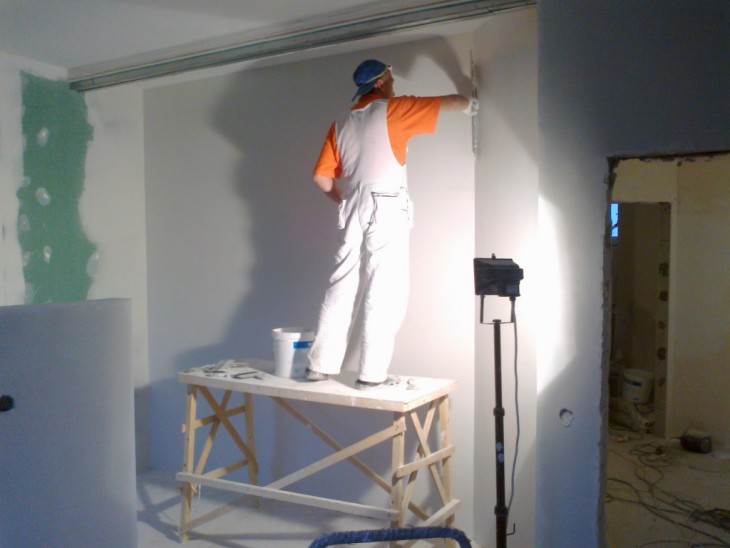
After cleaning, wait for the time required to dry the walls and ceiling. Then you need to make a single-layer or two-layer primer, which will create a protective moisture-resistant layer and facilitate the adhesion of the putty material to the surface.
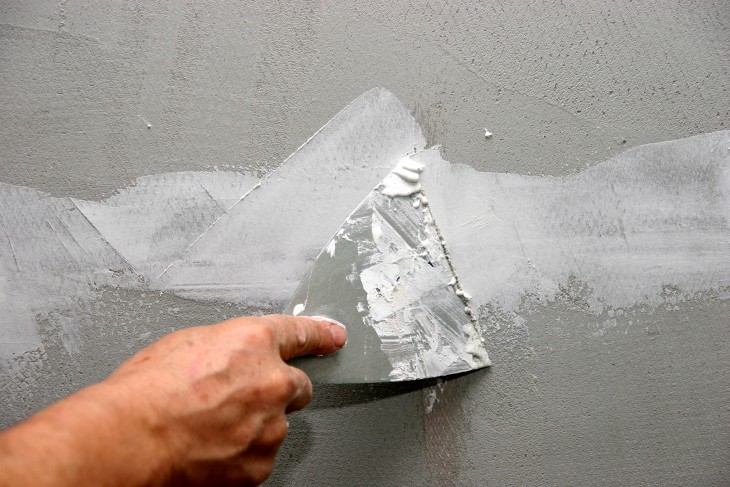
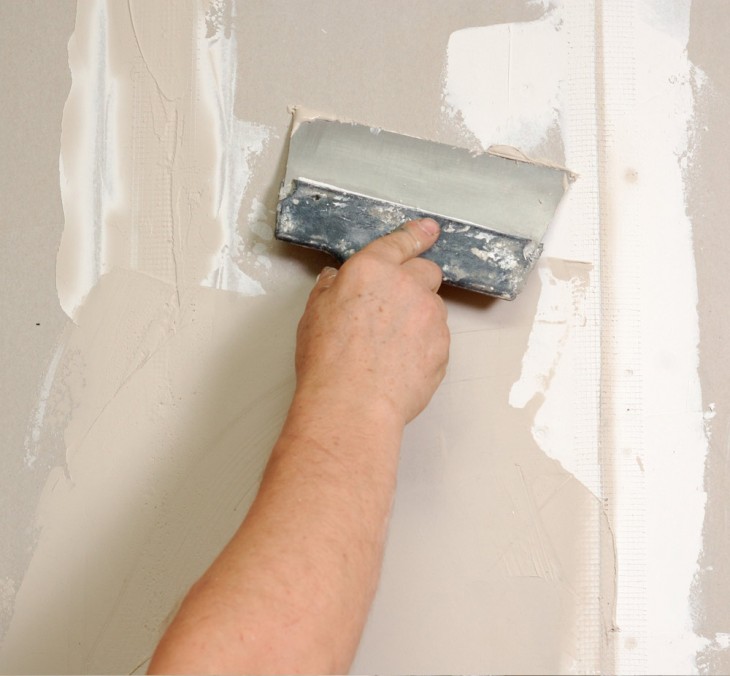
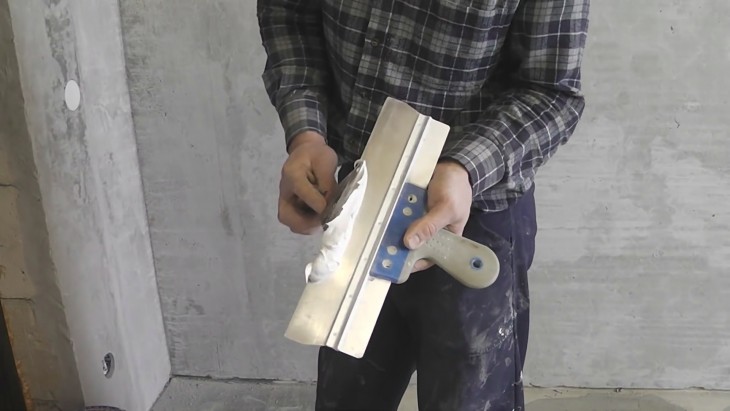
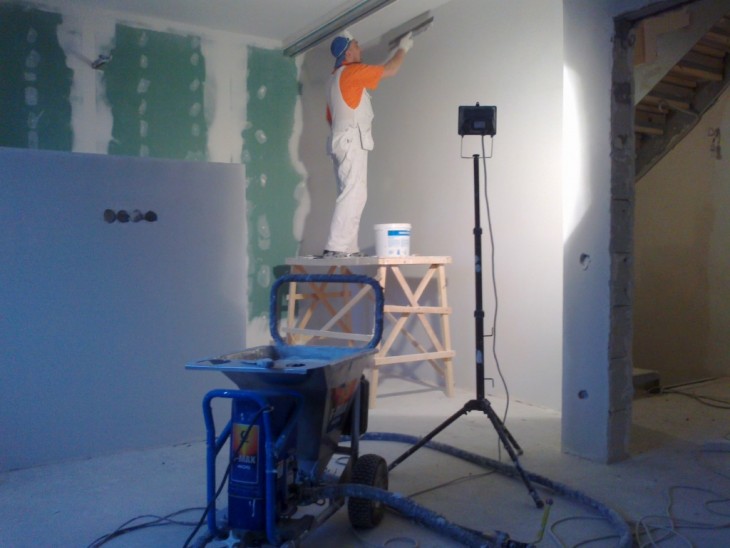
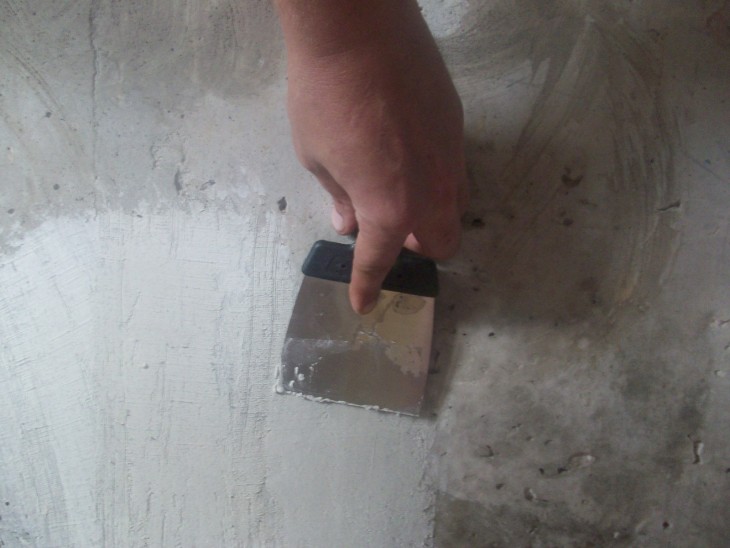
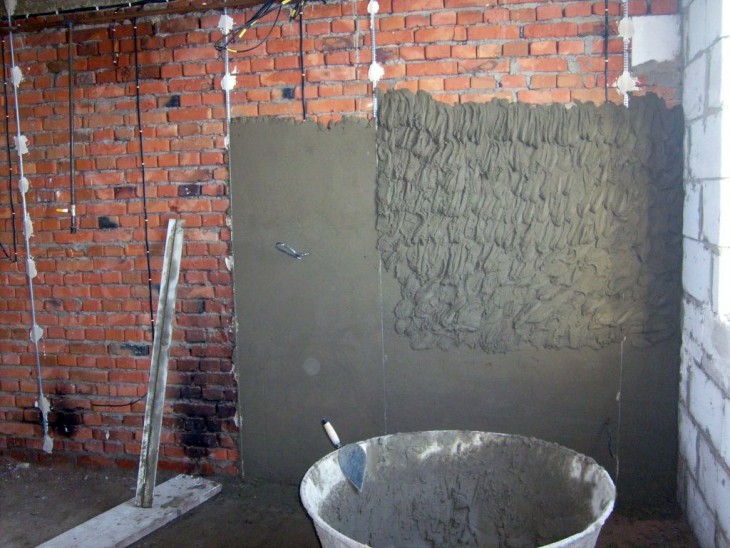
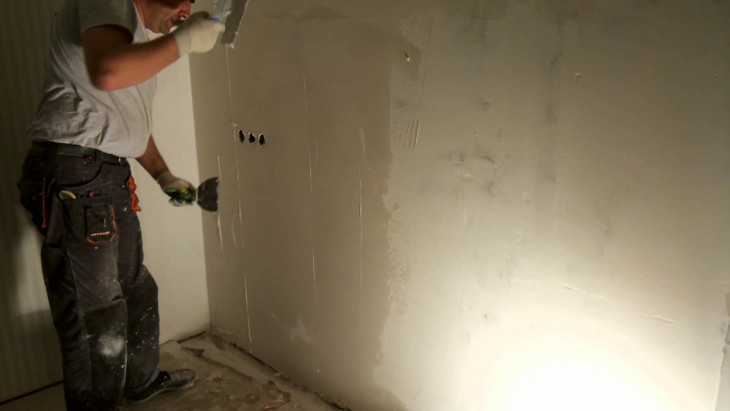
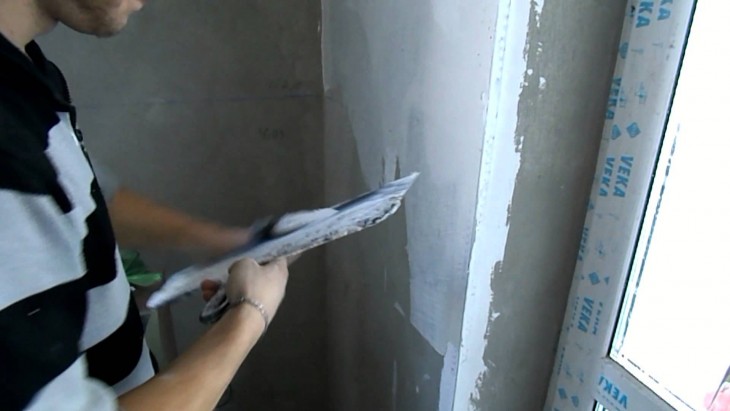
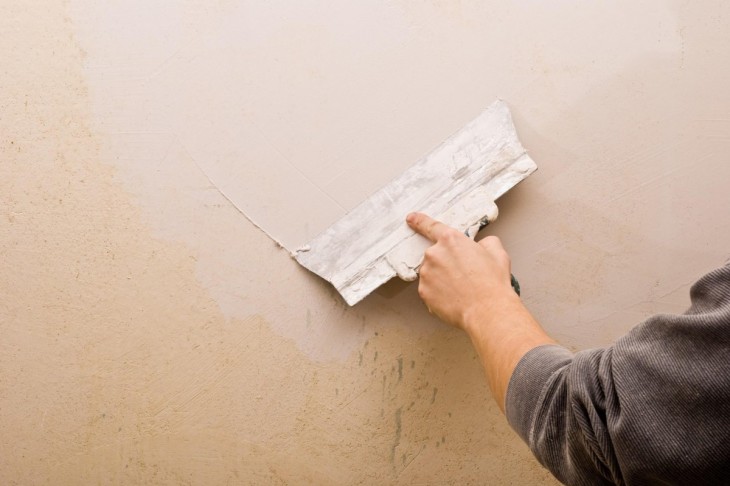
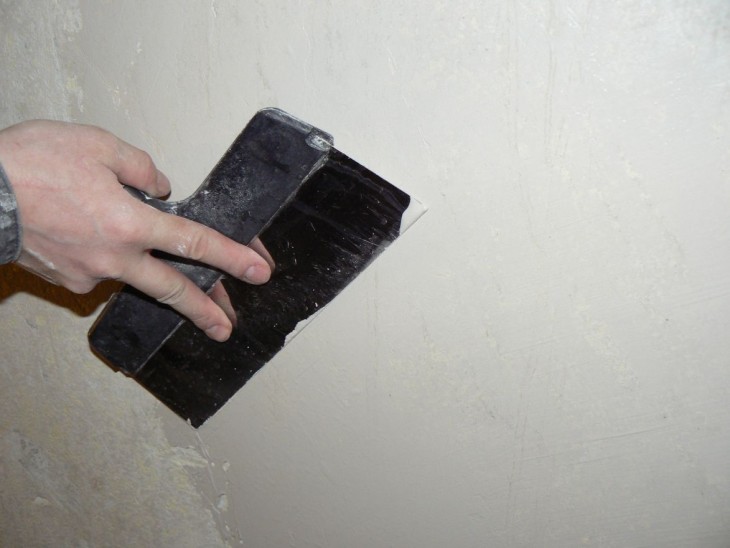
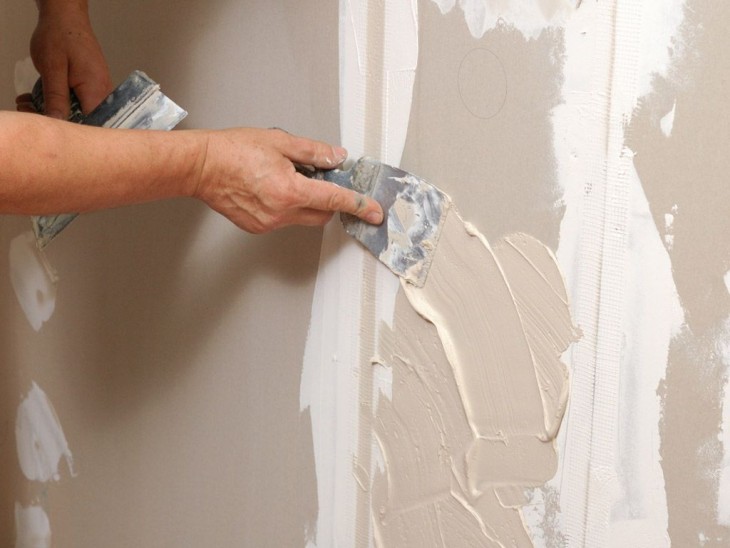
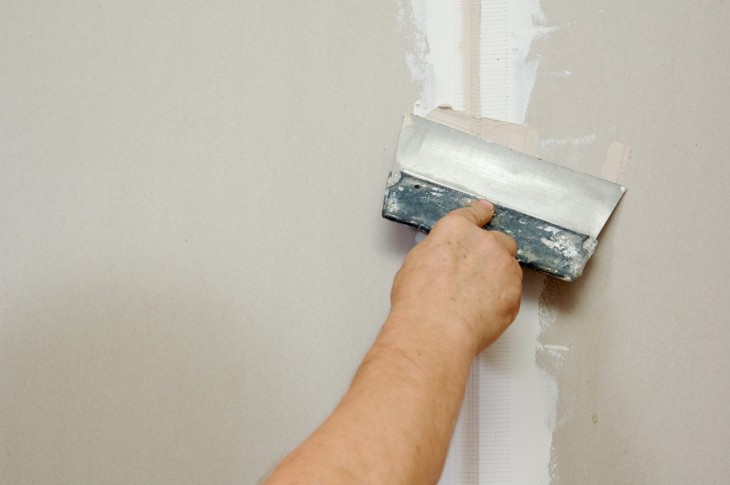
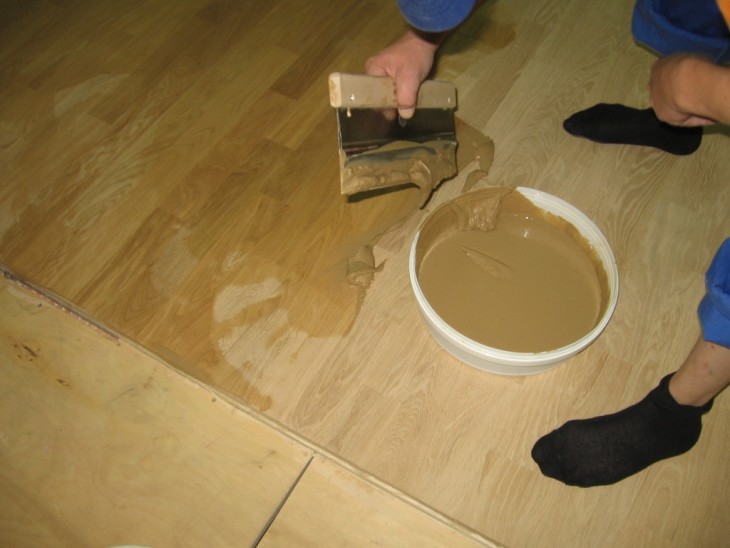
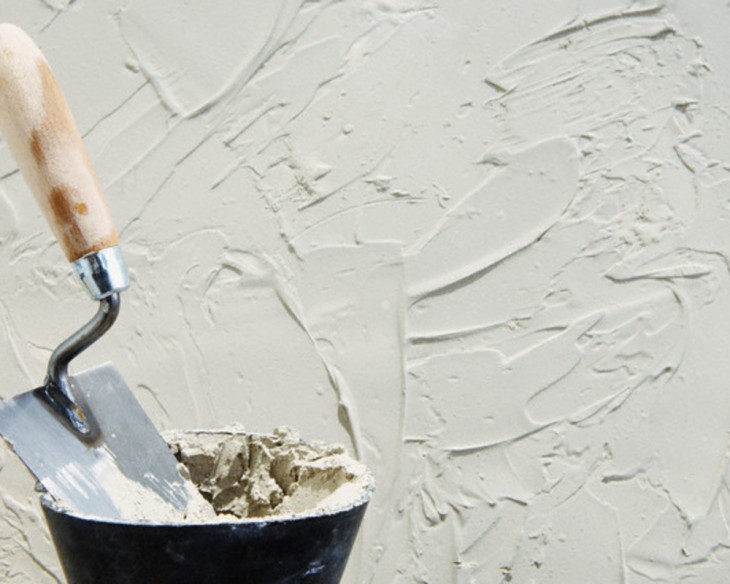
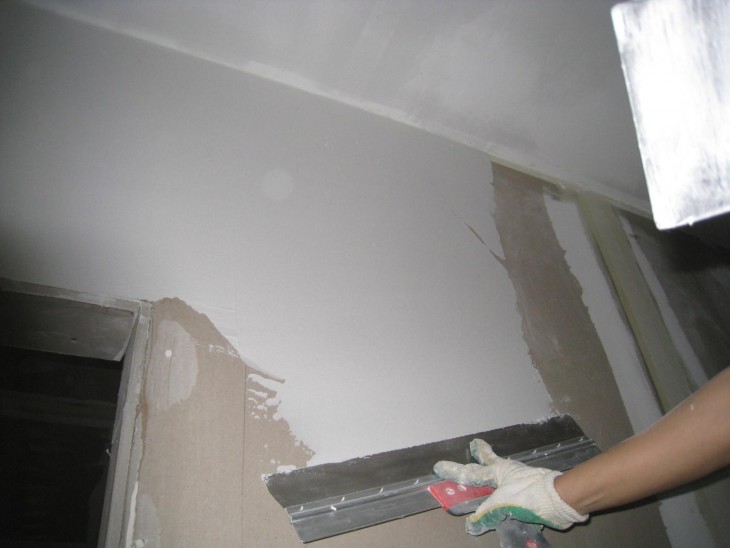
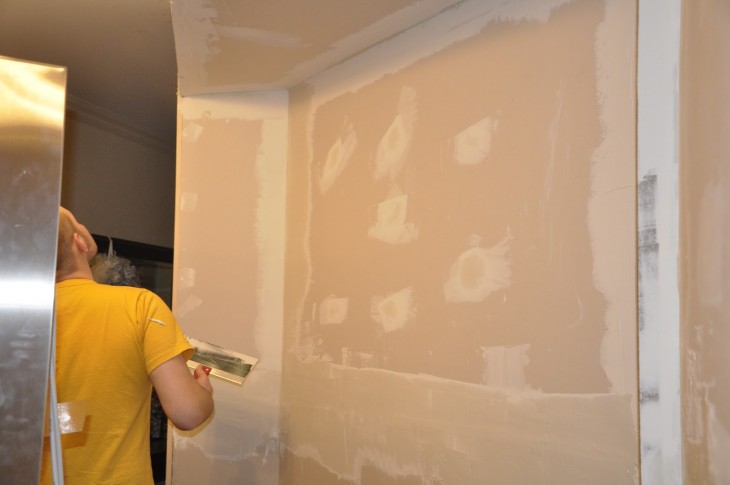
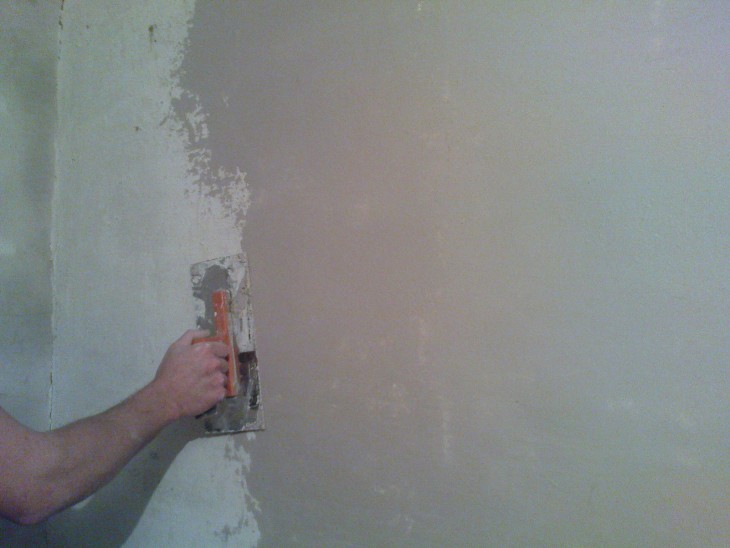
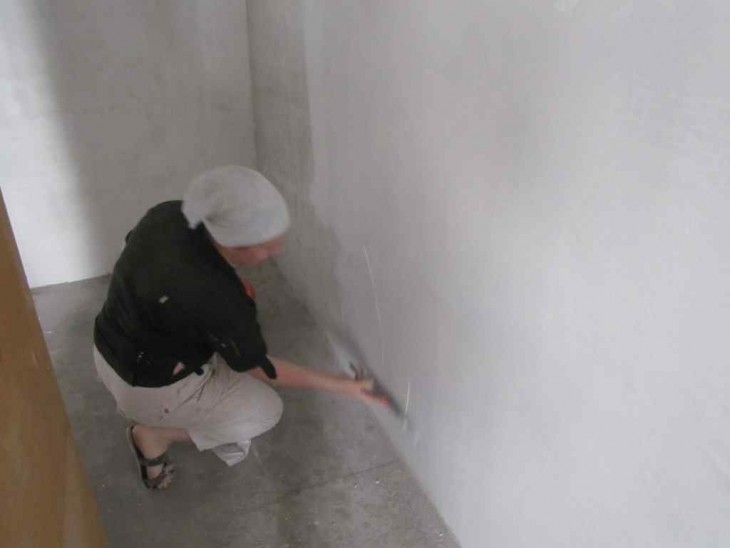
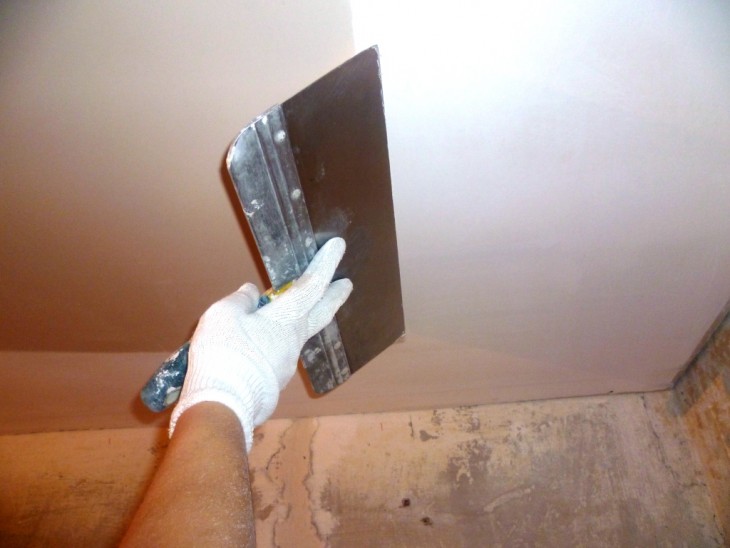
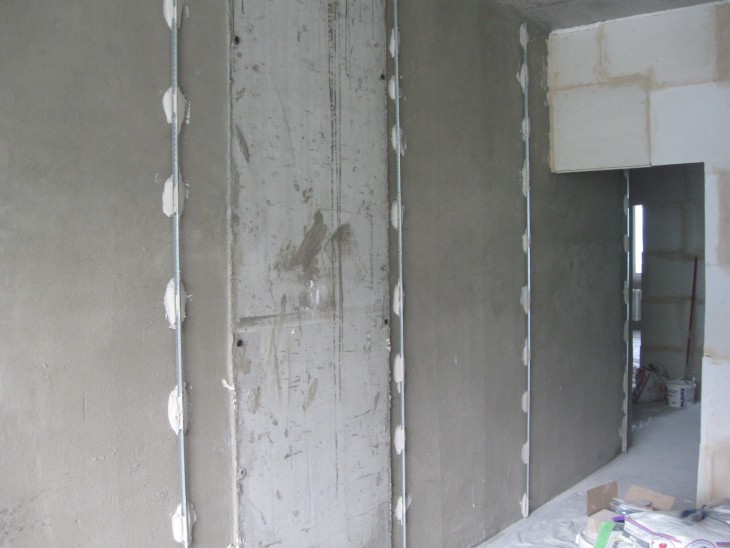
During the leveling of the walls with putty, two spatulas are used, one with a larger size - for taking a portion of the mixture and the other for applying it. The dimensions of the tools depend on the size of the treated area. For processing corners, special angle spatulas are used.
The mixture, which should have the consistency of sour cream, is applied to the wall with smooth movements in a semicircle.
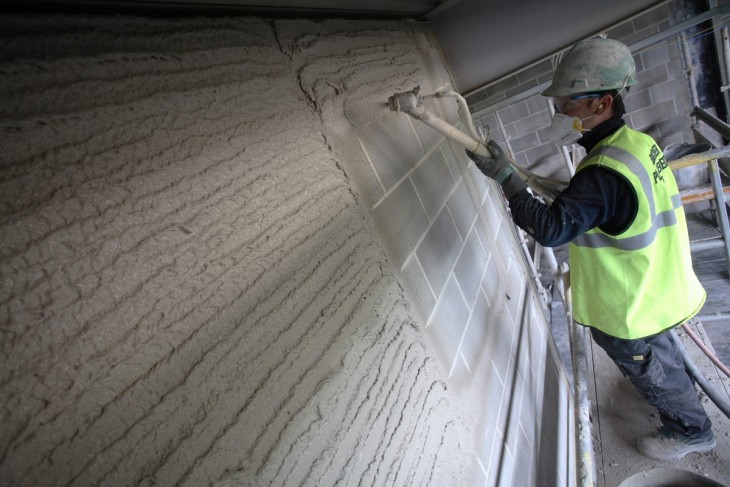
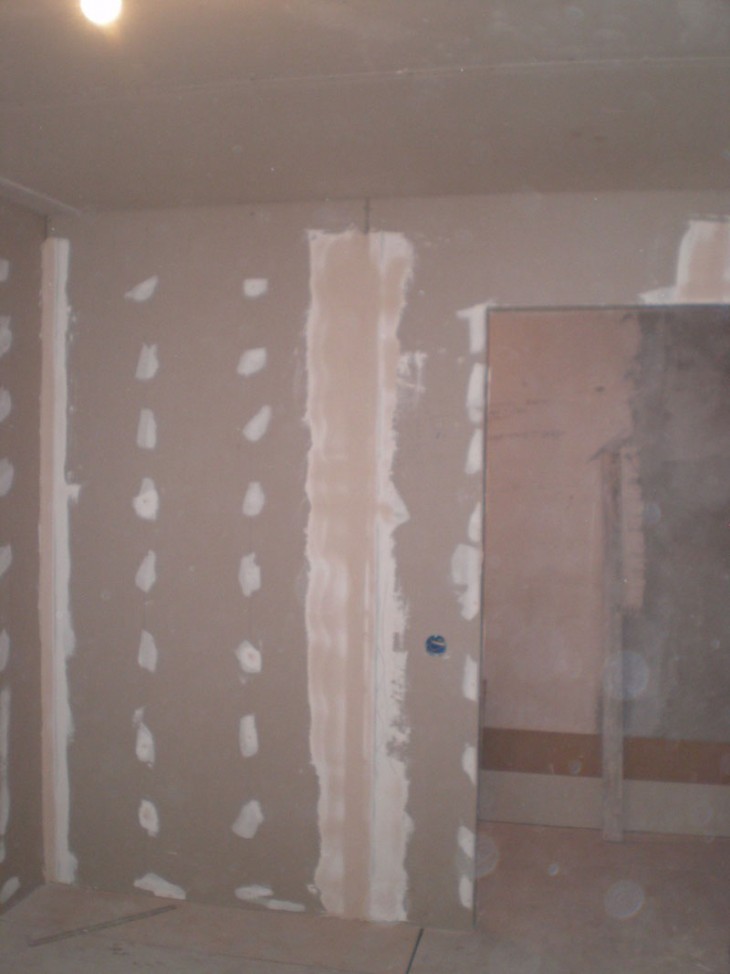
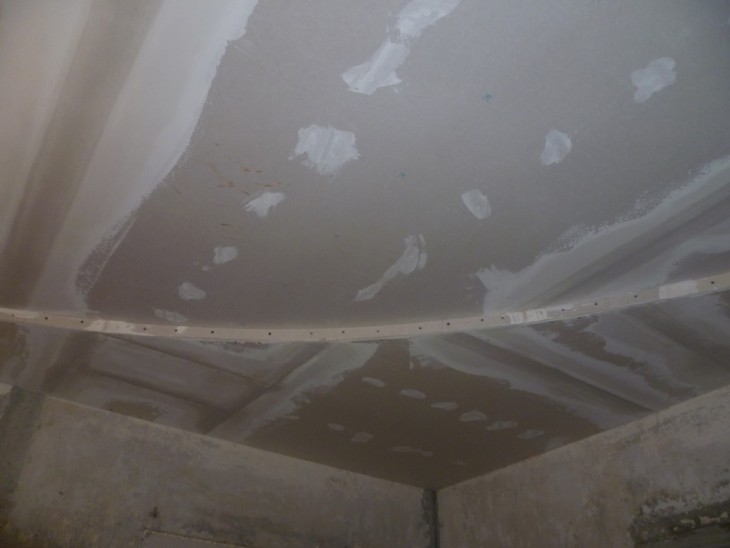
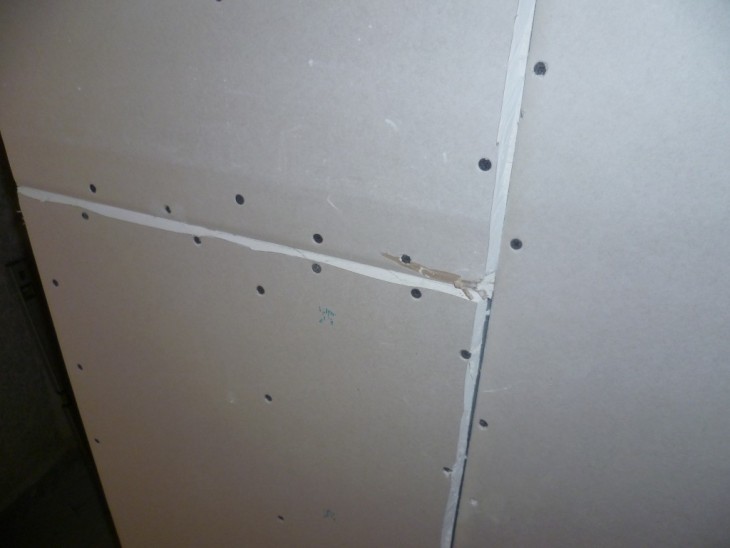
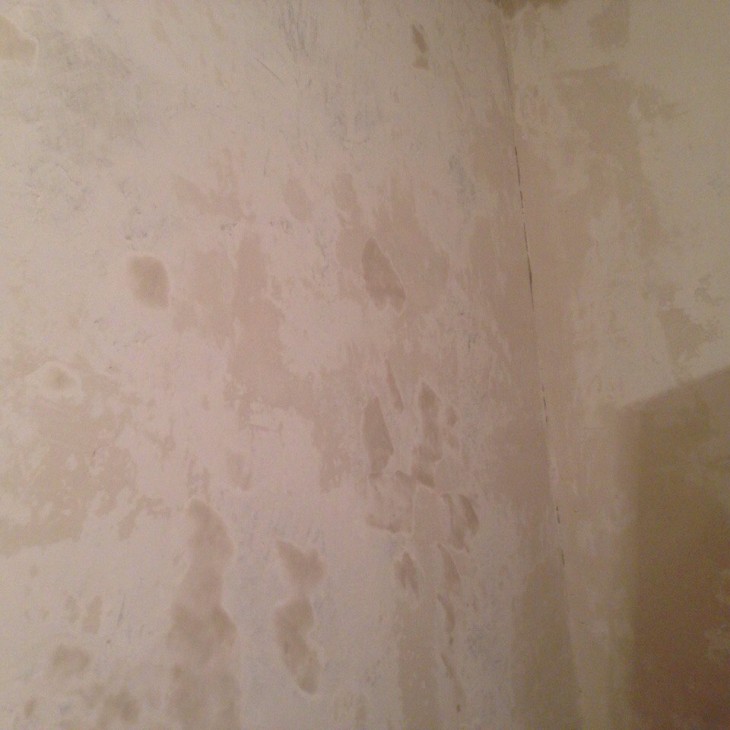
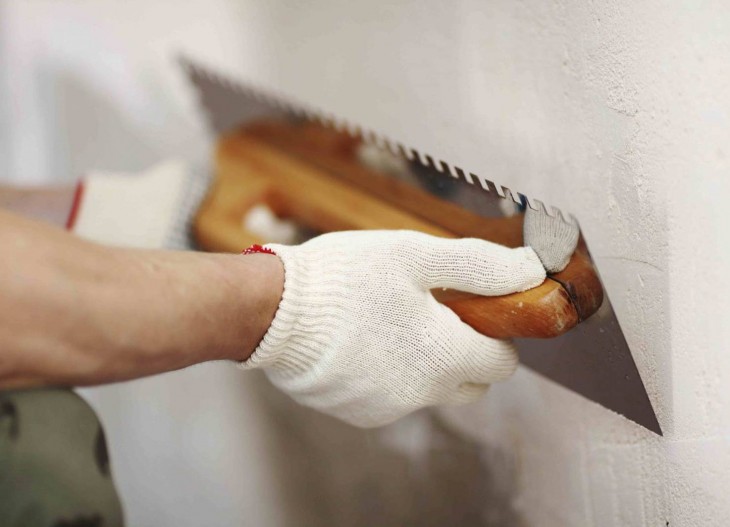
With an uneven surface of the walls, a special paint net is attached to them, on which the first layer of putty is applied. Explicit and localized defects are handled separately.
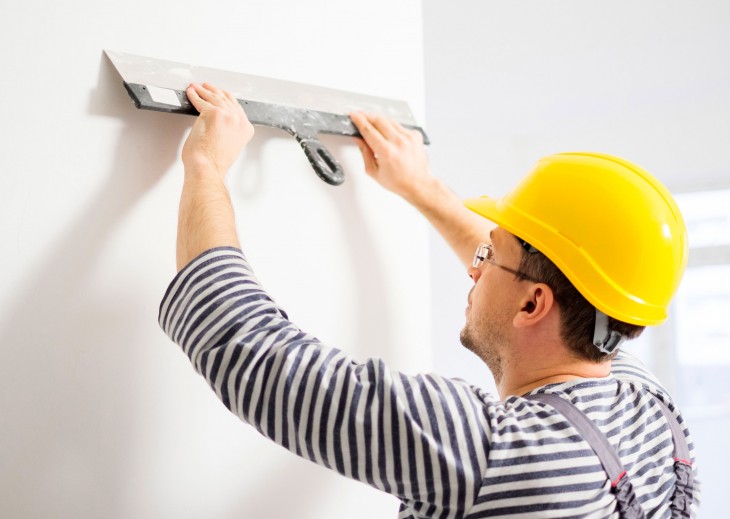
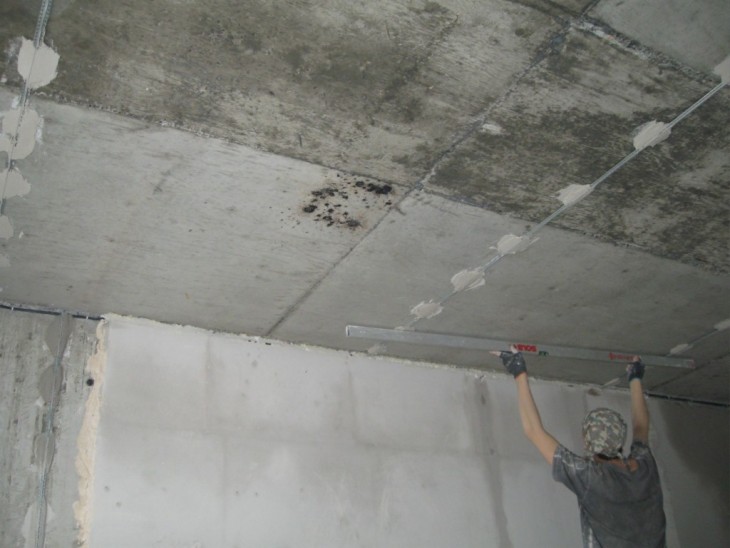
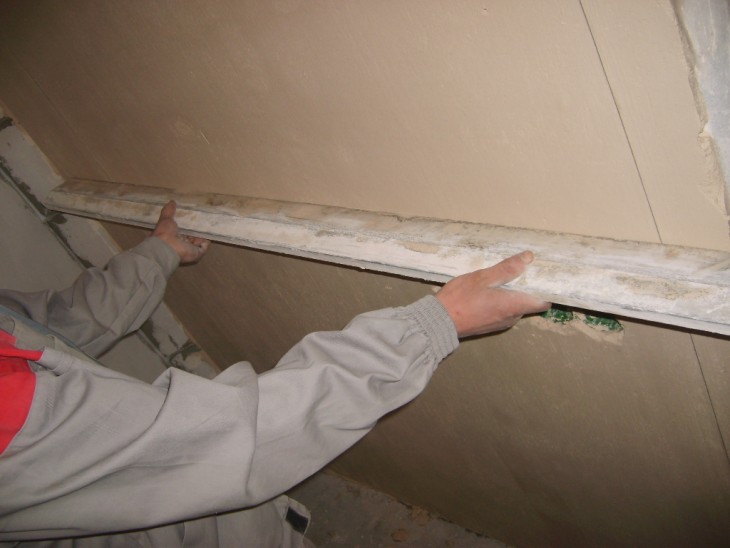
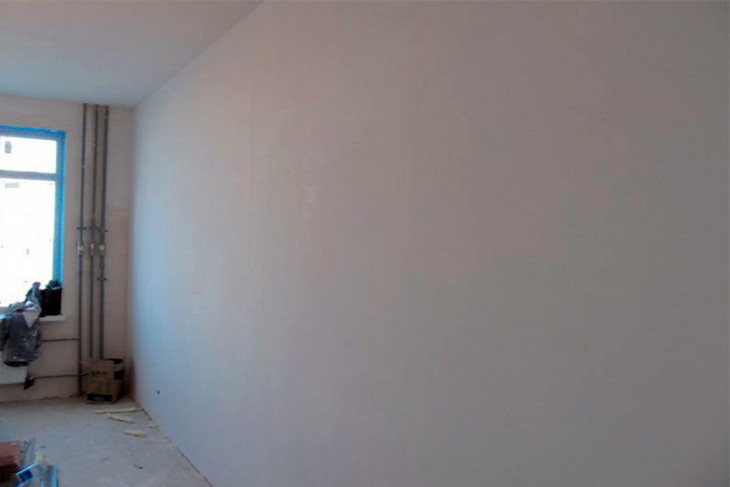
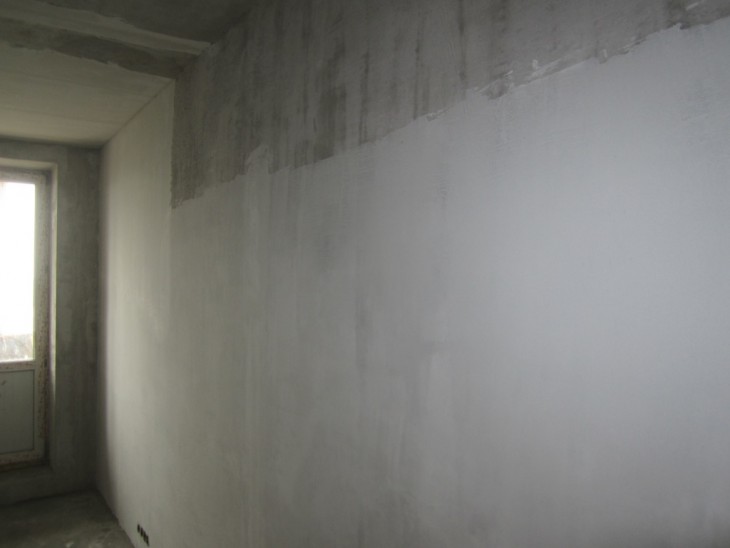
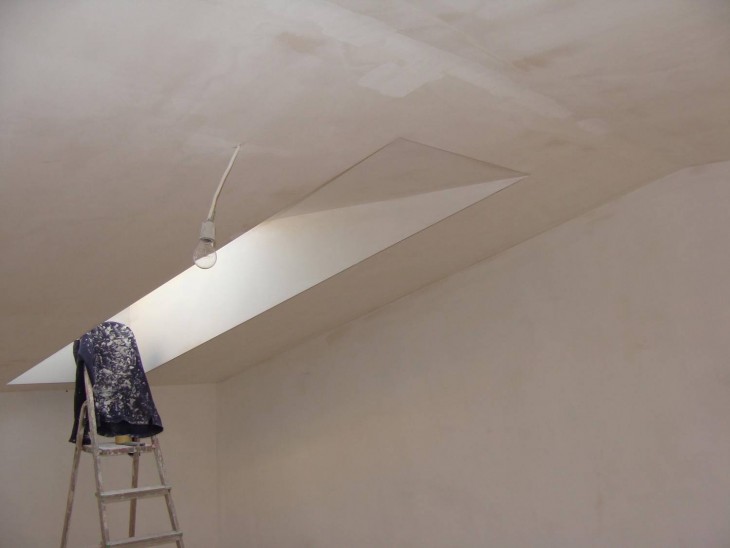
After drying, a second layer is applied, the surface of which is verified by level and plumb. Then - the final thin layer, which can be made from special mixtures that provide maximum smoothness.
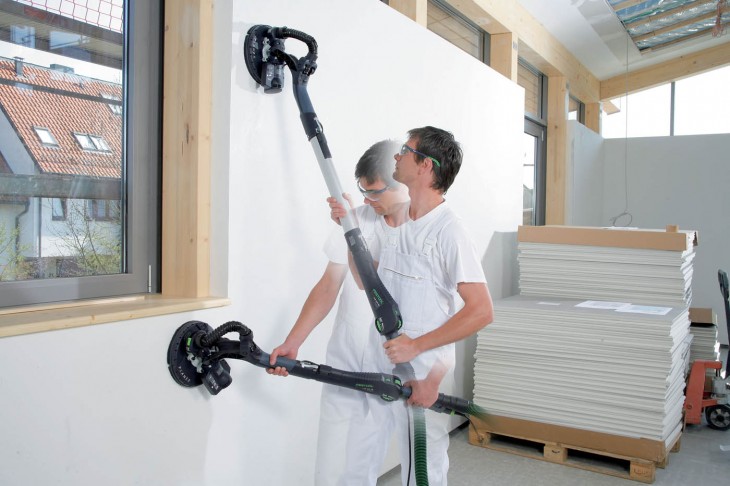
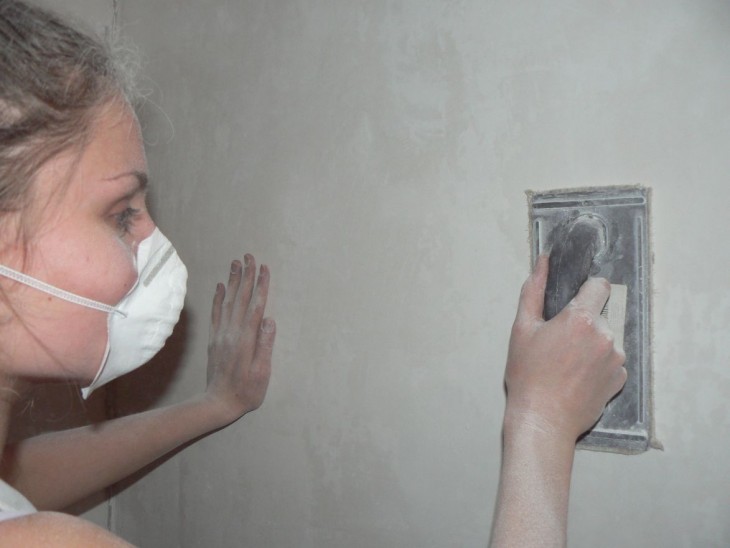
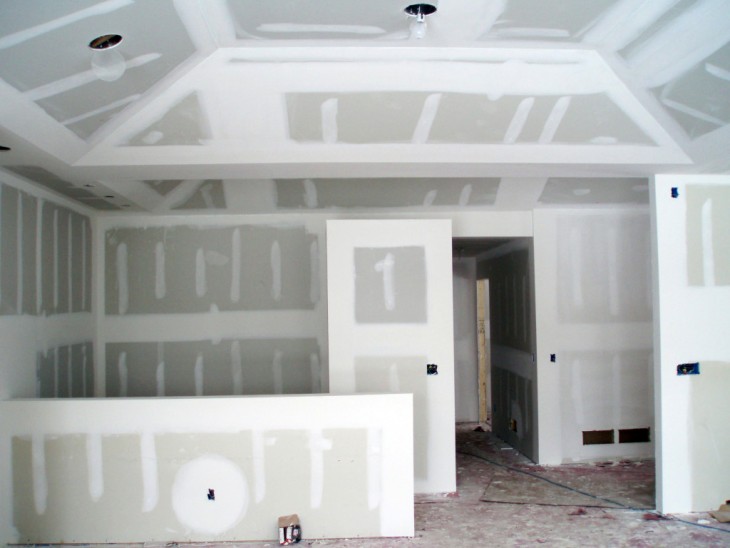
The last step in leveling the walls is to process them with grinding skins on a special holder. When puttying under wallpaper, it is necessary to use skins with grit from 80 to 120, if painting is carried out, more granular skins are used - p120-150.
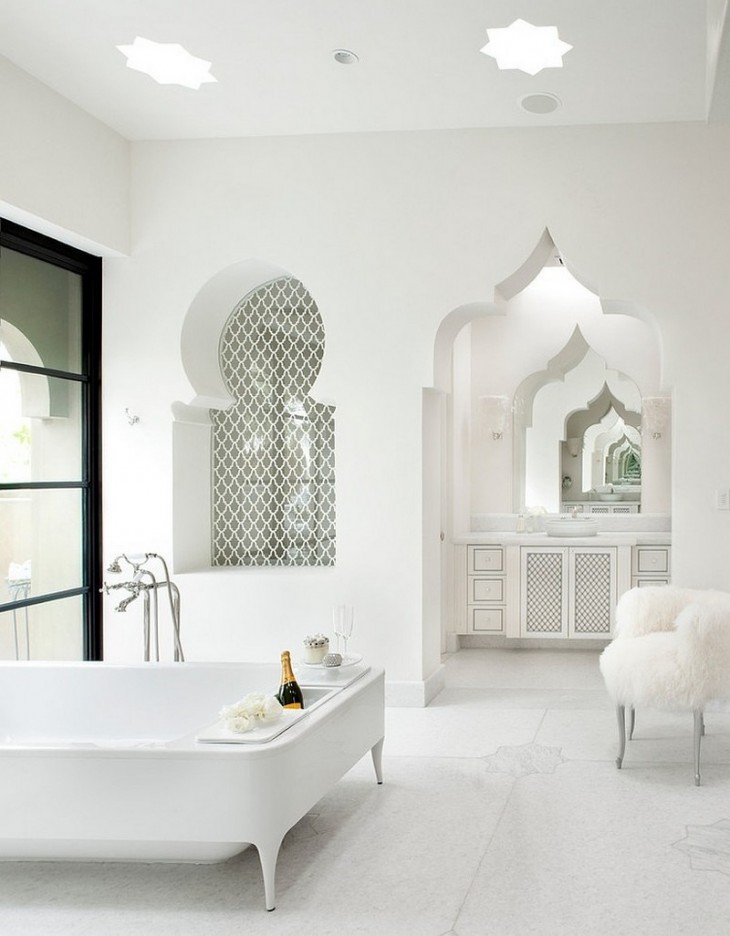
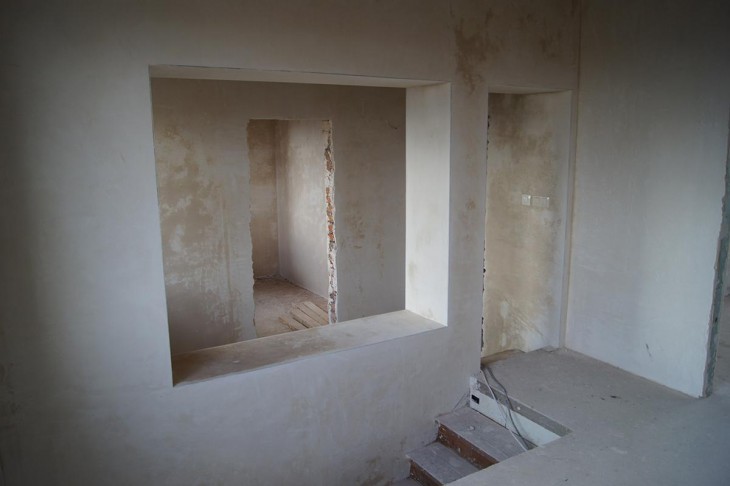
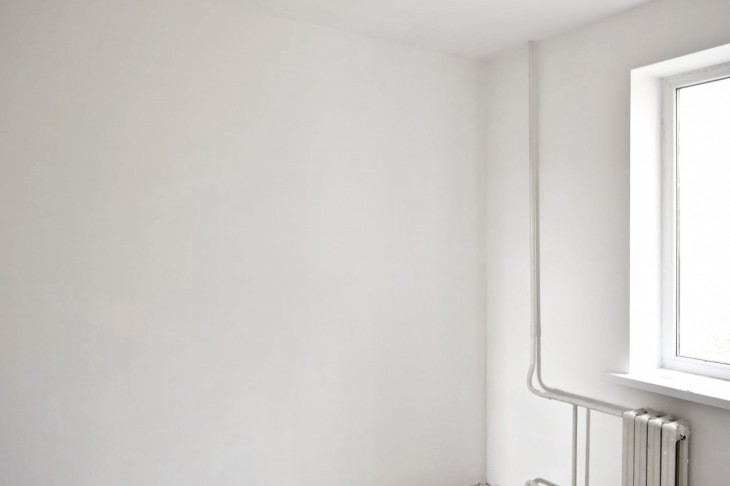
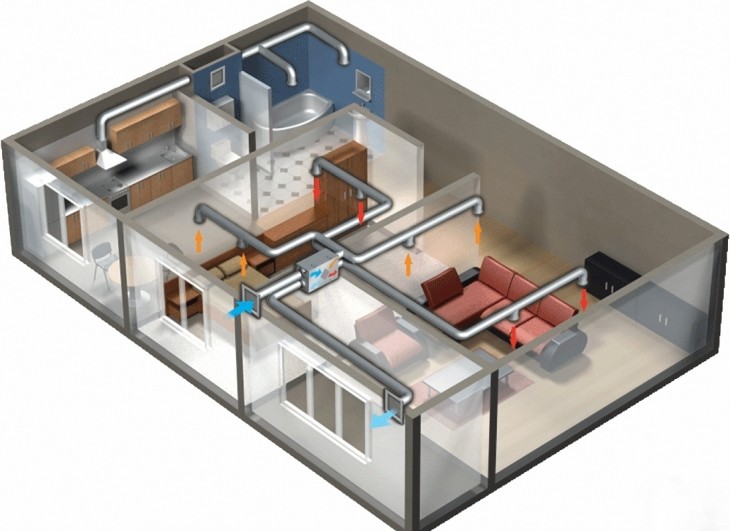
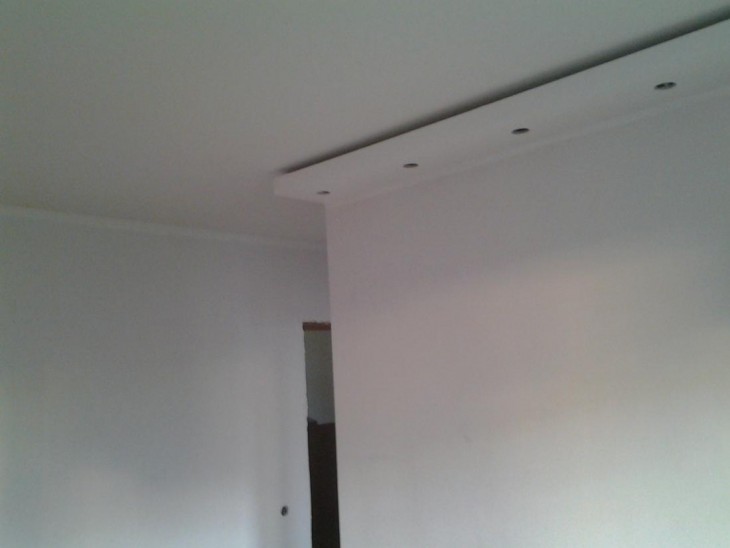
A flat wall surface close to ideal is not only an aesthetic, but also a hygienic requirement for repairs, and minimizes the accumulation of dust and the likelihood of the formation of harmful fungal crops in the house.
DIY stucco
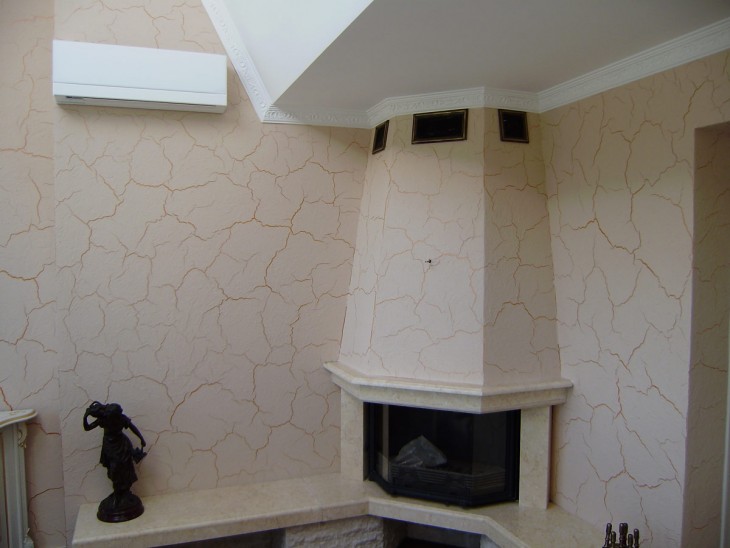
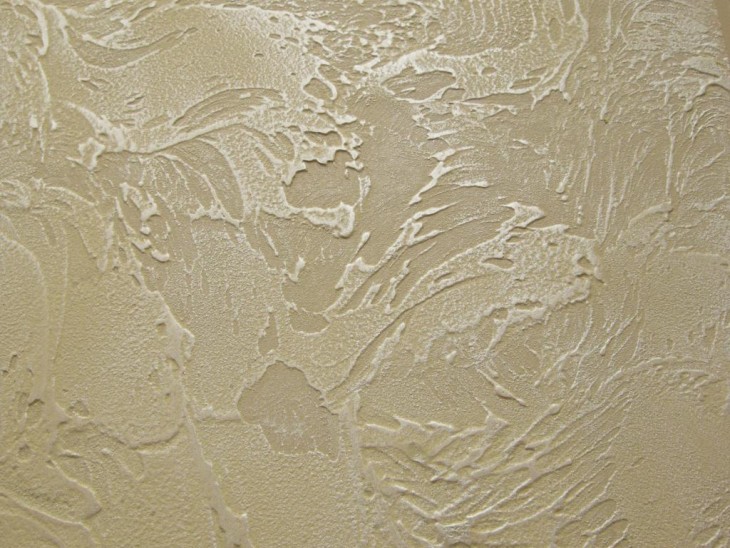
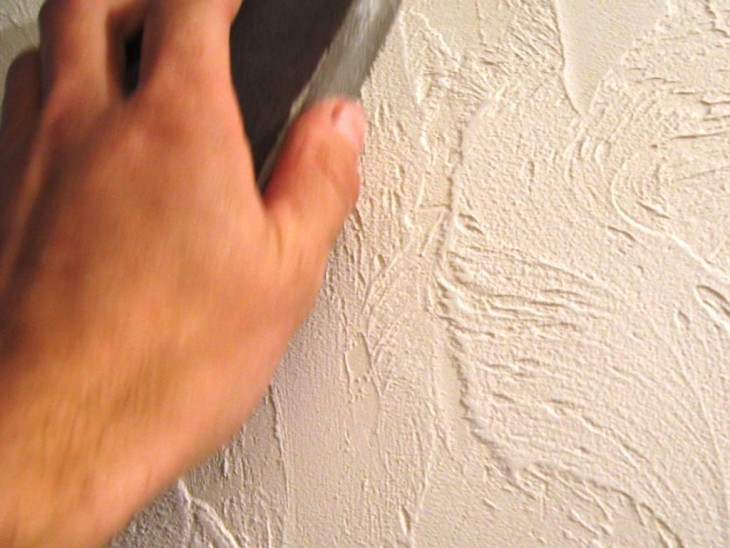
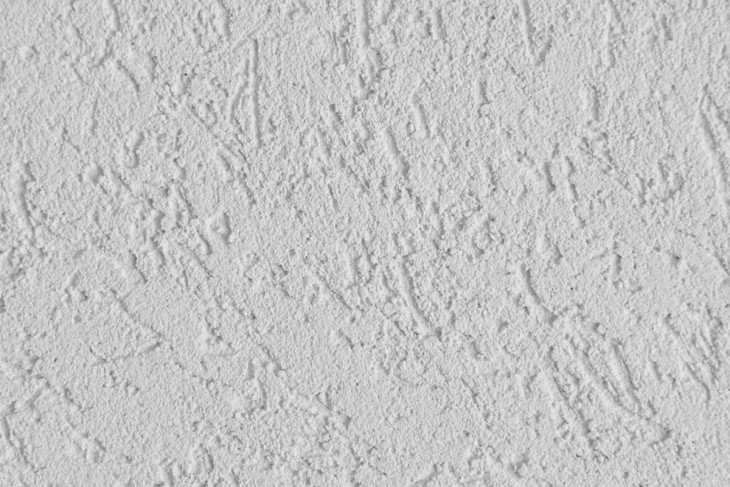
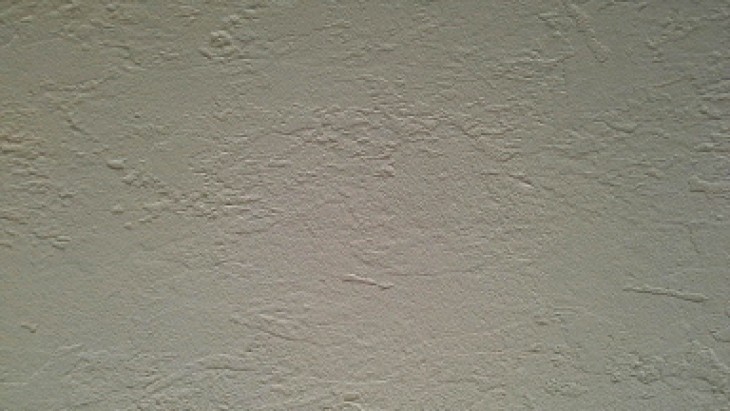
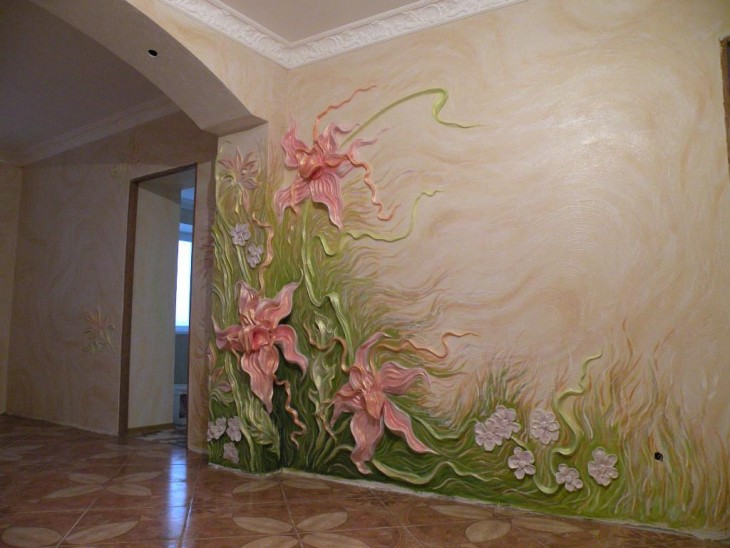
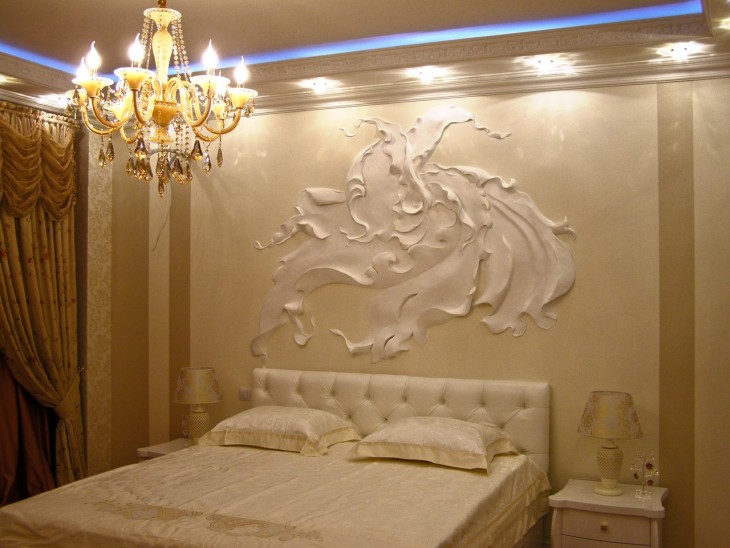
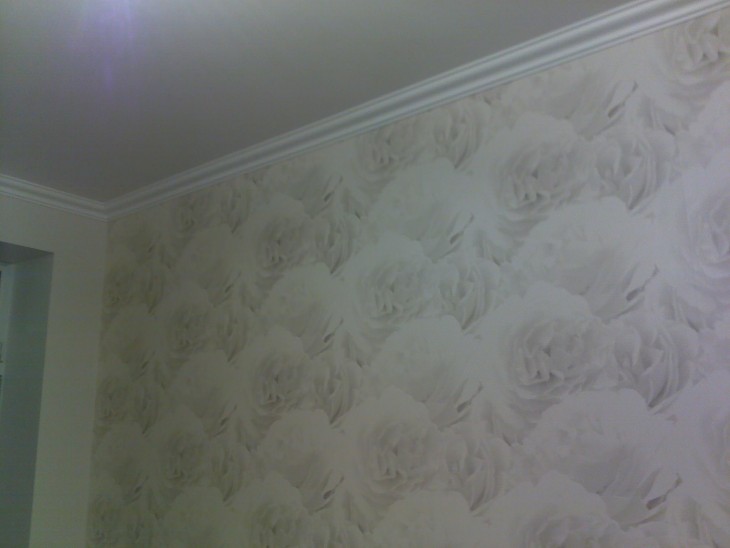
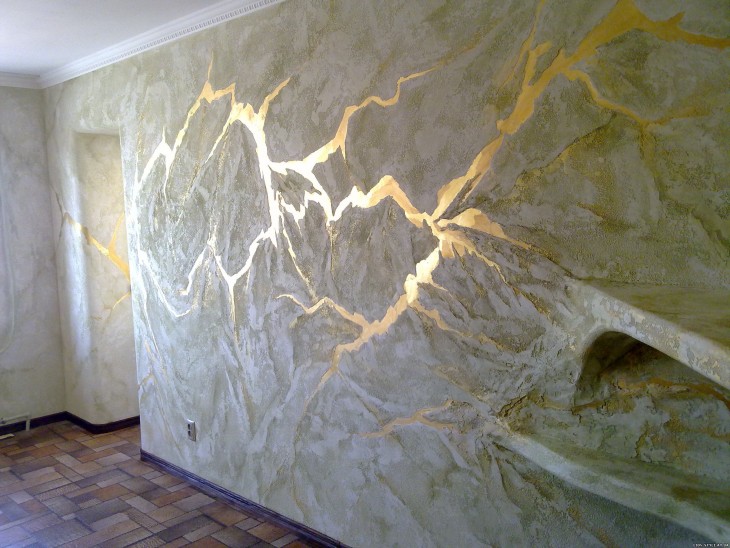
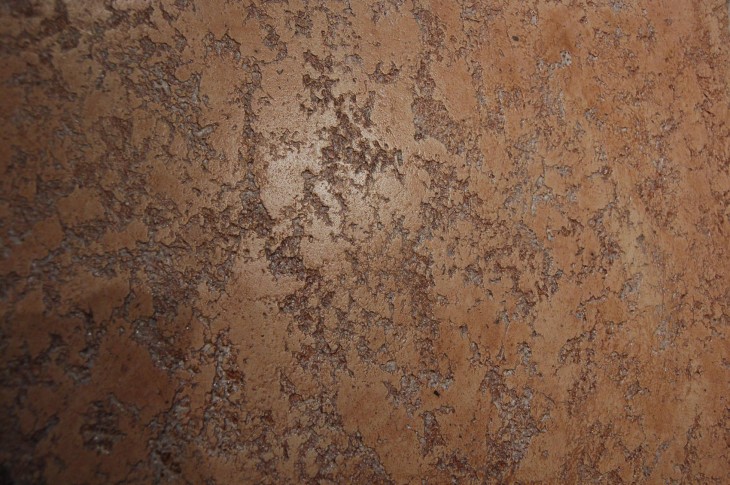
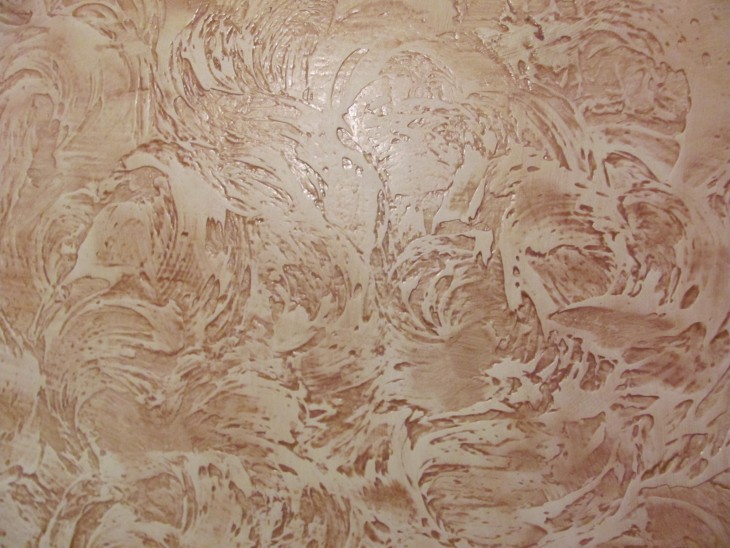
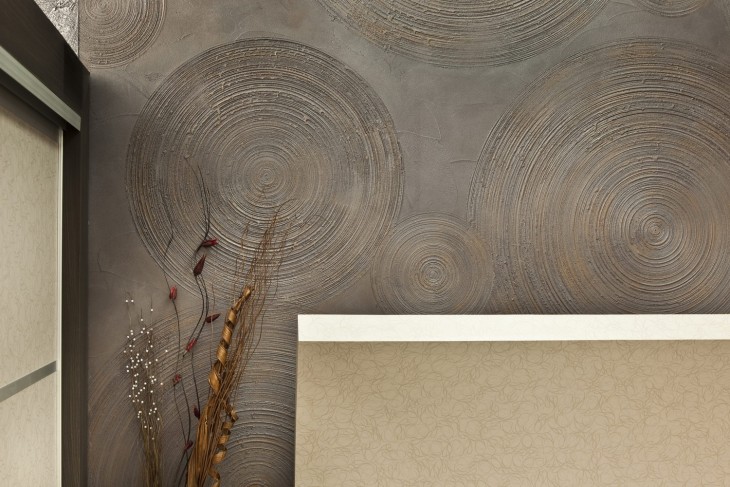
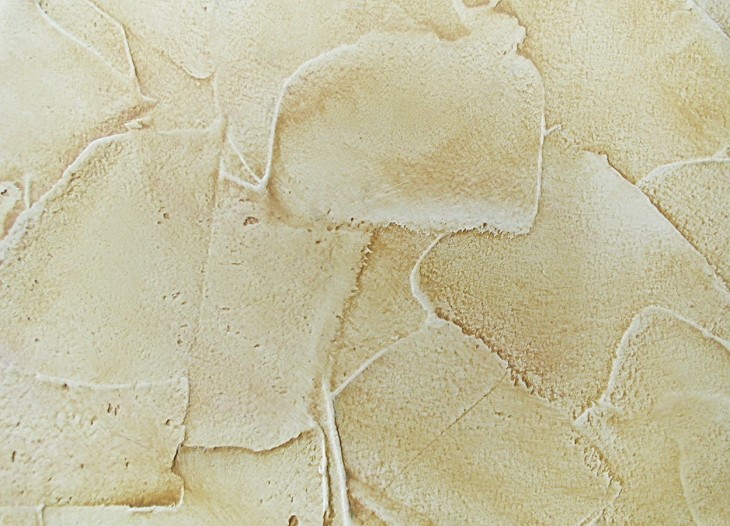
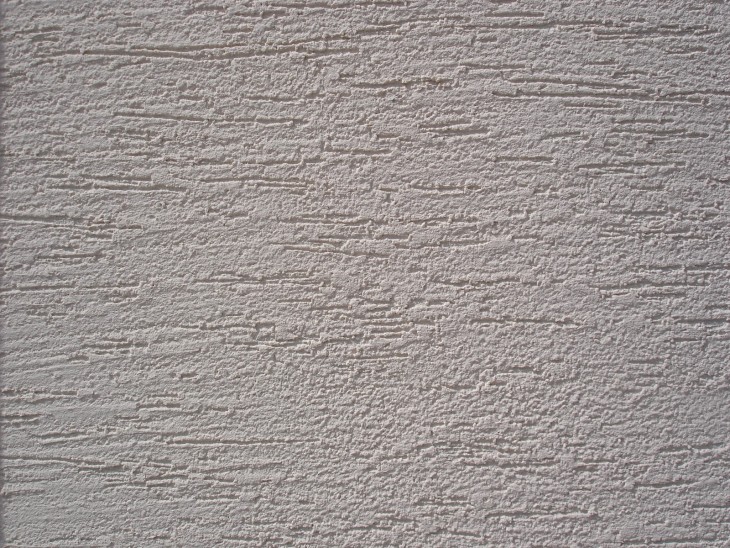
Once you have mastered the simple skills of priming and puttying walls and gained experience in breeding and applying various mixtures, you can begin the more interesting and creative process of making decorative plaster - a textured outer layer.
Note!
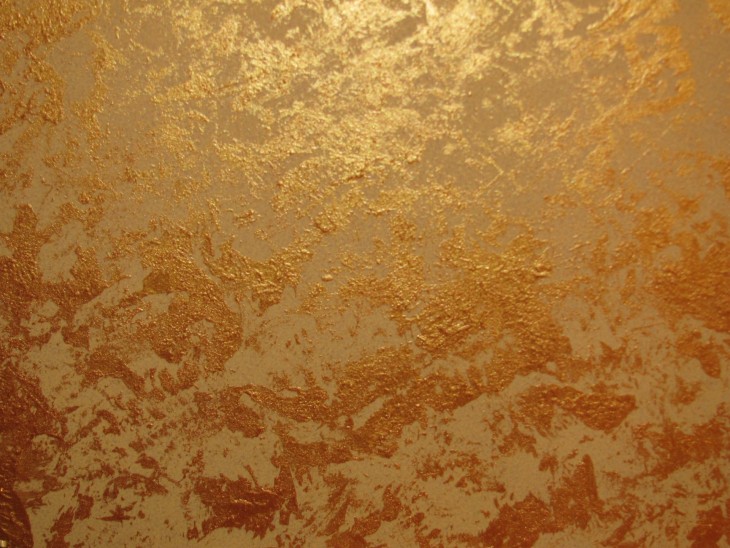
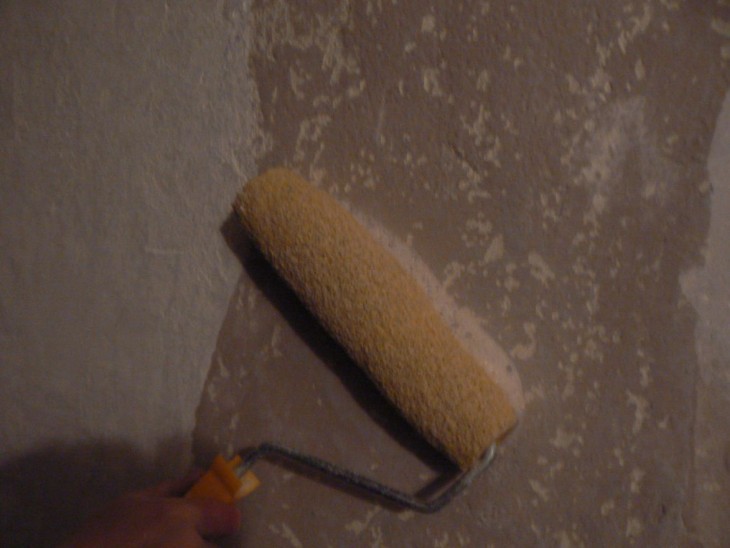
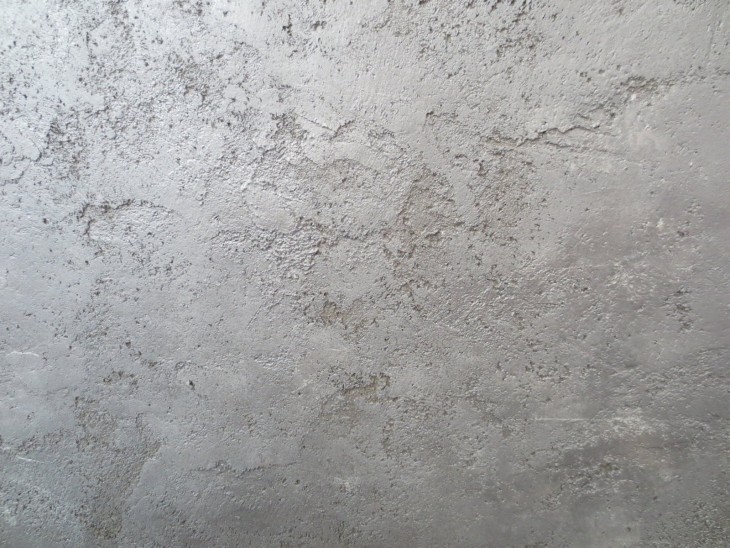
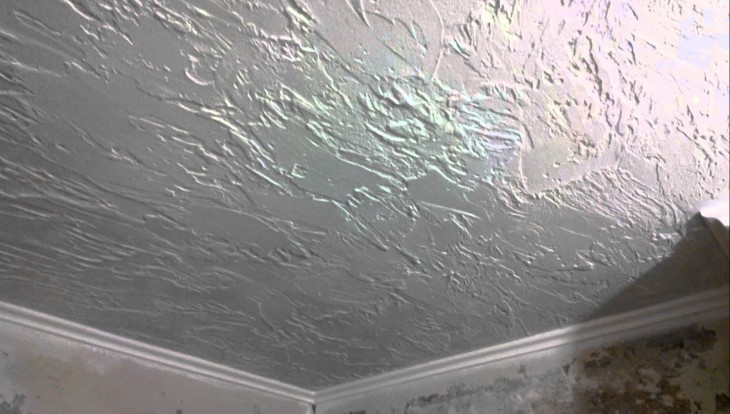
Modern mixtures intended for puttying contain polymers, which at the drying stages provide the plasticity necessary to obtain a decorative uneven texture. In this case, you can use both ordinary rollers and special stencils.
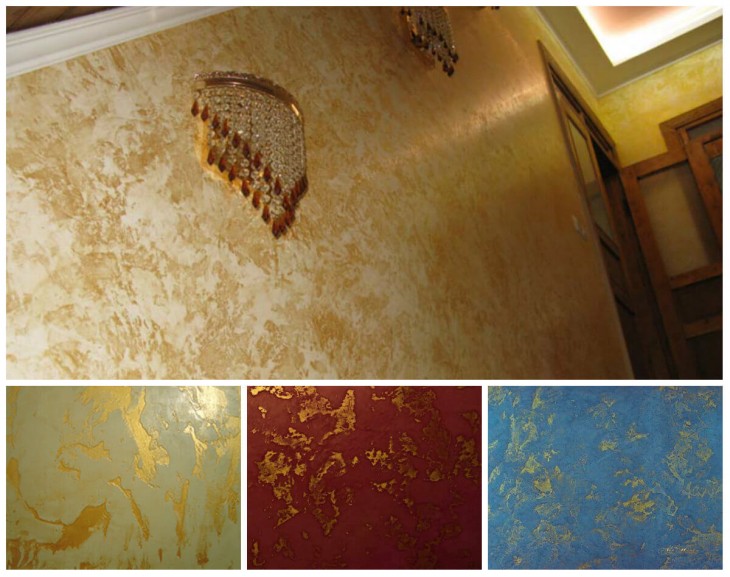
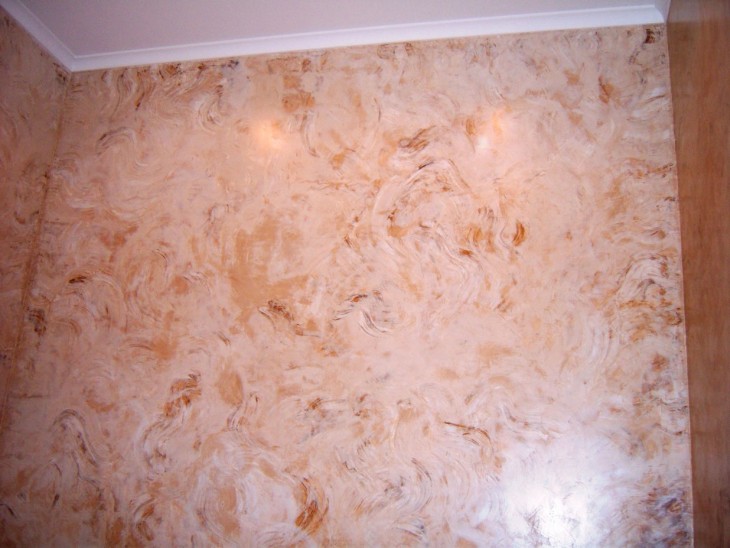
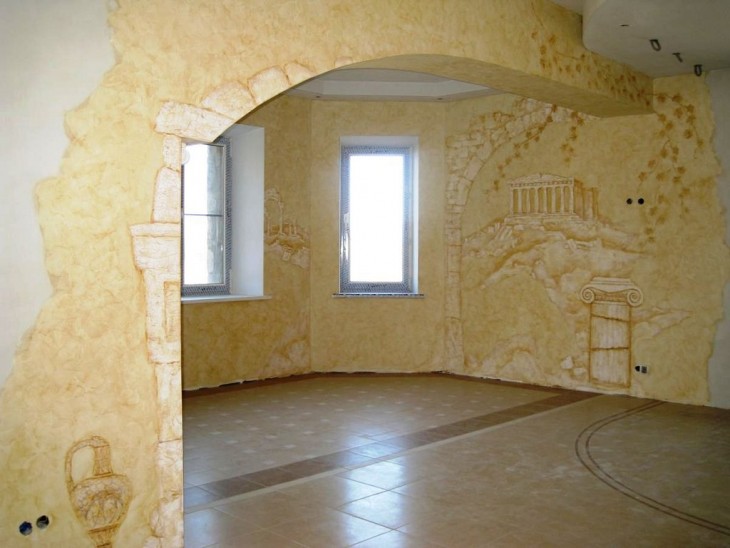
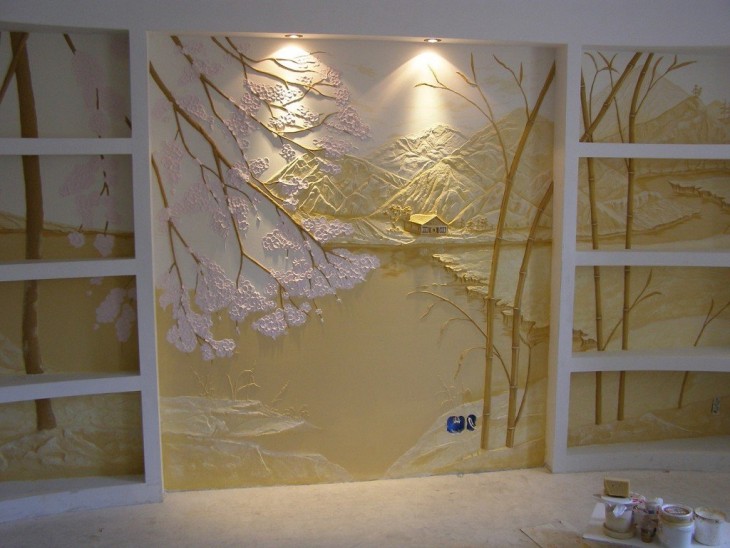
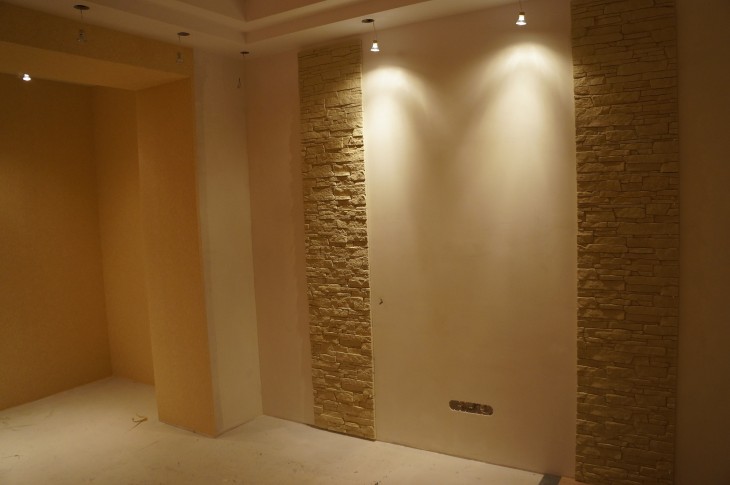
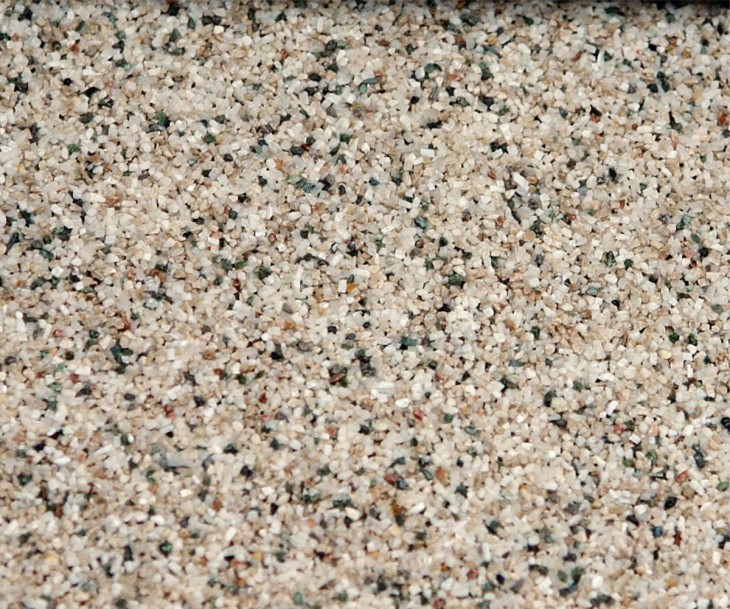
The most economical of many options will be the production of a simple gypsum putty, with the addition of PVA glue, water and paint.
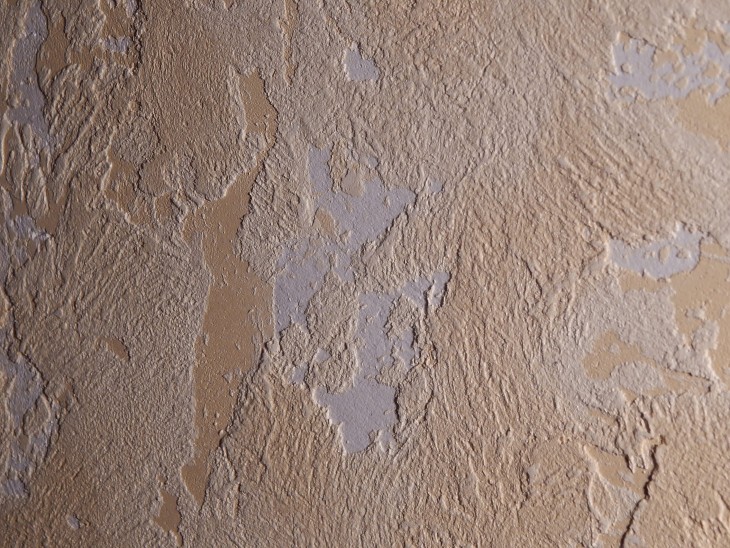
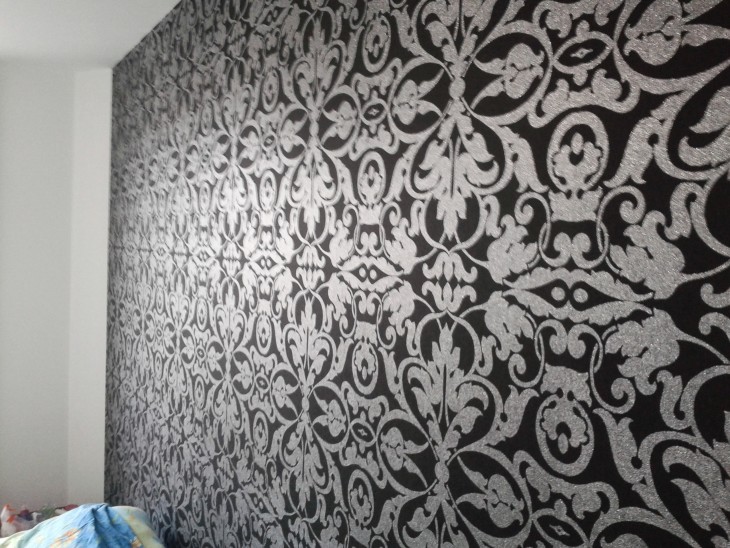
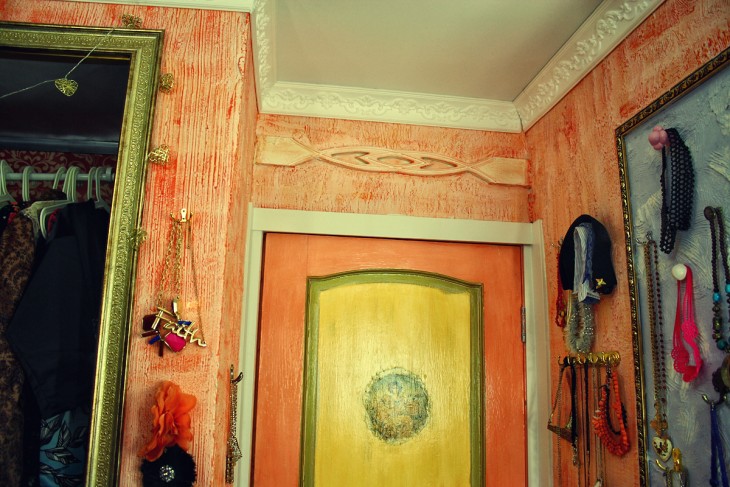
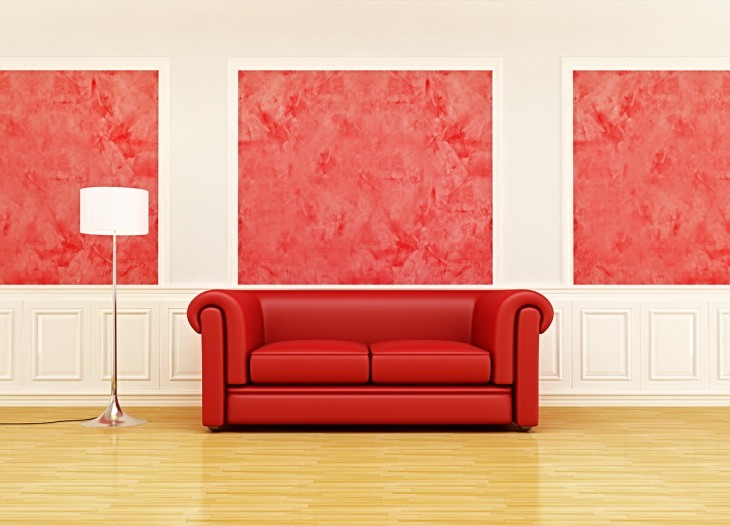
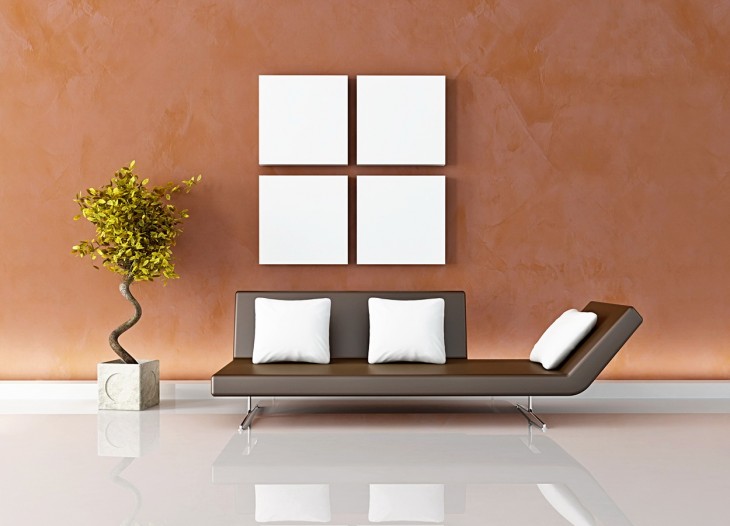
The decorative putty options shown in the photo can stimulate the imagination and inspire bold experiments of everyone who has already mastered the basics of cosmetic repairs.
DIY putty
Note!
Note!