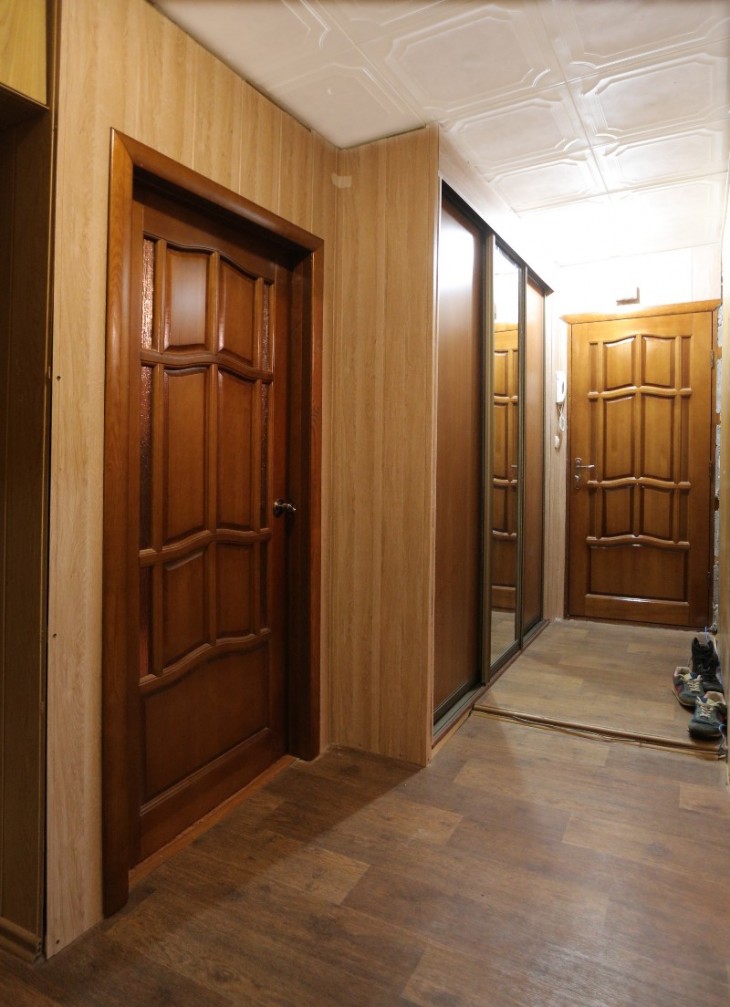
Do you have a lot of things and pieces of furniture in your house that you can easily refuse? Sure enough. However, they do not include such a piece of furniture as a wardrobe.

After all, it is in it that you store most of your clothes, towels and bedding. And therefore, it is almost impossible to do without it.
Of course, it is possible to replace it with cabinets and chests of drawers. But their number will be so great that the space of the room will be completely cluttered. Not everyone can afford it.

But often the cost of such important products is unreasonably high. And so some people are forced to refuse to buy cabinets.

But experts are sure that one can also find an entrance from this situation. For example, make this product yourself.
If you are wondering how to make a cabinet yourself, then we recommend that you read this article. In it, we will consider in detail the simplest example of assembly, which even a novice joiner with no experience can handle.


Cabinet detail
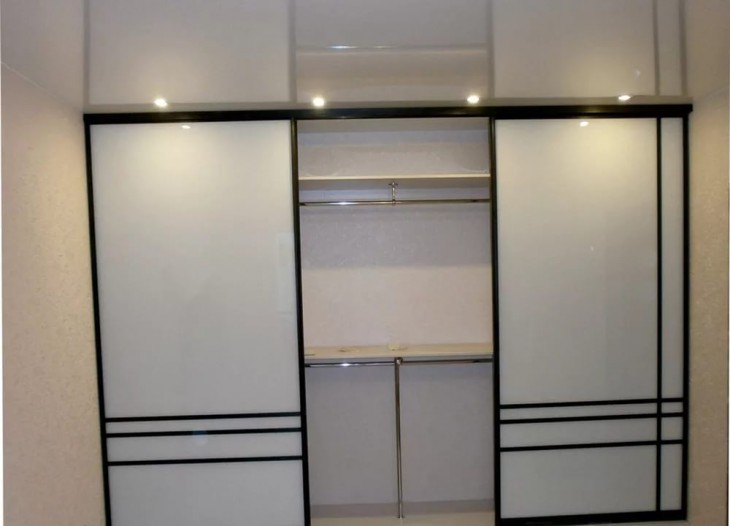
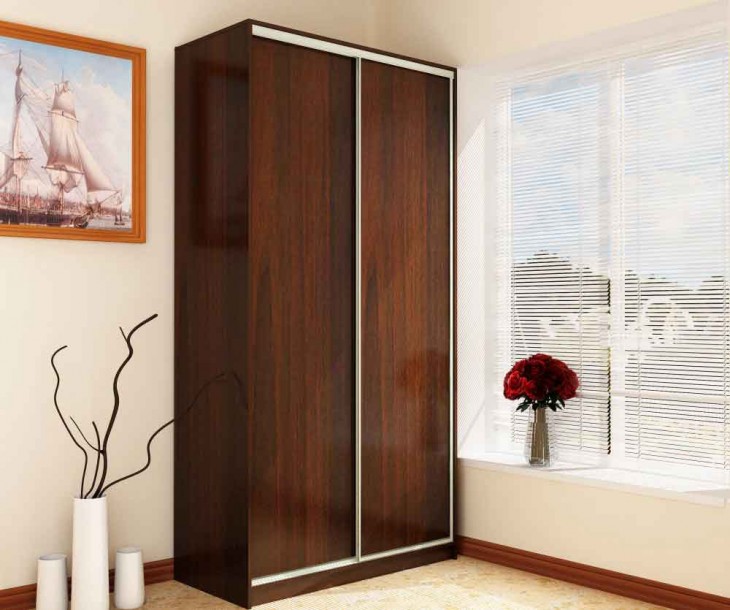
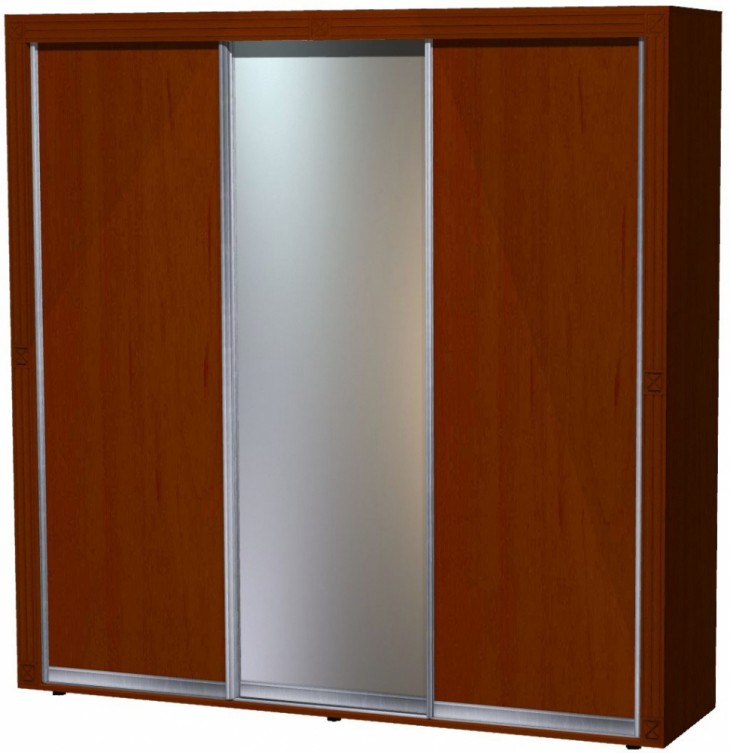
For the manufacture of the cabinet, we will use material such as chipboard. The thickness of one of its boards is 18 mm. In addition to the main material, a self-adhesive melamine edge with a thickness of about 0.5 mm will be used. The product will be equipped with a standard sliding system for facades.

You can buy an edge in a furniture store. It is worth noting that to design a built-in cabinet with your own hands, you may need a special sliding mechanism.

Most often, finding one in a regular store is not easy. Then you will need to order it. However, even in this case, the facade system will cost you much less than if you purchased the finished product.
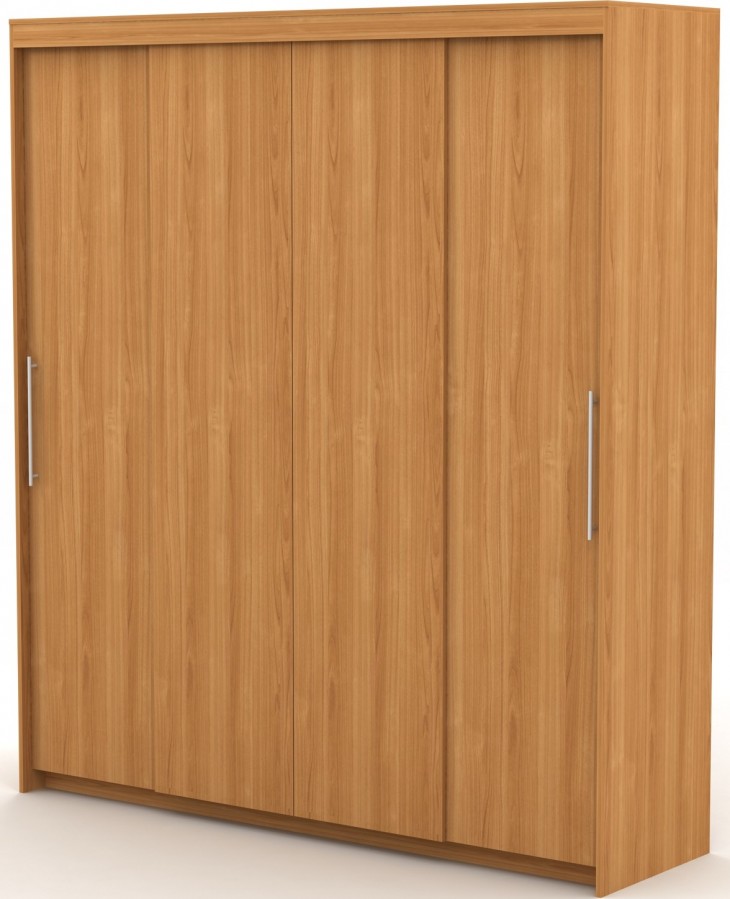
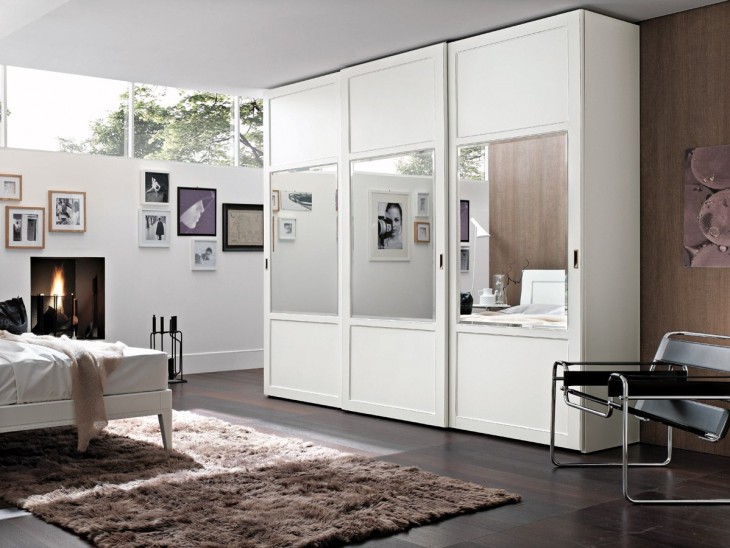
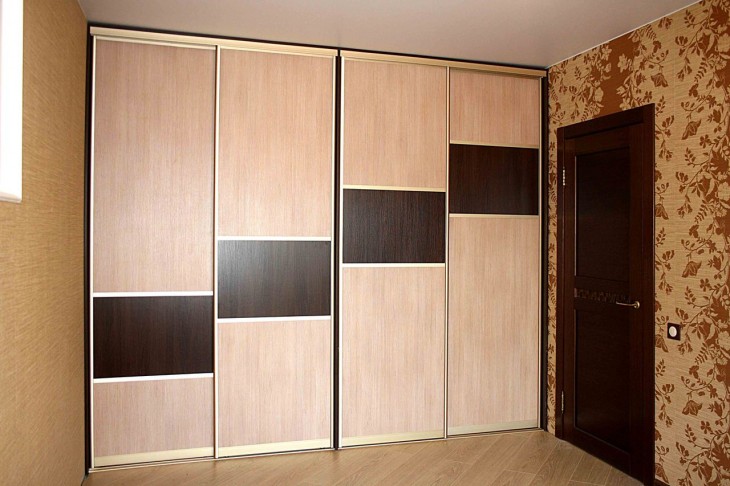
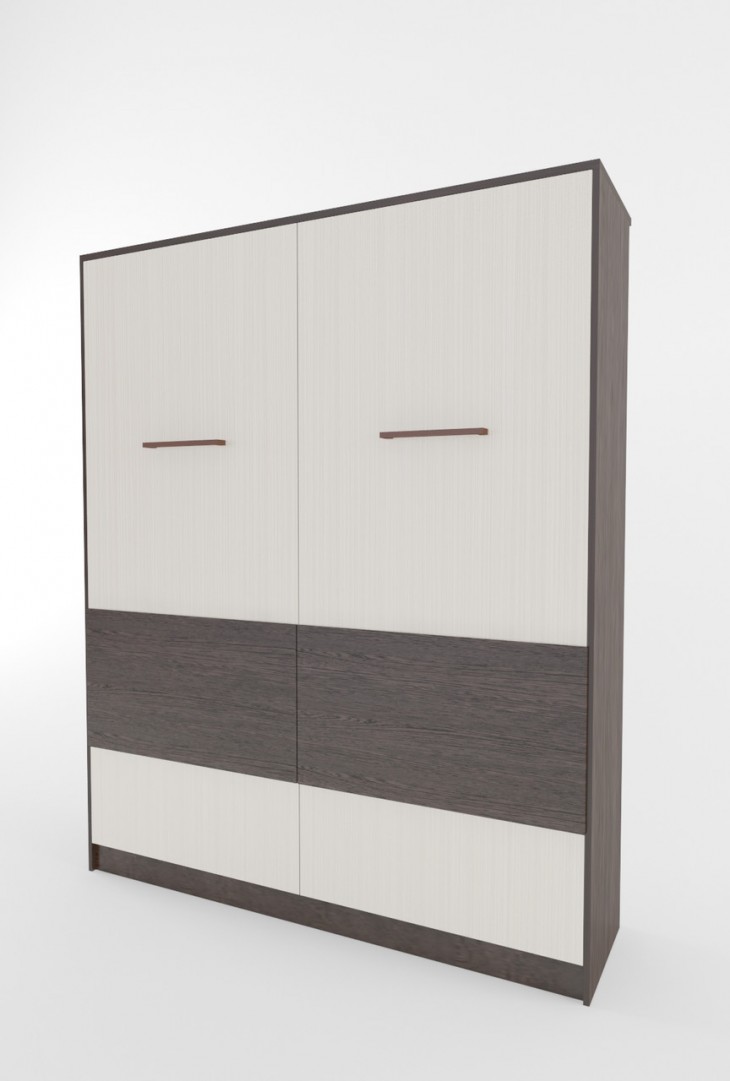
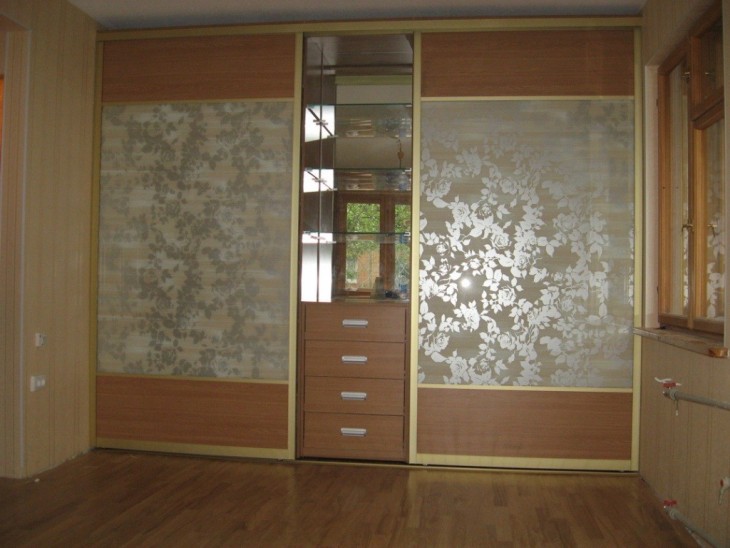
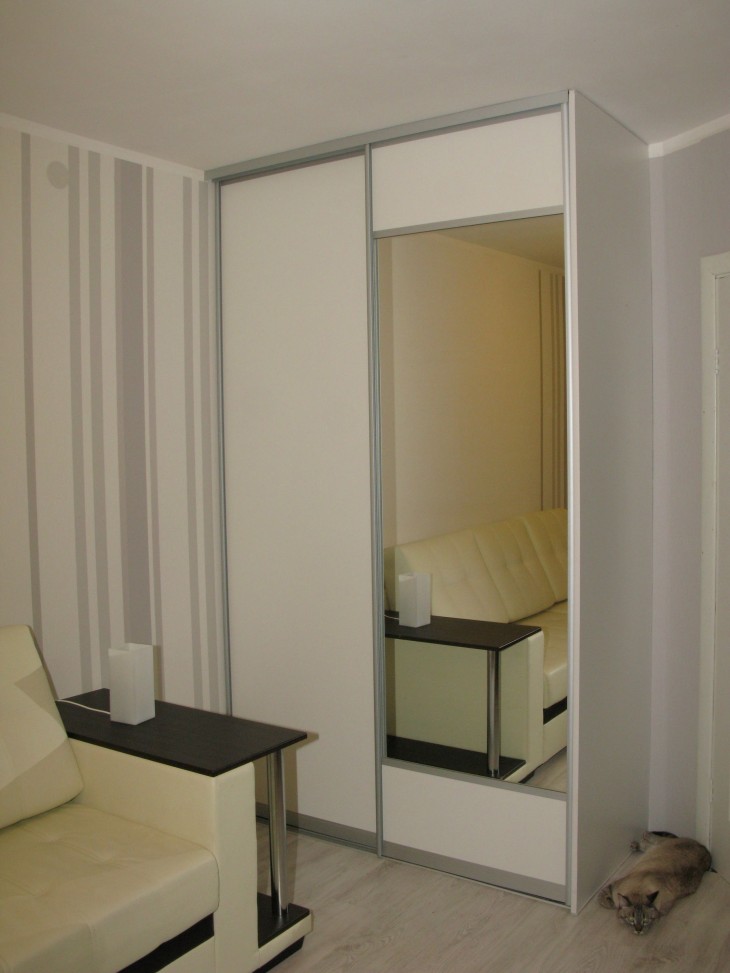
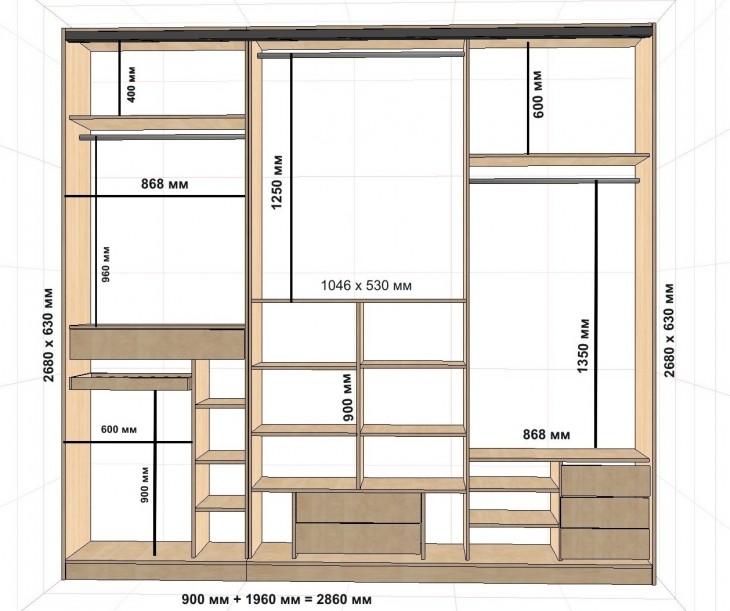
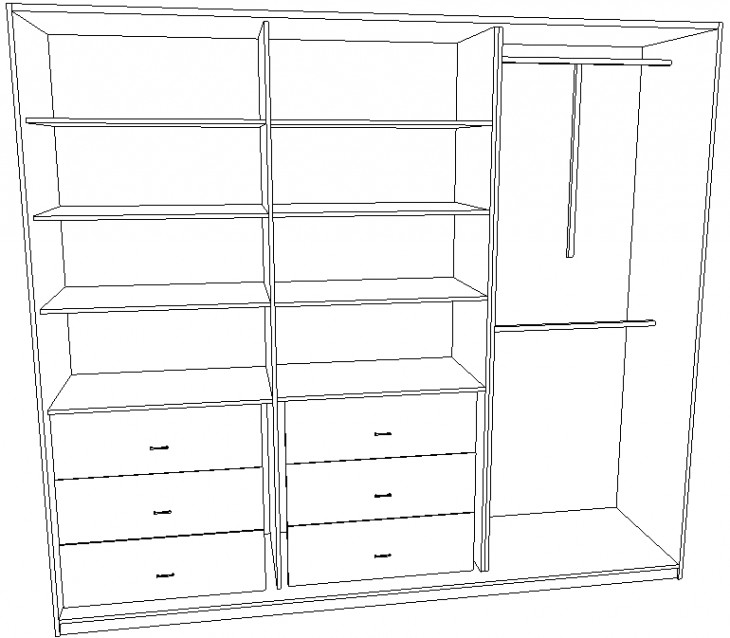
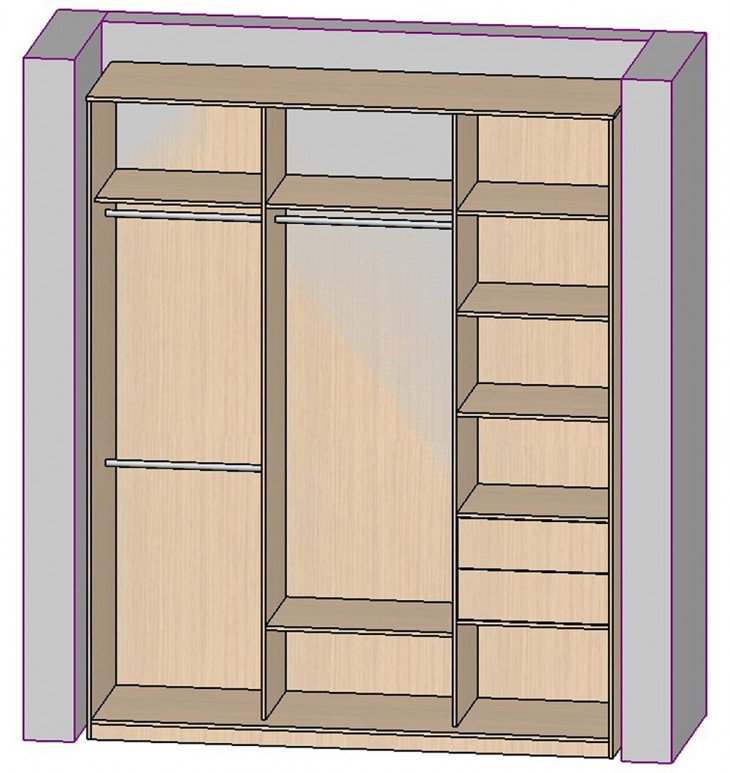
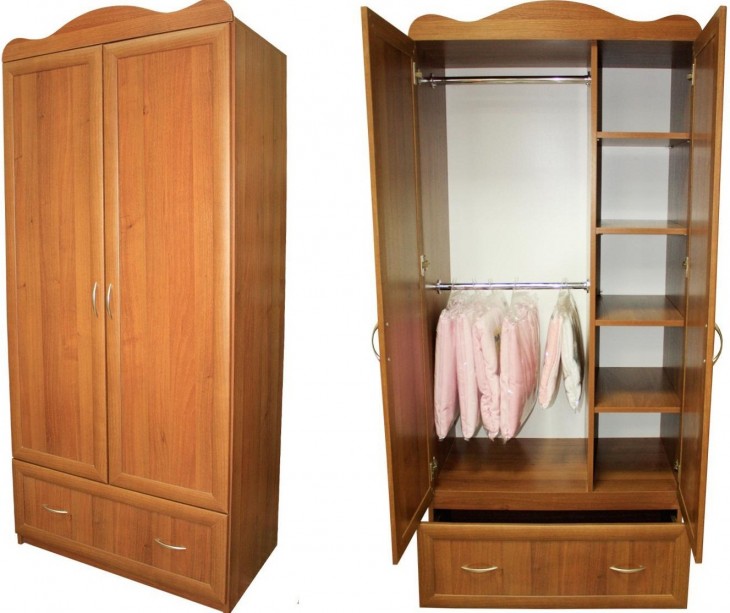
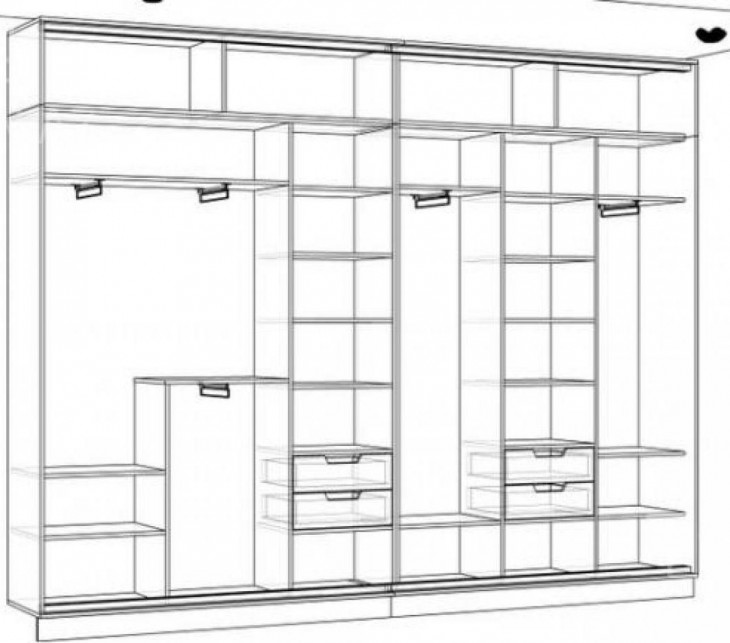
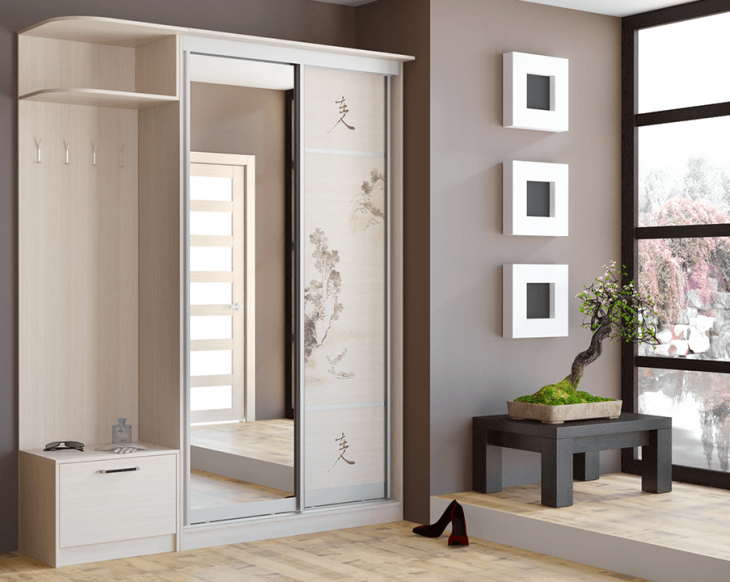
The cabinet, which will be considered as an example, has a height of 2288 mm, and its width is 1166 mm.
Necessary tools and materials
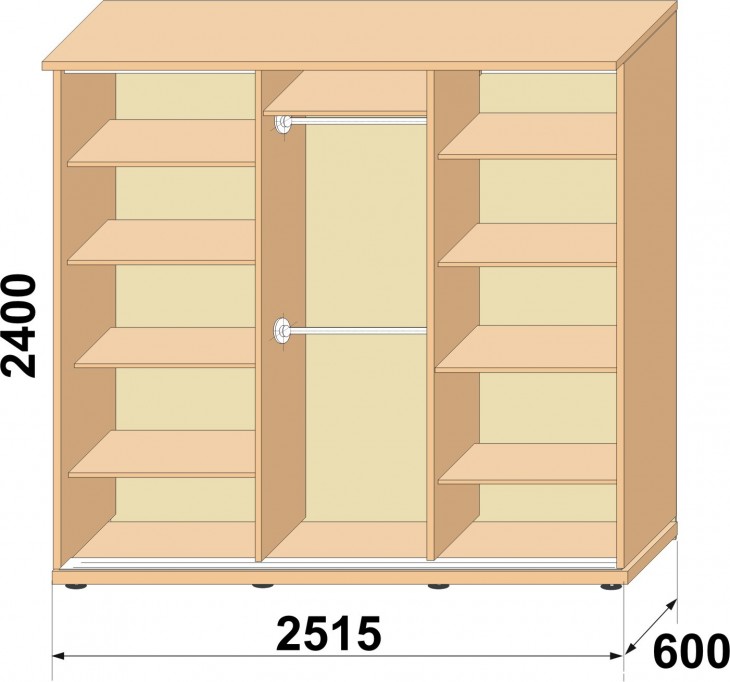
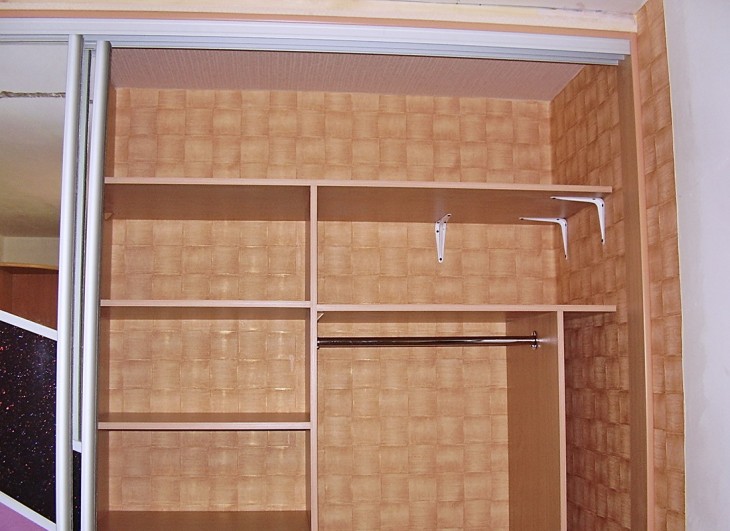
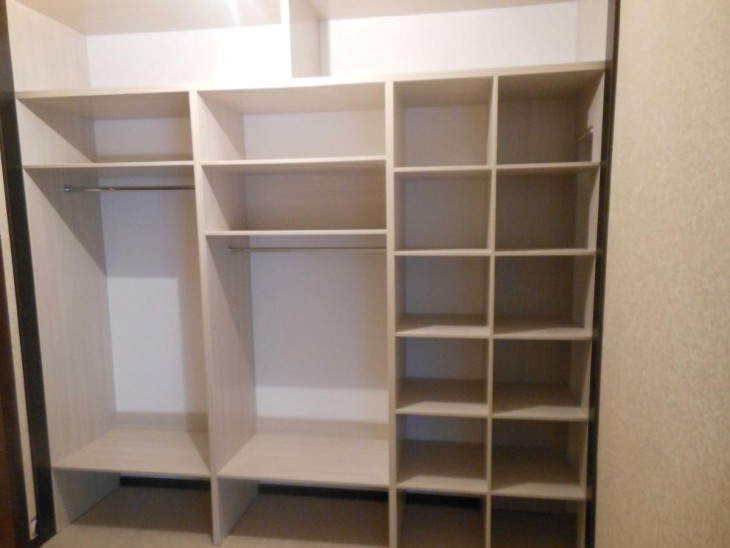
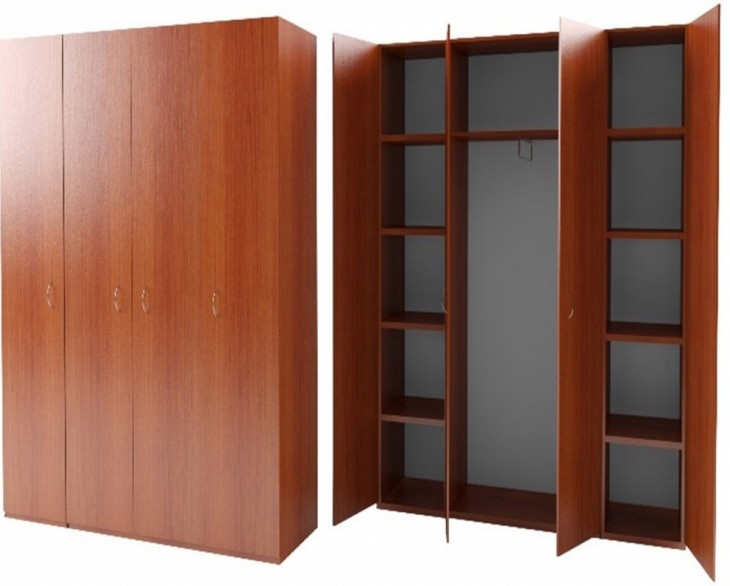
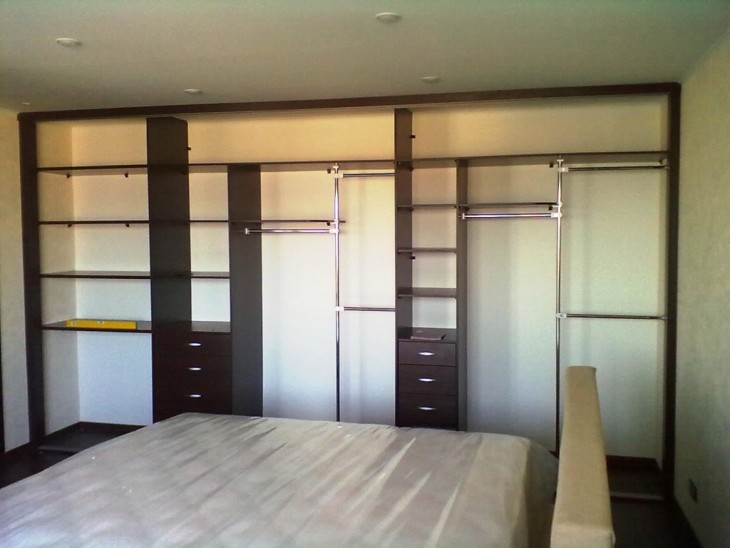
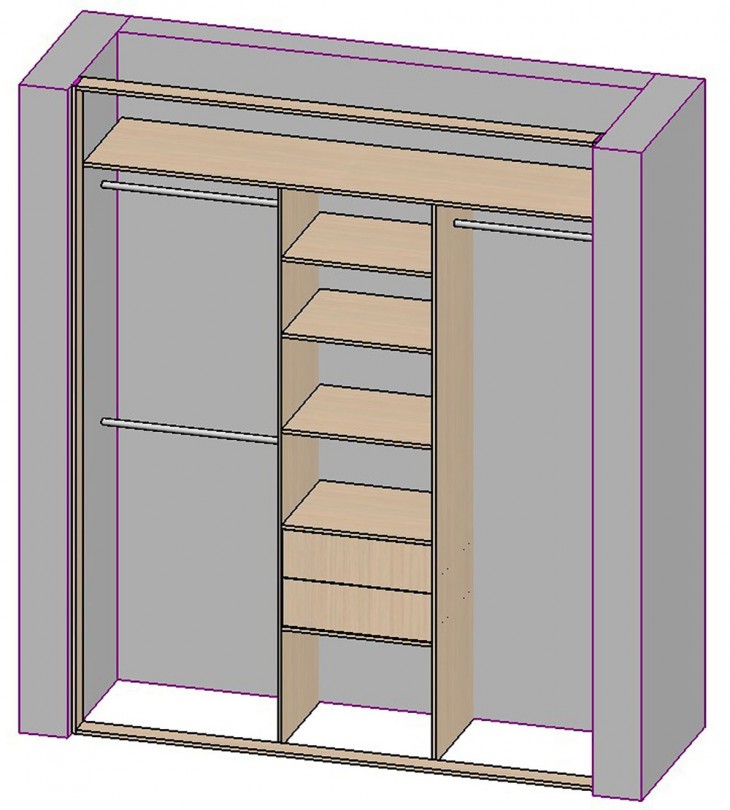
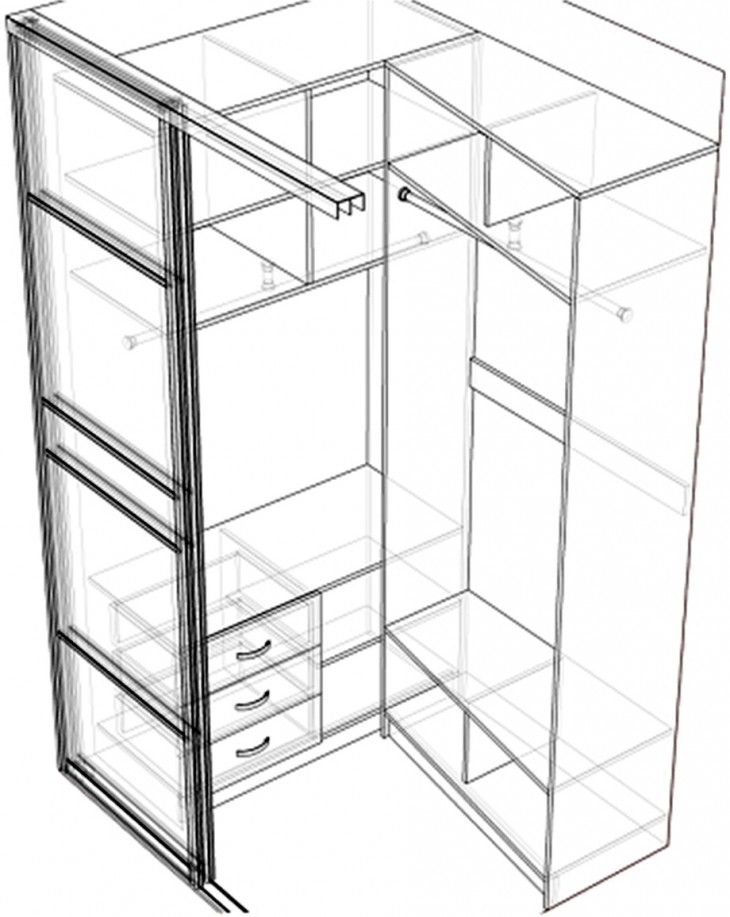
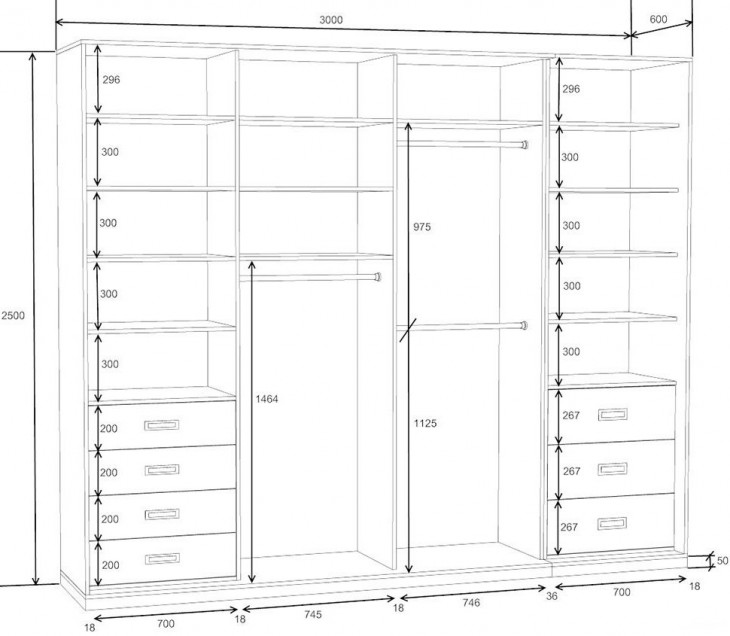
Before proceeding with the manufacture of the cabinet, you should make sure that you have all the necessary materials and tools at hand. You can find out the number of boards and details if you carefully consider the cabinet drawing, which is presented to your attention below.
The standard set of tools necessary for cabinet work to create a cabinet includes: a drill, a level, a punch, a measuring tape, a hammer, glue, a hacksaw and connecting elements.
The role of the connecting elements are self-tapping screws and dowels. We draw your attention to the fact that a hacksaw should be selected that is suitable for both wood and metal.
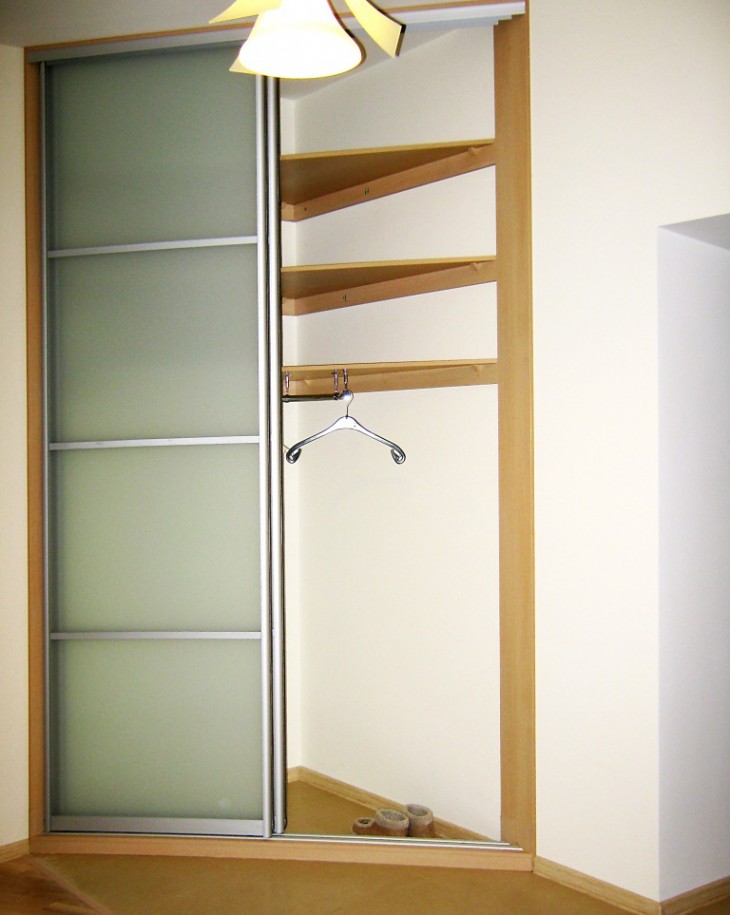
The rods to be used under the coat hanger must be sawn off from a single design. Their diameter should not exceed 22 mm for the declared dimensions of the product.

If you are not sure that you can correctly manufacture them yourself, then the best option is to buy. You can buy them at a store that specializes in selling furniture accessories.
Also in the store you can buy pens. When buying them, pay attention to the design. It should correspond not only to the manufactured product, but also to the overall interior design.
Note!

Manufacturing steps
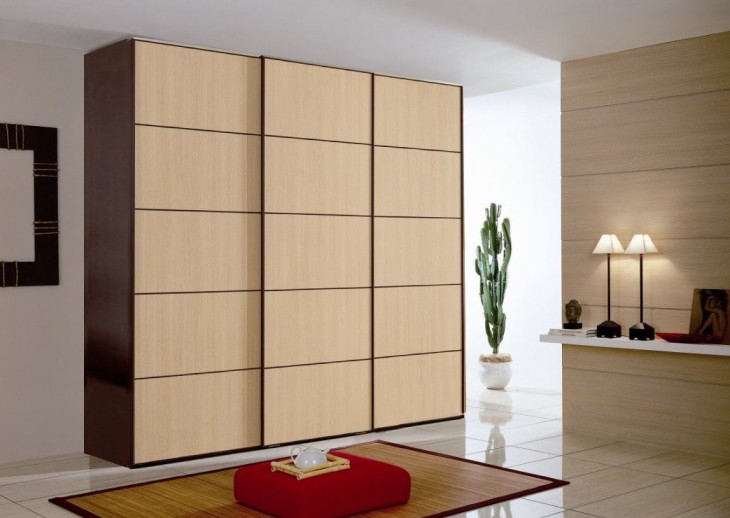
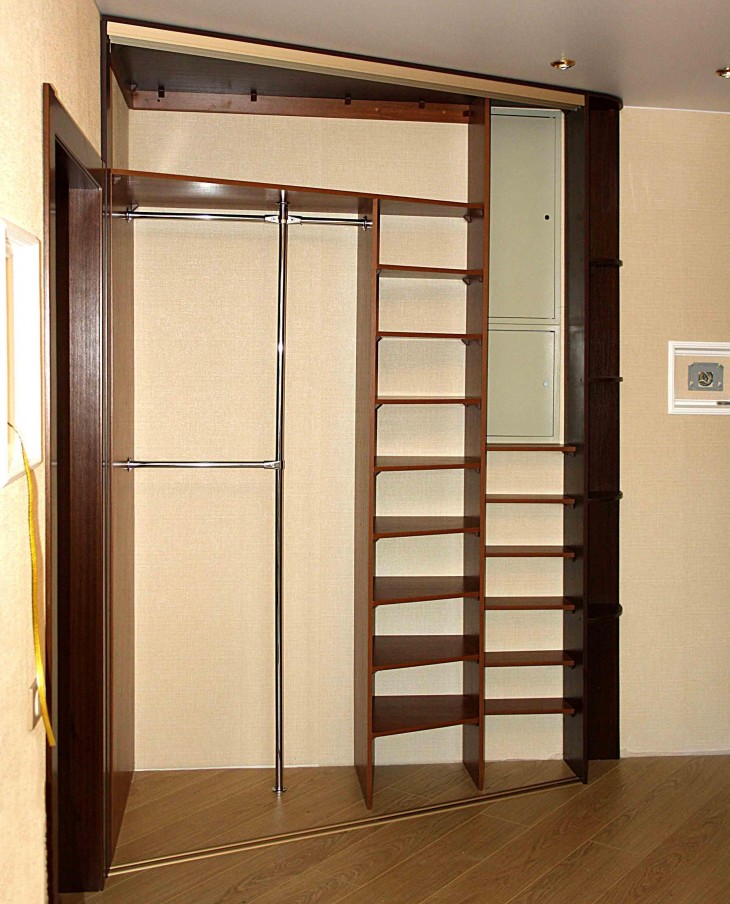
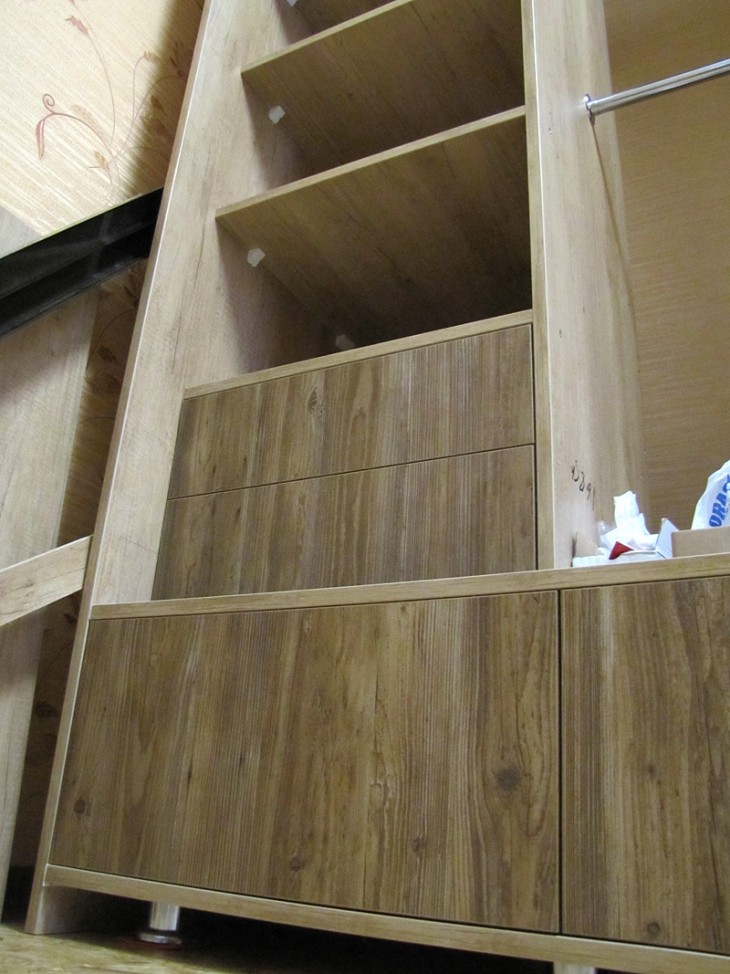
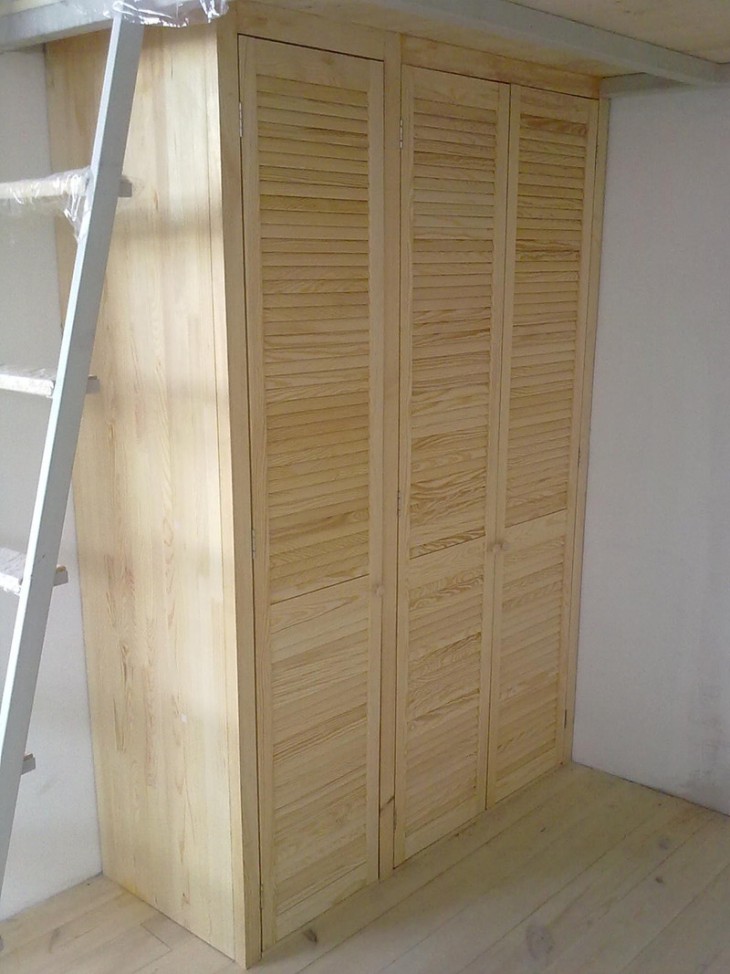
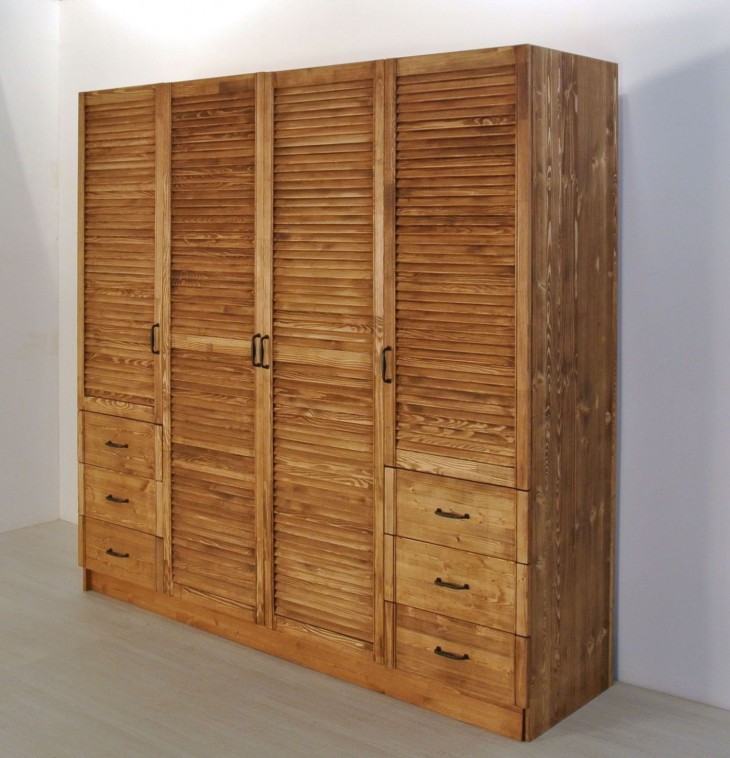
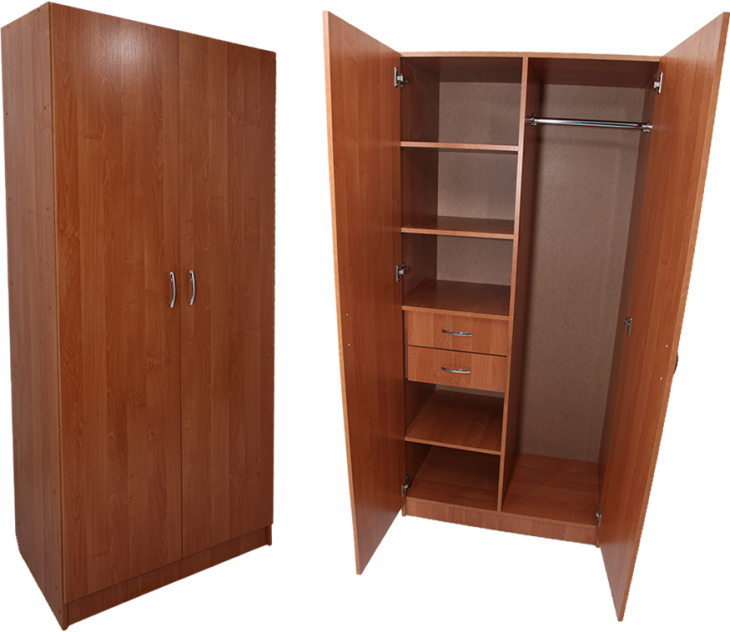
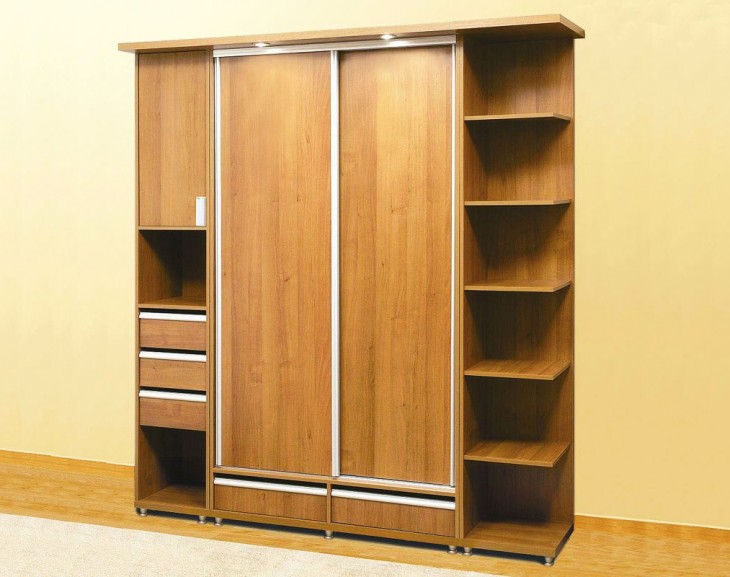
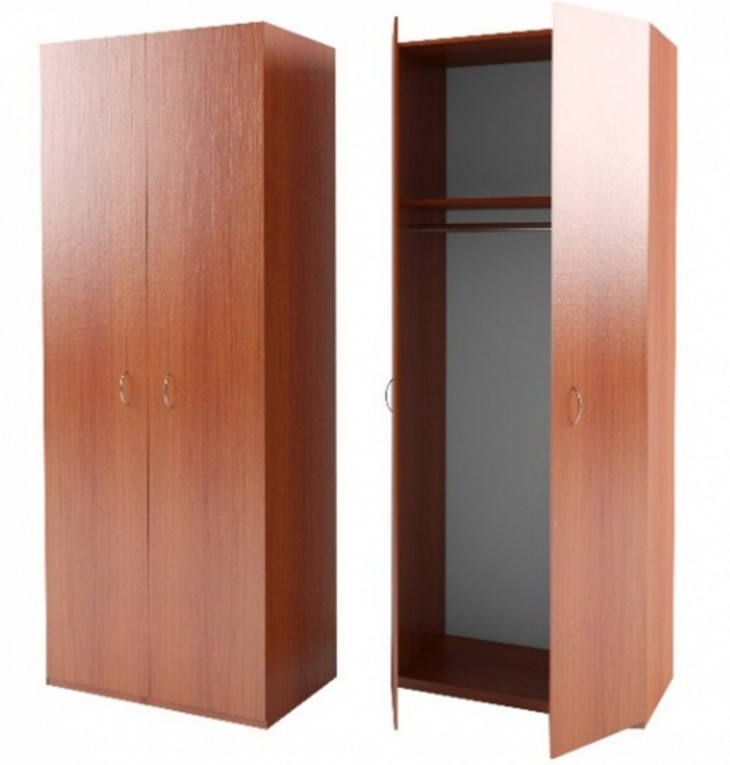
At the first stage, you need to prepare all the details. Pay attention to the photo of a cabinet made by yourself, which is presented below.To create it, a circular saw was used, since it allowed to cut the boards most accurately and accurately.
At the second stage, you should start preparing the edges. To stick them you need to use a regular iron and follow the instructions.

At the third stage, grinding is performed. With its help, you will get rid of the roughnesses present after cutting. To do this, you can use the usual sandpaper with small grains.

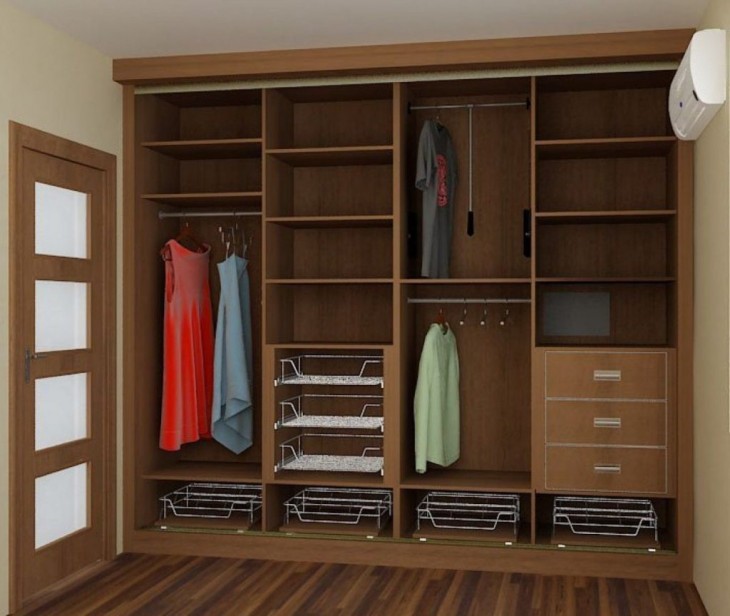
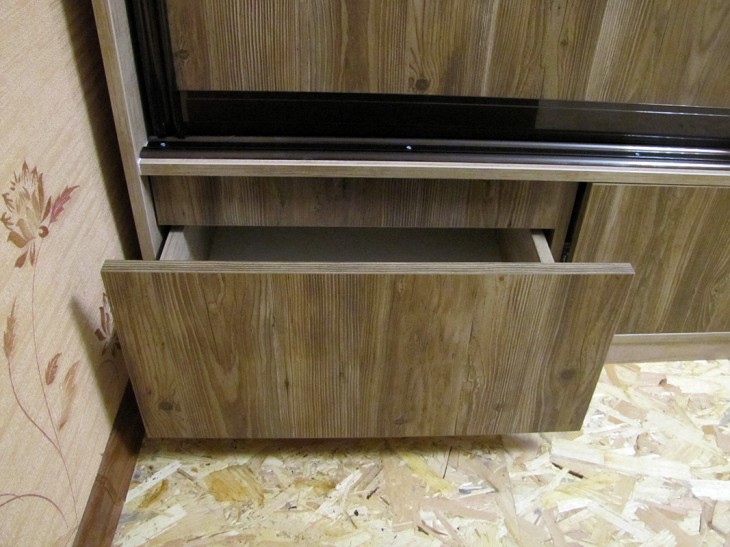
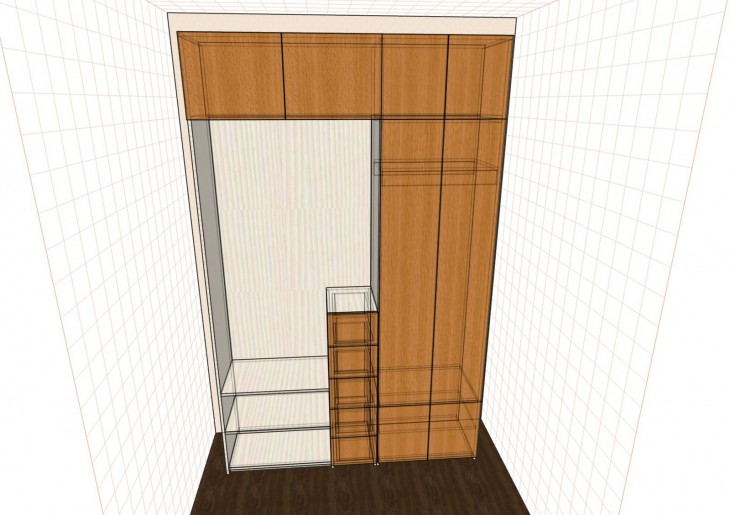
In the fourth stage, you should start collecting boxes. An example assembly is shown in the figure.
At the fifth stage, the entire structure is assembled.
Note!

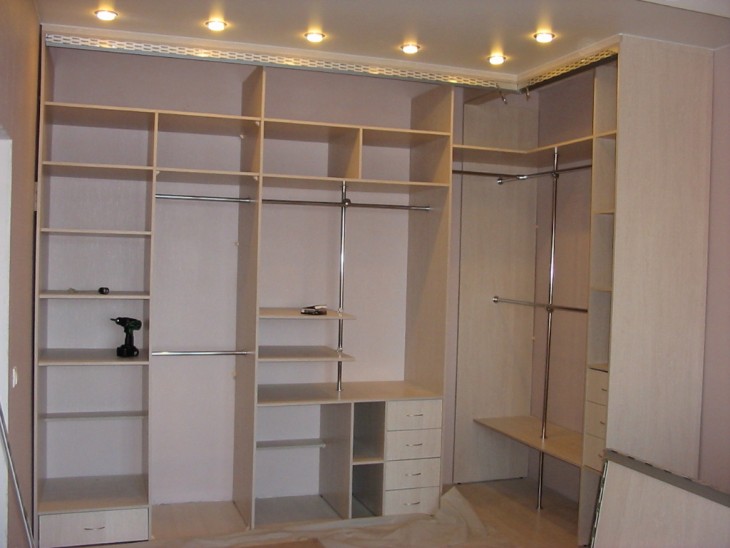
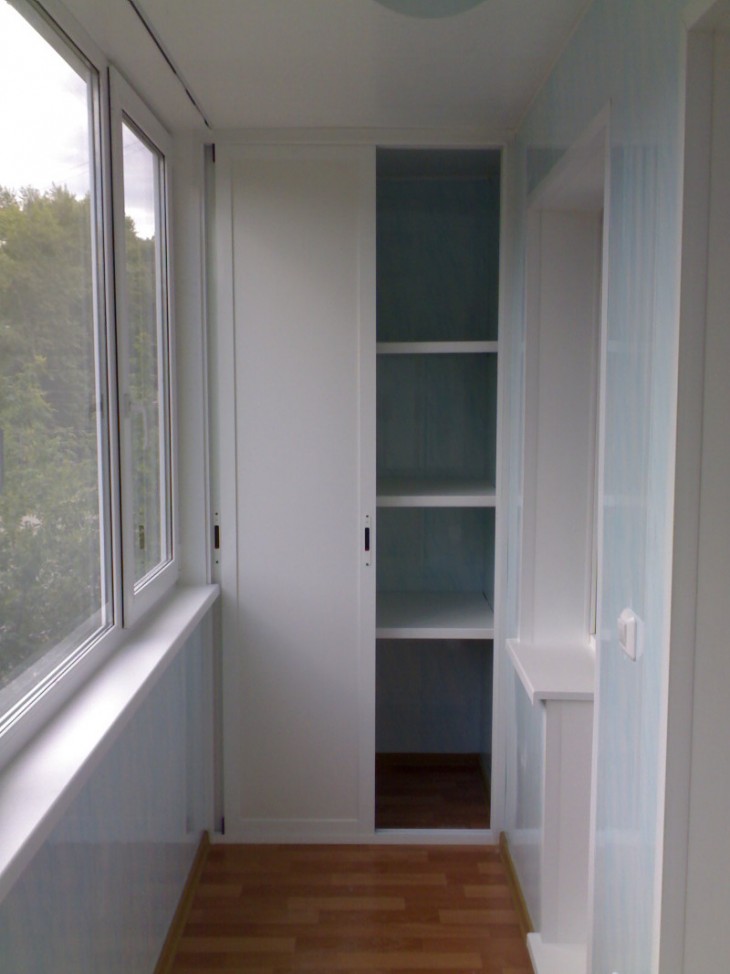
It is worth noting that the assembly of the cabinet itself is no different from the assembly of boxes. After all, the cabinet itself differs from boxes only in its dimensions.
In order to perform a coupler for confirmations, you will need to use a hexagonal bat. If you didn’t have one at hand, you can use an ordinary manual key. However, you will need more time to work.

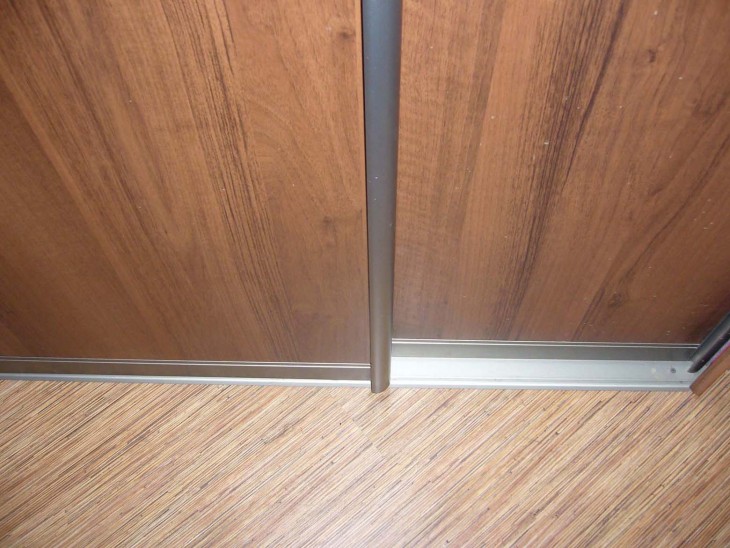
The fastening of the guides under the door should be done using self-tapping screws, which have a size of 4 by 16 mm. In place, the distance between the front edge of the bottom and the sides of the product should also be measured.

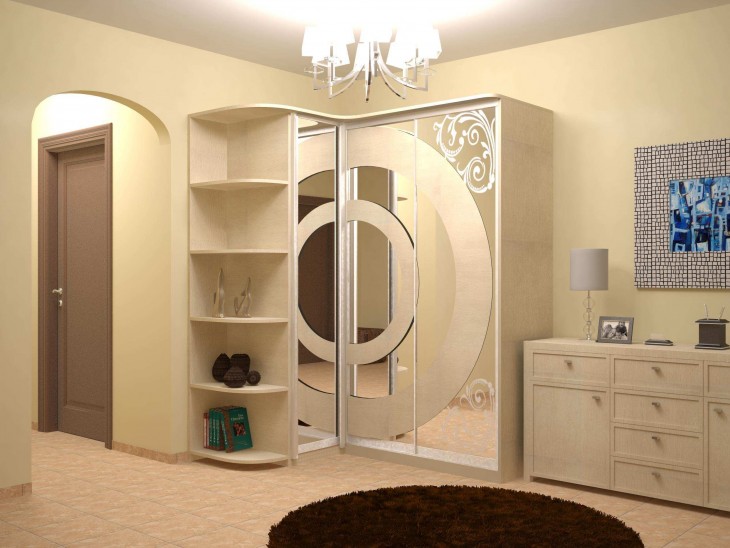
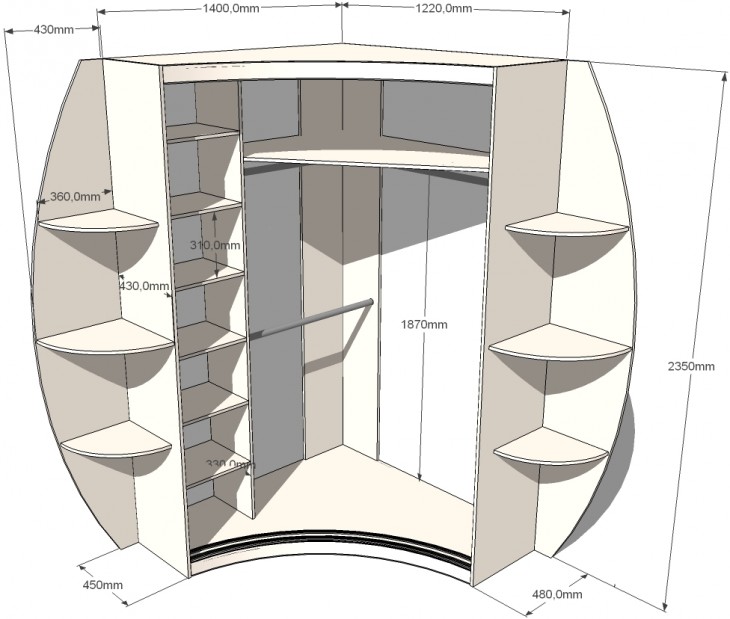
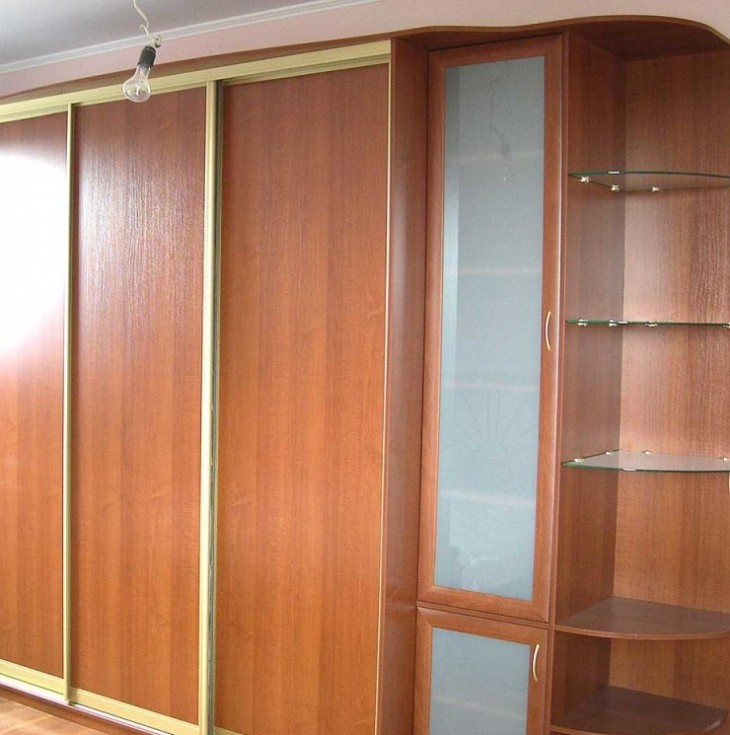
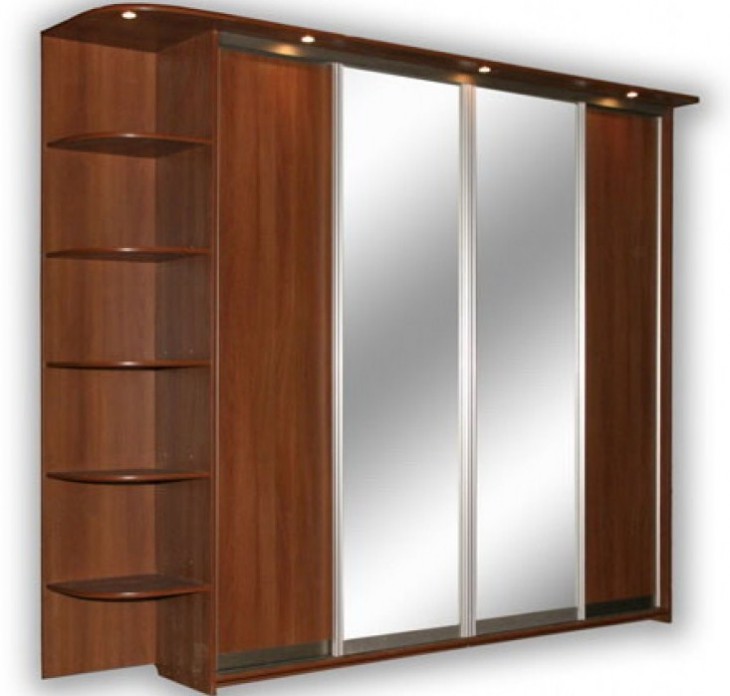
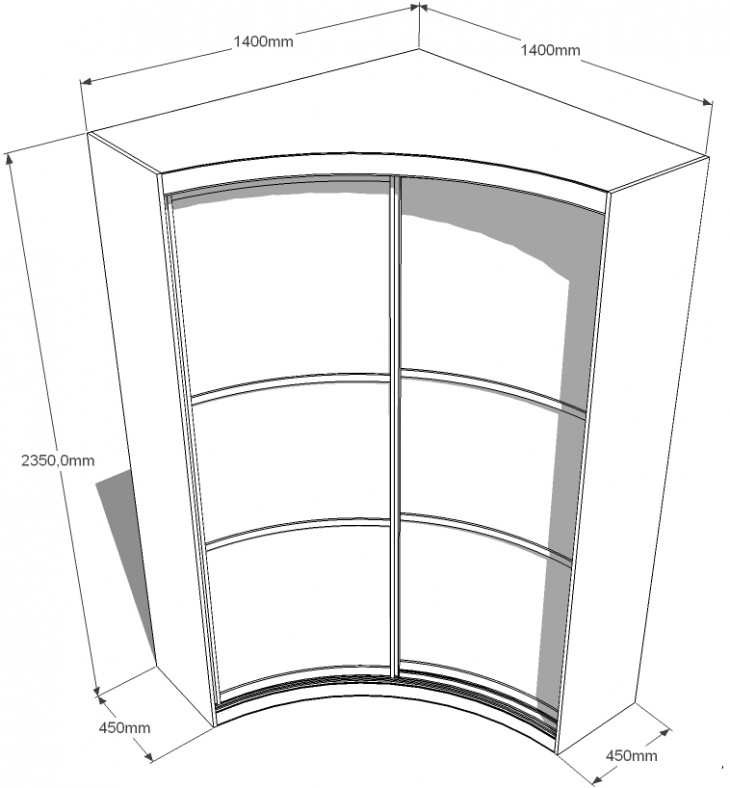
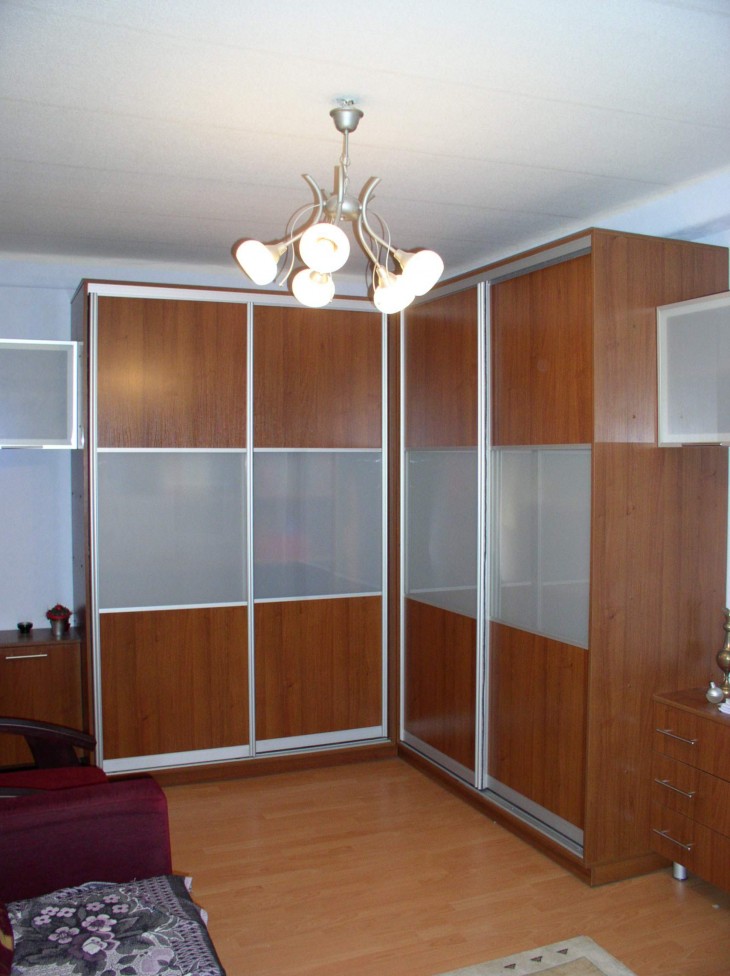
Be sure to ensure that the product is equipped with a high-quality system that eliminates the possibility of gaps. This is extremely important if you plan to make a corner cabinet with your own hands, since any gaps will be noticeable.
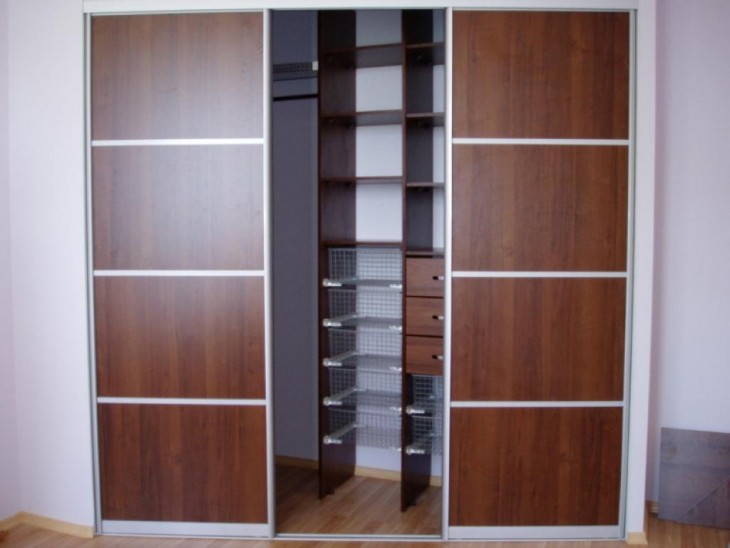
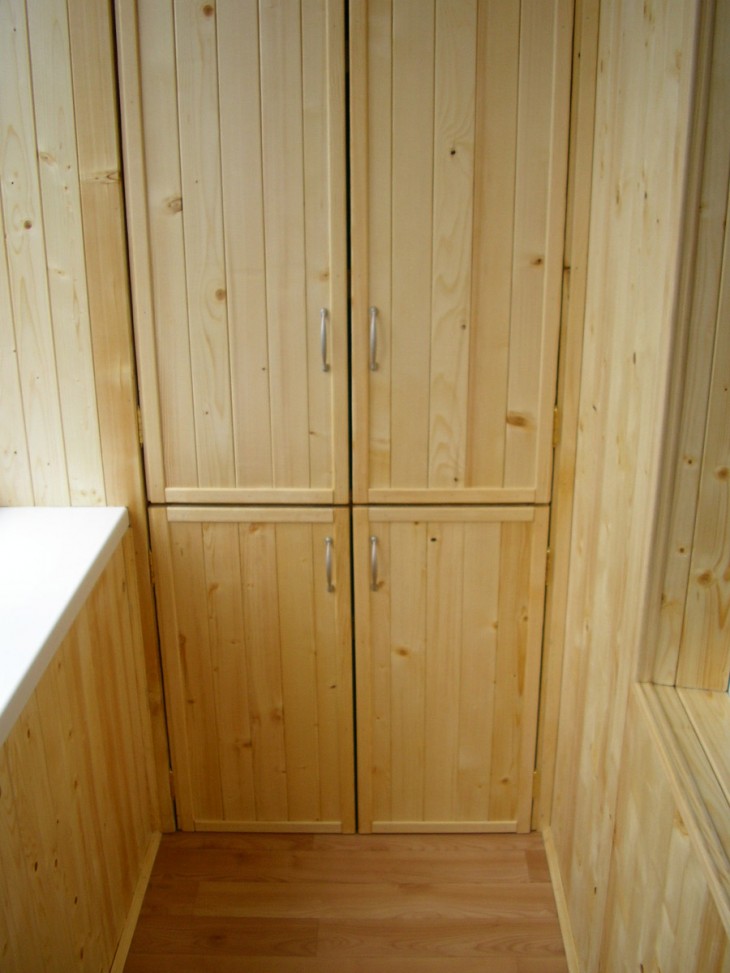
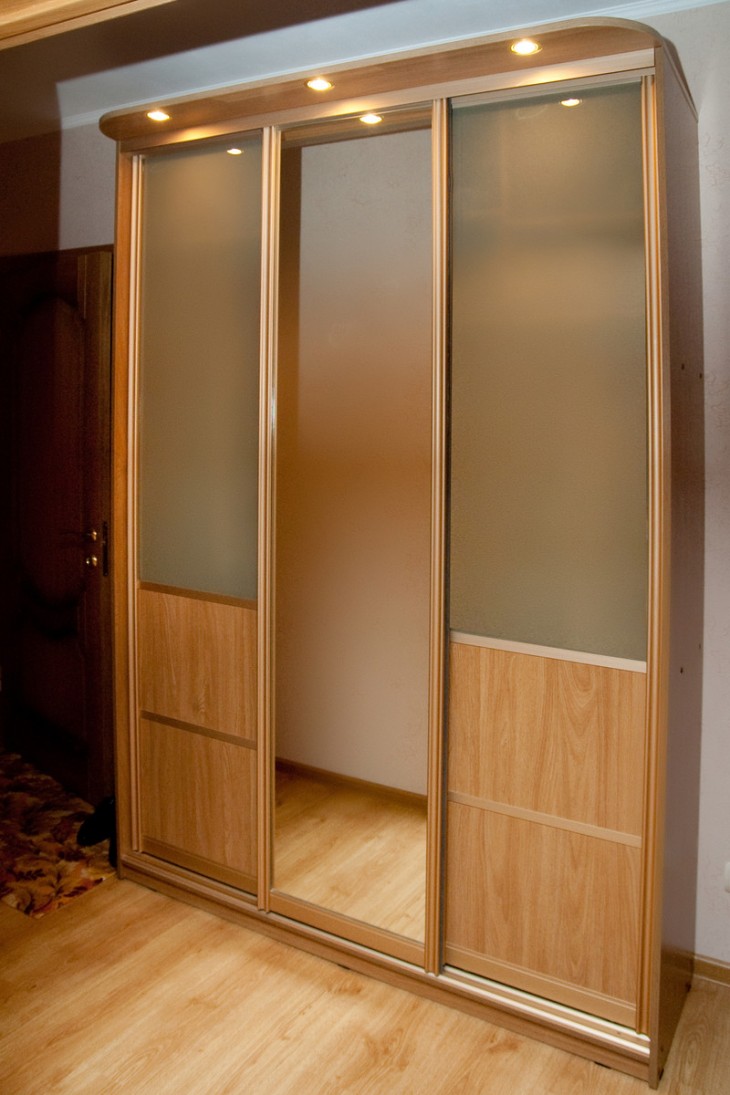
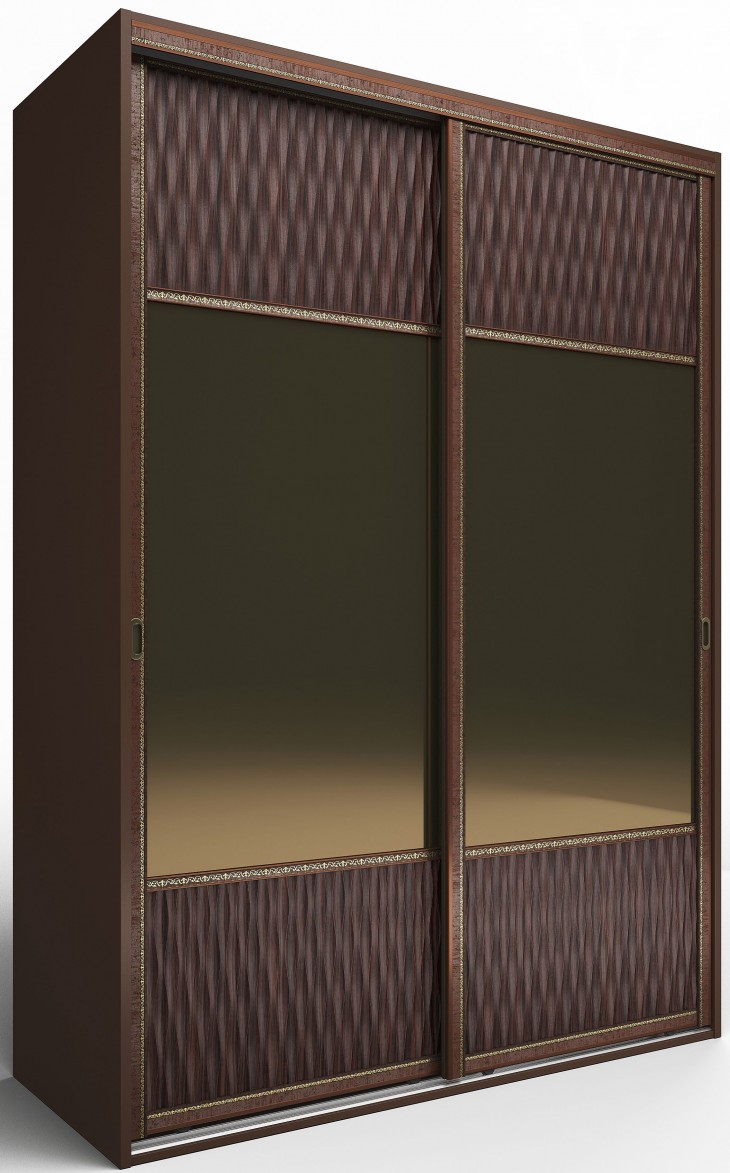
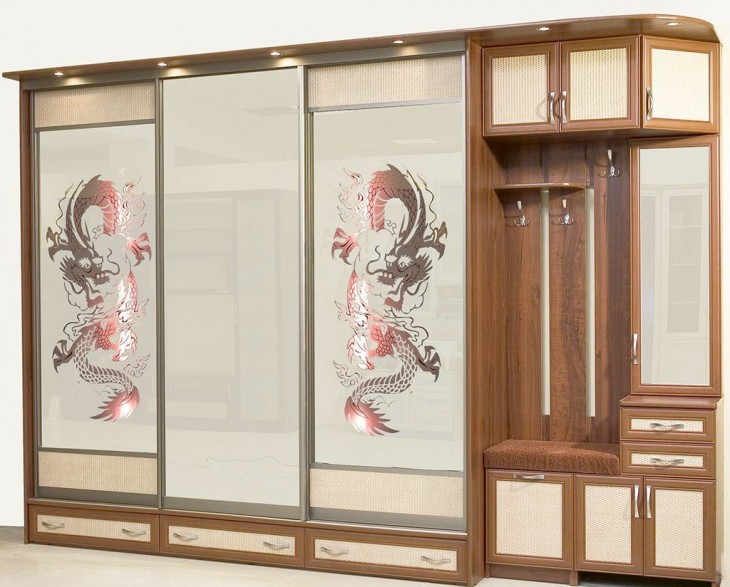
DIY cabinet photo

Note!