No matter how much space there is in a country house, on a plot you can not do without such a necessary outbuilding as a barn.
If there is no experience of independent construction yet, but the owner knows how to handle the tool, he can easily build a barn at his dacha with his own hands, following the instructions.
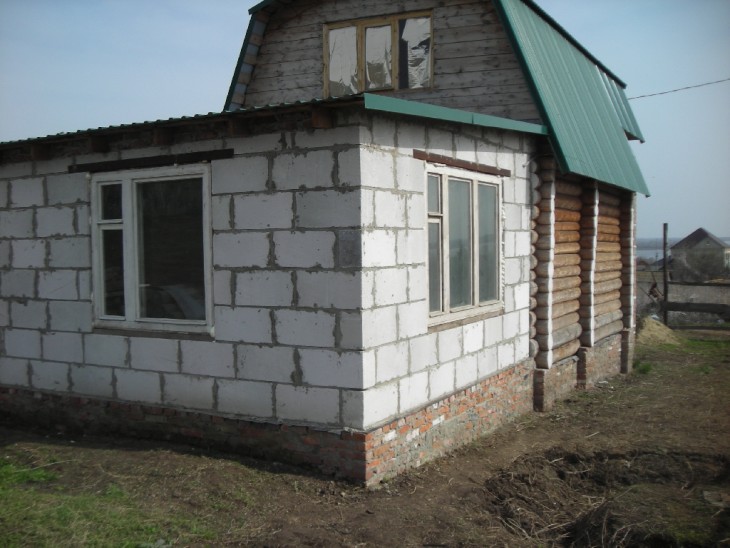
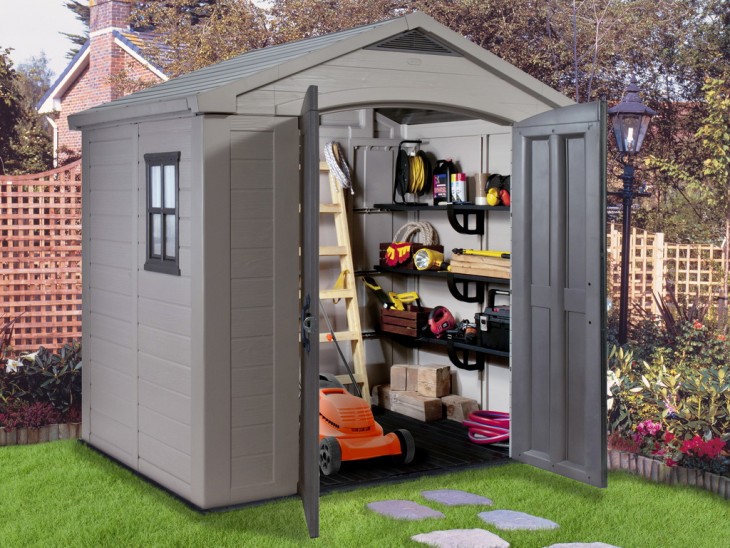
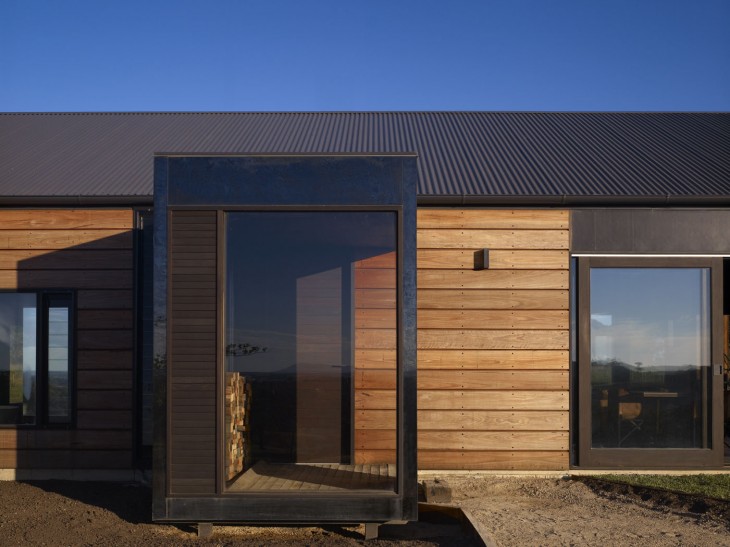
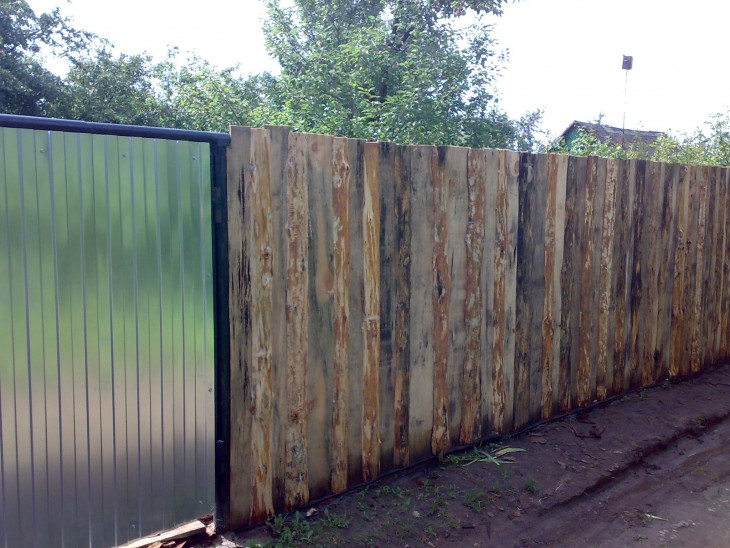
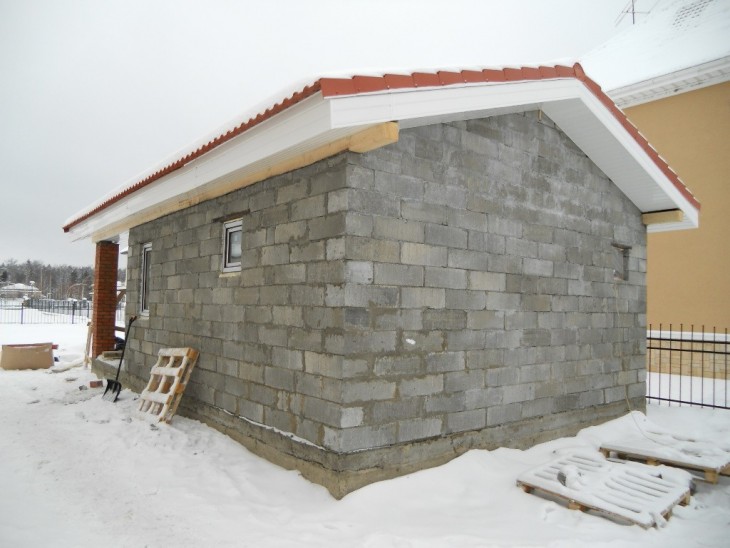
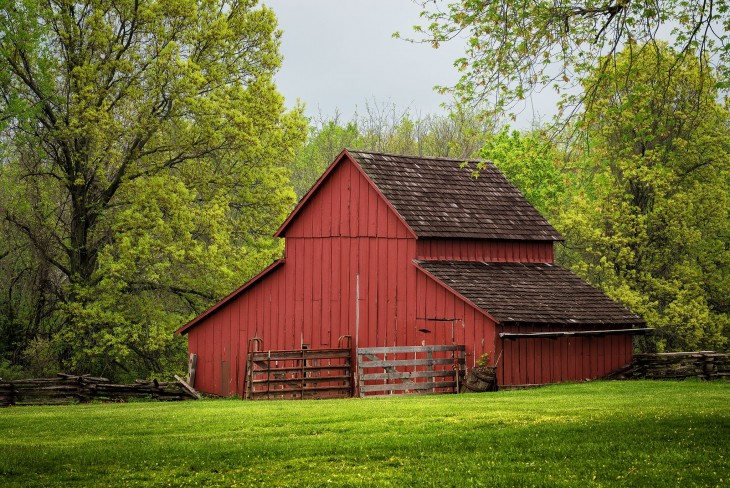
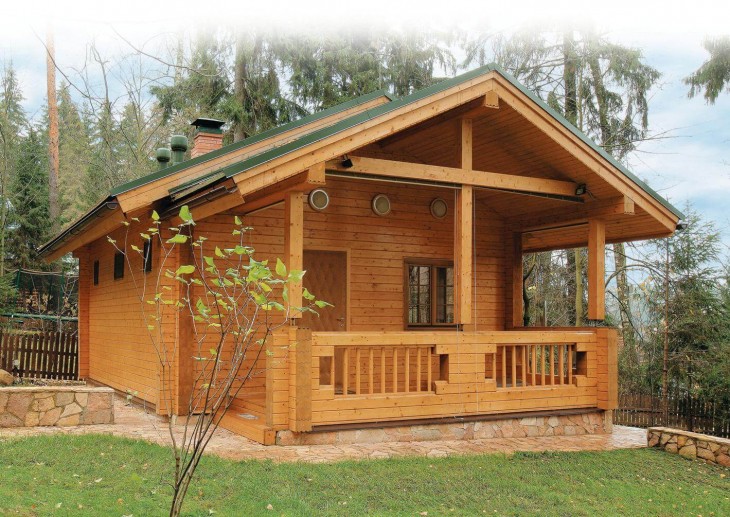
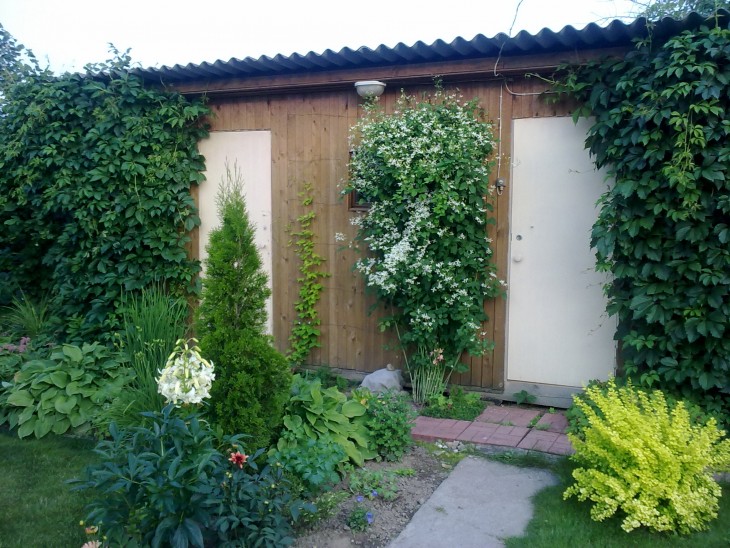
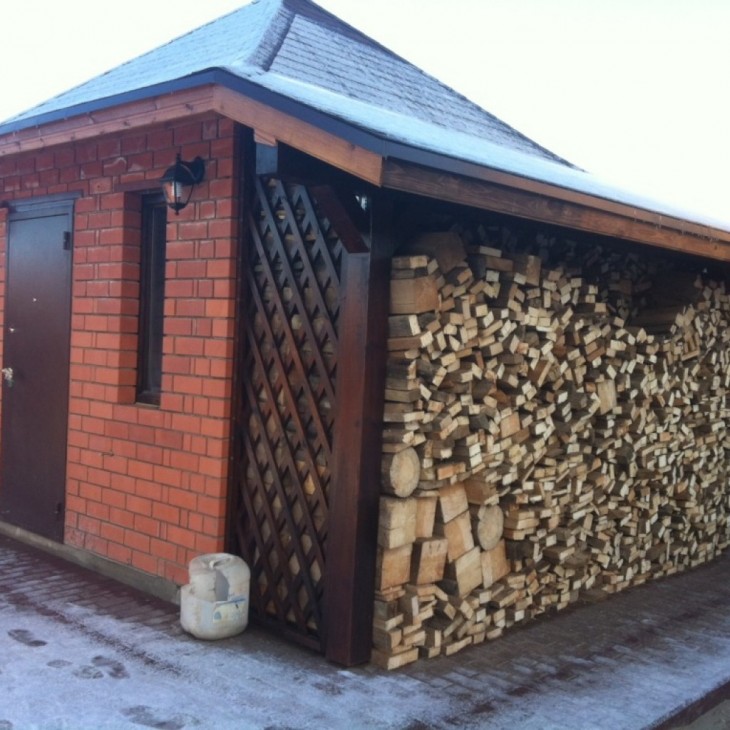
If the barn will be located next to the house, and it is important that it looks aesthetically pleasing, it is better to use the same materials from which the house is built. To reduce the cost of construction, you can trim the barn with siding - it is different, and imitates any materials - wood, brick, stone of different textures.

Review Content:
How to make a barn fast and inexpensive
Guided by step-by-step instructions on how to make a barn yourself, you can erect it in the shortest possible time, while spending very little money.
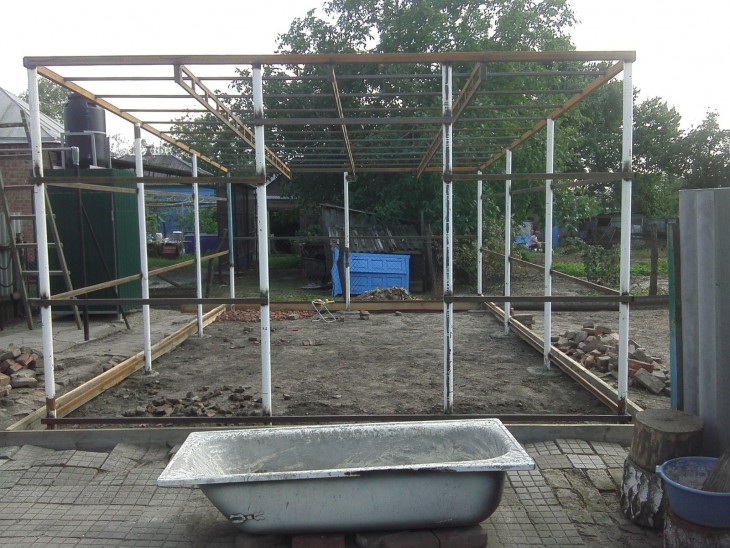
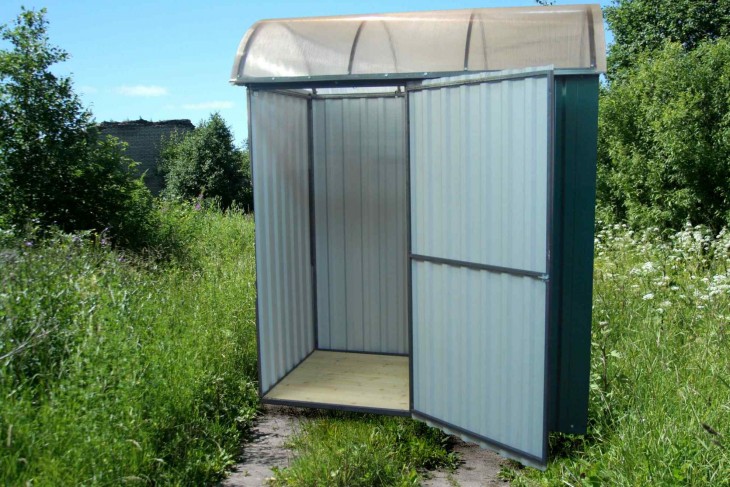
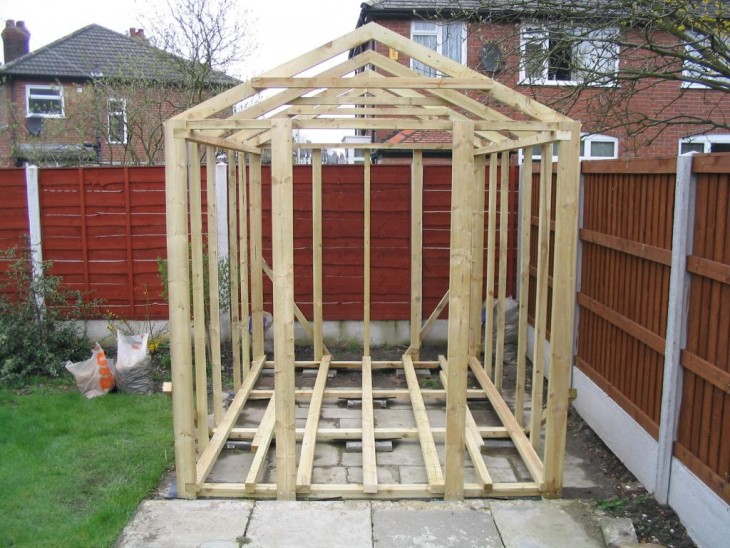
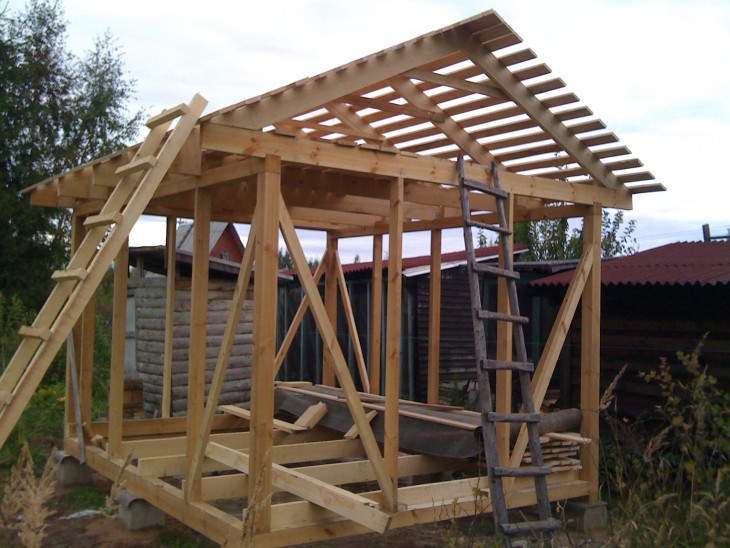
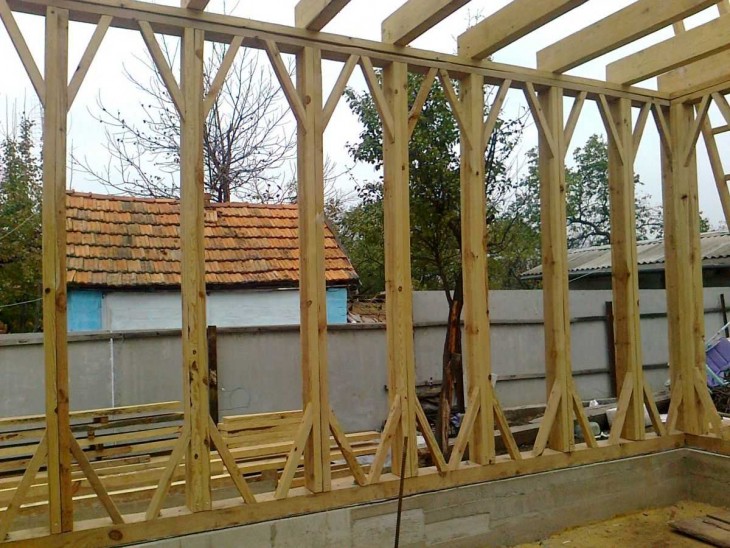
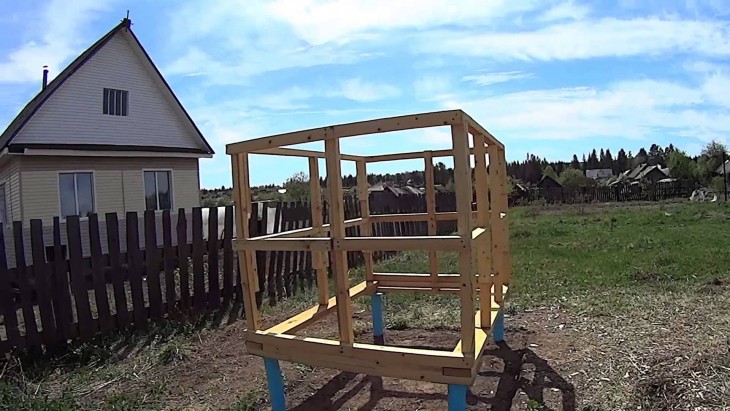
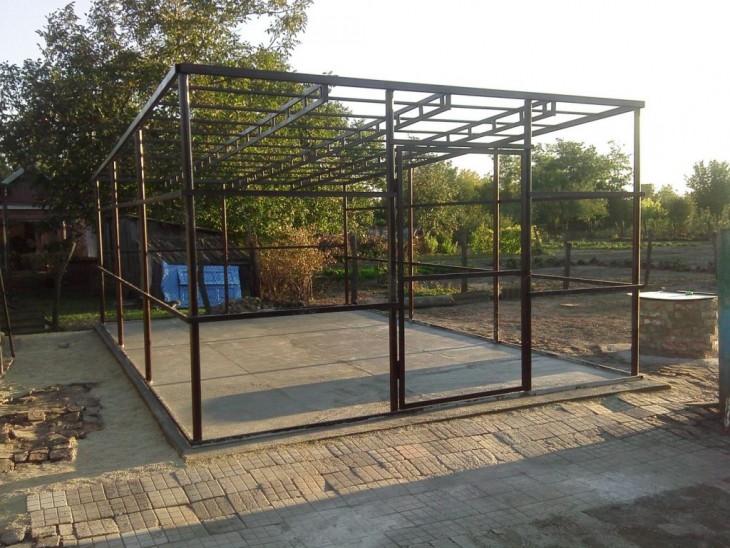
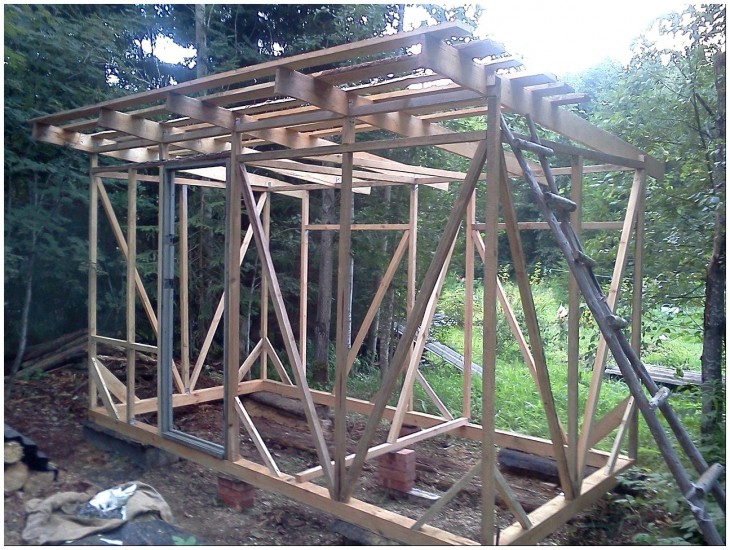
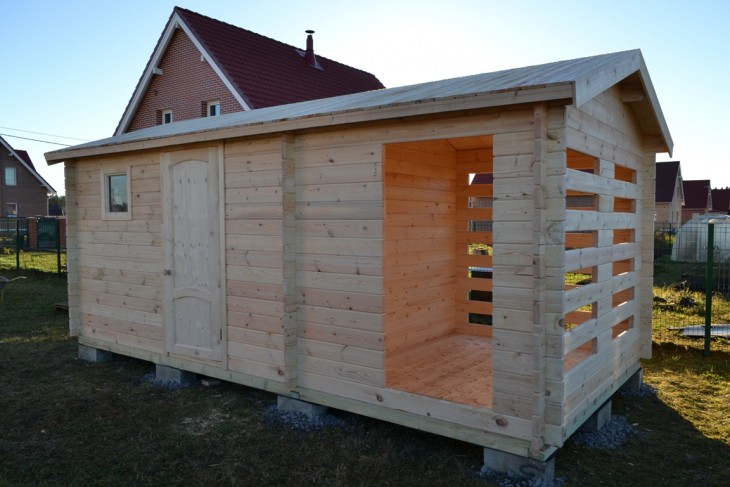
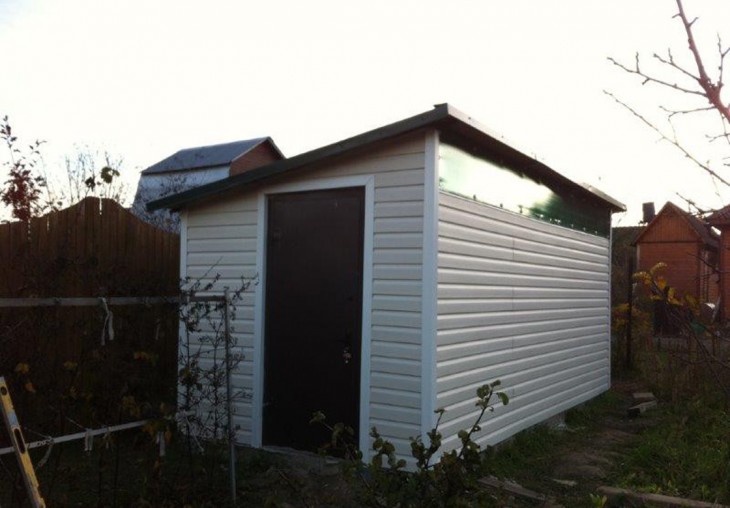
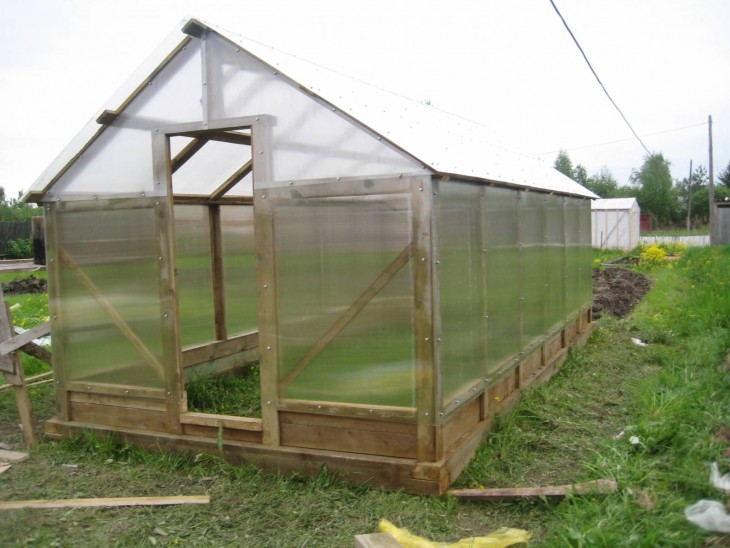
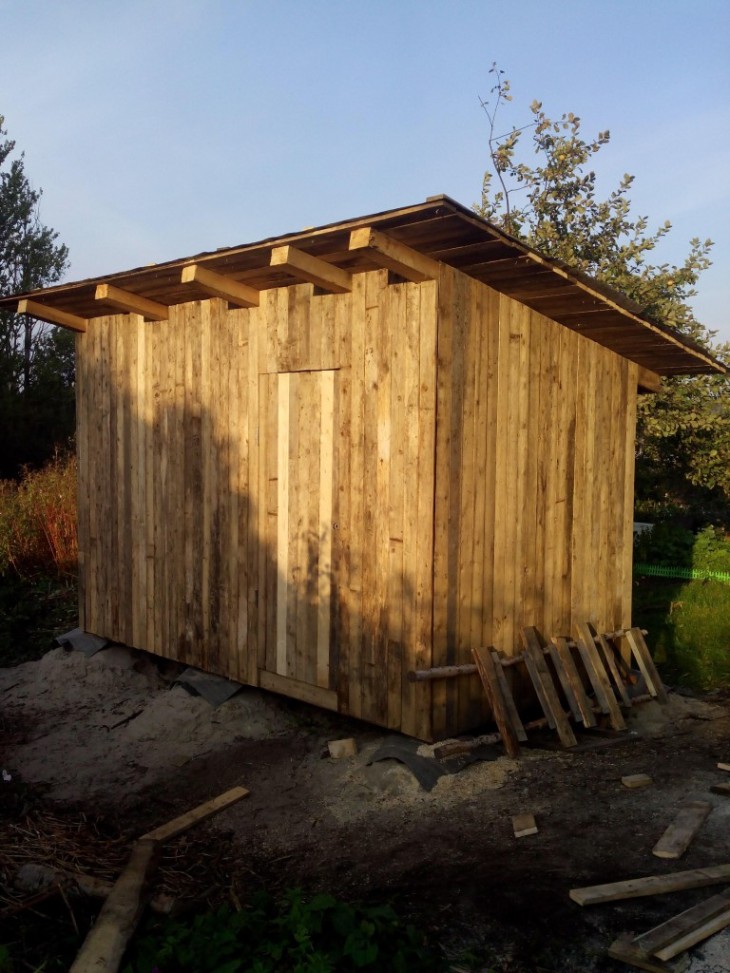
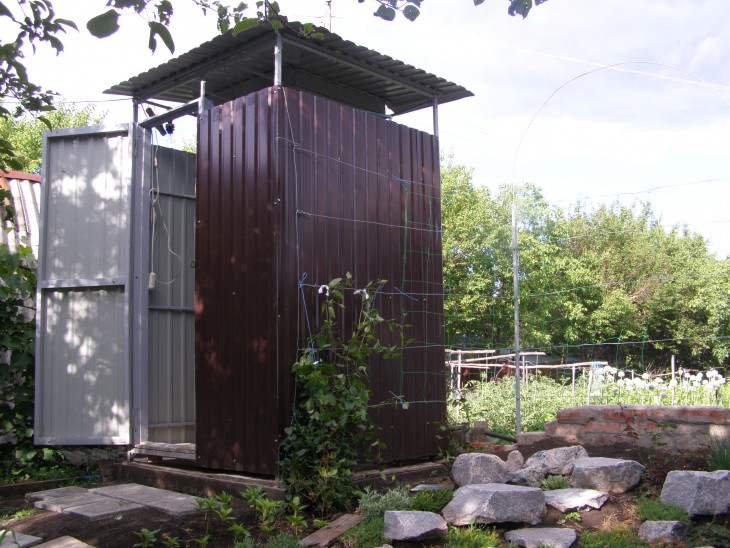
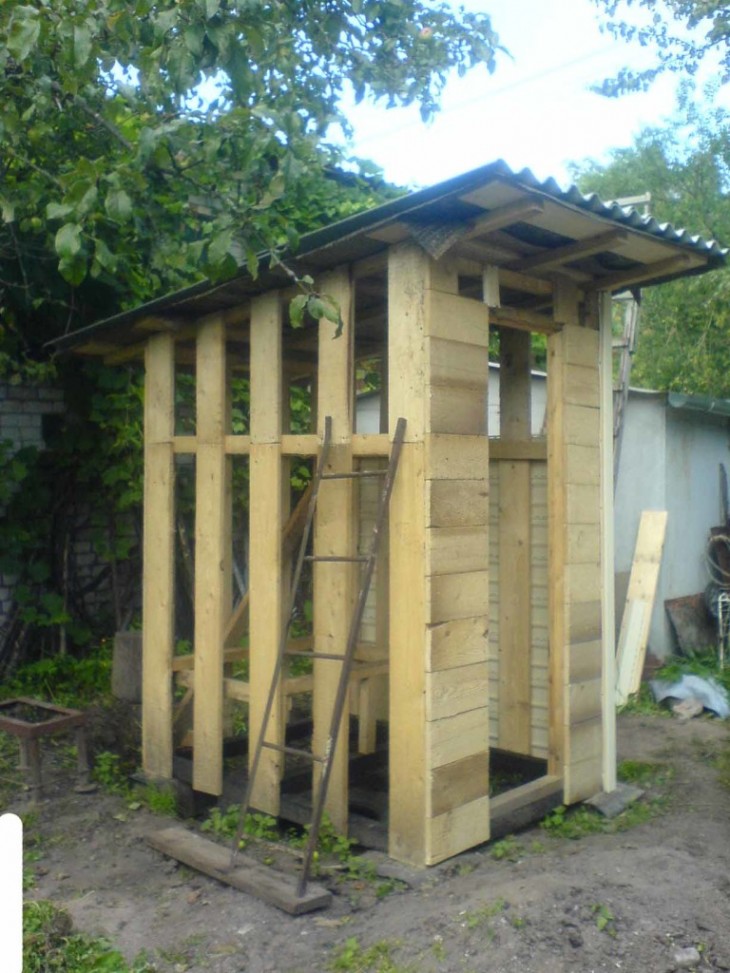
One of the easiest, fastest and cheapest options is a frame shed. The frame itself can be either wood or metal, it is sheathed with a suitable material from the outside, a roof is installed - and a convenient outbuilding is ready for operation.
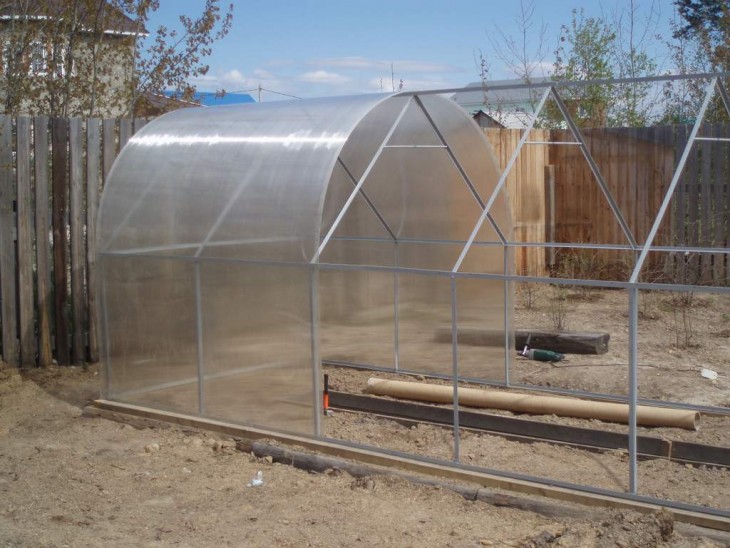
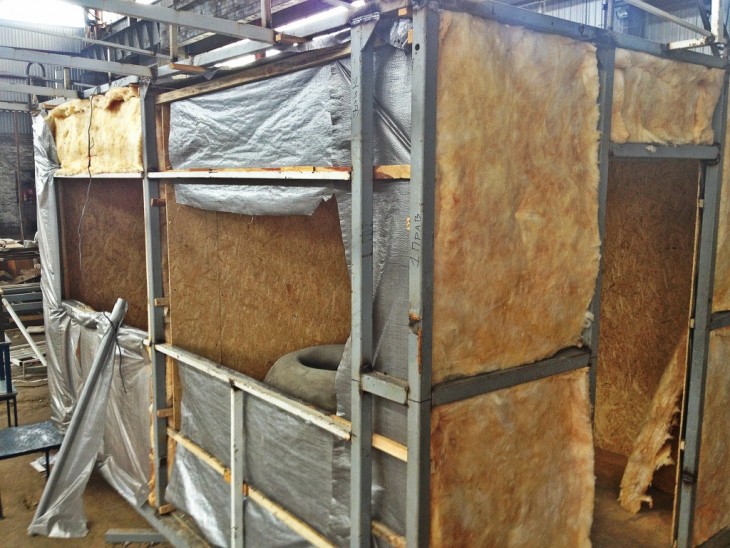
If the barn is wooden, then the frame can be made of timber. But it is more convenient, reliable and more durable to make the frame from profiled pipes with a rectangular or square section - a profile with a round section is more difficult to join and weld.
There are also ready-made metal frames for sale, which are assembled using self-tapping screws, and at the factory you can order a design according to your own drawing.
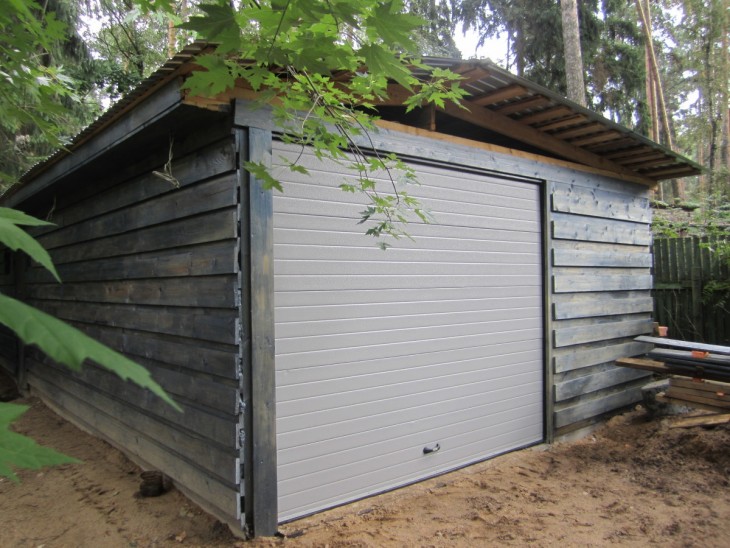
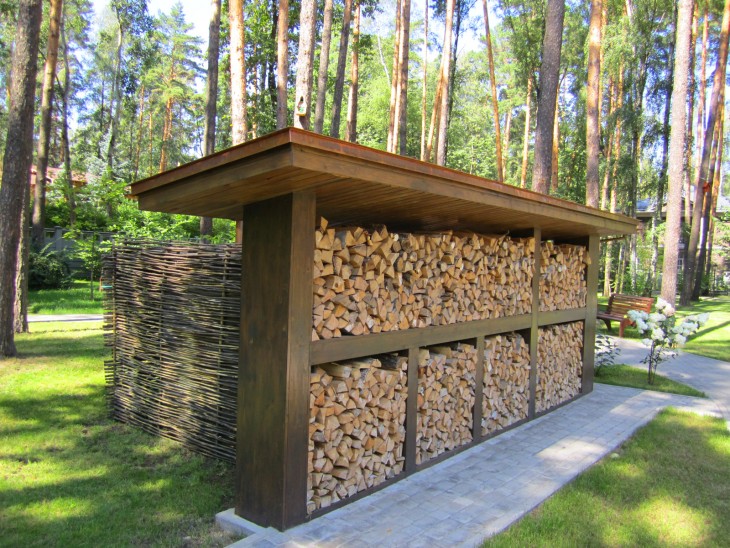
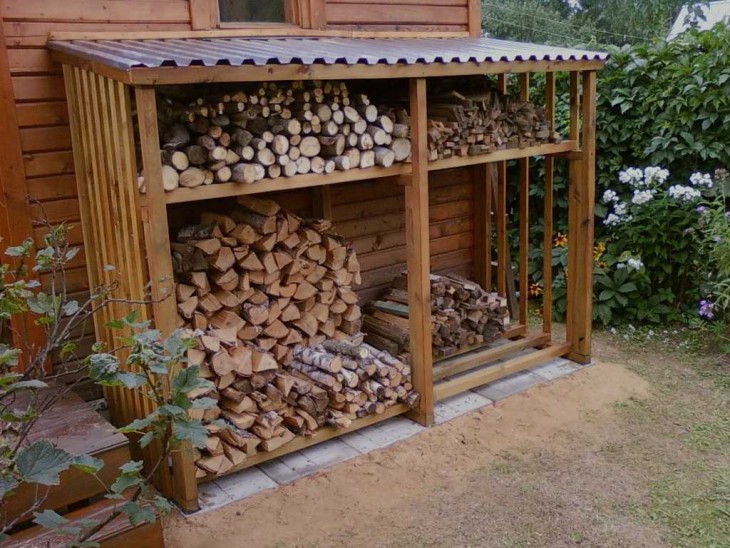
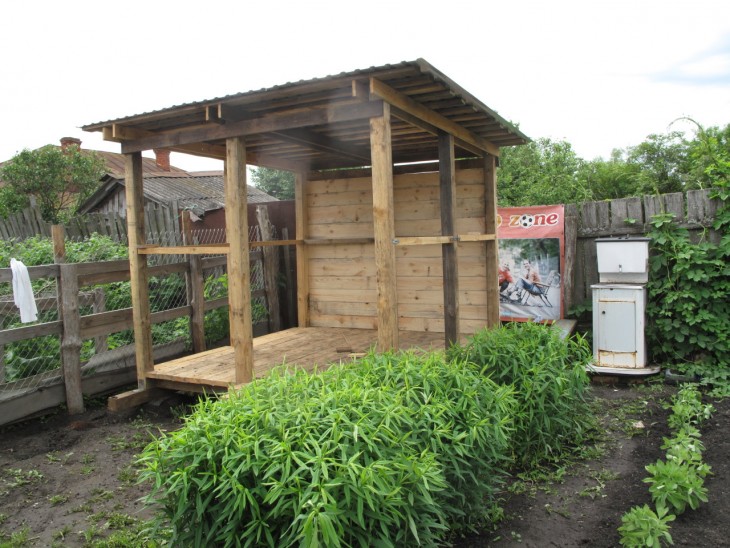
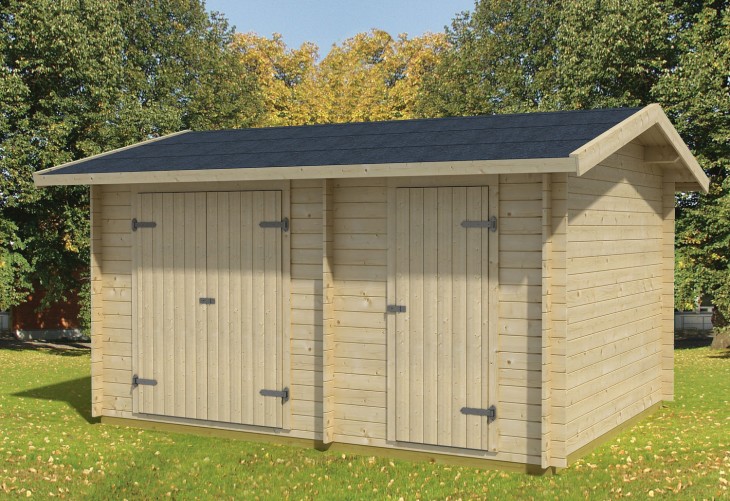
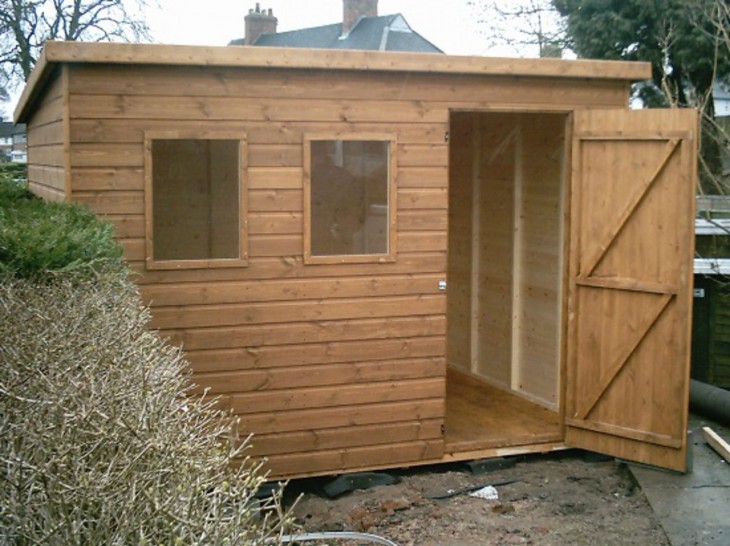
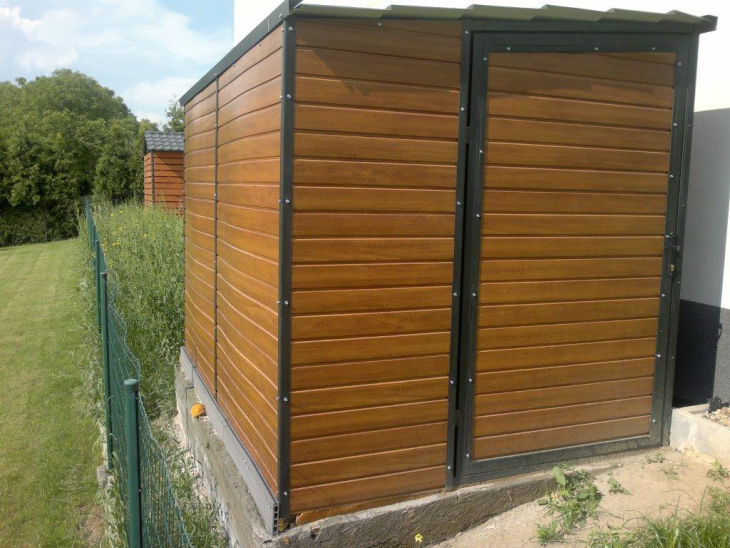
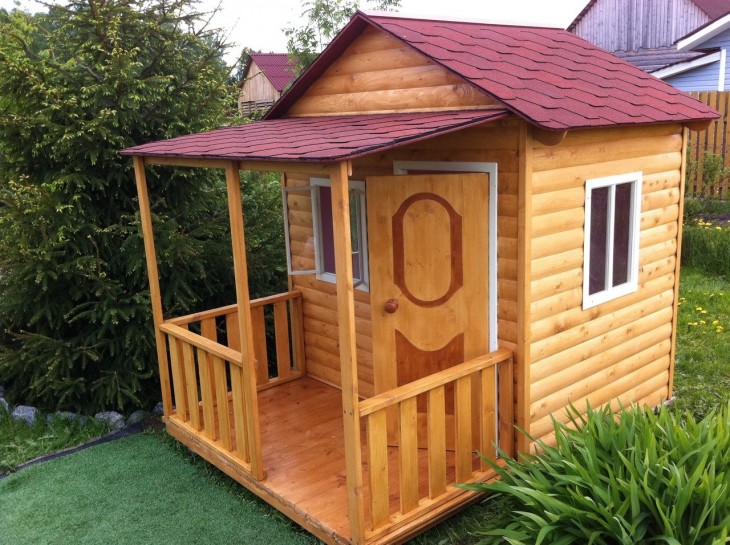
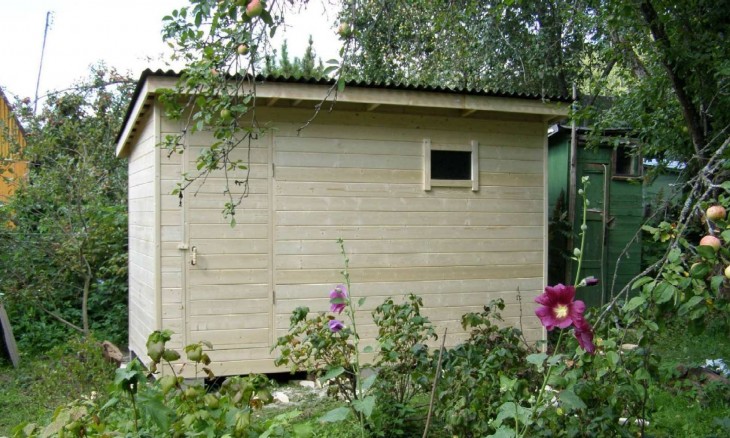
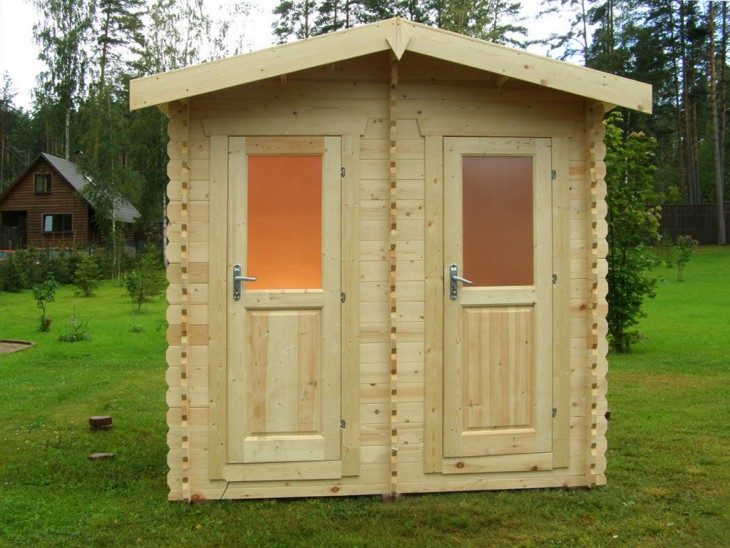
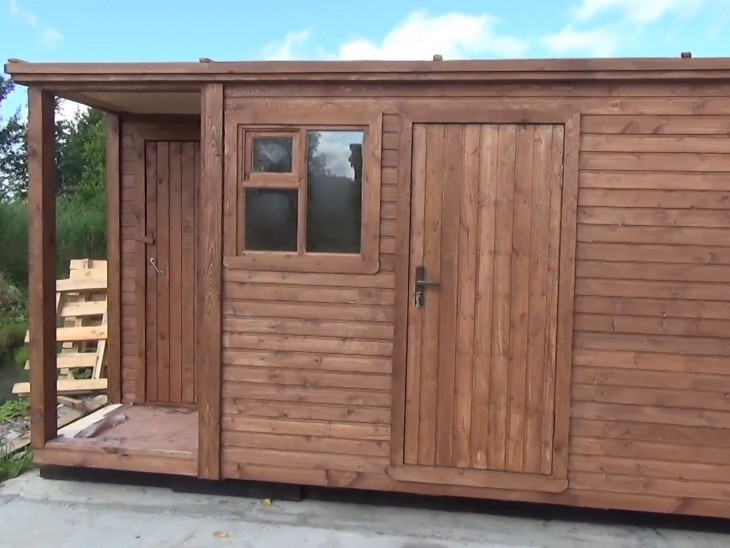
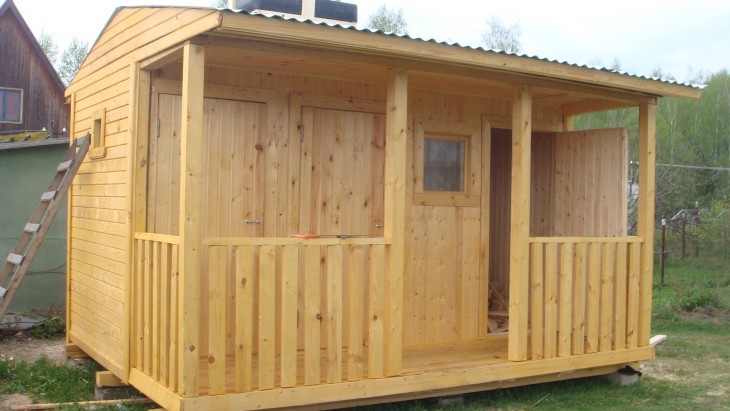
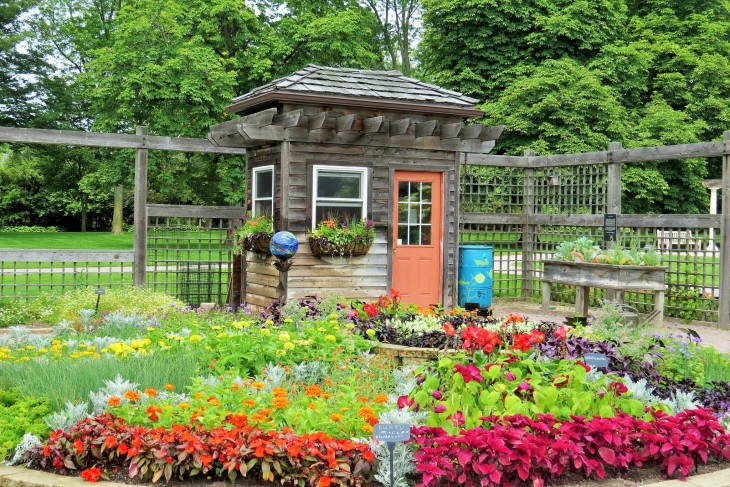
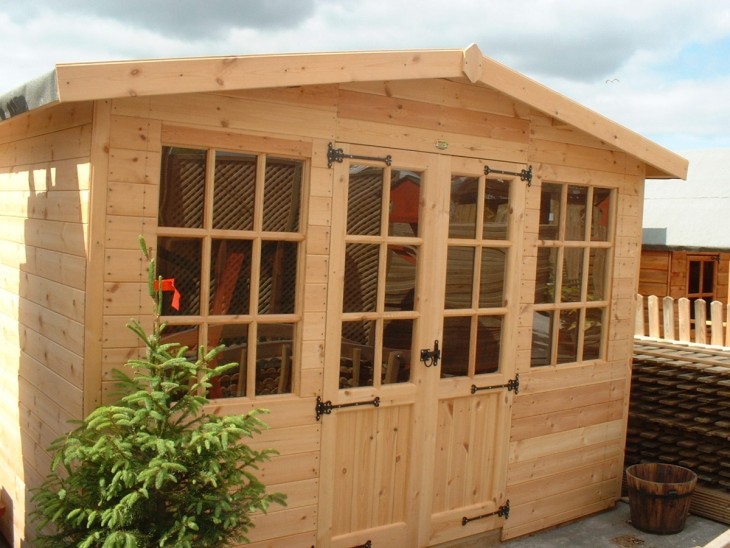
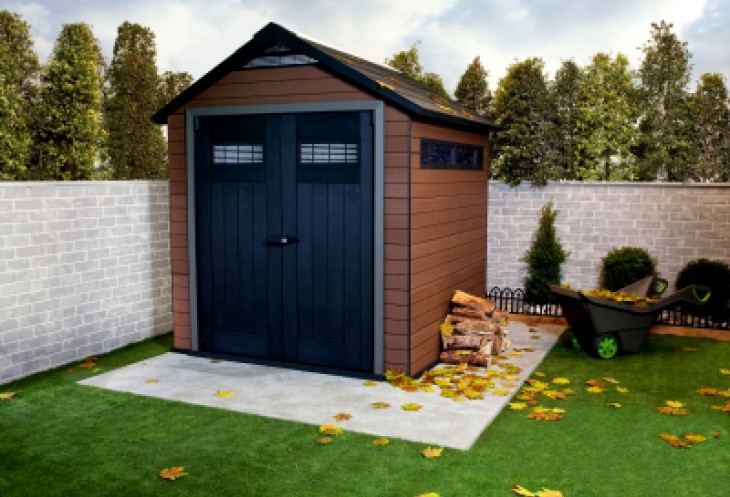
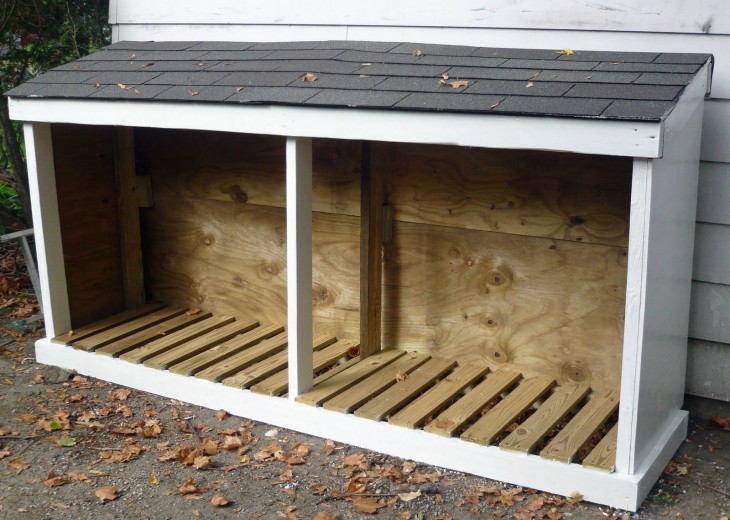
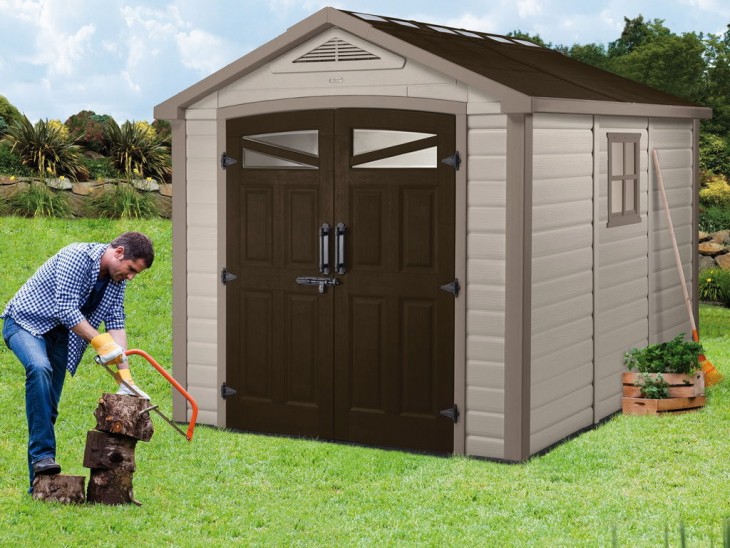
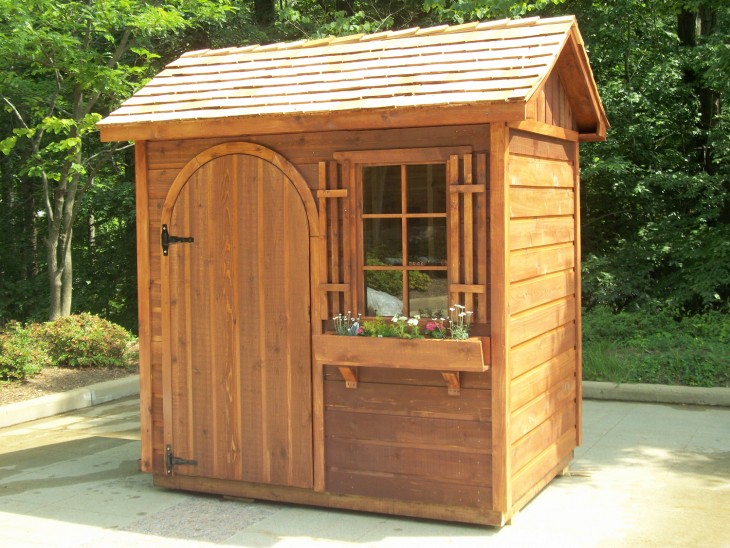
As practice shows, the assembly of both metal and wooden sheds usually takes only a few days. The photo shows the sheds on the frames - what they are, and how beautiful they can be finished.
How to be the foundation
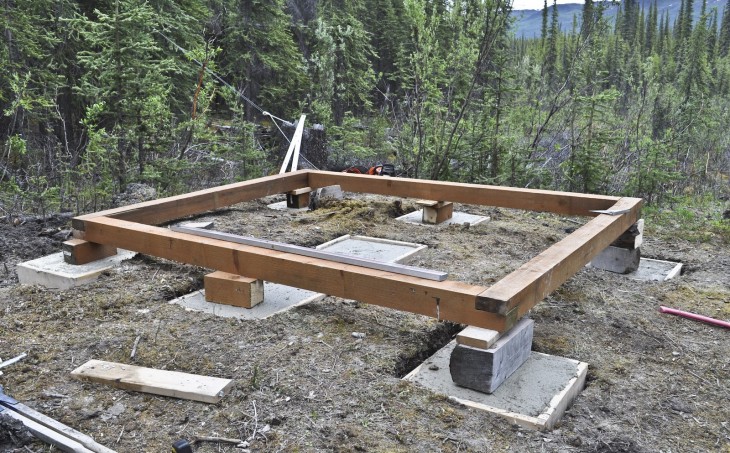
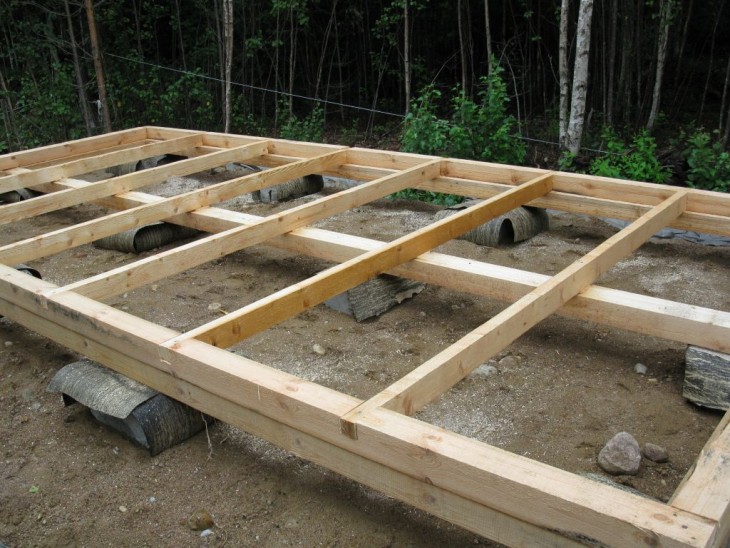
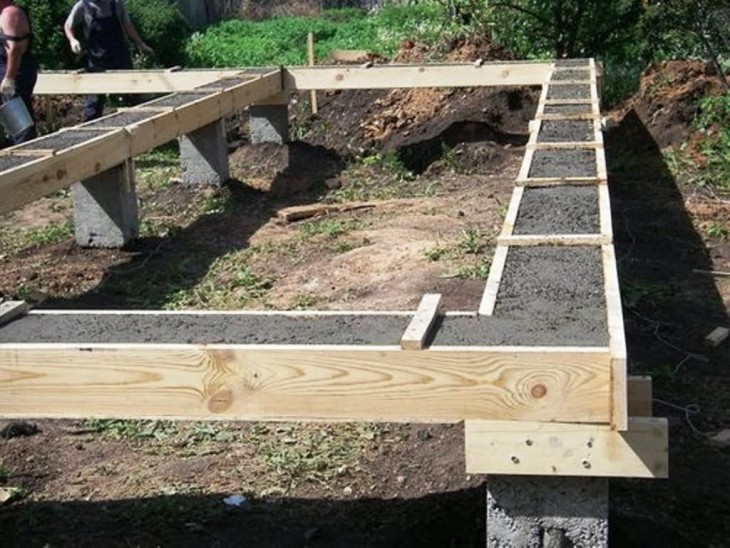
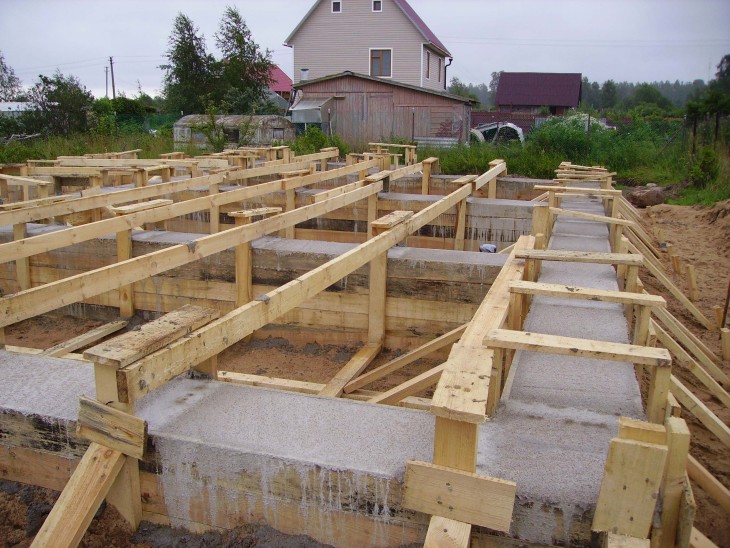
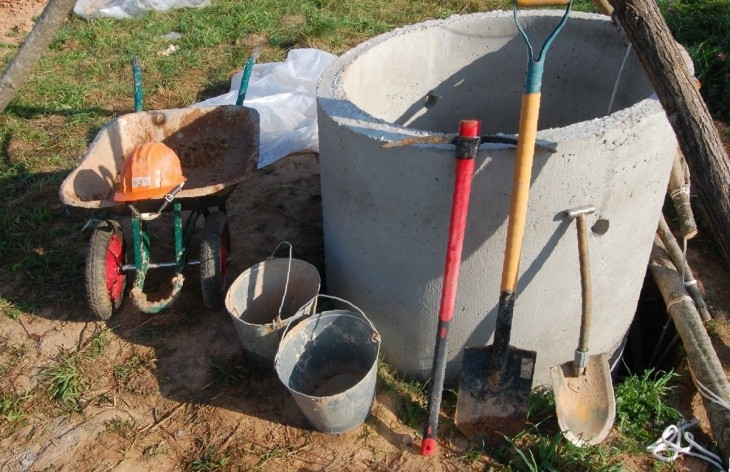
Frame sheds are lightweight structures, which is why the foundation under them is made lightweight. Most often, several columns, screw piles or a concrete block are enough - one or several, depending on the area of the barn.
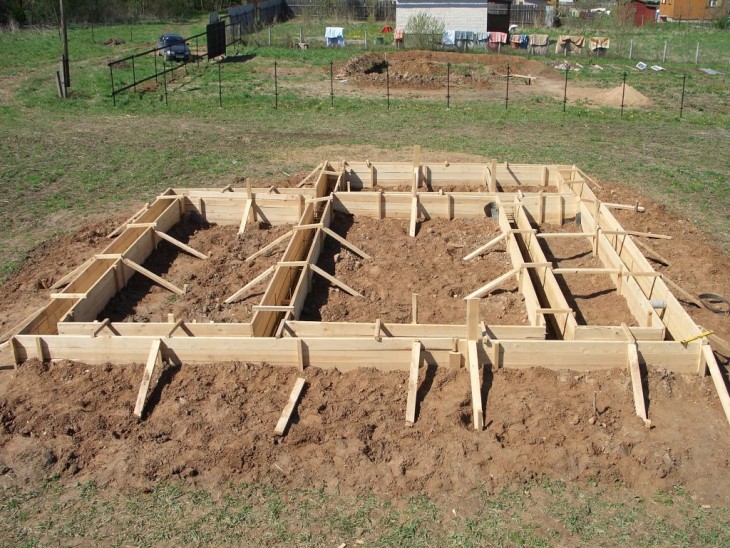
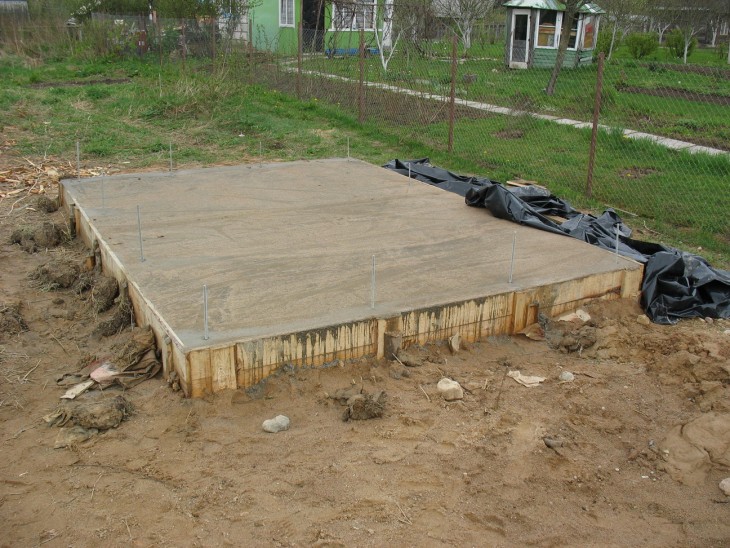
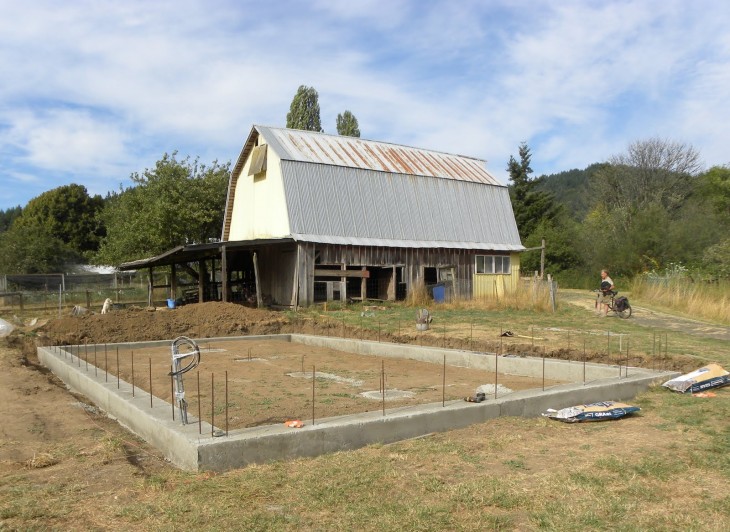
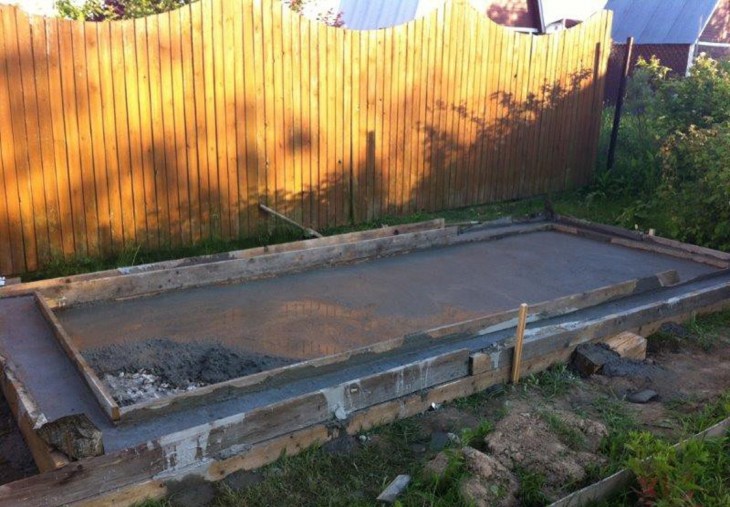
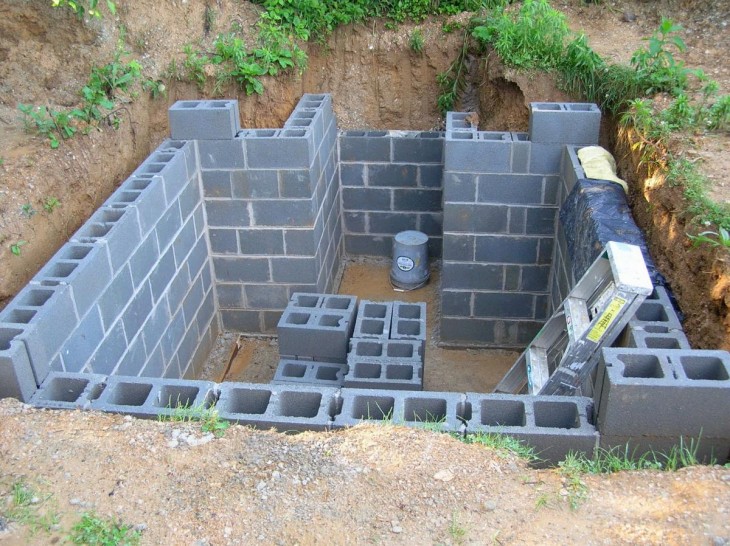
If the soil on the land is complex, the foundation can be tape shallow laying of special monolithic blocks.
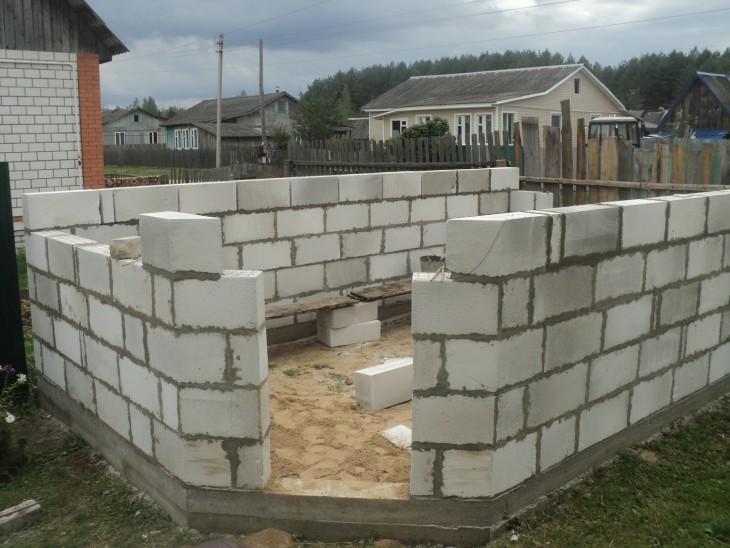
The reinforced strip foundation will withstand even bricks and building blocks as walls - the construction will be reliable and will not crack on the ground, which is prone to swelling, since the movement of the structure will occur along with the foundation.
The choice of the type of foundation depends on the soil on the site, the area of the shed, the material from which it is built, as well as the financial capabilities of the owners of the site. But it’s easiest, faster and cheaper to build a barn on a frame without a foundation.
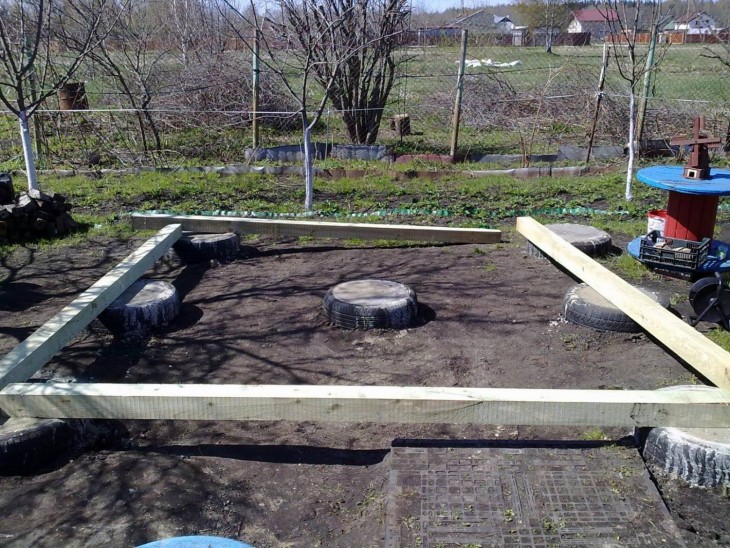
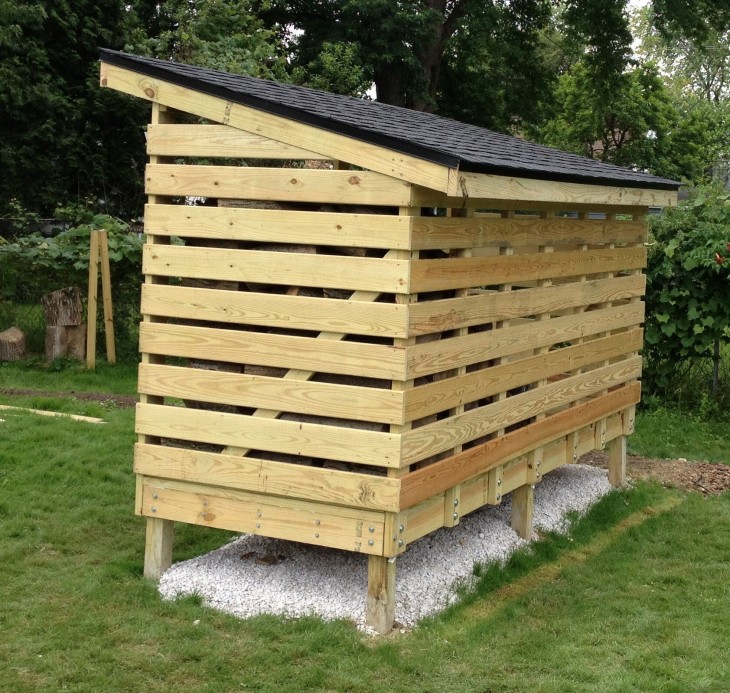
Frame shed without foundation
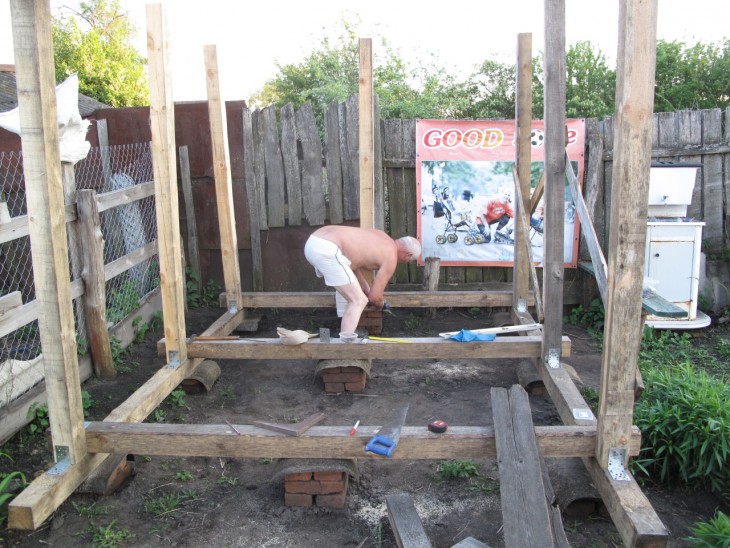
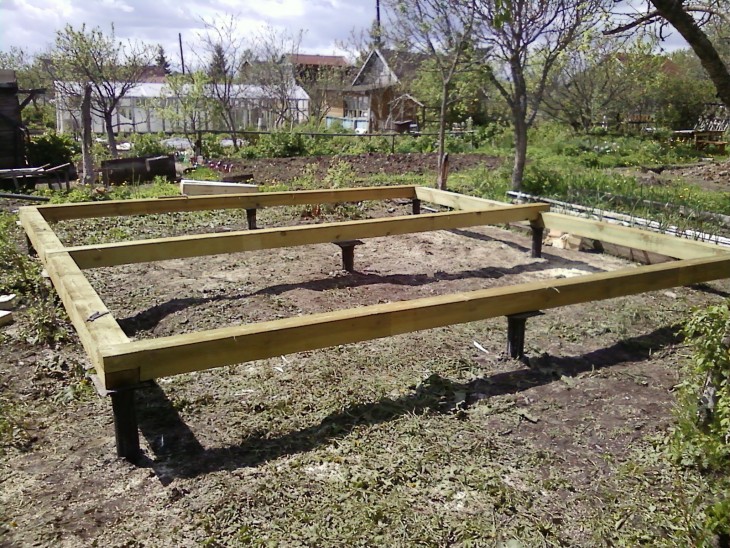
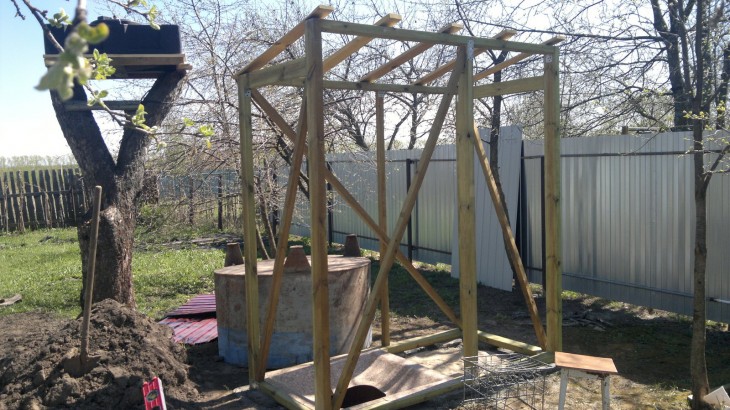
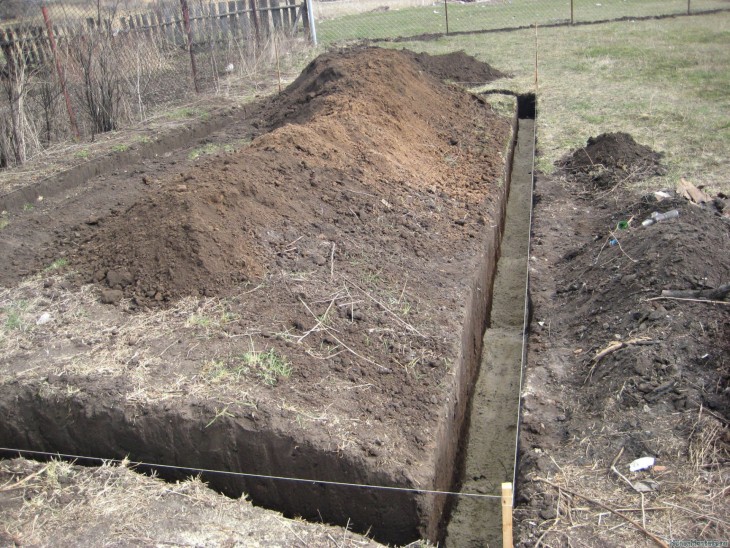
Frame sheds can be erected without any foundation at all. There are two options. In one case, the racks treated against decay are buried by 60-80 cm, concreted, and then the lower harness is attached to them, on which the floor is laid on the logs. It is worth noting that this method is only suitable for the construction of a small area.
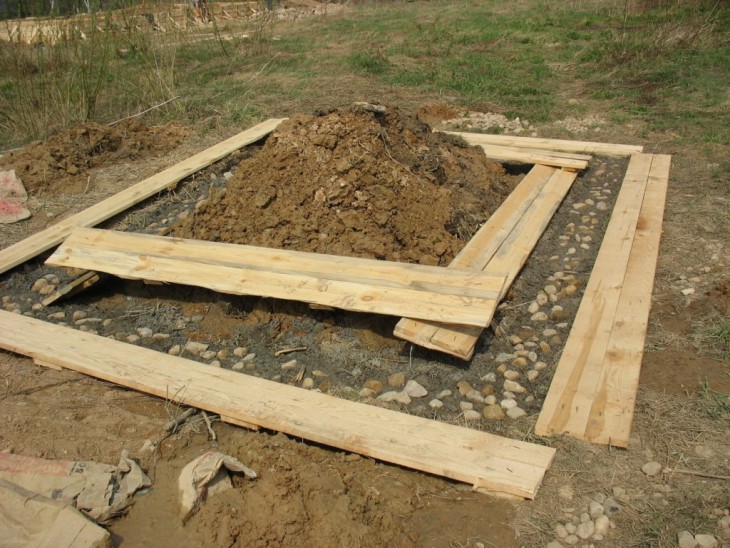
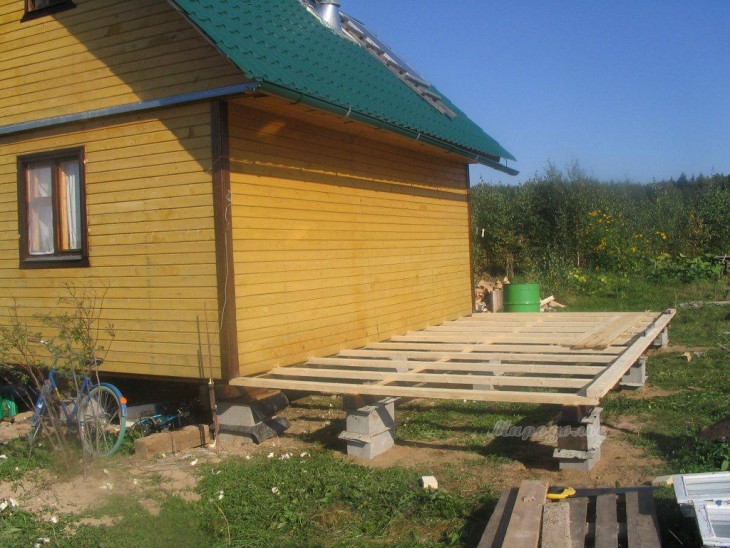
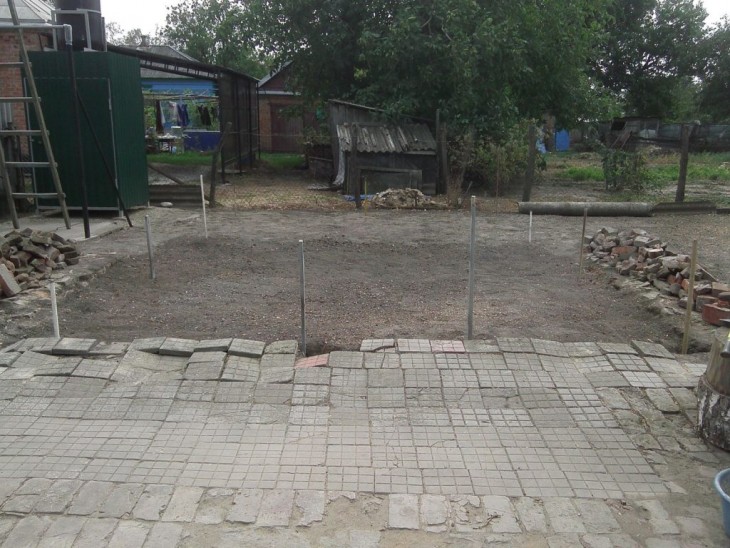
On soils that absorb and drain water well, it is possible to erect a shed without a foundation in the following way: the site for construction is marked so that the platform on which the shed will stand is 0.5 m wider on each side than the area of the structure itself .
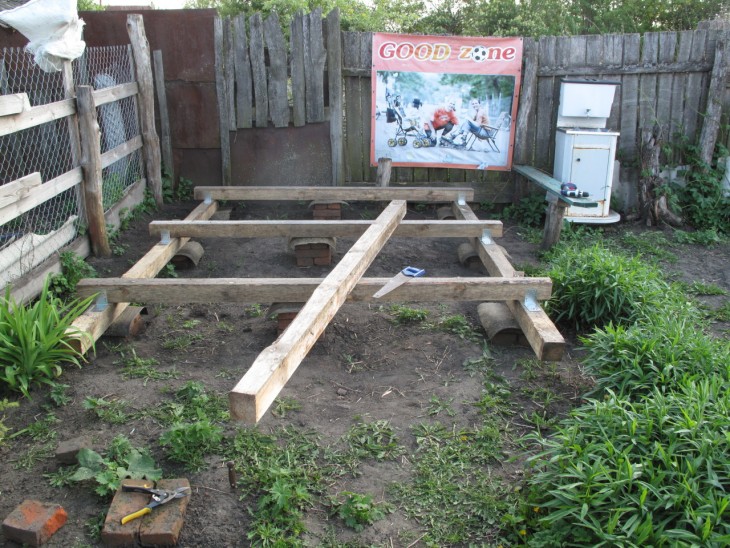
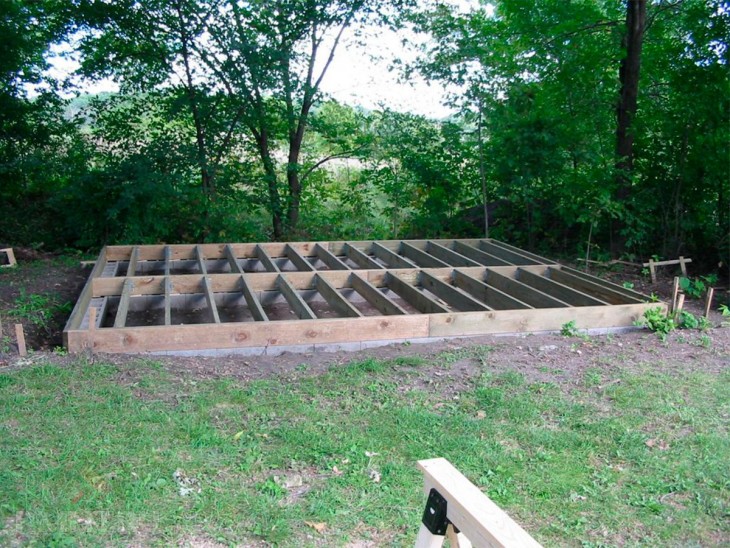
Sod is removed from the ground and a sand and gravel bed is made, which must be carefully packed. The harness beam is laid on the prepared place, the logs treated with an antiseptic are fixed on it - the logs will be in direct contact with the ground, so processing with an antiseptic is mandatory.
As soon as lags for the future floor are laid on the site, the floor itself is made. It can be made boardwalk, from sheets of moisture-proof plywood or from oriented particle board (OSB). At the same time, the recommended thickness of materials:
- for a board - 20 mm;
- for plywood and OSB - 13-15 mm.

When the site for the building is ready, you can proceed with the construction of the barn.
Note!
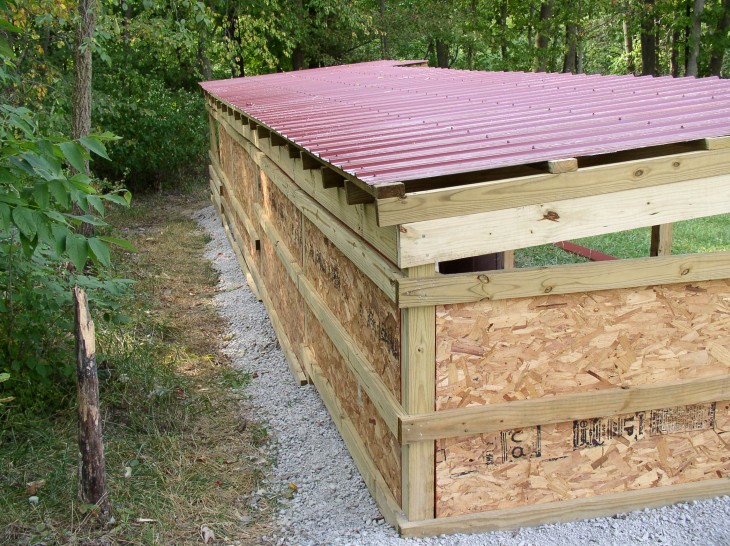
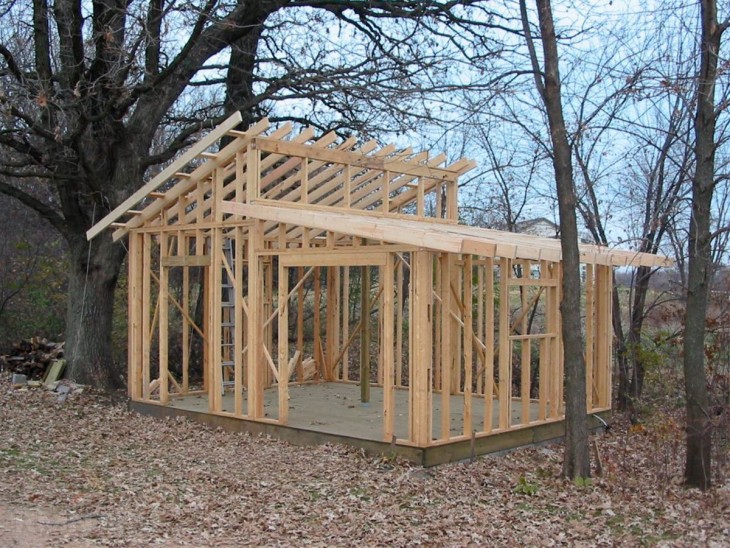
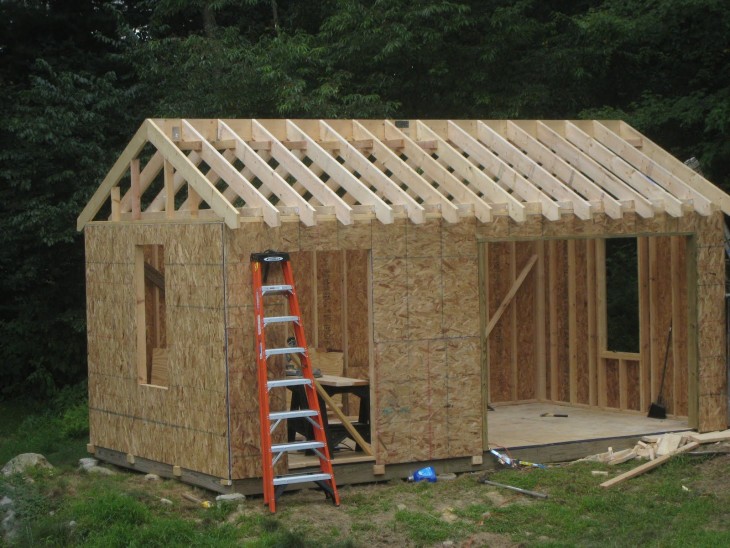
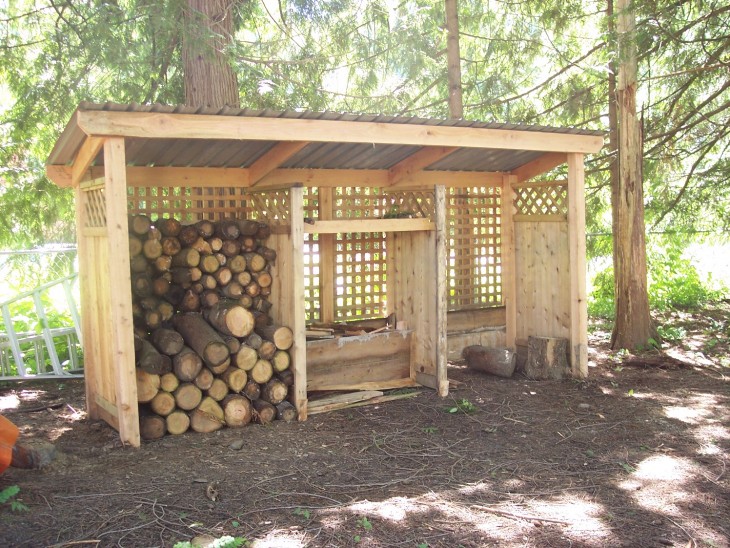
During the construction of a frame shed with a pitched roof, the roof should be installed correctly - the angle of its slope should be such that snow can easily slide off it.
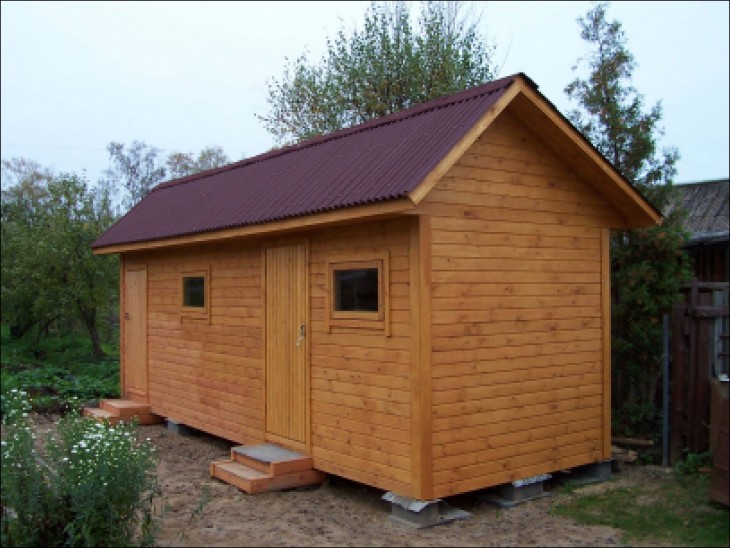
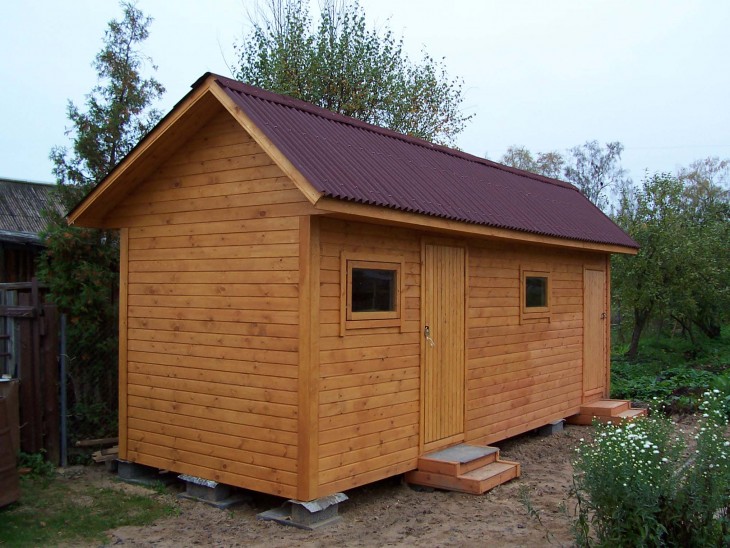
Practice shows that the optimal angle of inclination is achieved with a height of one wall - 3 m, and the opposite - 2.4 m. It’s nice to cover the roof with an ondulin - this roofing material is also called euro slate.
Ondulin is much more attractive in appearance than slate, it has a wavy shape, and its color can be different, this allows you to make the roof of the barn beautiful, fun, truly country.
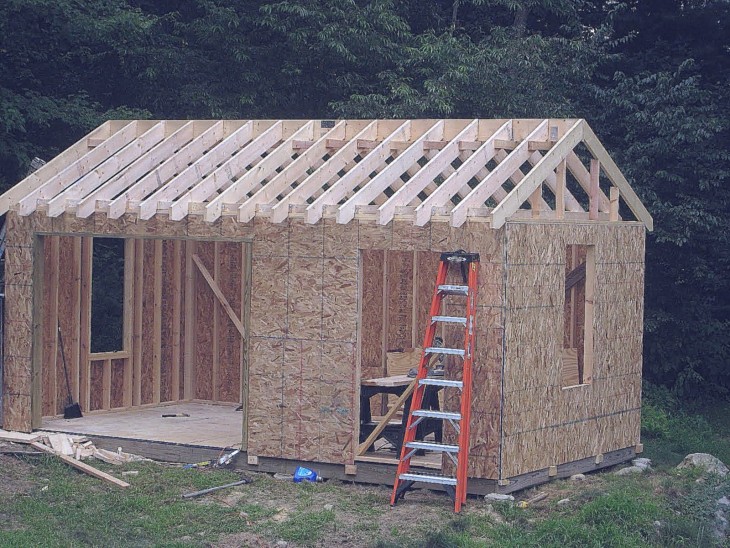
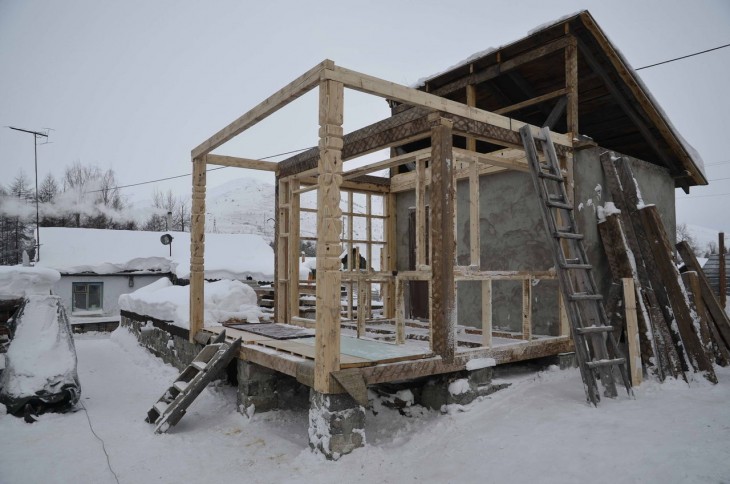
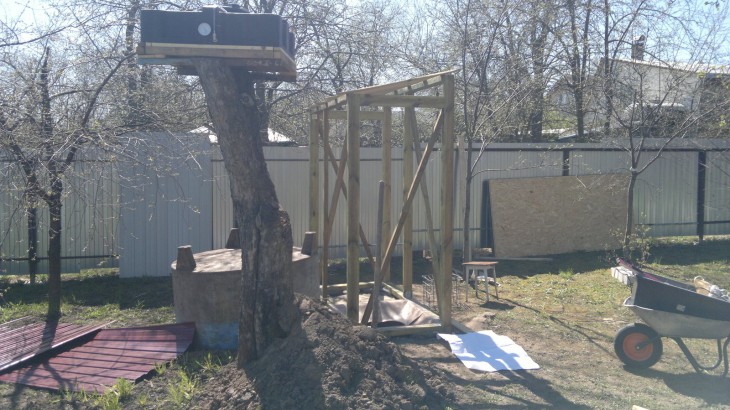
Having started the assembly of the frame, first the racks of each wall are mounted alternately on the floor. If the planks are not chosen for planking, but the finished plates are made of wood, metal or other material, the planking can be installed on the frame of each wall in advance, on the ground, and the wall can be fixed to the floor ready-made. Alternatively, the walls can be sheathed with OSB 9.5 mm thick.
There is an alternative technology - Balloon (balun). With this method, installation is carried out gradually - right on the strapping or the blocks themselves attach the angular frame racks as the racks are mounted in height. Between them, at each new level of height, a rope is pulled, along which next racks are then set.
Note!

When arranging window and door openings, it should be noted that the load on the frame is greater, therefore, it is necessary to strengthen the frame in those places where the sash windows and doors will be attached. For this, the openings are equipped not only with corner, but also with reinforced racks.
Erection of a roof
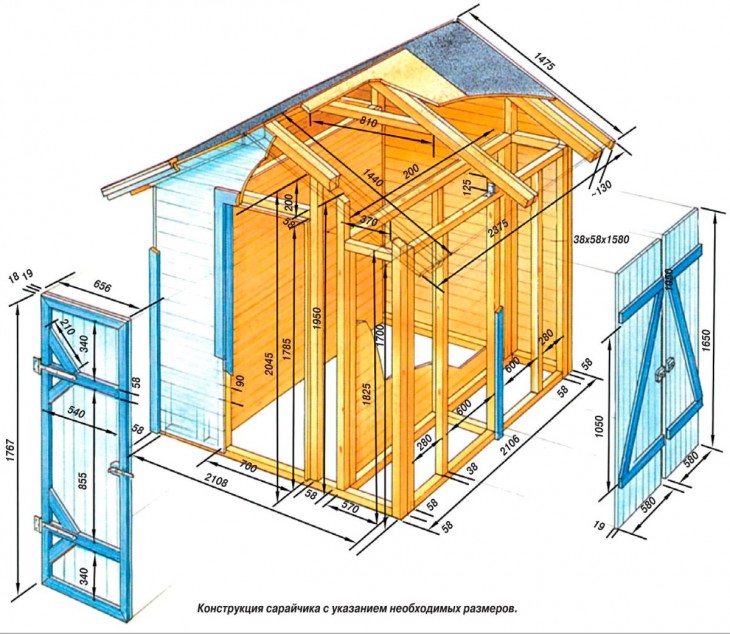
Since the roof of the barn will be single-pitched, the rafter system is simple: the rafters, the length of which to provide the overhang (as a rule, make it 30-50 cm) should be greater than the length of the side of the area intended for the roof, are laid on the edge. For example, if the planned barn area is 3 m by 3 m, then the length of the rafter board should be 3.840 m.
Boards are nailed diagonally - two nails on both sides, so that the roof can withstand loads under snow pressure more reliably and with strong winds, it can be reinforced with metal corners.
On the roof it is necessary to mount the crate (suitable 100 * 25 mm). If the roof is planned to be covered with ondulin, then the optimal lathing pitch recommended by the manufacturer of this roofing material should be 40 cm.
The final step is to cover the roof with the selected material - ondulin, slate or other.
Note!
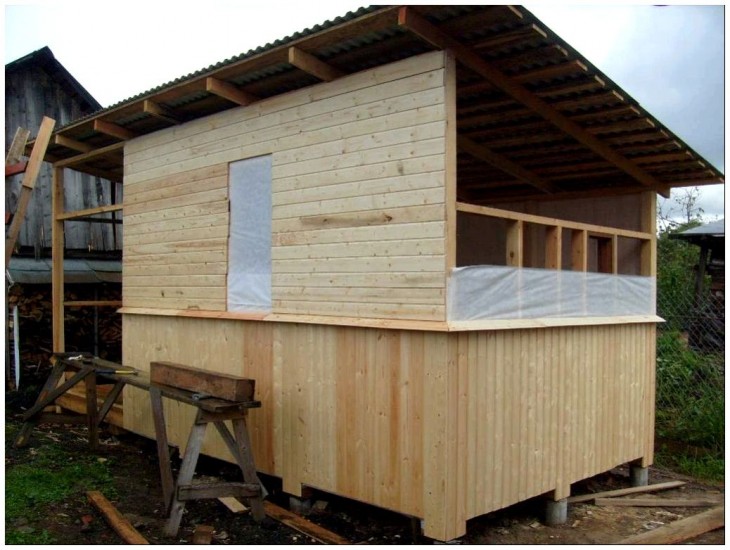
Completion of the barn
After the construction of walls and roofs, windows and doors are mounted in the prepared openings.
At the door you can make a small porch, or just one, or several small steps - depending on the height of the threshold of the barn.
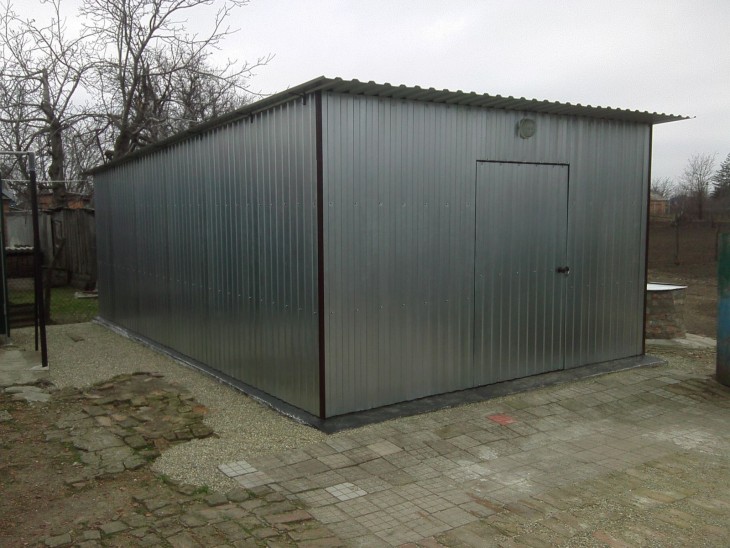
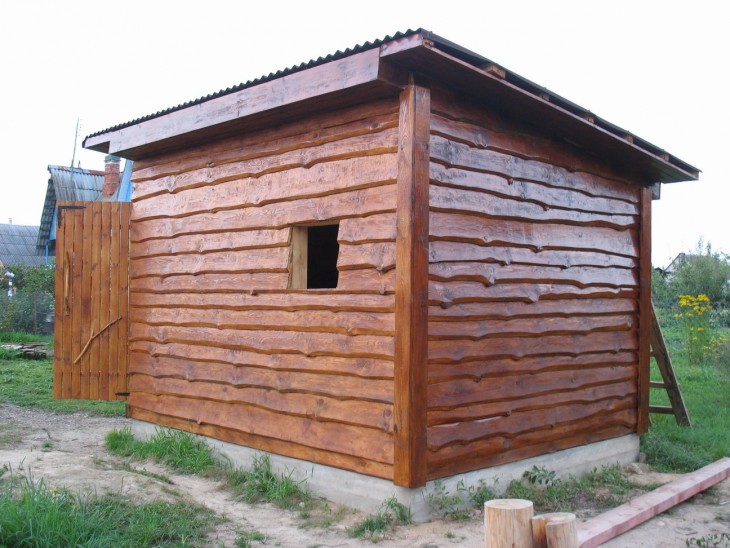
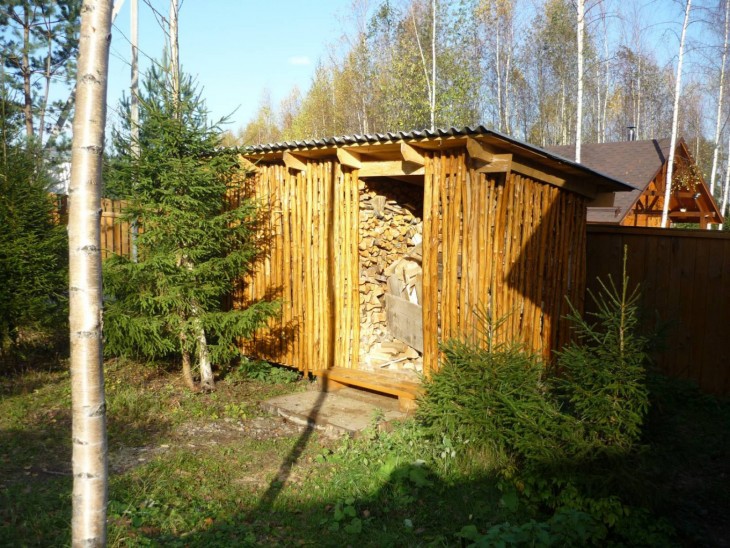
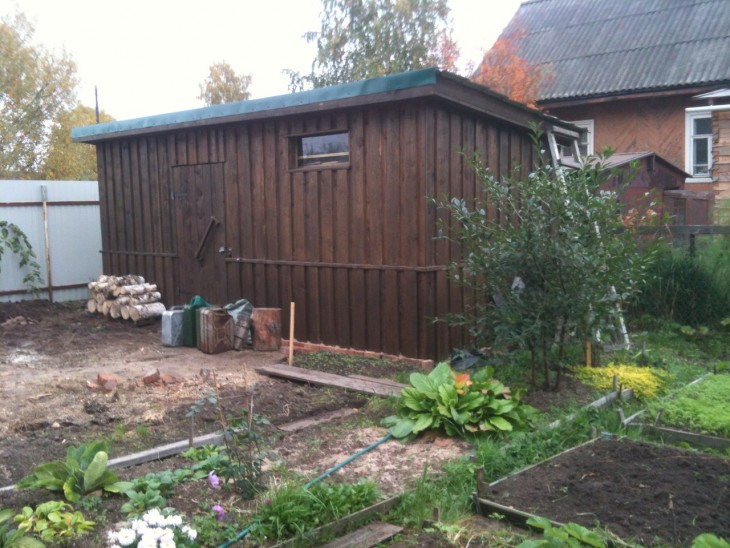
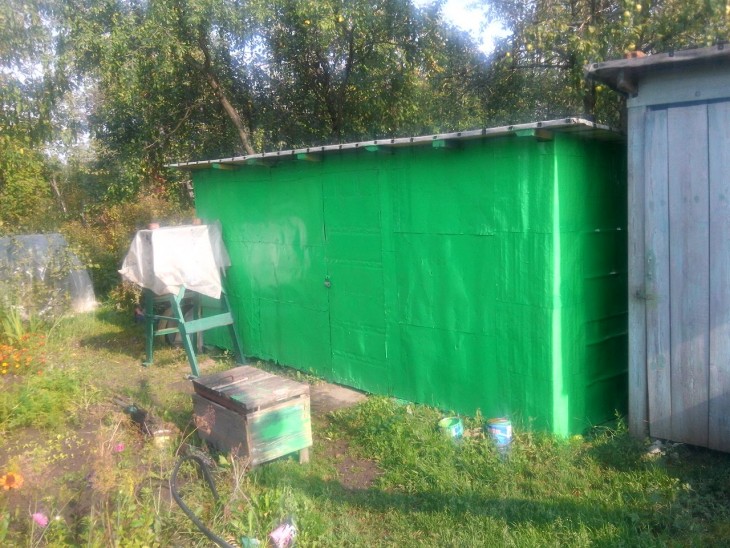
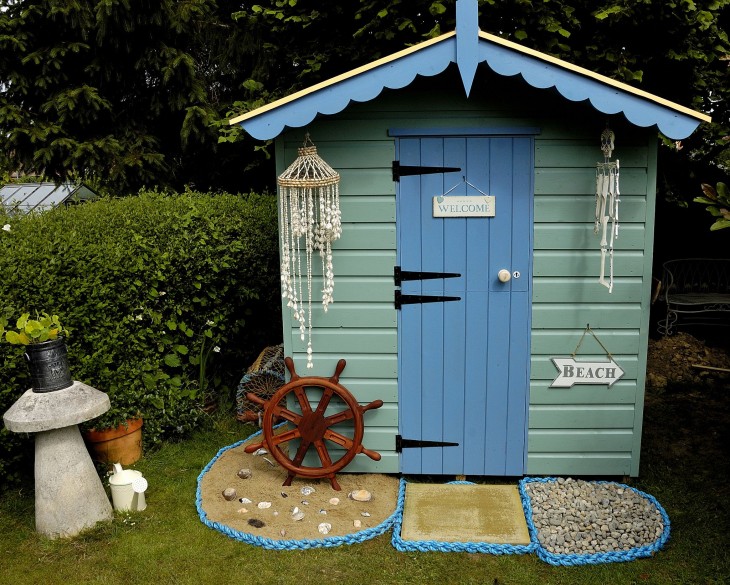
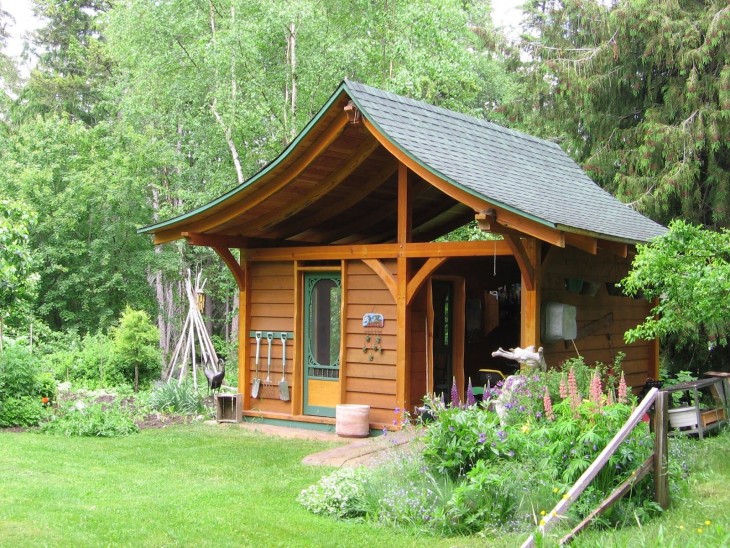
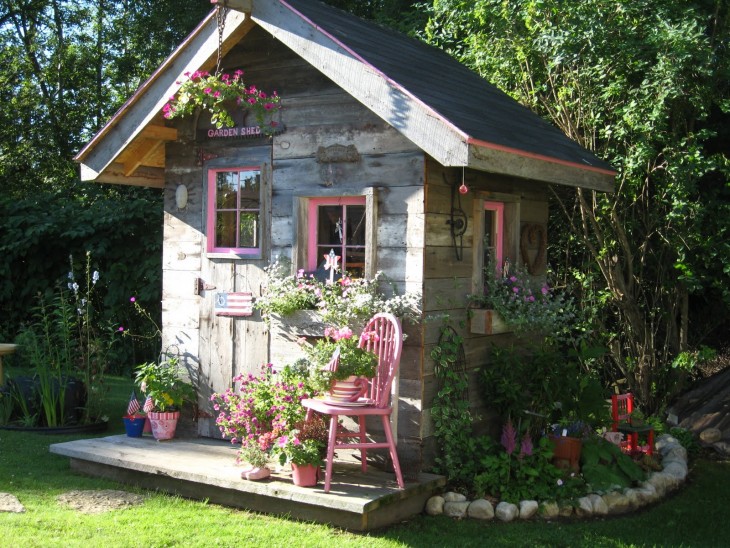
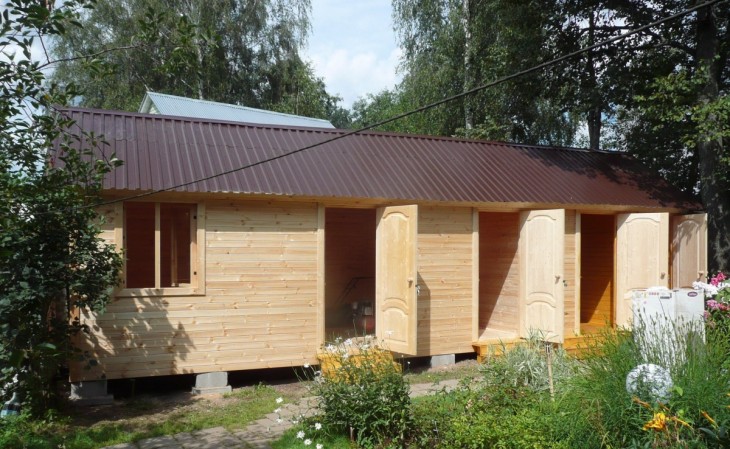
Sheathing of the barn can be painted to match the roof, or if it is wooden, leave a natural color that will organically look at the cottage, prolificing it.
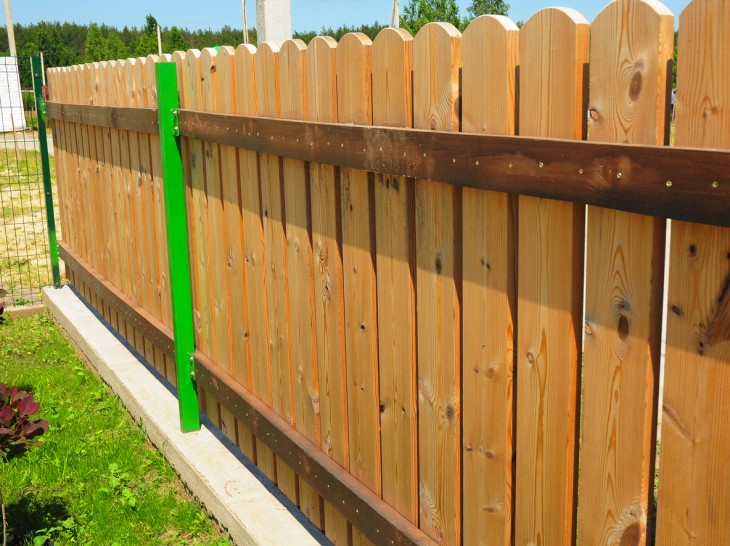
And the foundation for the building to look aesthetically pleasing and neat is to sew up with asbestos sheet.

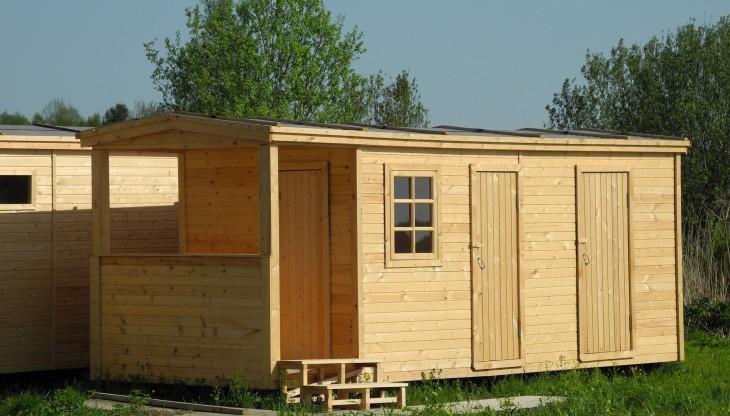
Such a barn, if the site on which it is being built has already been prepared, can be erected in just a couple of days. Built with your own hands and taking into account individual needs, it will turn out to be very convenient and beautiful.
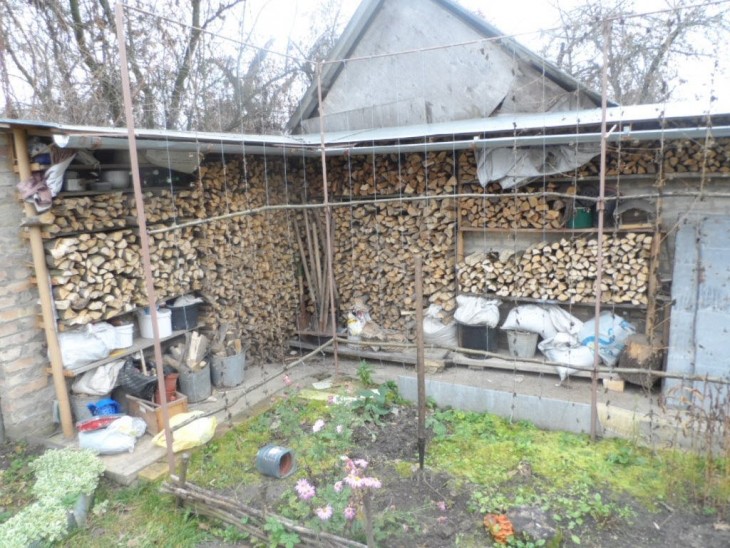
DIY barn photo