In order for a new convenient and original piece of furniture to appear in your home, it is not at all necessary to go to the store and spend a lot of money. Of course, it’s better to buy a sofa or bed, but it’s very easy to do such an interior detail as an ottoman with your own hands.
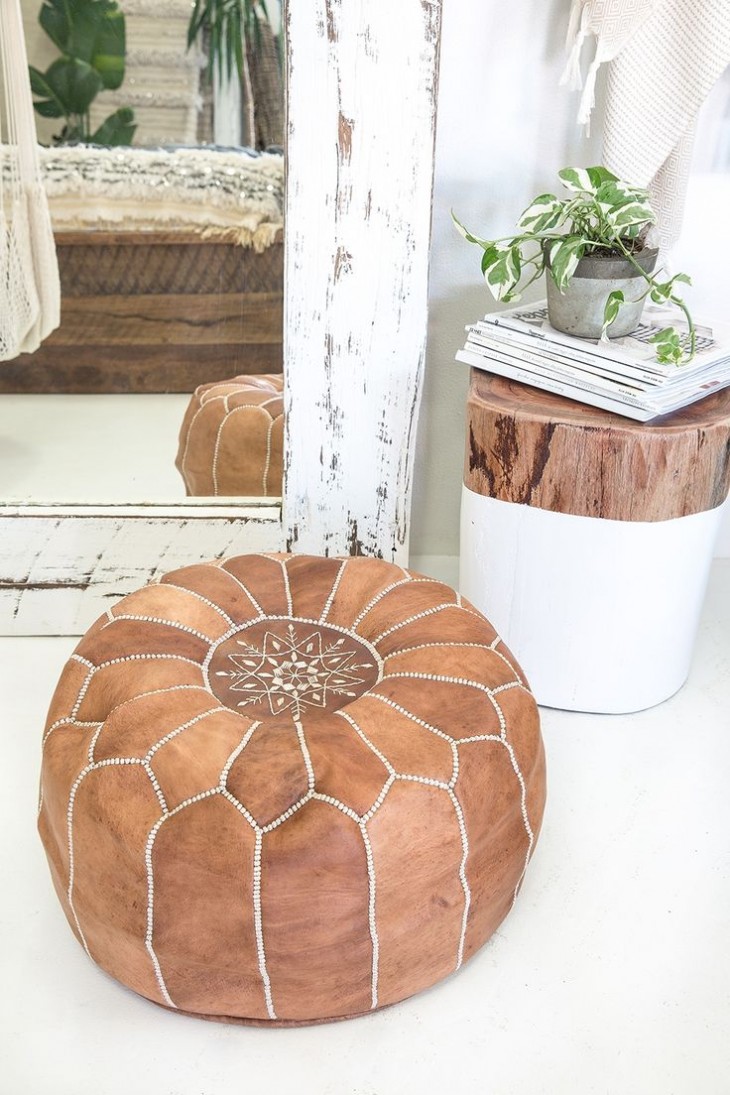
In addition, if you decide to start manufacturing the ottoman, you can make it one that will be most suitable for you in design.
You can select the desired shape, material and color. However, this is not the only advantage of homemade ottomans, since its manufacture can cost nothing at all.
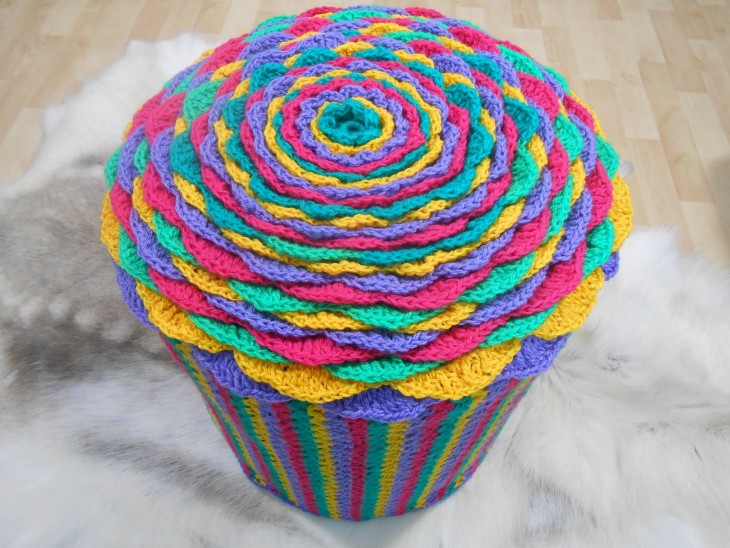
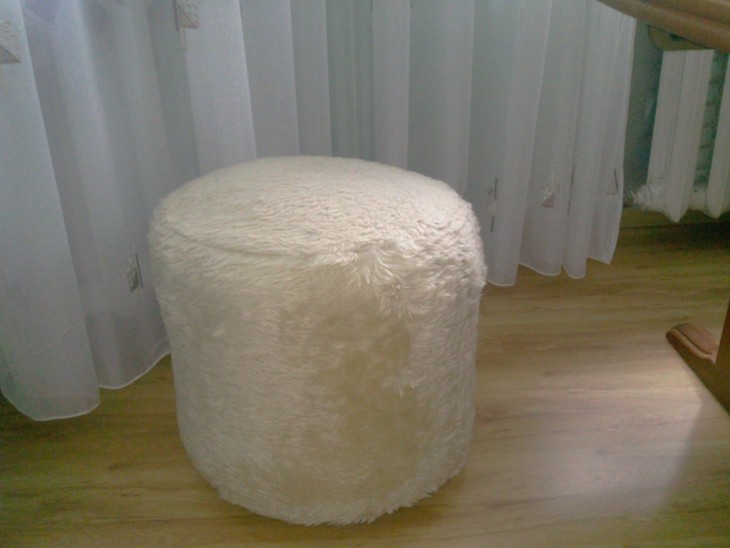
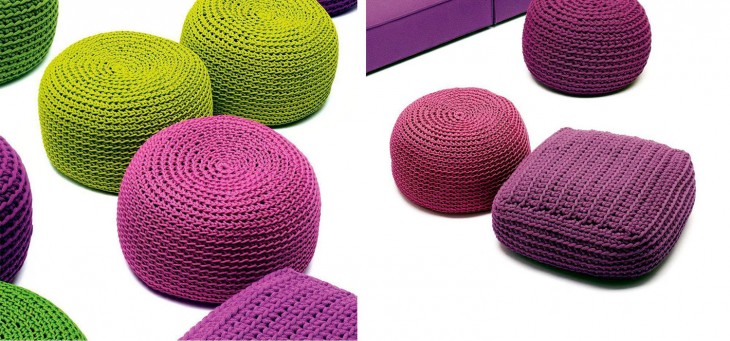
Soft puffs
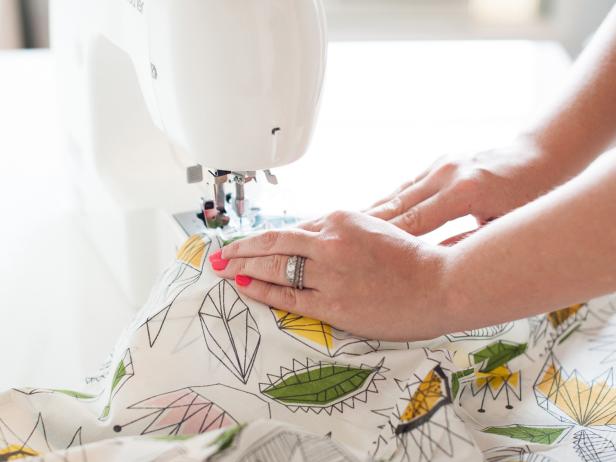
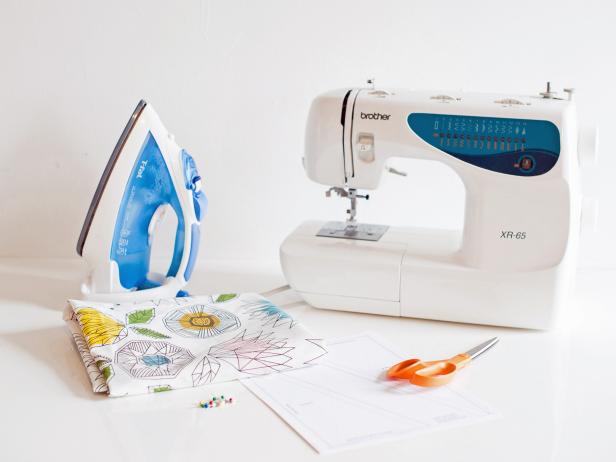
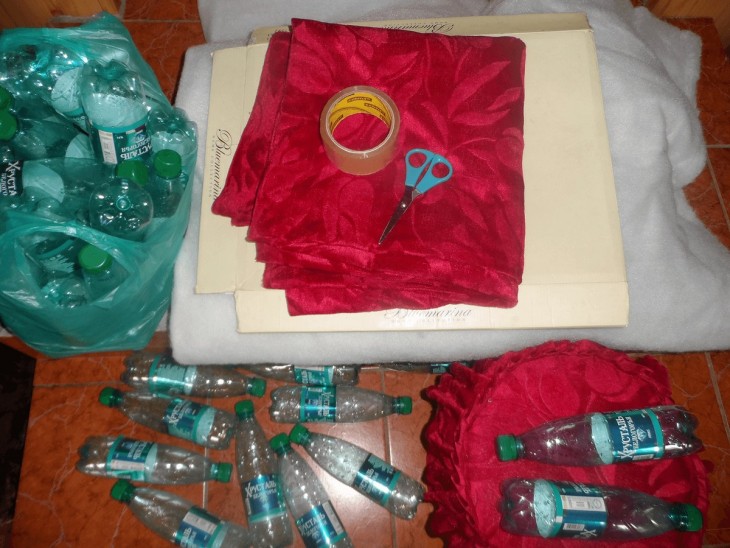
The easiest way to sew the frameless soft ottoman itself. To make it, you only need a piece of fabric, stuff for stuffing and a sewing machine.
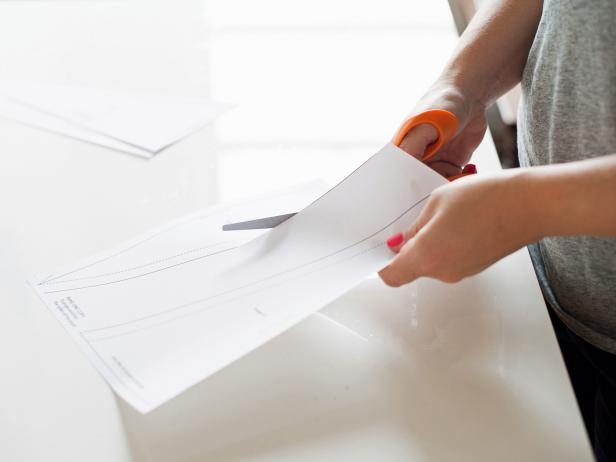
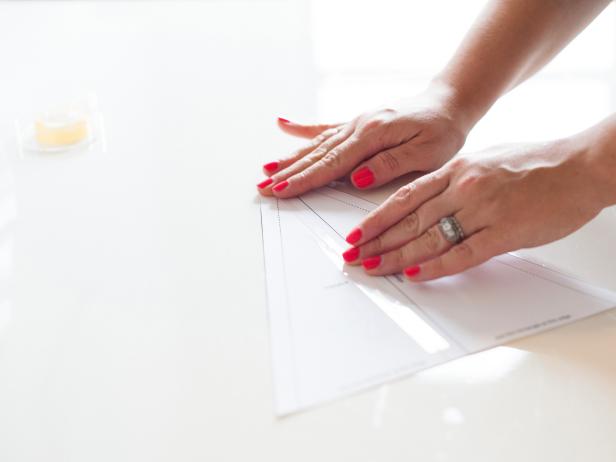
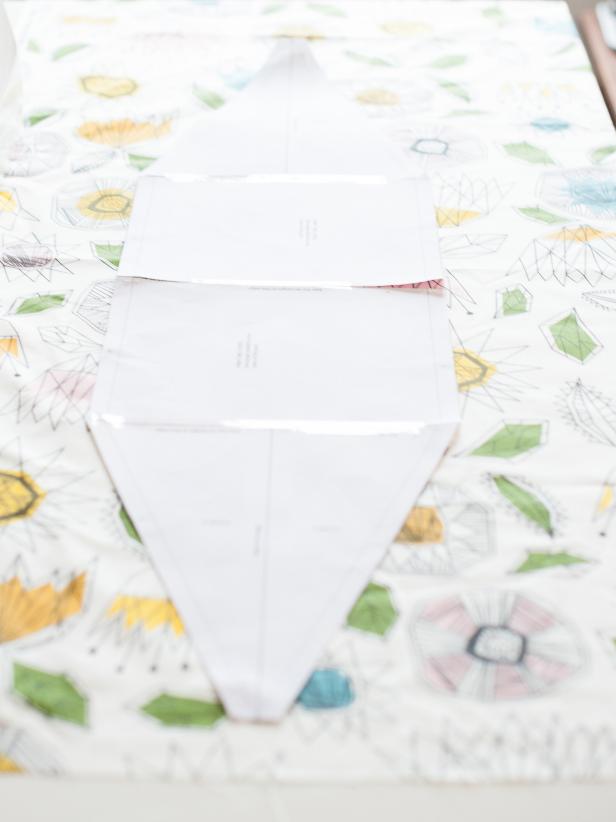
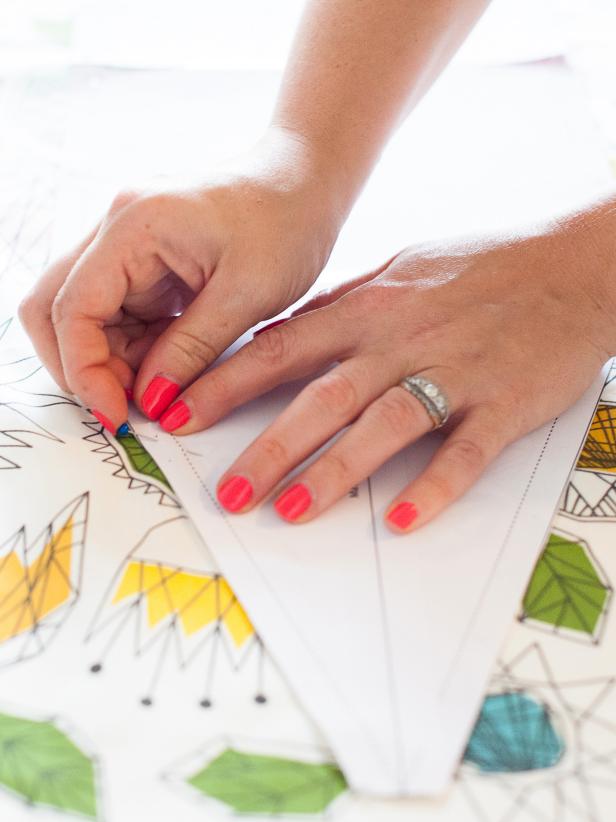
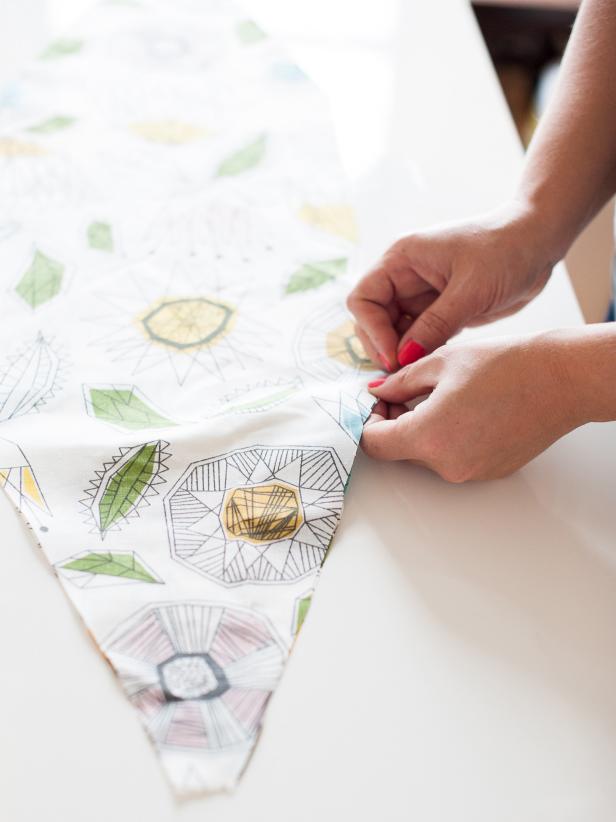
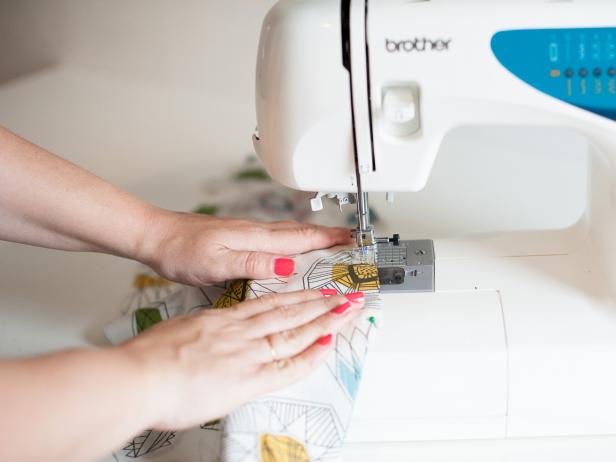
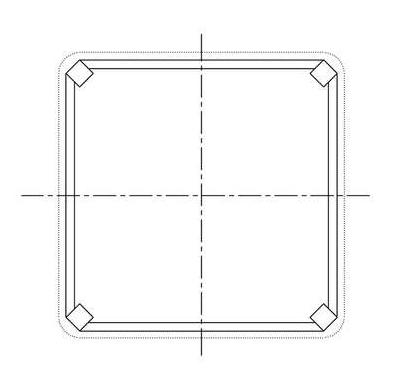
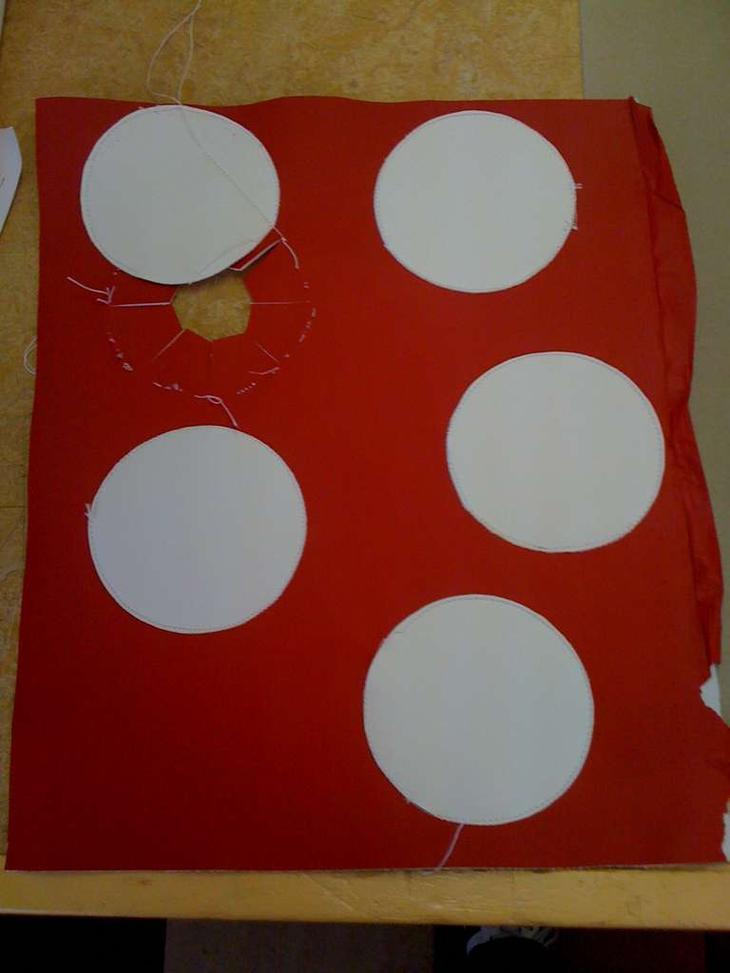
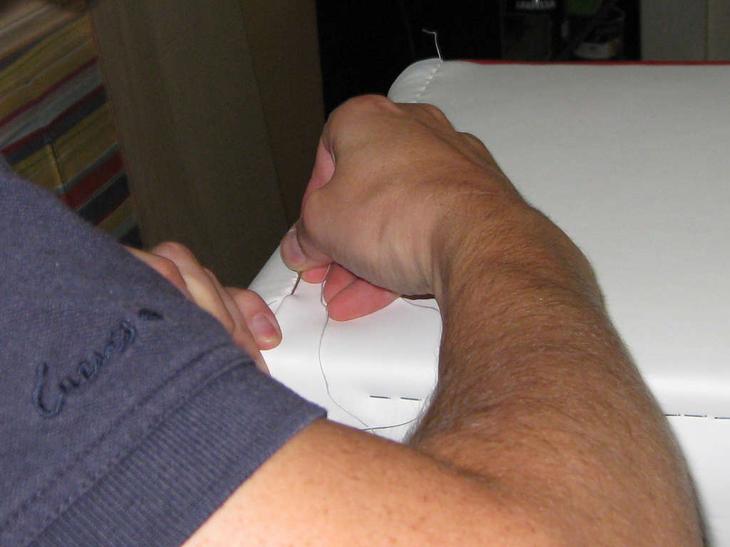
Although if there is none, it is quite possible to do without it by stitching all the details manually. In order for your ottoman to be smooth and look beautiful, you need to make a pattern out of paper. It should be a square at the ends of which triangles will be located.


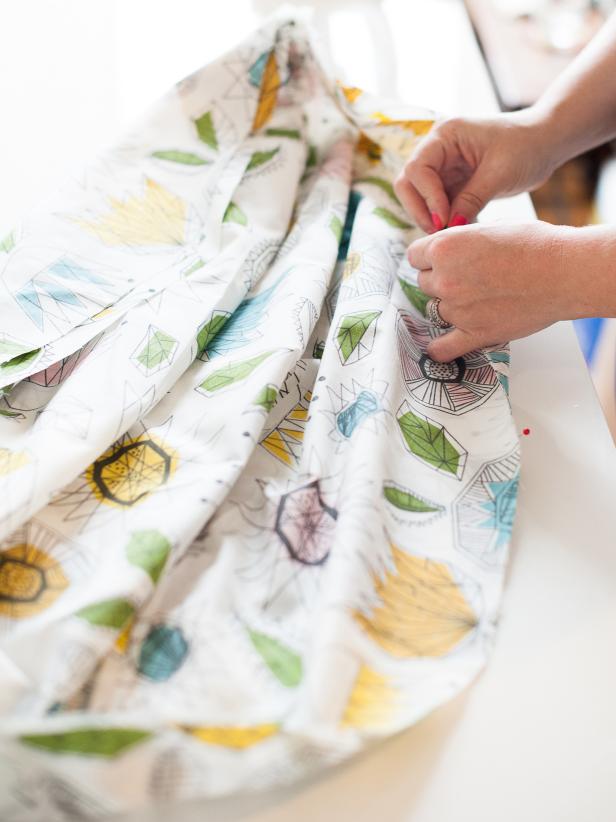
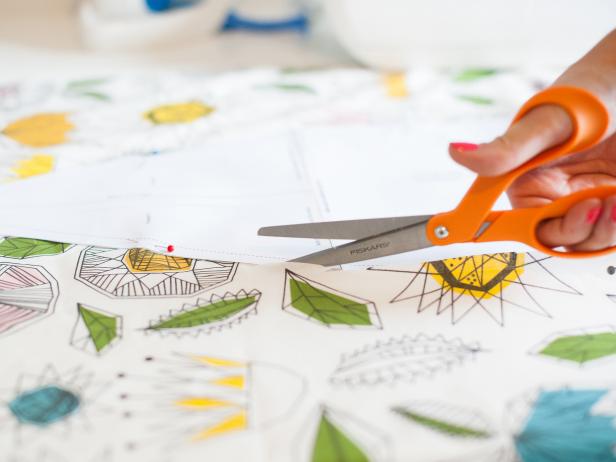
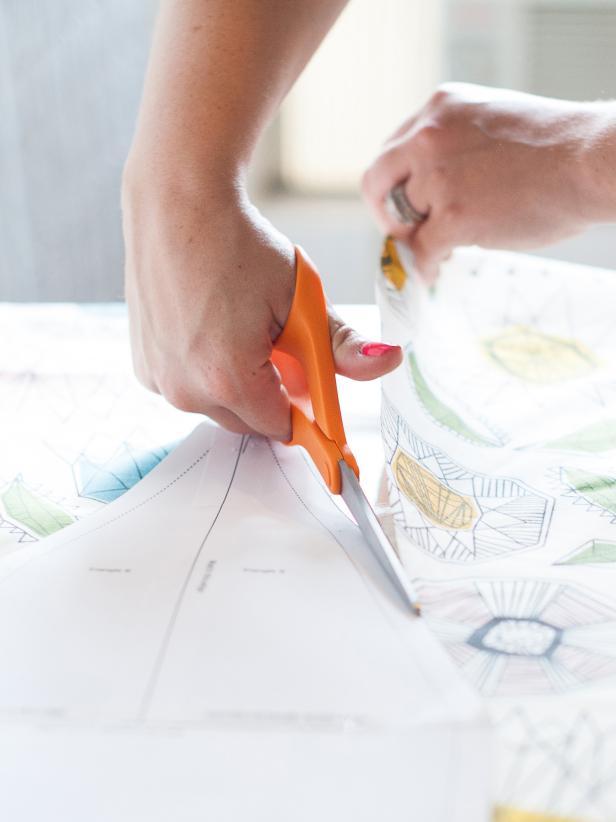
According to this template, it is necessary to cut 8 identical parts from the fabric, not forgetting to leave allowances for the seam. Moreover, you can use either one piece of fabric or materials of different colors and textures for each of the parts cut out according to the pattern.
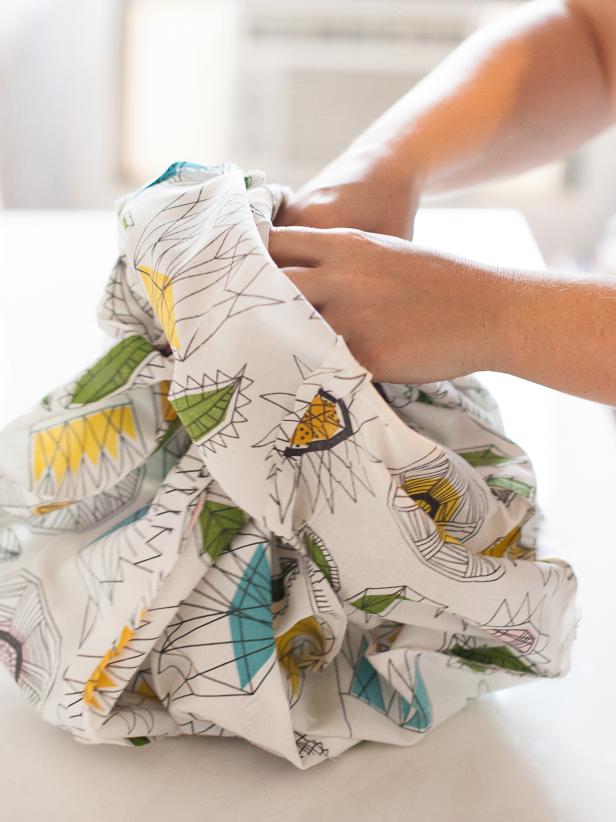

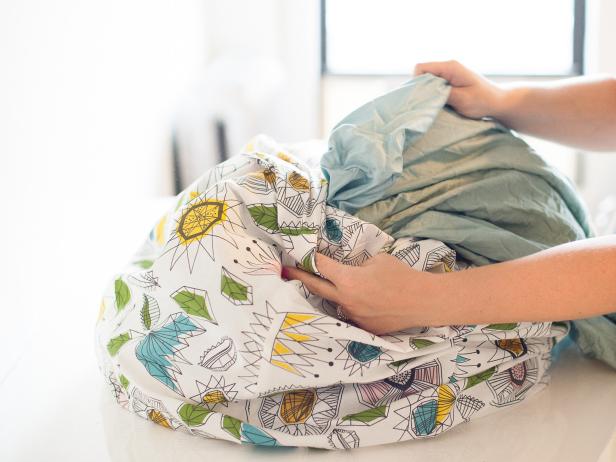

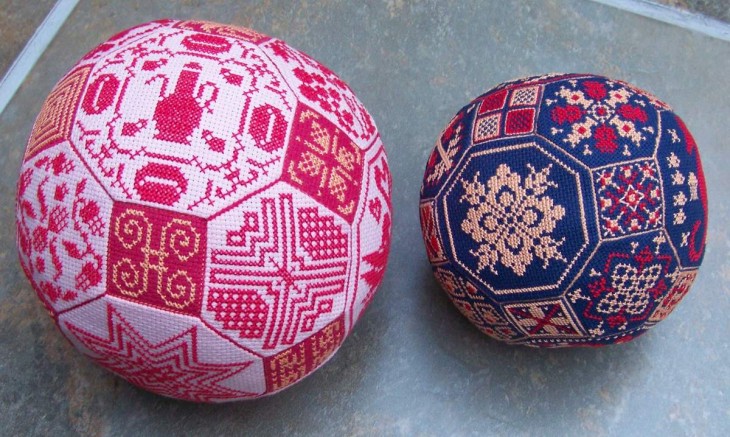
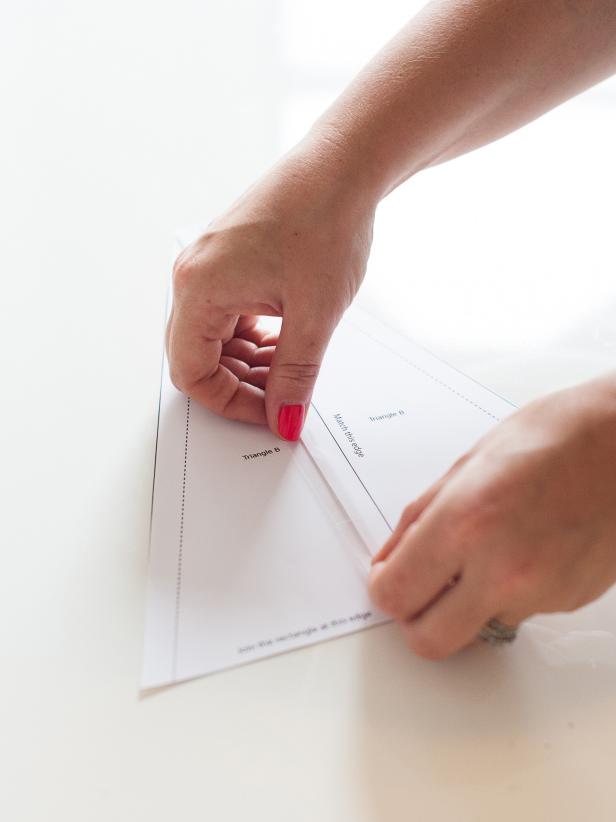
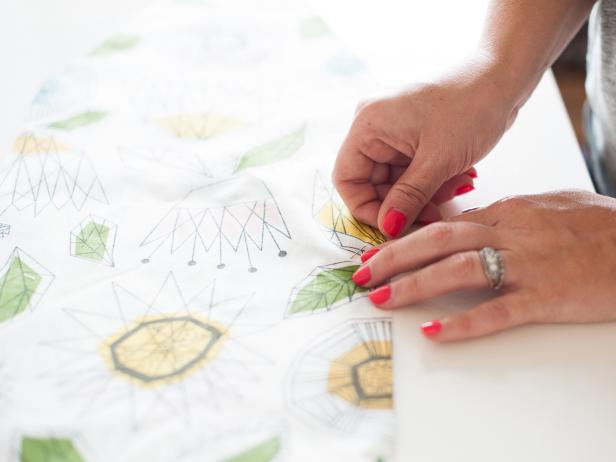
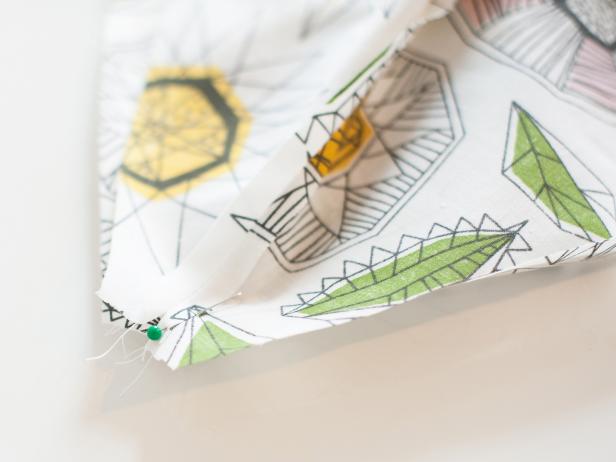
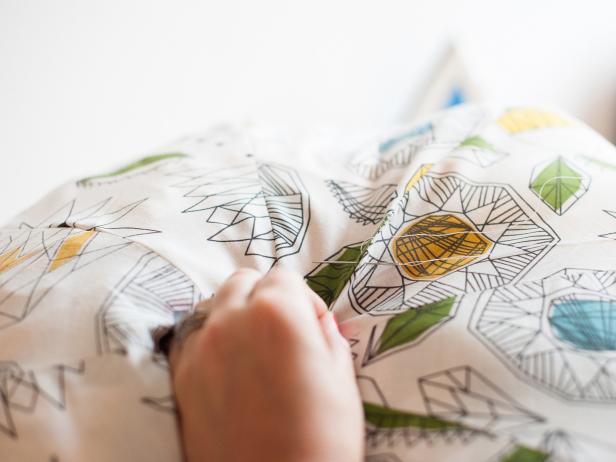
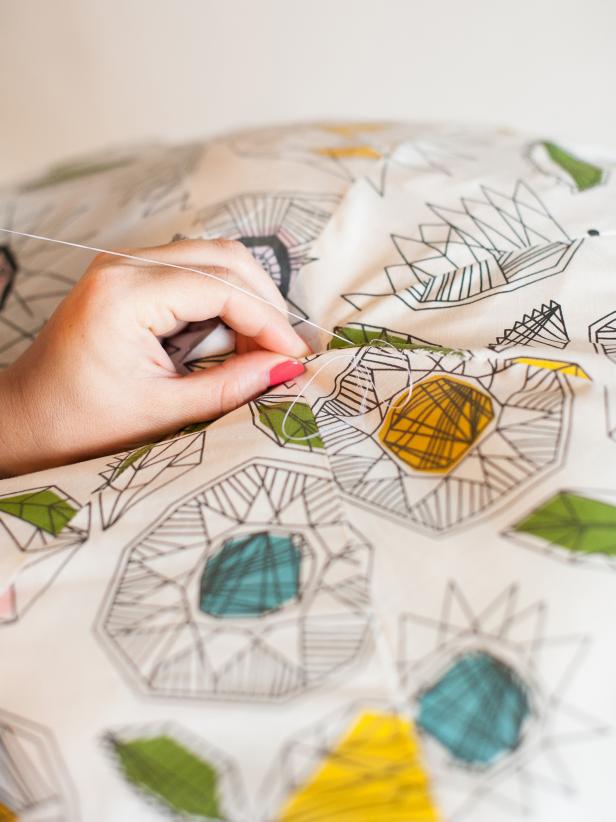
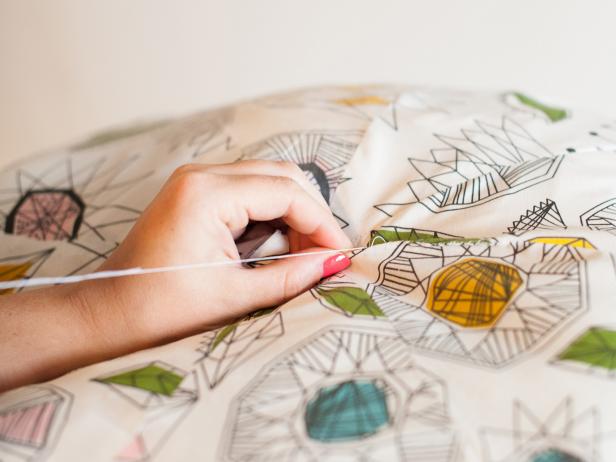
After all the details are ready, you need to sew them together to form a figure similar to a ball. And so that the ottoman can be filled, bend the top on the triangle of each of its parts inward.
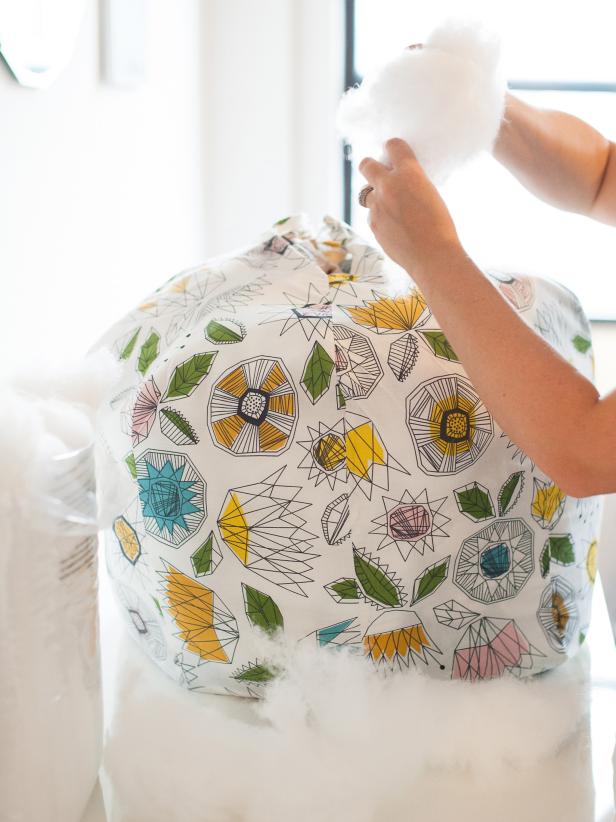
Filler
In order for the pouf to keep its shape, a synthetic winterizer or foam rubber is well suited. But you can use other materials. As such, even scraps of fabric are suitable.
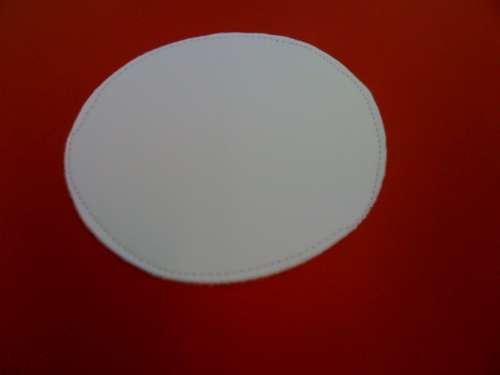
To give the ottoman a finished look, you need to close the remaining hole by sewing a circle of material with processed edges. If the edges of a round part are difficult to process for you, then it can be cut in the shape of an octahedron.
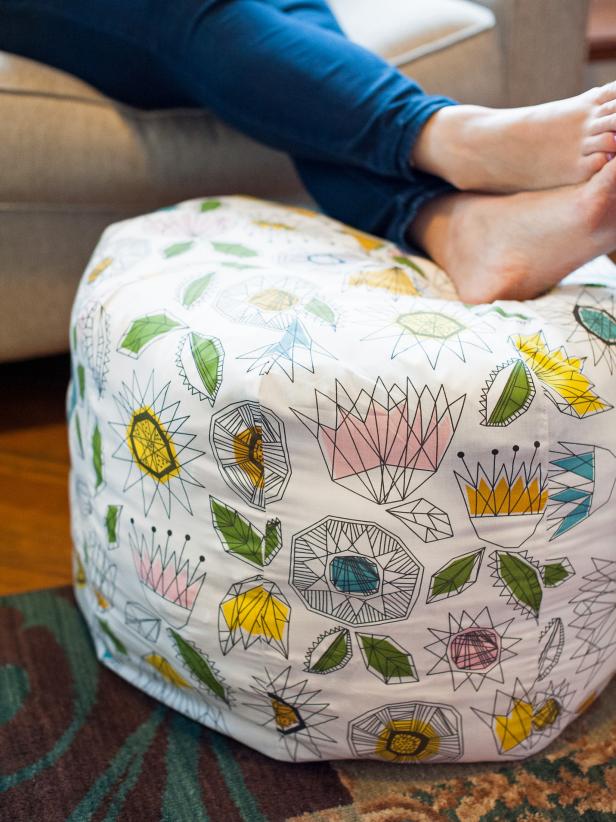
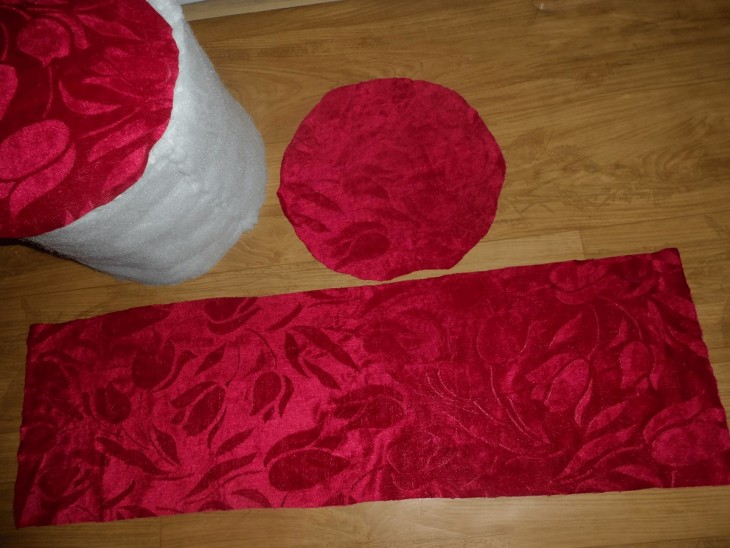
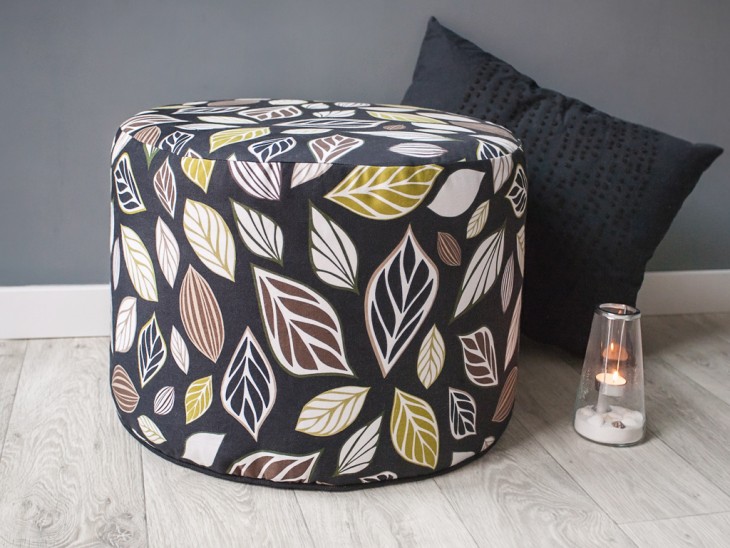
You can simplify the task and sew a pouf from two round parts, which will be the top and bottom of the product, and two rectangular parts that are sides of the pouf.
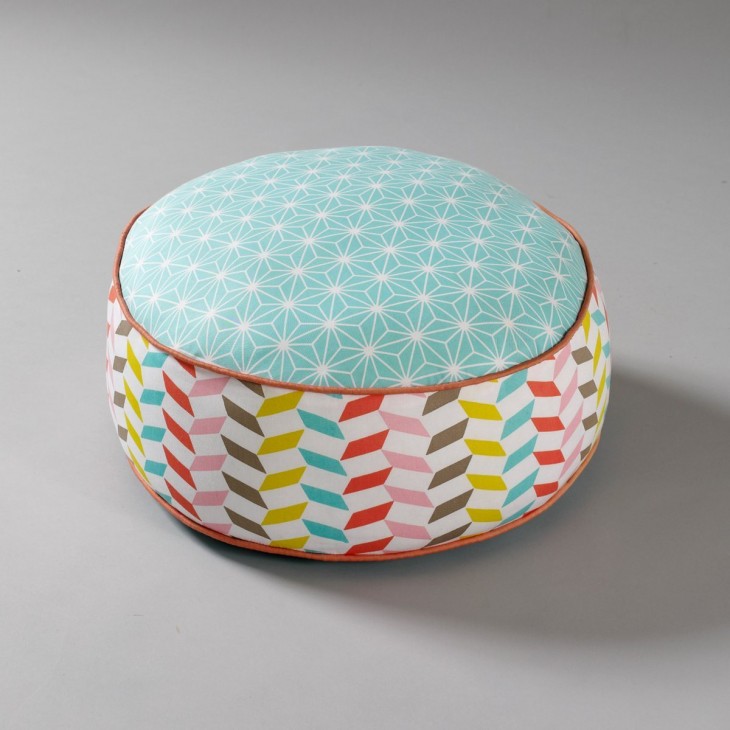
The height of the ottoman can be adjusted by the width of the rectangle. But the length should always be equal to half the length of the cut circle.
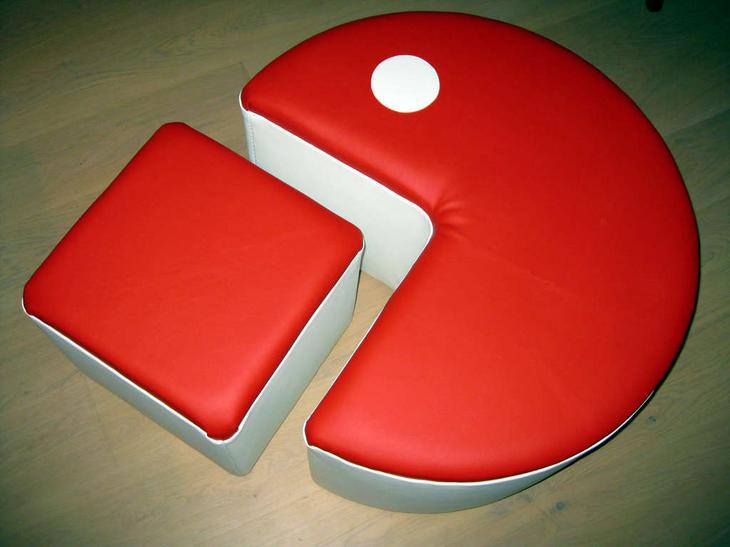
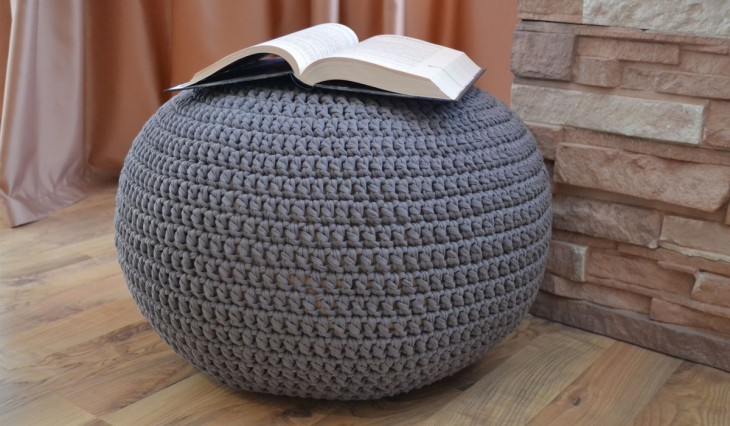
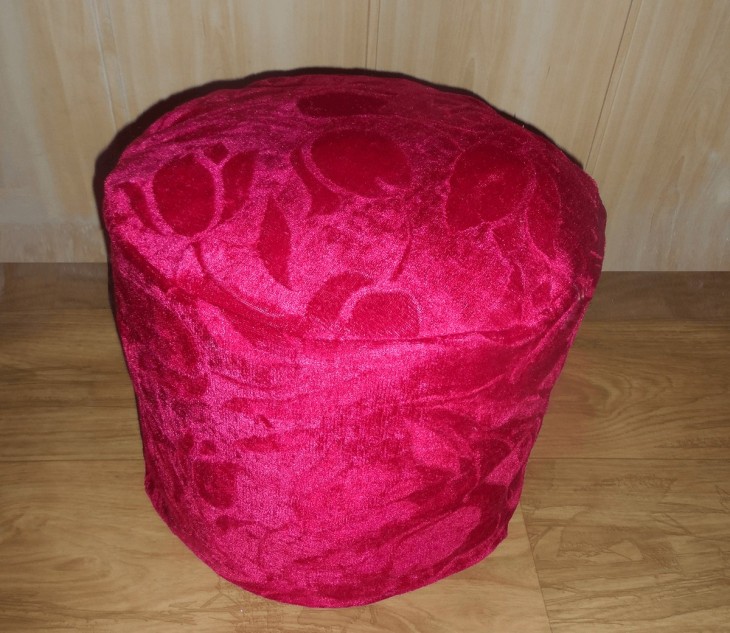
Having sewed rectangular parts, stitching a circle to them and filling them with filler, you can get a round ottoman, which will be soft and light. It will become not only a practical piece of furniture, but also a wonderful toy for children that cannot be hurt.
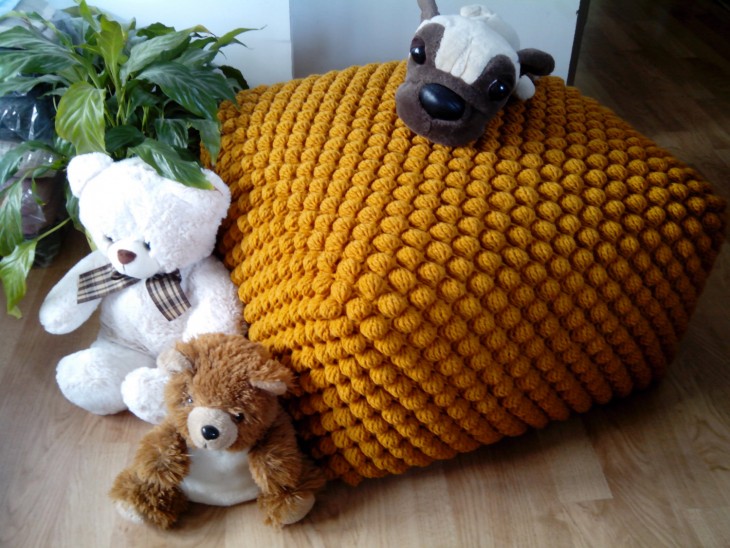
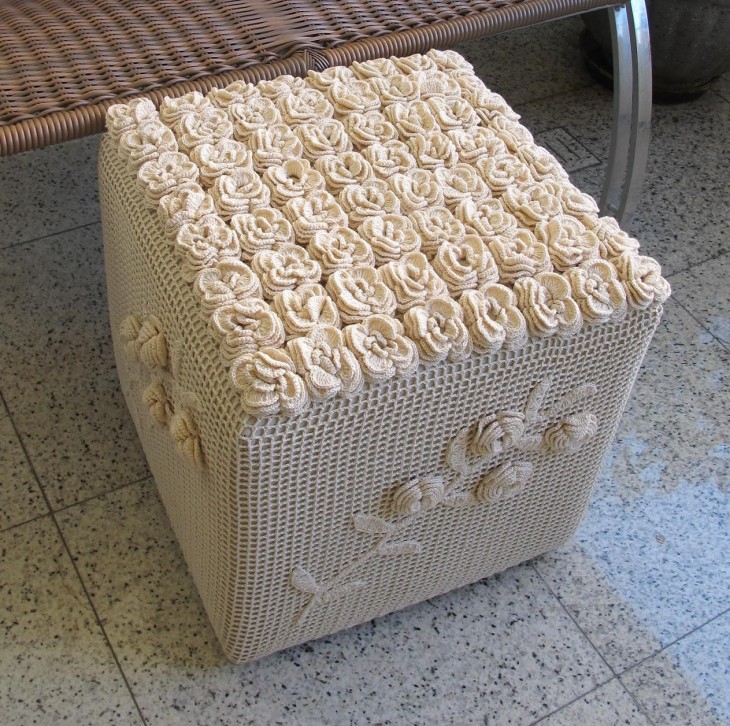
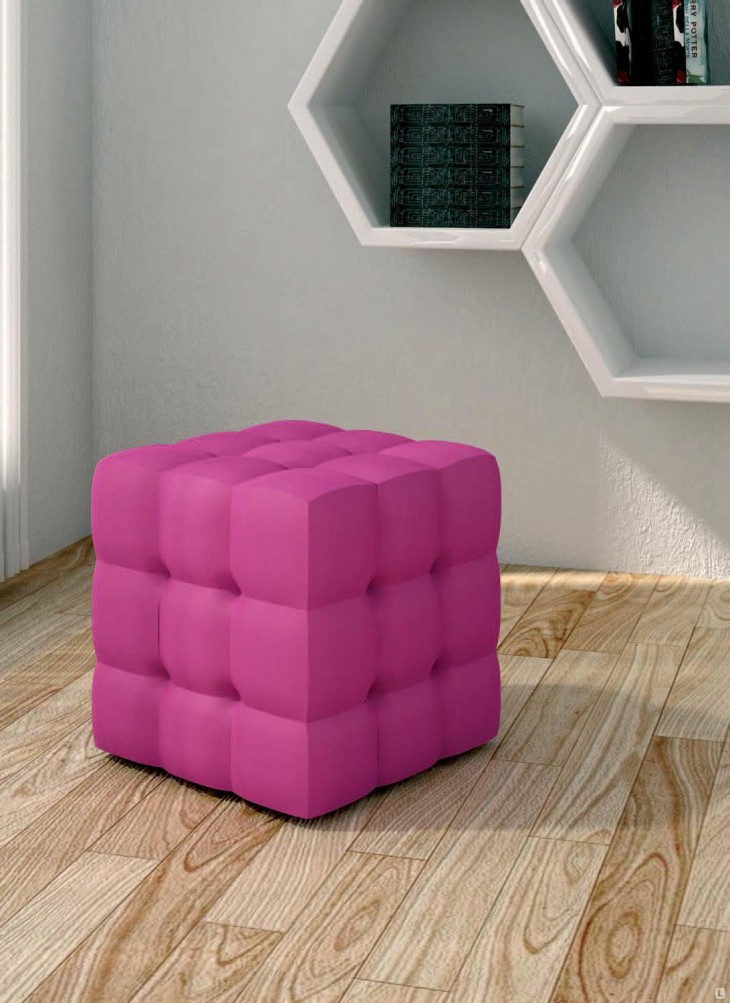
The ottoman in the form of a cube is made in the same way. In this case, instead of two rectangular parts and two circles, you need 6 squares. To make a cube out of them is not difficult. And if a secret zipper is sewn into one of the faces, then it will be possible to change the filler and erase the cover.
Pouf made of plastic bottles
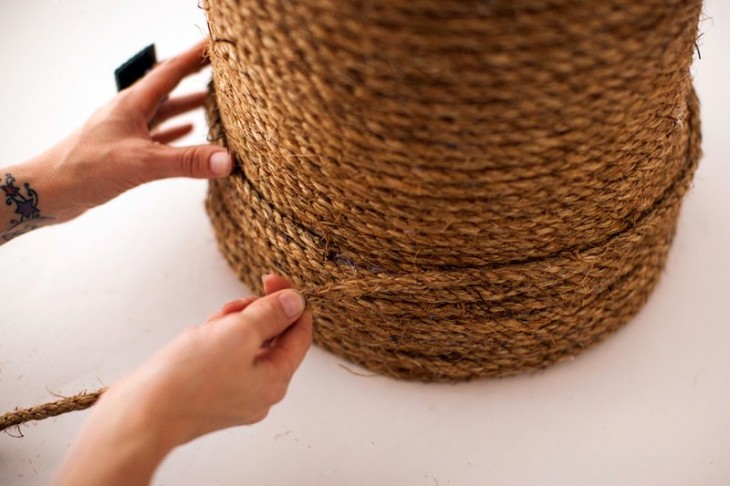
The ottoman can be made with your own hands and from plastic bottles. They, of course, should have the same volume.
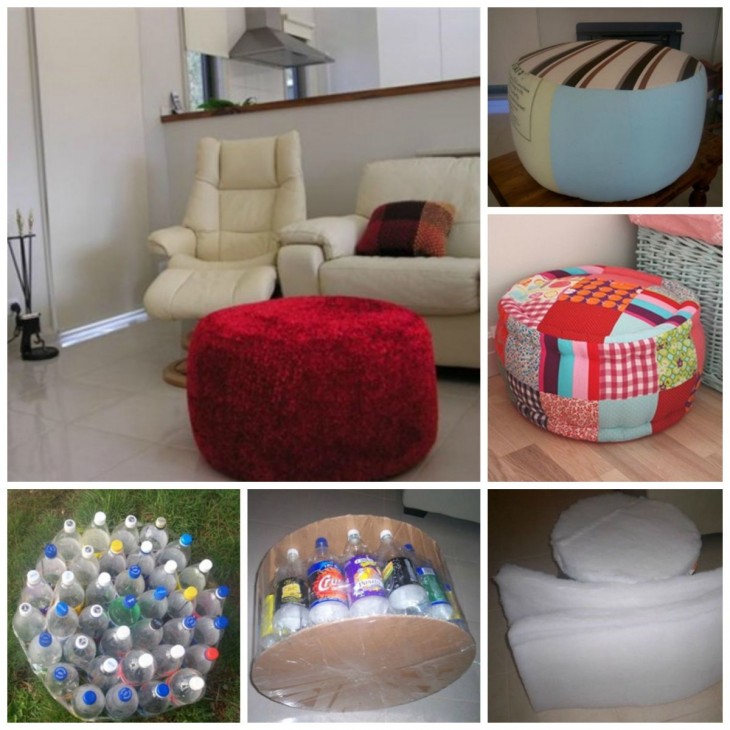
To do this, the upper part of the bottle, where it begins to taper, you need to cut off and put on the part that is left without a cap on another same bottle. Repeating this procedure with other bottles, we form them round design.
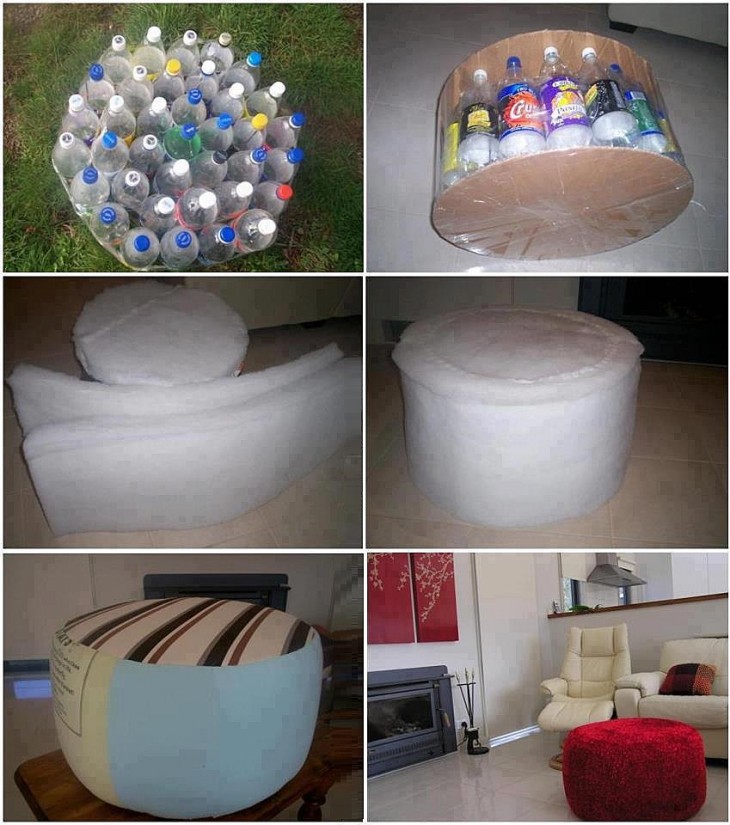
In order that the bottles do not deform and the pouf does not lose shape, we fasten them with adhesive tape.


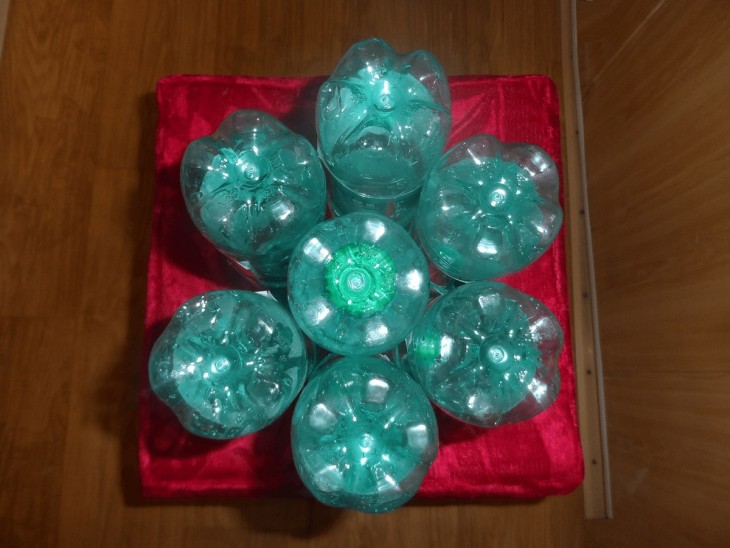

A little trick is that the bottle inside the others, fastened with ordinary transparent tape, can be glued double-sided and glued to the inside of the remaining bottles.
Note!
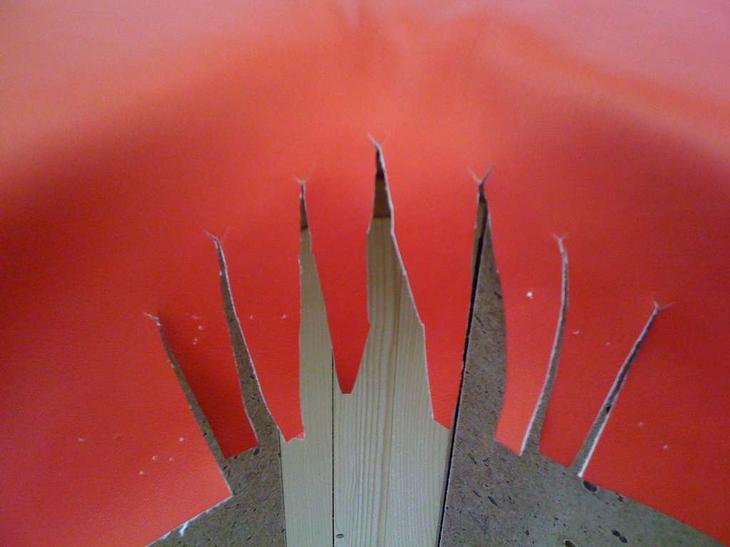
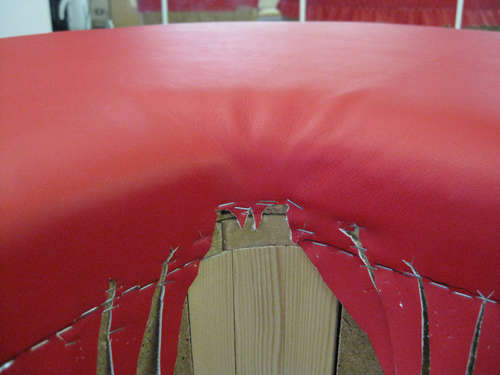
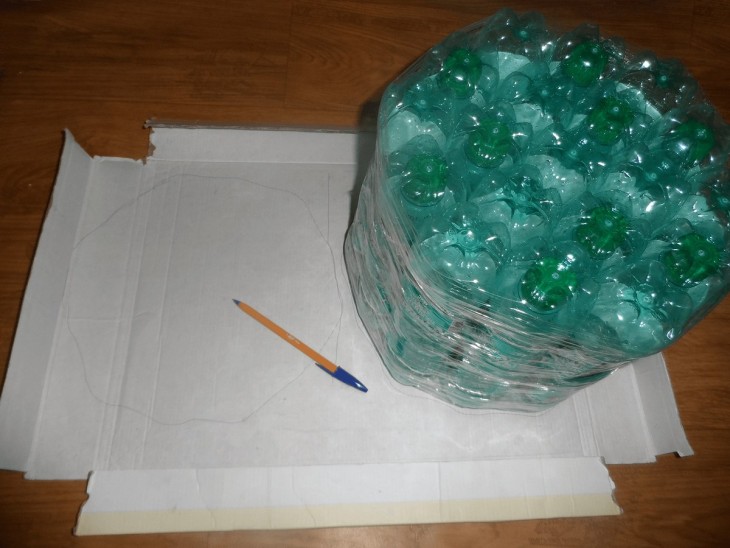
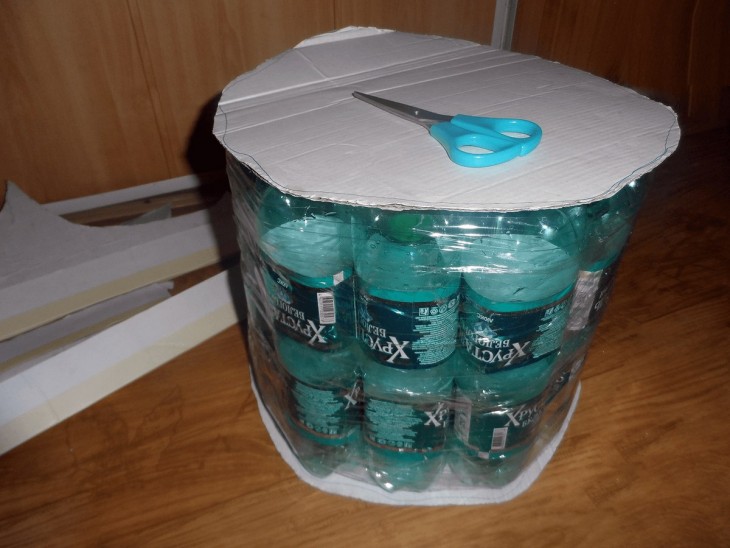
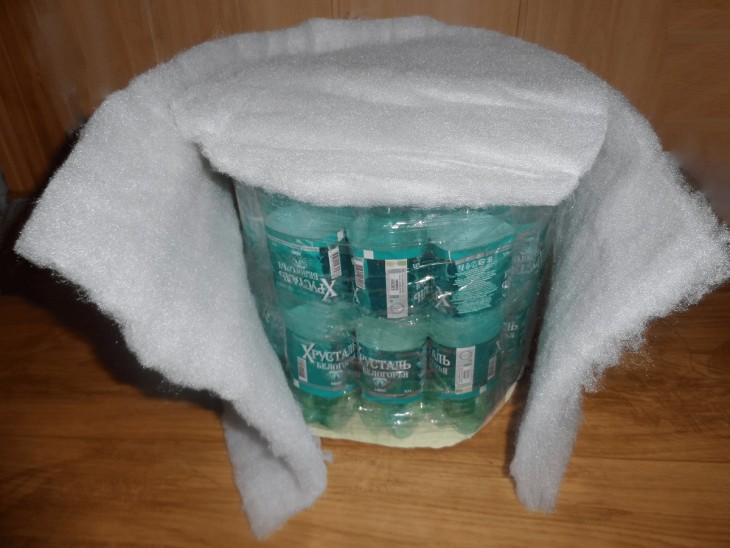
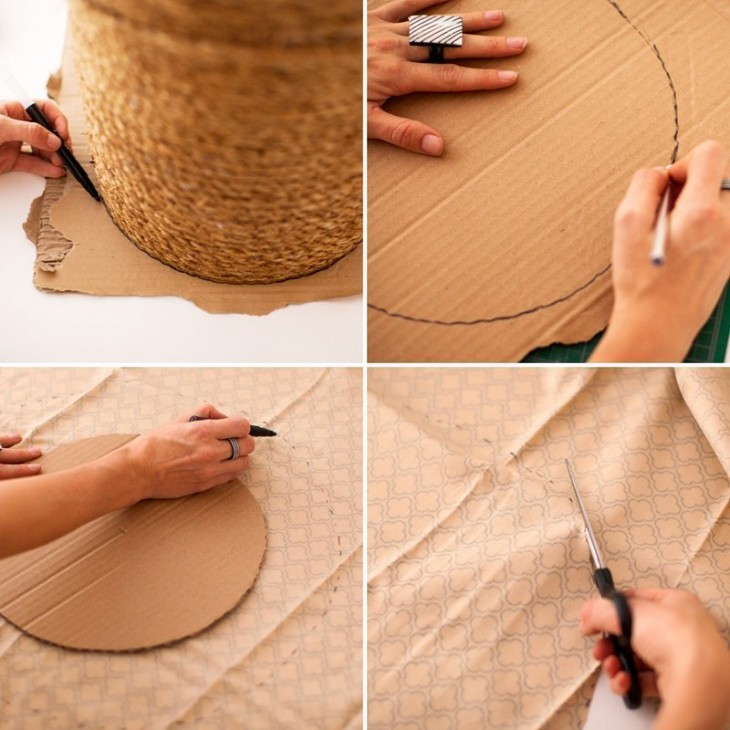
In order to close the upper and lower areas, it is necessary to cut a circle of cardboard or chipboard along the diameter of the connected bottles. We stick foam rubber to these circles, and we also wrap the pouf on the outside.
It remains only to sew a cover for the finished ottoman. In a circle of its upper part, you can sew a zipper.
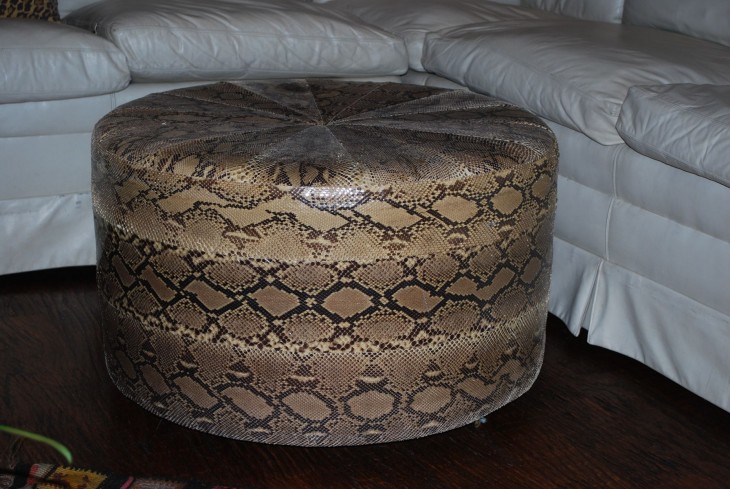
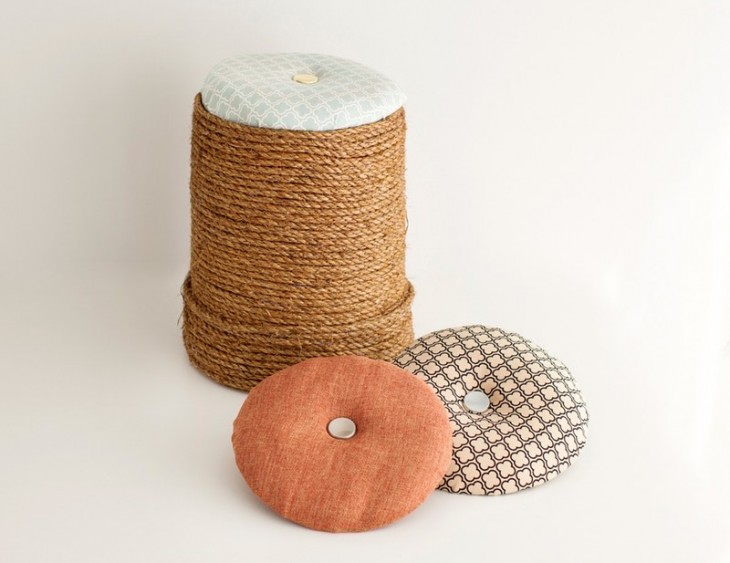
Such furniture will save filler. And if the cover is made of raincoat or water-repellent fabric, then such furniture can even be placed on the street.
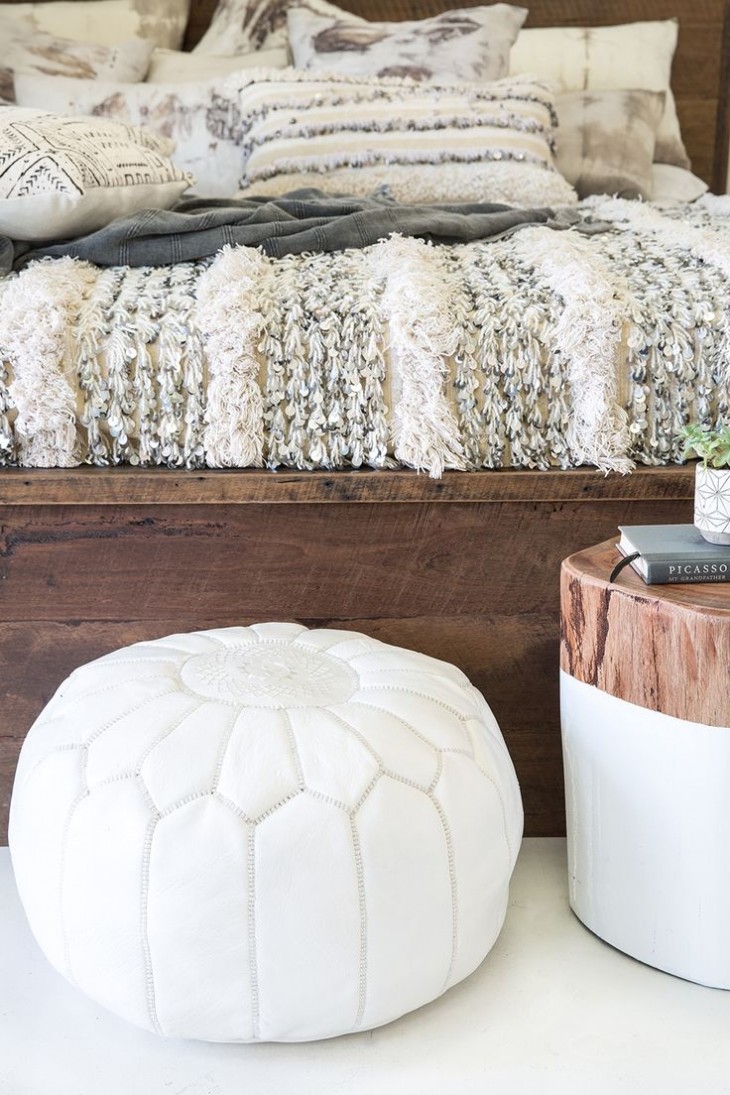
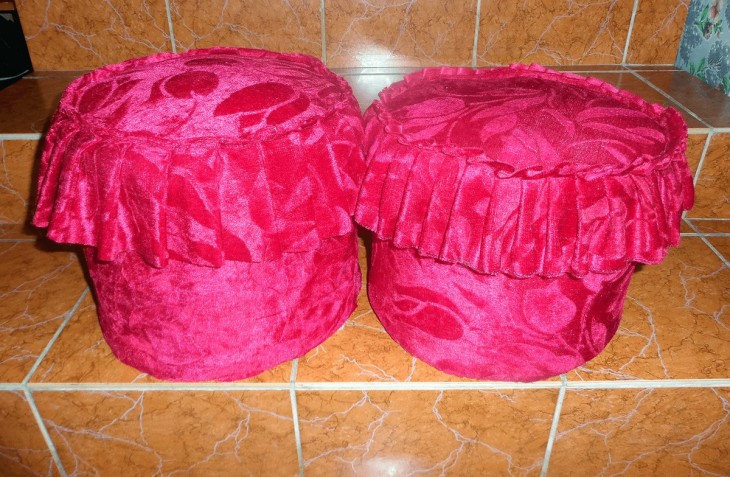
In addition, as can be seen in the photo, round ottomans made without a frame and containing plastic bottles inside, practically do not differ in appearance.
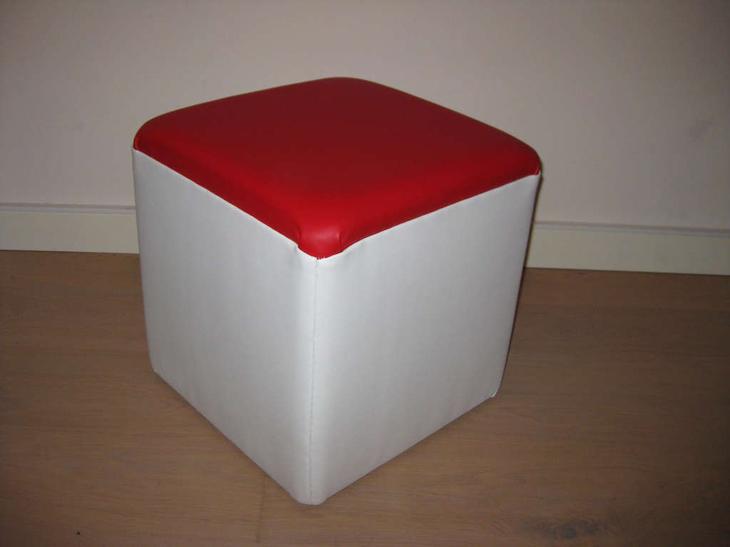
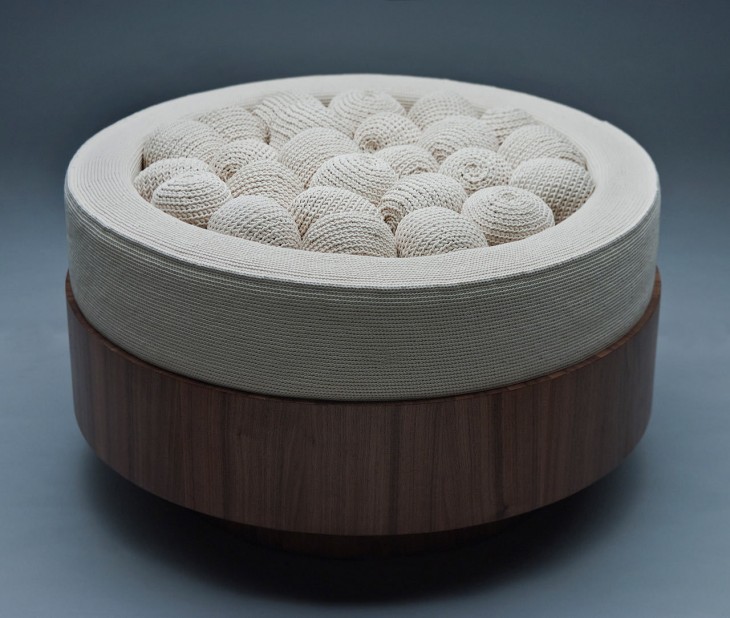
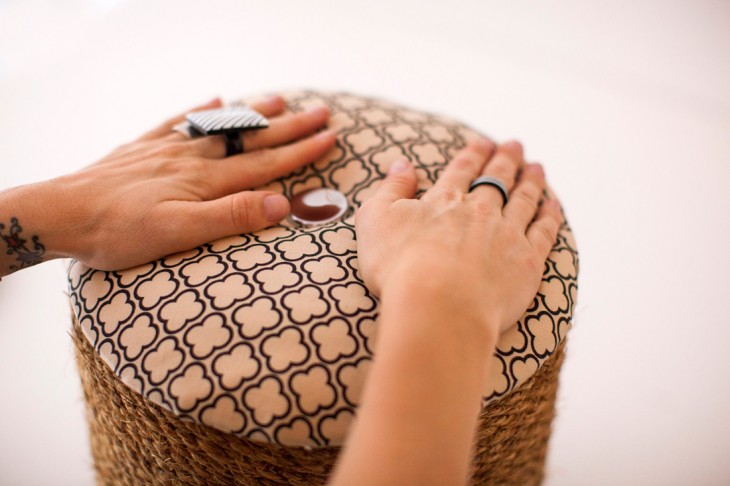
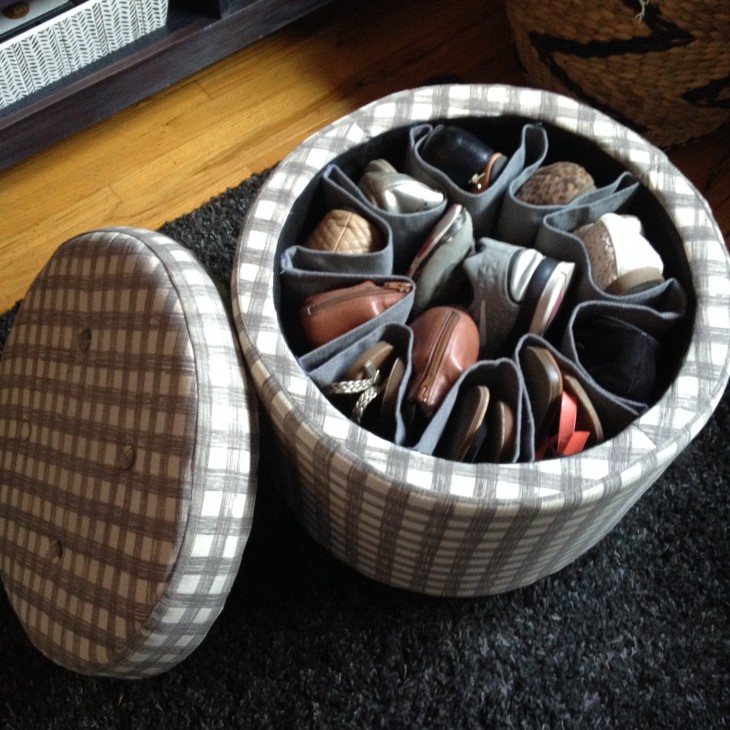
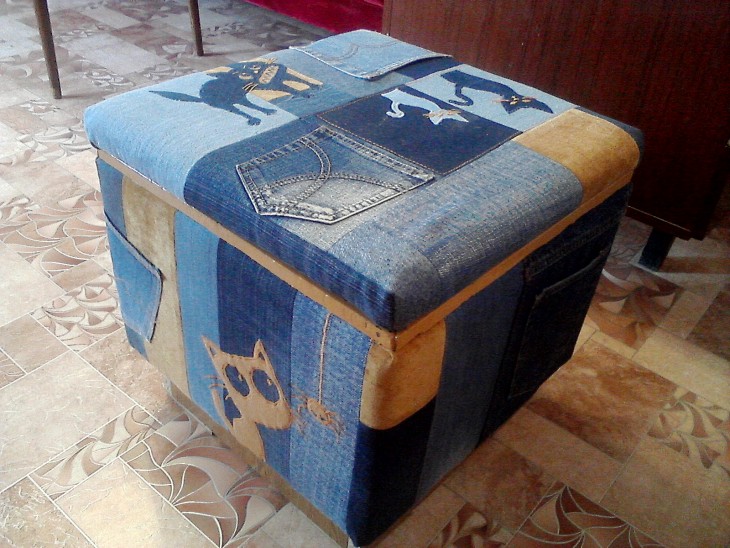
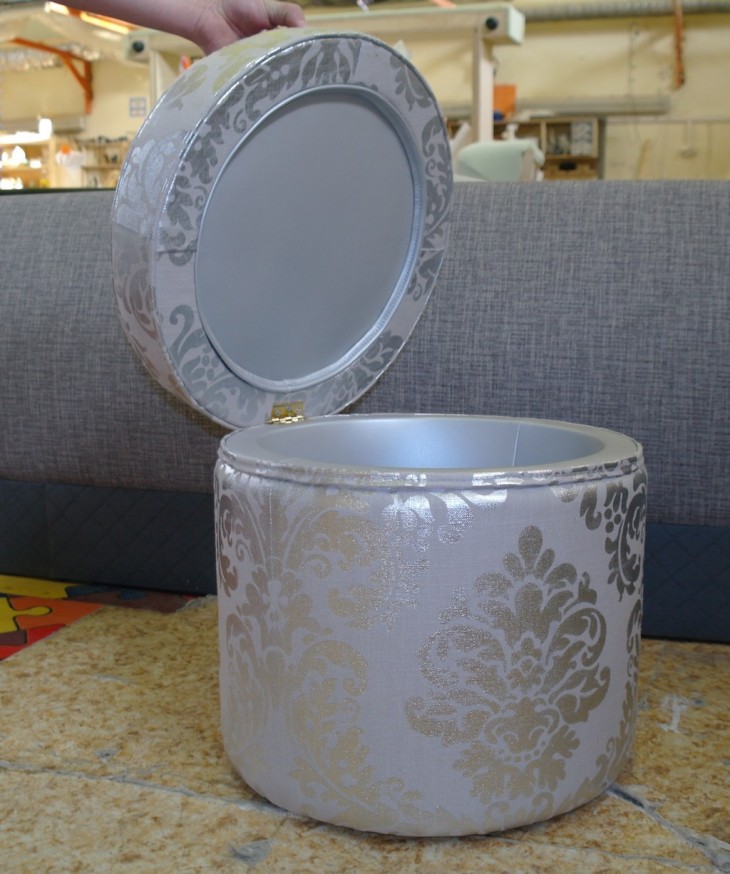
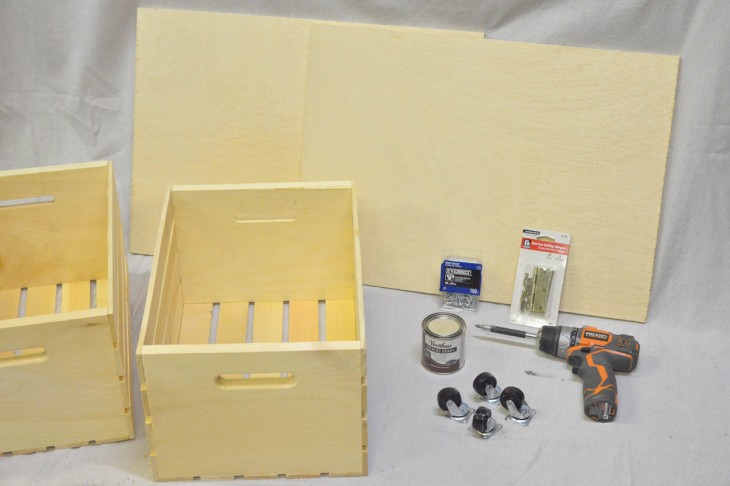
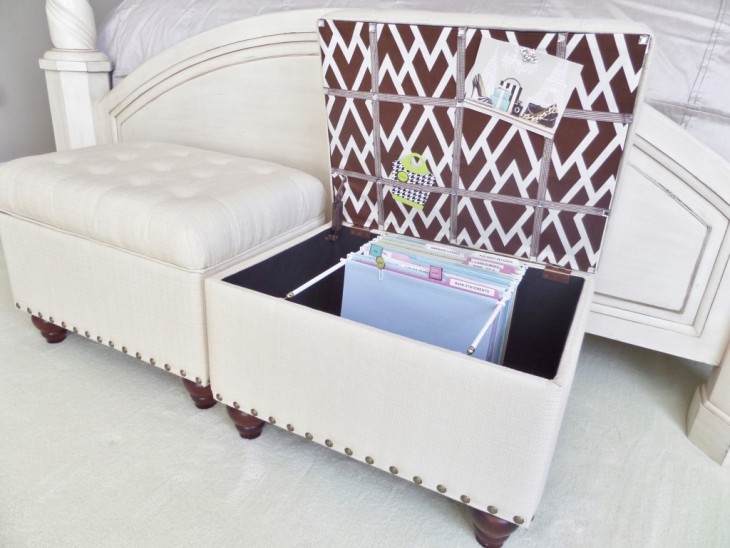
Pouf with a lid
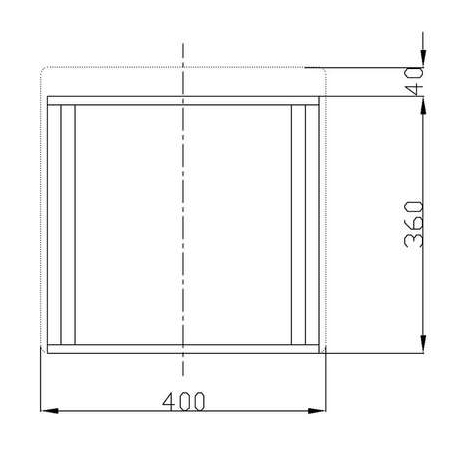
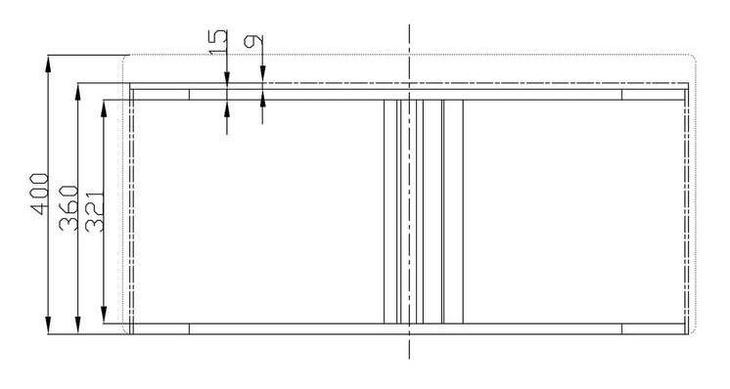
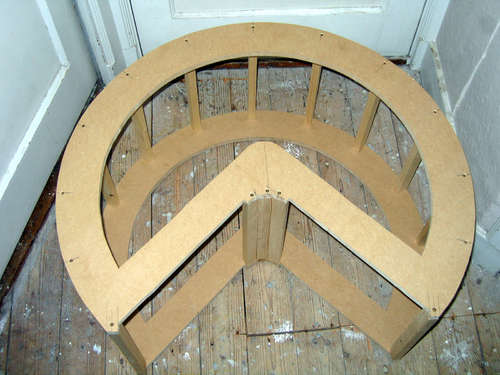
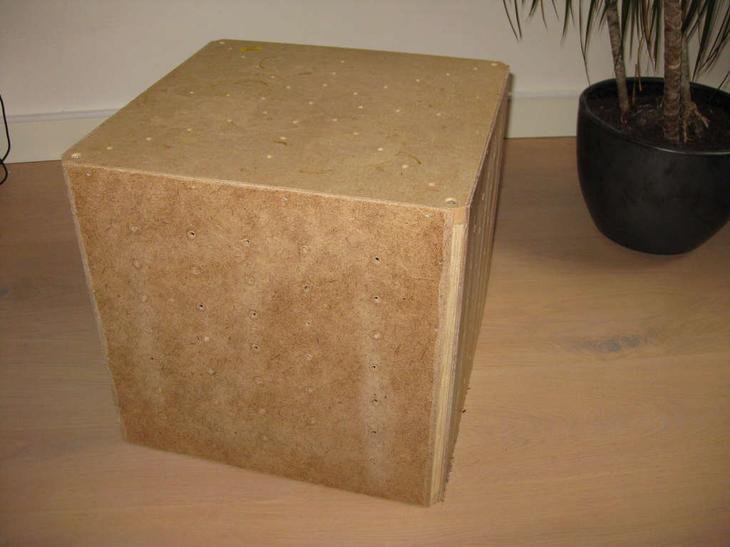
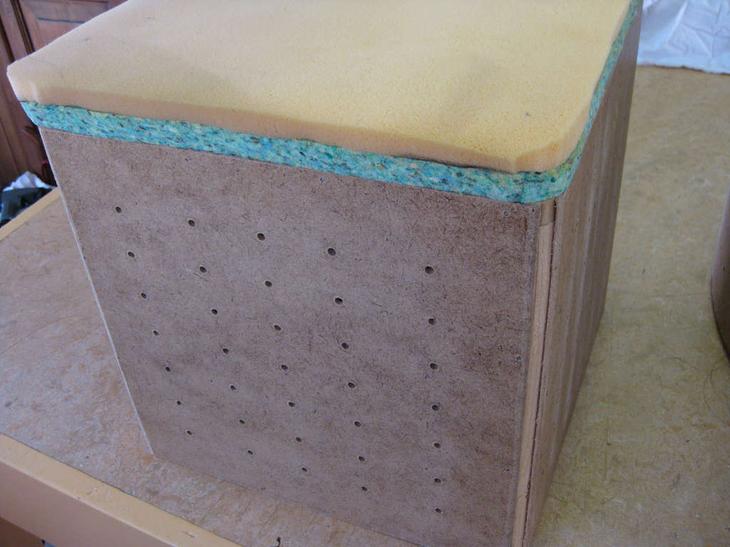
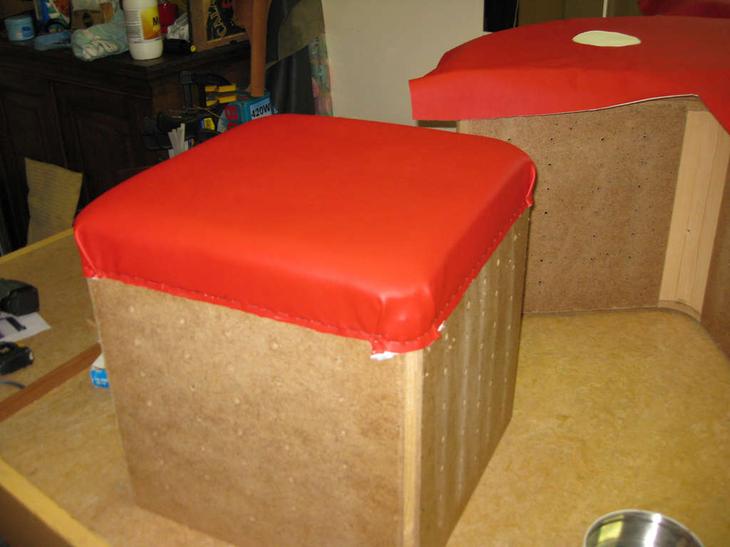
In order to make a pouf similar to those sold in stores, carpentry skills and some tools are needed. To begin with, it is necessary to cut rectangular parts from a chipboard 4 with a width of 33 and a length of 40 cm.
Note!

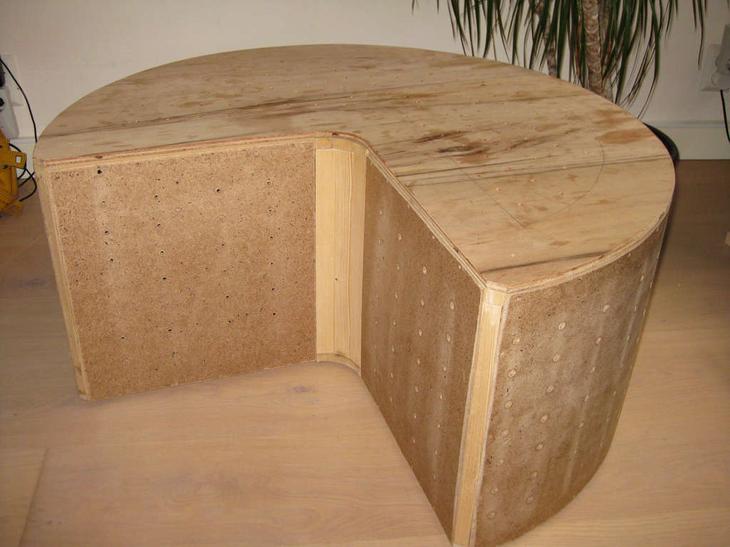
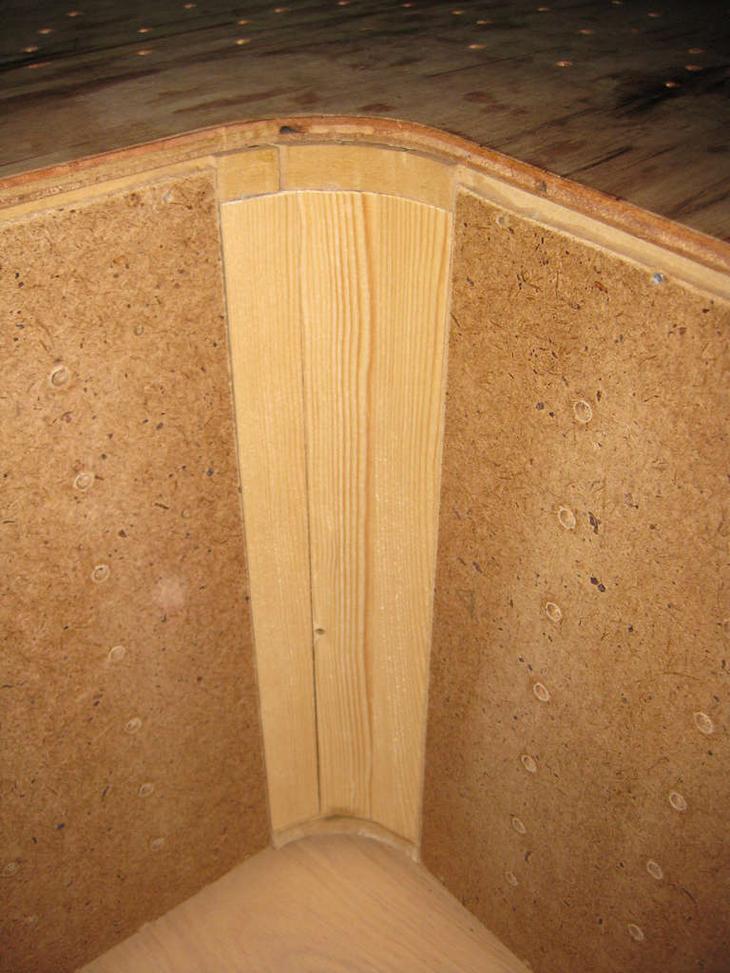
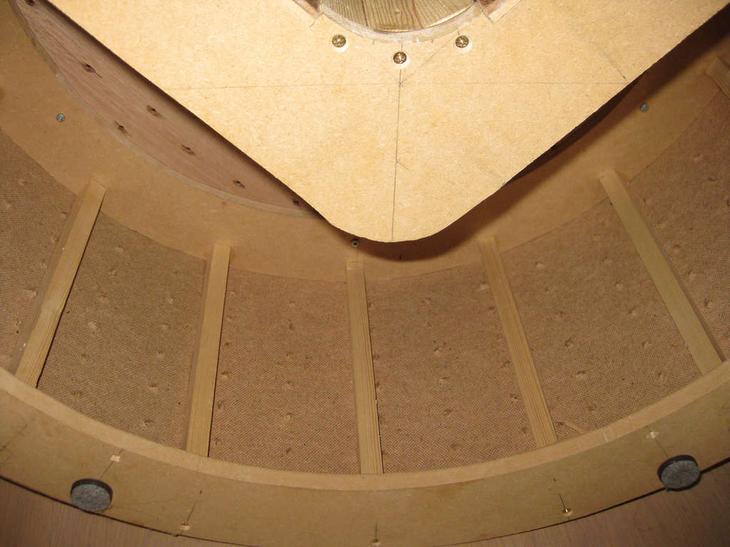
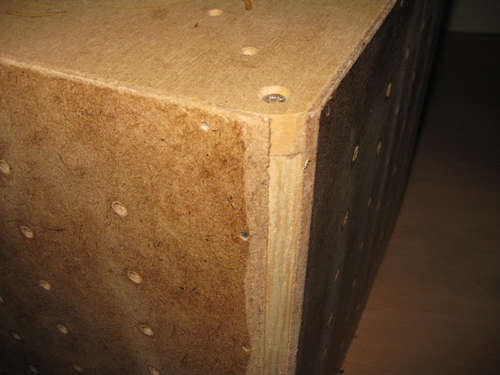
Use wooden blocks to hold them together. A square with a side of 40 cm is attached from the bottom. As a result, you should get a kind of box.
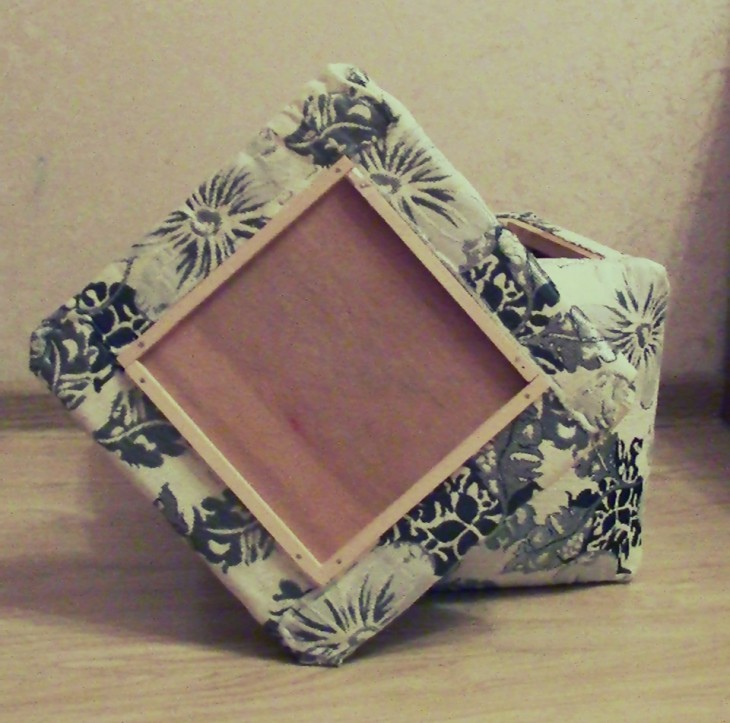
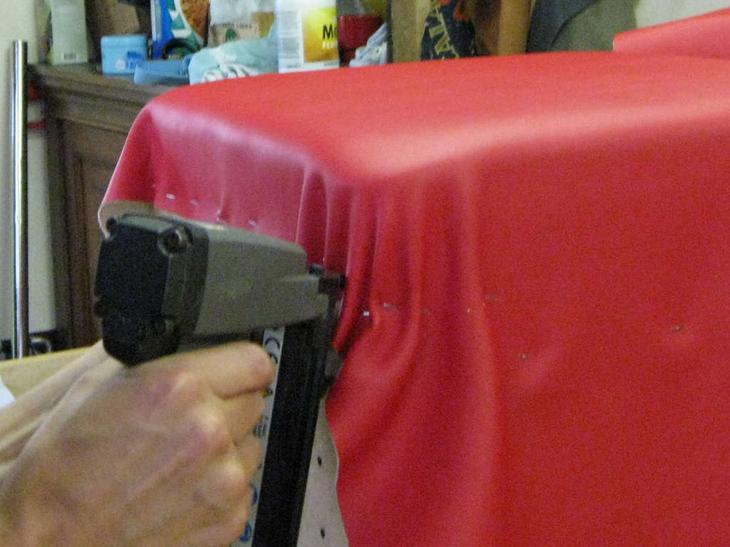
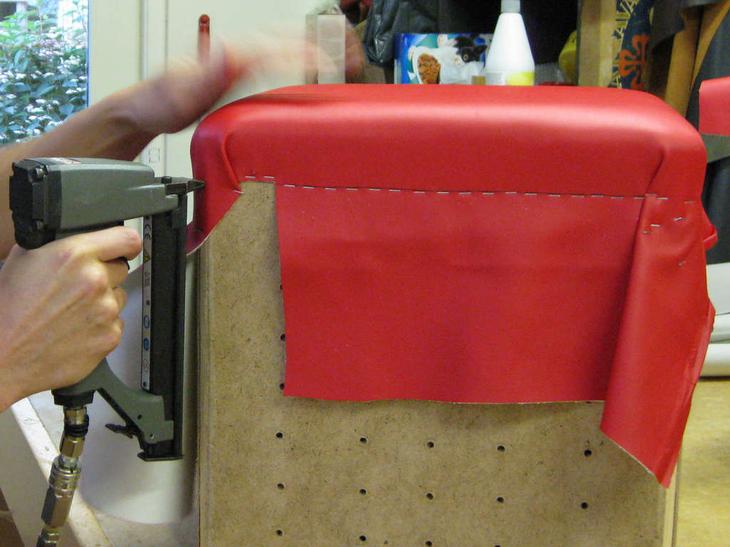
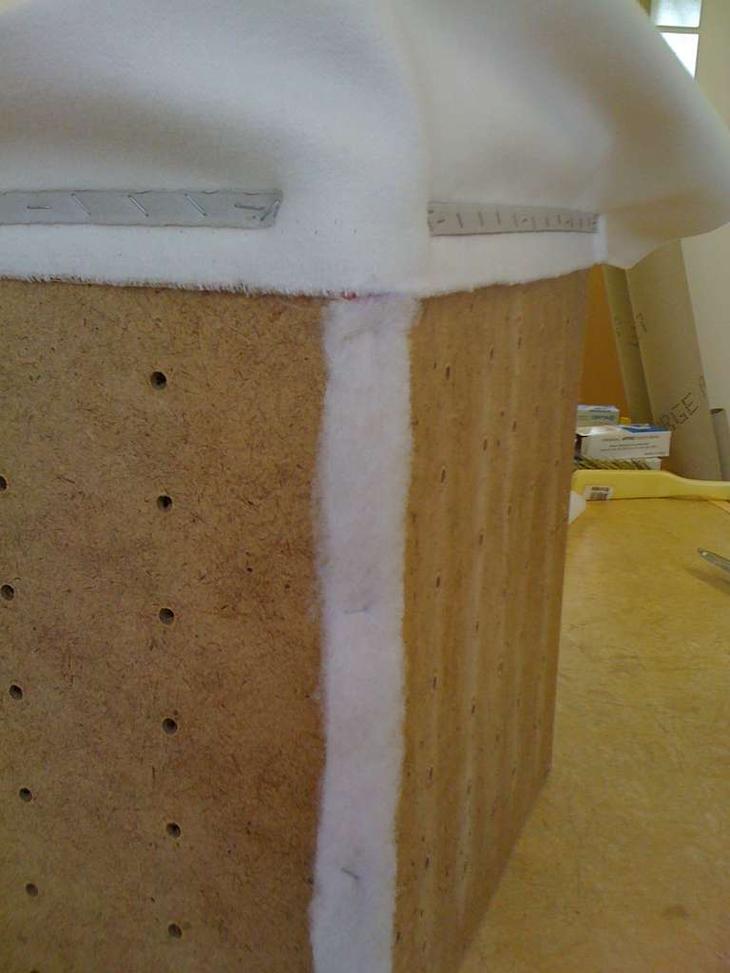
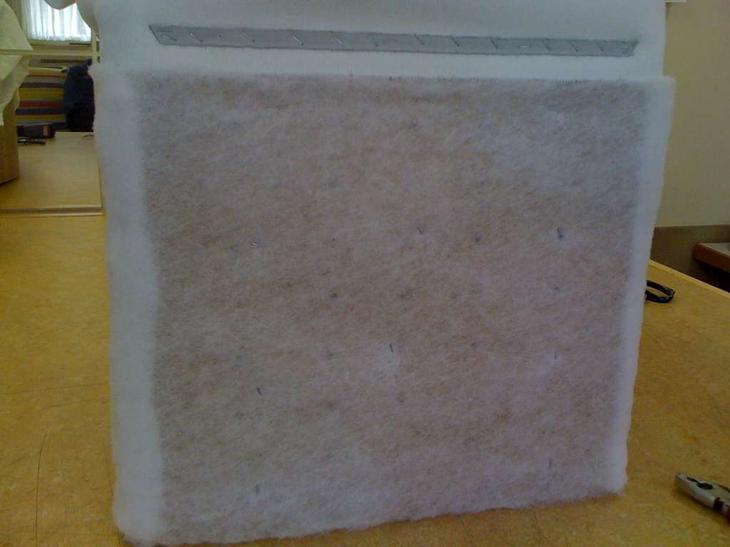
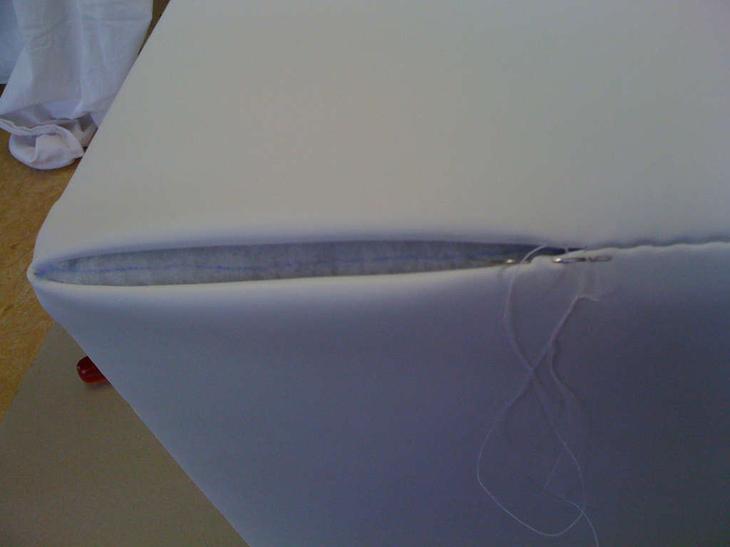
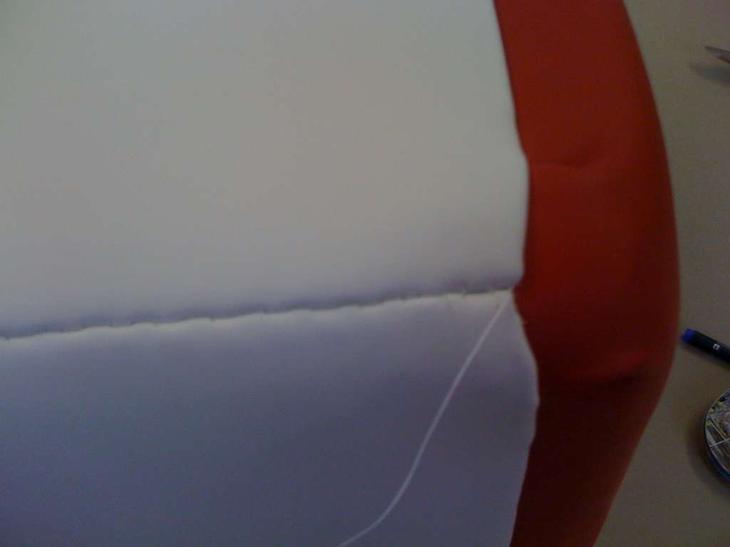
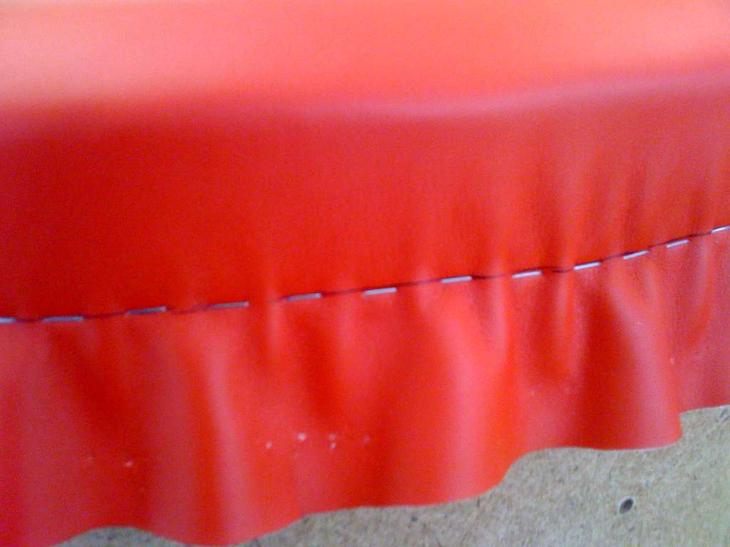
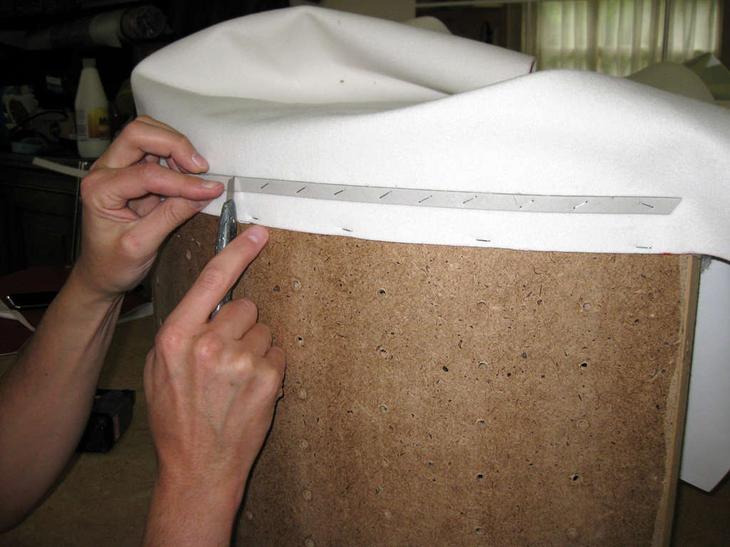
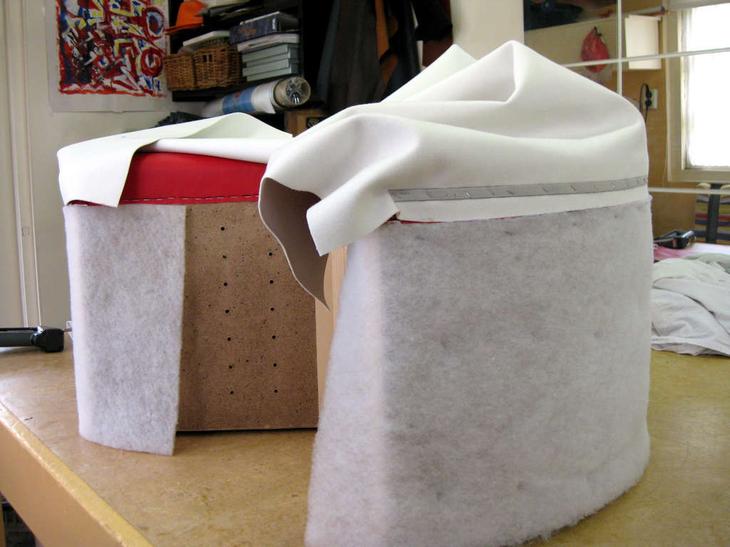
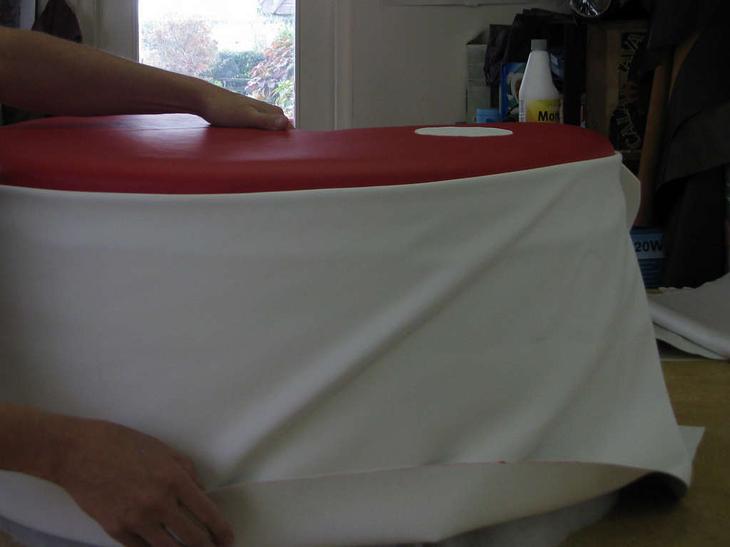
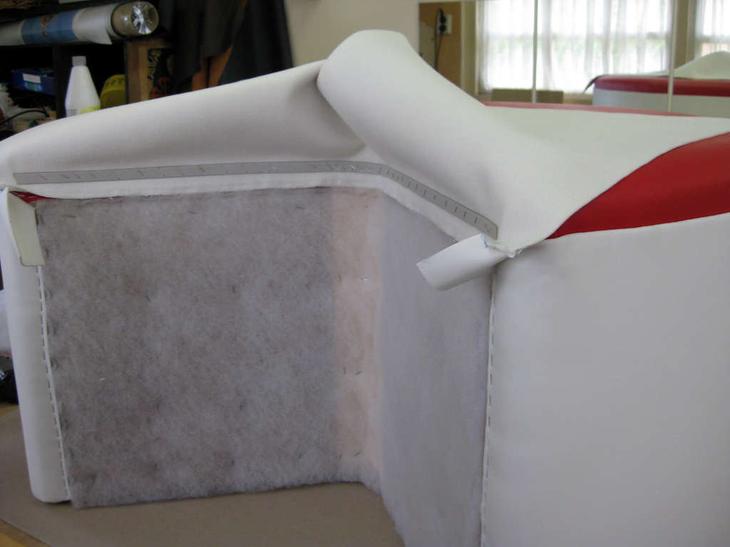
This workpiece from the inside using a construction stapler can be sheathed with material. The square, which will serve as the cover, is also sheathed with material from the bottom. And the top, before being covered with an upholstery fabric, is pasted over with foam rubber in order to give the ottoman softness.
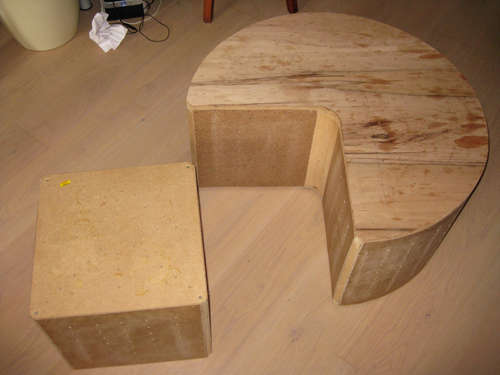
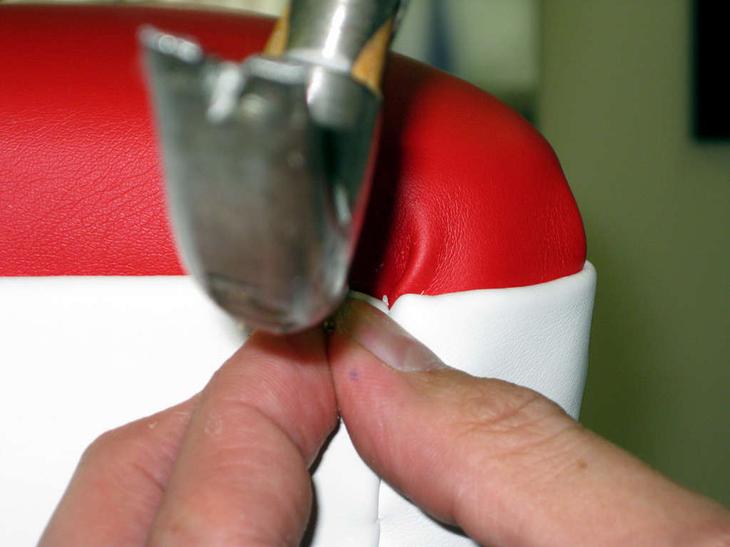
Around the outer perimeter, the pouf, like the lid, is wrapped with foam. And only then they are upholstered with material. To attach the lid to the cube use loops. To give this piece of furniture mobility, furniture wheels can be attached to the bottom.
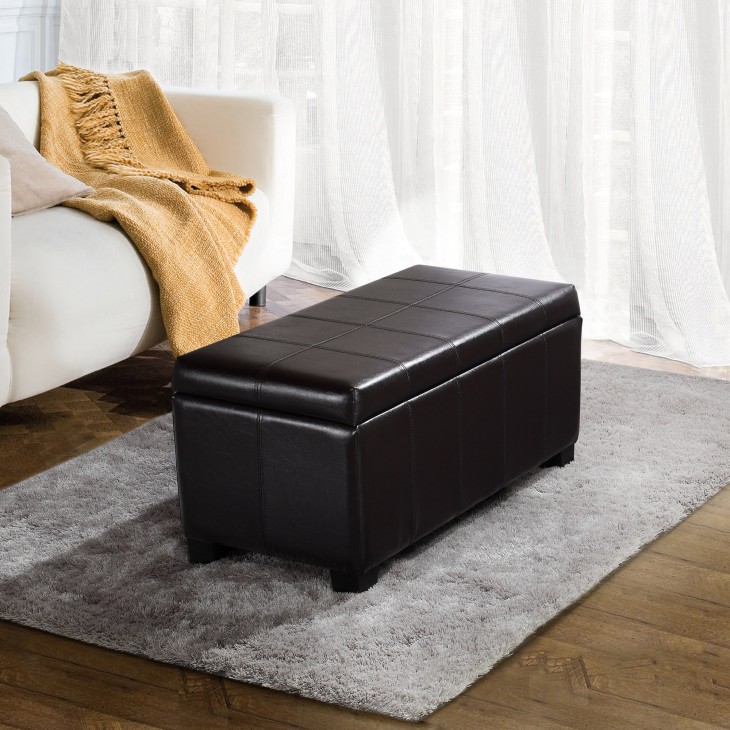
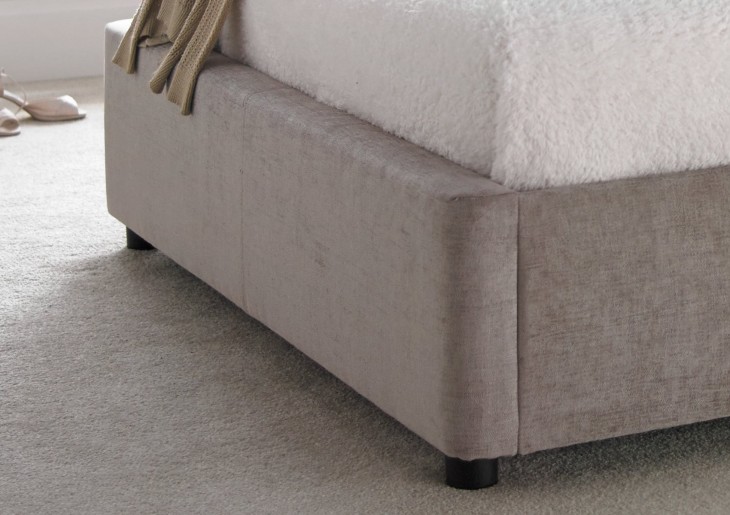
It is even easier to make a ottoman with a lid from a bucket, a large pot or other utensils and equipment.
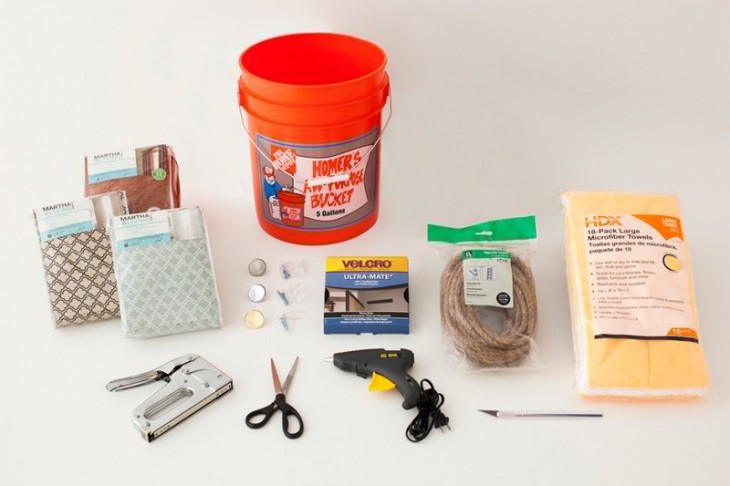

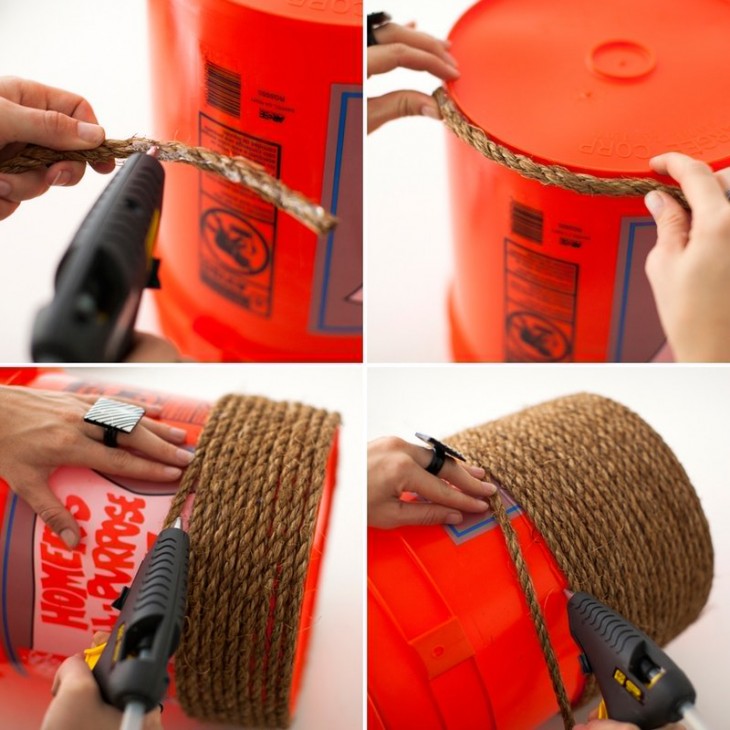
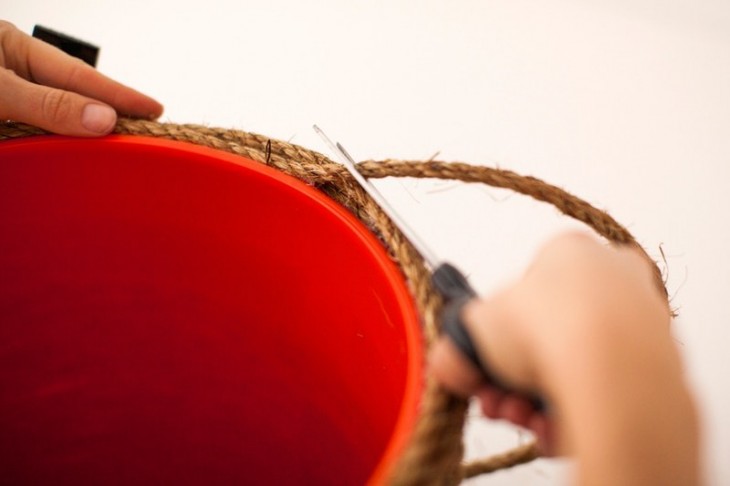
The main thing is that, like the puff, they have a removable or opening lid. Then you just need to wrap the blank with foam rubber or other soft material and put a cover on it.
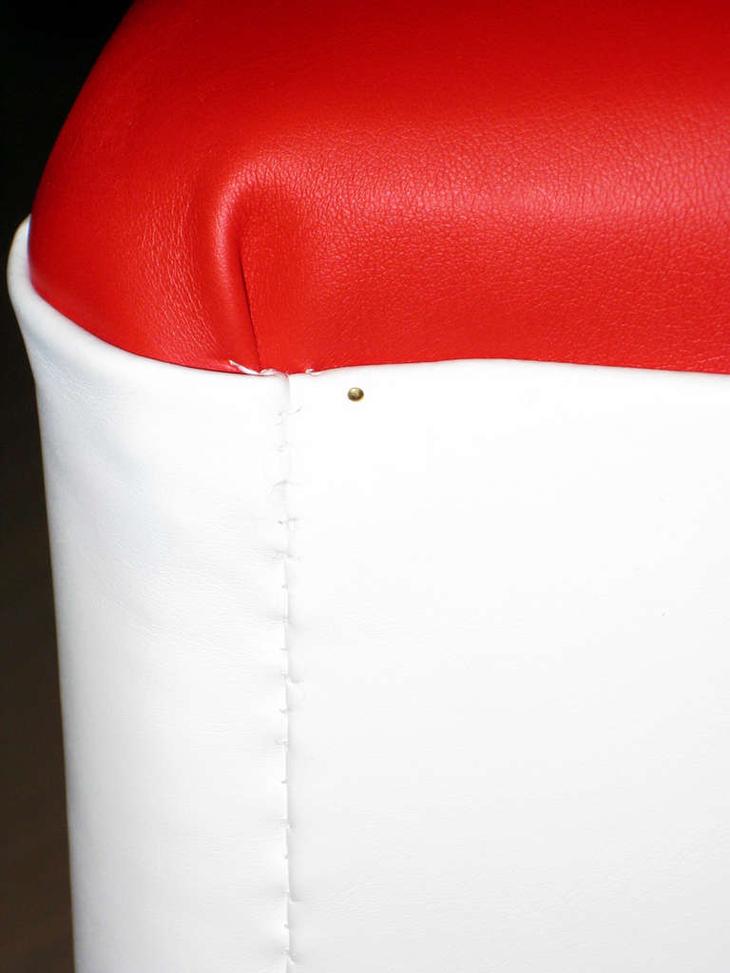
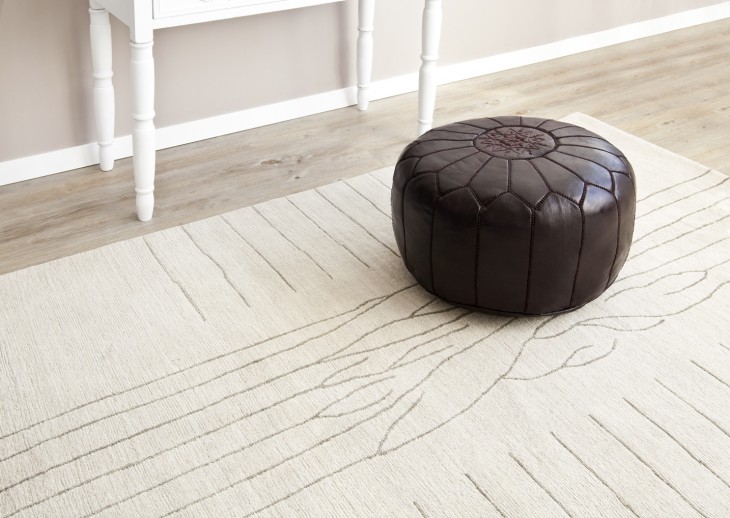
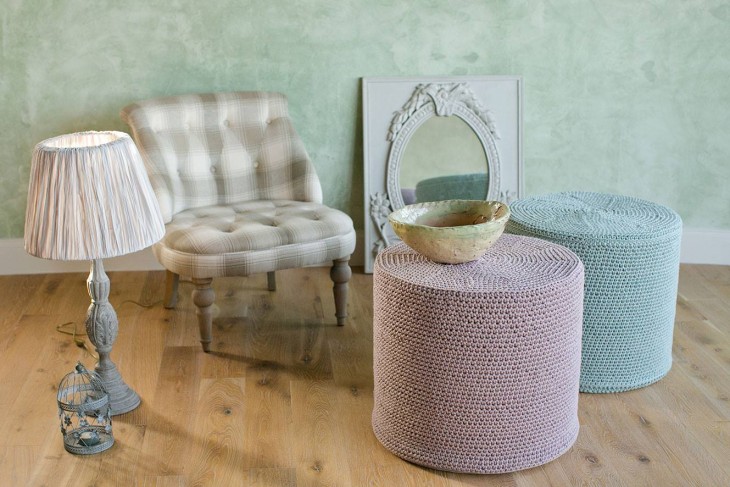
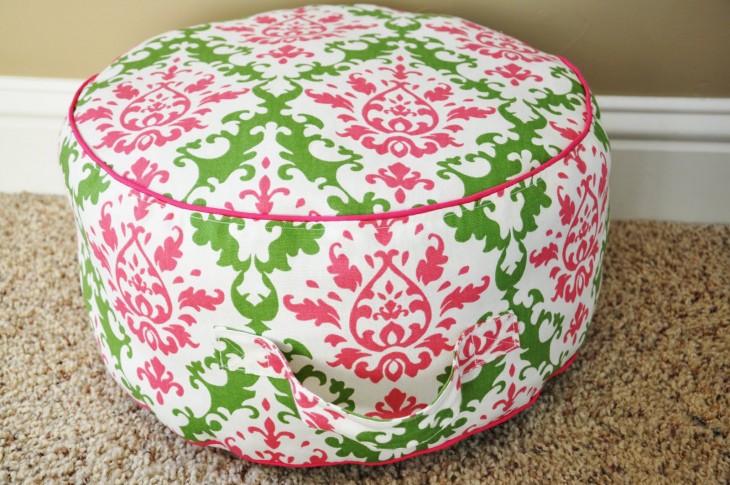
All homemade ottomans can perfectly fit not only into the interior of the apartment, but it is also a great option for a summer house or outdoor recreation. After all, ottomans are lightweight, mobile because of their size and comfortable pieces of furniture.
Note!

They are very suitable for children's rooms, giving kids the opportunity to sit comfortably on them, or even build castles, using poufs as cubes.
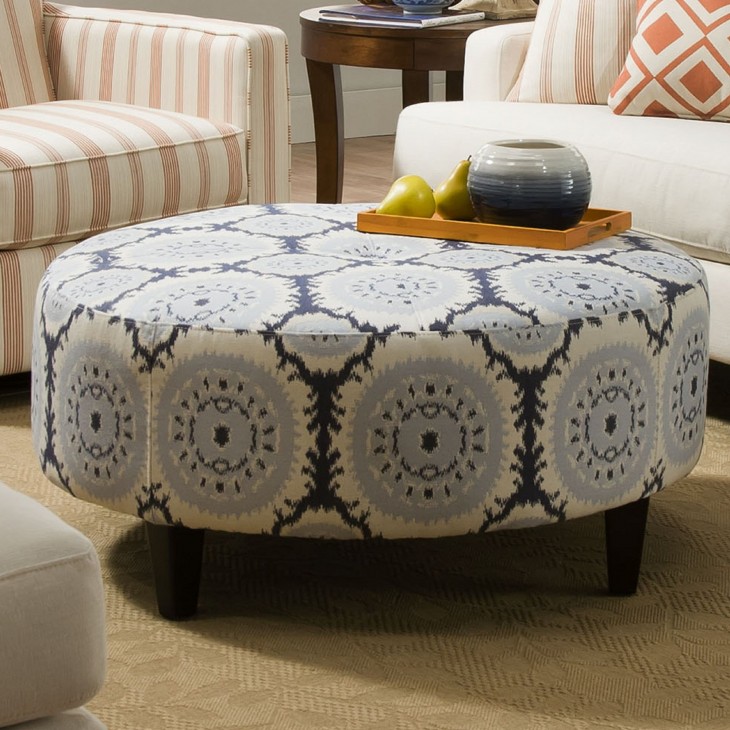
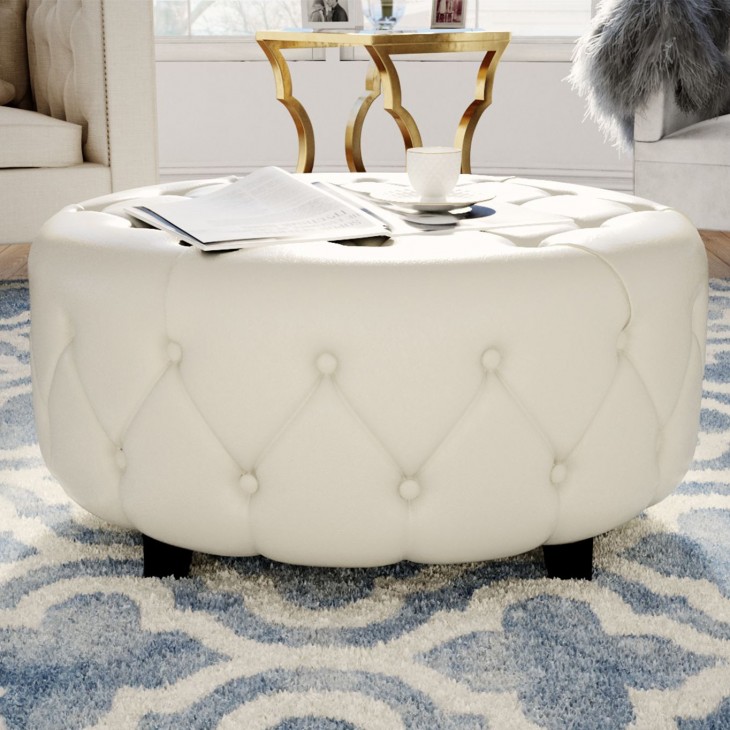
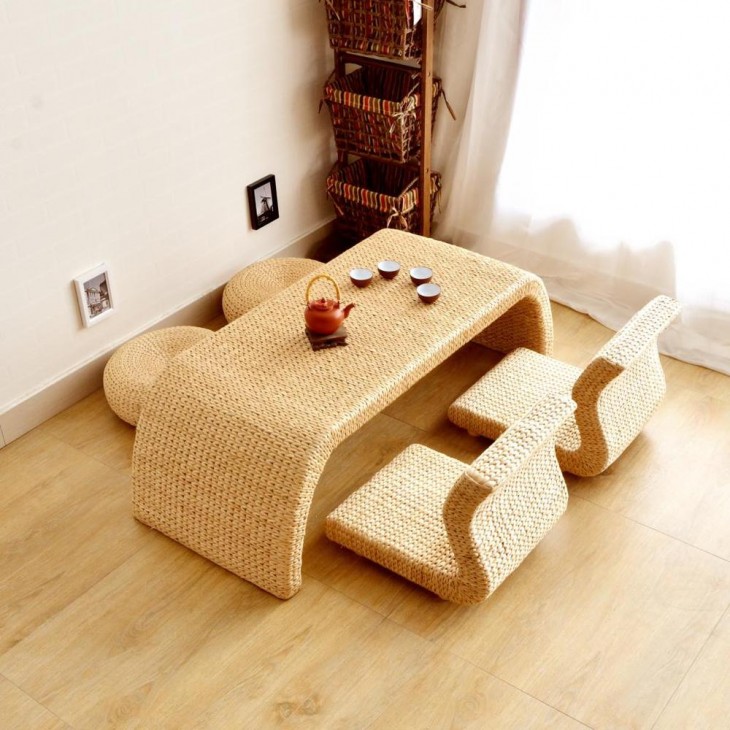
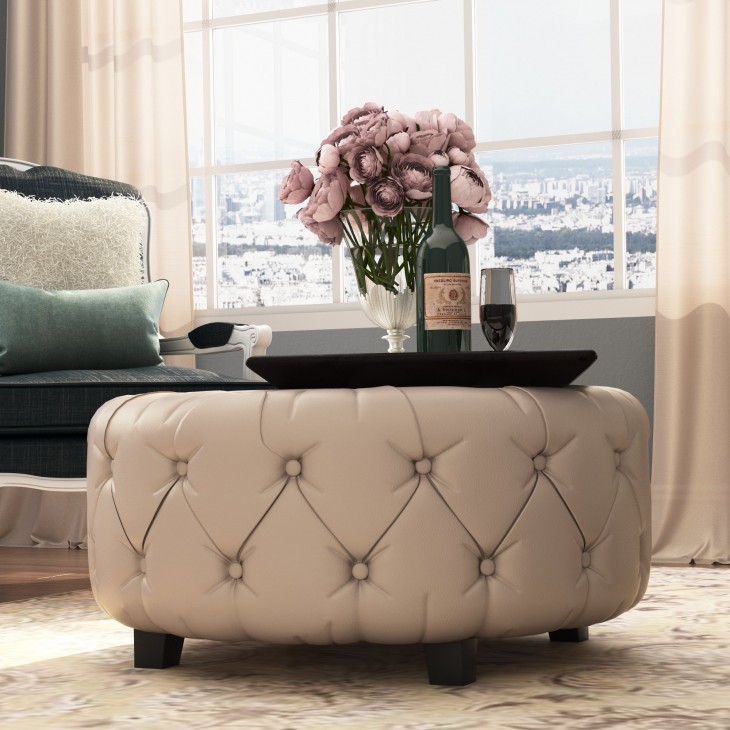
It is much more convenient to use such a piece of furniture to sit at a low coffee table, because a homemade pouf can be made of any height.
DIY photo of ottoman