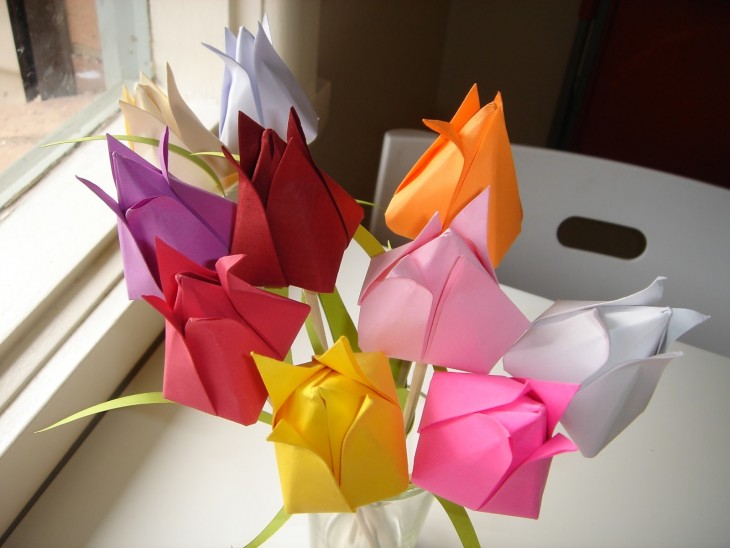
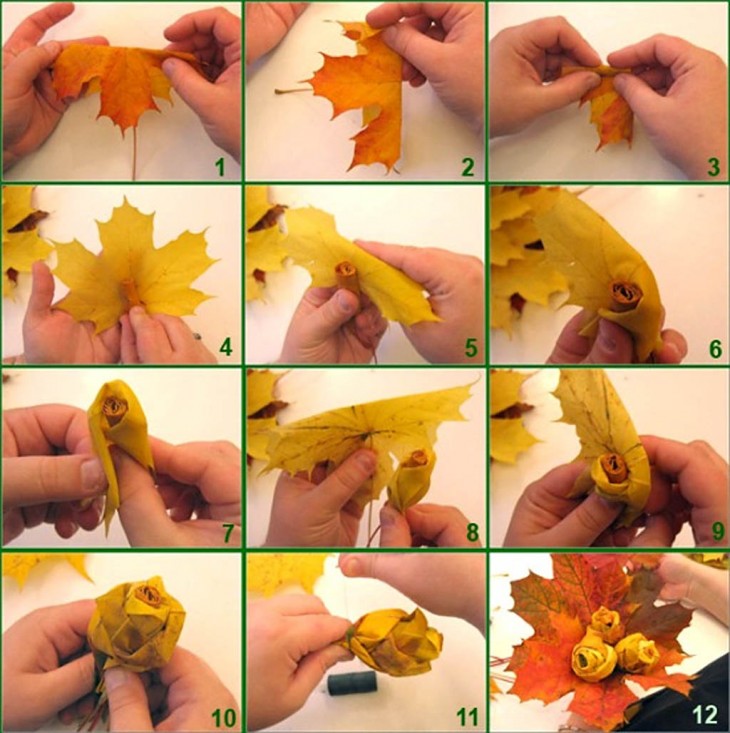
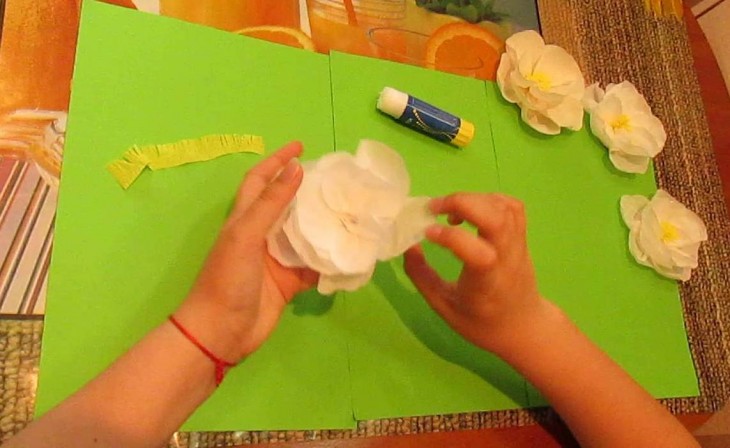
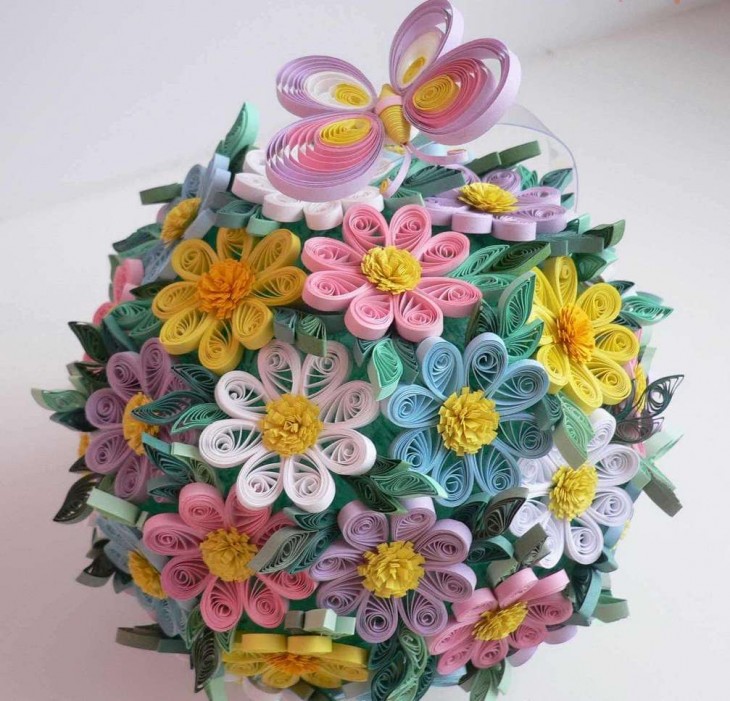
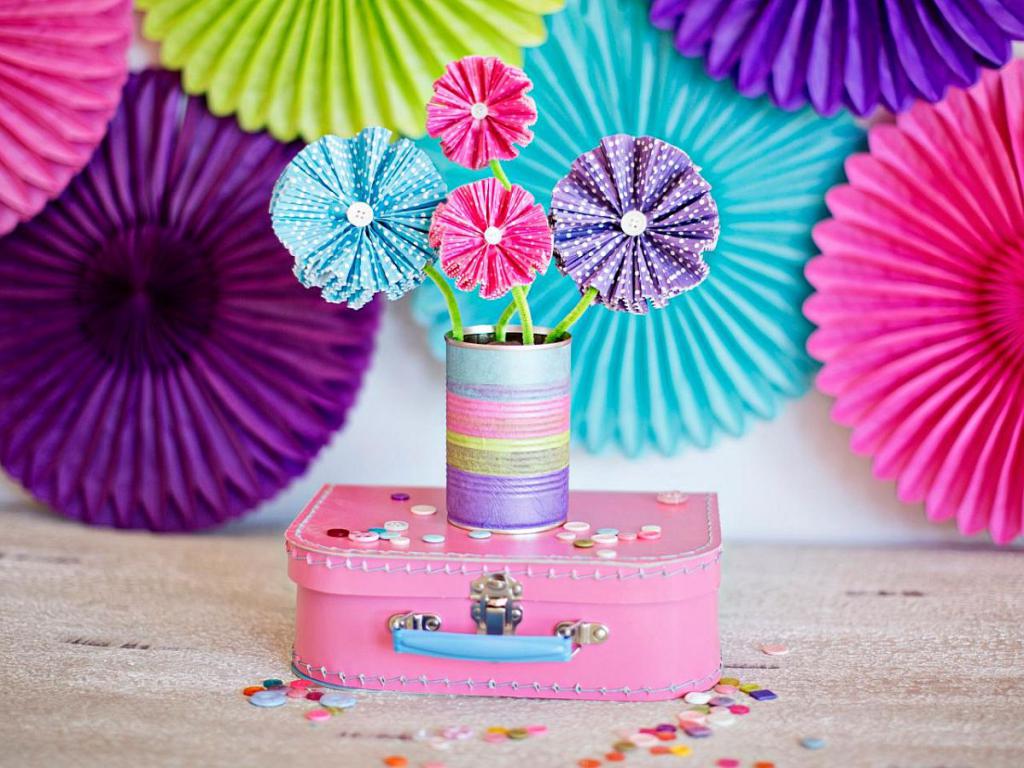
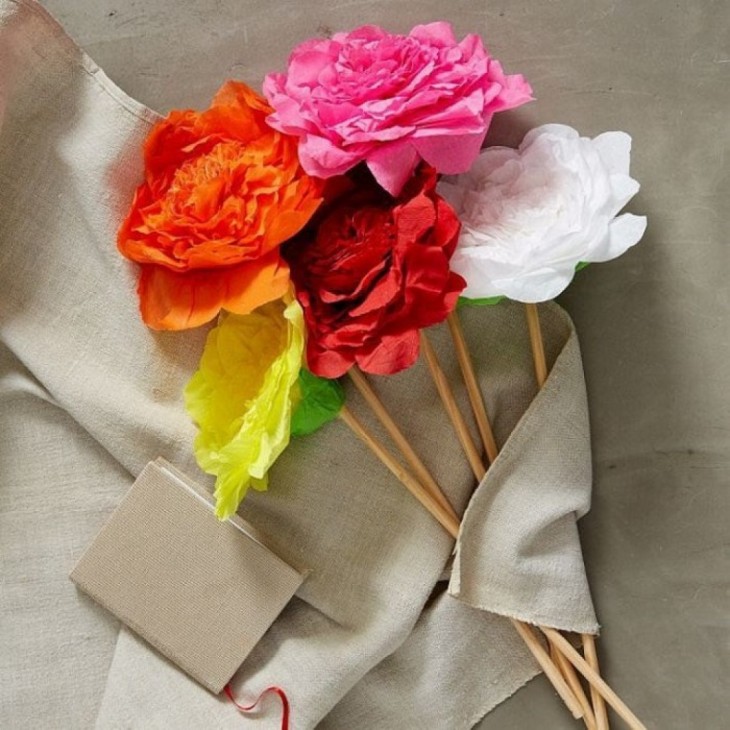
The idea to make a bouquet of flowers from paper is very good. For paper crafts, we need to purchase colored paper, cardboard, felt-tip pens, stationery knife, tape, scissors and PVA glue.
Review Content:
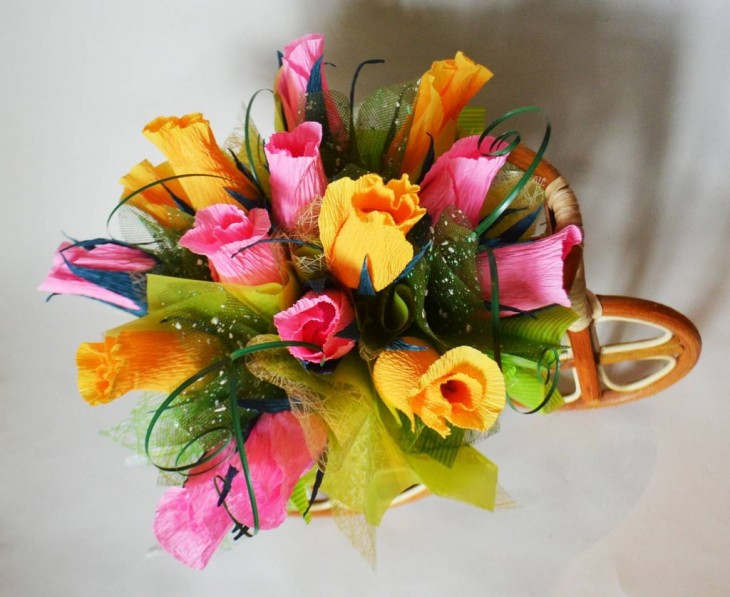
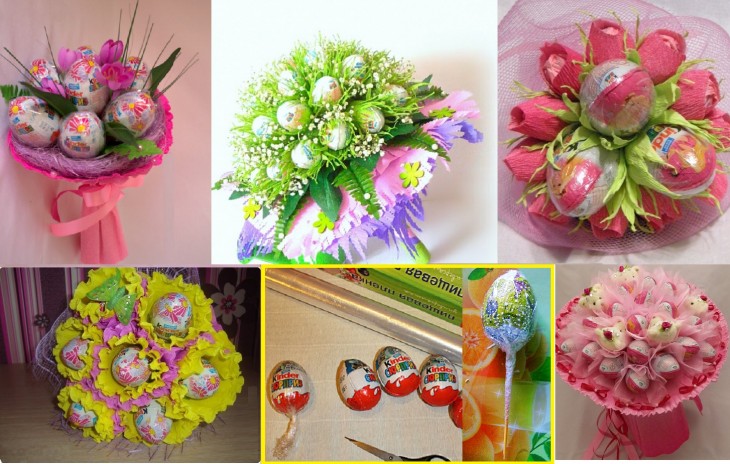
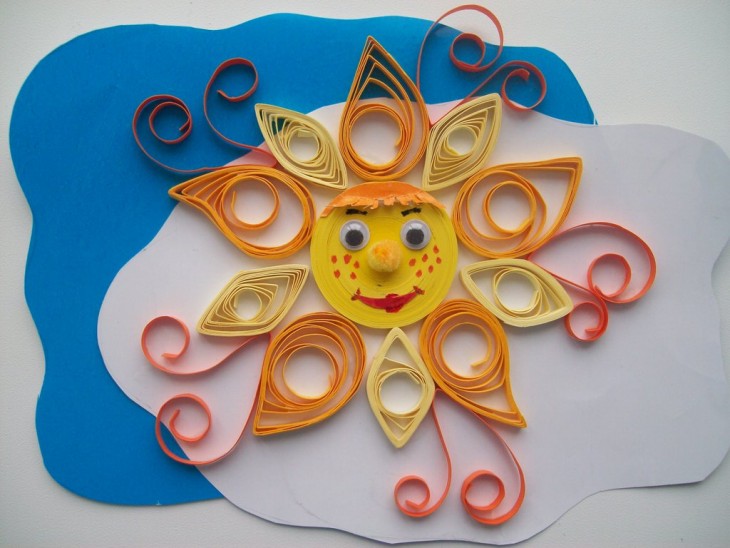
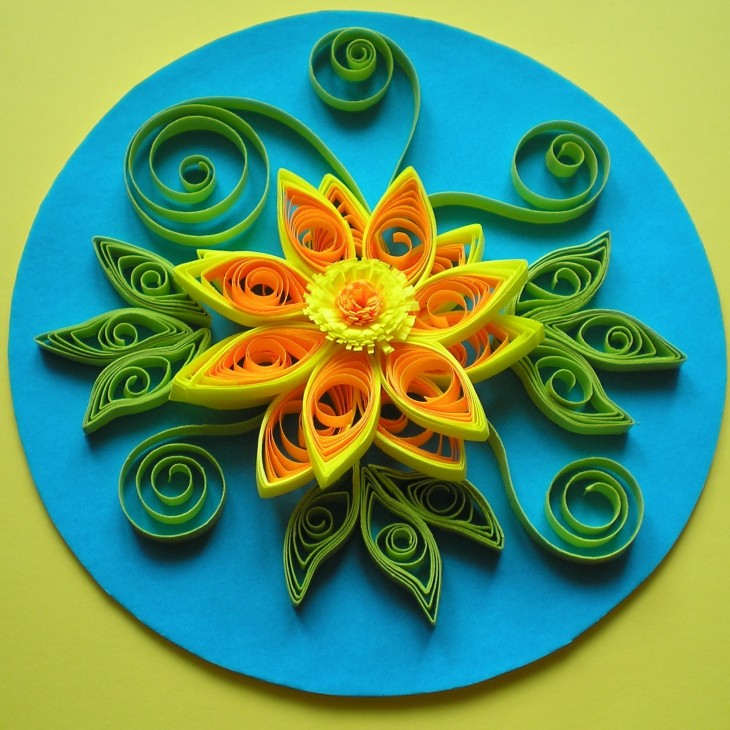
Bouquet of paper
First you need to make three blanks for each flower, two of which should be the same color, they should have six petals.
Place in front of you one blank, on top of which stick a circle.
On the mug, make holes for the eyes and mouth in the form of an emoticon.
After gluing the mug with the flower, you need to paint your eyes with a black felt-tip pen, and then bend the petals inward.
The next step is to cut the stem, which is then attached to the flower, and on the other side of the flower you need to attach the same blank.
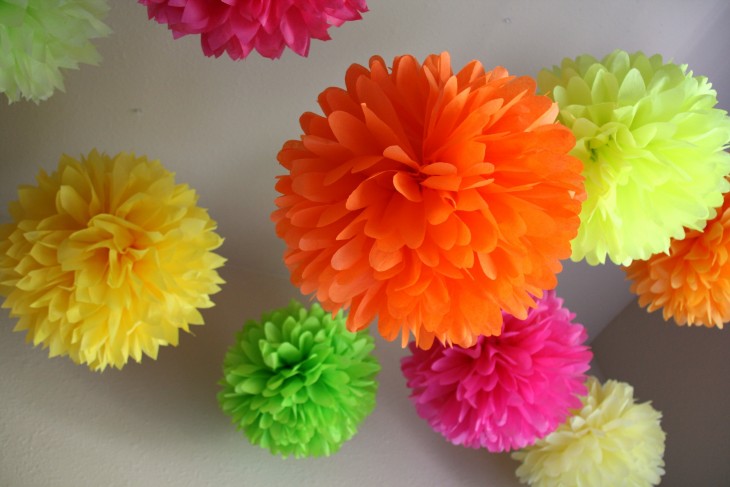
Also, for a bouquet, you can make leaves that can be made from green paper.
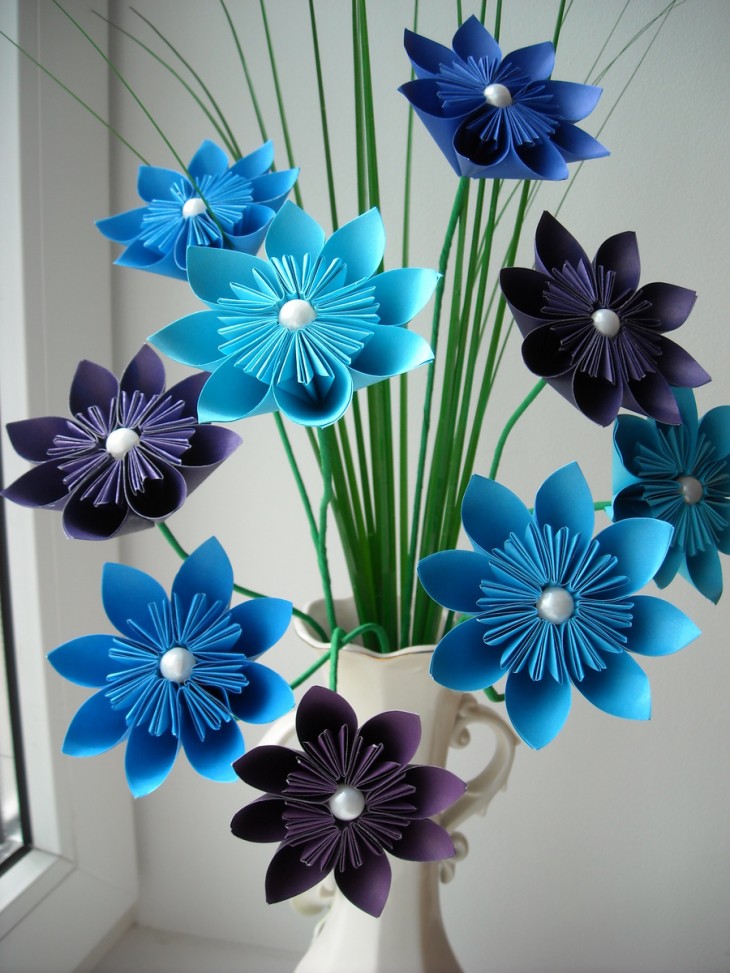
First you need to draw an oval and cut it, and then use scissors to make notches.
In order for individual pieces of paper crafts to become one, tie the flowers with a ribbon or some other fabric to decorate the bouquet.
Such a bouquet will never fade and will be a great decoration for the home.
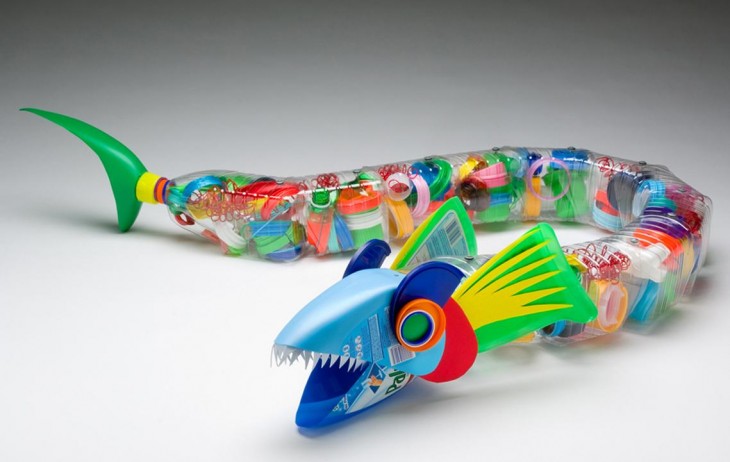
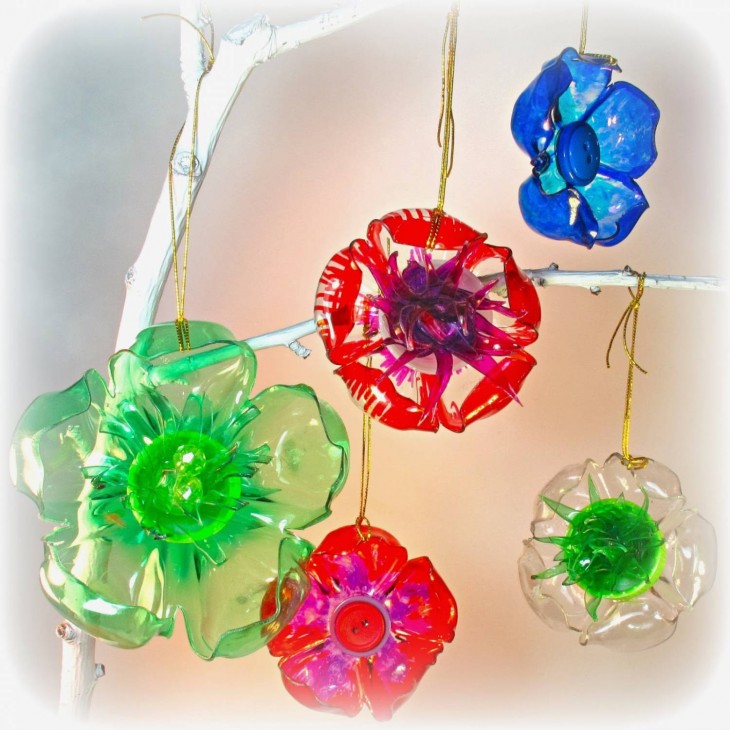
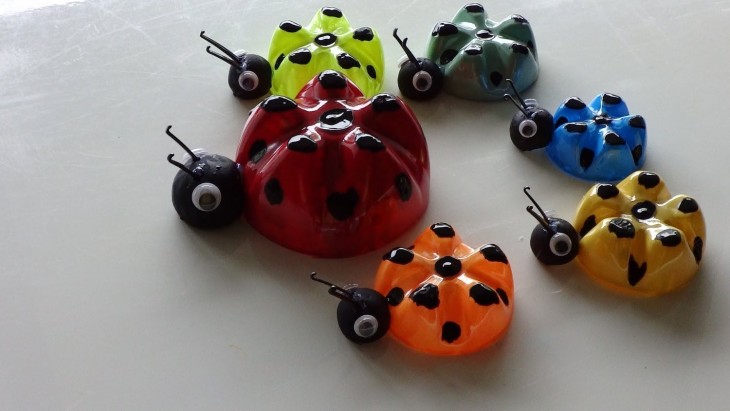
Simple crafts from plastic bottles
The simplest crafts for children include crafts from bottles.
For example, a piggy bank can be made from a bottle, for which you only need a marker, a stationery knife, dice (4 pieces), a small bottle, glue and colored paper.
First of all, you need to cut a straight line, the latitude of which can be 5 centimeters, and the length of this line should be enough to surround the bottle.
Next, you need to cut the ears out of paper, and then attach the blanks to the bottle with glue.
We draw eyes with a marker, and draw nostrils on the bottle cap. Using a clerical knife, cut a hole for coins.
As the legs for the pig, you need to attach the dice with glue.
Note!

This craft develops the imagination of a child, and is also useful in everyday life.

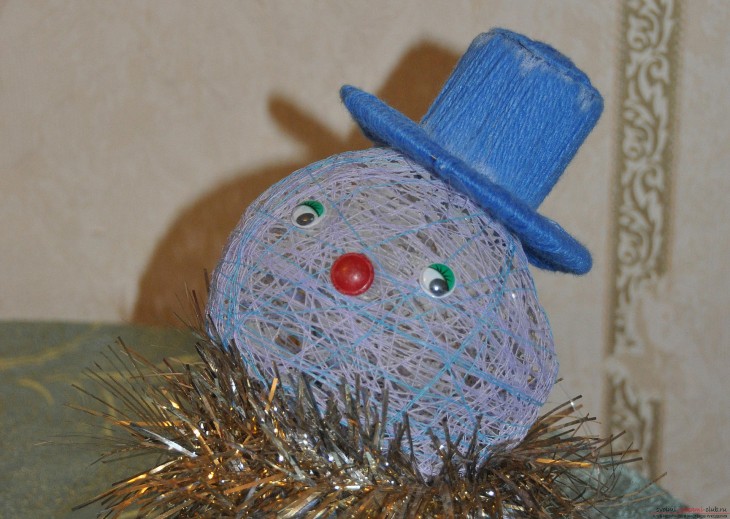
Ball of thread
The craft can be used as a lampshade for a lamp or simply hung as a decoration.
A ball of thread is made very simple, for its manufacture you will need colored threads, a ball, transparent glue.
To begin with, we need to inflate the ball and tie its tip so that the air does not come out.
Then the inflated ball must be wrapped with thread, after which glue is applied to the surface of the ball and wait until it dries.
Note!

Now you need to separate the ball from the threads, for this just pierce it with a needle and all the crafts are ready.
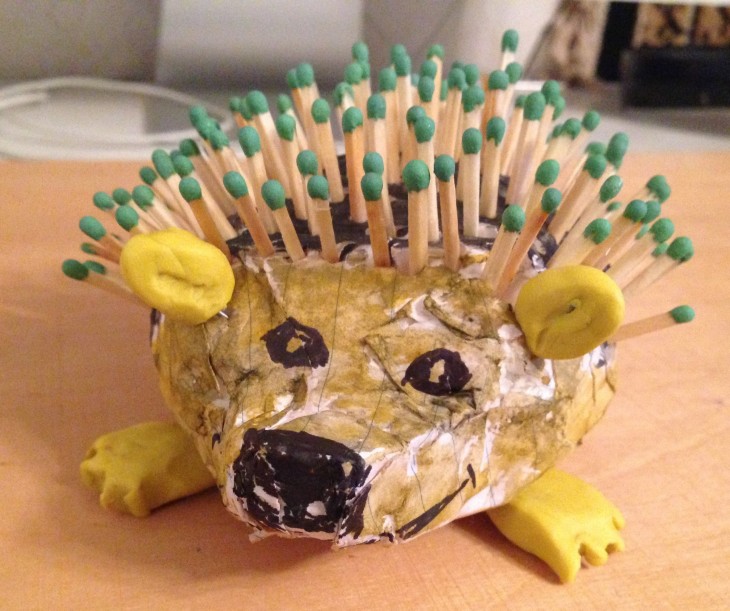
Plasticine gnome and cones
As a simple DIY craft, you can make a gnome. For crafts, you need directly a pine cone, light-colored clay, pieces of fabric, glue and a brush.
First of all, the child should roll the ball from a piece of plasticine, after which, on the ball using a brush, you need to make indentations for the nose, eyes and mouth.
Next, you need to choose the colors of plasticine for the eyes and mouth and attach them to the previously made recesses.
At the next stage of our craft, you need to attach the resulting head to the top of the cone.
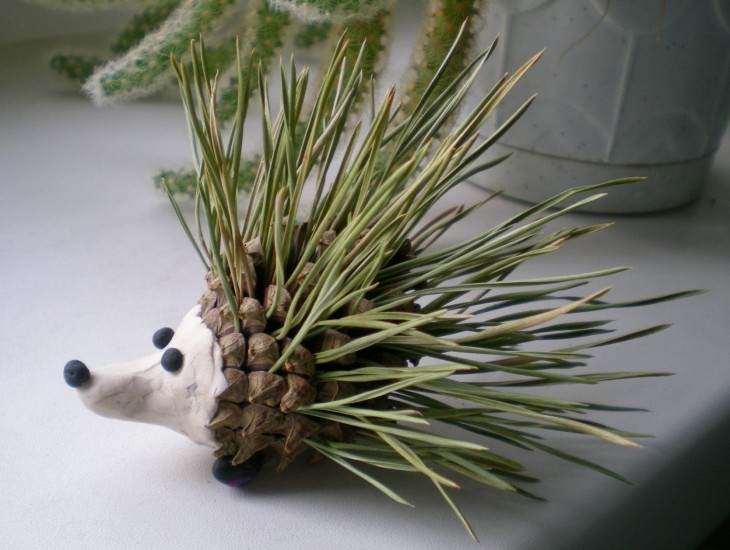
Then the child should cut out a triangle from the fabric and glue it on the sides, as a result, a cone should turn out. The cone will play the role of a hat for our character.
Note!
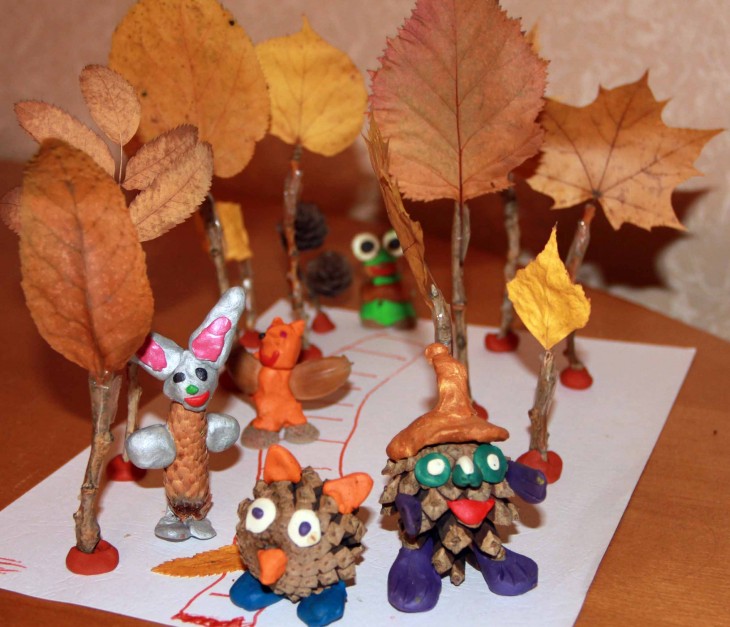
In the end, you need to make mittens from the fabric, and then attach them to the cone using plasticine and our gnome from the cone is ready.


Paper bookmark
As a simple craft for a kindergarten, a bookmark made of paper is perfect. For children to be able to do such a simple craft, they will need a pencil, ruler, colored paper, scissors and glue.

To begin with, children should draw a square measuring 20 by 20 centimeters.
Then divide the resulting square into 4 identical parts with a pencil and a ruler, in the end there will be 4 squares measuring 5 by 5 centimeters.
The second step is to divide the upper right and lower left squares in such a way as to obtain triangles, that is, you need to draw a line diagonally from the upper corner to the lower corner.
We do not need triangles with an external side and can be crossed out.
Then it is necessary to cut out the shape of the paper without considering crossed out triangles.
The upper triangle needs to be trimmed. If everything is done correctly, the paper will be in the form of a rhombus, to which two triangles are glued.
The next step is to fold all the triangles twice, and then alternately lay them on the tip of the rhombus. You should get a pocket that will be worn on the tip of the page of the book.
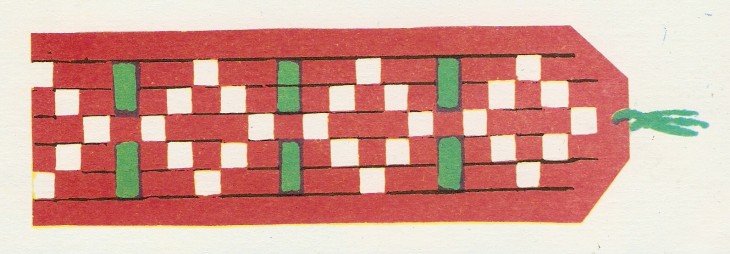
To make the bookmark original, children can be advised to cut out some application from colored paper.
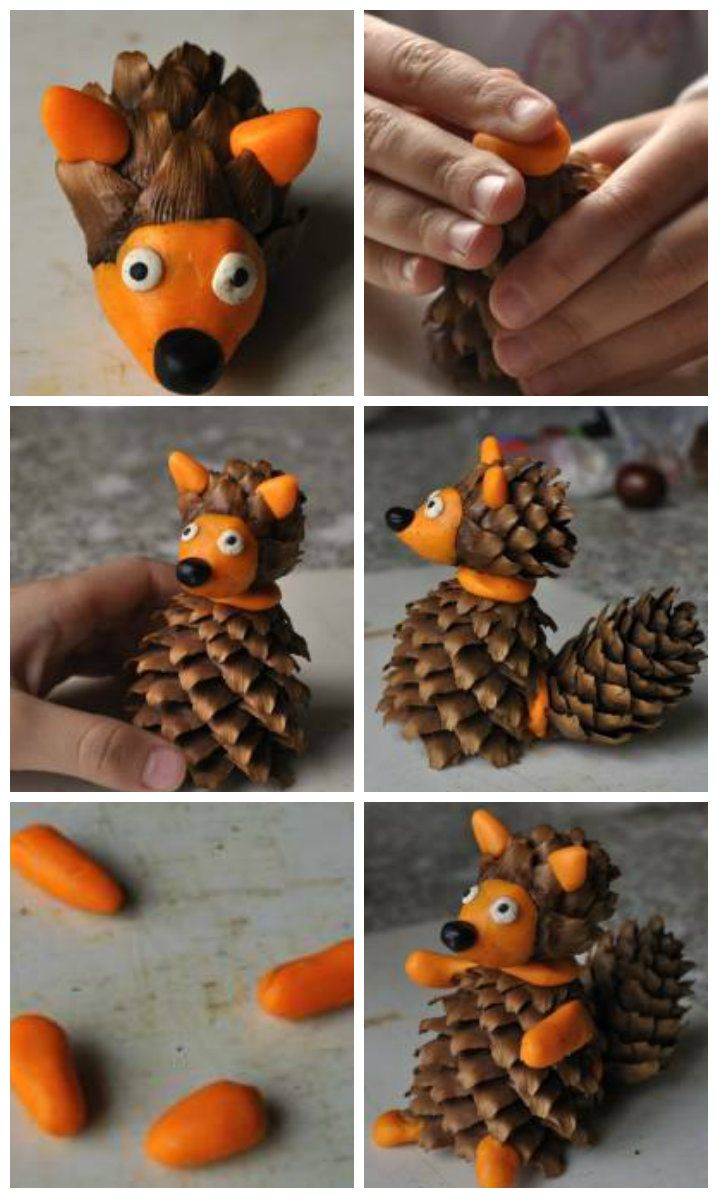
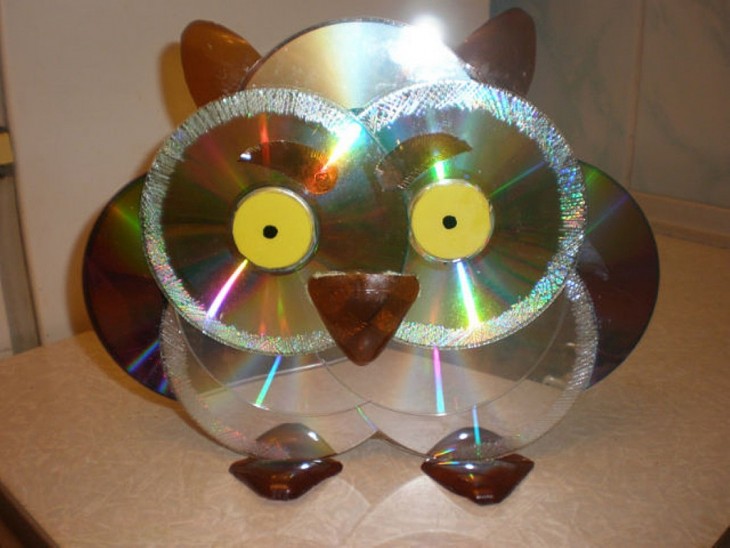
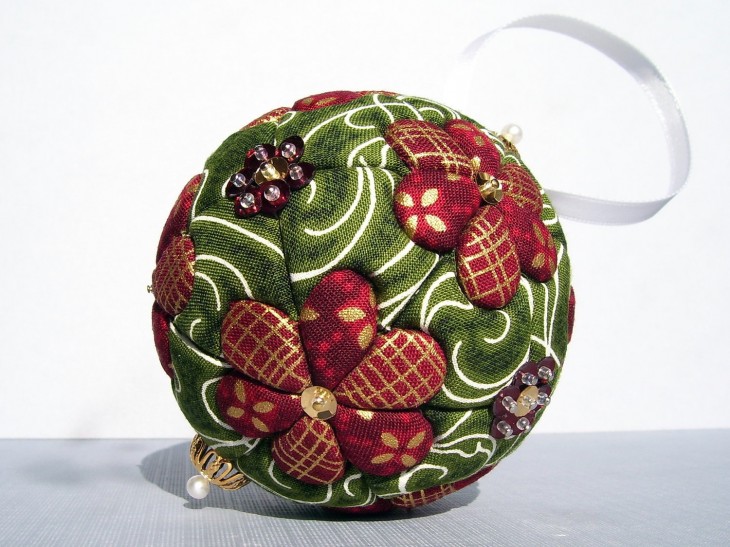
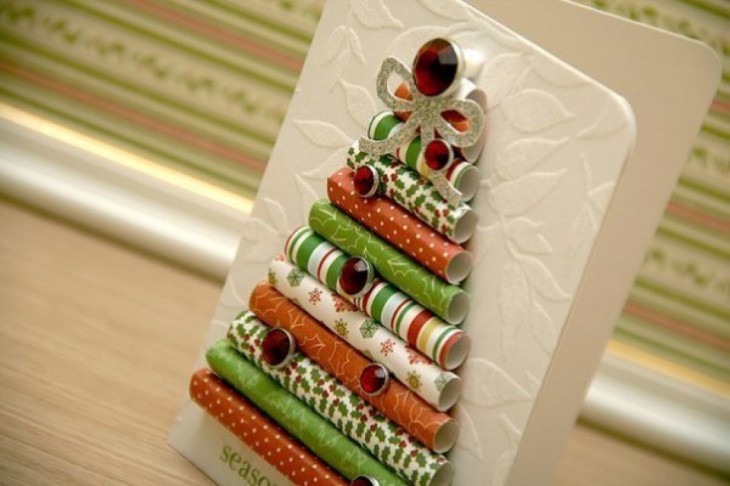
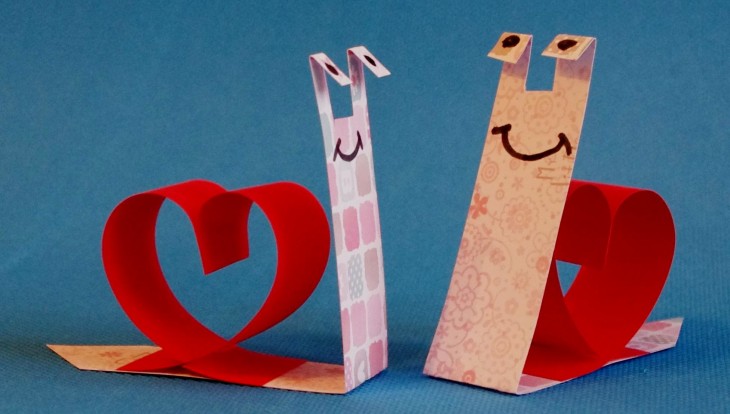
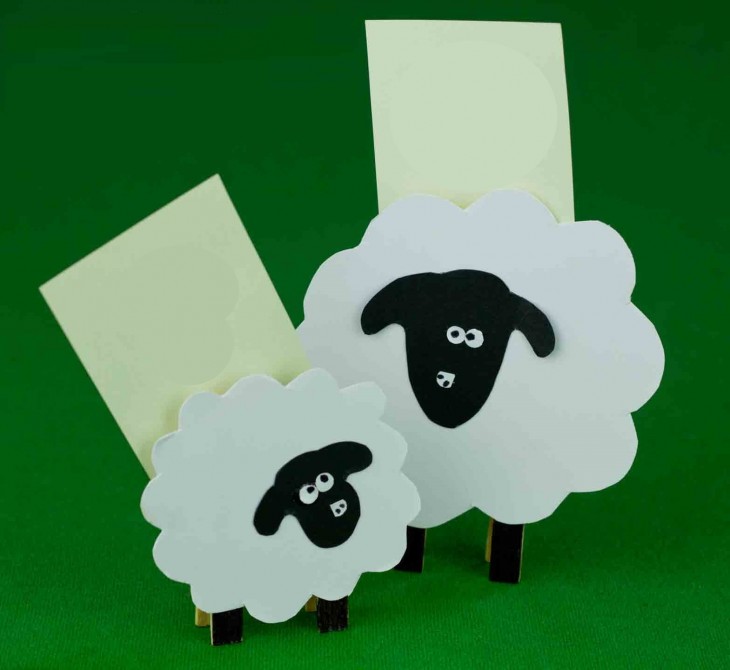
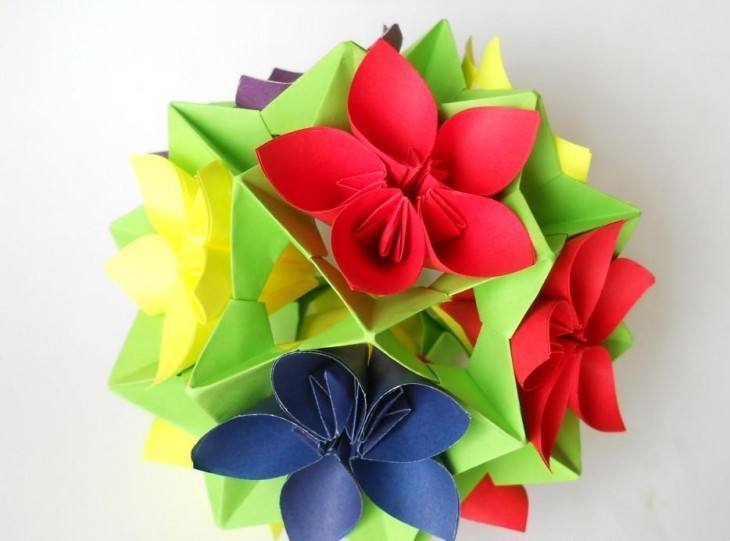
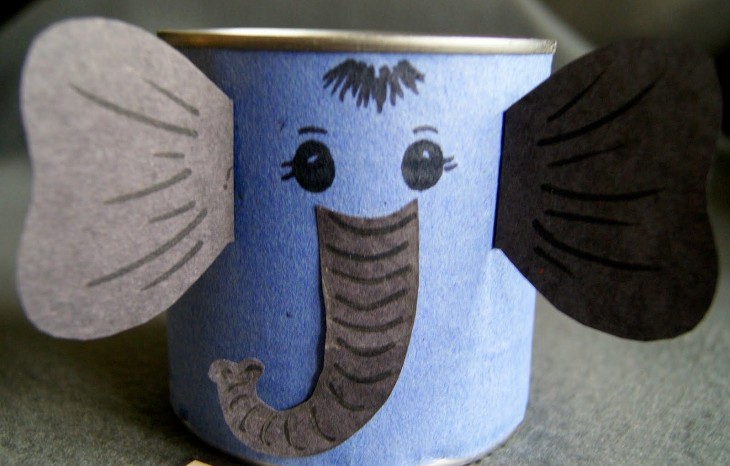
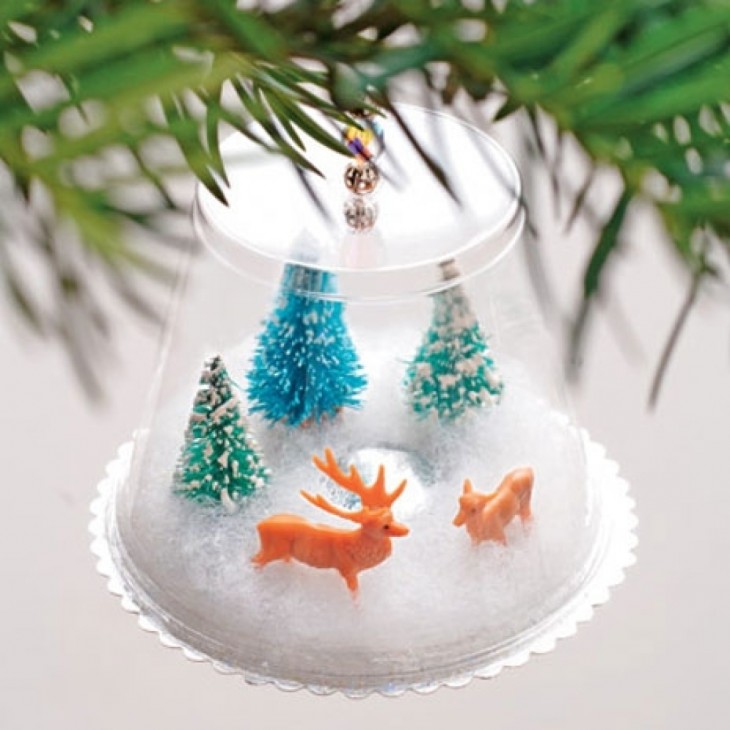
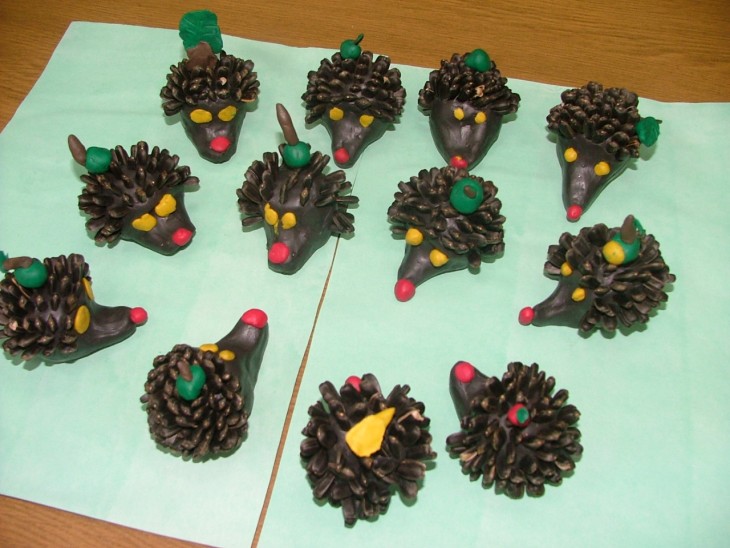
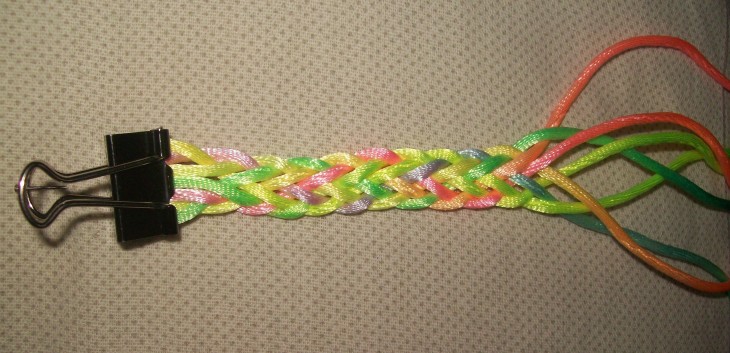
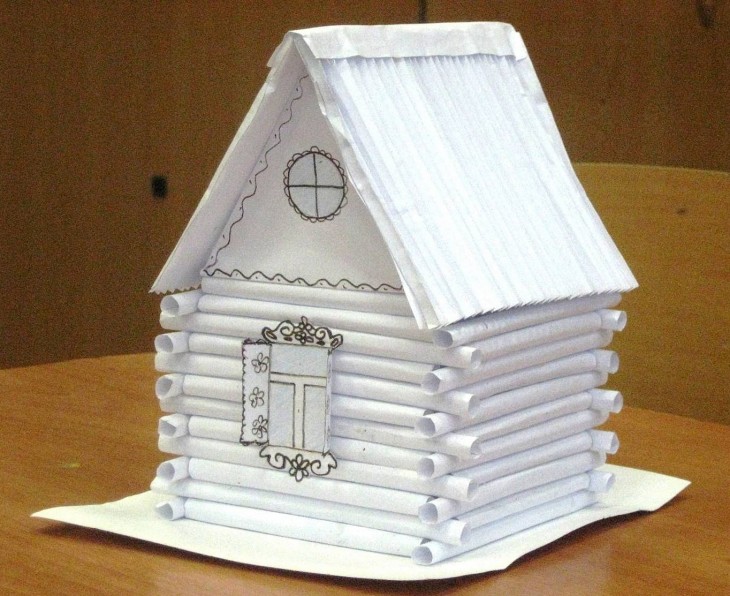
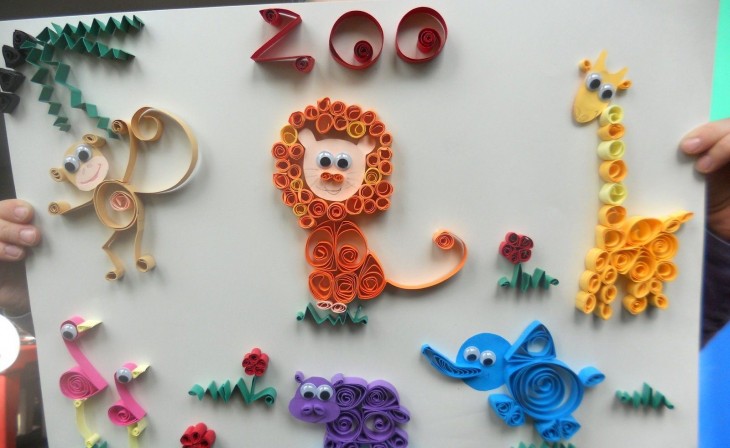
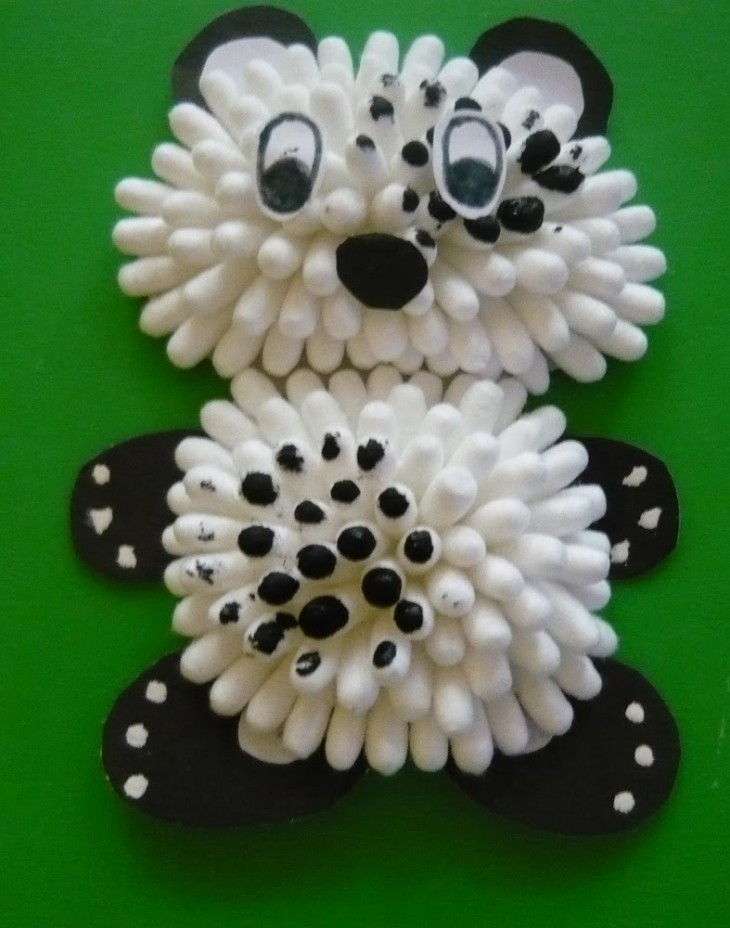
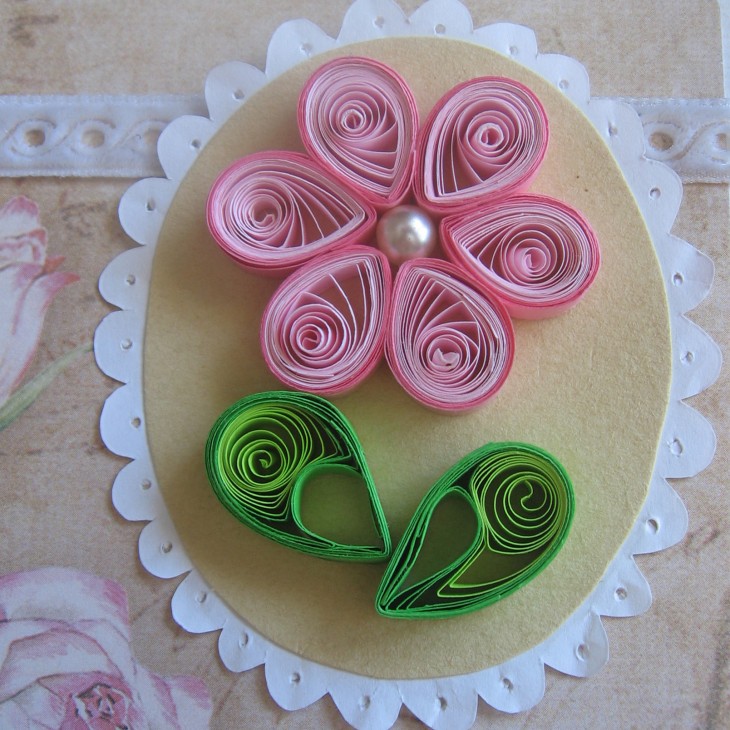
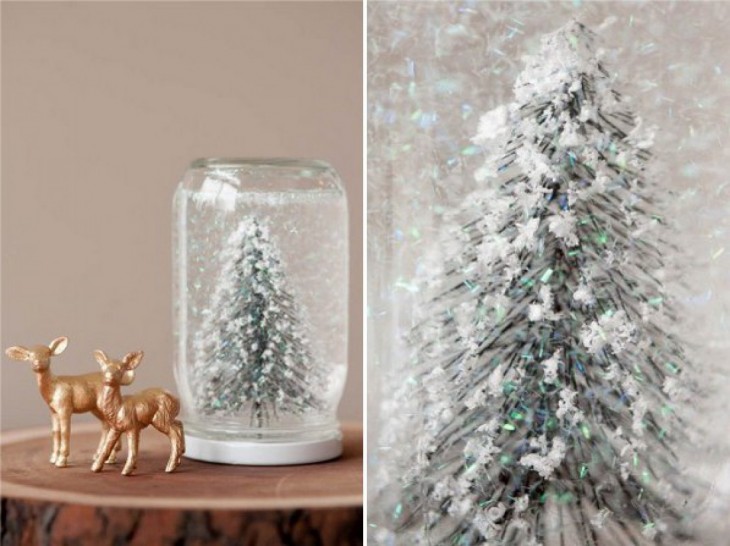
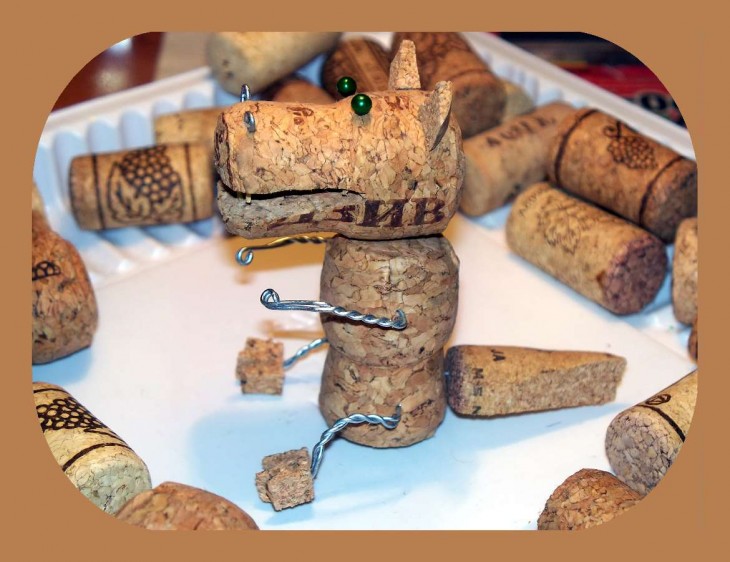
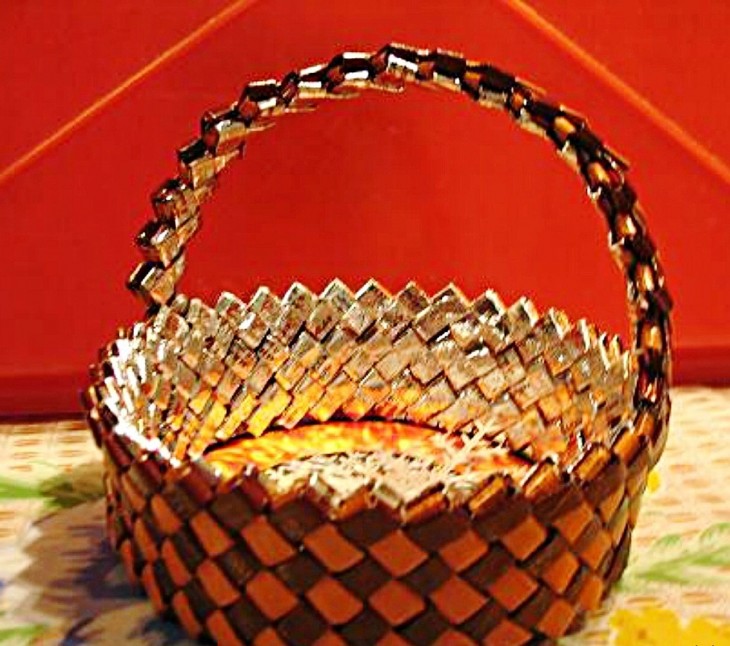
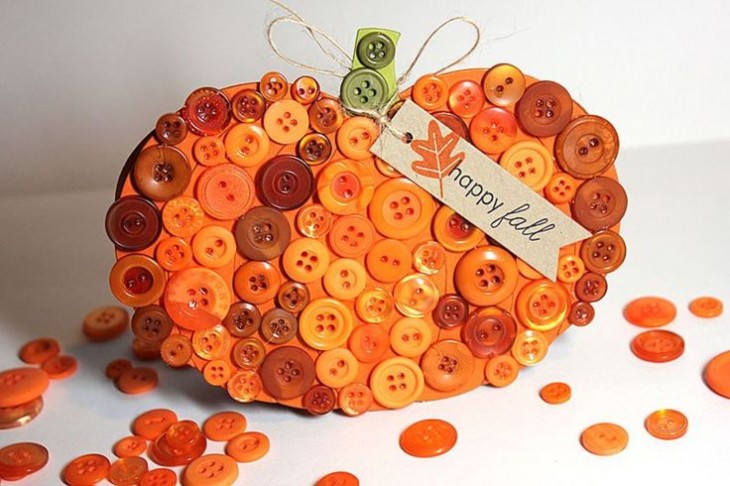
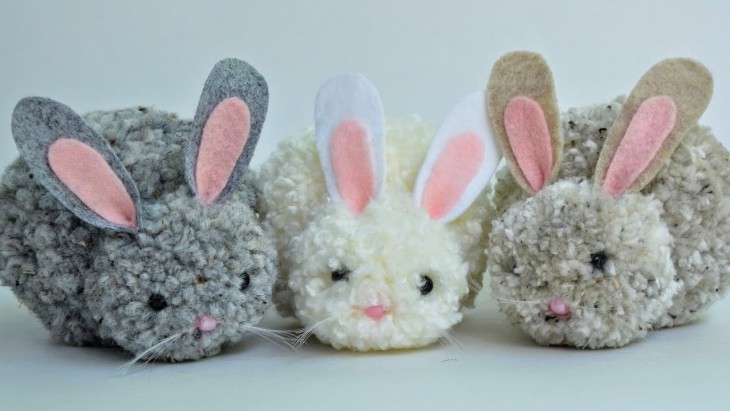
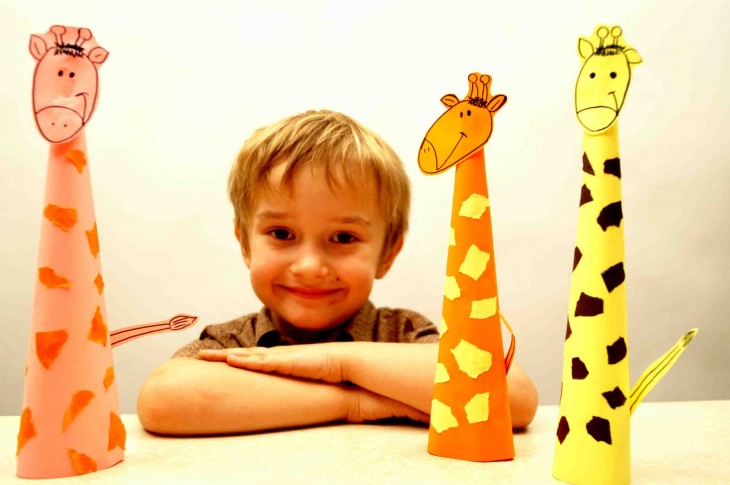
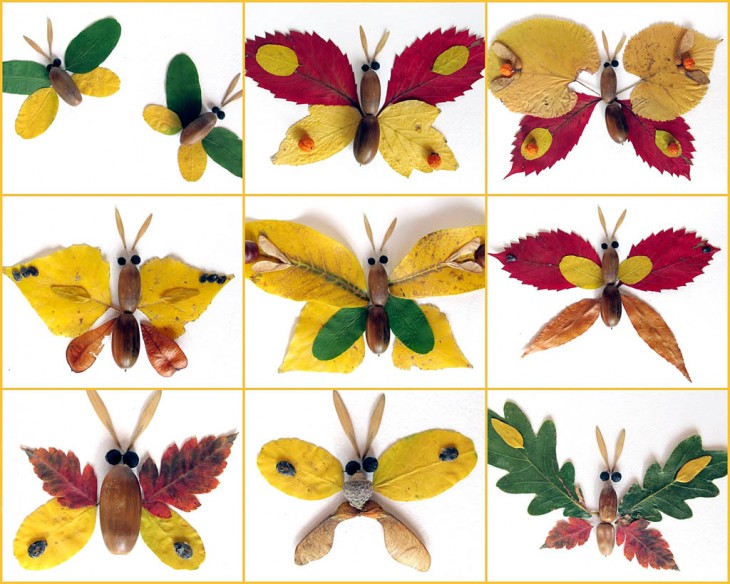
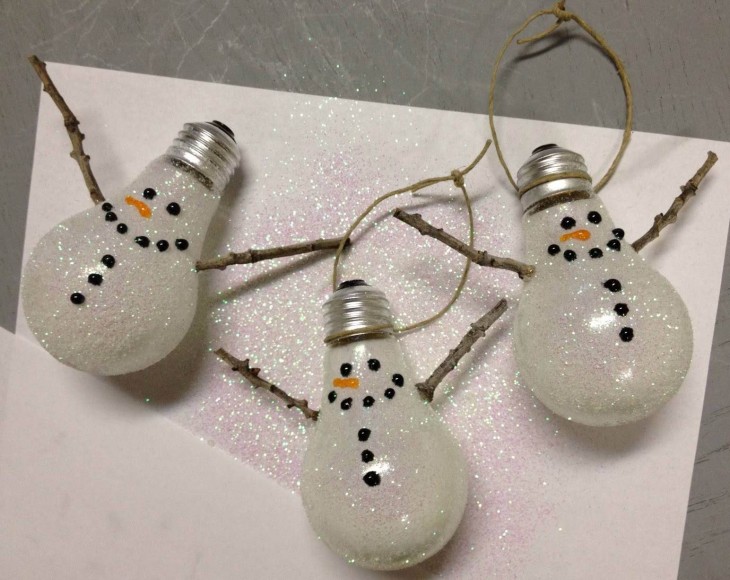
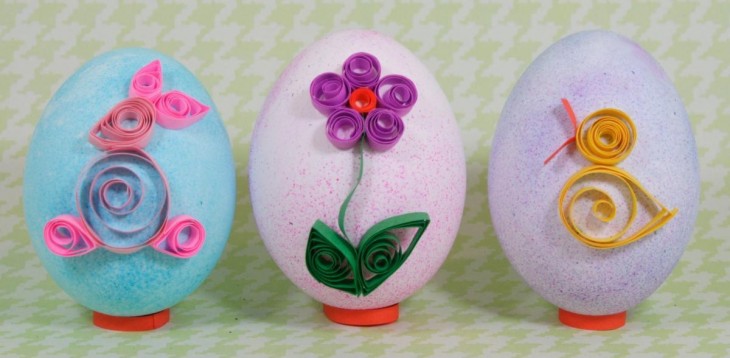
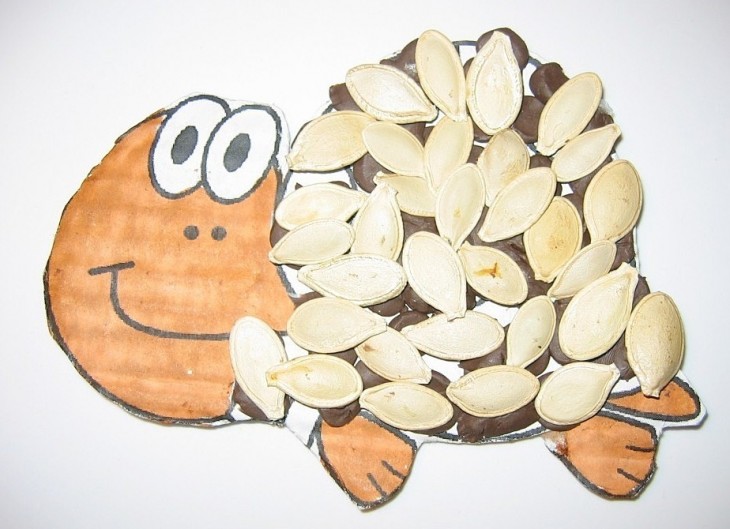
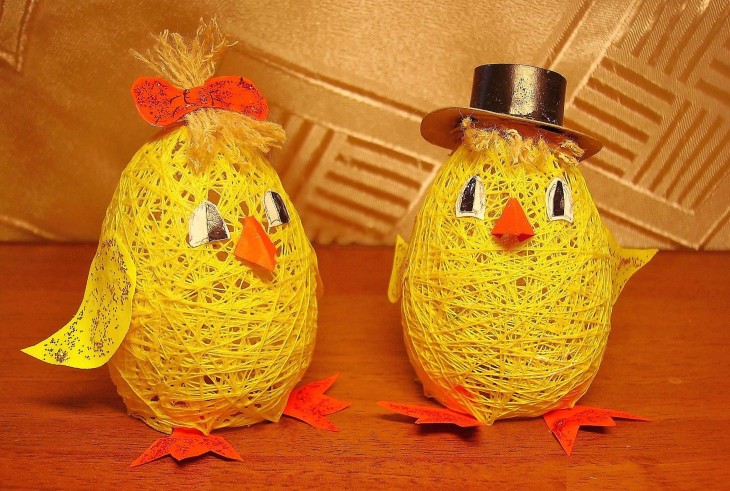
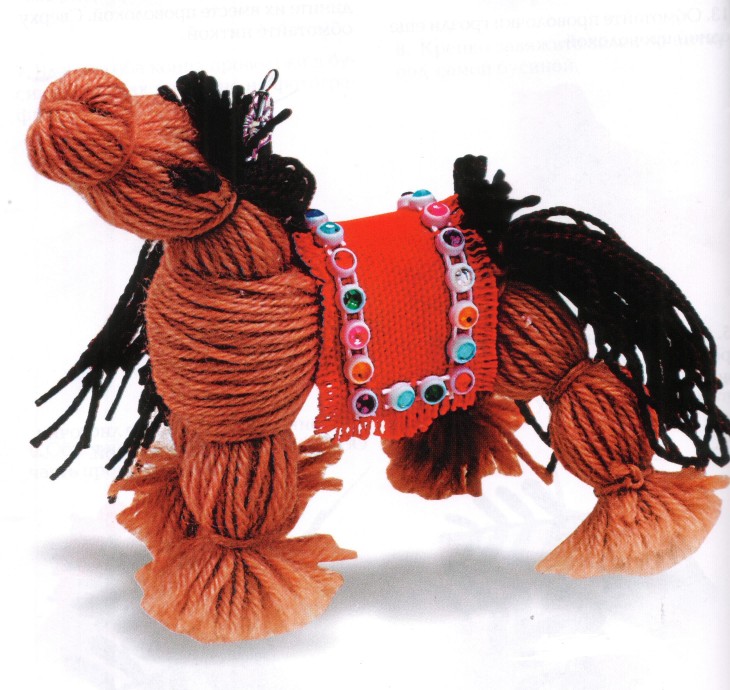
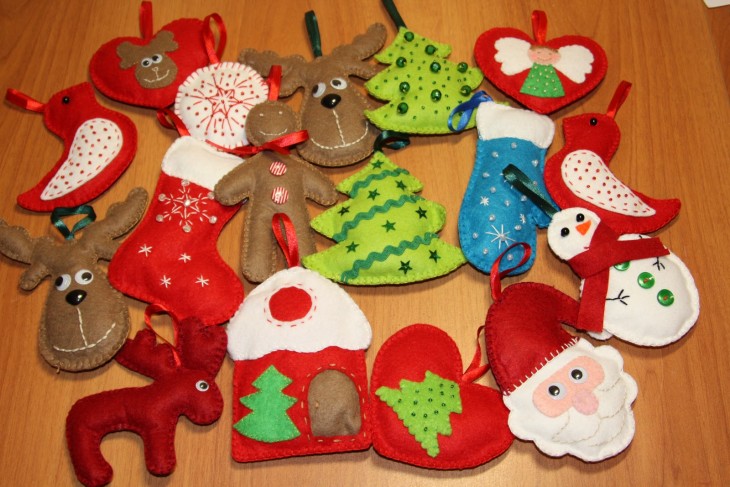
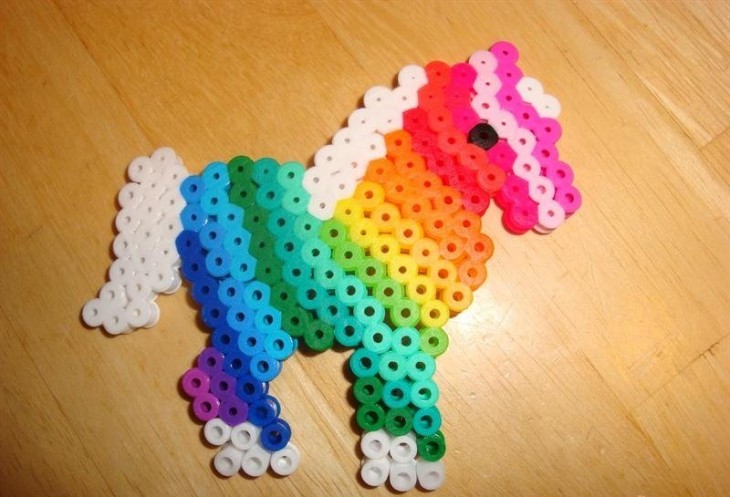
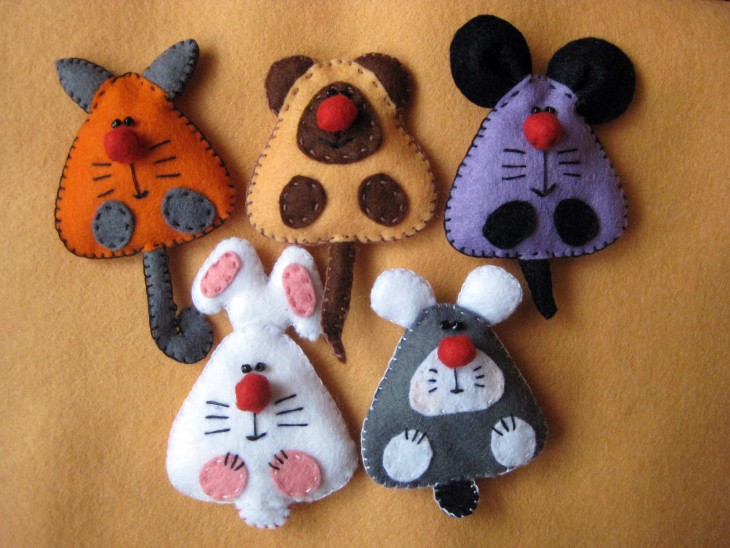
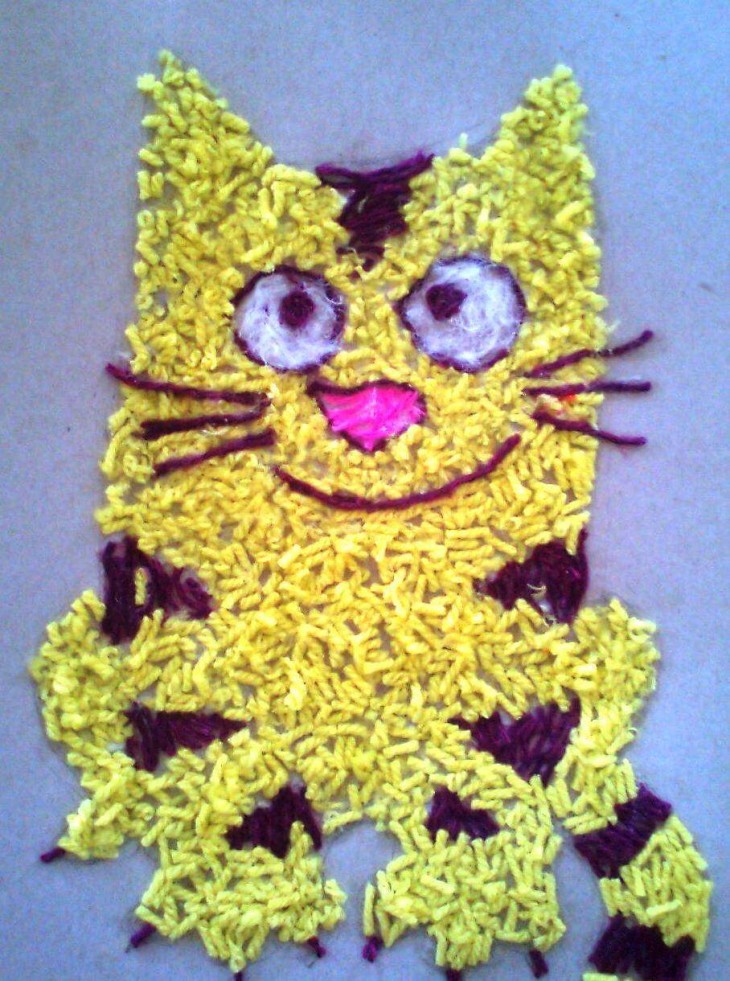
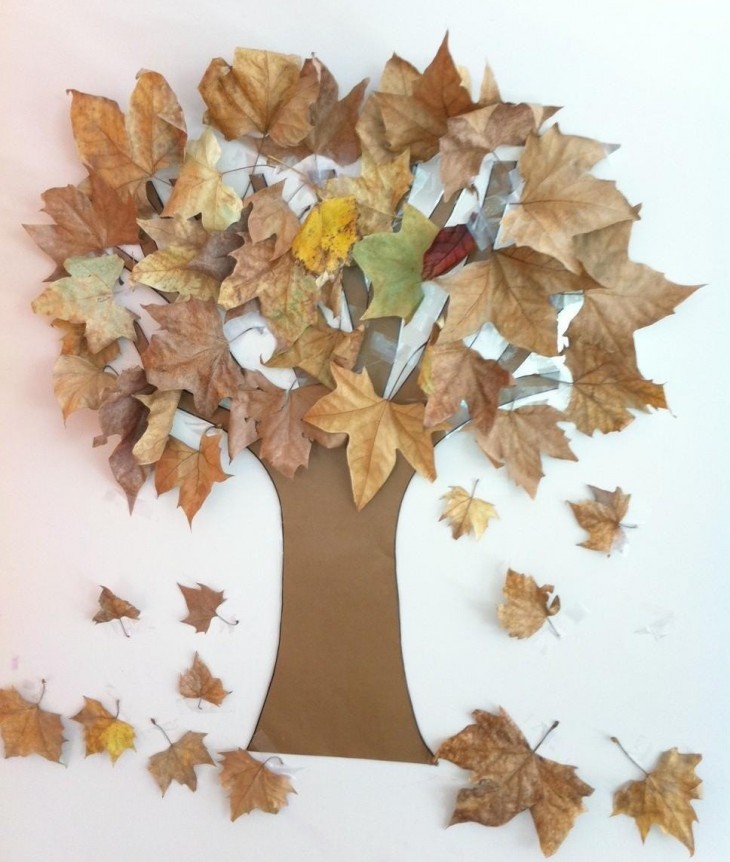
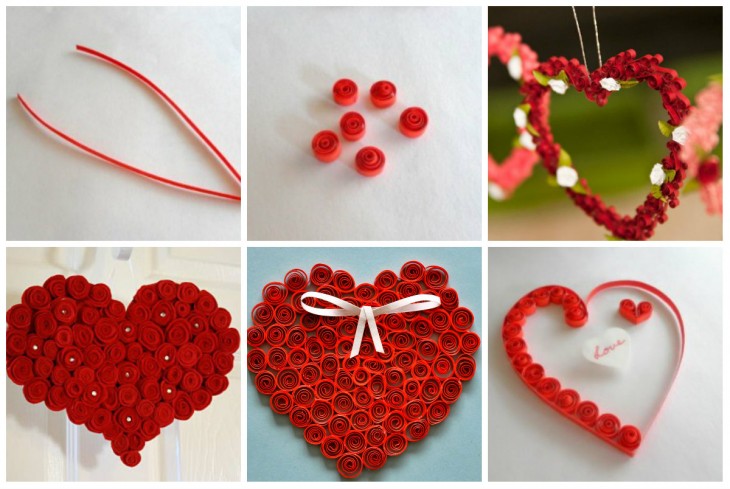
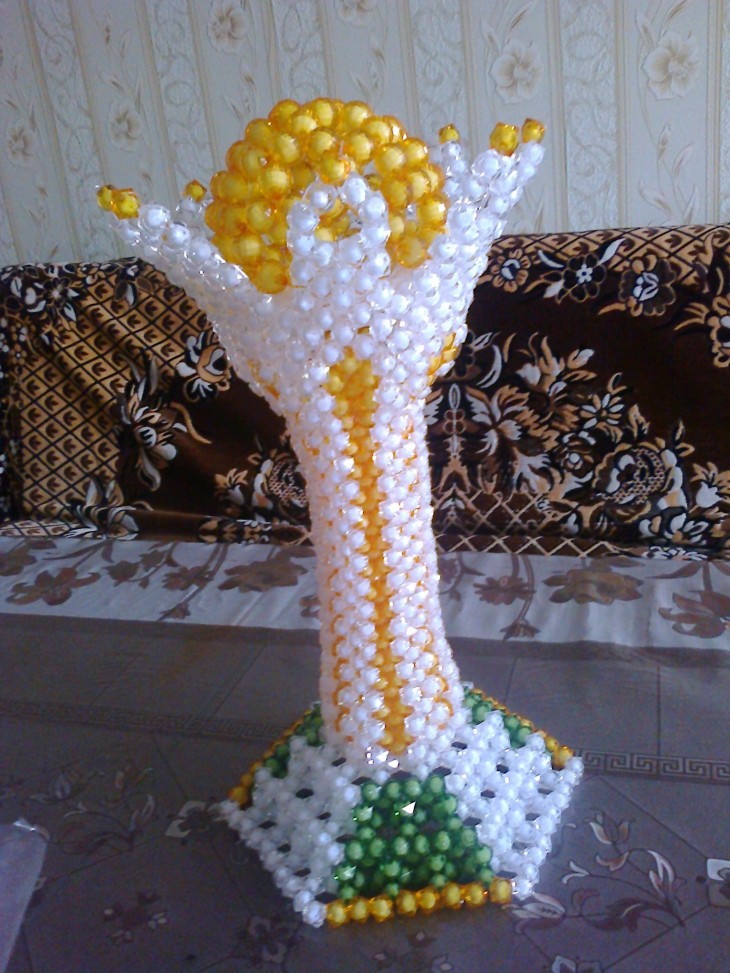
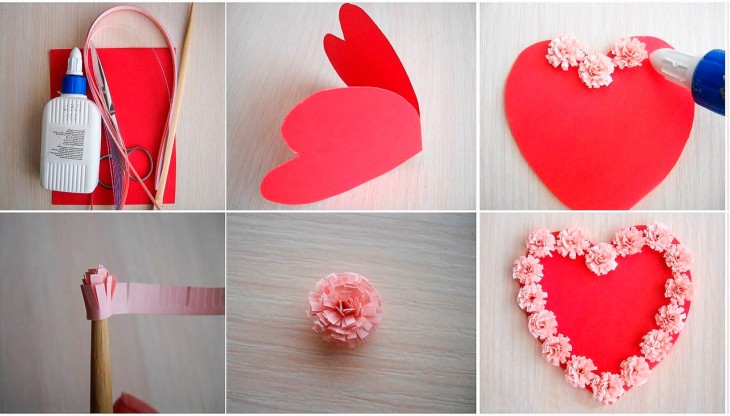
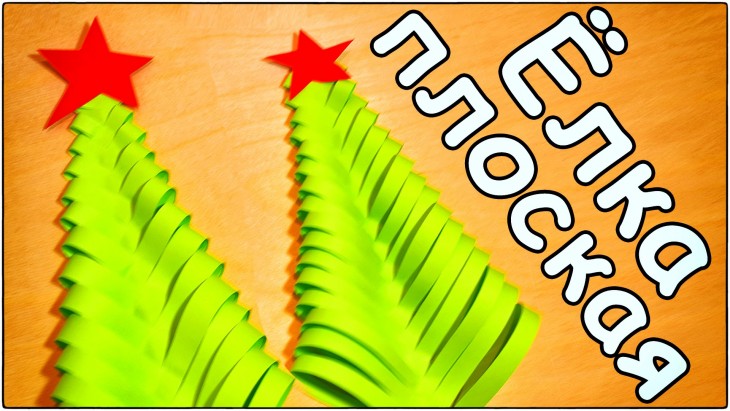
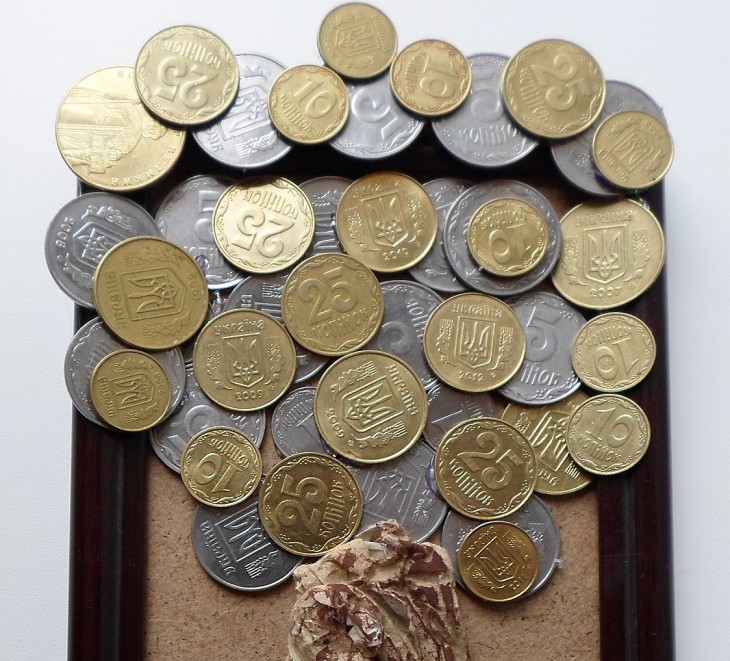
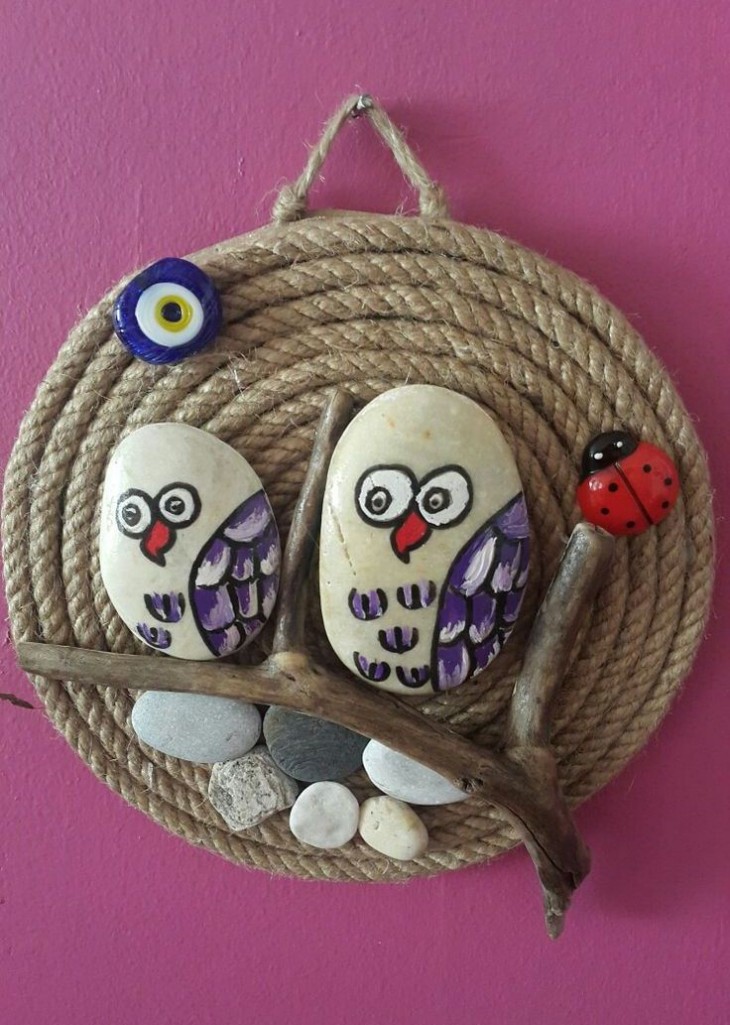
Photo of simple crafts