Most builders note that during the repair of an apartment or house, one of the most difficult processes is how to make a ceiling of gypsum or any other material.
The roughness of various tile floors, and the fact that the corners on almost never correspond to each other, and many other details, interferes with the quick execution of work. To hide all these shortcomings is difficult enough today. And probably not so much complicated as expensive.
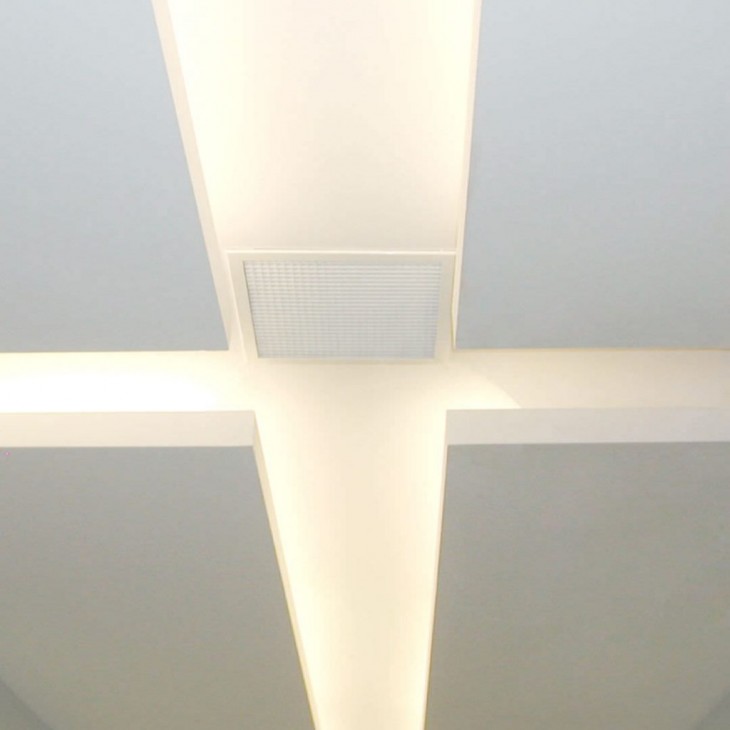
This article will discuss step-by-step instructions for installing a plasterboard ceiling, which has a huge number of advantages, ranging from ease of installation and ending with reasonable prices.
Review Content:
What tools will be needed?
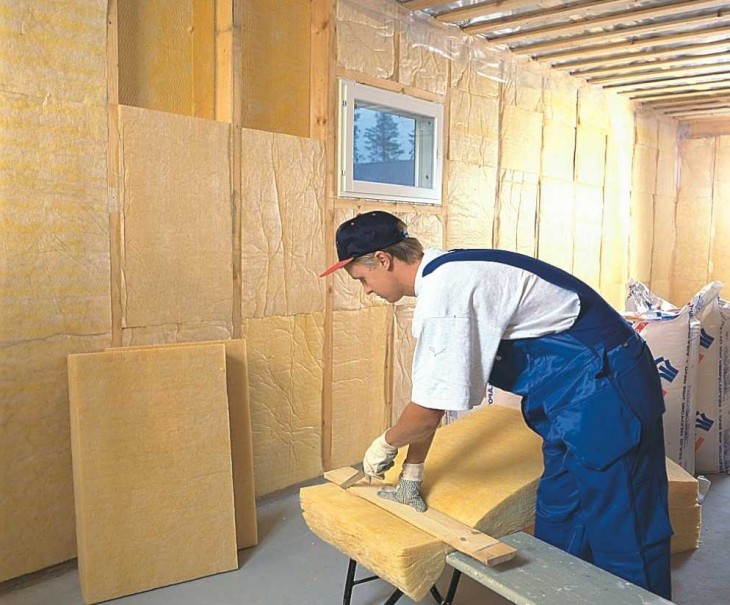
If you are thinking about how to make a gypsum plasterboard ceiling with your own hands, then you should first of all take up various preparatory work for the main process, namely: it is important to purchase the building materials necessary for quick installation of the ceiling, as well as prepare all the tools.
In order to install a two-level drywall ceiling yourself, you will need:
- Water type level in order to accurately mark the place where the guide level will be installed.
- For fast drilling of various openings any puncher.
- Scissors with which you can cut metal.
- "Bulgarian".
- A screwdriver for attaching GKL, as well as a profile.
- Roll
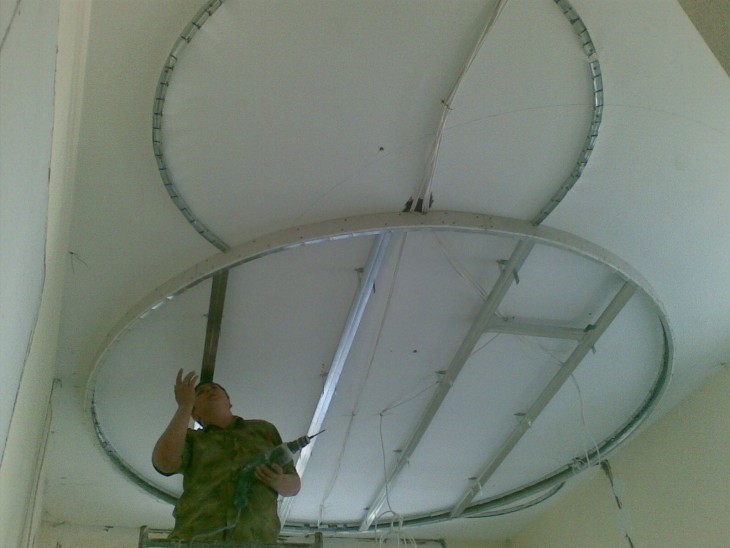
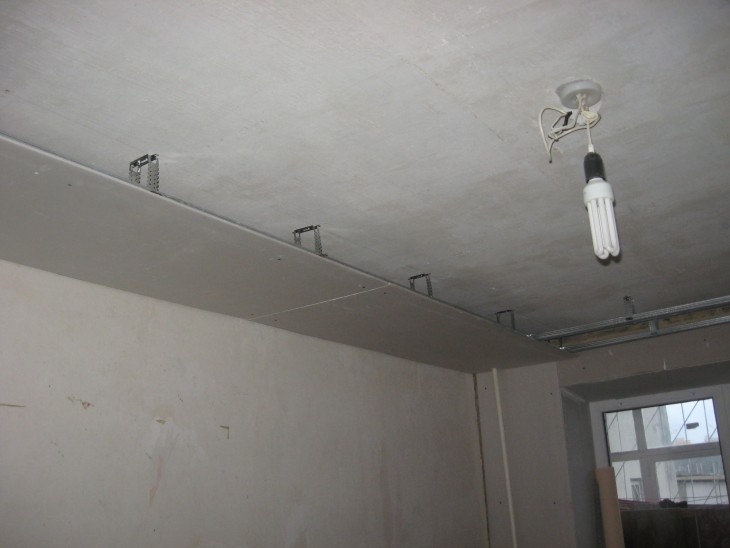
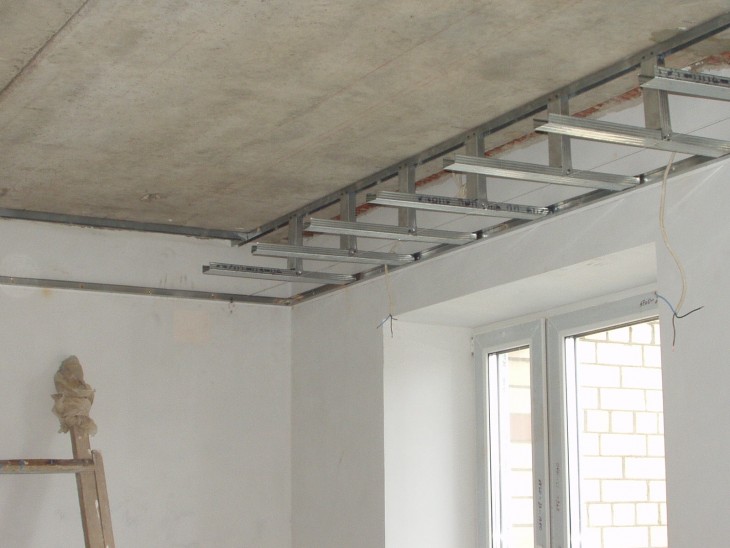
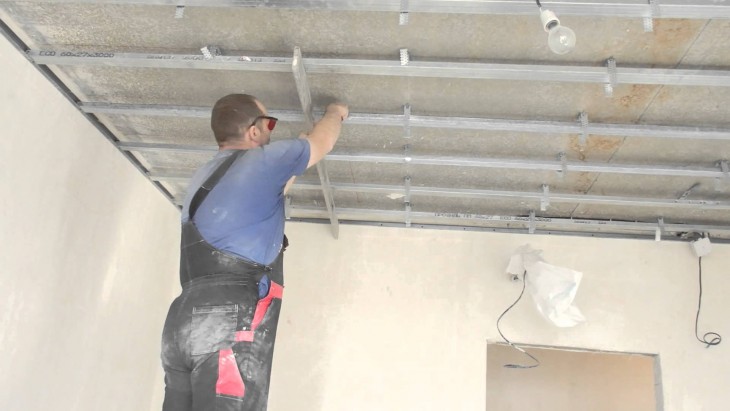
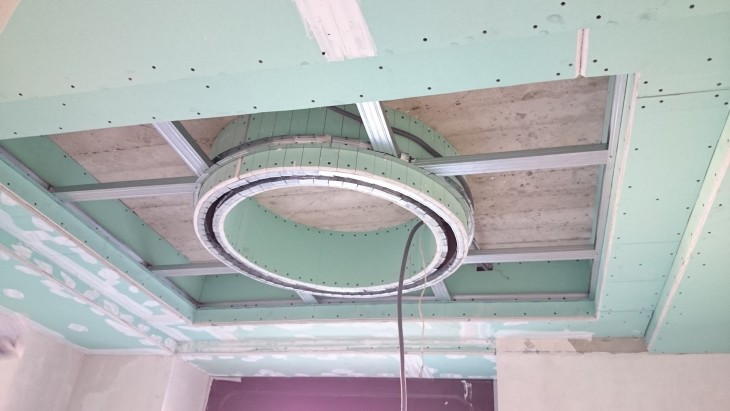
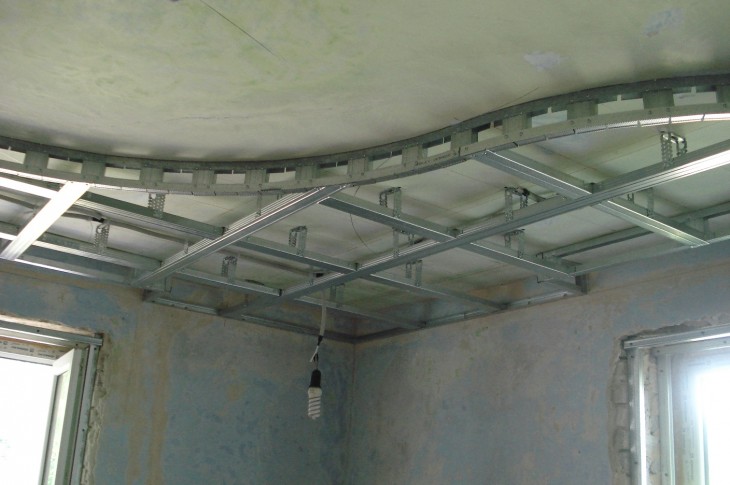
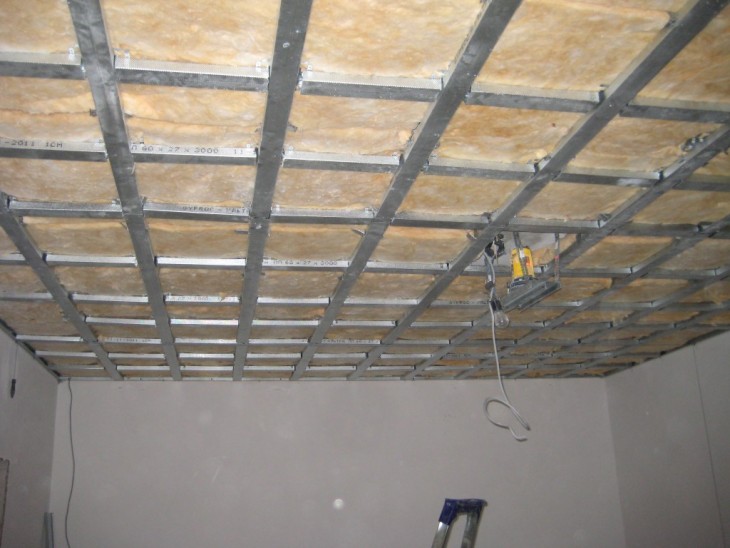
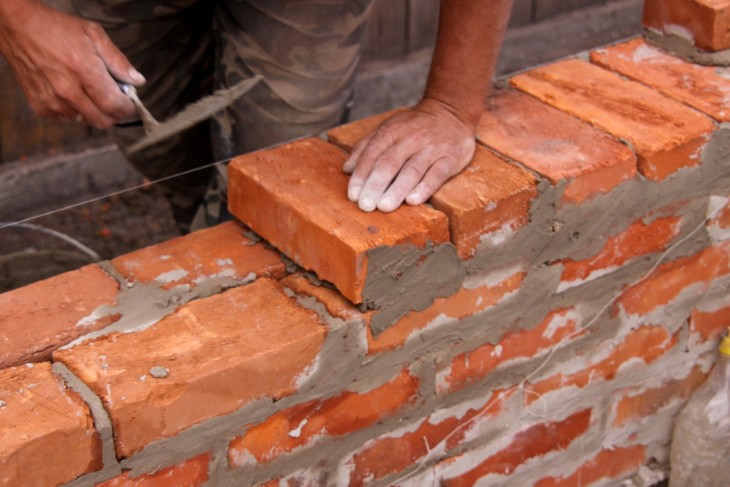
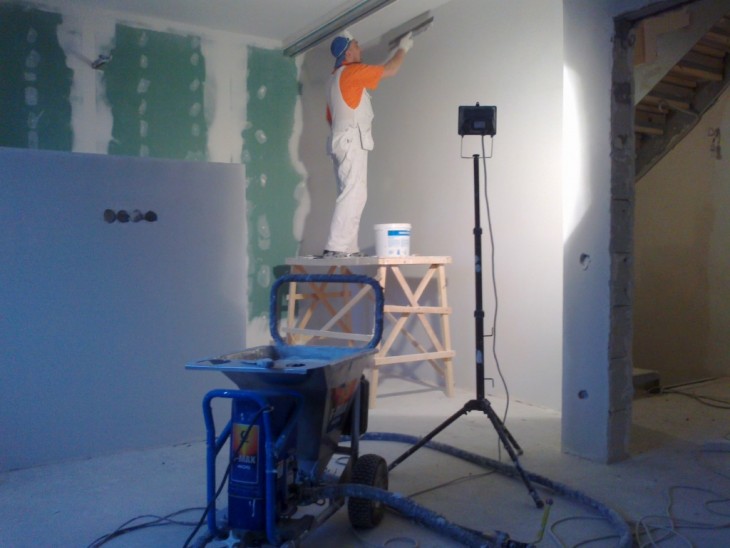
Frame installation
The first thing to do is to choose a place for future marking of the place where the guide profile will be installed. Labels must be applied after the water is at the same level in all containers.
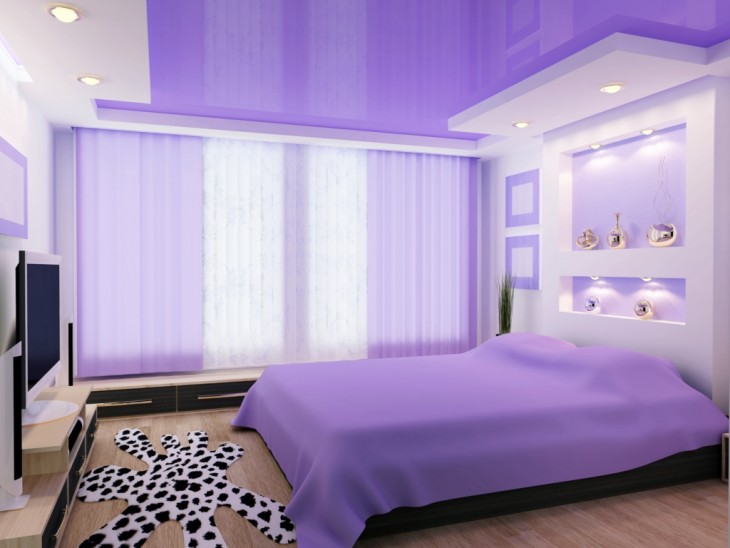
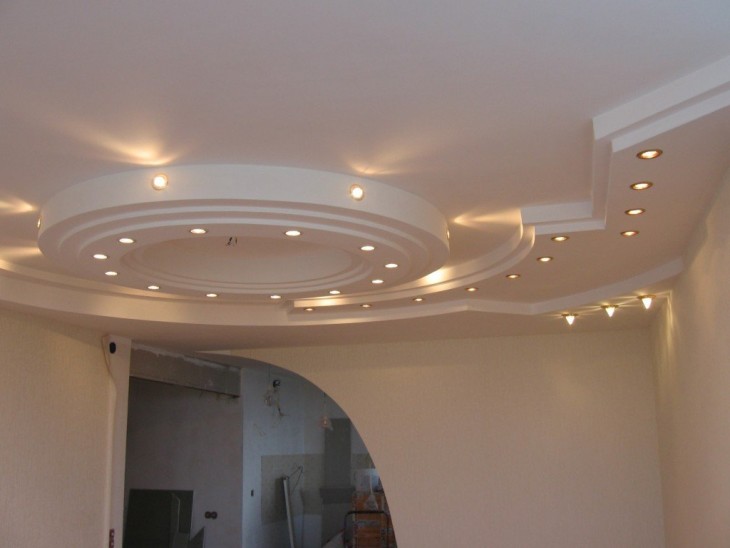
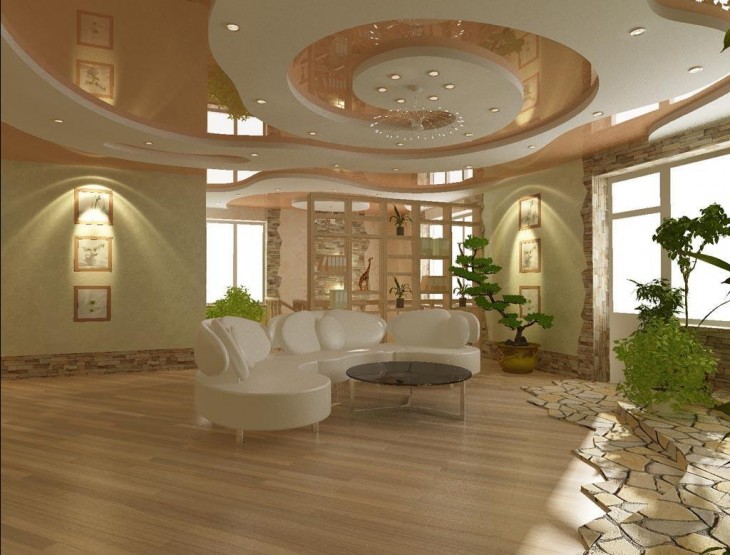
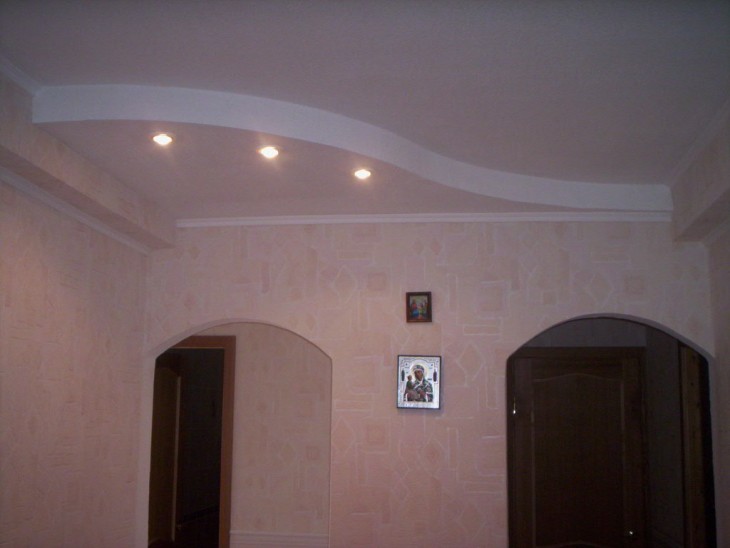
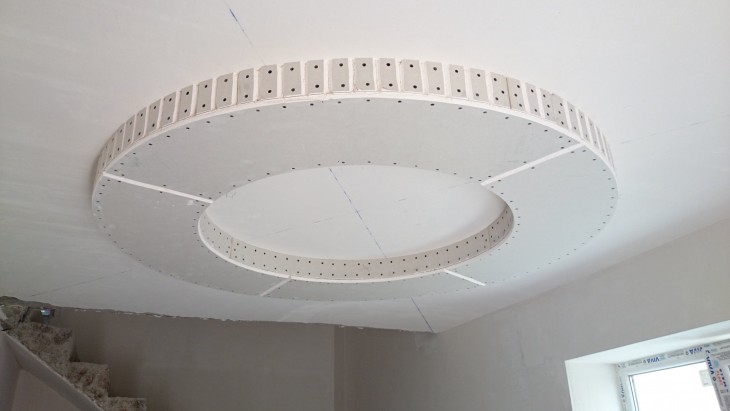
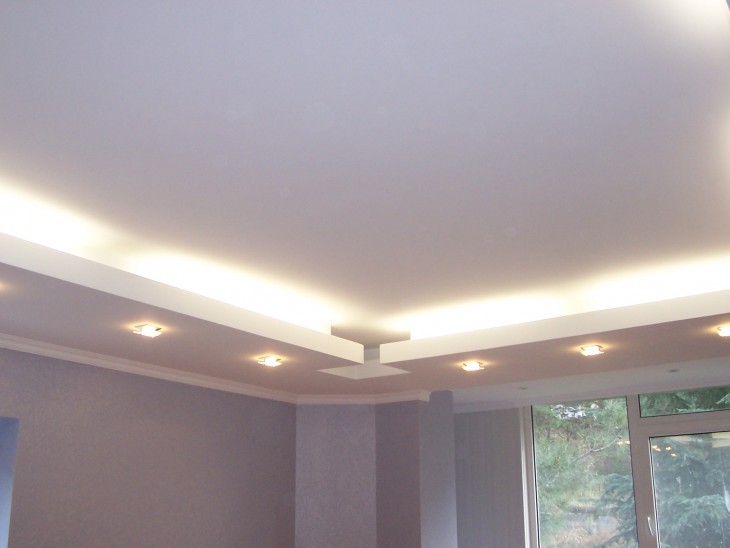
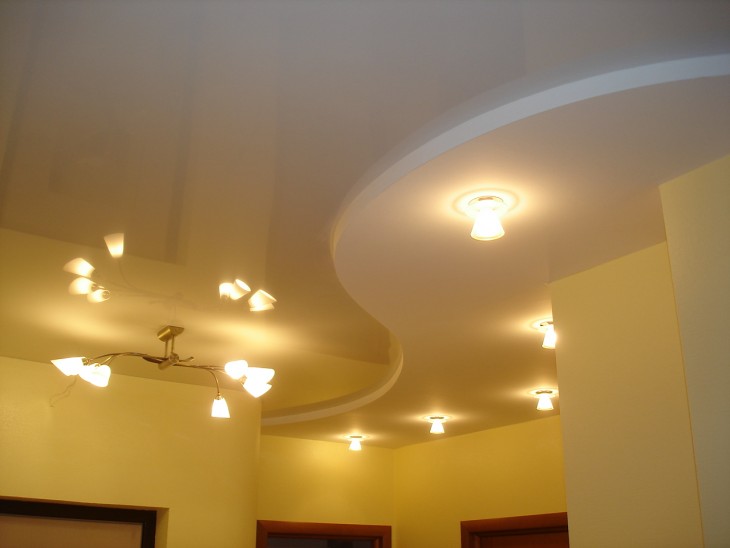
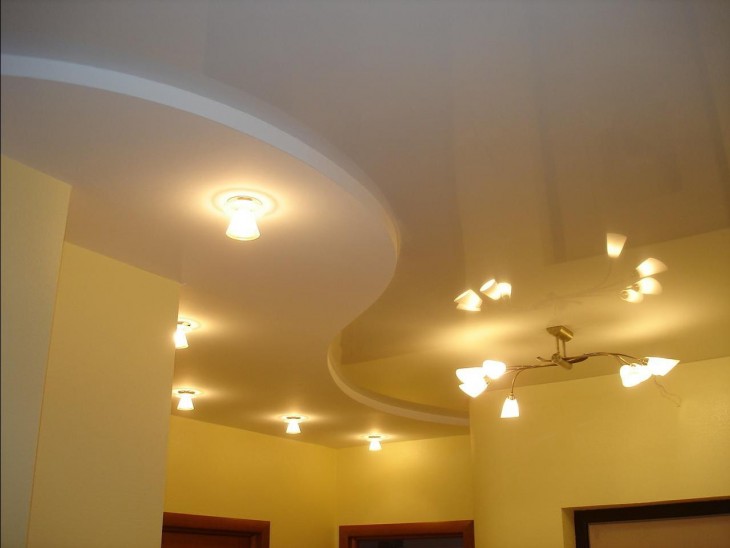
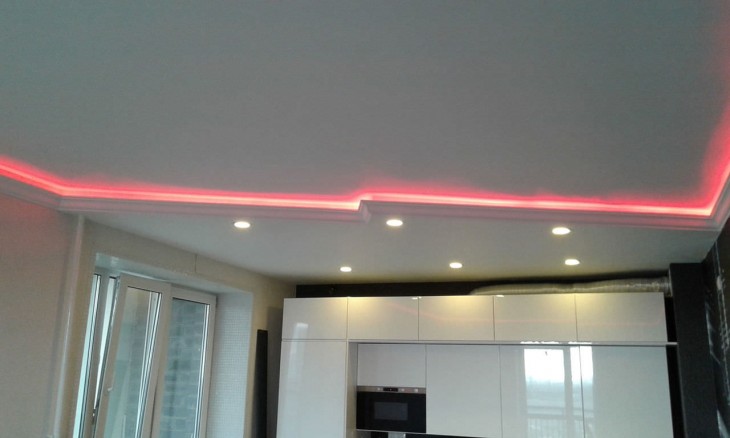
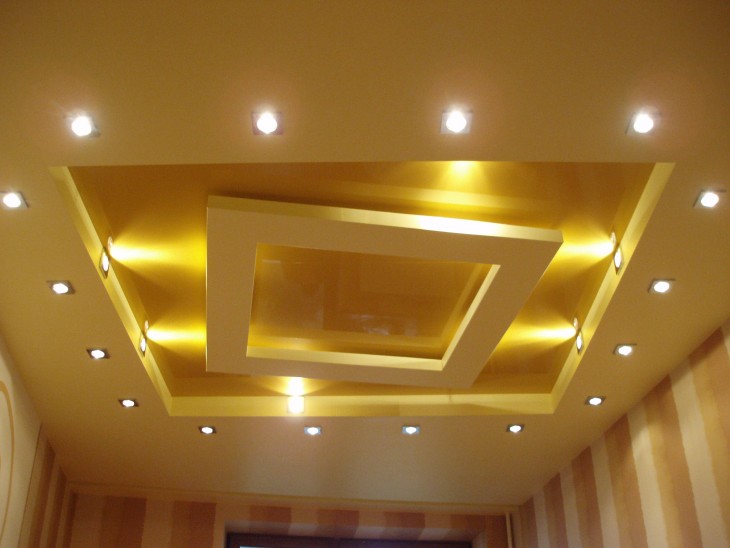
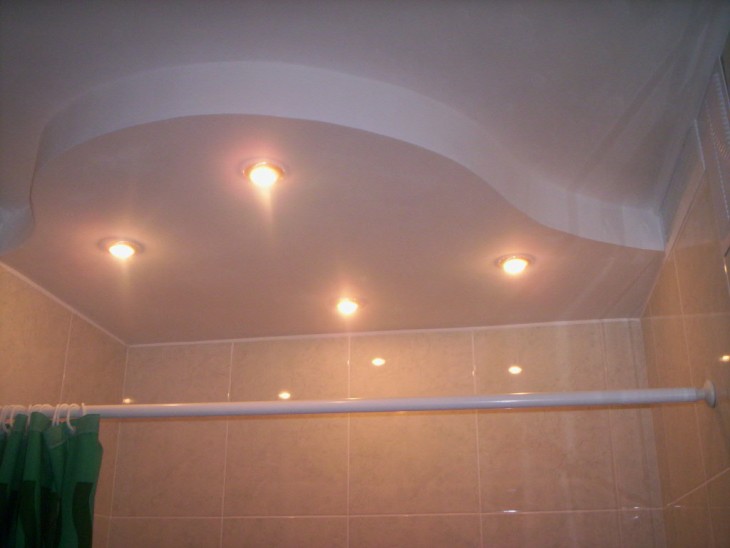
It is up to you to decide how much to retreat from the building centimeters ceiling, however, most builders suggest looking at the photo of the plasterboard ceiling to understand that the distance should not be less than ten centimeters.
After completing the work of the first stage, that is, after the marking is made on each wall, you can proceed to drill several holes for the dowels. For this, a punch is used.
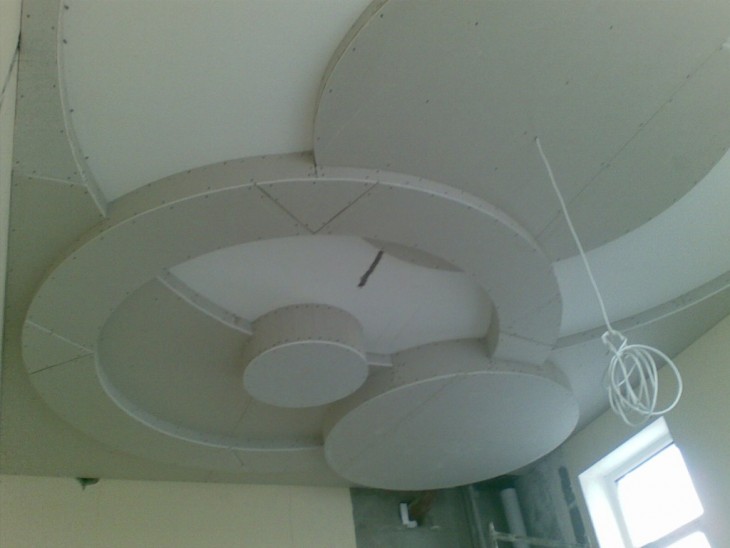
After completing the installation of the guide profile using the prepared tape measure, it is necessary to make marks along the perimeter with an average interval of about 60 cm
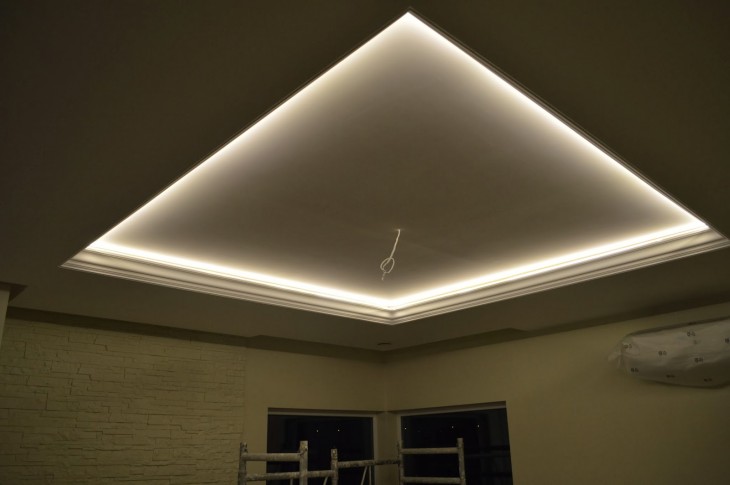
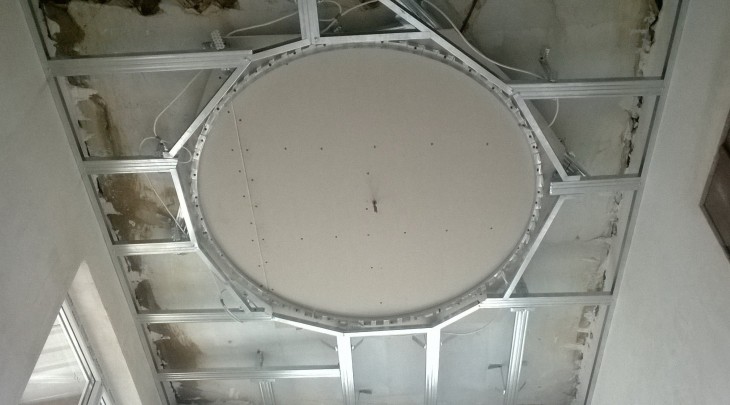
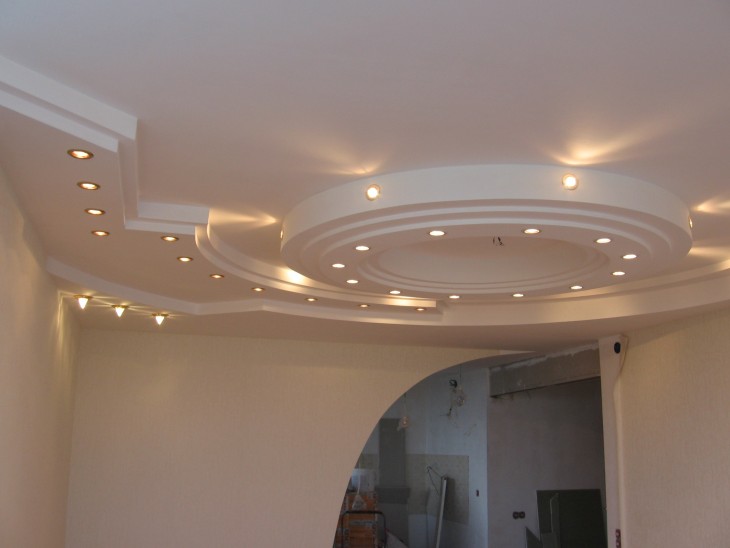
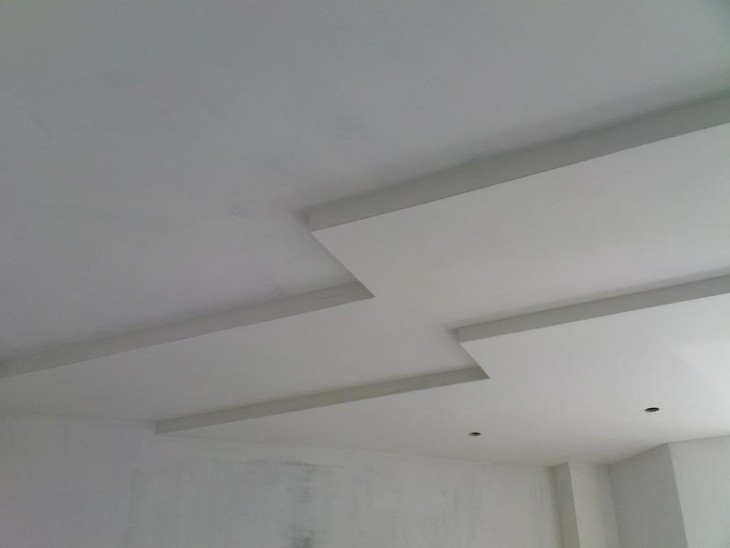
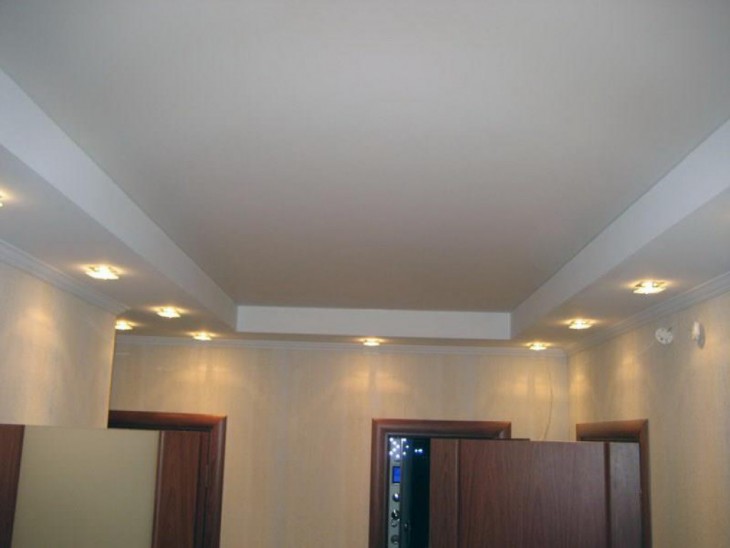
If you want to make a fairly simple design consisting of only one level, then there is no need to install popular c-shaped profiles in two directions at once. It is enough to markup exclusively on two opposite sides.
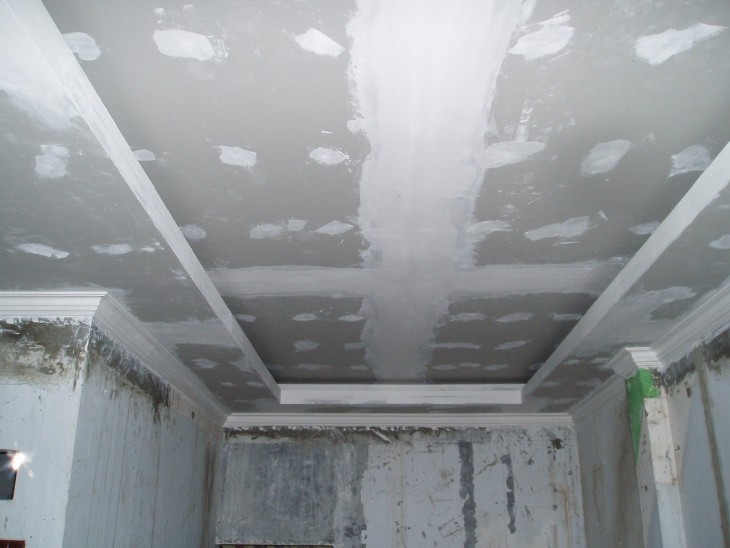
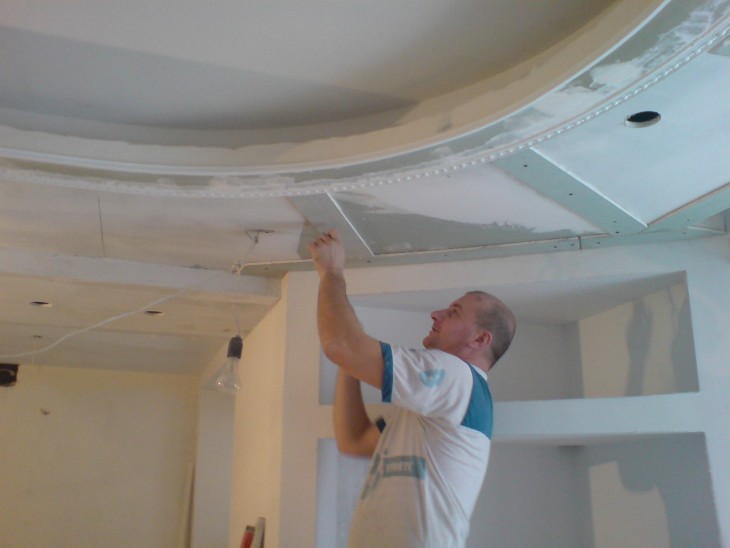
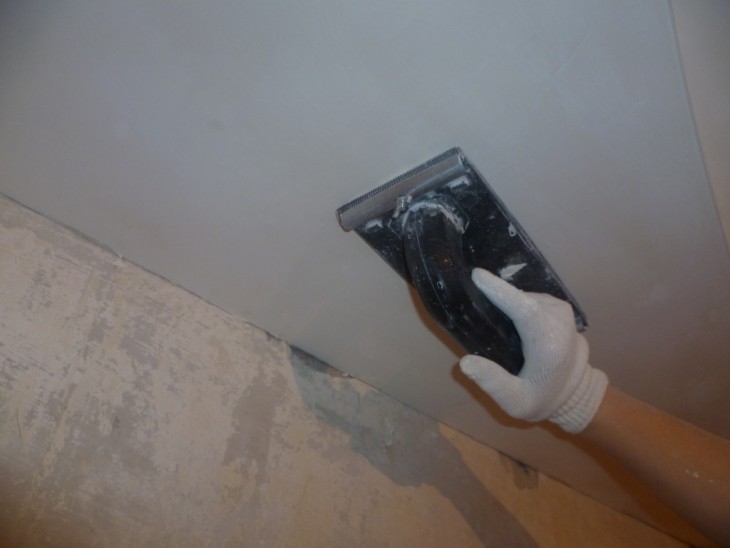
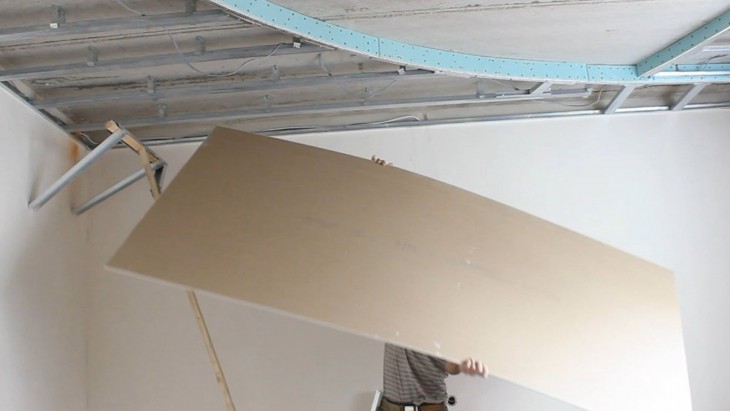
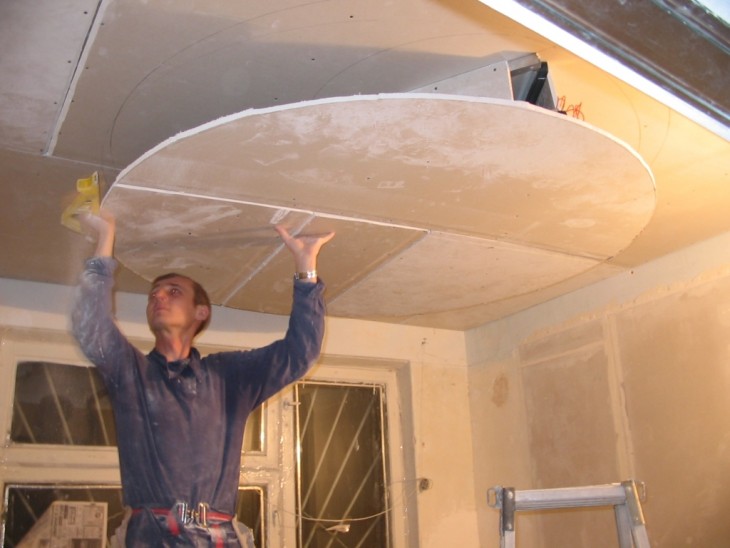
After that, you can proceed to securing the suspension. After completing the installation of all direct suspensions, you can proceed to the installation of the ceiling profile and the subsequent sheathing of the ceiling with sheets.
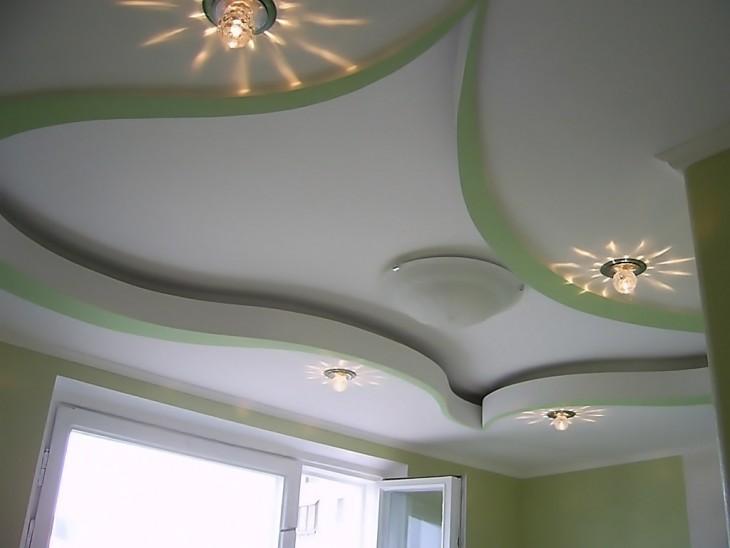
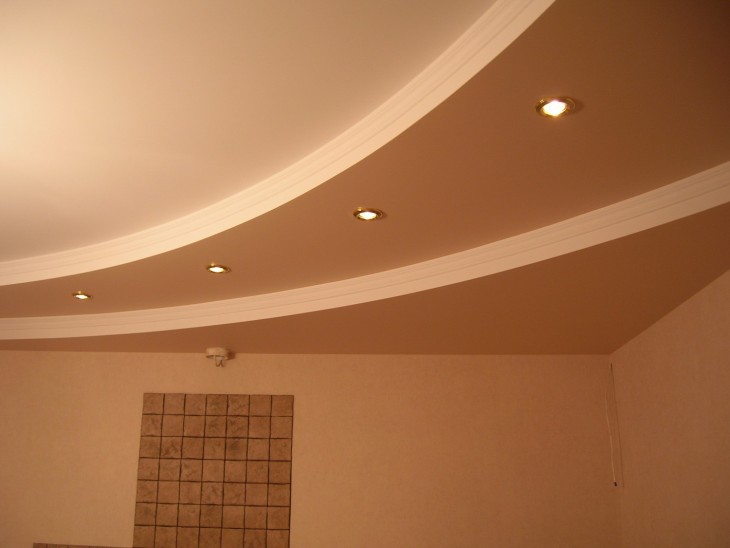
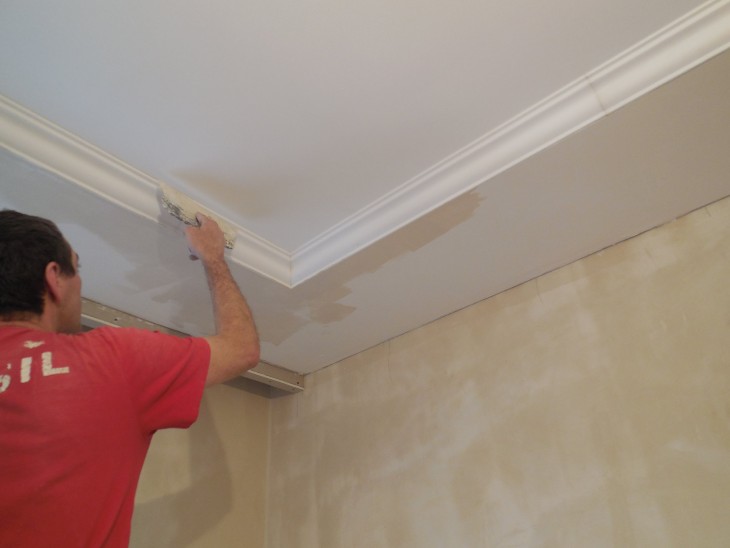
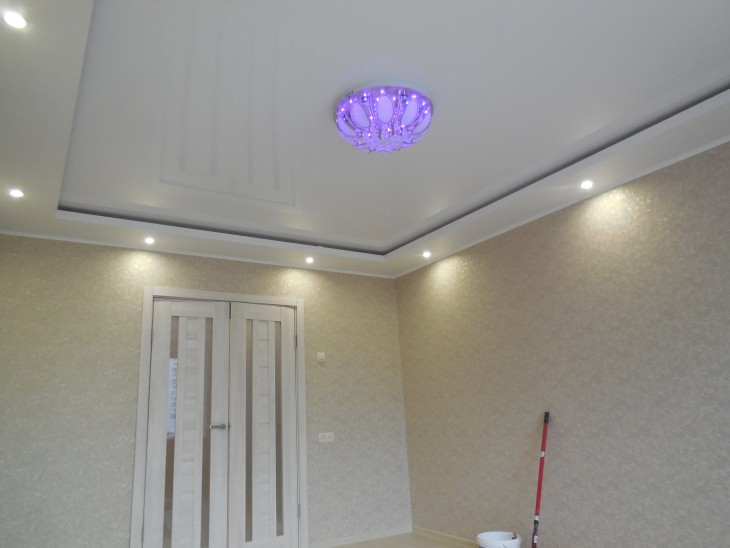
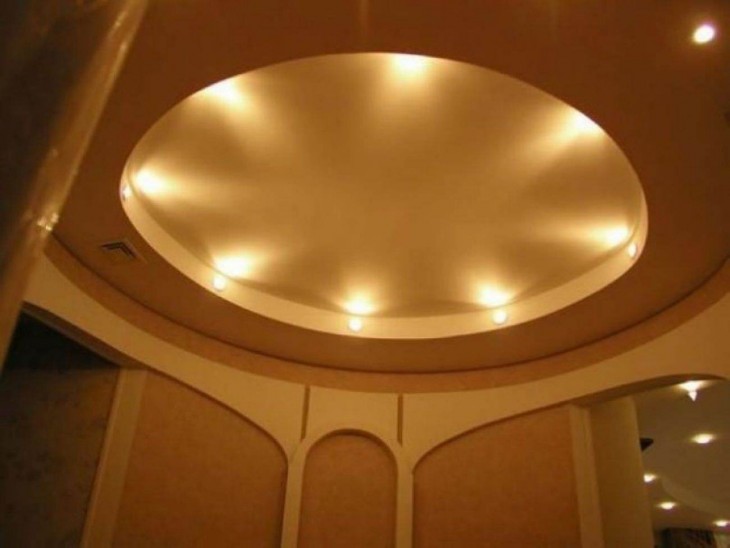
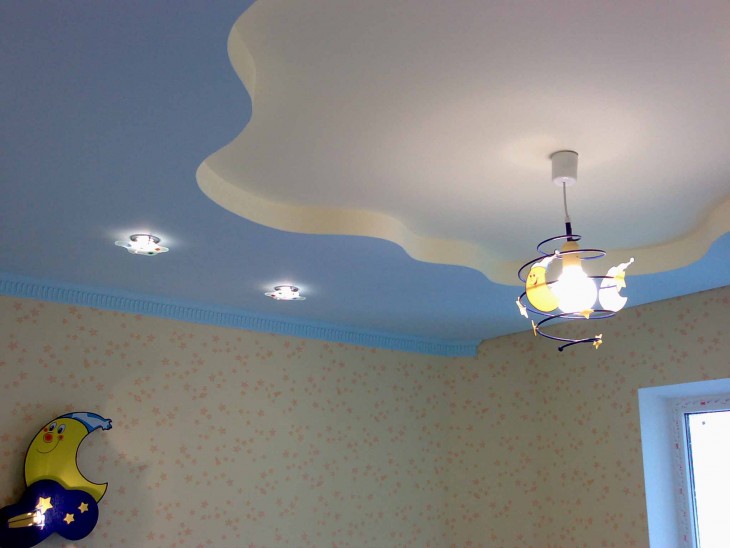
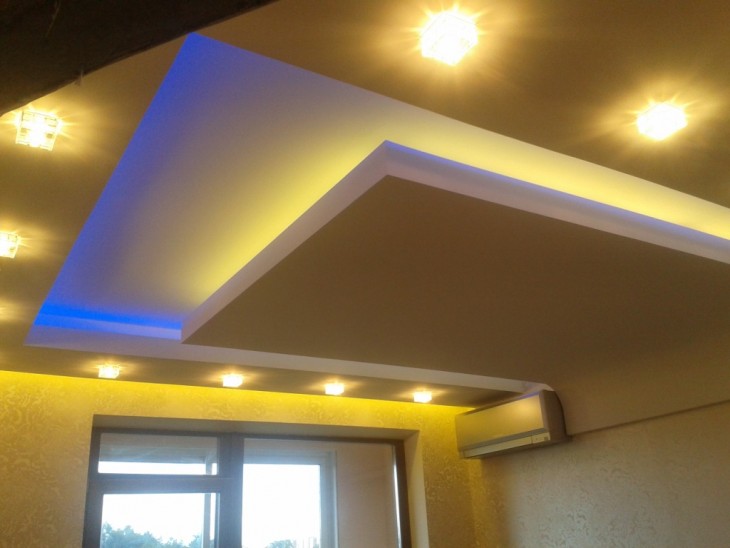
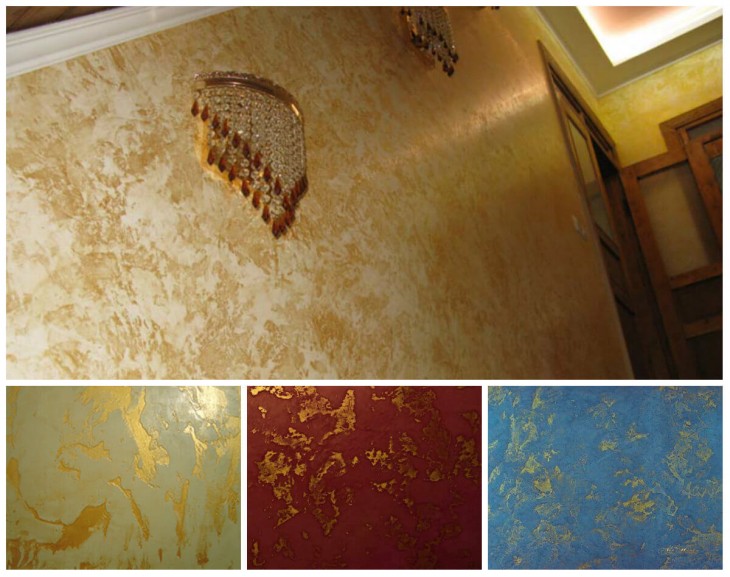
Ceiling decoration
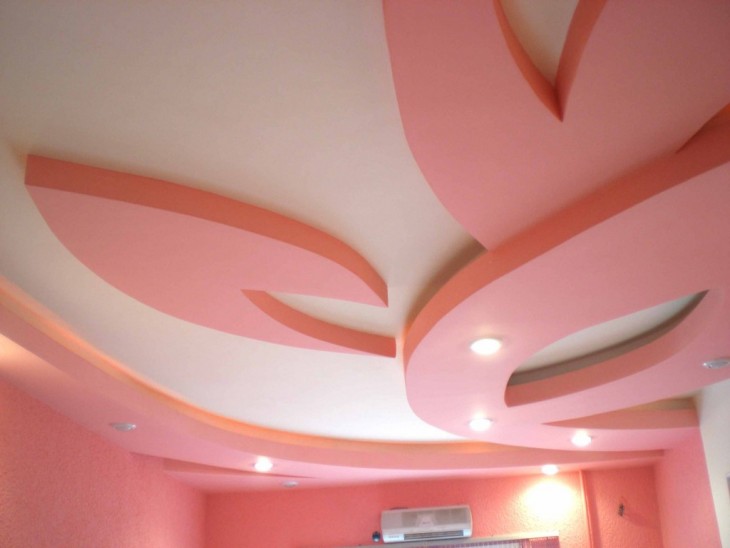
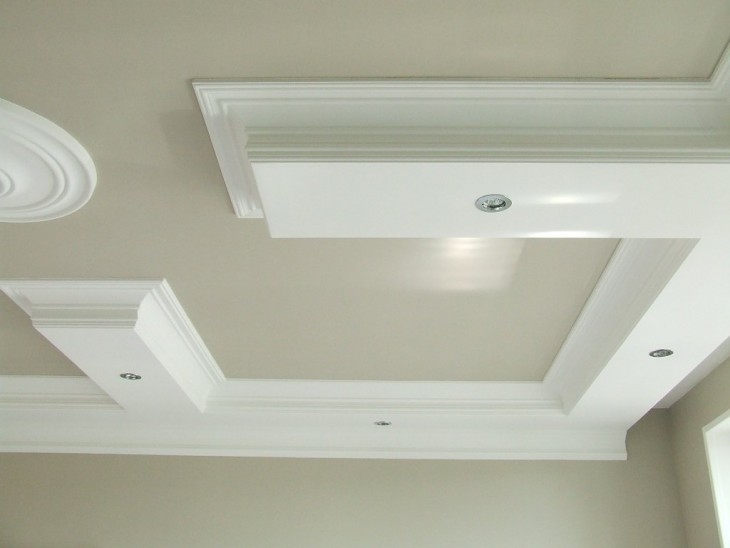
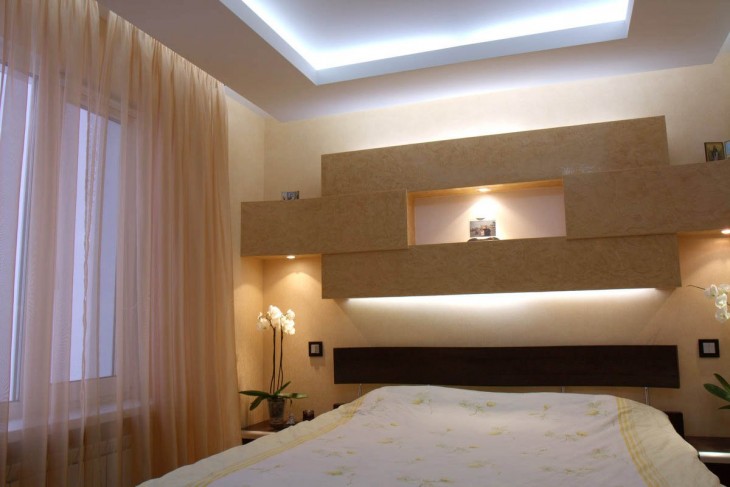
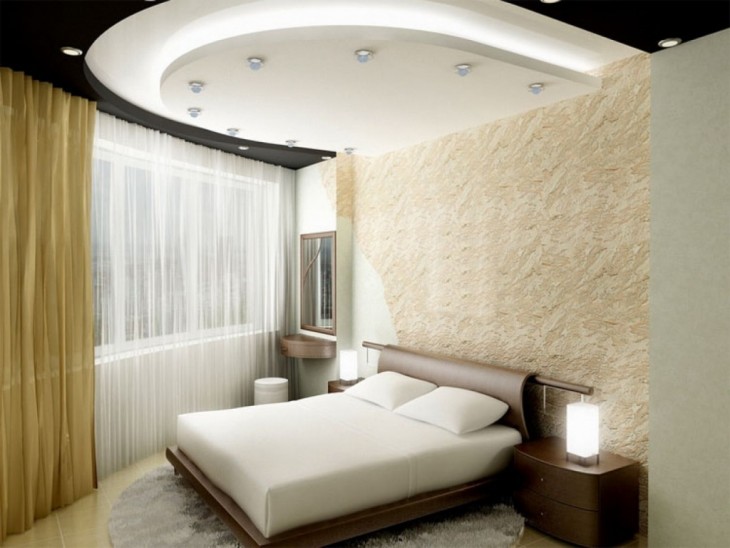
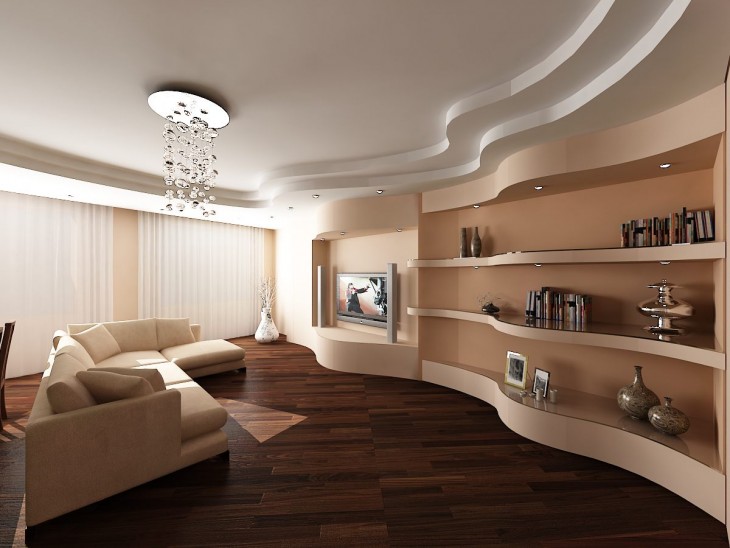
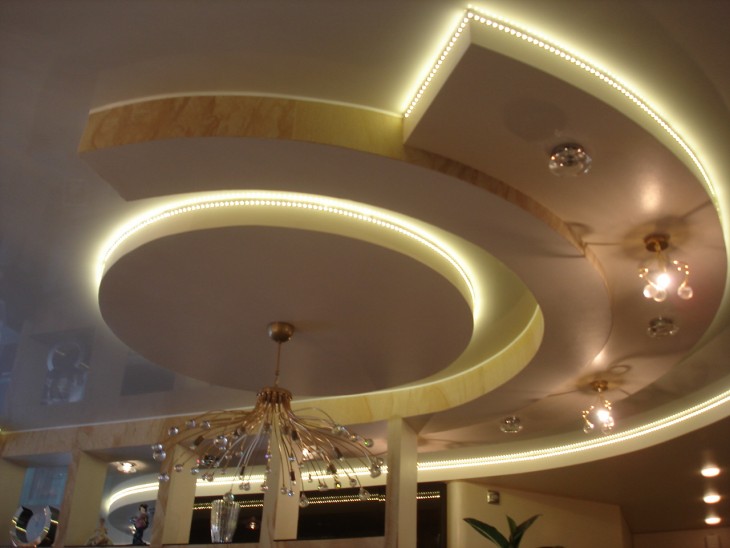
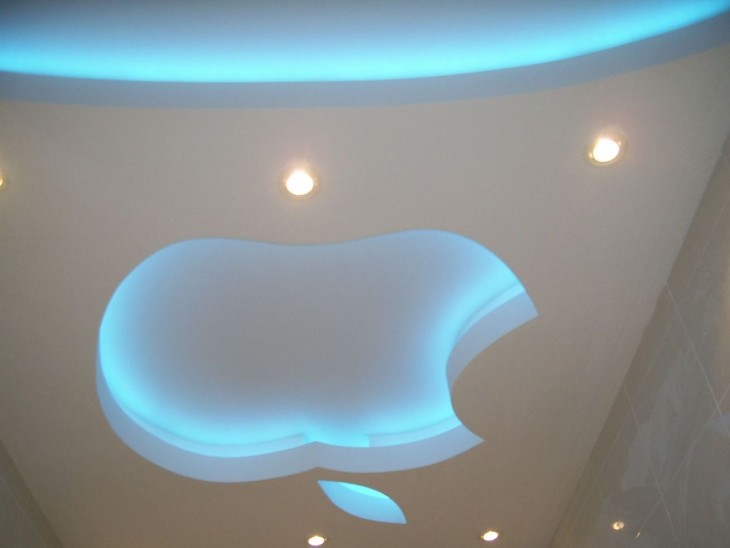
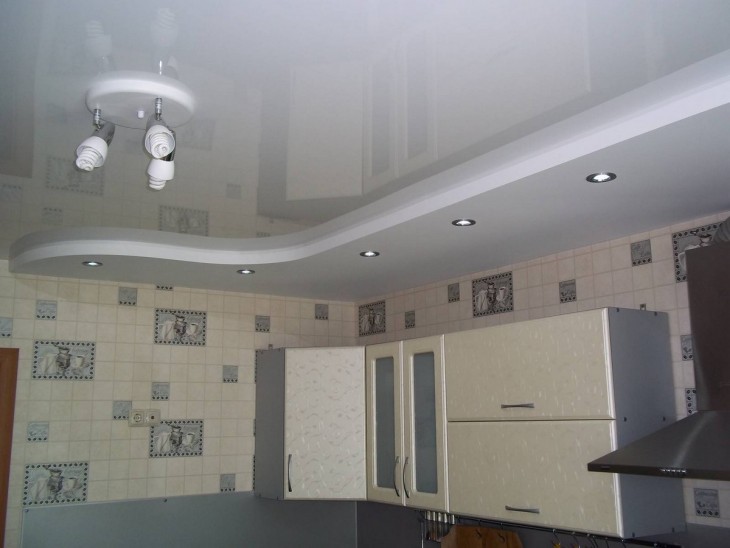
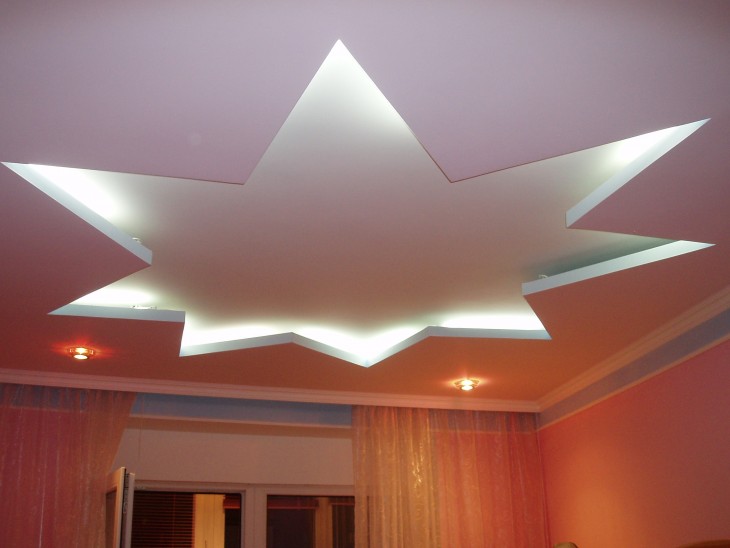
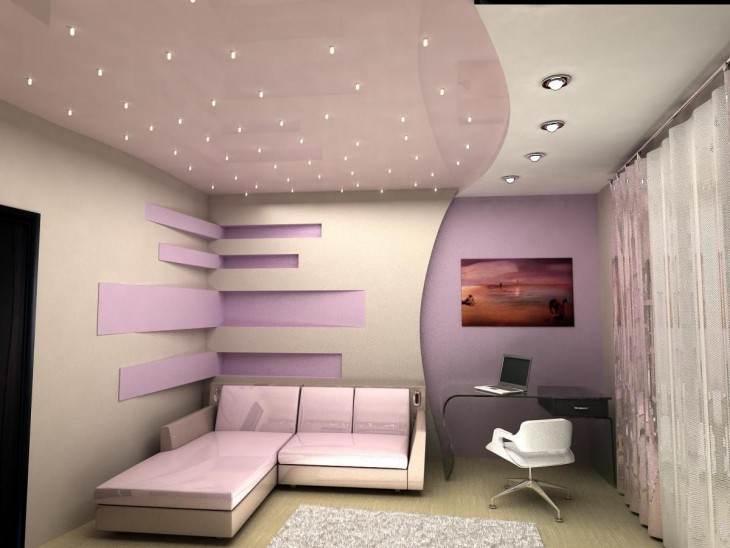
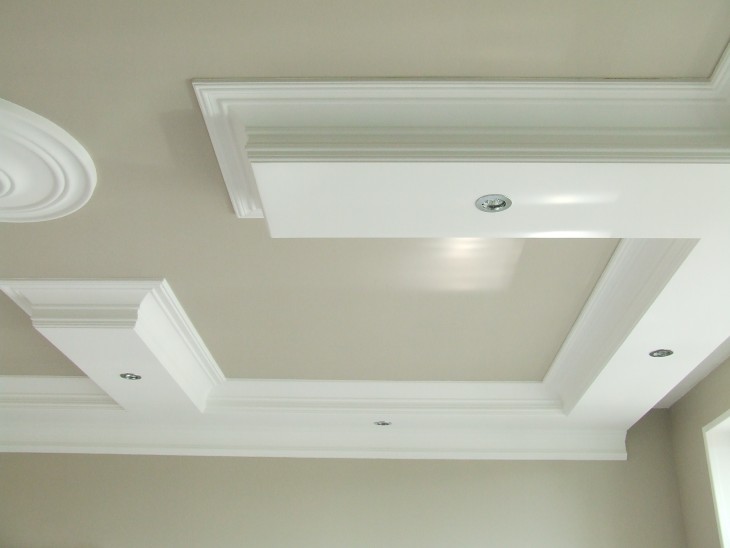
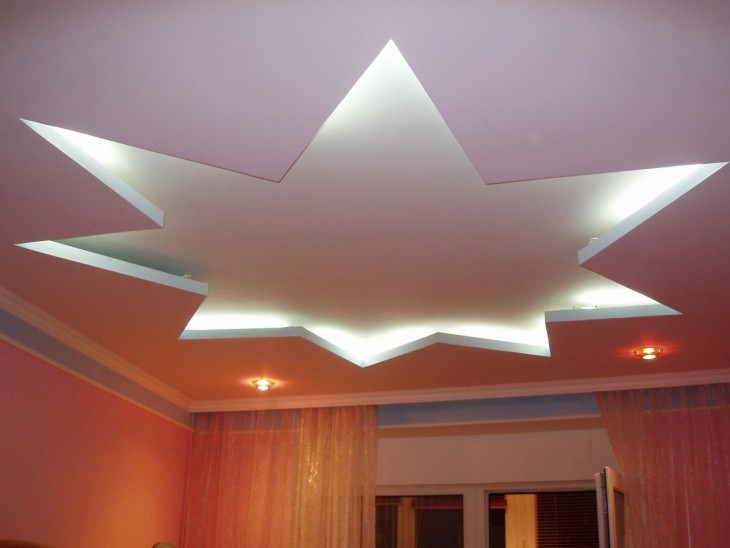
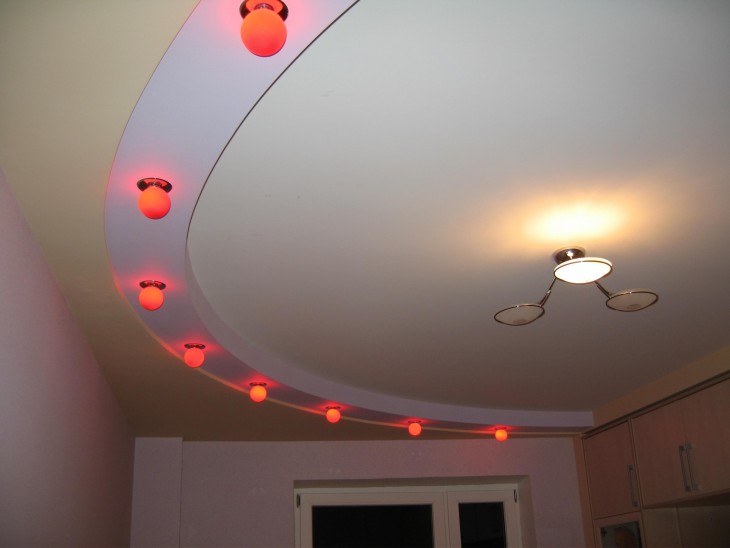
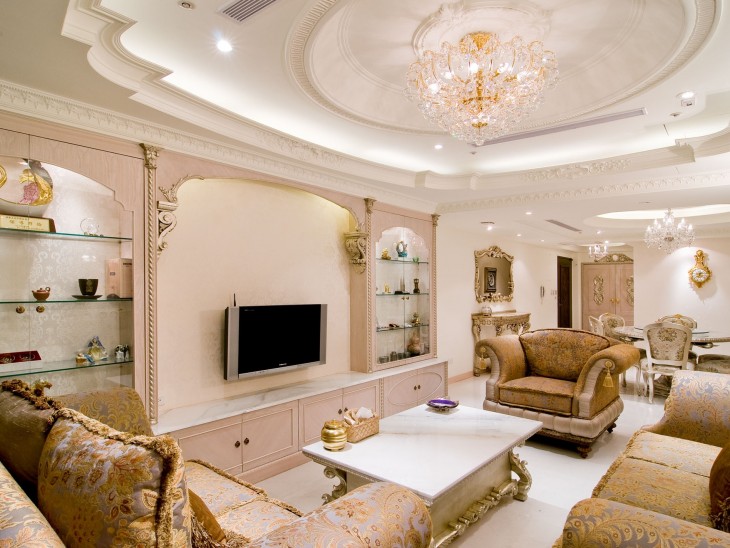
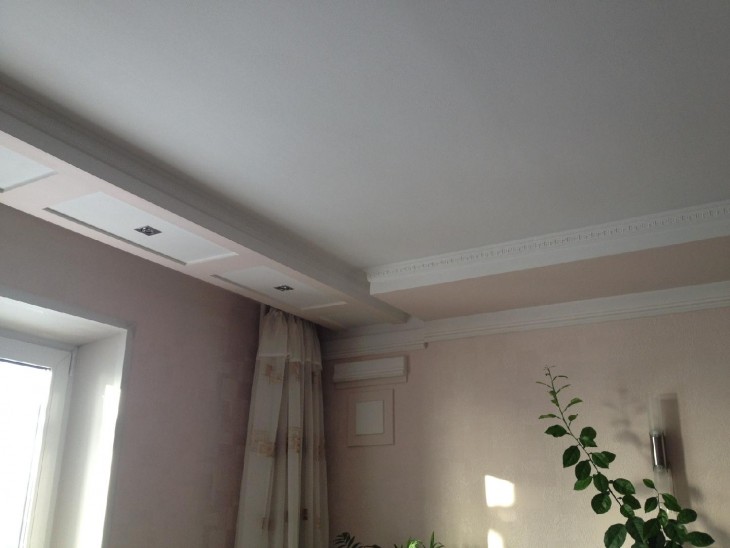
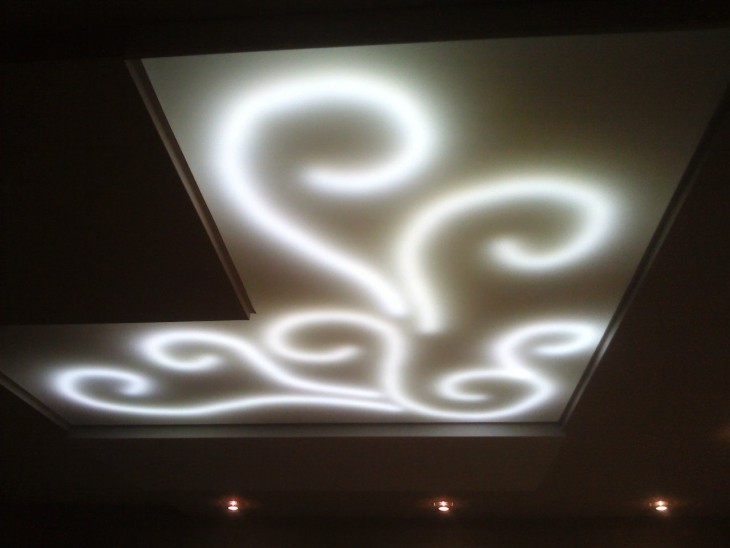
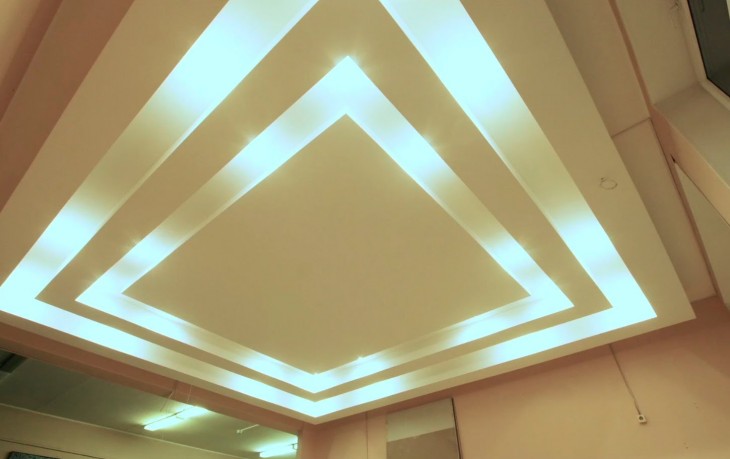
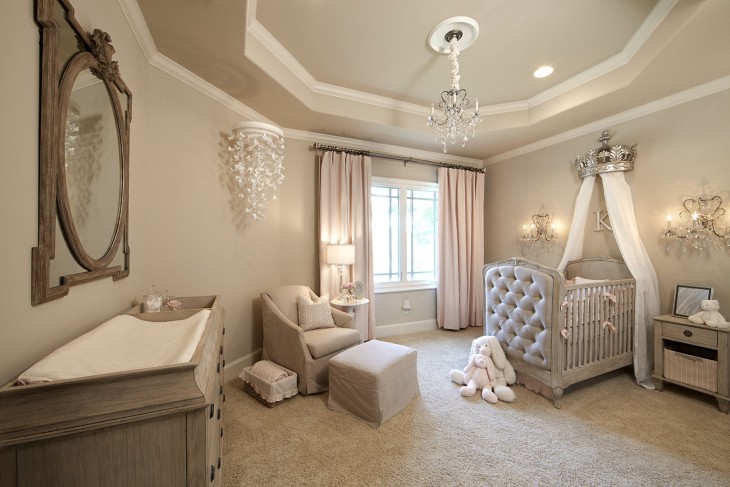
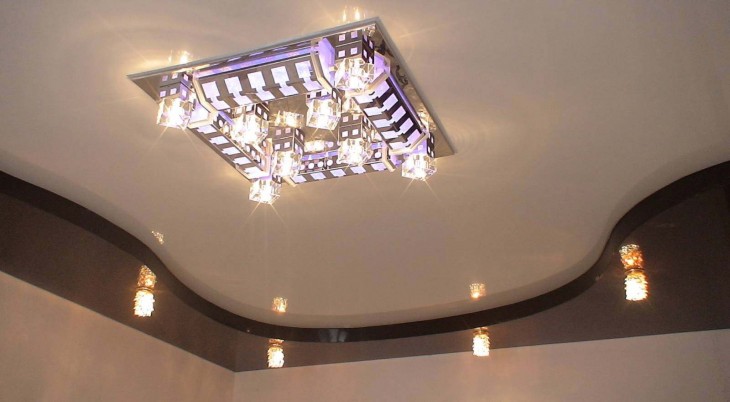
Today, a huge number of the most different ways of decorating the ceiling are offered. Thanks to the active development of the construction industry, in stores you can find many different decorative materials that will decorate the ceiling.
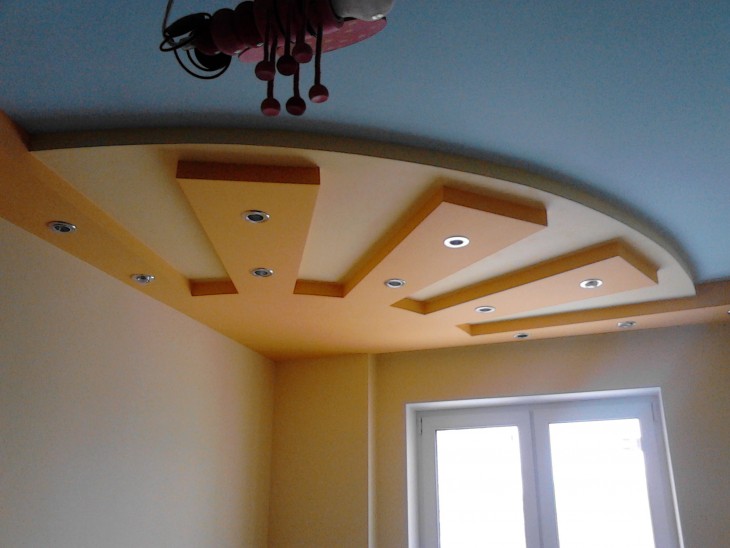
Everything will depend solely on taste preferences and financial capabilities. Someone prefers gypsum molding, and someone is delighted with foam moldings.
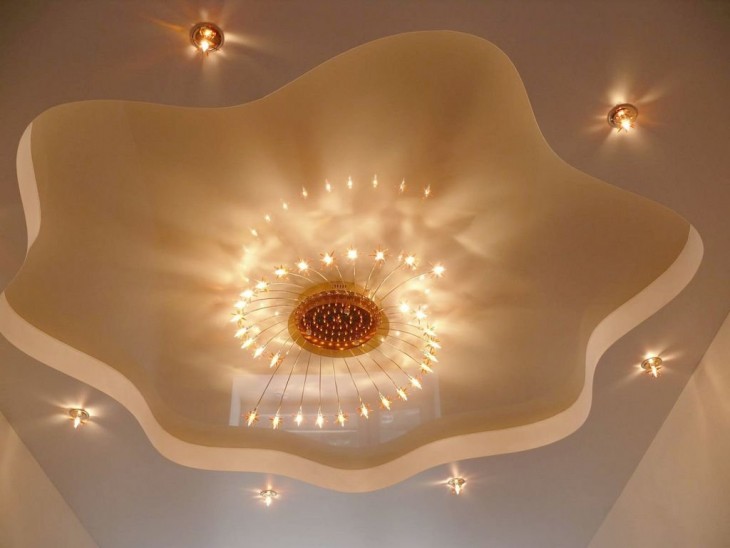
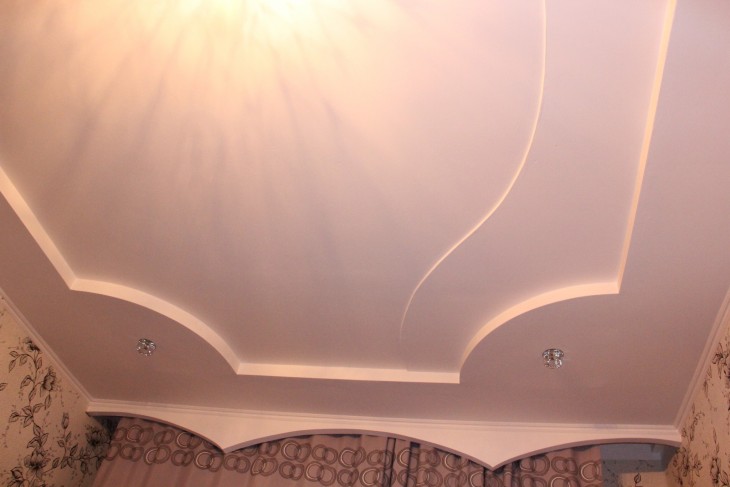
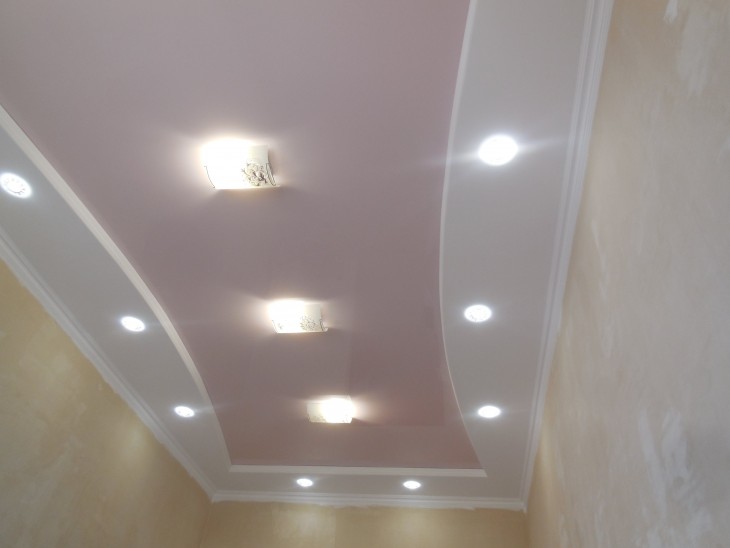
You should not pay attention to various kinds of trends in fashion, because they quickly pass, but you live with a new repair definitely not for one or two years.
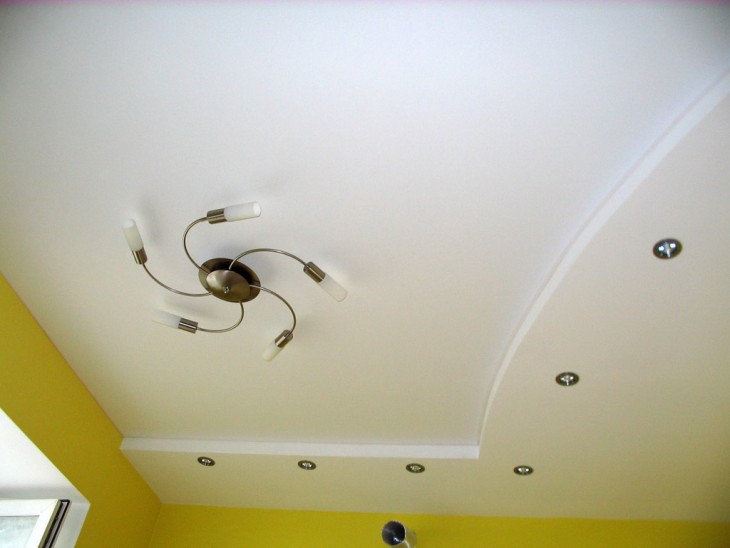
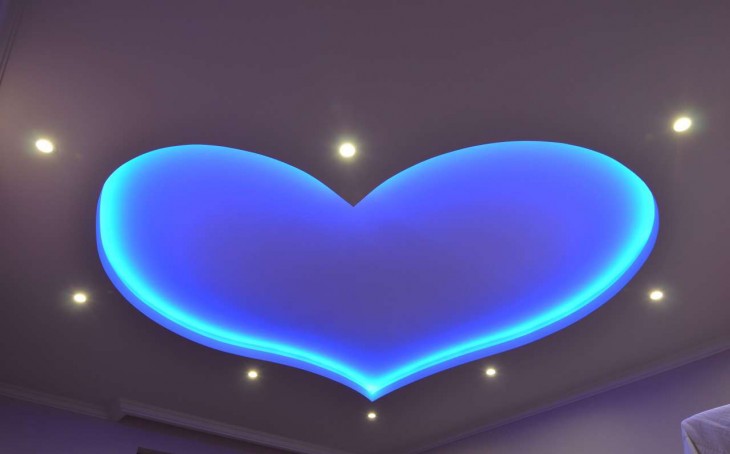
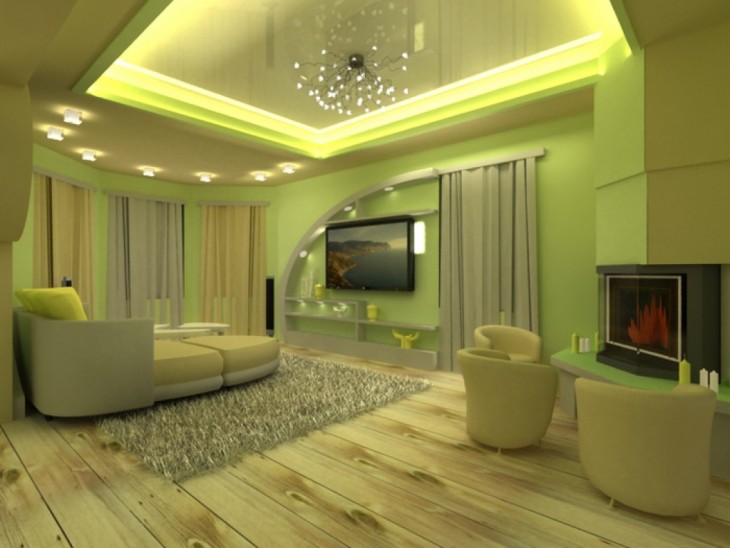
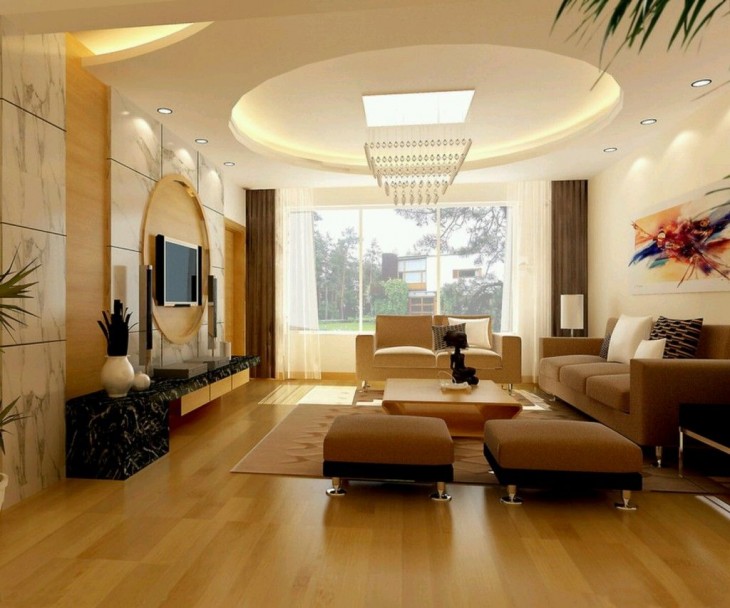
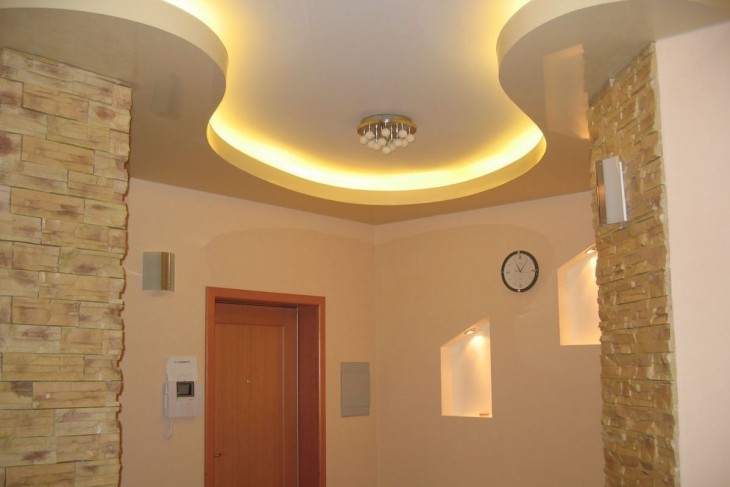
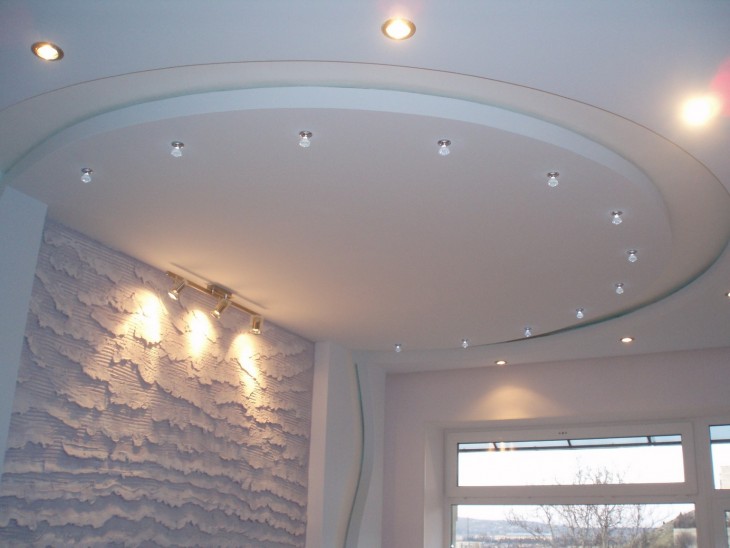
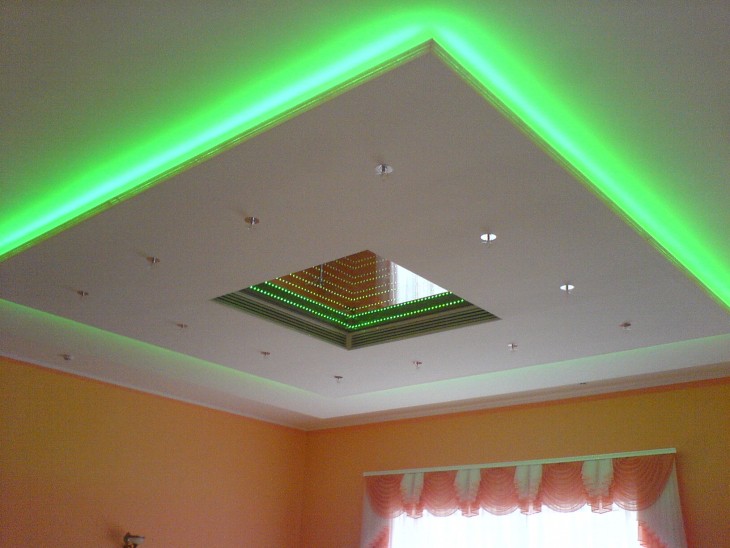
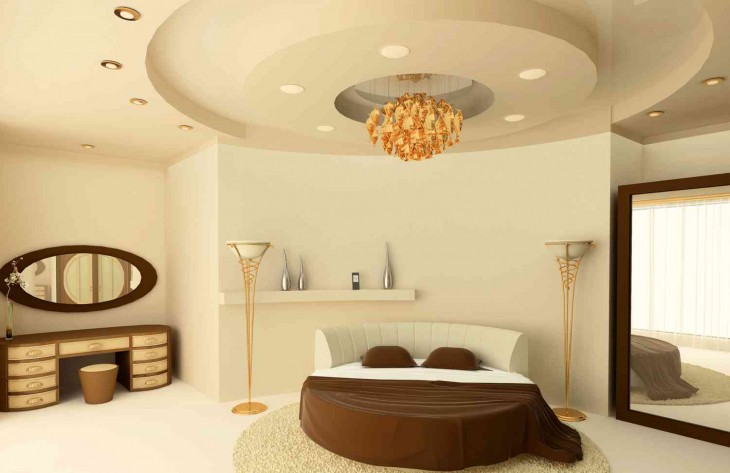
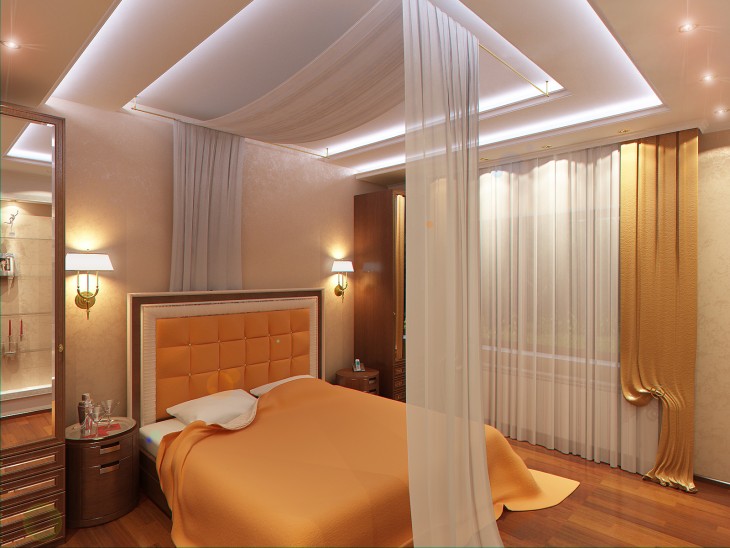
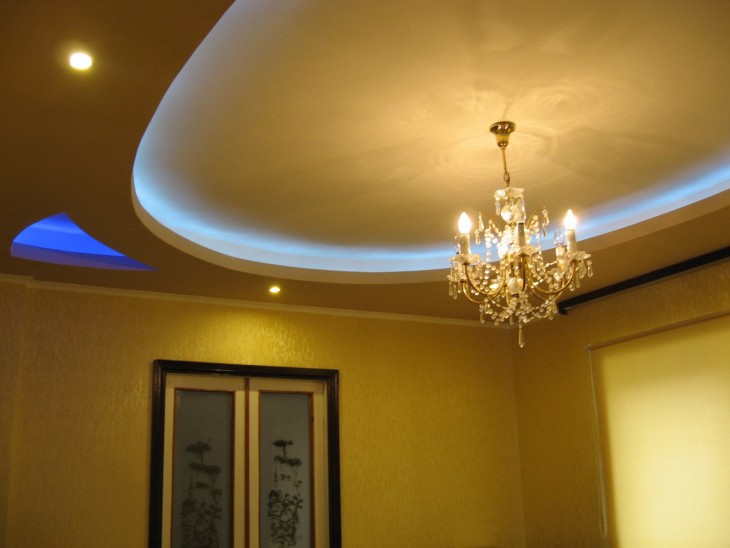
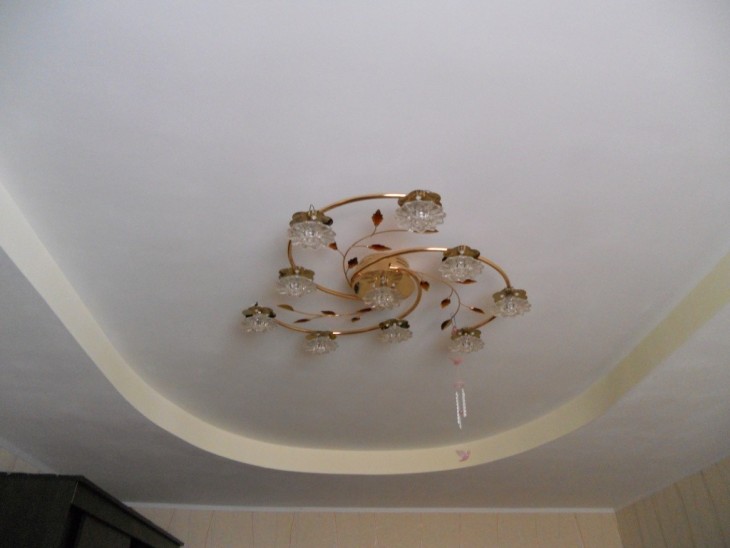
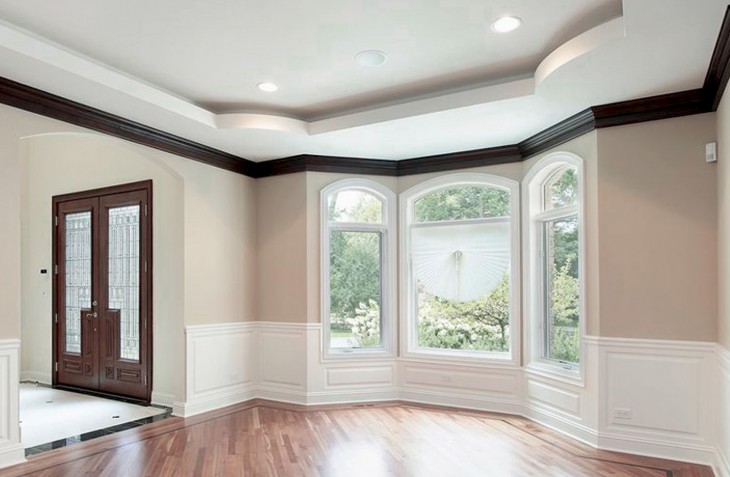
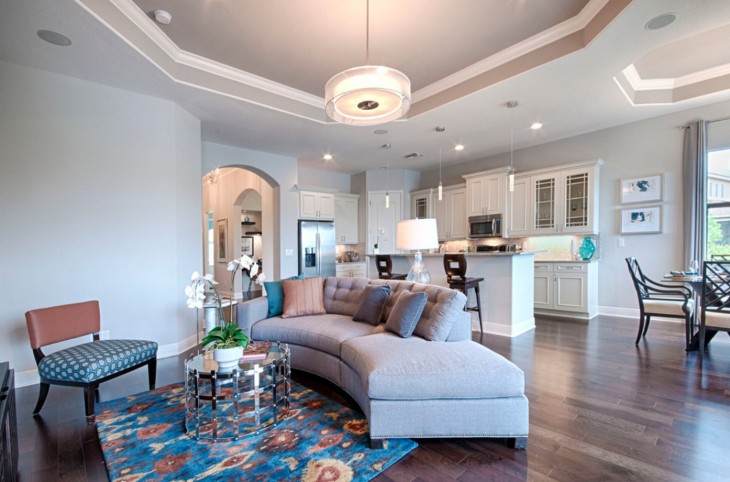
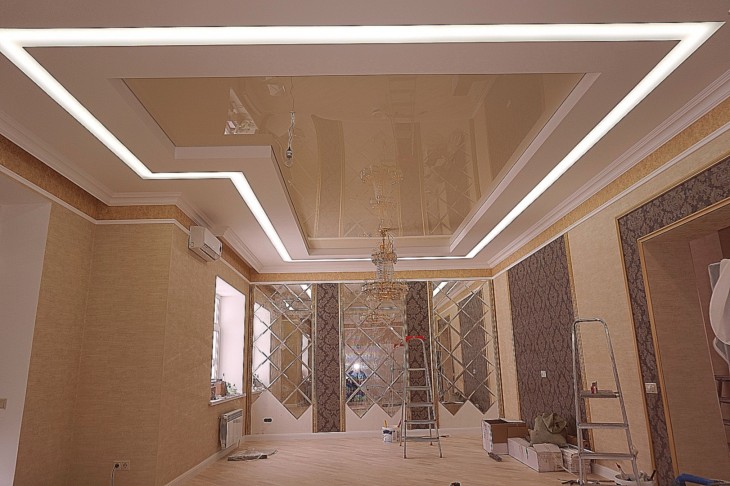
It is important that the ceiling gives you exceptional joy from looking at it and in the room creates a feeling of comfort.
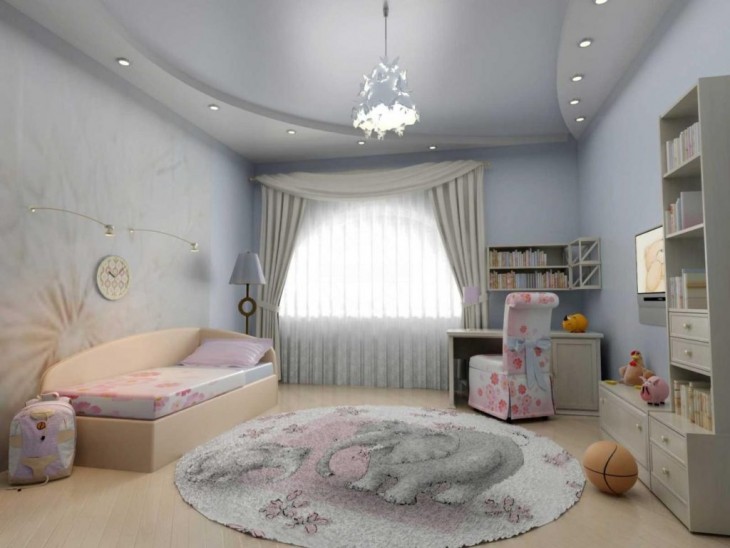

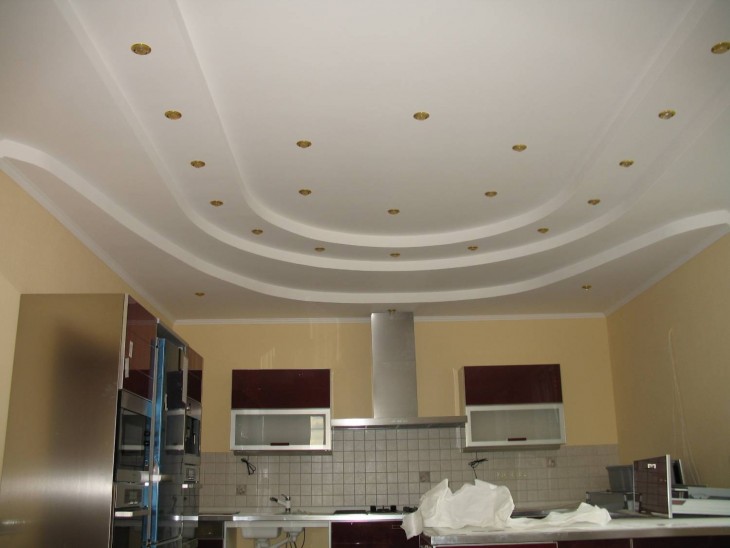
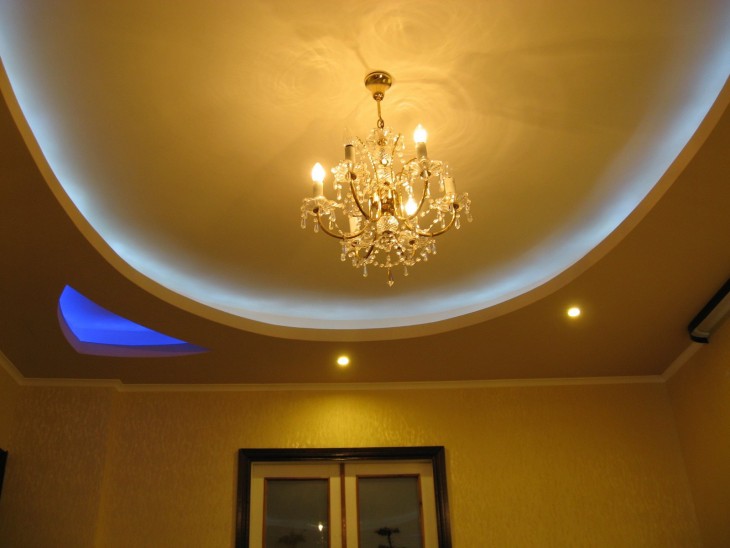
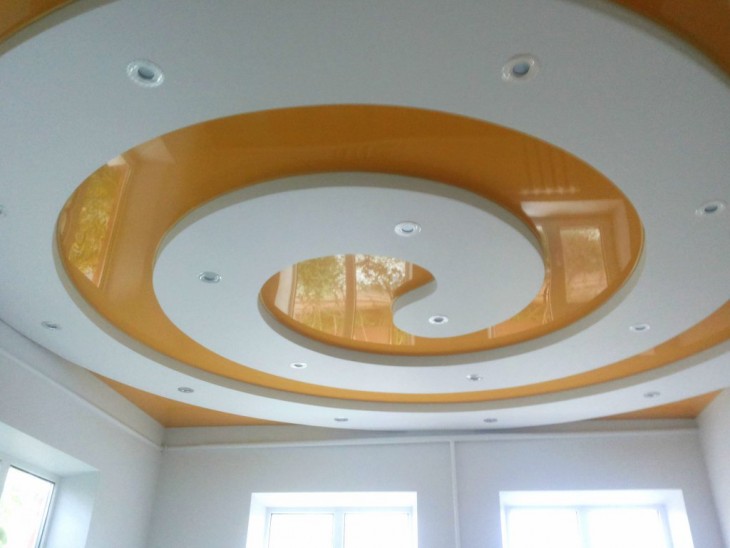
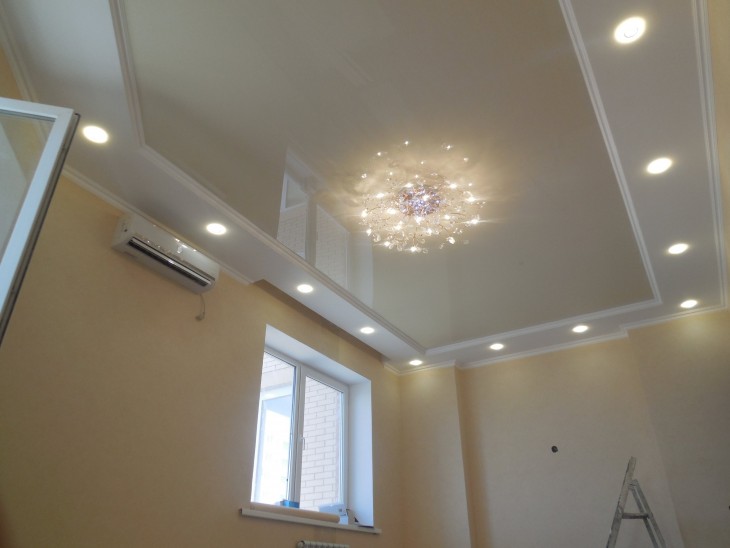
After you decide on what the ideal ceiling after repair looks like for you, it is important to assess whether you can afford it financially, and if the answer is yes, then you can safely go to the building materials store and choose what will allow quickly make your dream of a perfect ceiling a reality.
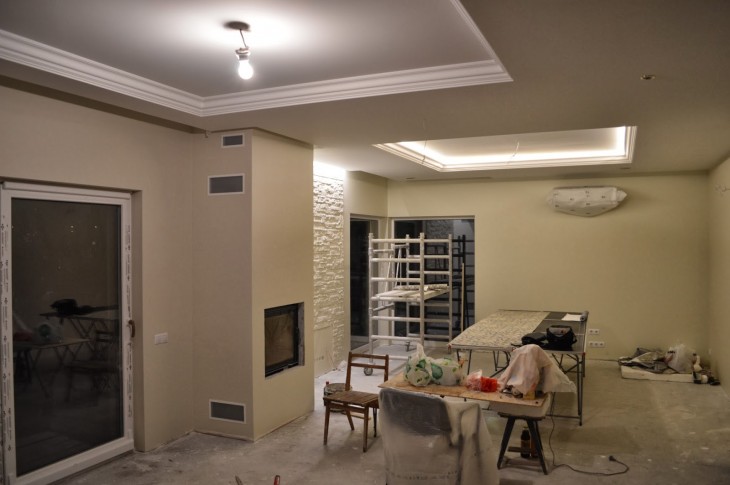
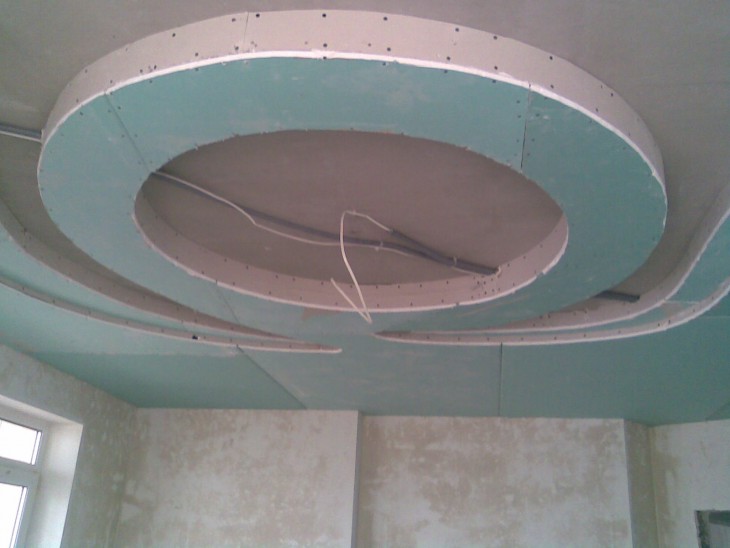
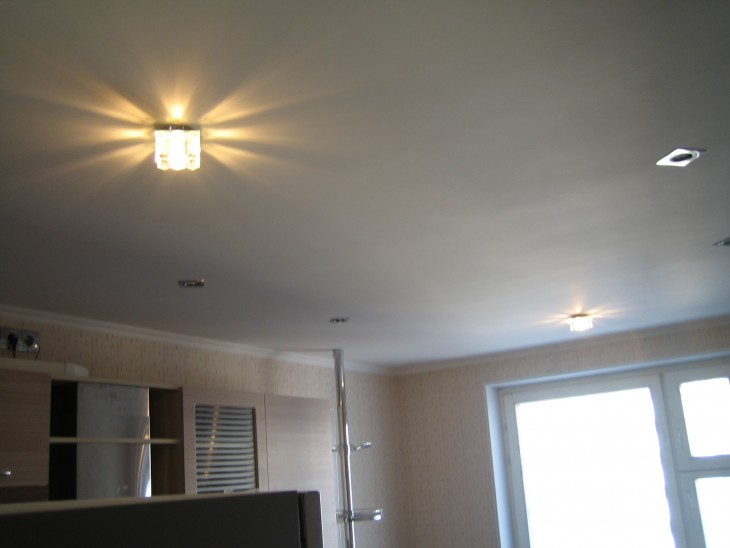
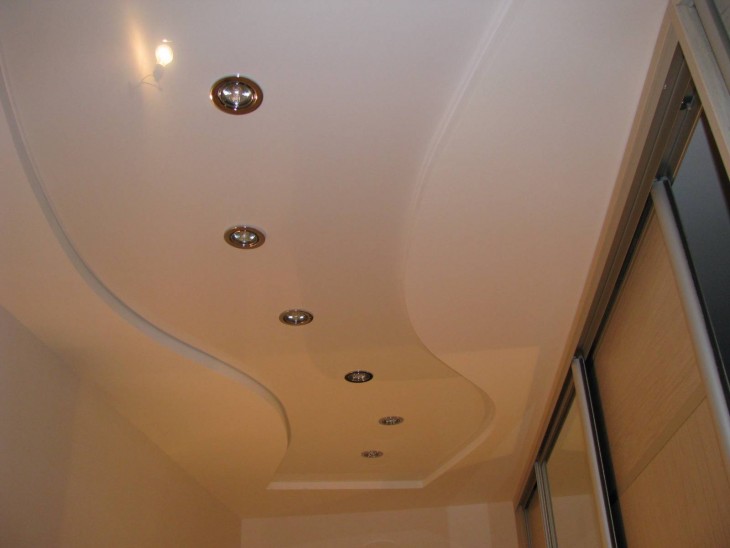
There is nothing difficult in the technology of creating false ceilings using drywall.

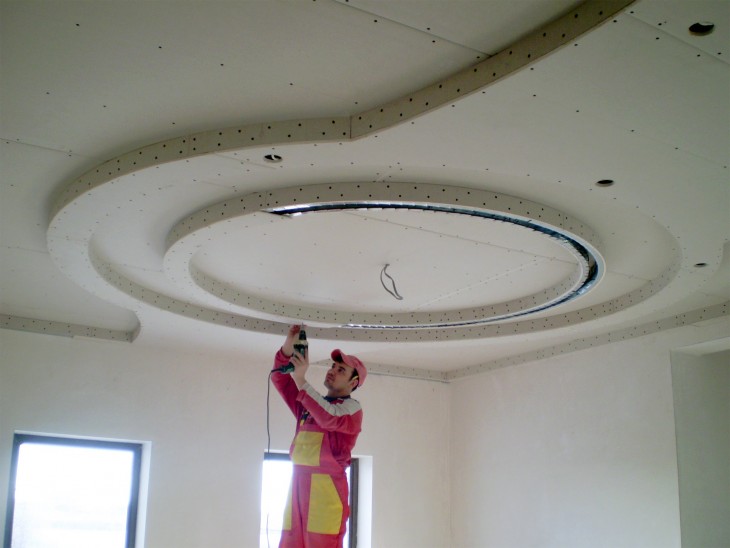
You only need to remember that before you do anything, you need to think several times, since such a ceiling is not set for a year or even for five years.
Note!
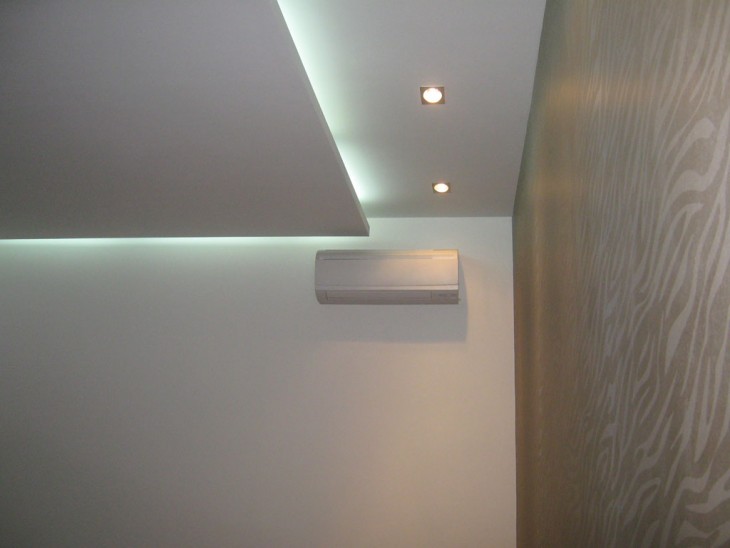
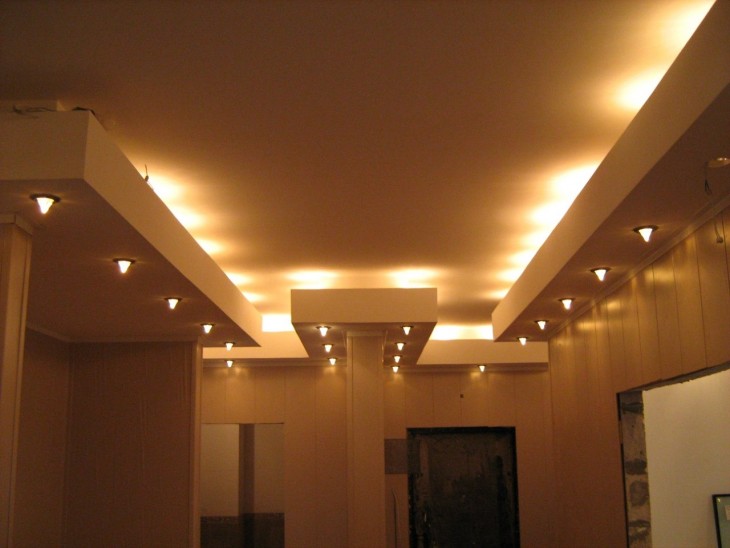
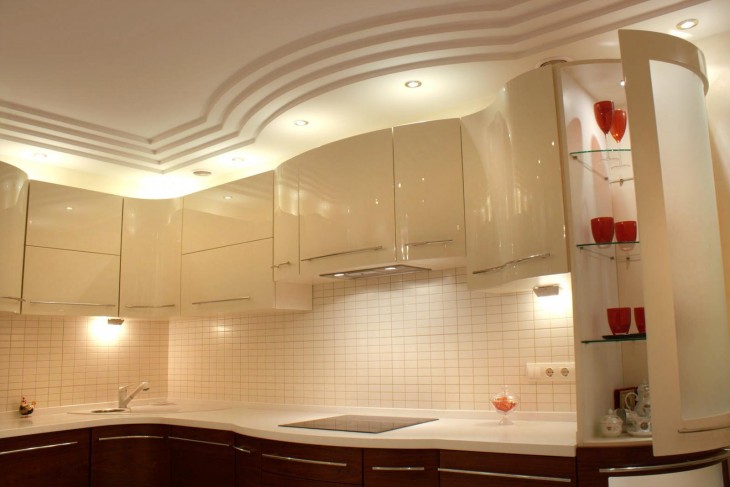
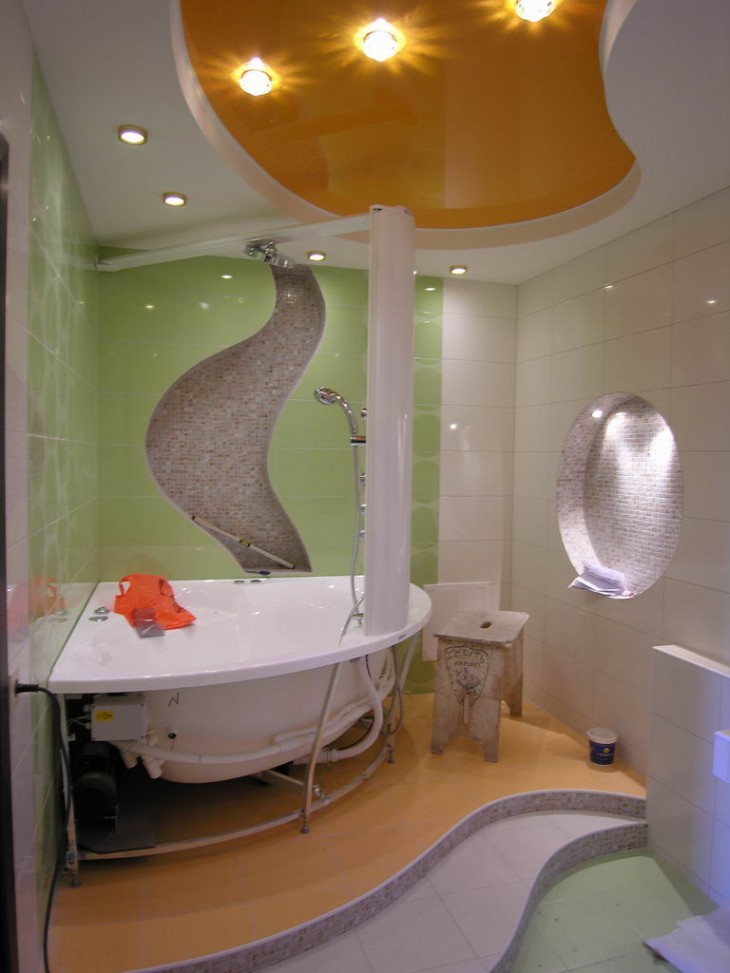
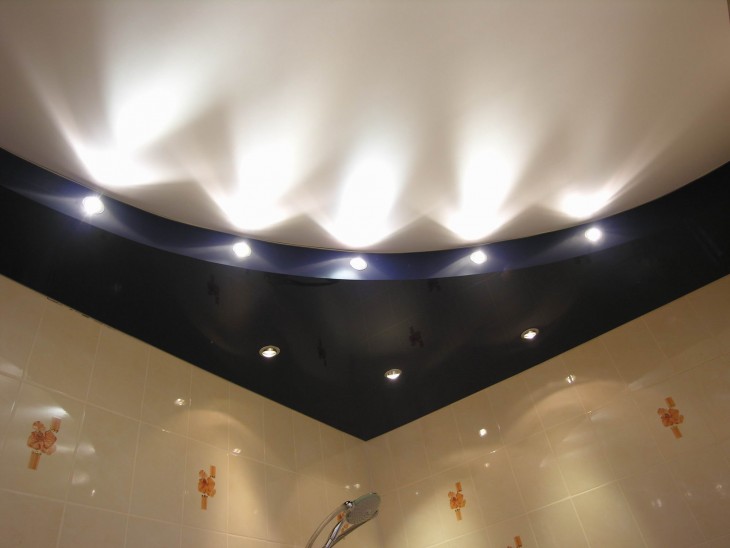
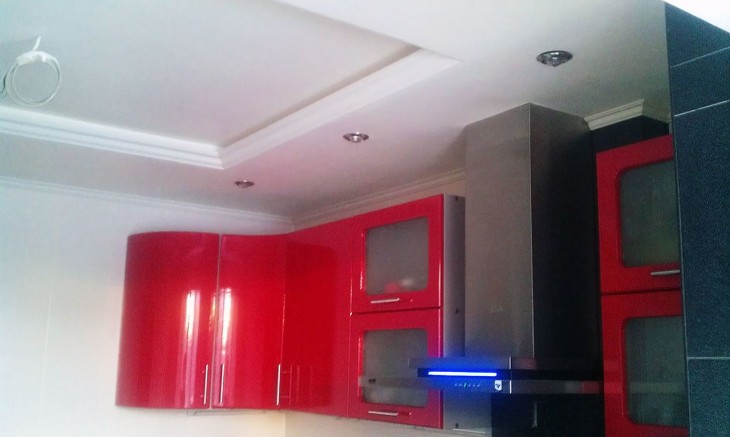
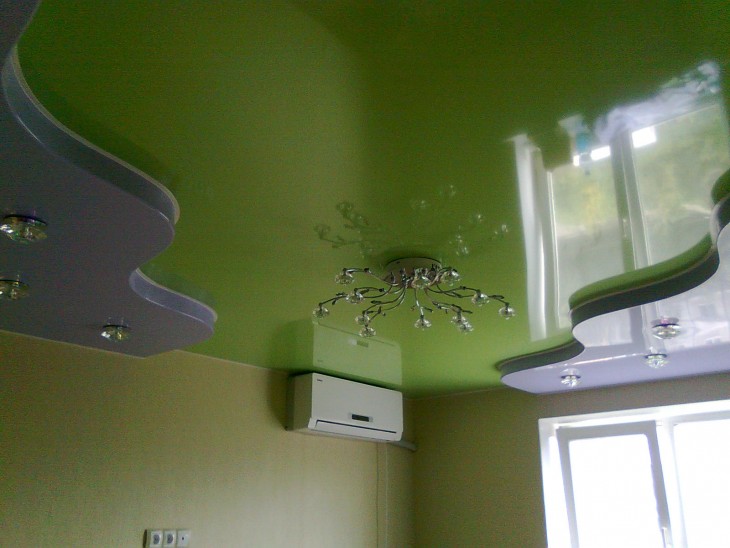
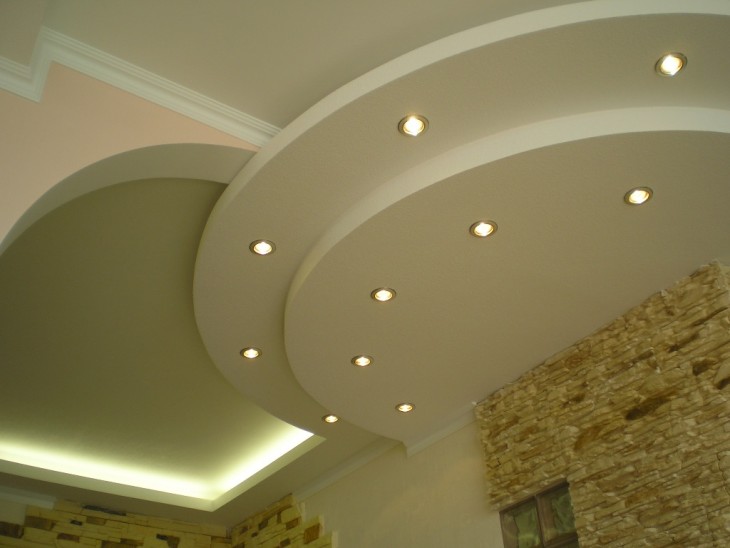
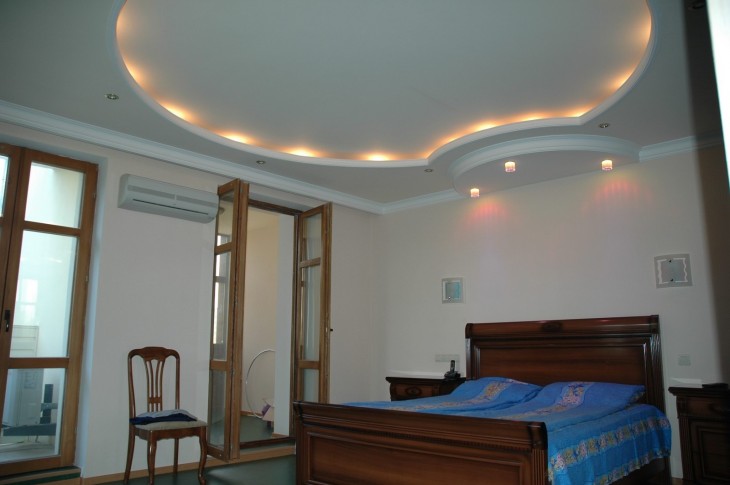
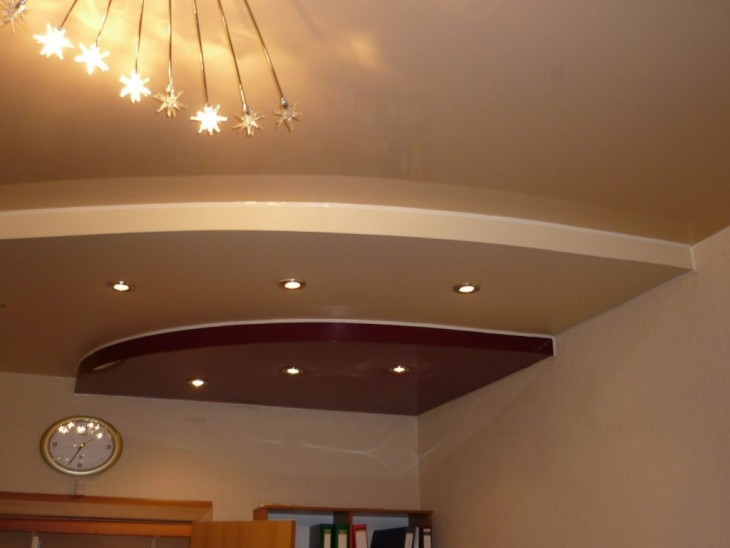
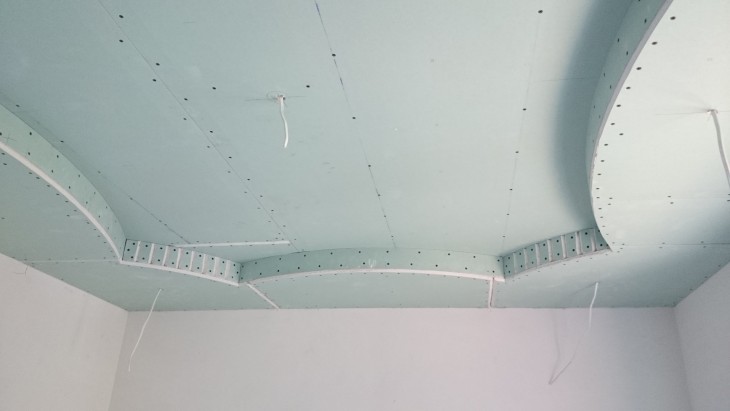
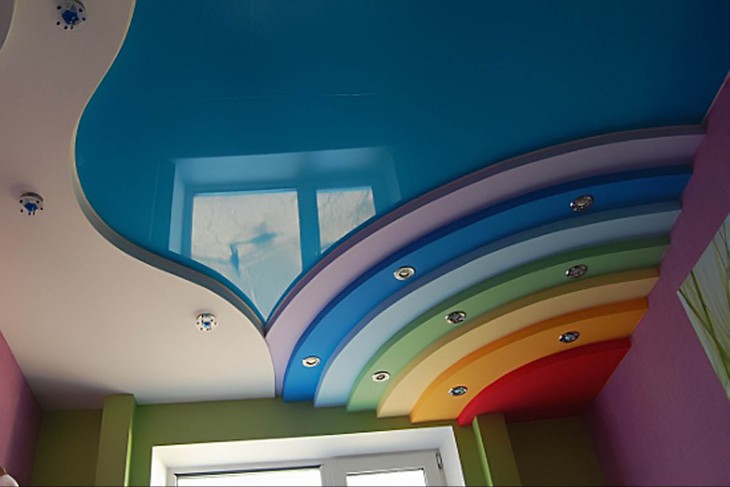
Photo of a plasterboard ceiling
Note!
Note!
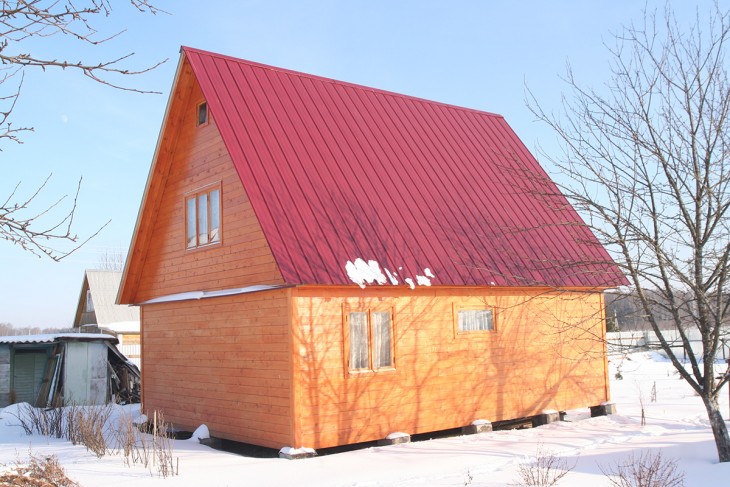
Do-it-yourself timber house - 100 photos and step-by-step instructions for building
DIY DIY crafts - 200 photos of the best options + simple instructions with a description
Crafts from napkins: 74 photos of unusual things that can be created from tissue paper
Cold smoked smokehouse - 94 photos of ideas for full production