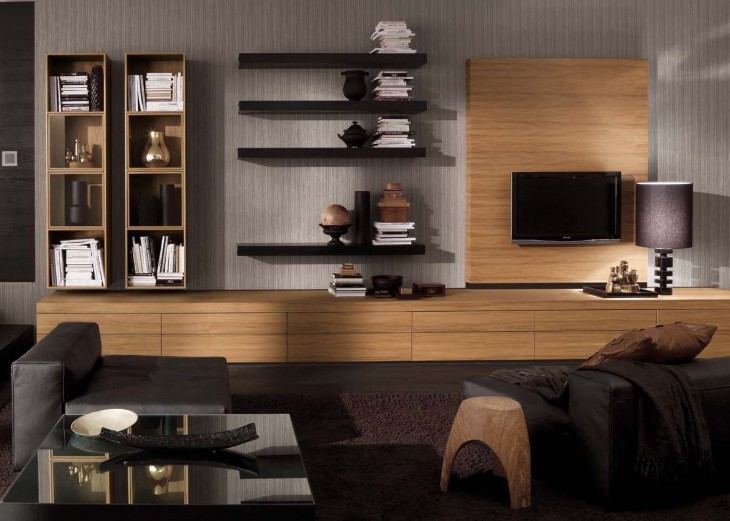
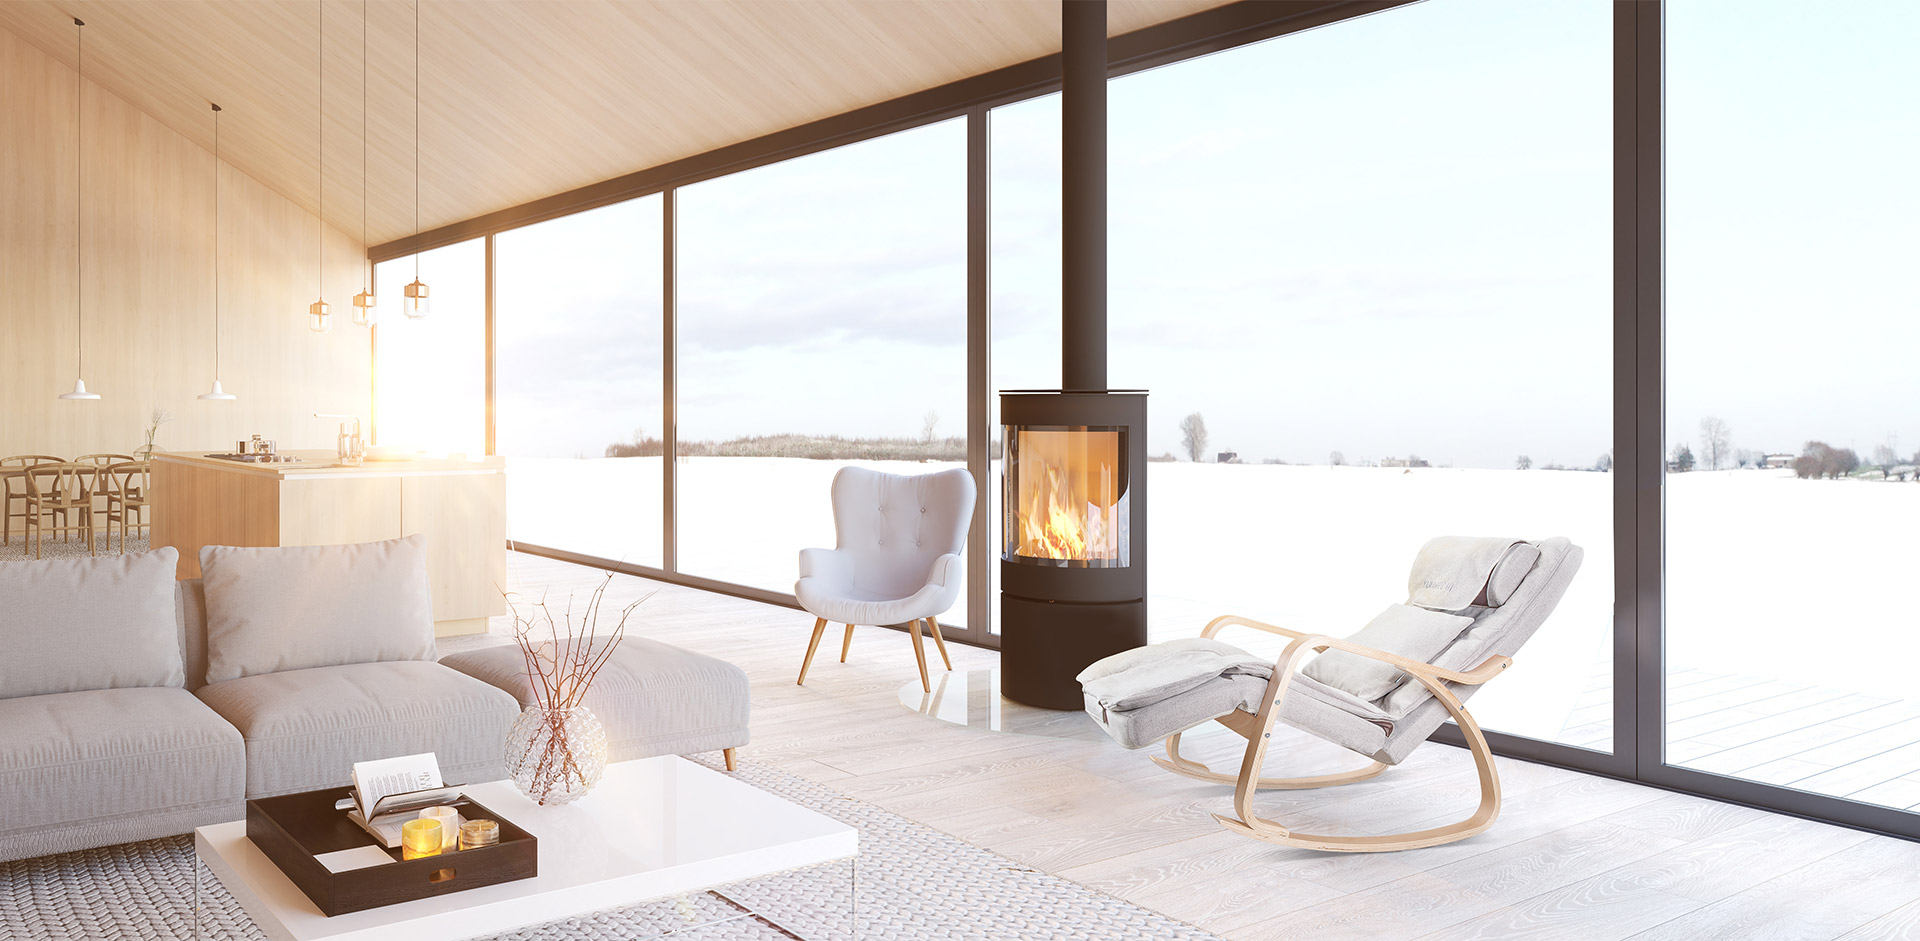
Shelves are often used not only to complement and decorate the overall interior of the room, but also for a more clear and appropriate organization of space. Thanks to their use, the owner of the apartment gets the opportunity to conveniently arrange a huge number of small things that are simply lost in cabinets.
Today on the market there are a lot of different models that are made of different materials. They differ in design.
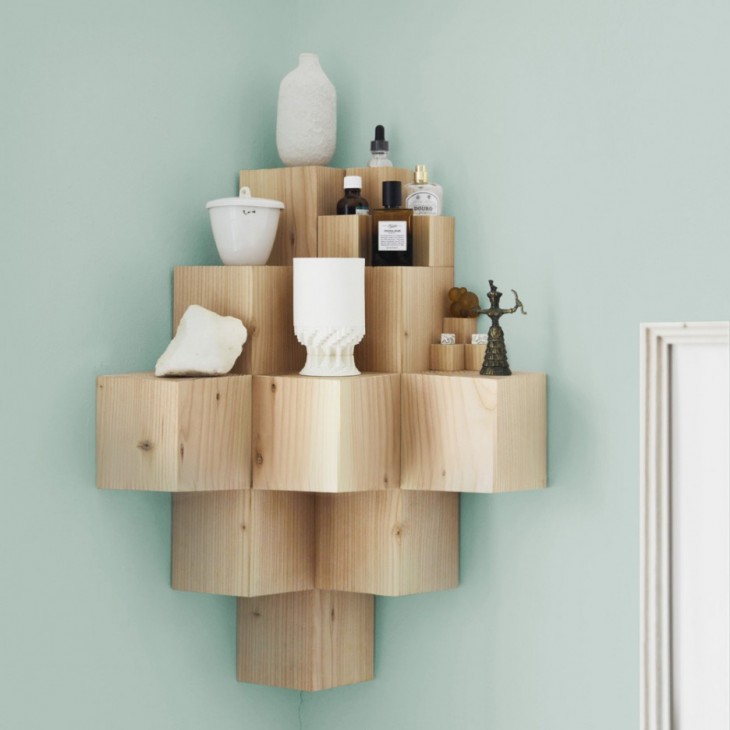
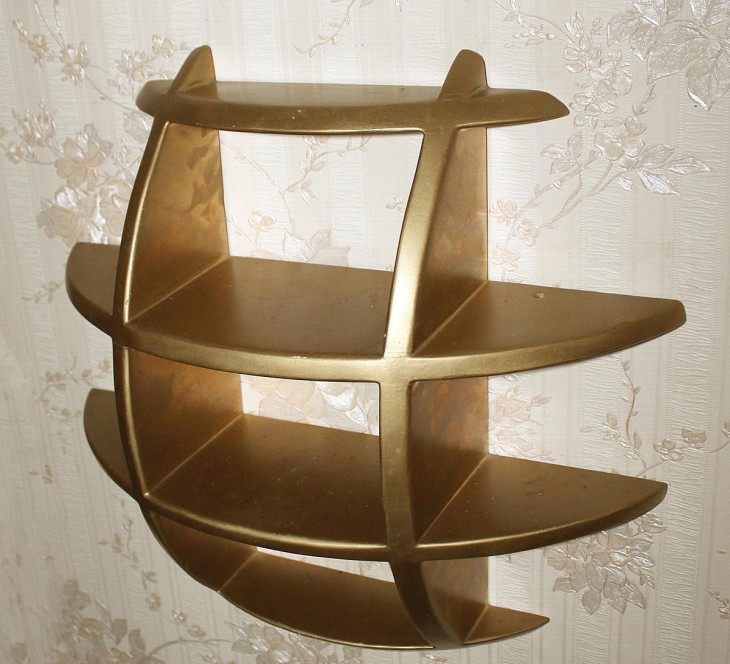
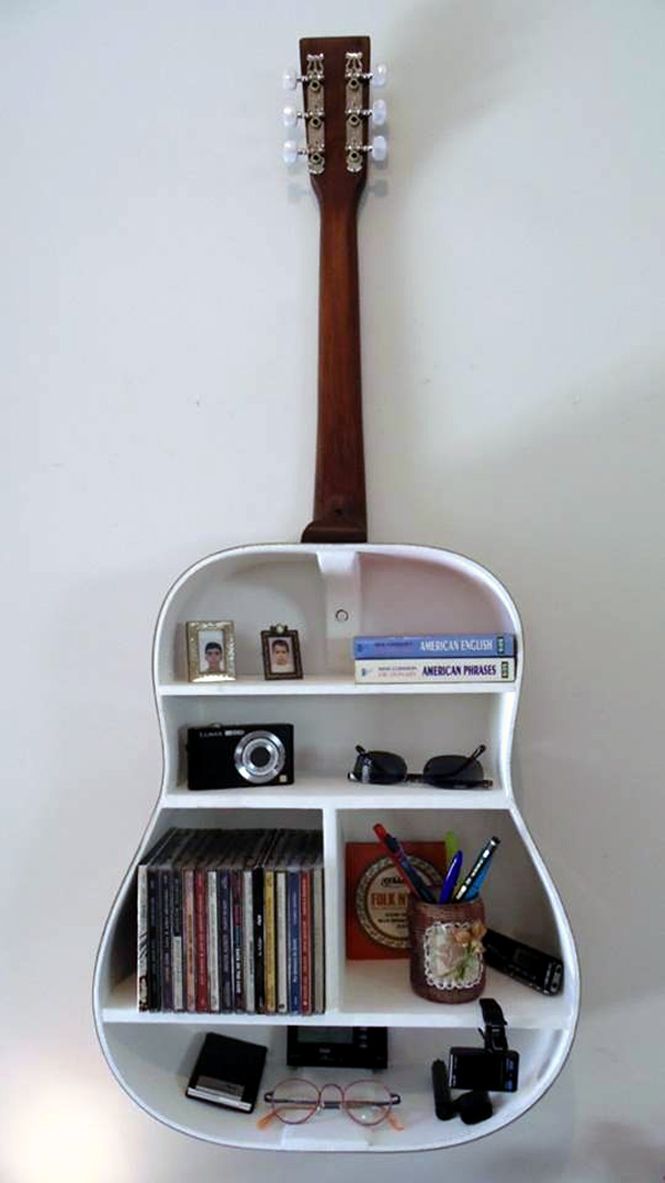
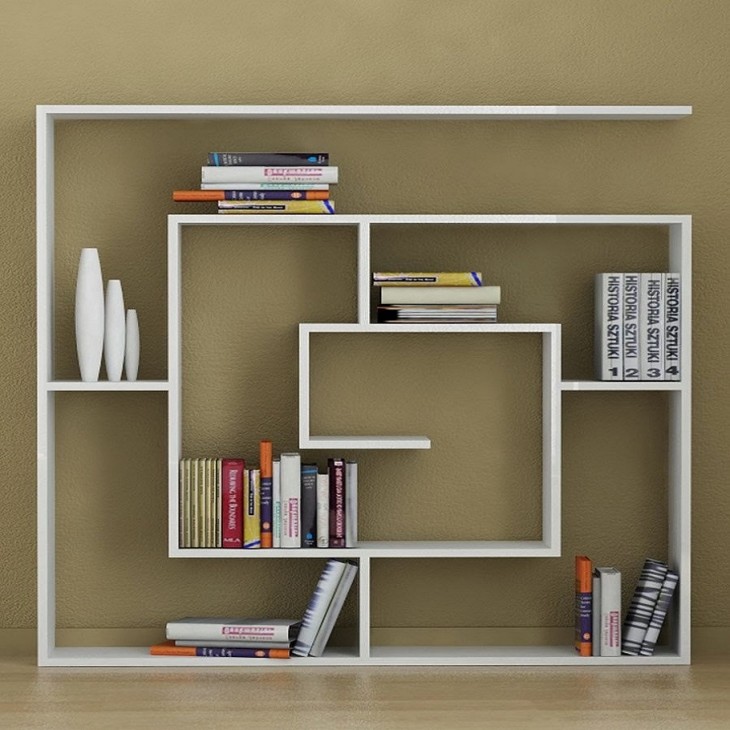
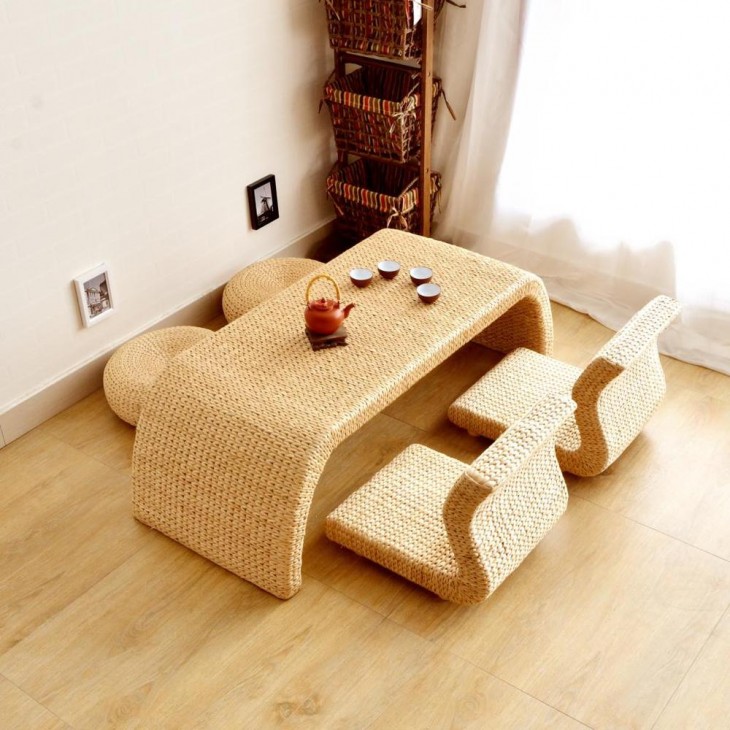
You can choose not only products with a classic design, but also ultra-modern designs.
But increasingly, people prefer to make such interior details on their own. Wondering how to make a shelf with their own hands, they re-read a lot of literature and browse a lot of catalogs.

However, this does not mean that the independent production of the shelf is complicated and it is beyond the capabilities of a person who does not have special skills. No, this is completely wrong.
Familiarization with the literature in this case is necessary in order to create a product with a beautiful design that will fit into the overall interior. Let's consider in more detail what kind of shelves are.
Varieties of shelves
Any specialist will tell you that before you start creating the product, you need to decide for yourself which design you want to receive and whether it will be combined with the interior. And only after that you can start creating the product.
Indeed, for a house decorated in a classically seasoned style, it is completely unacceptable to use trendy and modern shelves. They will look extremely ridiculous.
Therefore, we strongly recommend that you familiarize yourself with the most popular wall shelves that you can do with your own hands without spending a lot of money.
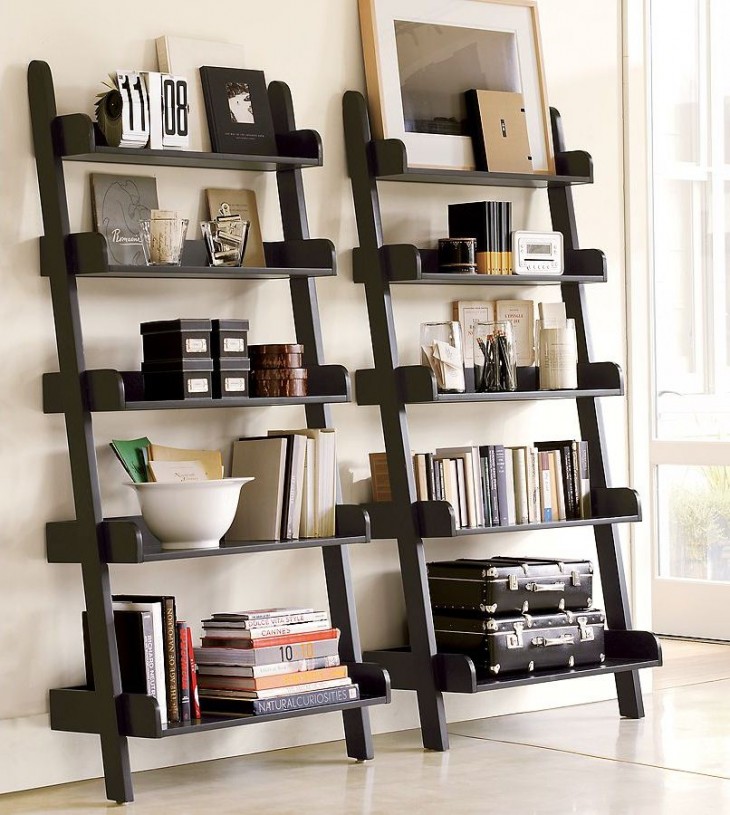
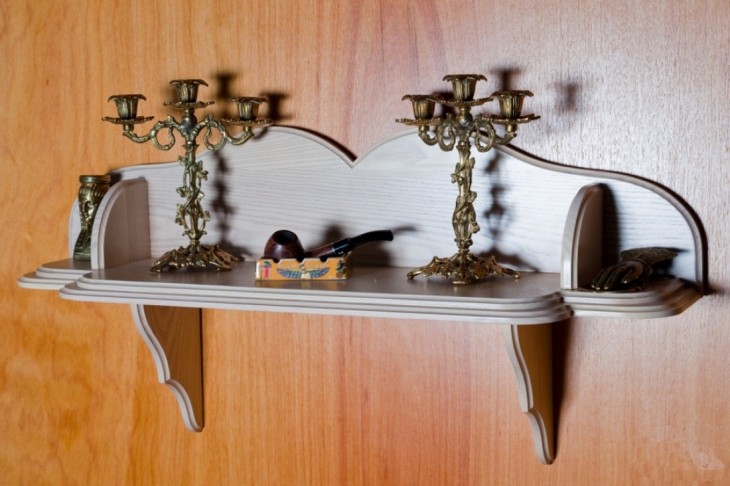
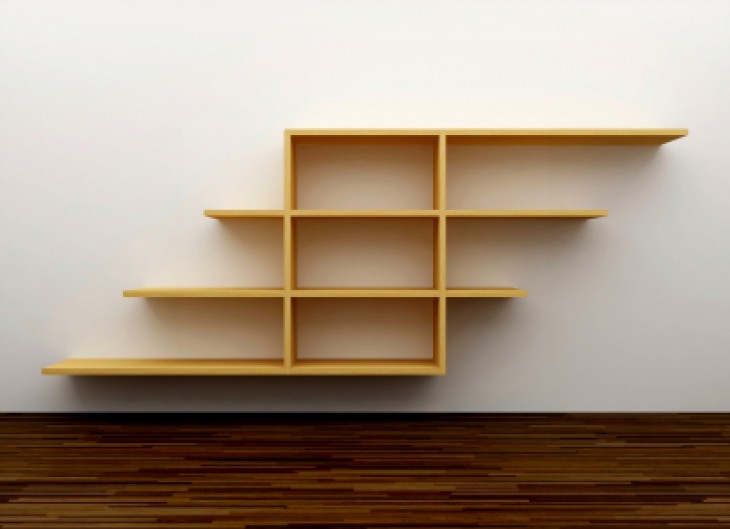
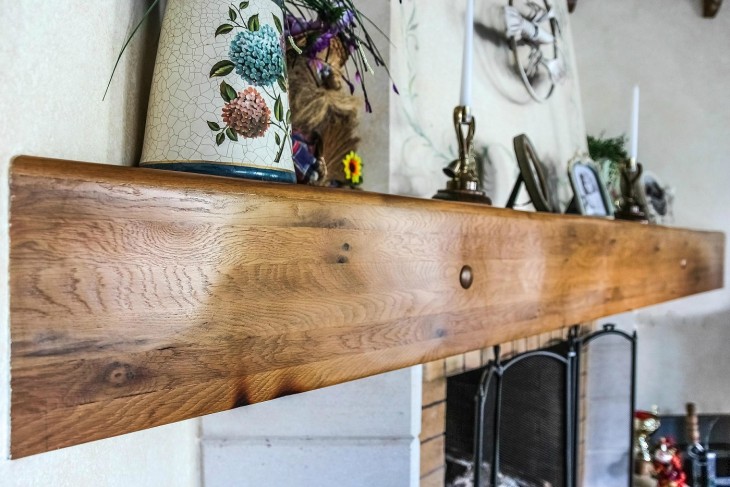
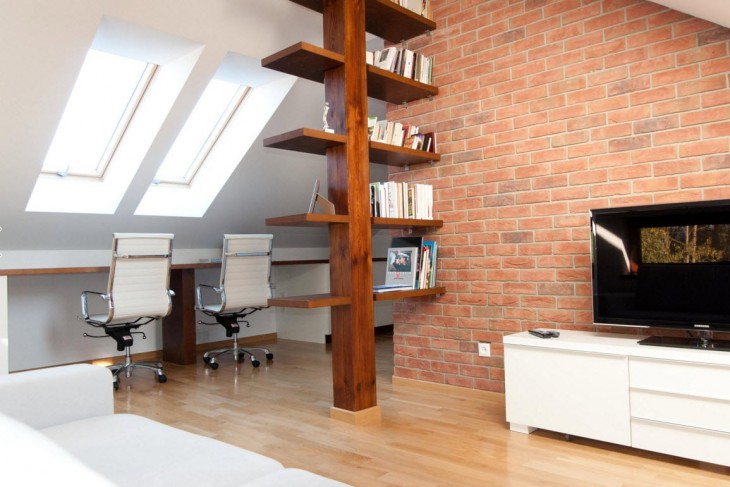
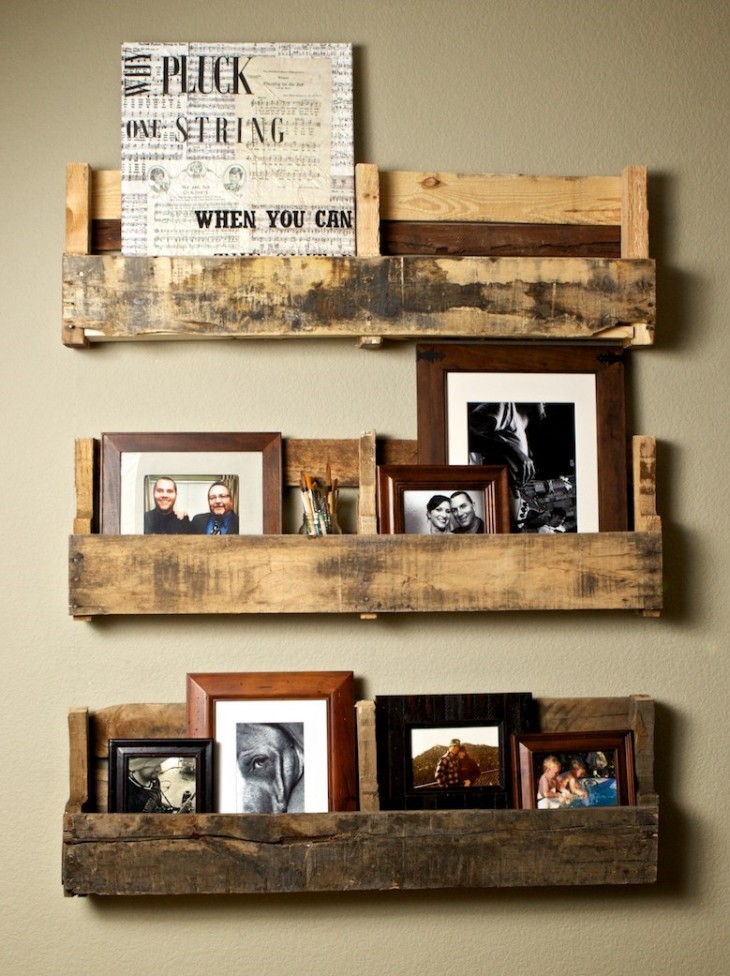
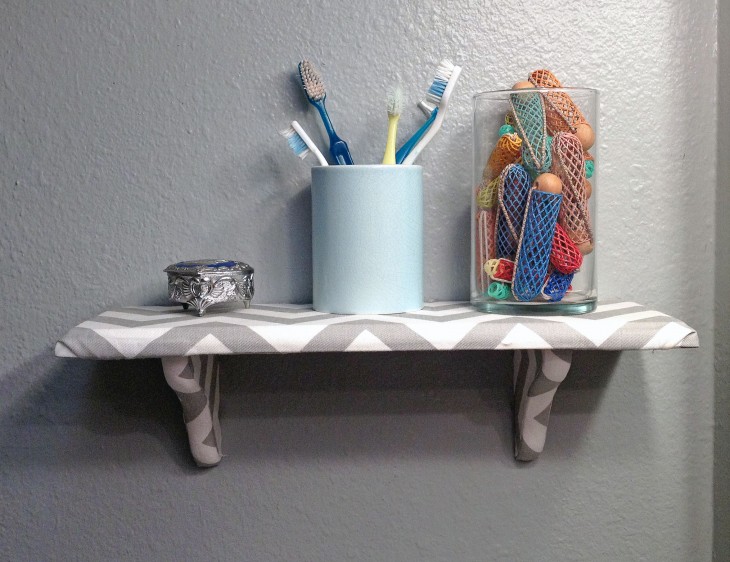
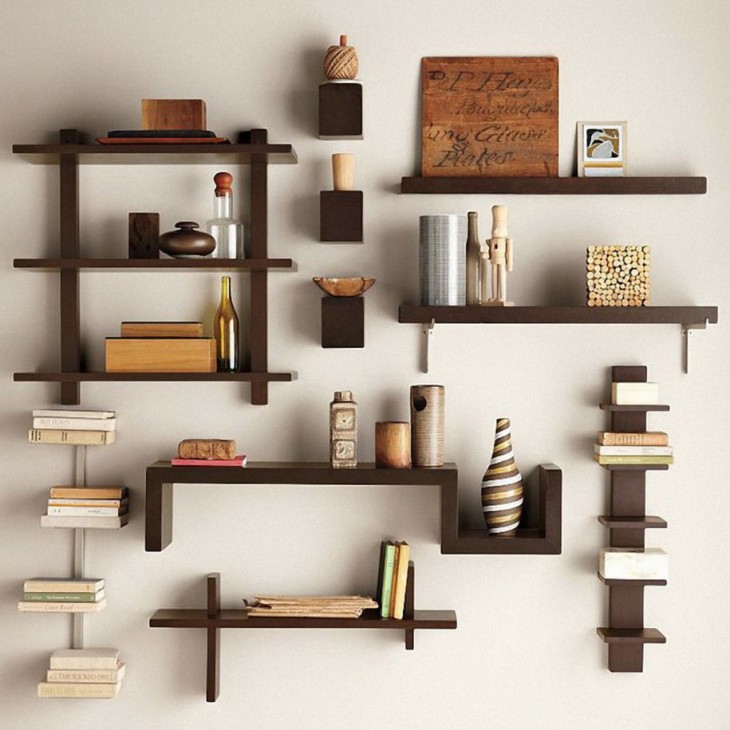
The most popular and well-known subspecies of shelves is the classic shelf. This is due to the fact that it is quite simple to install, and the appearance, due to its simplicity, seems refined and sophisticated.

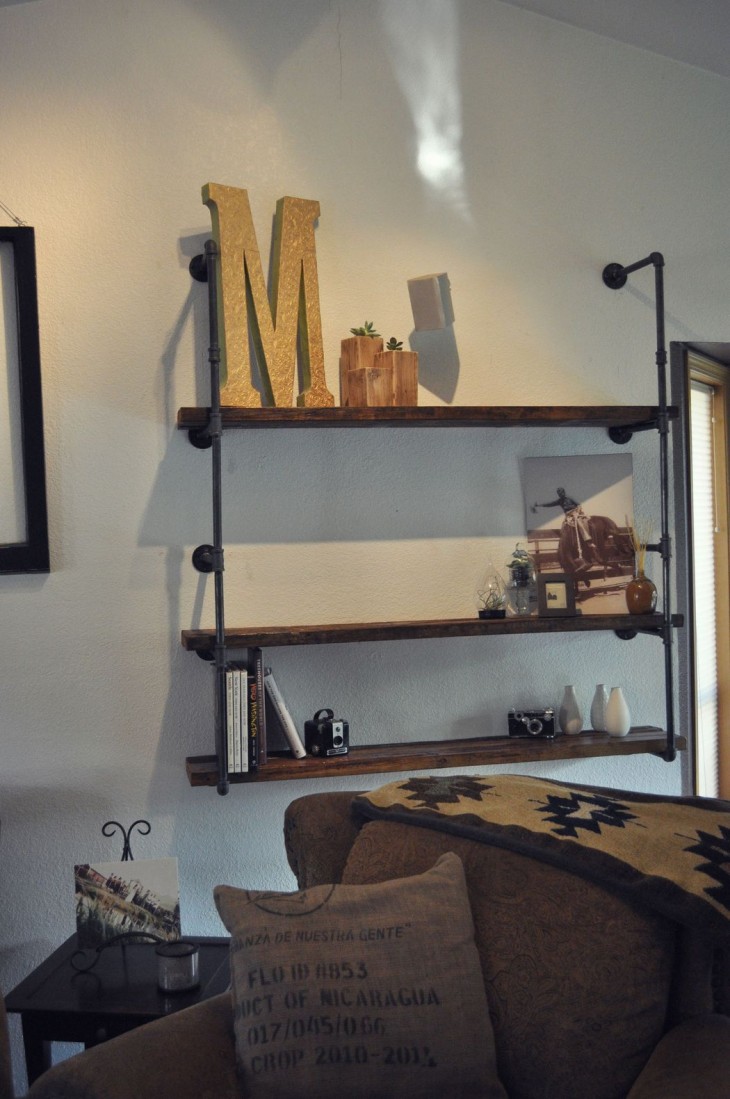
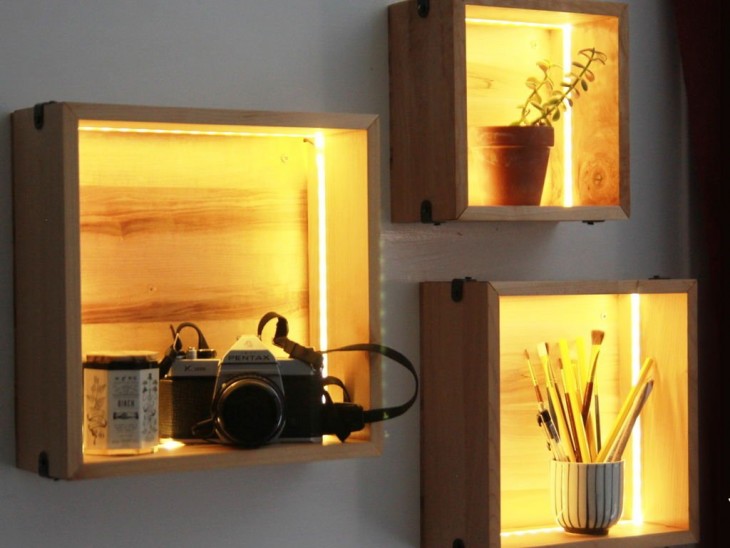
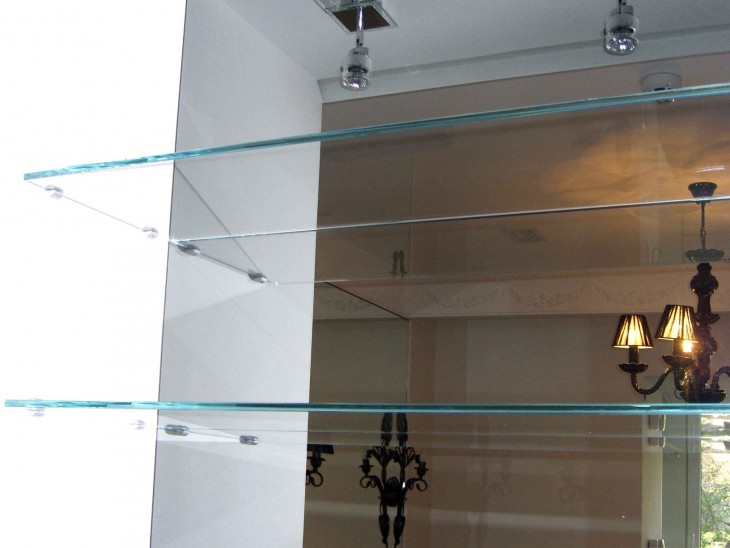
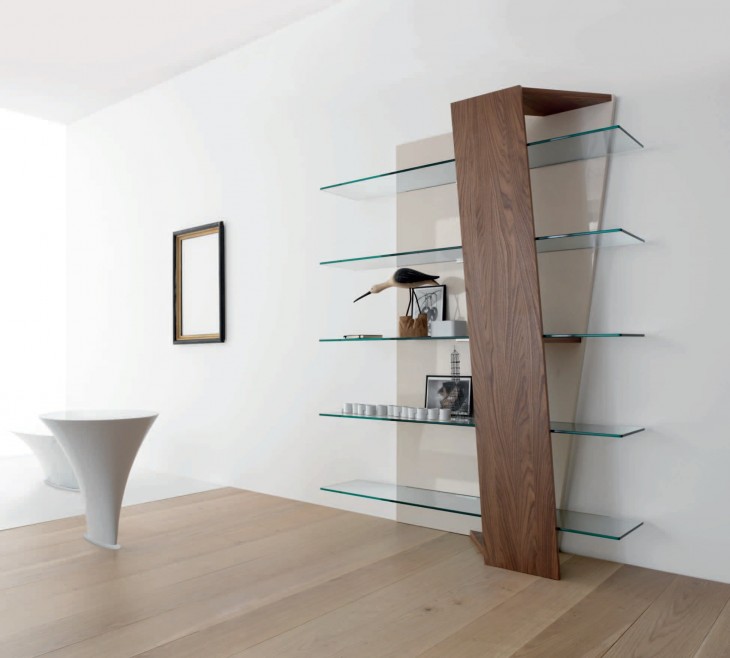
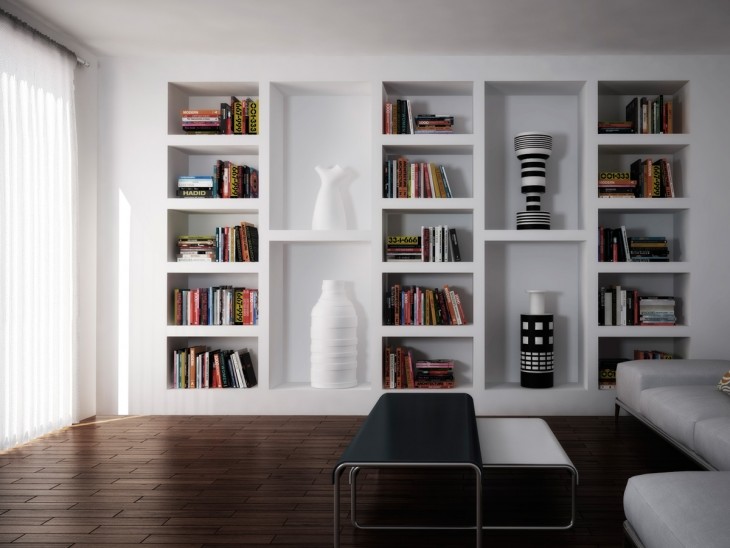
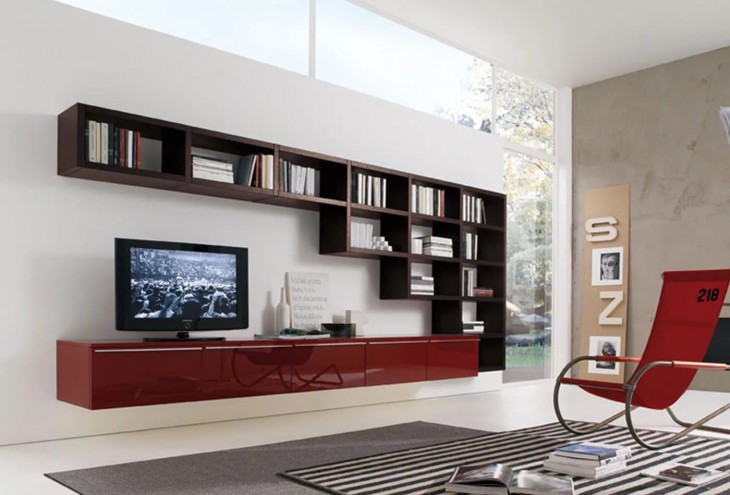
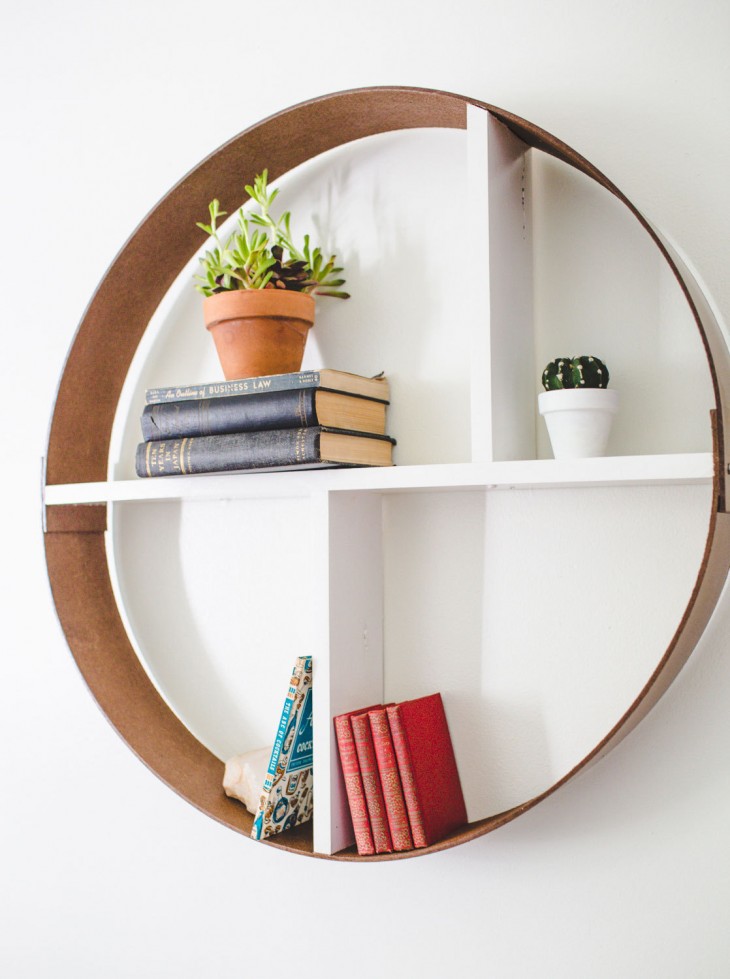
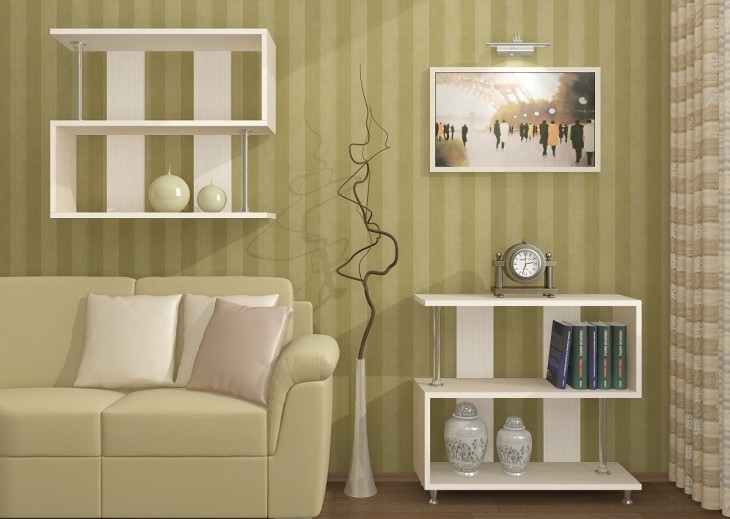
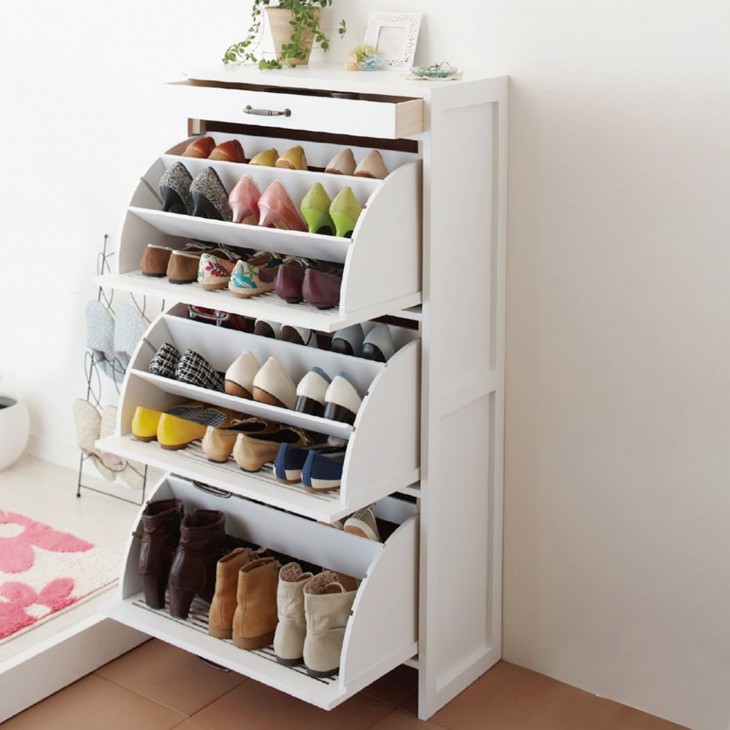
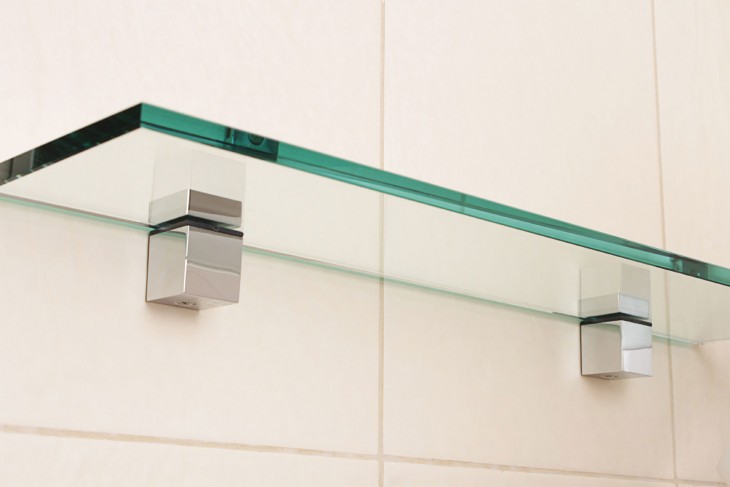
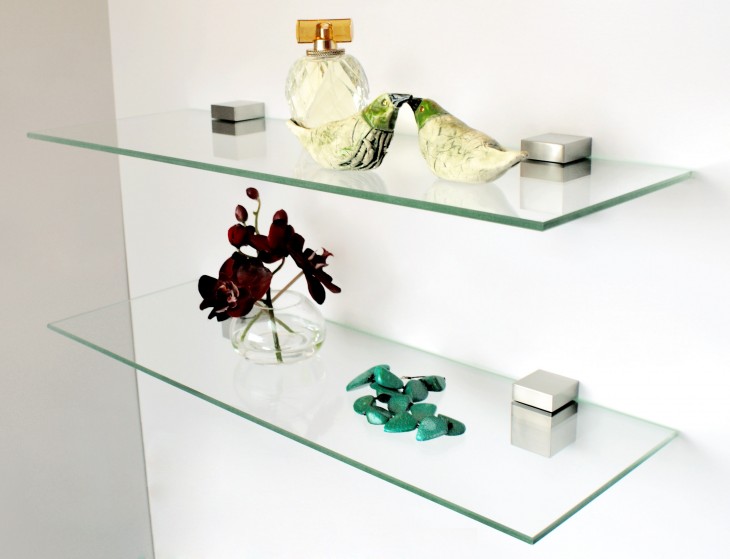
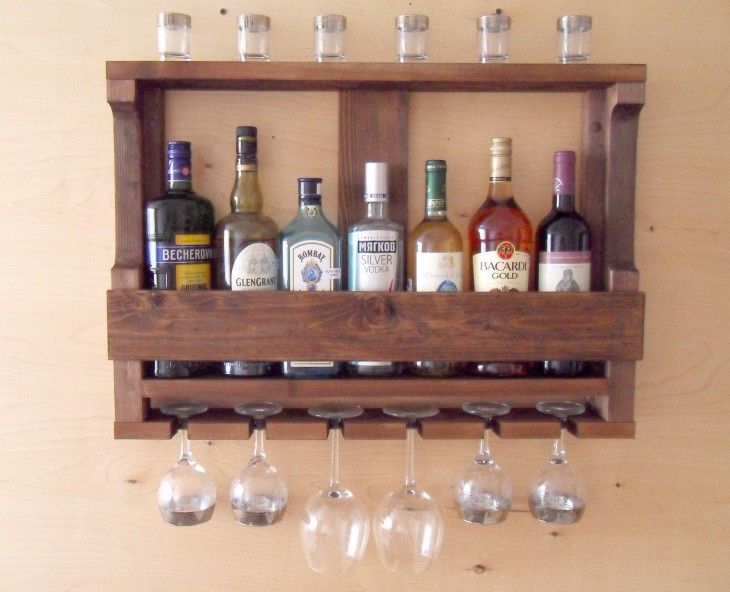
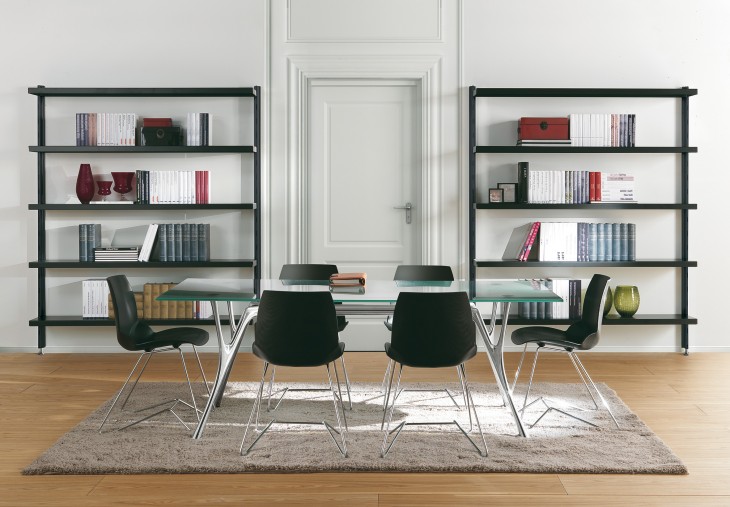
Successfully used are open, closed shelves. Closed products are most often used for decoration and installation in rooms decorated in more modern styles. For their construction, glass and sometimes plastic are used.
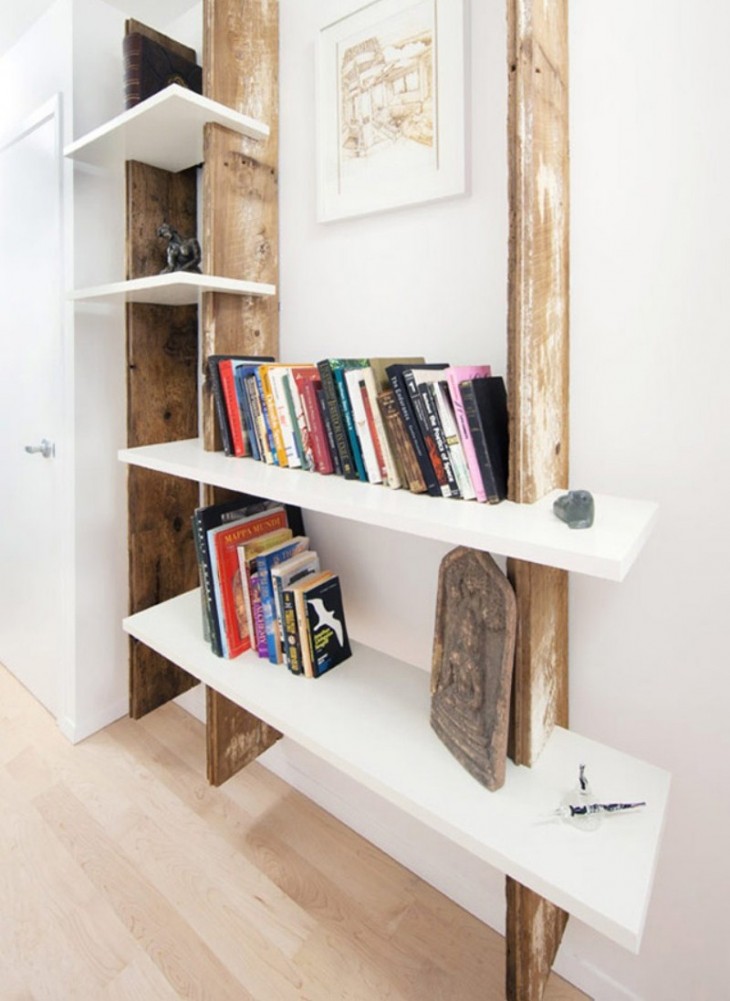
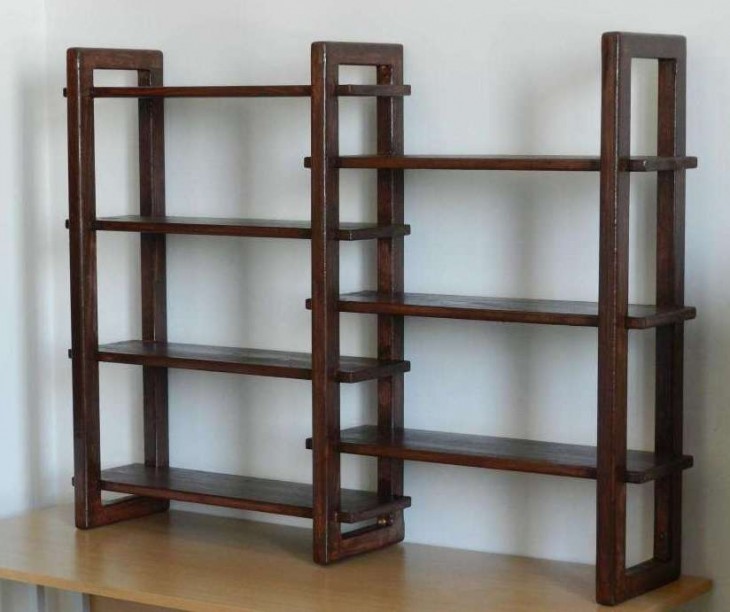
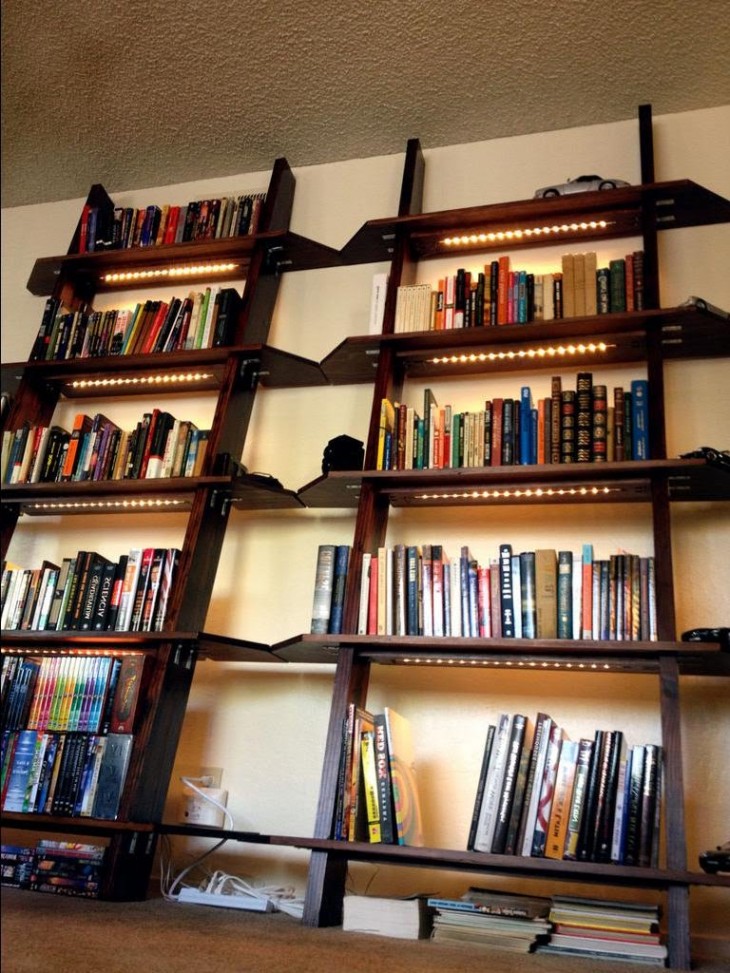
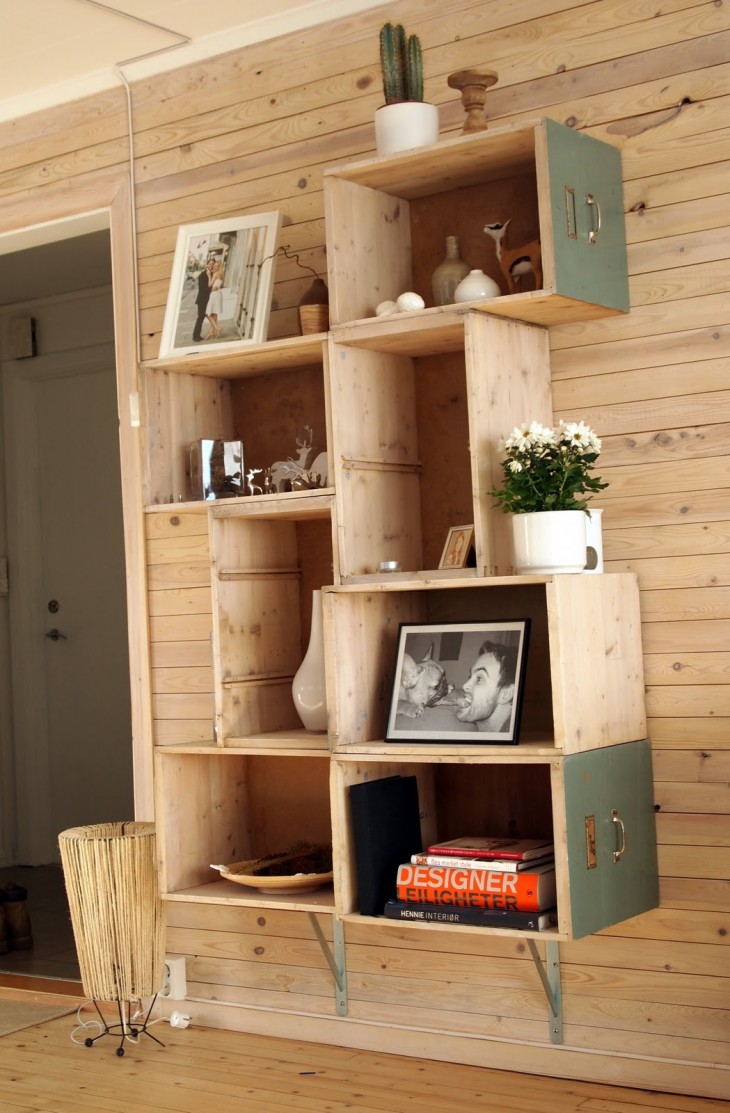
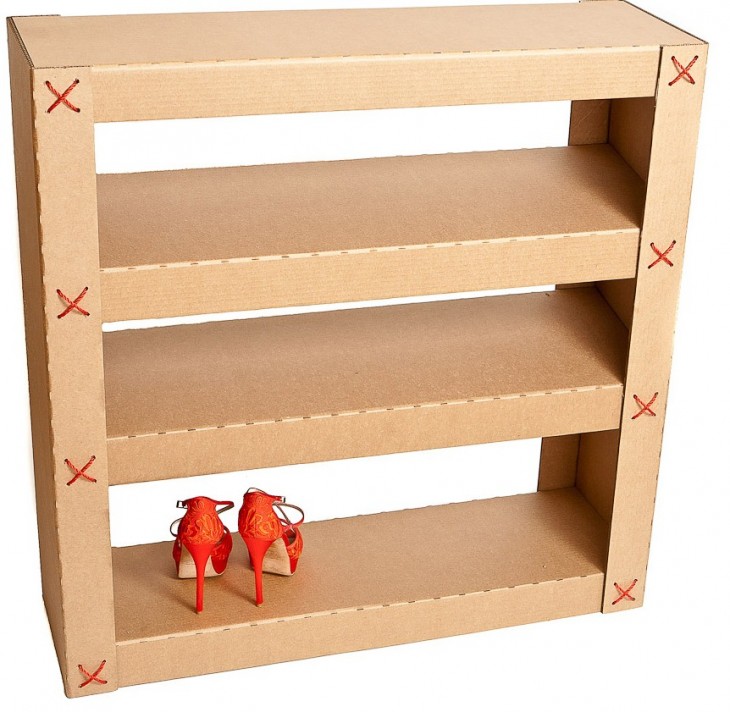
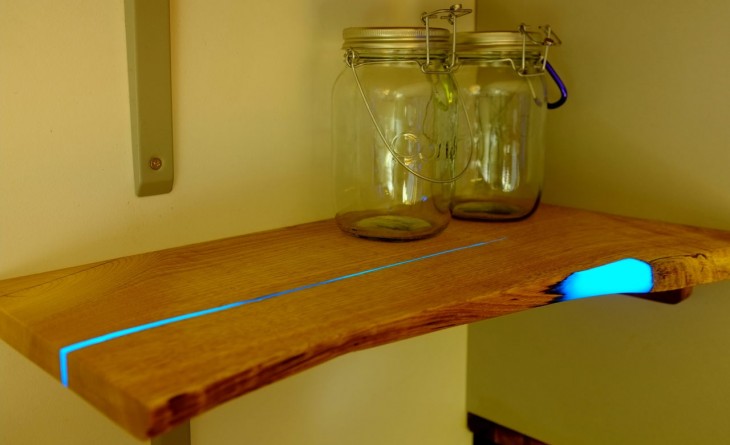
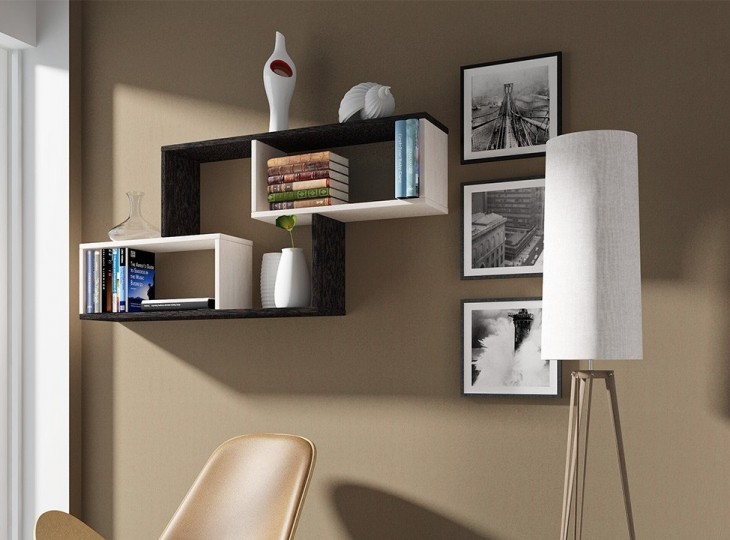
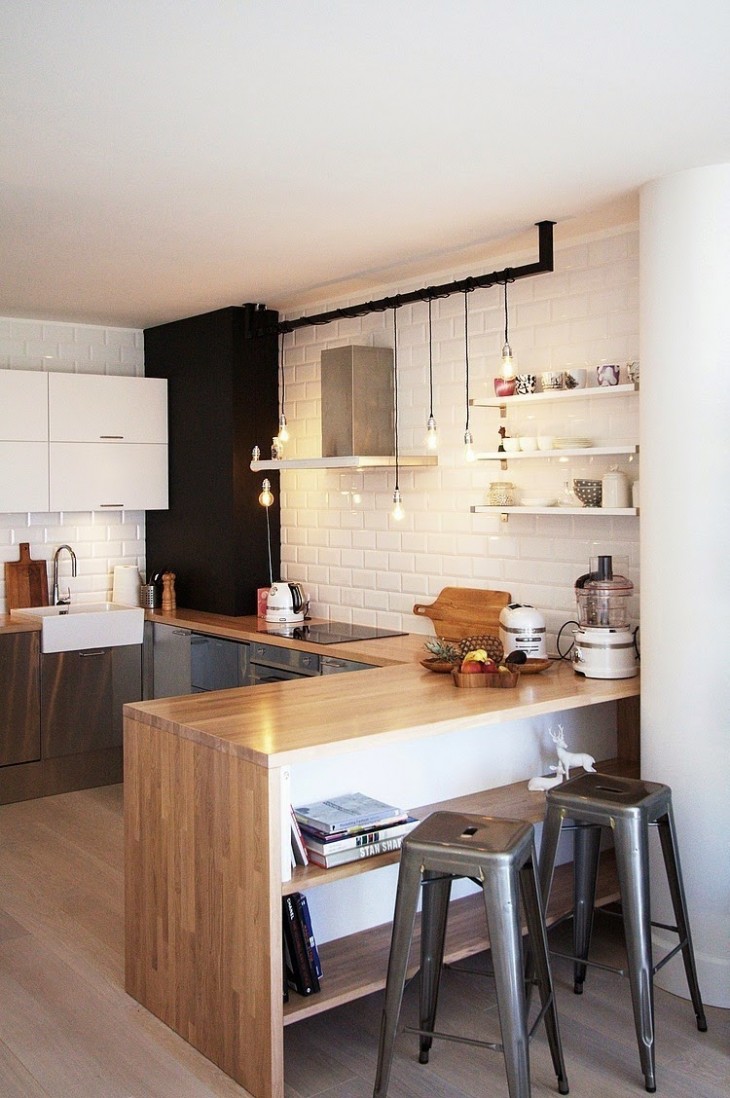
Open structures can be used both in modernly decorated houses and in apartments with a classic design. Over the past few years, this particular type of shelves has gained immense popularity and therefore is gradually replacing the classic options.
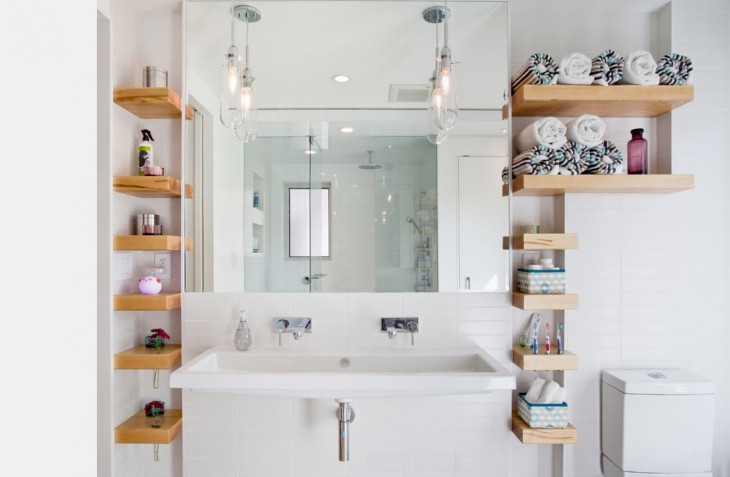
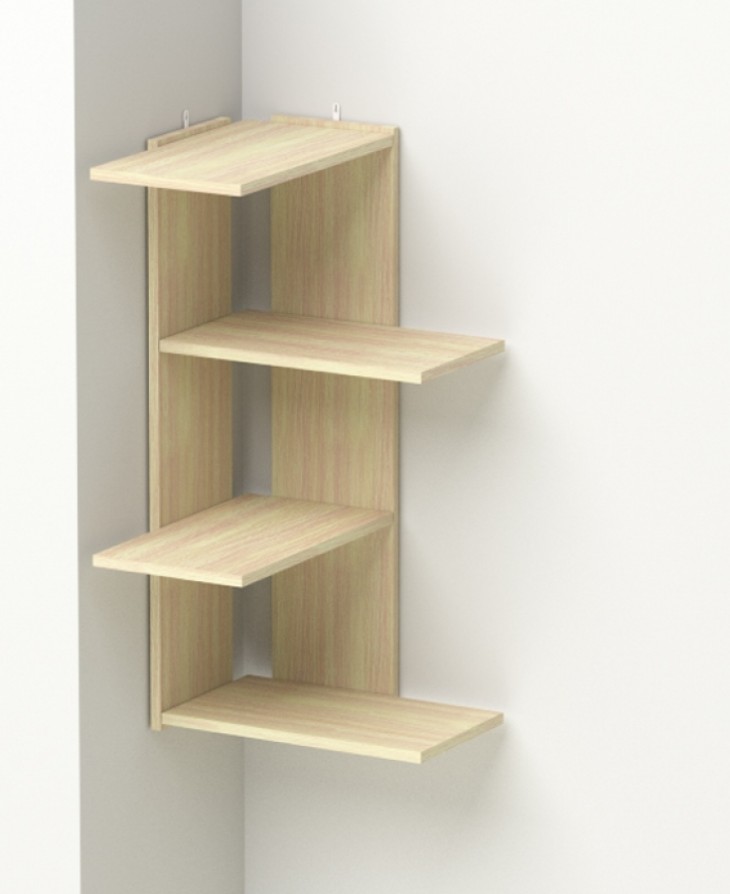
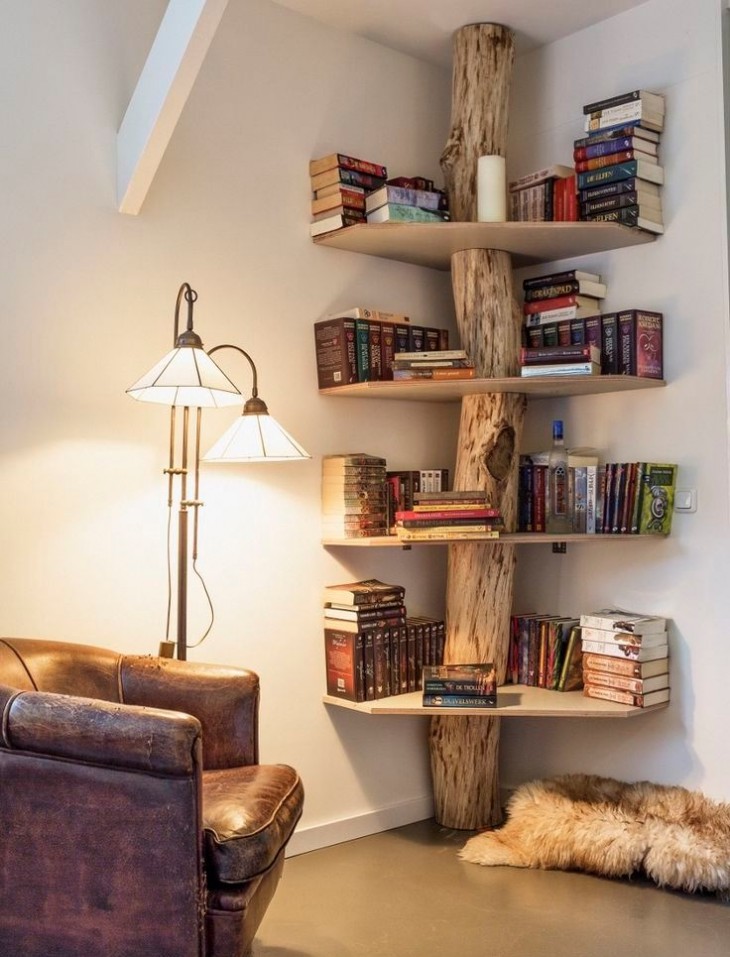
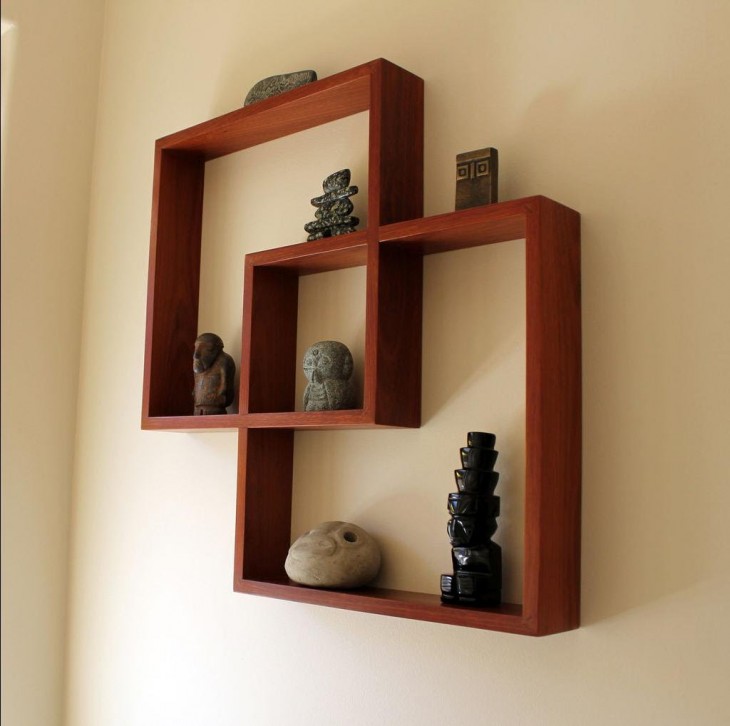
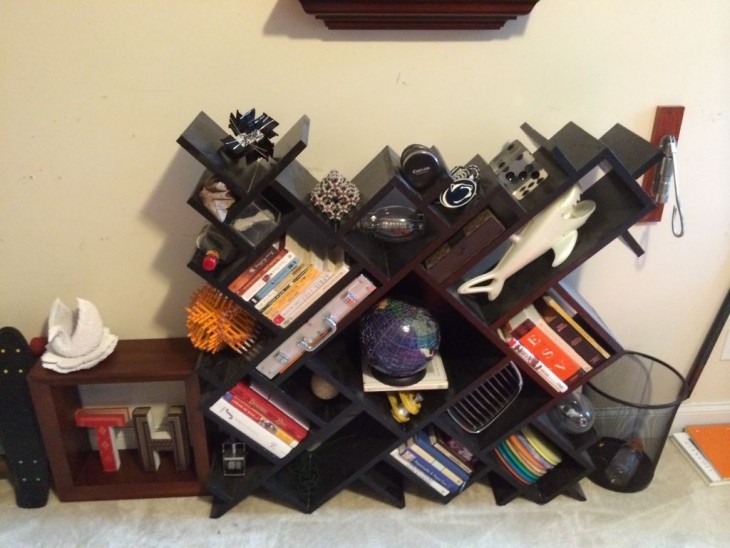
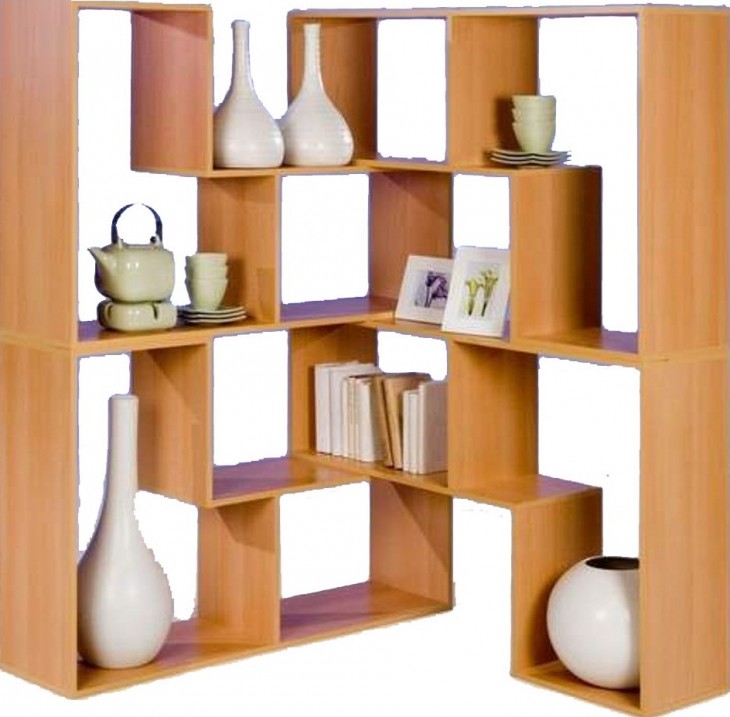
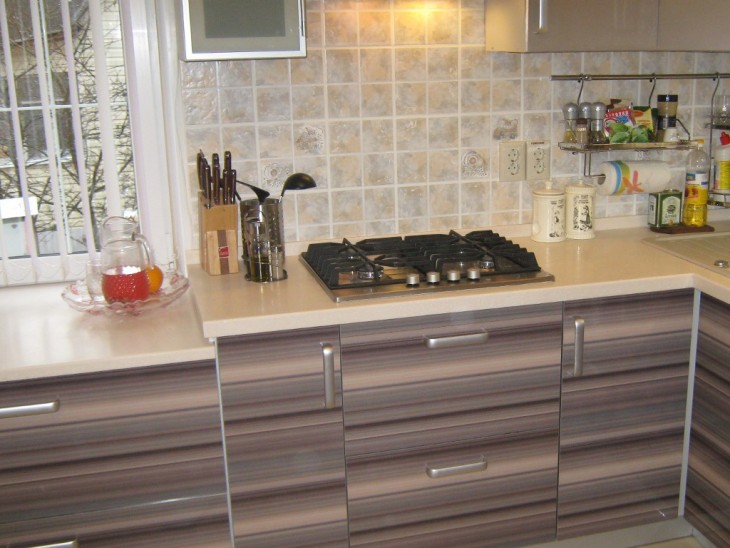
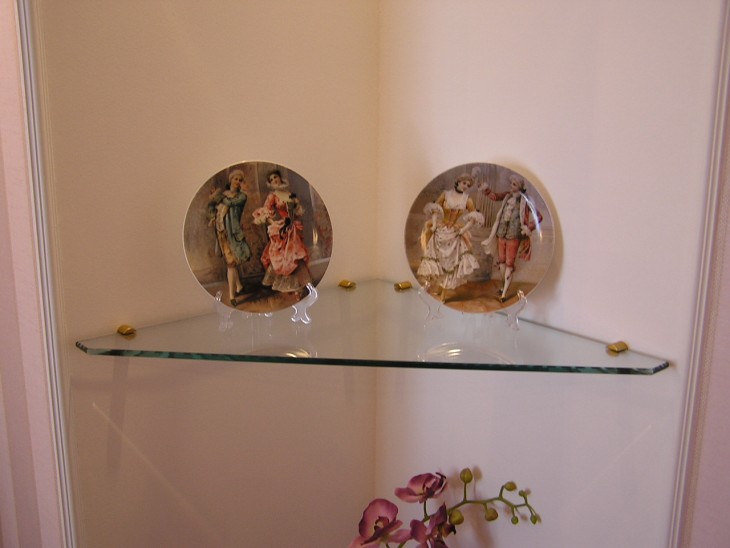
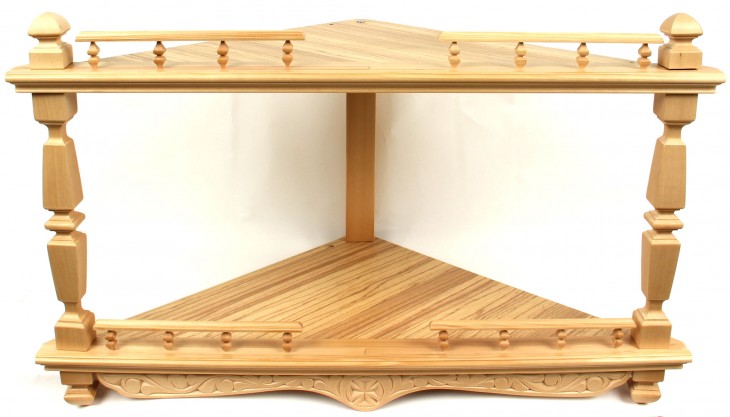
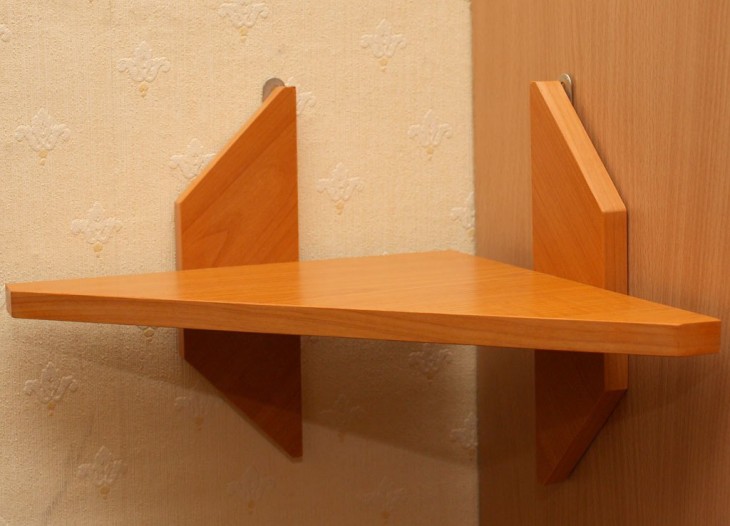
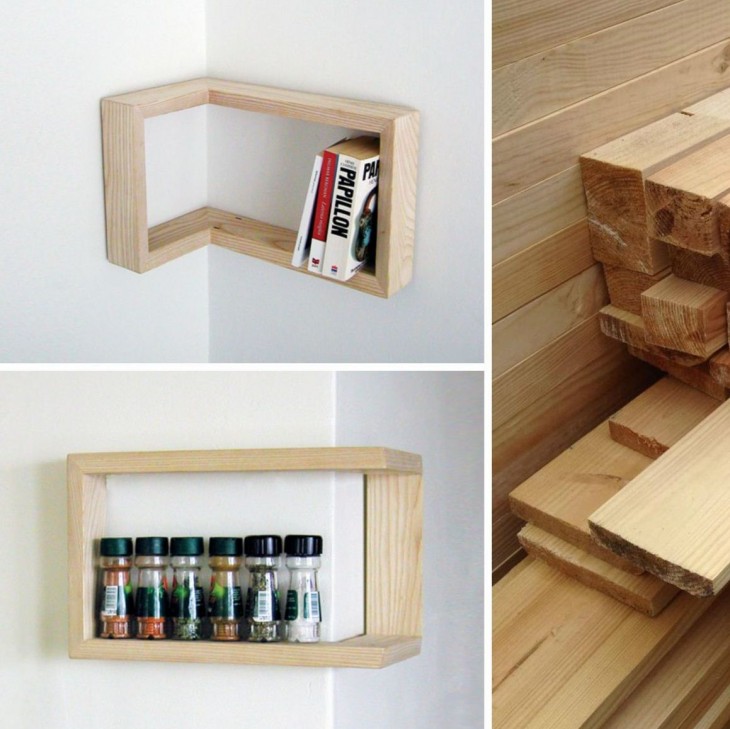
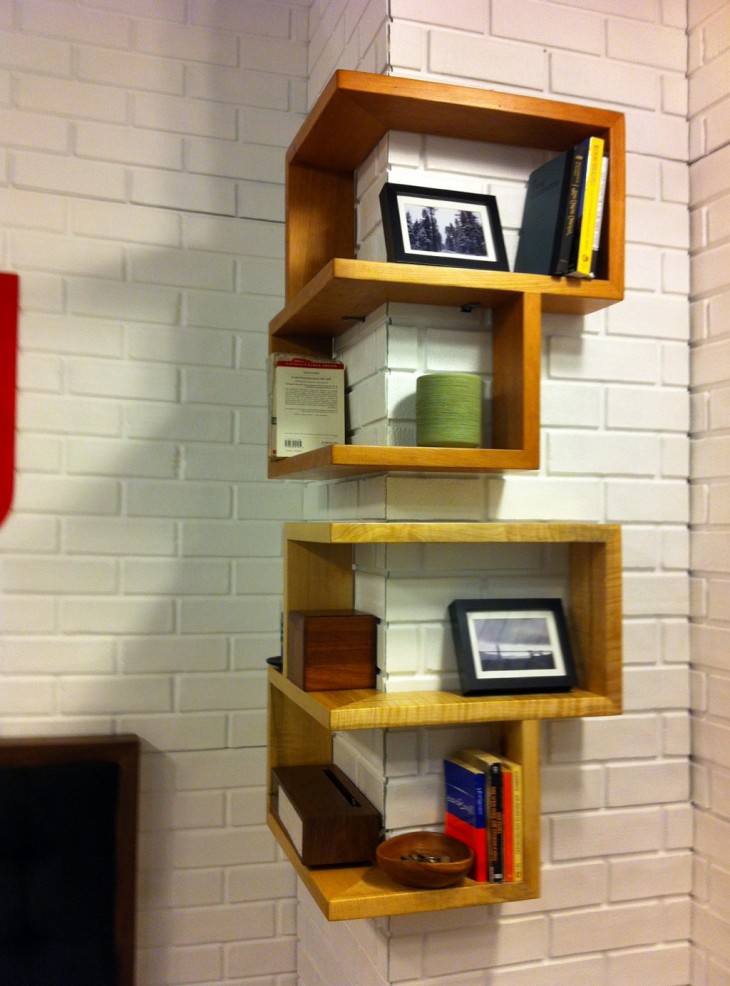
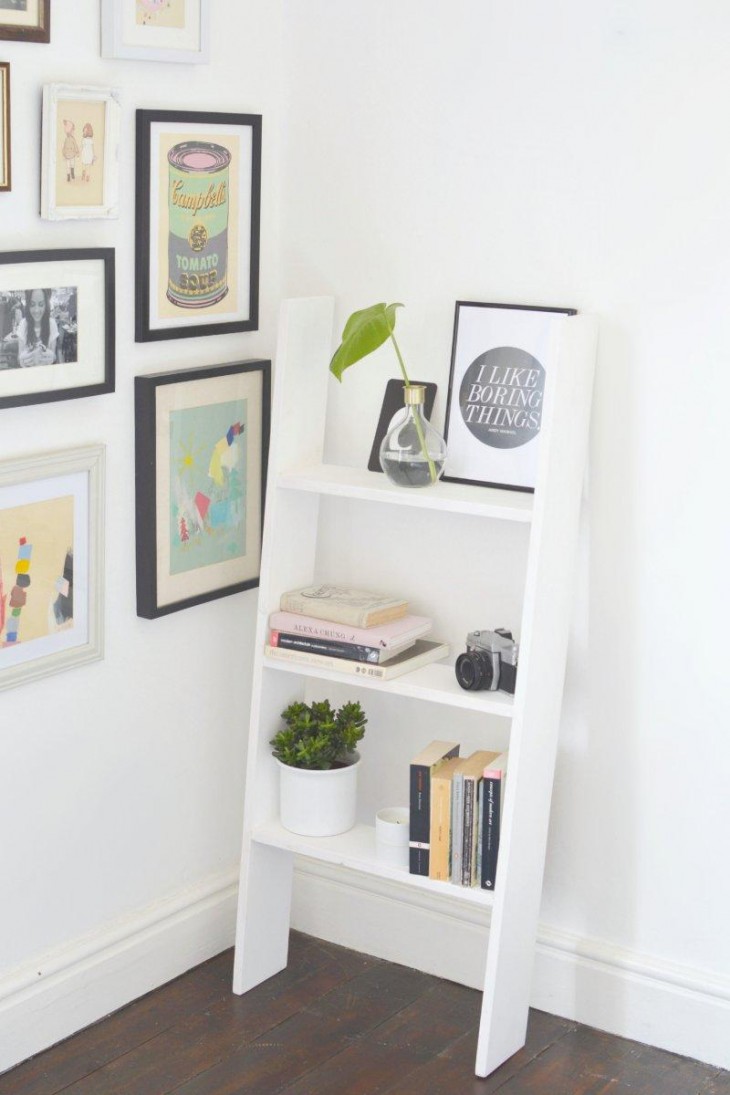
In small rooms, you can often see corner shelves, which have a special way of fastening. They are mounted on adjacent walls that are adjacent to each other. Most often they are used in bathrooms, kitchens and utility rooms.
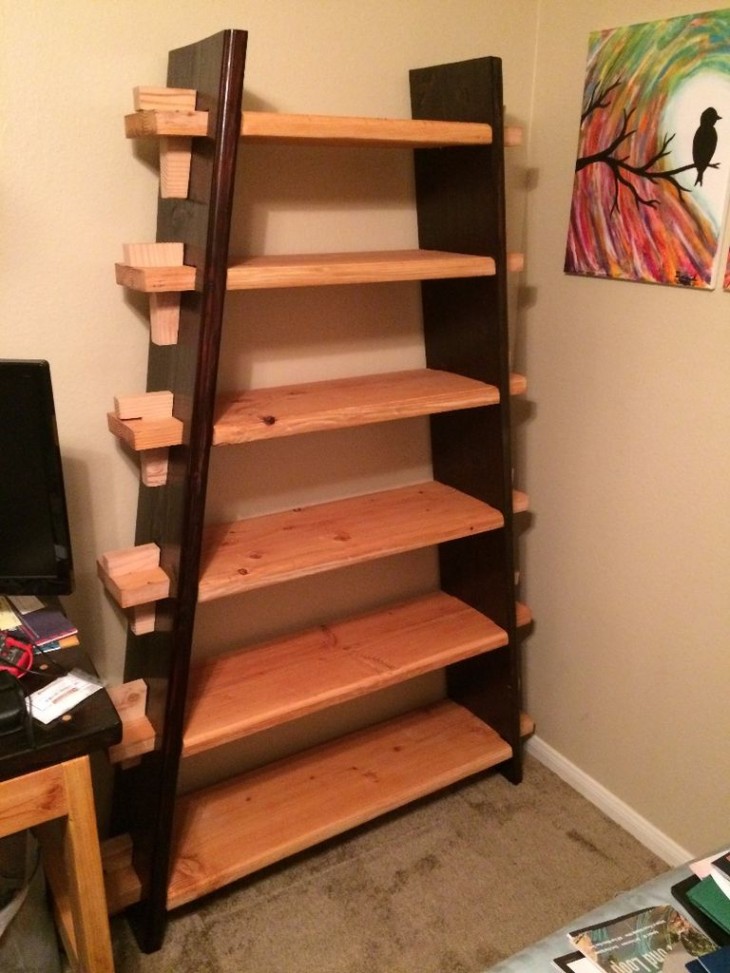
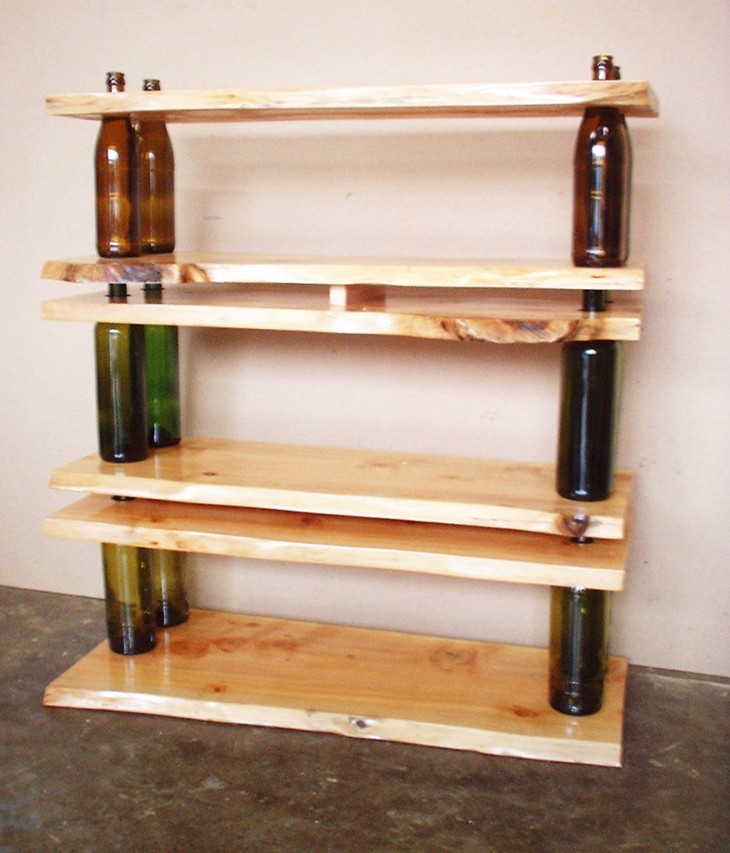
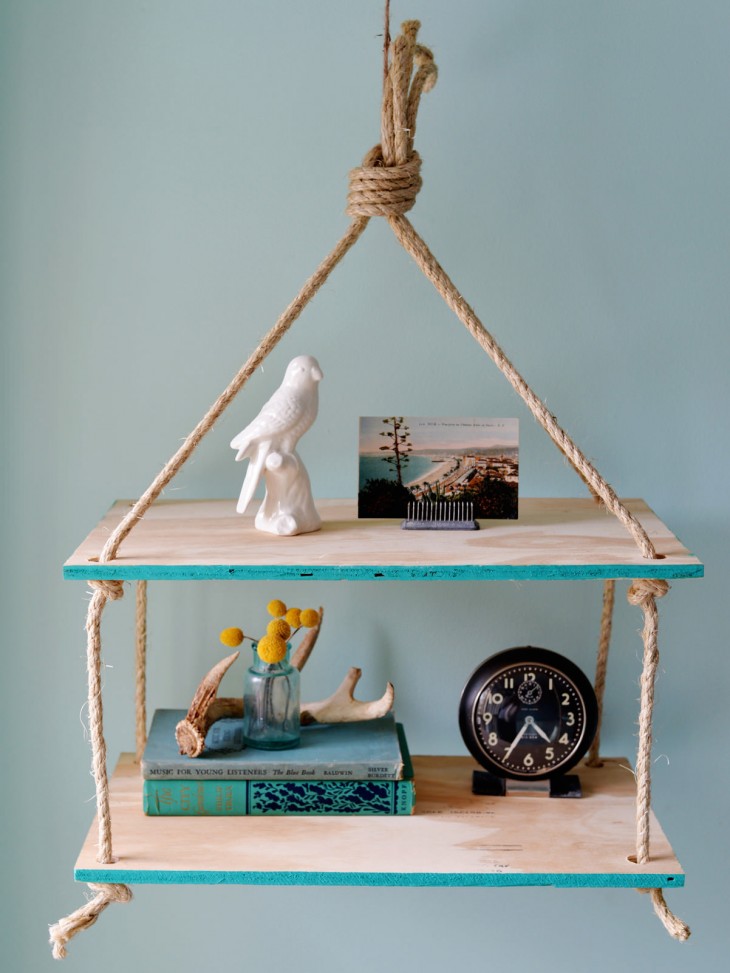
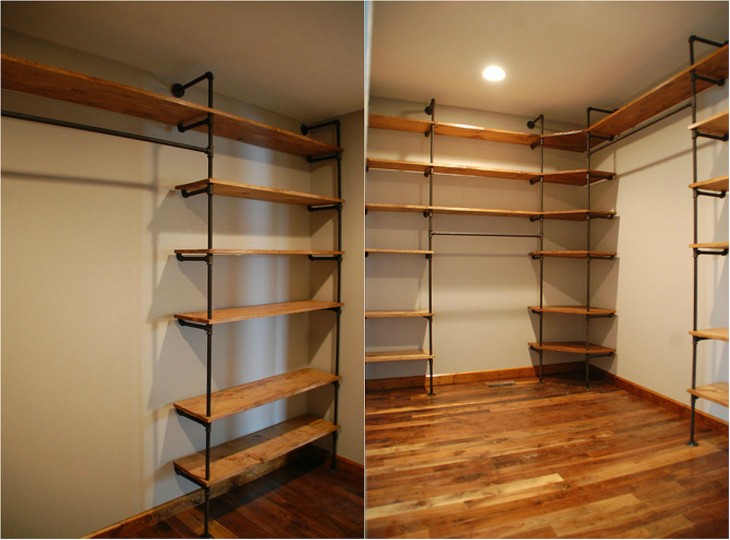
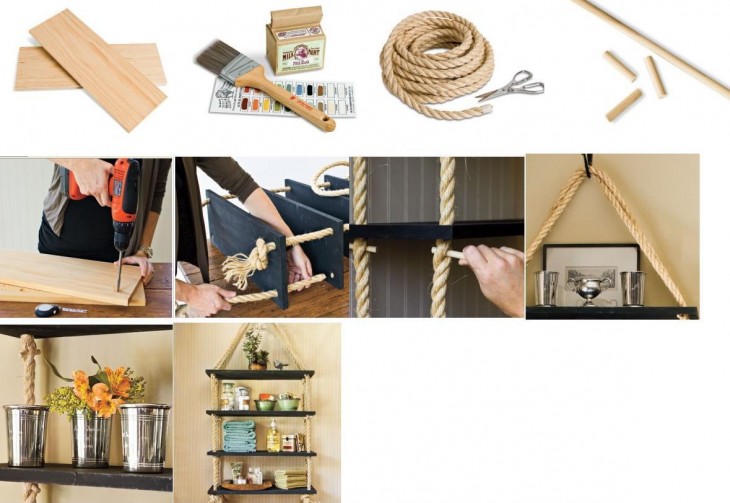
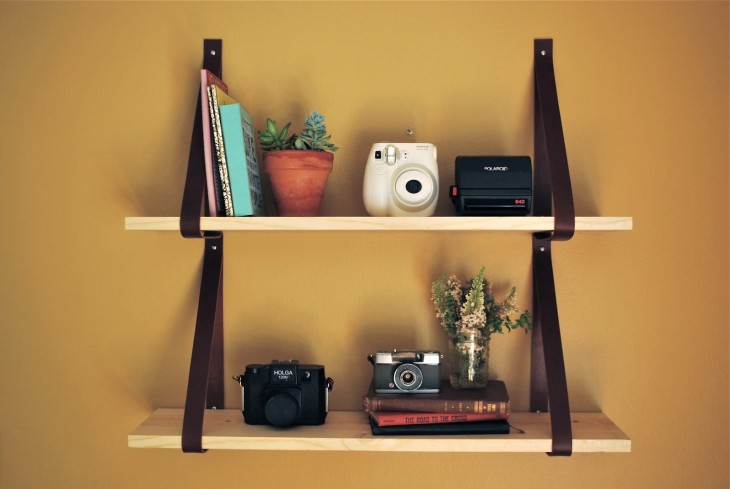
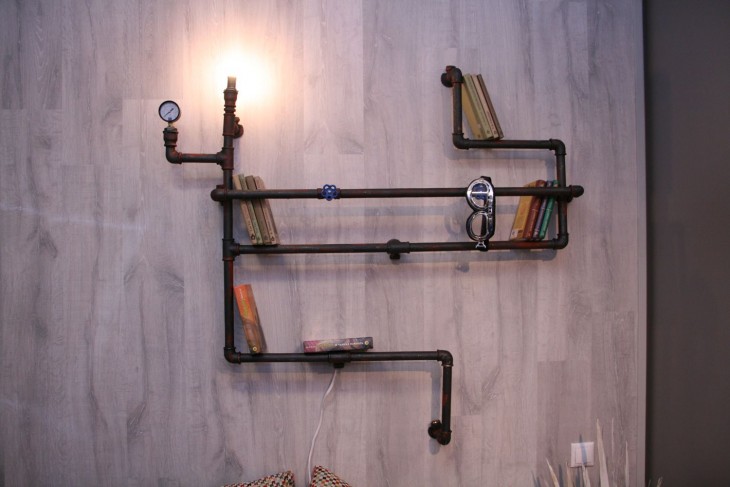
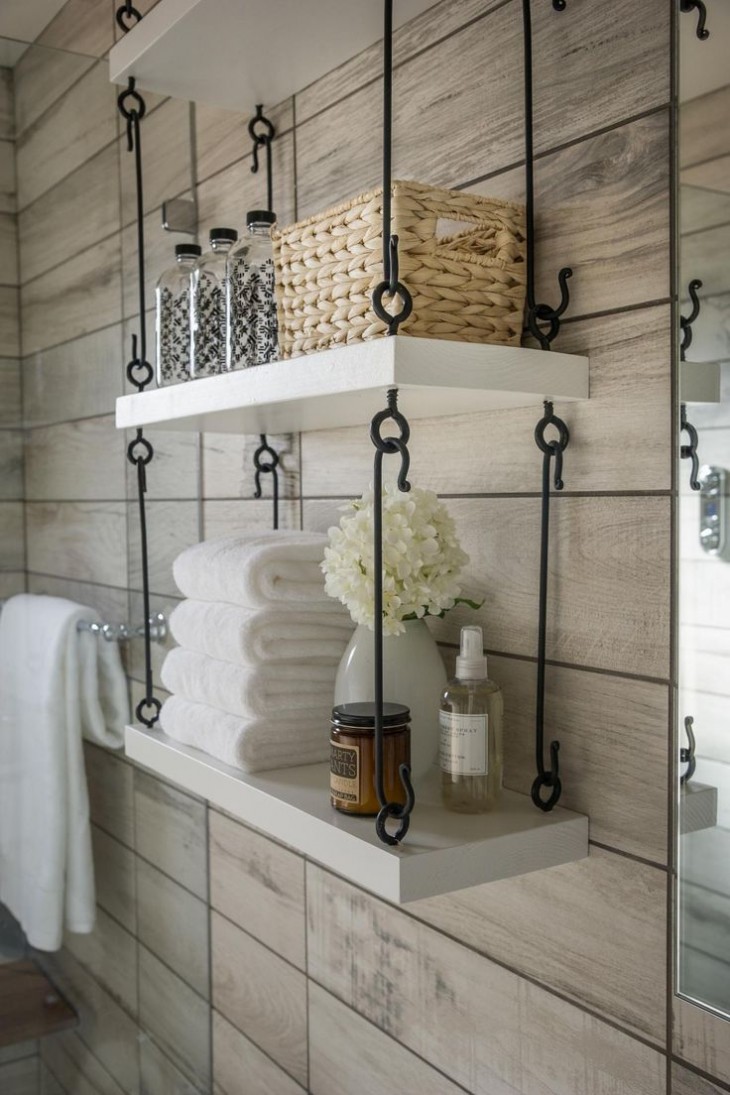
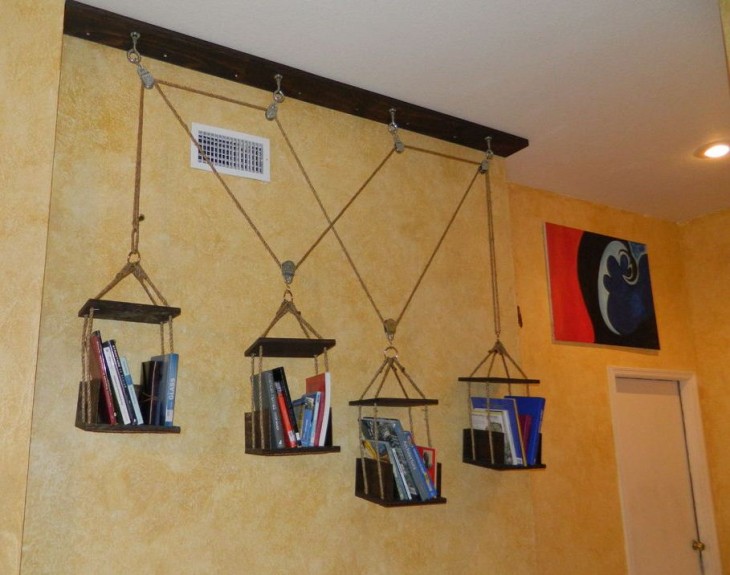
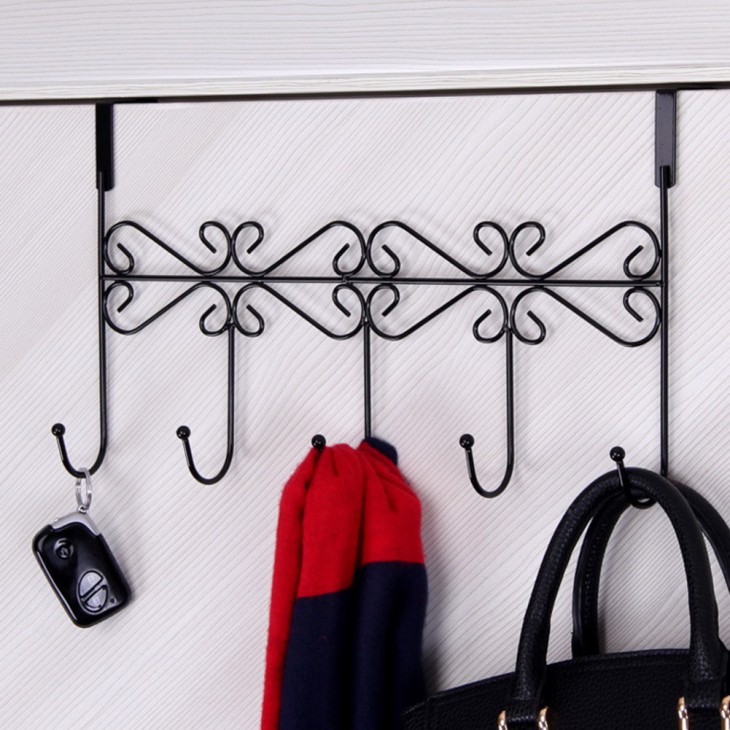
In addition to the above types of shelves, which are mounted on the wall, there are suspended and floor structures. Hanging shelves are not mounted in the usual way.
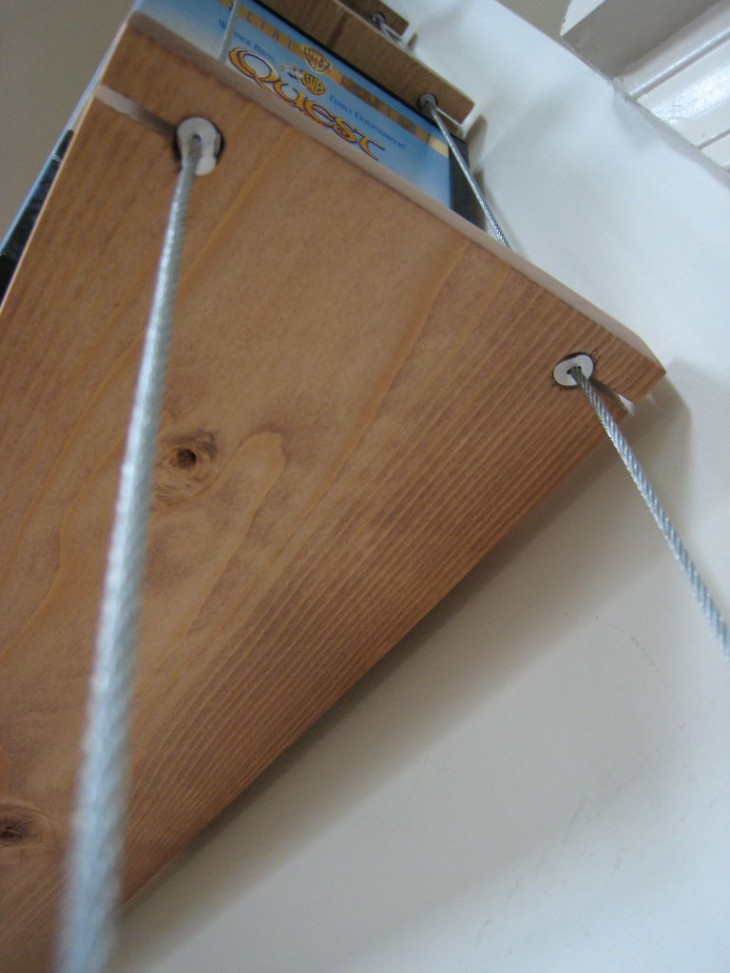
They are installed using ropes and uprights, and are mounted directly to the ceiling. This mount looks quite unusual and original.
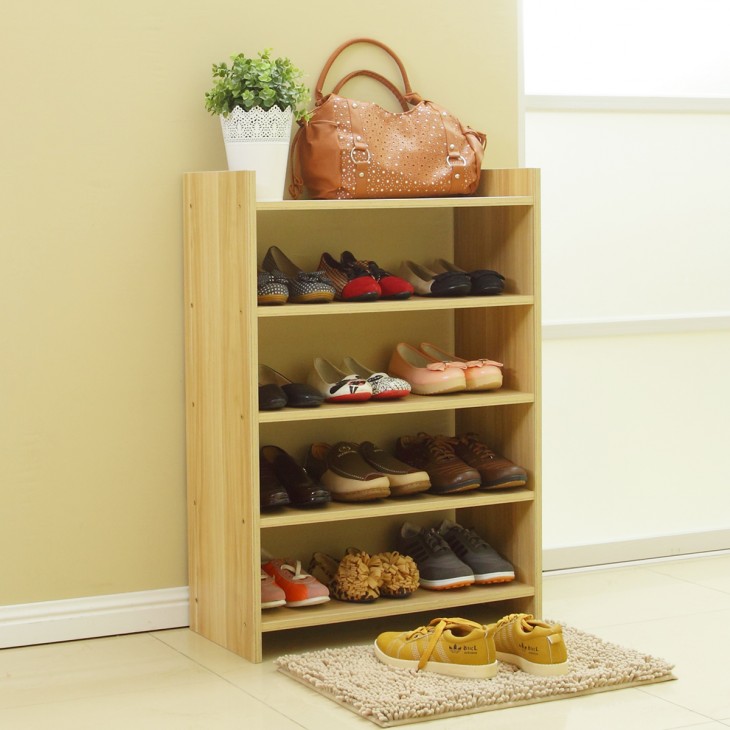
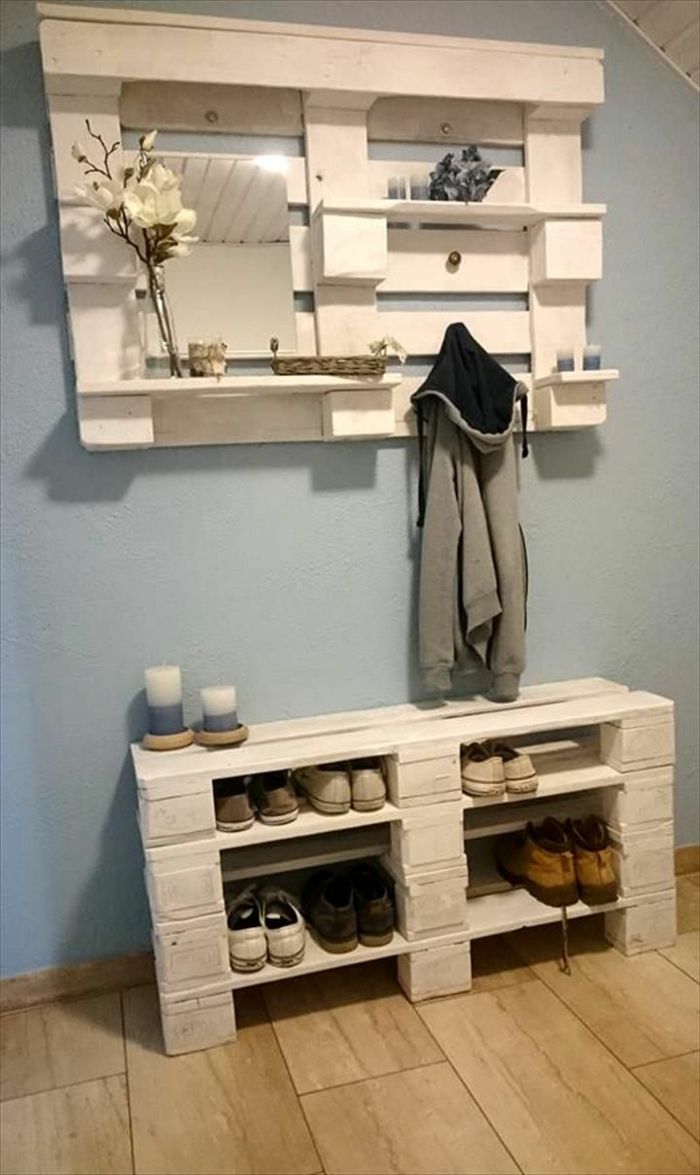
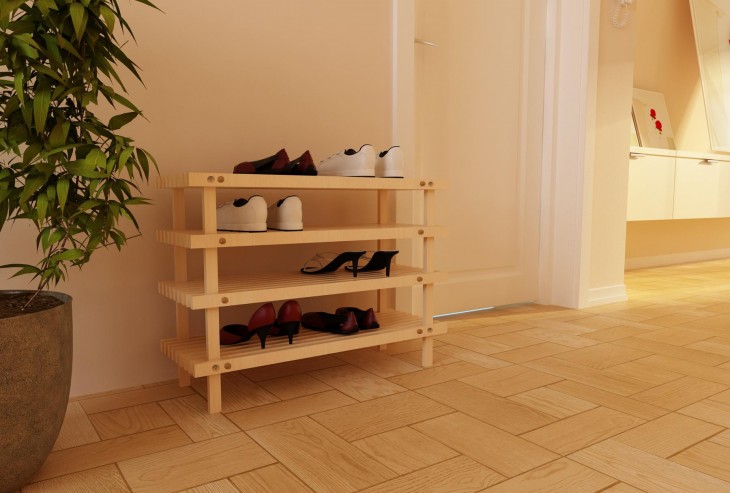
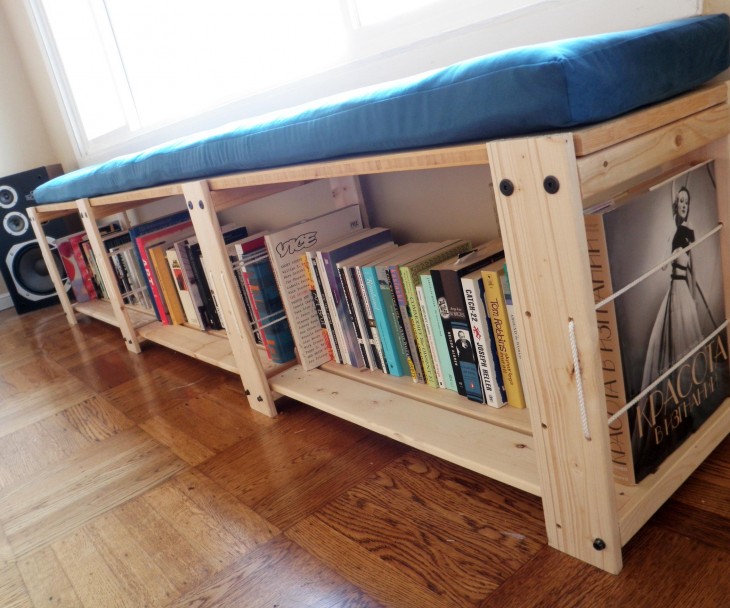
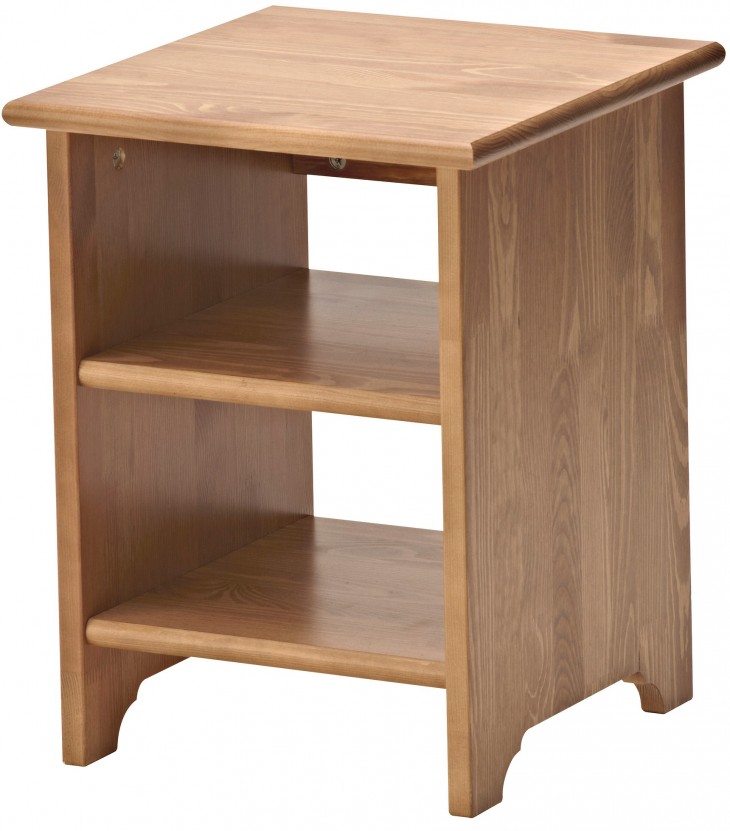
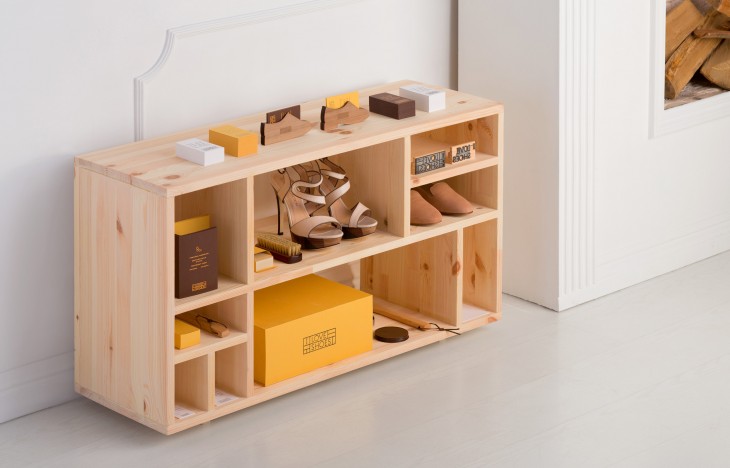
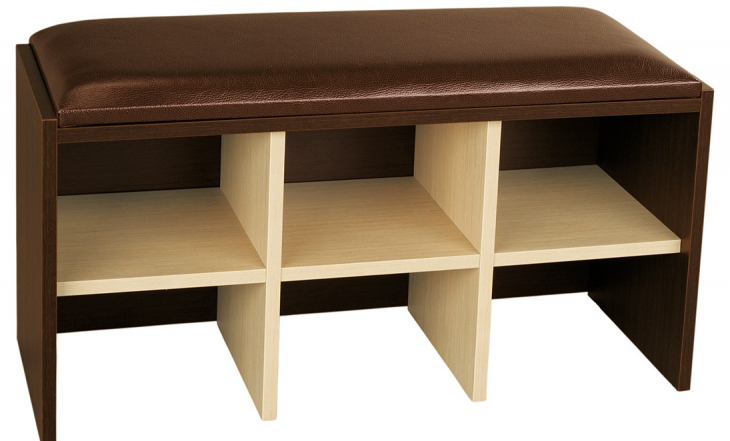
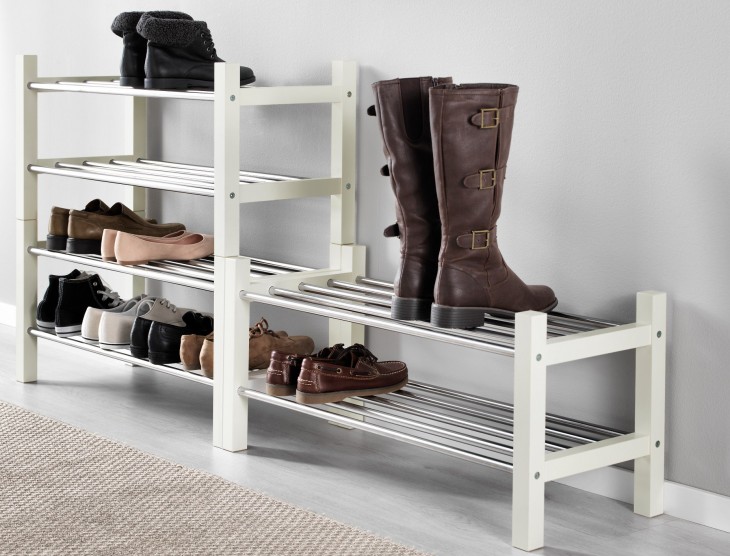
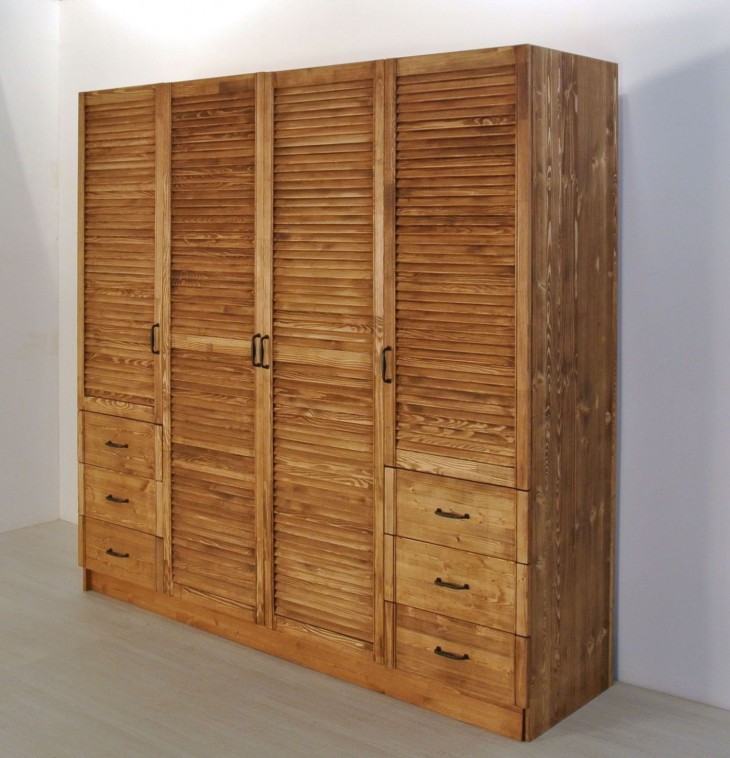
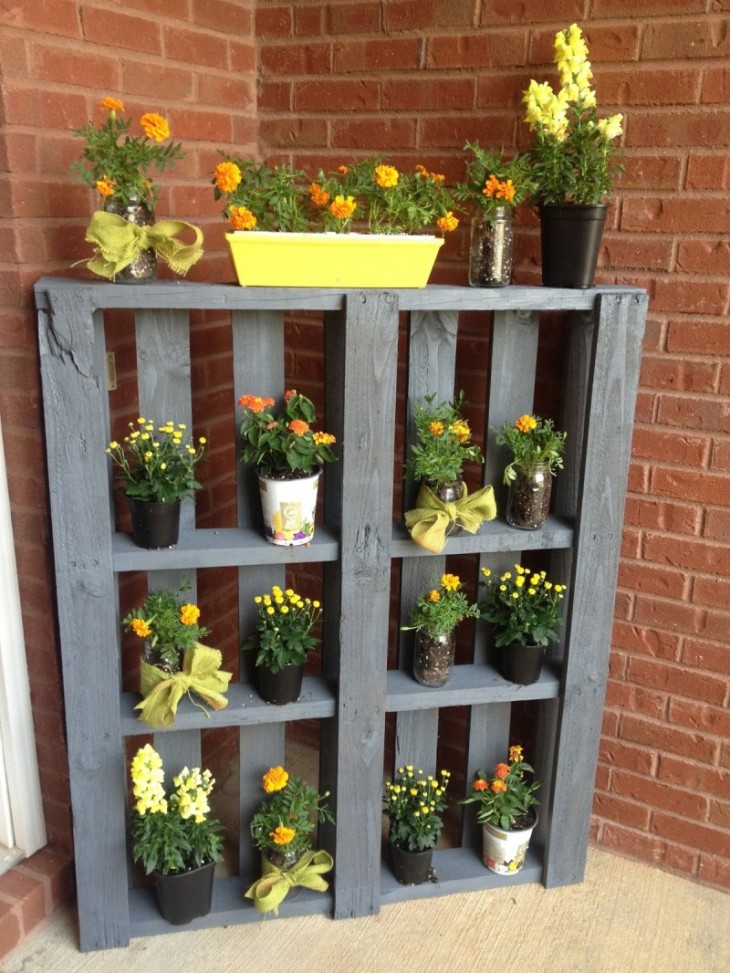
Floor structures are most often used in hallways. After all, it is floor-mounted shelves for shoes, made by yourself, that not only look beautiful, but also help you organize the space of a small hallway. At the same time, making them is quite simple.
How to make a simple shelf?
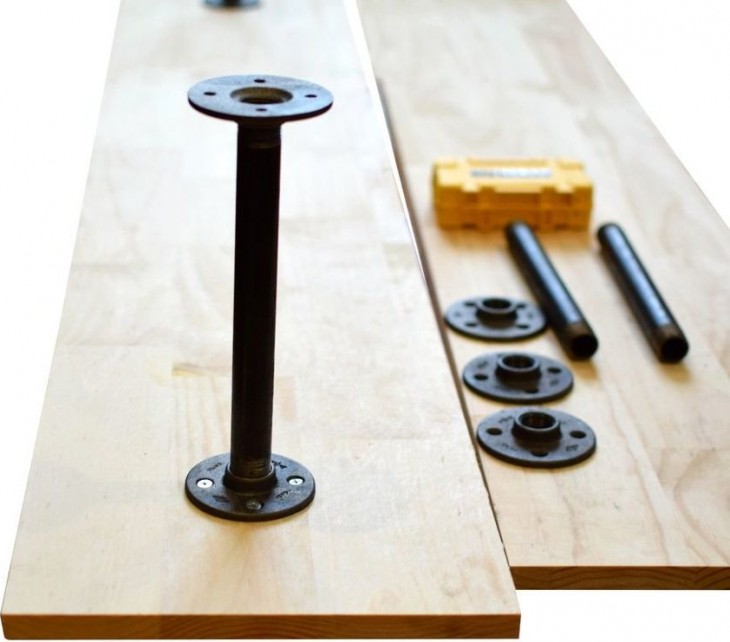
To create the claimed product, you should purchase or prepare some tools and materials in advance. As connecting elements, you can use what suits you best.But the most popular are ordinary screws, brackets and dowels.
Note!
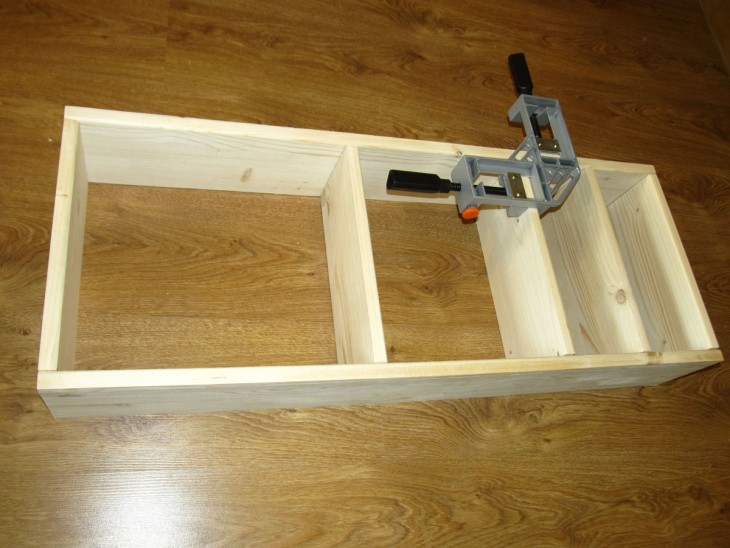
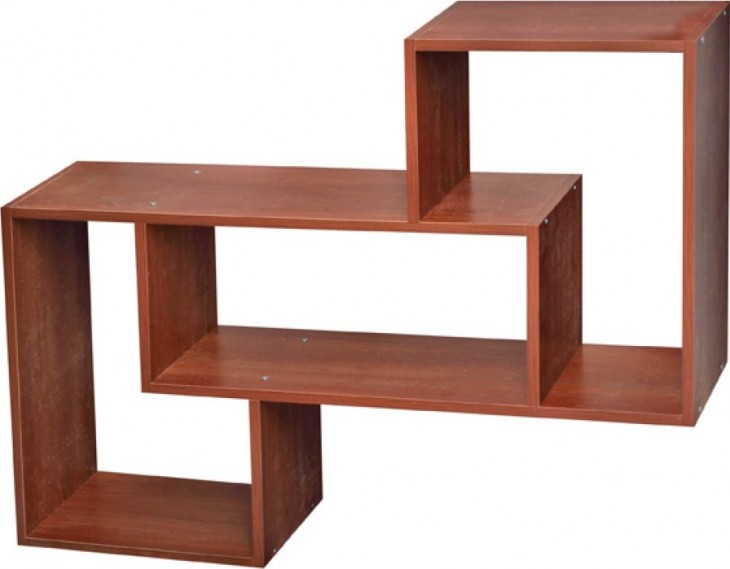
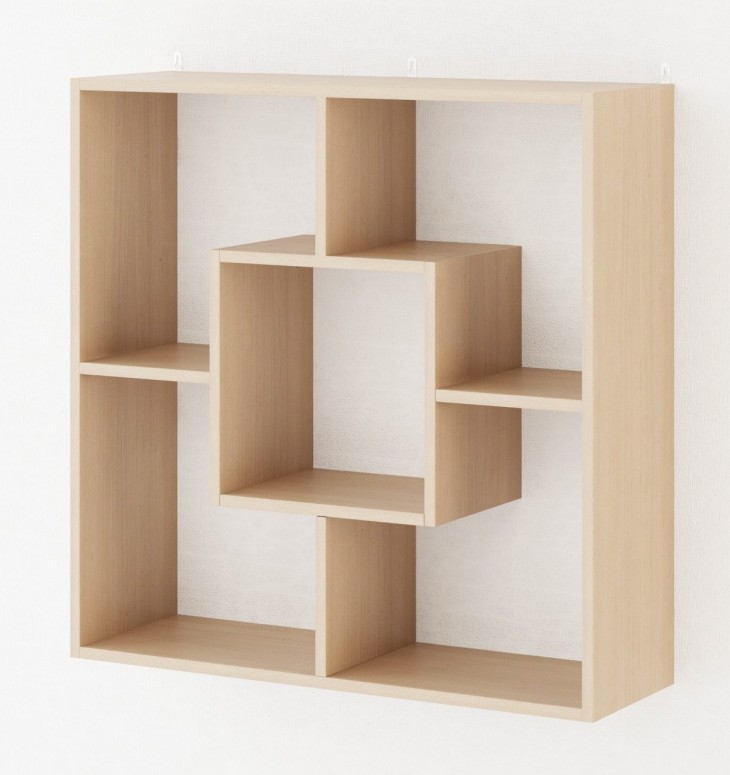
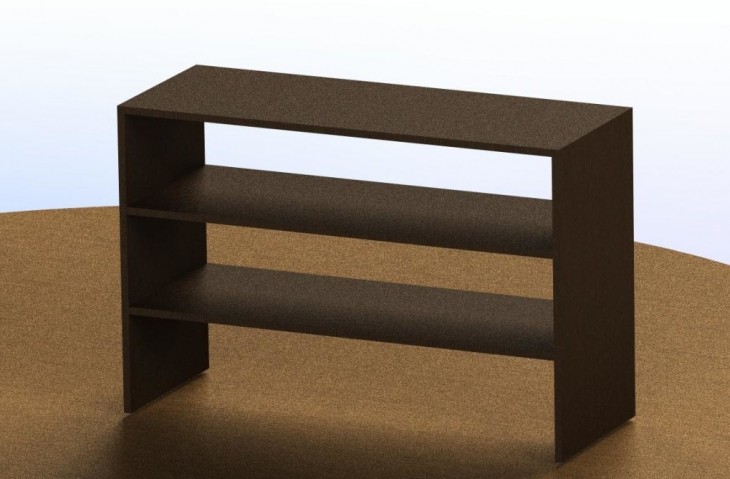
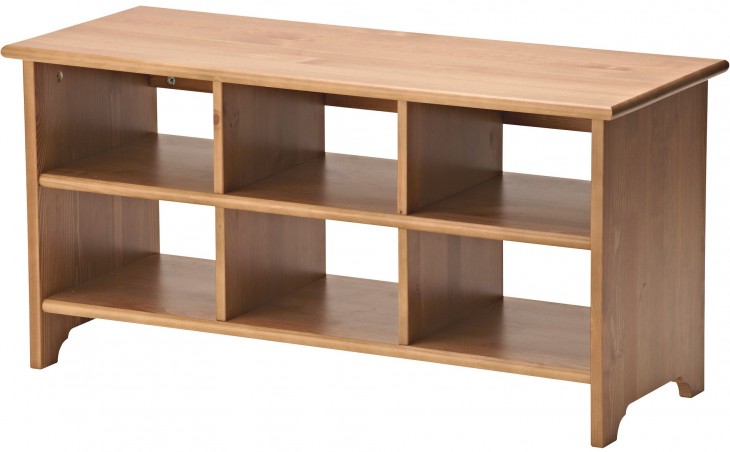
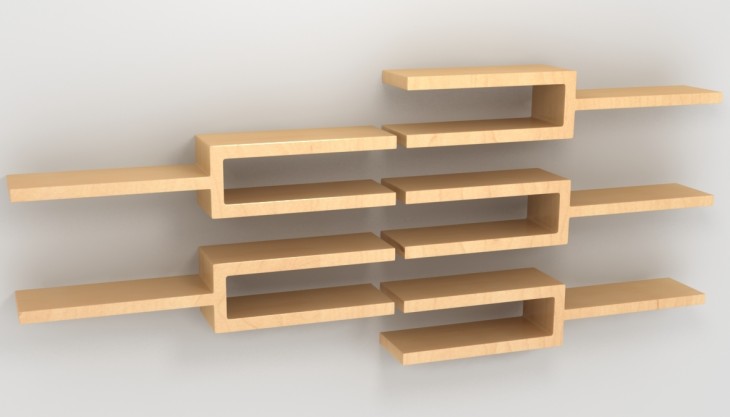
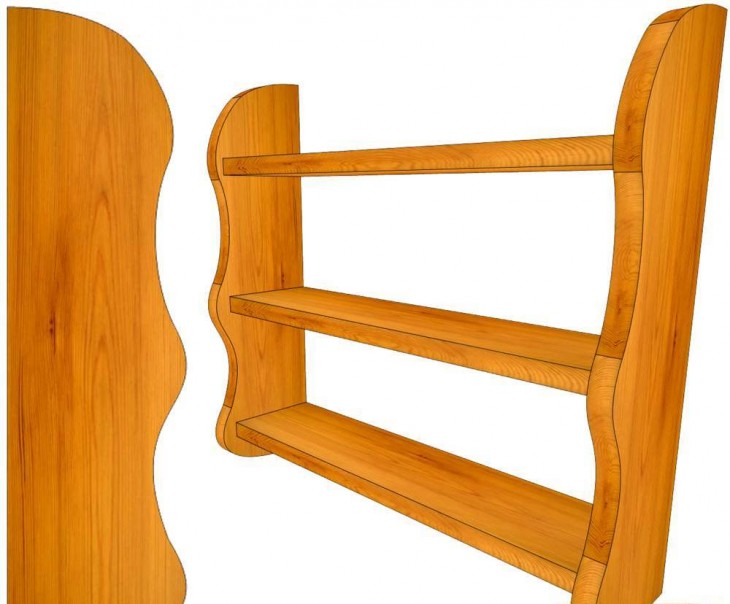
For example, take a photo of the shelves with your own hands, which is presented below. It depicts a product with the following parameters: width 250 mm, height 300 mm, length 1100 mm. The manufacturing process for convenience will be divided into stages.

Work stages
At the first stage, you need to do the markup. To do this, you should lay the boards on a table or any other flat surface and transfer measurements from the drawings. The side walls must have a height of exactly 268 mm.
This layout is optimal because the side walls will be located between the two parts.
At the second stage, it is required to cut the boards. To get the slices even and neat, you need to use a jigsaw. After cutting you will get 2 fairly long blanks and 2 shorter ones.
At the third stage, you can start processing the resulting blanks. The resulting segments should be coated with a special protective varnish or stain, after grinding them.

Note!

In that case, if you plan only to paint the shelf, you can do it with the usual antiseptic primer. So you will increase not only the service life, but also achieve a more uniform distribution of paint.
At the fourth stage of making a wooden shelf with your own hands, you proceed to its direct assembly. The bottom board should be laid on a flat surface. 8 mm from the ends of the workpiece and draw two lines parallel to the cuts.
They should be noted 2 points with a distance of 5 cm from the edge. In the marked points, it is necessary to drill holes for screws. With the second blank you need to do the same manipulations.
After that, you should install the side blanks on the lower section of the board and fix them. Once you are finished attaching the side panels, proceed with installing the top panel and securing it.
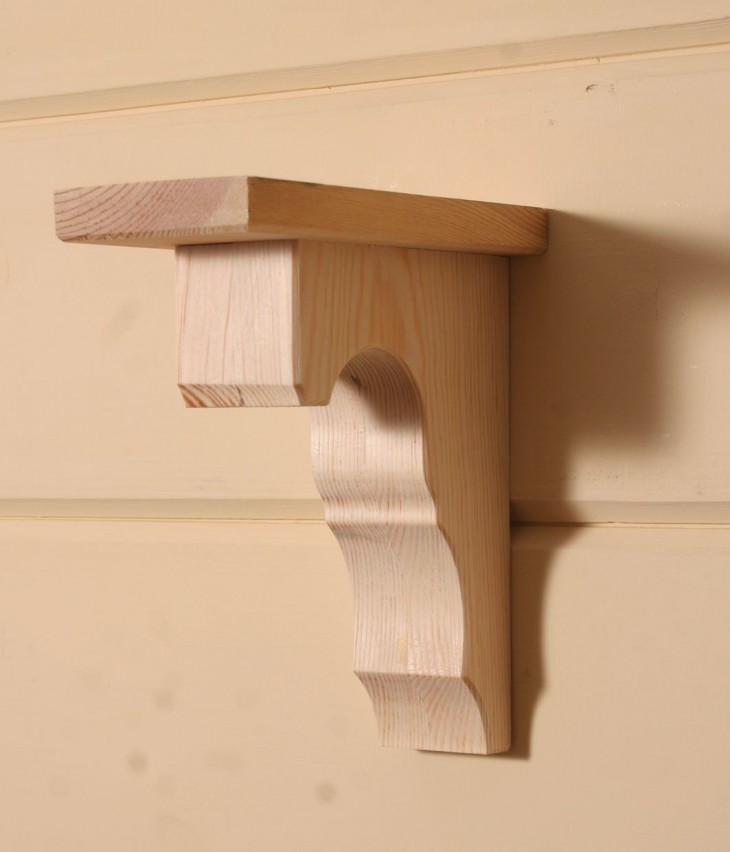
At the fifth stage, brackets should be fixed at the ends of the side panels, and several holes for the dowels should be made in the wall. Then screw in the screws so that they protrude 5 mm. And now your shelf is ready.
In the same way you can make acoustic shelves, but at the same time you need to take into account the dimensions of the equipment itself. Measurements should be carried out carefully, because if you make a mistake, the work will have to start again.
Note!
DIY shelves photo