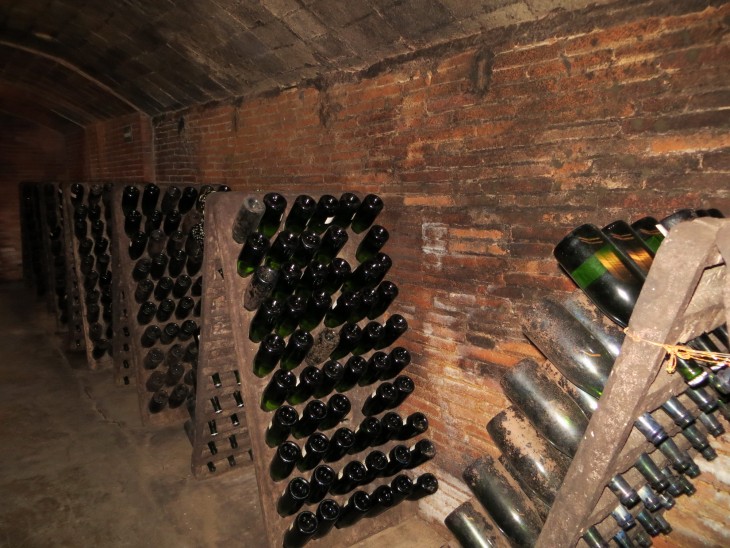
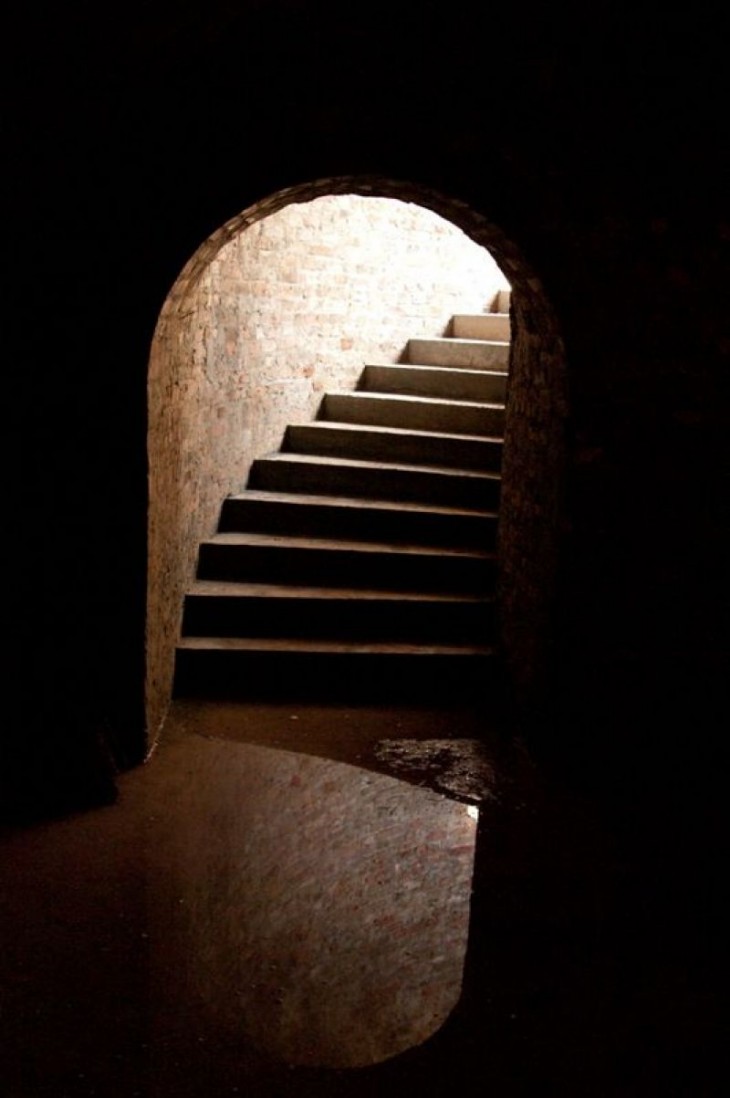
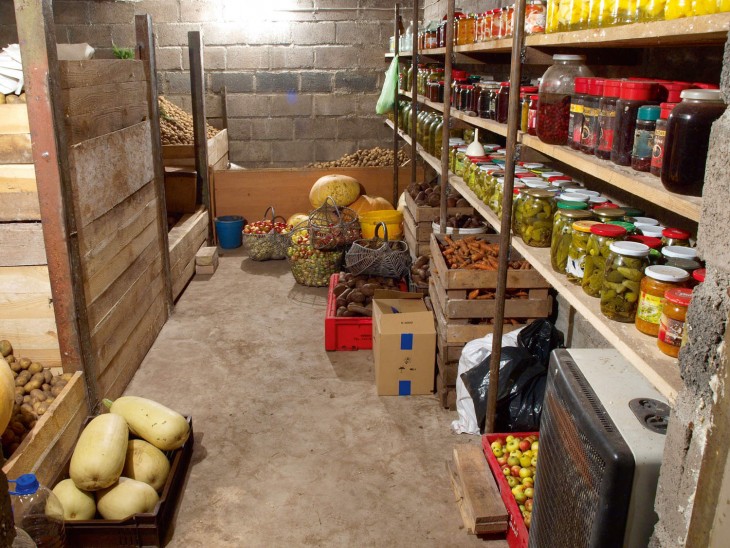
Since ancient times, people used cellars (cellars, underground, etc.) for long-term storage of products. In the modern world, they have not lost their relevance.
But when there is a need for them, the question arises: how to make a cellar with your own hands?
Review Content:
Types of Cellars
Nowadays, there are a large number of types of cellars. Their types are distinguished mainly by the type of construction material, depth level and location.


So there are:
- earthen cellars, brick cellar, stone, wooden, made of concrete and metal cellars;
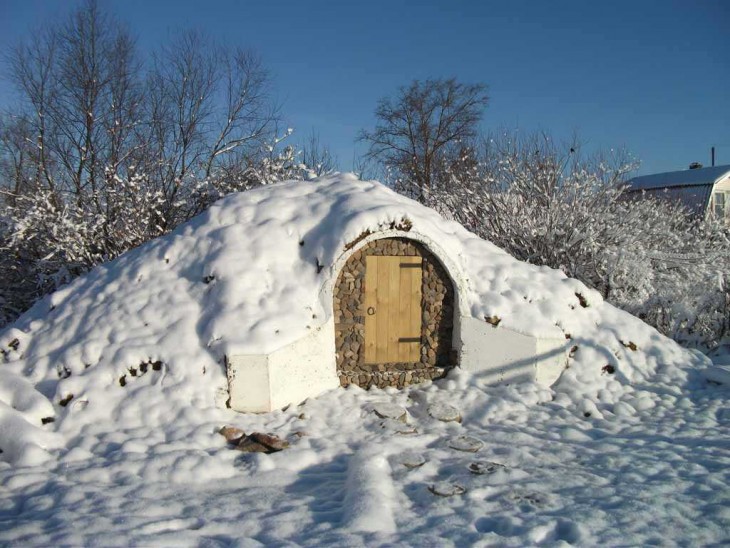
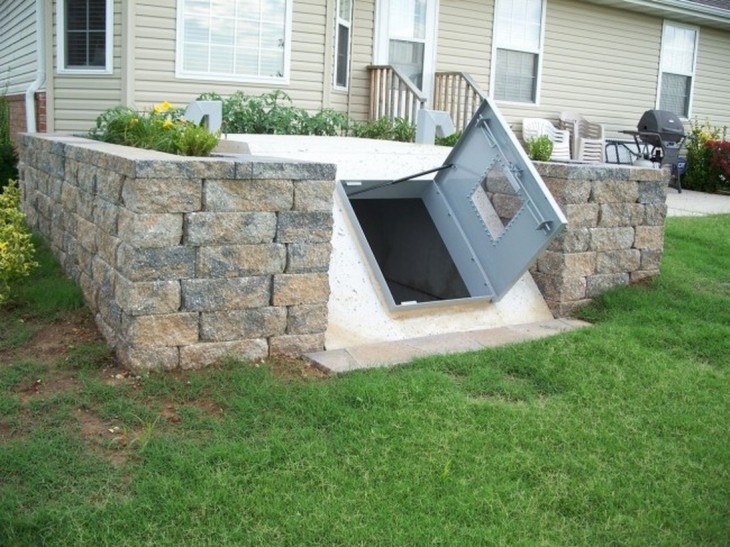
- according to the level above the ground: land, buried cellars, half-buried, bulk and on the slope;
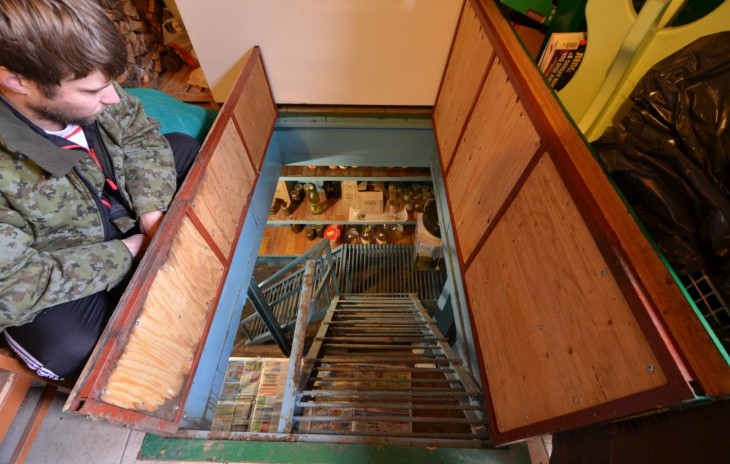
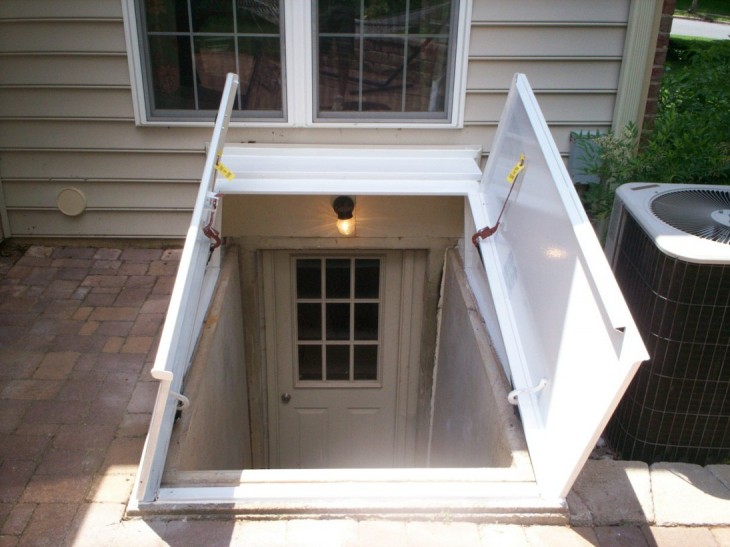
- balcony cellar, cellar in the house, under the terrace, basement under the garage or kitchen, or a separate storage.

But all these types of storages most often have the opportunity to build only on a summer cottage. Therefore, photos of cellars in the country are so common - as an example of their use.
Some people may be confused by the idea of a balcony cellar, but this is the only opportunity for those who do not have their own site to store cheaply a large number of products.
The essence of such a storage in a wooden box with a tight lid, laid with a heat insulator. So that it has the same temperature, an incandescent lamp is used, which is turned on by a relay and a contact thermometer.
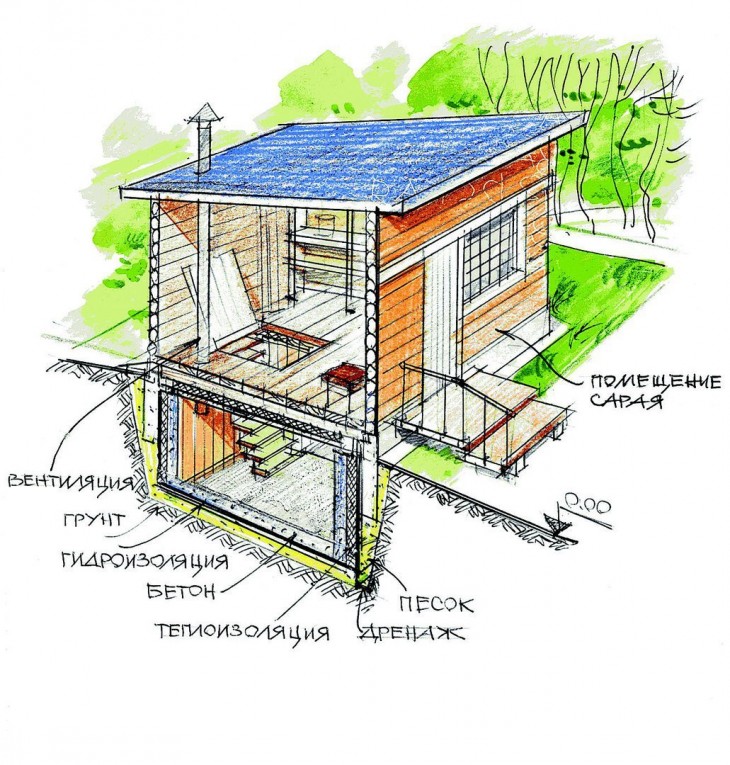
Underground under any building erected during the construction of the main structure. This is the cheapest and highest quality option for this type of cellar. The walls are the foundation of the structure, and the ceiling is the ceiling of the basement.
According to the method of construction, the cellar under the building is erected as a normal basement.
However, it happens that for various reasons the repository needs to be built separately. It is on these types of cellars that we dwell in more detail.
Where to build
The choice of location for the future cellar is very important. It depends on the number of people in the family (the more people, the more the cellar), on the level of groundwater (if the glacier is in the water, it is unlikely that something will remain), on accessibility (the more convenient the approach to it, the better).
As an answer to the question of how to build a storage facility, the best option for a family of 4-5 people will be a 2 by 2 meter room, up to 3 meters deep, standing on the highest spot of the site.


Under such conditions, a cellar in the country can be done slowly and efficiently so that it stands for many years.

How to build
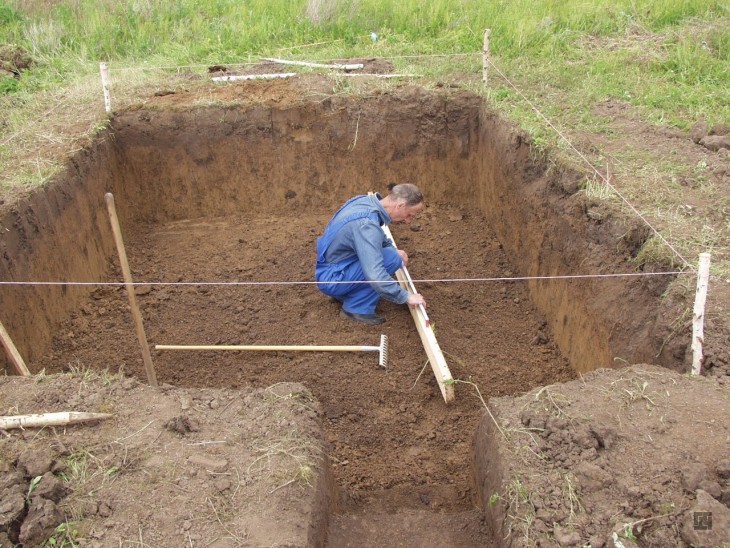
There are exactly 2 ways to build a cellar: pit and lowering. With the lowering variant, the basement box is built on the surface and only then is gradually buried in the ground, getting the soil.

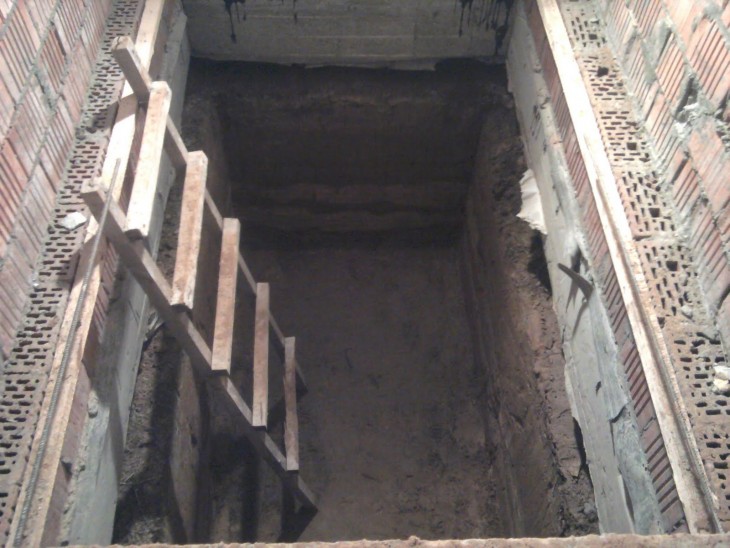
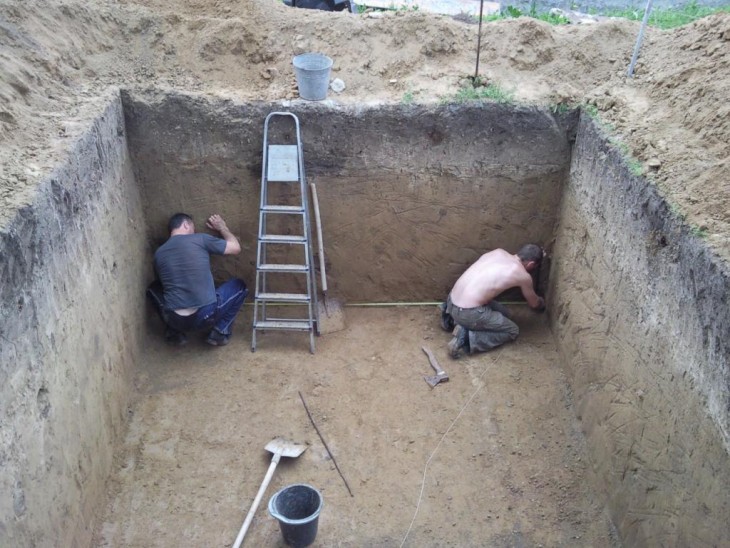
The excavation method is the most common. In this case, the foundation pit is first created for the size of the future cellar with an increased tolerance of half a meter, and the cellar is already assembled in it.
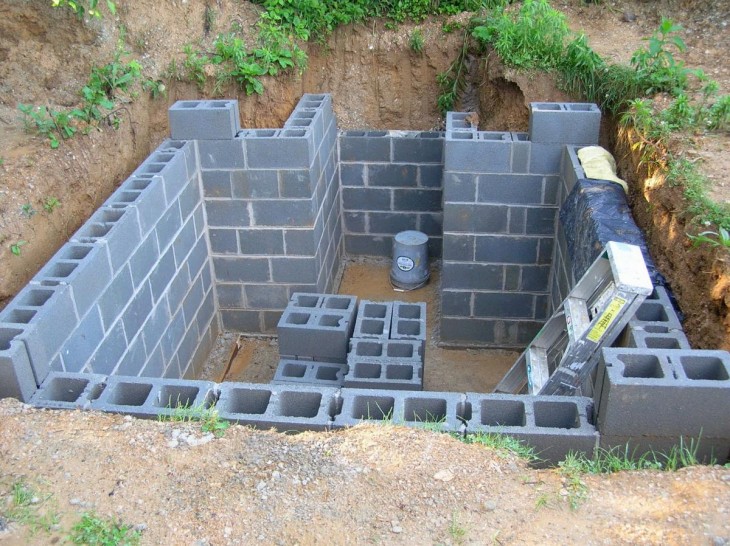
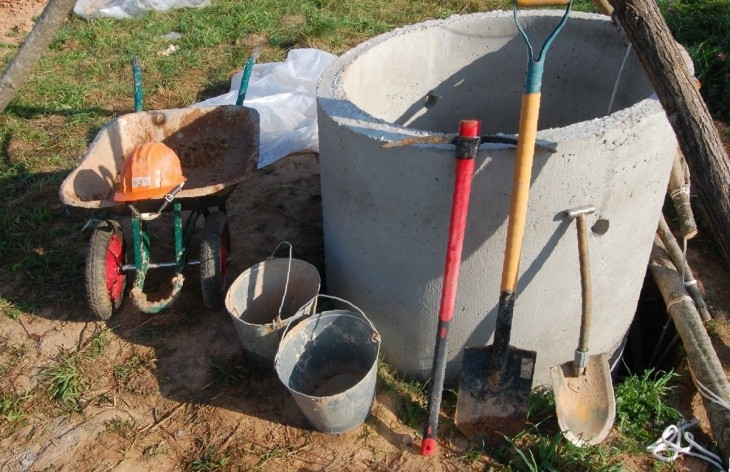
Excavation work
Choosing a pit option and digging a pit proper, a problem arises - how to build a cellar further?

To do this, perform the following work:
Note!


- prepare the foundation;
- to erect walls;
- plaster them;
- waterproofing;
- perform interior decoration;
- build a ceiling;
- arrange ventilation.

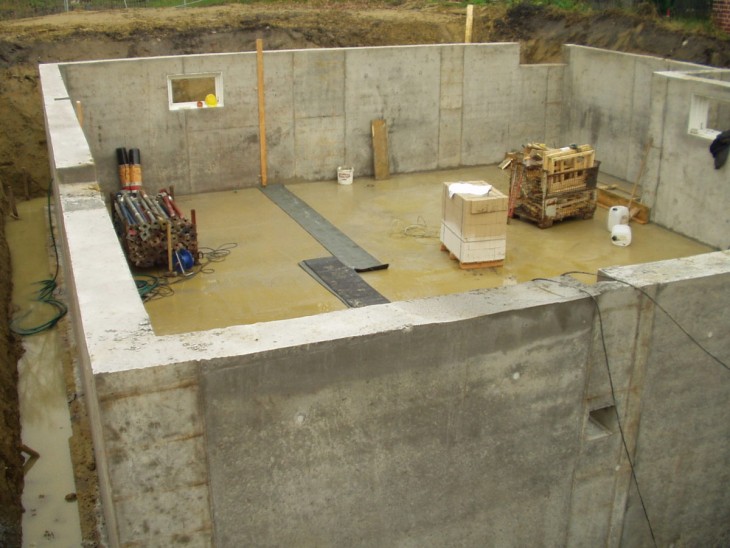
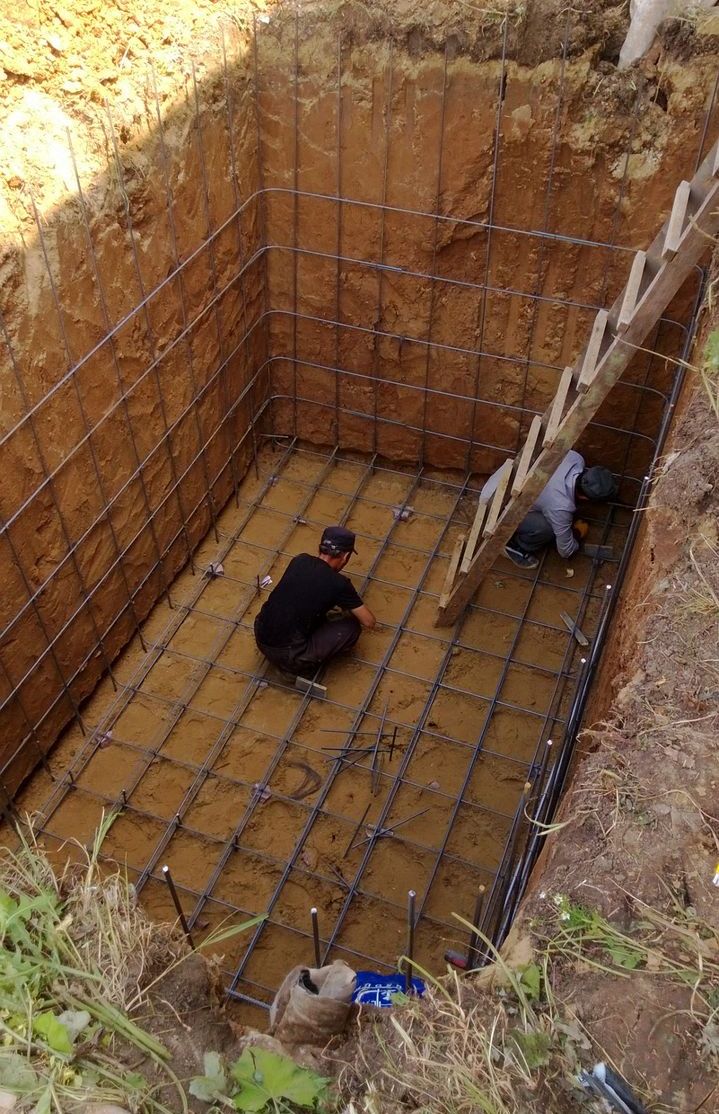
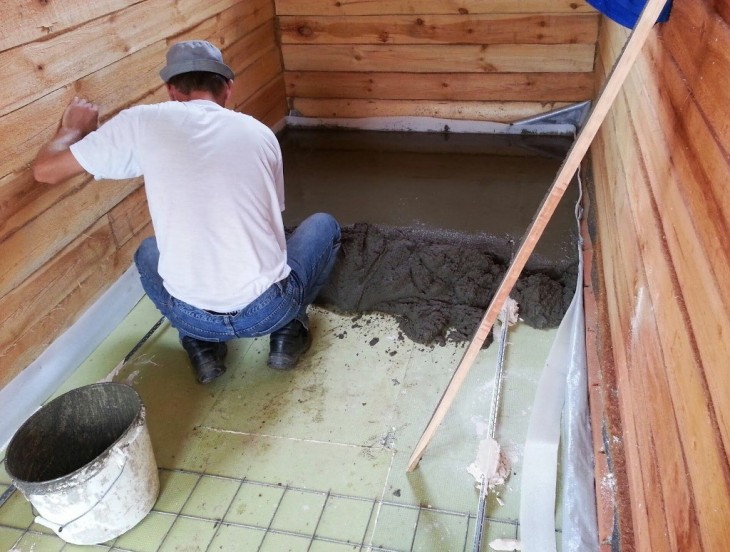
Base unit
The base is prepared by leveling the bottom of the pit.Then it is thrown with rubble, sand and broken brick with a layer of at least 20 cm. The resulting layer must be poured with heated bitumen.


From above, it is necessary to lay reinforcement with a diameter of 6 mm and pour concrete mortar. The thickness of the resulting layer should be 10-15 centimeters. Further, when the concrete solidifies on the base, the box is laid.
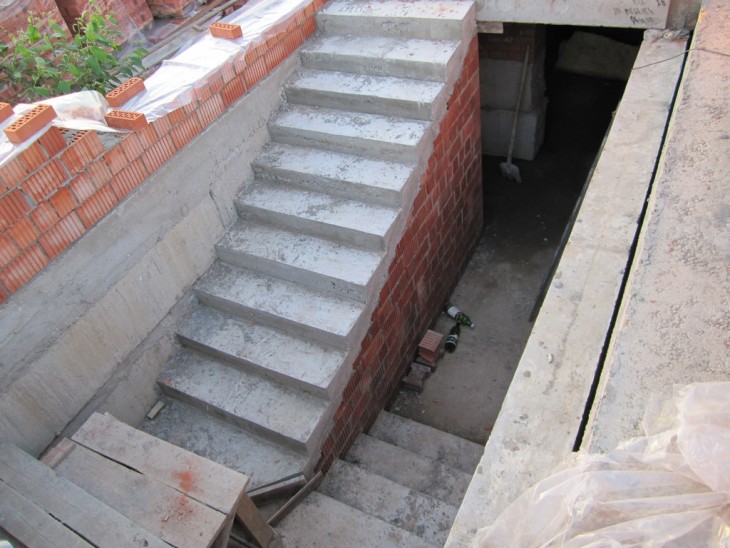
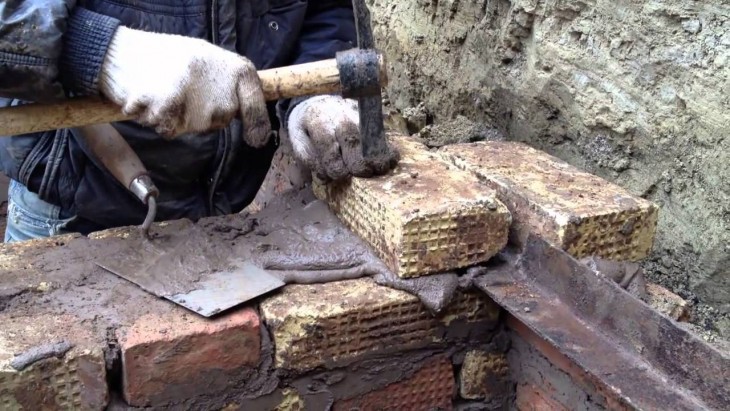
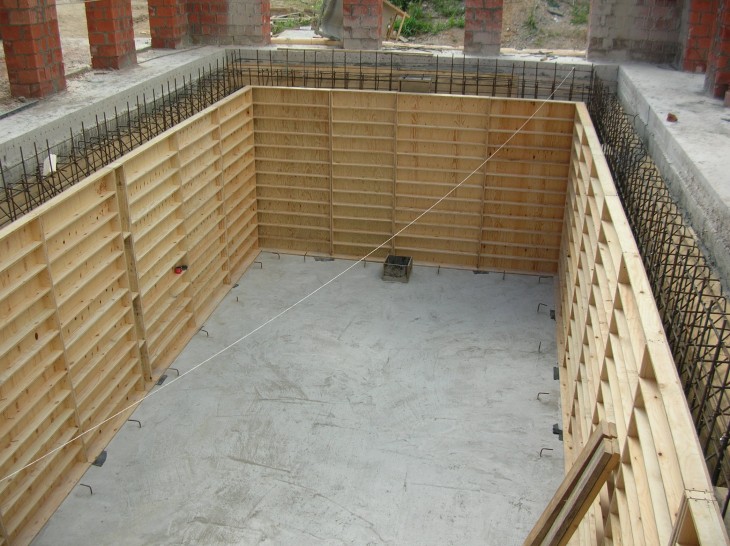
Wall installation
The walls are made of bricks. Its thickness is 1 brick.
In order for the masonry to be durable, it is necessary to use a wire with a diameter of 4 mm with an interval of 4 rows. Its application in corners is especially important.
Plastering
Plaster the walls from 2 sides (outside and inside). In order for the stucco mortar to hold better to lay the wall, you need to be empty.
Note!

After plastering, it is necessary to wait a month until the solution dries. This period is most desirable for further strength of the plaster.
Waterproofing
To protect the cellar from moisture, you need to cover the walls with hot bitumen mastic and stick 2-3 layers of roofing felt. The roofing material is overlapped, the first layer is vertical, and the second is horizontal.
Upon reaching the base, it is necessary that the sheets of roofing material are found on it and carefully glued. After this work, the space between the wall of the pit and the box can be filled up.
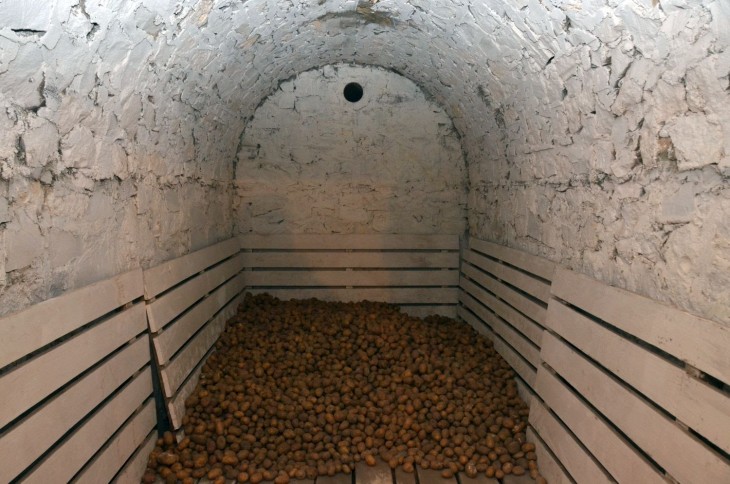
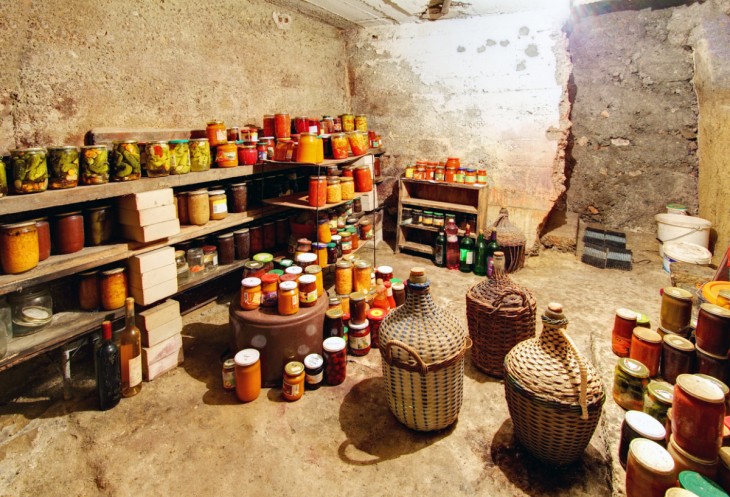
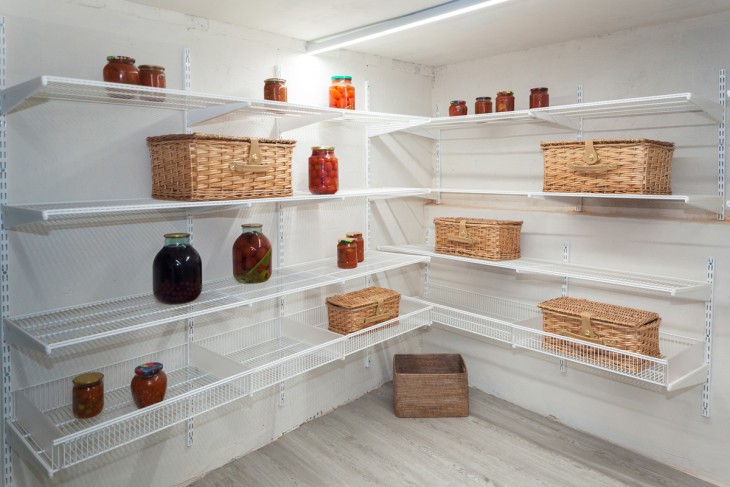
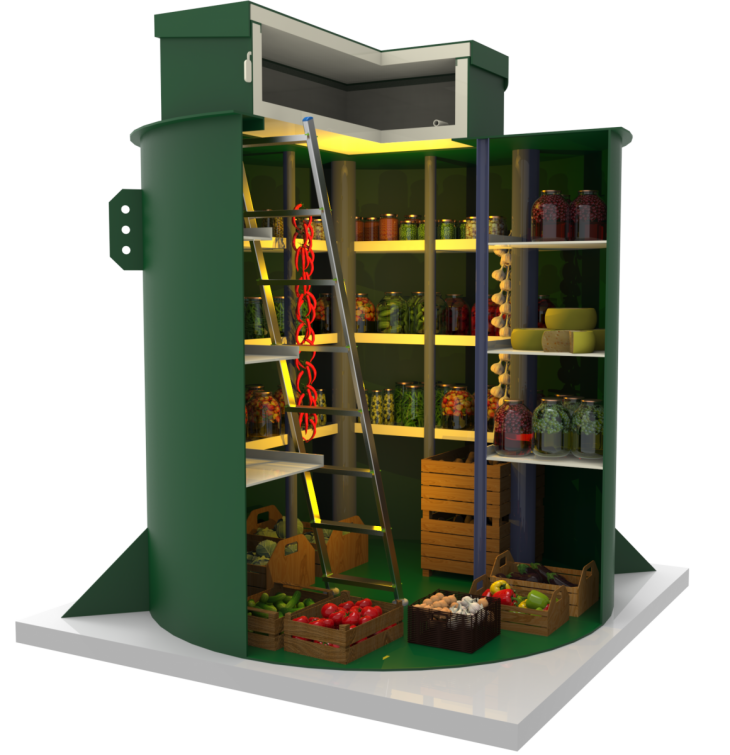
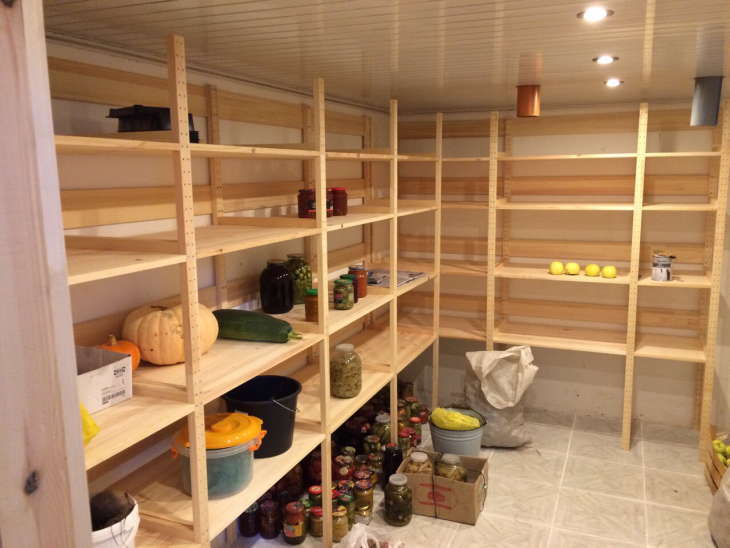
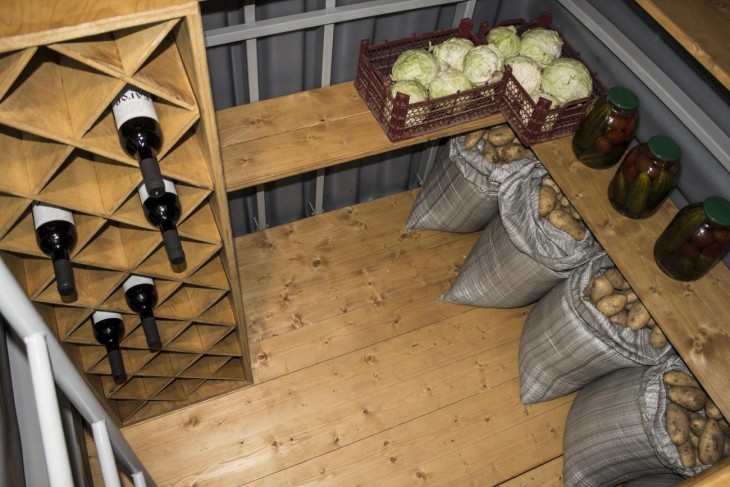
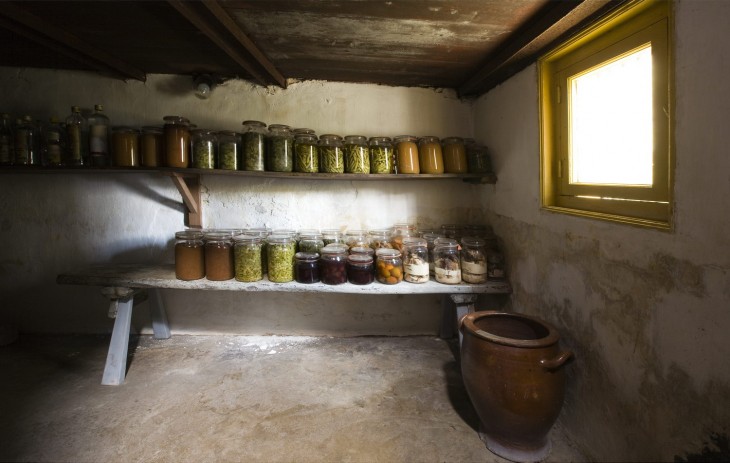
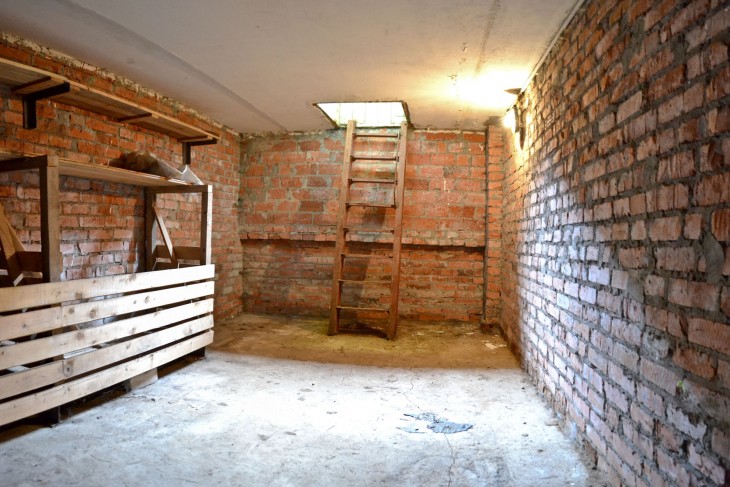
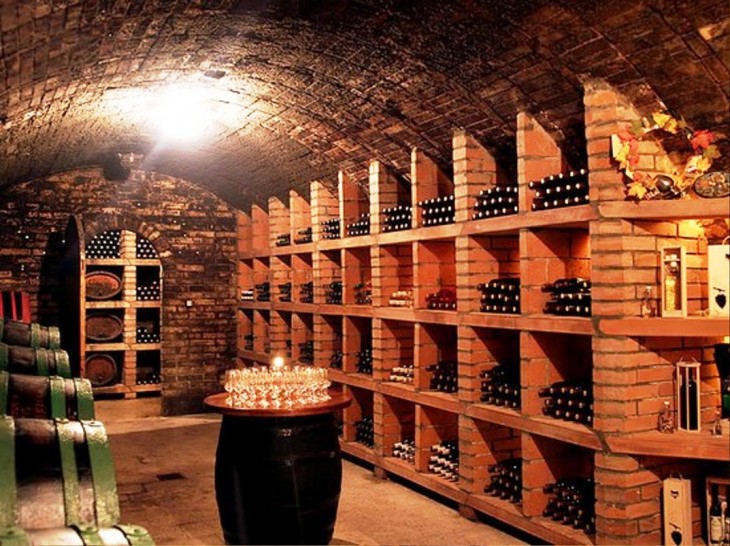
Cellar Interior
After all the work done, it is time to begin the internal contents of the underground. Everyone defines it himself - you can whitewash the walls, or you can paste them over with tiled plates.


It is desirable to cover the bottom with roofing material, bonded with bitumen, and lay a tile already on top.
Note!

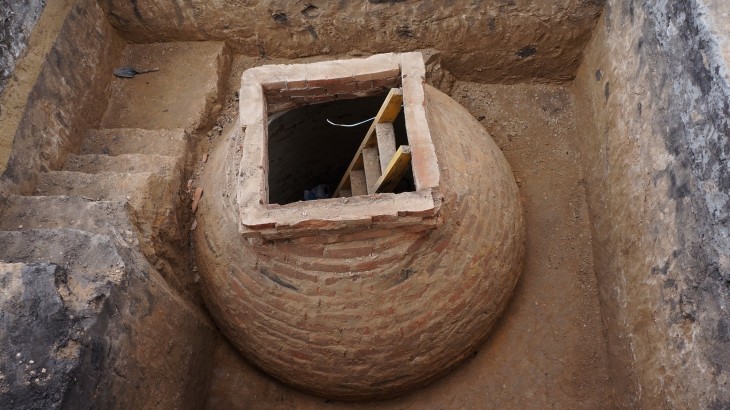
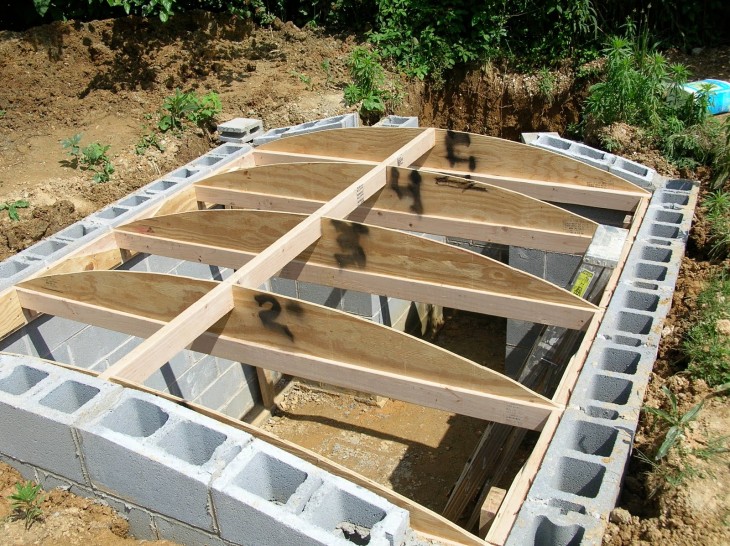
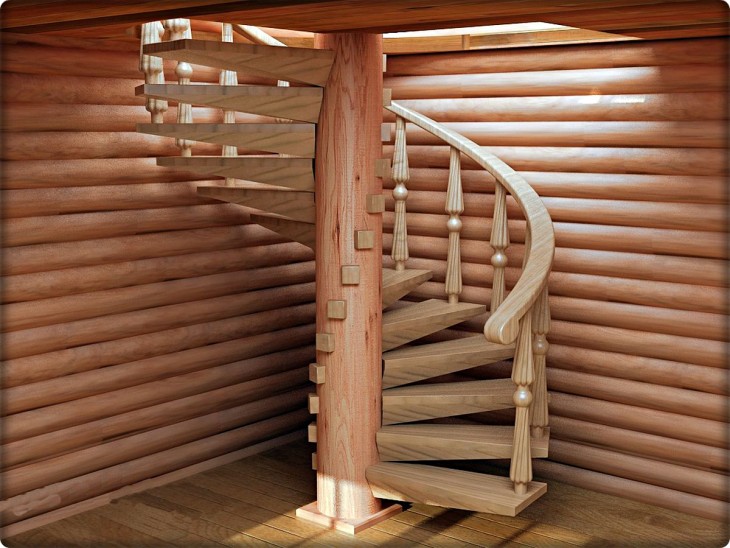
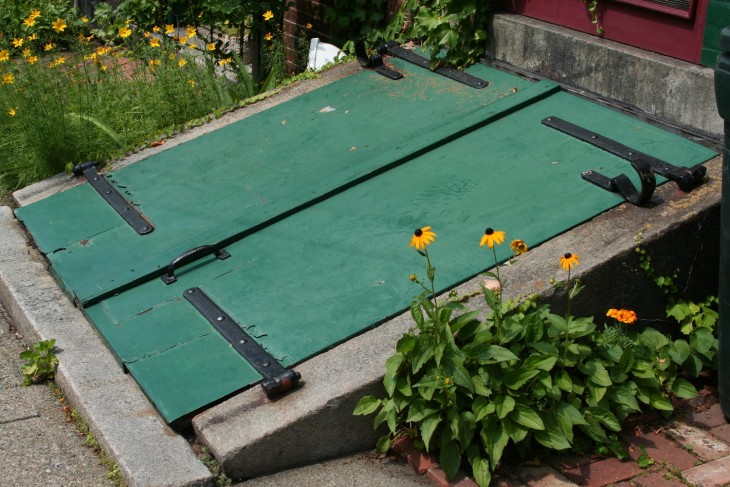
Cellar Overlap
It is possible to cover the resulting box with both a concrete slab and a tree (timber, log, board).
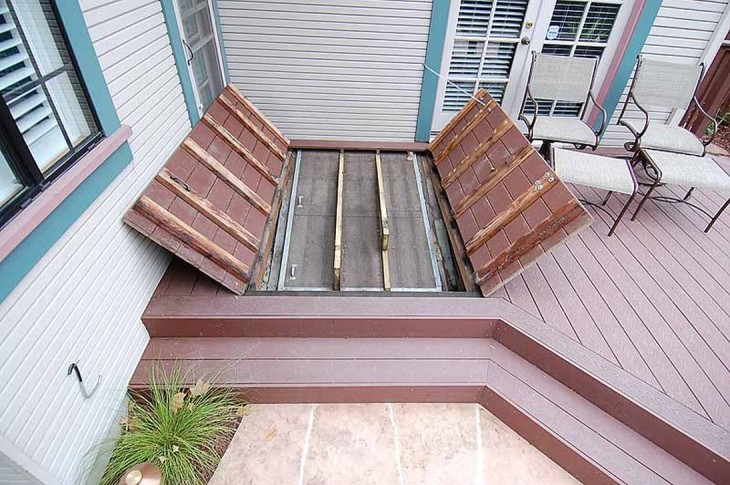
The type of overlap depends entirely on financial capabilities and the availability of material.
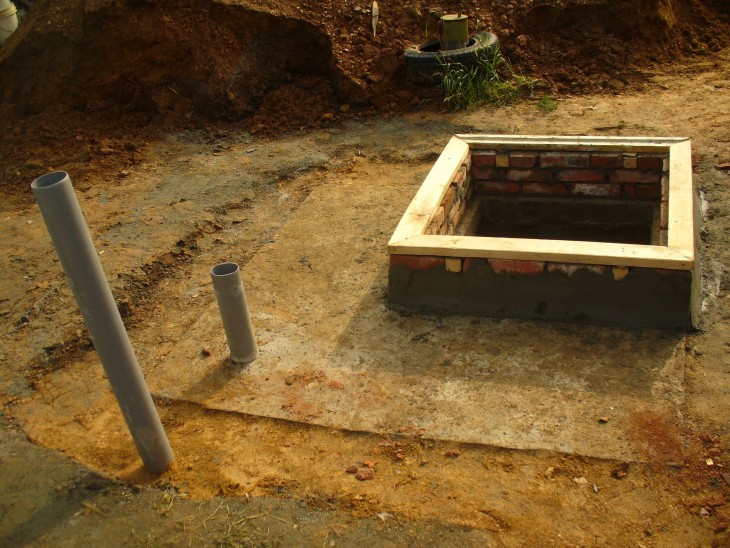
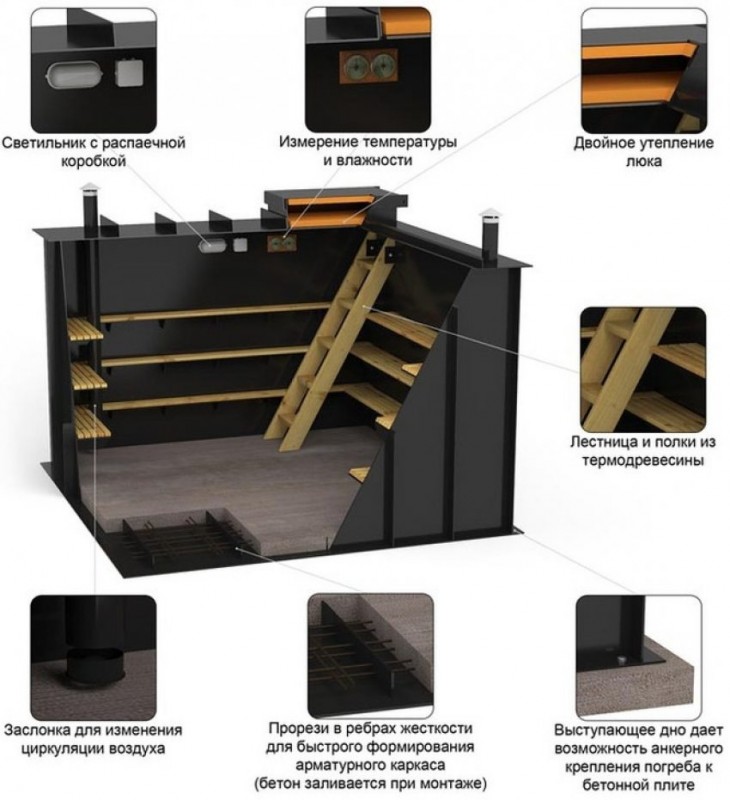
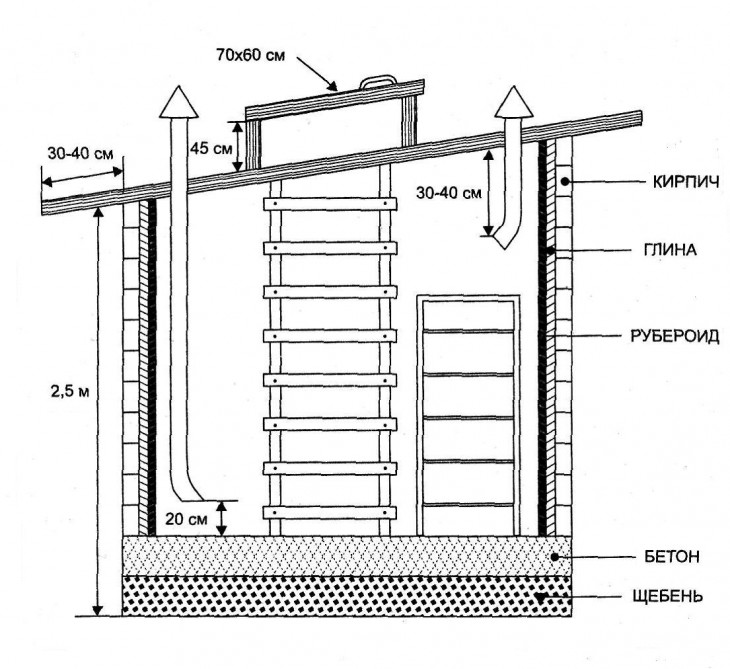
Ventilation installation
Airing in the cellar is an important element of its normal working capacity. To create ventilation, 2 pipes are used (exhaust and air intake). One of them is placed at floor level, and the other is closer to the ceiling.
The diameter of the pipes depends on the volume of the cellar; it must allow air to circulate.
The material of the pipes can be different (metal, plastic, asbestos cement). For the winter, the pipes must be covered with burlap both outside and inside.
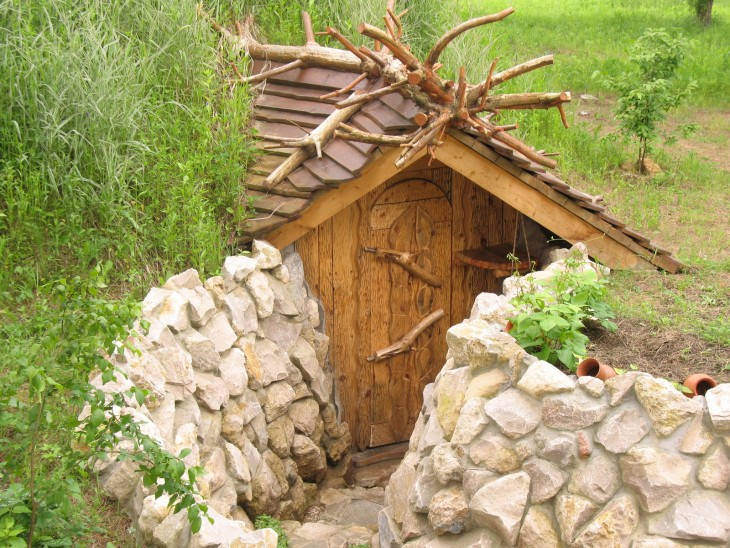
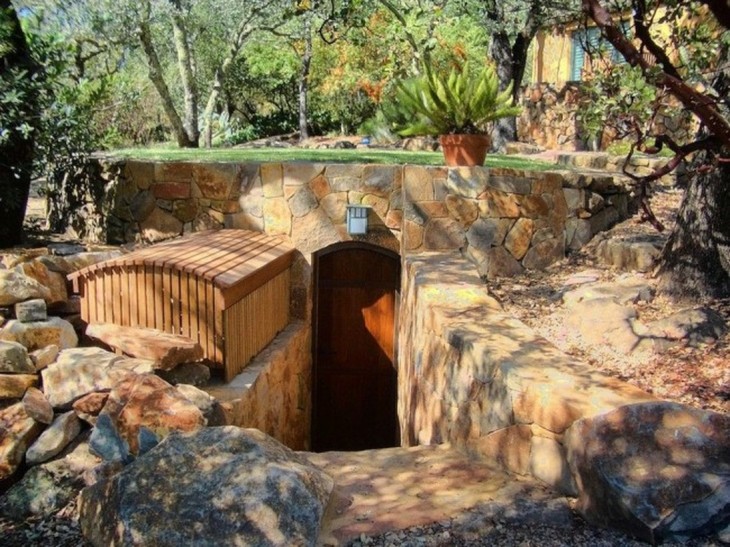
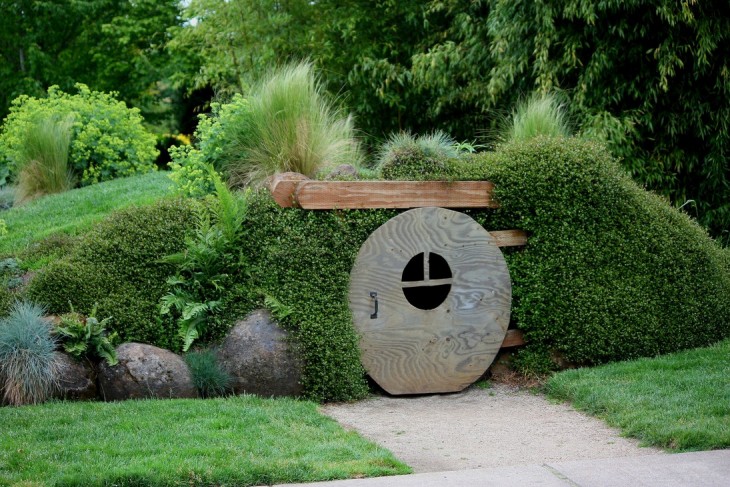
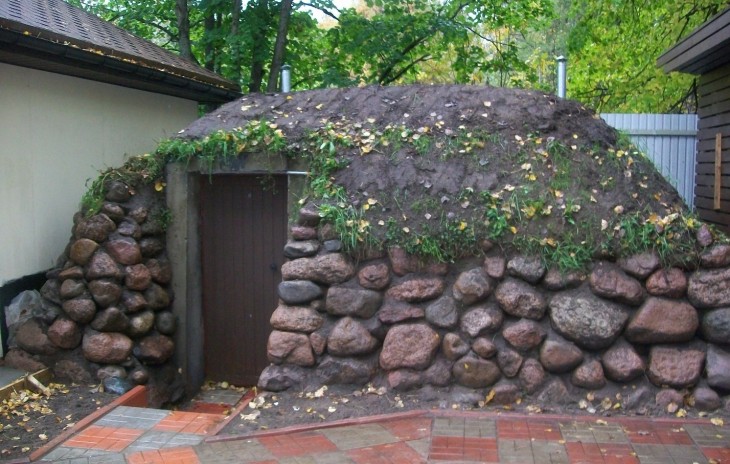
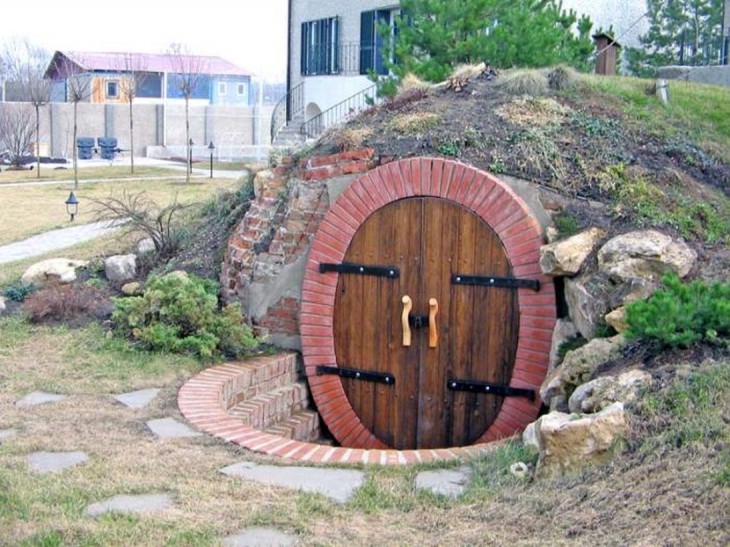
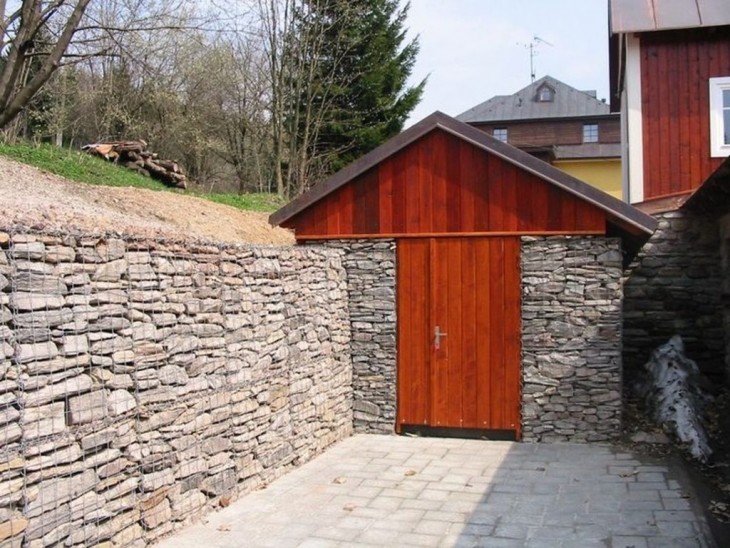
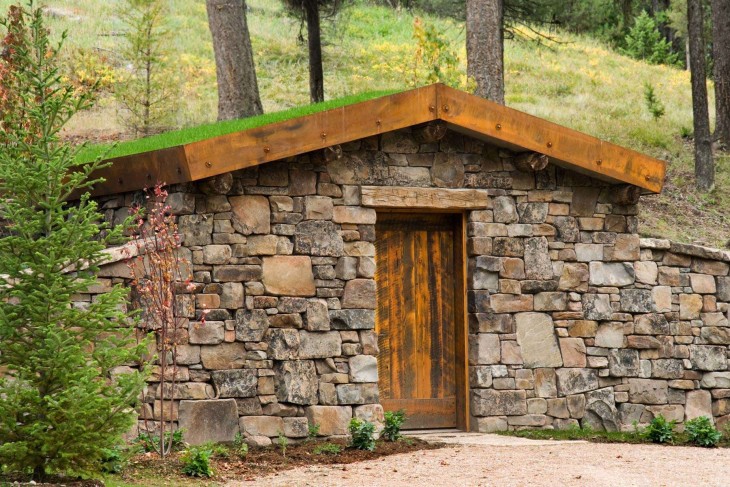
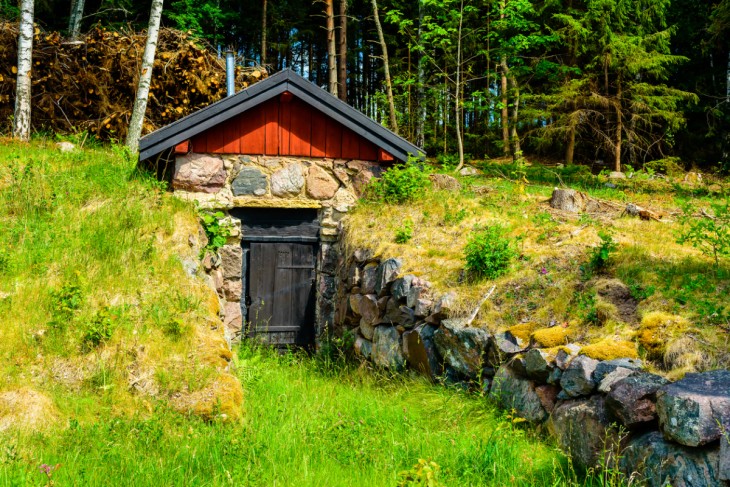
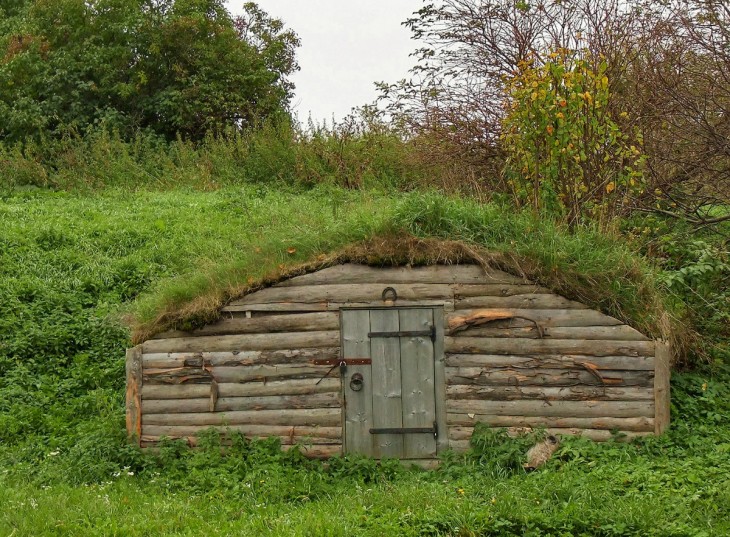
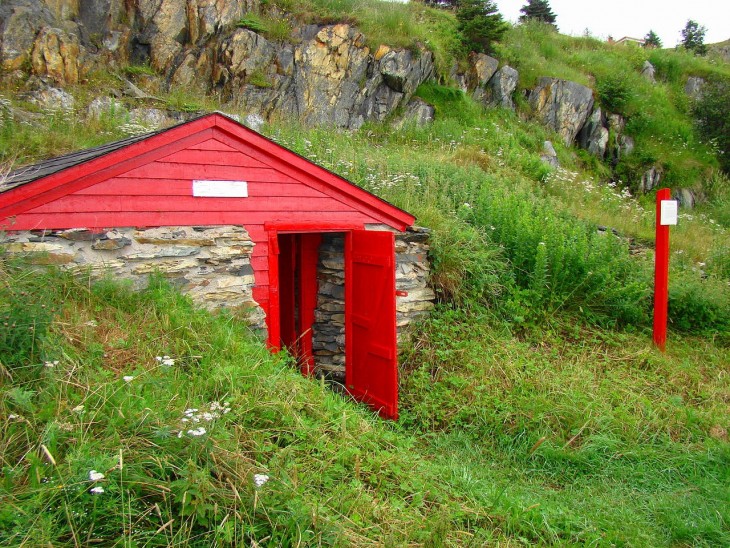
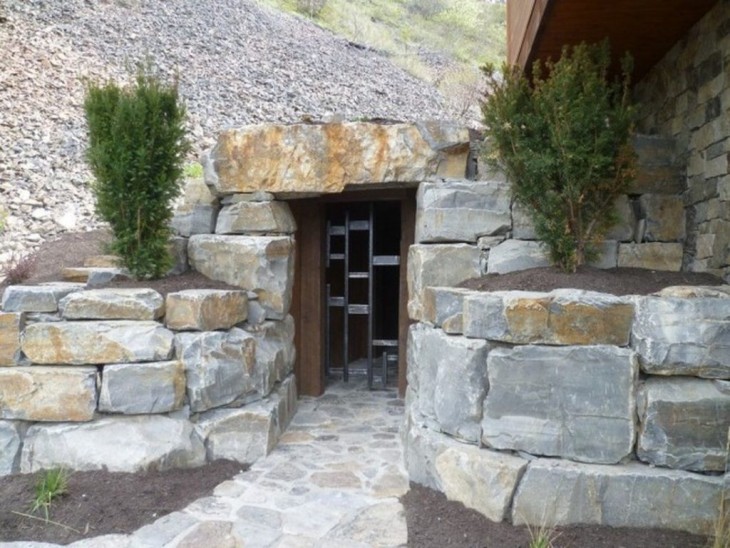
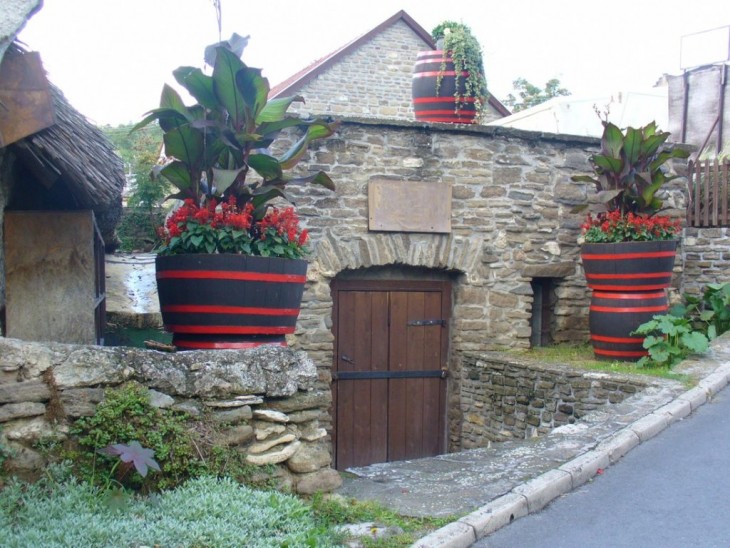
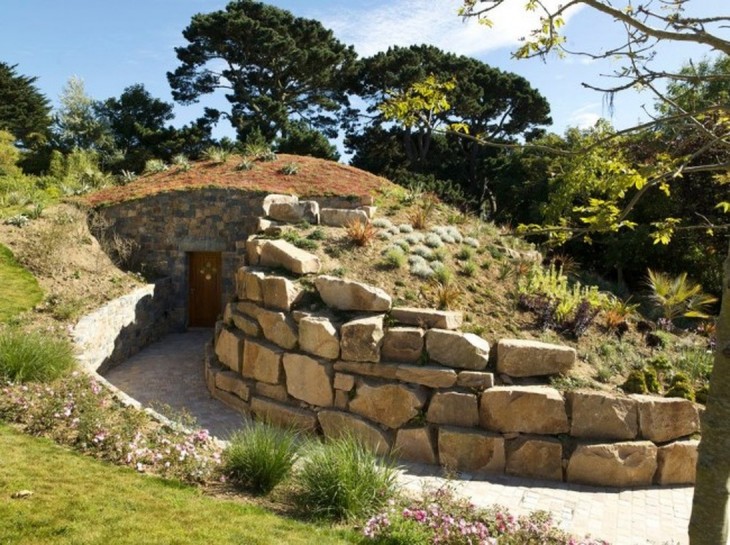
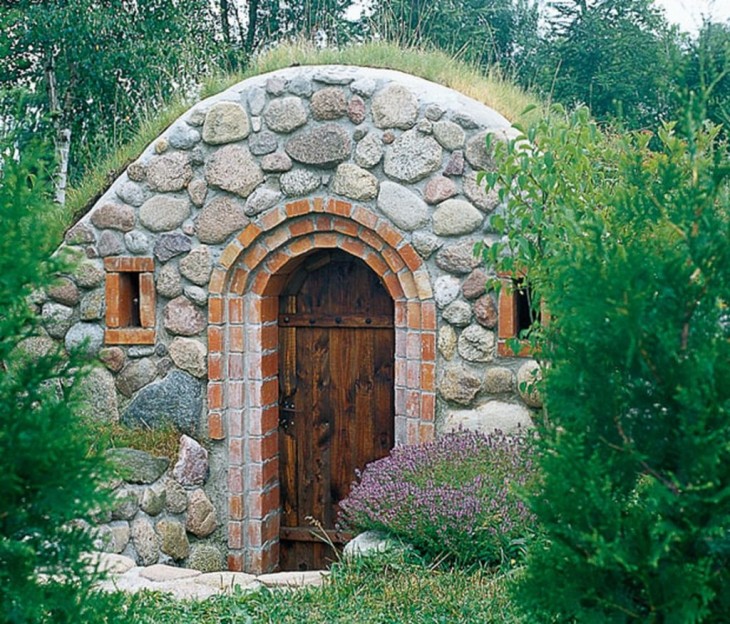
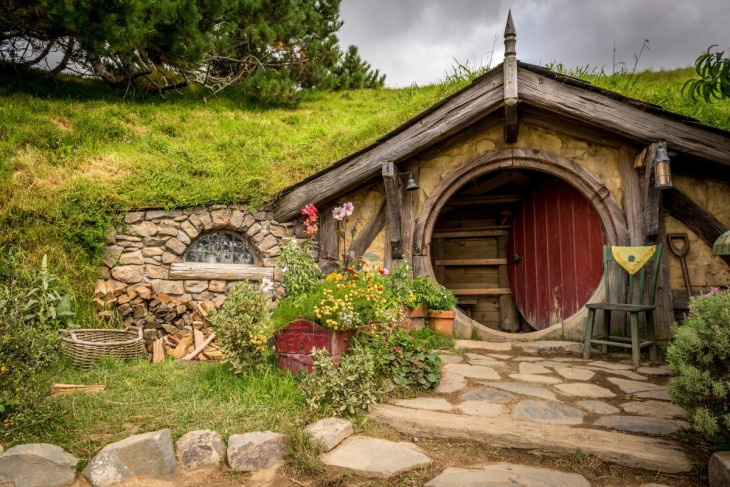
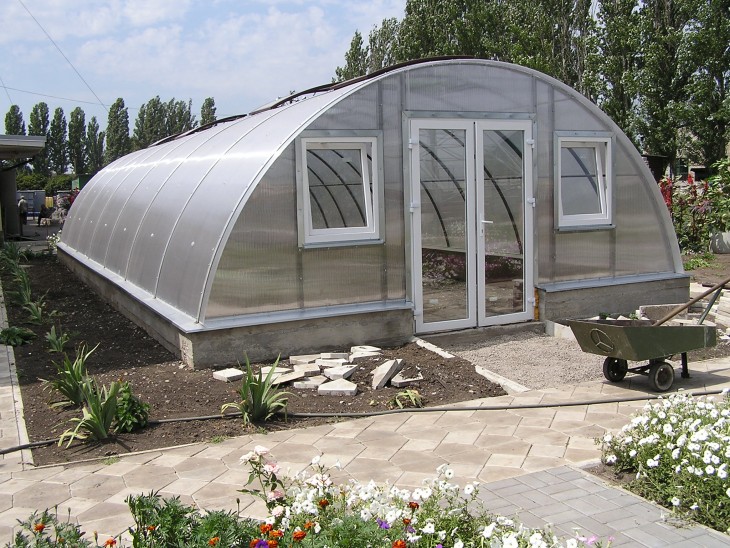
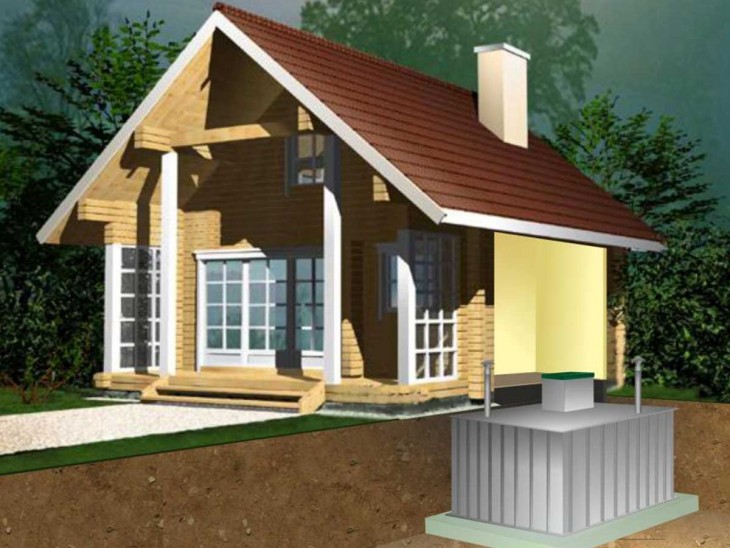
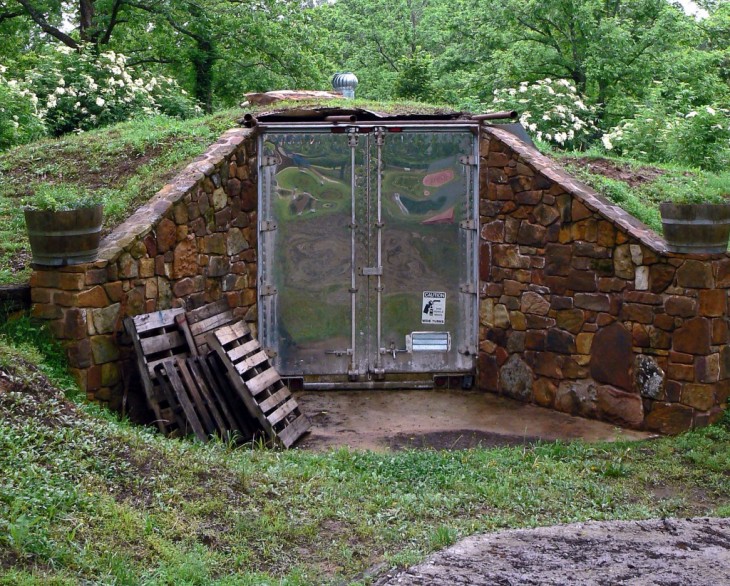
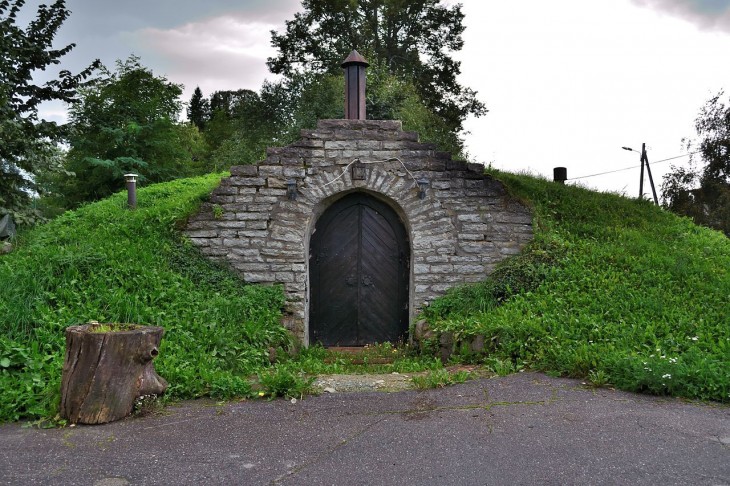
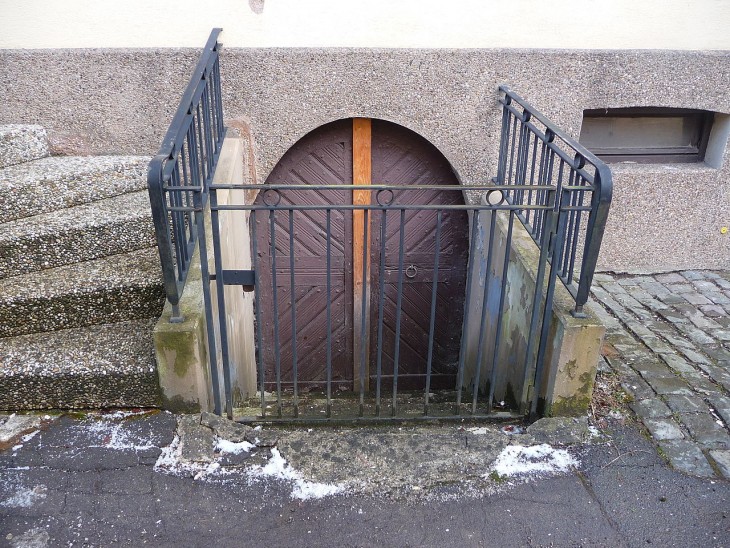
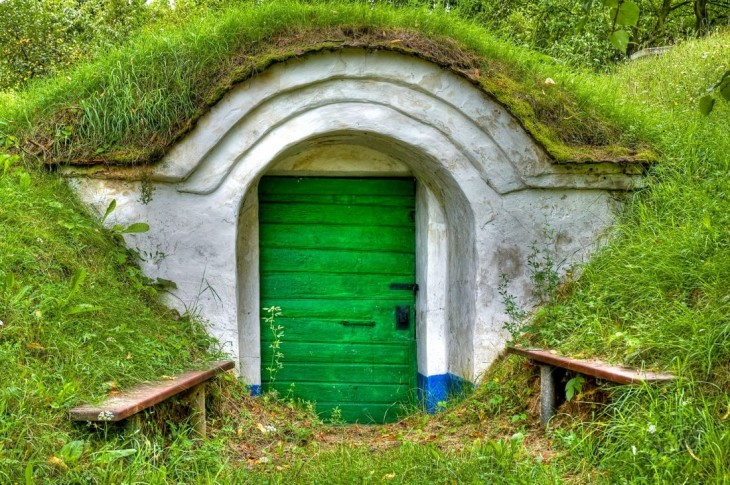
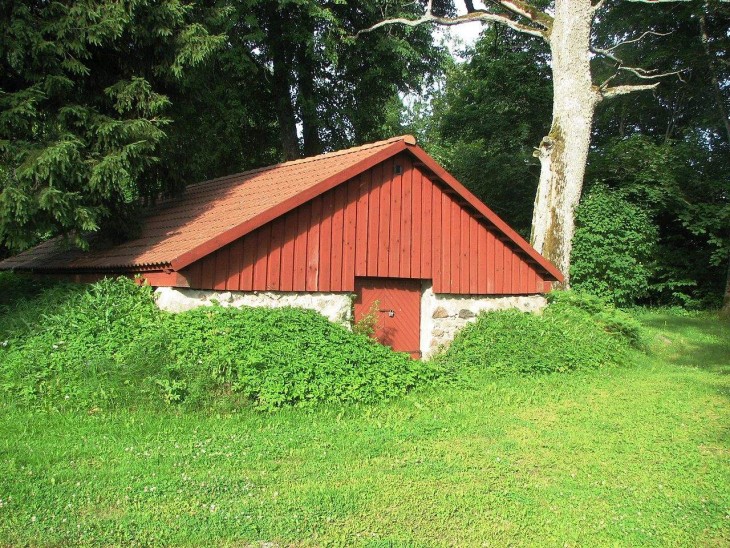
If your cellar will be a separate building and no other rooms will be equipped above it, it is advisable to build a cellar - a roof that performs protective and design functions. It will save the cellar from precipitation and can be harmoniously fit into the landscape of the site.

DIY cellar photo