There are many ways to usefully spend your leisure time, and one of the most exciting for adults and for children is creativity with their own hands. It’s enough to have a little imagination and desire.
From this article you will learn how to make an original thing for your home yourself and you can get acquainted with photos of simple but unusual crafts made at home.
Review Content:
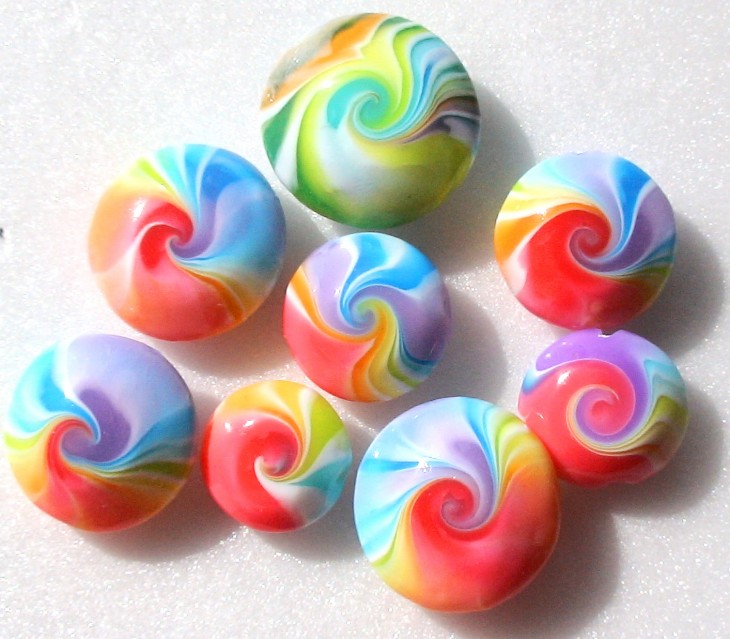
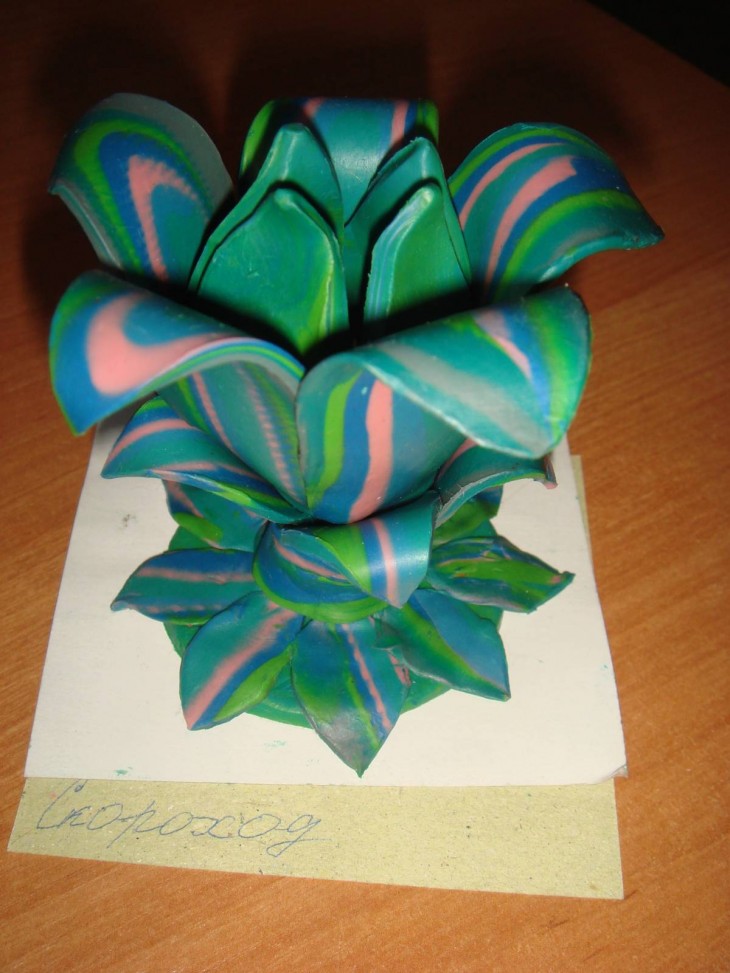
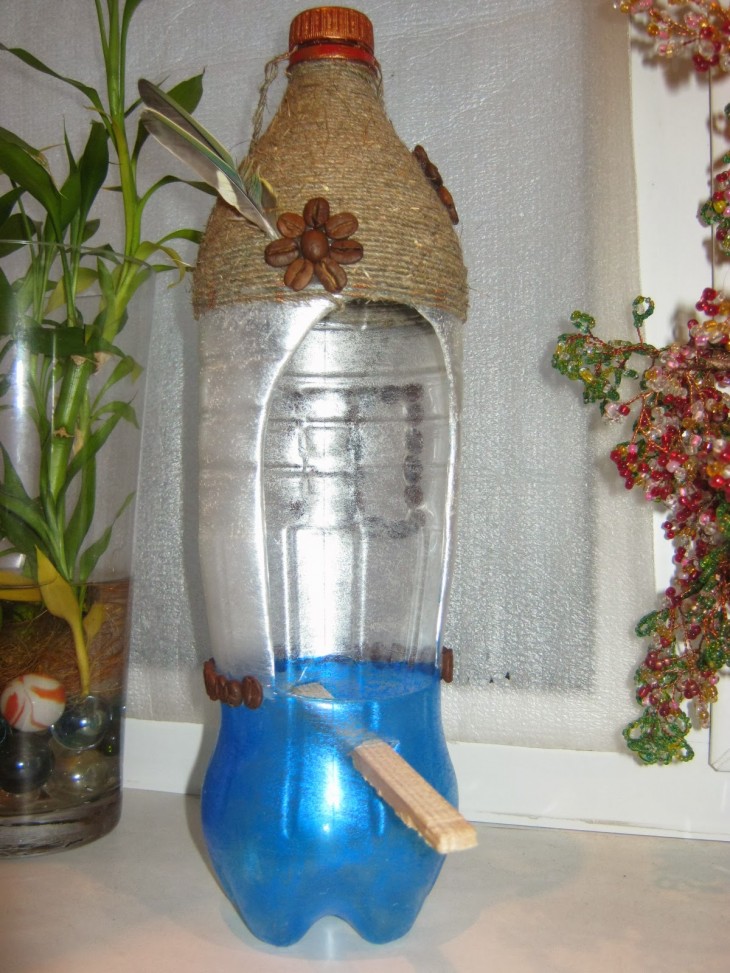
Crafts from plastic
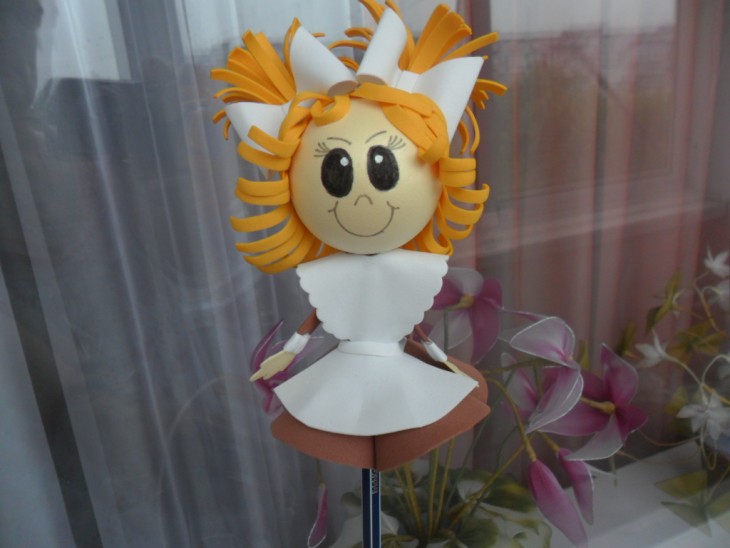
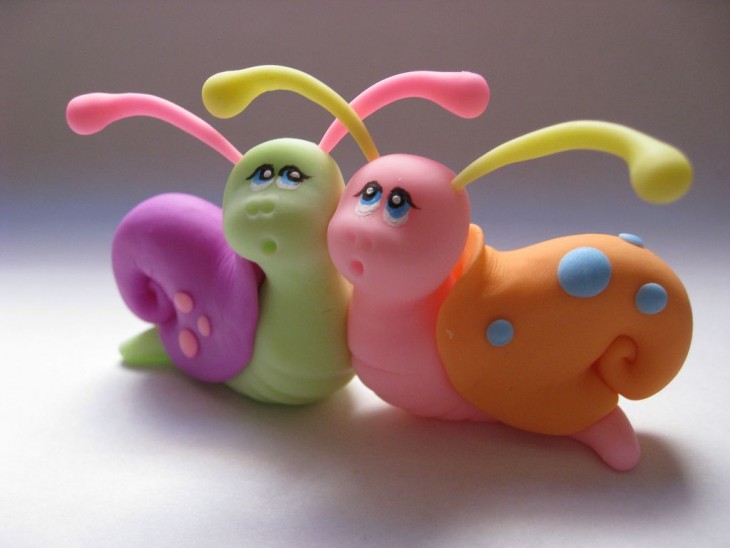
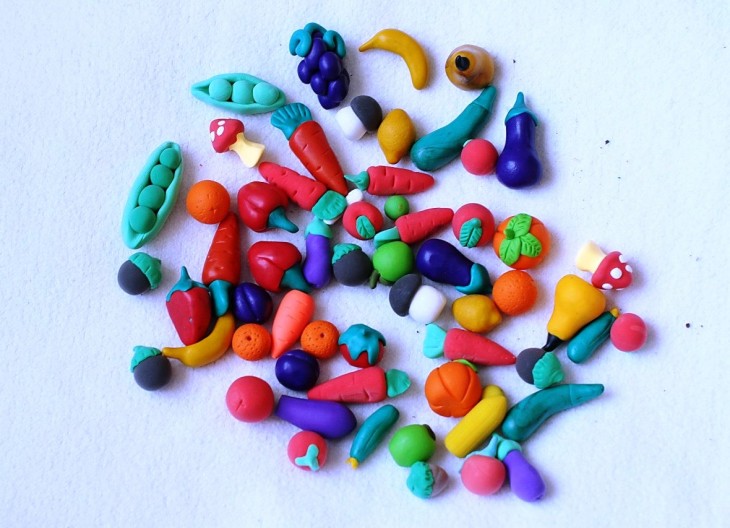
Making a doll and sculpting a face from plastic is a very entertaining task, which requires small skills. But the result will certainly please you.
To do this, you will need:
- Plastic (polymer clay);
- Sandpaper;
- Dry pastel;
- Wire;
- Knife;
- Foil;
- Primer;
- Glue;
- Brushes;
- Pliers.
First of all, it is necessary to think over every detail and sketch a sketch of the future doll on paper, and then proceed to the manufacture of a wire frame.

Next, from clay, you need to form a head in proportion to the body and give it volume. After a complete study of all the details (nose, mouth, eyes, forehead, cheeks), you can apply a dry pastel with a brush to give the skin a natural shade.
The next step will be the modeling of the body, during which it is necessary to pay special attention to small details, as well as giving the body a natural shape.
After the work is completed, you need to outline a parting on the doll's head and leave the clay to harden. In order to speed up the process, you can send the workpiece briefly to the oven.
Once the clay has frozen, you can begin to create a face with a brush and paints. Show your imagination.
Hair is an essential attribute of every doll. They need to be glued gradually, row by row, starting from the bottom.
The final stage will be sewing clothes for the doll.
Each mother will be glad to receive such an unusual doll as a gift from her child. A sculpting face made of polymer clay can serve as a gift for dad. All parents will surely appreciate such beautiful crafts made at home!
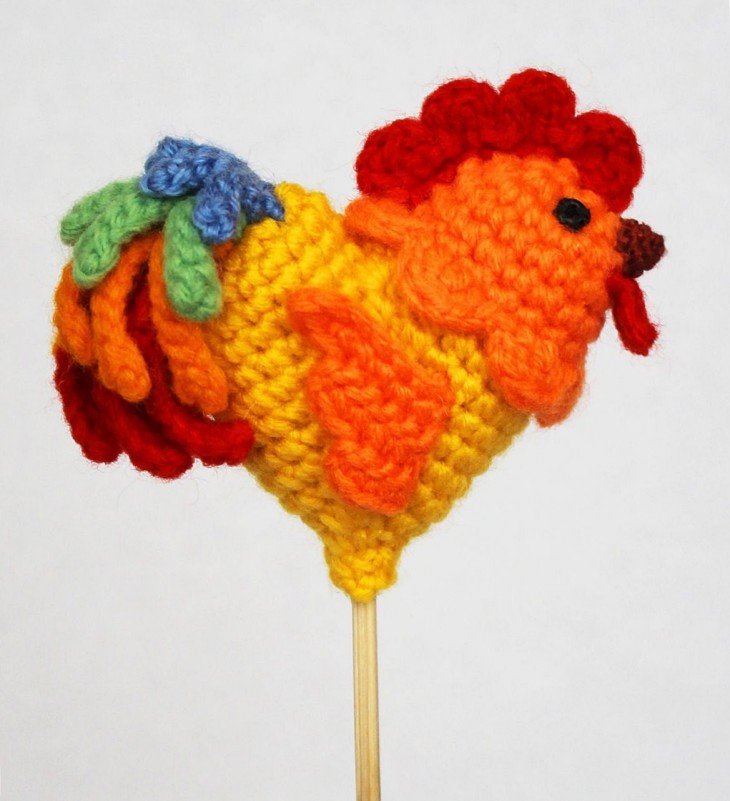
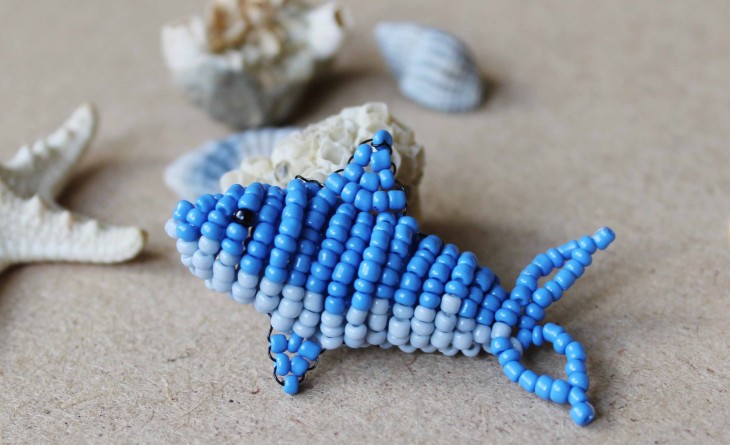
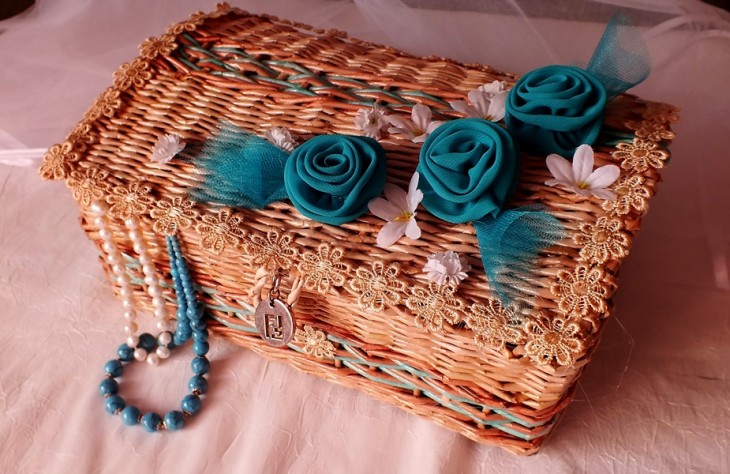
Knitted crafts
Crochet is a very simple and exciting hobby. In order to tie a square tack you need:
- Close the three air loops in the ring.
- In the first and third stitches, knit in one row, and in the second stitch - three rows.
- To form an angle, you need to knit three more rows in each of the columns of the second row.
- The elastic must be woven with colored threads.
- Tie the edging and eyelet with a shell.

There are many more types of knitting to create unique products.
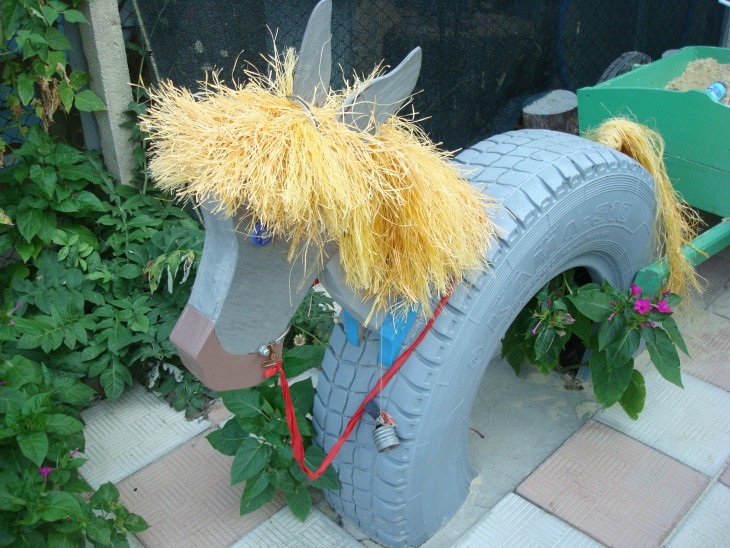
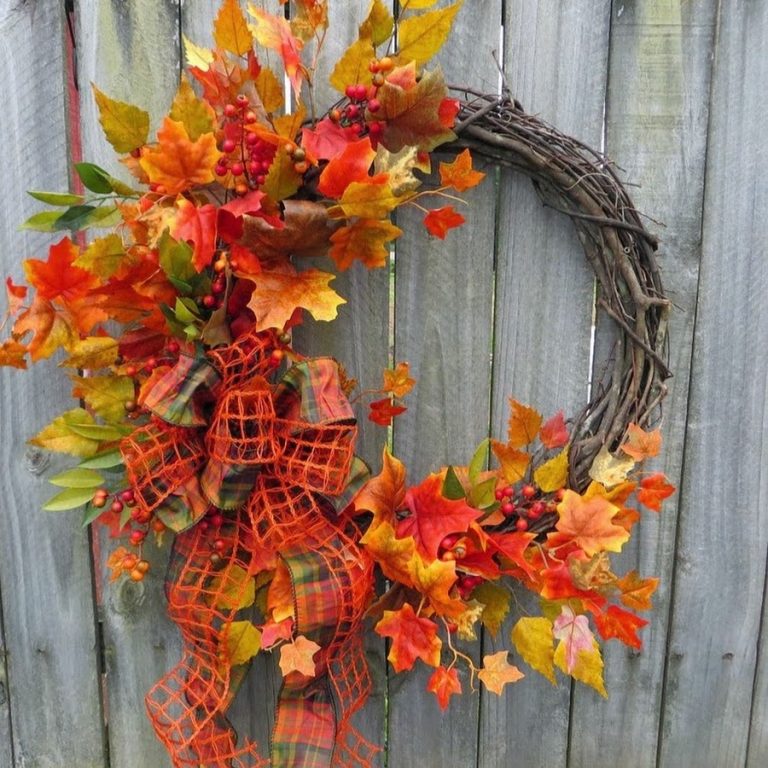
Crafts for gardening
To decorate your garden site, it is enough to make crafts from the simplest available tools at home, below are the most popular ideas for giving 🙂
For example, a canvas for a shovel will turn into funny black birds in the blink of an eye.
Note!

You must complete the following steps:
- Paint the canvas, wait until the paint dries.
- Prepare the location of the birds: wrap the surface with thick wire.
- To make paws, use the dough, put the workpiece on the wire by gluing the canvas to the top of the paws.
- Attach eyes made of dough to the top of the canvas. Do the same with the beak.
- To paint pupils with black paint.

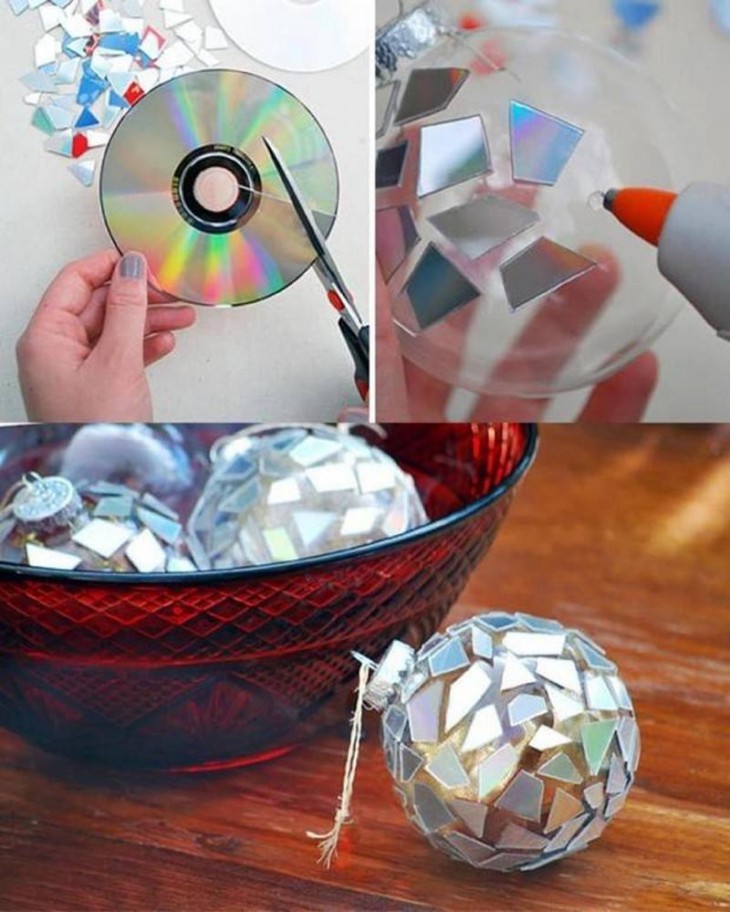
A shiny, sparkling vase in the sun will be a great decoration. You can collect fruits and vegetables in it. To make it, you will need disks, an unnecessary vase, and glue.
Discs need to be finely chopped and glued to the vase with the shiny side up. Allow the glue to dry.
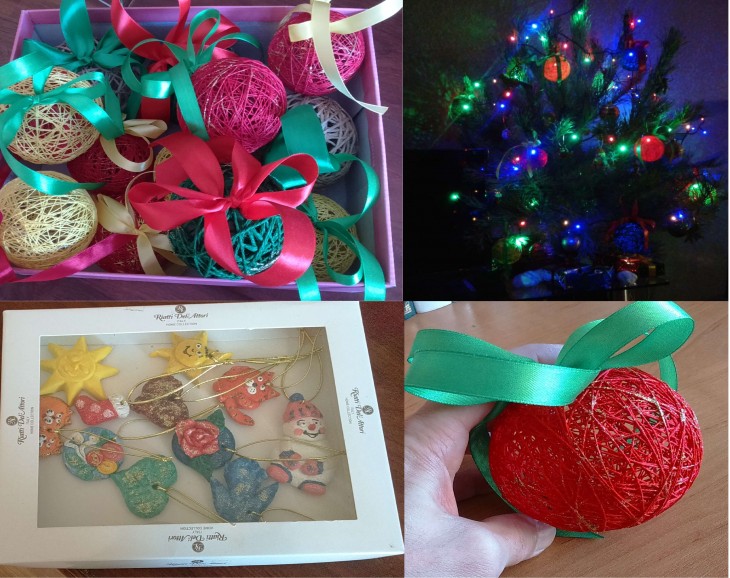
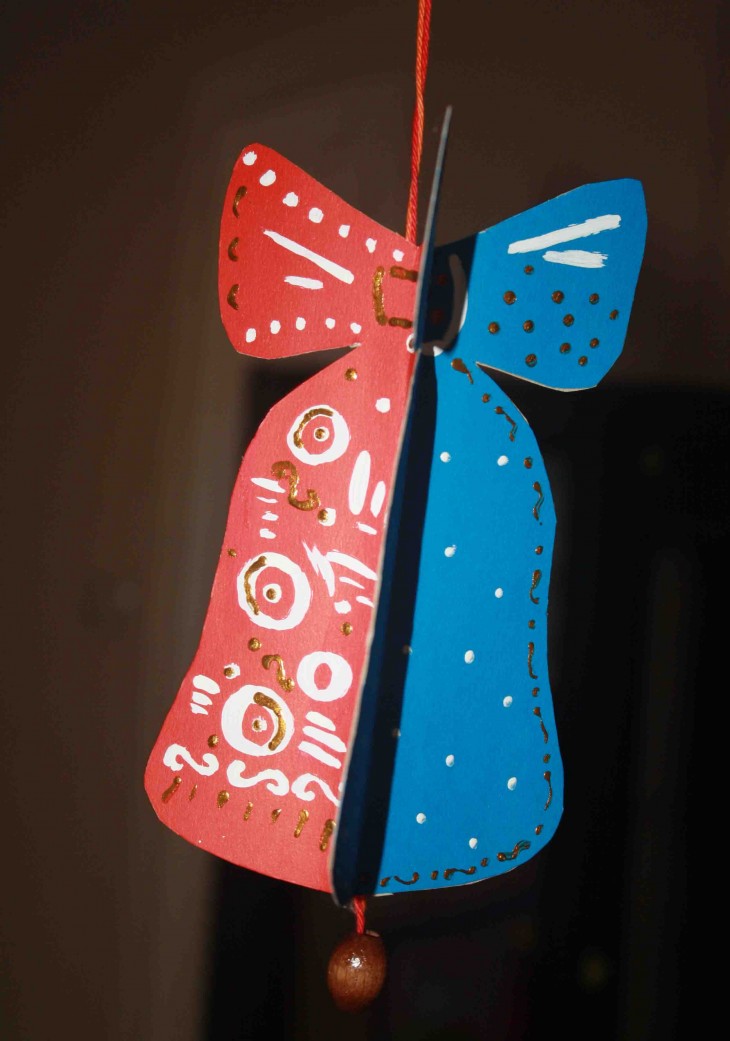
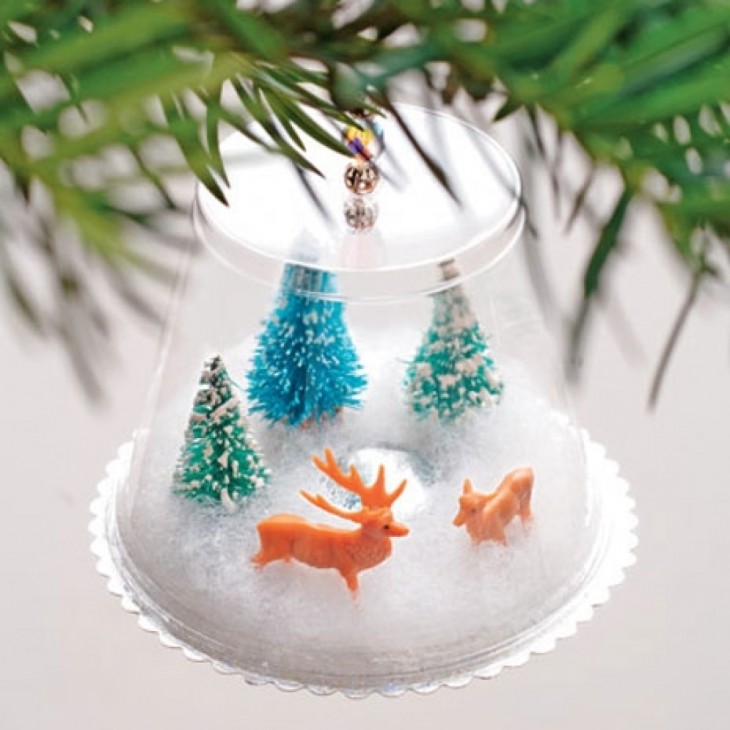
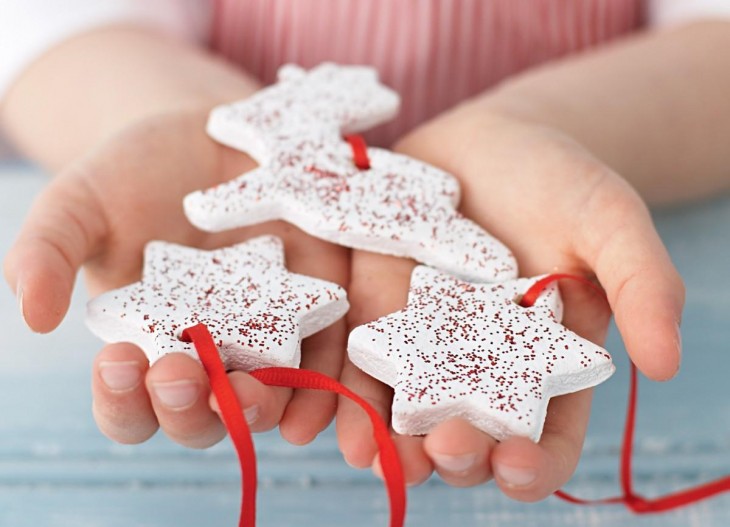
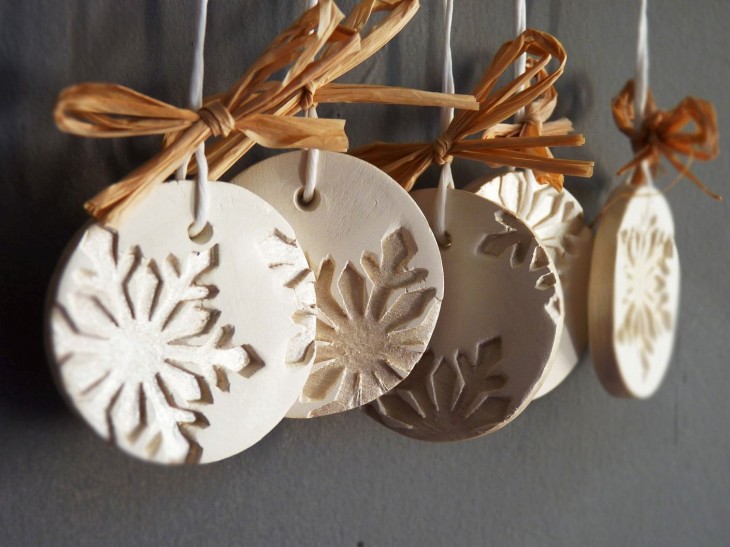
Crafts for the New Year
You can also make a garland yourself! And now you will find out how easy and simple it is to make this DIY craft at home.
You will need:
- Bulbs (220 V)
- 6 meters of wire
Work algorithm:
Note!

- Cut the wire into segments of 50 cm. They should be 9. In this case, the last segment will be 150 cm in length. In the future, it must be used to connect the plug.
- Strip the ends of the wire and insulate with a heat shrink tube.
- Collect the cartridges and screw in the bulbs connected in parallel.
You can decorate a garland with cups pasted with special paper. It is enough to insert the bulbs into the slots at the bottom of the cups. It will turn out very beautifully!
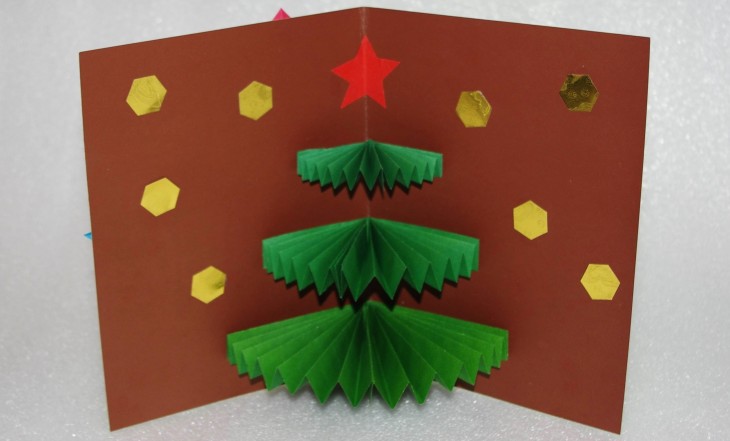
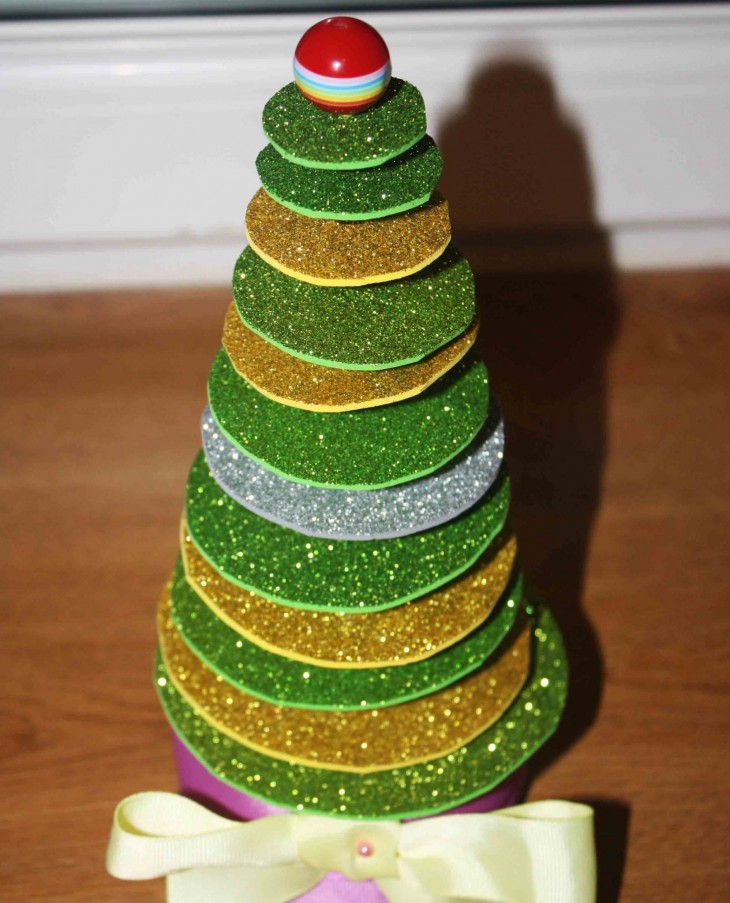
Another Christmas attribute is the Christmas tree.
To make a Christmas tree from buttons, it is necessary to prepare a cone-shaped base from thick paper or cardboard and decorate it with buttons.
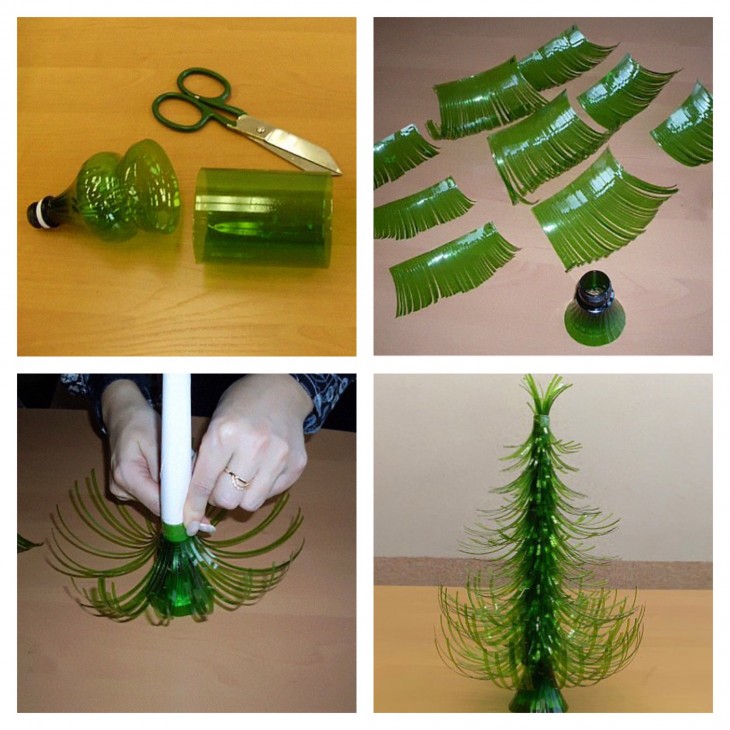
You can use the buttons of a wide variety of colors and sizes, stick them on top of each other, or simply cover the finished Christmas tree with spray paint.
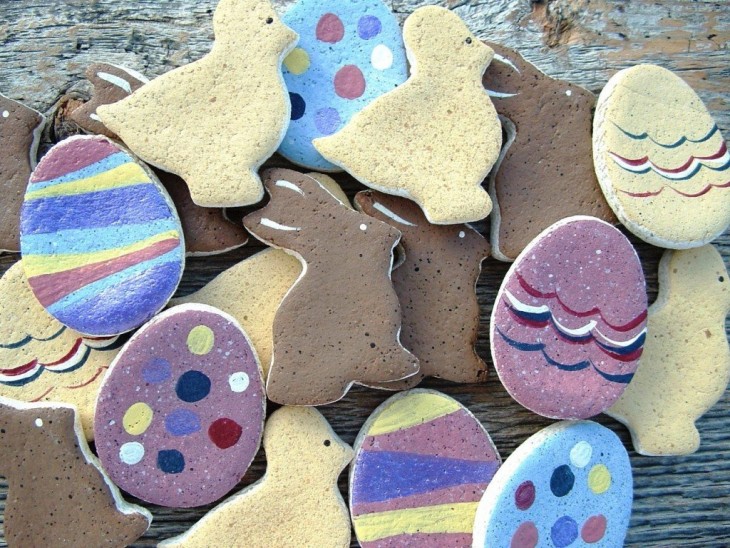
Crafts for Easter
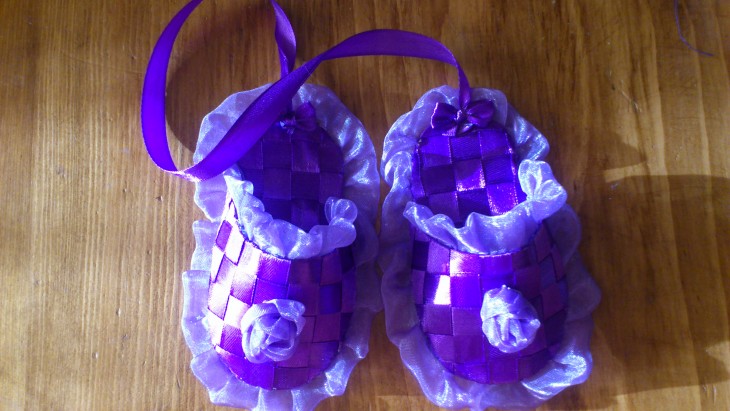
Using wooden clothespins, scotch tape and a paper plate, you can craft a very cute little basket:
Note!
- The side of the plate is notched, bent up, fastened with tape.
- The clothespins divided into two parts are glued to the sides.
- The resulting basket is decorated with a satin ribbon with a bow.
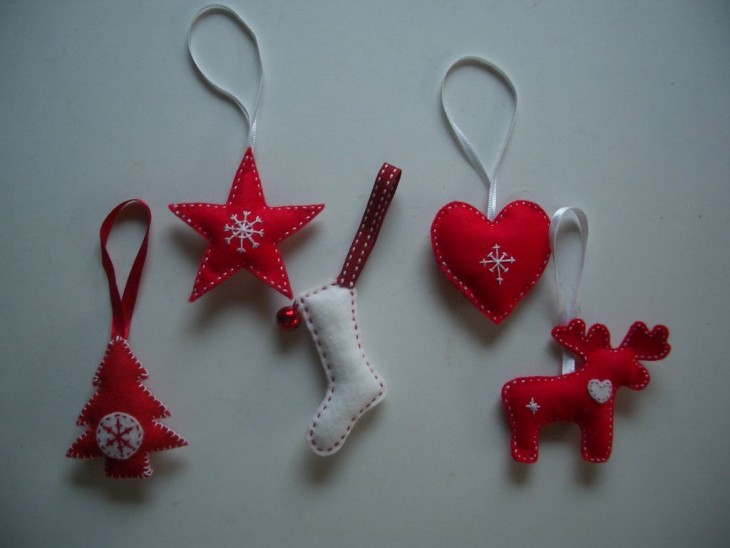
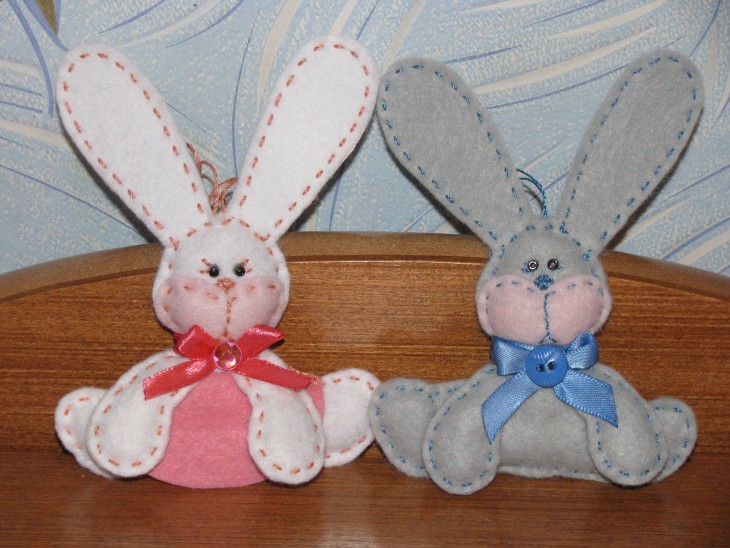
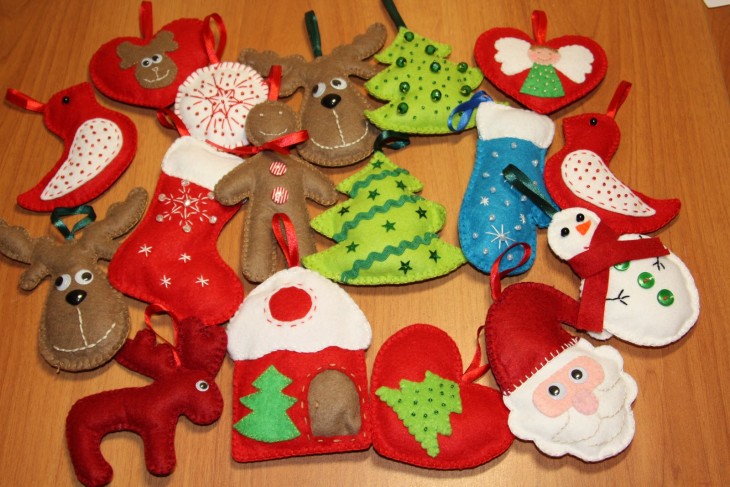
An excellent decoration for the holiday will be an Easter bunny made of felt.
Step-by-step instruction:
- Cut out the details in the required quantity and sew them together with the front side inward.
- To incise the fabric in the areas of the allowance, unscrew the obtained workpieces and fill them with a synthetic winterizer.
- Sew the received parts together.
- Decorate the muzzle, paws and ears with embroidery or colors.

Such crafts will certainly decorate your holiday!
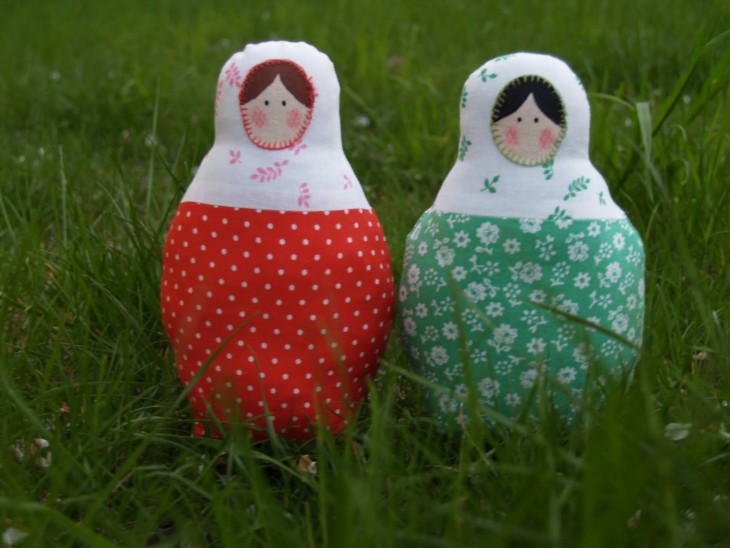
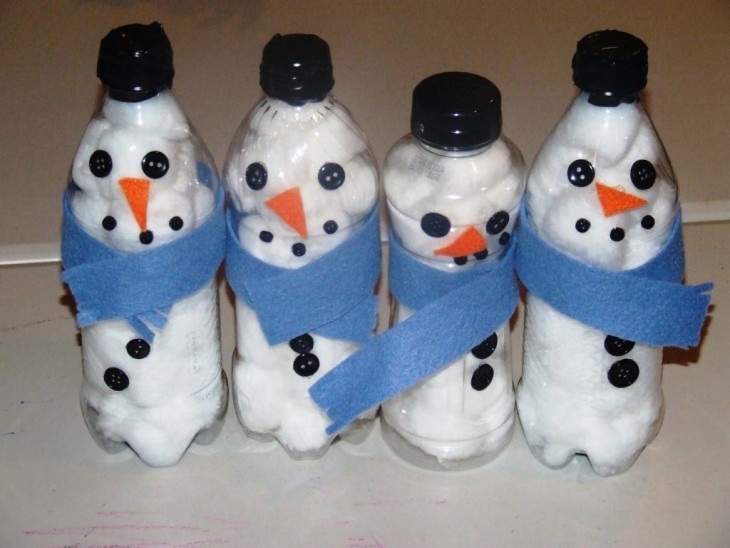
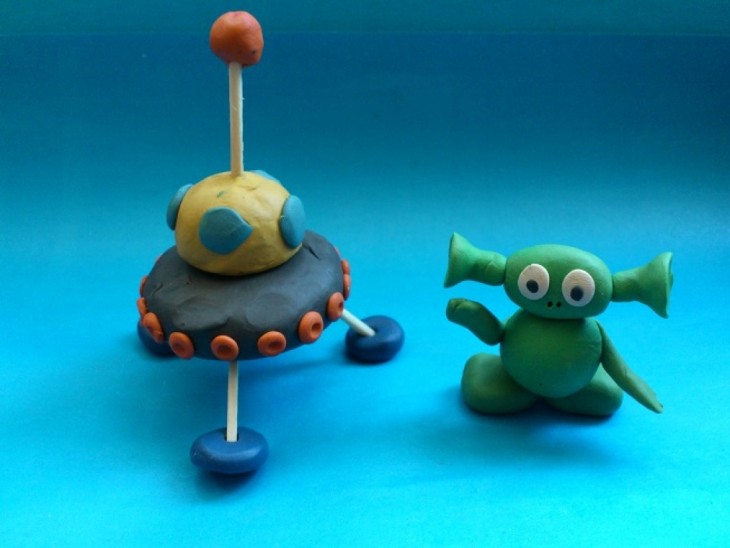
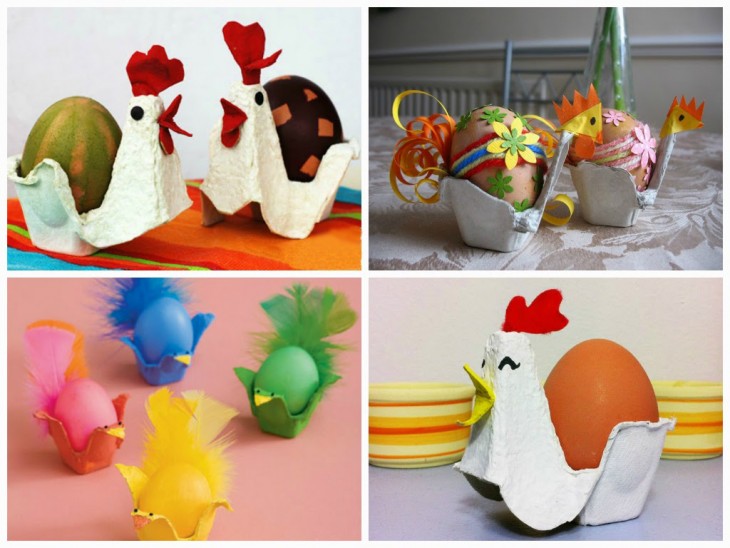
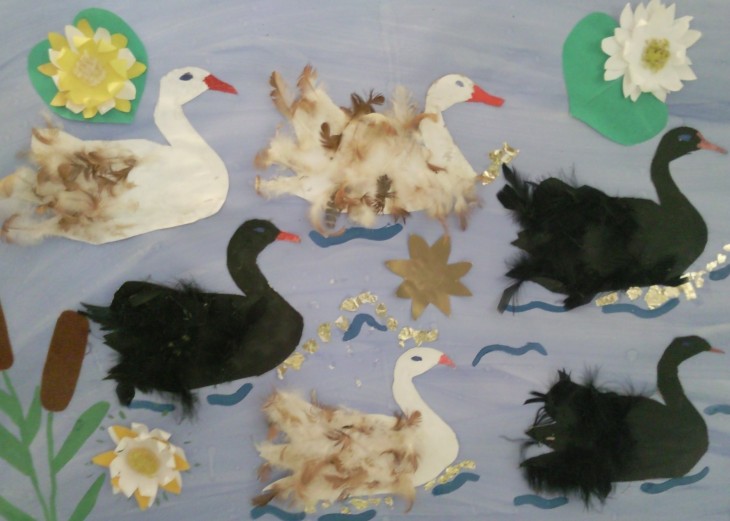
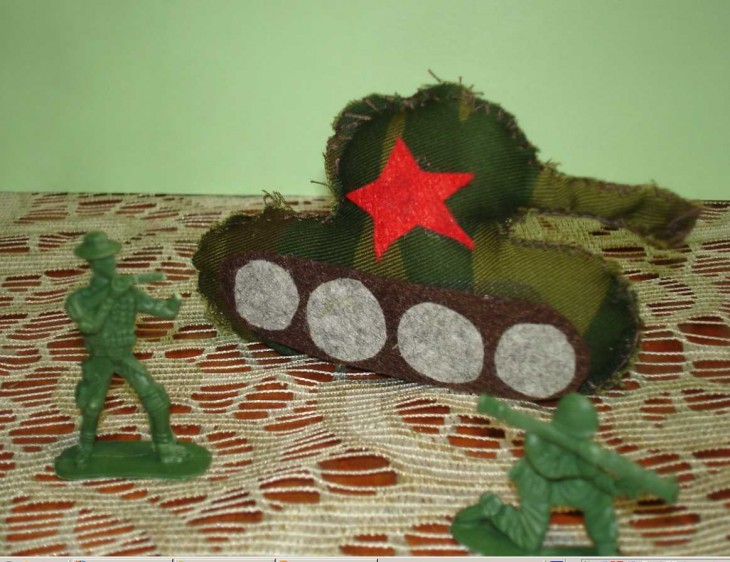
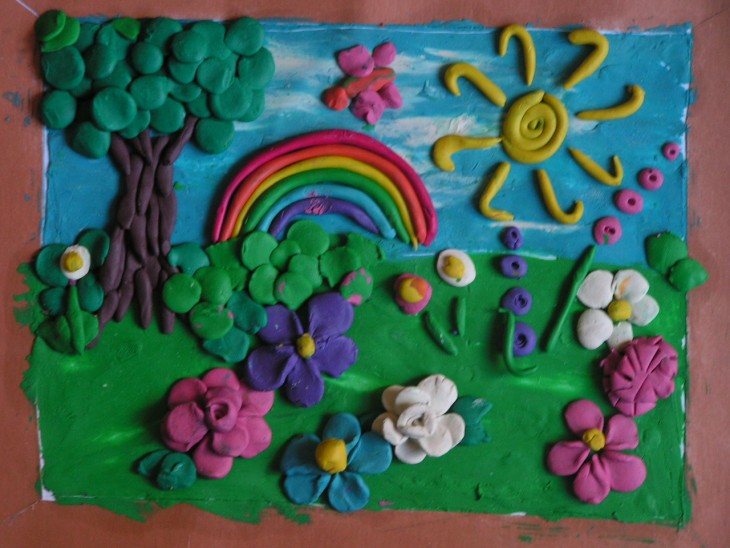
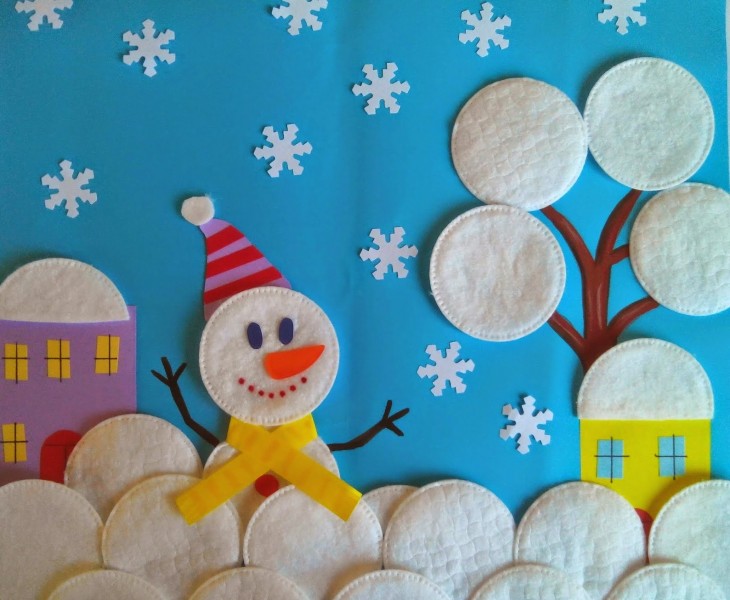
Children's crafts
You have learned how easy it is to make decorations for the garden, home and holiday. But that's not all! Beautiful and unusual crafts can be done at home and for children.
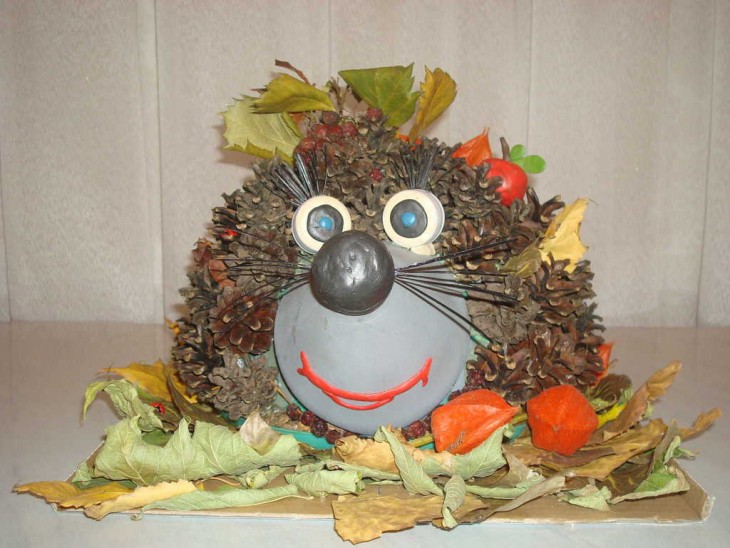
For example, an ordinary egg tray can easily turn into a cute hedgehog. It is enough to rummage around in cabinets and find everything you need for this:
- Egg trays;
- Wrapping paper;
- Acrylic paints;
- Beads;
- Scissors;
- PVA glue.
First you need to roll up the wrapping paper so that in its shape it resembles a pyramid. This is a blank for the future hedgehog. Then make a hedgehog muzzle from one cell by gluing it to the top of the pyramid.
Then you need to glue pre-prepared needles and ears. The nose for the hedgehog will be a pipka cut off from the end of one of the cells.
At the end of everything, you need to glue the hedgehog beads in place of the eyes and paint it with paints.
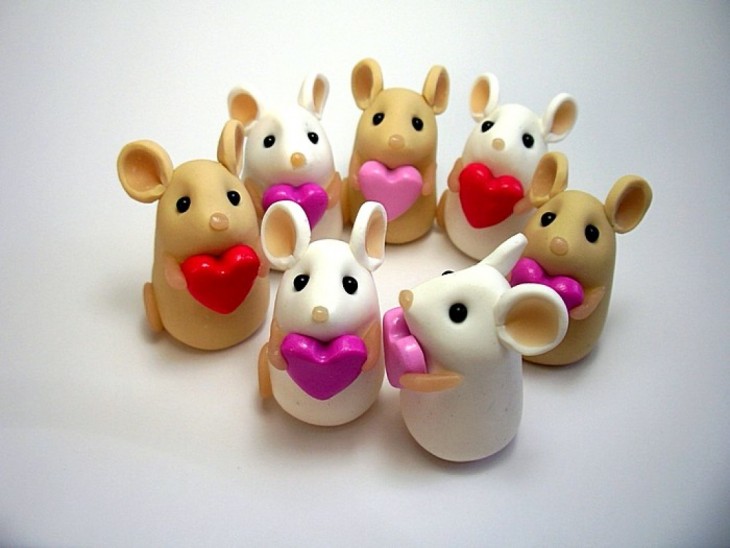
For those parents who like to sew with their children, the following lesson is to make felt mice:
- Make a pattern of felt, cut and sew parts together.
- Fill the resulting blank with cotton. Put a coin on the bottom for stability.
- Sew on ears, eyes and tail.
- Make a mustache of thread.

Now your kids can proudly boast to their peers that they sewed these mice themselves!
Crafts for your home
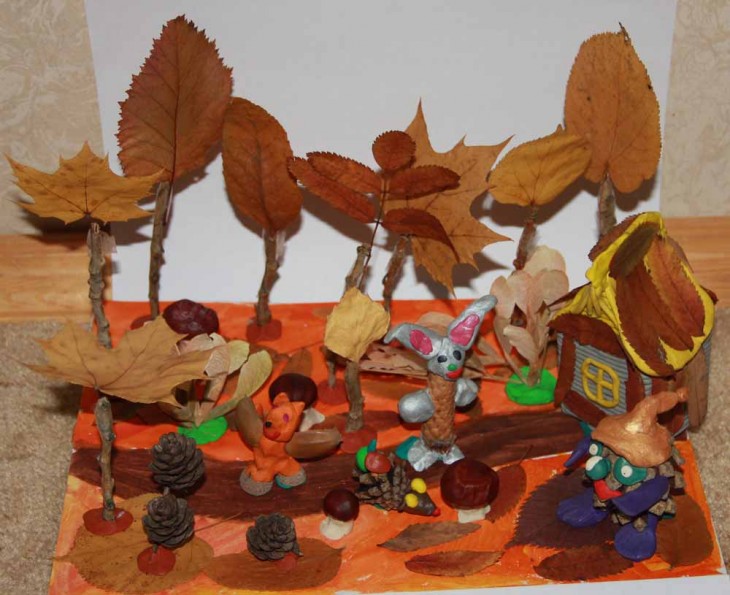
Unusual handmade candlesticks can become a wonderful element for room decor. To bring the idea to life, you will need to find a few small jars, dried leaves and glue.
Making a candlestick is pretty simple:
- To eliminate pollution, wipe the jar with an alcohol-containing solution.
- Put the leaves on the surface of the jar coated with glue and allow to dry.
- It remains to light a candle, place it in a candlestick and enjoy the warmth and coziness that creates the soft light of a candle.


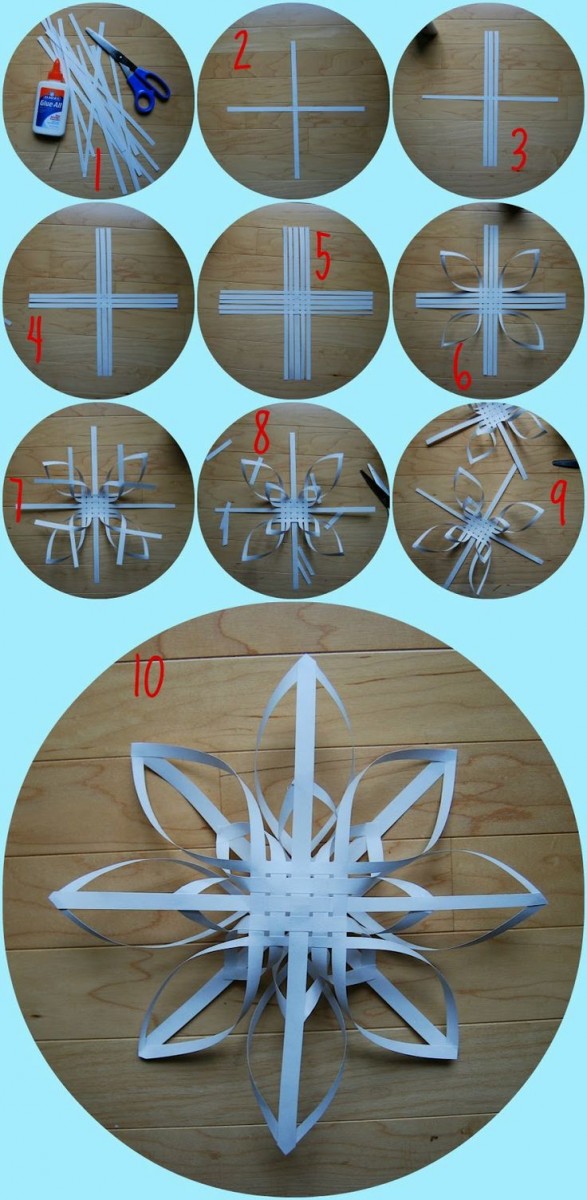
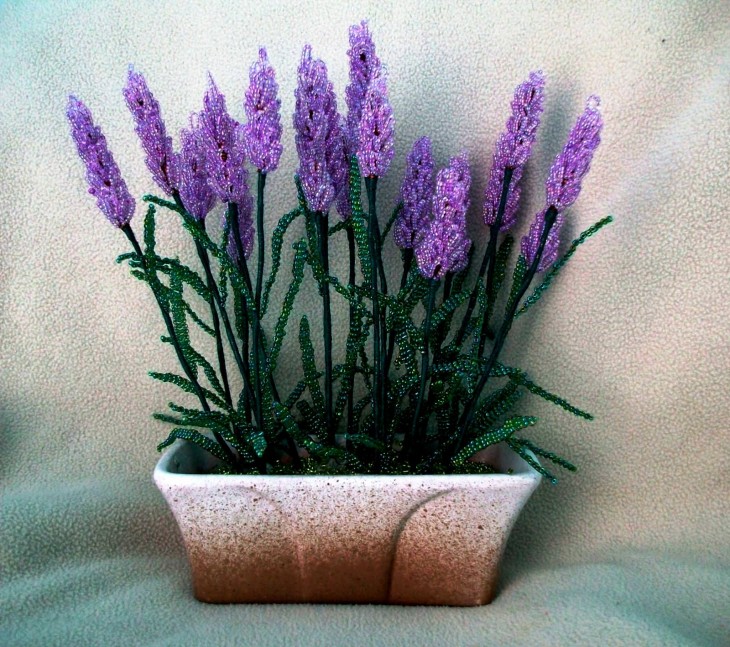
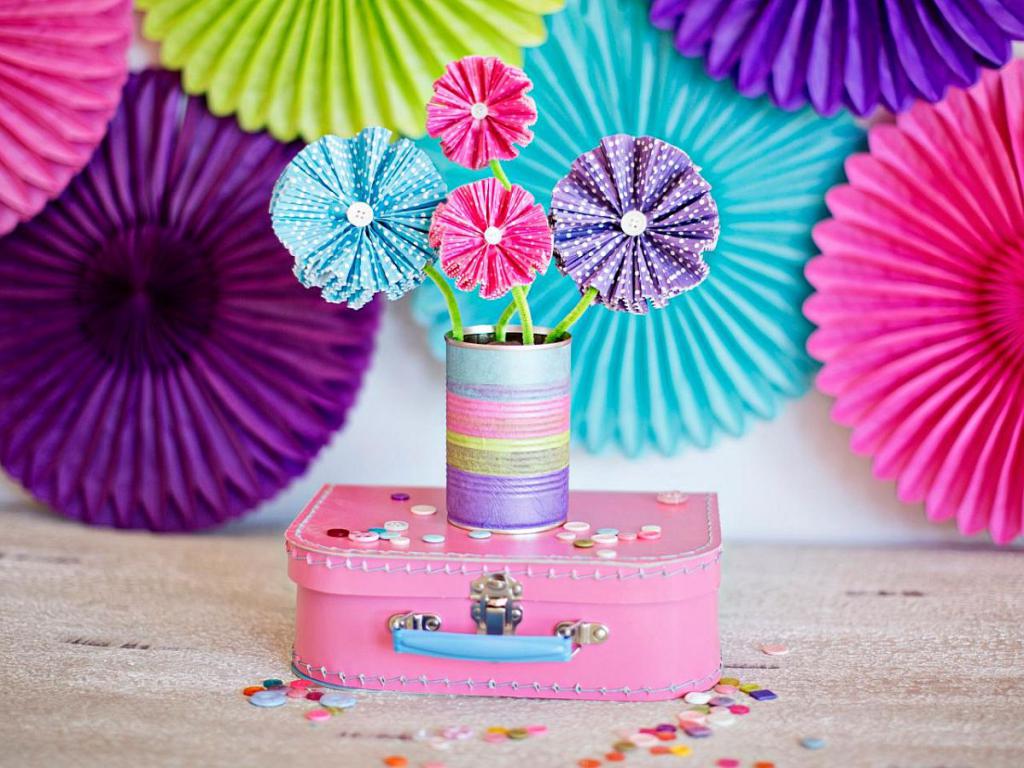
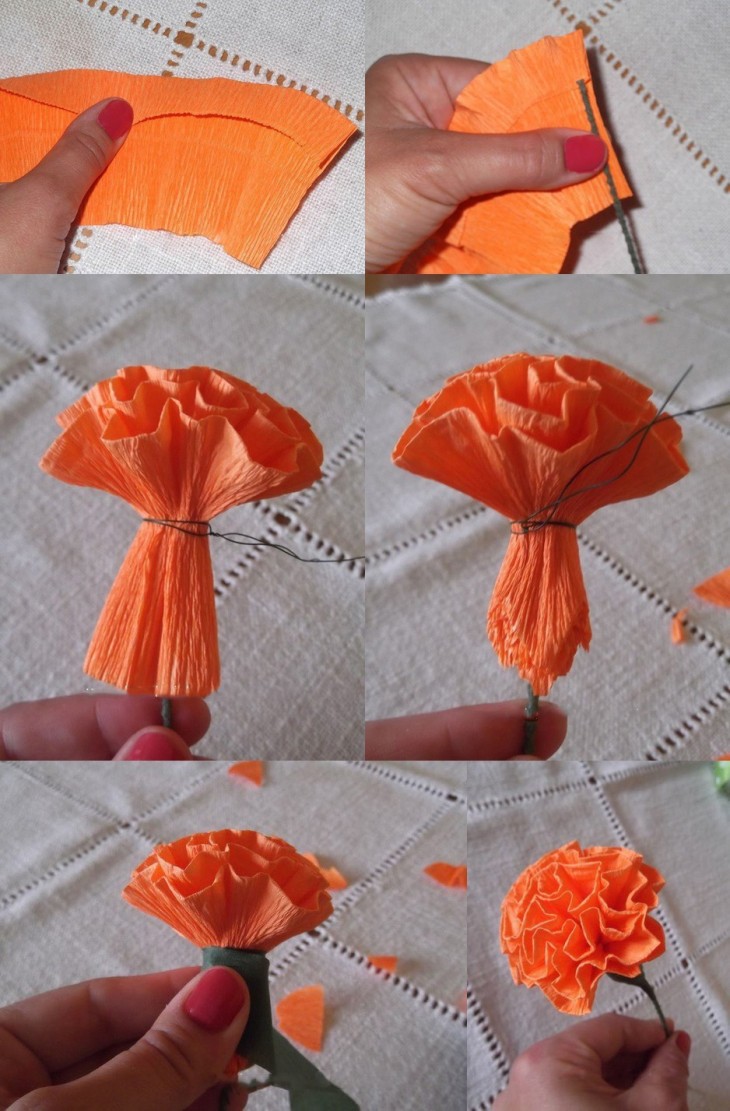
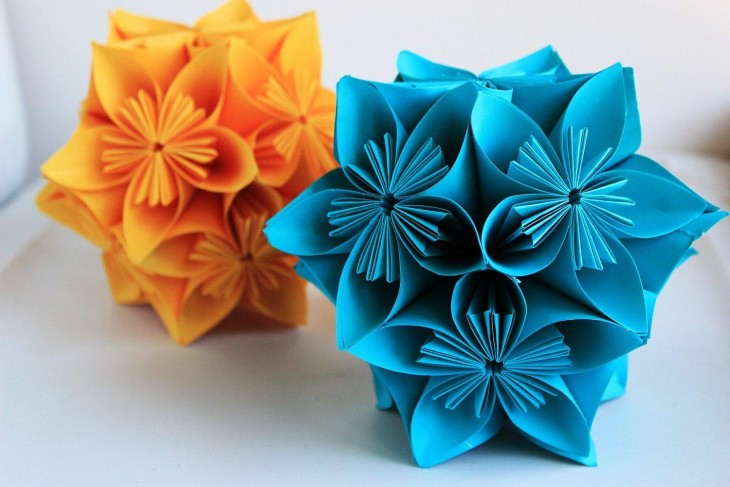
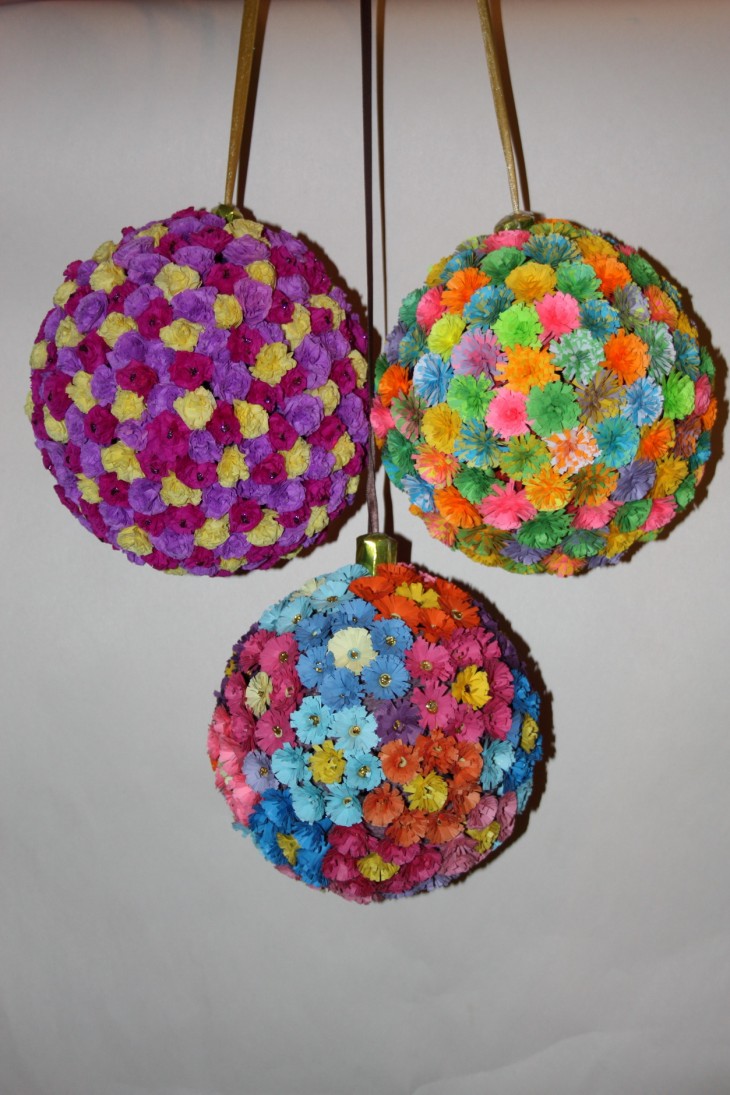
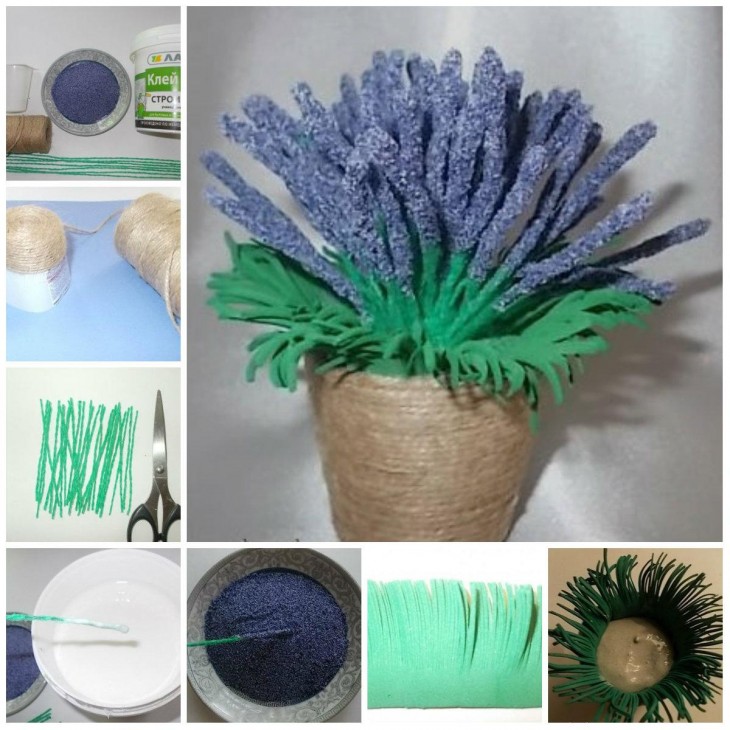
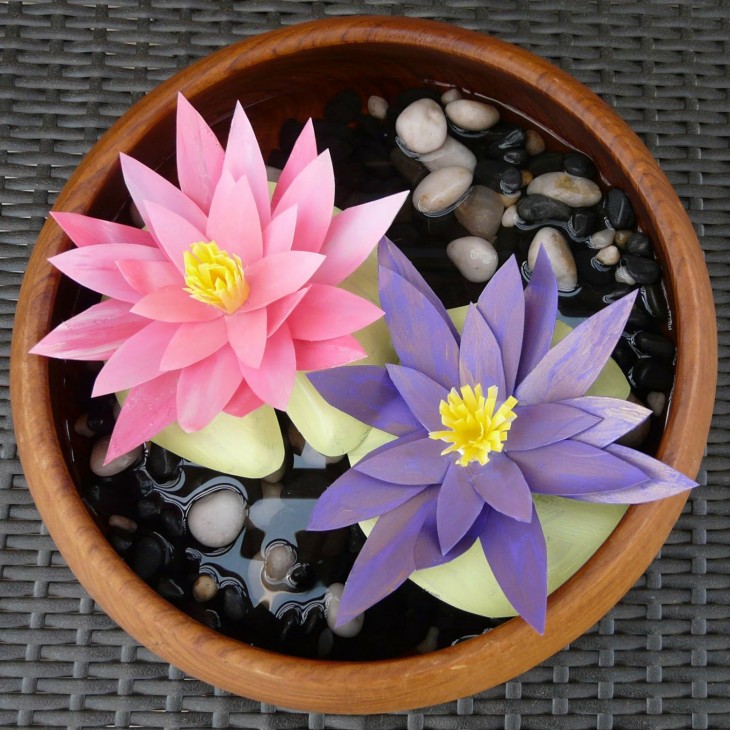
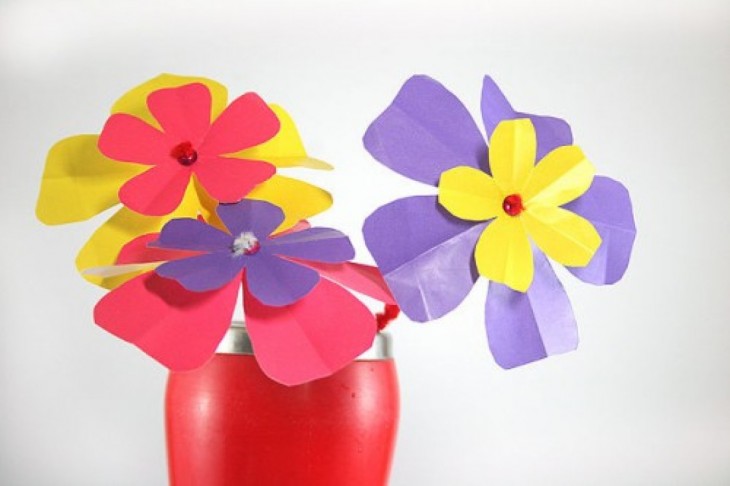
Nothing decorates a room and enlivens it like flowers. To create a bouquet you will need: wire, corrugated paper and tape.
Step-by-step instruction:
- Cut the required number of petals from paper. To create one flower you will need from 10 to 15 such petals.
- The core is made of yellow paper, cut by a fringe on one edge.
- Leaves are cut out of green paper.
- A piece of wire of the required length must be wrapped in green tape, wrapped on one side with a strip of yellow paper, designed to create a core and secure it.
- Stick on the petals, making them voluminous in advance.
The flower is almost ready. It remains only to glue the green leaves on the stem.
The most common box made of polyplast will noticeably change if you put liquid wallpaper on it.
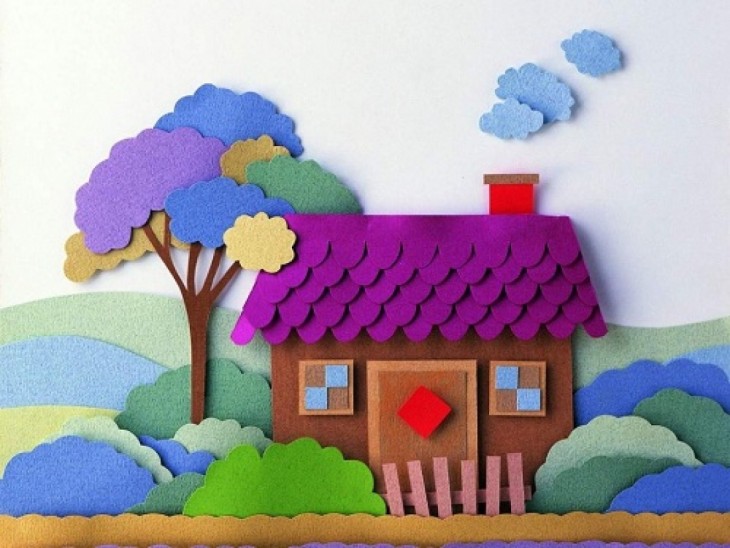
Crafts for decorating a room
Each of you can make very unusual things that will decorate your home and attract the attention of guests.
An ordinary housekeeper may well become such an object. For its manufacture you will need thick napkins, cardboard, glue and paints.
Step-by-step instruction:
- From the cardboard blank, it is necessary to cut the base for the key holder of the right size and stick on it on one side the loops on which it will be hung.
- Since the key keeper will imitate brickwork, you need to cut out small rectangles from cardboard and stick them on the base.
- Prepare a plate with the inscription and stick it in the center of the workpiece.
- Carefully stick the crumpled napkins to the “bricks” and soak with glue.
- When the workpiece is completely dry, you need to paint it to the color of the brickwork. If necessary, the procedure can be repeated.
- To consolidate the result, coat the key holder with varnish and allow to dry.
The simplest paper bags will have a second life in your capable hands. It is enough to cut them in equal strips, wrap them on a stick, carefully remove and fasten from both ends. Then these tubules need to be woven in the form of a basket around a flower pot.
Then stick the rope into the holes made in the upper part of the pot, fixing it with knots. And in less than an hour, a new original planter will decorate your home!
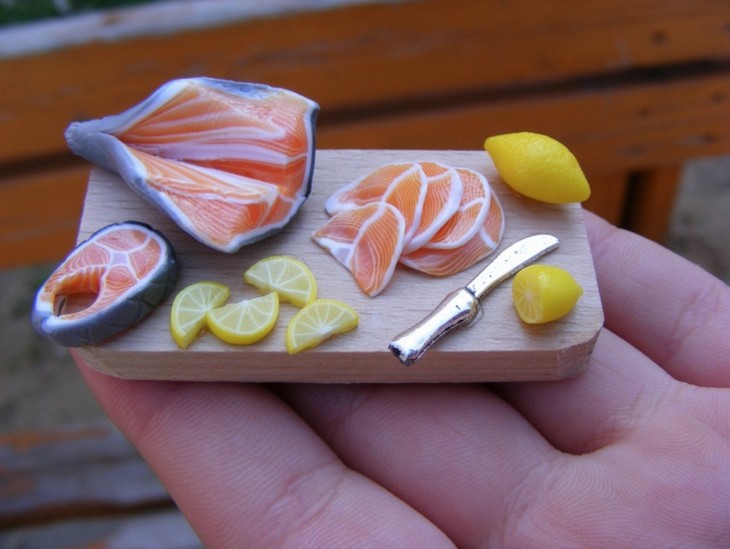
Photo crafts at home