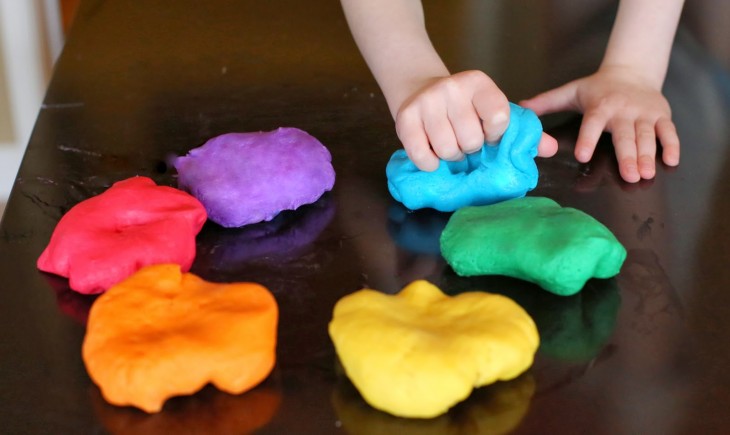
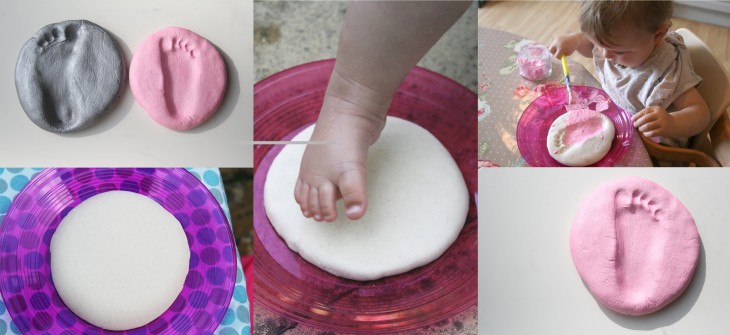
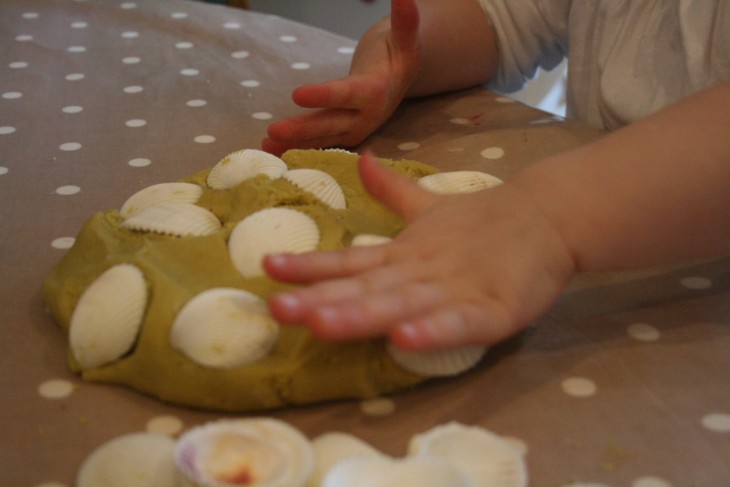
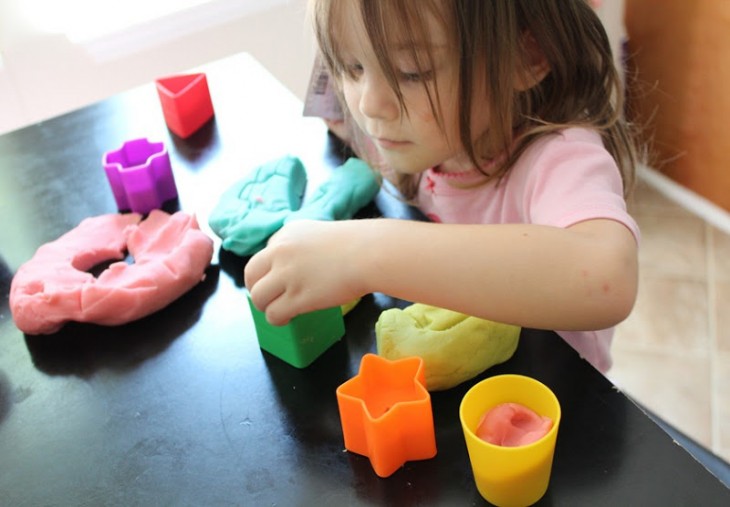
Modeling from the dough is a fascinating way to spend time with children. After all, they not only sculpt, but also cook: they can experiment with the flour mixture in the process of measuring and mixing the ingredients, and then observe the metamorphoses that occur with the finished product when the temperature changes during the drying process.
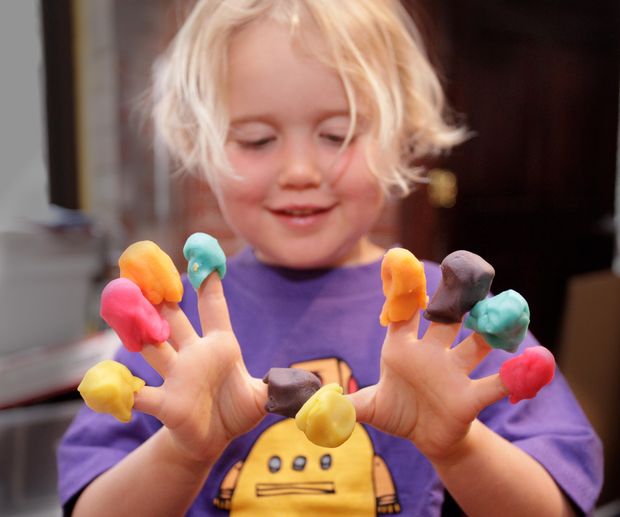
In addition, crafts sculpted from salt dough are harmless to children, they do not contain allergens and you can safely taste them.
Figures made from home-made flour mixture are harder and are better preserved than clay.
Review Content:
The basic recipe for modeling dough
Before you make the dough for modeling, you need to imagine what kind of products will be made, whether it is necessary to paint the dough, how long the modeling will take, what drying mode will be selected.
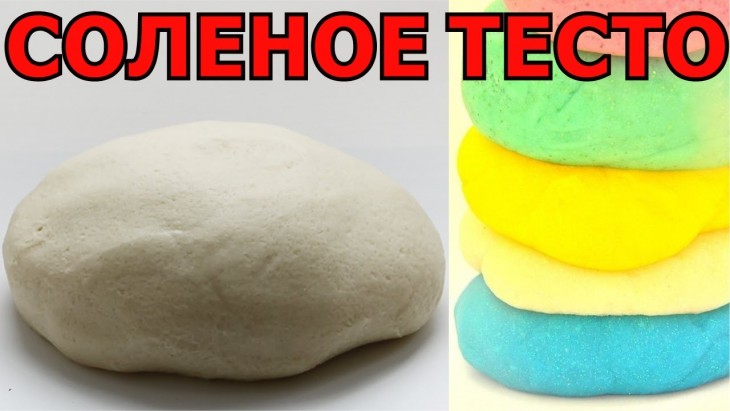
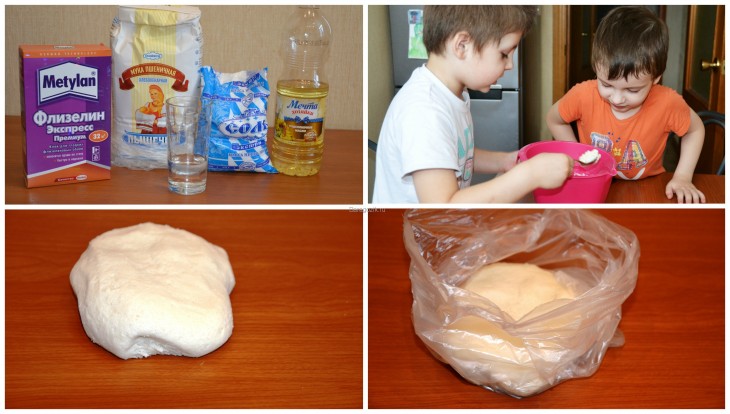
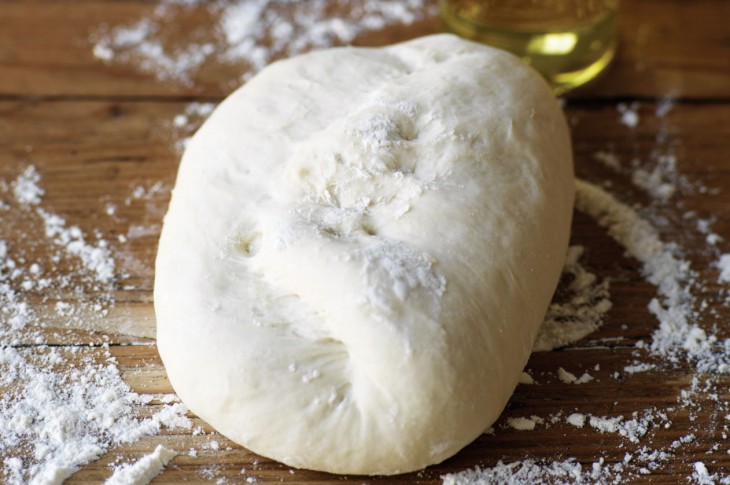
The basic recipe for craft dough consists of one part of salt and two parts of wheat flour to which citric acid is added - 2 tsp. 1 glass of salt and 1 tbsp. l vegetable oil. The amount of water added during kneading should be equal to the amount of salt.
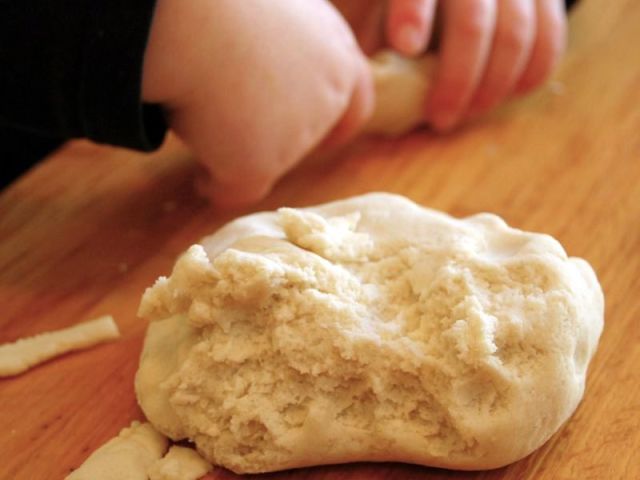
Method for making dough
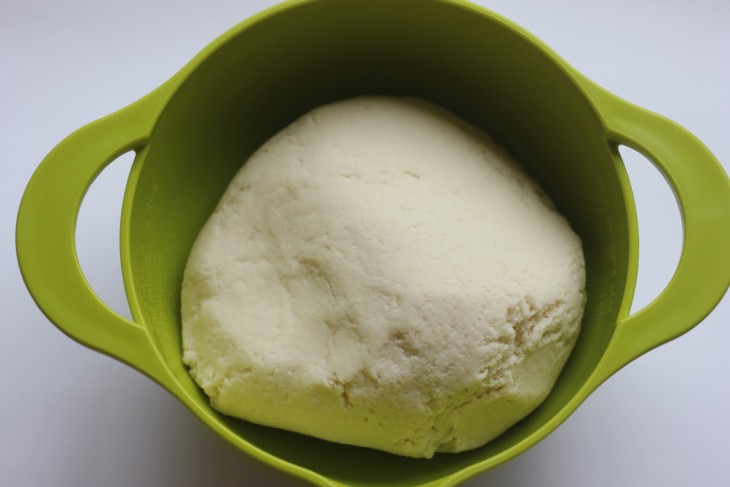
The dough is made in the following order:
- Mix flour with salt and citric acid and pour this mixture into a pan;
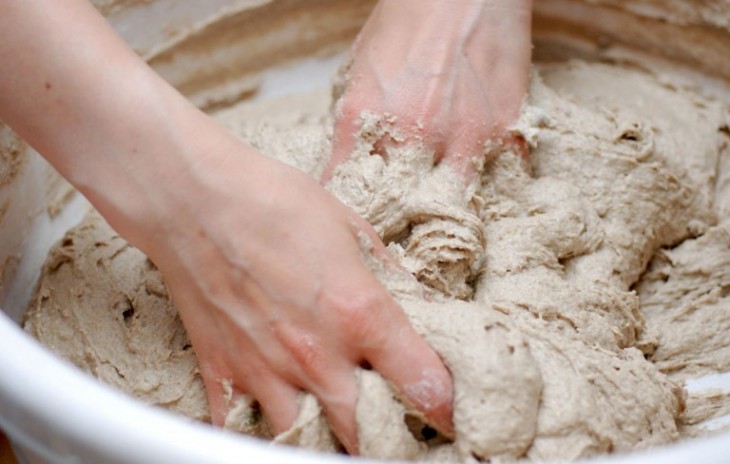
- Put the pan on moderate heat and constantly stirring to gradually add water until the dough starts to lag behind the pan and you can roll it into a lump
- Remove from heat and knead the dough with your hands.
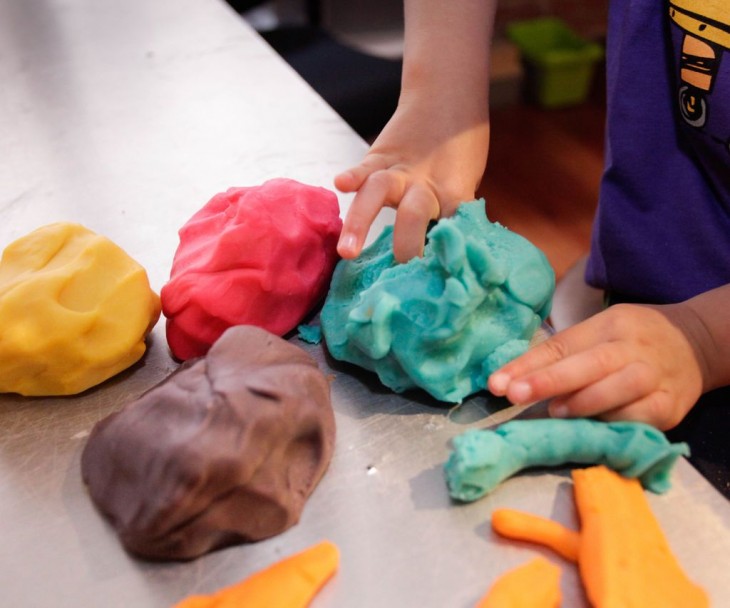
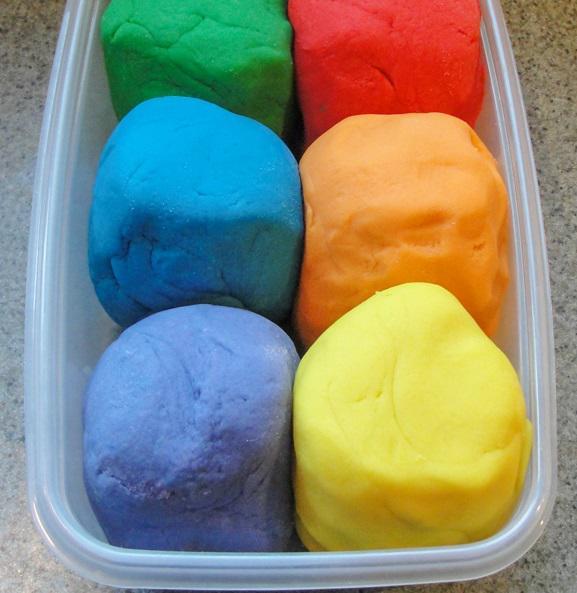
Food coloring or gouache should be diluted in water, which is added before kneading the dough.
In the process, depending on the desired consistency, the salt-flour mixture can be further diluted with water or oil, or flour can be added for hardness.
It is better to prepare the dough in as small portions as possible, right before the start of modeling, and store it only in a tightly closed container or cling film.
Salt Dough Drying
In order for crafts made from salt dough to be made with their own hands to keep their shape, not to break, and not to crack, you need to choose the right drying mode. You can simply leave the figures for their natural drying in the air, you can put them in the oven.

There are two different methods for drying in the oven. The first is to preheat the oven, then turn it off and place the figures in a heated space. You can also bake products at 100 degrees, making sure that there is no burning.
The master class on making crafts from dough primarily involves experimenting with the material: the composition of the dough and the drying mode, so failure in this process is inevitable.

Useful advice: When you start modeling with children, you need to configure them so that the first luck, after many not quite aesthetic attempts, becomes a real miracle for them.
Salt Dough Modeling: Ideas and Tips
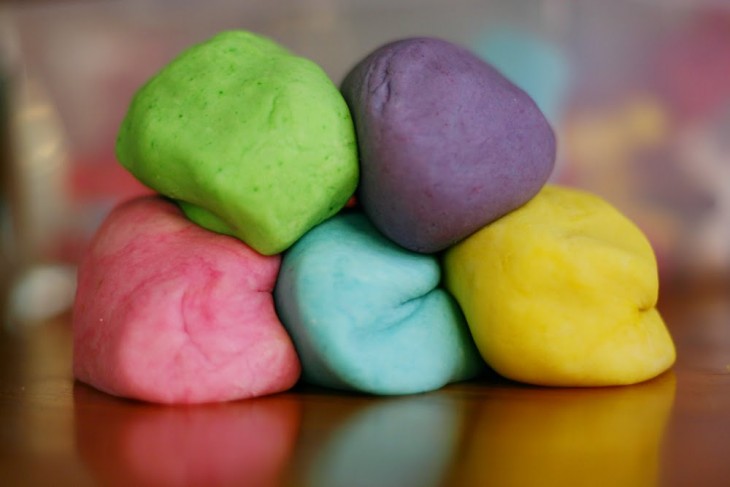
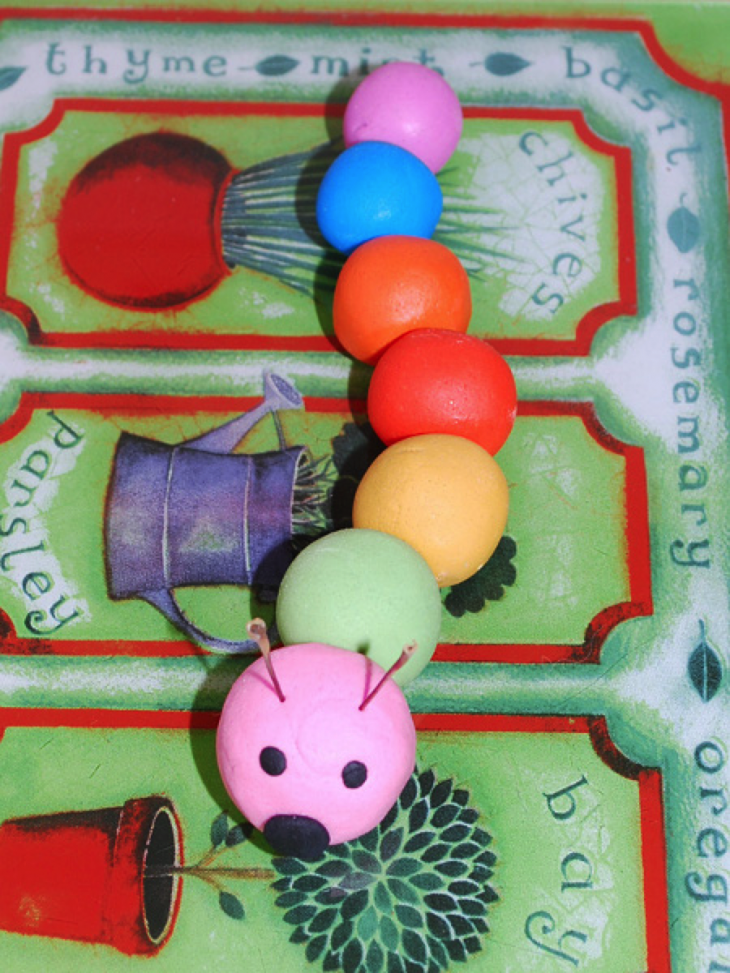
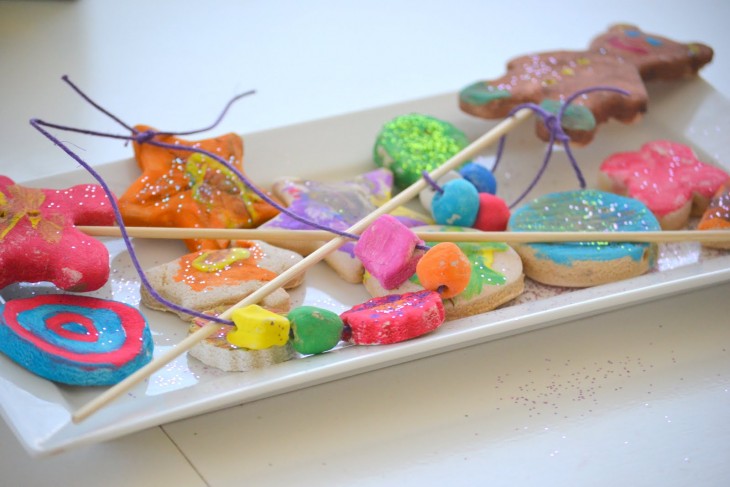
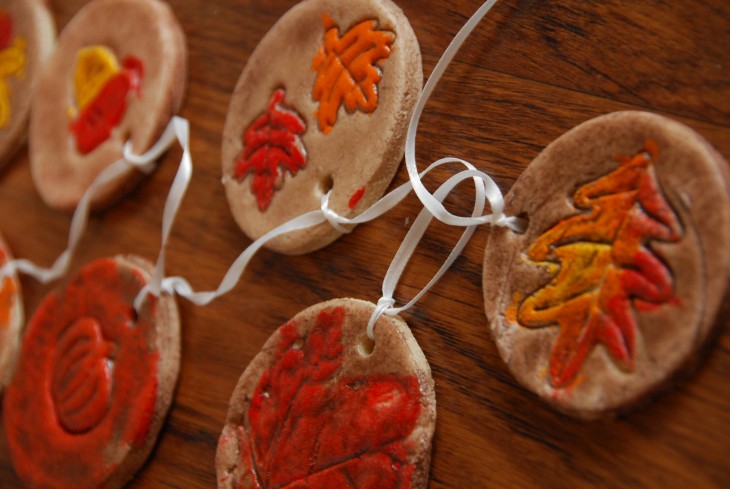
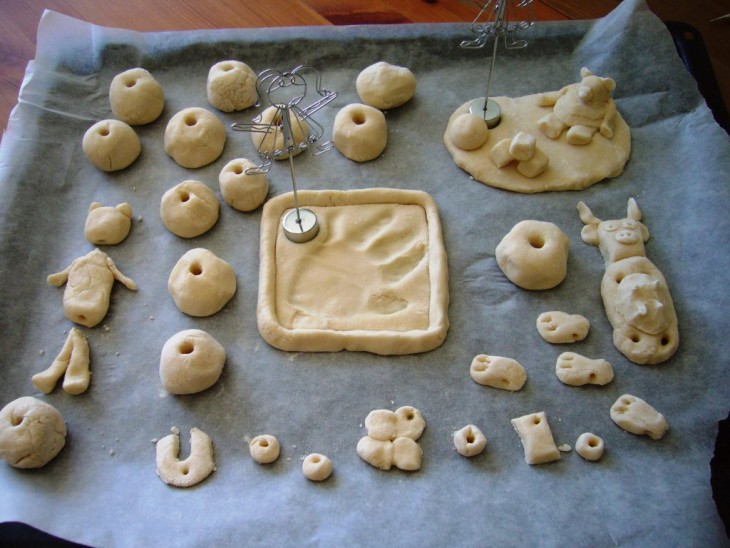
It is better to start with simple and uniform figures, such as, for example, round beads of various colors and sizes. From them you can make garlands to decorate the room.
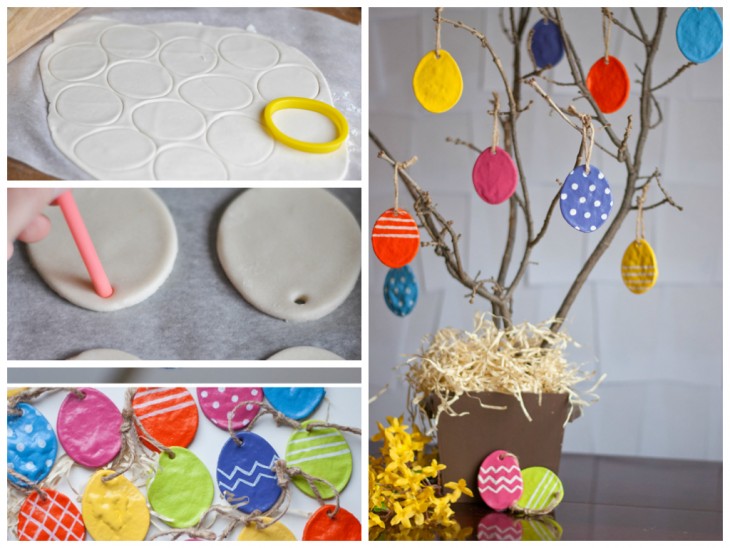
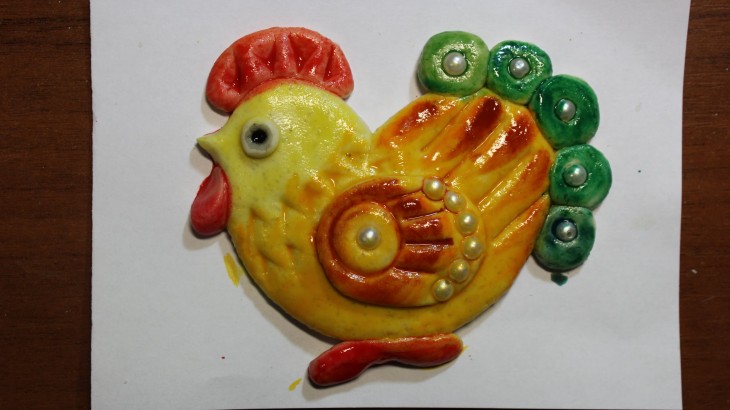
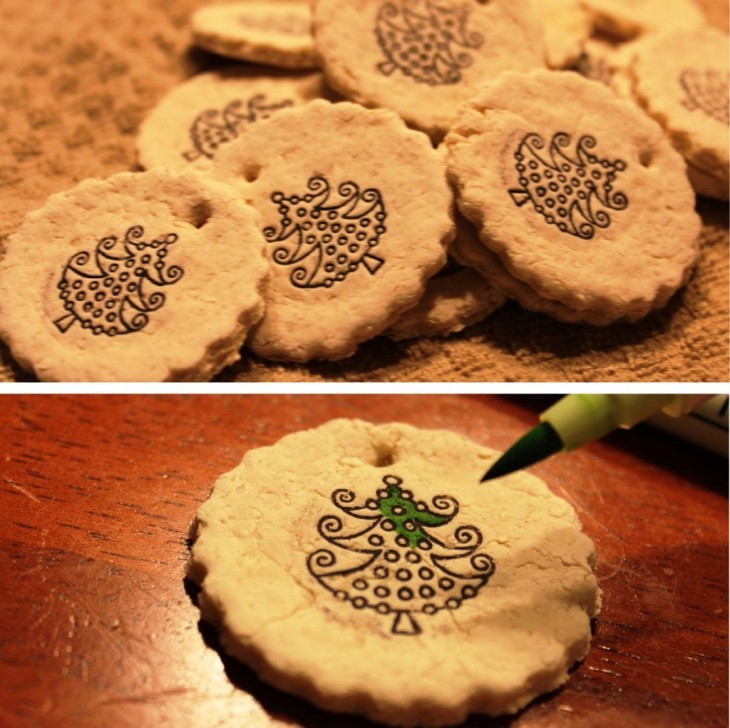
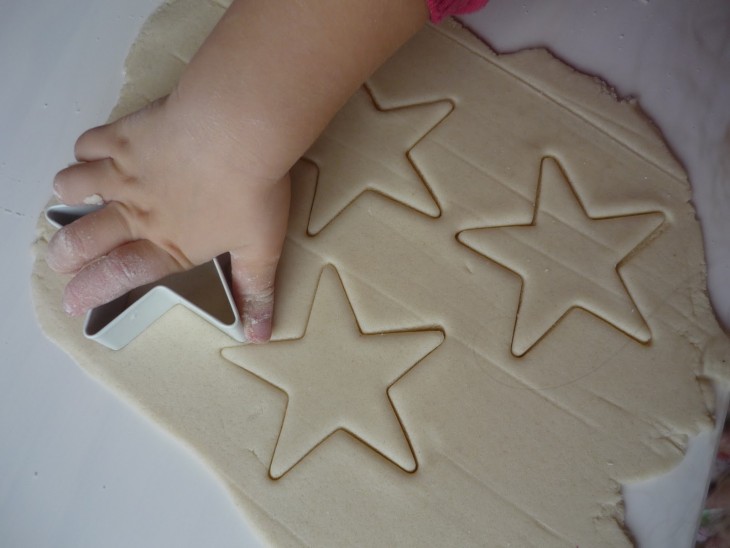
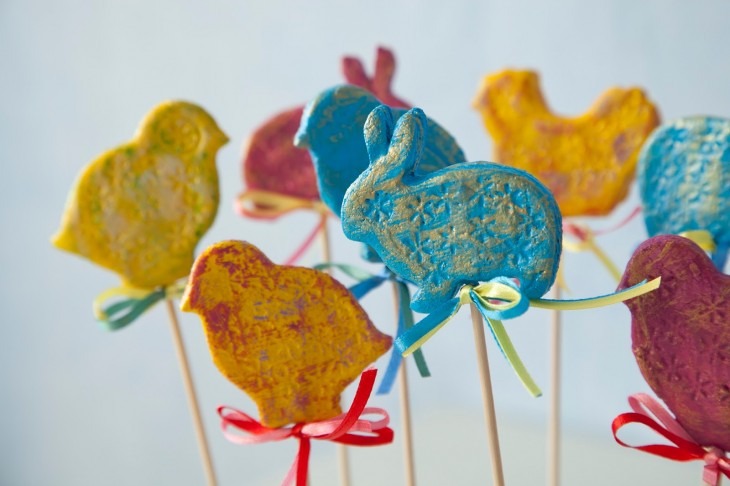
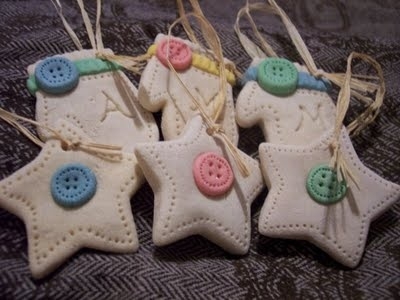
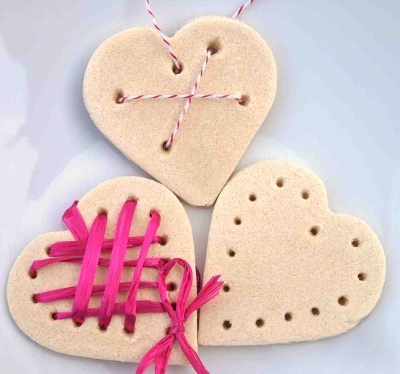
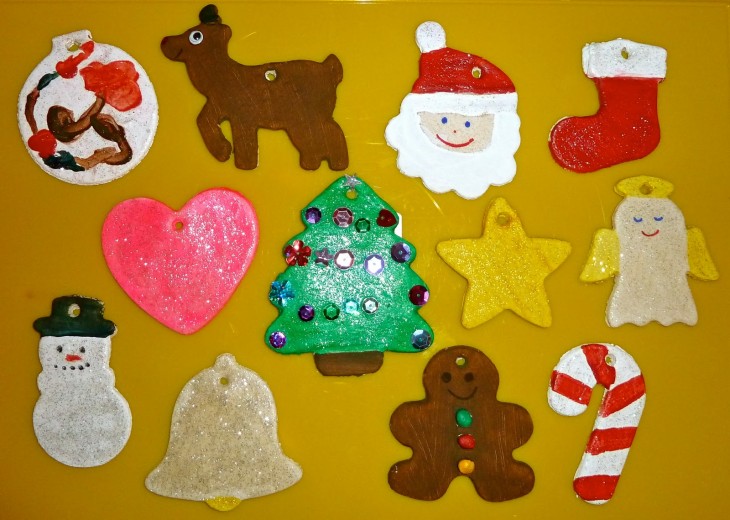
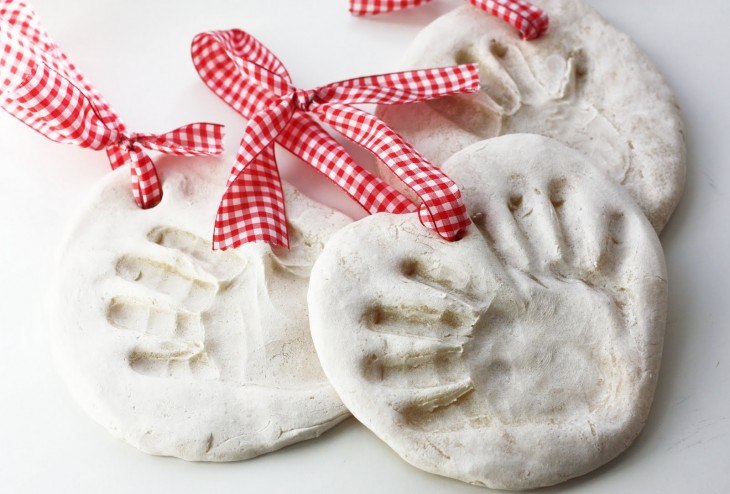
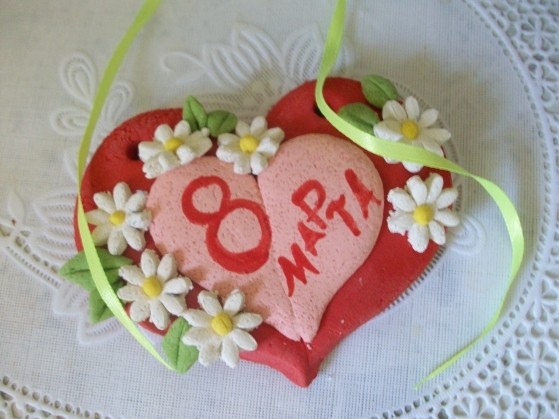
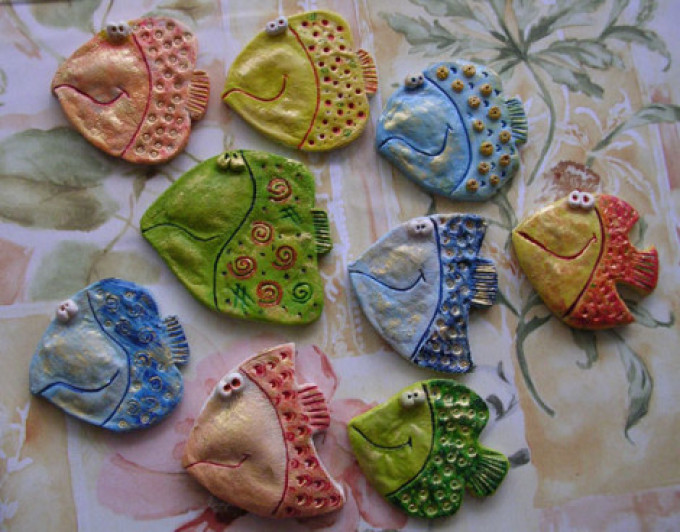
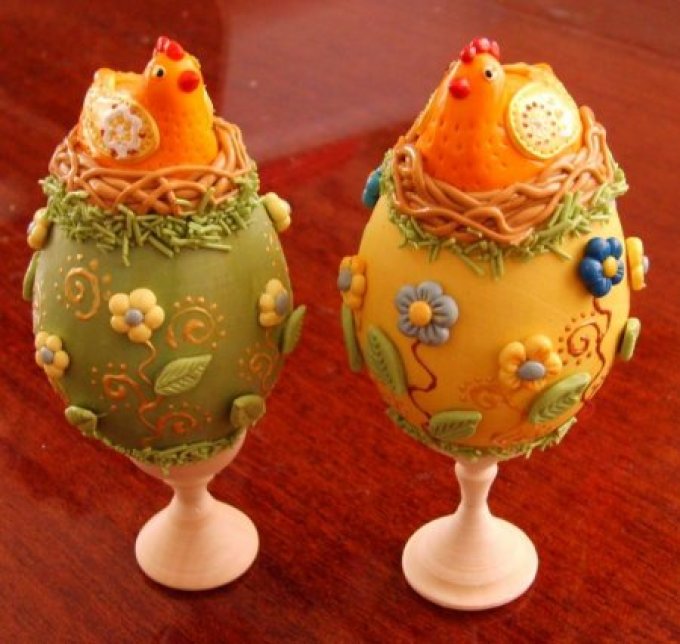
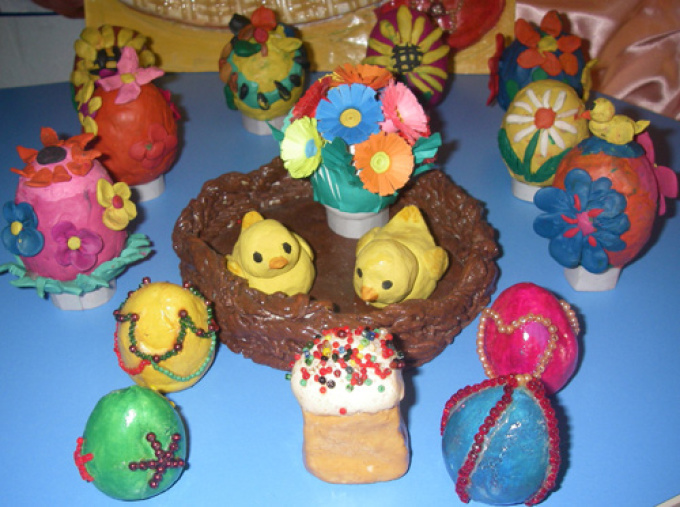
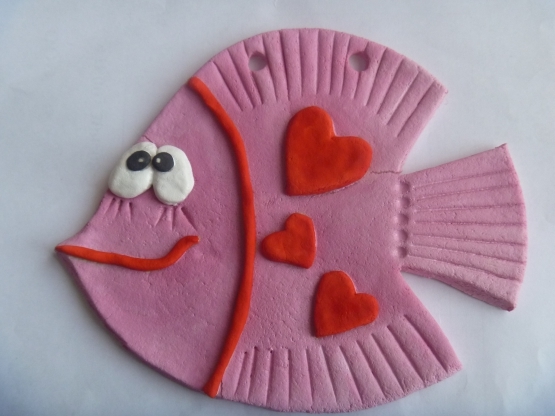
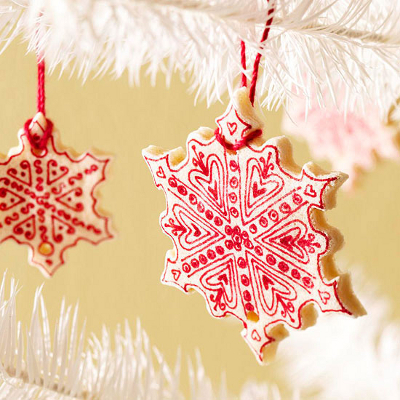
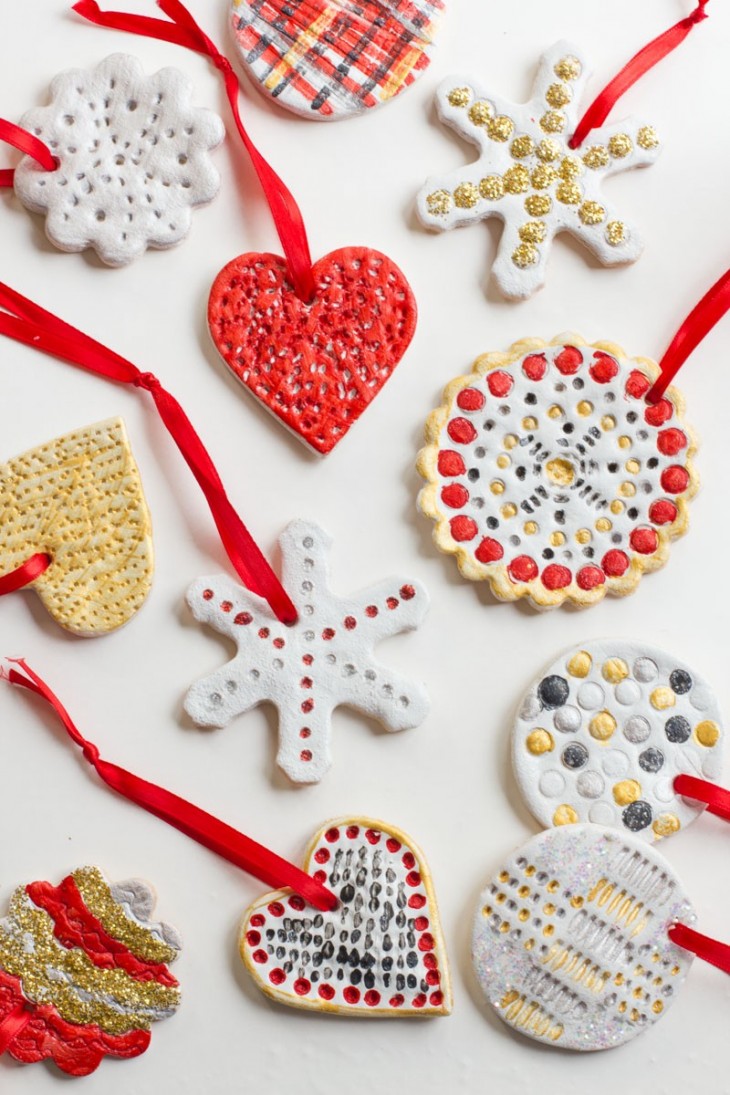
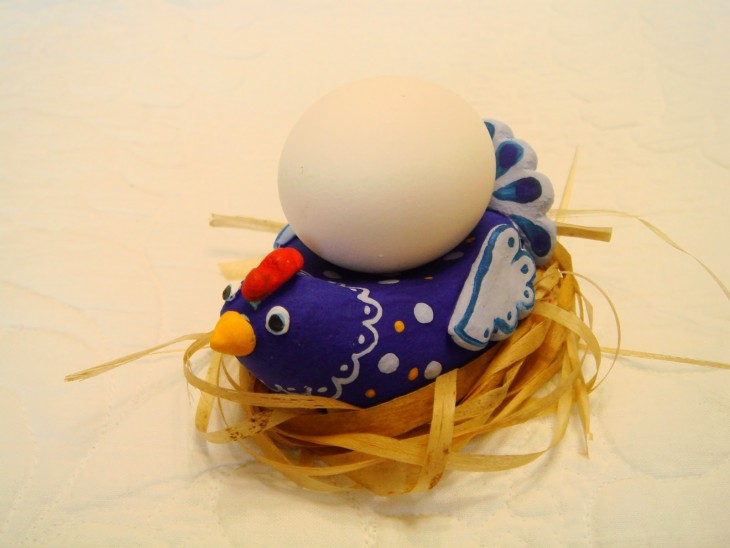
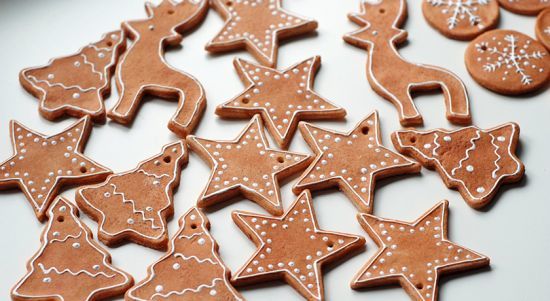
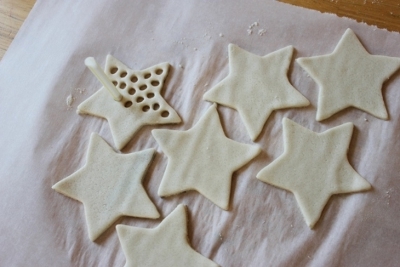
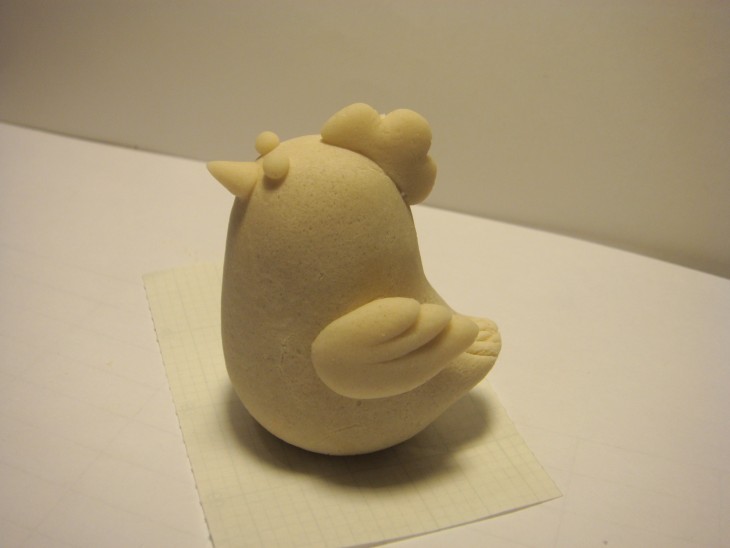
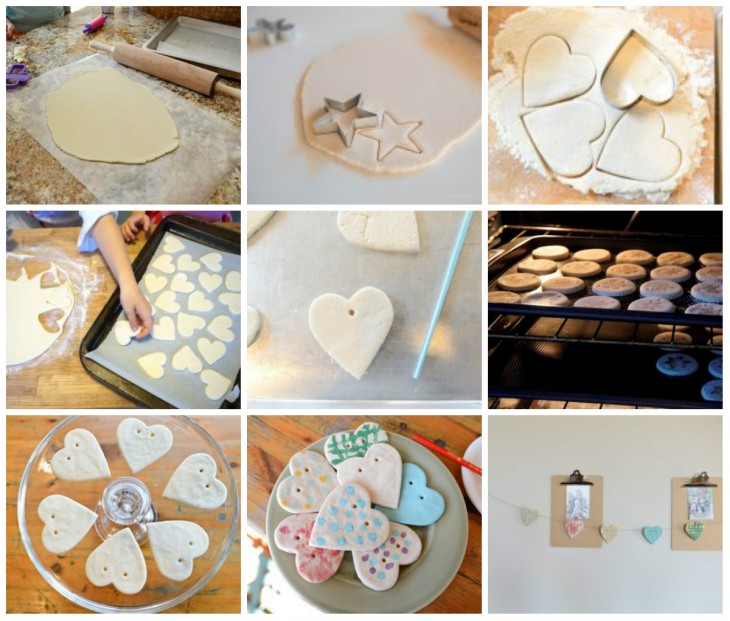
Then you can master more complex silhouettes - stars, hearts, and voluminous figures - Christmas snowflakes, Christmas trees, Easter eggs with patterns, egg coasters, chickens.

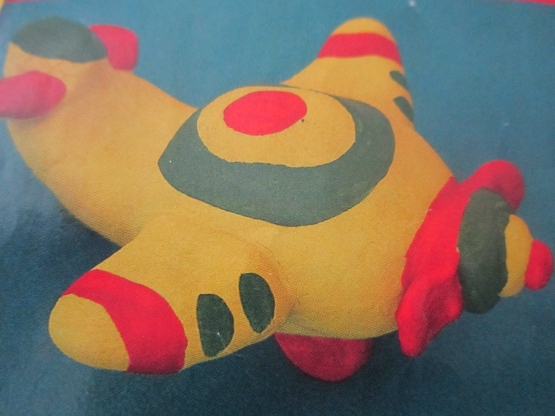
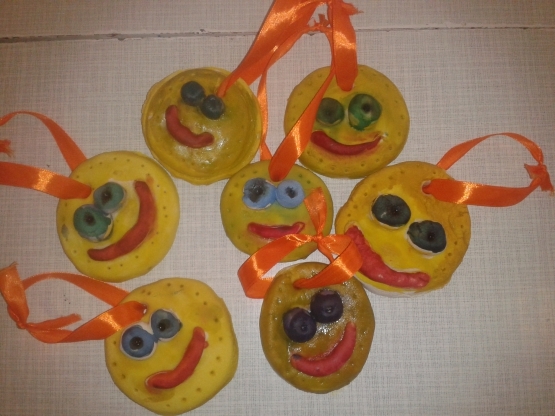
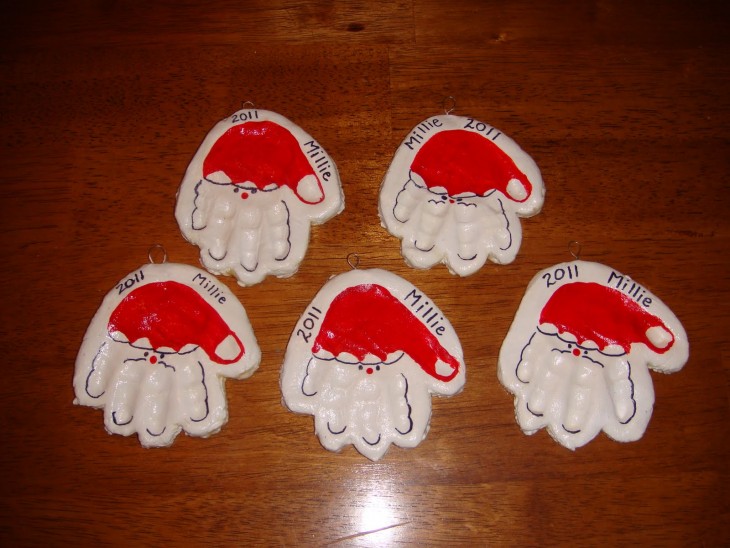
You can time the production of figures for the holidays, or choose more neutral motifs for all occasions, making souvenirs and gifts in the form of stylized horseshoes, suns, stars, airplanes and funny faces.
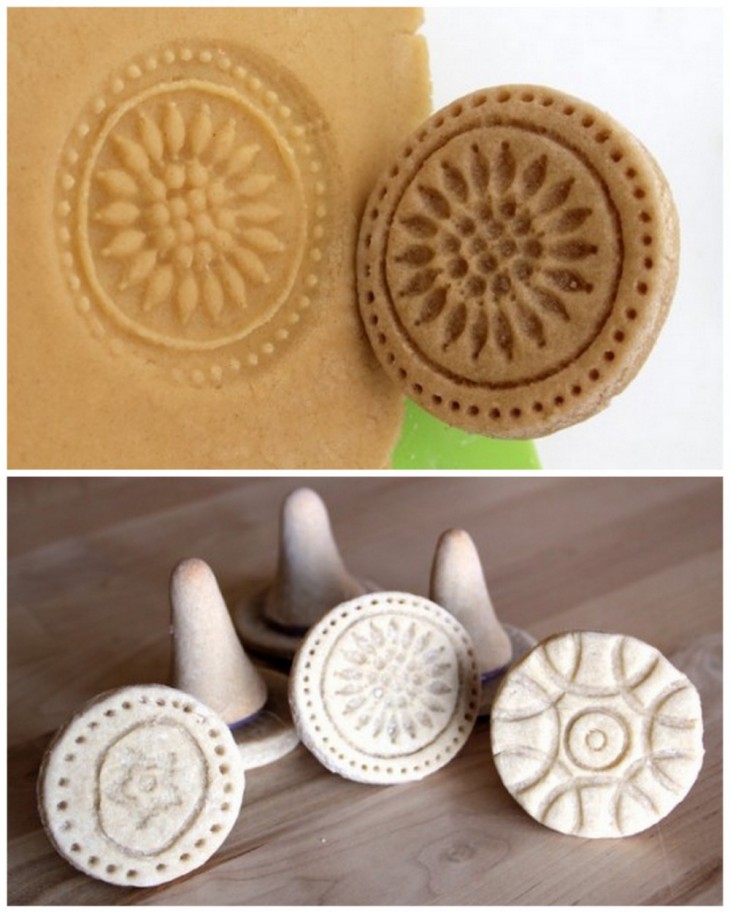
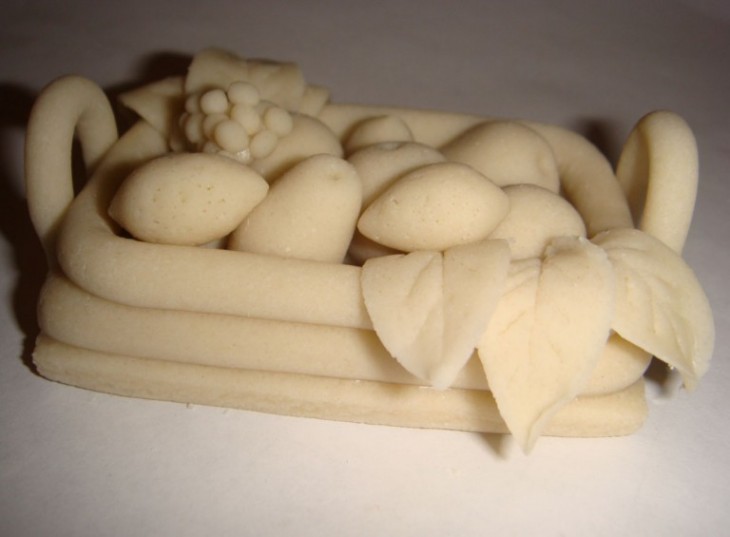
During sculpting, you can use special molds for sculpting and baking, and other things, at the tip of your imagination: garlic crush - to get thin dough ropes, bottle caps - to cut circles, plastic parts of toys - to get prints, almost everything that at hand from a toothpick to wheels from toy cars can be a tool for sculpting from dough.
Note!


In salt dough, it is easy to make holes, both decorative and for hanging on threads. Holes on flat shapes retain their shape when dried.
But in the manufacture of more voluminous parts, such as spherical balls, in order to get a hole for the thread, you need to pierce the figure with a toothpick or other sharp tool made of wood or plastic and do not remove it until the product dries.
Useful advice: To glue elements from the dough, you just need to wet individual sections and attach them to each other.
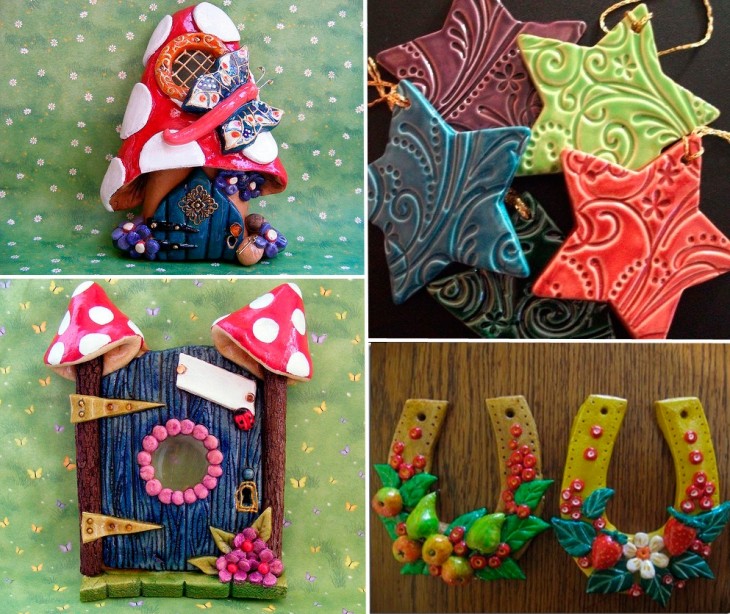
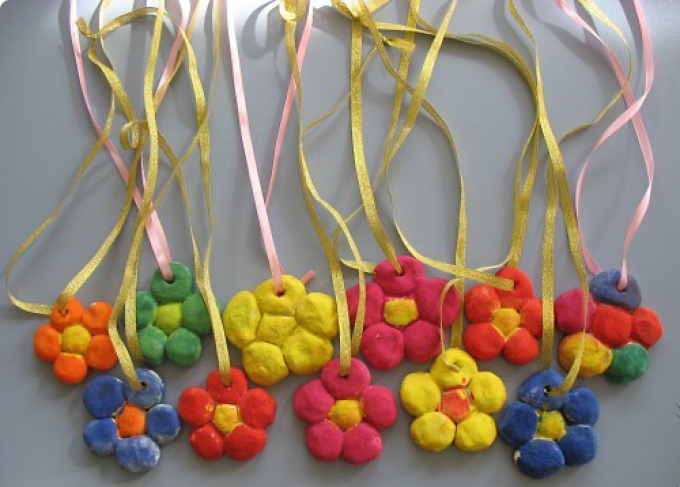
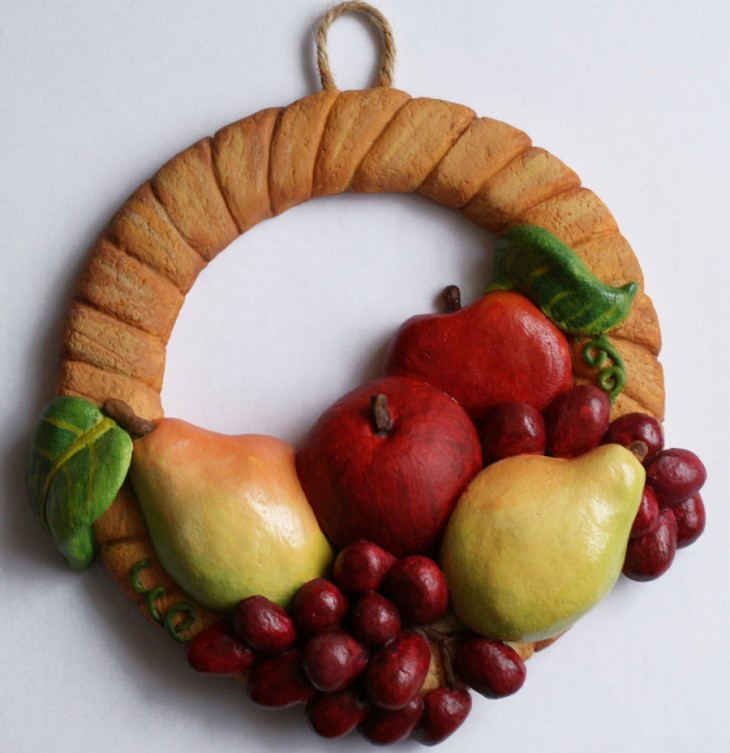
From voluminous and flat figures you can make garlands, key chains, medals and pendants. You can fashion chests and cups for storing jewelry, small treasures and pencils.
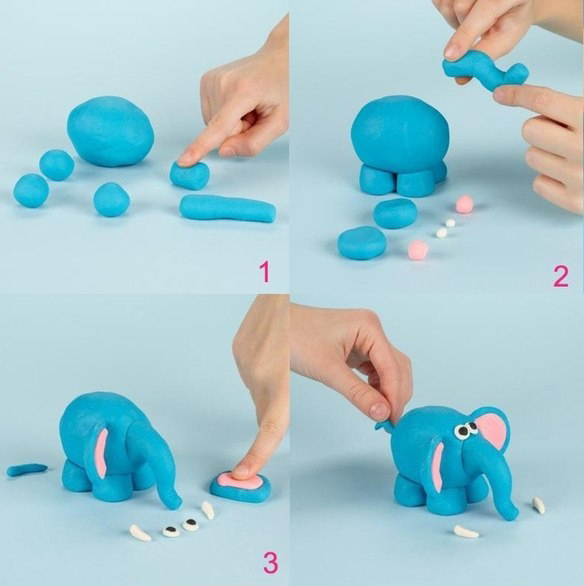
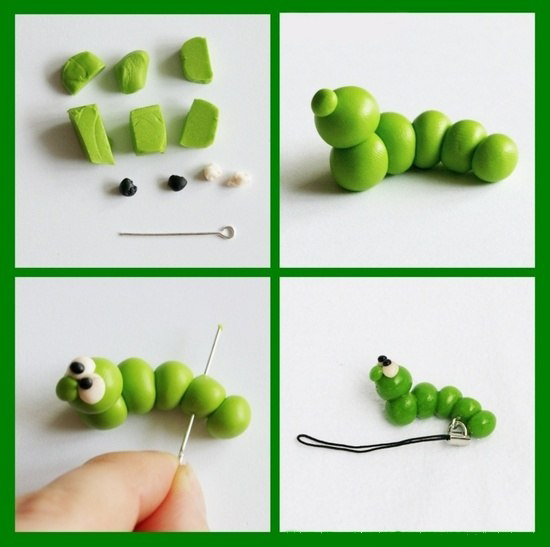
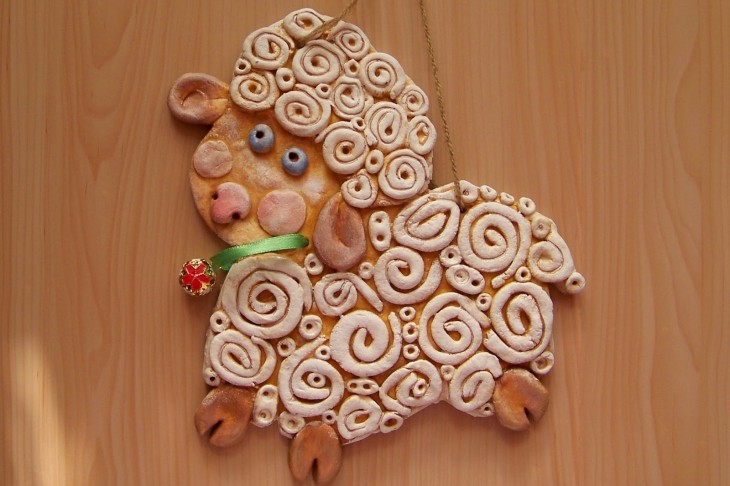
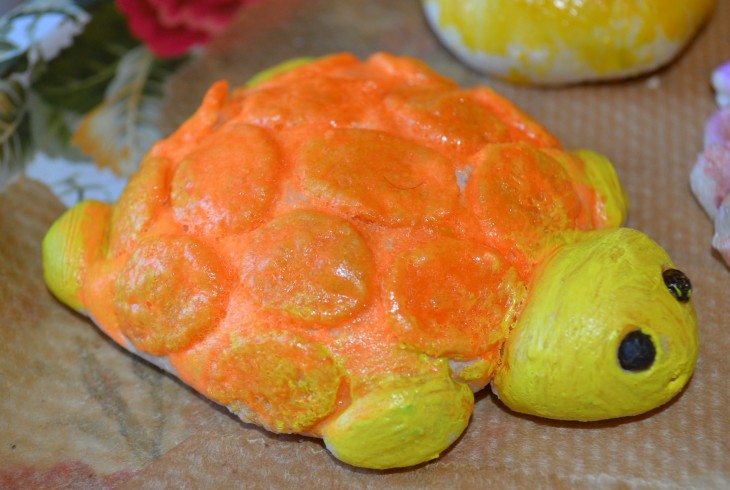
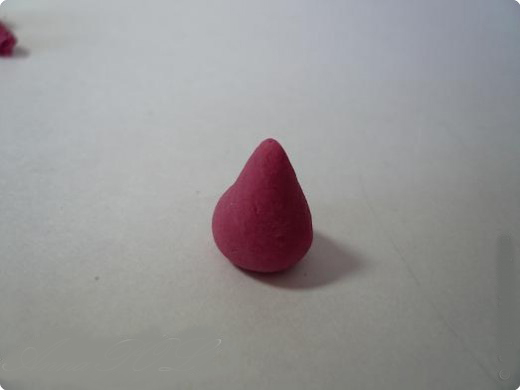
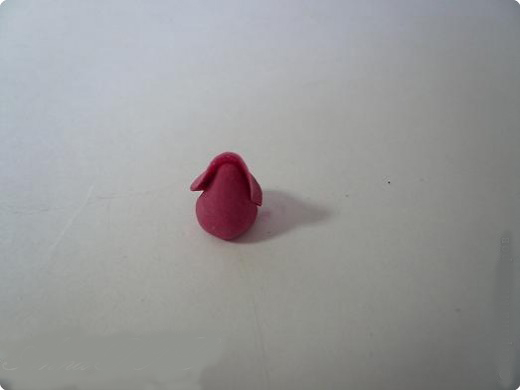
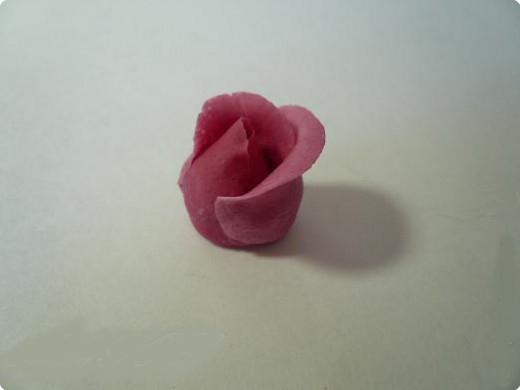
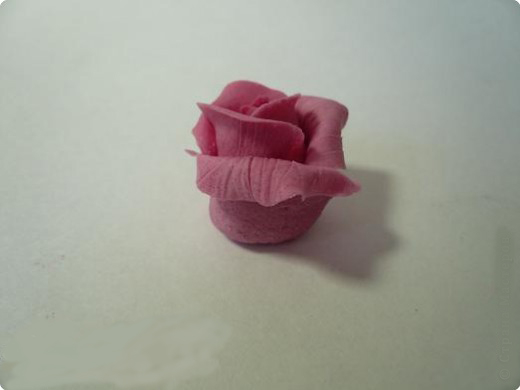
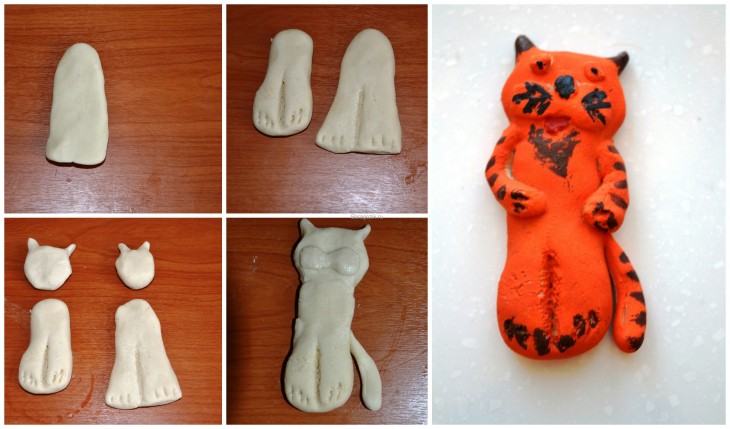
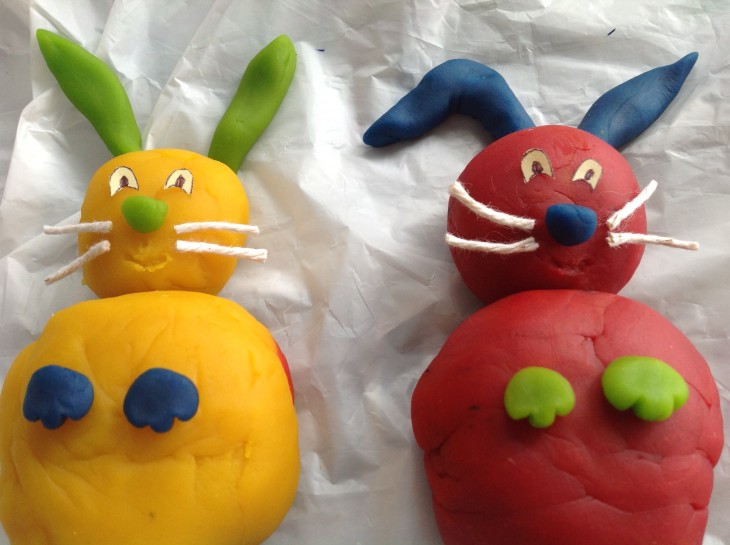
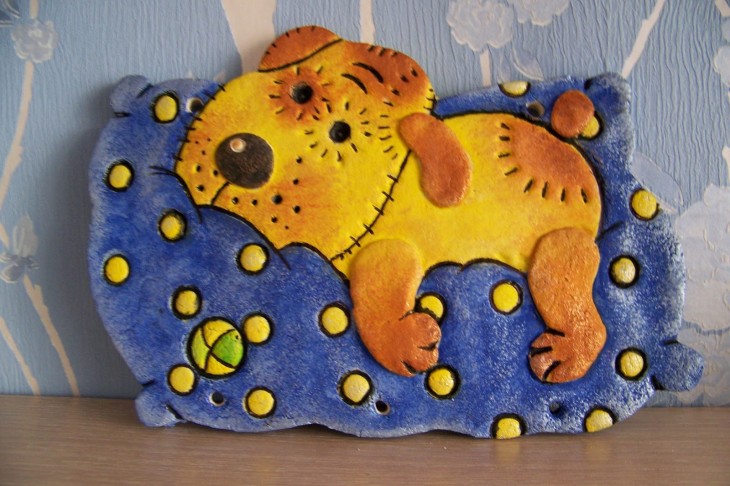
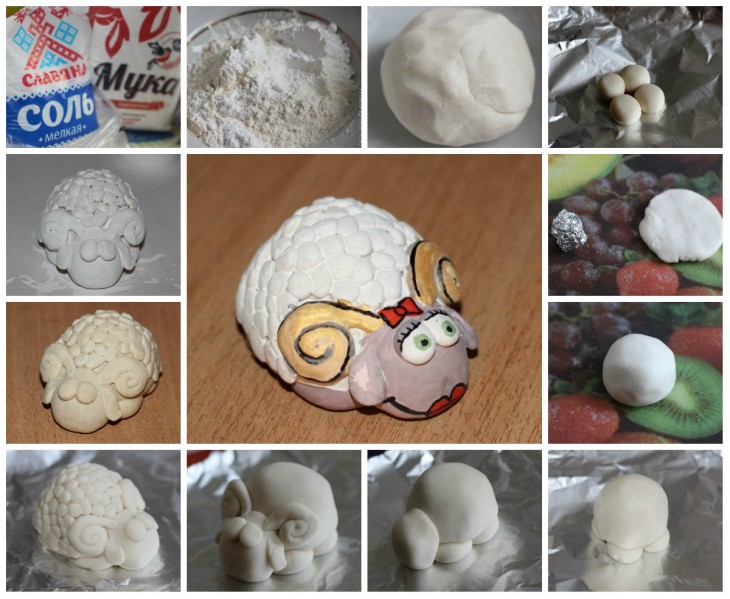
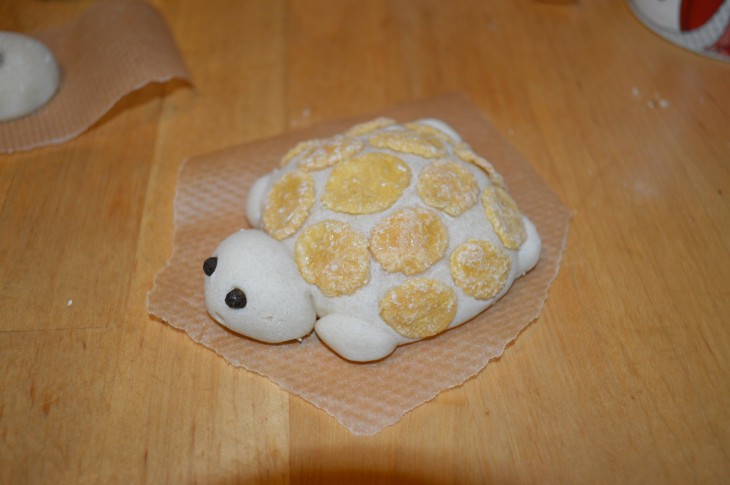
Volumetric figures of animals
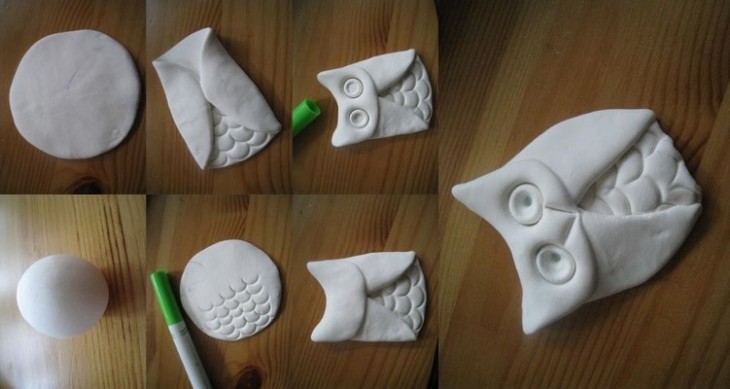
Volumetric figures of animals are especially popular among children, they can be made in accordance with the popular step-by-step instructions that are intended for clay and clay crafts.
Note!

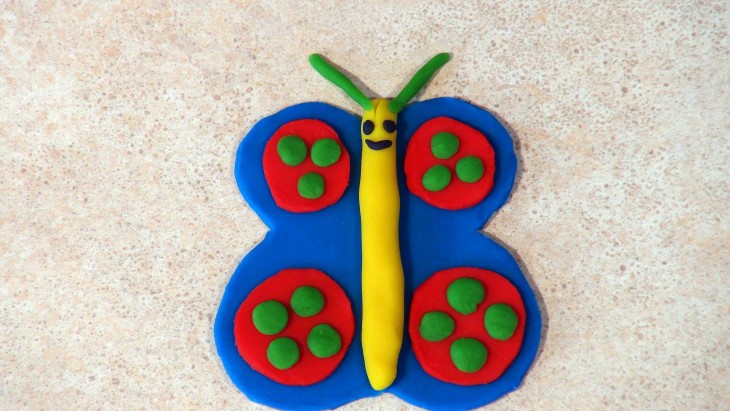
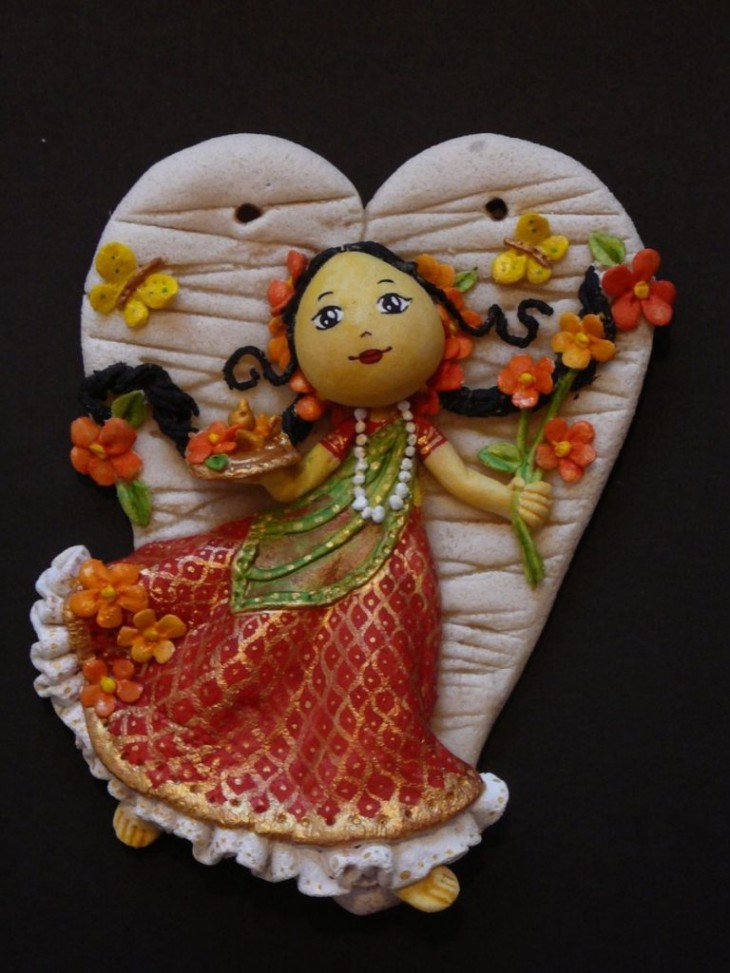
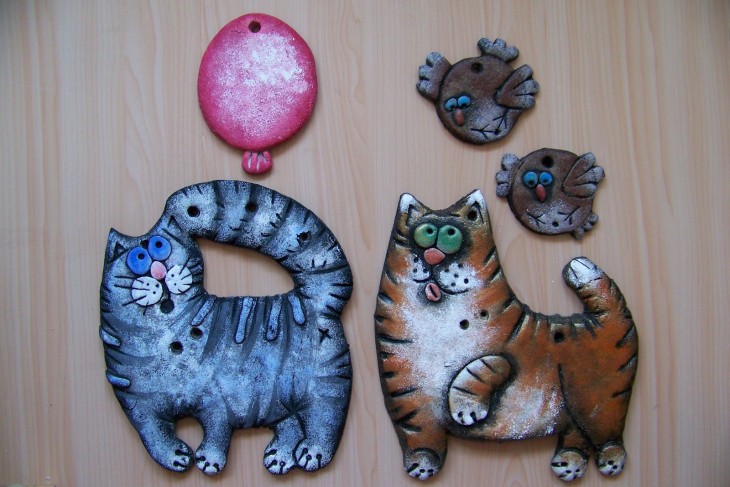
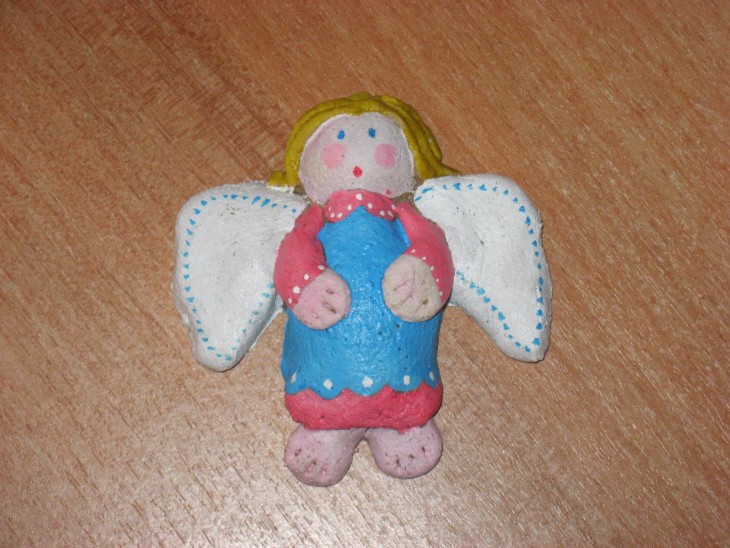
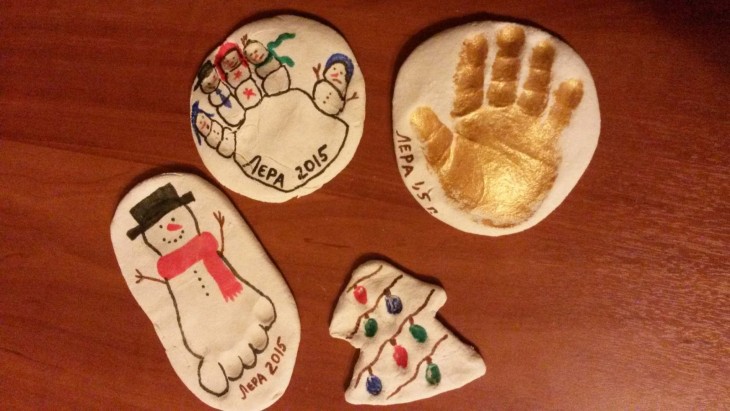
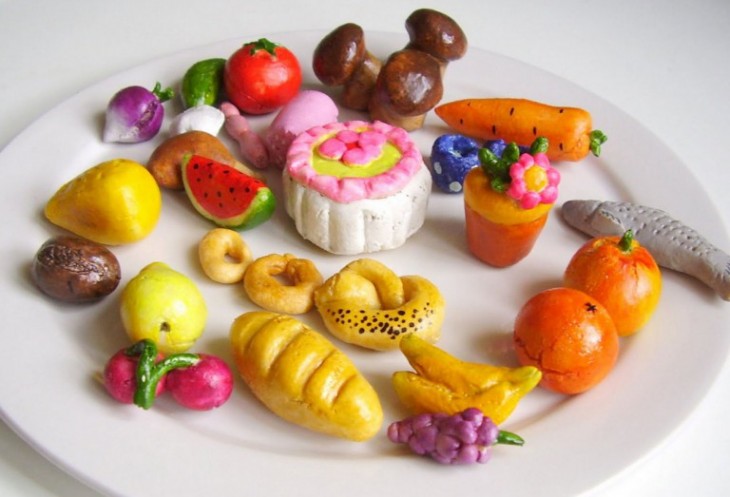
You can sculpt from dough without dyes, then paint the finished figure and after drying, cover it with varnish.
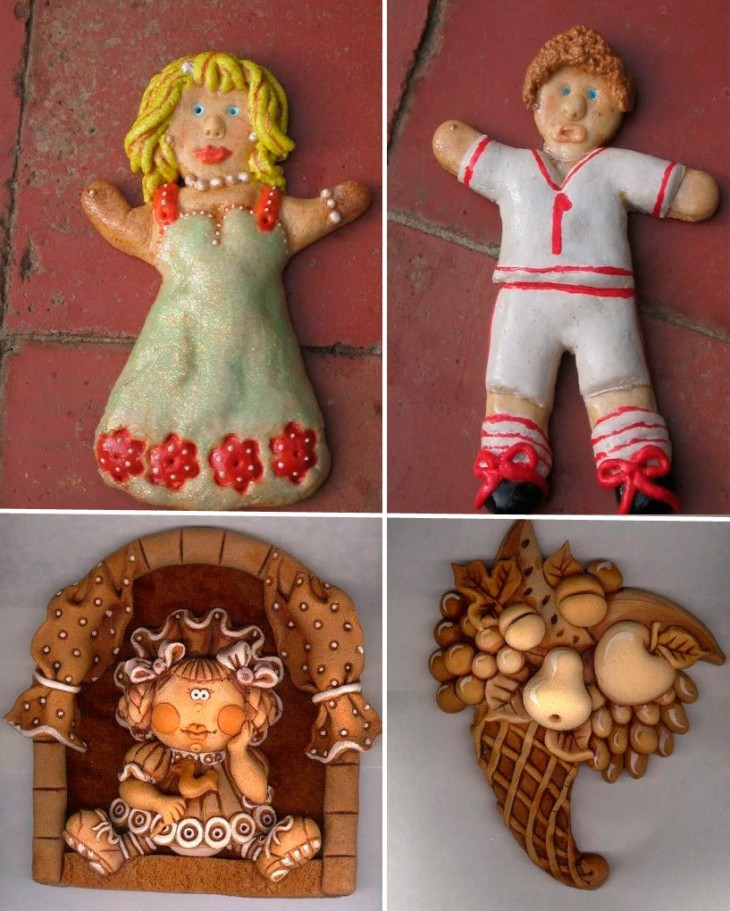
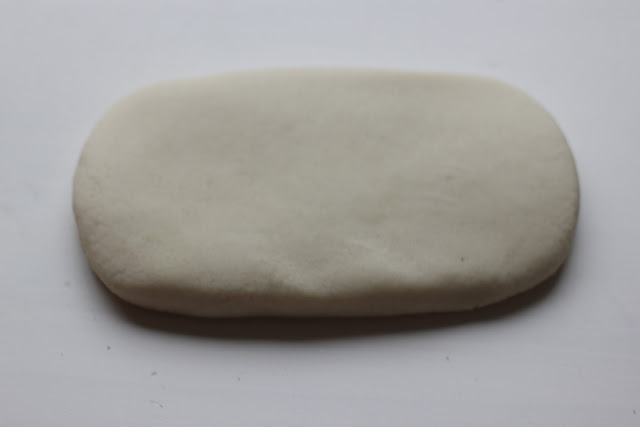
You can also cut out various figures: having made their breadboard model from cardboard, lay it on a flat dough rolled out by a rolling pin and carefully cut along the edges. Then you can colorize the figure, add the necessary texture - roughness, strokes, make eyes, nose or jewelry from beads.
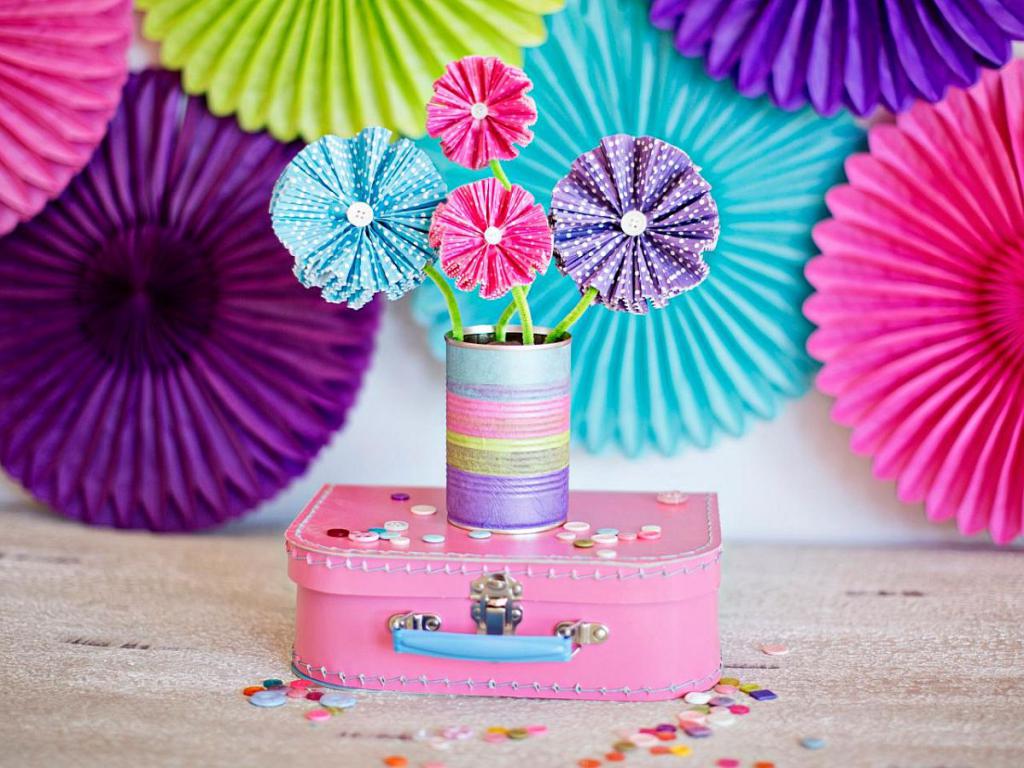
A wonderful gift made by yourself can be a photo frame or a unique candle holder.
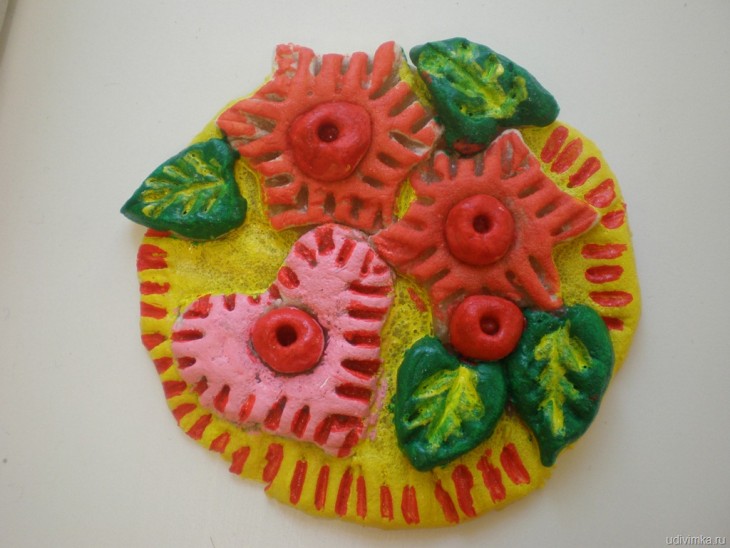
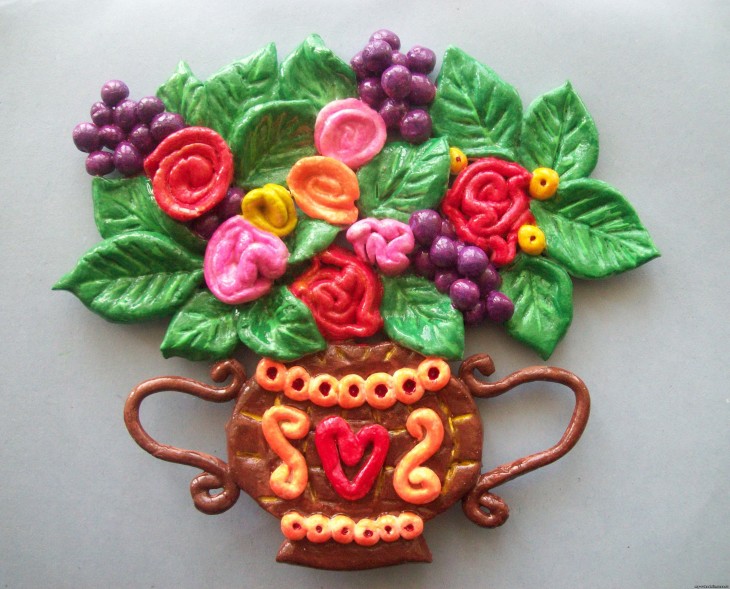
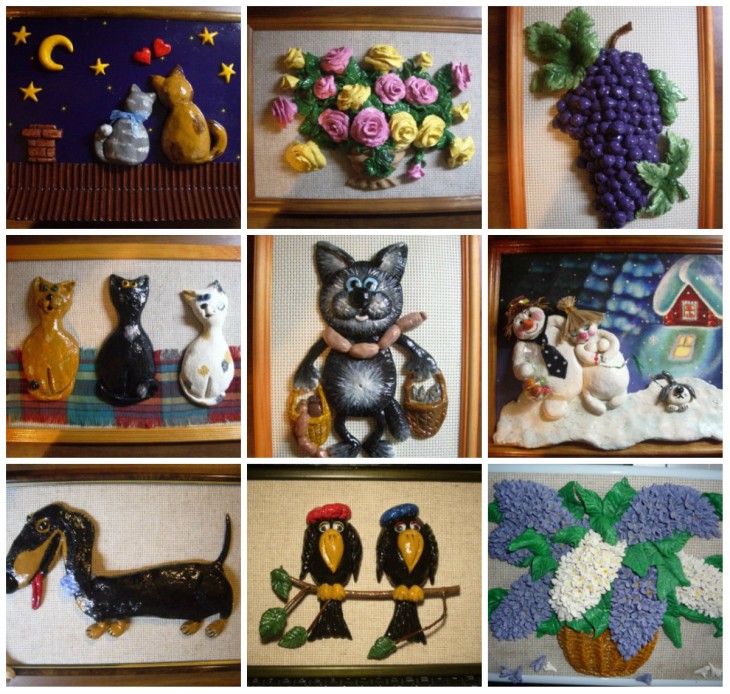
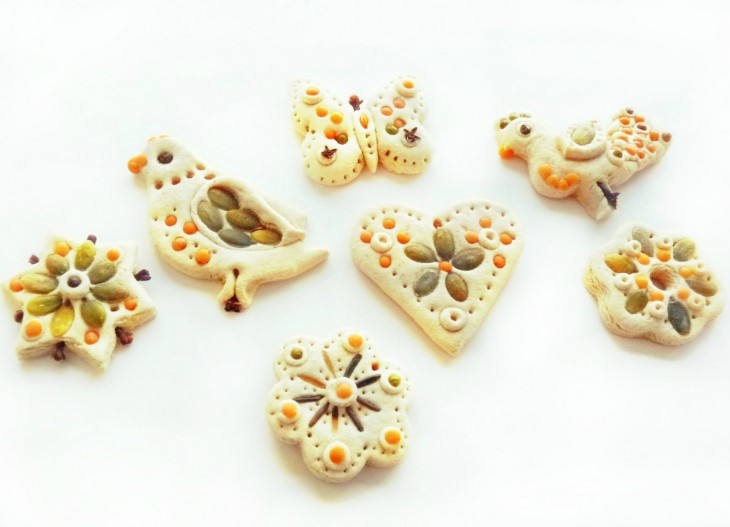
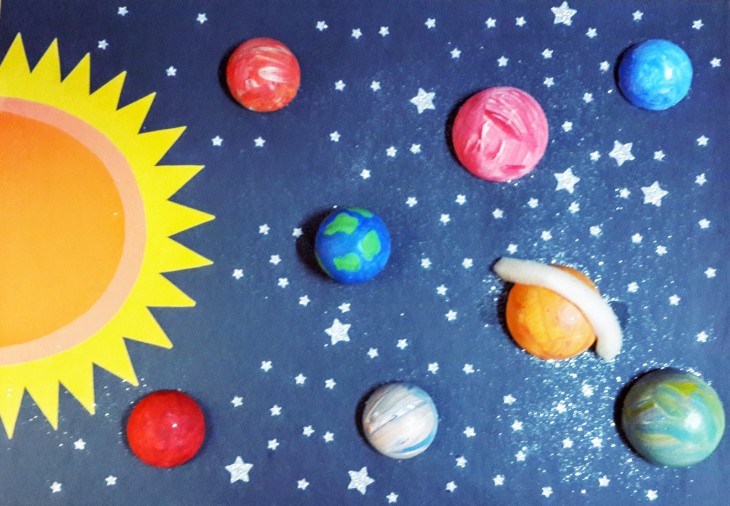
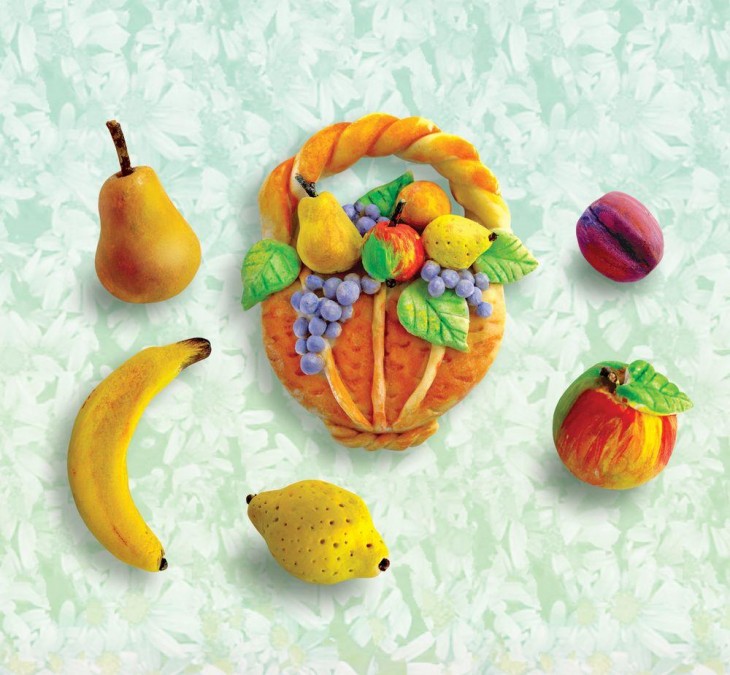
Production of panels in which elements of mosaic, applications and sculpting are combined can captivate both children and adults. The simplest drawings are suitable for the smallest: you must first draw a silhouette on the parchment, then carefully fill it with dough along the lines.
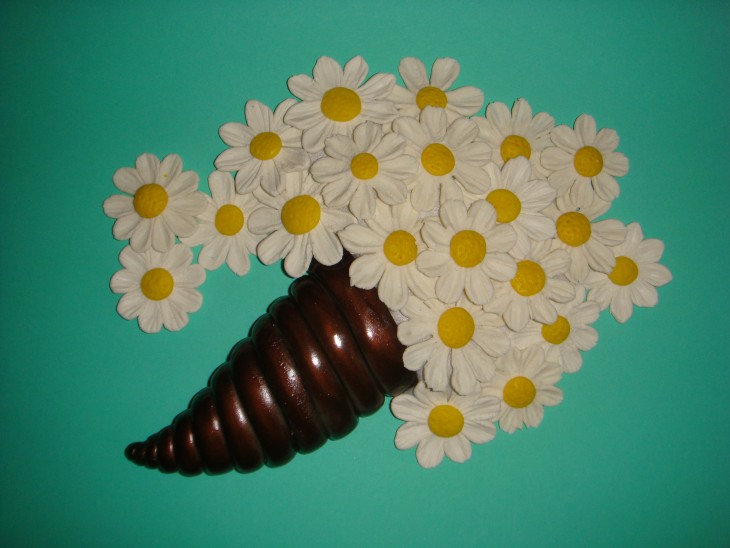
You can also conceive and implement more complex ideas, using beads, mosaic of cereals, dried flowers, etc.
Note!
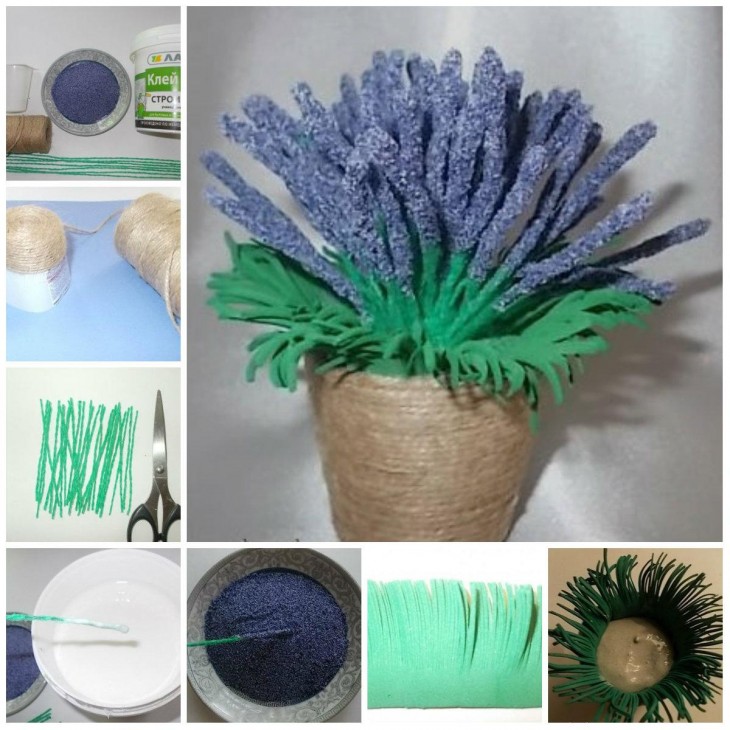
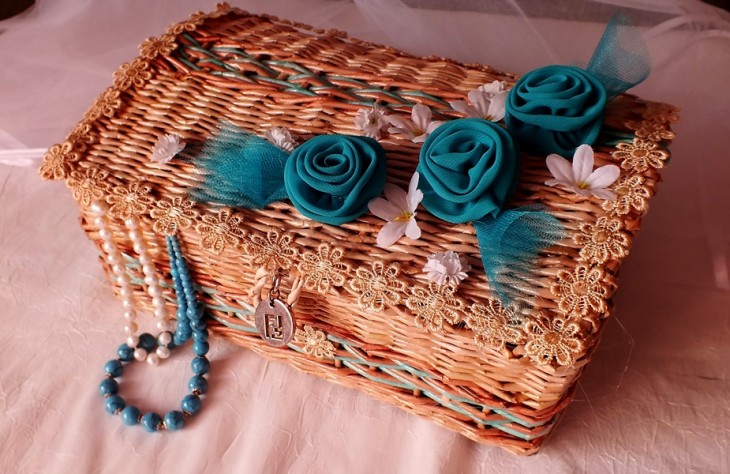
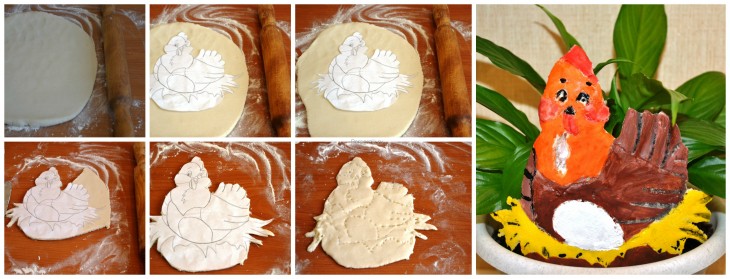
Photo of crafts from the test


DIY metal detector - 96 photos of the construction of a sensitive device
DIY wooden house - 77 photos of examples of building strong houses
Do-it-yourself vase - stylish decoration and creation of designer models (photo and video)
DIY candy bouquets: 70 photos of creating caramel and chocolate flowers