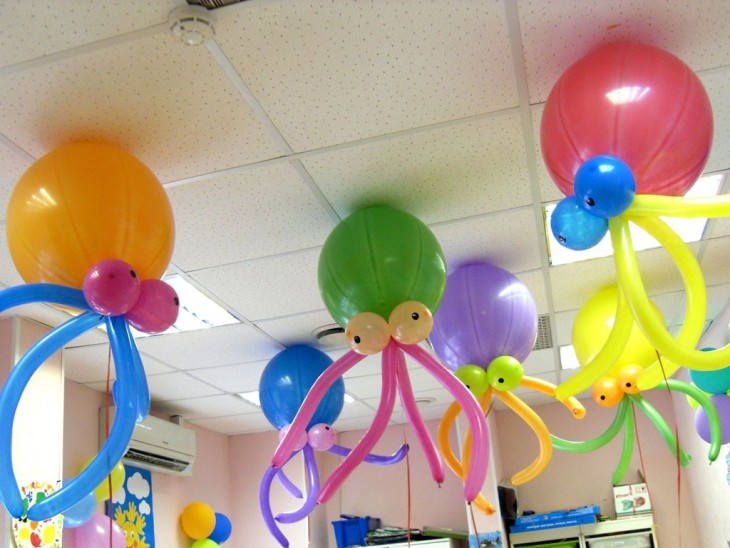
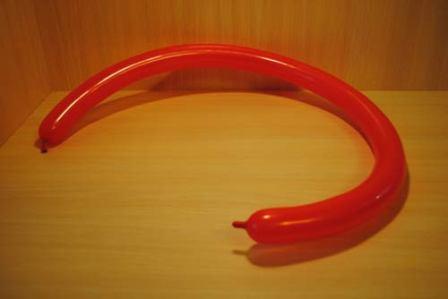
Elongated balloons are great twisting material. Of them make different figures.
Aerodesign is all kinds of crafts from balloons. You will need to arm yourself with step-by-step instructions and you can start creating.
Review Content:
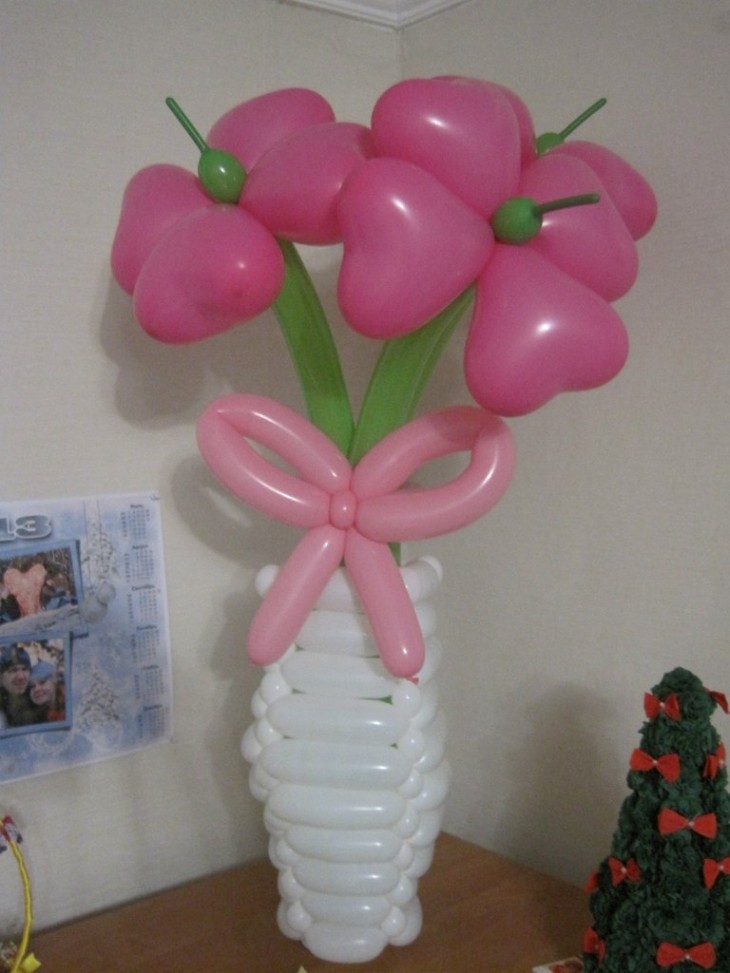
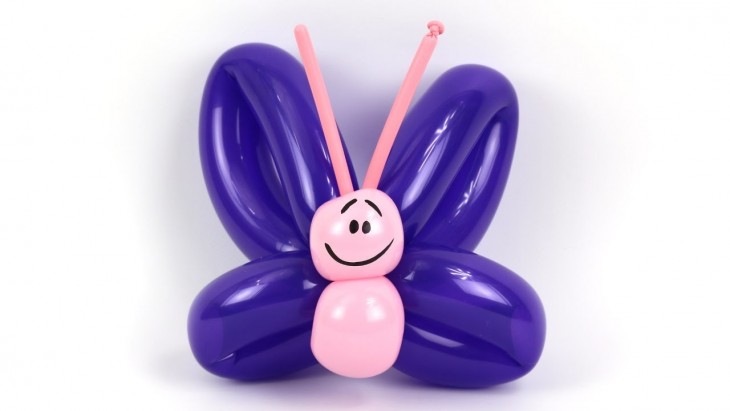
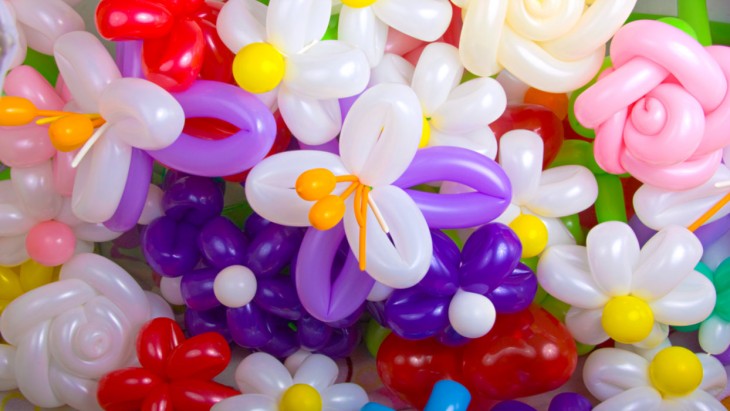
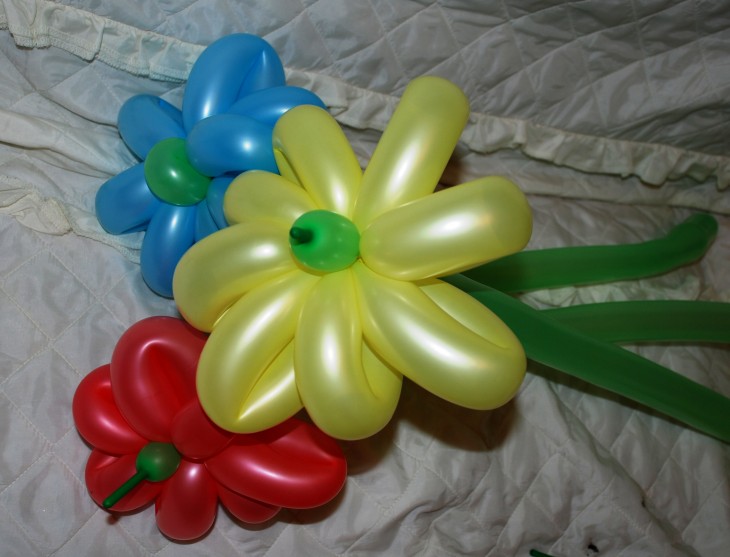
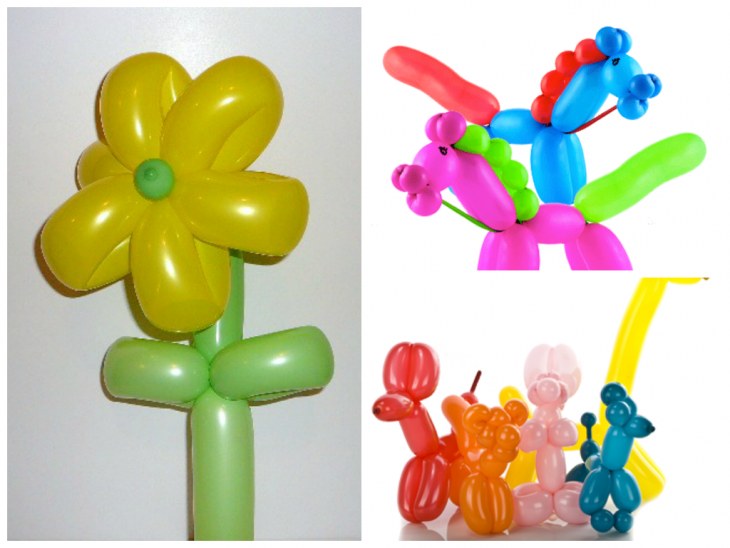
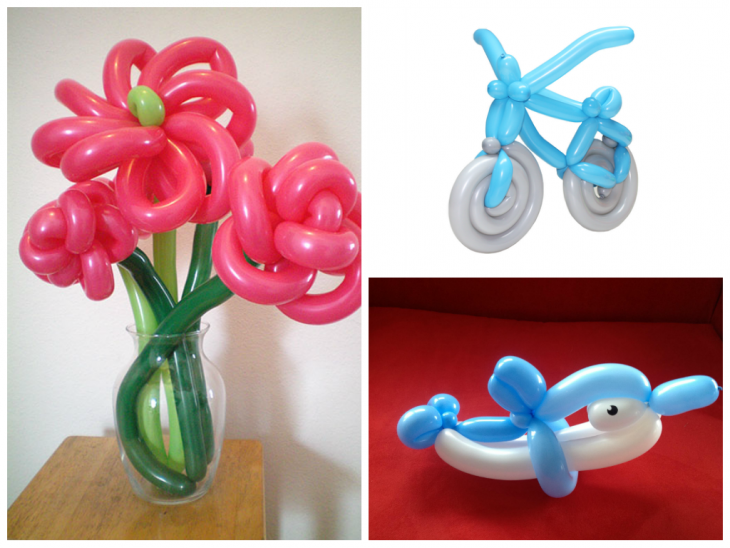
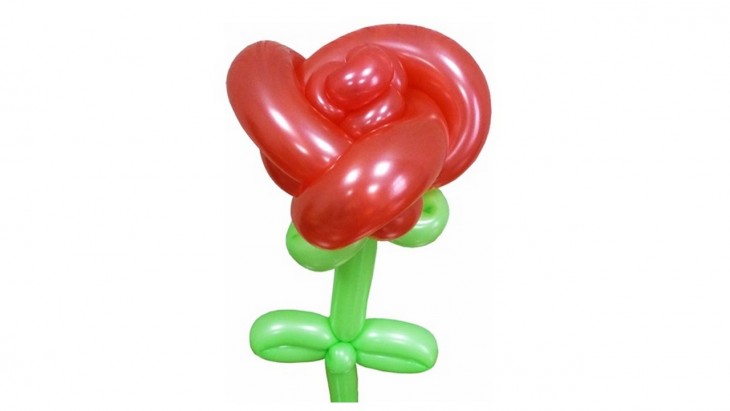
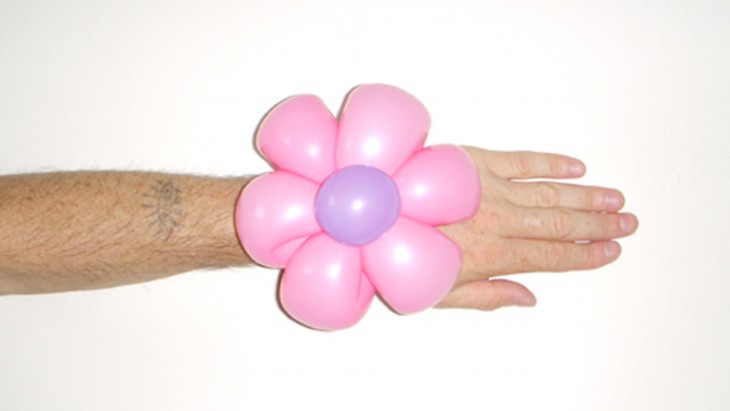
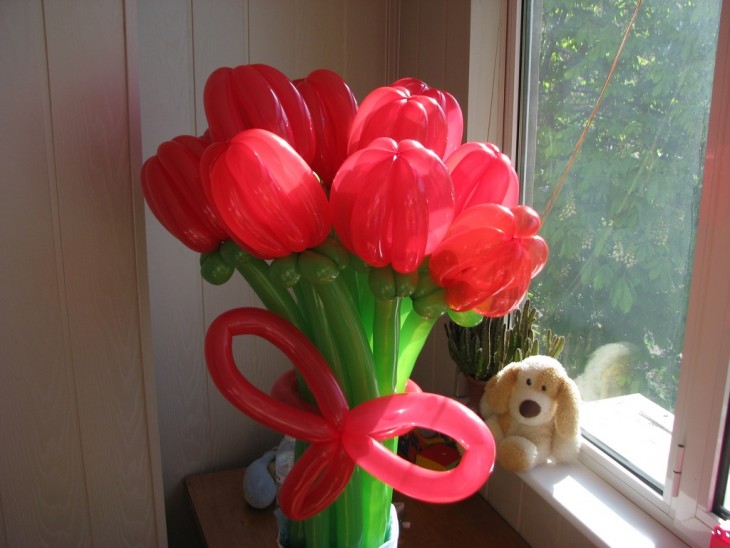
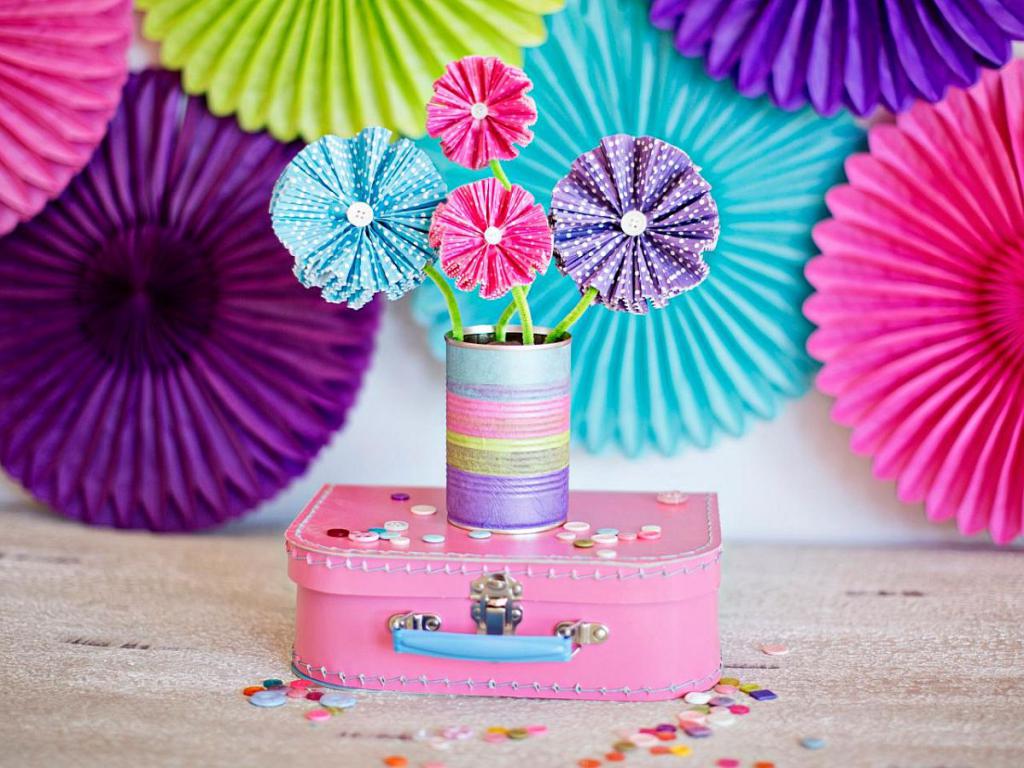
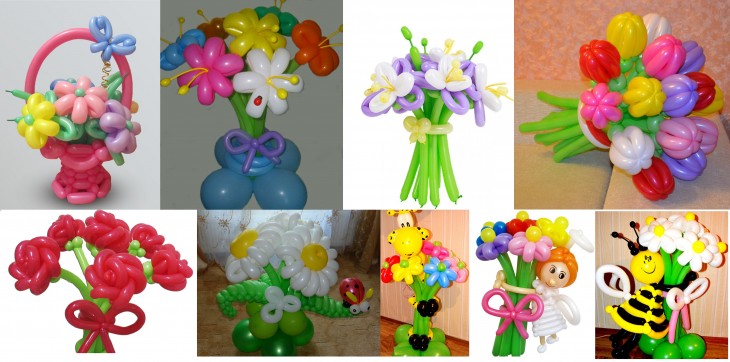
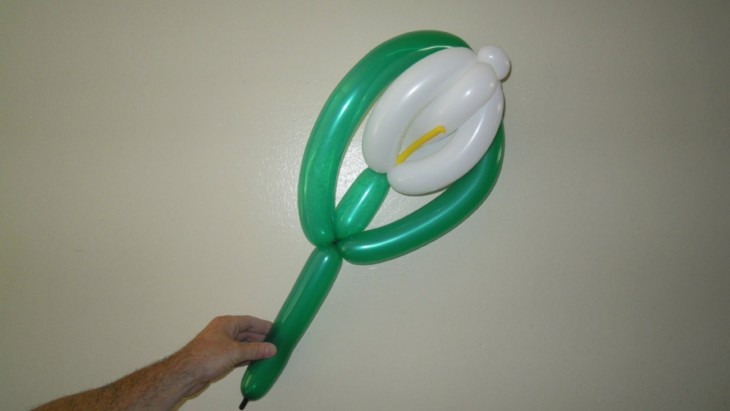
Fancy flowers
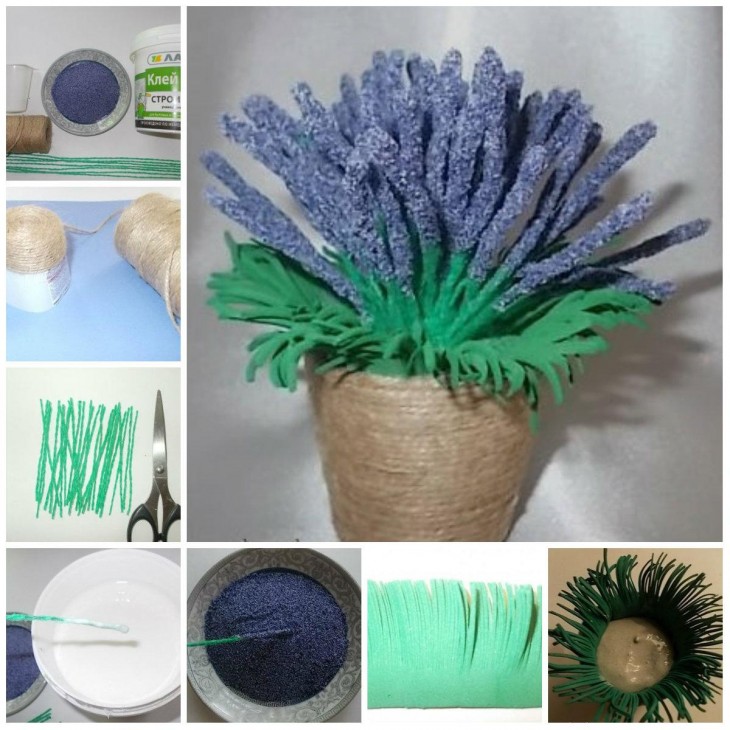
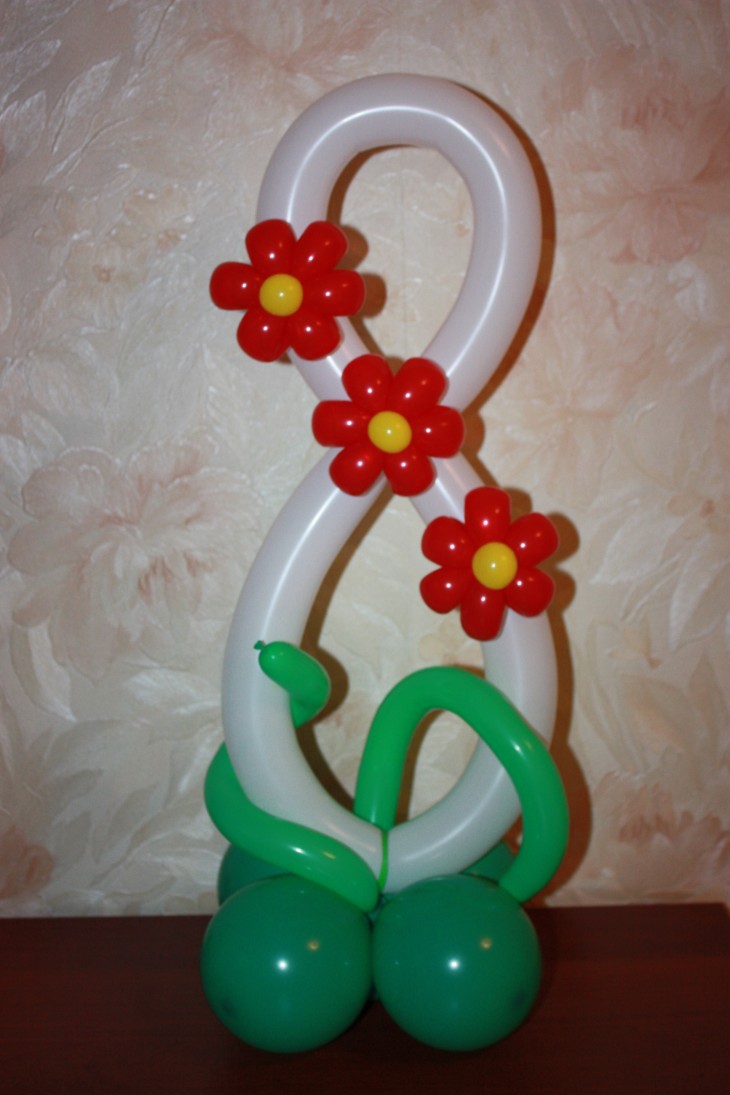
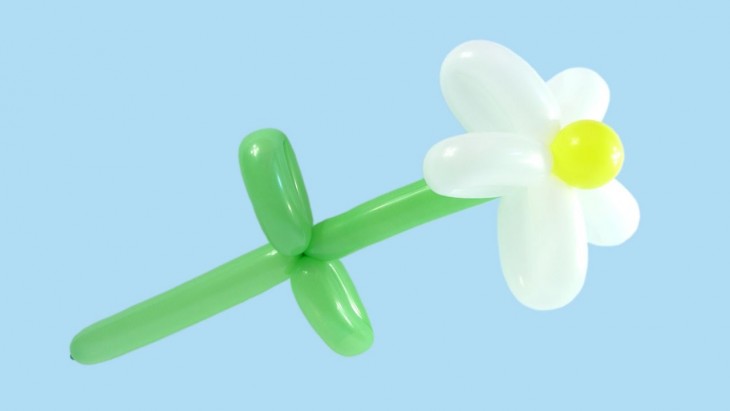
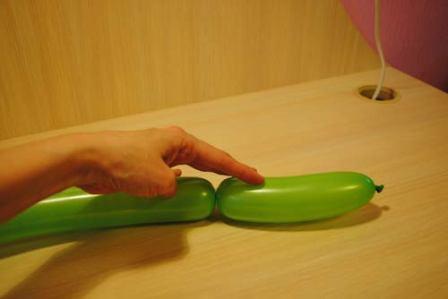
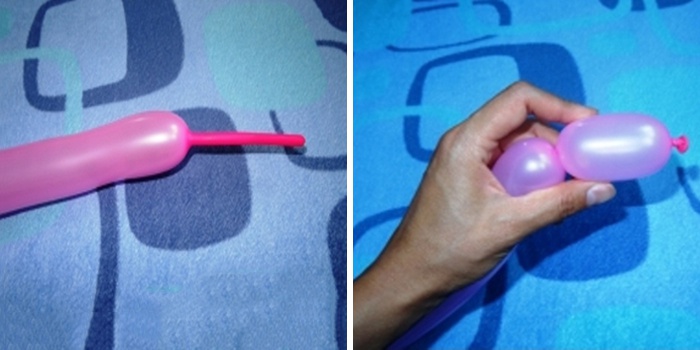
Floral elements are easy to execute. You will need two balloons for the flower.
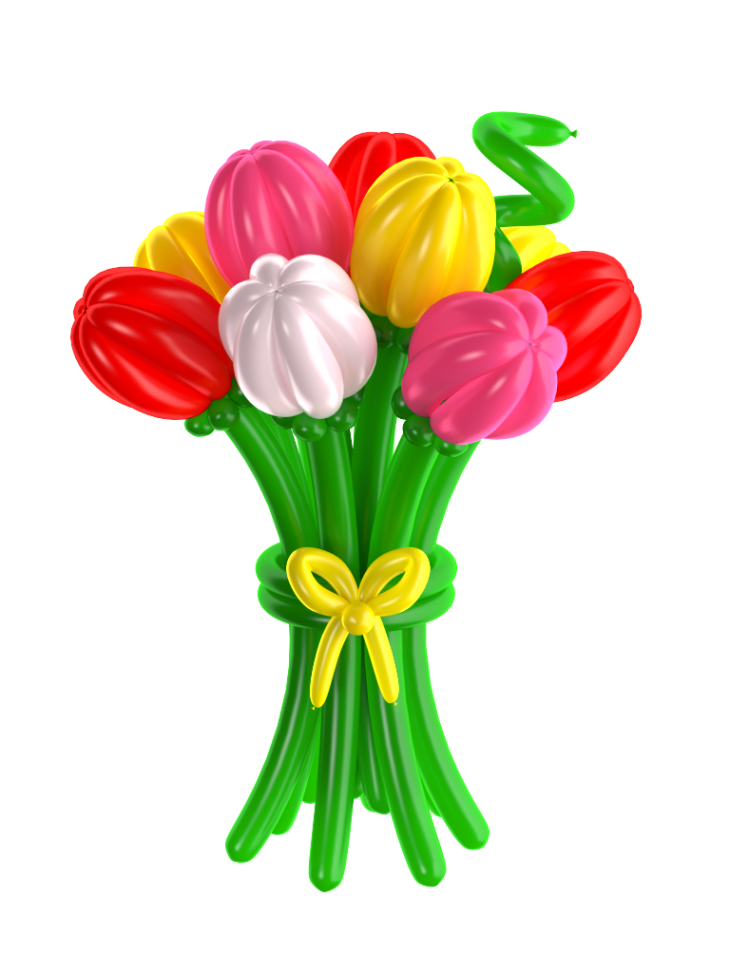
For crafts from balls and threads useful tips are useful. The green ball does not need to be inflated to the end. Leave about 5 cm un-inflated and tie a thread. Now indent from the place tied with thread to twist it. Thus, a middle forms in the flower.
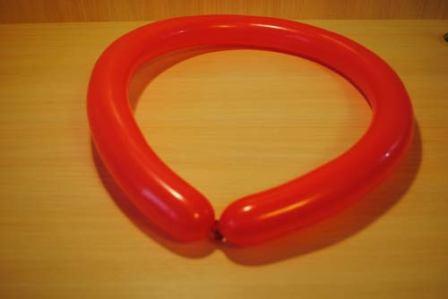
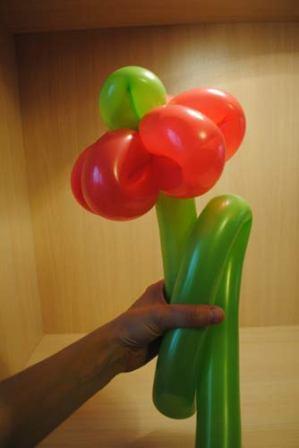
Below the stem, make two symmetrical leaves.
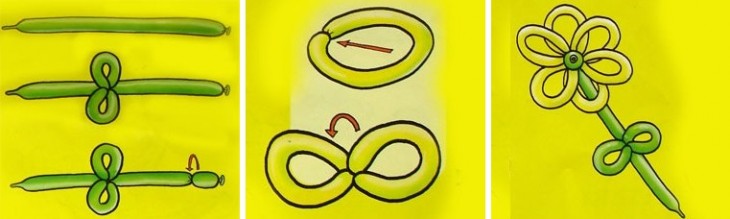
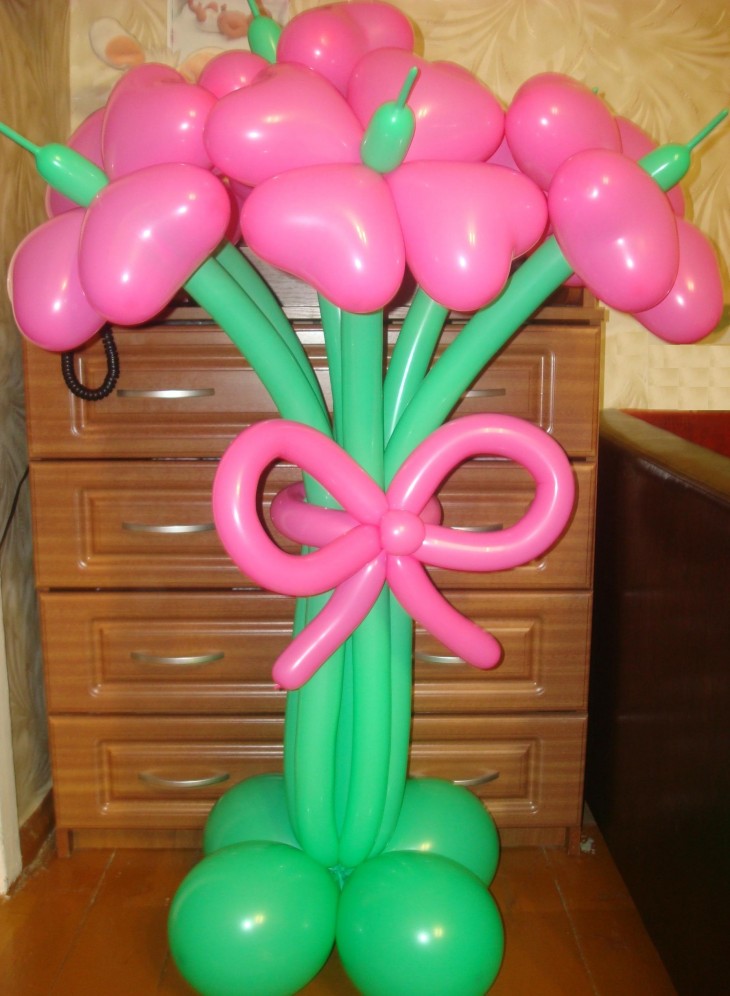
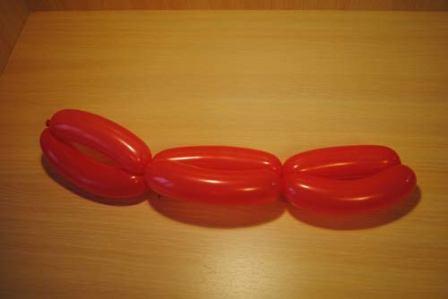
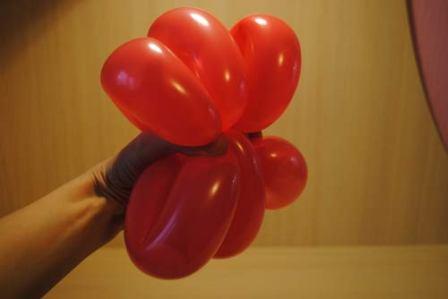
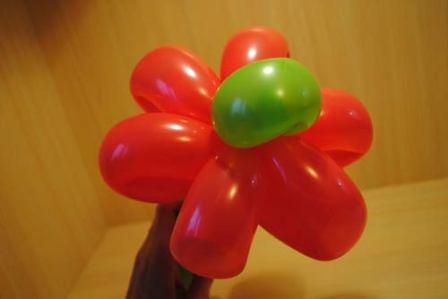
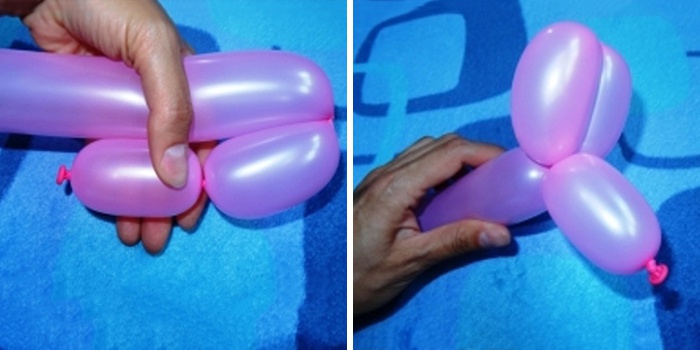
Having prepared the stem, you can begin to simulate the bud. To do this, close the second ball in the ring. The resulting blank is twisted in the form of a figure eight. Each of the rings must be twisted several times.
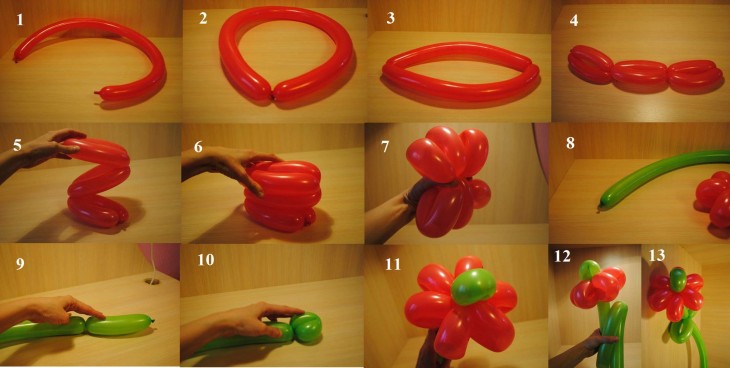
At the last stage of modeling, the bud and the stem are connected.
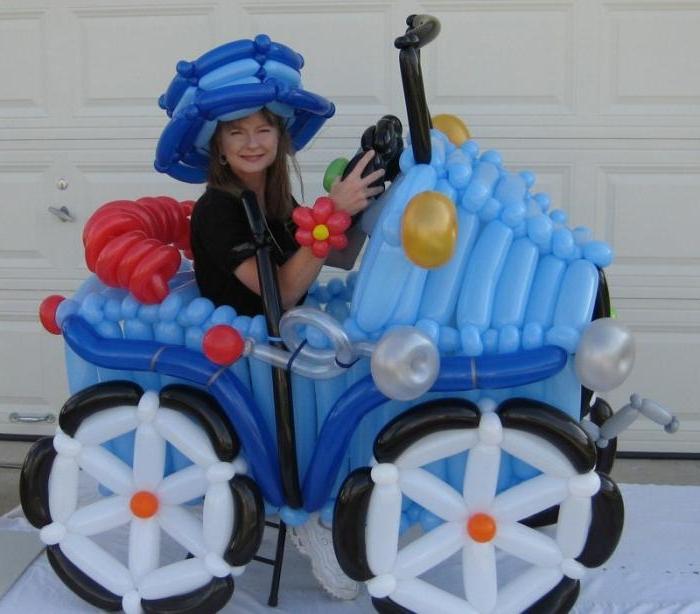
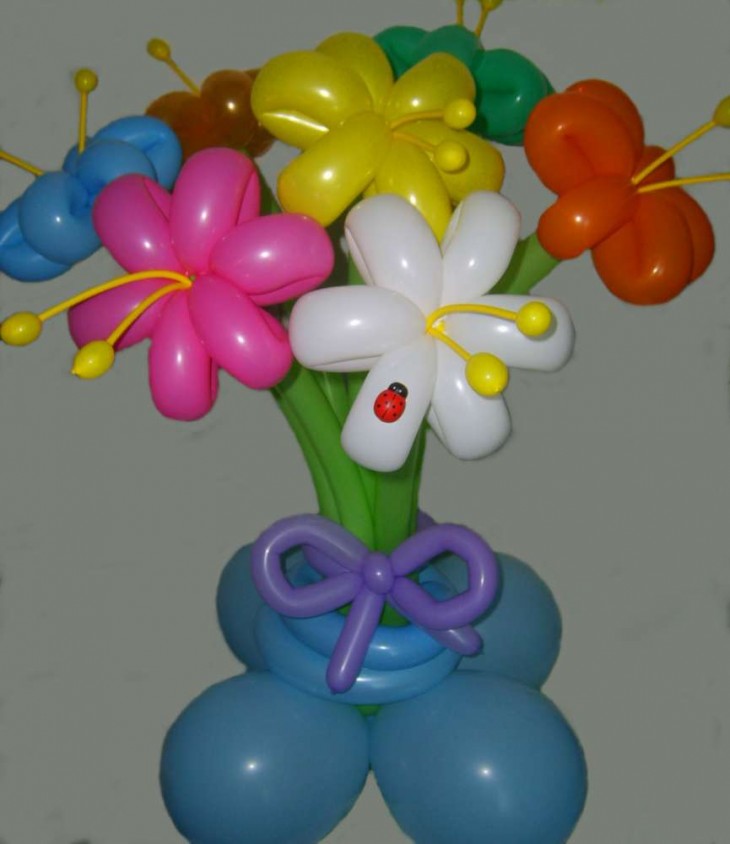
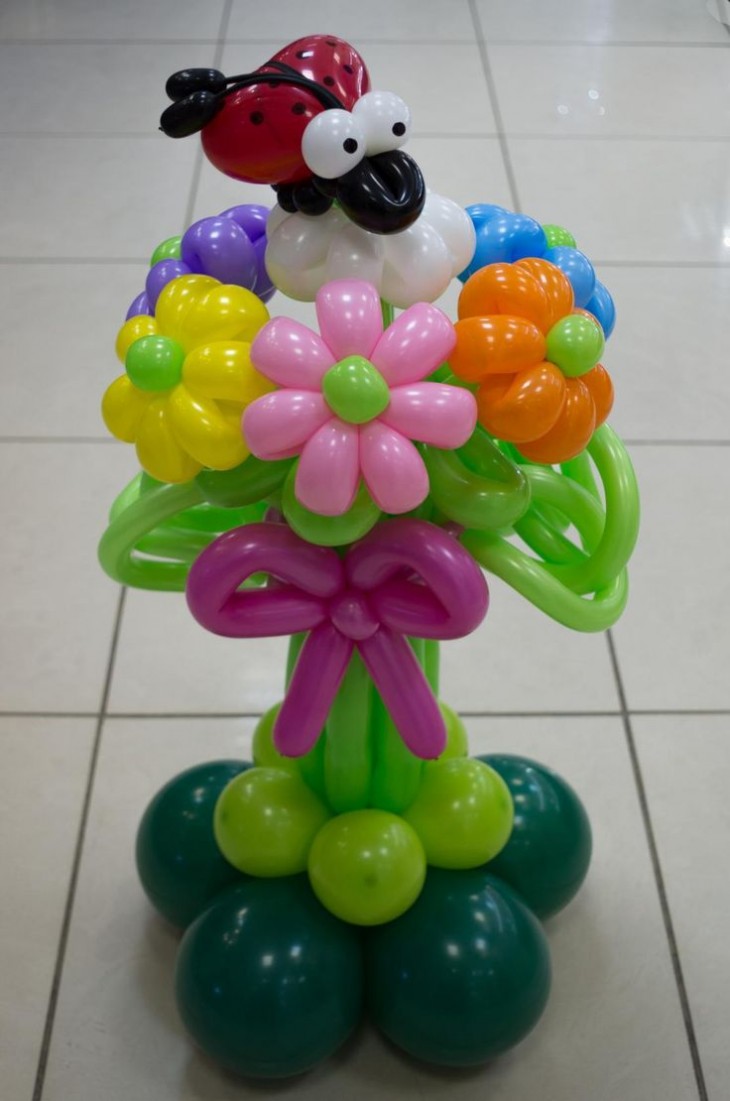
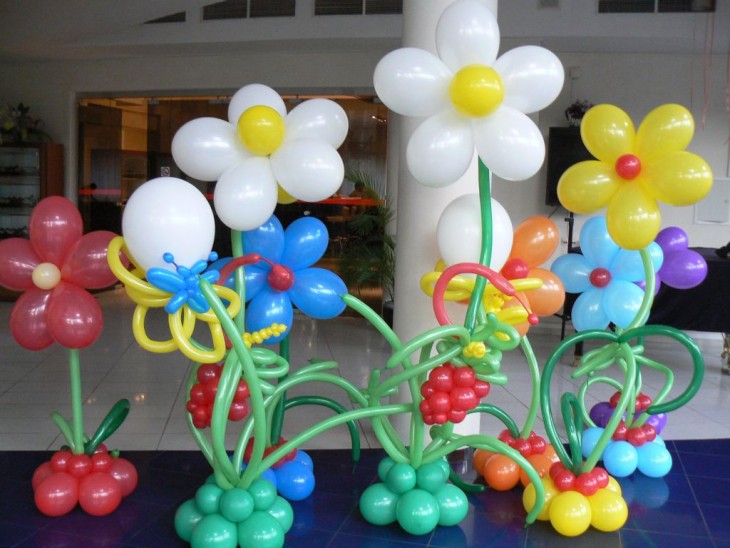
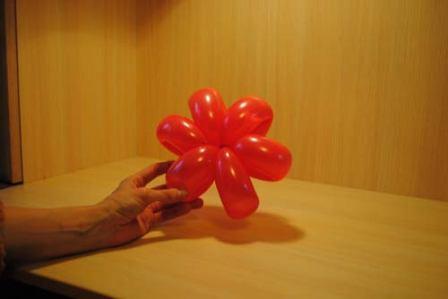
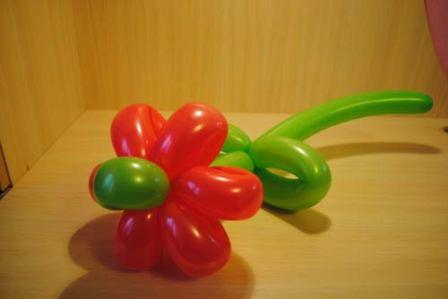
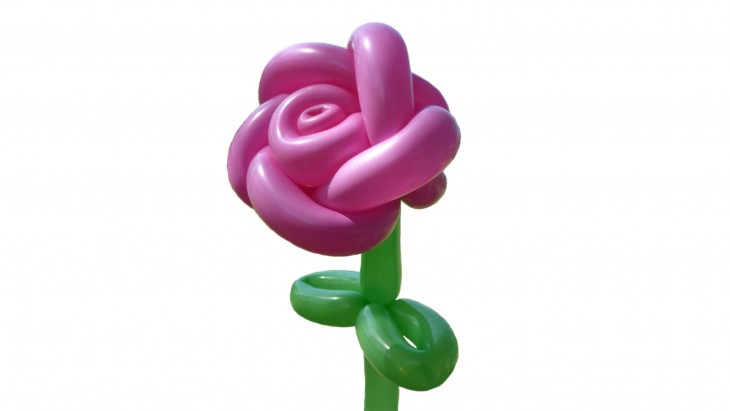
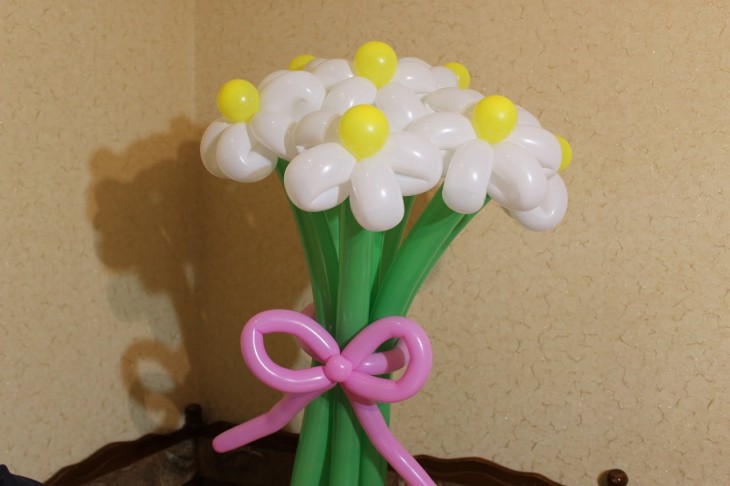
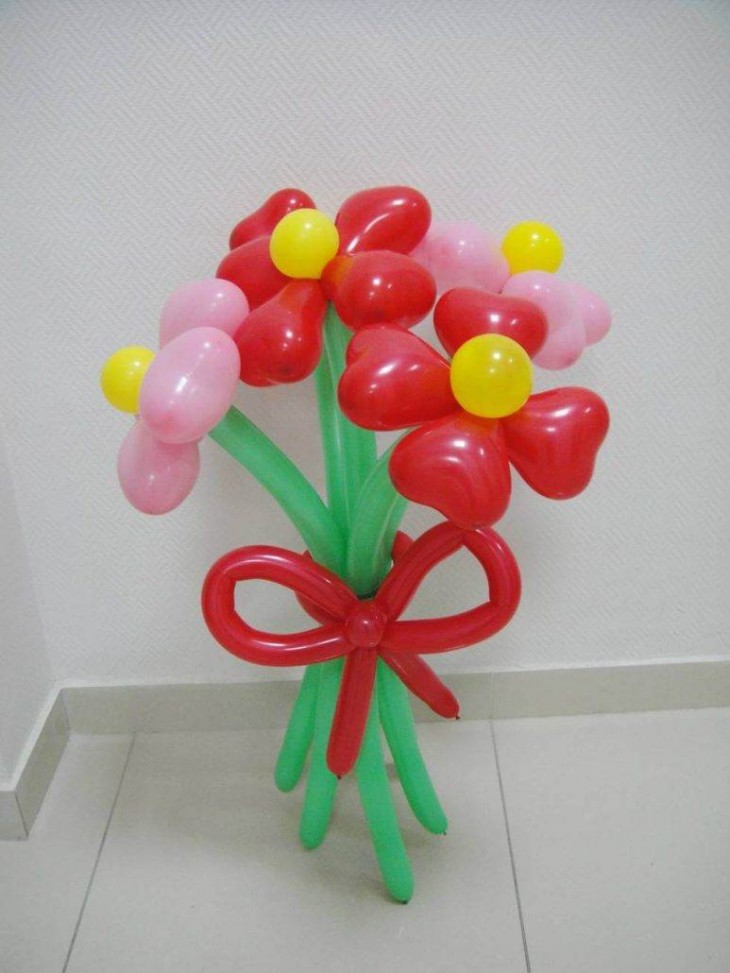
Photo of crafts made from balls clearly demonstrates what beautiful decorations for the interior you can make yourself.


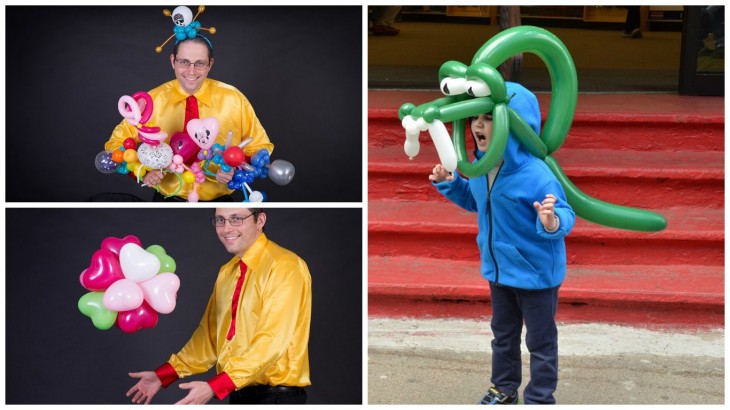
When there is free time and a desire to realize creative potential, then for homemade products feel free to choose more complex designs.

So that new schemes do not cause difficulties, it is recommended to see the masterpiece "Crafts from balls".
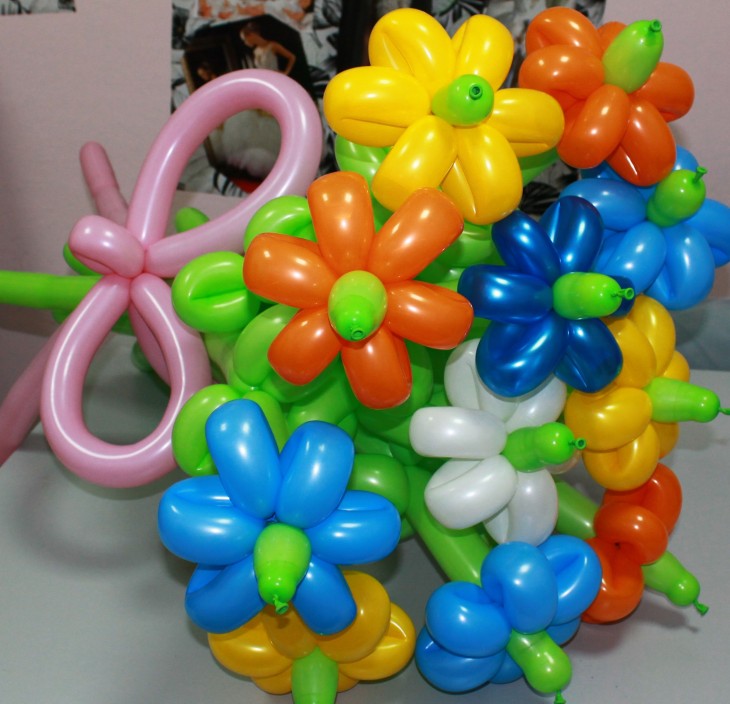
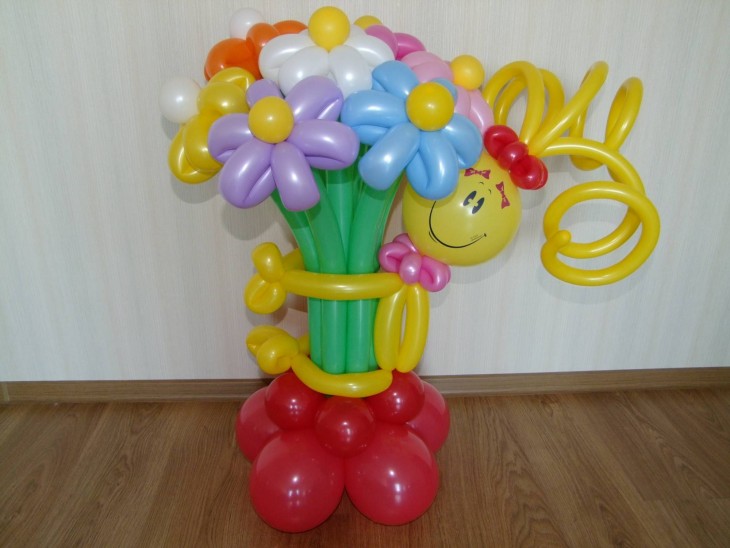
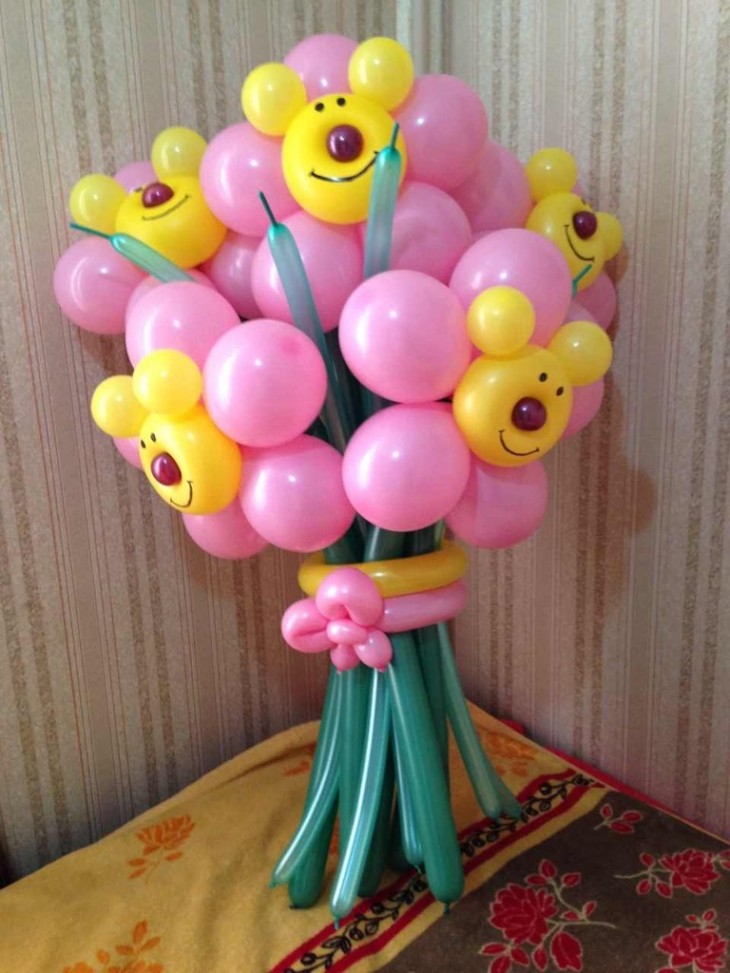
Modeling allows you to quickly make a memorable gift for a birthday boy at any age. The flower arrangement can be tied with a ribbon or set in a large basket.
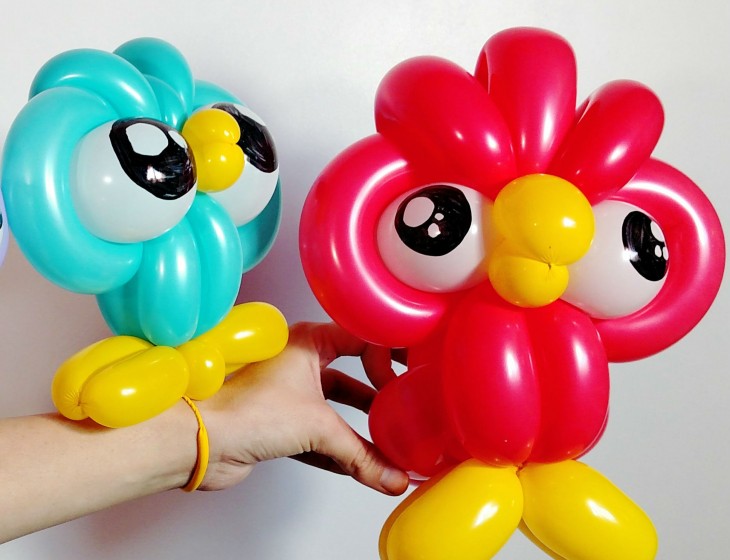
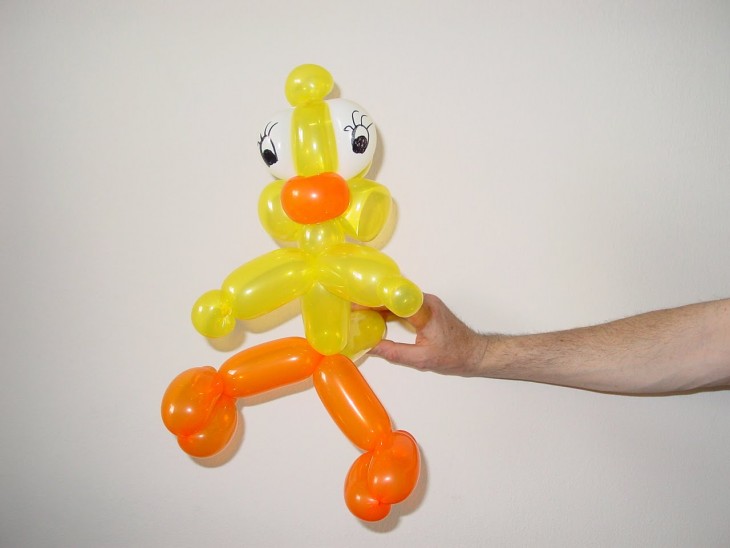
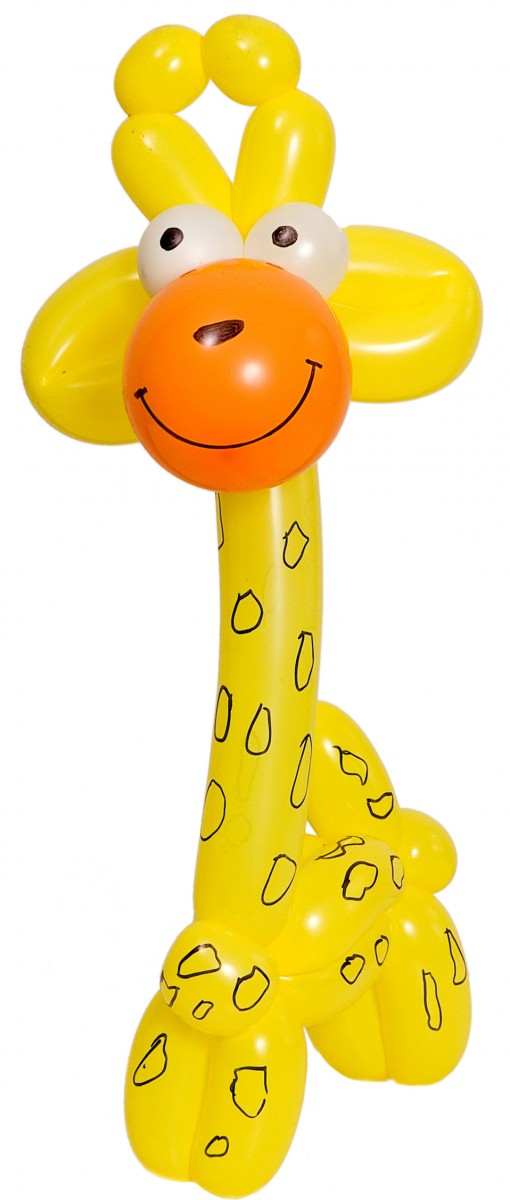
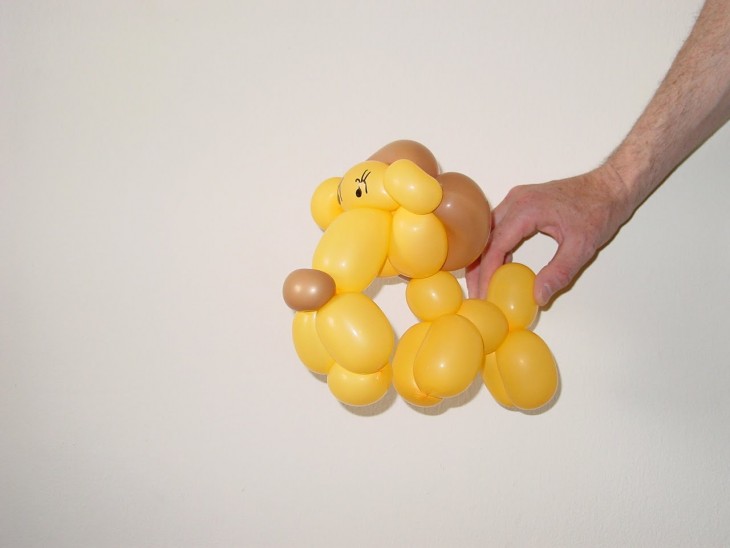
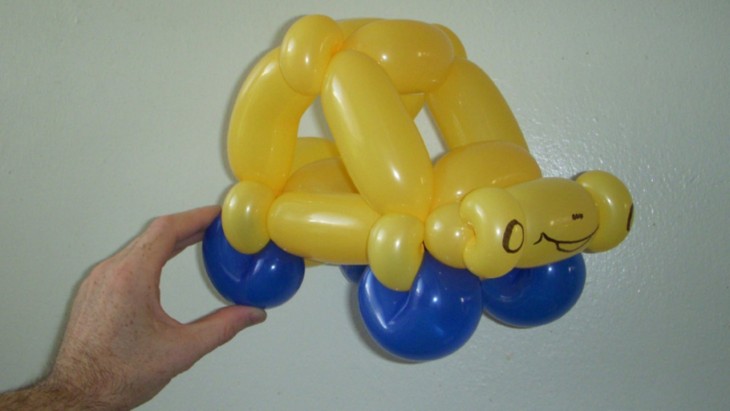
Long balls for making a tiger cub
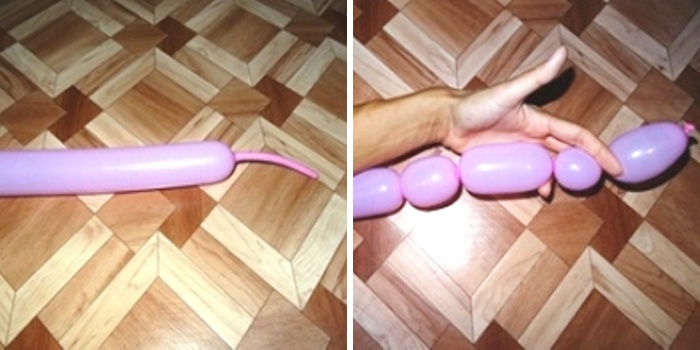
Orange balls are suitable material for making a tiger cub. To make this craft, you need two inflated balls. You will need to perform twisting of 3 varieties.
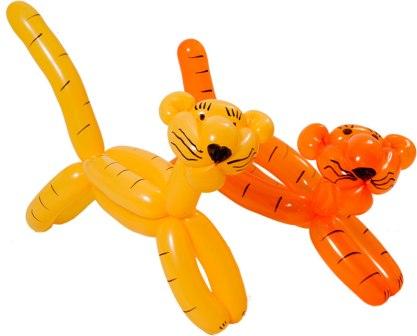
The result should be bubbles of various sizes. Twisting is done according to the instructions, and they should start from the tail tied with a thread. You need to twist in one direction, while it is important not to let the tail out of your hands so that the ball does not spin.
Following the schematic image, to master the technique of creating a tiger cub yourself, it turns out pretty quickly.
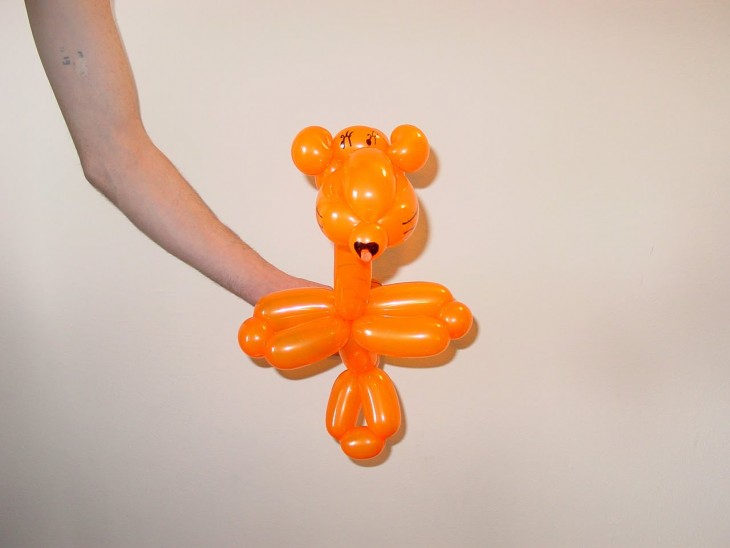
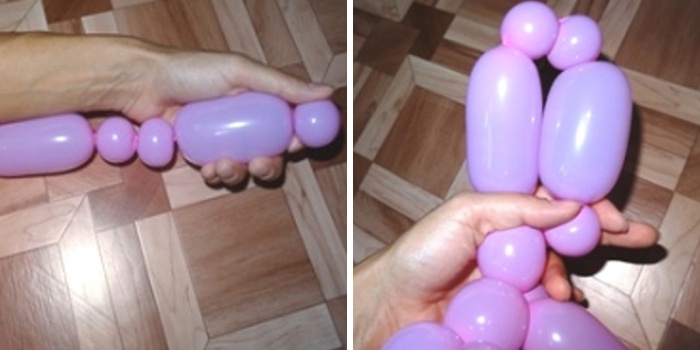
First, 11 bubbles are formed, which correspond to parts of the body of the future product. To get the head, twist the bubbles between 2 and 3, and also between 7 and 8. Using the first bubble, you can make a mouth with a nose. To do this, it is threaded into the head.

Now the second bubble is wrapped around 8 with 9, and the tiger has a nose and mouth. Small ears are formed by twisting 4 and 6 of the bubble.
Note!

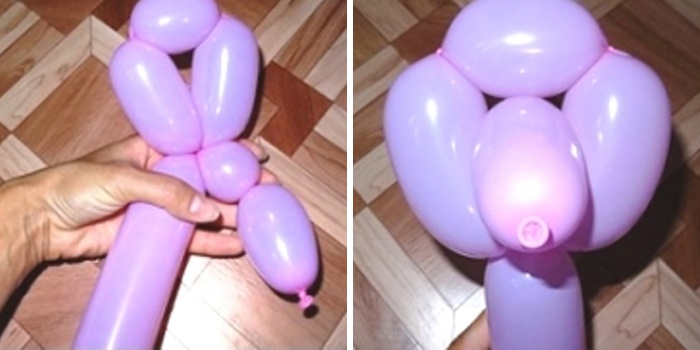
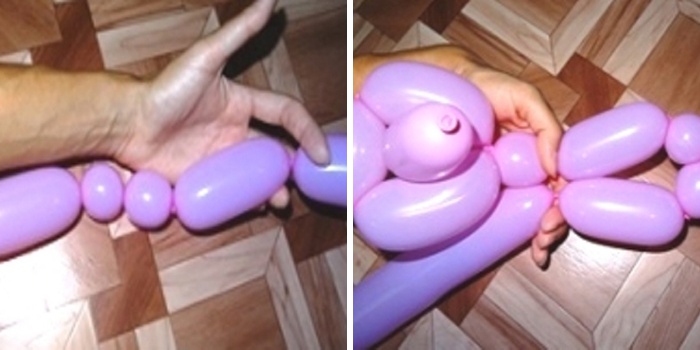
For the tiger body, take another ball. Connect its ends to make a ring. It is folded in half and divided into 3 parts by twisting.
You need to pick up the first ball, then make 2 more bubbles: 9 and 10 and connect both balls together. 11 bubble will serve the tiger tail.
Markers will help make the toy more attractive. Color the tiger cub, and the original craft is ready.
A beautiful toy can be used to decorate a kindergarten or for a party organized on the occasion of a child’s birthday.

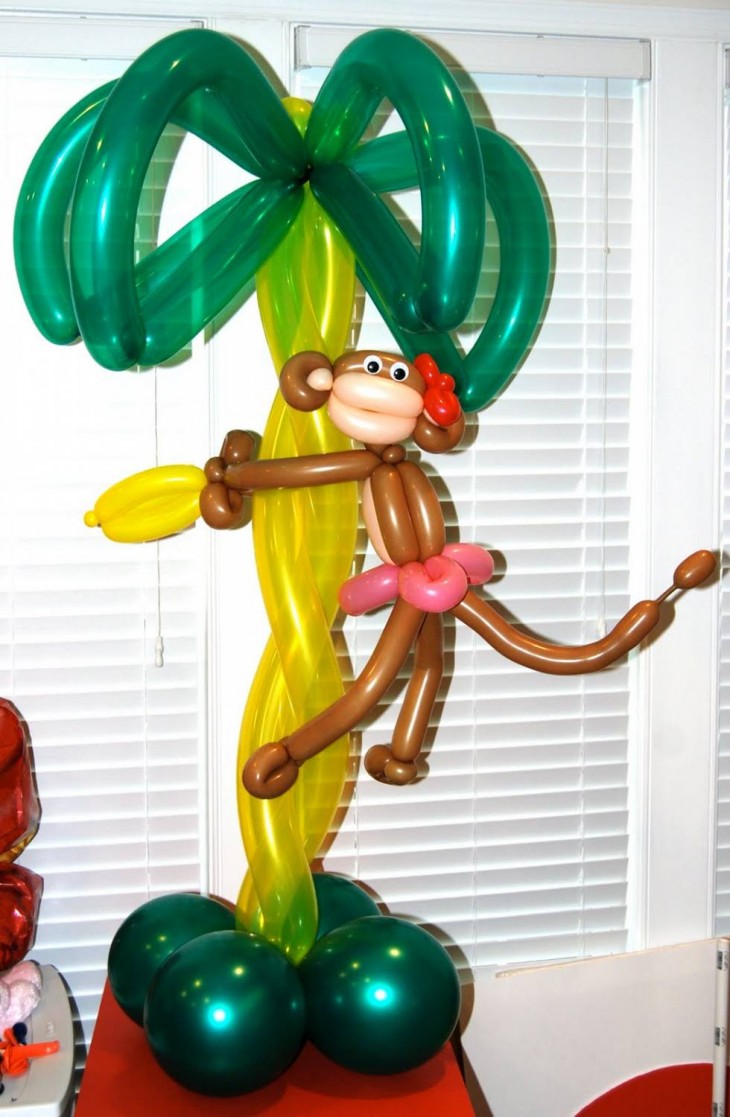
Do not stop there
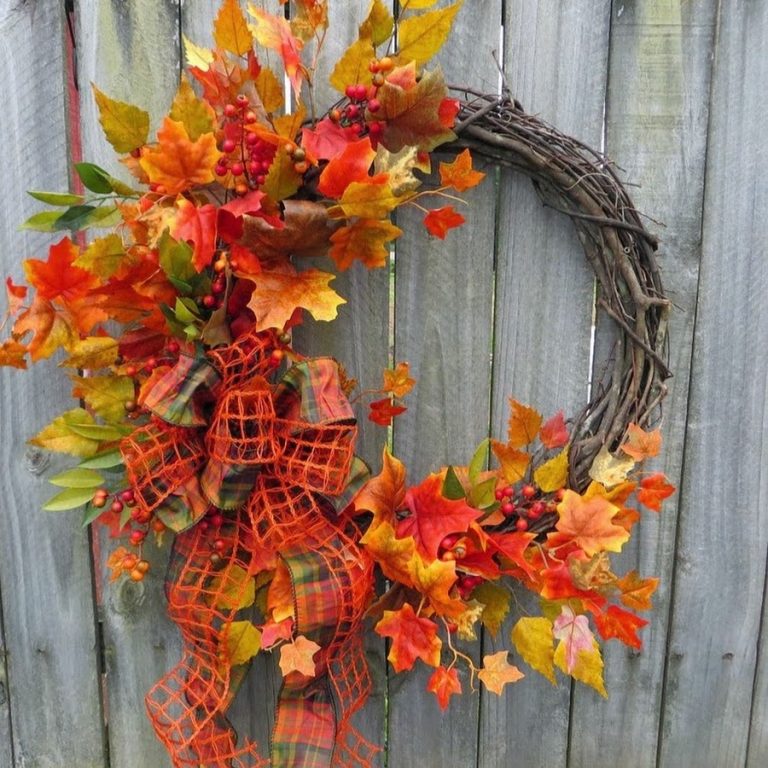
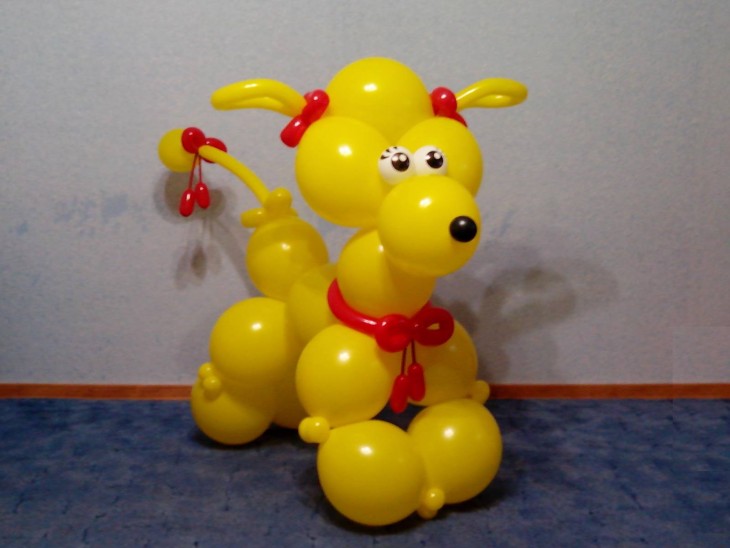
The needlewomen continue to come up with more and more new patterns. Crafts from balls with their own hands can be quite complex figures. Such decorations can transform the interior of a room.
Note!

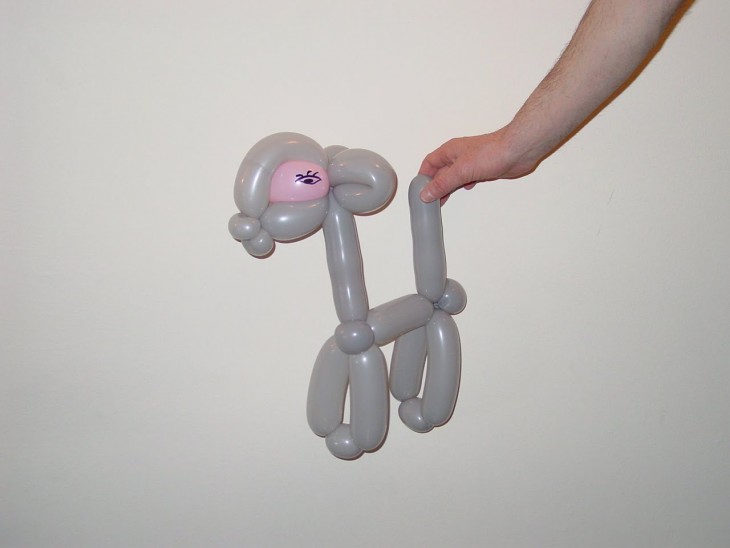
The dog figure is one of the most beloved in twisting. In order not to be mistaken, it is enough to arm yourself with step-by-step instructions with a photo. You can also look at examples of finished work.

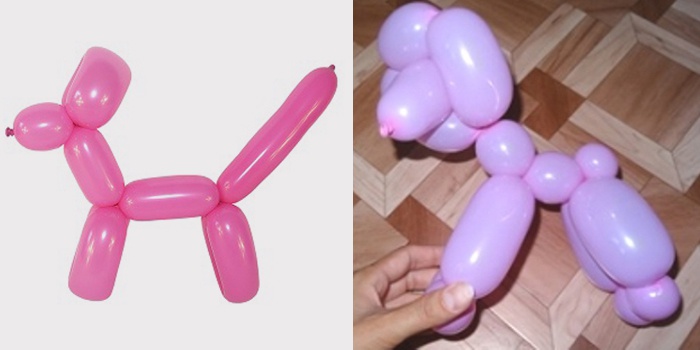
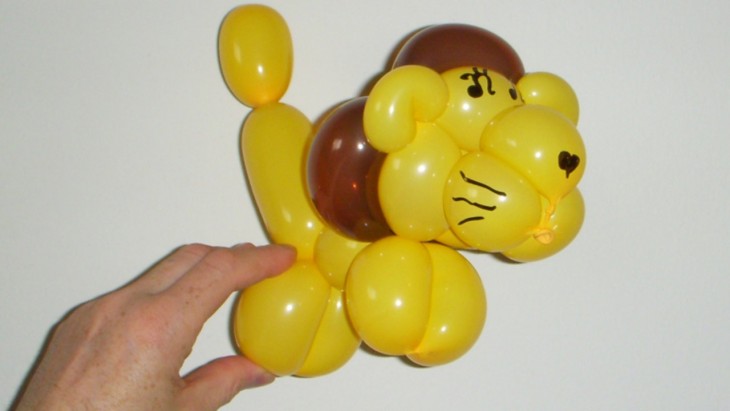
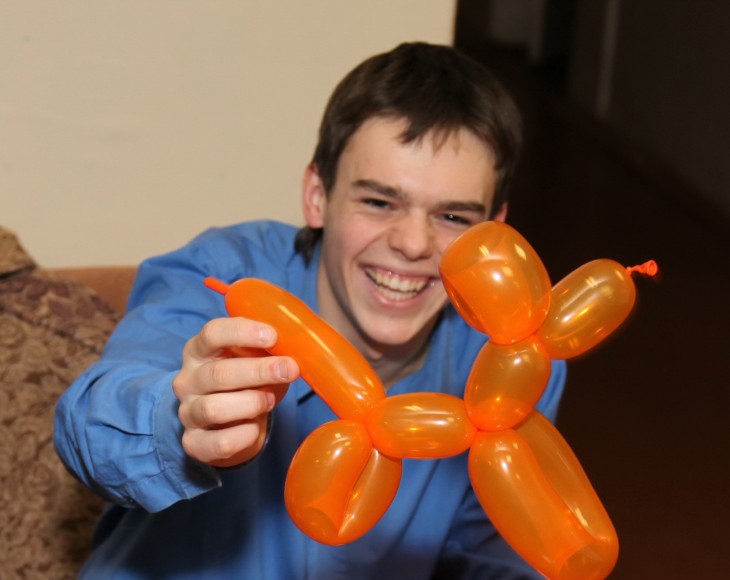
How to make a dog out of balloons
Knowing how to make crafts from balls, you will quickly make a new toy for a child or an original interior decoration. Use helpful tips, especially if you've never twisted before.
The following tips will help you make a dog:
- Inflate the balls to be used as the base.
- Try to keep all twisting movements in the same direction.
- When tying, do not make great efforts - the ball may burst.
- When you need to divide sausages into approximately the same parts, visually determine for yourself the boundaries of the segments.
- Buy quality balloons that won't burst while twisting.

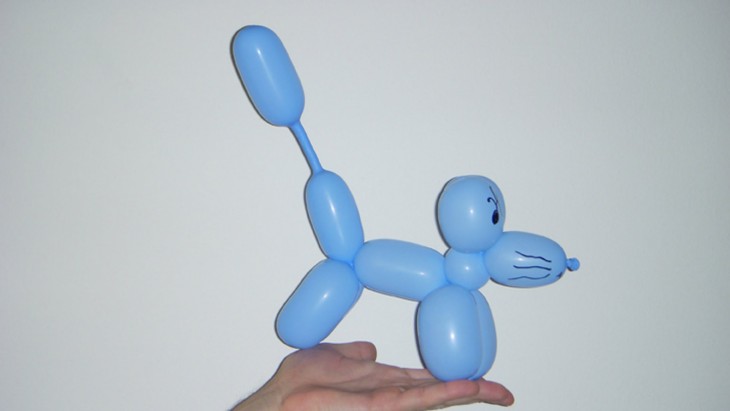
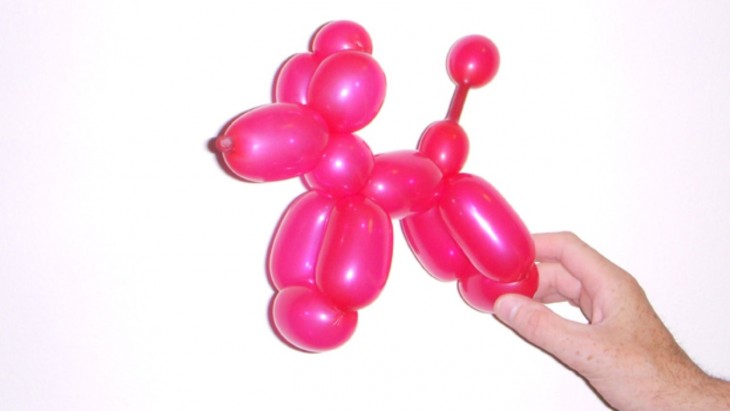
Simulation technology
- For crafts, there is no need to use threads. A special ball is recommended here.
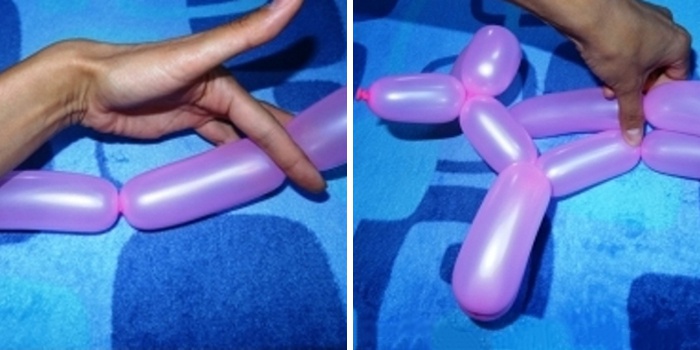
- The toy begins to create from the head. Tie the balls is easy, you just need to complete 3 or 4 turns. The size of the head corresponds to a segment of 5 cm.
- Then twist the ears of the toy (5 cm), first individually, and then together.
- The size of the neck can vary from 6 to 8 cm.
- The front legs are 7 cm long. They are tied, folded together and the lock rotated 2 turns.
- We make the body of the dog. The body length is about 10 cm.
- We make the hind legs of the dog, each of which is 7 cm.
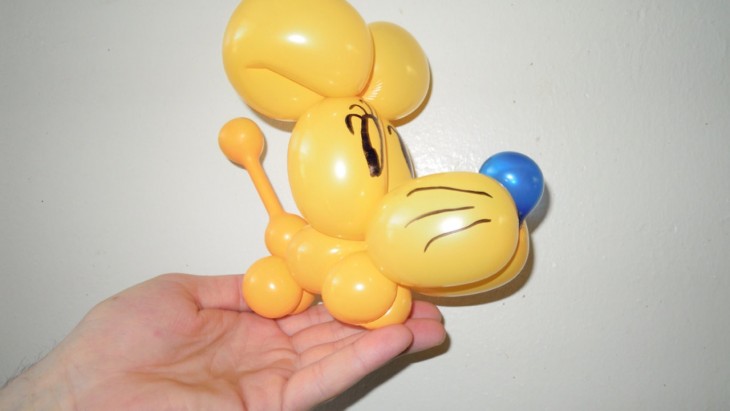
- Making the tail is the final step.
- Decorate the dog’s face with markers.
Draw a toy eyes and nose with a mustache.
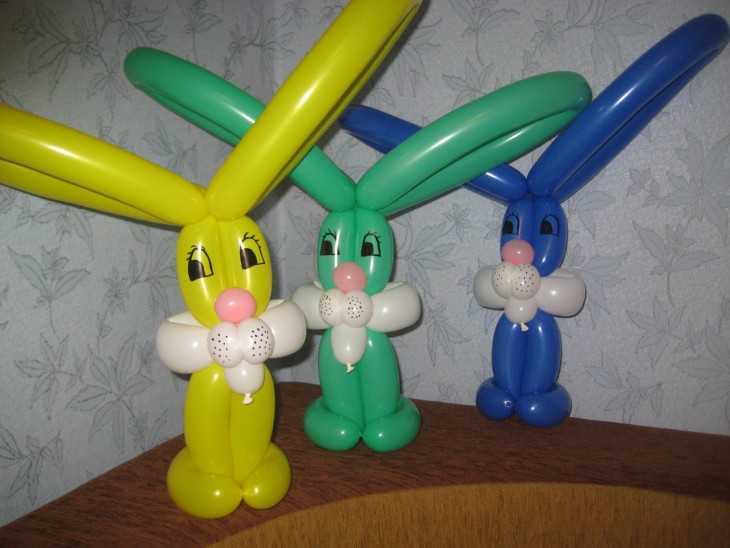
Photo crafts from balls
Note!