A creative person can easily come up with and make a DIY craft from any materials at hand. Ordinary inhabitants can also easily make a hand-made masterpiece, if desired, using certain sites on the Internet or master classes.
In our article today we will focus on crafts made from cardboard boxes that can be made independently or together with the kids.
Such games develop children's imagination, and the result will delight everyone.
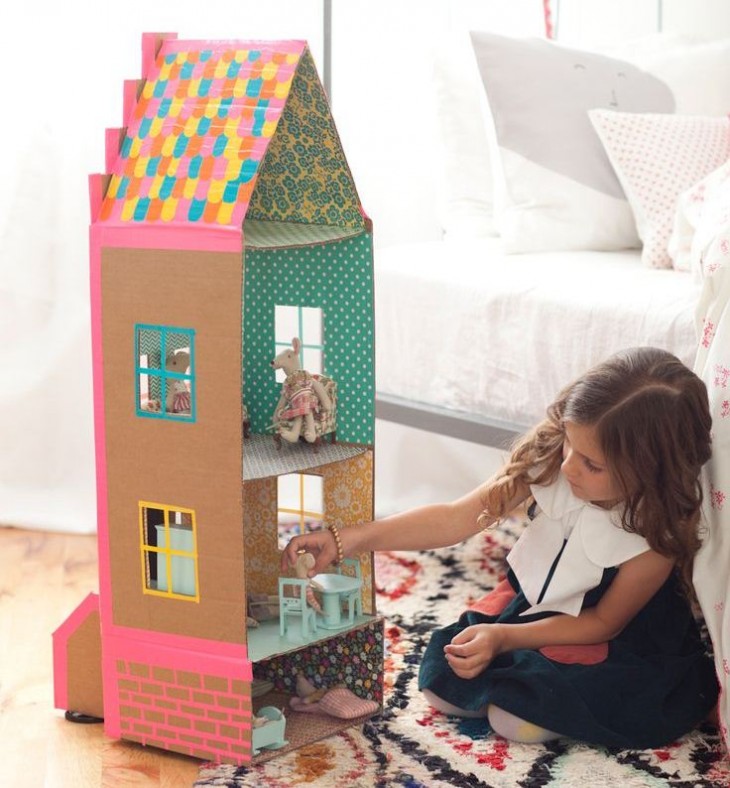
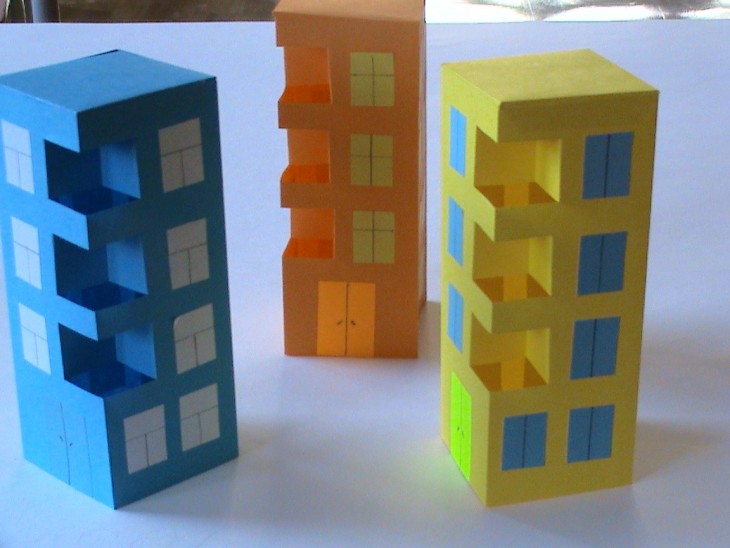
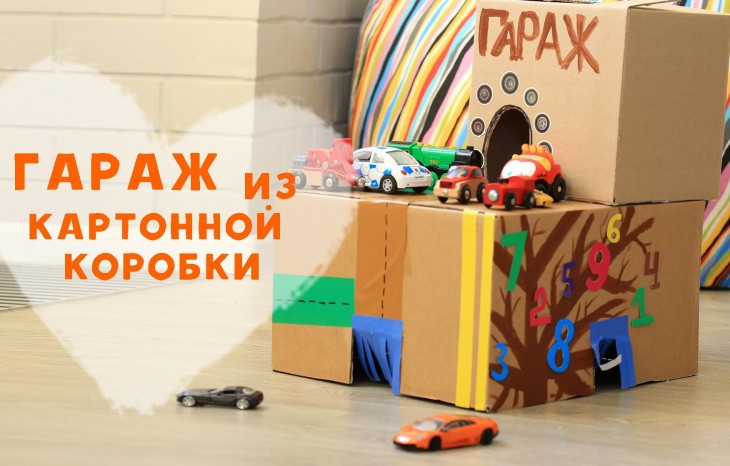
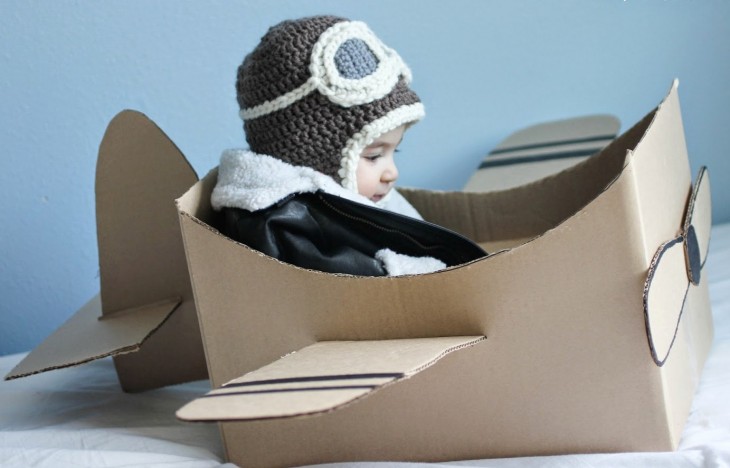
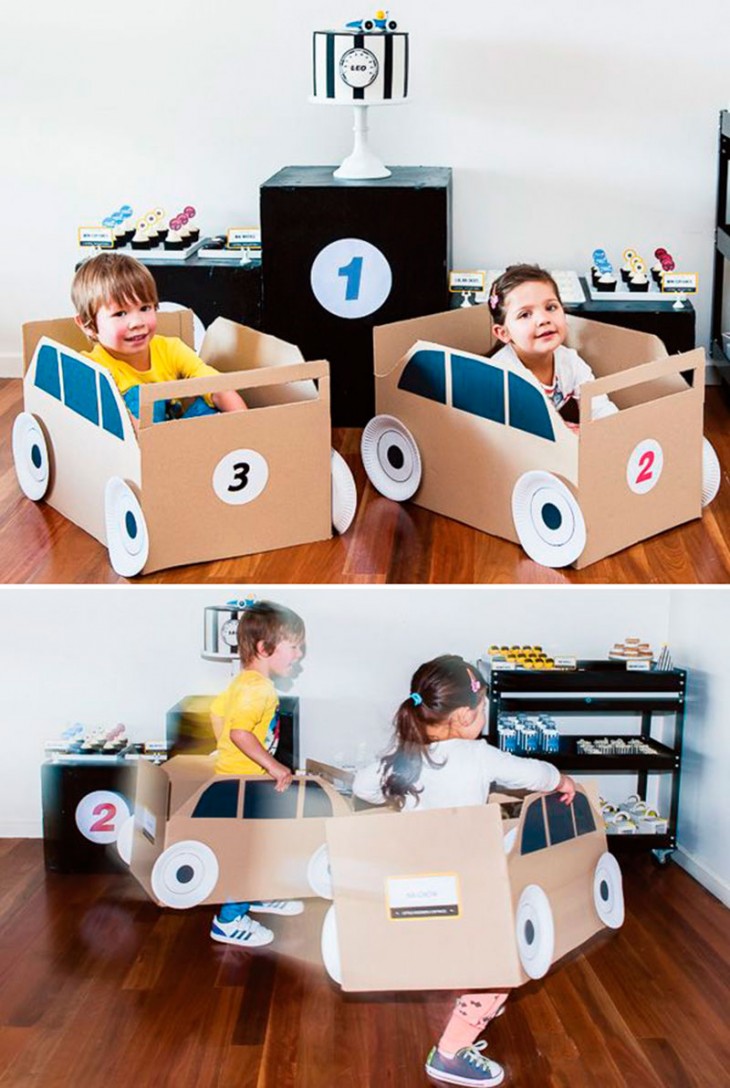
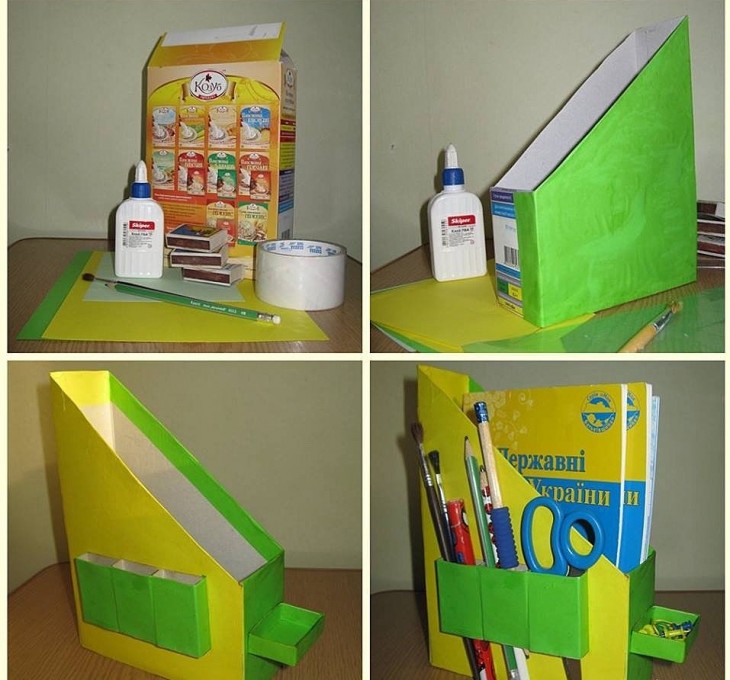
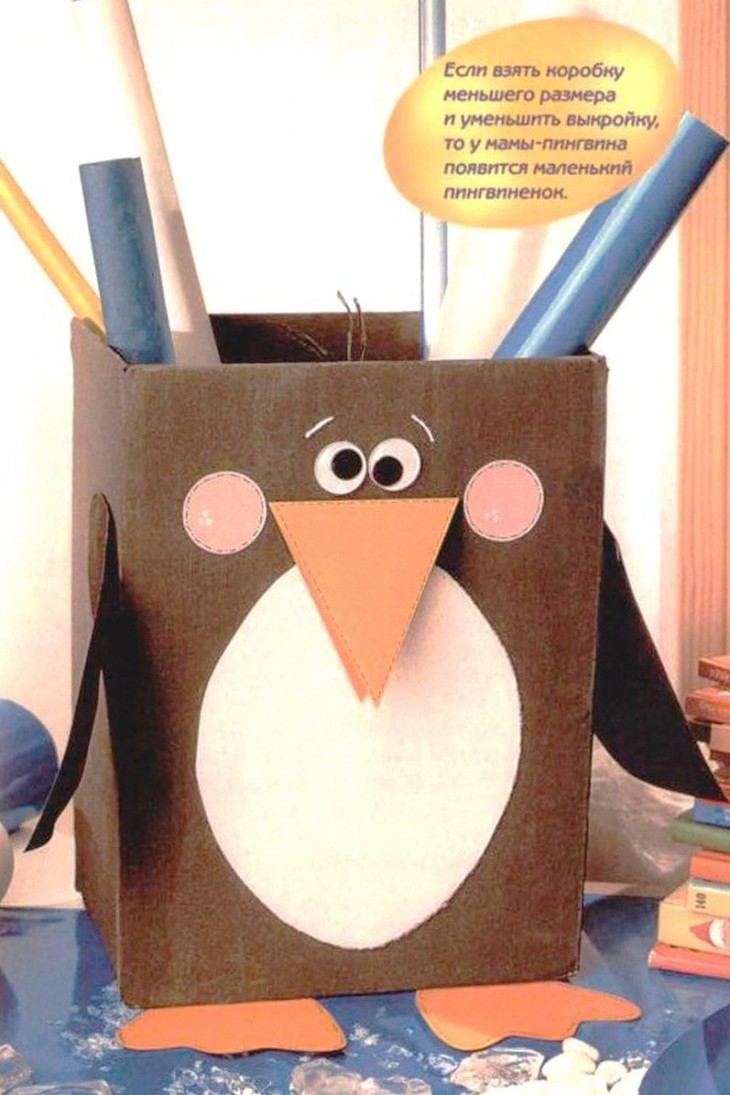
For crafts, boxes of various sizes are suitable, from which it is easy to build different objects: from large boxes - household items in the form of furniture, cars, airplanes, etc., from small ones - photo frames, caskets, devices for pencils, etc.
Options for a variety of crafts from cardboard boxes are presented in the photo.
Original ideas
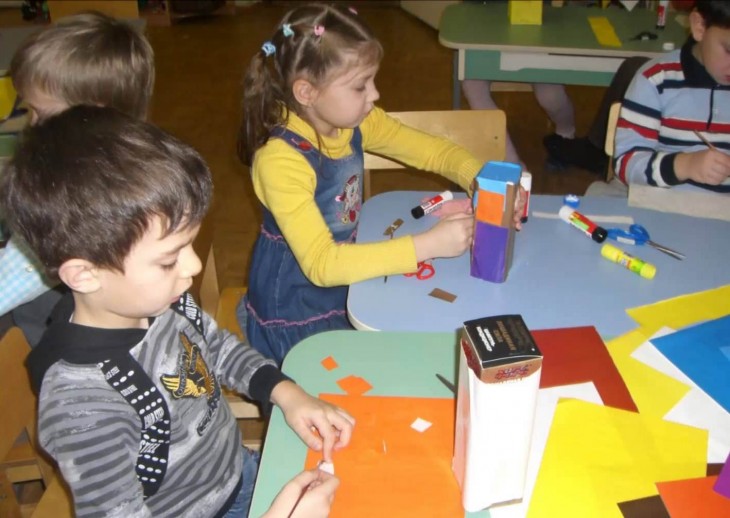
By constructing various crafts from boxes with their own hands, children develop fine motor skills, attention and imagination. If you need to use cutting tools, you need adult help to avoid injury.
It is better to immediately distribute the responsibilities before work, the child performs a simpler work, and you - the remaining, more complex.
For crafts, you can take any cardboard boxes.
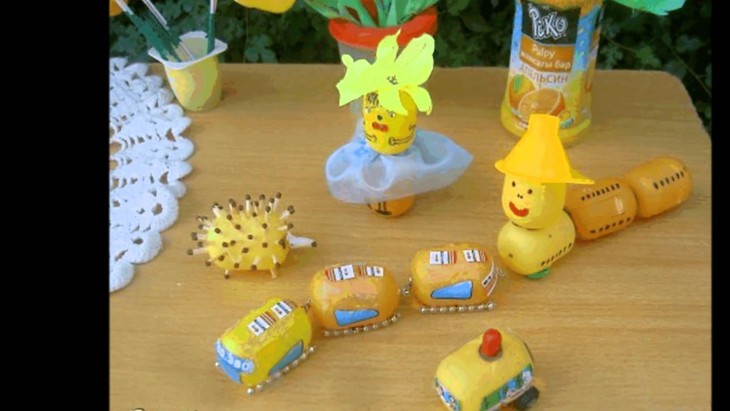
Egg trays were no exception. This is ideal for creativity. From them perfectly turn out: animals, birds and inflorescences. The easiest way to make a chicken is in the form of delivery under the egg.


Cockerel
Take for their production: egg tray, paper scissors, acrylic paint, brush, glue, felt or multi-colored paper.
The process is not complicated, everything should be done in order:
- cut out part of the tray (cell with the protruding part);
- cut the cell in the form of a rooster with a huge tail;
- paint it with acrylic colored paint, drawing the feathers of a bird, and leave to dry;
- cut the blanks from felt material or paper a beard, comb and beak;
- glue these blanks with glue;
- make eyes, decorate with feathers.
The cockerel is ready!
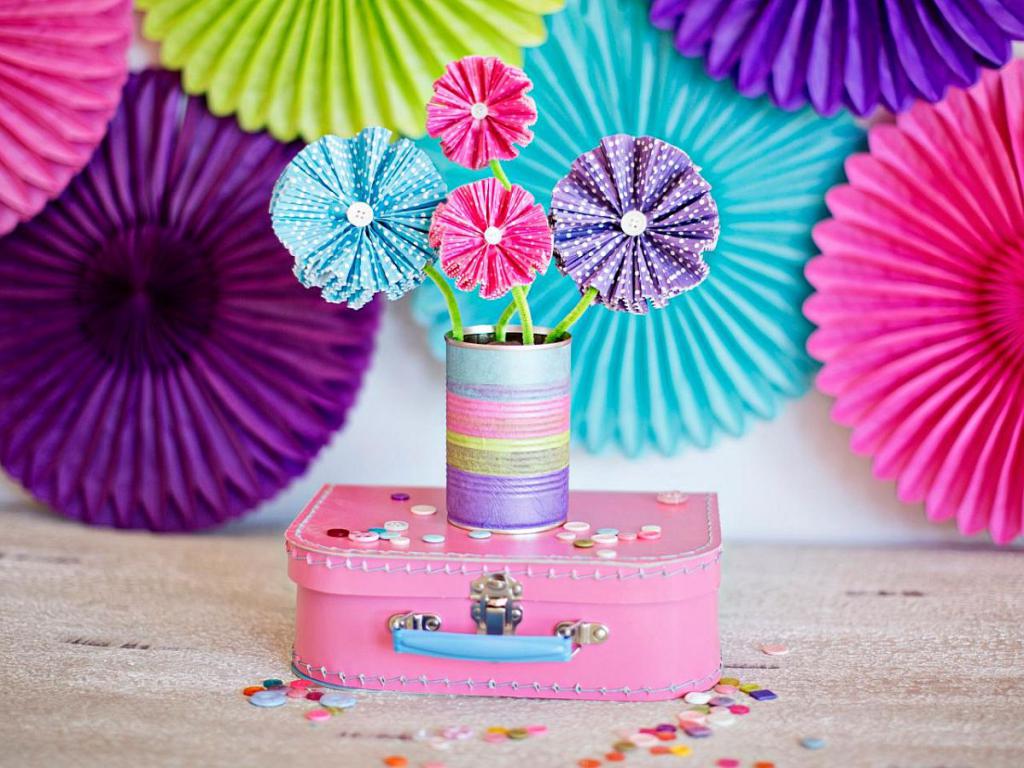
Flower
Making a flower-shaped craft is a bit more complicated. Materials needed: egg tray, PVA, paint, wire and scissors. Such crafts can be done in different ways.
For example, cut a cell and, by bending inside the cell, cut the petals that you want to twist and paste into each other, if you want, add additional petals.
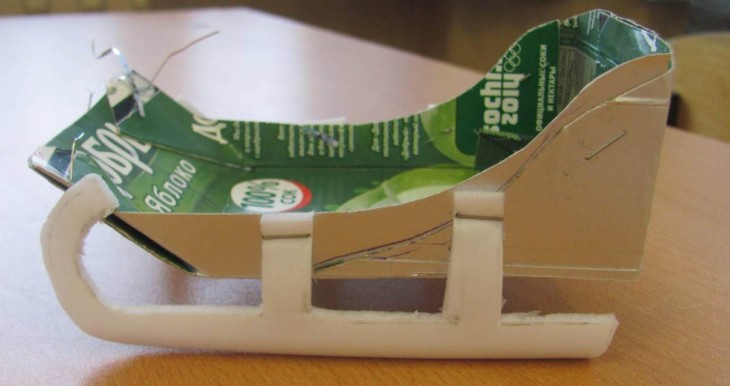
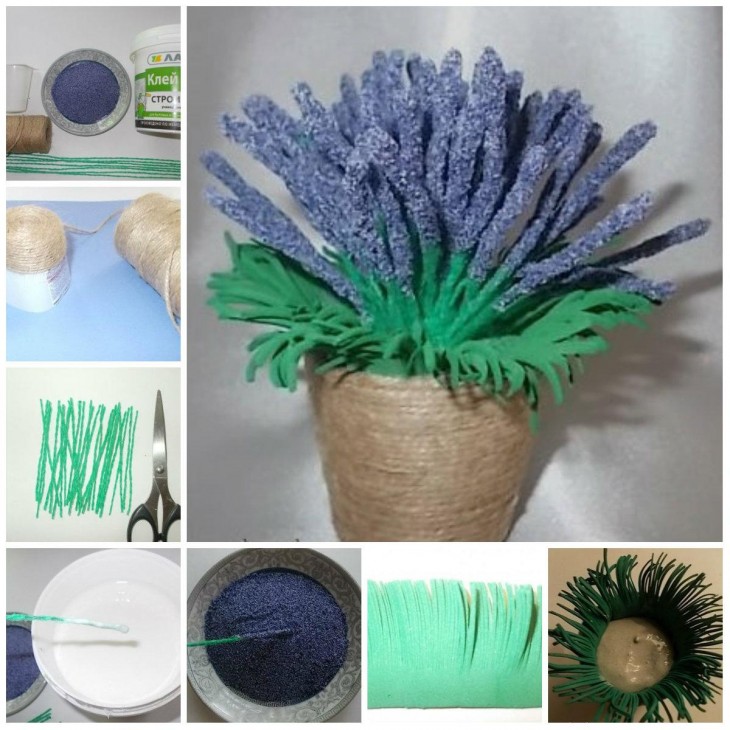
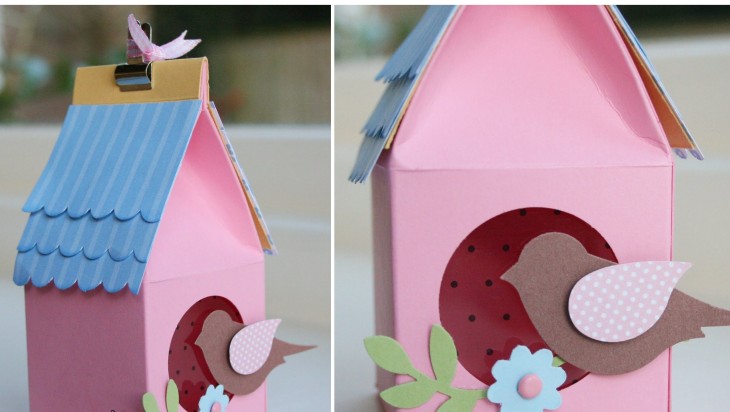
The resulting inflorescences are attached to the wire or fixed at the surface to make a floral arrangement. A milk package can also be used. For example, in the form of a bird feeder, a well, toys or houses.


Cubes
Cubes are the favorite fun of all the kids. It is very simple to build it yourself. You will need: 1 liter milk bags with a square base, a paper knife, a measuring ruler, a color marker, double-sided tape, pictures.
We begin to make cubes:
Note!

- wash and dry the milk boxes;
- set aside twice from the bottom of the bag along the edges, 7 cm each, and make a marker for the mark line;
- on one side, set aside another 1.5-2 cm from the mark and cut off the remaining top;
- cut along the ribs to the mark below and collect the cube as a simple box, the long side will be the lid;
- Stick various funny images, letters or photos onto the side faces.
- fold the cube in the usual way.
To fix the images on the side faces of the cube, before sticking the main image, glue the cube with newspaper pieces soaked in glue. Next, cover the finished version of the craft with colorless acrylic varnish. If you place small objects inside the cube, you will get a rattle.
Frame
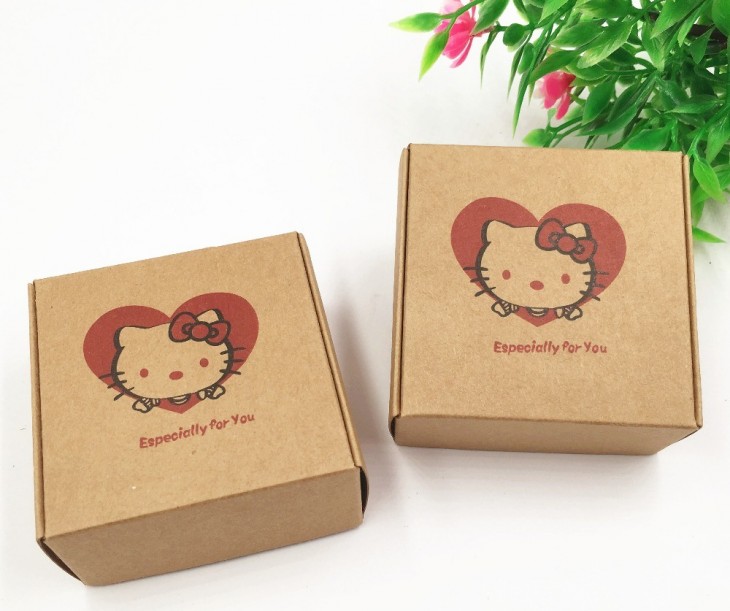
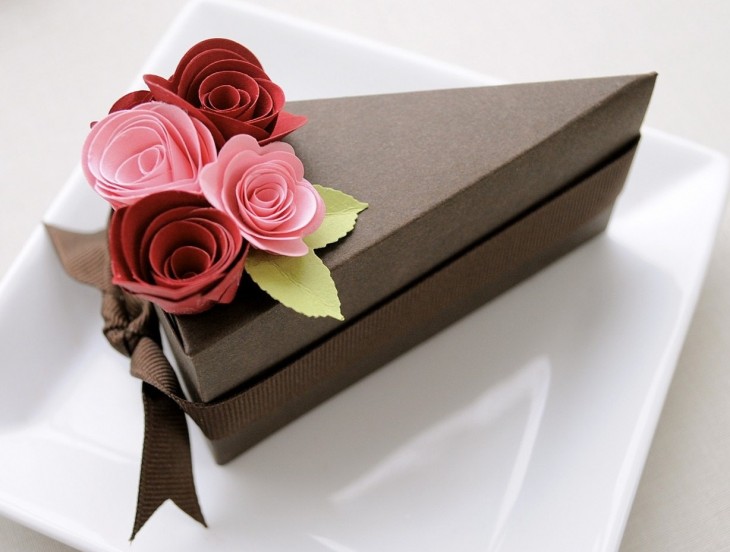
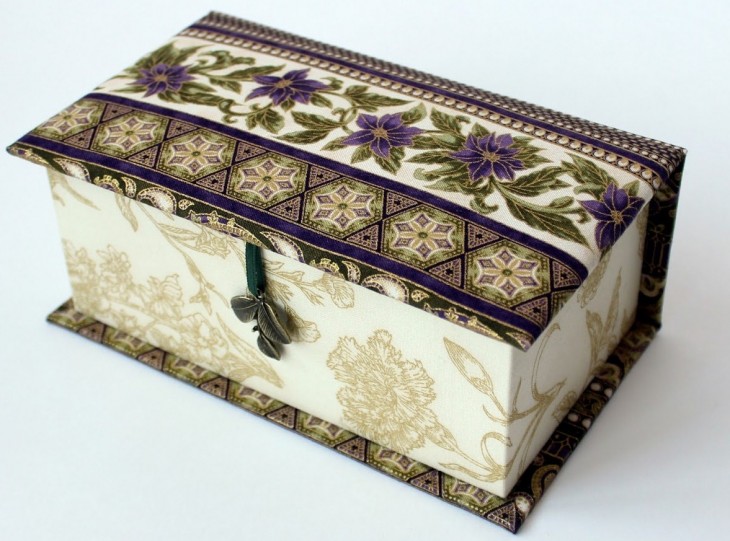
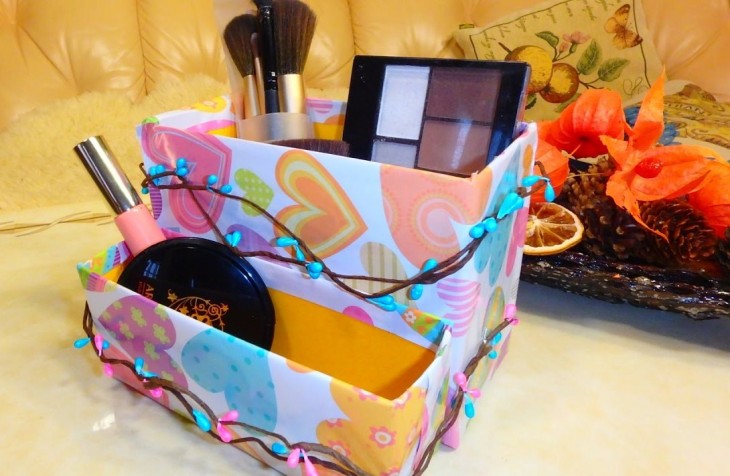
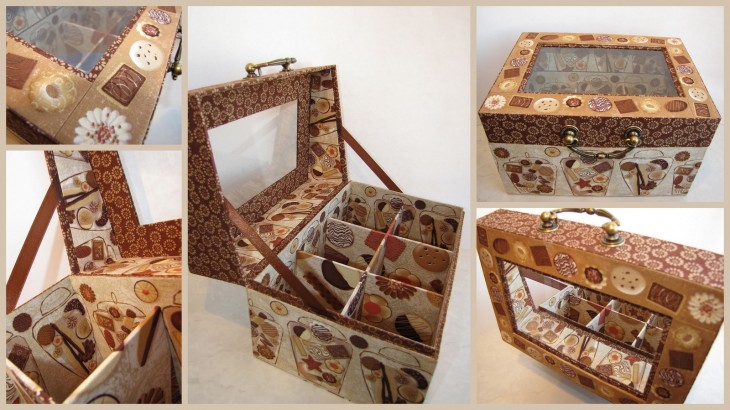
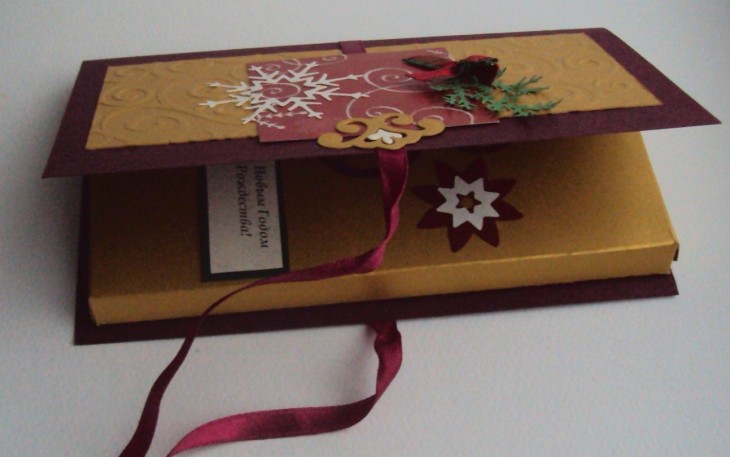
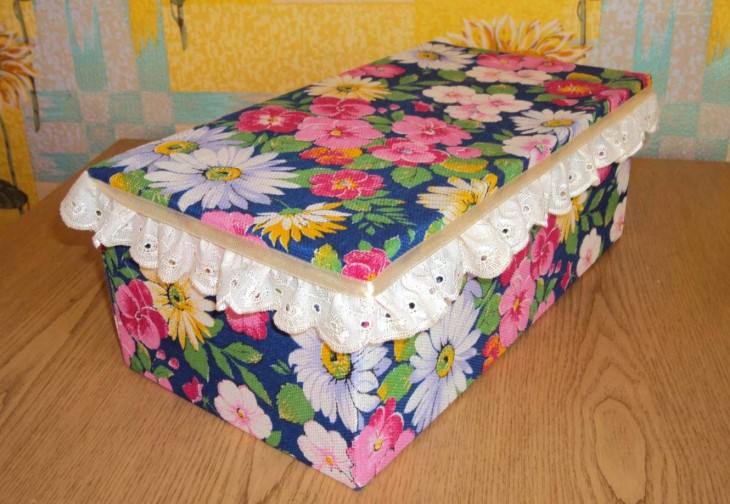
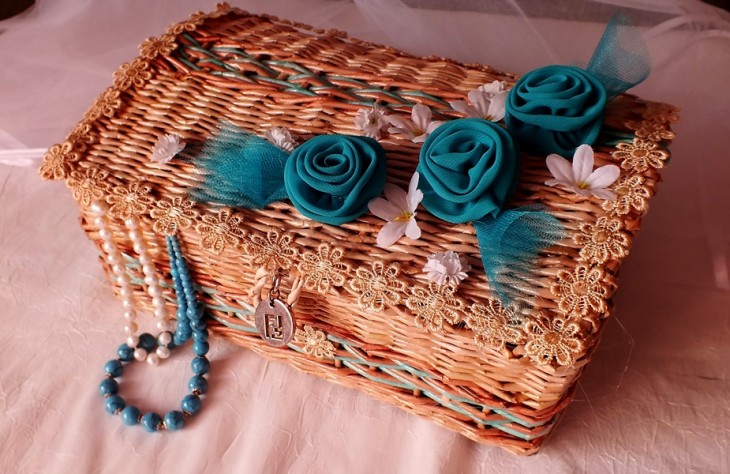
The candy box is perfect for a great photo frame, decorative box, etc. They are very strong and suitable in shape, sometimes with a hinged lid.
Glue the box with gift wrapping paper, lace or satin fabric, decorate with a composition using various little things, pins, bows, etc., and the casket is ready.
Card
A flat box will come in handy for creating a greeting card with a frame. To do this, in addition to the box itself, you will need:
- Greeting Cards,
- bright or pastel colored paper,
- PVA glue,
- corrugated cardboard,
- stationery,
- ribbons, bows and other decorative little things.
Draw a contour of the postcard on top of the box cover. Then step back to the center of the contour from the sides for 1-2 cm, circle the resulting contour with a pencil and cut a window.
Note!

From corrugated cardboard paper, cut parts to finish the inside and outside. On the opposite side of the hinged lid, fix the card with tape so that it can be seen in the done window.
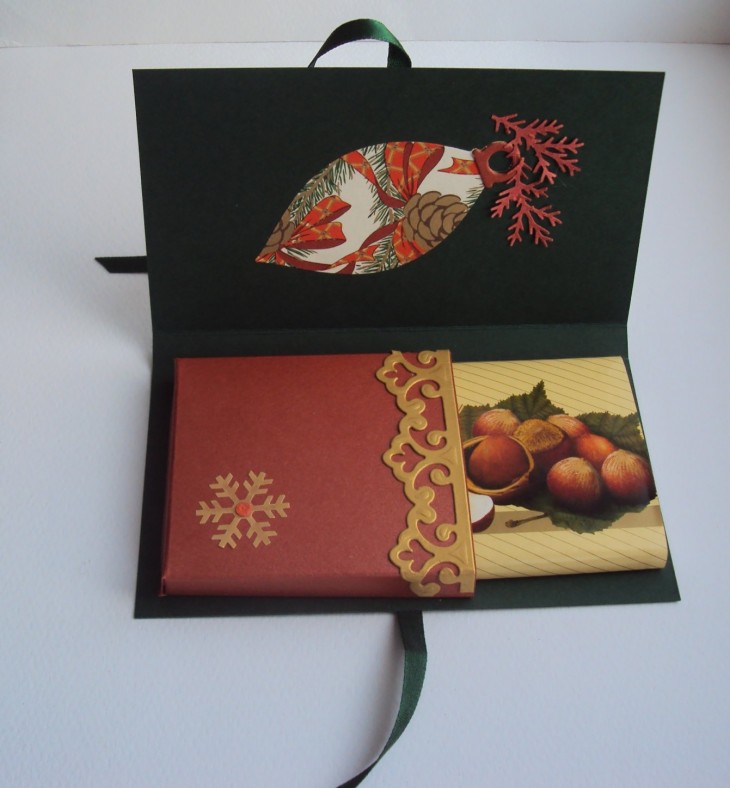
Attach a ribbon to it and the side and mask the places of their fastening with corrugated cardboard parts on the side and a corresponding postcard on the inside of the cover.
Complete the design with various decorative elements. Place congratulatory words and a small present in the inside of the box.
Other crafts
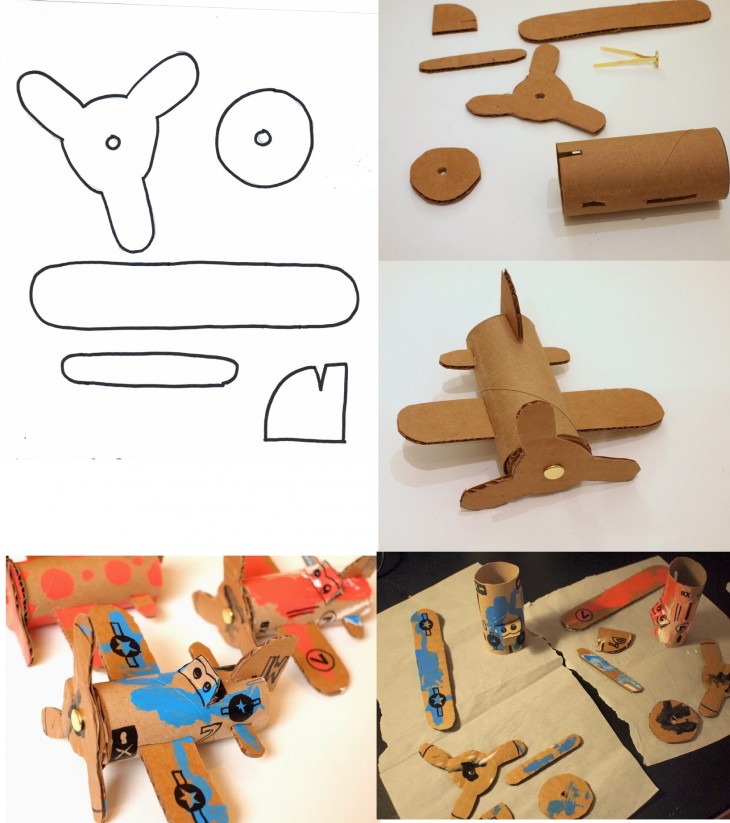
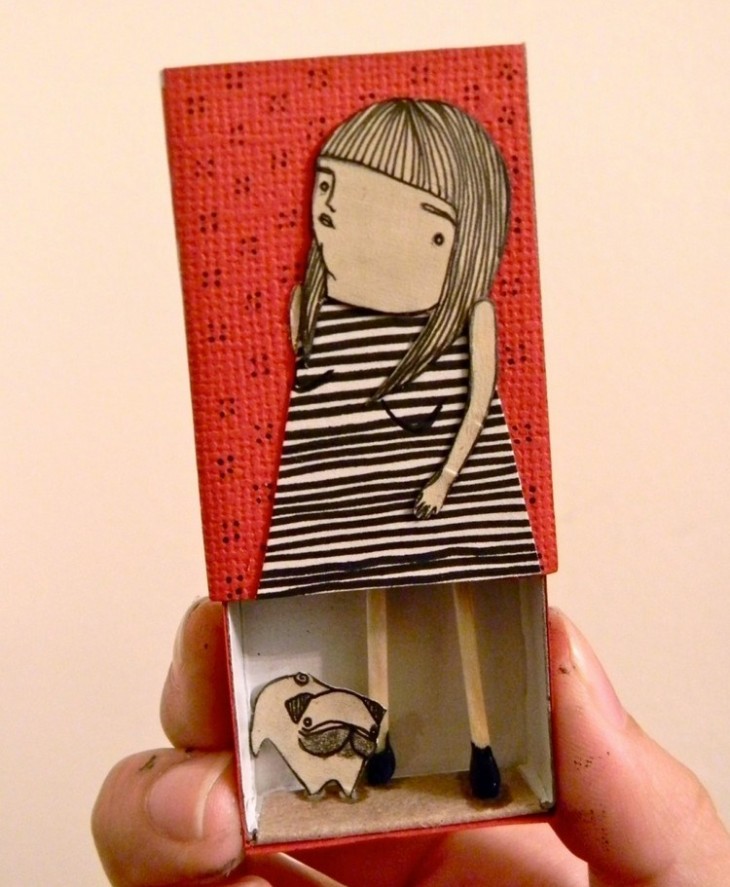
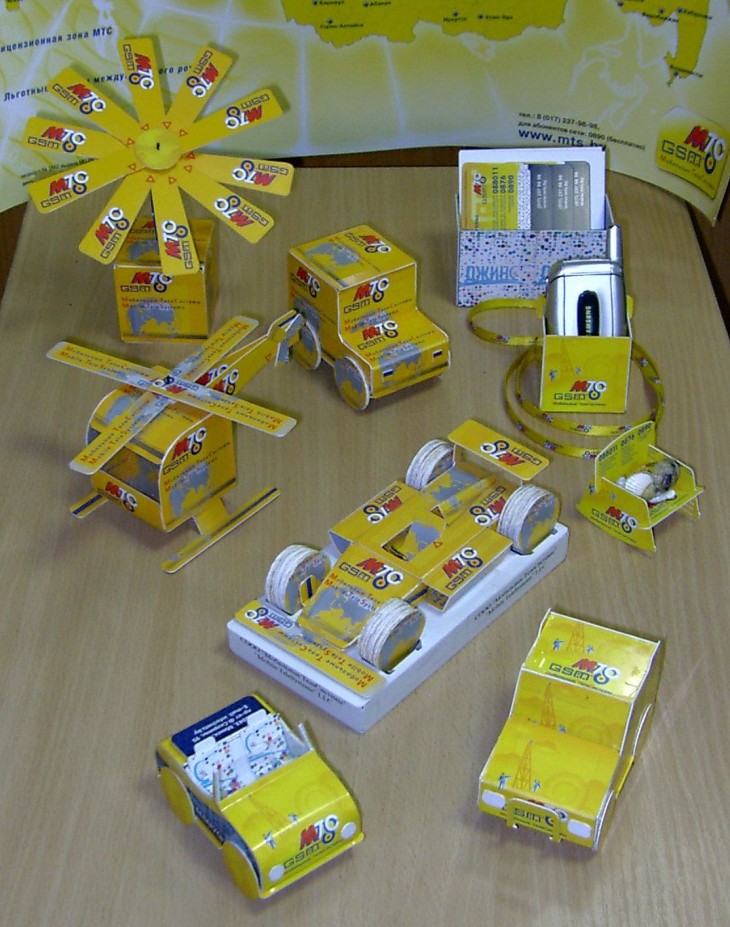
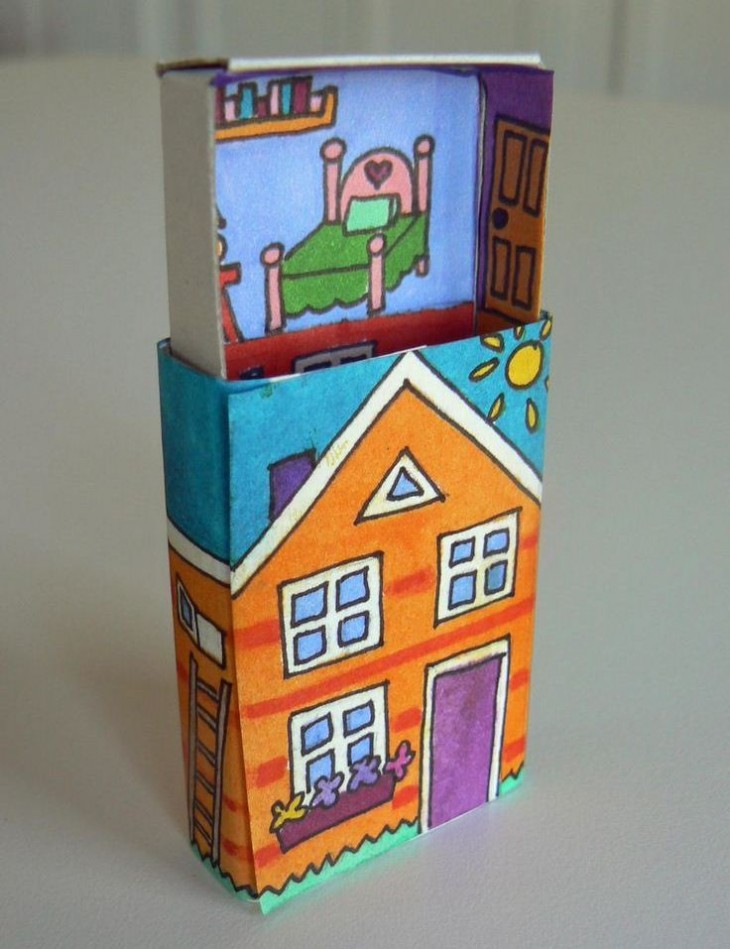
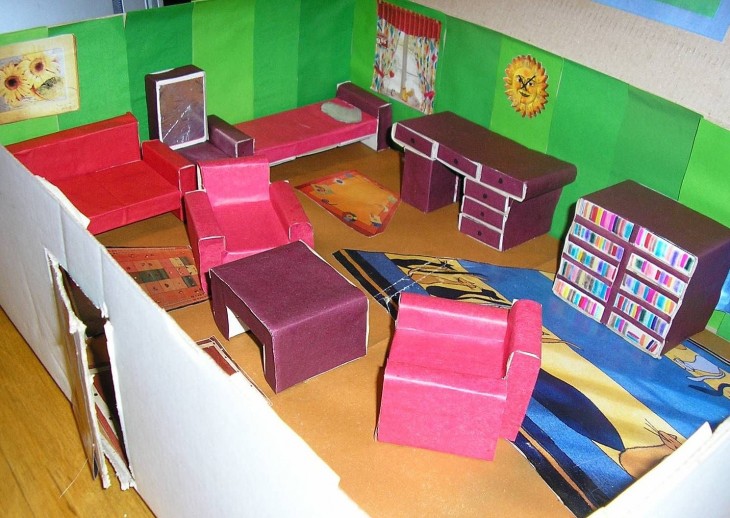
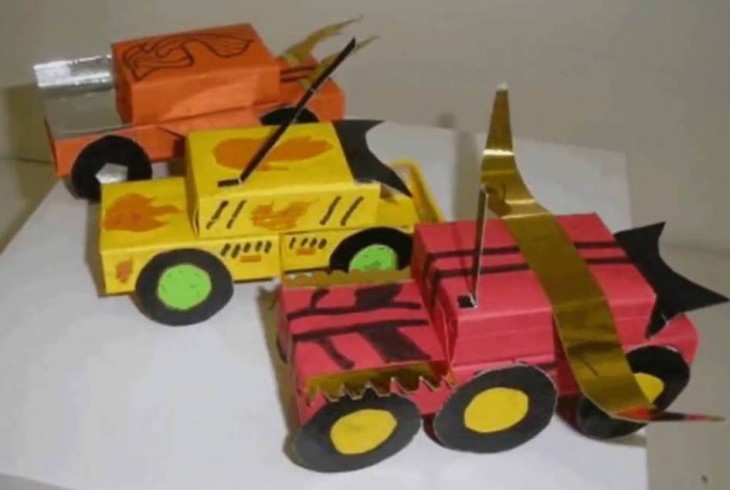
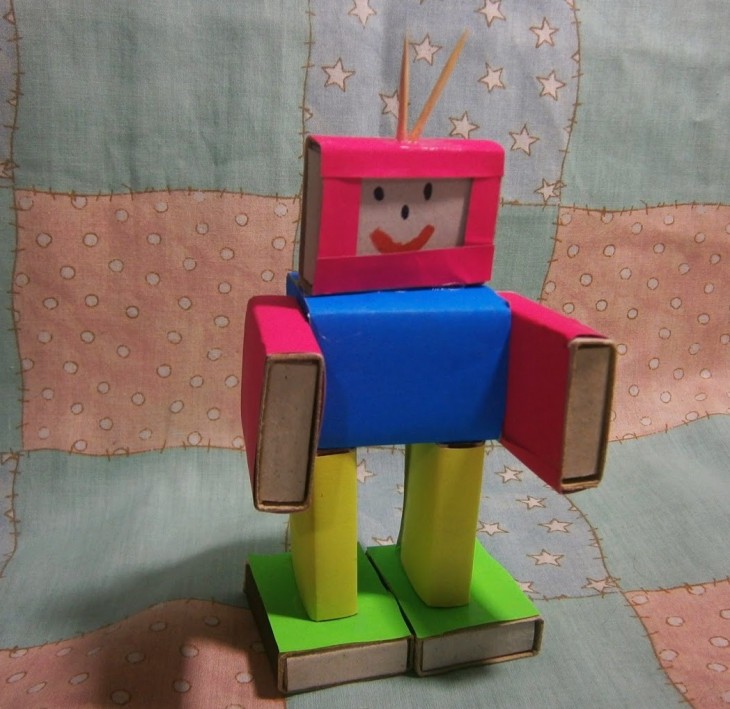
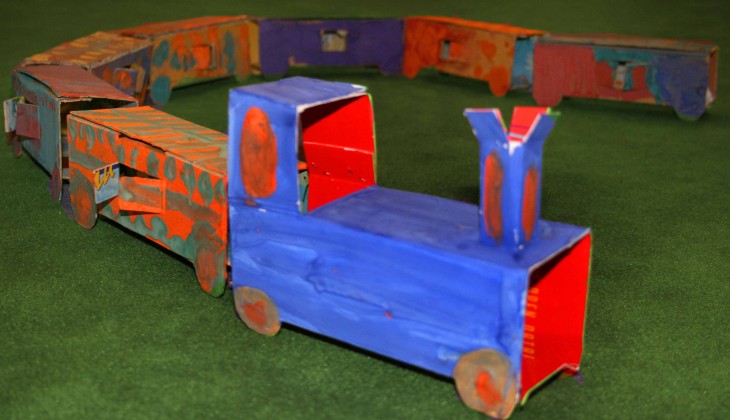
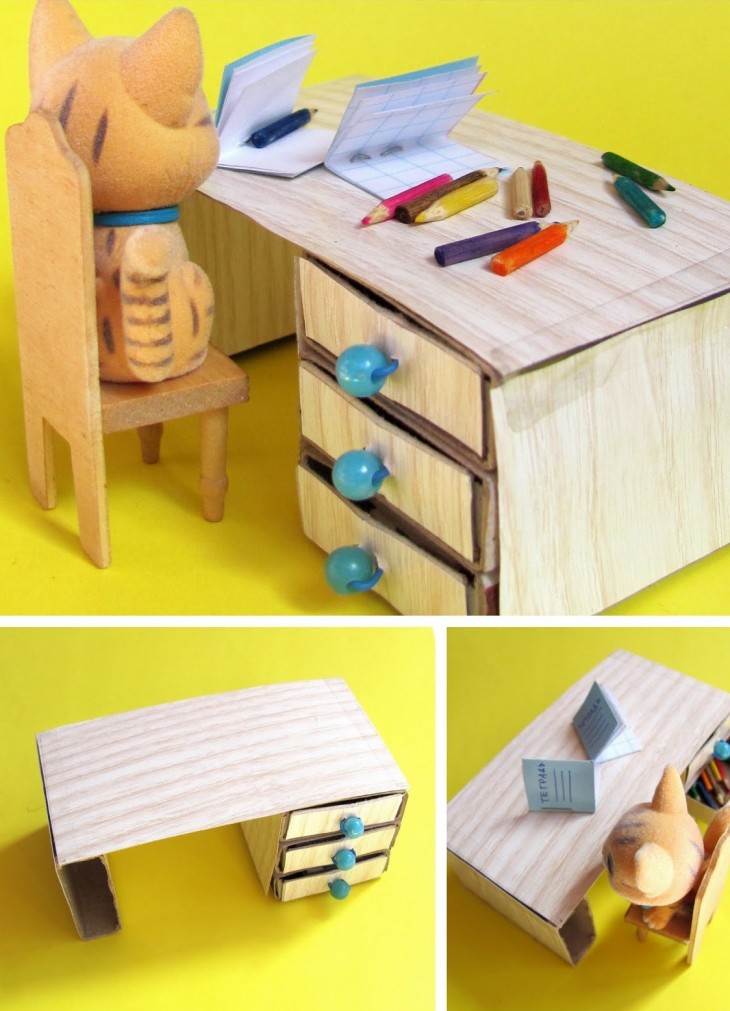
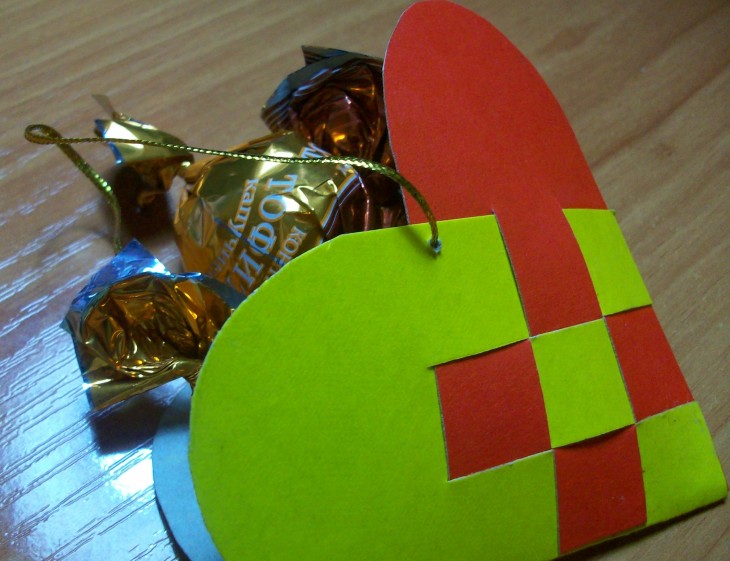
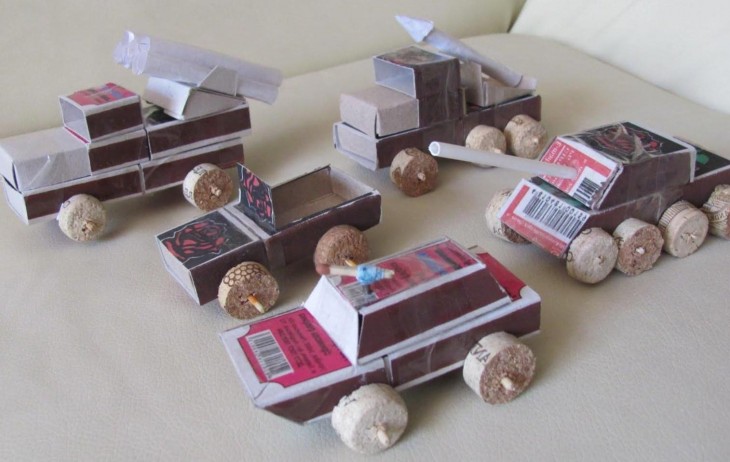
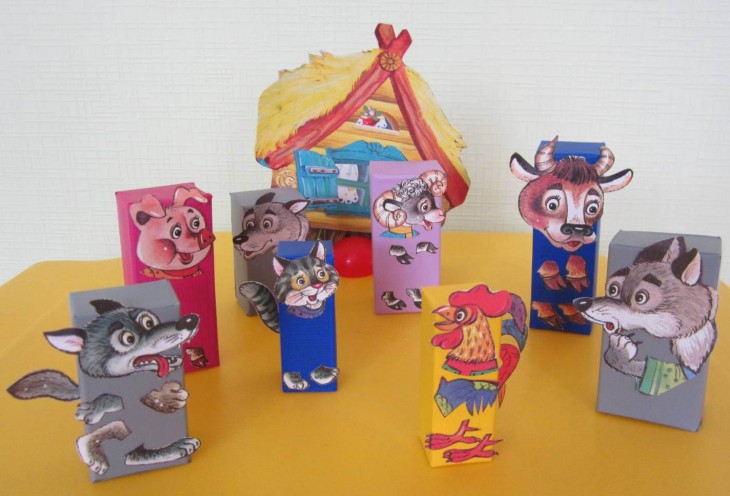
From matchboxes, you can also create crafts. Most often they make doll furniture, vehicles, caskets, etc.
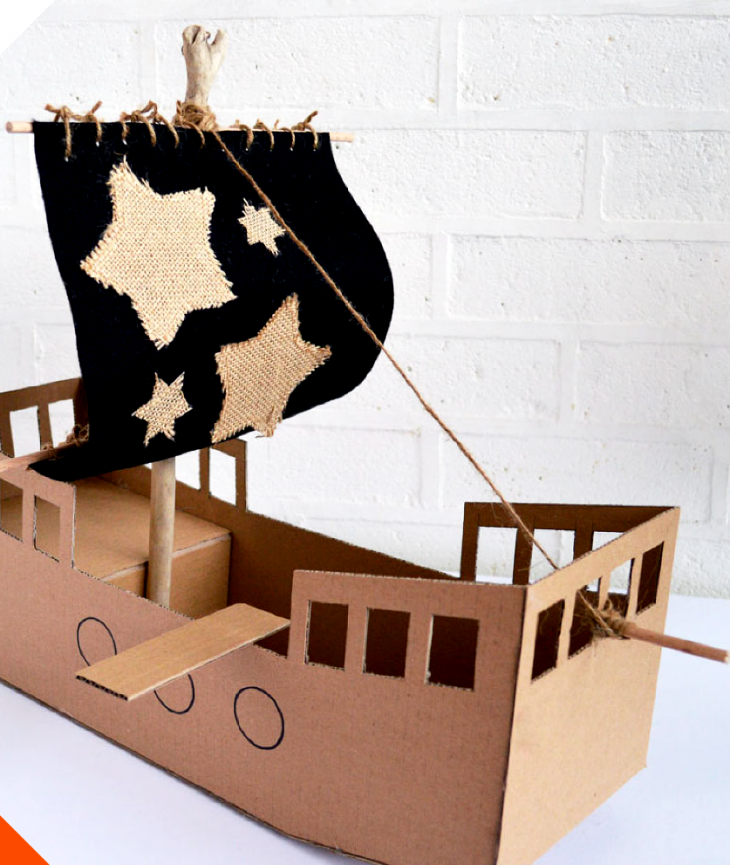
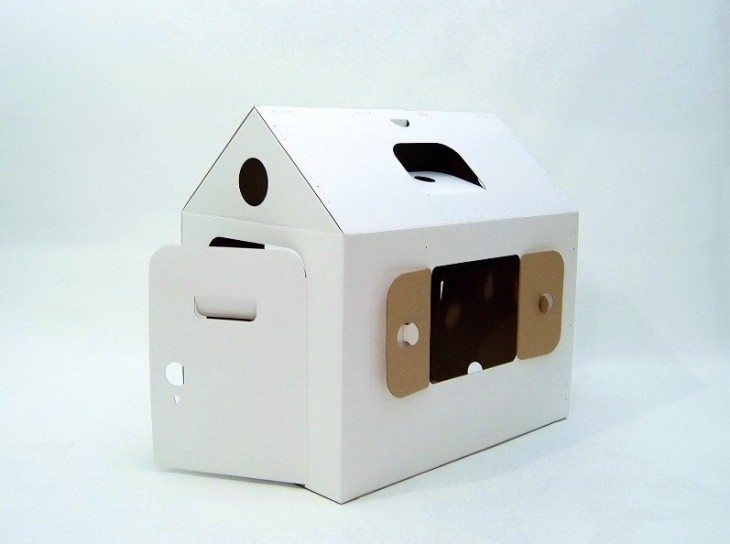
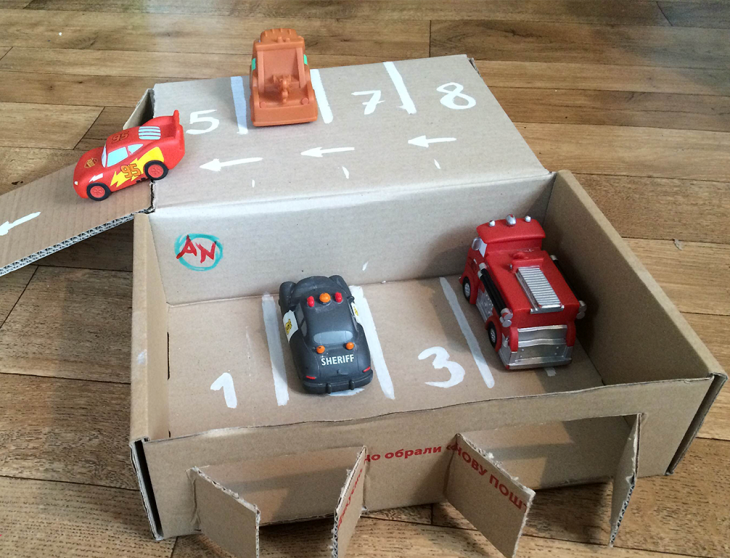
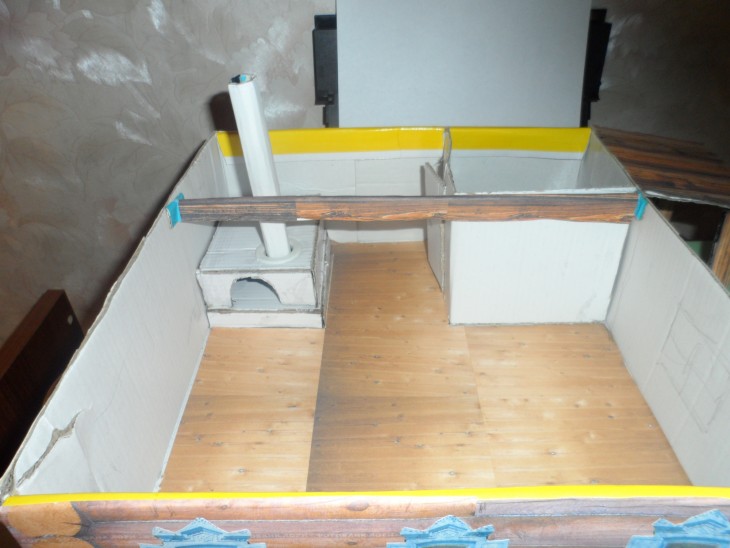
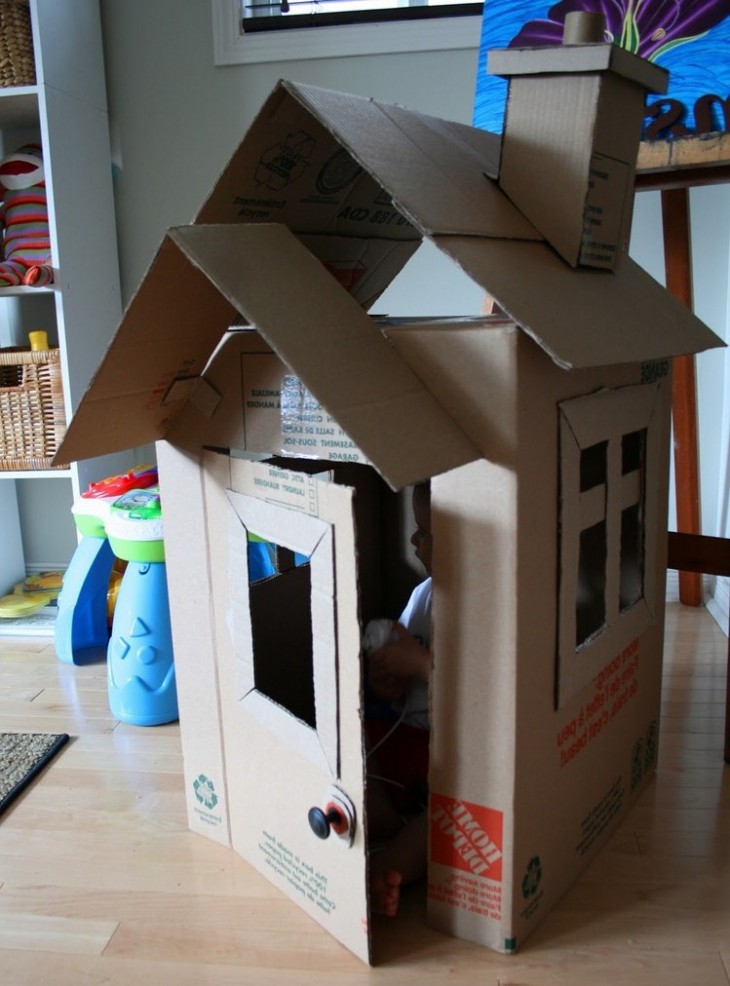
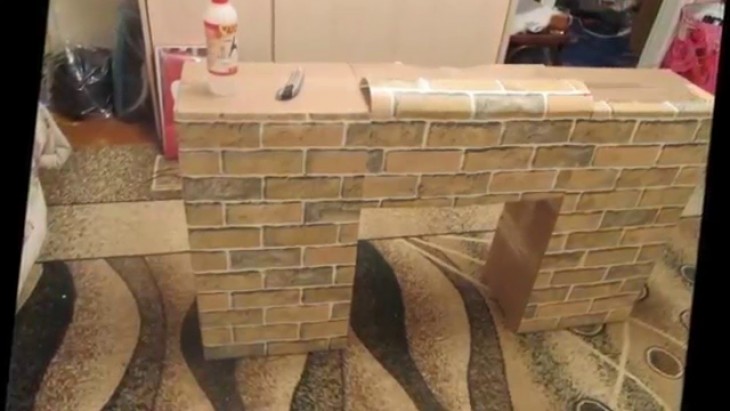
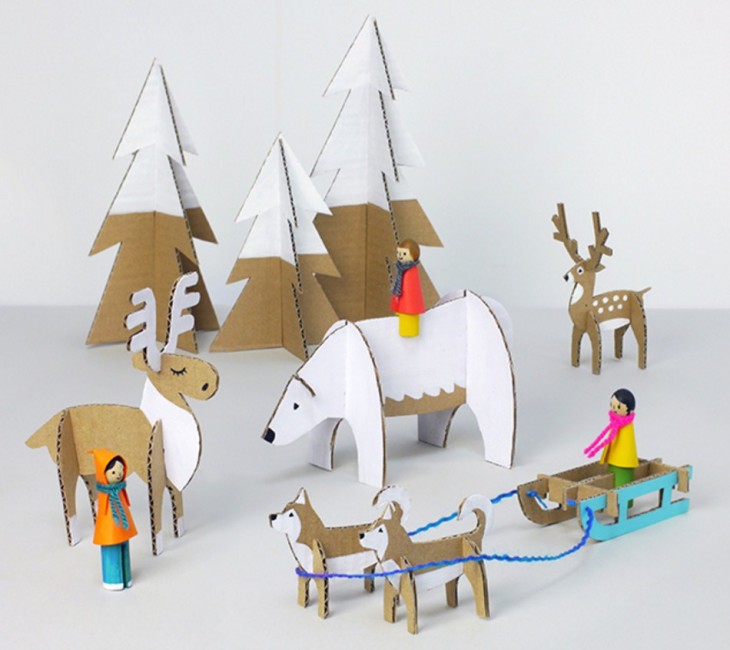
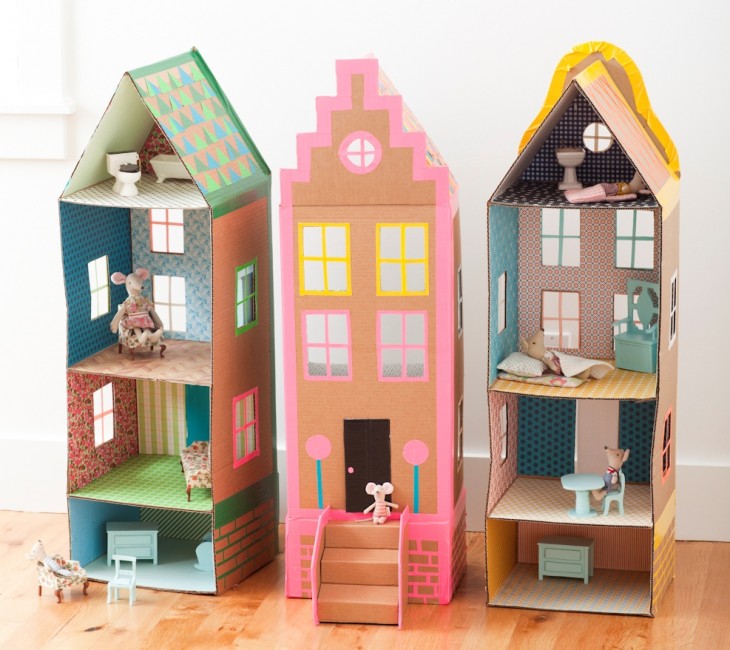
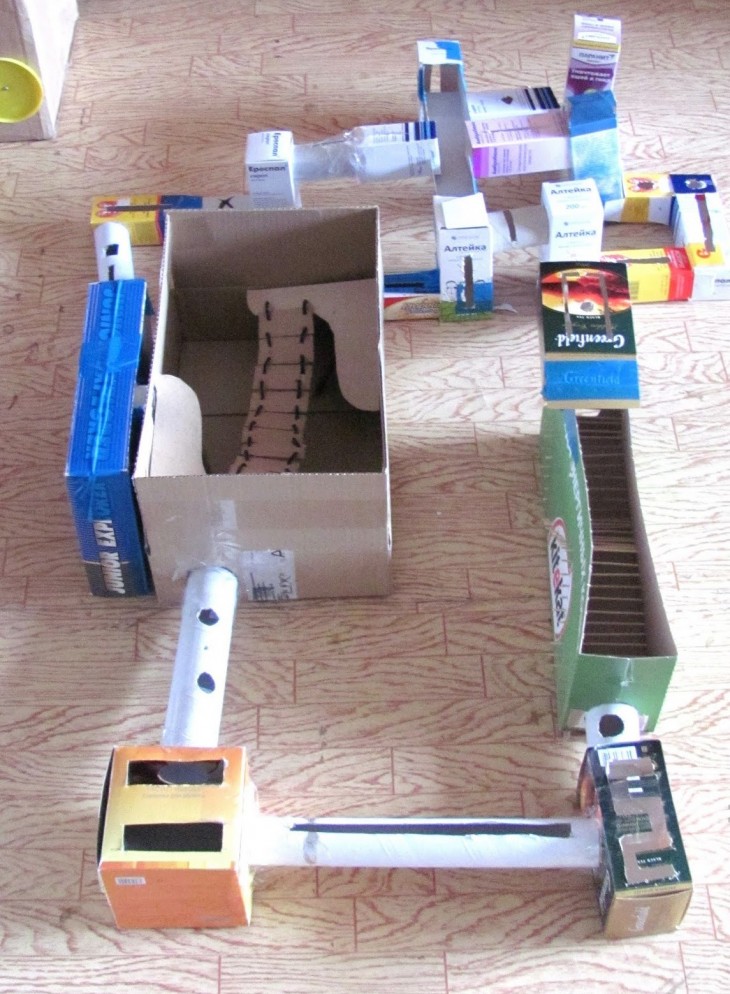
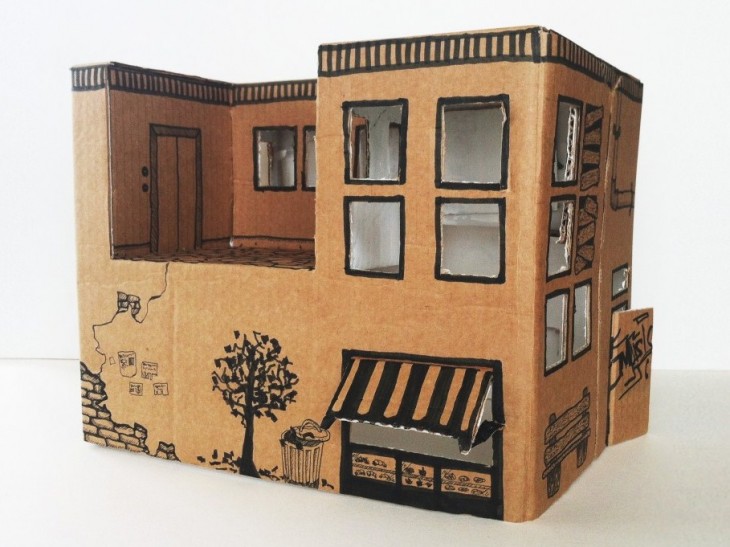
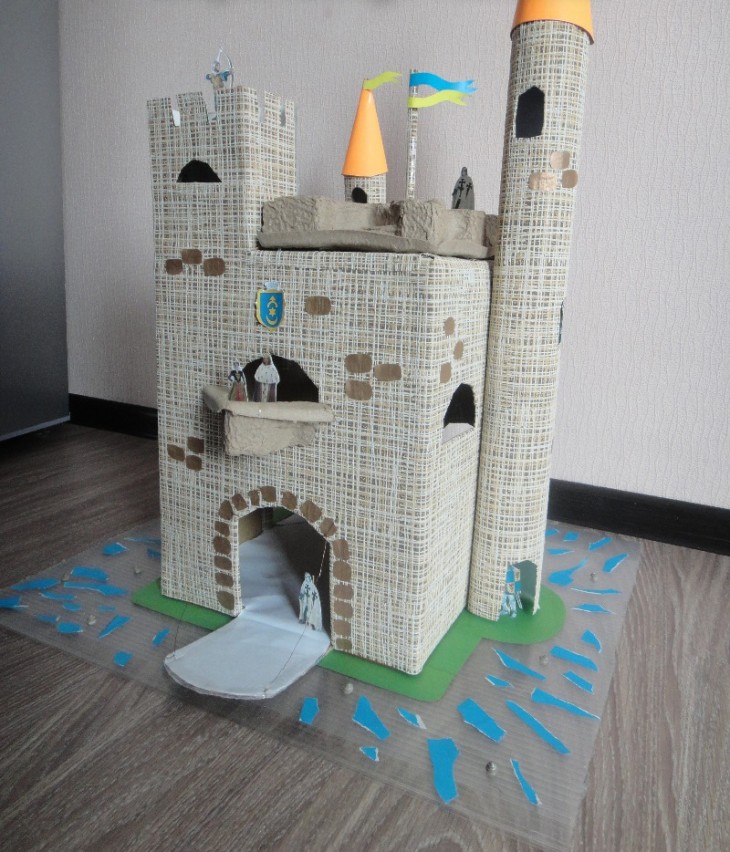
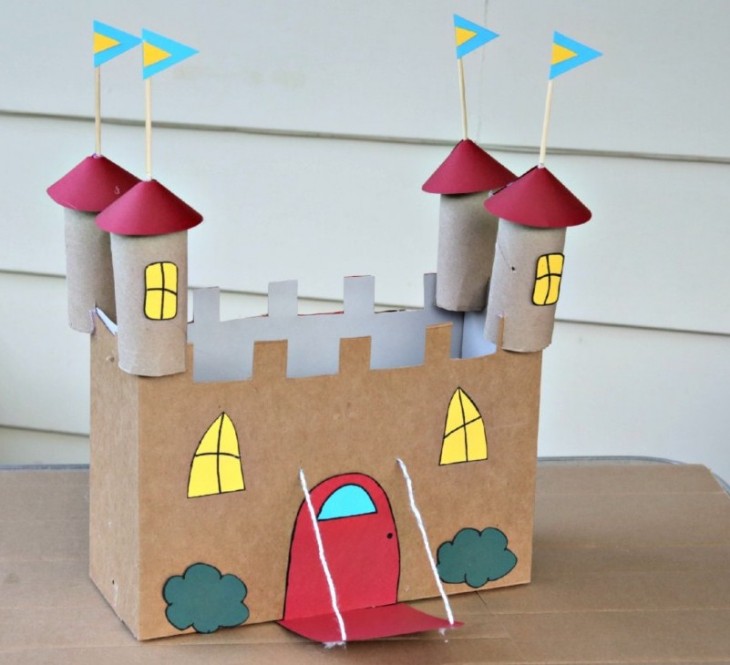
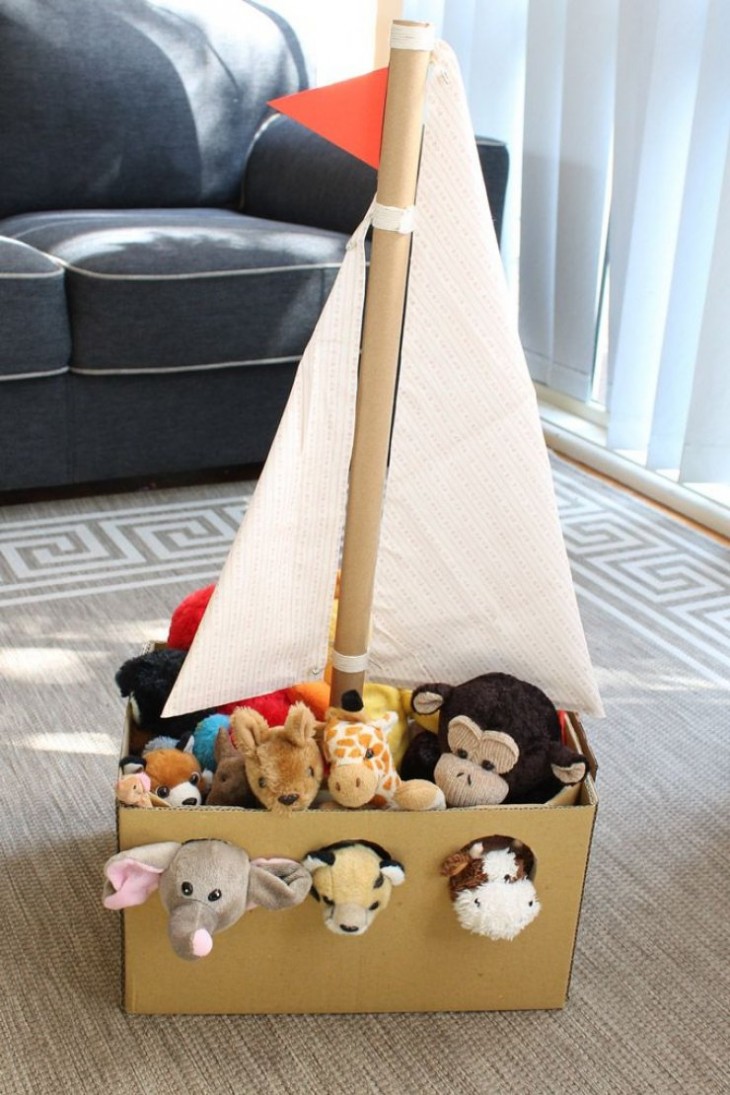
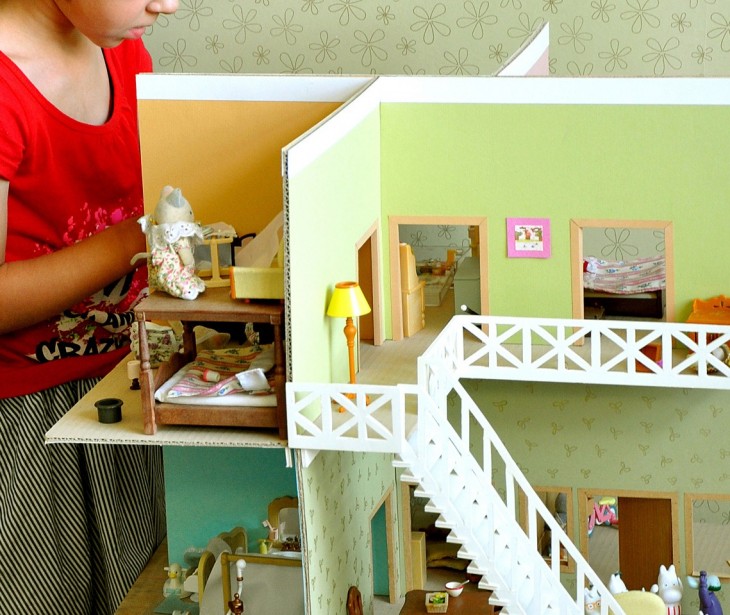
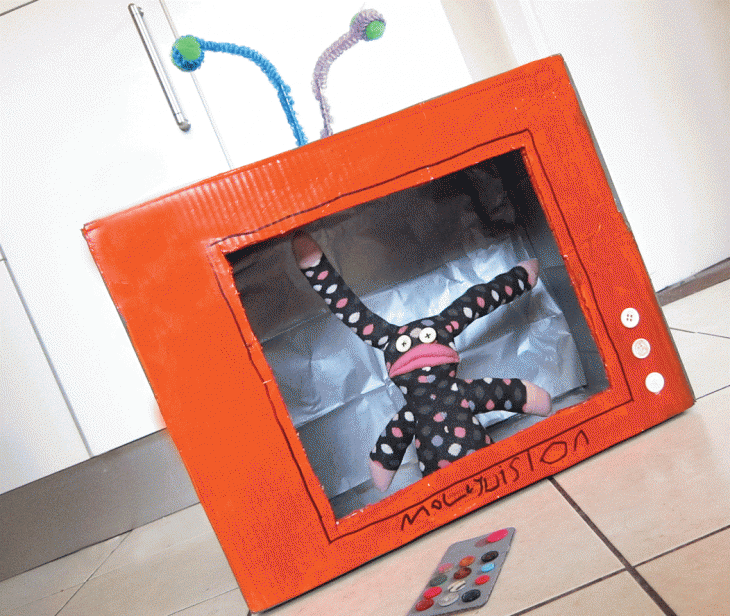
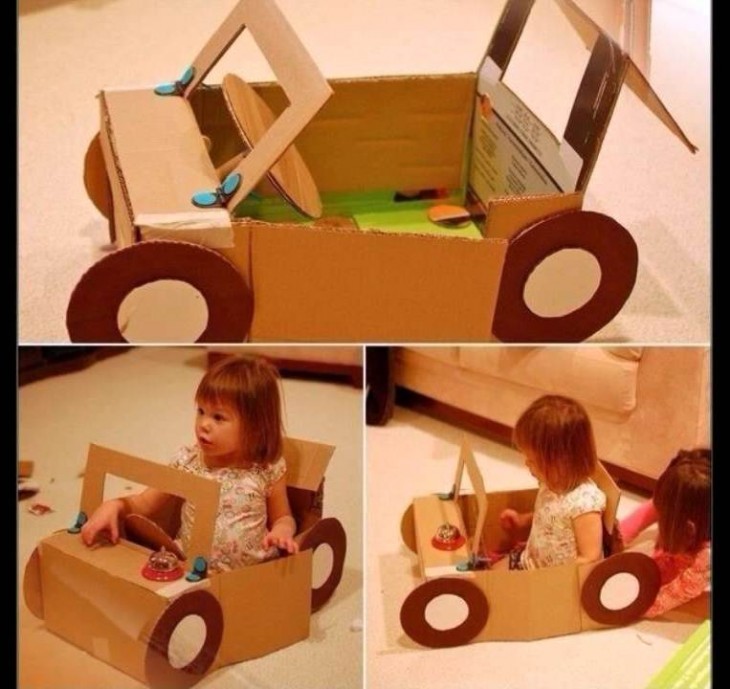
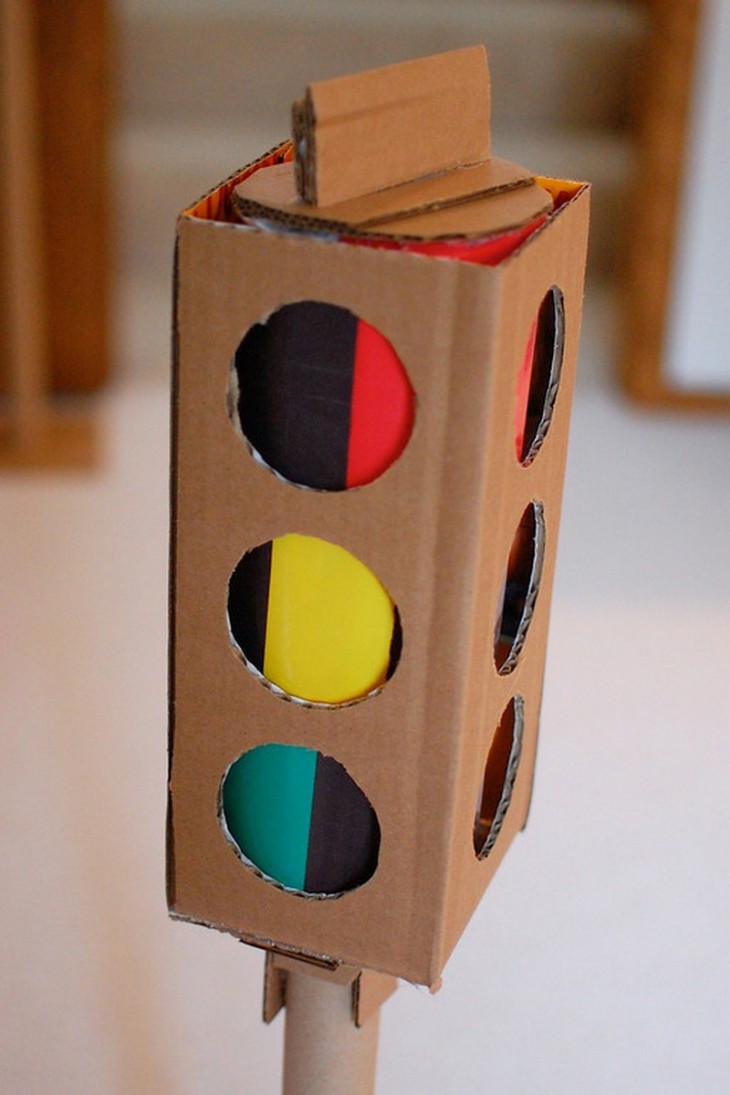
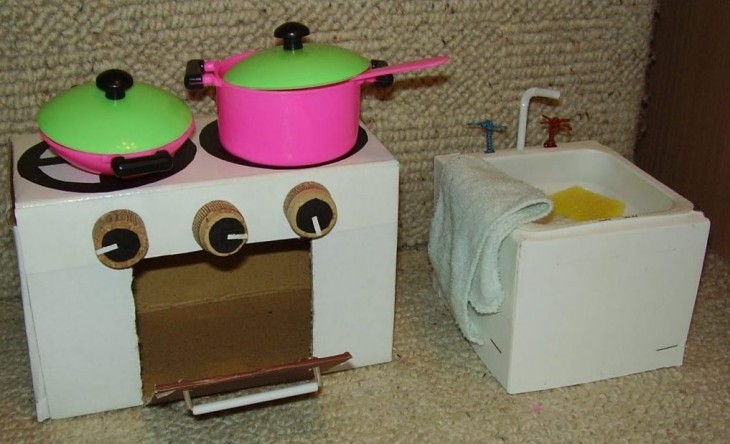
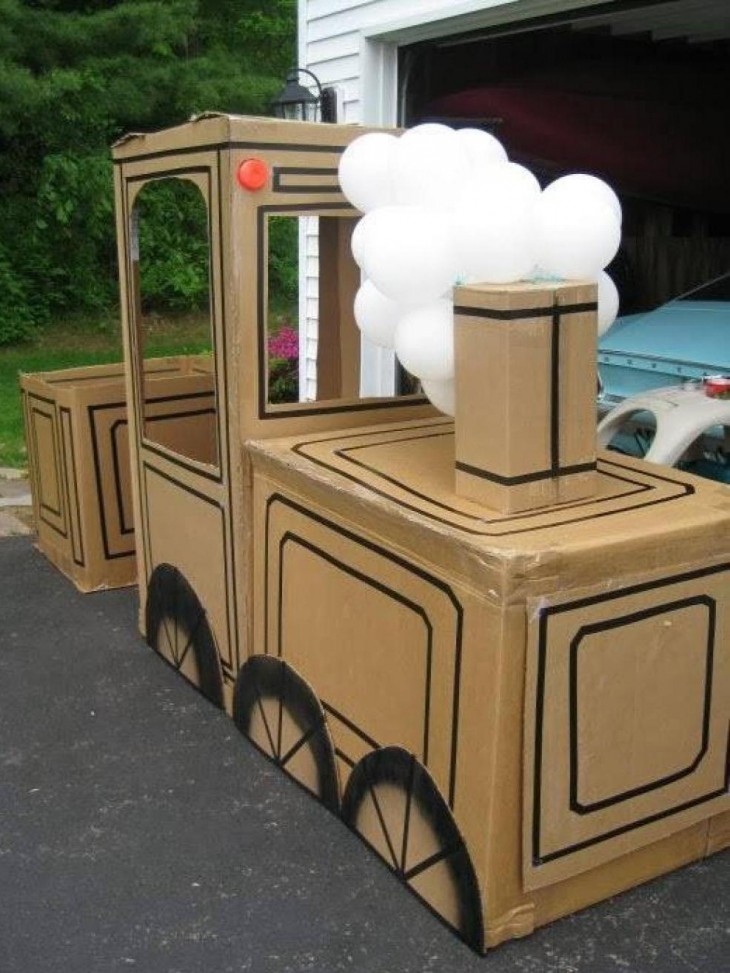
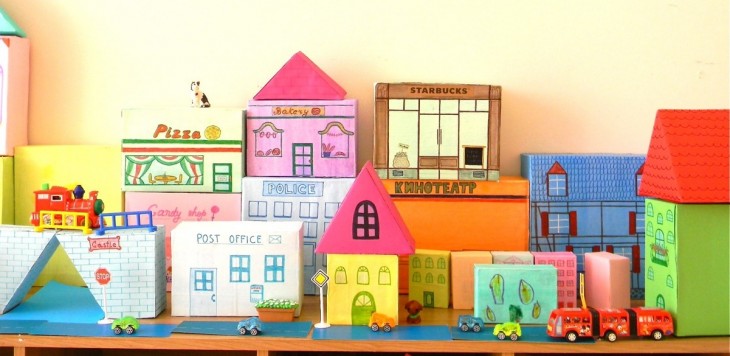
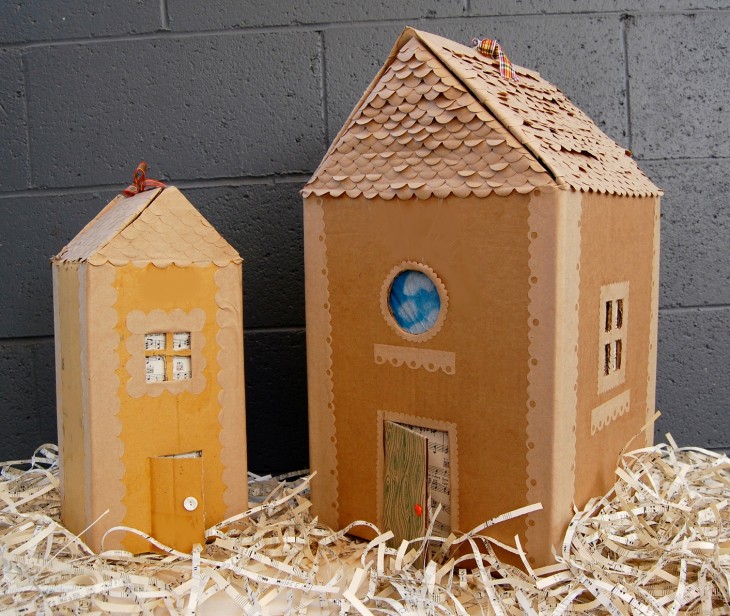
From large cardboard boxes intended for household appliances, handicrafts in the form of children's household appliances, vehicles and fortresses are easily obtained.
Note!
Become a real architect and please your child with a real castle or your own home. Moreover, your child will be proud of such a creation made by his beloved mom and dad.
The child himself will be able to invest a part of his labor in the process of its production. Girls will be happy with their own miniature kitchen or dollhouse.

Crafts from boxes for children made by parents with love will leave unforgettable vivid memories for the child for life.
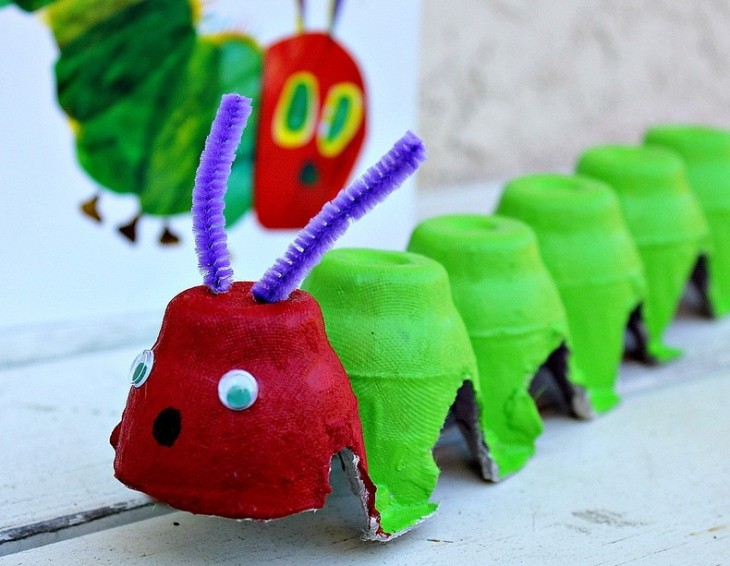
Photo crafts from boxes