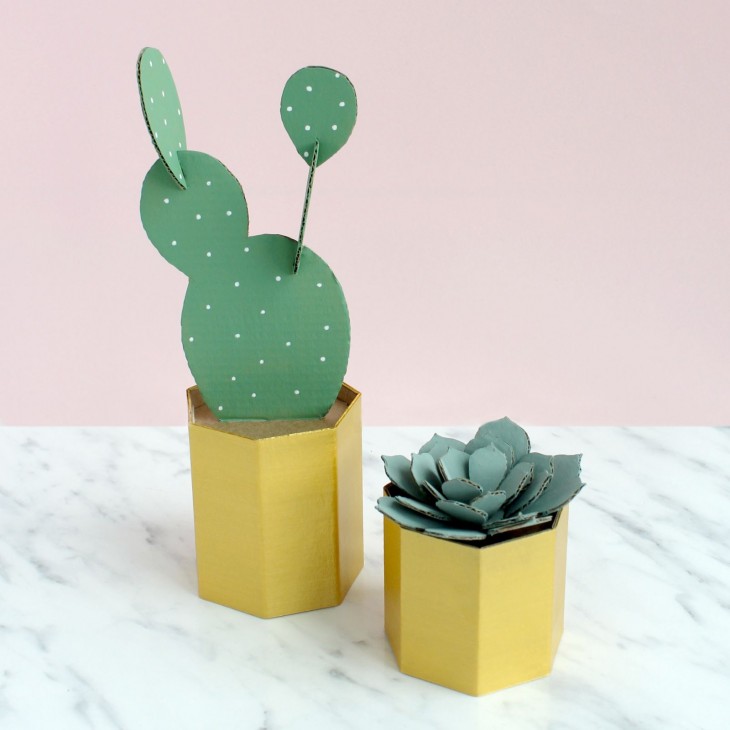
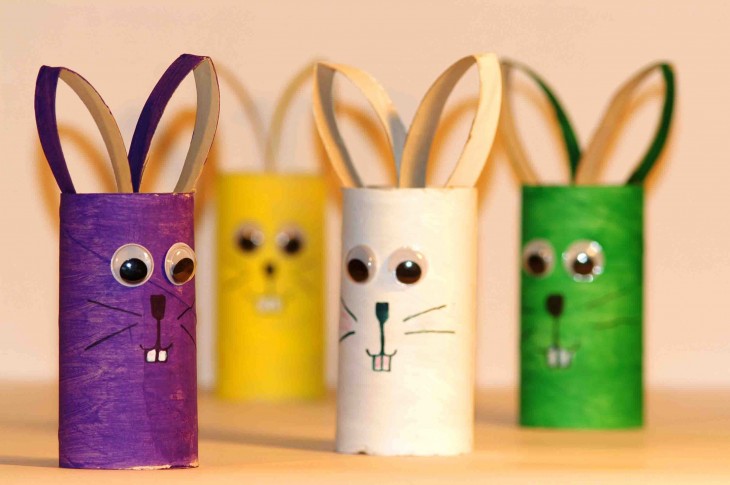
Making DIY crafts with cardboard is a great way to not only have fun with your child, but also help his creative and mental development.
Review Content:
The benefits of creating crafts
This type of creativity develops such wonderful qualities in children as attentiveness, perseverance, accuracy, non-standard, creative thinking.
Also, creating crafts from paper and cardboard, the child trains fine motor skills of hands, which, as has been repeatedly proved both by science and the personal experience of many mothers, contributes to the development of intelligence and quick wit in children.

Available type of creativity
Another, also important advantage of this type of activity is that the material for children's crafts made of cardboard is the most accessible thing. In any stationery store you can find various types of colored paper (velvet, self-adhesive, matte, patterned, etc.) and cardboard (colored, white, corrugated, etc.) and buy them for mere pennies.
Material for cardboard crafts for children can be unnecessary cardboard boxes and packaging. Agree, the budget of this type of creativity is very attractive.
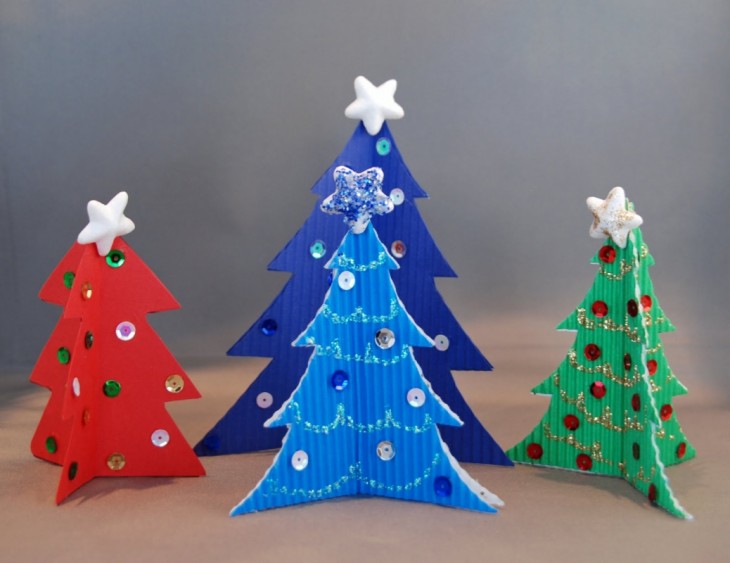
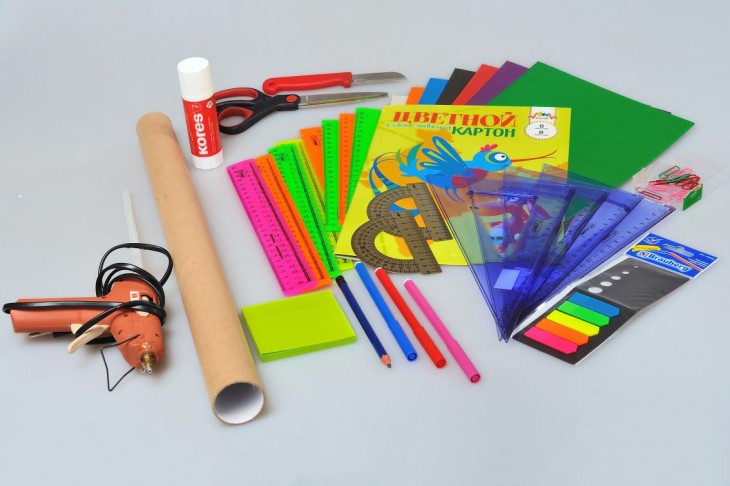
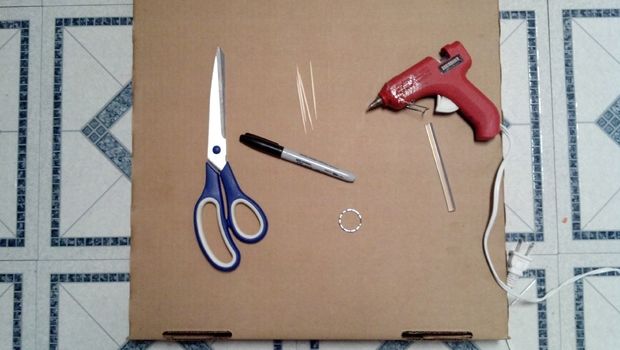
As a complement to paper and cardboard crafts, you can use absolutely any materials: ribbons and beads, sparkles, plasticine, natural materials, paints and much more. The main tools needed for any such craft will be scissors, glue, a ruler and a pencil.
On our site there are many workshops on the manufacture of crafts, including from colored paper and cardboard. In this article, you see one of them.
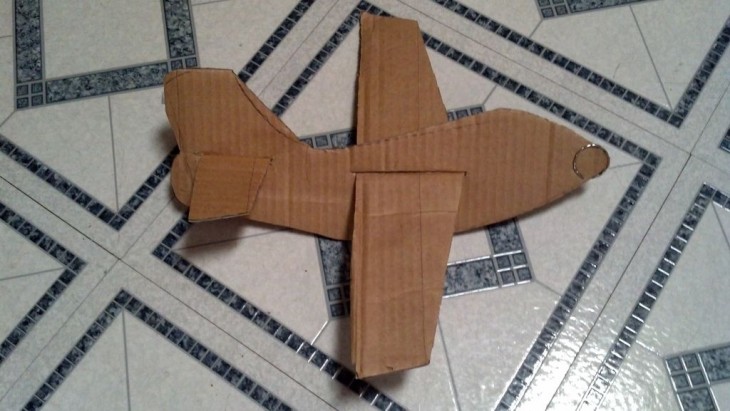
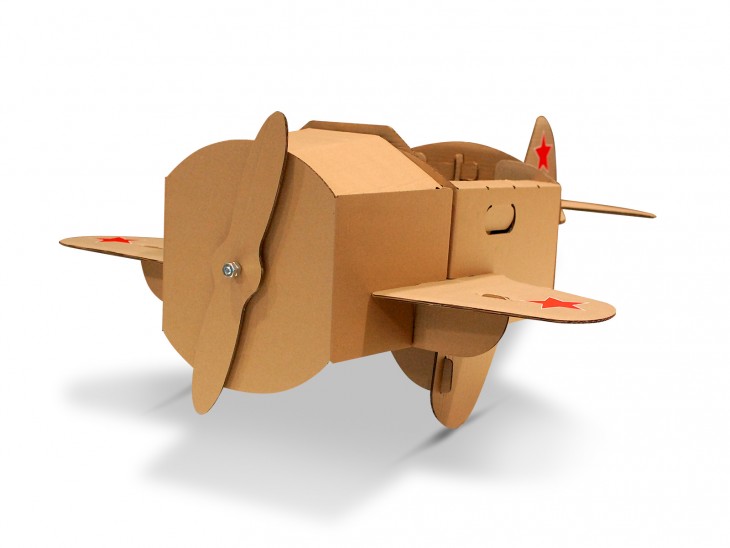
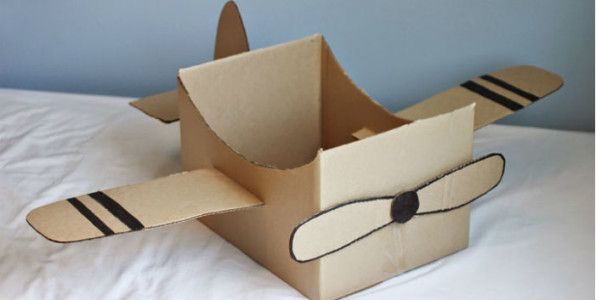
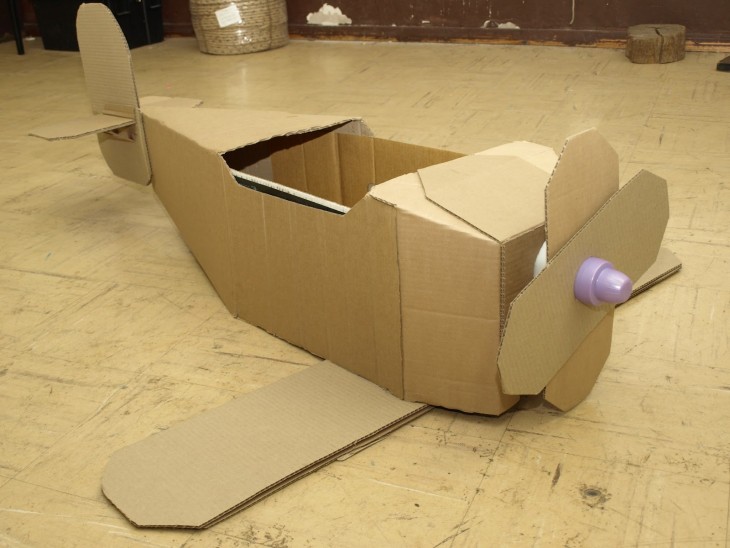
Craft “Airplane” from cardboard
With the help of our simple and understandable step-by-step instructions, you can learn how to make such a cute and original cardboard airplane with your own hands, and then make it together with your baby.
This craft will be a wonderful gift for dad or grandfather on his birthday or February 23, and will also be able to captivate your child for a while, immersing him in the world of creativity.
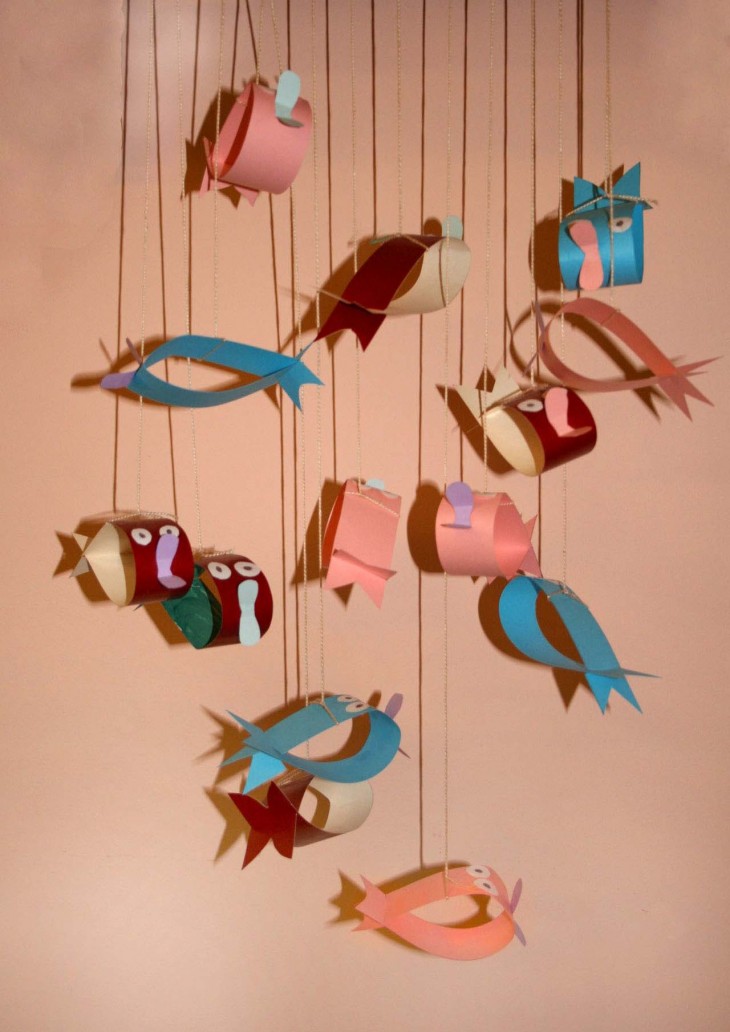
By the way, the airplane made according to our instructions can be used as an original design solution for decorating a nursery: you just need to hang it on a chandelier with a thin thread.
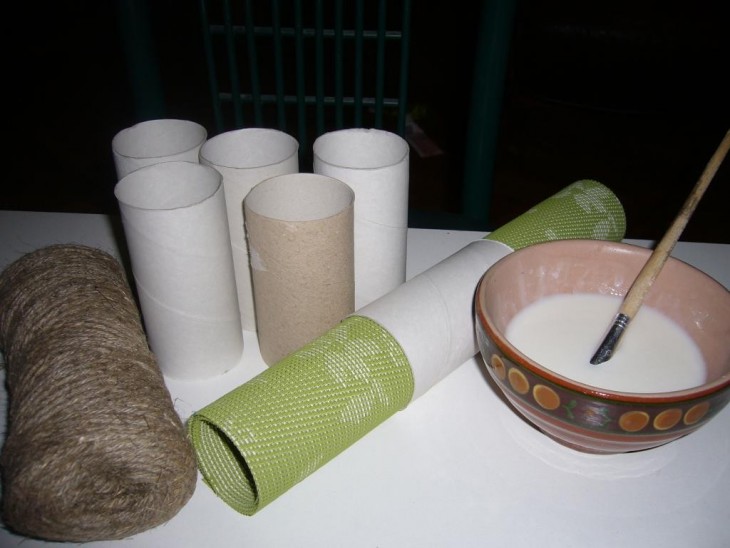
So we need:
- several blue sheets of cardboard;
- a few small pieces of paper in pink and white;
- empty matchbox;
- a simple pencil;
- ruler;
- PVA glue;
- scissors.
How to make an airplane airplane out of cardboard?
A step-by-step description of the manufacture of crafts:
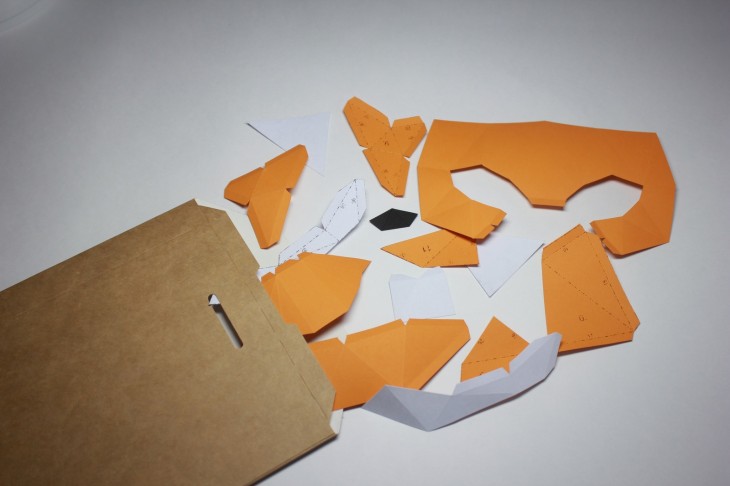
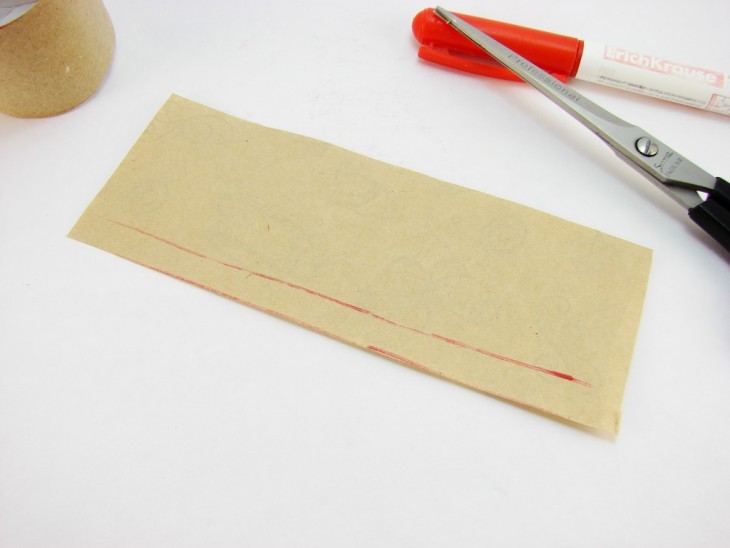
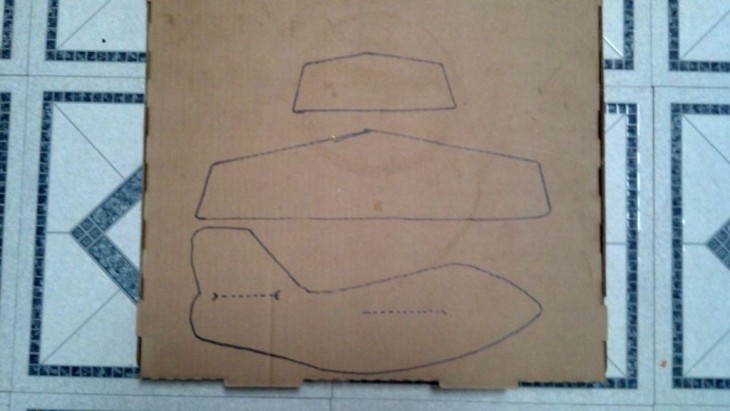
First of all, you need to draw on the seamy side of the cardboard sheets a certain “pattern” of the details of the future airplane. To begin, draw a strip 1.5-2 cm wide and 30 cm long. It will be the basis of the craft - the tail of the plane.
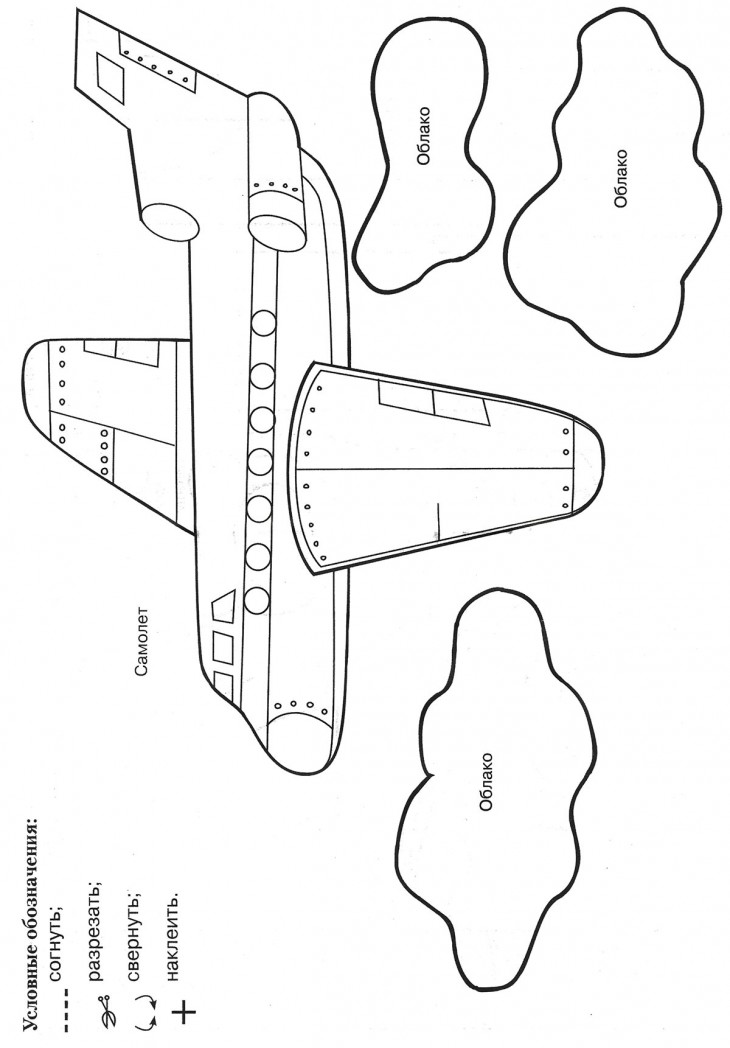
What can not imagine any aircraft without? Right wings. Their width should be a couple of millimeters greater than the width of the matchbox, and their length should be about 13 centimeters.
Also, two more strips will be required there - for the lower part of the tail. One is 1 cm wide and 4 cm long, and the second is 1 cm wide and 6 cm long.
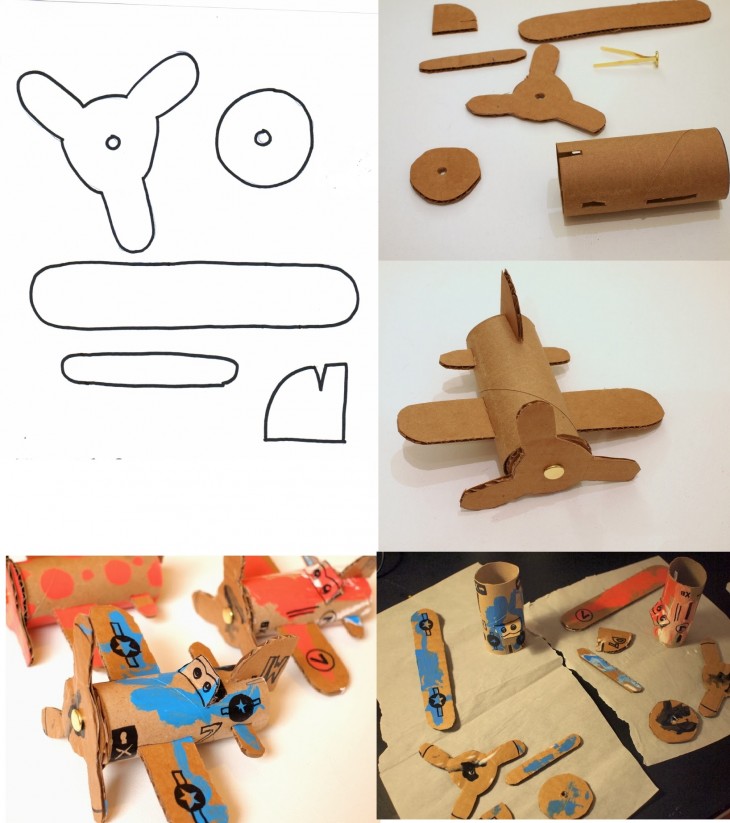
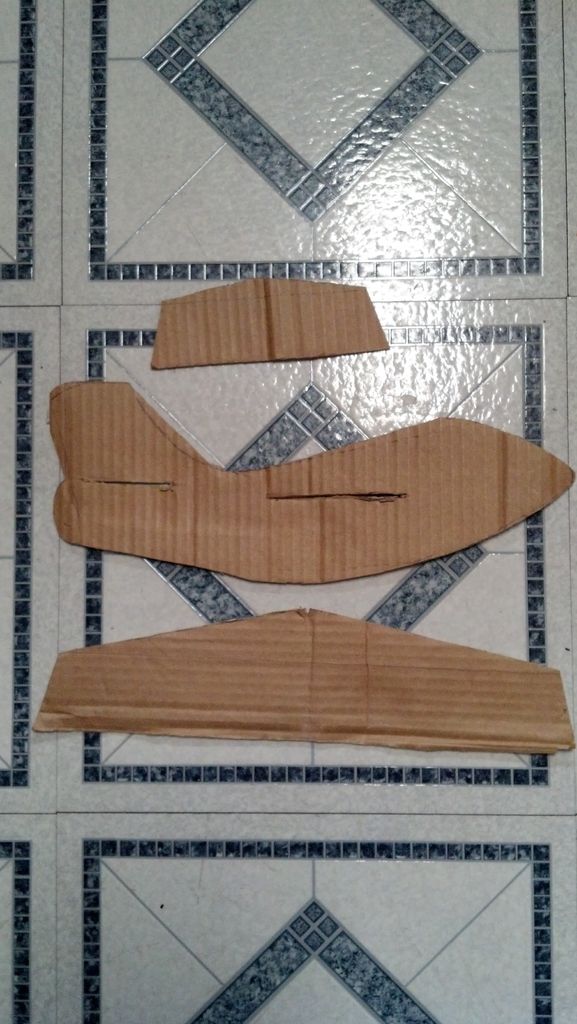
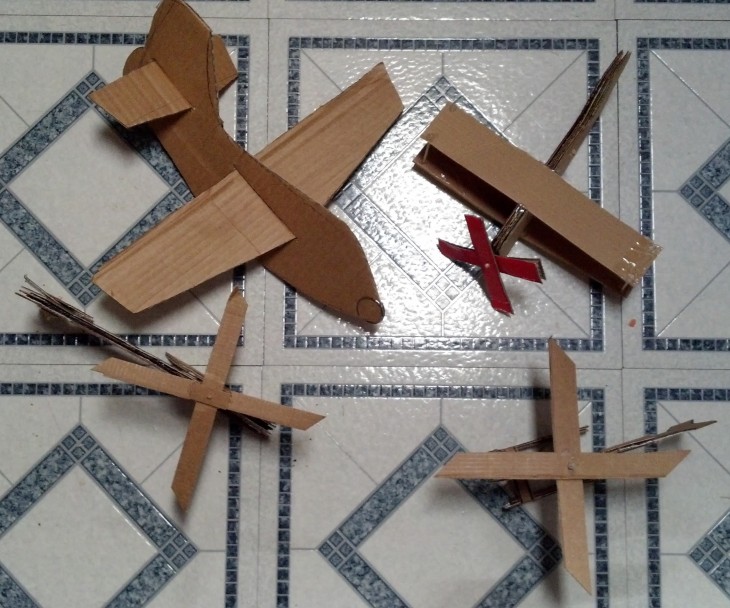
Next, all the details are carefully cut along the contour. The preparatory phase is completed, the most interesting begins for both you and your young designer - the formation of the airplane.
Note!


Let's start with the tail. For this, we bend the longest strip made especially for the tail exactly in half, with the color side facing out. Next, grease the edges of the resulting strip with glue and glue them to the matchbox in height (see photo).
It is important to stick the ends of the strip exactly in the middle of the top and bottom of the box. Set the resulting construction aside for a while, let the glue dry. And in the free time, we will be engaged in the manufacture of wings.
First of all, we take two stripes designed for these very wings, put them together and gently round off all the corners to get the same wings of the liner.
We return to the tail piece: we take the boxes and glue our wings to it from both sides. Note that the wings should completely cover the boxes; to do this, place them exactly in the center.
Supplement the tail of the aircraft with the necessary details. To do this, take two identical strips of cardboard, cut in advance. We deal with them in the same way as with the wings: fold them together and round off the corners. Then grease the back side of the strips with glue and apply to each other.
Do not use too much glue, because the prefabs soaked with them look ugly.
Note!

We just insert the part we inserted under the bend line of the model and glue it. There is only one detail left: we take the last strip, bend it in half, the color side out, then bend one centimeter from each edge. This part should be glued to the very end of the tail of our aircraft.
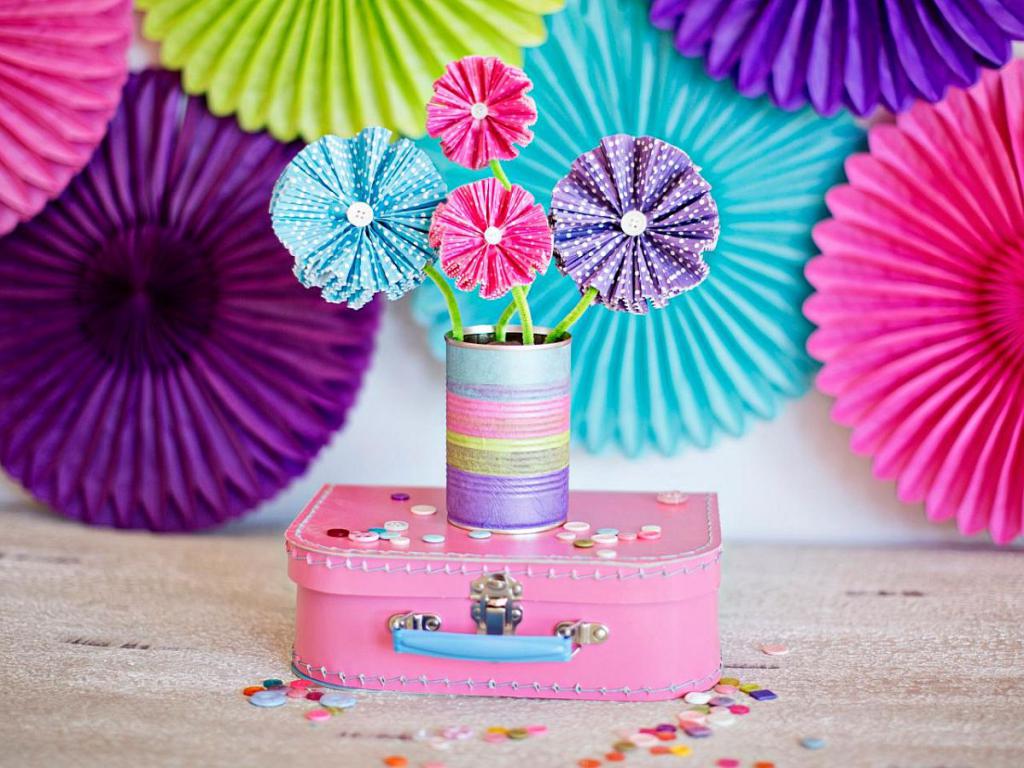
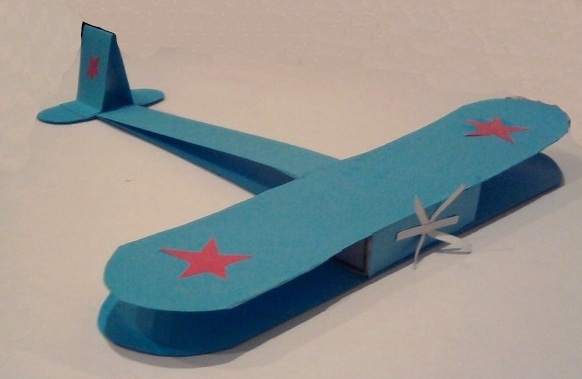
On this, the main honor of the work is completed, proceed to the decor. In this part of the work you can make the most of your imagination. You can decorate the plane as you like, it all depends on your desires and the desires of your child.
We suggest cutting a screw from white paper and sticking it on the nose of the plane. To make it easier to cut out such a complex part, first draw a sketch with a simple pencil.
From pink or any other paper, we cut out small flowers or stars and glue them all over the plane. You can also decorate the craft with drawings, sparkles, beads or whatever you have enough imagination and opportunities for.
At this work on the manufacture of paper and cardboard crafts completed. We hope this article was useful to you and you will definitely create such a toy with your child.
Note!
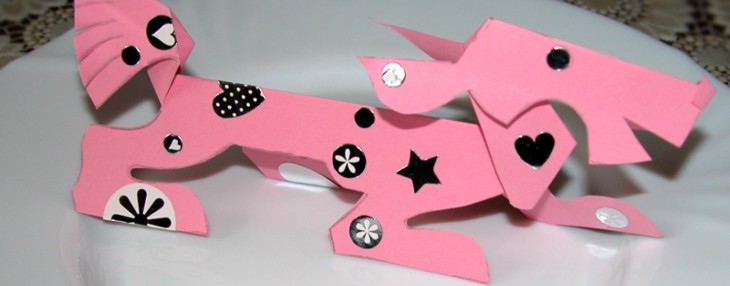
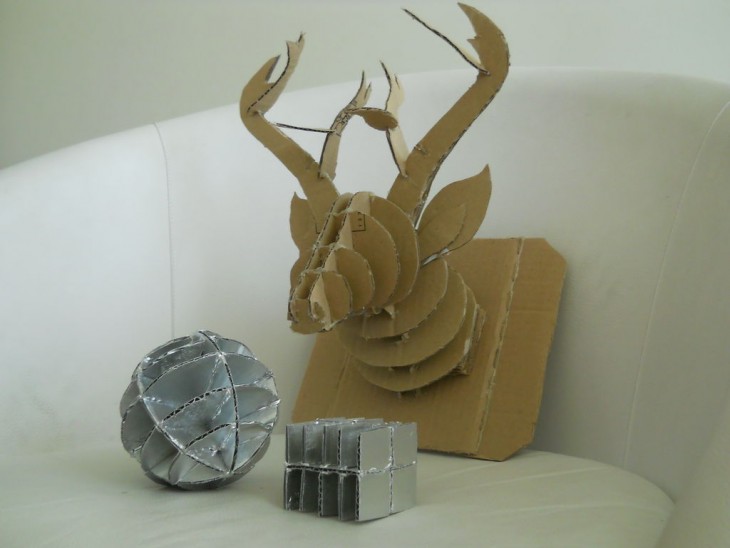
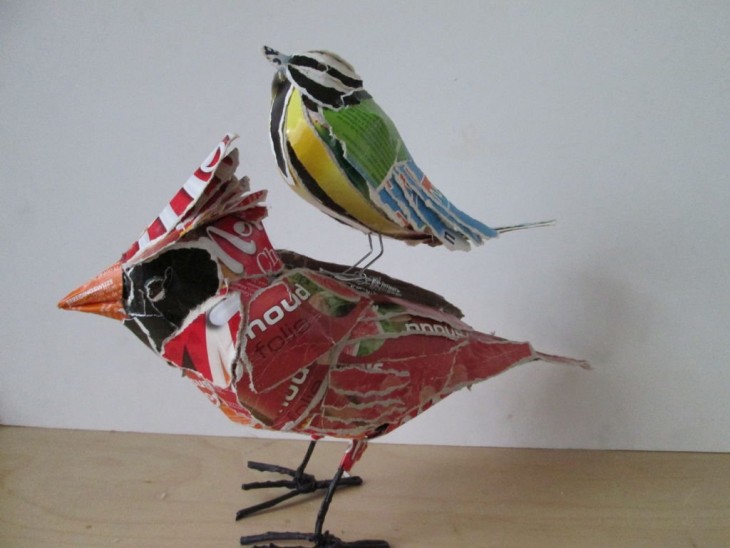
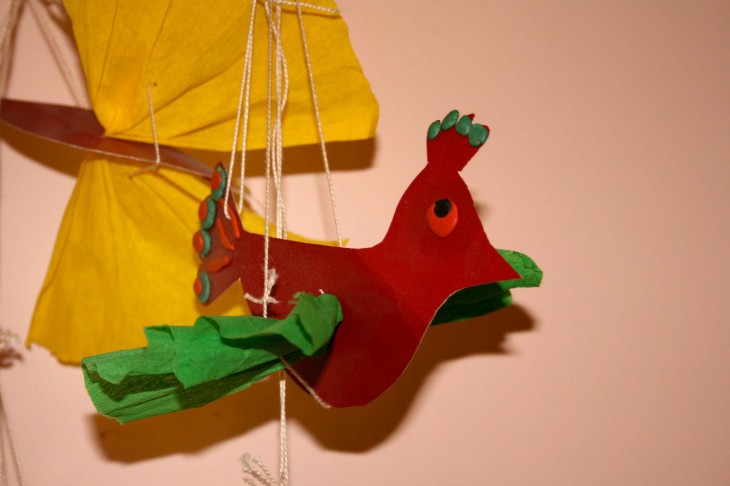
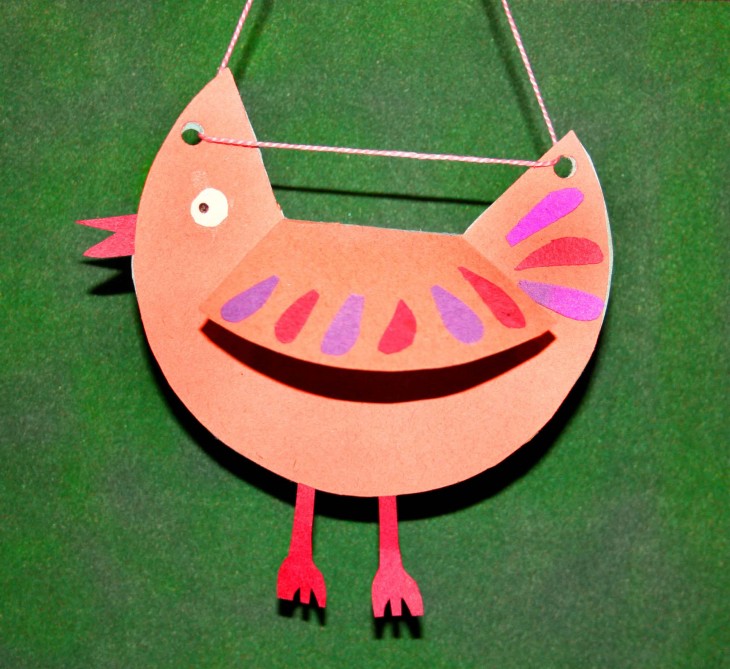
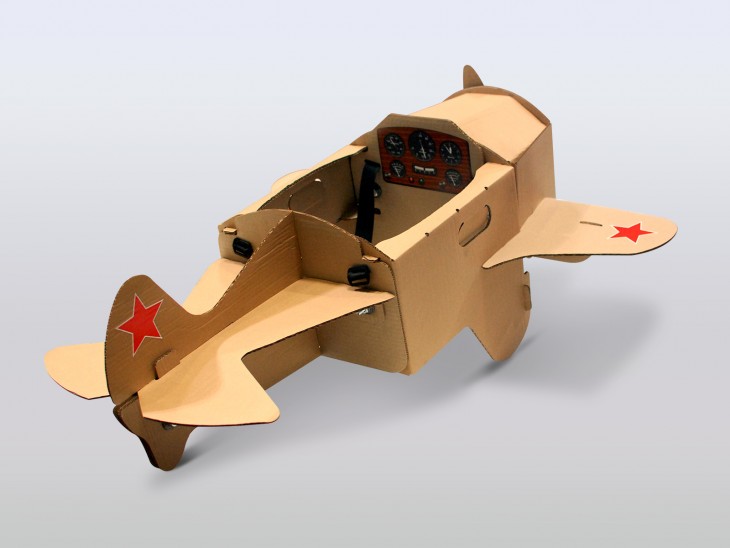
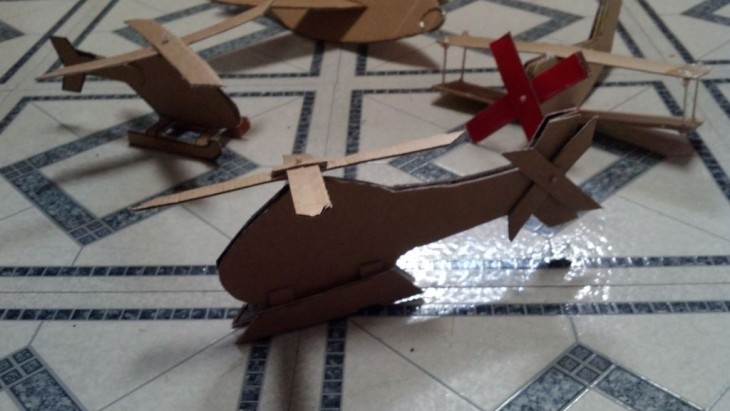
Photo of cardboard crafts