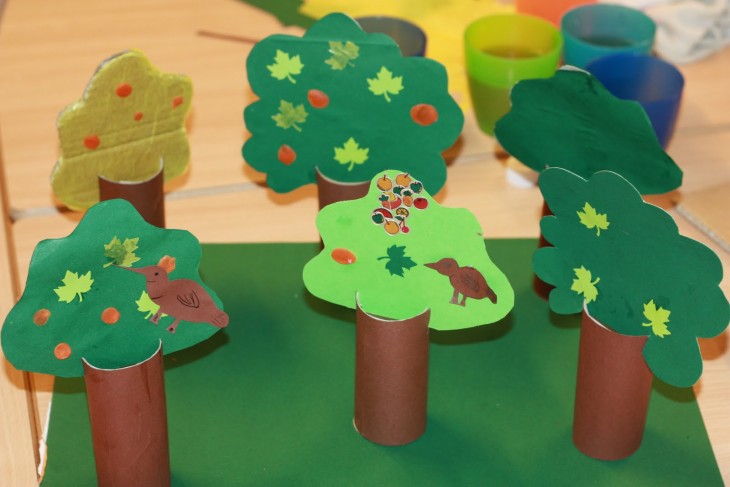
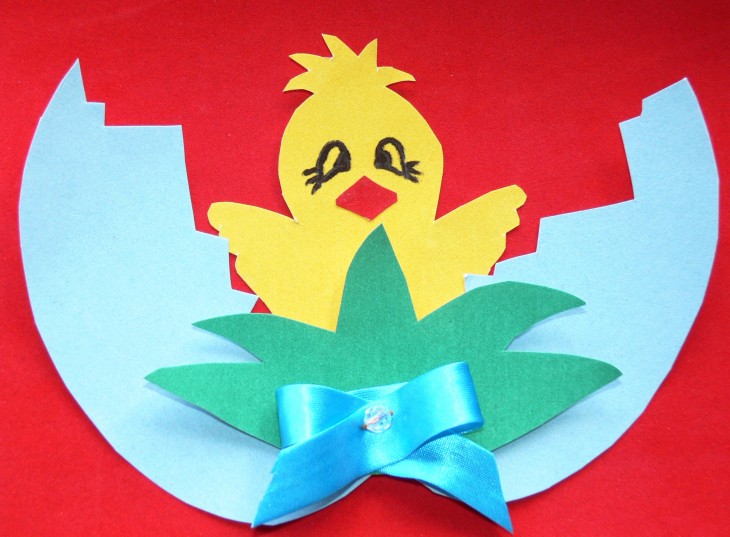
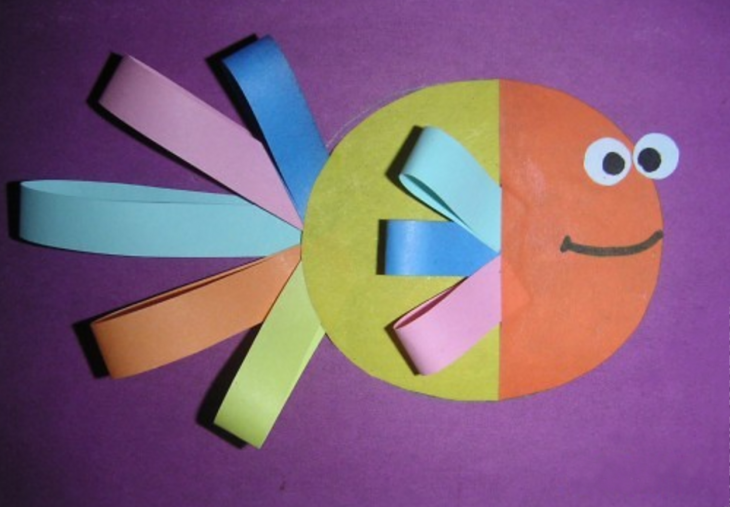
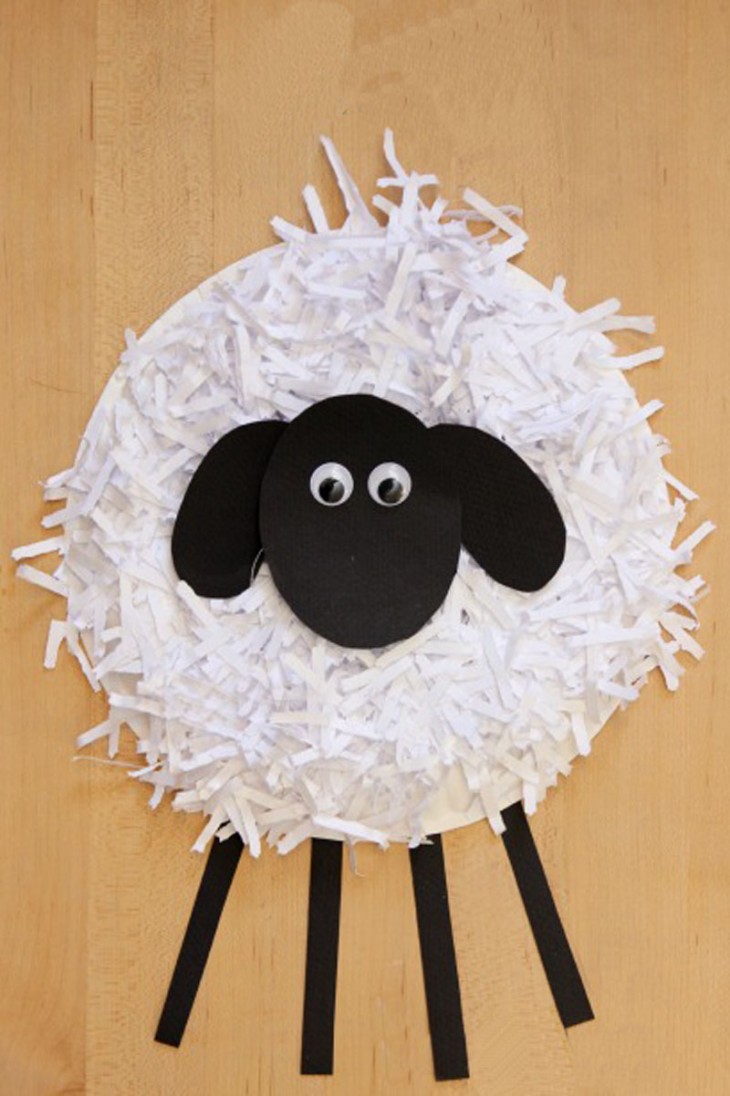
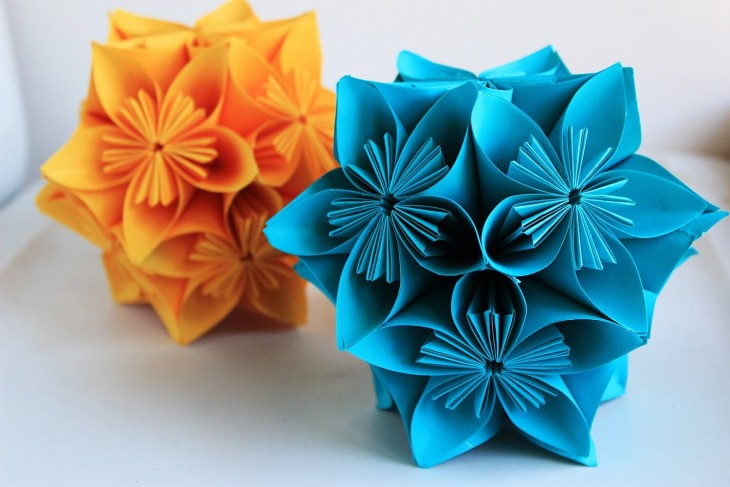
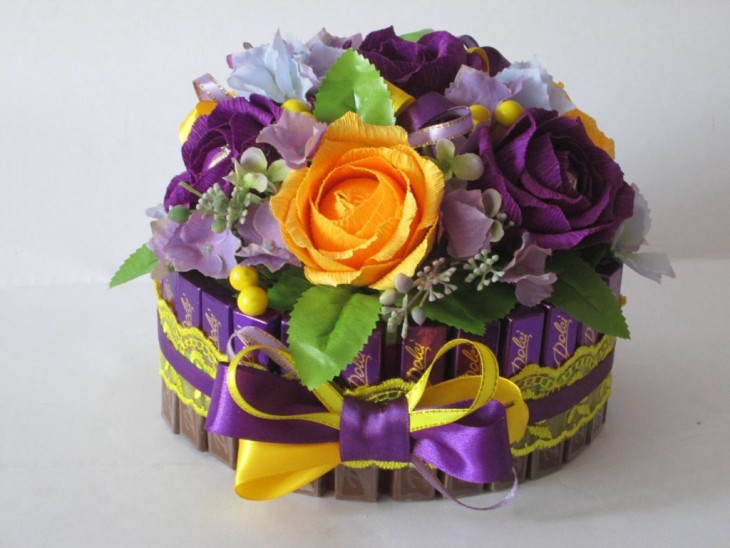
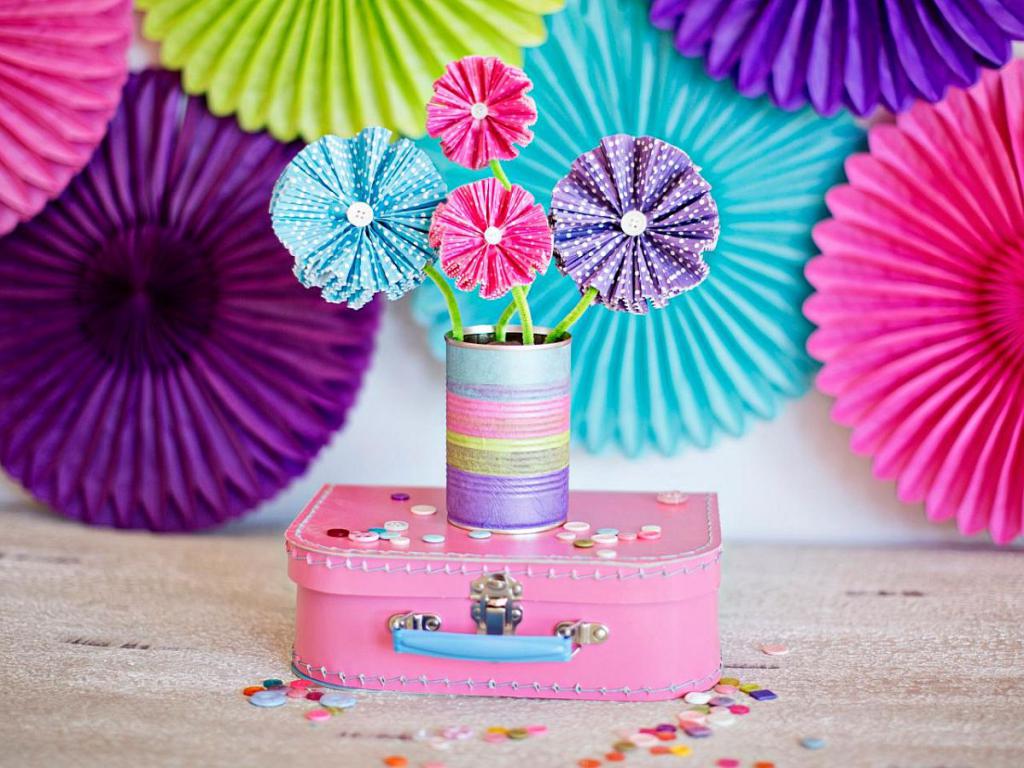
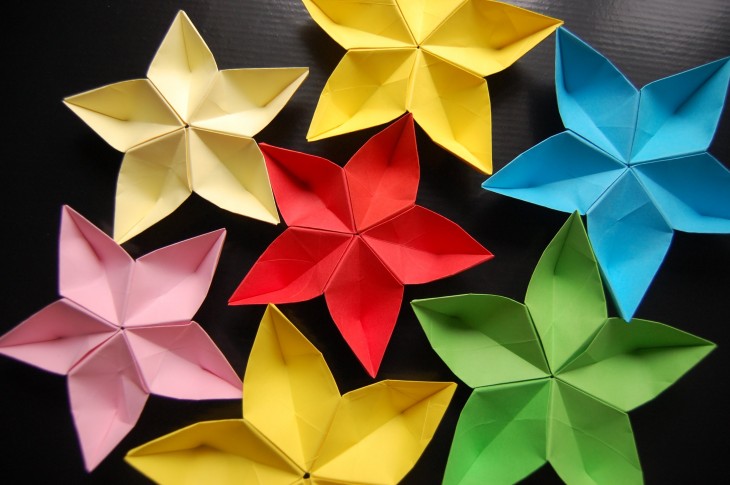
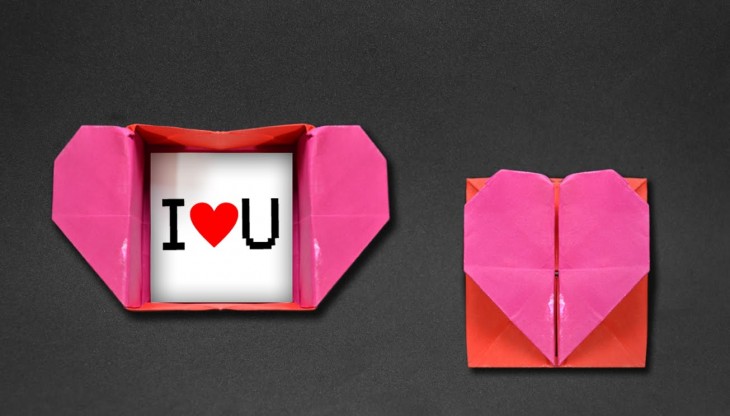
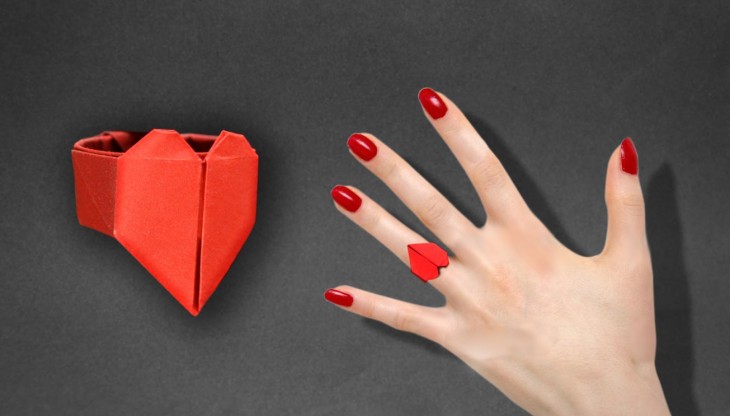
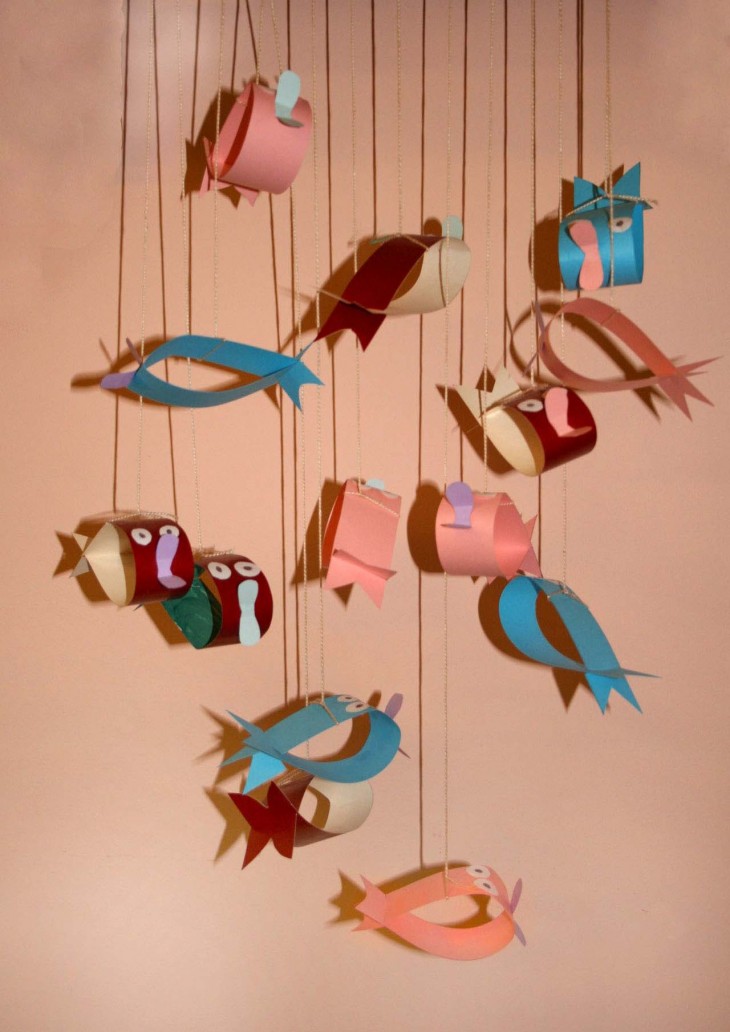
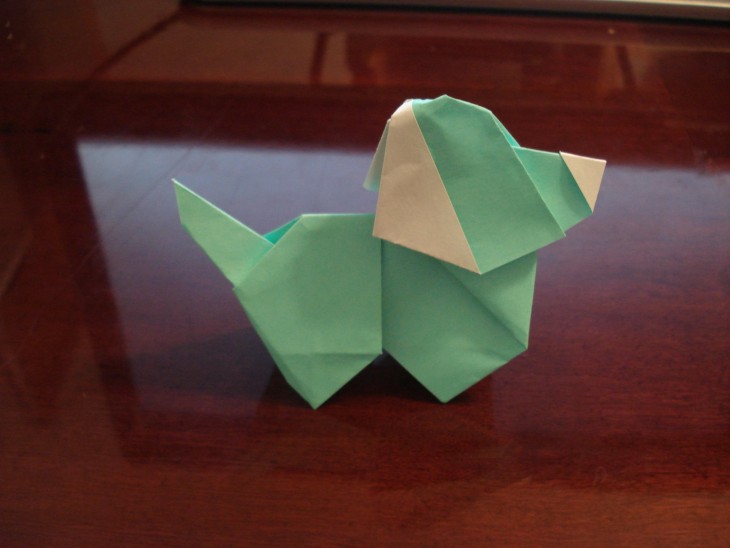
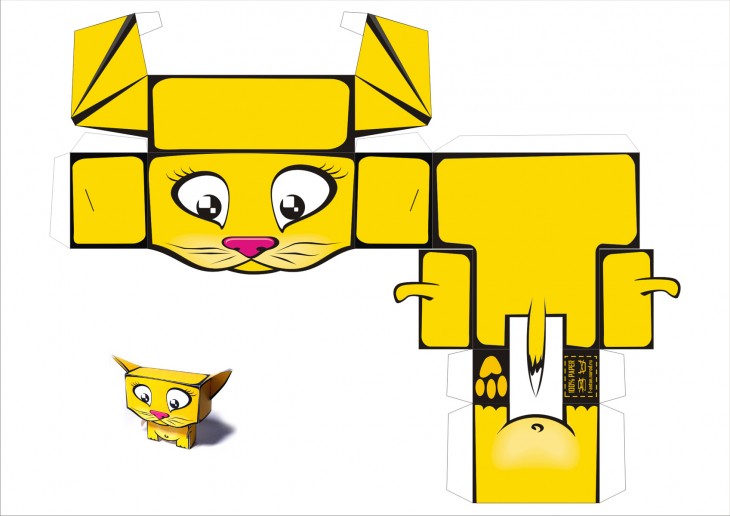
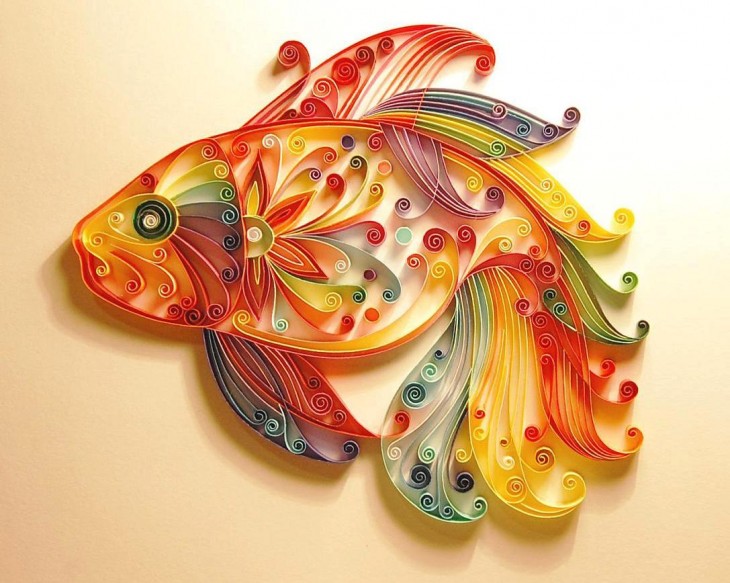
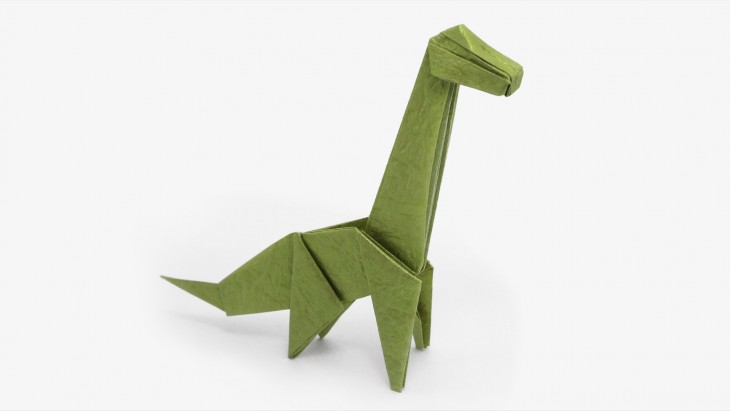
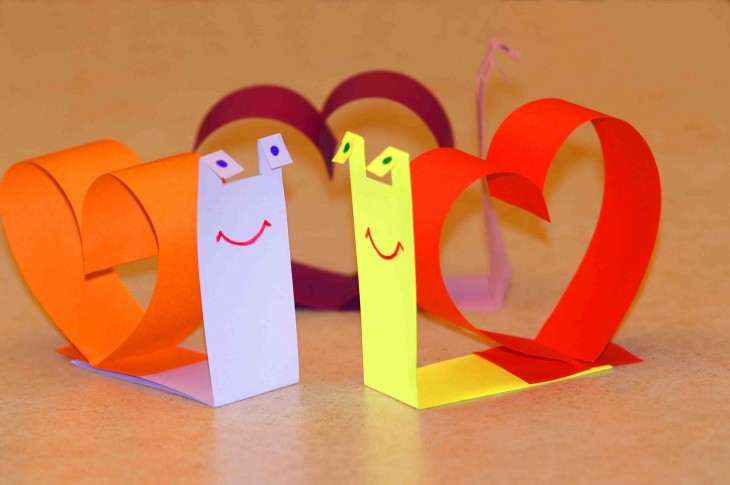
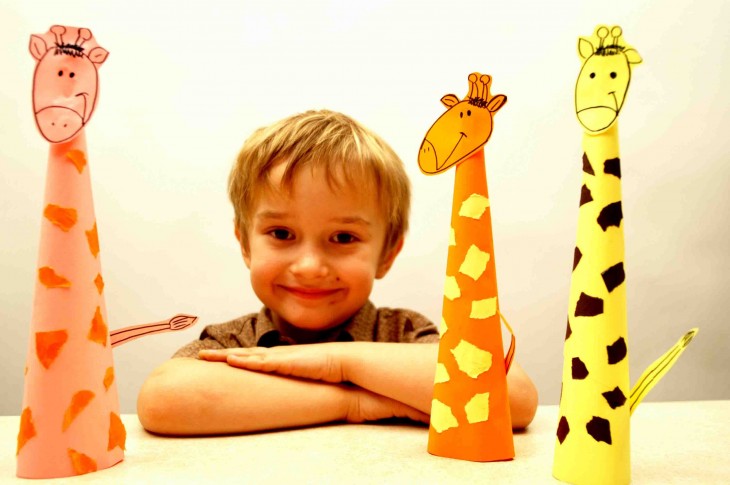
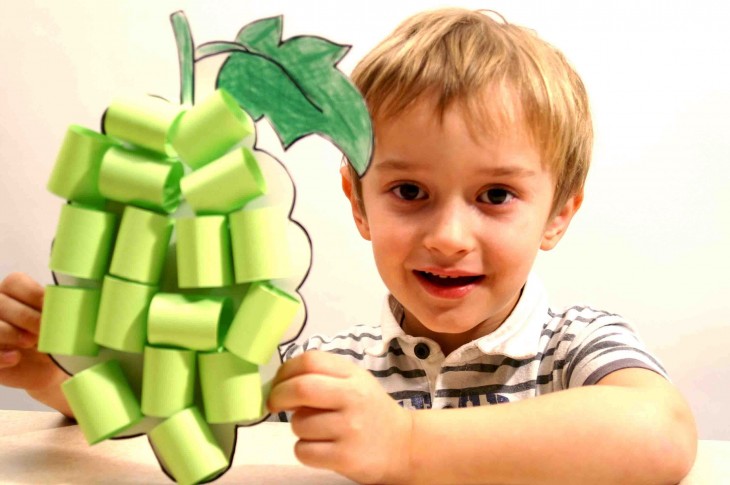
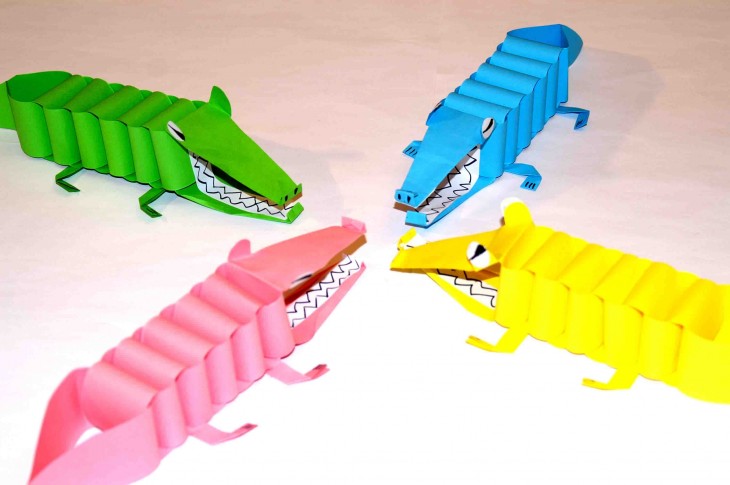
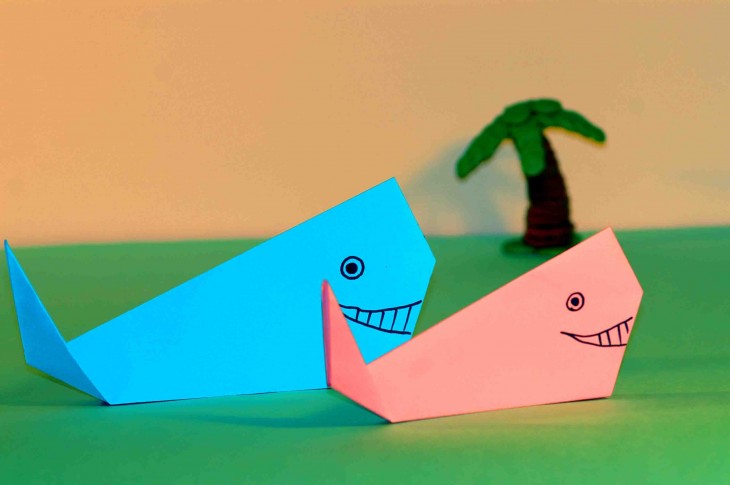
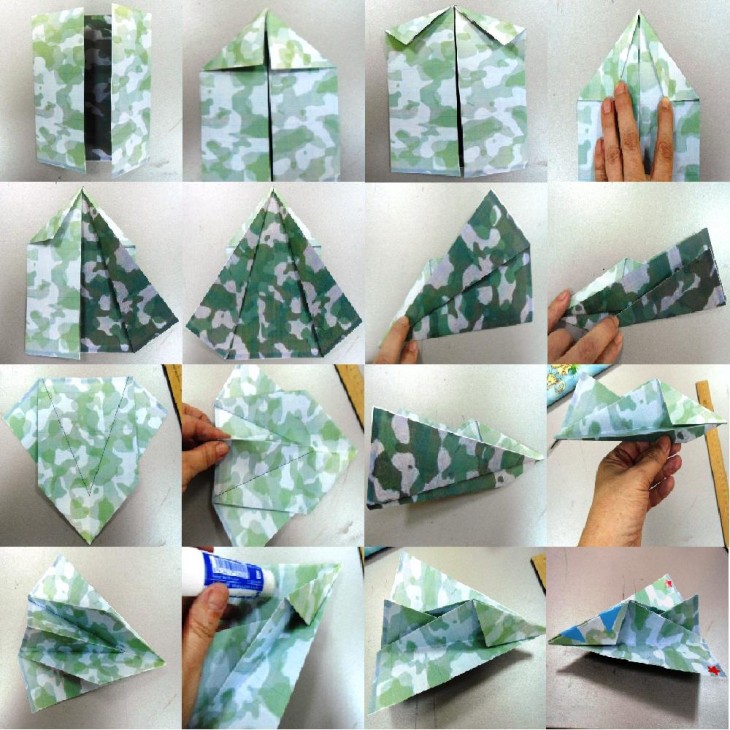
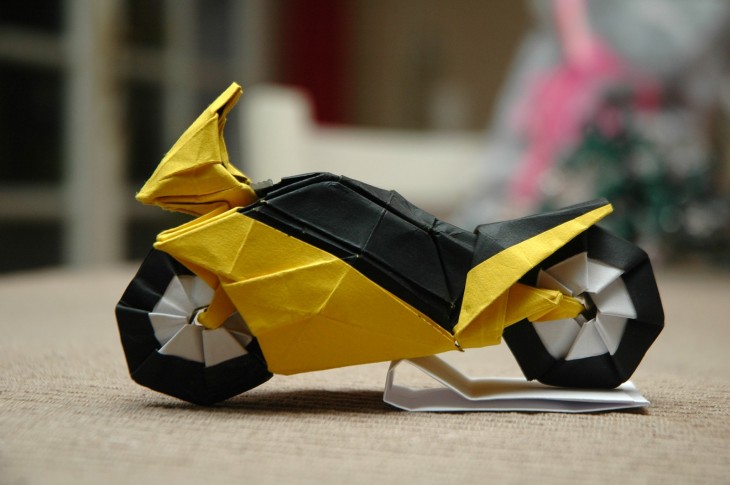
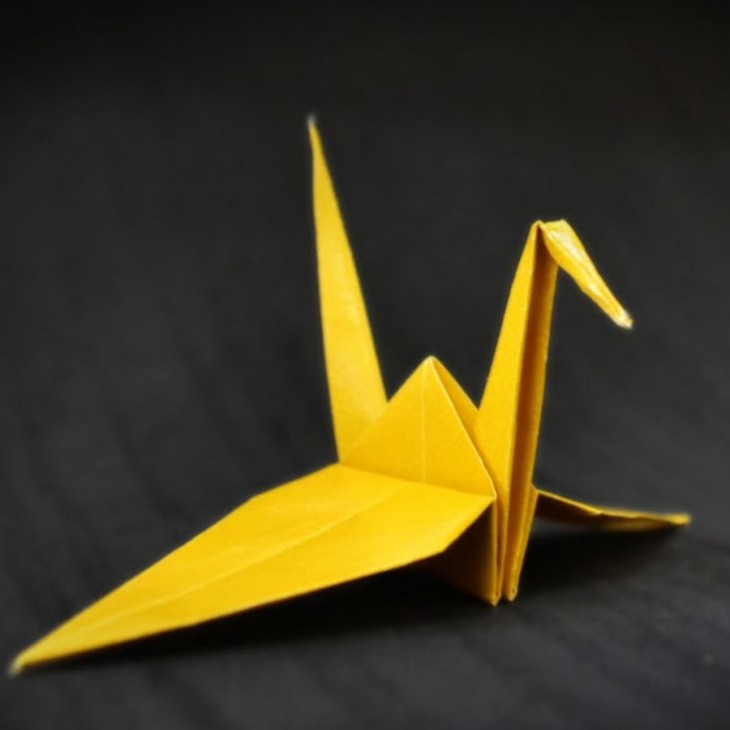
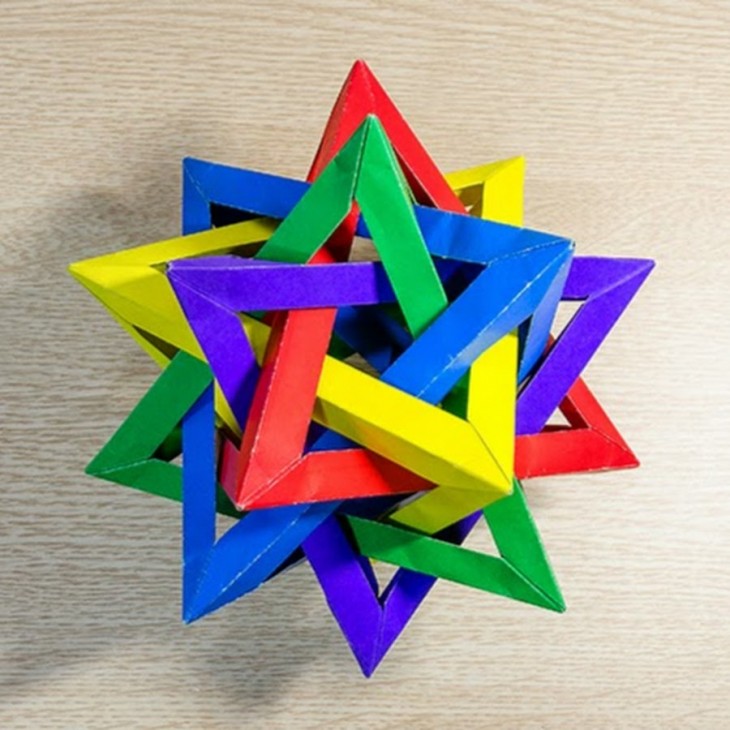
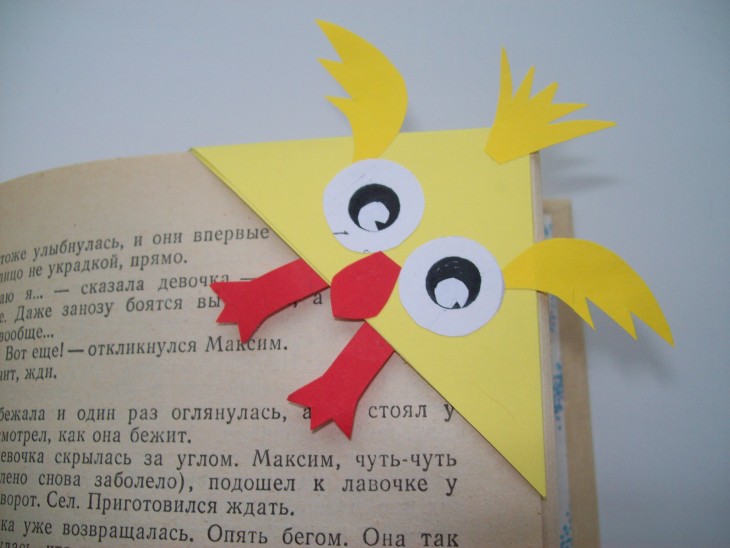
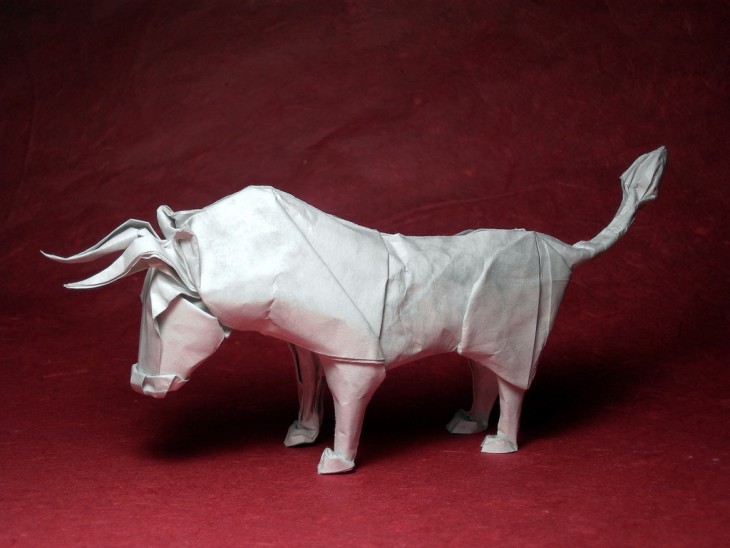
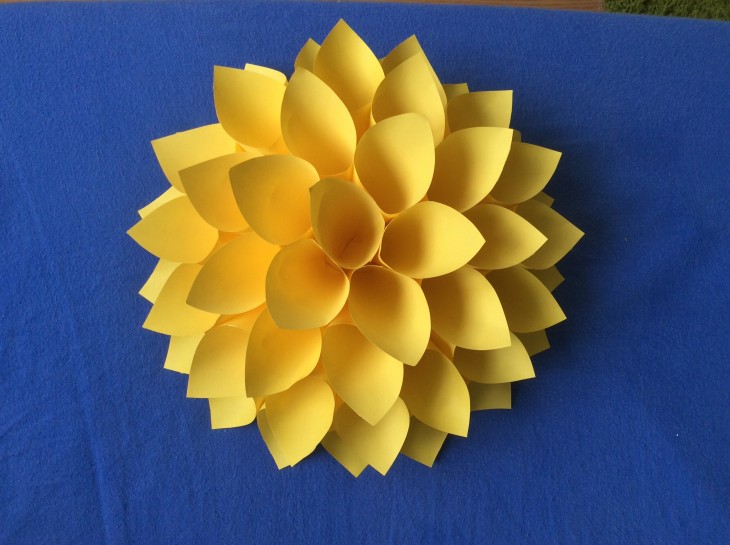
In schools and kindergartens, a lot of time is devoted to the manufacture of paper products. Children of any age love to create from this material.
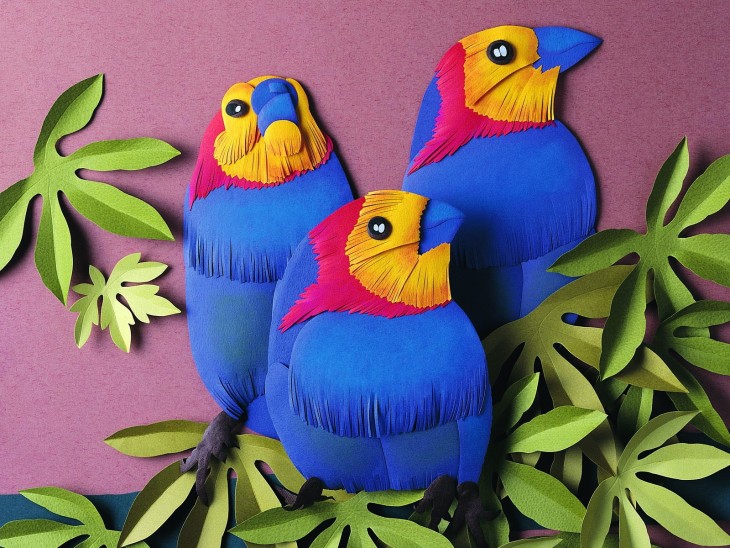
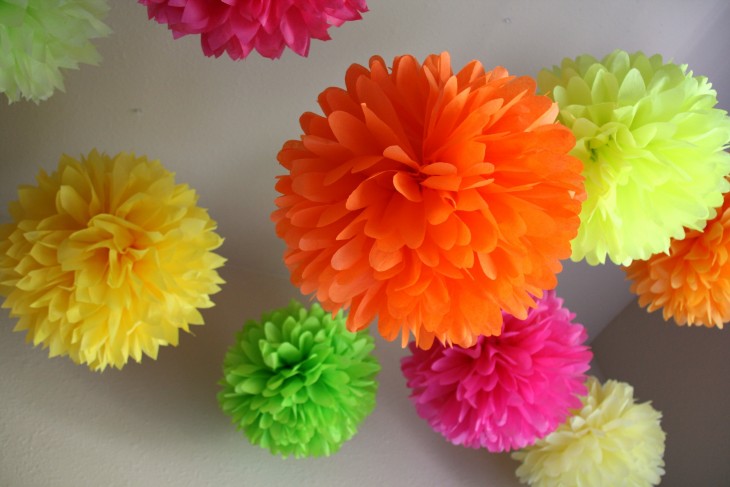
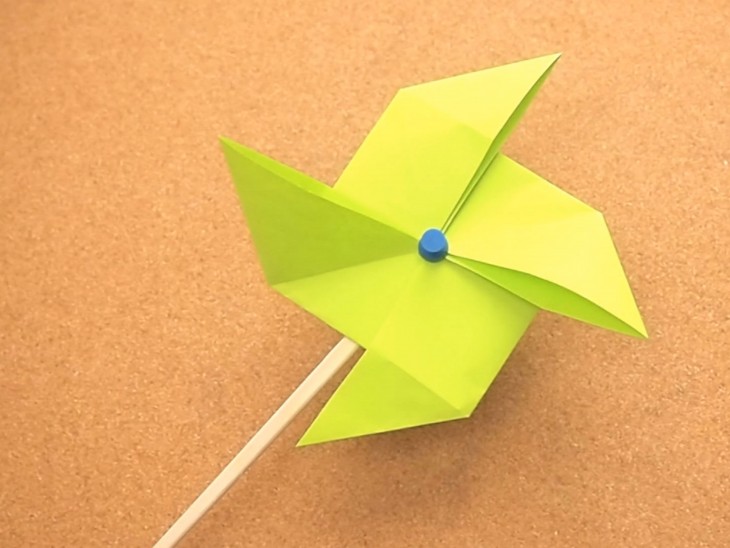
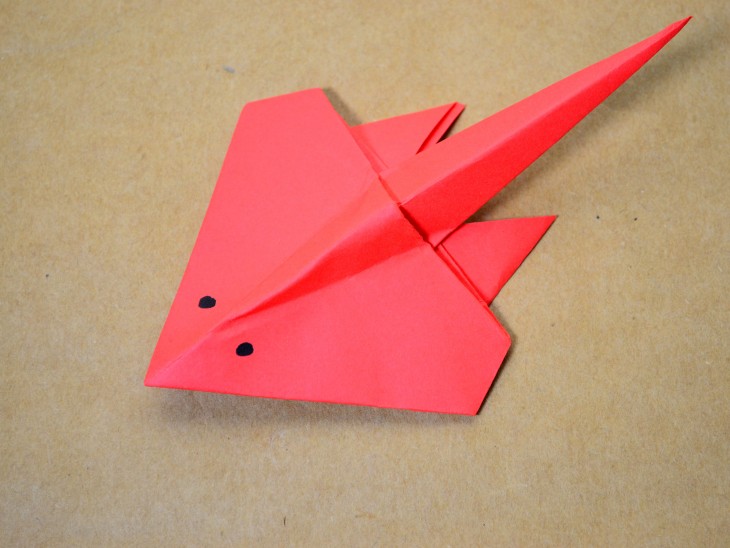
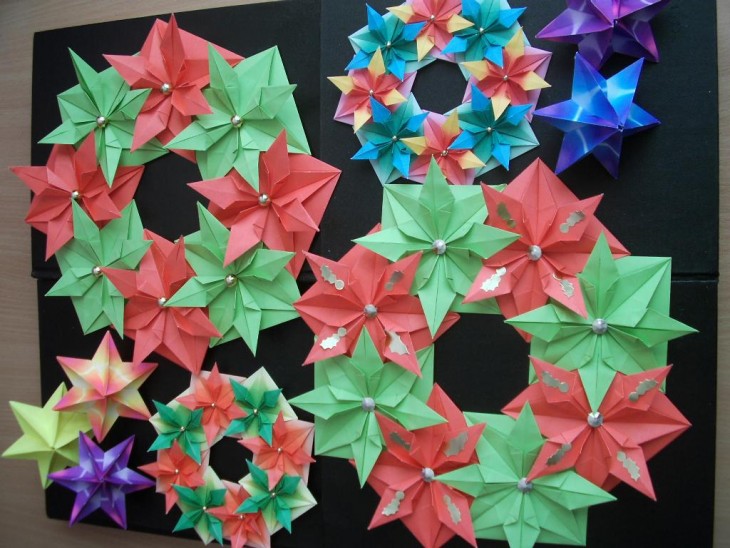
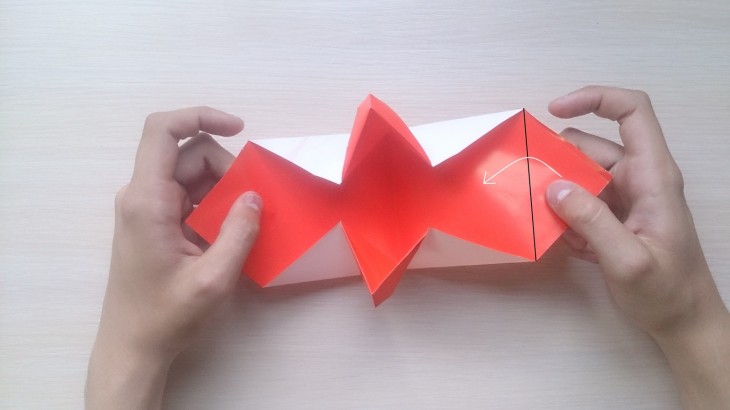
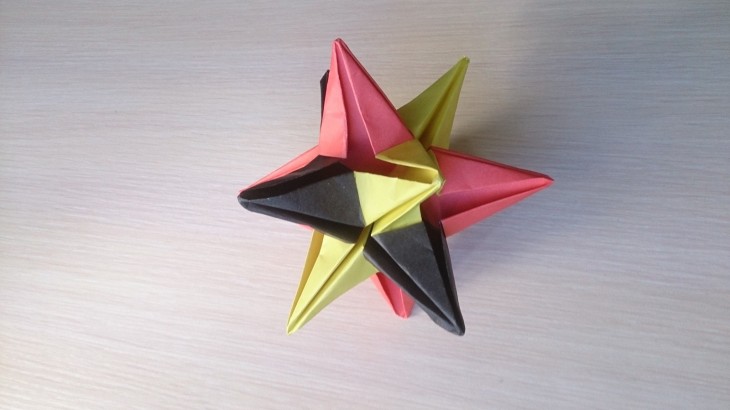
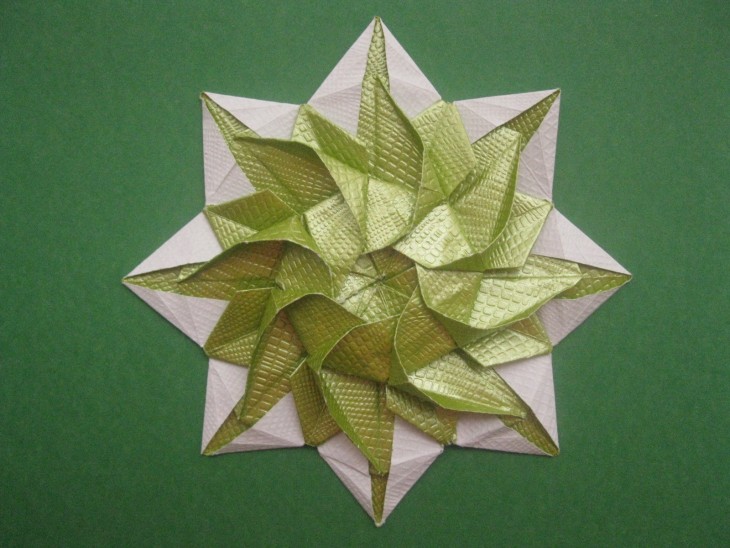
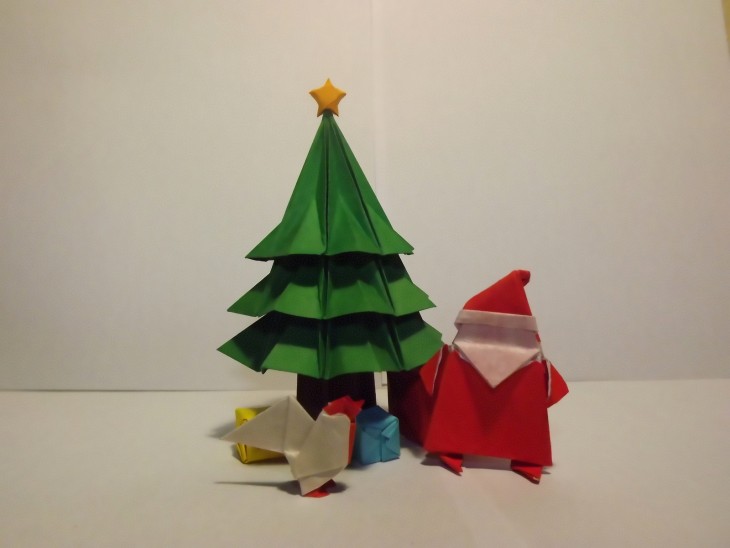
When creating crafts, fantasy is involved, creativity also this process develops fine motor skills of the fingers. Photo of paper crafts
Review Content:
- Fancy Paper Crafts
- Simple crafts for the little ones
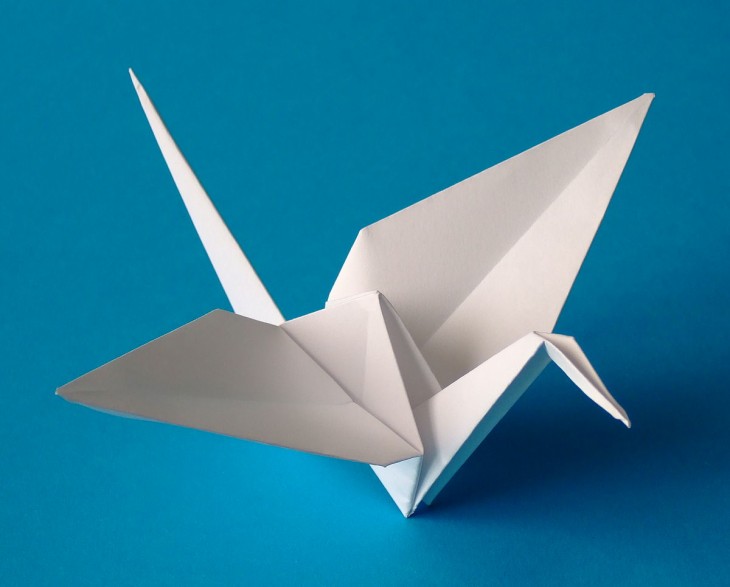
- Cardboard bird
- Crafts made of paper and cardboard. Volumetric paintings
- Fancy paper products: weaving
- Master class - paper crafts: paper tubes
- Original Wicker Basket: Steps to Create
- Christmas tree angel
- Volumetric snowflake
- Children's crafts
- Movable toys
- Photo of paper crafts
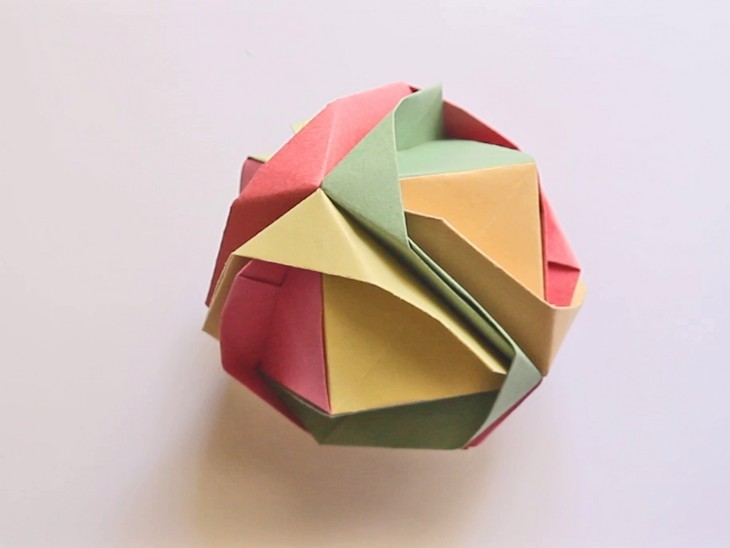
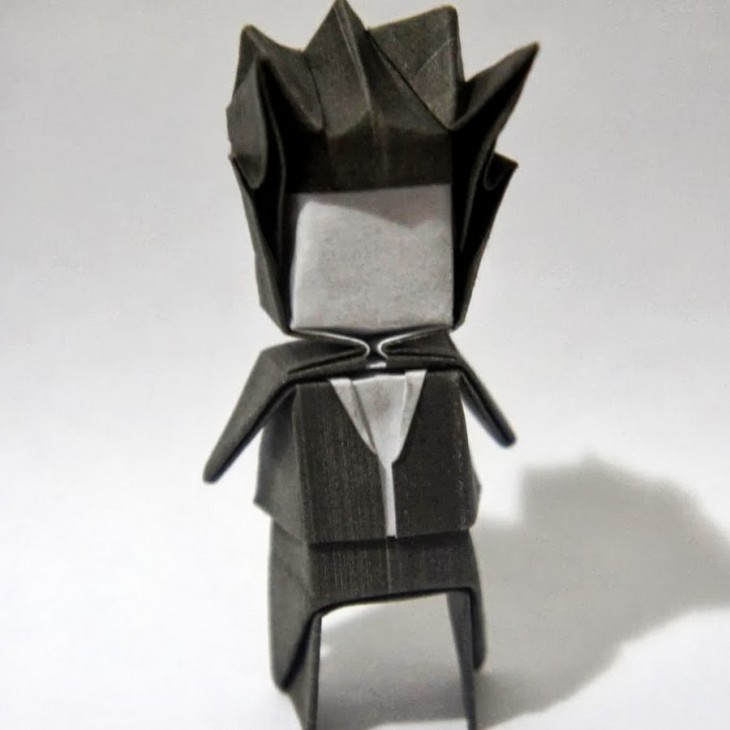
Fancy Paper Crafts
DIY paper crafts in the form of souvenir boxes and numbers can be created using the drawn scheme. A lot of paper work can not be done without the help of schemes.
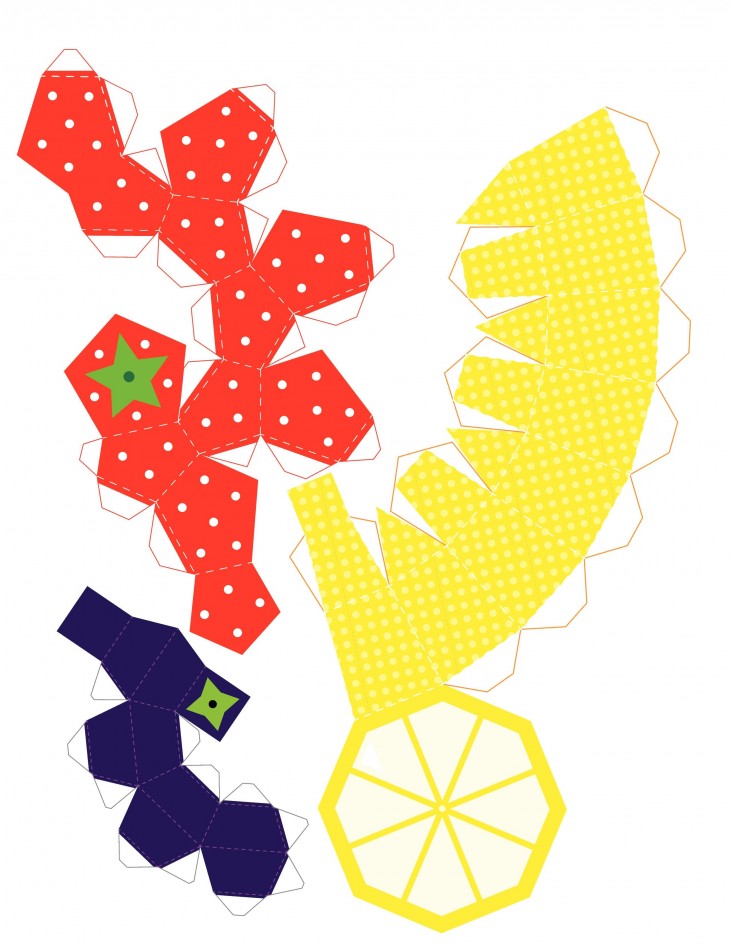
Templates help in creating volumetric products, you can use cardboard and multi-colored paper. Original toys, mock-ups, furniture models and more - really fulfill a creative personality.

Needlework departments and websites are ready to offer ready-made schemes. Just select your favorite option. And following the instructions to download, print, cut and fold along the dotted lines. At the end of work, glue the product.
A variety of toys, animals - it is possible to make thanks to ready-made templates.
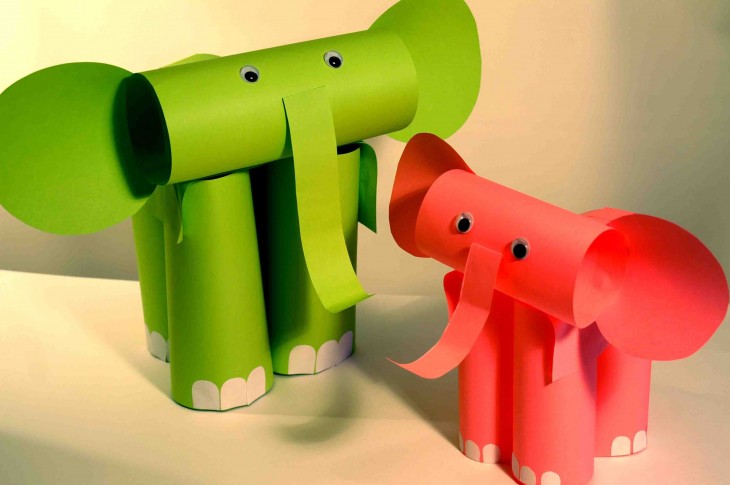
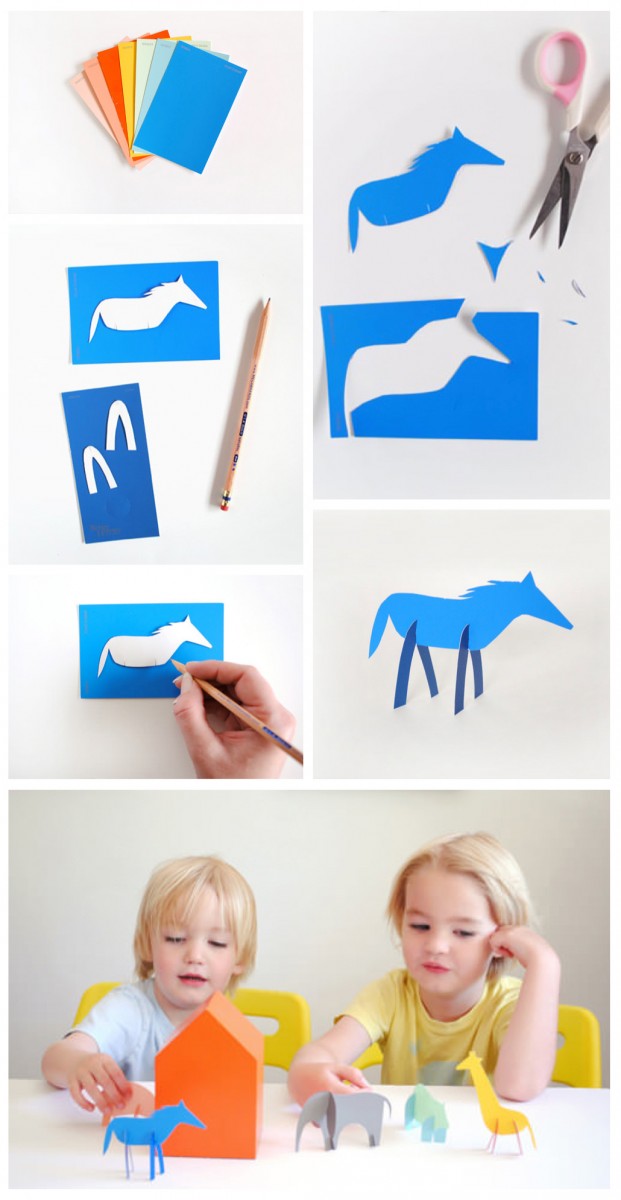
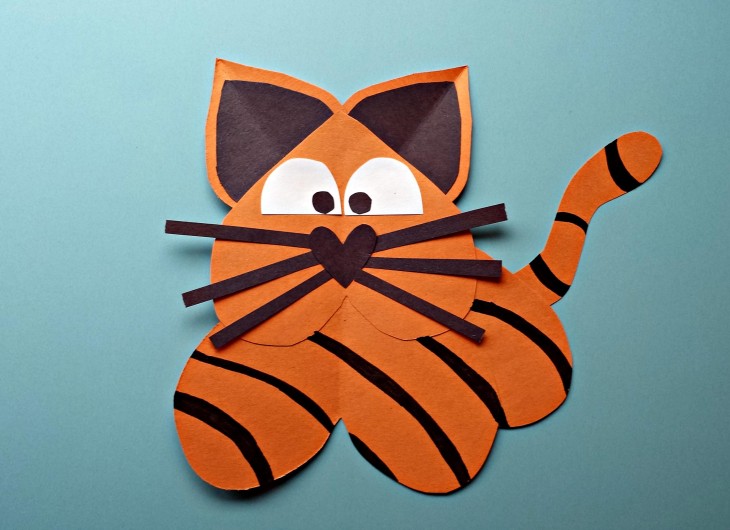
Simple crafts for the little ones
Kids from early childhood find interesting paper crafts for children. It is necessary to skillfully carry away into creativity in order to instill in them a love of creation. Thanks to the diverse crafts, you can decorate the nursery or replenish the collection of toys.
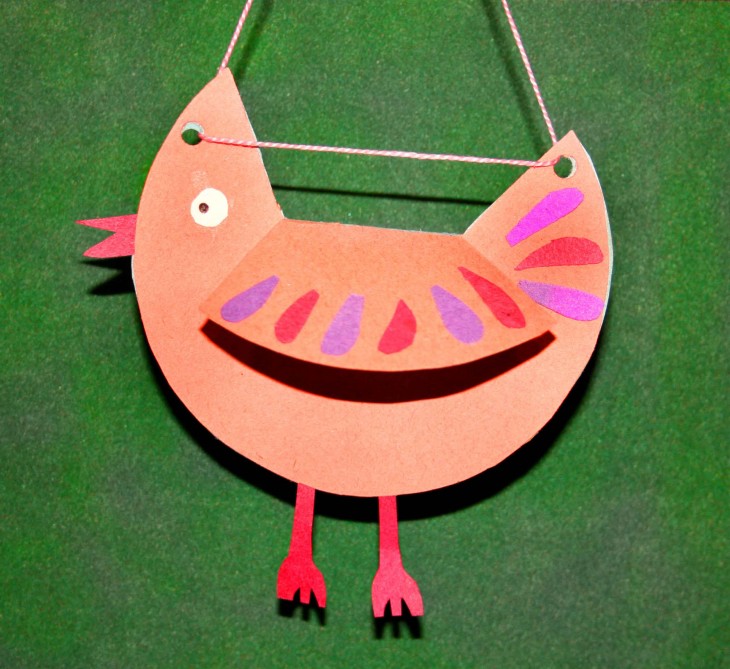
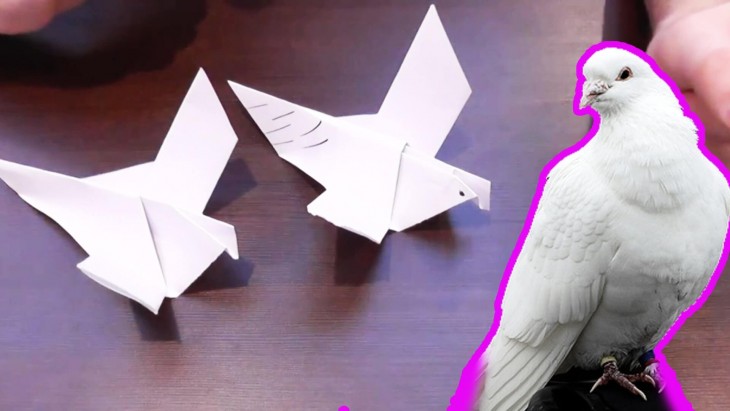
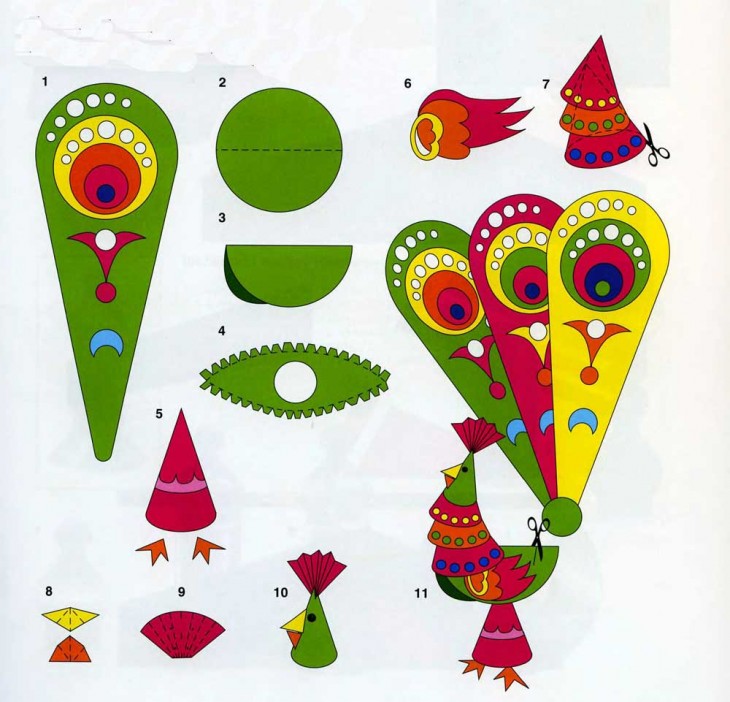
Cardboard bird
- Cut the shape of a bird along the contour. Draw a beak, feathers and tail.
- From colored paper, cut a square and fold it in the shape of an accordion.
- Make holes and attach wings in it.
If you are not limited to one bird and make several at once, then, fixing them on a stick, you can decorate the threshold of the child’s room. It will be a breeze in the style of Feng Shui.
It is important not to forget that all work with scissors should take place under parental attention
Upon completion of the manufacturing process, the child should take all the inventory with him. This will develop a sense of order in him.
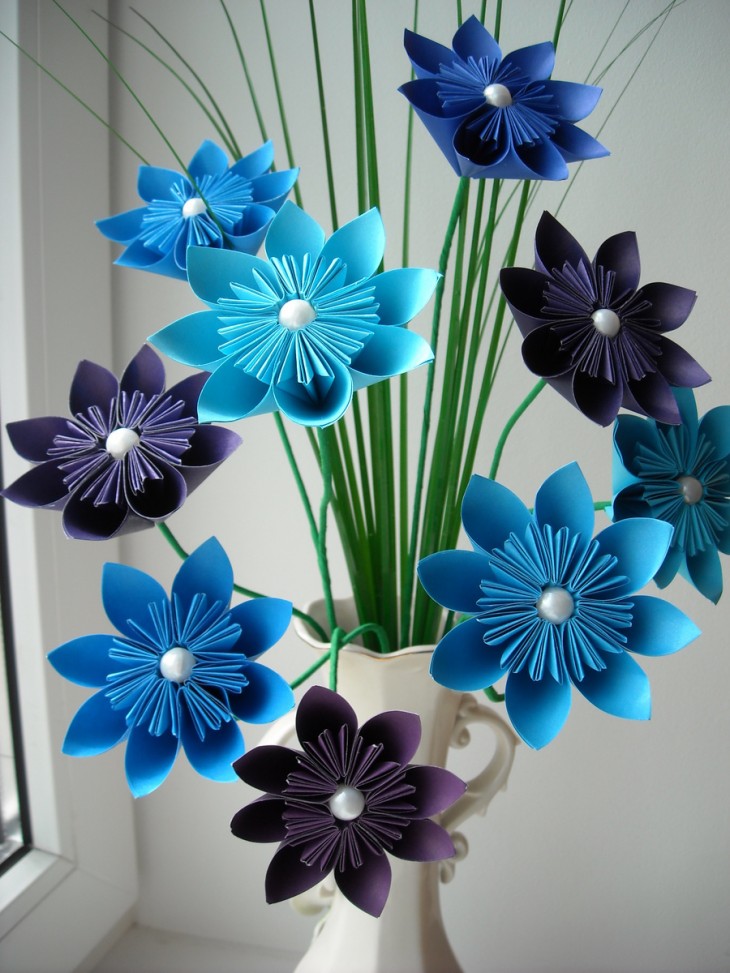
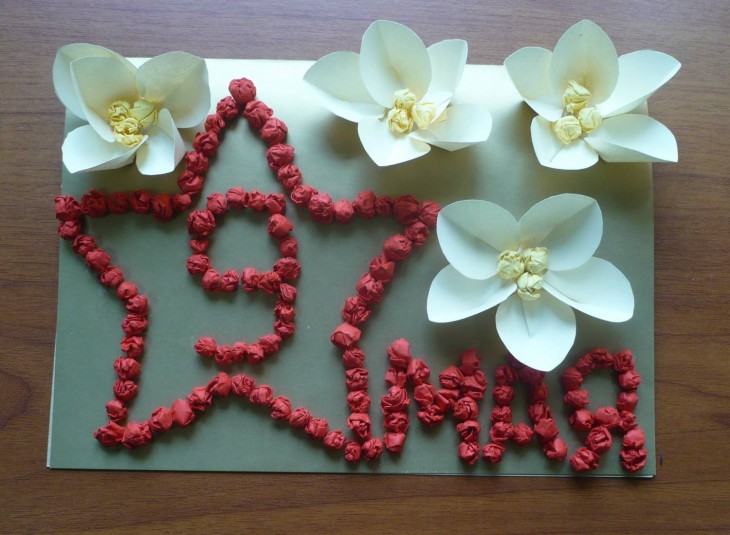
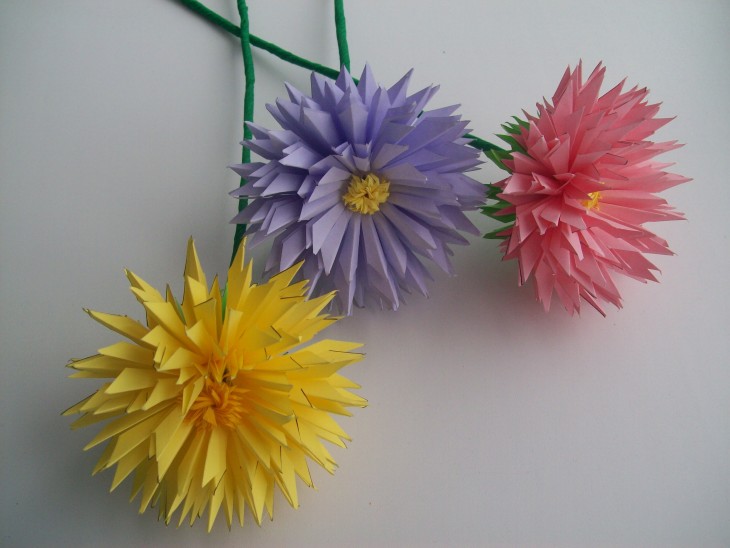
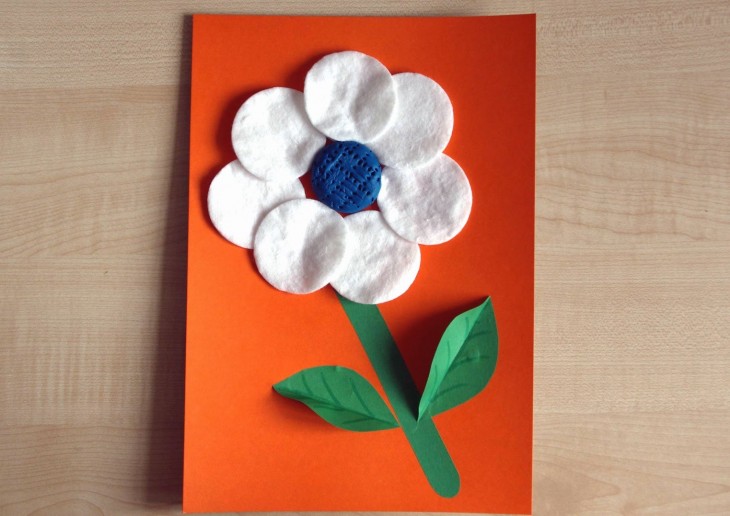
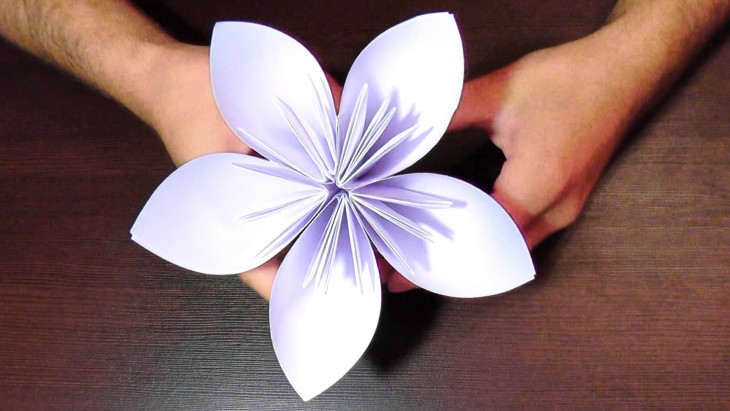
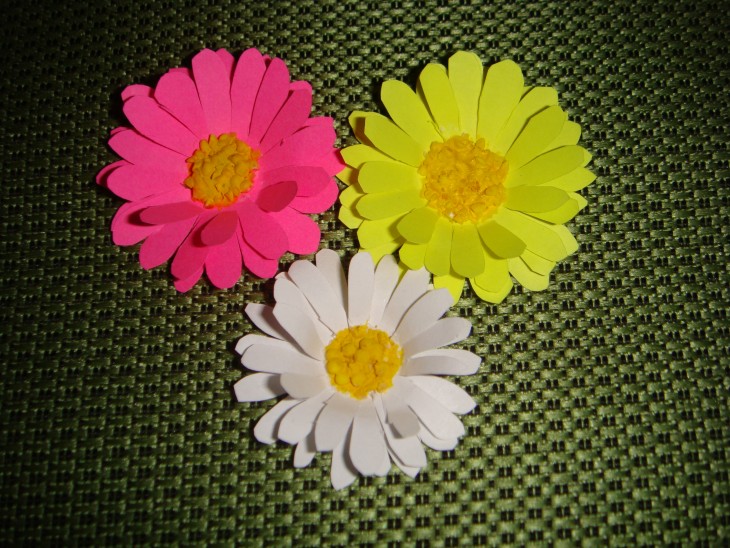
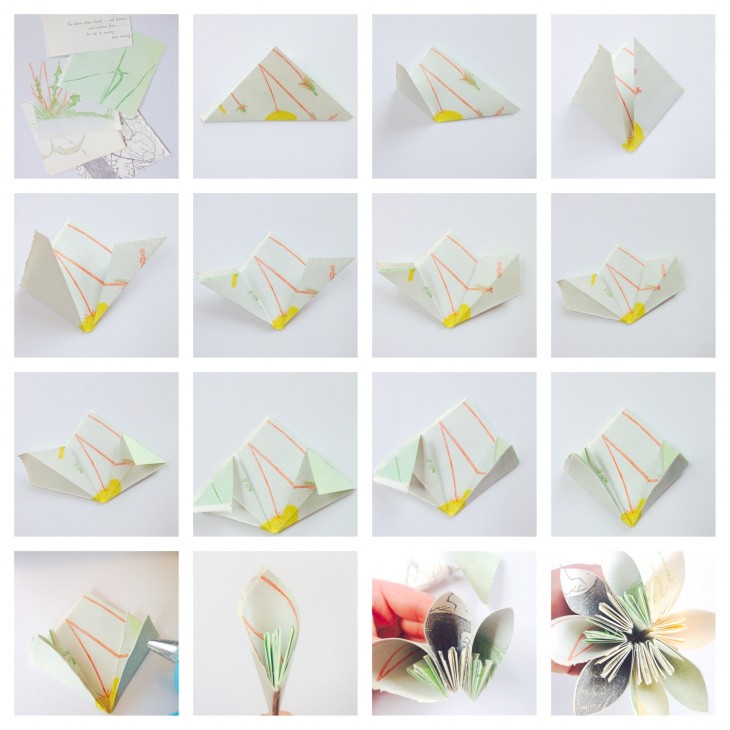
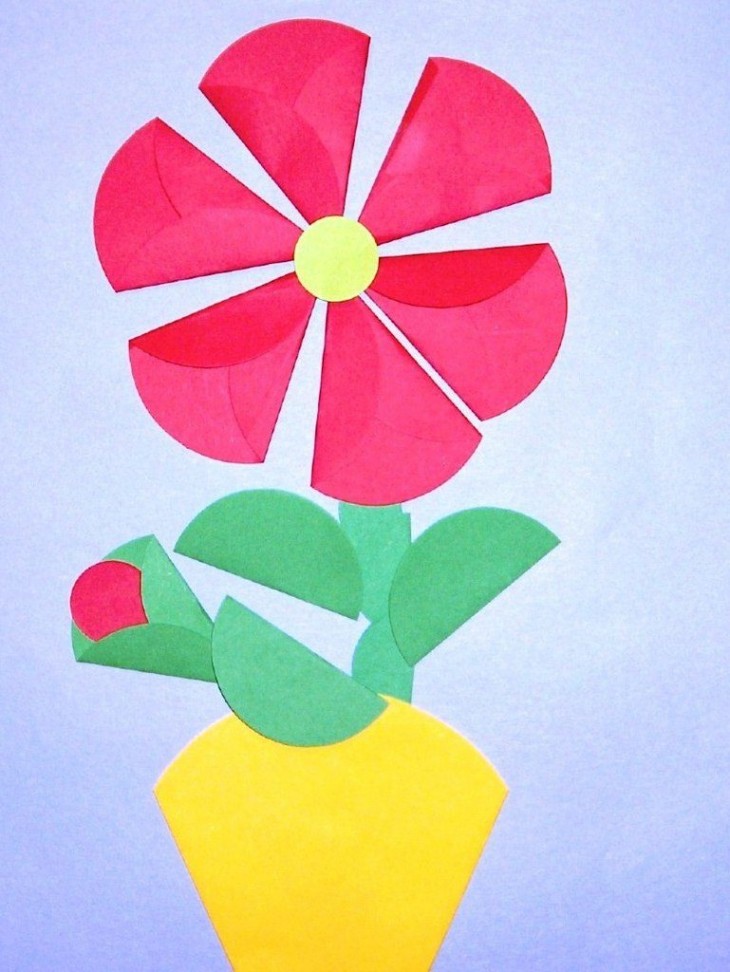
Crafts made of paper and cardboard. Volumetric paintings
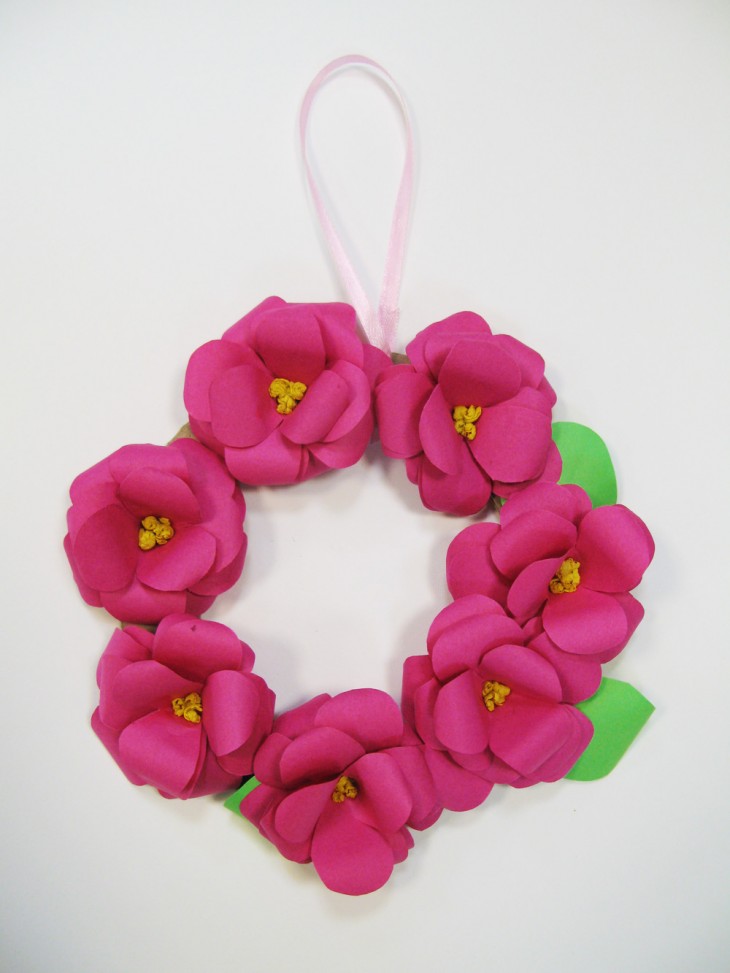
Applications can be considered elementary crafts; they are taught in the first grades. How to make a paper craft that will serve as an unusual present for mom in the form of a three-dimensional picture of colorful flowers?
Flowers can be cut from white napkins. For work from napkins, white ones with perforation are recommended, they can be easily painted.
Napkins are a simple material to work with, but care should be taken not to tear them.
Work Stages:
- Bend the napkin four times. And fasten in the center with a trailer. Create a circle shape with scissors.
- Raise each layer in turn, making a three-dimensional flower.
- Take green paper and cut about seven leaves according to the pattern.
- Use a brown sheet of paper to cut out the basket. Stick on red cardboard. It is beautiful to place flowers in the basket.


You can draw the basket with corrugated paper. Color can be any and it is recommended to make in two layers. Perhaps the use of foil for baking.
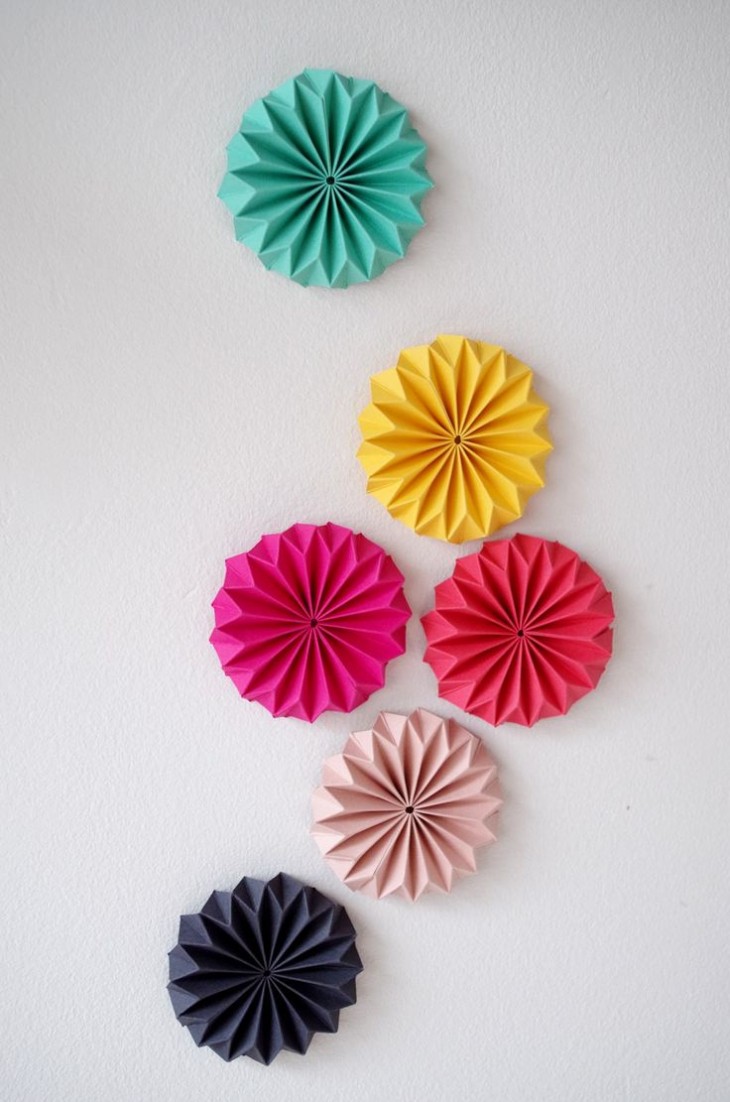
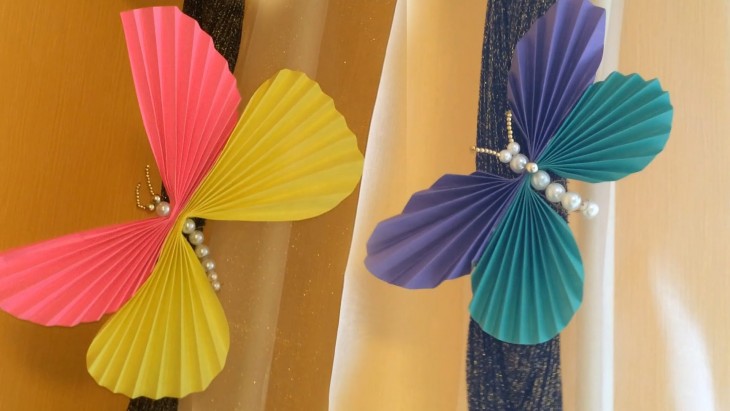
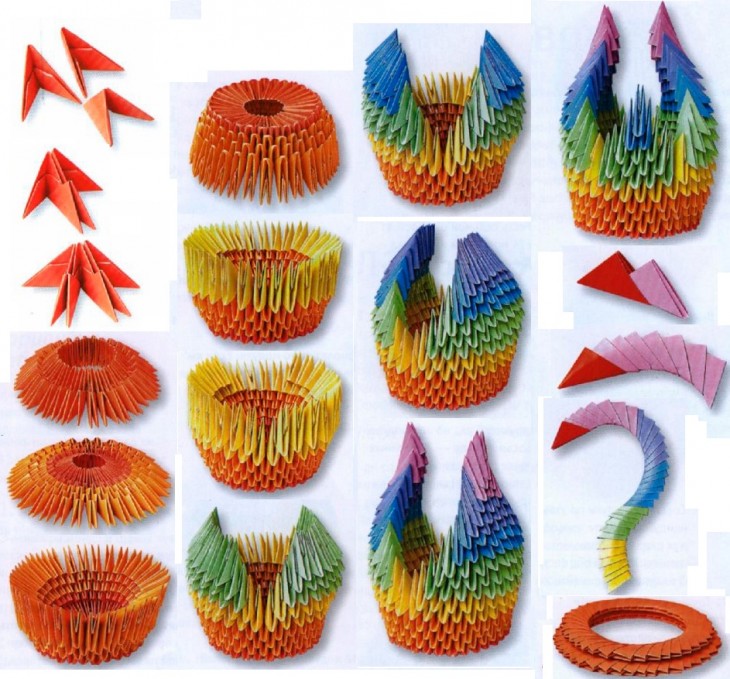
Fancy paper products: weaving
There are many ways to weave paper crafts; they are distinguished by their originality.
Note!

The most popular option is to stitch the stripes of paper in a checkerboard pattern. A slightly more complicated method is weaving from paper twisted into tubes.

Certain properties of the product gives the choice of paper from which it is created.
Some options:
- Newspaper.
- Check tape.
- Journal.
- Plain paper.
It is logical that the denser the material, the less fastidious it is, and the product will be more durable. A kind of drawing will give work with a glossy magazine.
For work you need to knock out one type of paper. Because strong paper does not interweave with thin paper and can injure it.
Note!

Show your imagination and decorate the craft using ribbons and beads.
Master class - paper crafts: paper tubes
An entertaining creative process - making tubes. When using a glossy magazine, unusual patterns will be obtained, and the dense texture will make the product stronger.
For work it is necessary:
- Paper.
- Scissors.
- Ruler.
- A simple pencil.
- Knitting needles.
- Glue.


Harvesting tubes. Wrap ribbons of arbitrary length and width 0.9 cm around the knitting needle. Glue the edge and pull out the spoke. Leave two centimeters inside the tube and glue the second edge.
It is recommended to tighten the tape tightly, accuracy depends on this.
Slowly, we pull out the knitting needles and wrap paper tapes on them, create the necessary length. For the basket, the length of the duct should be a convenient size for weaving.
Note!
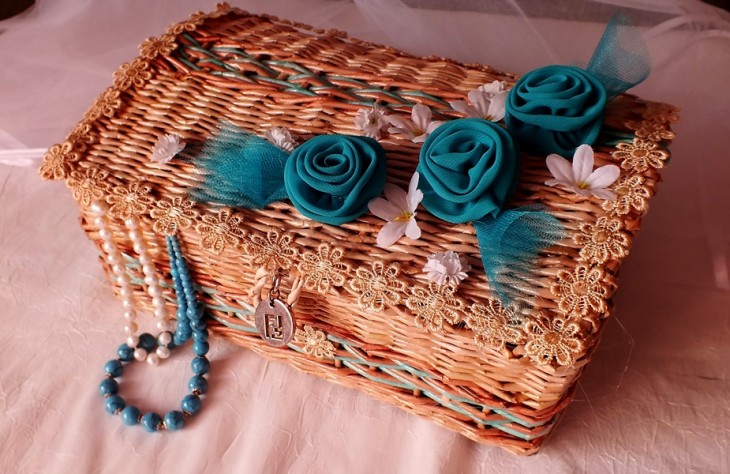
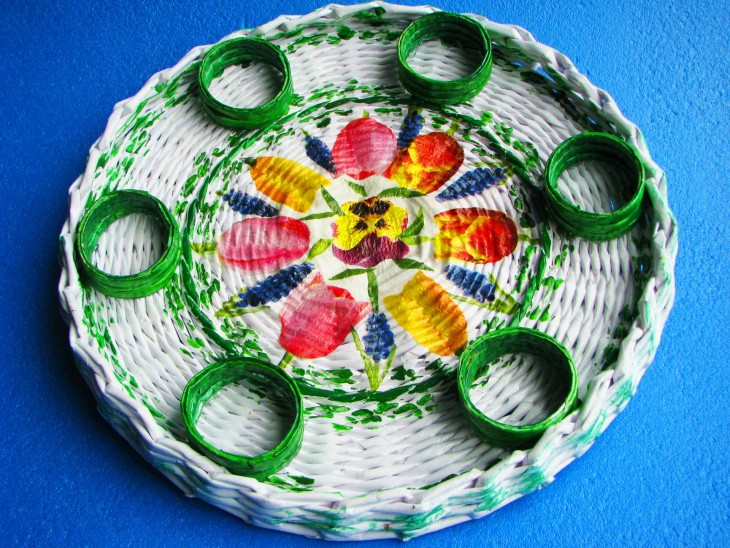
Original Wicker Basket: Steps to Create
The blanks are prepared and now you need a piece of cardboard, scissors and glue. Cardboard is required to create the bottom of the product. For manufacturing, cut a couple of cardboard circles.
Weaving:
- On a circle of cardboard we glue the created tubes in a circle. The next circle is already glued to the tubes.
- We lift up the parts and fix them with an elastic band.
- Glue the end of one tube to the base. Having grasped a standing tube outside, we enter inside and we intercept the second tube inside.
- In stages "inside-outside", weave until the tube ends.
- To give a length it is necessary to put a new vine at the end of the previous one.
- To create a shape, you can place the jar of the desired size inside.
- We carry out weaving to the required height.
- The remaining pieces of the vine should not be cut, you can fix them inside the product or stick to a convenient tube.
- Frame tapes can be fixed with glue to the walls of the product.
- We paint the finished basket with acrylic paint, after drying we apply a second layer.
Wicker basket completed. Now you can adapt it to small accessories or place an artificial flower in it.
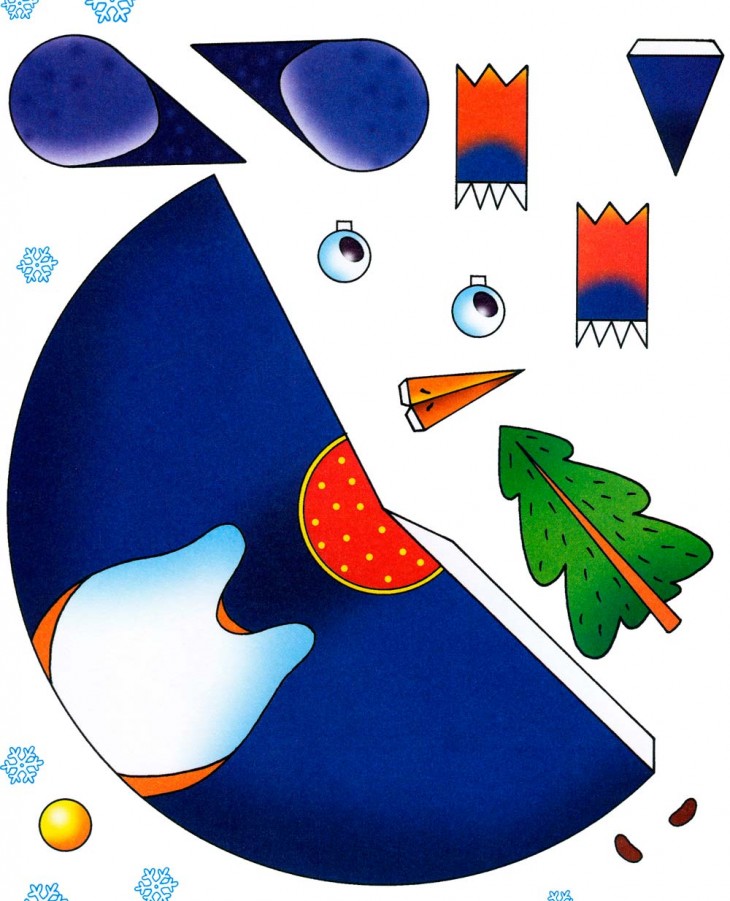
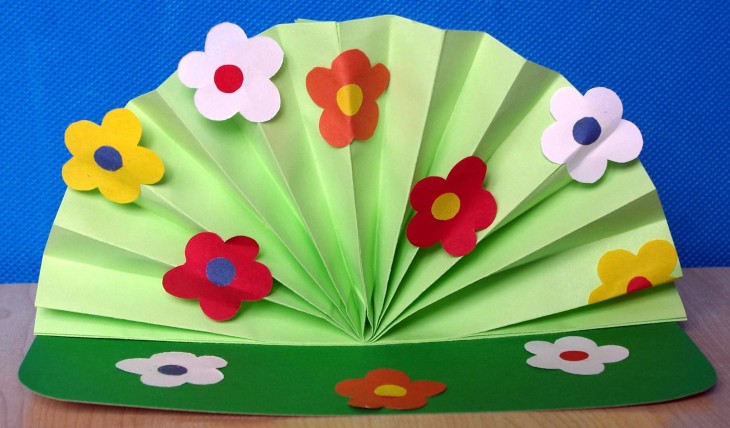
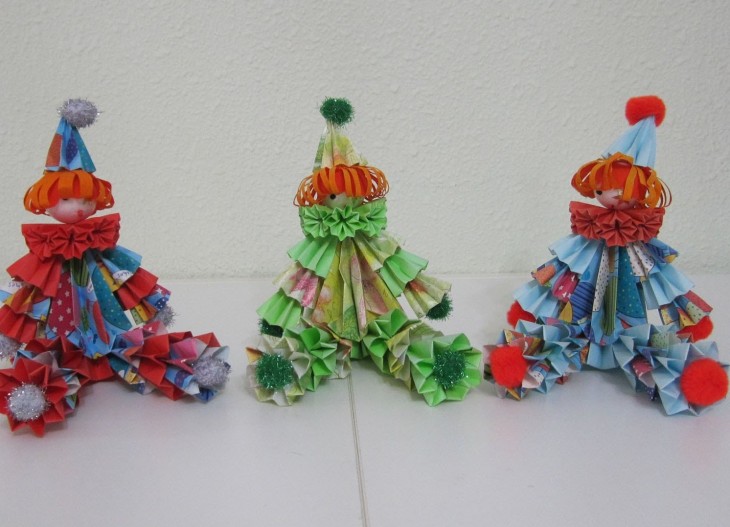
Christmas tree angel
In anticipation of the New Year holidays, I want to decorate my home with unusual elements.
Having made paper napkins with your own hands, you can easily solve this issue. And under the control of the elders, even a five-year-old baby will cope with the creation of an angel.
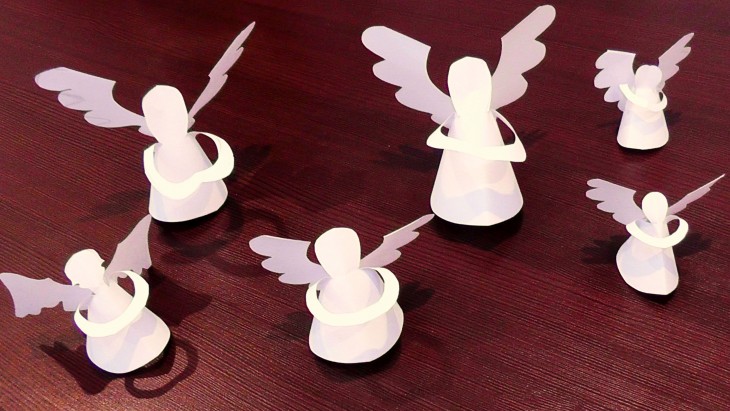
Instructions on how to make paper crafts:
- From two different colors, cut two 10 by 10 cm squares. And bend them into an accordion.
- Bend the accordion, counting 3 cm from the end. We bend one part to the right side, the second is the opposite.
- Glue a bent bend to the bottom of the fan.
- To create a head, about 5 strips should be cut, the width is determined based on the size of the edge of the fan.
- Send the rest of the paper down.
- Glue the halves and the angel is finished.
It turned out a great decoration for the Christmas tree, to fix it on top, you can use a regular clothespin.
Volumetric snowflake
Volumetric snowflakes look very elegant, you can decorate an apartment for the new year. To create, you need glue, scissors and paper.
A phased way to create:
- Cut six squares.
- To bend the square in half, you should get a triangle. Scissors cut from the lower bend to the upper corner. The cuts should not intersect, you should leave a distance between them. Make three cuts in the shape of a triangle.
- Expand the sheet and arrange as a rhombus.
- Glue the first row of strips.
- Turn over and similarly do with subsequent stripes.
- Fasten all the strips.
- Make six pieces of snowflakes as described.
- Fasten the three parts with a trailer.
- Ready halves to stick together.


It is recommended to use glue stick or brush for drawing.
If you place a loop in the middle in the middle of work, then at the end you can hang a snowflake.
You can use both white and multi-colored paper, you can combine.

Children's crafts
A cute handicraft for the smallest "Universe through the eyes of a child." Design a starry sky, moon and that will allow imagination. No need for scissors.
Required equipment: glue stick, pieces of colored paper (confetti), dark blue cardboard.
Work Stages:
- Use ready-made confetti or use a hole punch to cut many colored circles.
- Using a stencil, apply a month and stars to the cardboard.
- Apply glue base to ready-made figures and sprinkle with prepared circles.
The finished product can be placed in a frame. To do this, glue the New Year's rain on the edge of the picture.
Creating an applique is suitable for kindergarten kids.
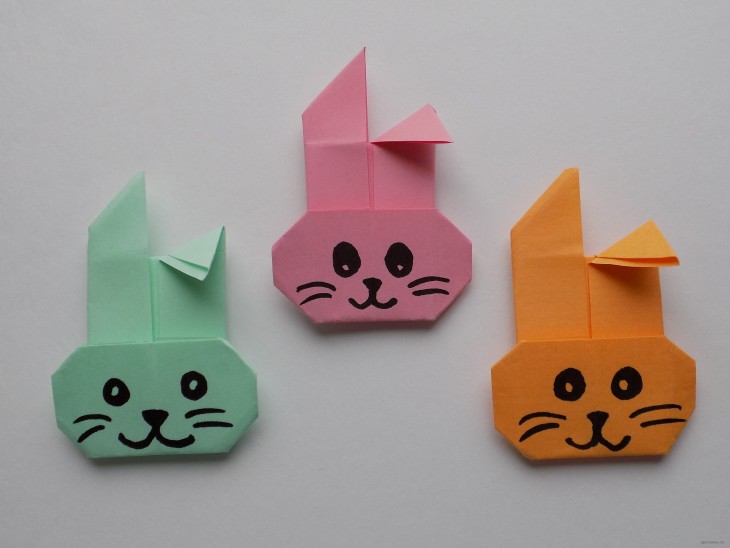
Movable toys
Toys of this kind are of great interest to children. Just pulling the thread can create movement of the arms or legs.
And the figures are created very simply, this will require: cardboard, buttons, a thin wire, a strong thread and scissors.
Stages of creation:
- On the cardboard we draw the legs and tail - moving parts. We put dots at the base.
- In place of the points we make fastening by threading a thread or wire into them. Buttons fit like a retainer.
- Glue the body and head on a bamboo stick. You can use tape.
- In the holes made on the legs we put the fasteners and combine with the body. Using an elastic band, we connect the paws, making two holes in each paw so that they are placed very close to each other, and the thread is not visible.
- By analogy, we also fasten the tail with the hind paw.
- To the thread located between the paws, tie another thread. It is she who will start the mechanism.
- We make paints to your liking.
According to this instruction, you can make bunnies, chanterelles, cubs. And it will be a whole puppet theater that will impress any kid.
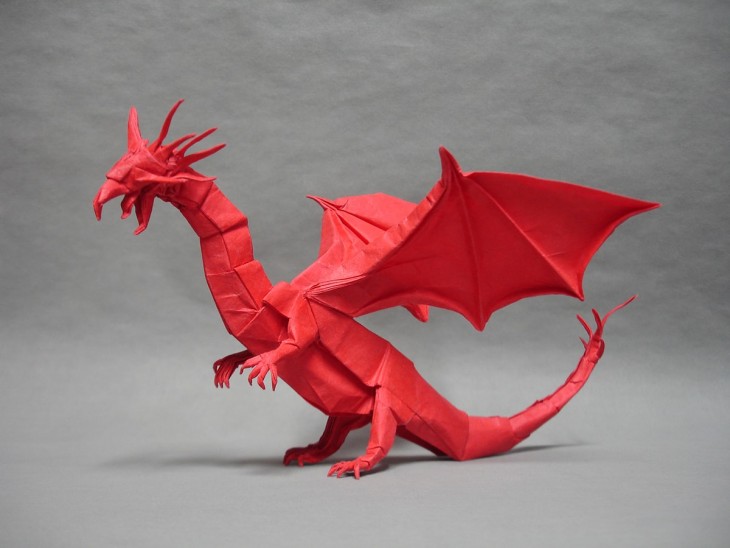
Photo of paper crafts


Crafts from leaves - 100 photos of the best ideas for fakes from dry autumn leaves
Do-it-yourself rugs - 80 photos of ideas for creating entrance and floor carpets
Do-it-yourself wooden floor - 97 photos of the full installation cycle of the flooring
Crafts from wire: 95 photos, tips and simple instructions for everyone