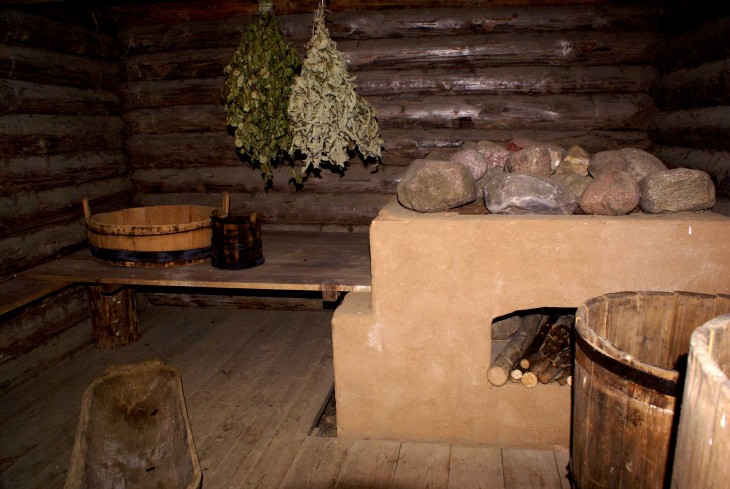
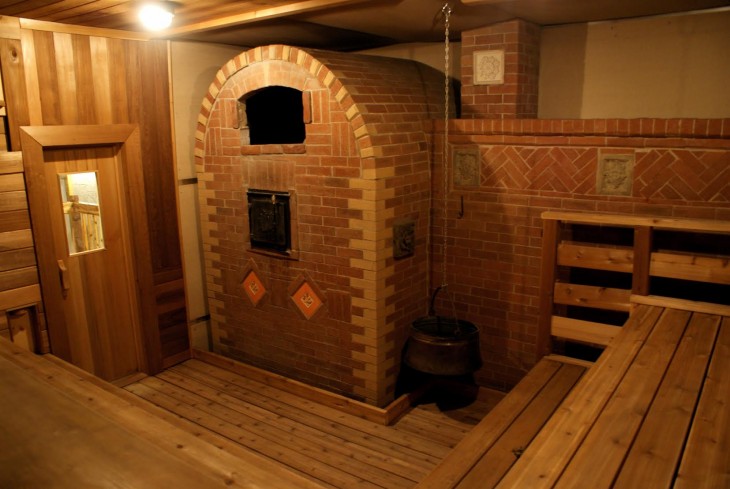
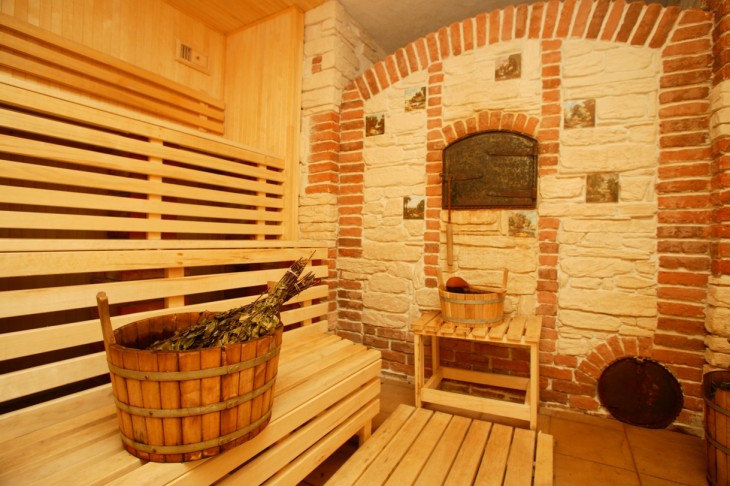
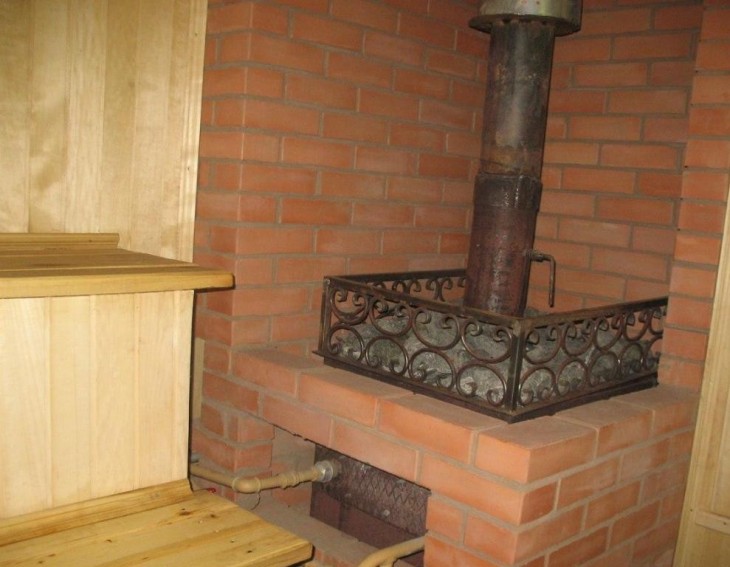
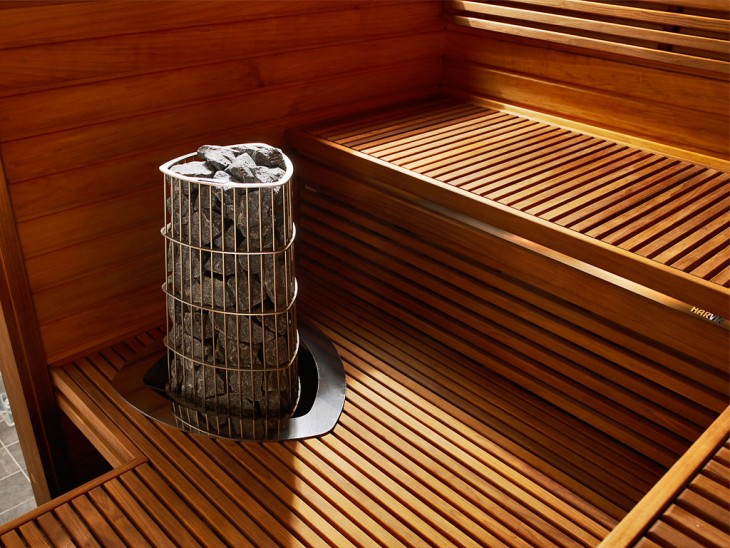
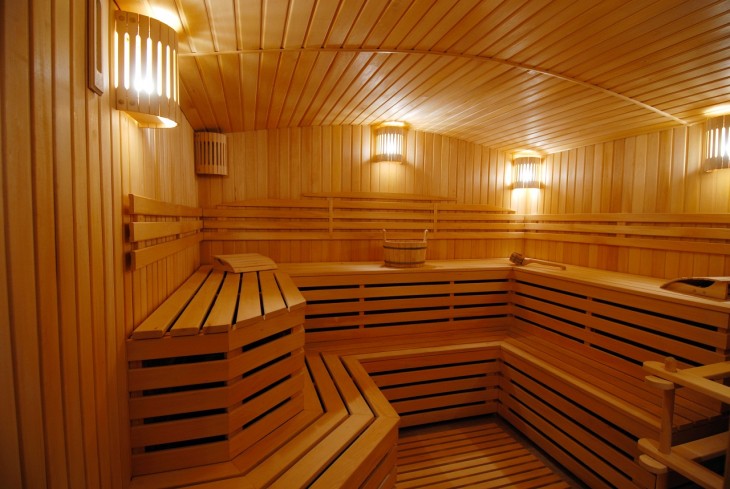
For a long time in Russia, the brick stove in the bathhouse, which could not be found in your own house only in exceptional cases, was especially popular. In the past few years, the baths have literally experienced a moment of incredible rebirth.
First of all, this, of course, is exerted by the fact that more and more people refuse to live in apartment buildings and increasingly make the choice in favor of individual construction. That is why the question of how to build a sauna stove is becoming more and more popular every year.

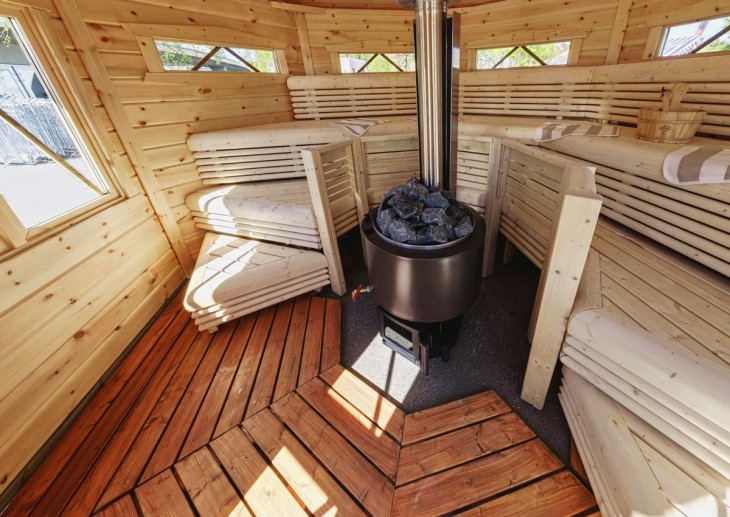
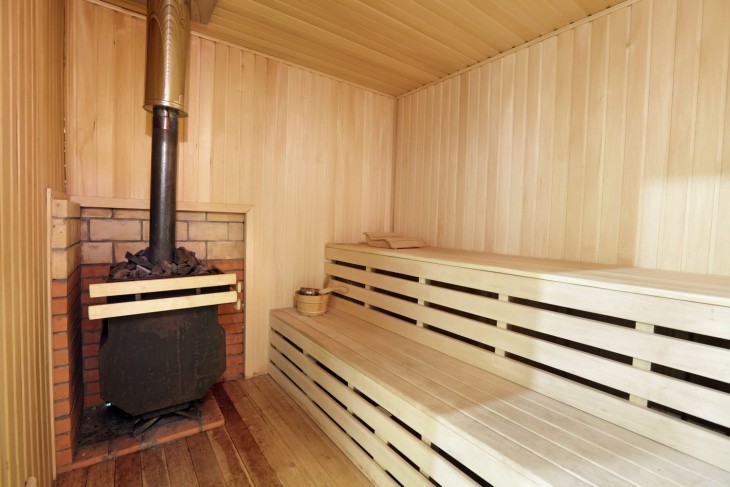
If you can correctly plan the construction process, then without any problems in a short time you will be able to build your own bathhouse and add to your home a special atmosphere of vivacity and health.
Preparation process
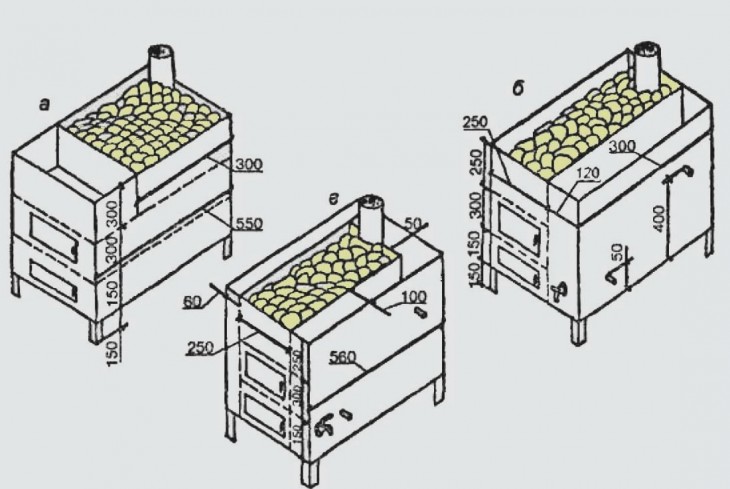
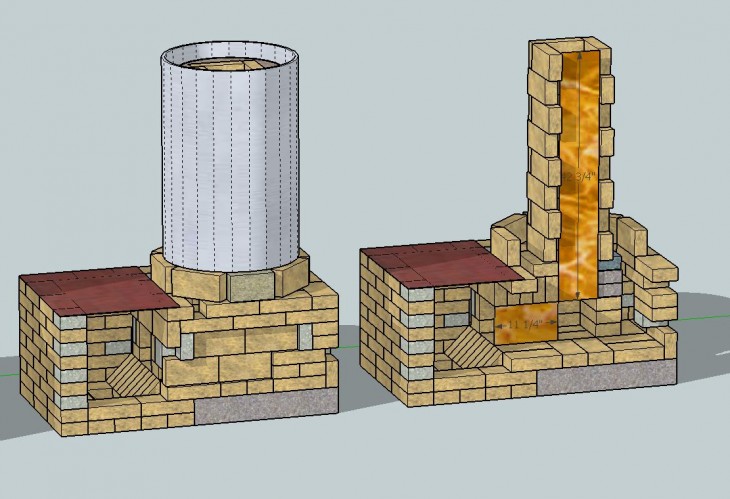
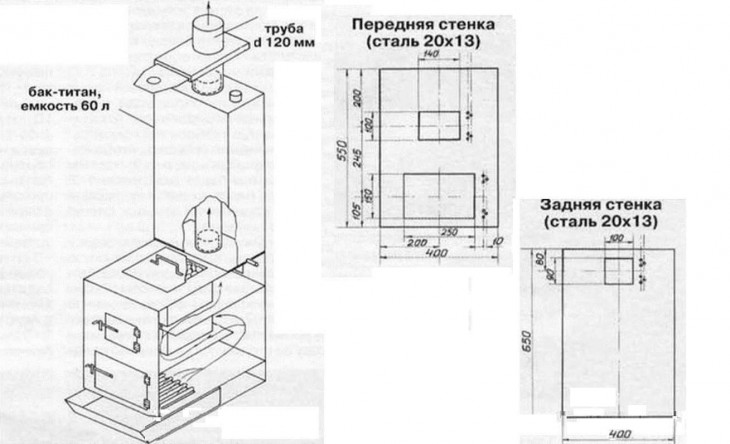
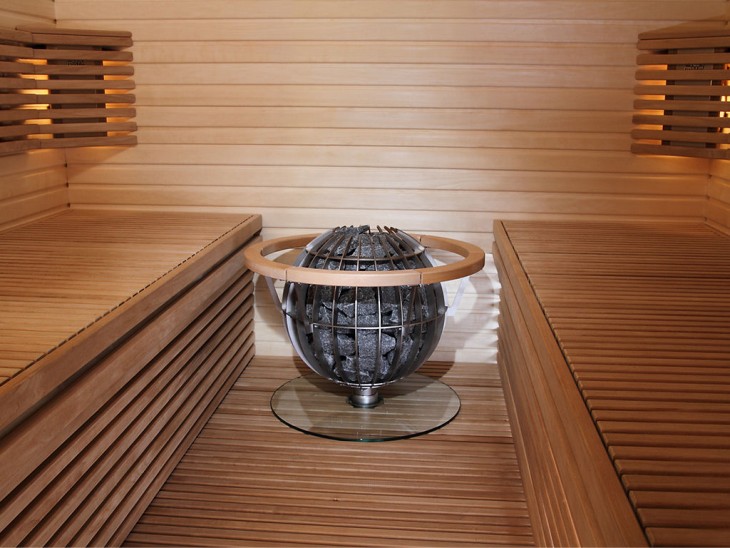
All that is needed in order to independently build a bathhouse on your site is literally minimal building skills and a little patience. The first thing to start with is to choose the furnace drawings for the bath of your dreams.
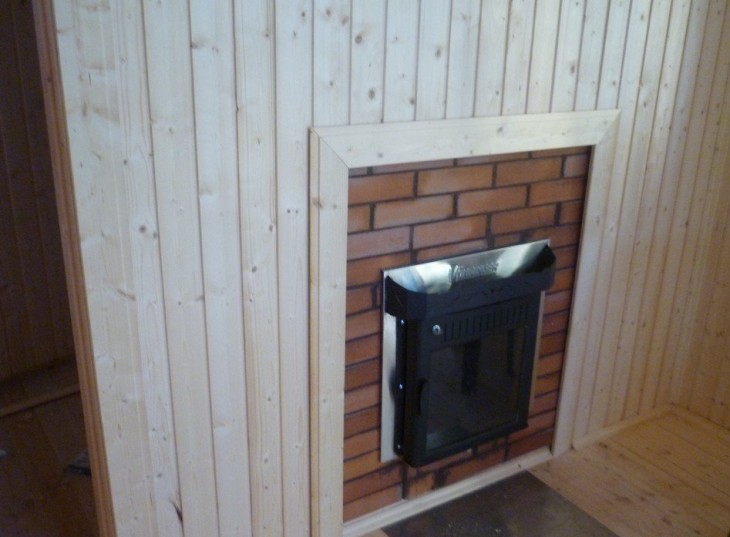
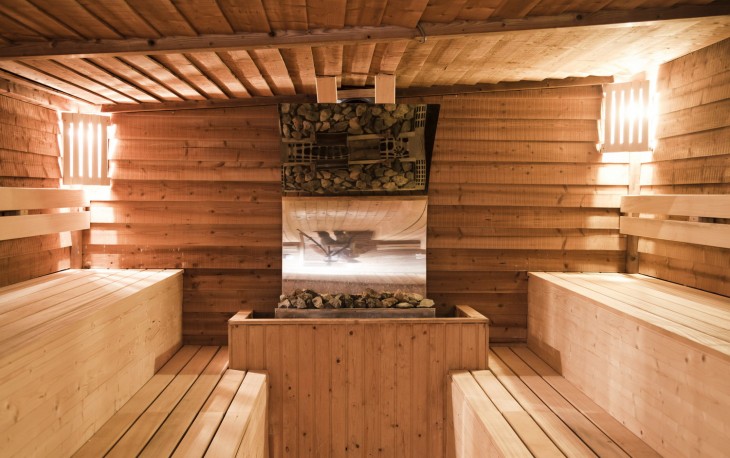
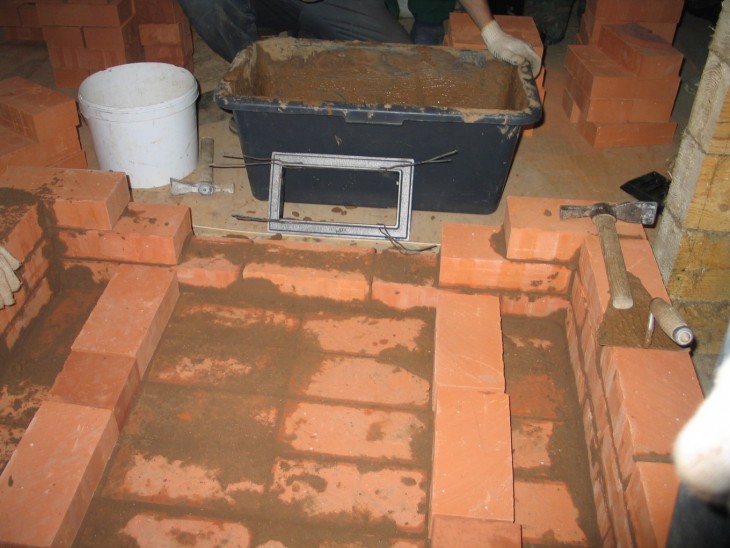
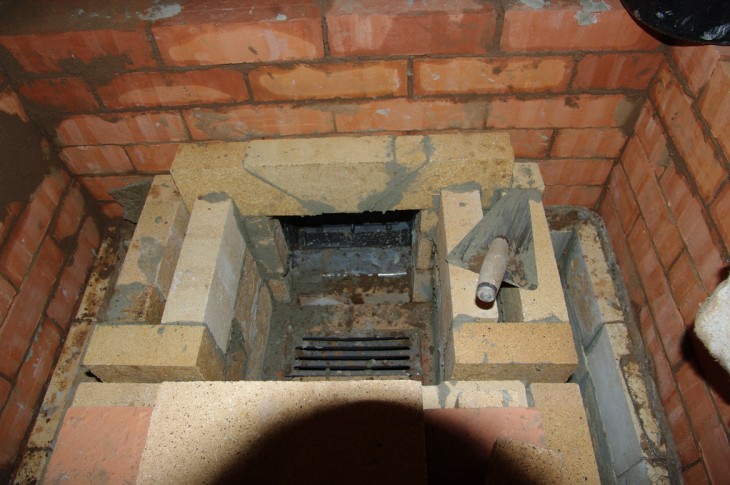
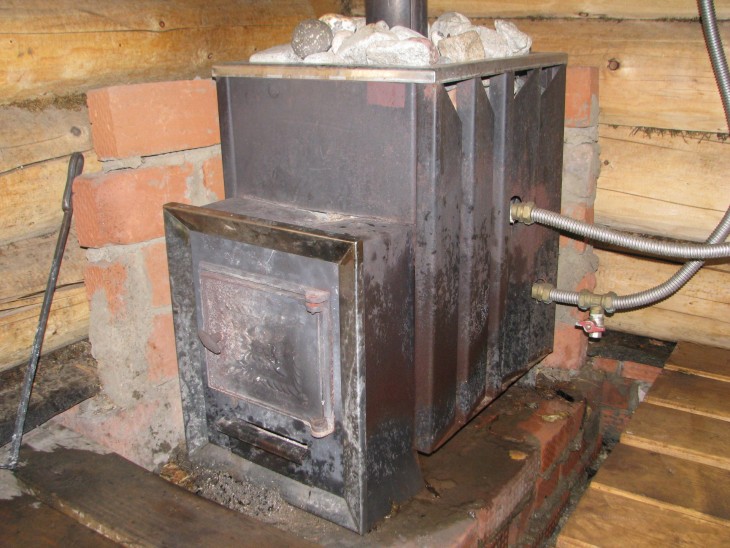
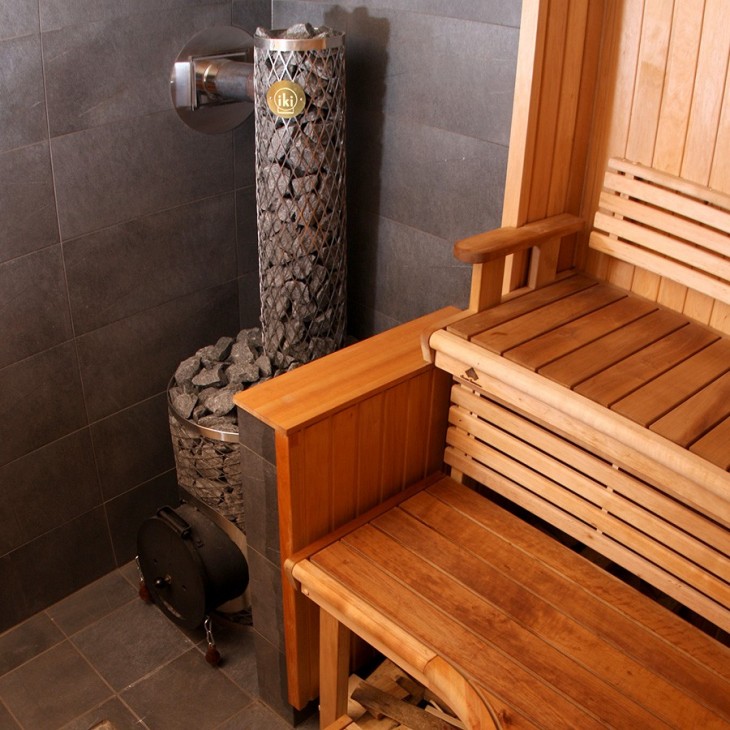
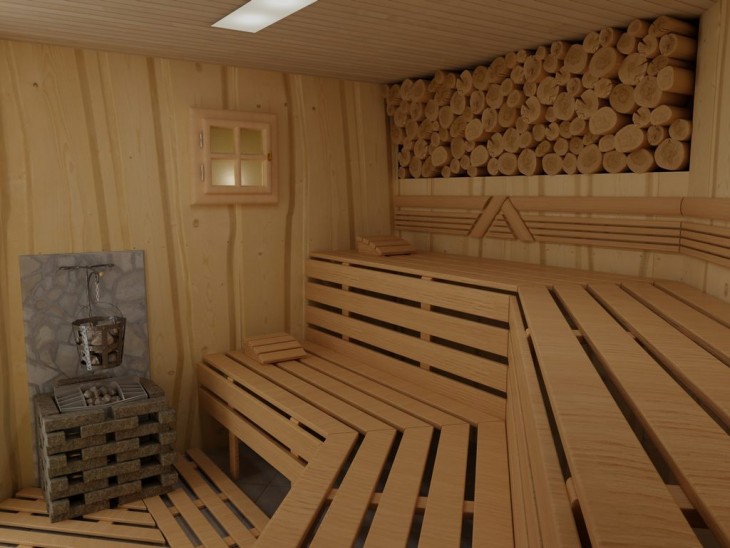
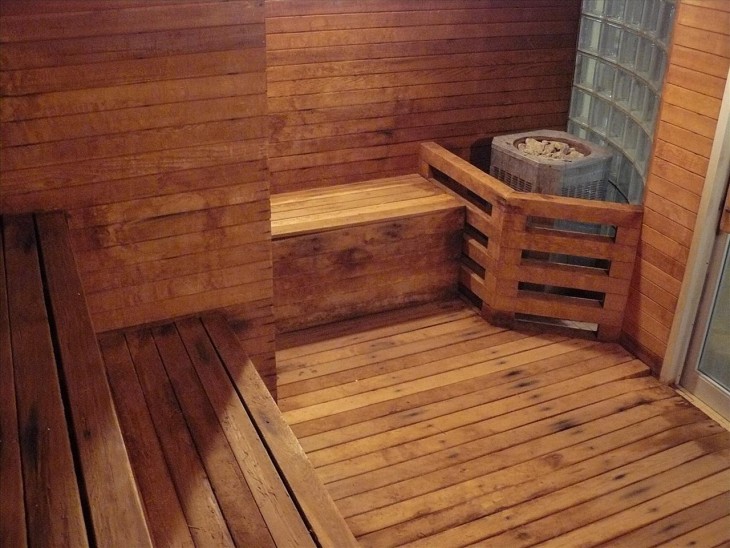
In most cases, the steam room oven is positioned so that one part of the building is responsible for maintaining the level of heat in the dressing room, and the other for heating the steam room directly.
If we talk about the material that you should choose for the building at the very beginning, then, in principle, most builders agree that it is possible to use those residues of materials that were not used during the main construction.
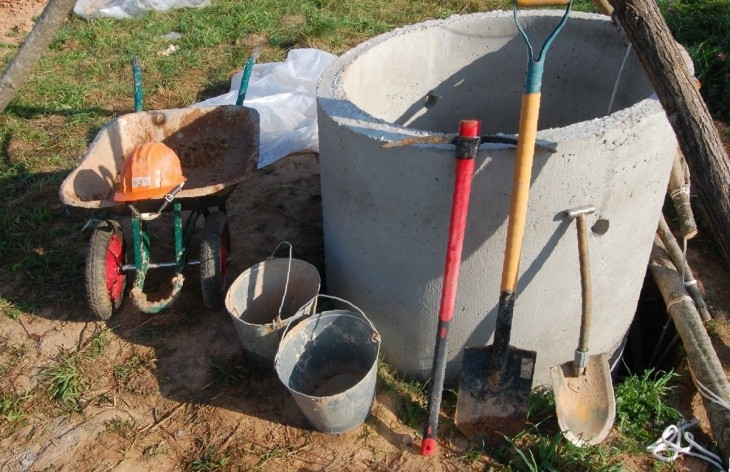
The construction process will go much faster if all the necessary tools are prepared in advance.

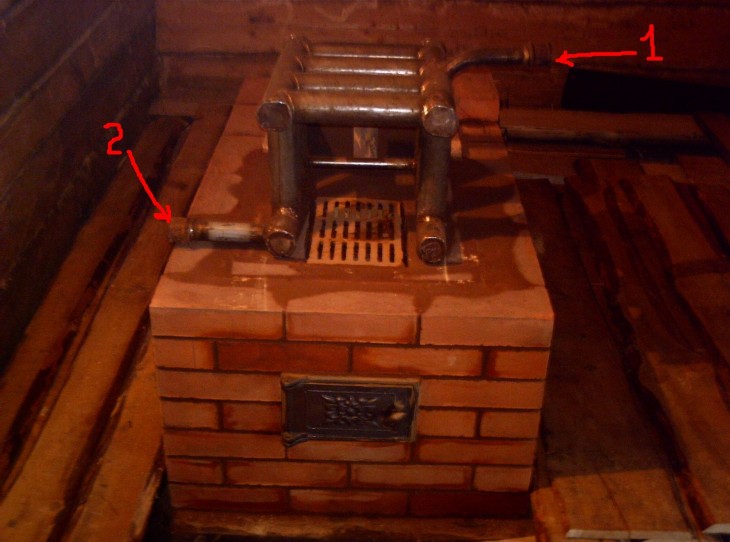
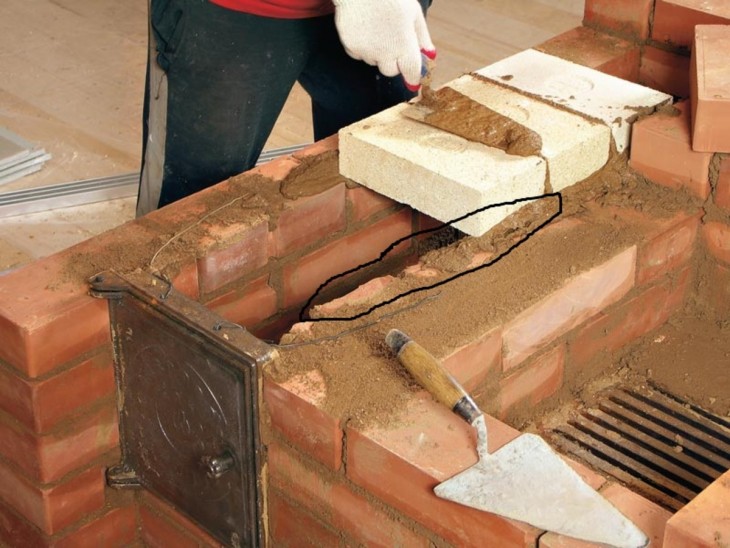
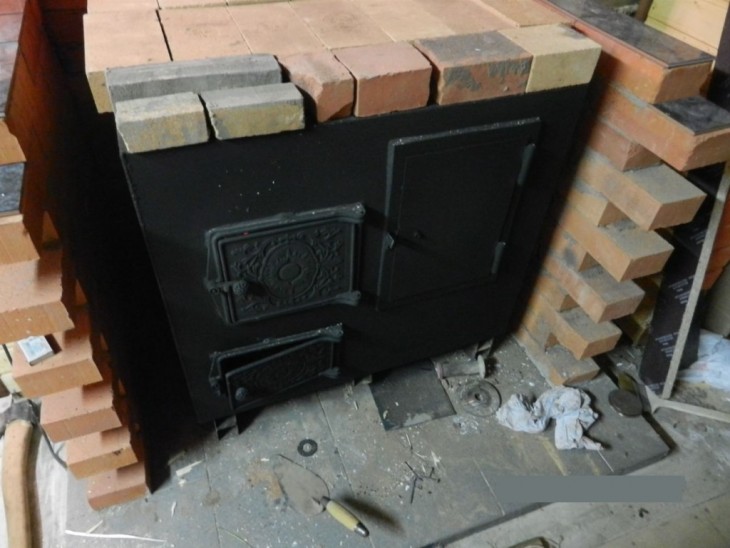
It is best that there are trowels on the right side of the furnace, as well as a level, a bucket, in which there will be a solution and a hammer.
To the left of the furnace, as a rule, they place a bucket of clean water and one more bucket with a dustpan, as well as pliers and an ordinary pencil, which you will definitely need when putting down various marks.
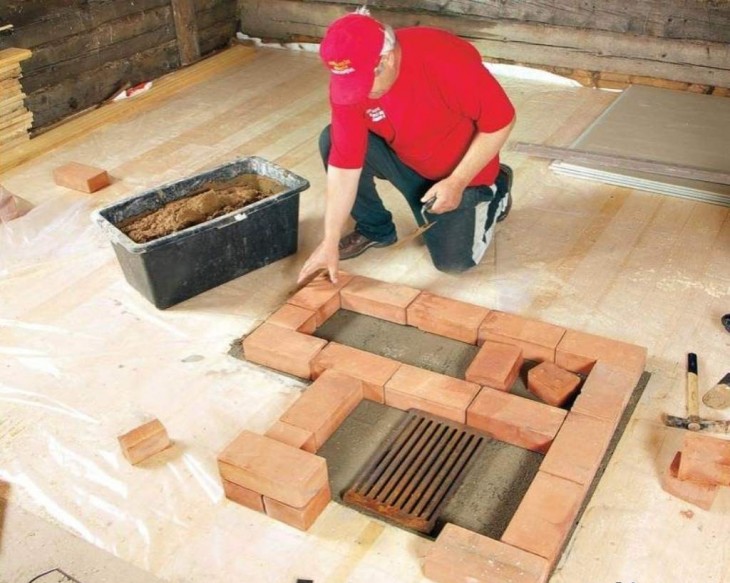
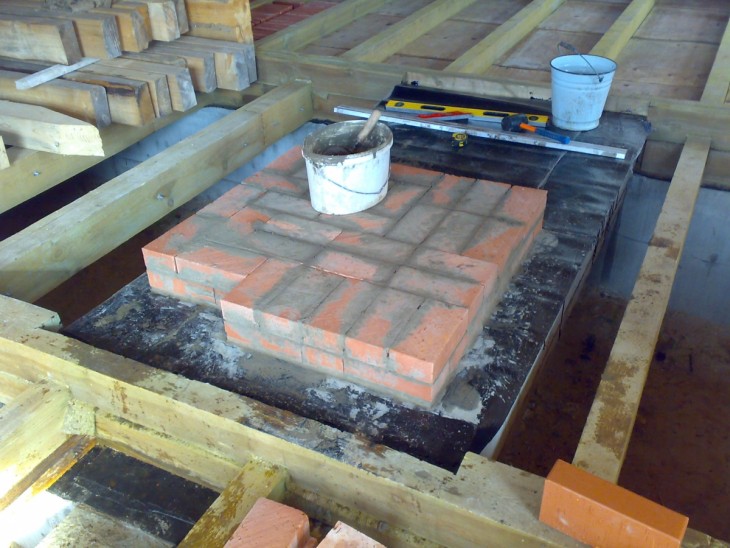
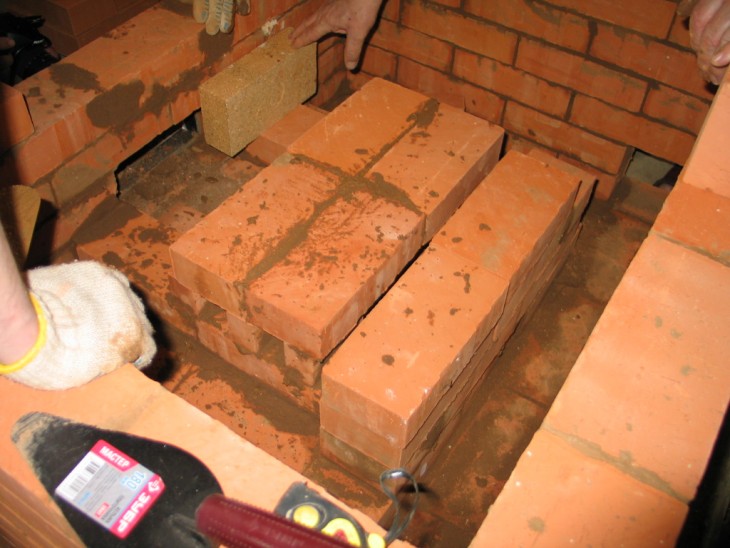
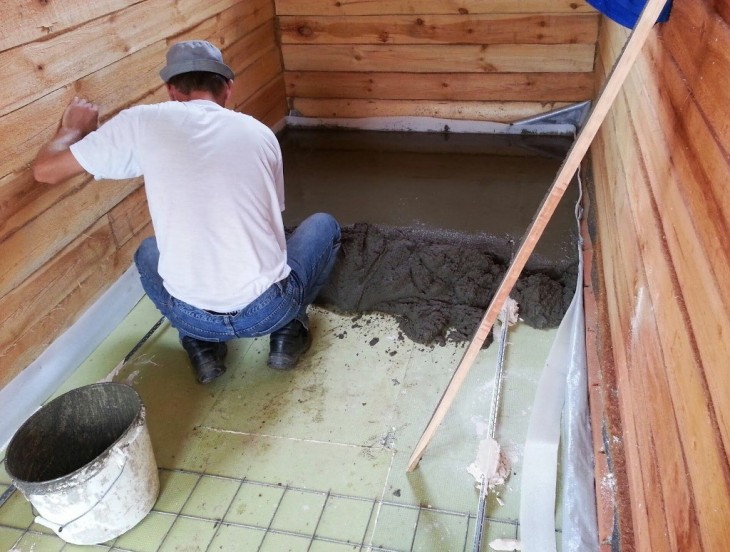
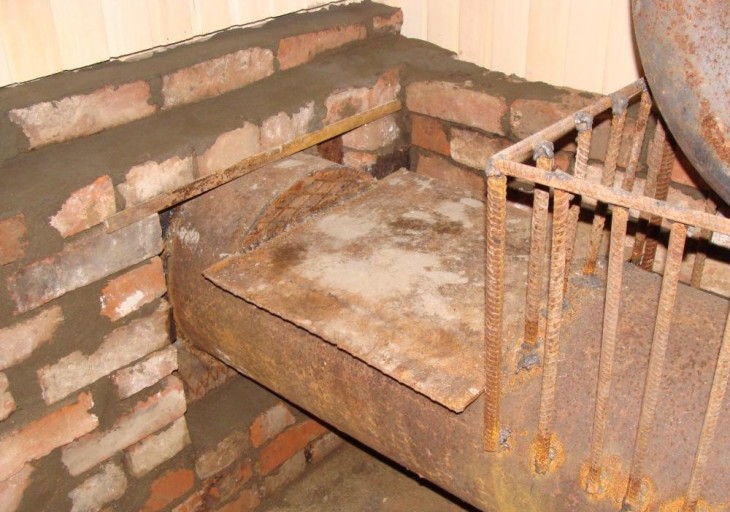
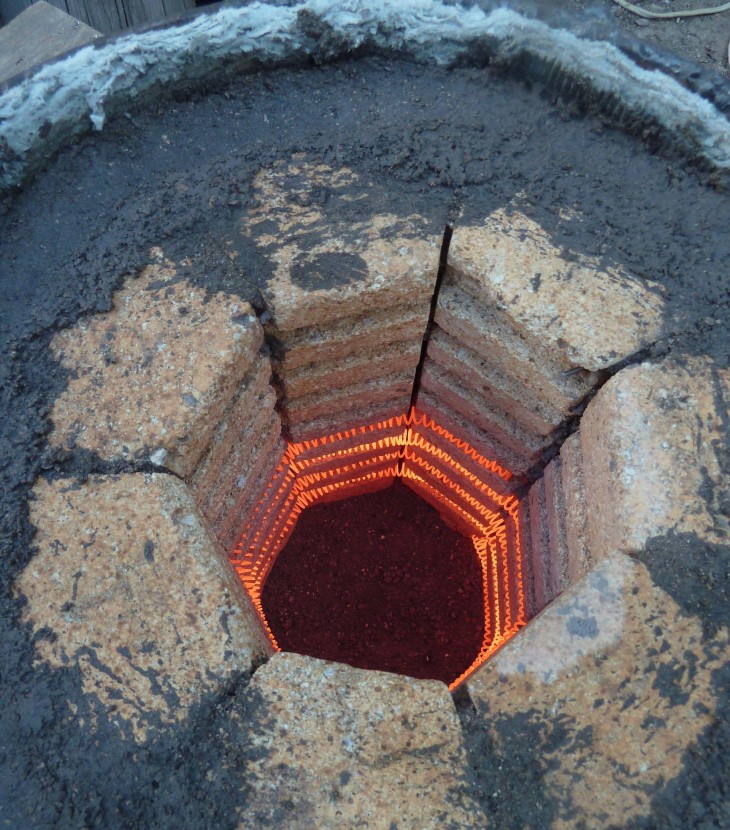
For the oven you will definitely need a pit. Particular attention should be paid to its size, namely the depth, which should be at least 0.7 m.
The bottom of the pit, according to the rules, should be covered with about twenty centimeters of sand. After that, the sand is covered from above with crushed stone and broken brick.
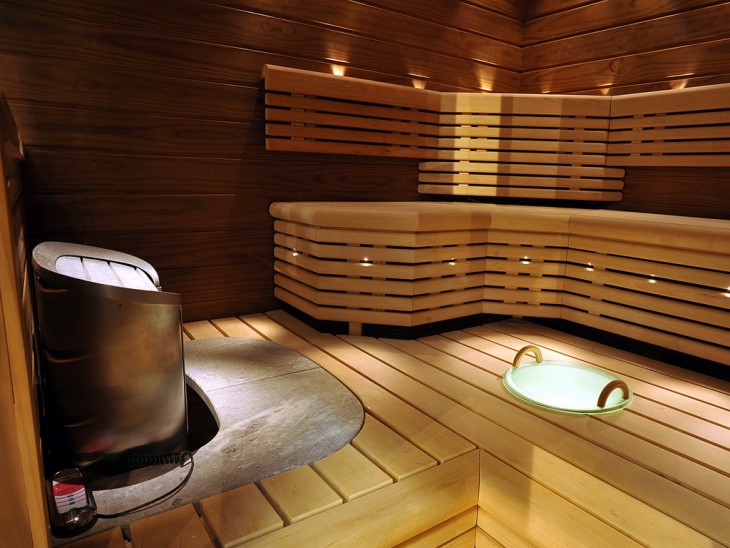
Further, it is imperative that a reinforced frame with formwork be provided in the pit. From above, the entire surface must be filled with concrete. Look at the photo of the stove for the bath and you will see that usually no more than twenty centimeters are left.
The last two layers of the foundation are already acting as the main waterproofing material. After the foundation is completely ready, it must be checked for horizontality.


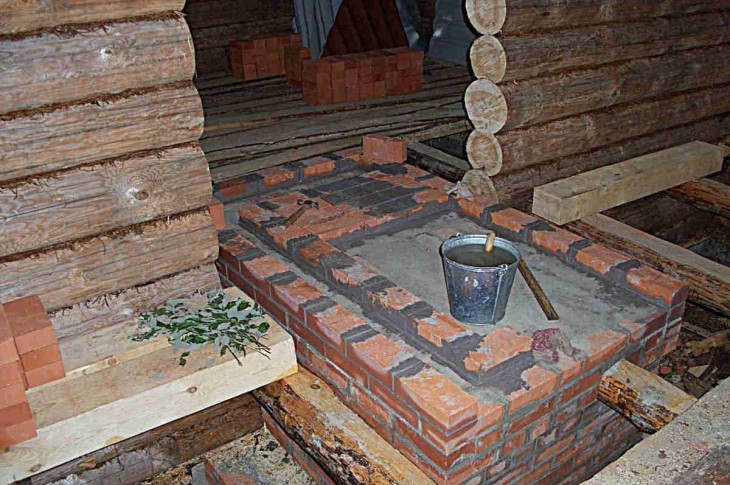


If any shortcomings appear, then they can be quite simply eliminated using the flaws that have arisen. After the work done, you can gradually proceed to the construction of the bathhouse itself.
The importance of the chimney
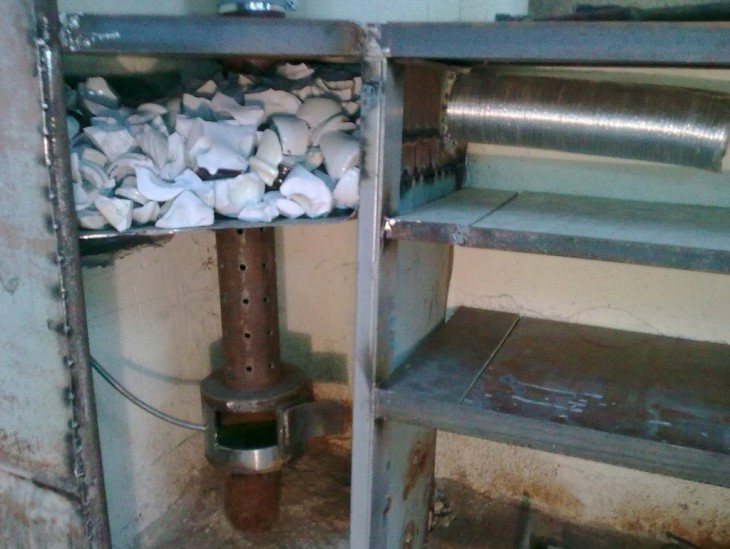
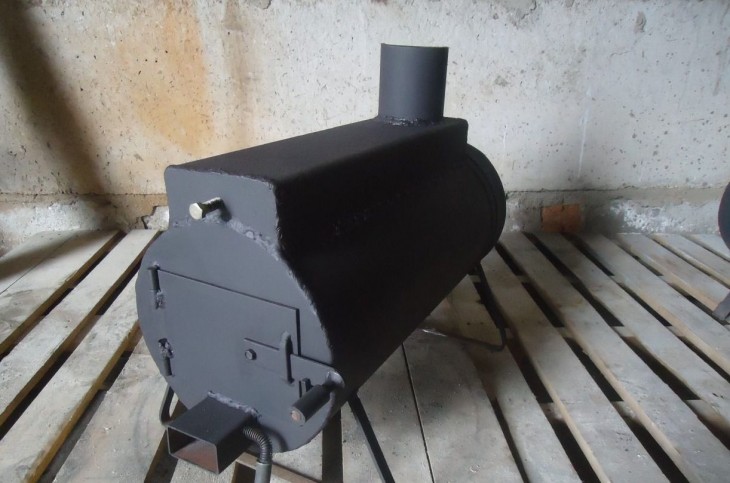
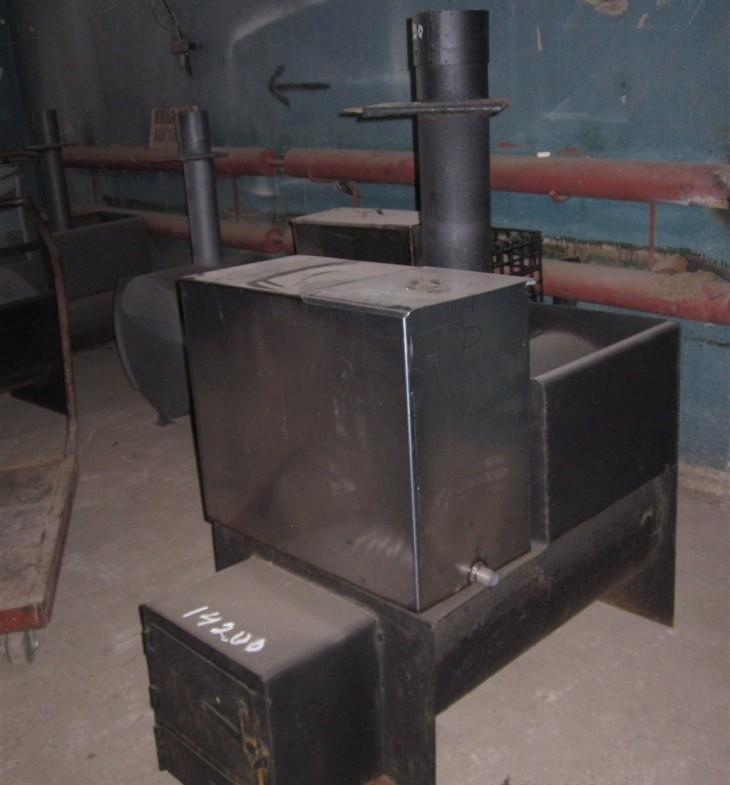
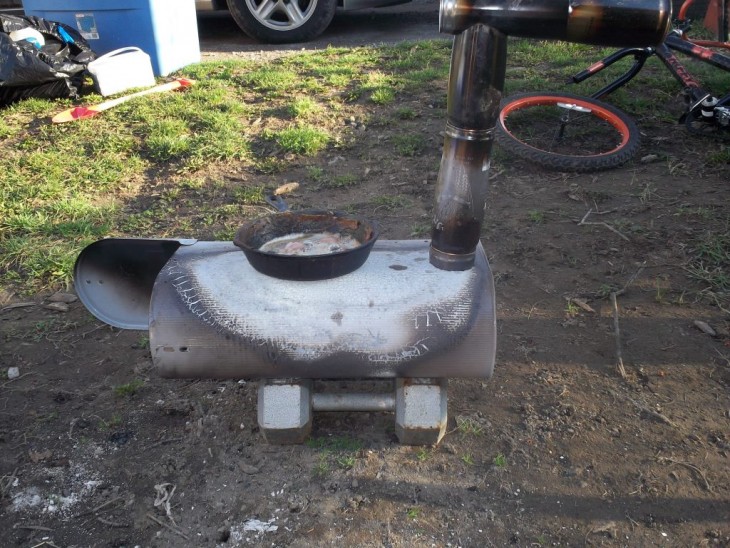
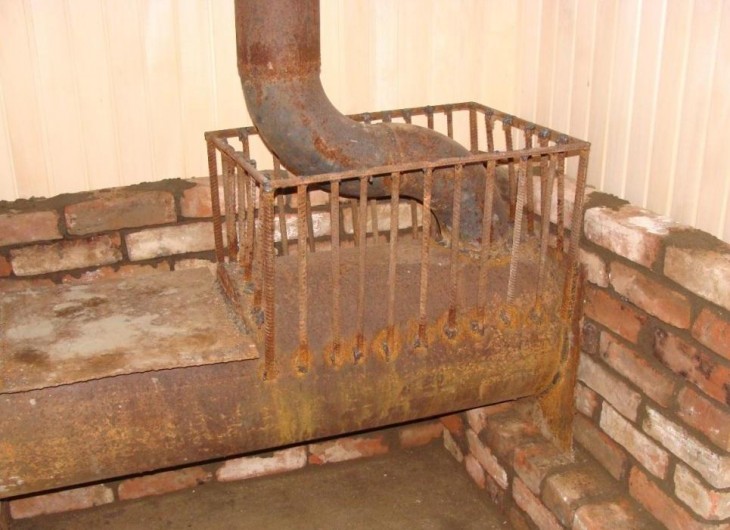
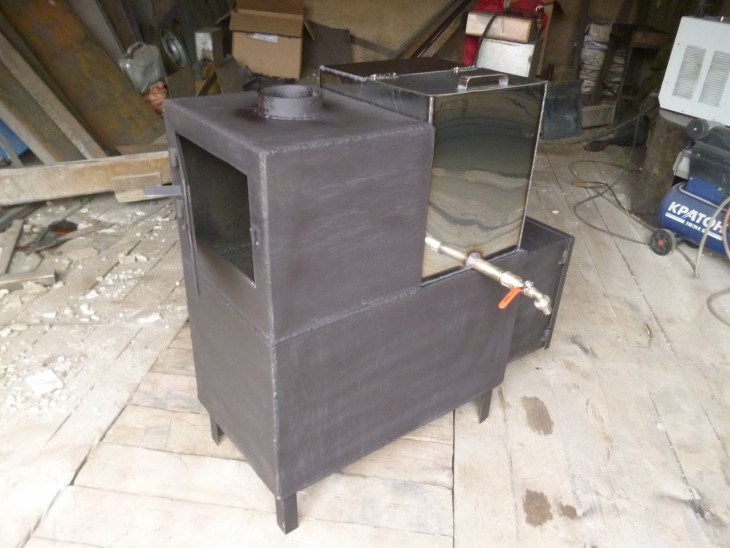
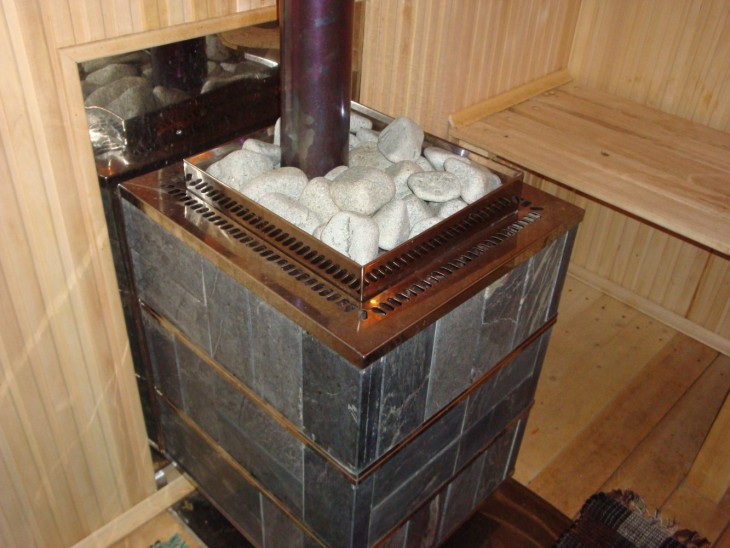
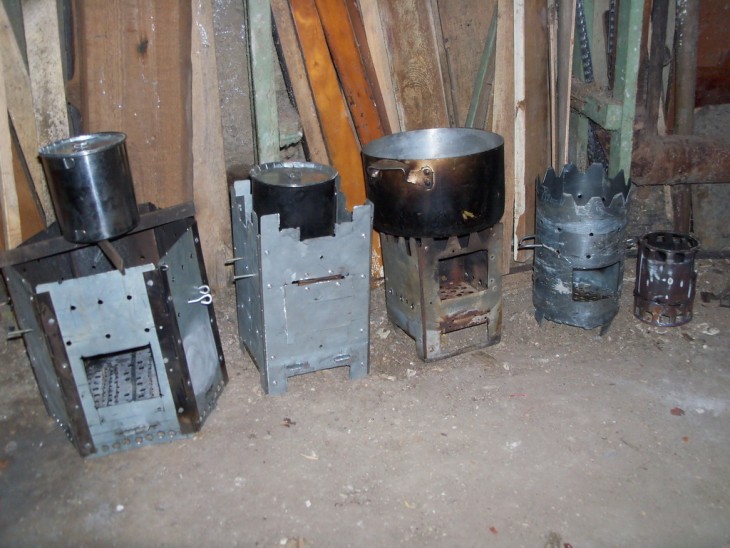
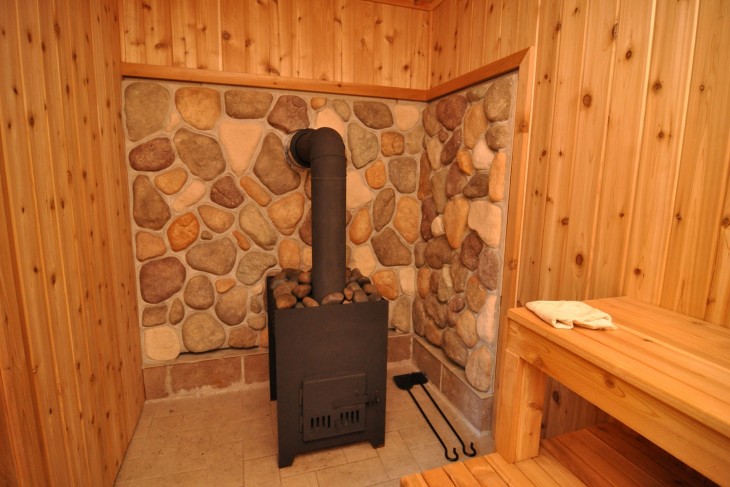
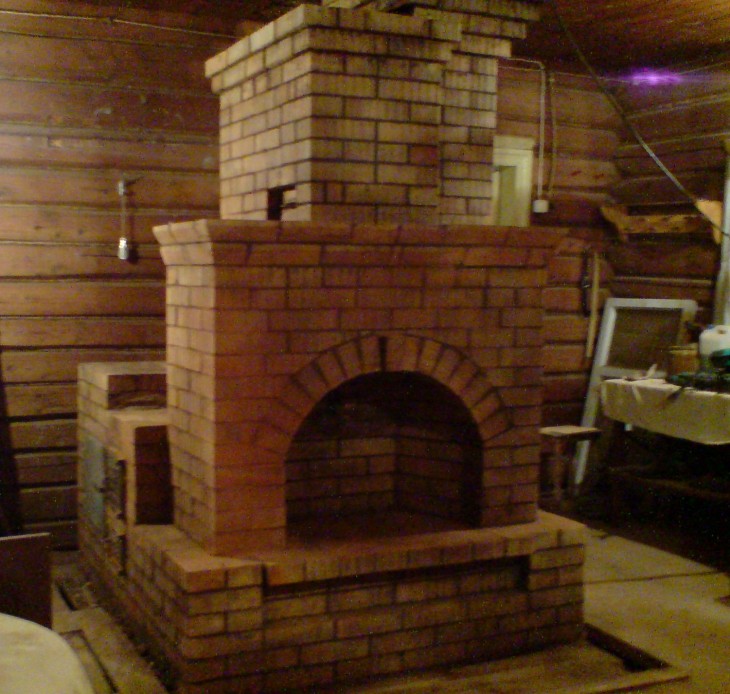
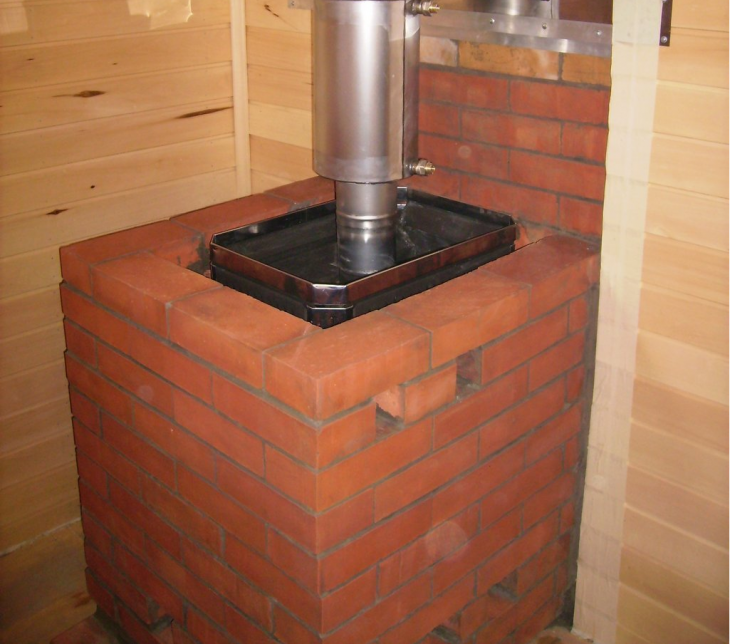
Particular attention during the installation of the chimney is very important to pay general building parameters. In that case, if the home-made metal bath stove turned out to be quite small, then the pipe should not be made too massive.
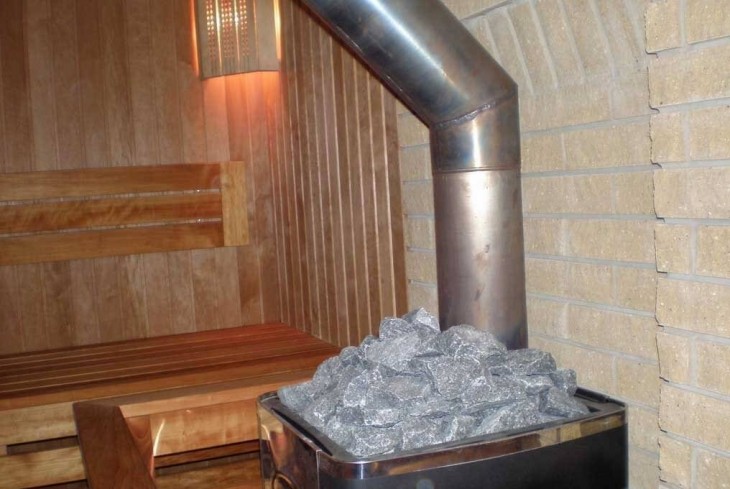
Approximately the wall thickness is in practice about half of the brick. It is desirable that the cross section of the smoke passages was the same size.
Final stage
It is very important after the installation is completed, but before using it, how to dry the bath oven. It is customary to use one of the following methods for these purposes:
Note!
- Forced;
- Natural.

The most preferred, according to the builders, is the second option, however, it is necessary to prepare in advance for the additional time costs.
Using this method, you can be sure that the oven really dries out as evenly as possible, and not a single crack is formed.

Remember that if you follow all the advice given to you by the builders, then without any difficulties you can build a bath quickly enough exclusively on your own.
Do not forget to make sure in advance that you are ready for the necessary financial costs.
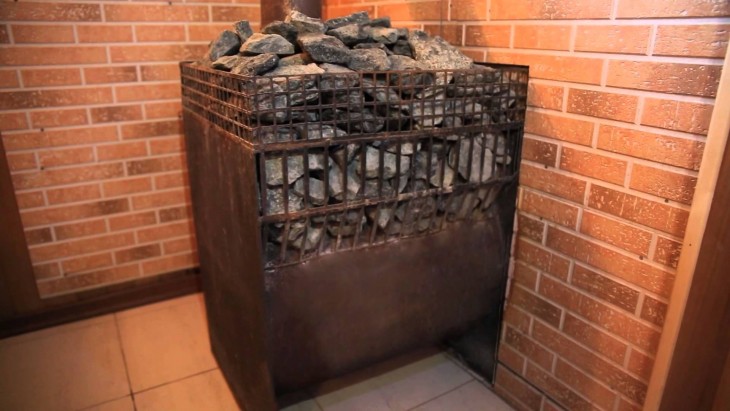
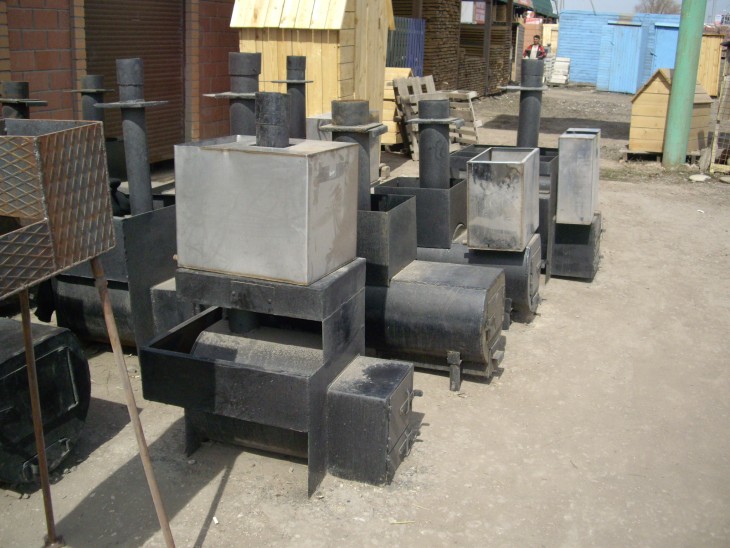
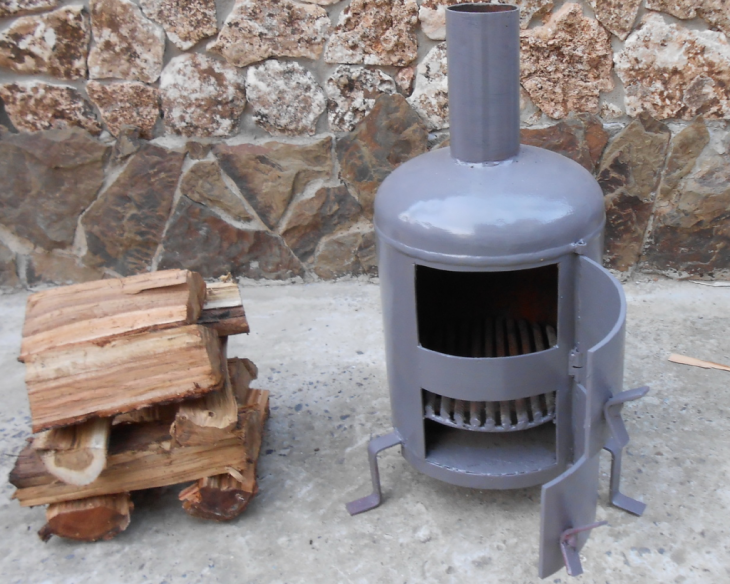
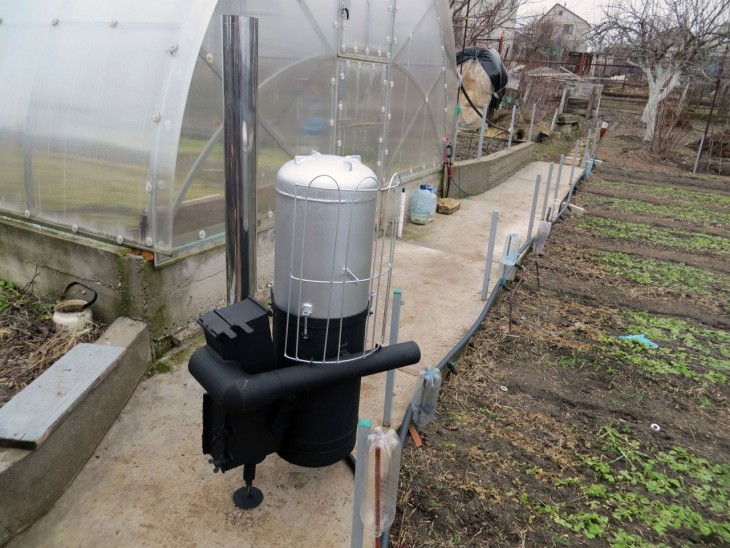
DIY stove photo
Note!


Note!