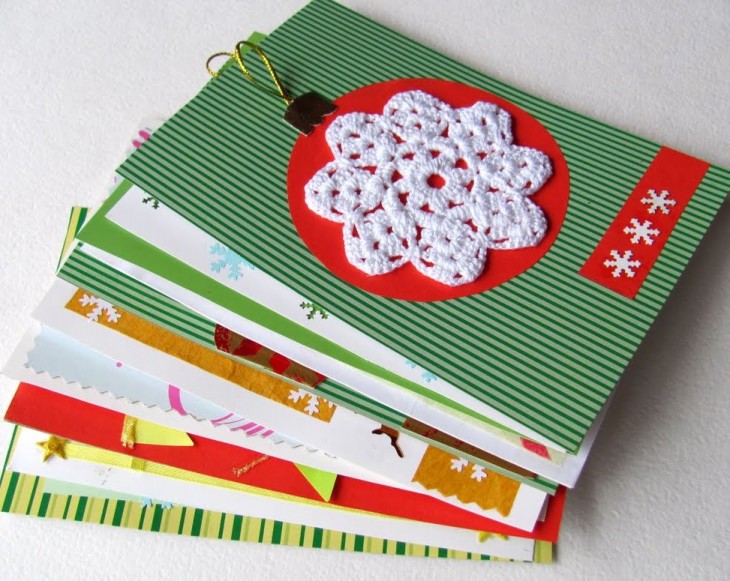
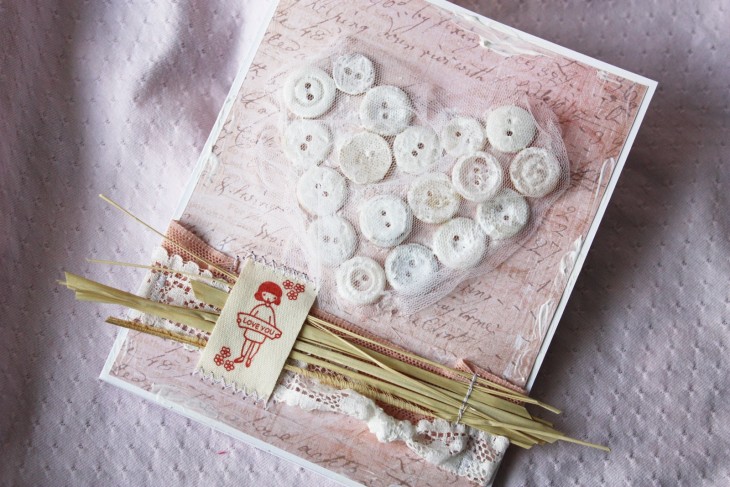
A pleasant and very sincere gift for a thematic celebration can be postcards from bright unusual colored paper that were created man-made.
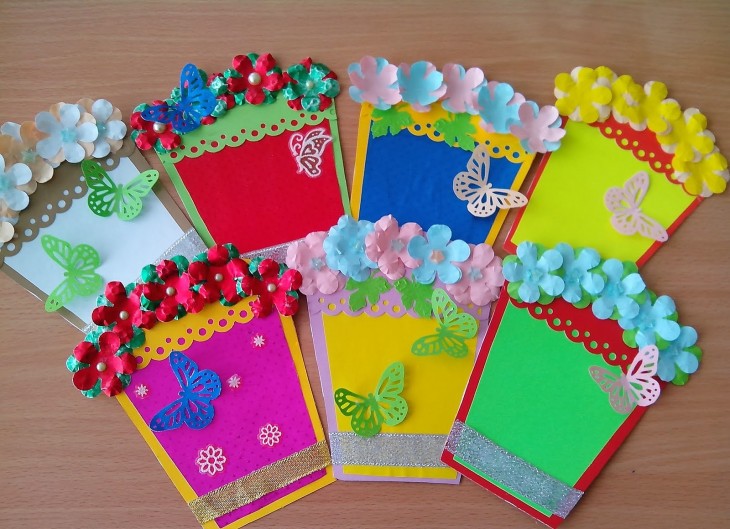
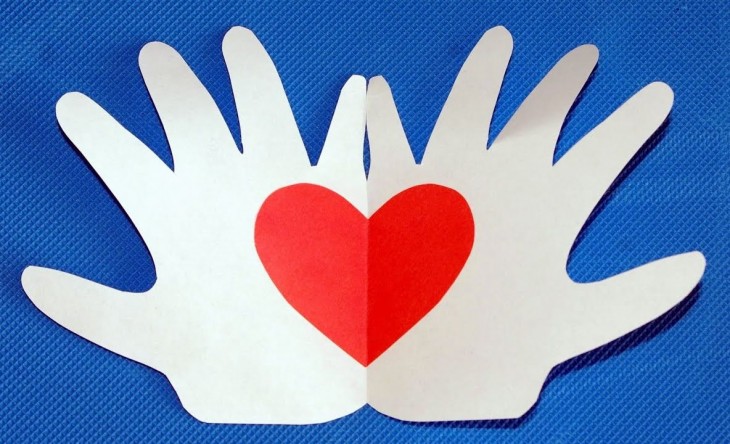
This option is the easiest way to make a person pleasant, express their warmest feelings. Often, the card complements the main gift.
You can learn about how to make a postcard with your own hands out of paper from the Internet, because it is there that there are a huge number of workshops and templates for various postcards that describe the process of creating such crafts. Greeting cards are bright and beautiful, unique and inimitable.

Review Content:
The basis of the paper product
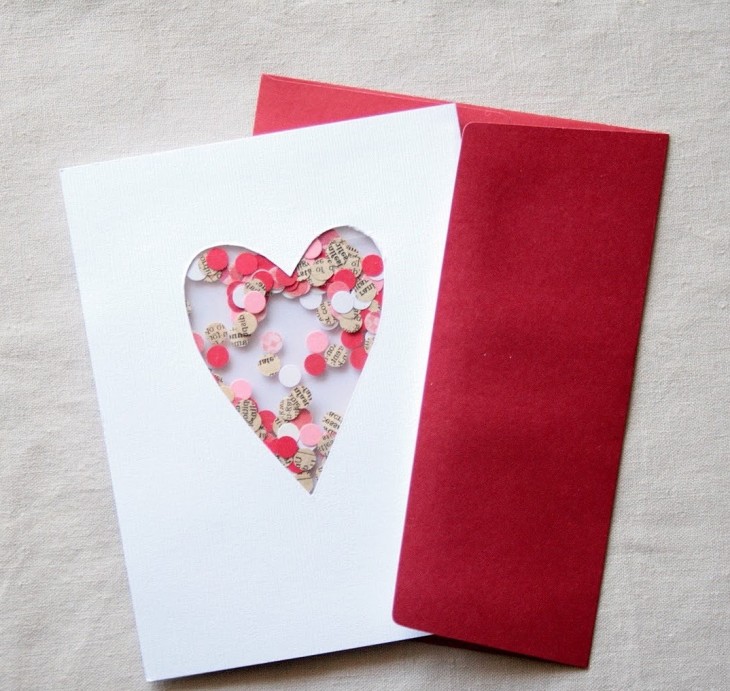
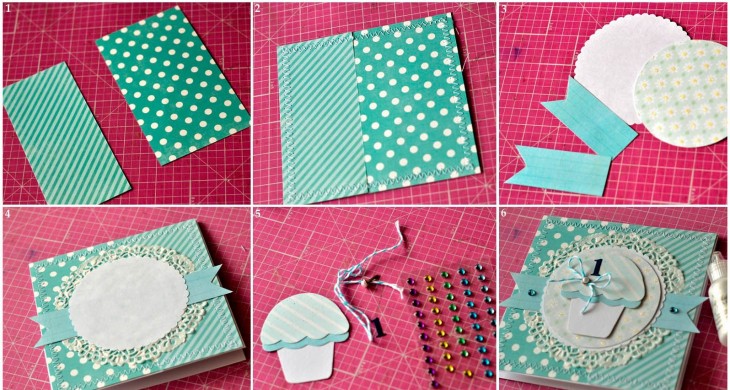
In numerous photos of homemade paper cards, it is clear that the main thing in the product is not only congratulatory speech and jewelry, but also the basis. Either thick scrap paper or a thin sheet of cardboard is suitable for it.
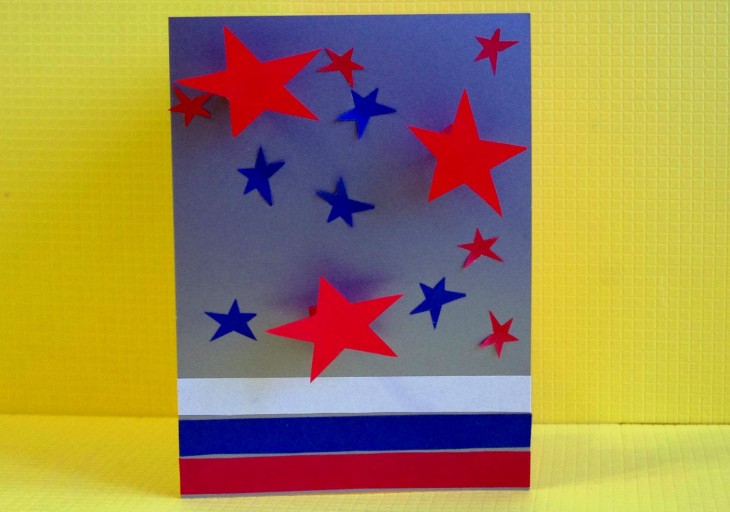
As for color preference, you should choose a neutral light color palette so that all other elements are bright and stand out against its background.
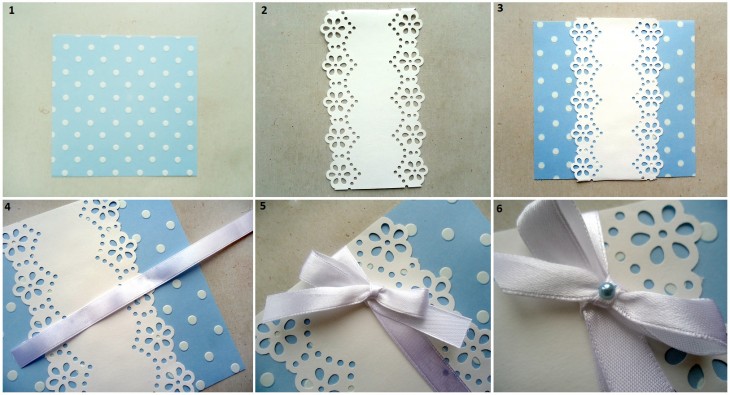
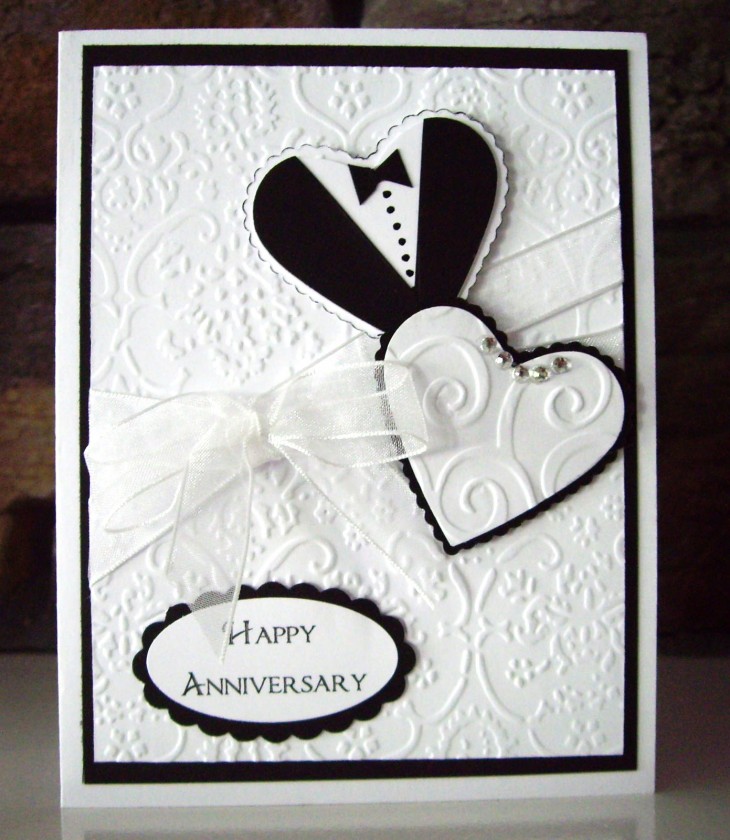
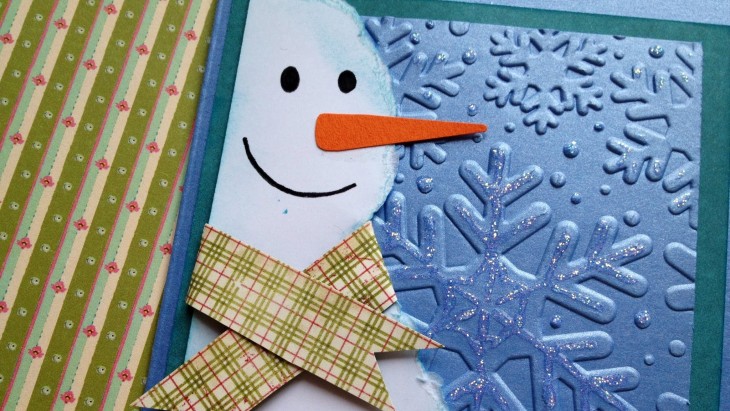
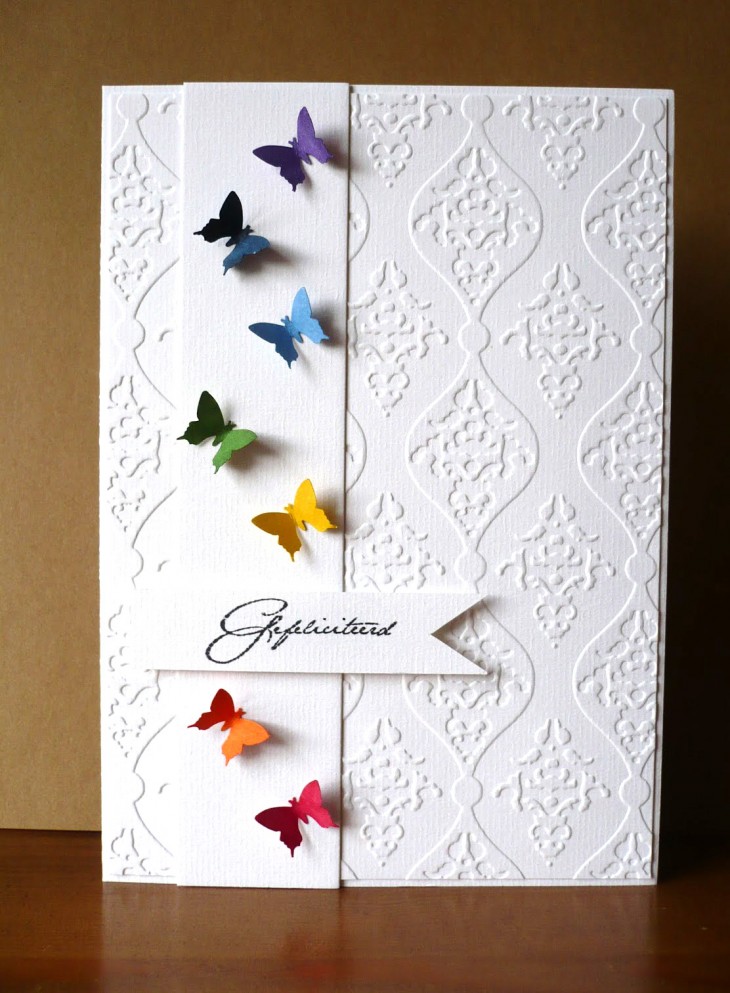
A cardboard sheet with embossing and textured ornament looks very original as a basis.
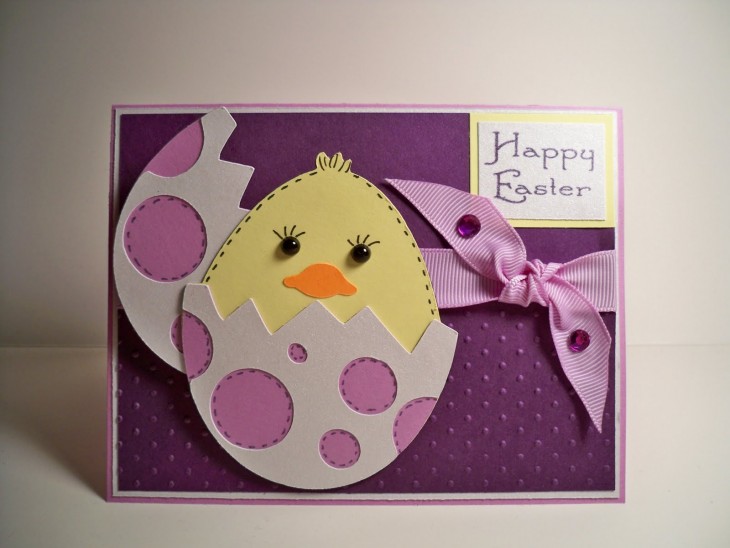
To make a beautiful card more solemn and unusual, it is worth rounding off the rectangular ends, or using curly scissors to give the edges a carved shape.

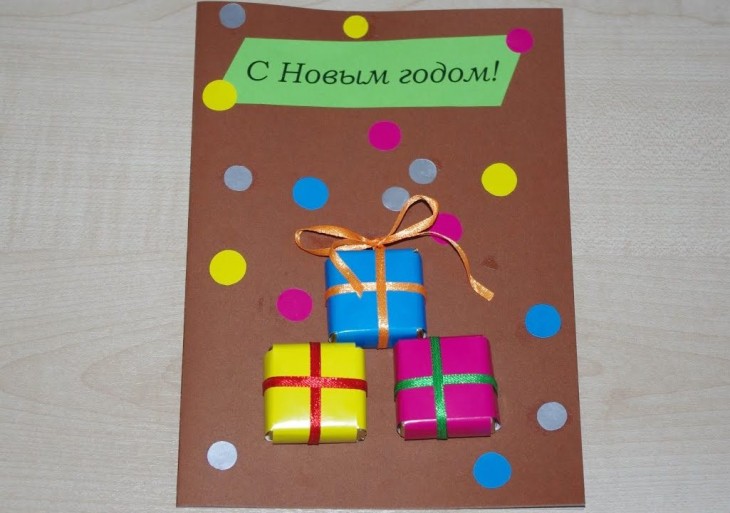
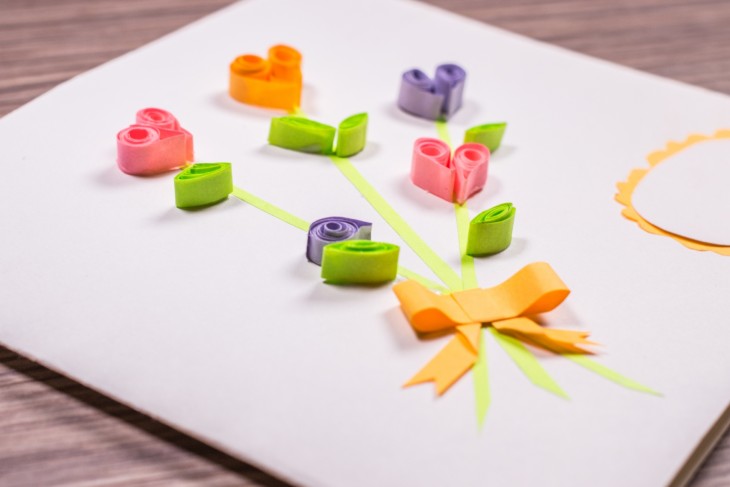
Card with colorful balls
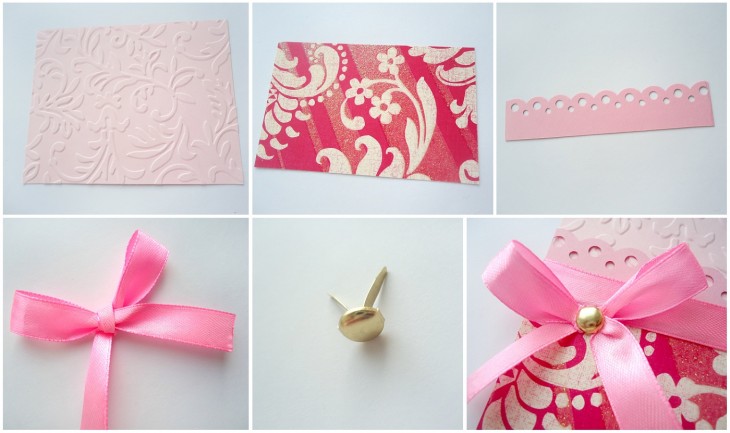
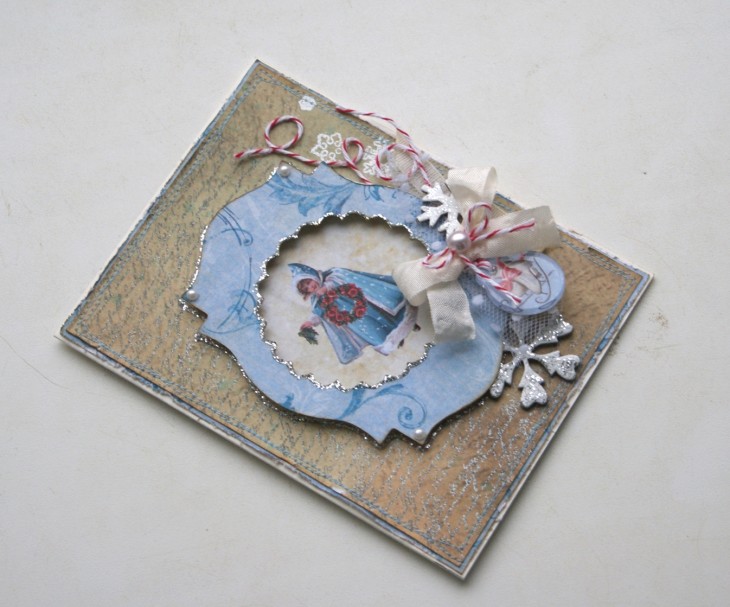
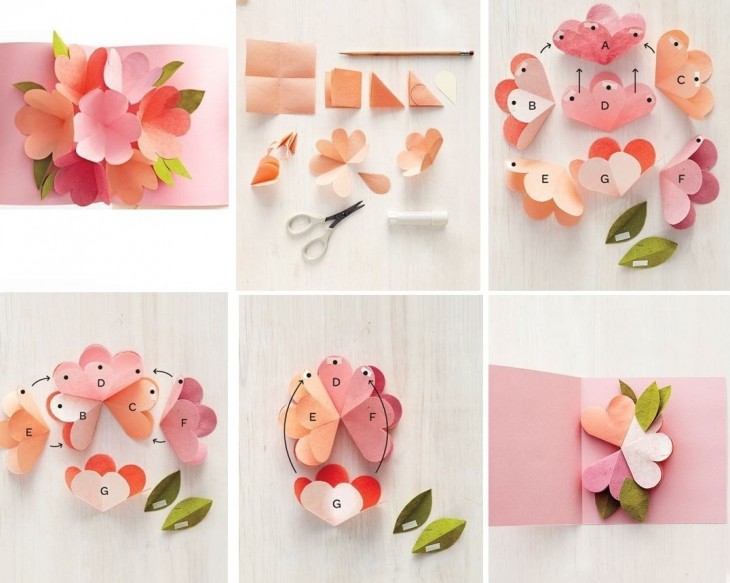
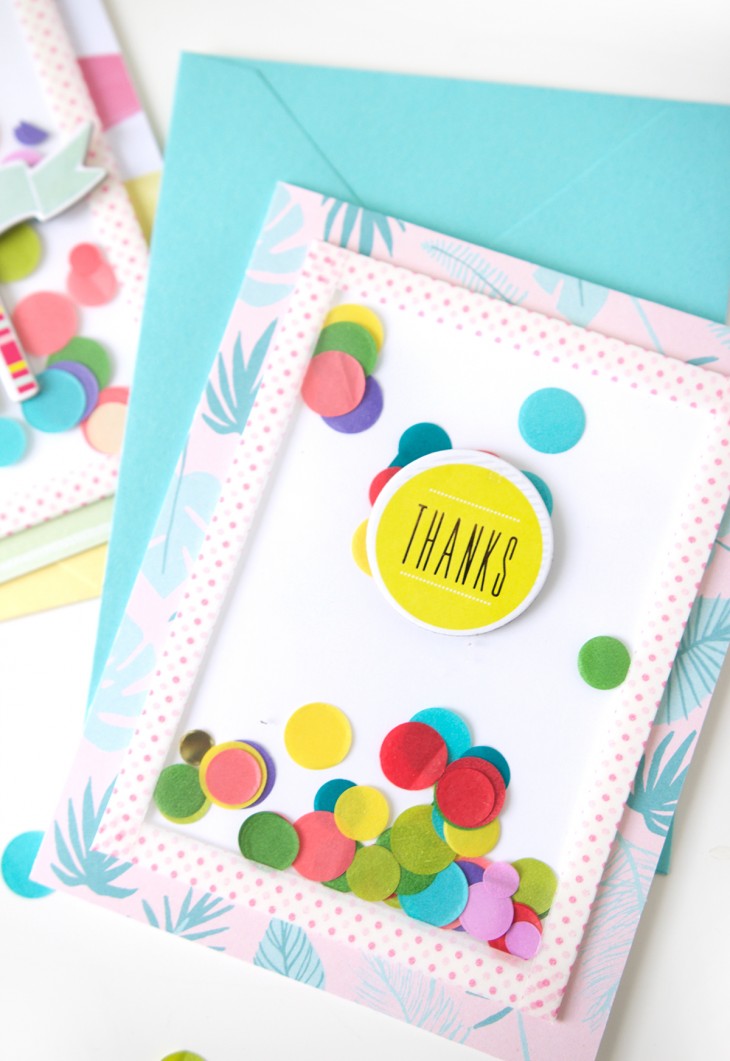
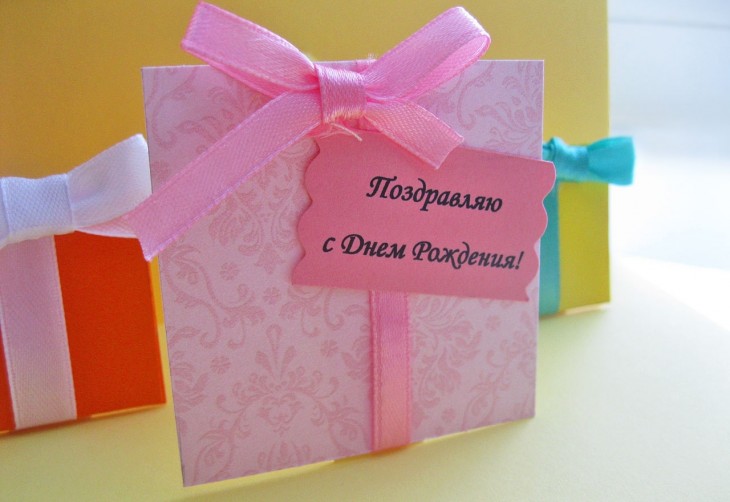
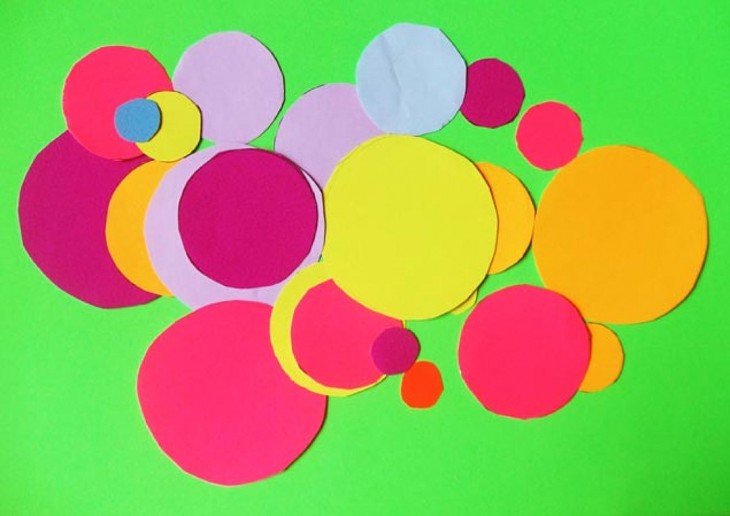
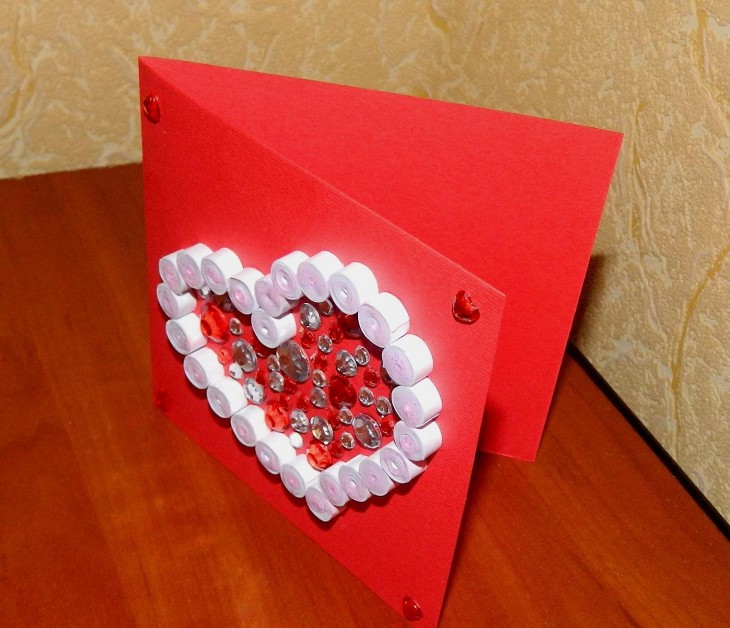
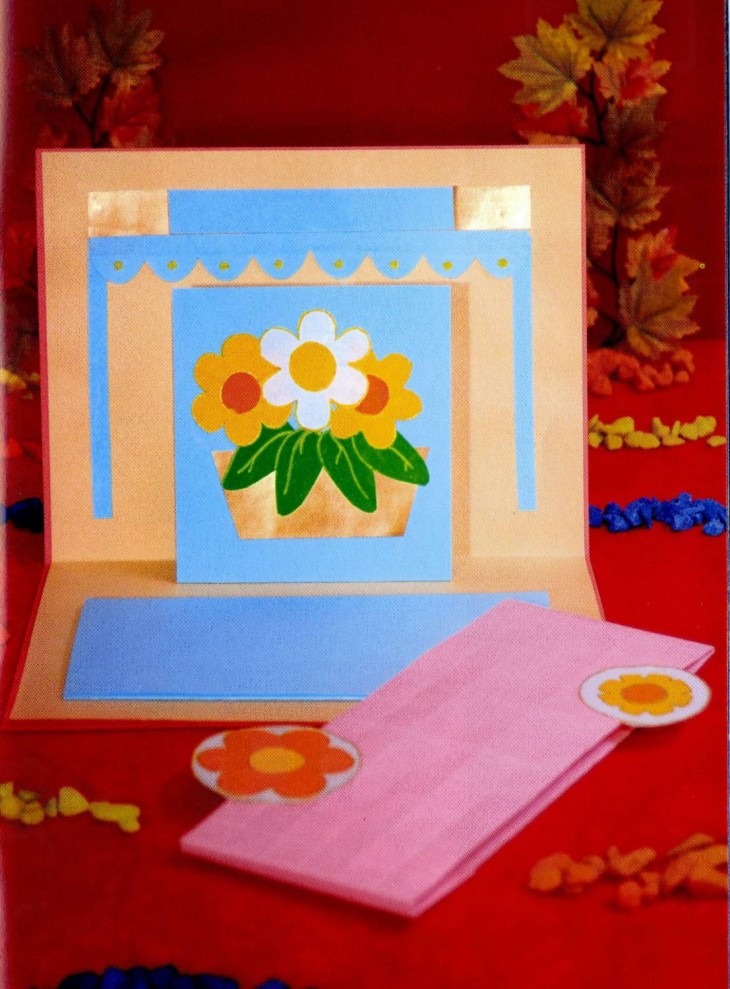
To create a cute and romantic card that can be presented for a celebration for any occasion, you should take a thin beige cardboard and fold it into halves, rounding the corners. To decorate the outside of the product, you need to prepare multi-colored paper balls of different shapes: oval and round.
If the card will be designed for giving the girl, then the color of the balls can be chosen mainly pink, if the boy is blue and blue, neutral shades are suitable for congratulating an adult.
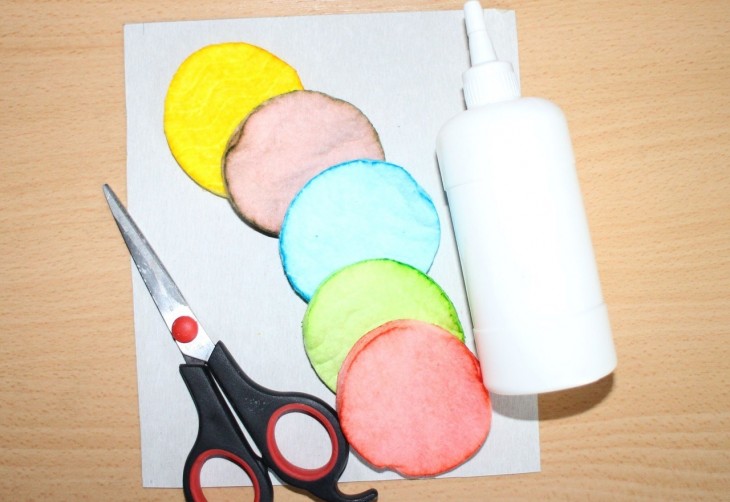
Billet for future balls will need about 15 pieces. They will be placed both on the front side and inside the product.
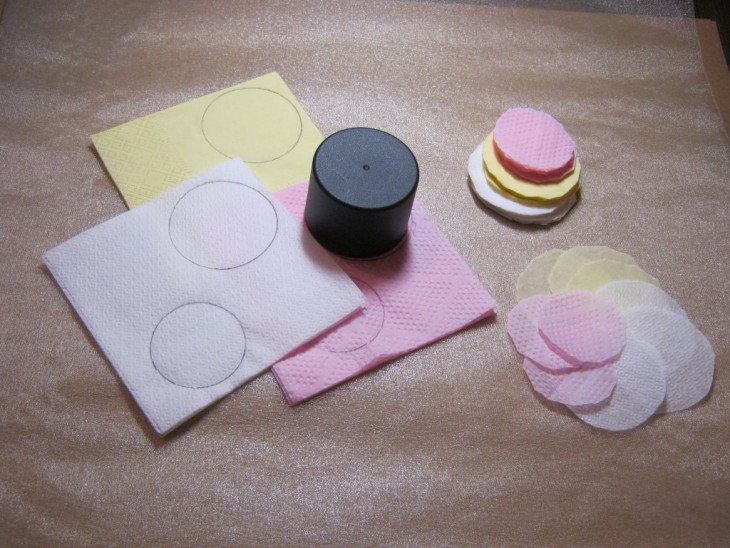
Since the shape and size of the elements are different, it is better to prepare templates from cardboard in advance and cut them out. After the templates are prepared, you can cut the balls by choosing the appropriate scrap sheets.
When the blanks of the balls are cut, a piece of thick thread is glued to each of them on the reverse side. Now you can start decorating the front side of the card. To do this, the balls begin to stick on top, then the subsequent lower layers, until the desired result is obtained.

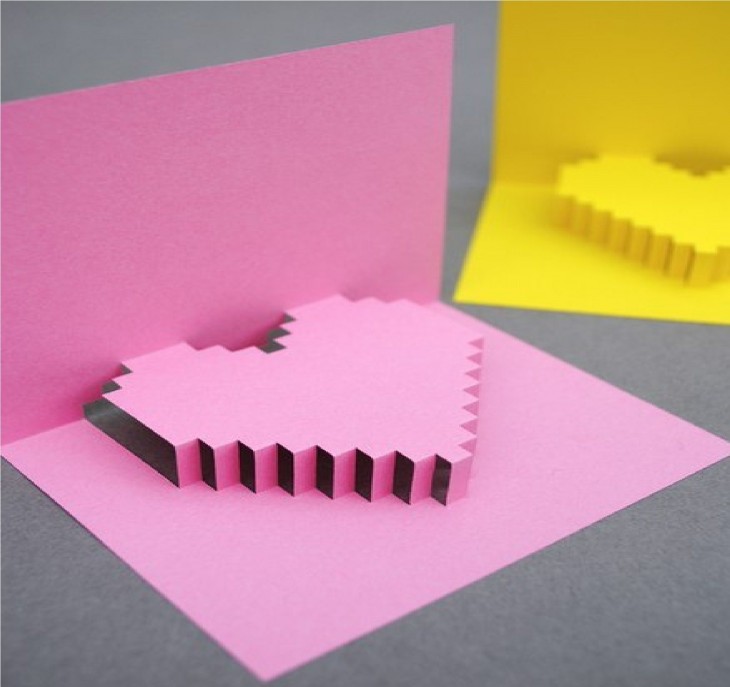
To get voluminous non-standard postcards from paper, you can stick elements on double-sided tape.
We attach a small piece of adhesive tape to the inside of the ball, and then to the front base. The result is a magnificent ornament.
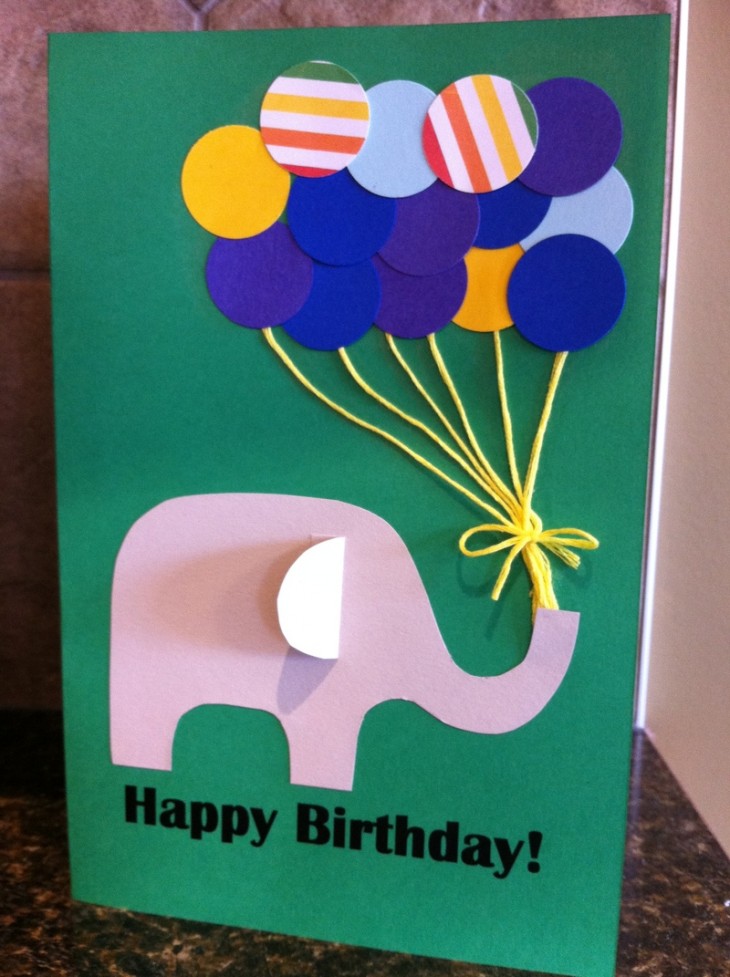
When the balls are glued, you should knit all the threads, tie them with a beautiful ribbon and fix them at the bottom of the balls. Then you need to trim the edges.
Several elements are also glued inside the product, leaving a place for writing congratulatory words.
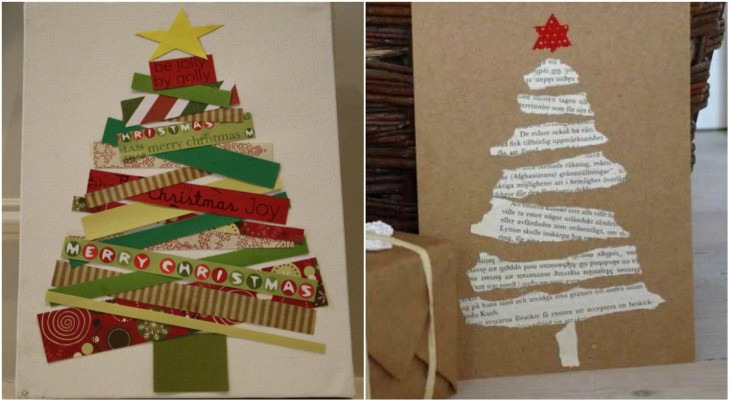
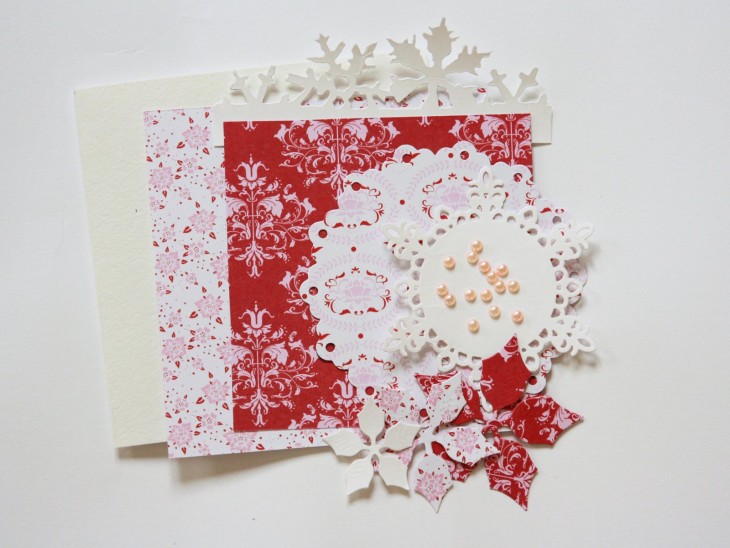
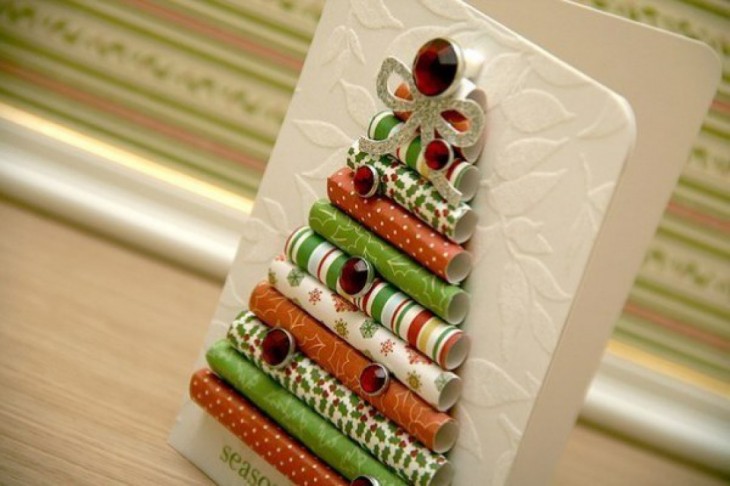
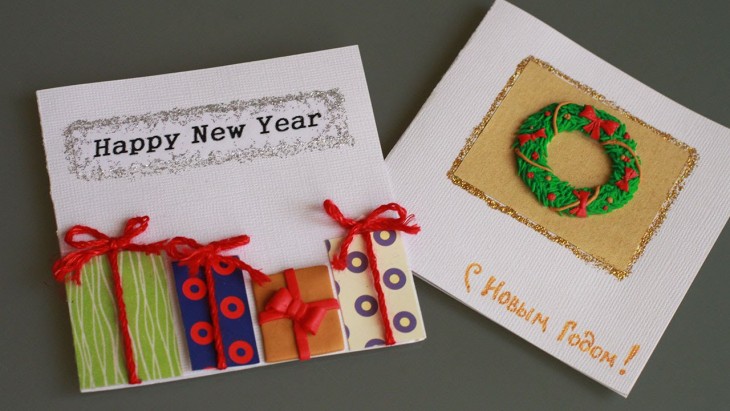
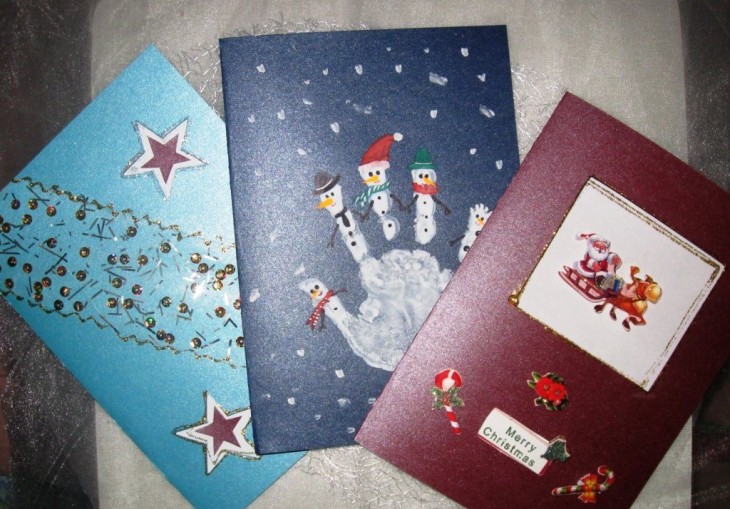
Homemade Christmas cards
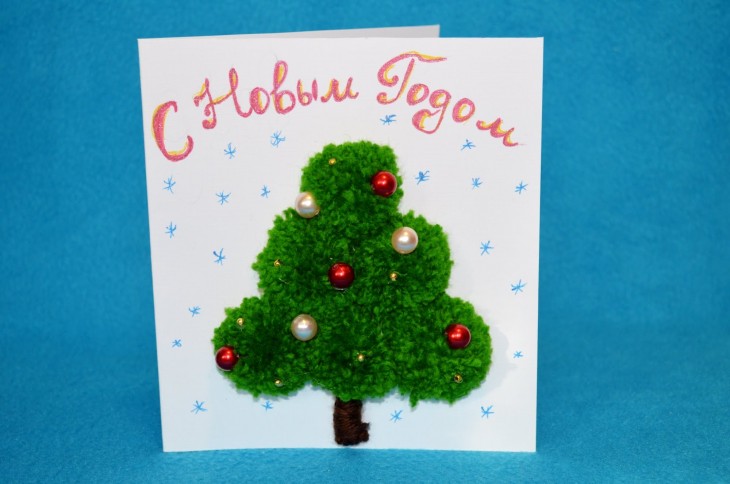
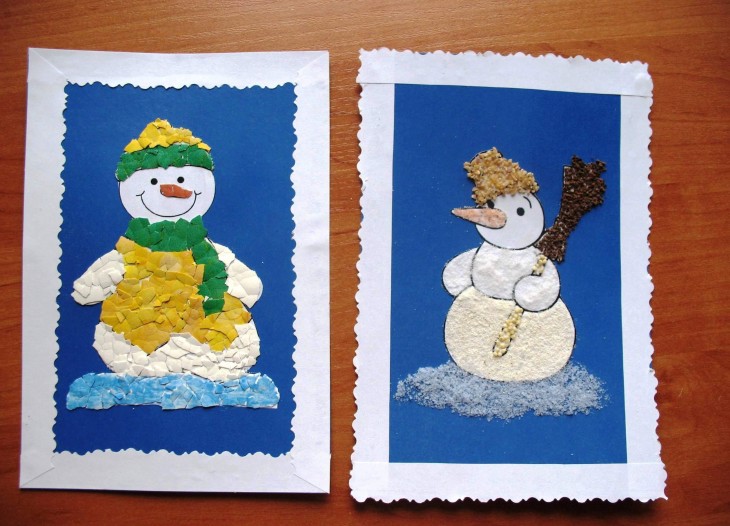
For congratulations on New Year's holidays, as a rule, they choose more themed decorations in the form of Christmas trees, garlands, snowflakes and other paraphernalia. An excellent gift will be a handmade card with a voluminous coniferous beauty in origami technique.
Note!


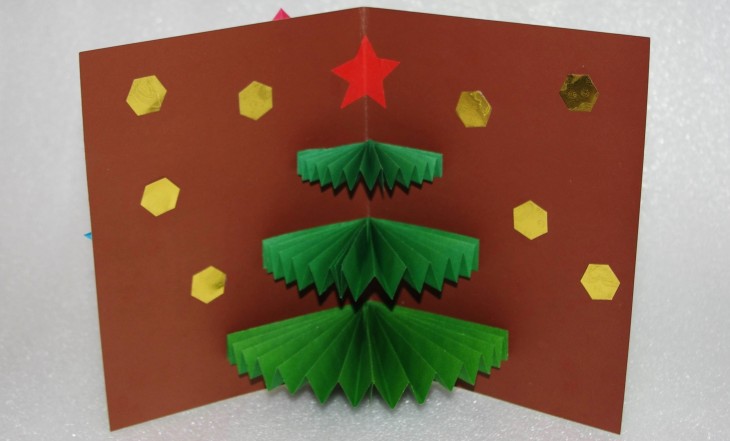
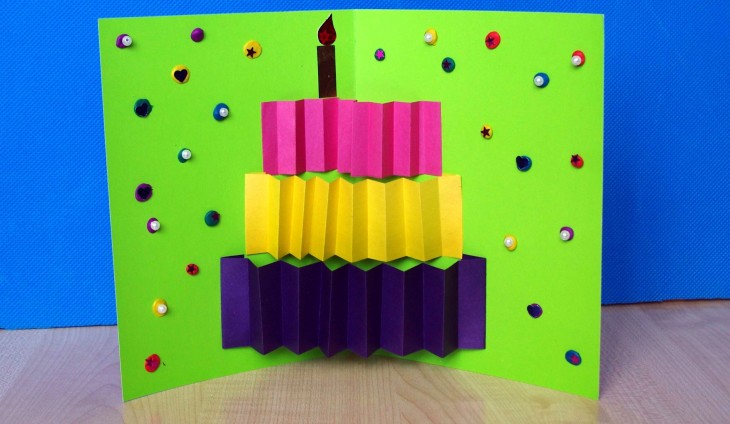
For making origami blanks, it is better to choose thin paper sheets so that it is convenient to crush them. You should also give preference to materials with an interesting pattern, then the tree will turn out to be colorful.
To create a Christmas tree, you need to prepare 5 square blanks from the selected paper. The dimensions of the sides of the squares are as follows: 10; nine; 7.5; 6.5; and 5.5 centimeters respectively. All squares are added in the same way.
First, the square folds diagonally, then returns to its original shape and folds diagonally from the other side. This will produce a workpiece with two diagonal fold lines.
Further along the fold lines, connecting two adjacent corners on both sides, we get a triangle. To give it volume, you need to bend 2 corners from the front and bend them to the center of the triangle.
Now the first origami blank is ready. In total, they should turn out 5. The Christmas tree is assembled from the top of the smallest element.
Note!

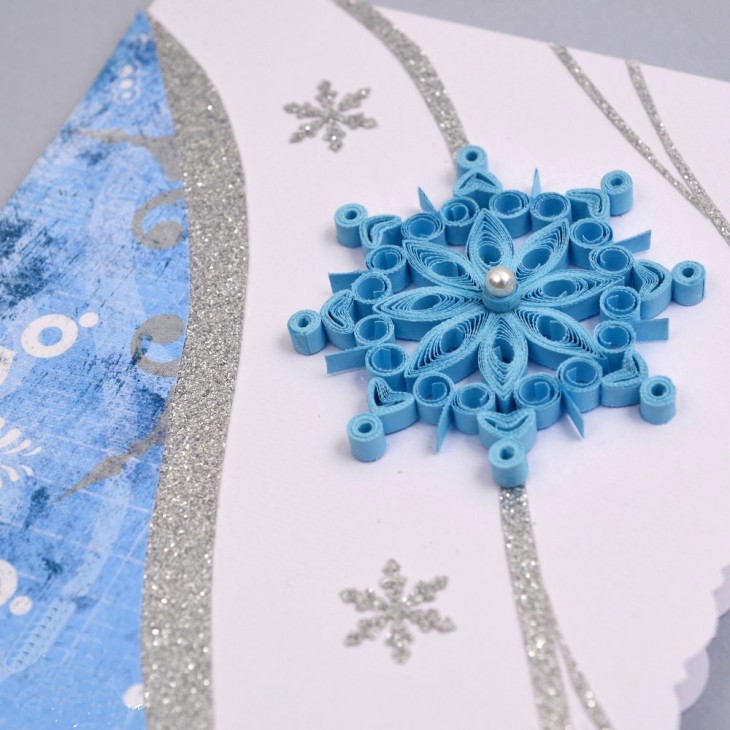
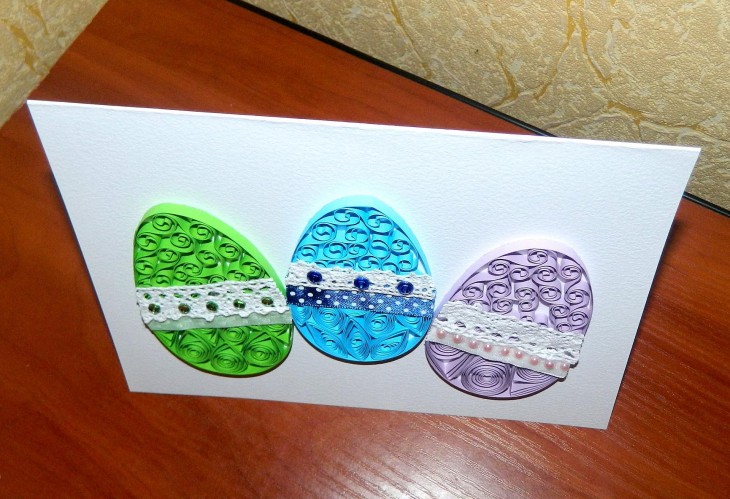
Quilling Cards
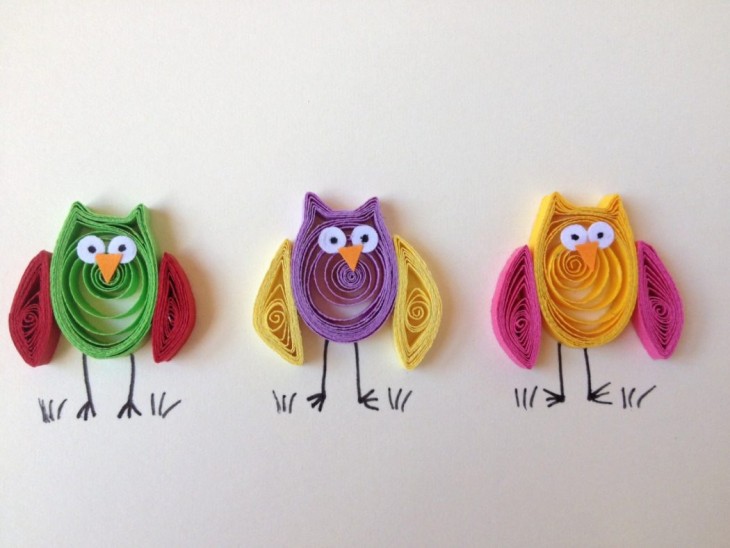
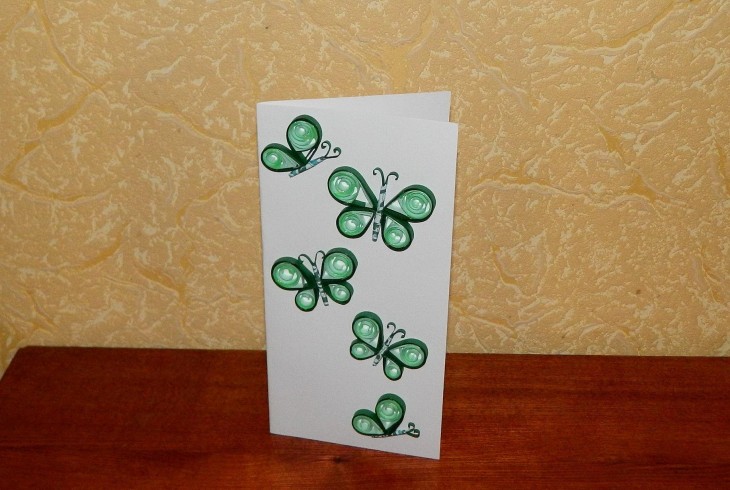
Simple in execution, but very attractive and original, will be a greeting card made in quilling technique.
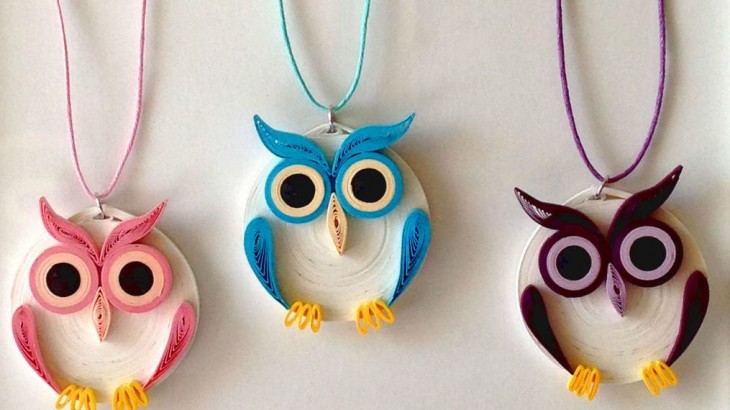
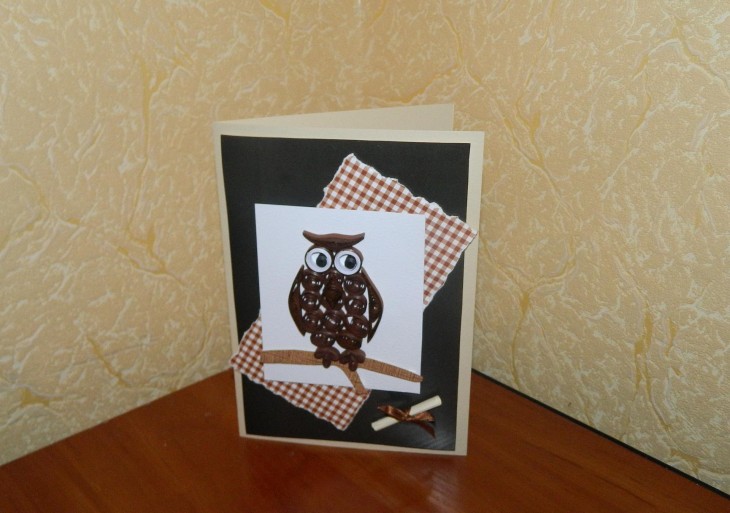
To create an owl, which will be placed on the front side of the product, you need to twist a few tight spirals of paper of your favorite color.
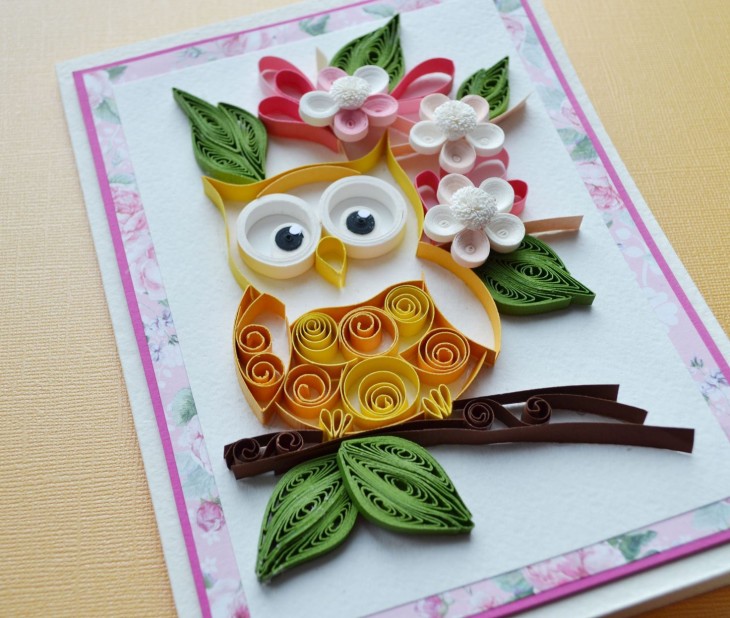
For the owl's body, a spiral is selected, which will consist of three different shades in the form of orange, brown and beige shades. The width of the paper strip for creating the body is 5 mm. Each next strip should be glued to the previous one, and the tip is glued to the spiral itself.
For the eyes and wings of an owl, you need to take thinner paper strips. Each wing of a bird consists of three twisted spirals that stick together. Paws are also represented by three spirals.
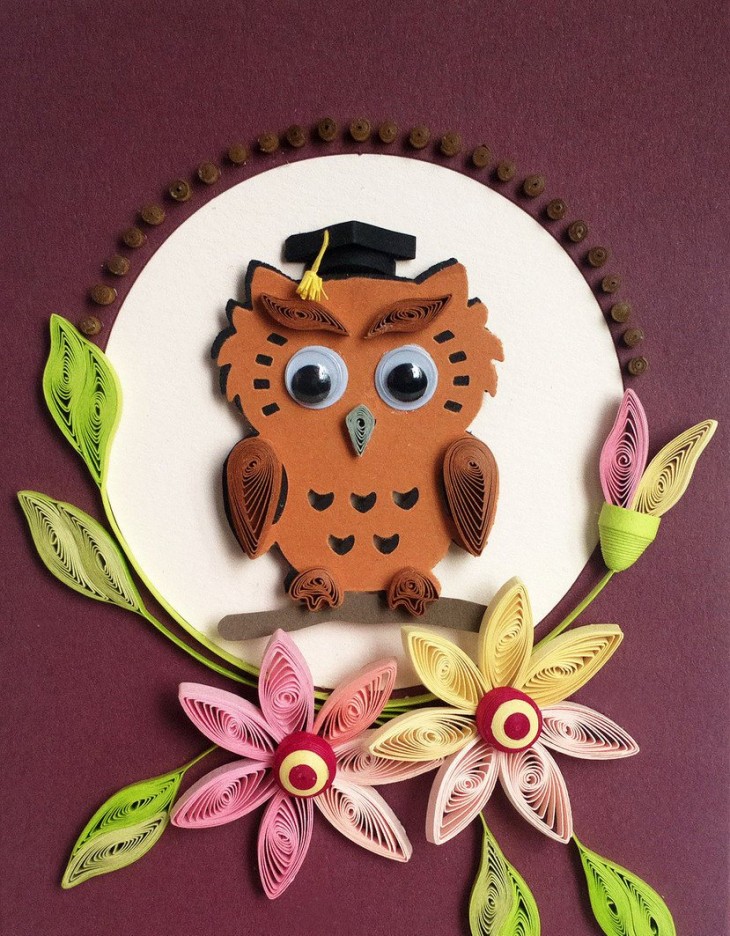
When all the elements are twisted, they can be glued at the base, decorating the composition with leaves and tree branches, which are also cut out of paper.
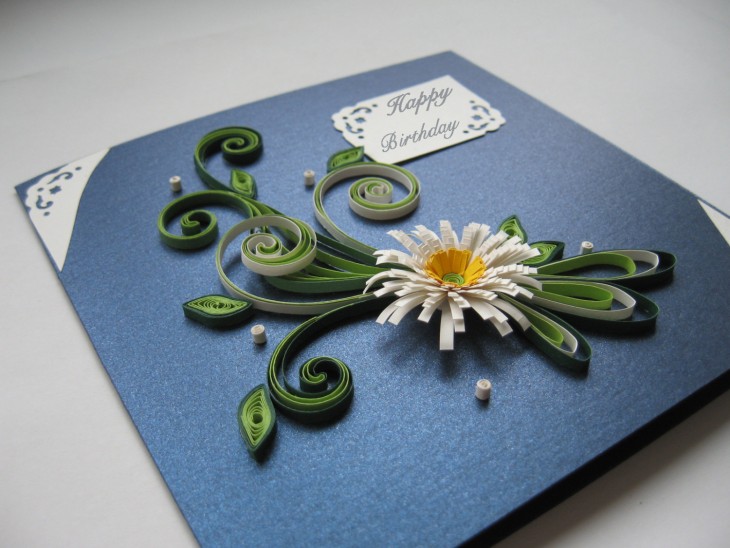
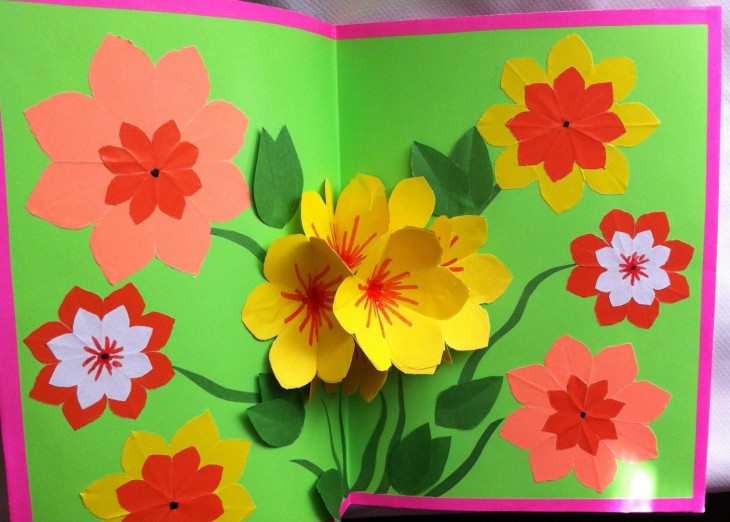
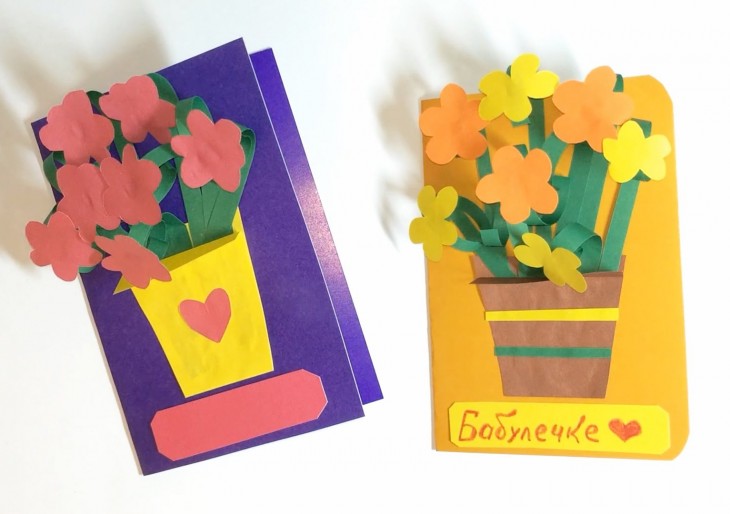
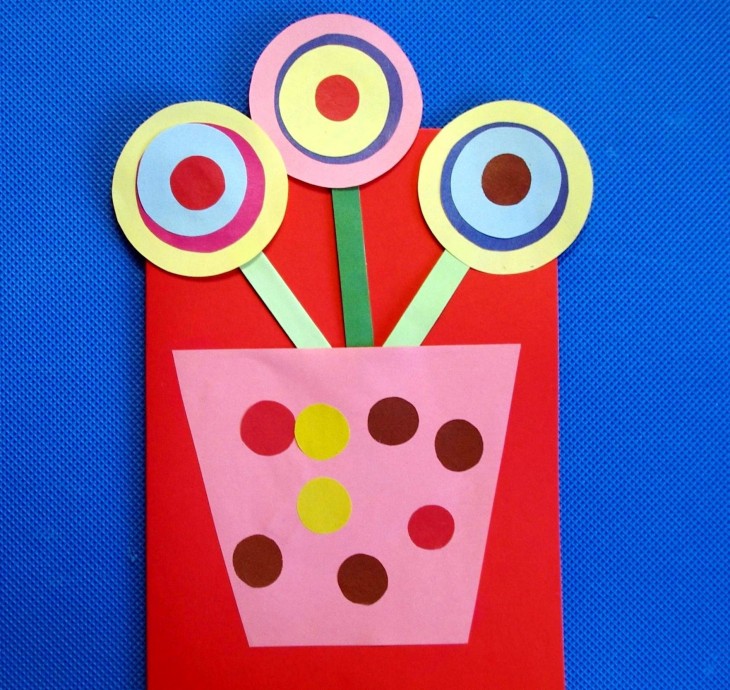
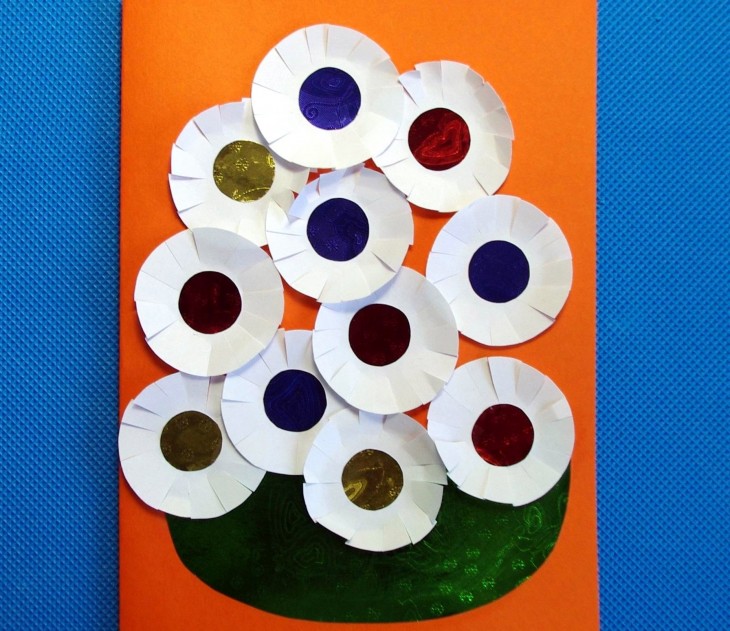
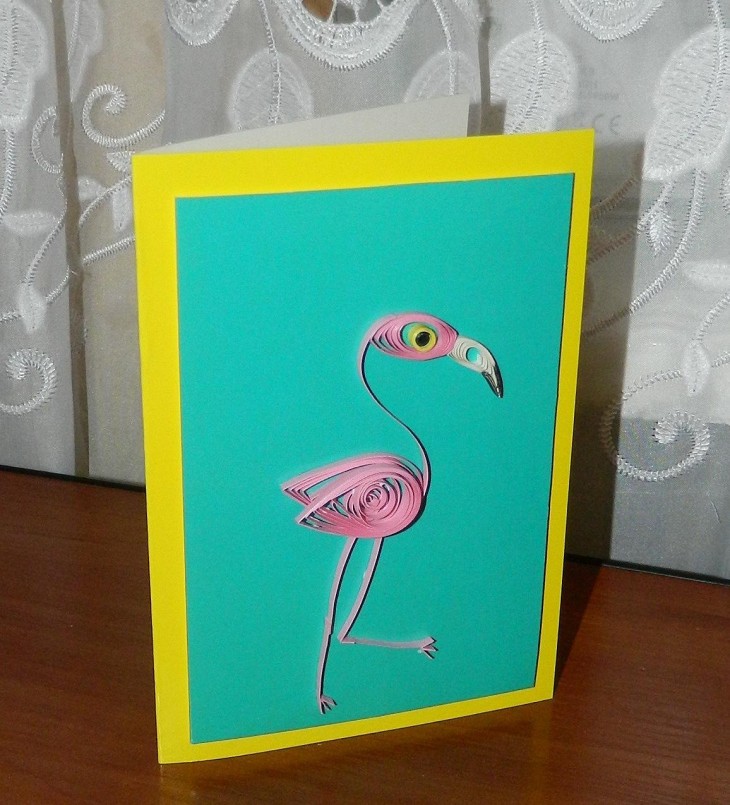
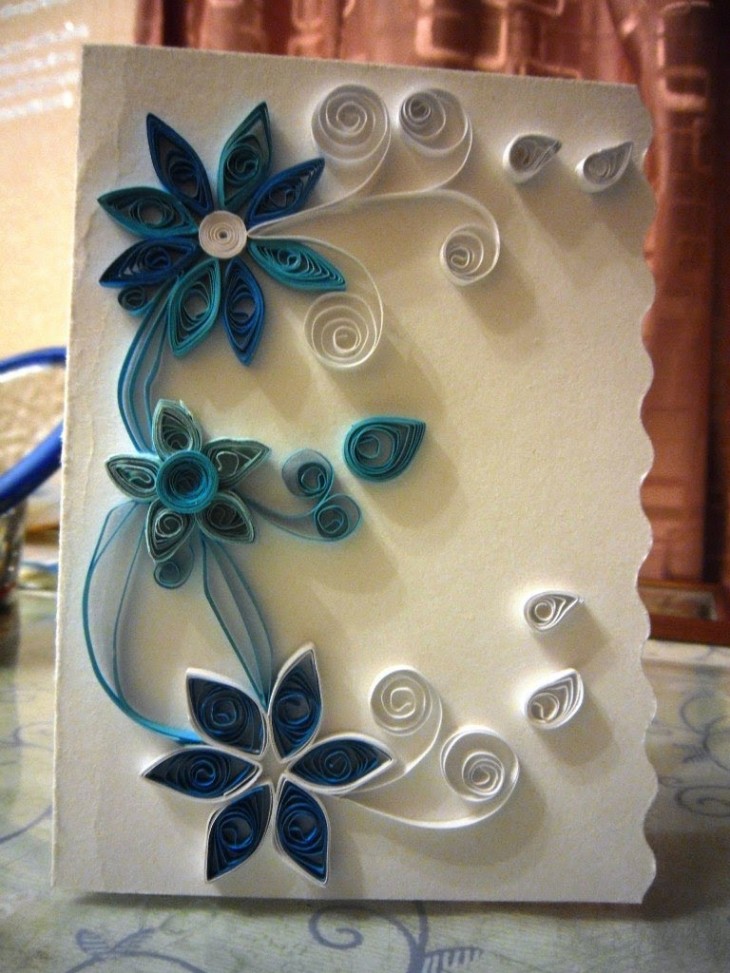
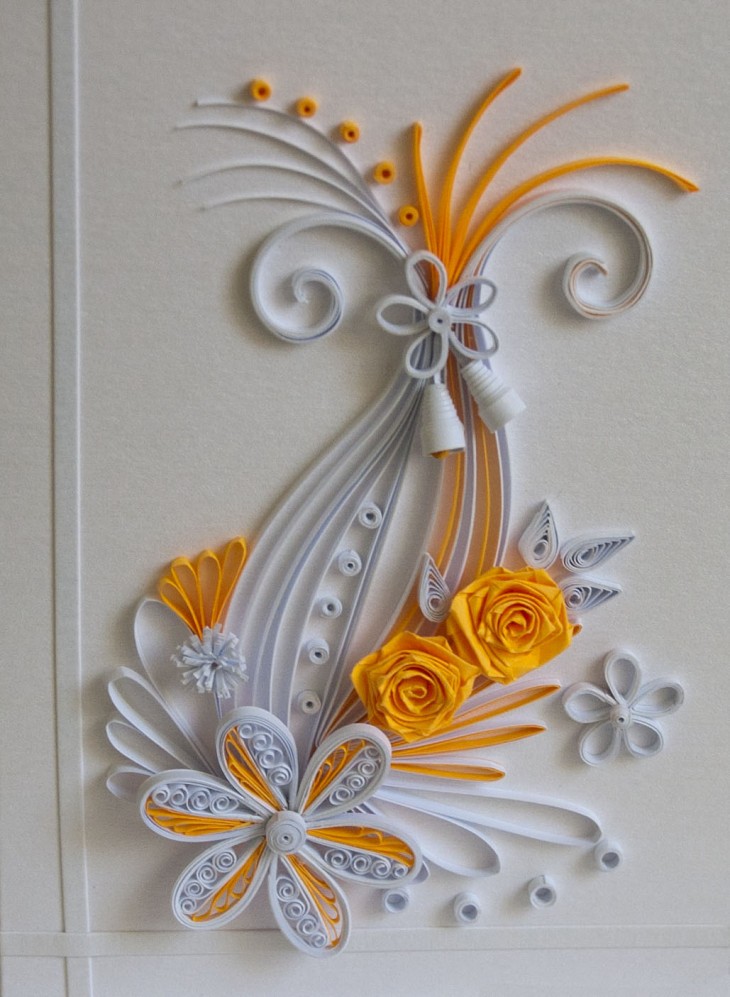
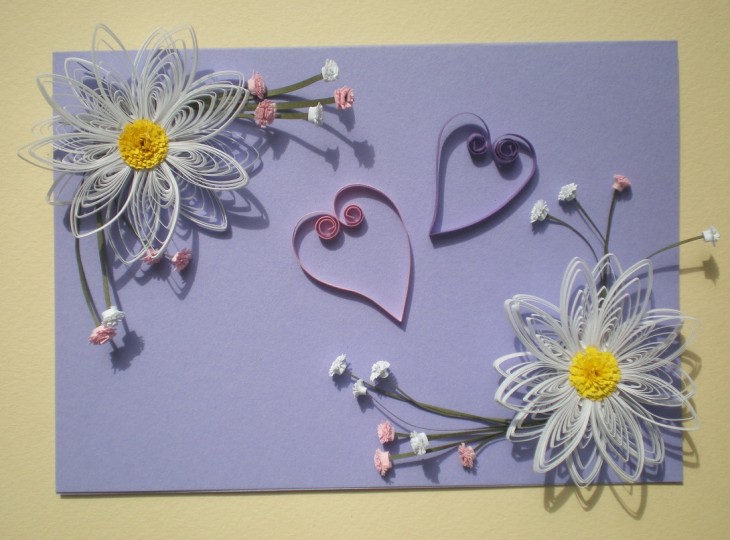
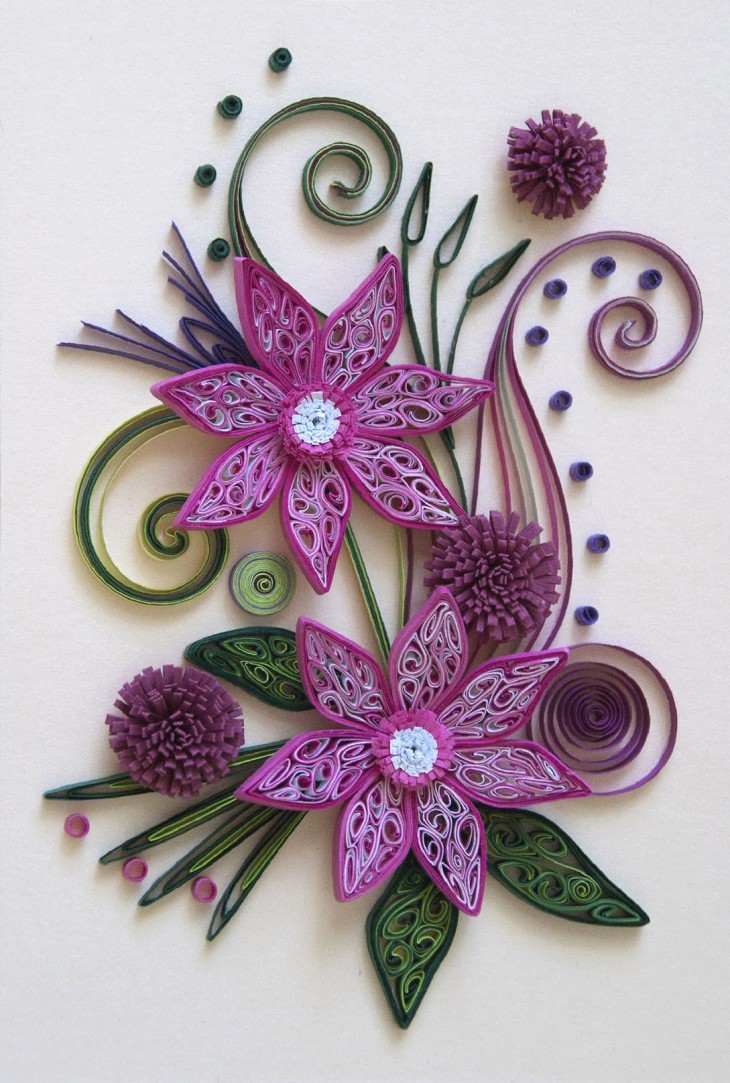
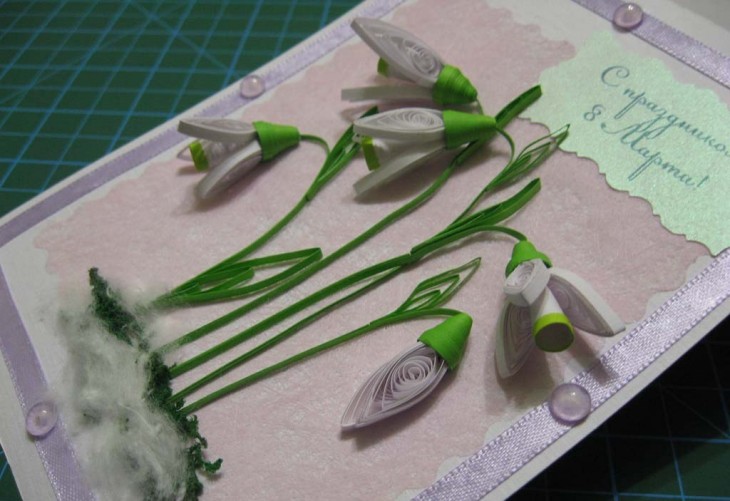
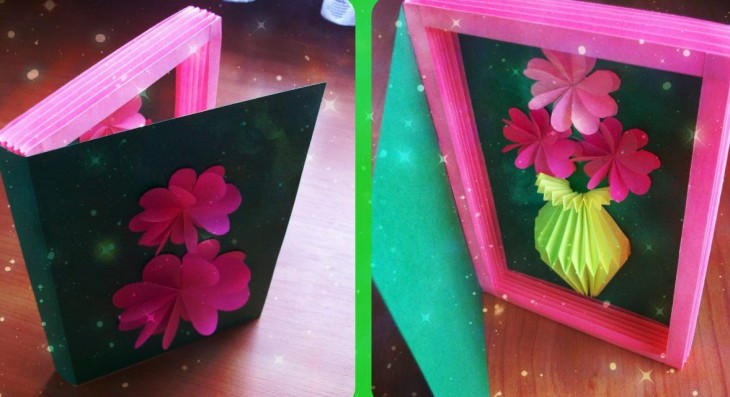
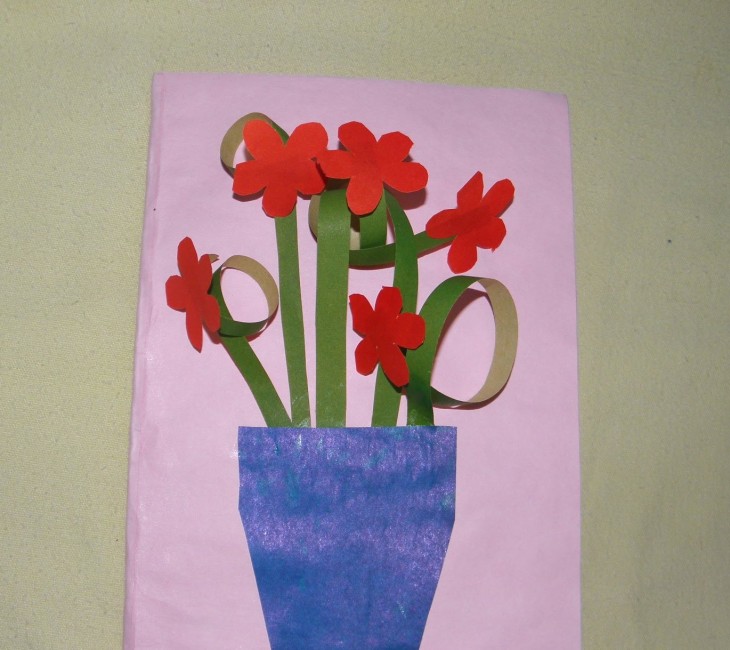
A card with flowers made using quilling technique looks very beautiful.
Note!
DIY postcards from paper


Do-it-yourself smoke generator (95 photos): a step-by-step diagram of the creation of the device
DIY pump: 83 photos of ideas for creating a variety of pumps
DIY lathe - 89 photos of the construction of a full-fledged device
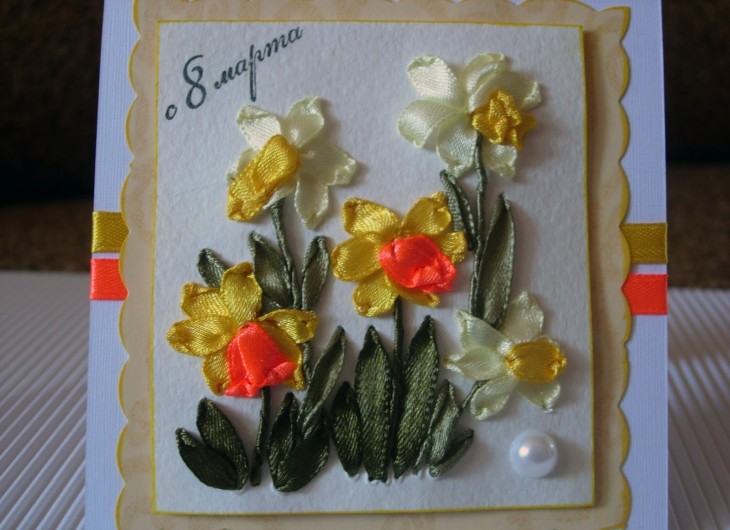
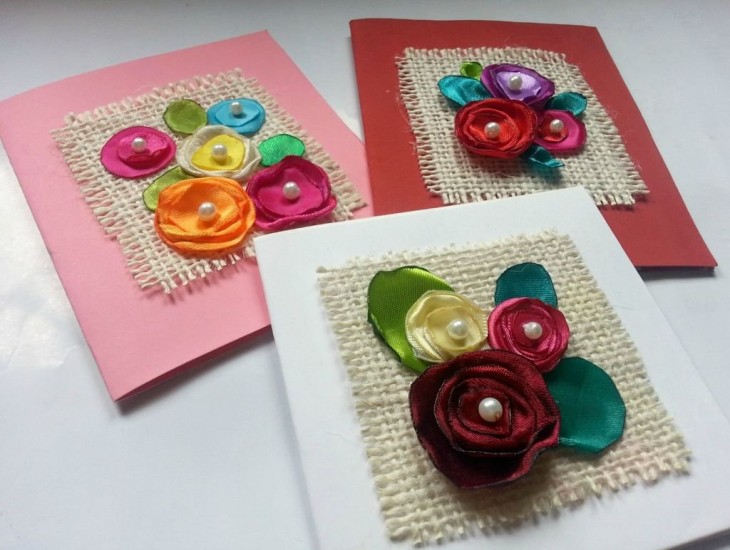
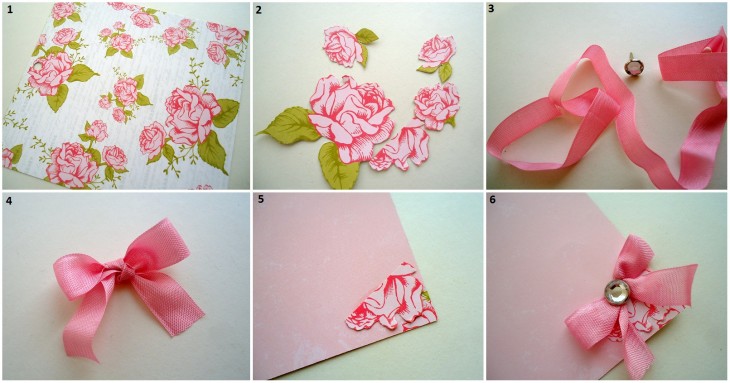
DIY satin flowers (64 photos): instructions, diagrams, color matching, creating compositions