Origami - paper figures that relate to Japanese art and exist in it for more than one century. Monks in ancient times used paper figures for decoration of temples and its halls, as well as for their use for religious purposes (performing rituals).
Each inexperienced master is able to make origami out of paper with his own hands, but the main criterion is the availability of perseverance and accuracy of movements. Today you will understand that you do not need to be an ace to beautifully make these products.
Review Content:
Origami Tools
The main attention should be paid to the choice of paper for crafts. For origami, office, hard paper of different colors is suitable. It is suitable for any circuit, both simple and complex.
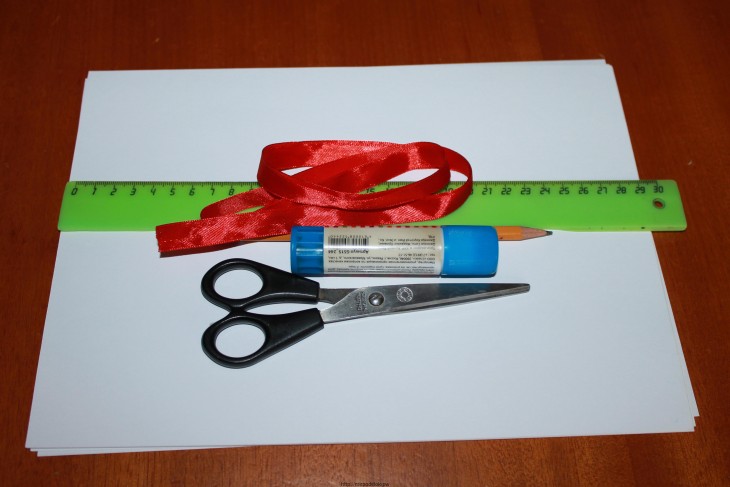
To fix the paper you need to purchase glue stick or PVA glue. Other types of glue will also work, the best option would be those that do not leave marks, and if they did, they are easily removed.
Buy paint in cans to give the desired shade to products with gray or plain white paper.
To align the edges of the origami, a cutter is suitable, just do not forget about the neat behavior with it.
Also, to create toys you need rulers, pencils for drawing schemes. To give creativity and unusualness to your origami, you can decorate it with beads, glass beads, rhinestones, ribbons.
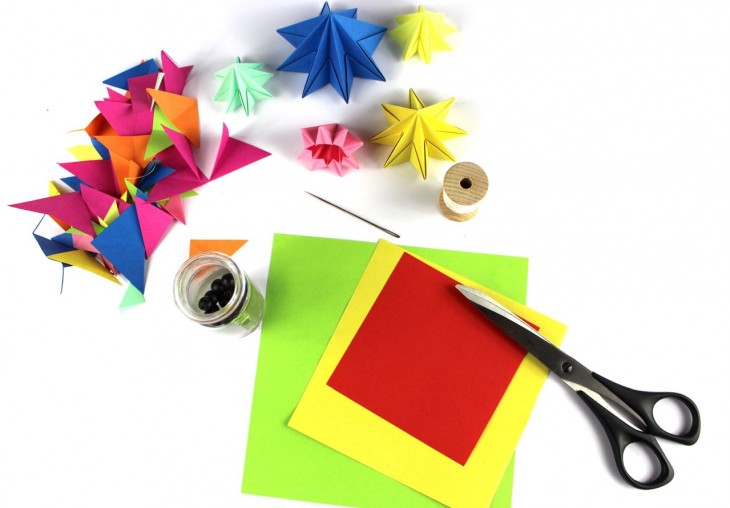
Varieties of paper figures
Apart from the classic look, there are still many different alternative species:
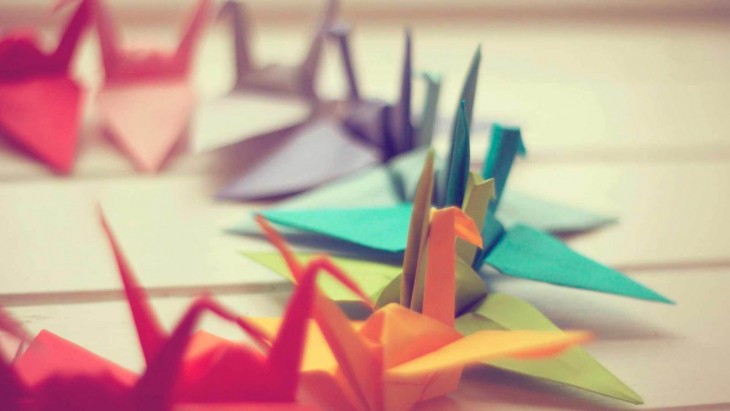
- A classic simple origami - it is worth starting with those who first decided to do paper figures. An example of this style is the figure of a crane.
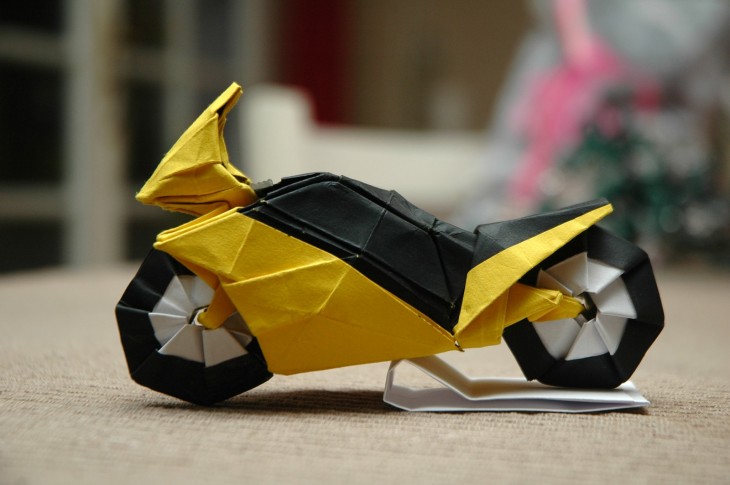
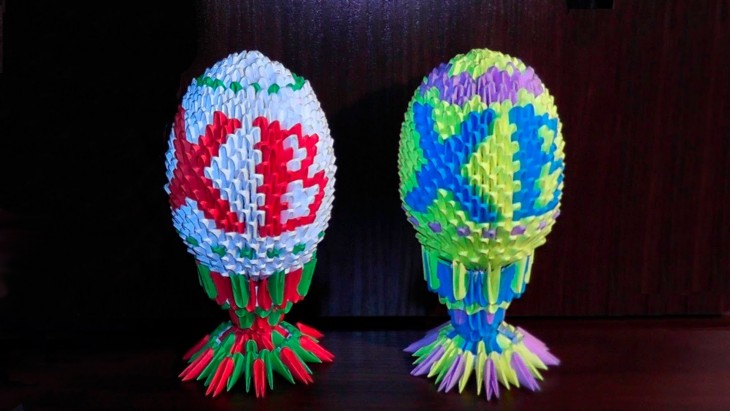
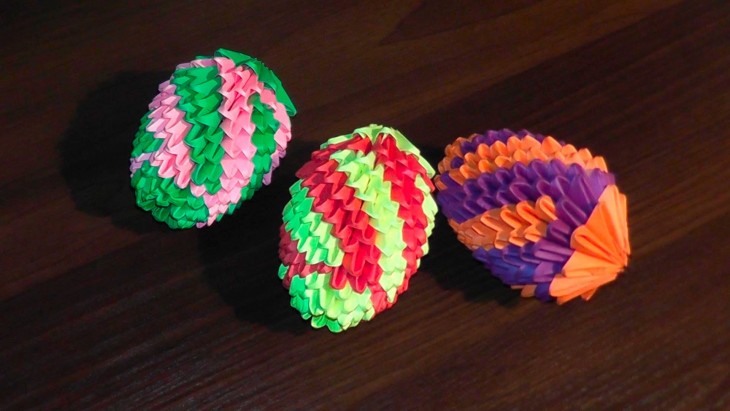
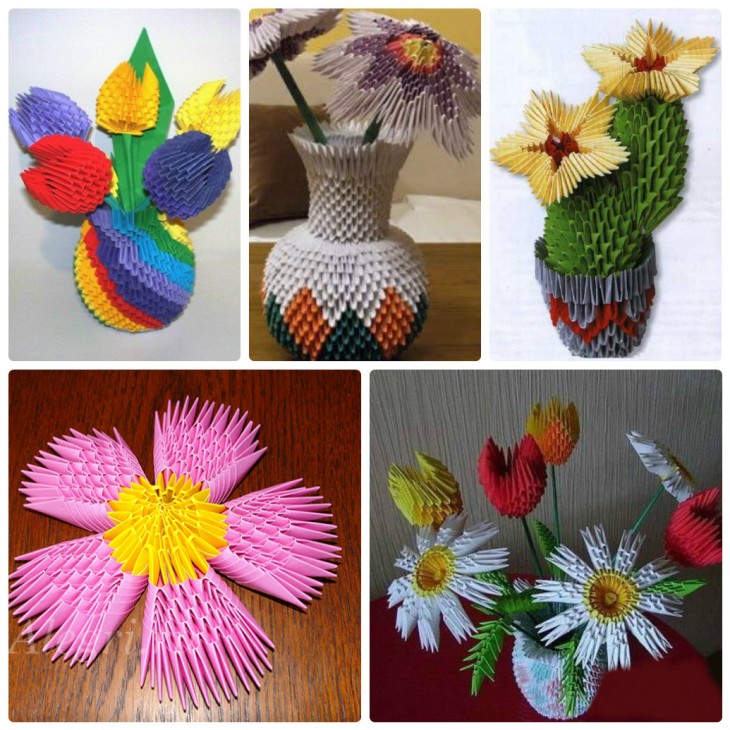
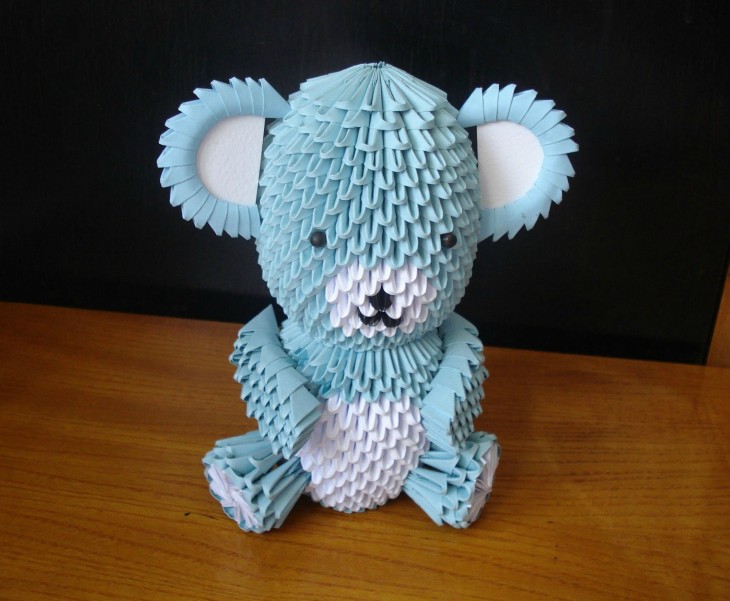
- Origami from modules is more difficult than the first view. Several parts (modules) must be connected by simple folding. The product lasts long enough.
- Aerogami - figures of paper planes.
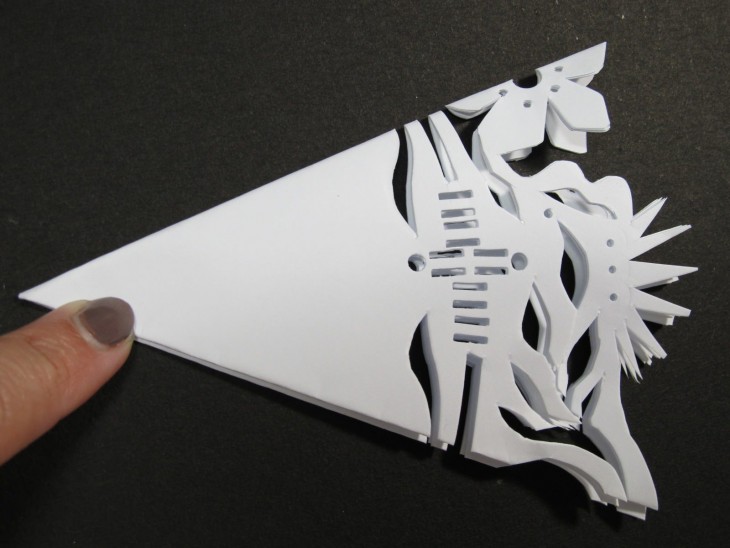
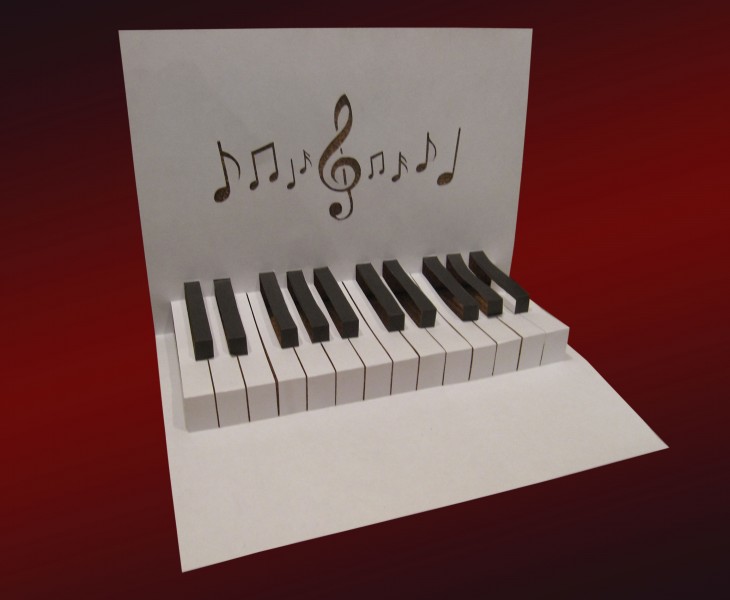
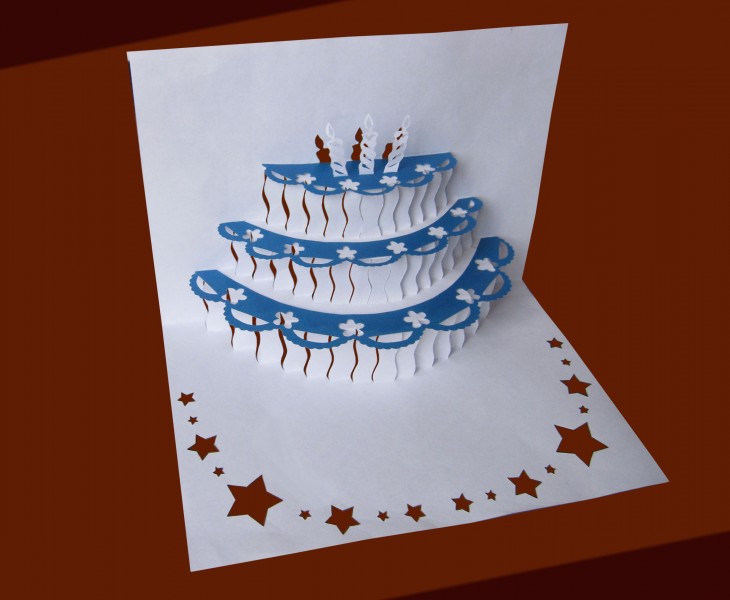
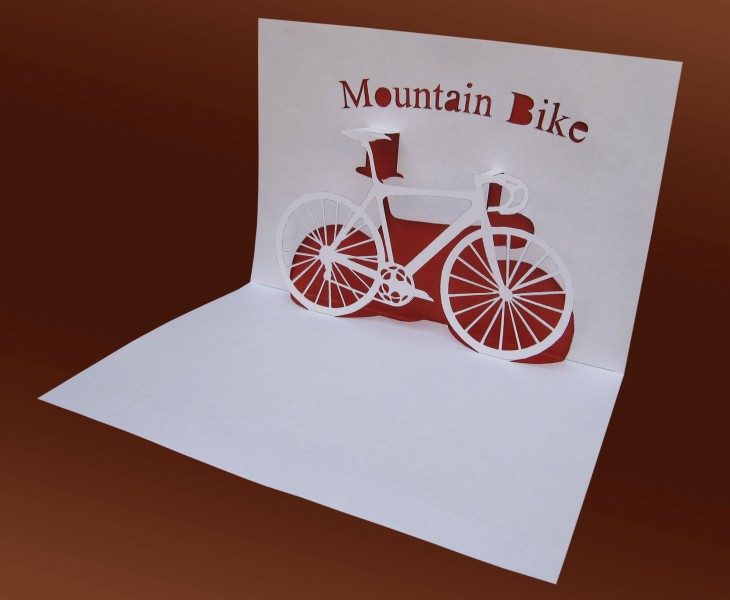
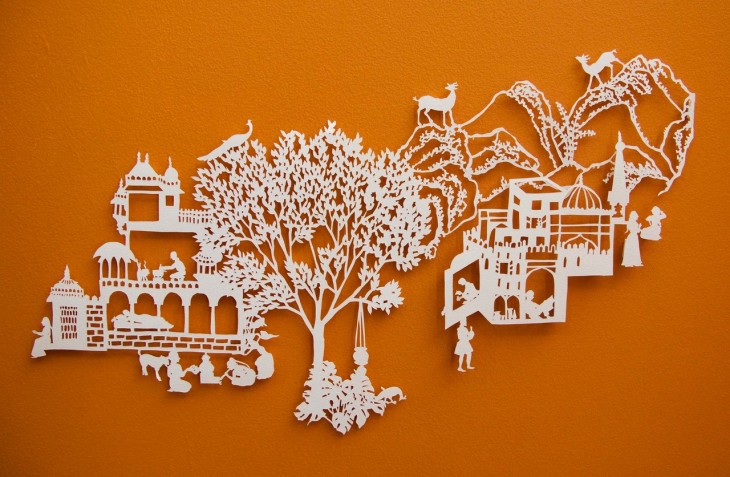
- Kirigami - creating figures using scissors. For example, postcards.
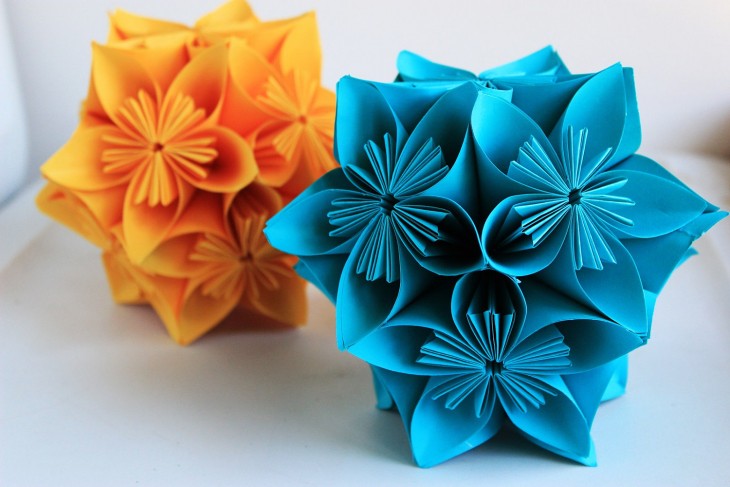
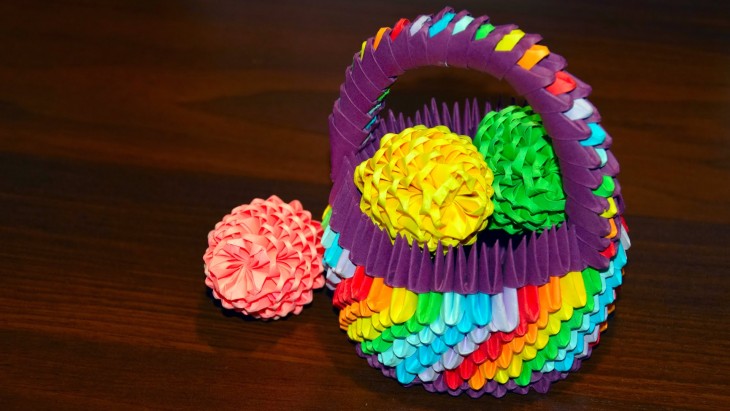
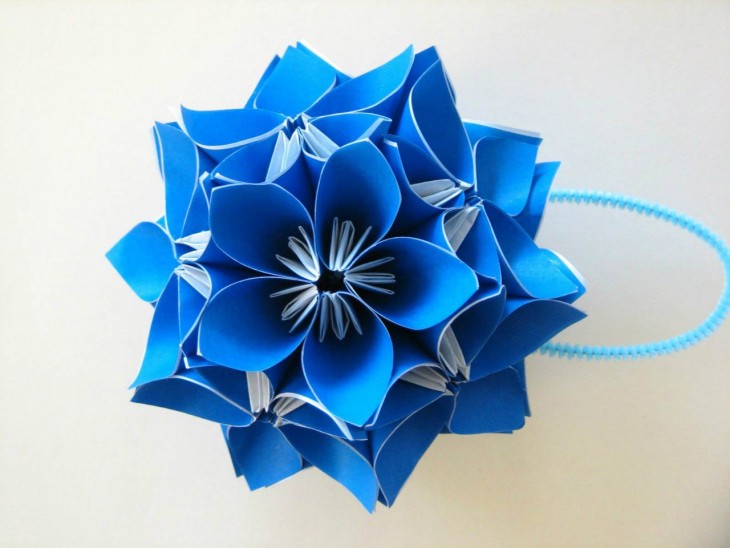
- Kusudami - voluminous origami, parts of the product are interconnected using threads and glue. The shape of the figure often resembles a large ball. This species was often used to decorate the entrance to the temple.

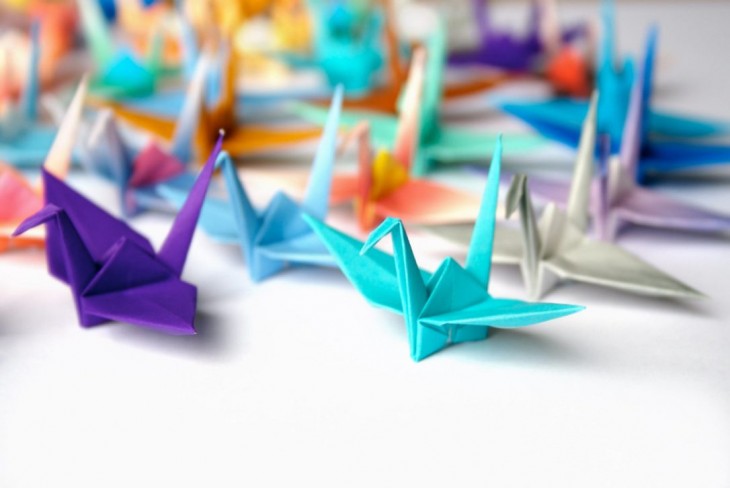
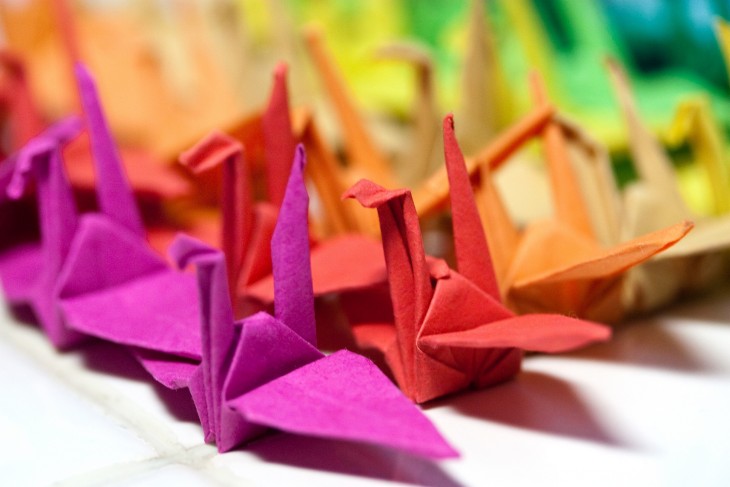
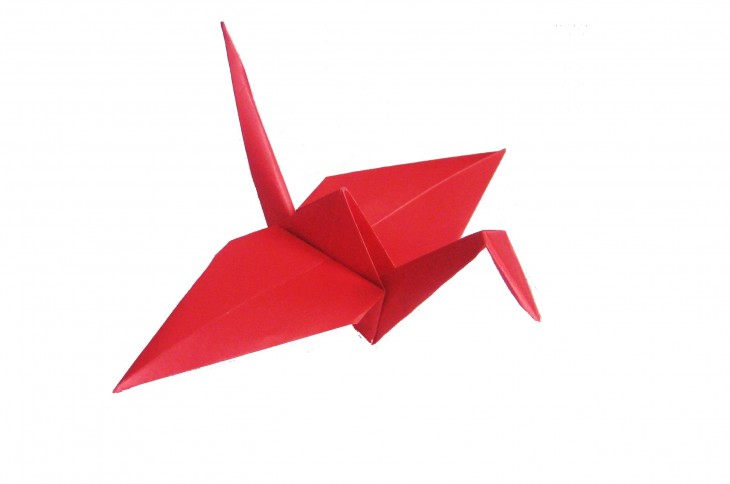
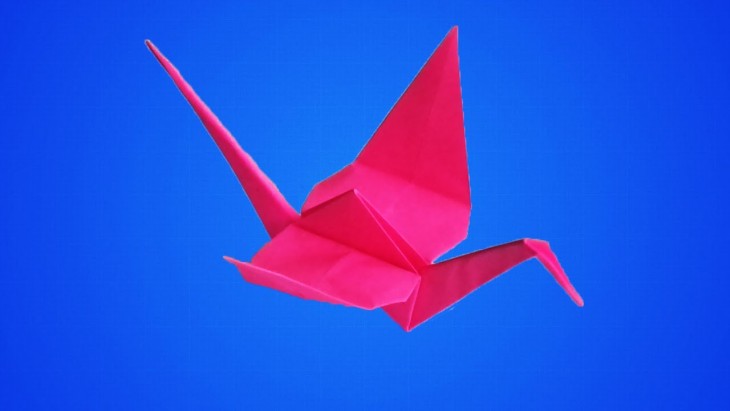
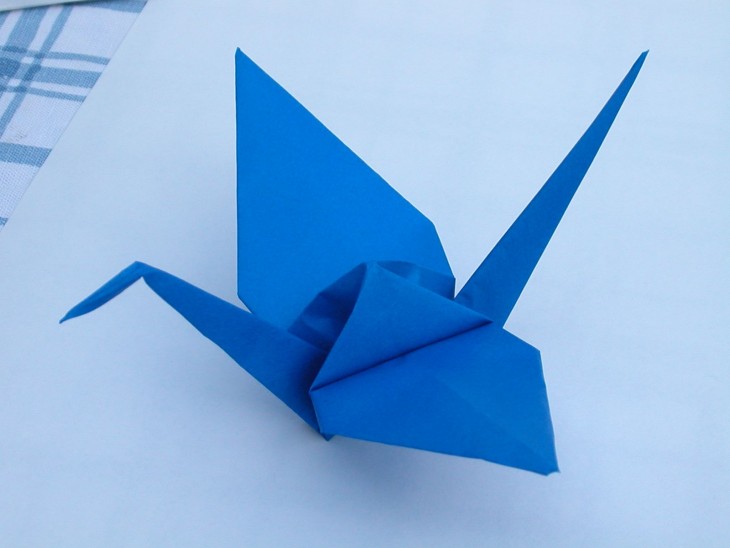
Paper cranes
It is a classic kind of origami. The legend goes among the people that if you make a thousand cranes, then what your heart wants will come true.
We will examine in detail how to make this wonderful figure.
- By bending the sheet diagonally, we cut off the unnecessary paper so that a sheet resembling a triangle remains.
- Bend again. There must be 2 triangles. From the resulting triangle, straightening make a square. We are doing the same procedure and, on the other hand.
- We hold so that the edges are on top, and bend them strictly to the center.
- The upper triangle is also bent. And immediately we straighten the fold, we get a contour.
- The one below the rest is bent horizontally.
- We make a rhombus (we smooth the edges to the center of the side). We are doing the same maneuvers on the other side.
- To form the neck, we take the lower part and begin to bend where the inner contour is. In the same way we make a crane tail.
- Where the neck is, the beginning is bent, so we get a beak.
- Fold his wings, using the bend at a small angle.
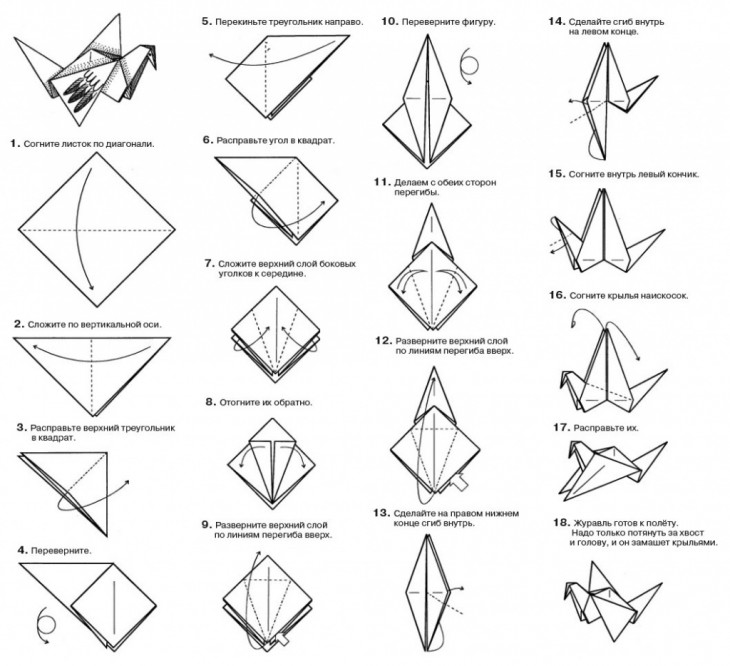
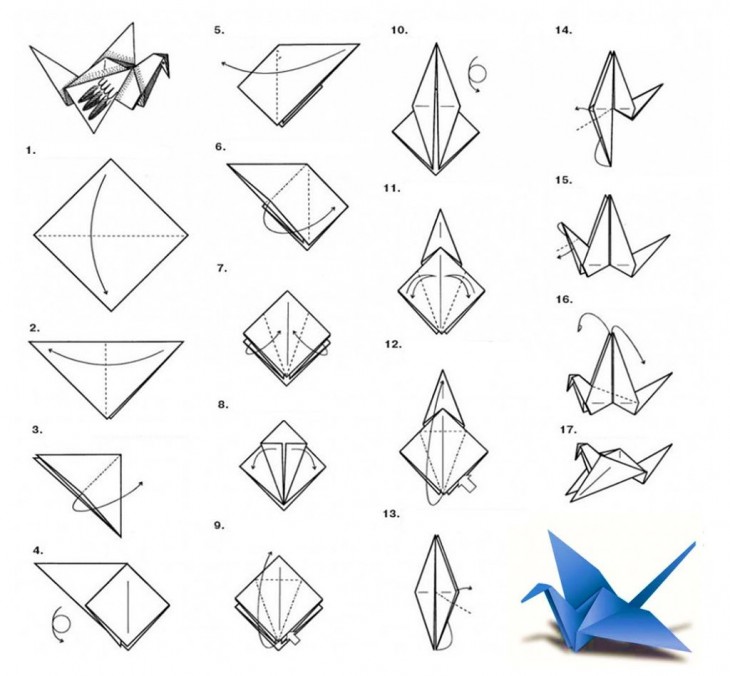
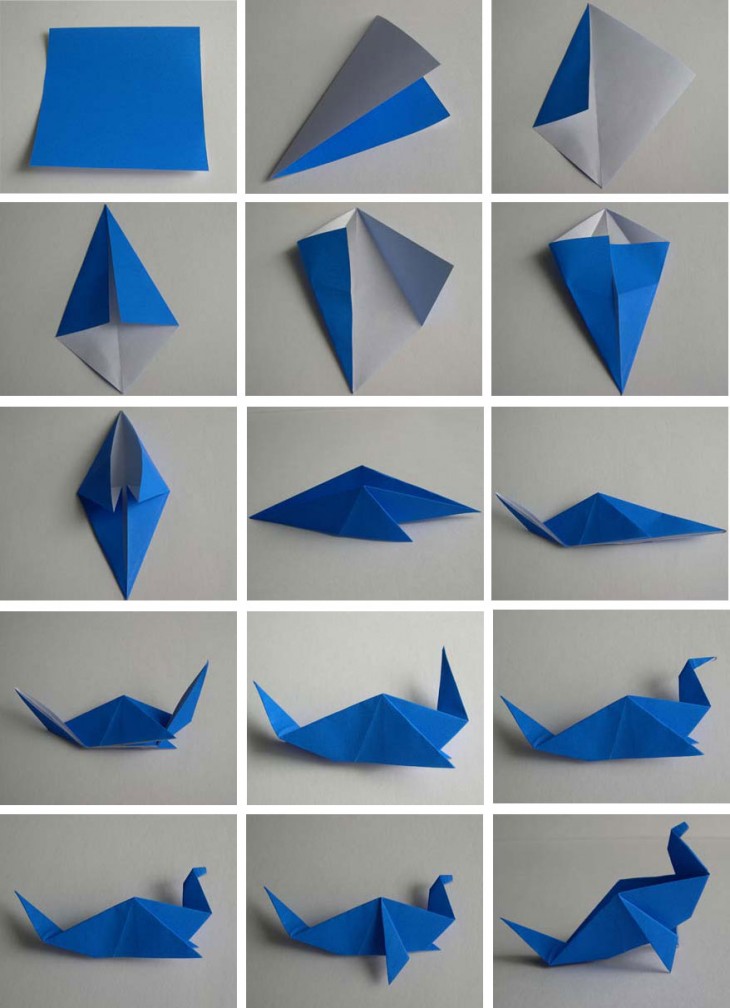
If desired, the crane can be painted or immediately take colored paper. Origami crane is ready.

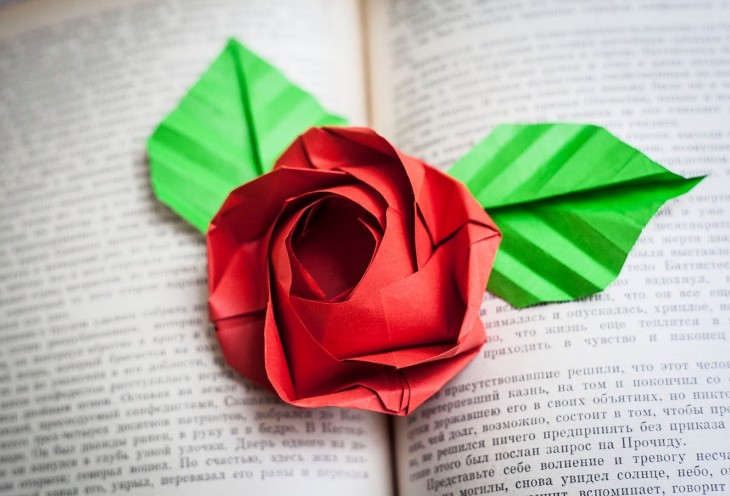
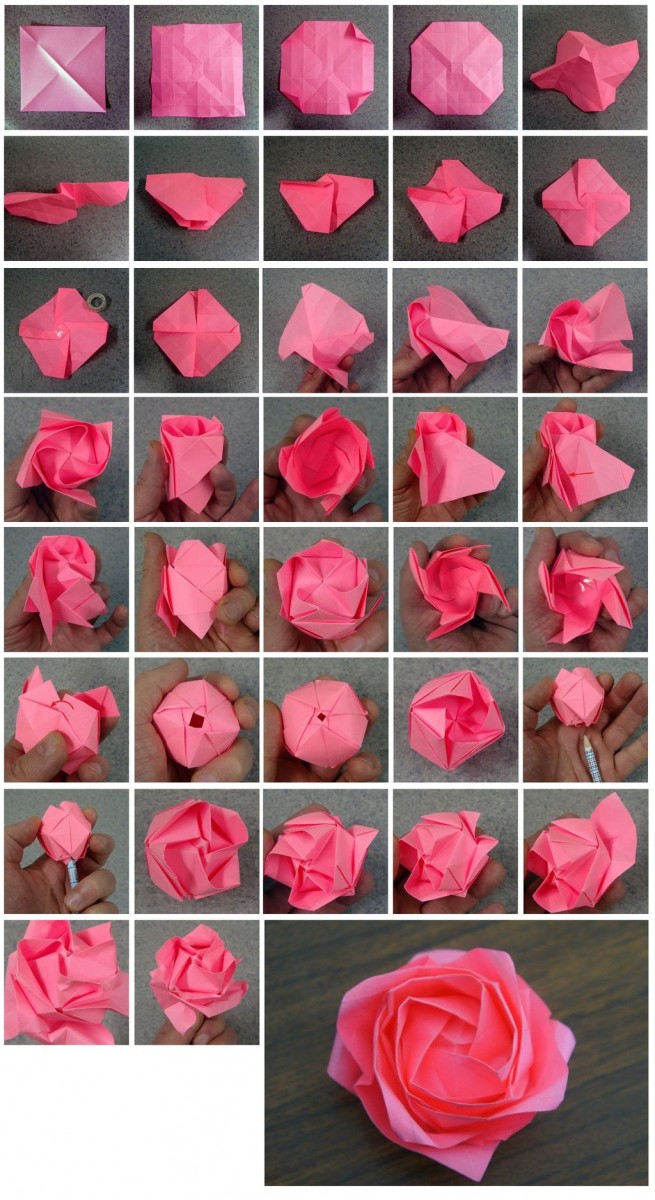
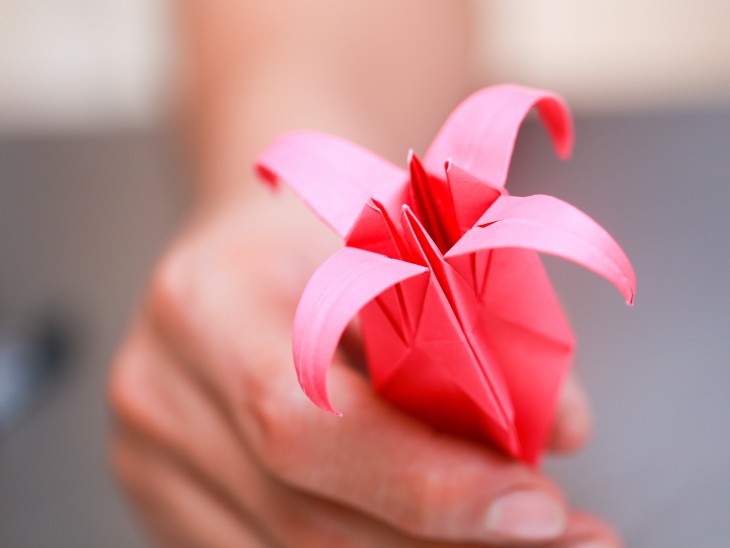
Rose origami technique
More attractive and easy for most beginners and for origami masters are origami flowers. A common figure is a paper rose.
Consider a step-by-step instruction and a photo of this origami:
- We take colored paper, preferably red, fold in half, then again.
- Open the layer of paper at the top so that we get a swollen top.
- Turn over to the other side, and repeat the action that is described in the previous paragraph.
- Take the corners and bend them to the upper corner.
- The triangle that soon turned out is bent in half, until a contour appears.
- We open the triangle by pulling both corners down.
- Holding the pockets at the top, bend down.
- We carry out points 4 through 7 on the other side.
- We make a bend of the upper corner.
- We unfold the lower part like a book.
- We bulge so that we get 2 triangles.
- Turn the product over.
- The lower right square is gently bent from the upper to the lower edge (strictly diagonally).
- Turning 180̊ and doing 13 points.
- We grab the origami walls with our fingers, and without fear, rotate 360 на until we see the resulting petals.
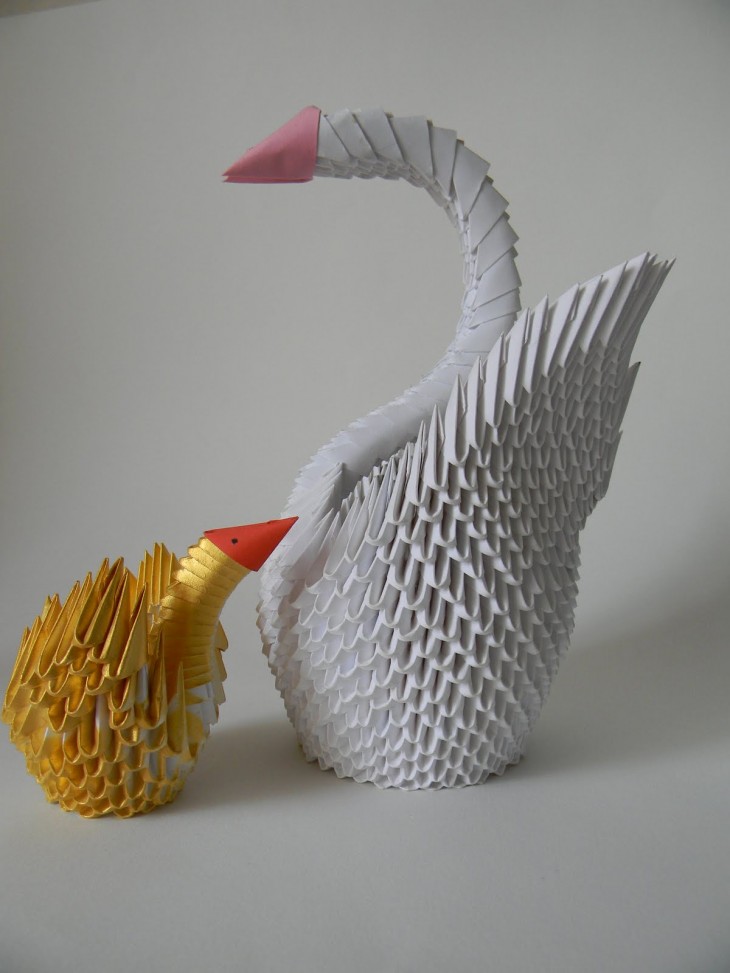
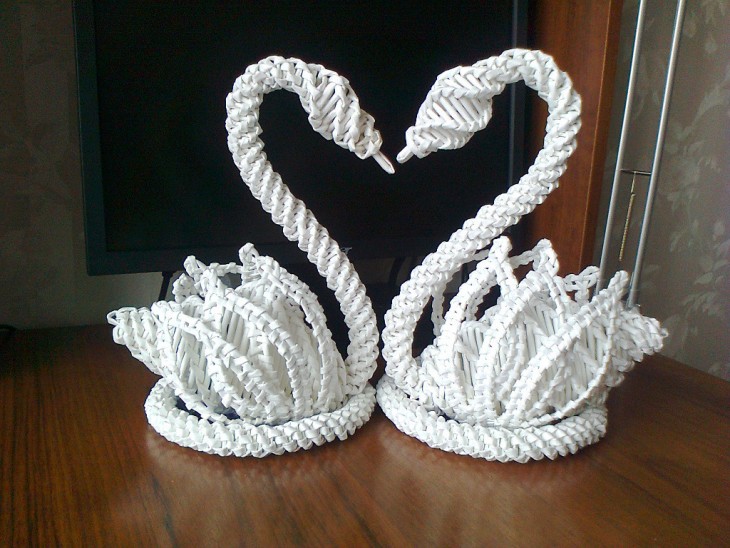
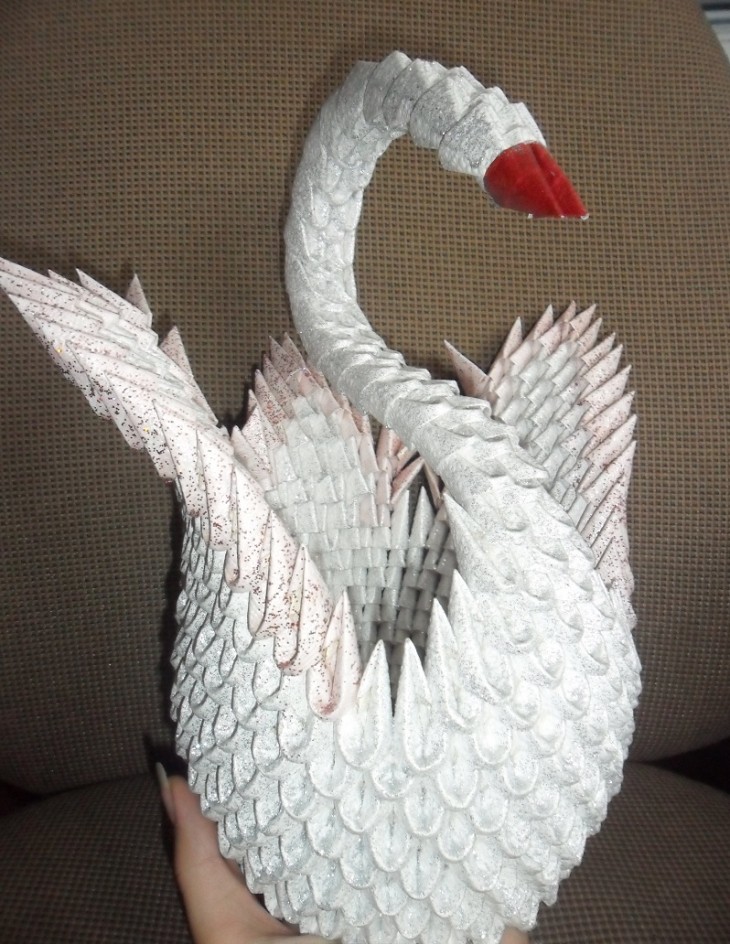
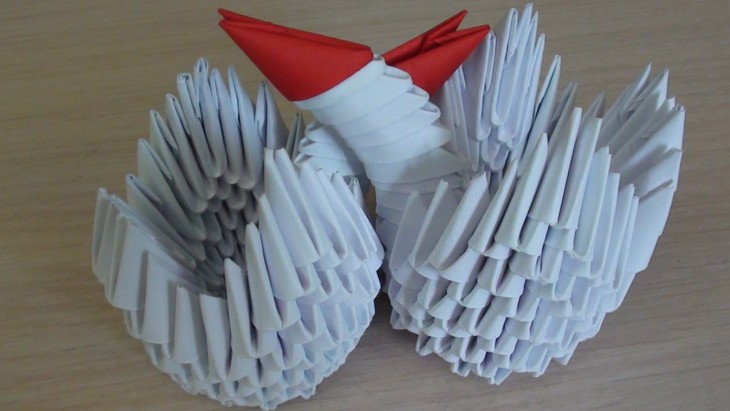
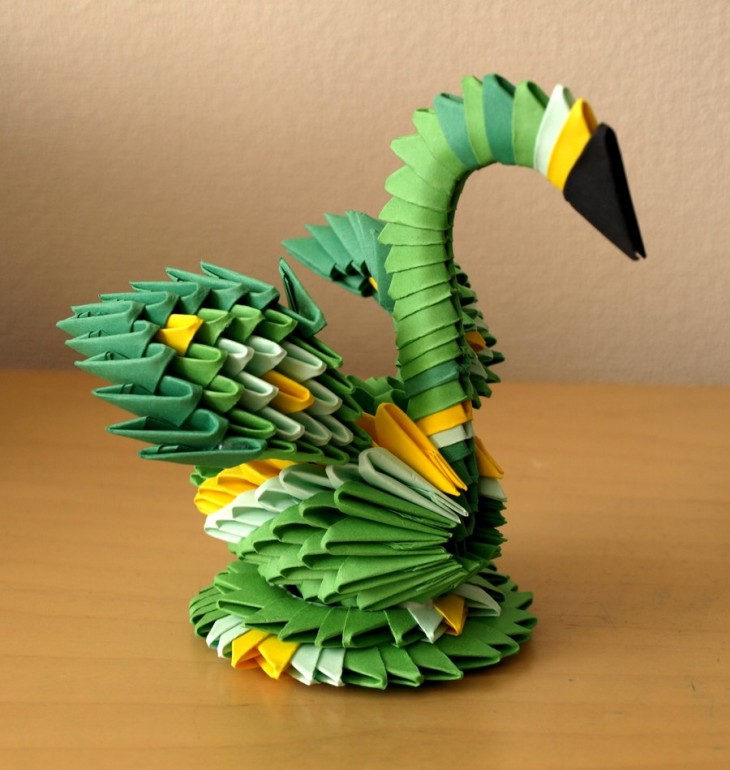
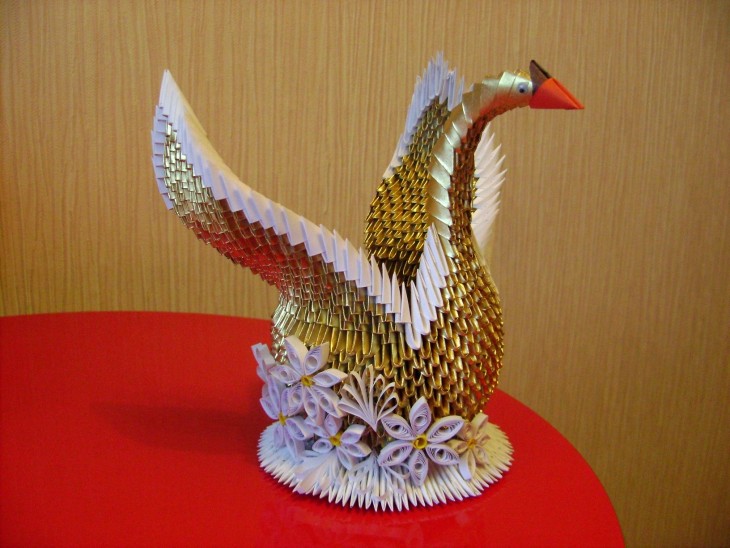
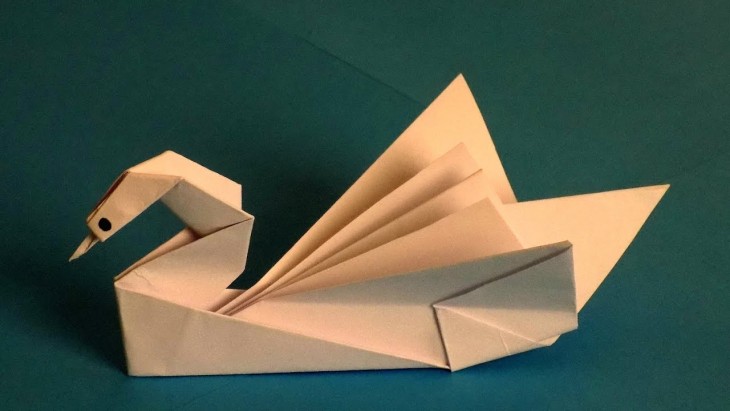
Paper swan
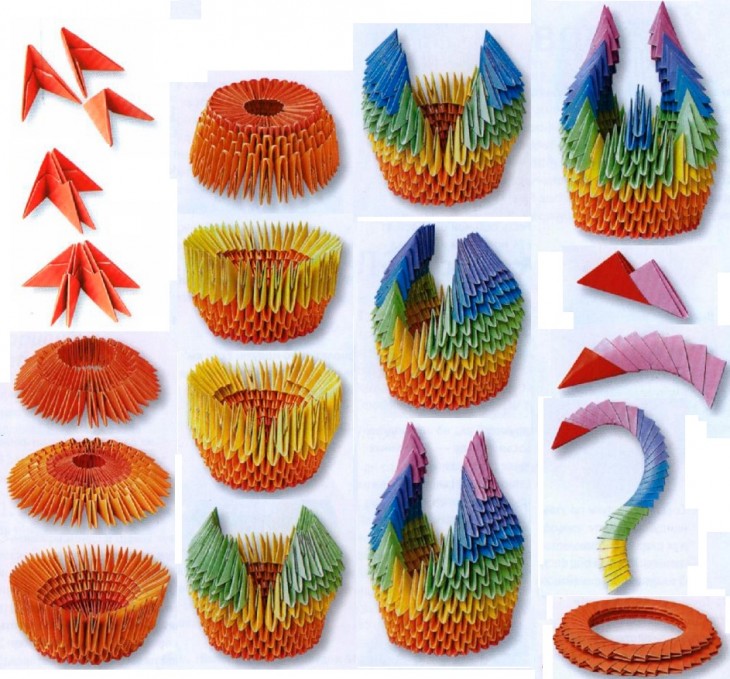
This technique is more complicated than the rest as it uses the modular origami method. In order to make a volume swan, you need:
- Make approximately 460 triangles with white paper and 1 red for the beak.
- We insert the corners of two triangles into the pocket of the third.
- We add two more. We put all the corners in a pocket.
- We make three such rows. It is necessary to take about 30 modules for each row. Close the circle.
- Insert the blanks for the next two rows.
- We press the center so that it slowly turns out.
- With all this, we wrap the edges up.
- We make the ranks further, but do not forget about the checkerboard order of the modules.
- In row 7 we make modules for wings. We plant 12 blanks, making a pass for 2 corners, we attach another same number of blanks. On the left places we make a swan tail and neck.
- In the 8th row for wings, the number of blanks becomes 1 less.
- We do this with subsequent rows, until 1 module remains in the last row.
- The tail is made by reducing one blank in each row.
- We collect the neck from 10-12 modules, and the head from one red blank. Create a neck, gradually arching it.
- When the neck is ready, we collect it together with the body together.
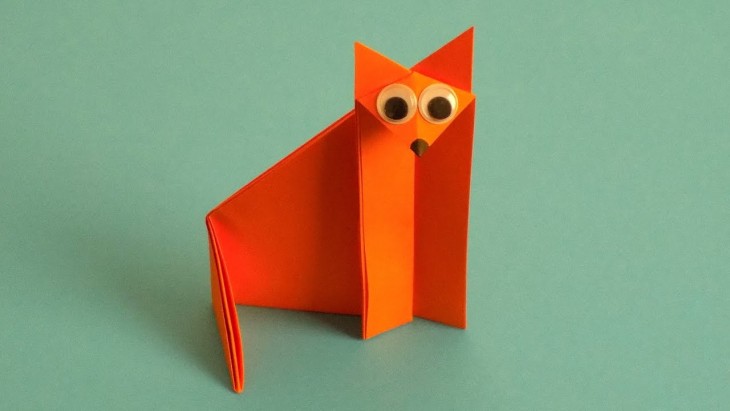
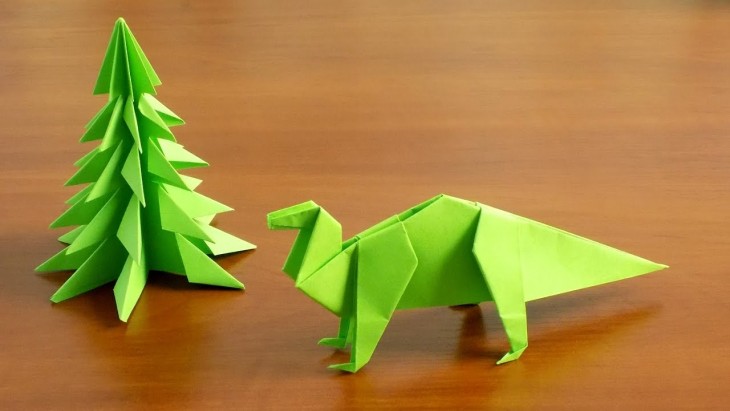
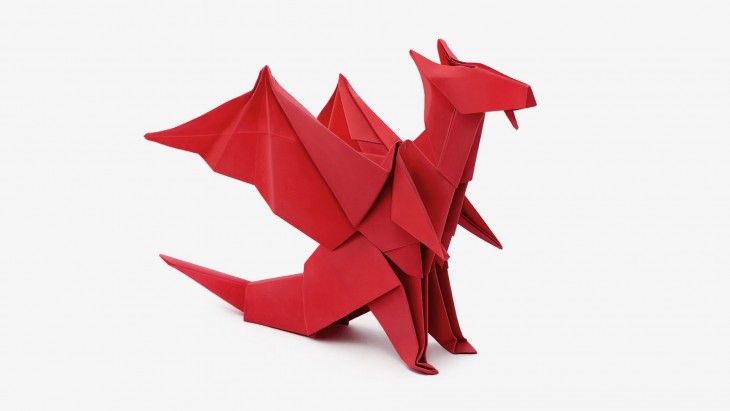
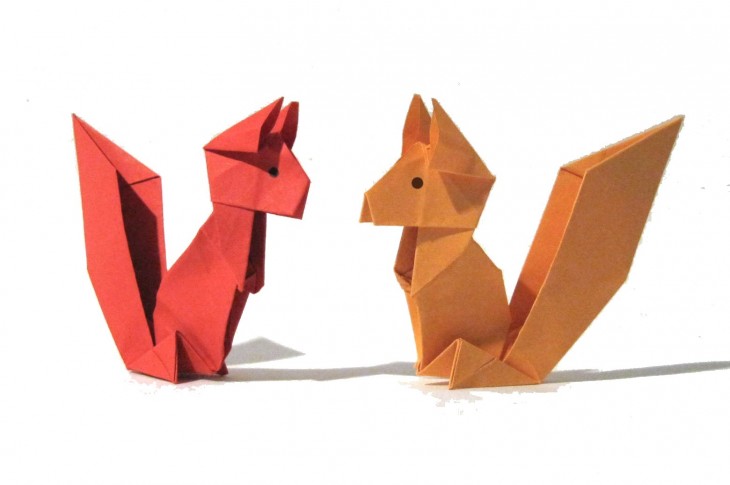
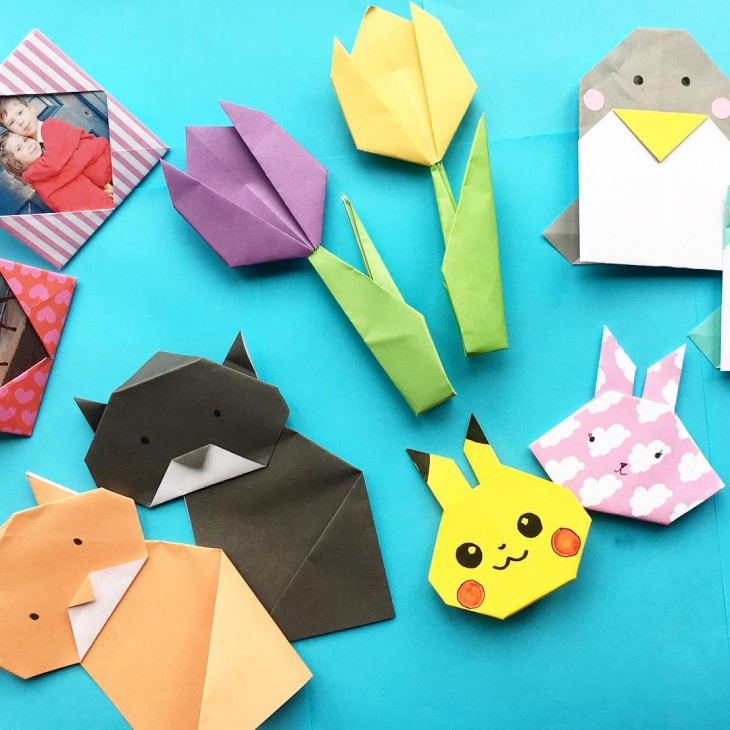
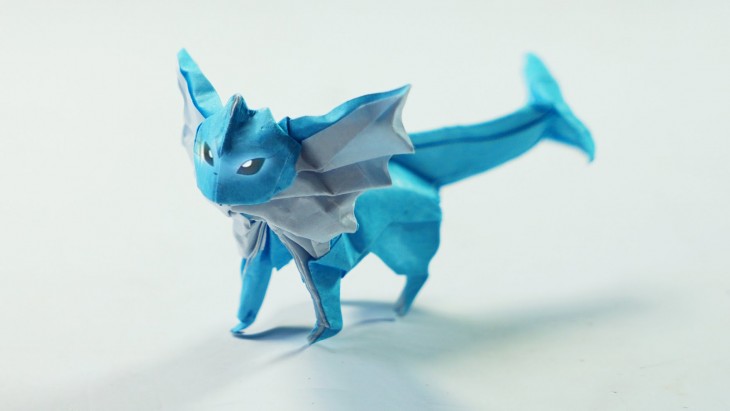
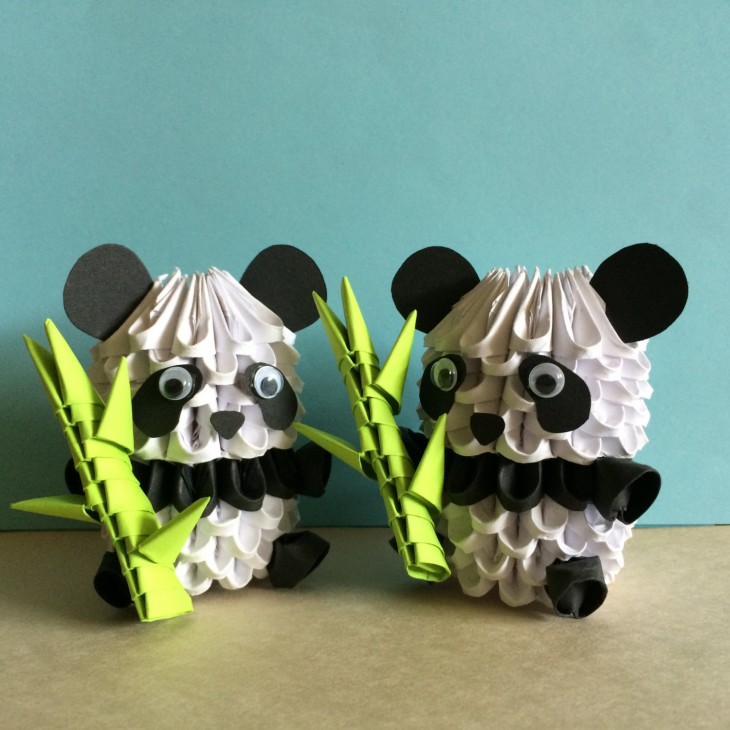
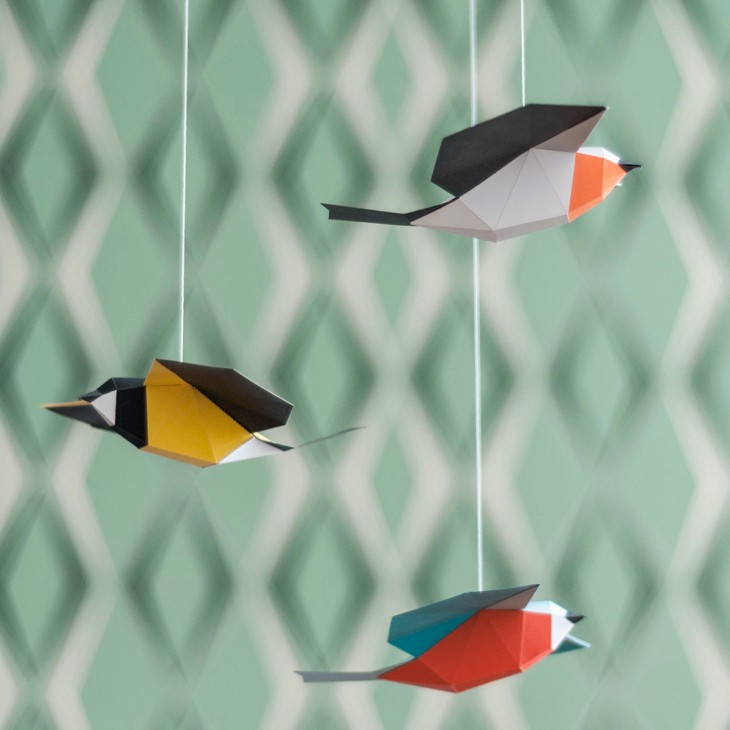
DIY origami photo


Note!

Note!

Note!