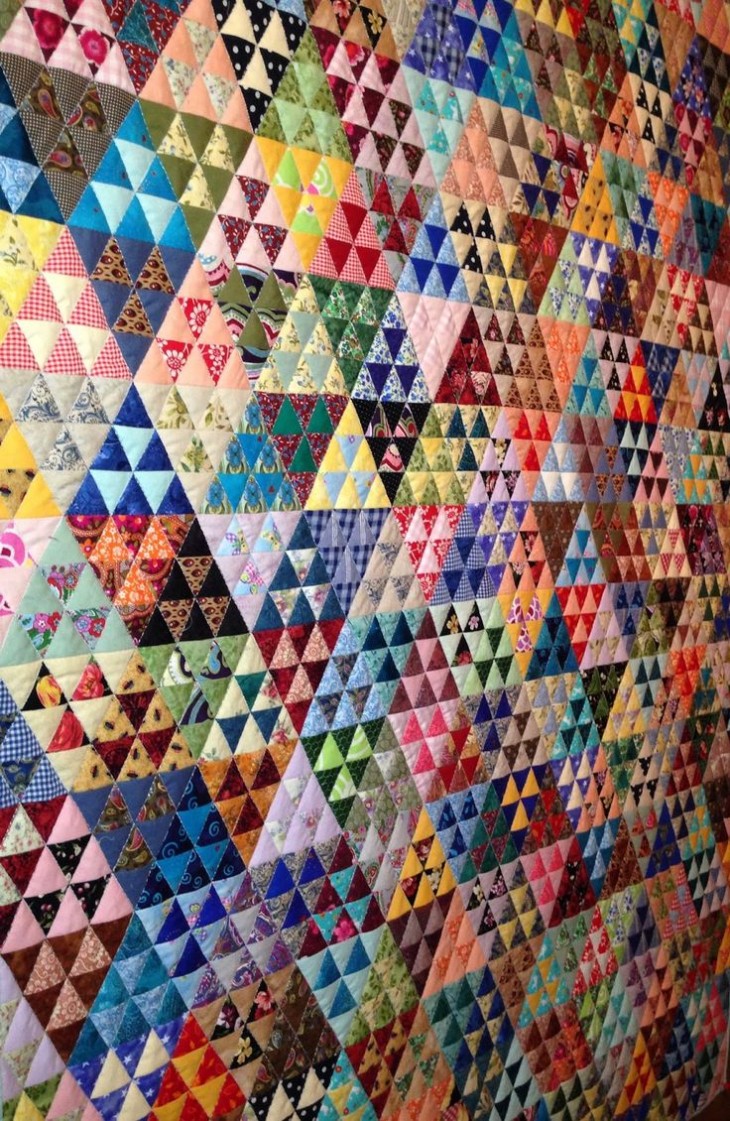
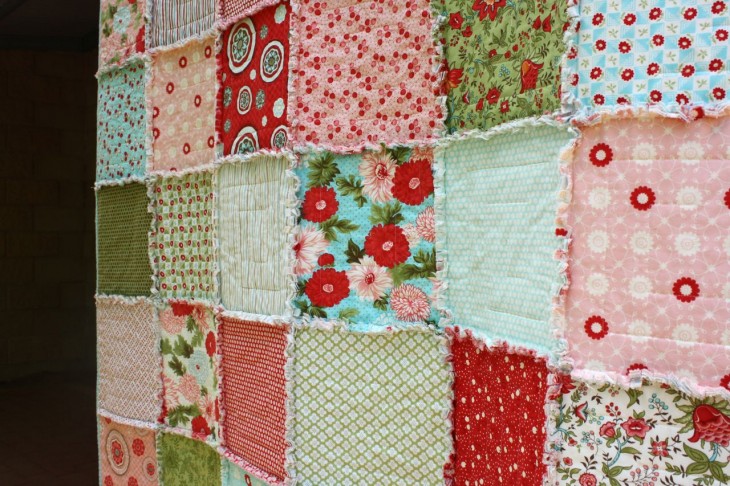
The patchwork or patchwork technique has been known to us since our great-grandmothers and grandmothers. Today it is again popular, because it allows you to create truly original little things that can become an adornment of your home.
From this article you will learn how to sew a patchwork quilt with your own hands.
Patchwork technology
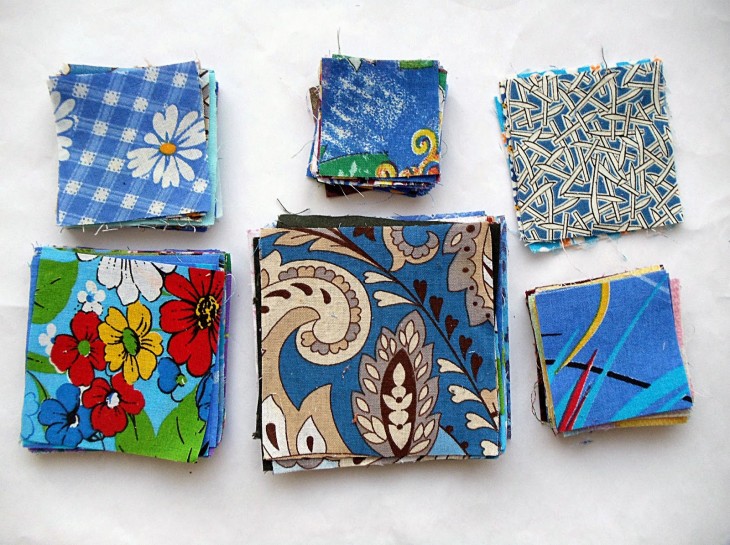
At the beginning it is necessary to prepare a place for work. It can be a table of a sufficiently large size. The selection of material begins with the selection of textiles for the front side of the product.
Silk, calico, linen, satin, satin and draped fabrics can be combined in one blanket. But for beginners it is better to stay on flax, cotton, chintz or calico.
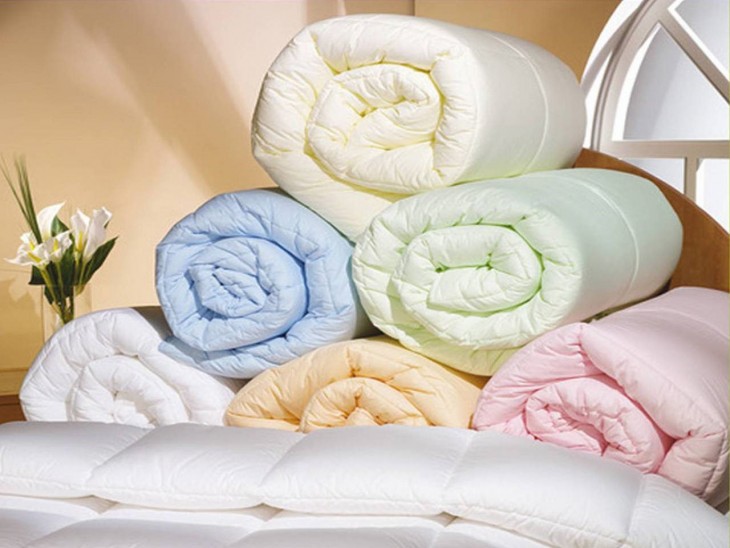
Today in stores it is possible to buy ready-made sets of materials for working in the patchwork technique. You can also view the contents of your pantry, for sure there is something suitable there: unnecessary items of home textiles, various beautiful pieces of cloth, old tablecloths, etc.
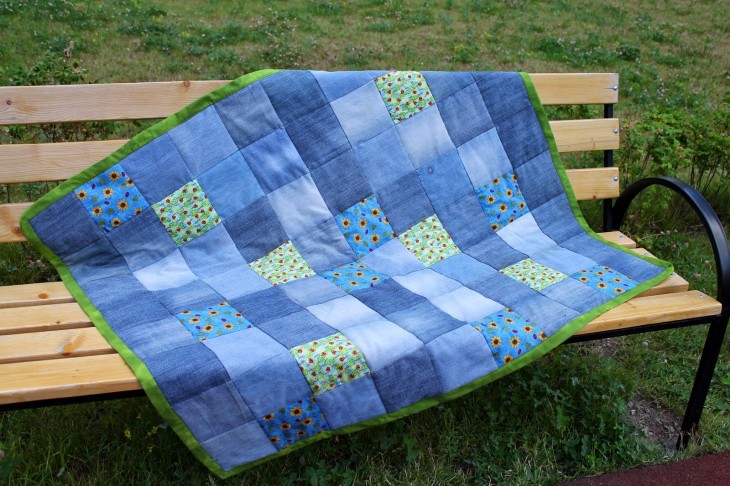
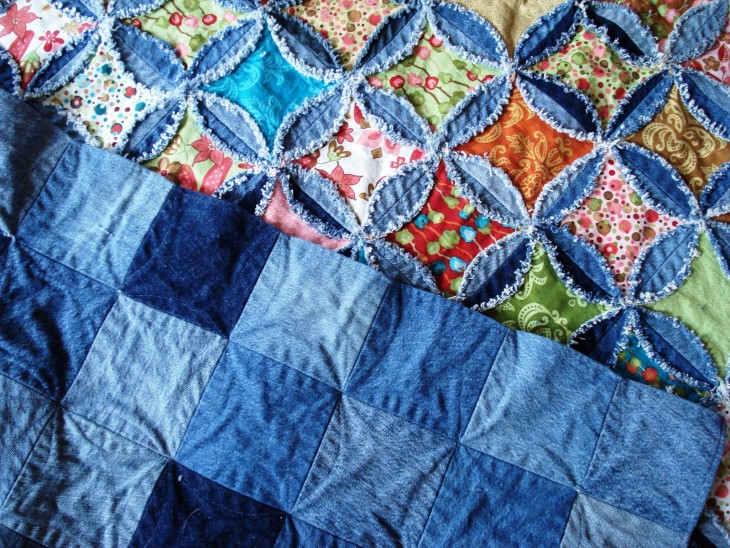
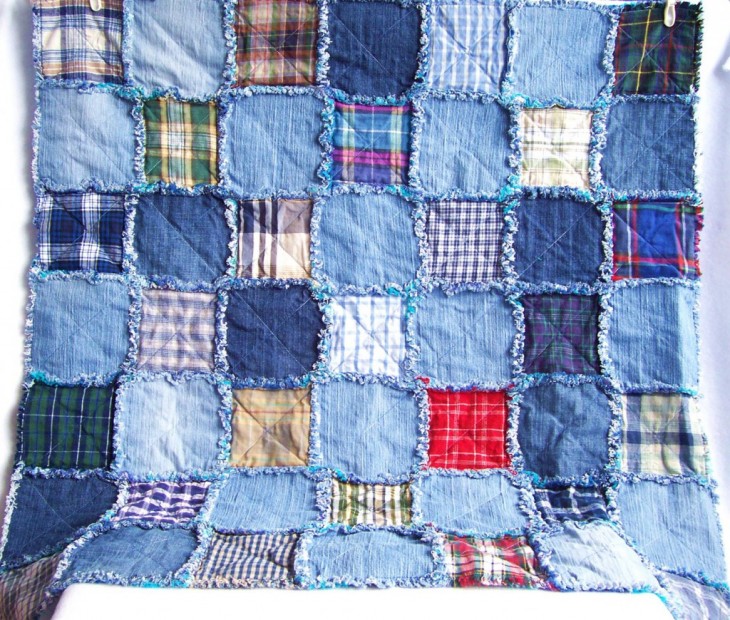
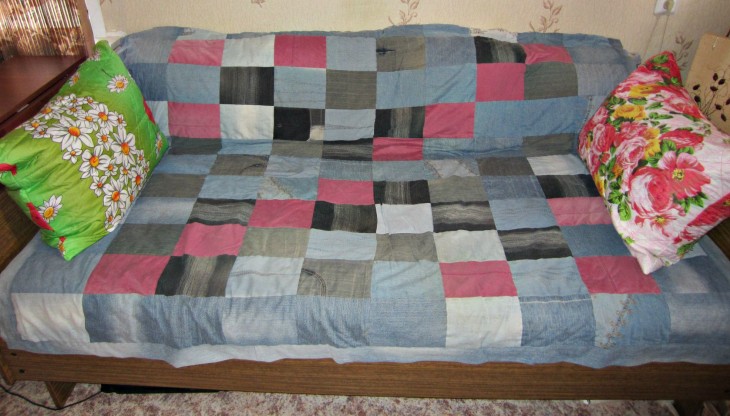
Quilts made of jeans shreds will look very unusual, especially in combination with cotton or chintz fabric.
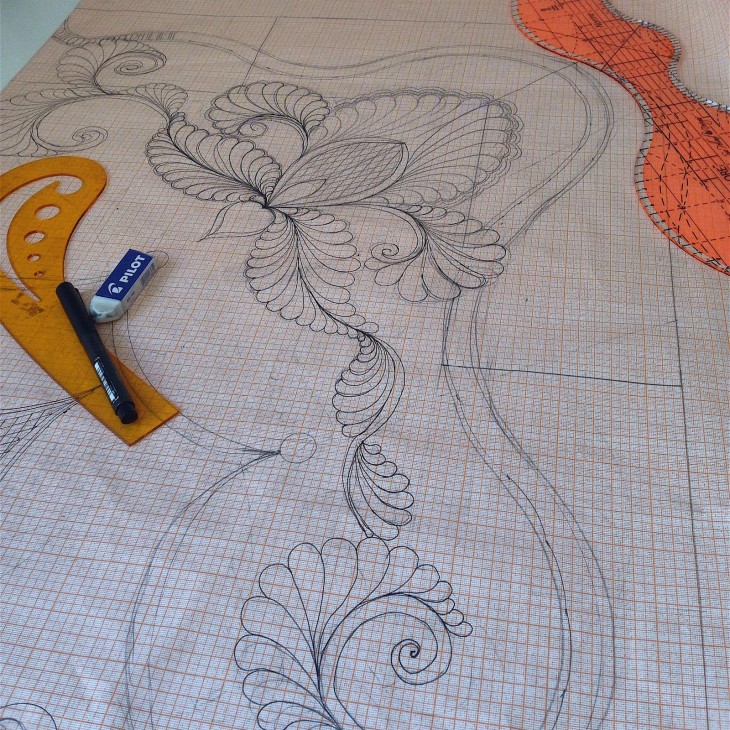
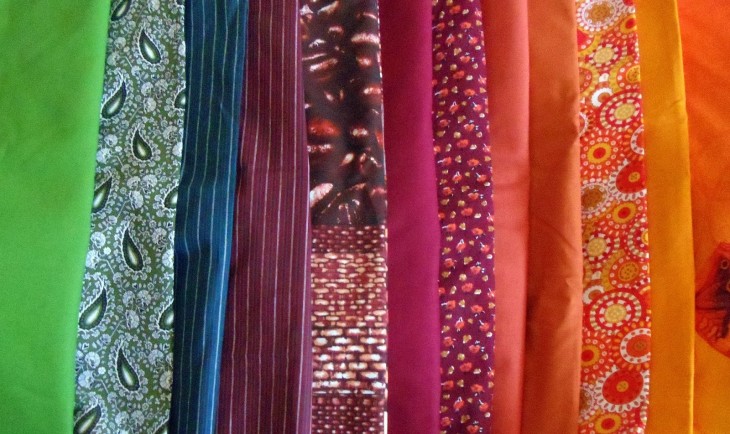
The next step will be the selection of the most successful color combinations and compositional ideas. All your thoughts on this subject are best reflected by sketching.

To do this, you need sheets of plain paper, lined into squares and colored pencils.
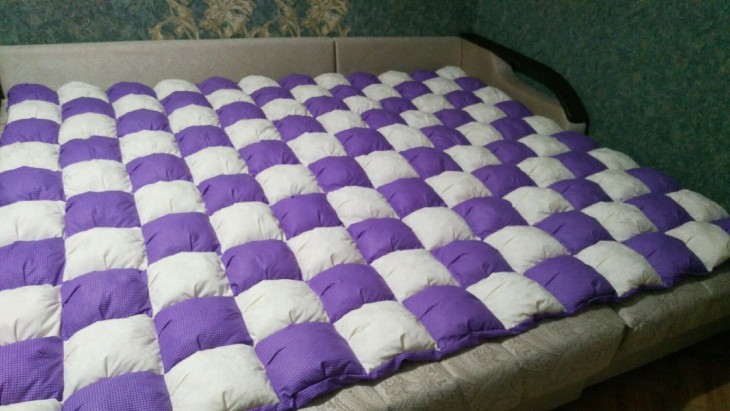
The best option for beginners in needlework will be to use a fragmented technique, when at first one fragment is made of several elements, which is then repeated as many times as necessary.
Choose a color scheme in such a way that it is combined with other details of the environment. A strong plain textile is most often used as a lining.
The insulation can be any suitable fabric of natural origin or artificial material. An example would be batting, holofiber, or synthetic winterizer. The latter is best suited. For the product, it is advisable to choose a section whose density is 150-200.
Sewing materials
Thread No. 45, No. 50, their shade can be combined with the product or be contrasting. A spool of simple thread for marking is also needed.
Pattern. It can be made of plastic or thick cardboard and have a different shape depending on the chosen idea. The simplest form is a square.
The size of one element is affected by the size of the blanket as a whole. Typically, the size of the template is equal to the selected size of one part + 1 cm per seam.
Tools. This is an iron, a sewing machine, pins, needles, chalk, a centimeter tape, scissors.
Blanket tailoring workshop
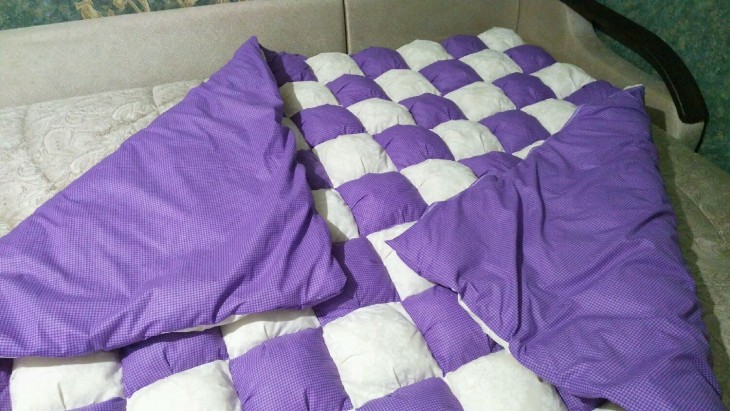
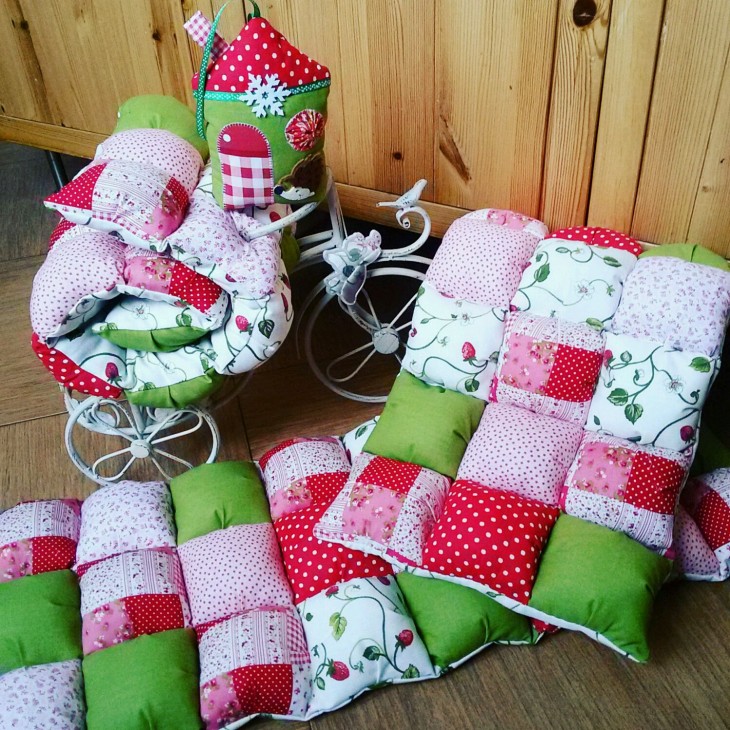
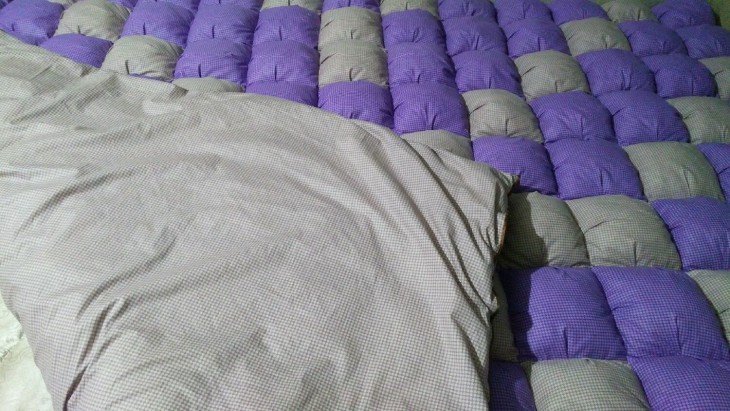
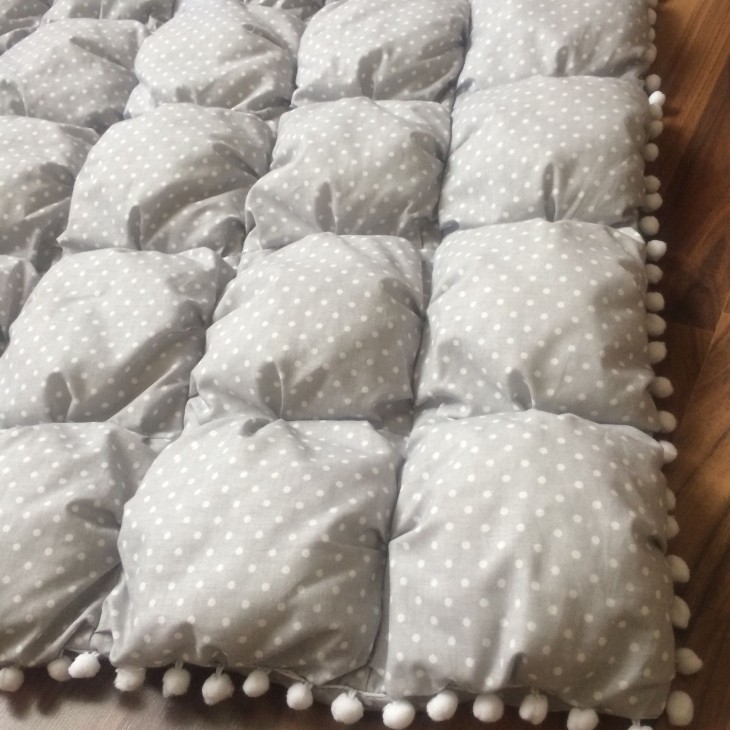
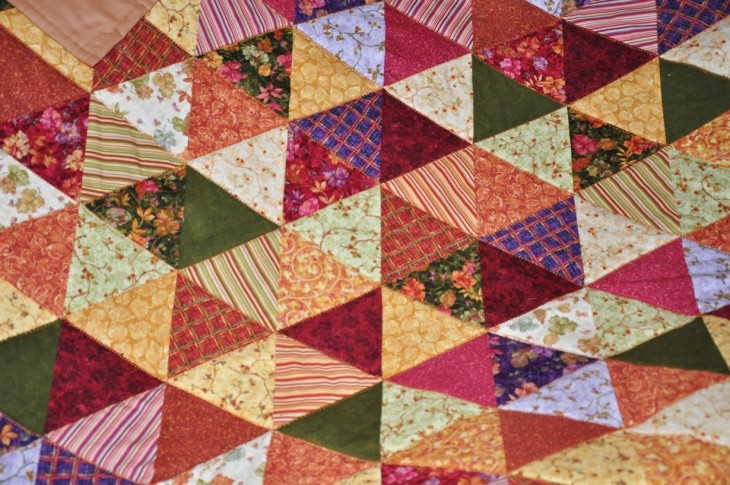
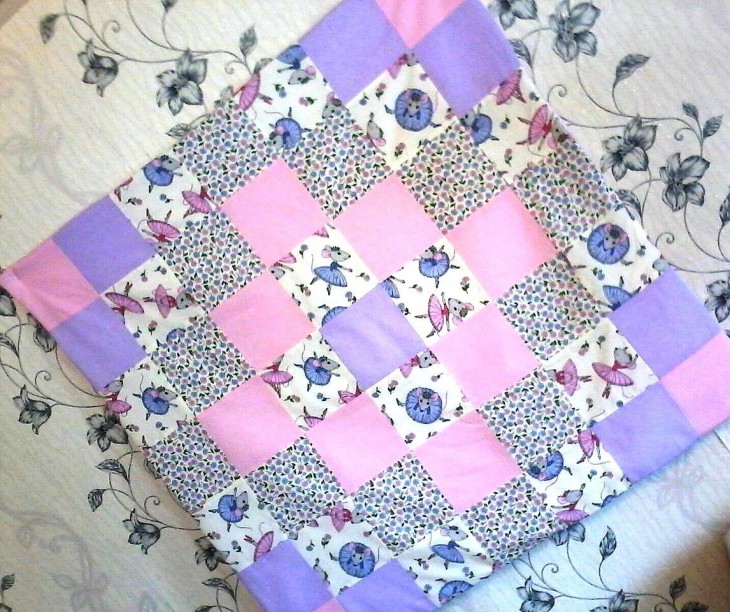
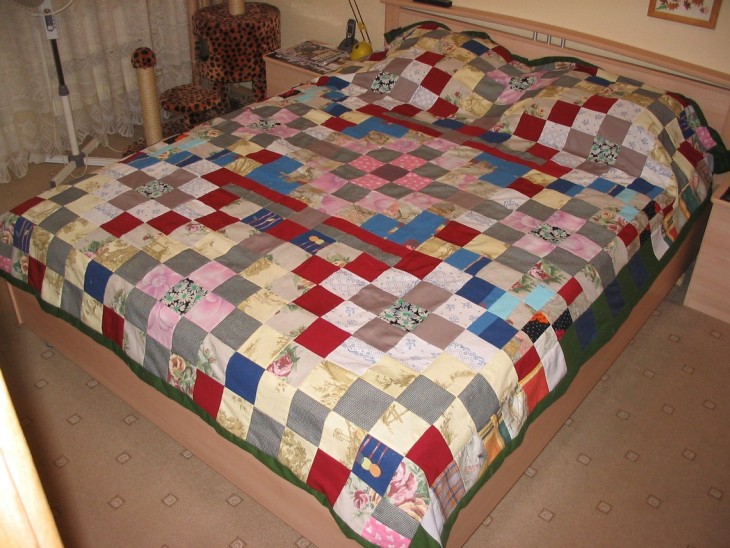
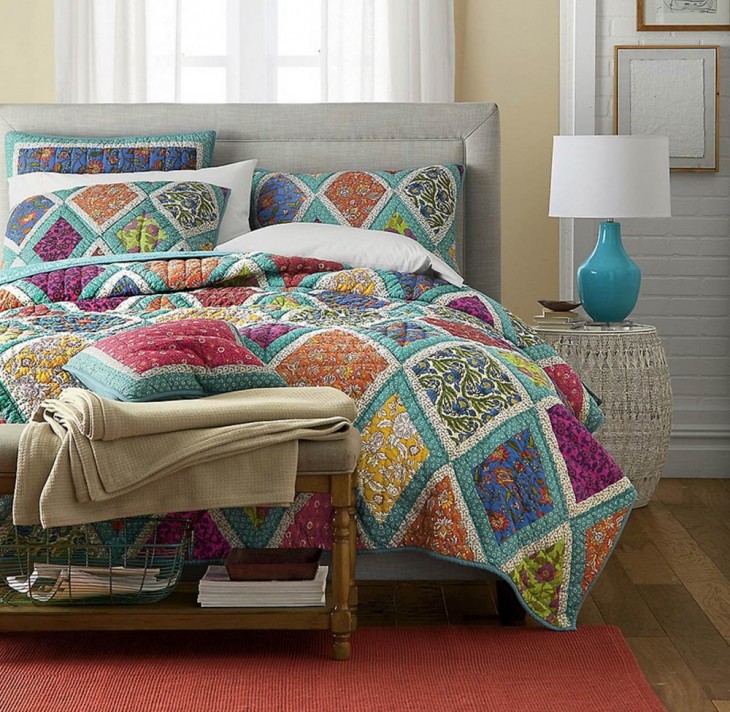
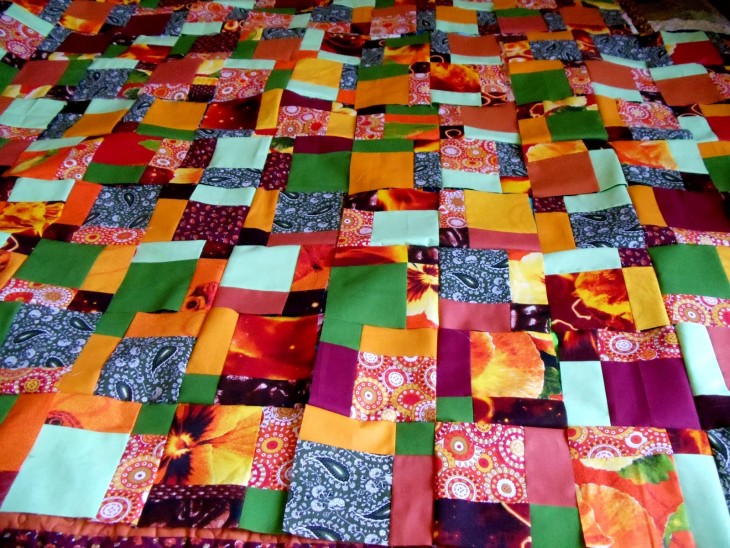
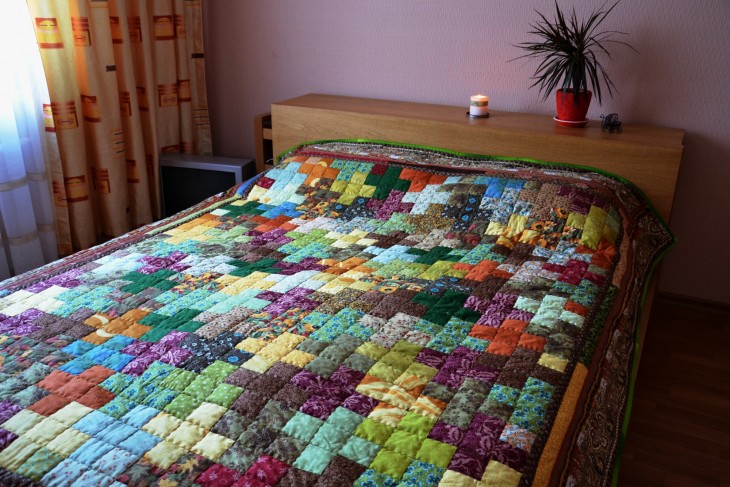
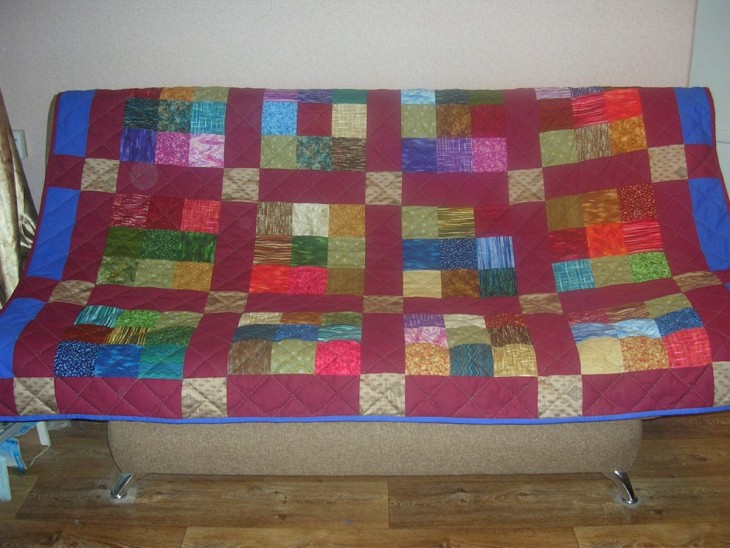
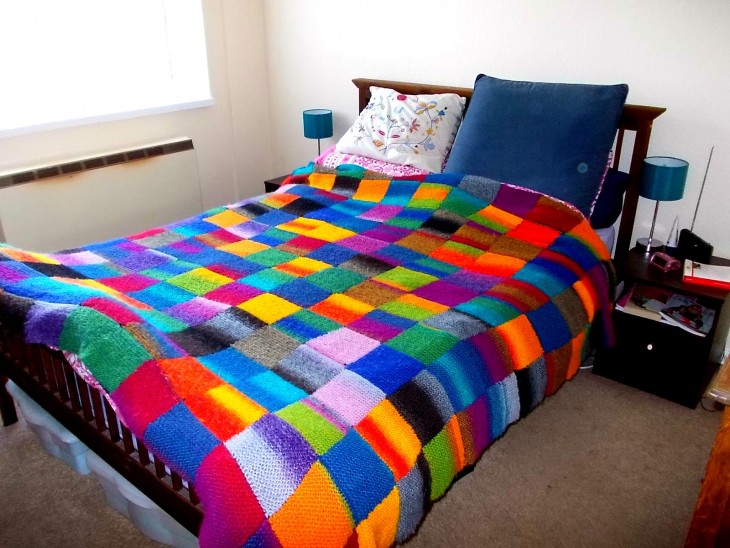
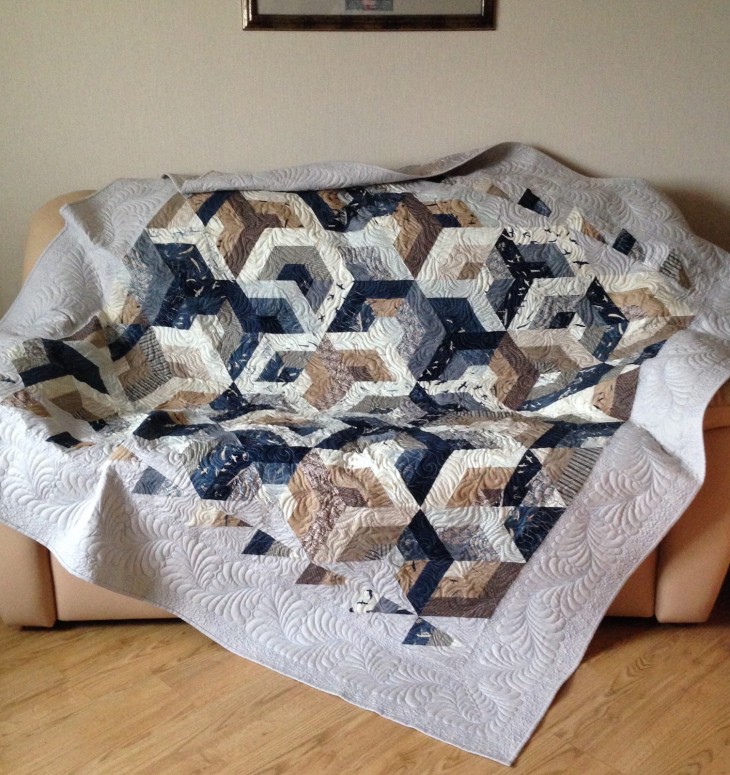
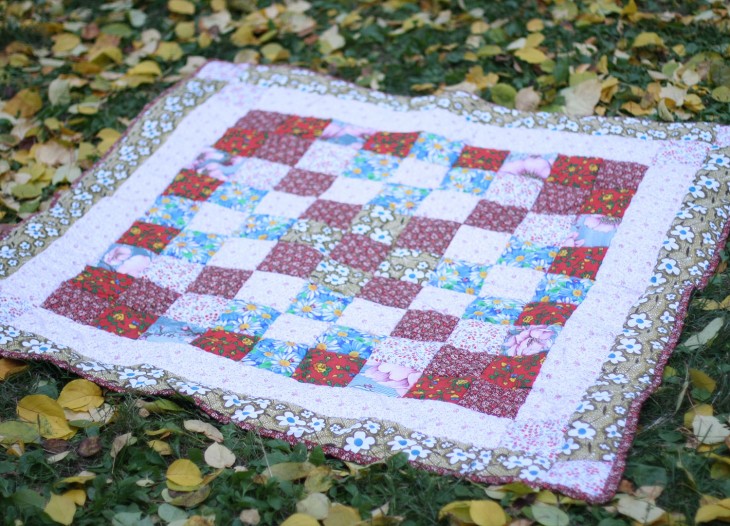
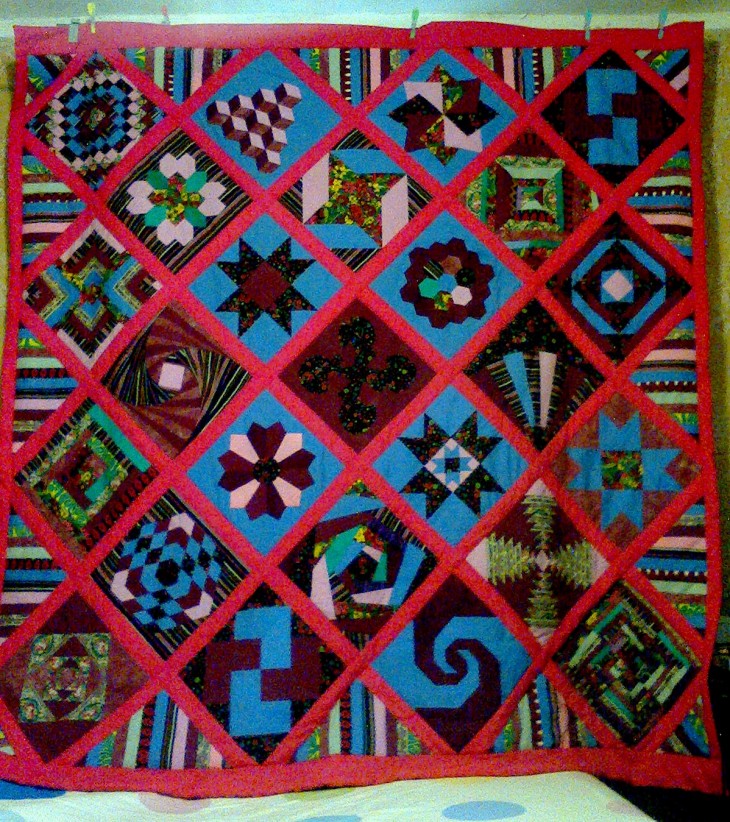
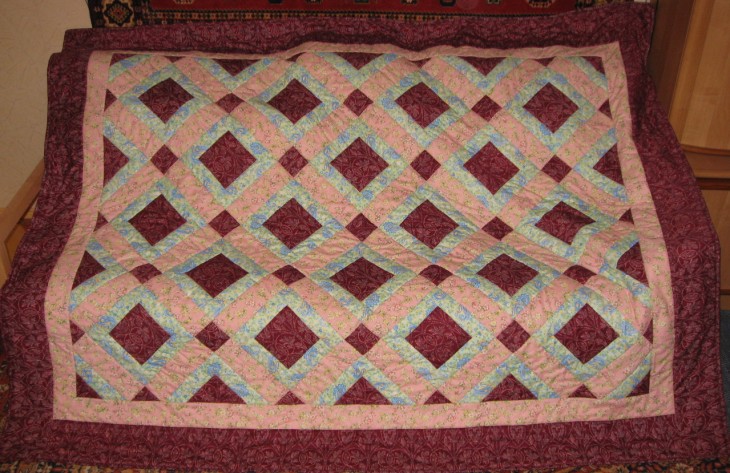
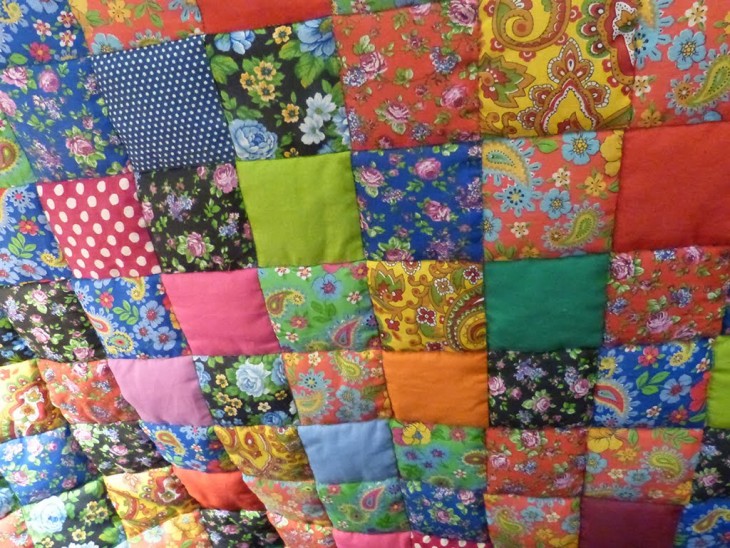
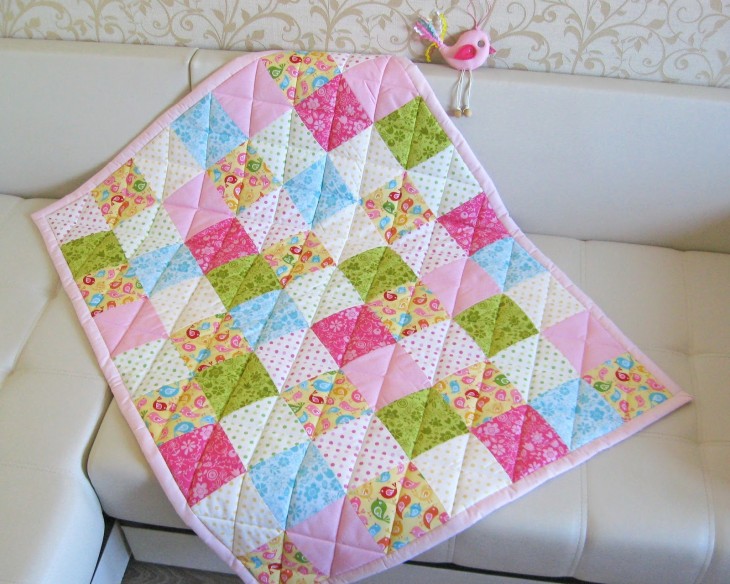
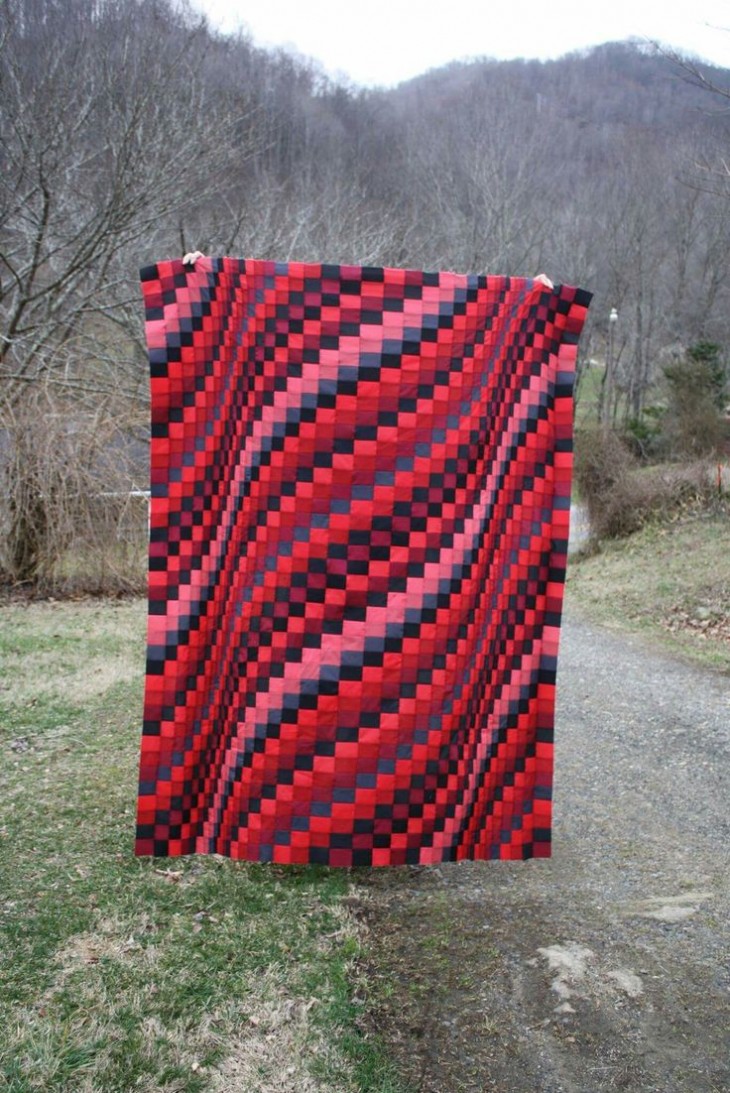
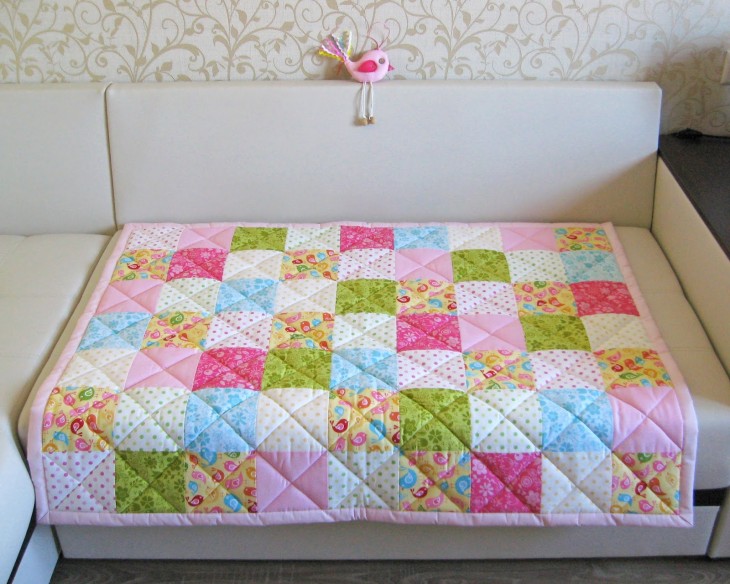
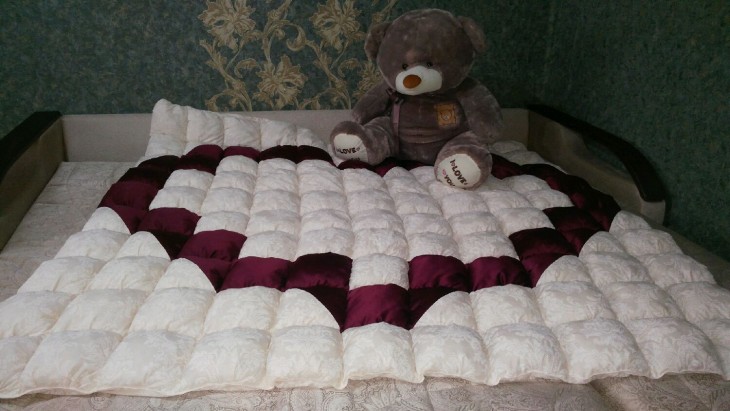
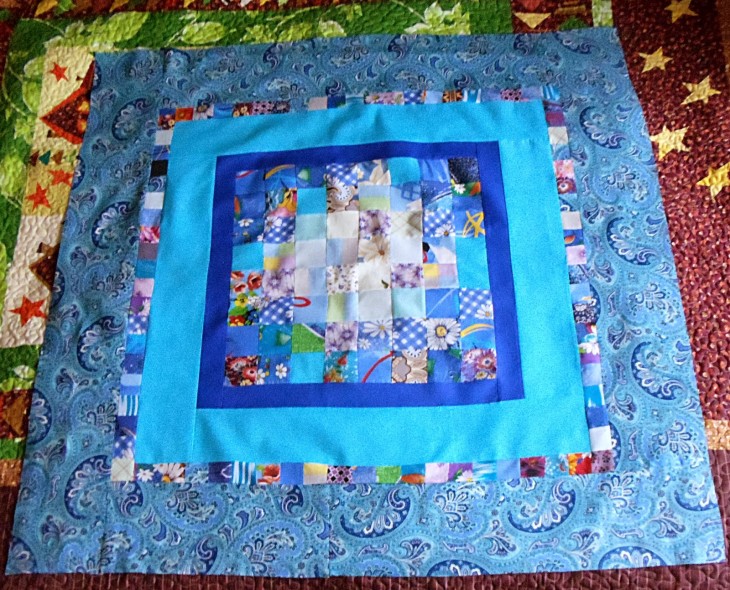
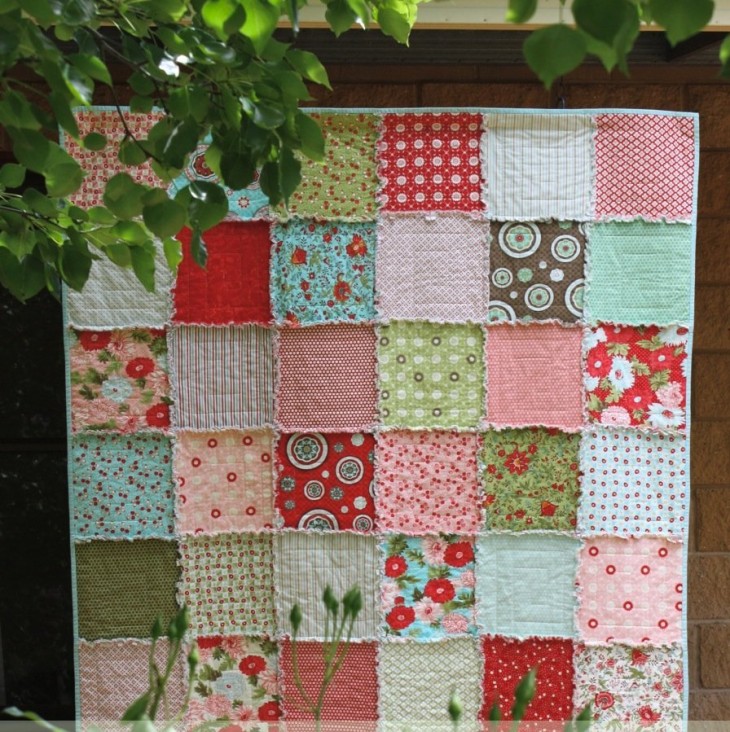
These blanket manufacturing instructions will be useful for beginners. The size of the finished thing is 120 × 130 cm. What kind of blanket should turn out, look at the photo.

Note!

We will need:
- Shreds 12.5 × 12.5 cm - 80 pcs. (or 2 sets of "charm packs");
- Solid material (dark and light) - 1.2 × 1.3 m;
- The fabric for the border is 0.45 m;
- Lining fabric - 1.3 × 1.4 m;
- Sintepon - 1.3 × 1.4 m;
- Iron, sewing machine, pins, needles, scissors, threads, chalk, tape - centimeter.
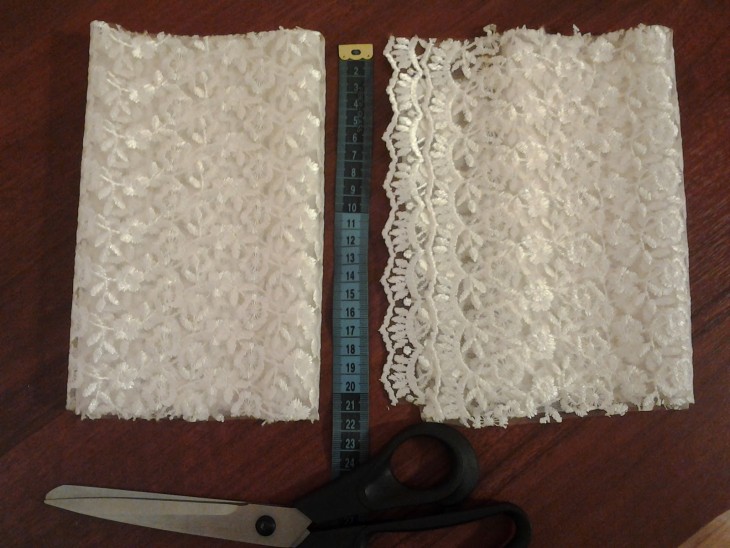
At the beginning of the work, you need to wash and iron all materials, remove unusable areas, and then cut them according to the template.
We take a light monophonic material and cut it into 9 strips 6.25 cm wide and 80 elements of 6.25 × 11.25 cm in size. We do the same with dark fabric.From the border fabric we cut 5 strips 5.6 cm wide.
We connect each patch of plain fabric and fabric with a pattern, and sew the long sides together. Similarly, we make 160 rectangular parts. Iron the seams.
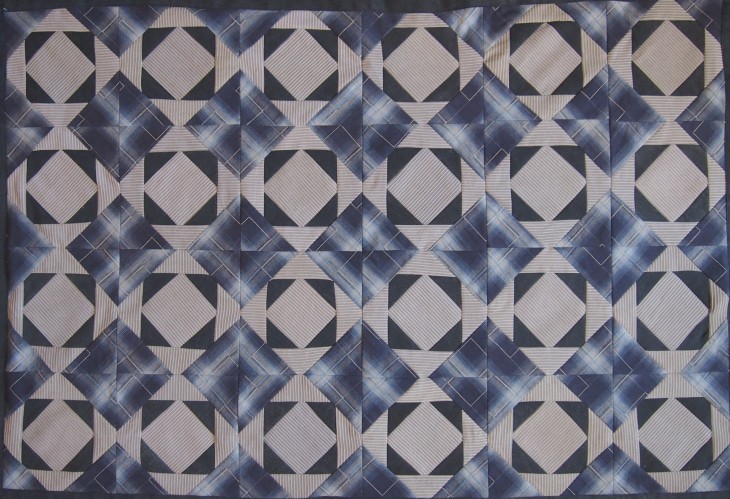
We decompose the resulting details with a ladder (see diagram). We alternate two elements with a light border and two with a dark one until a row of 12 fragments is obtained.
We start sewing the next row so that the plain material is at an angle of 90 degrees, then from the side, then from above. We take the next fragment with a contrasting border.
Note!
We should get 13 bands of 12 fragments. First smooth the top, then everything else.
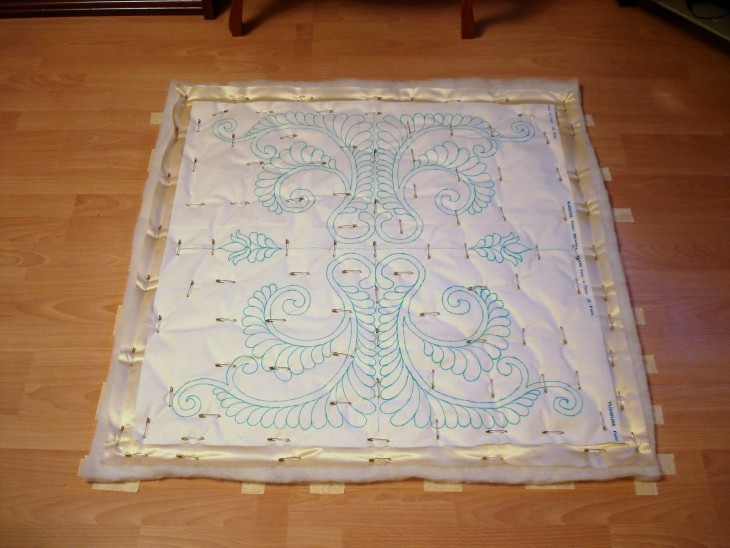
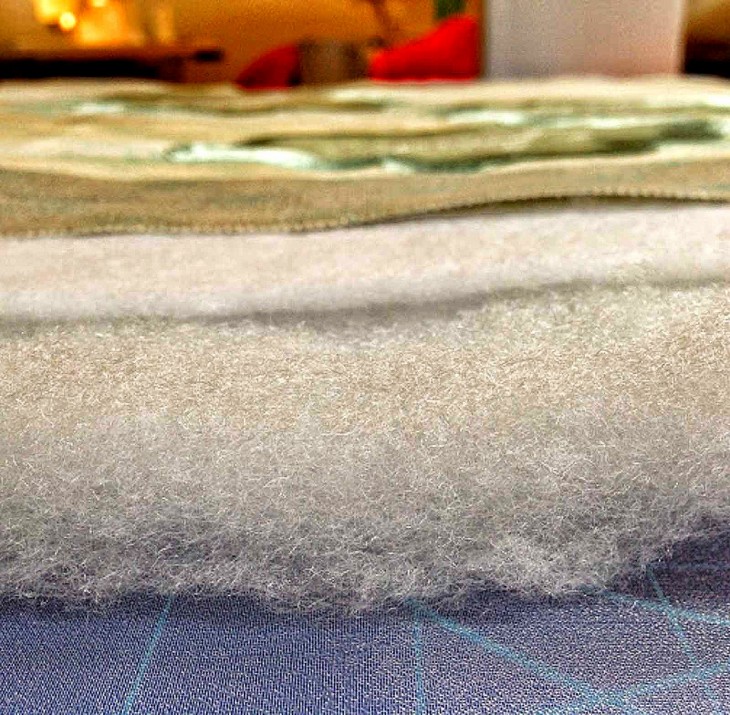
We lay the lining fabric on the floor face down, fix it. We cover it with a synthetic winterizer. Put a patchwork layer on top. We chip everything off with pins and flash all three layers.
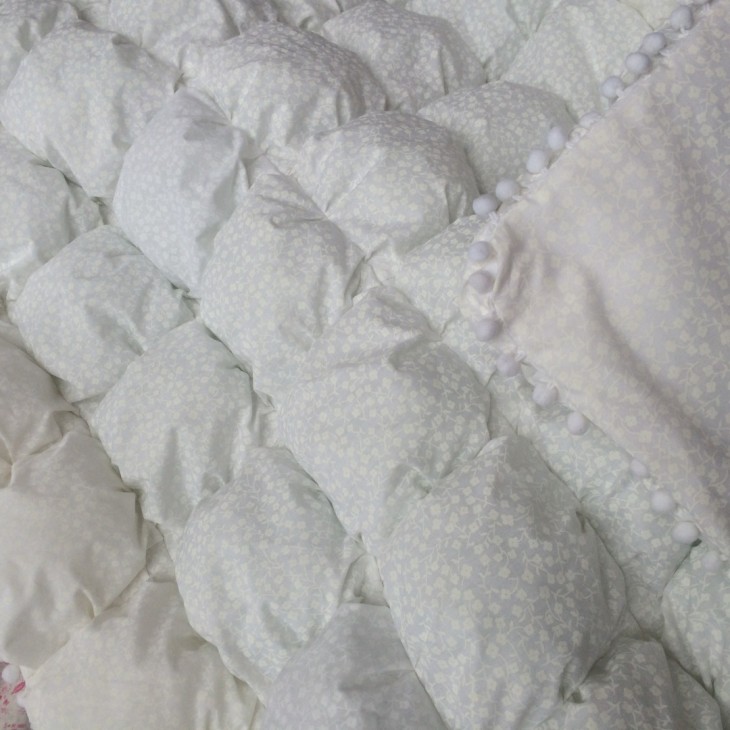
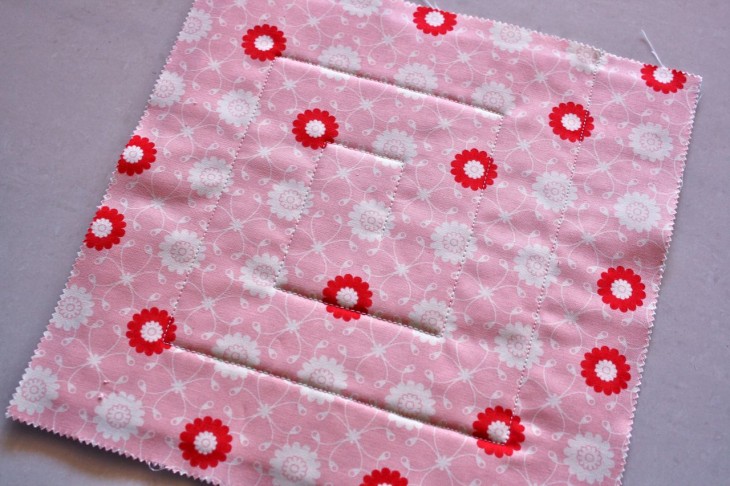
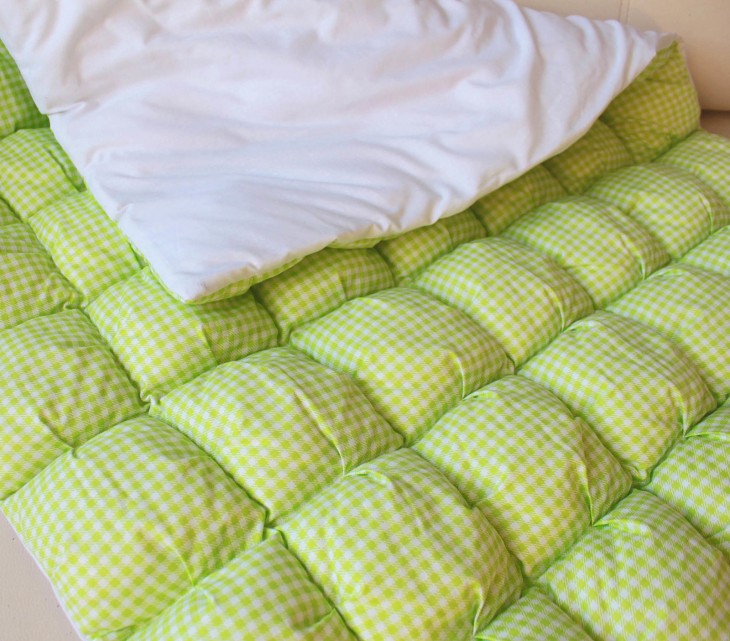
For quilting the product, you can use a straight line or a random zigzag. The latter gives a bulge to the product.

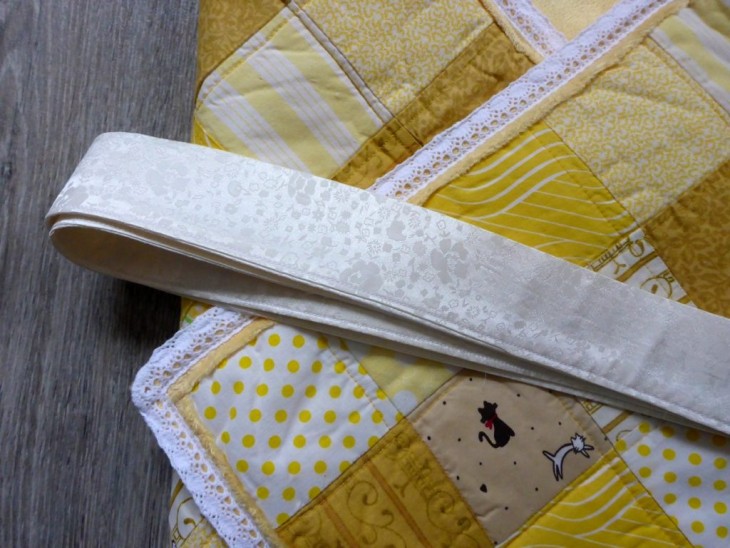

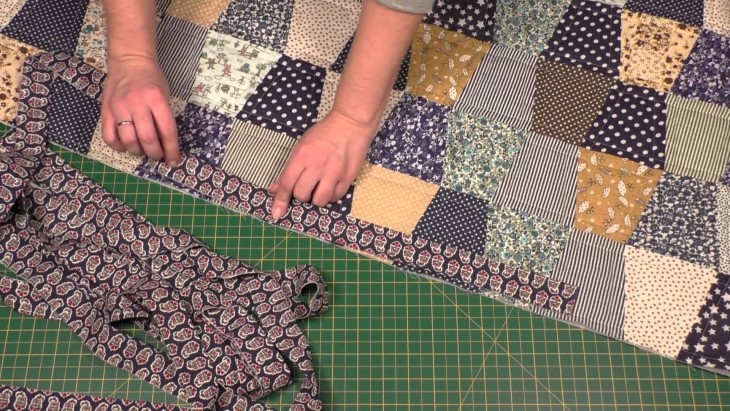
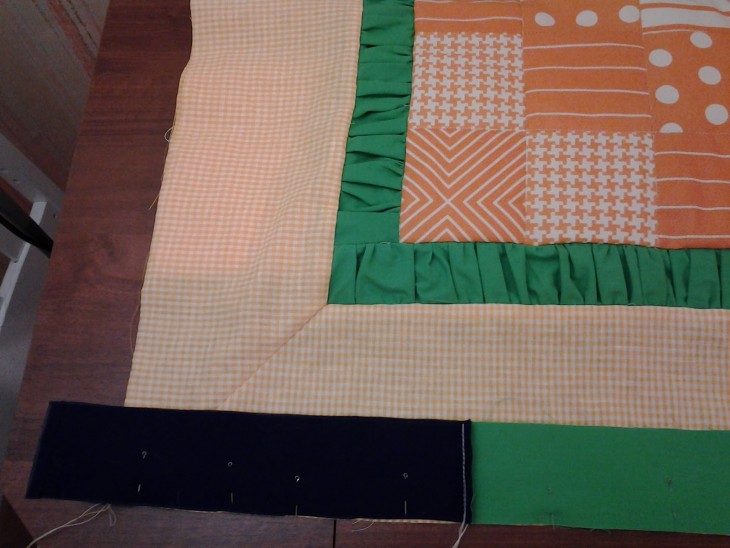
Sew all parts of the hem in a single strip, iron the seams. Fold it in half inside out, iron again. We attach a border strip to the edge of the blanket, starting from the middle of either side.
In this case, leave the tail about 0.3 m. We try to ensure that the joint of the strip does not coincide with the angle of the blanket.

We sew it around the perimeter with a half-centimeter stitch. We process the edges on a sewing machine. Tuck the strip and flash it on the other side. The blanket is ready!
Note!
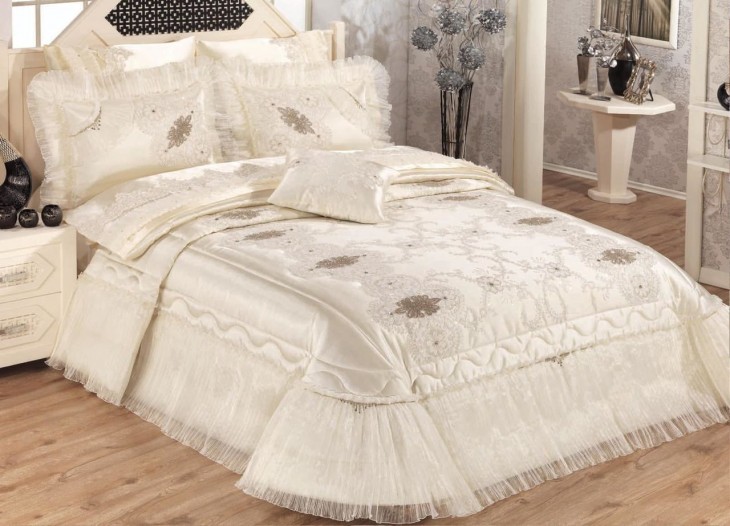
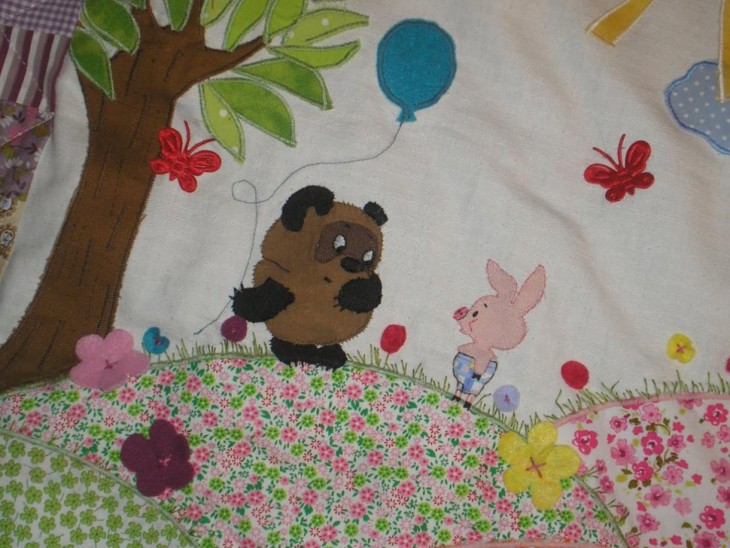
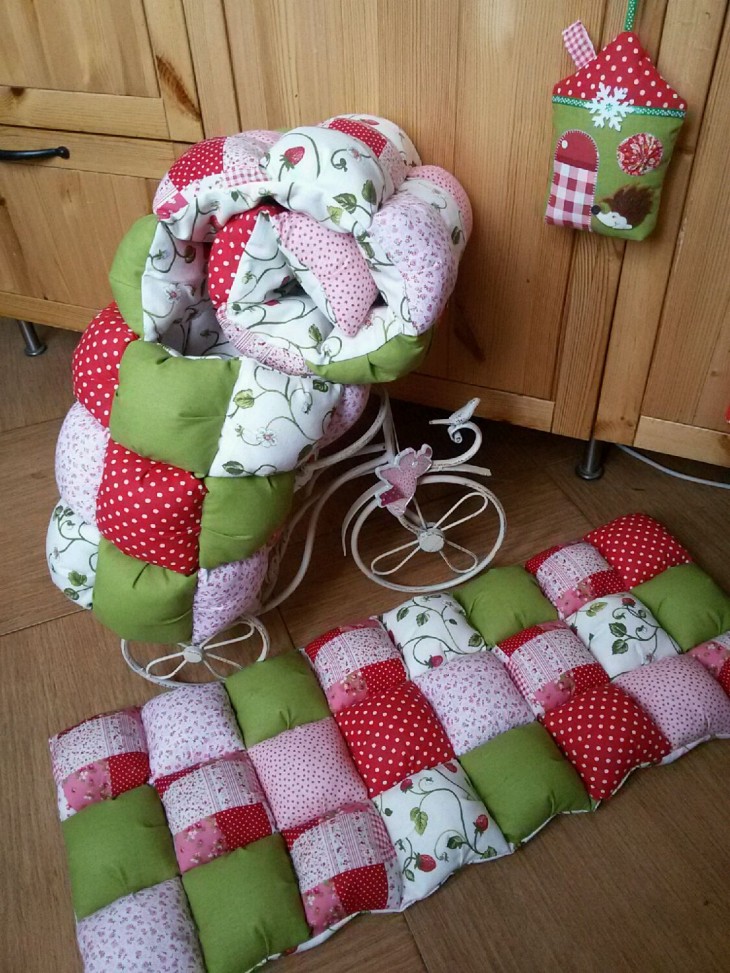
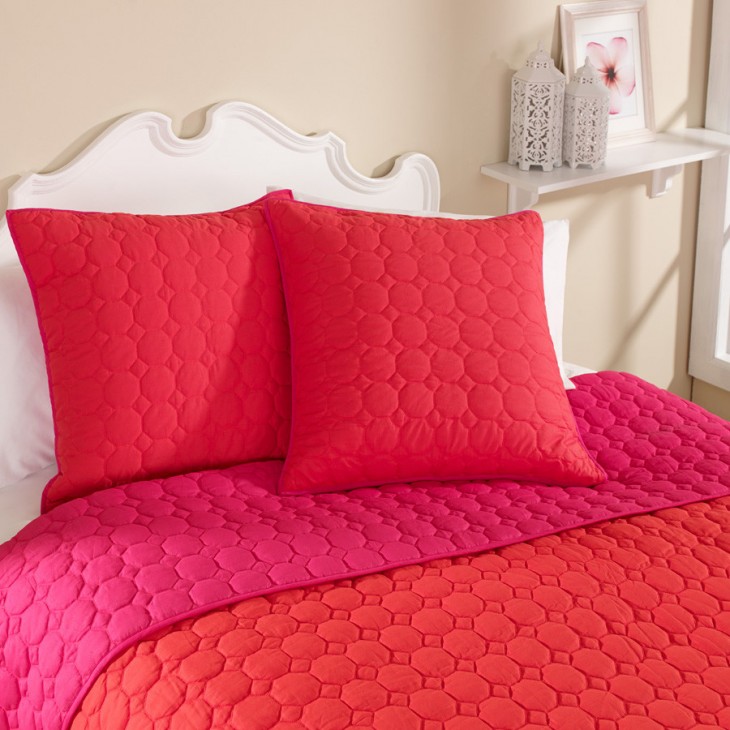
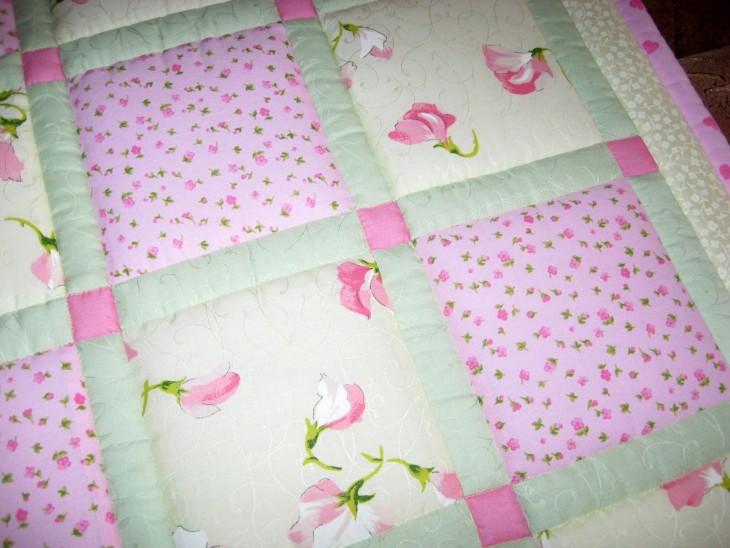
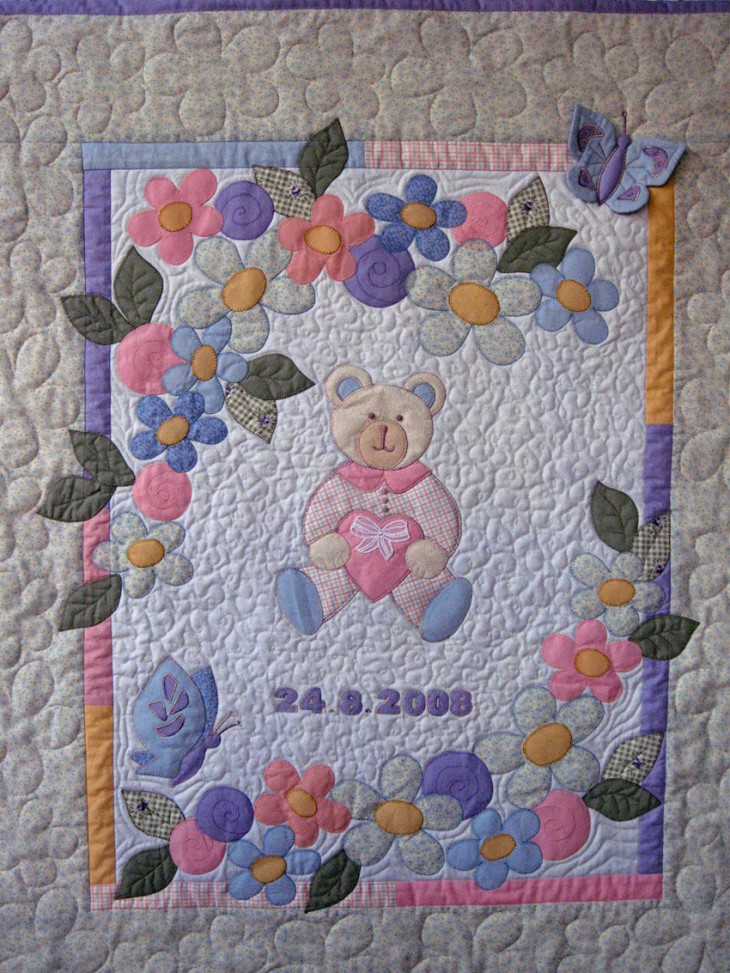
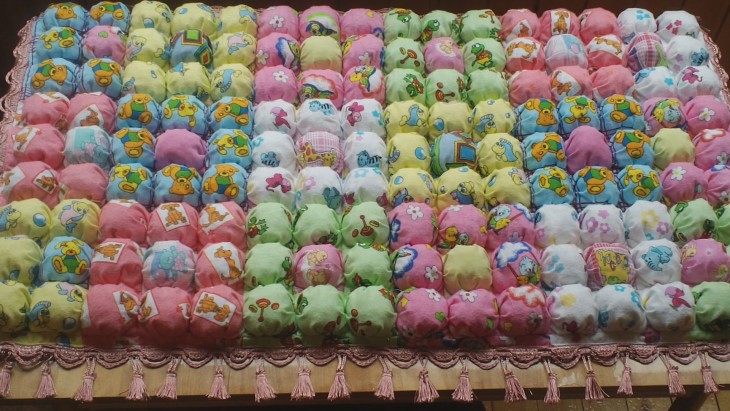
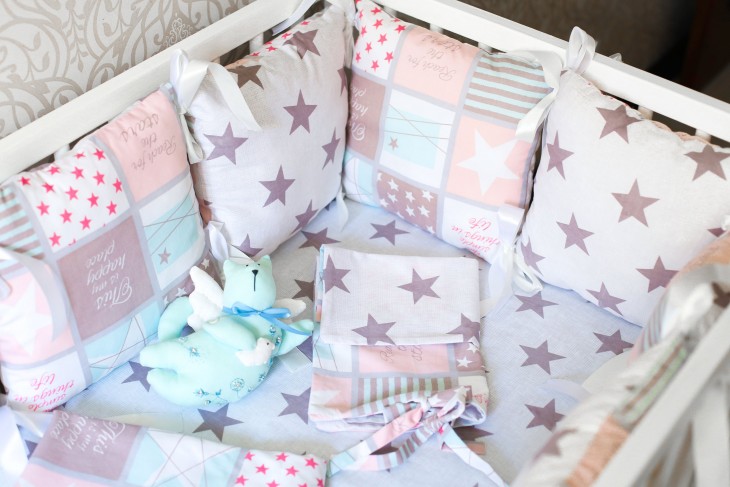
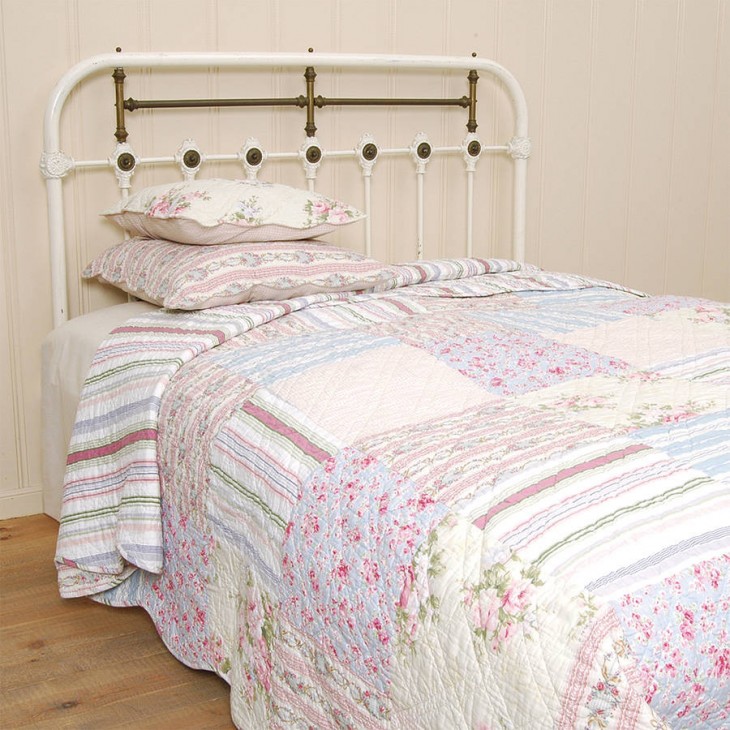
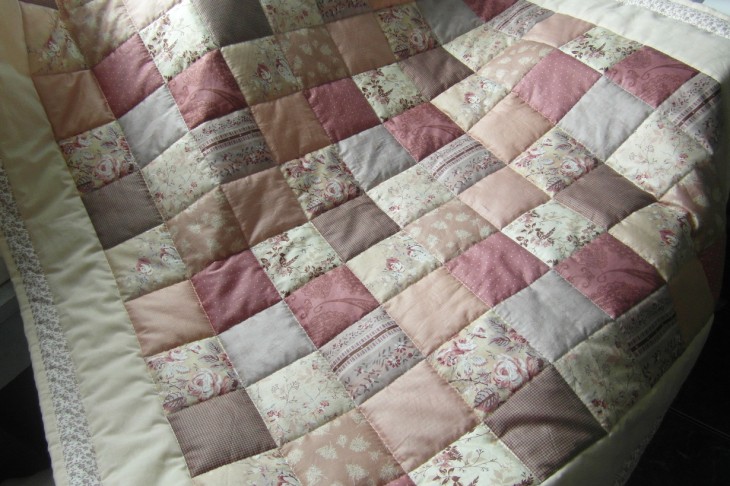
Do-it-yourself patchwork quilt creates a unique atmosphere of home warmth and coziness. It can decorate your home or be a wonderful gift for your friends.

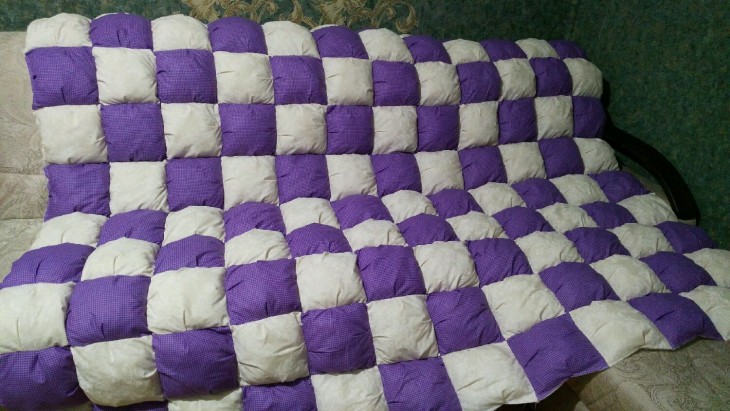
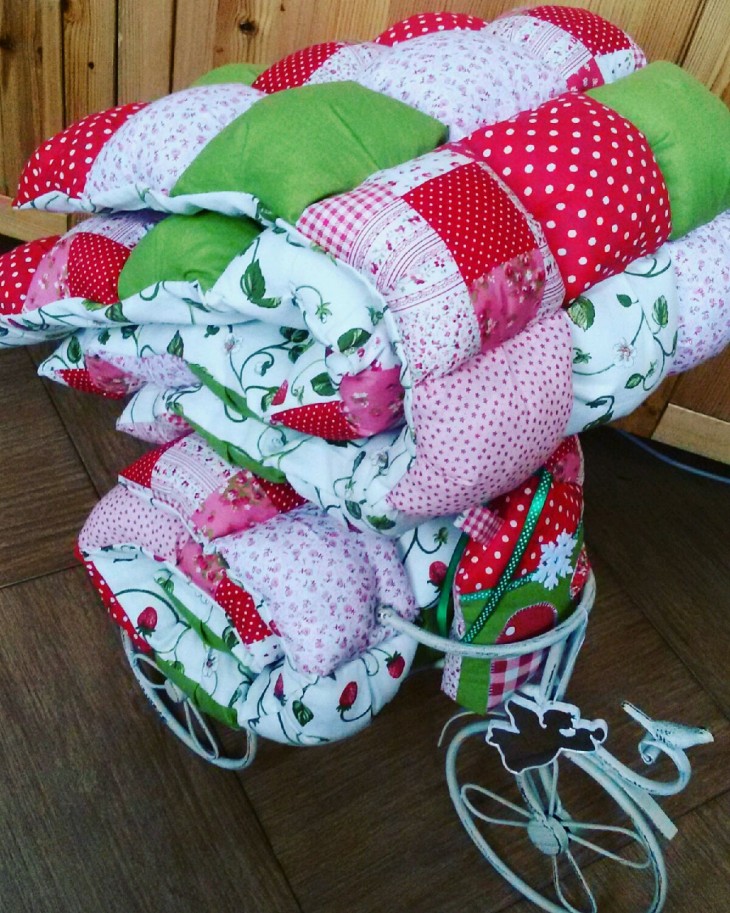
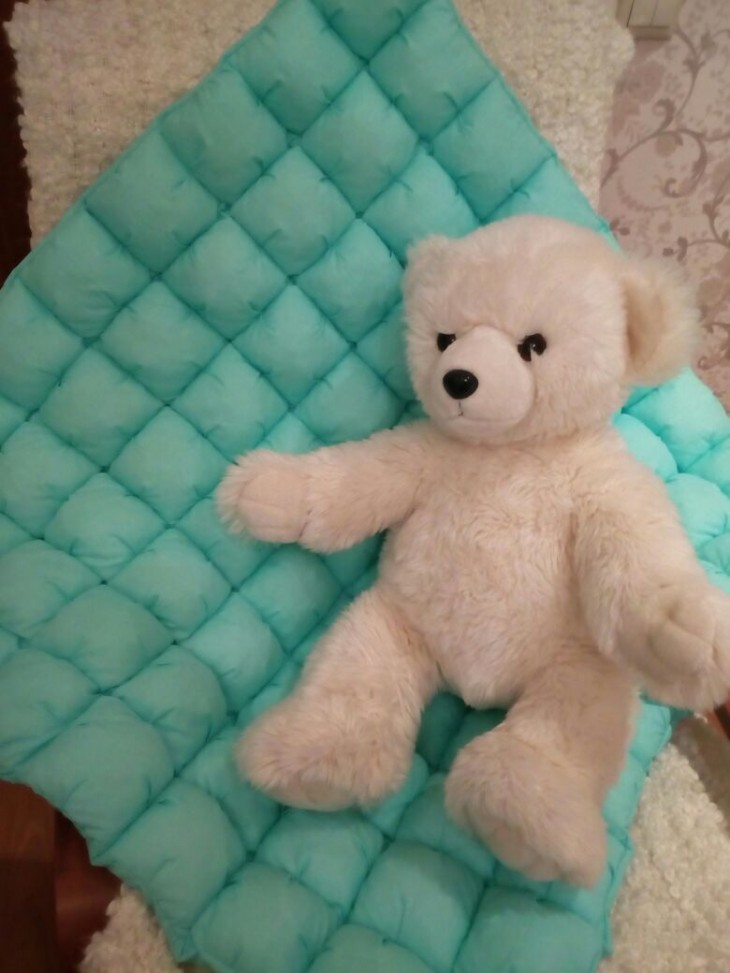
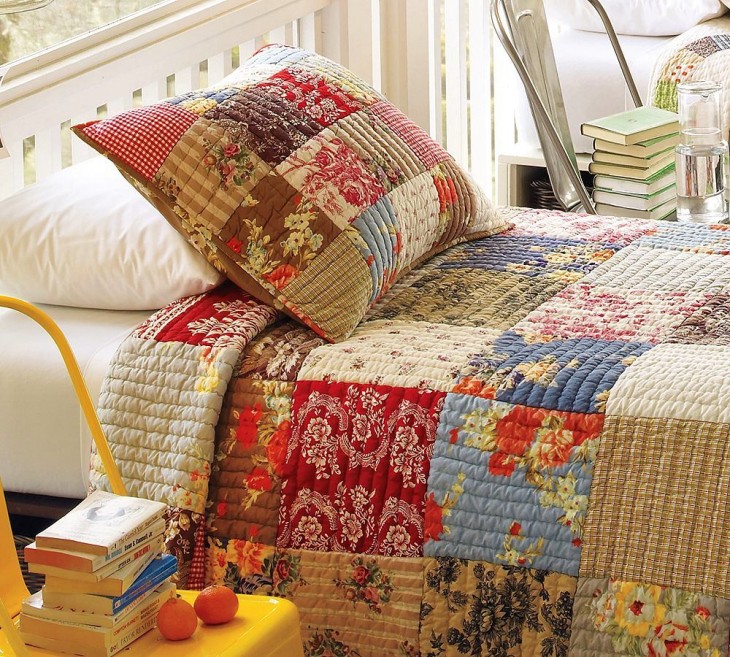
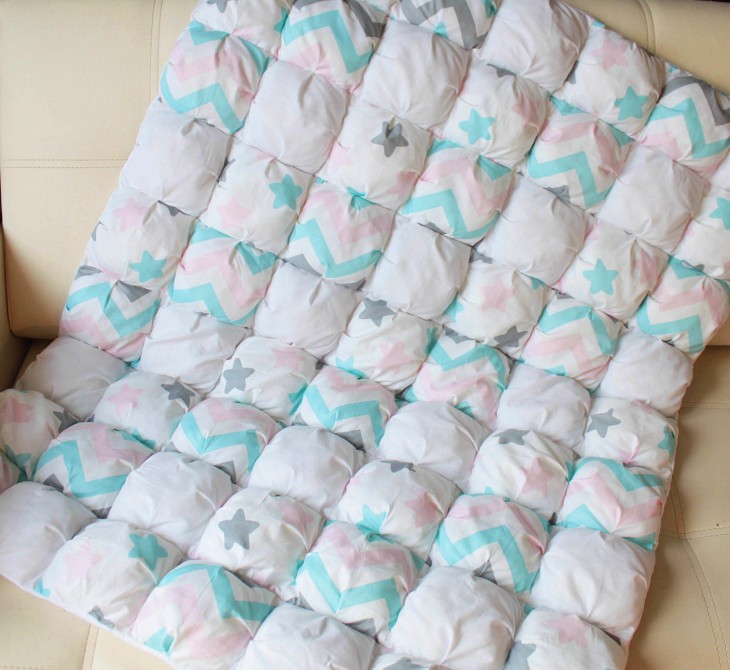
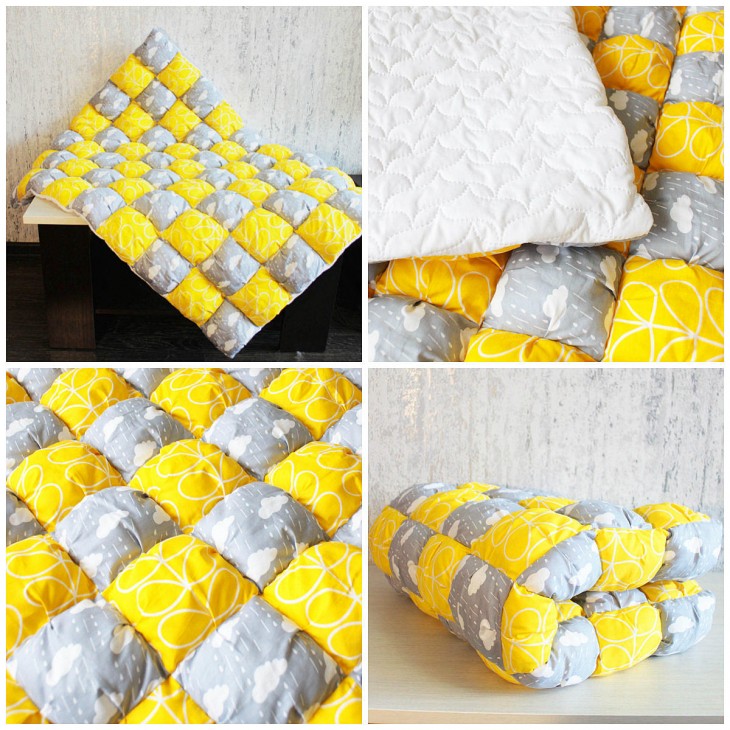
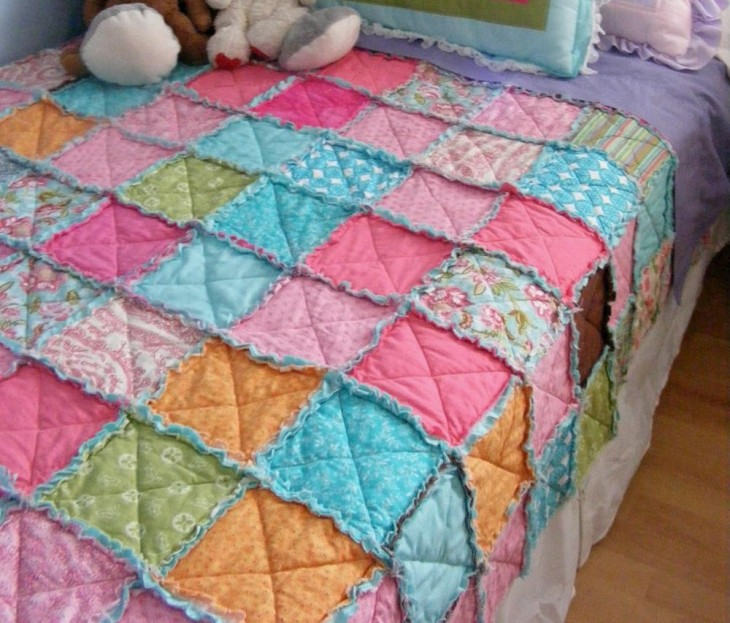
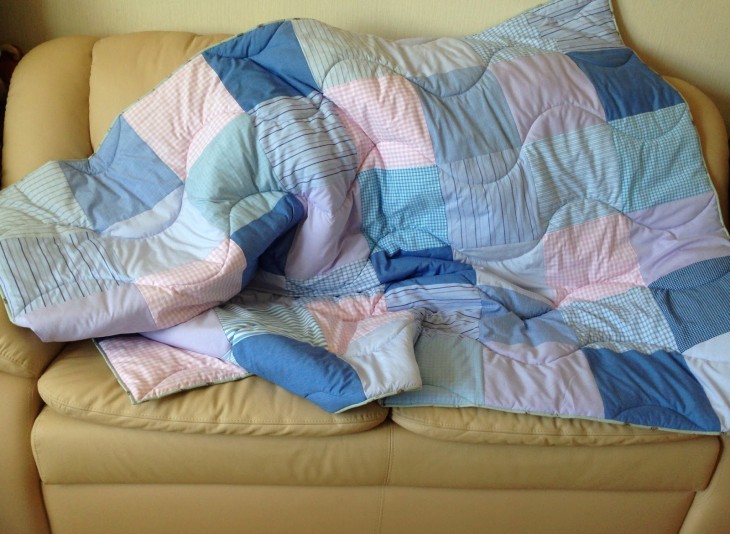
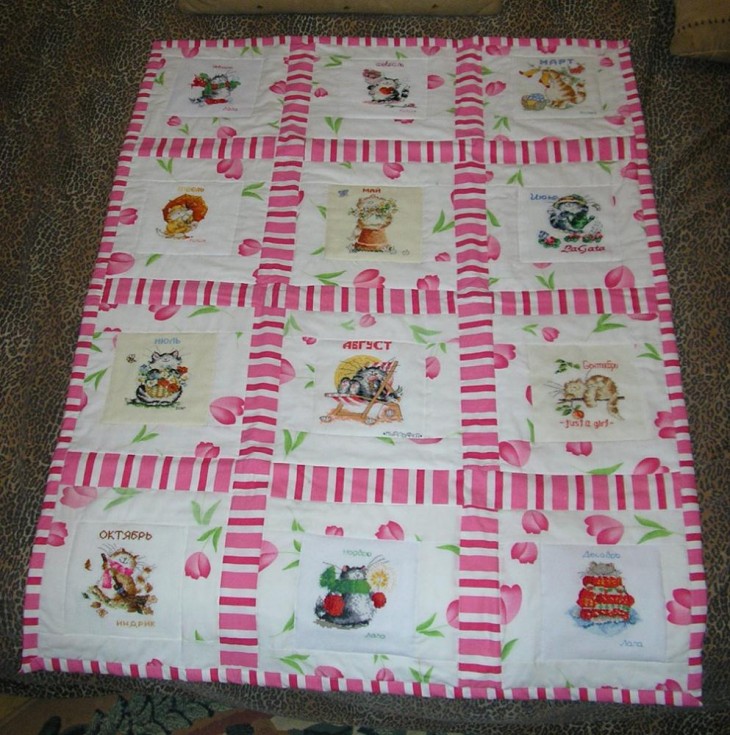
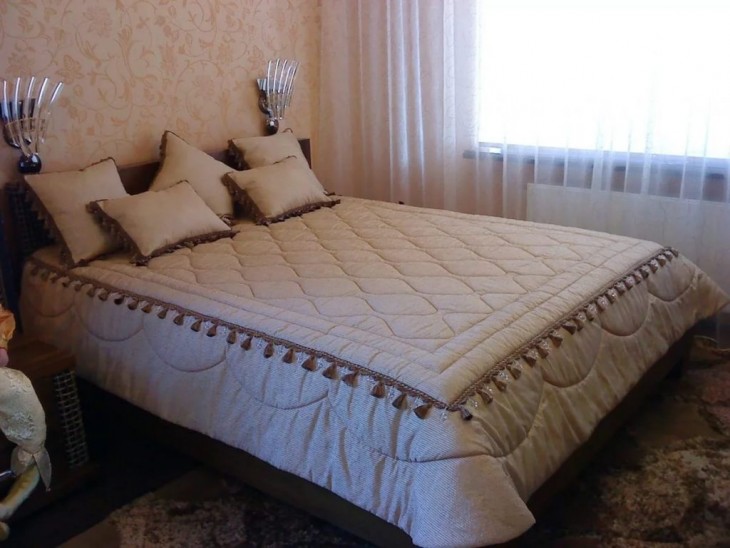
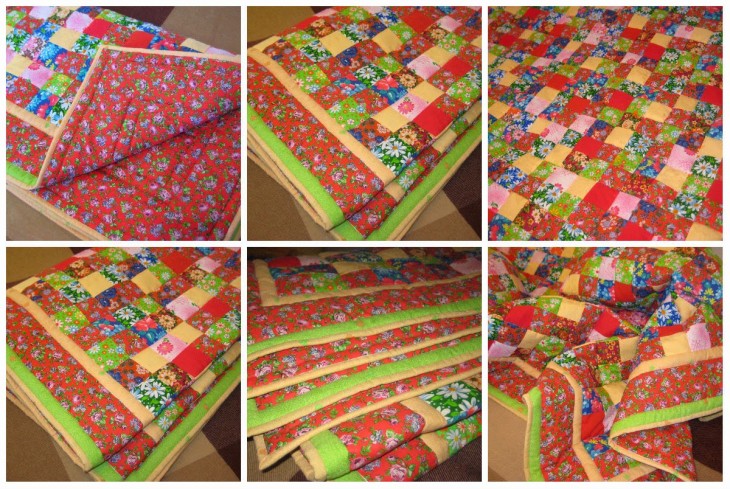
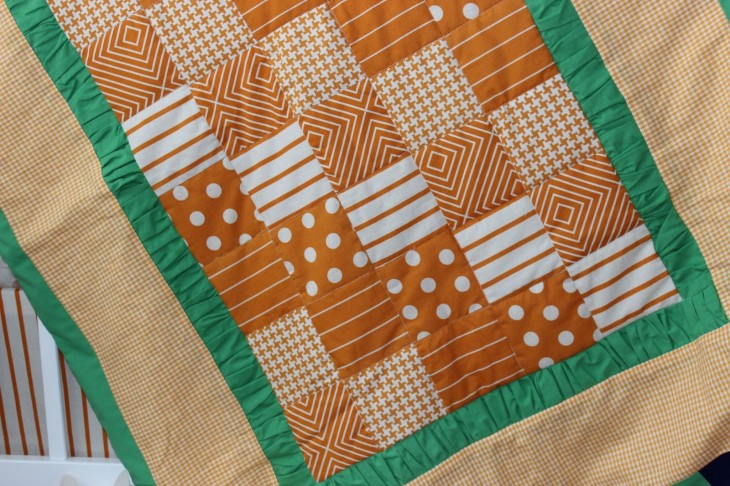
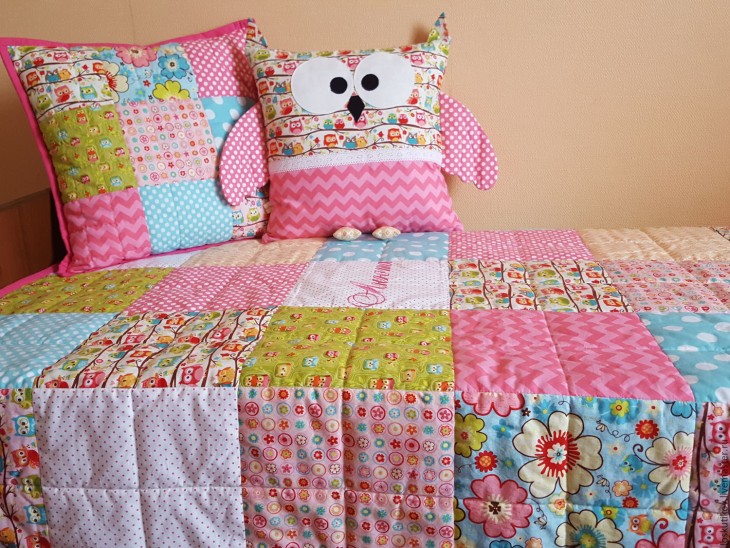
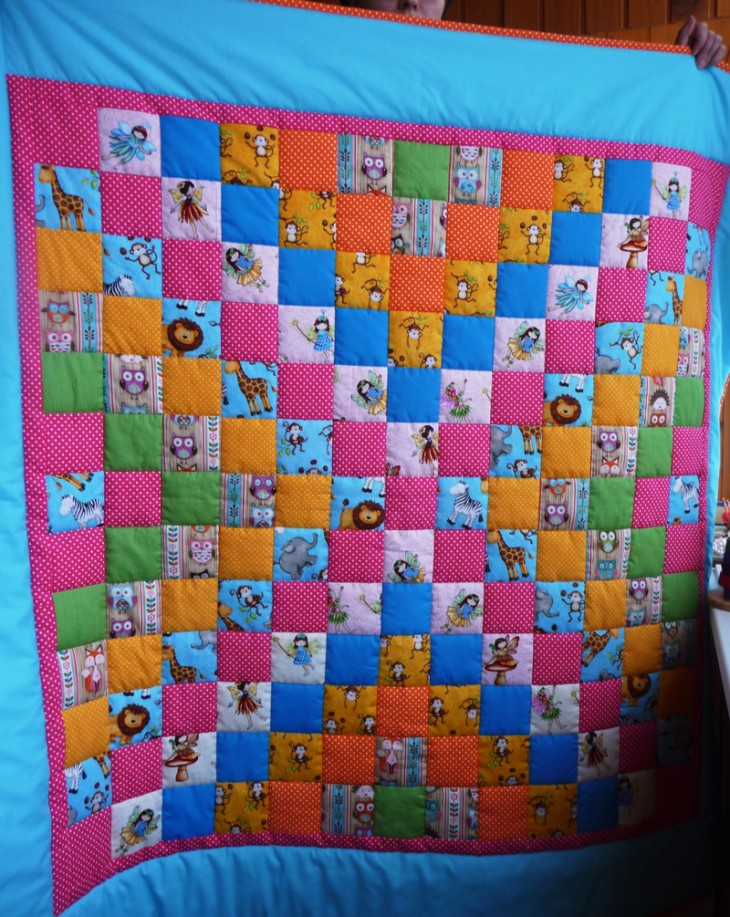
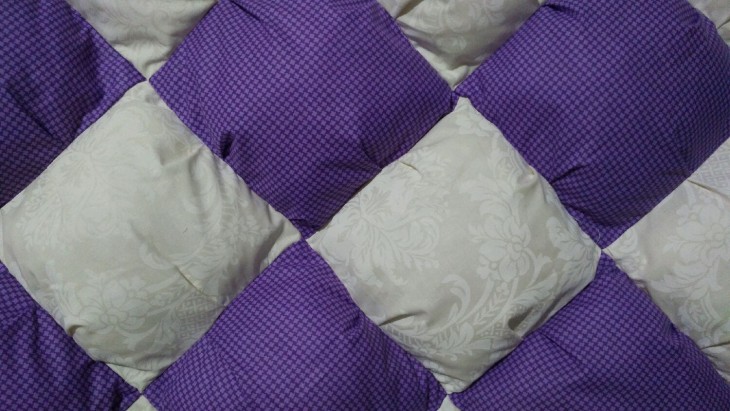
DIY blankets photo