When landscaping a house after leveling the floor, everyone wants to have an ideal plane with a beautiful sheen or pattern. Every year, new ways of decorating living quarters are developed and implemented, including a self-leveling bulk floor, which at first only professionals could do.
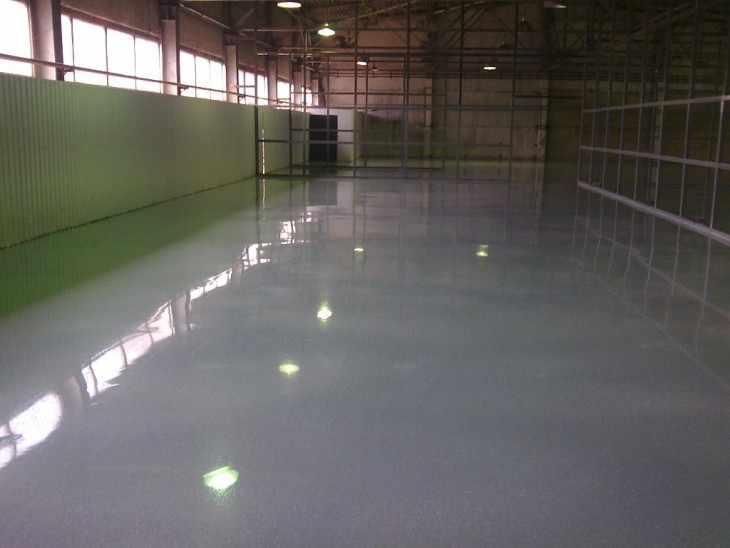
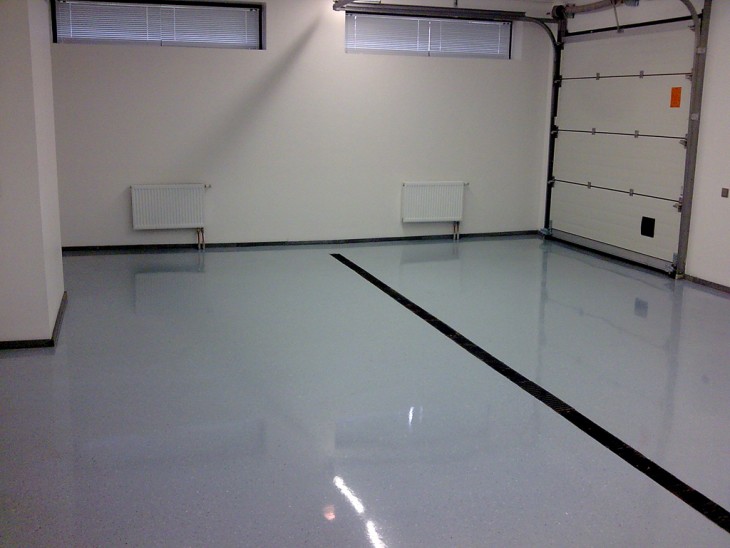
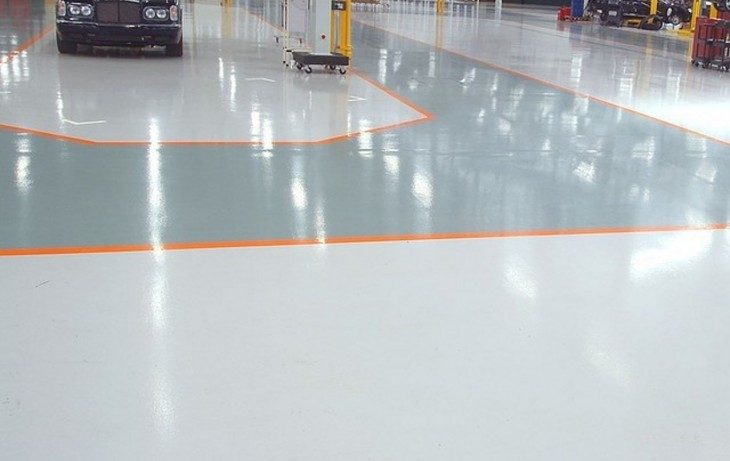
Hardening, self-leveling surfaces gradually displace some traditional materials. Aesthetics, convenience, reliability and lack of seams are the main characteristics inherent in bulk polymer.
This technology is easy to learn if you follow the advice of specialists.
Review Content:
What is important to know about bulk floors
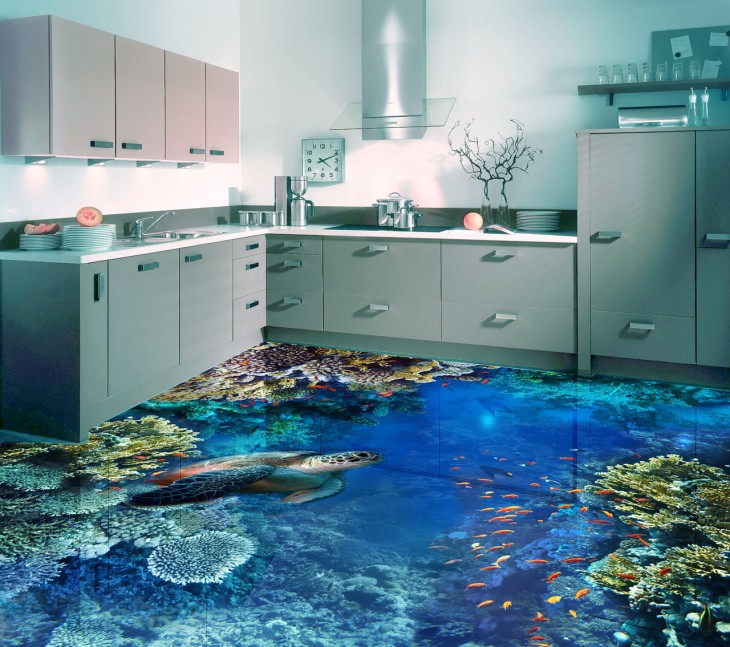
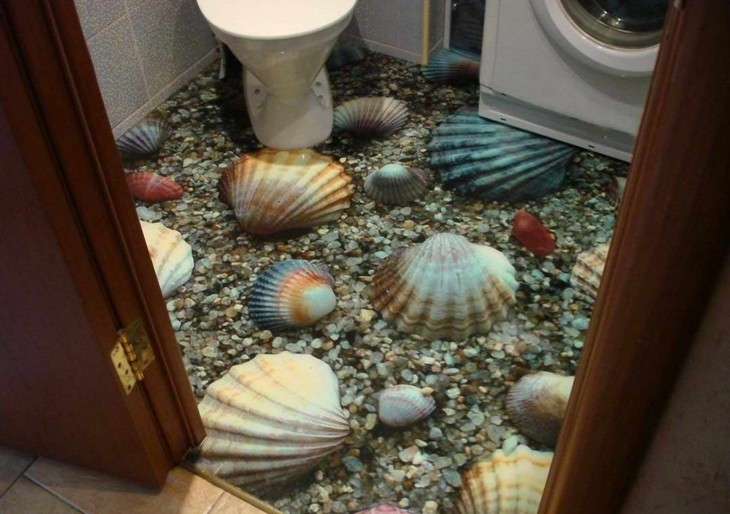
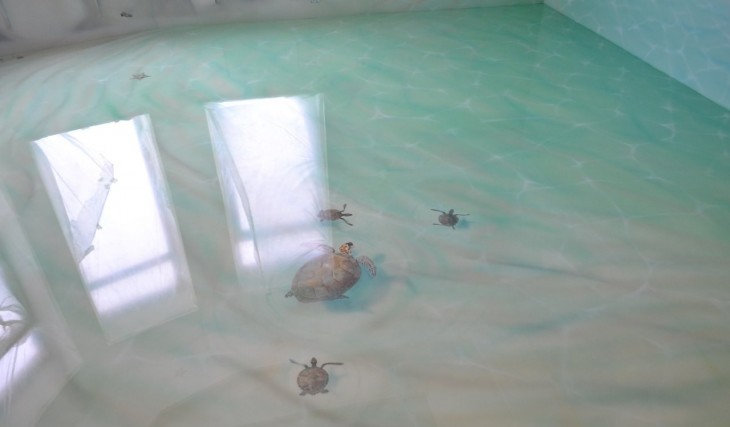
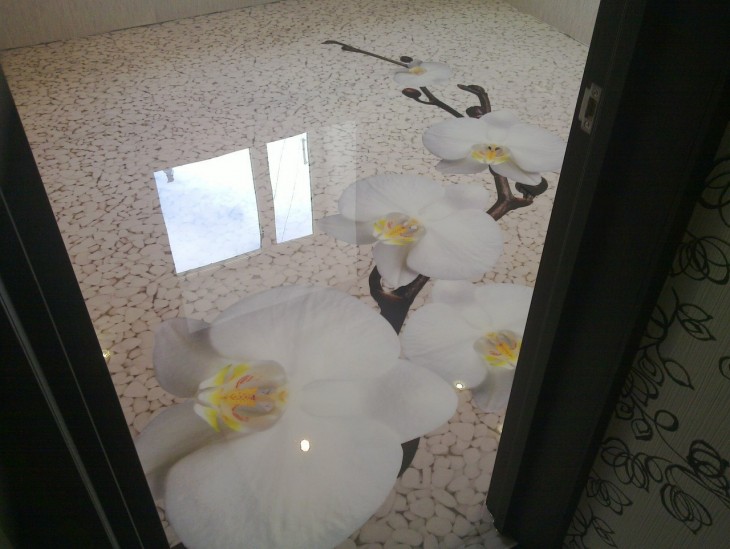
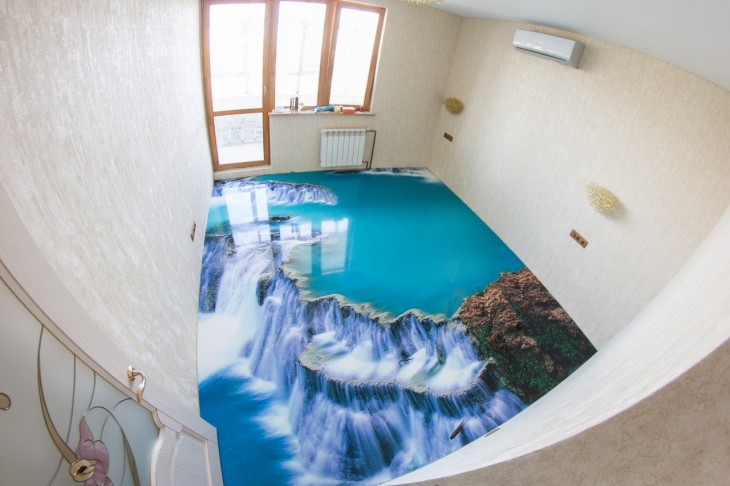
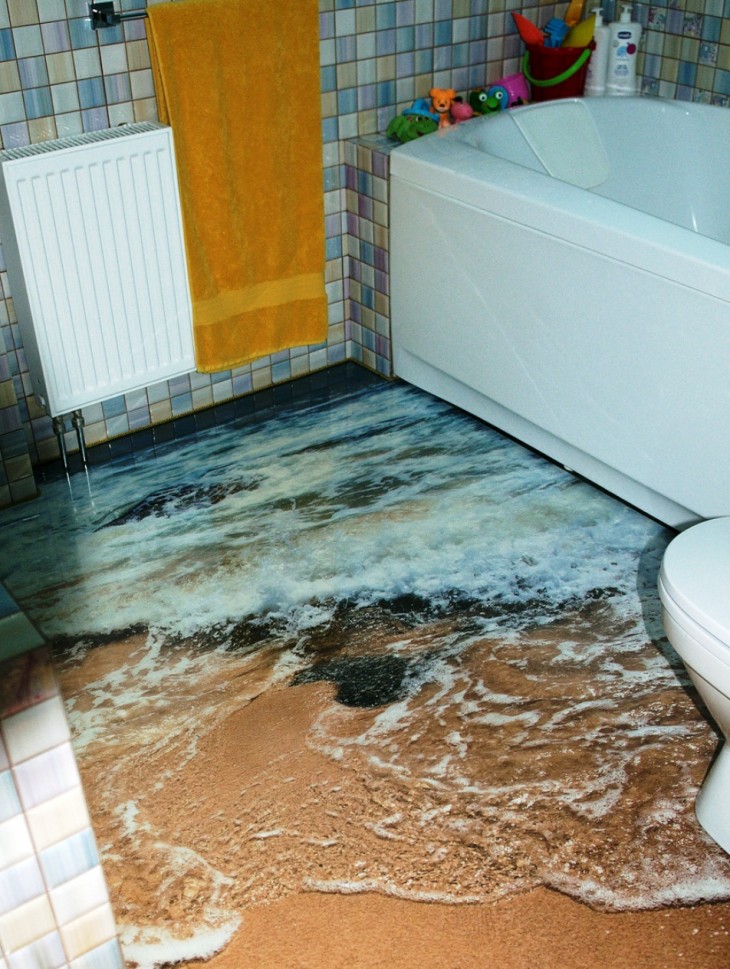
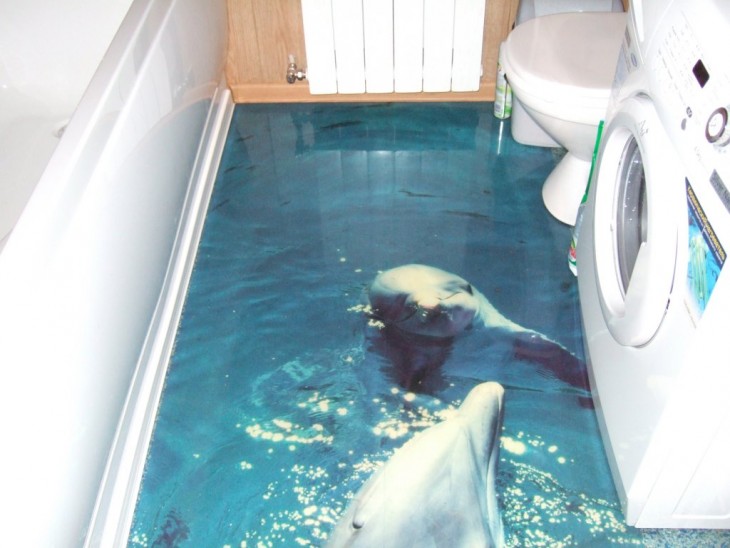
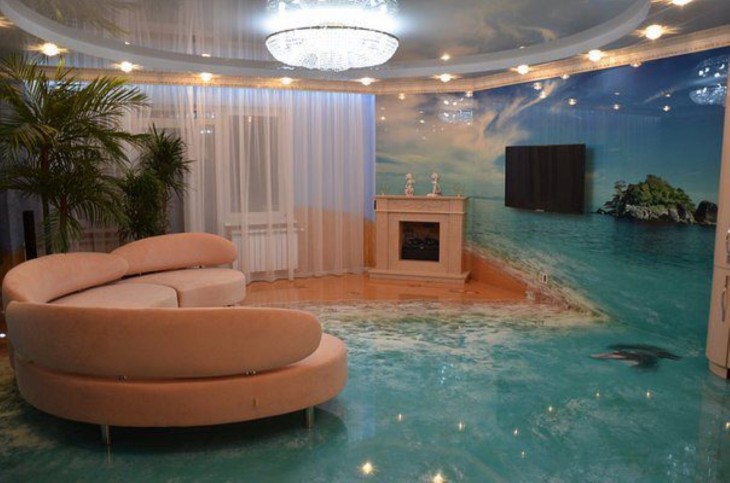
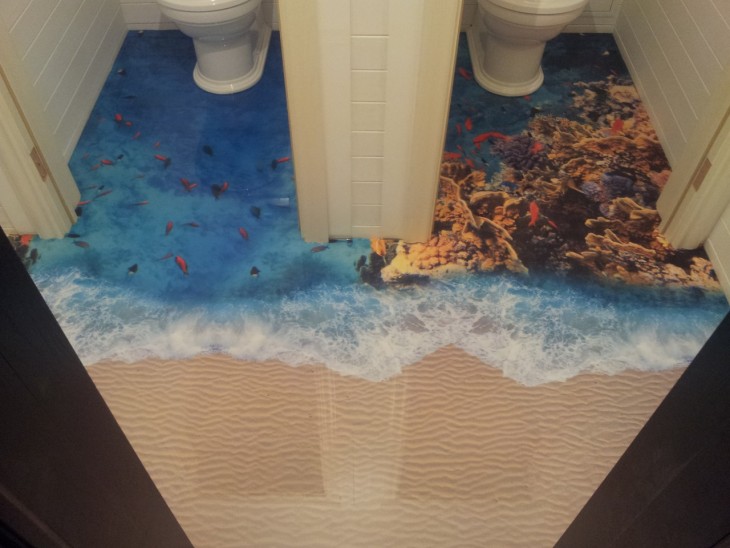
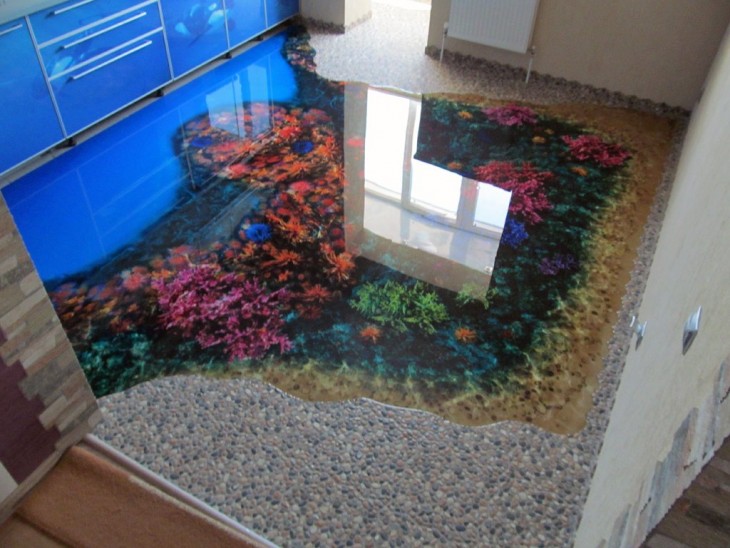
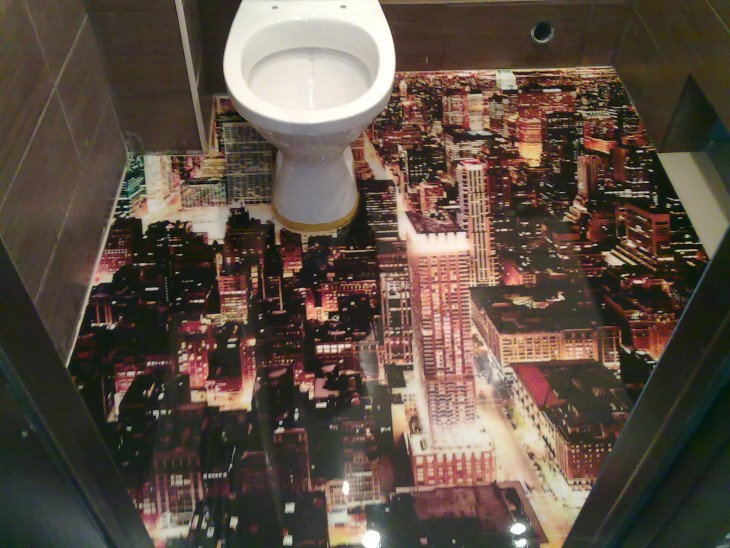
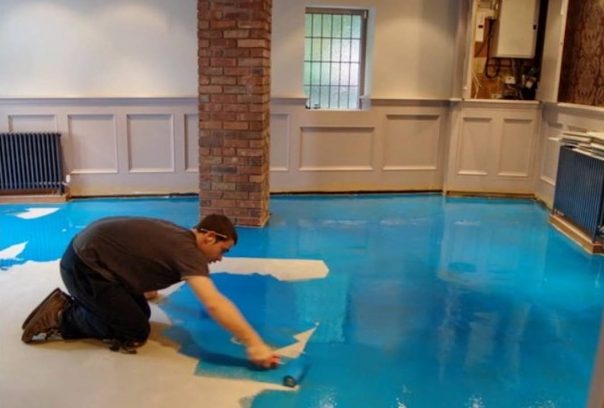
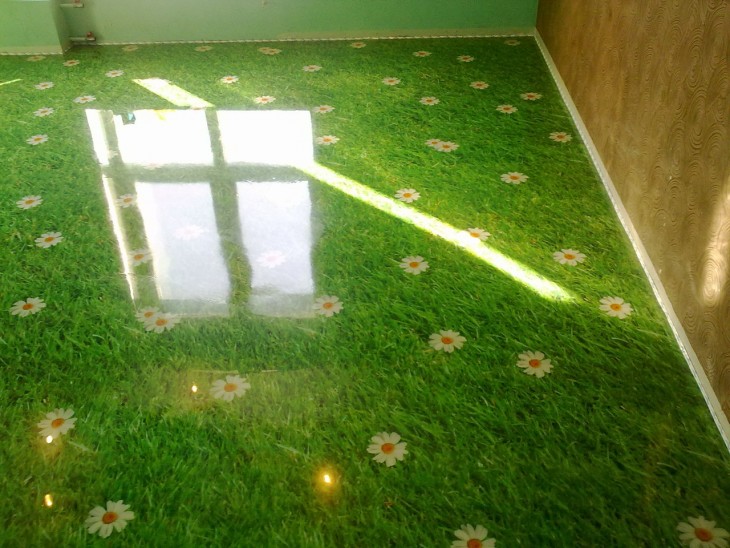
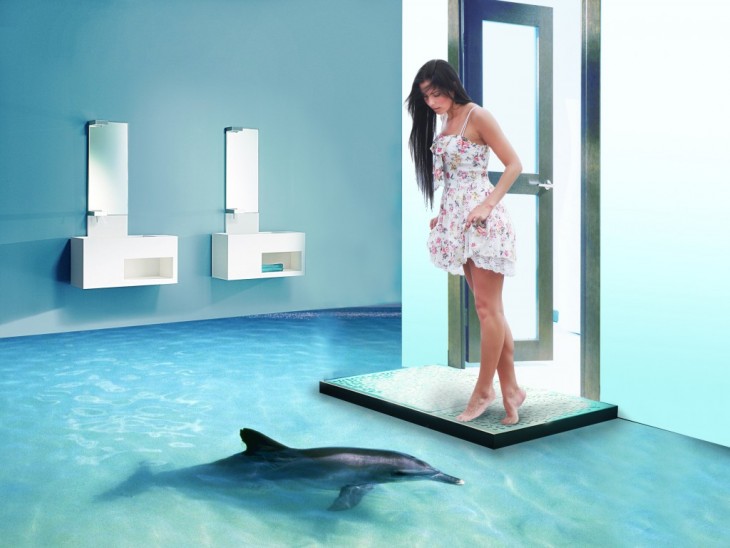
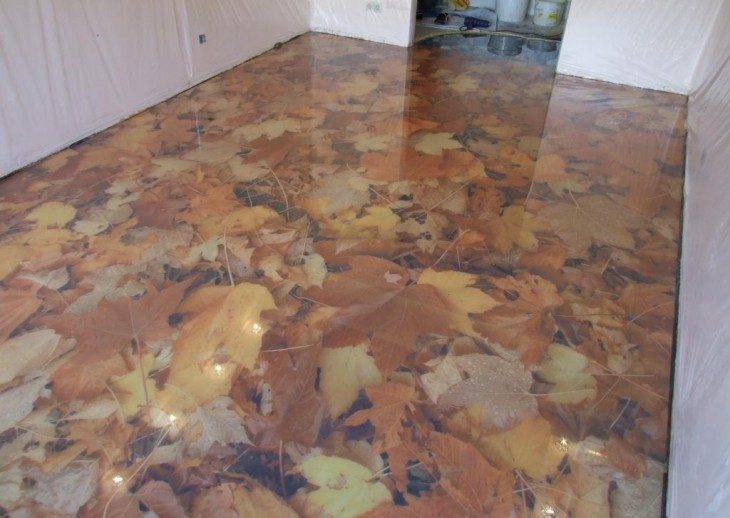
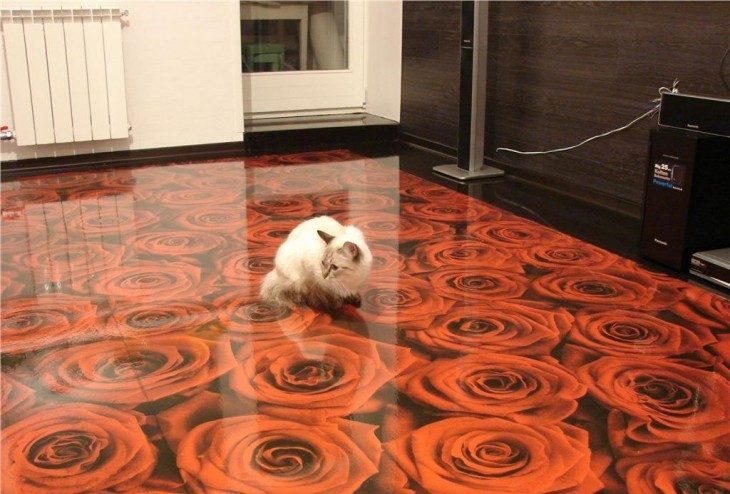
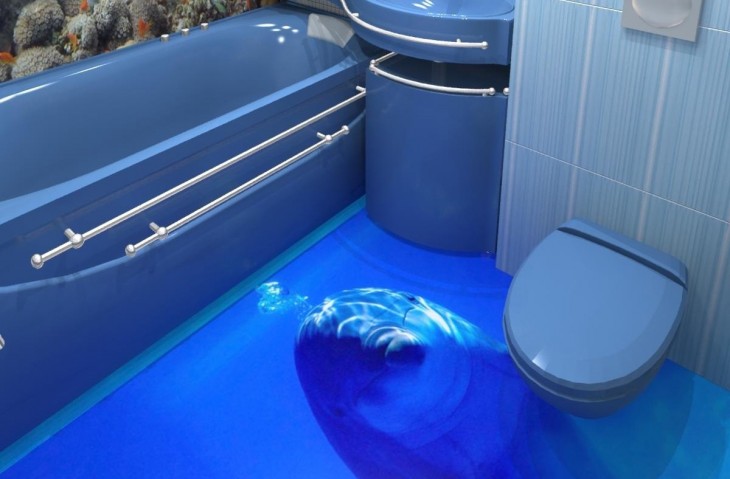
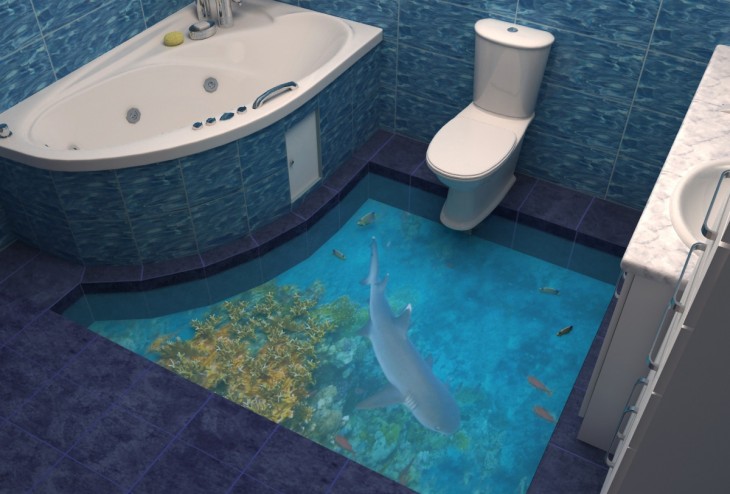
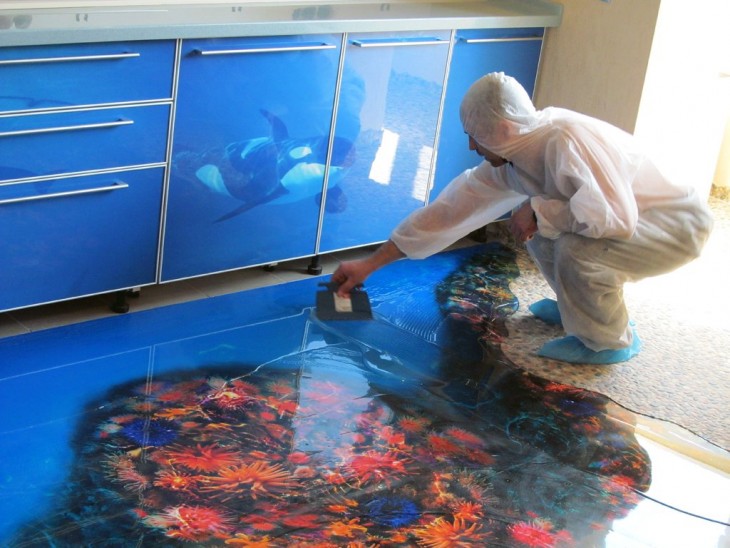
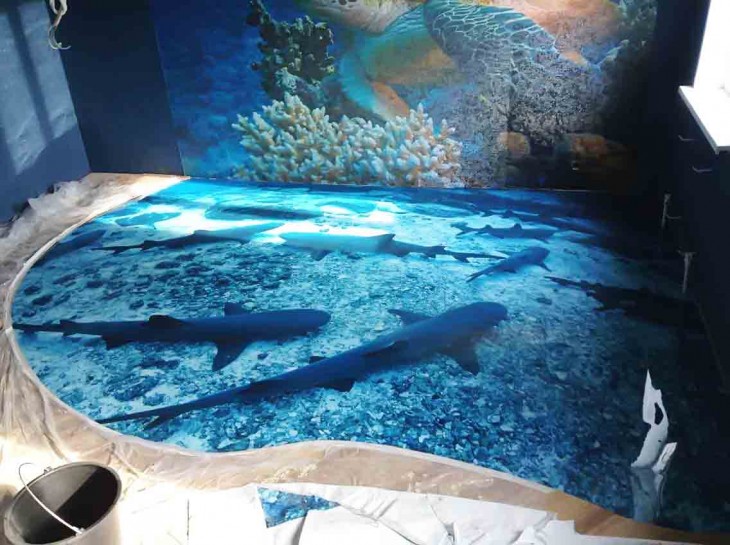
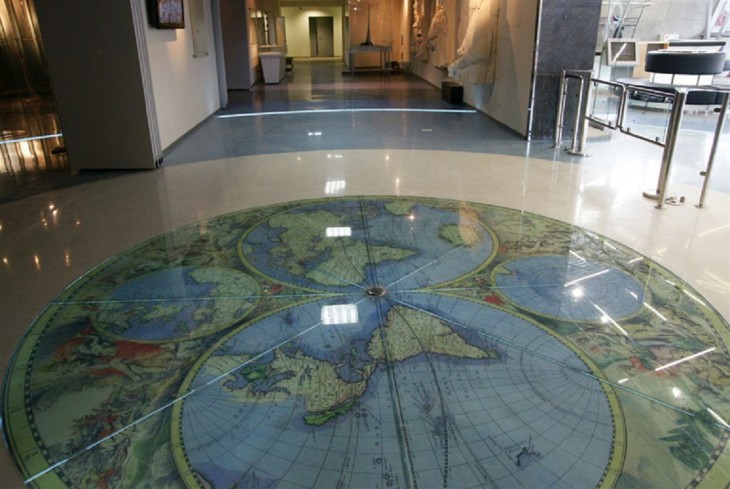
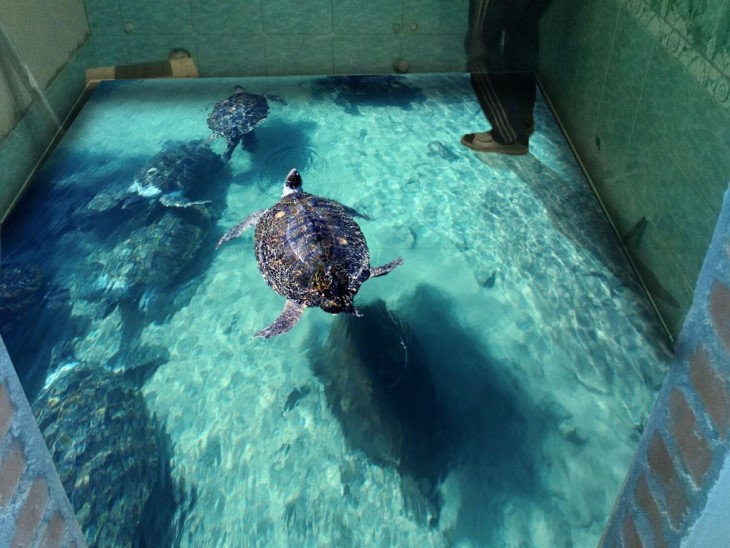
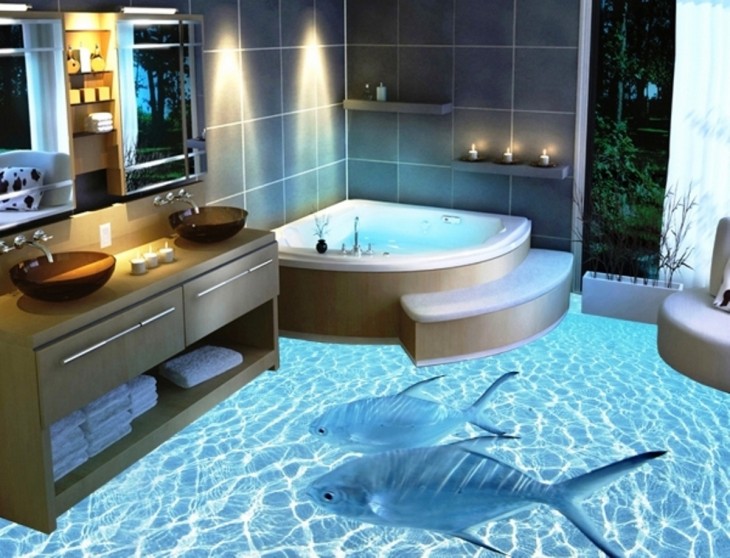
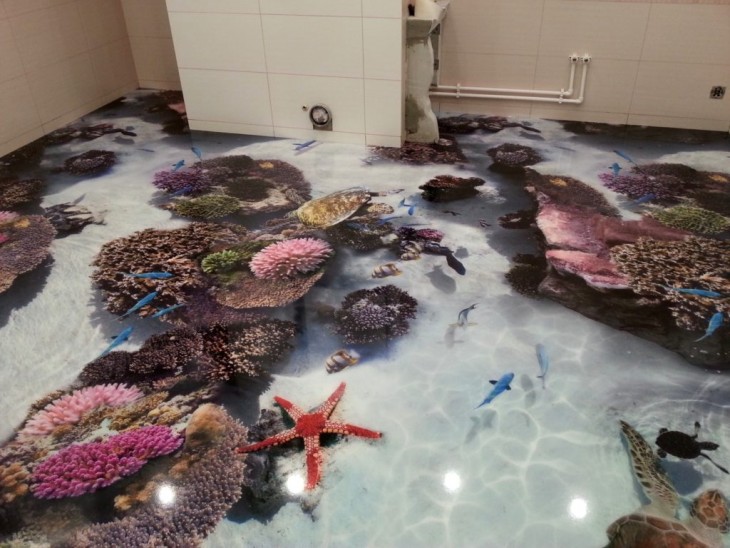
Not everyone had a chance to see an aesthetic bulk floor with a 3D pattern, but many people looked at such a surface in supermarkets and salons. If you want to have similar beauty, they most often turn to specialized companies.

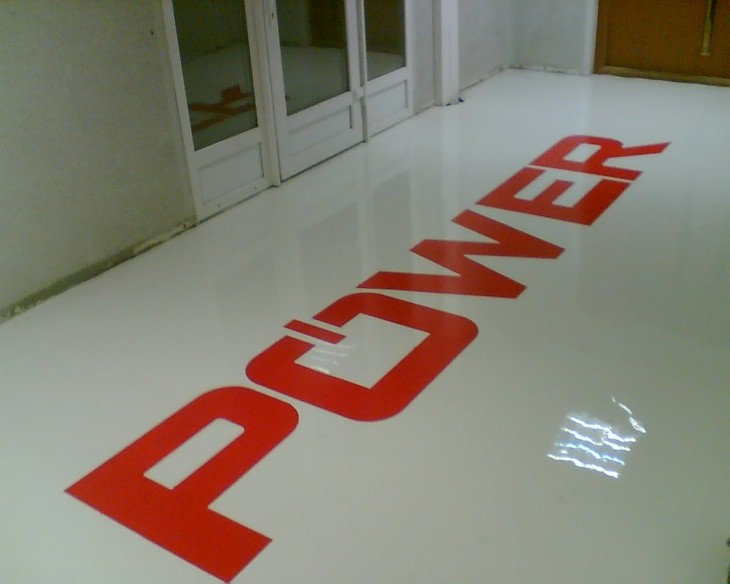
But a simple self-leveling polyurethane self-leveling floor is also available for those who like to make repairs with their own hands.
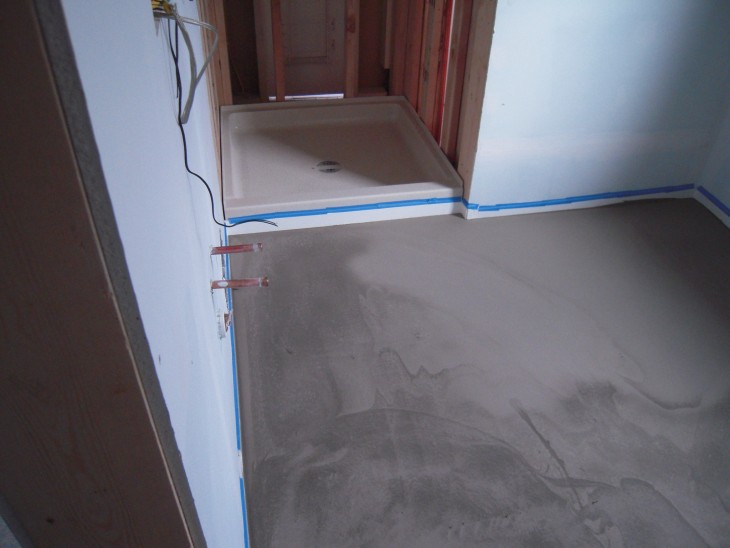
Floors for a seamless topcoat need to be properly prepared. It can be poured onto any hard, level surface:
- ceramic tile;
- cement screed;
- fractional fillers (colored pebbles);
- concrete slabs after leveling;
- the "warm floor" system in concrete;
- wooden floors or slats.
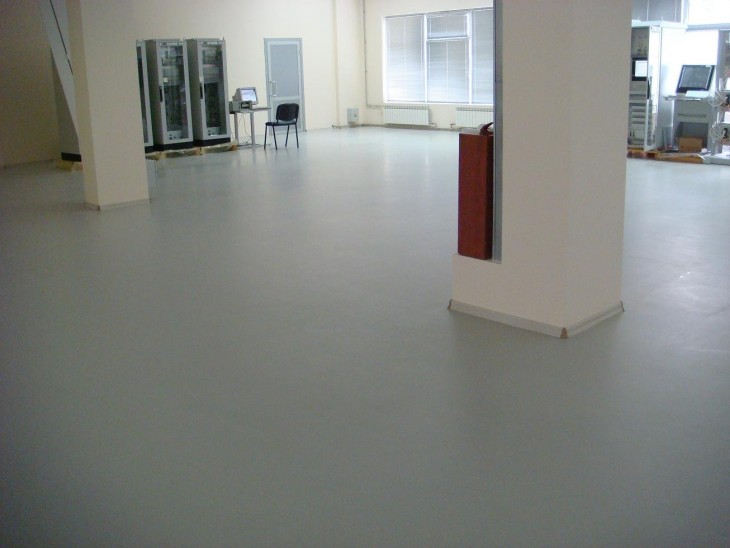
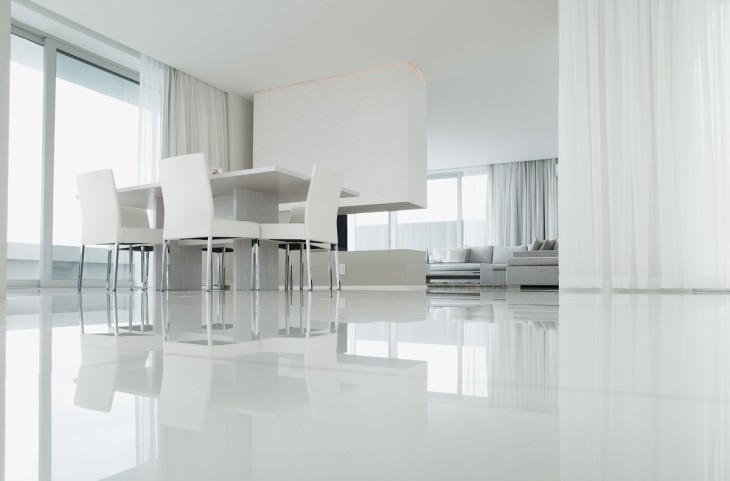
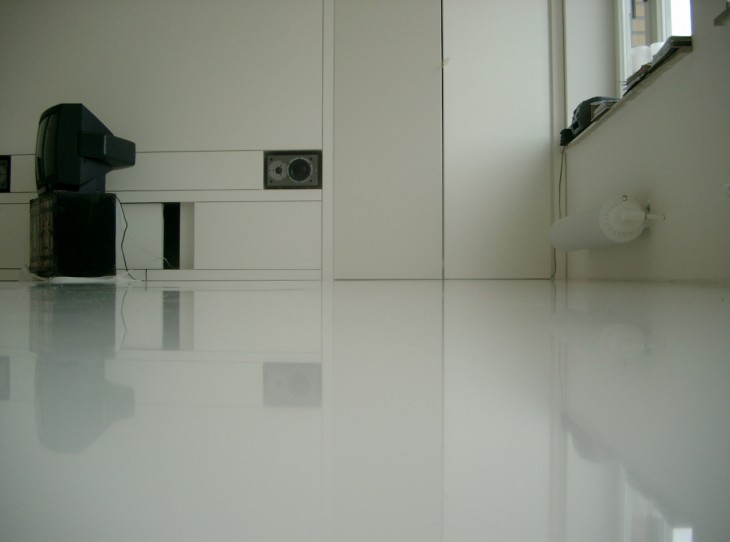
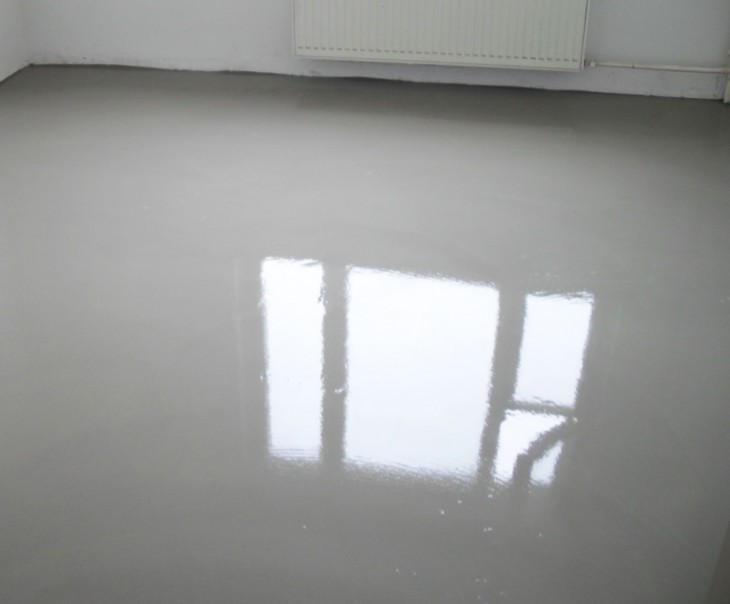
Ideally smooth floors are quite environmentally friendly and safe for health, because they do not emit harmful fumes. After uniform distribution and hardening of the polymer, a wear-resistant and durable base comes out that is not afraid of mechanical damage.
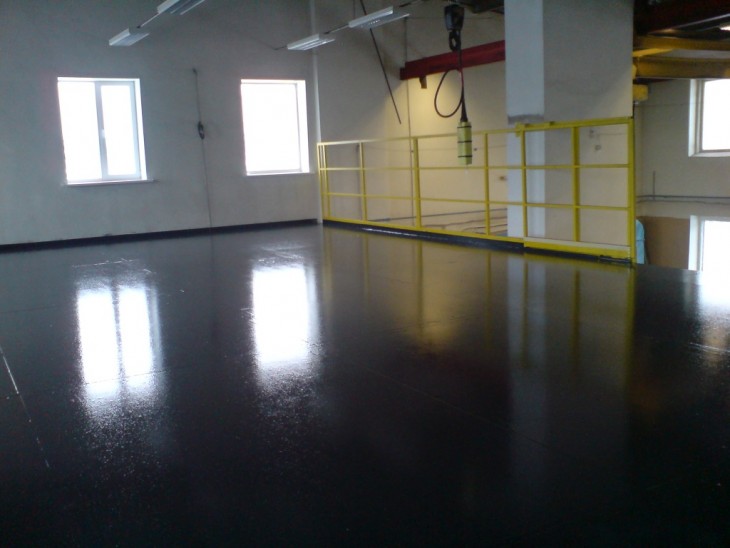
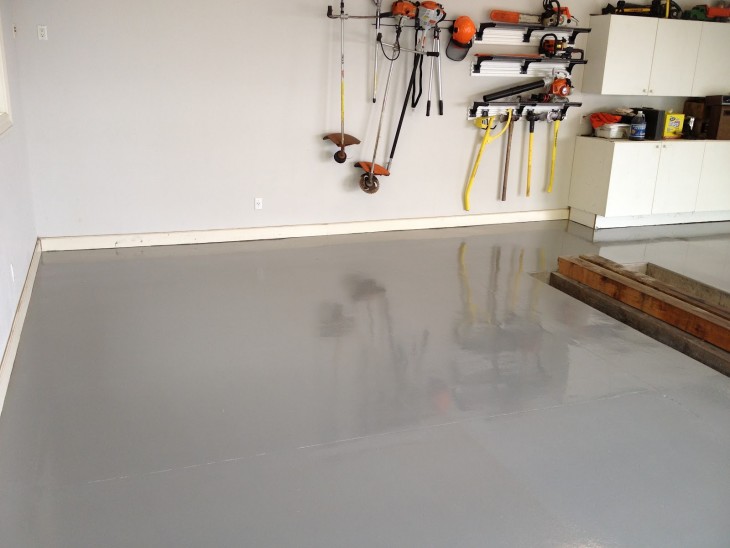
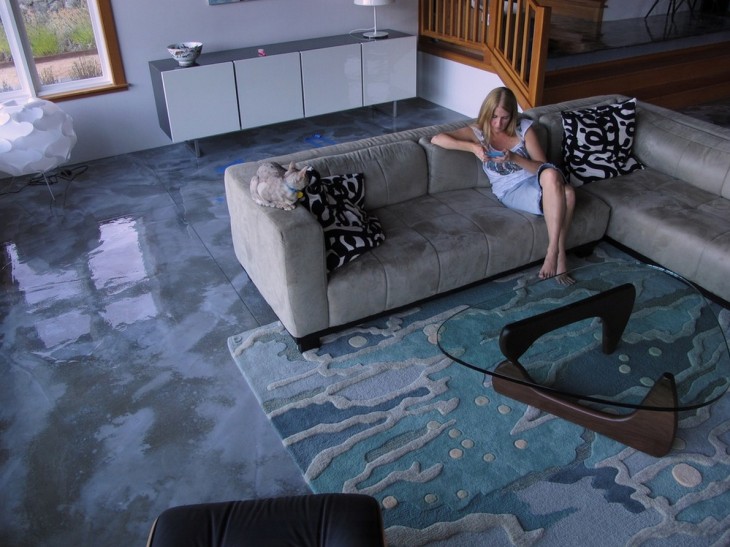
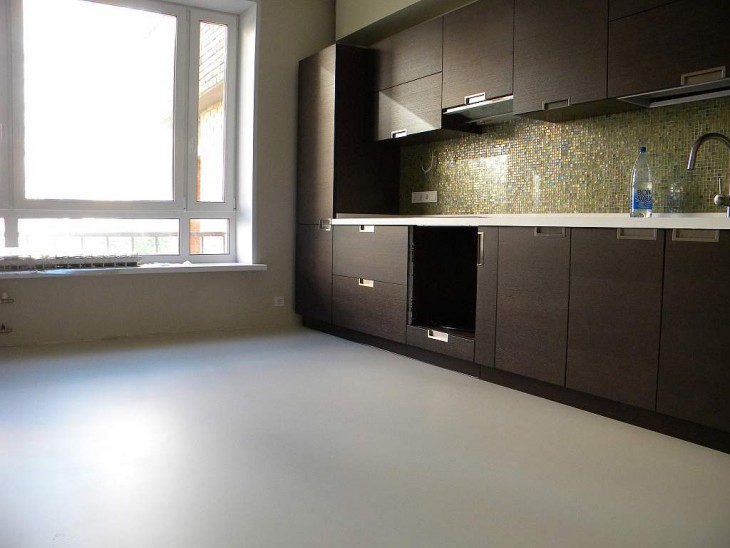
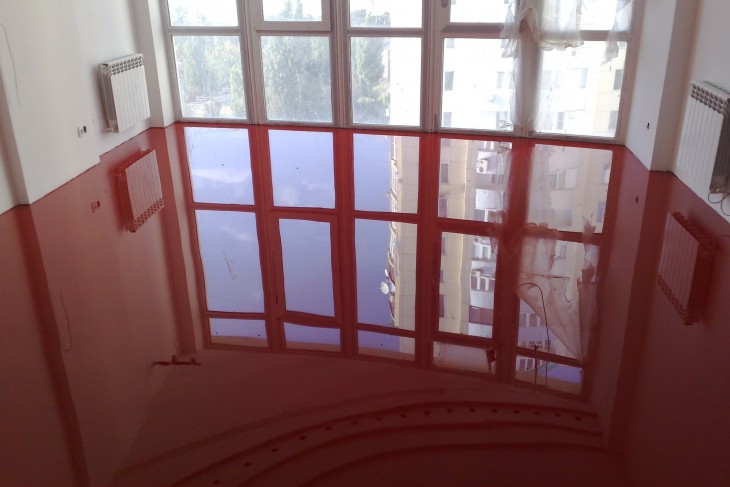
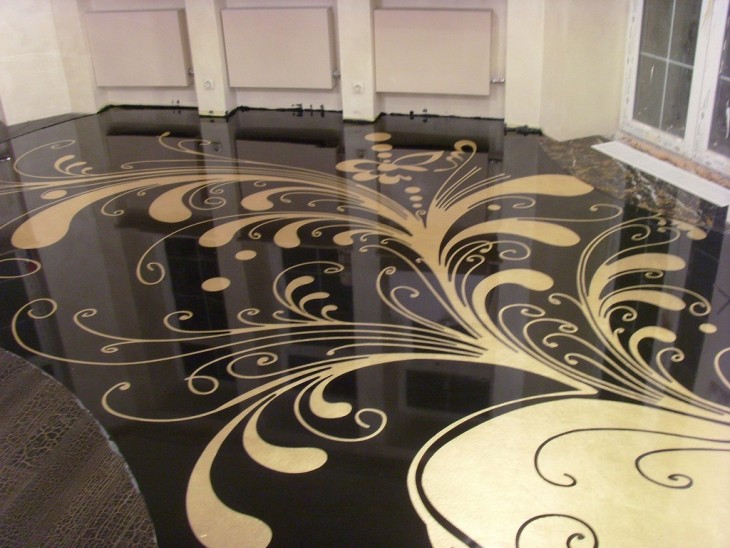
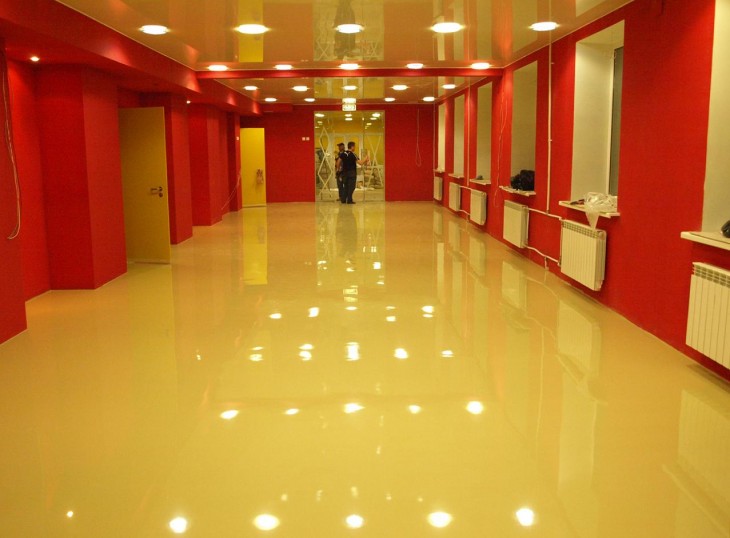
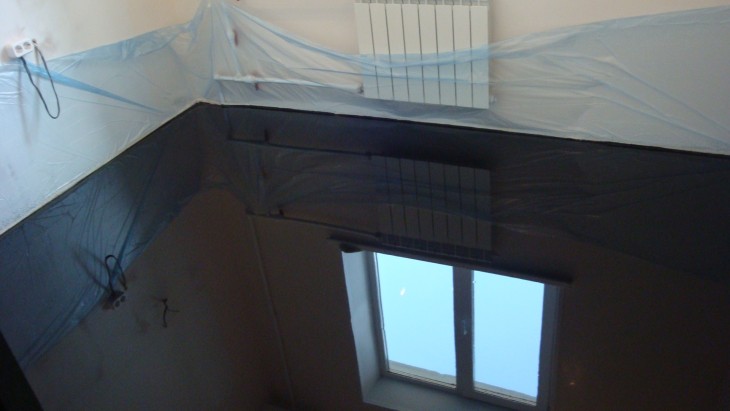
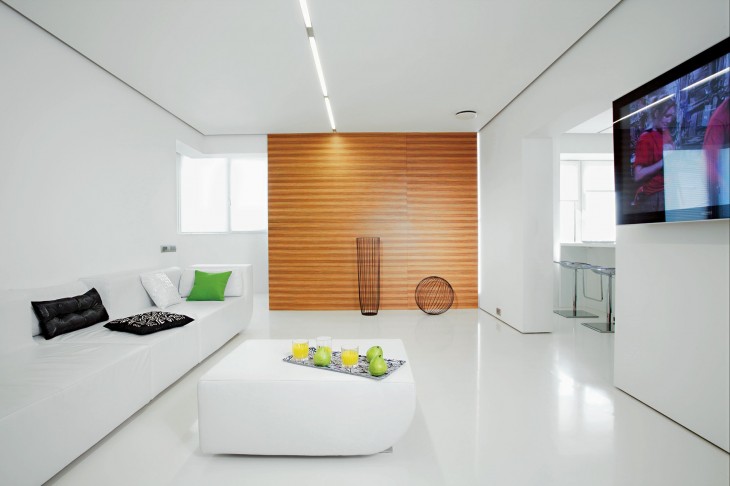
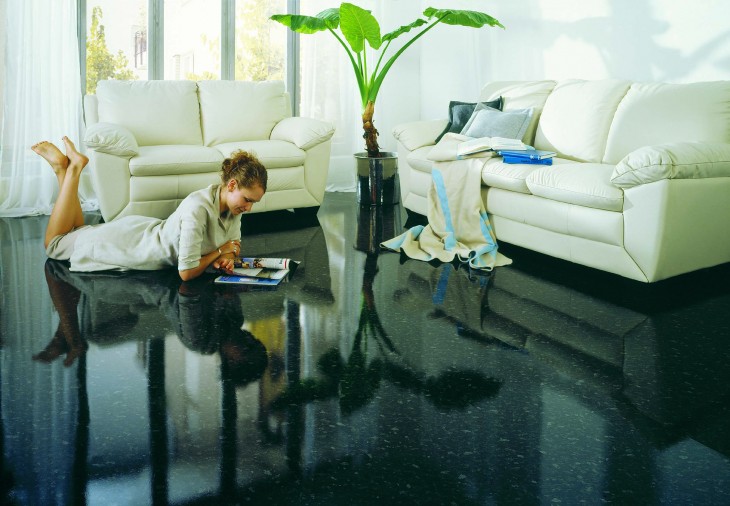
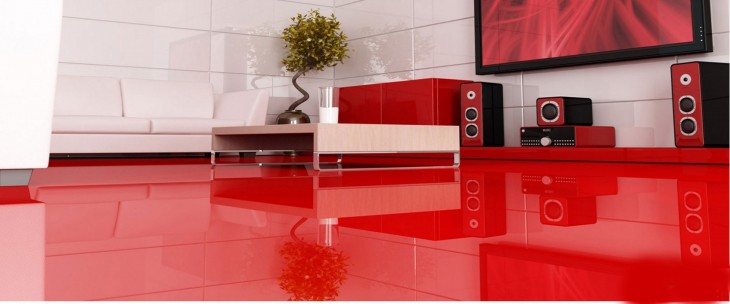
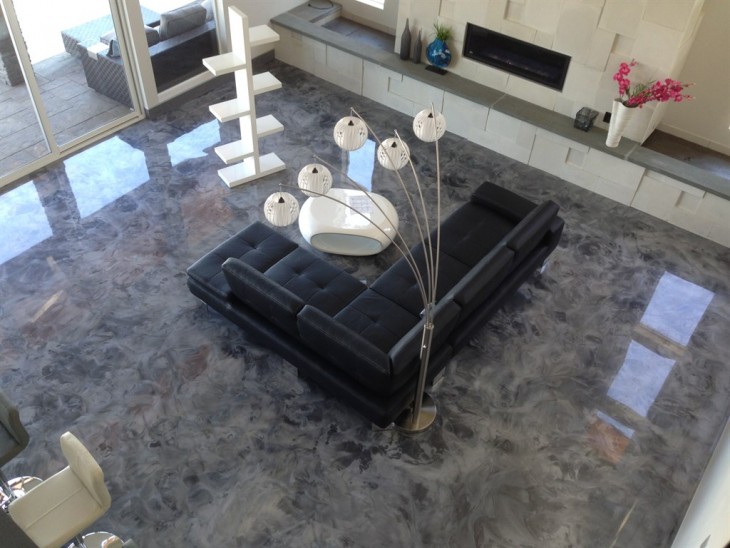
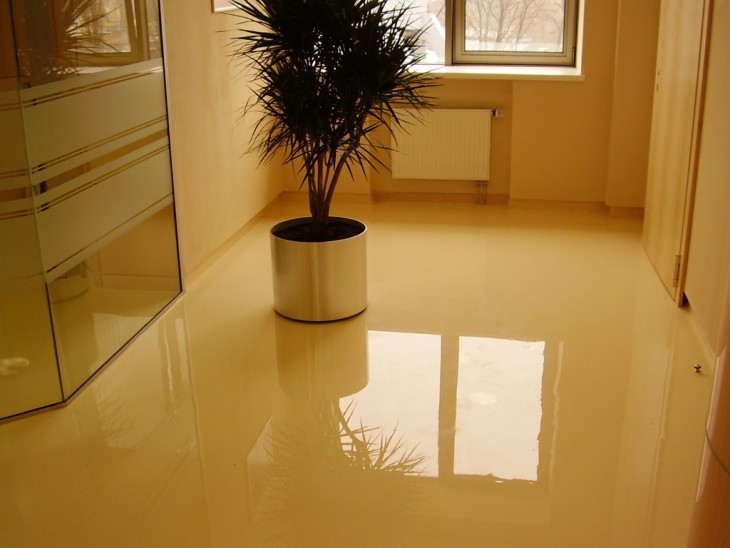
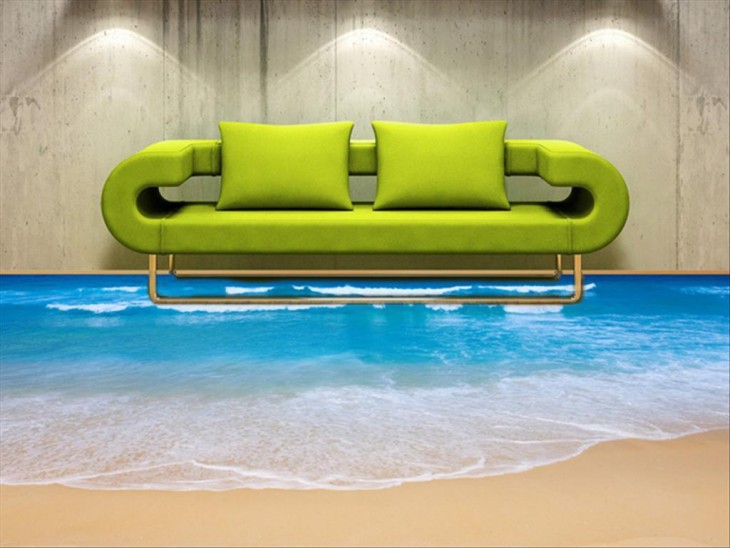
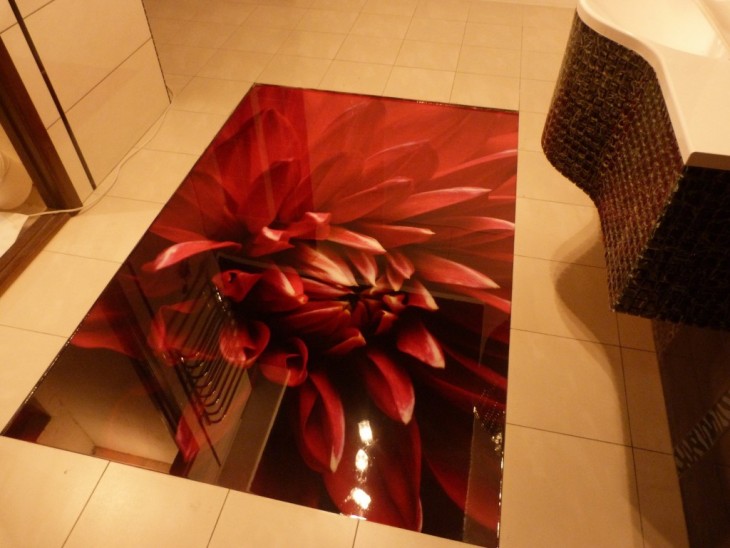
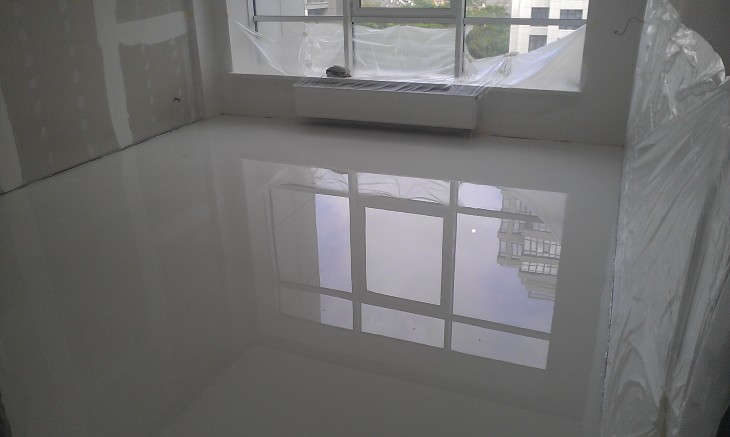
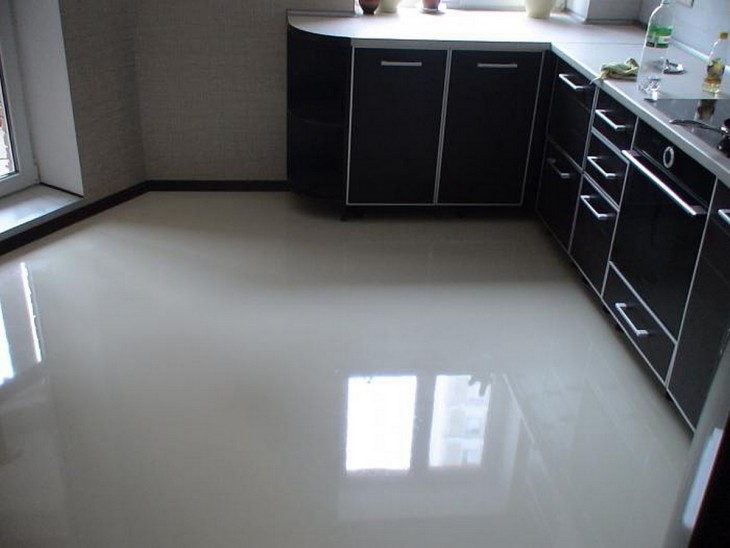
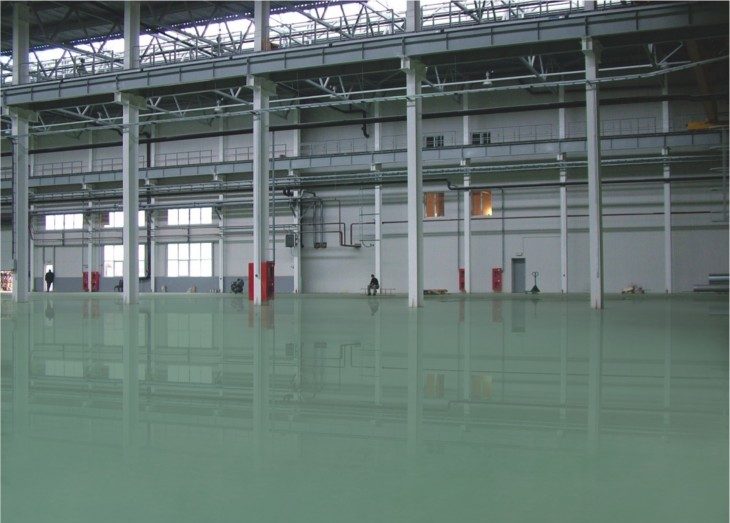
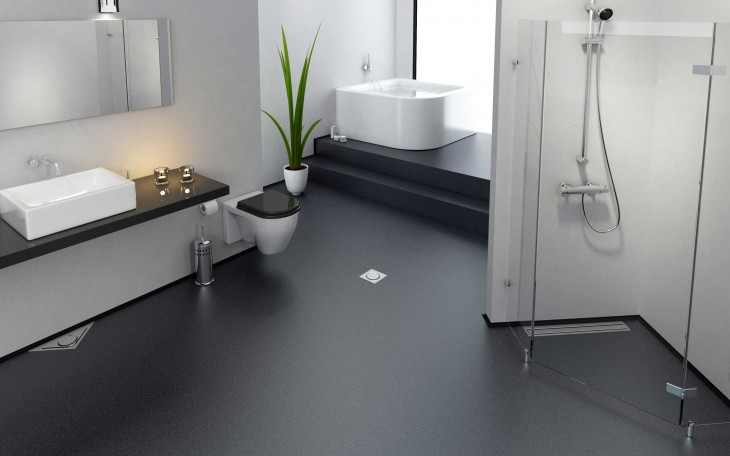
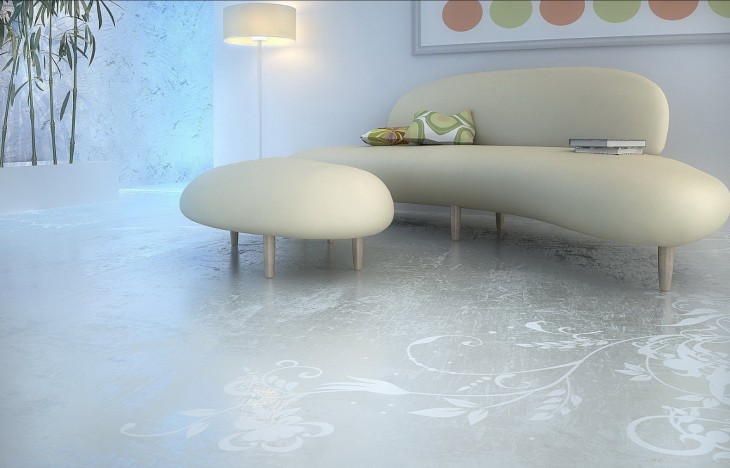
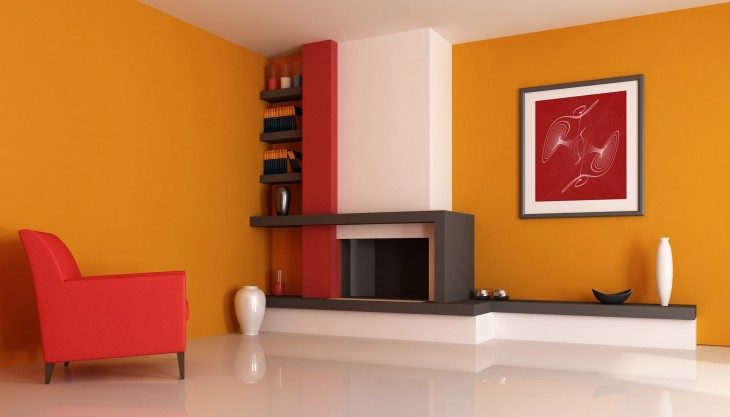
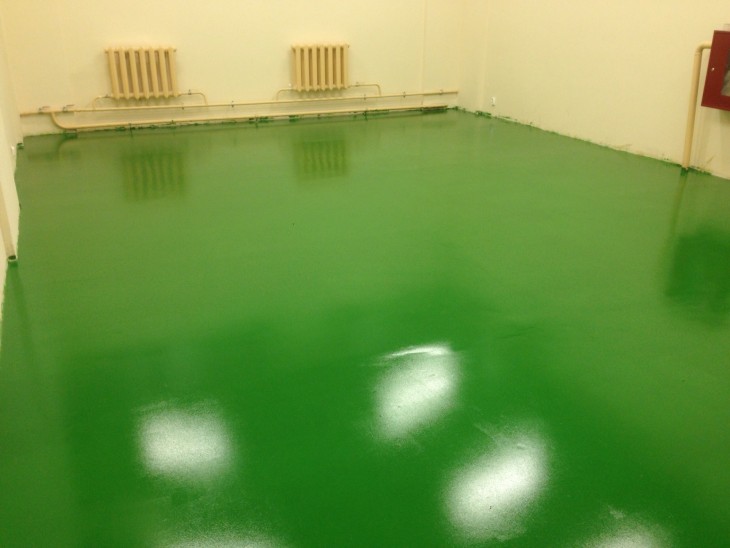
Black varnish polyurethane looks expensive and luxurious, even if applied to ordinary concrete, as in the photo of the bulk floor.
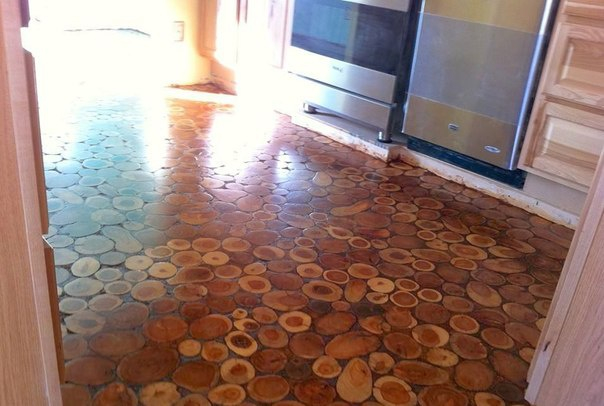

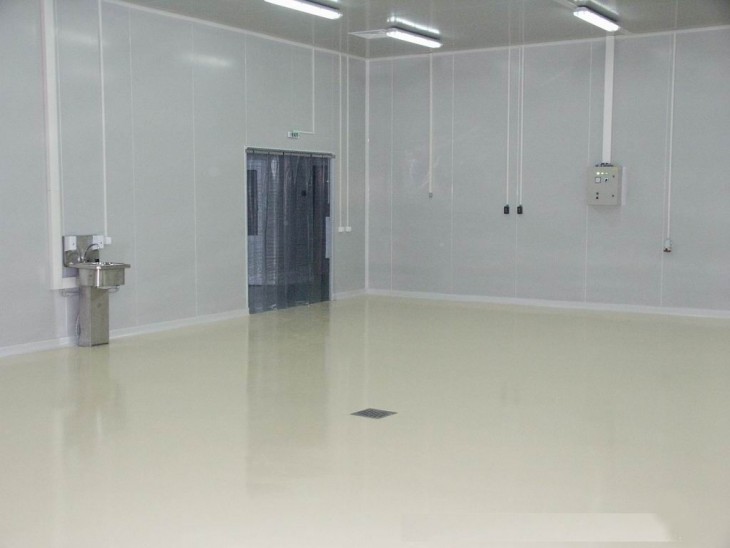
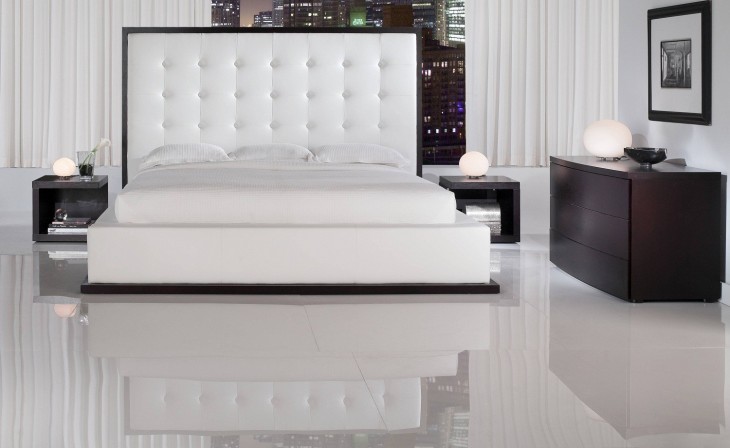
On this floor you want to sit, lie or dance - it seems warm and comfortable. This is a great solution for many interior styles.
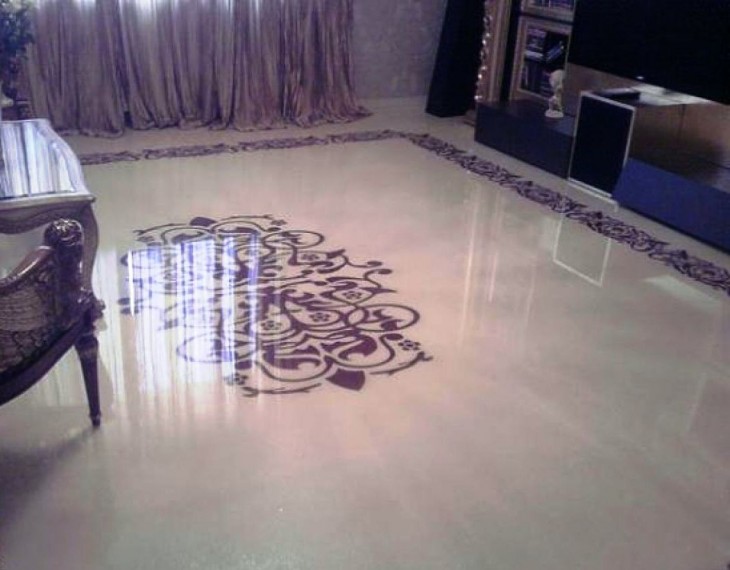
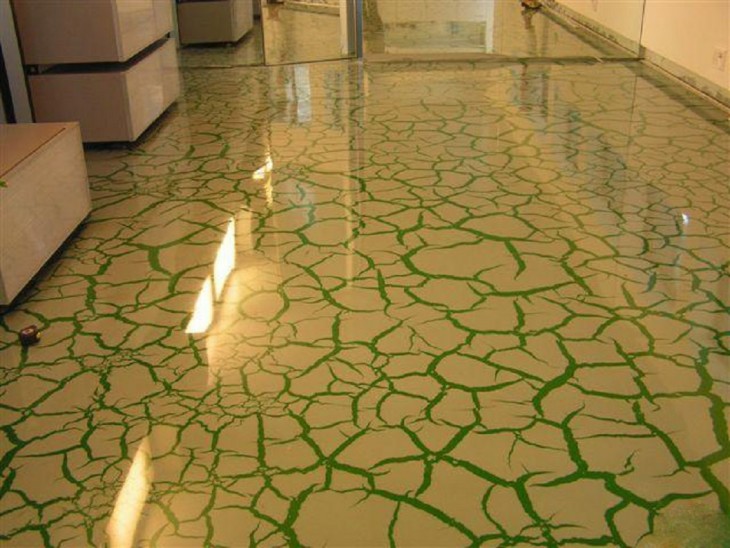
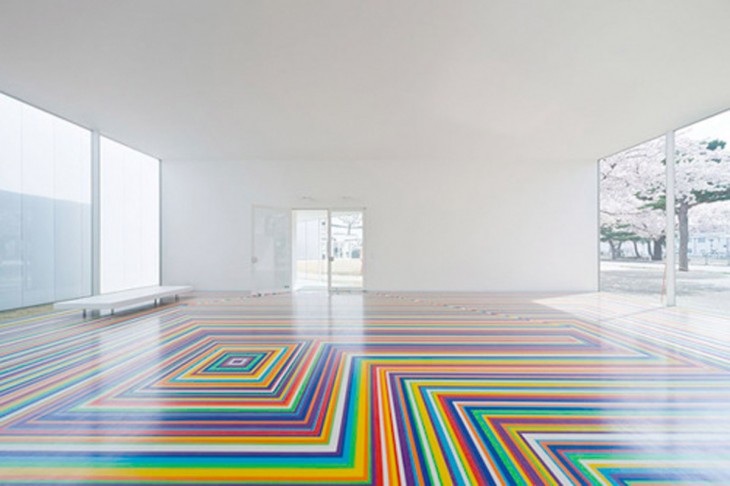
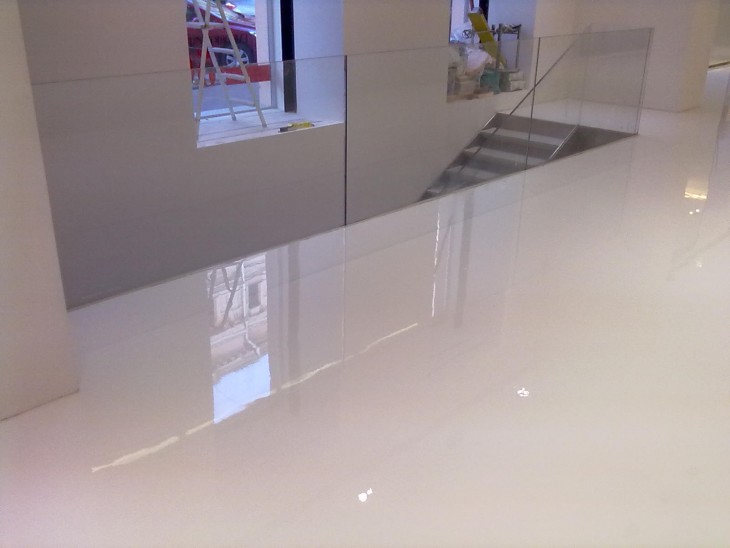
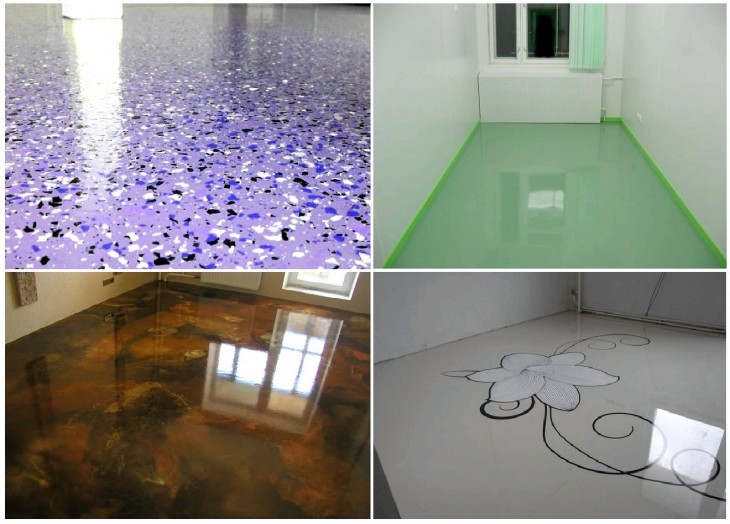
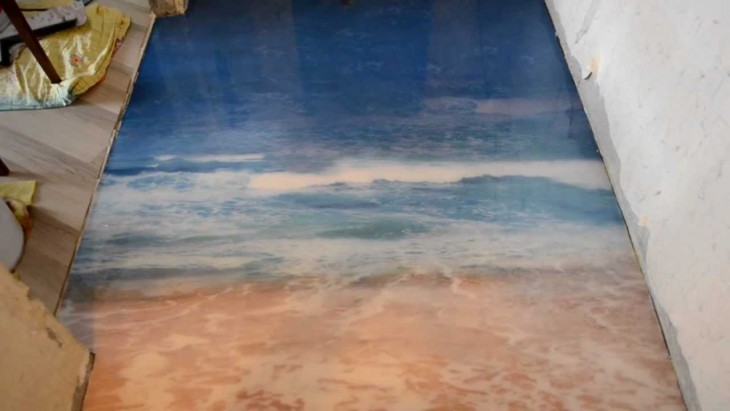
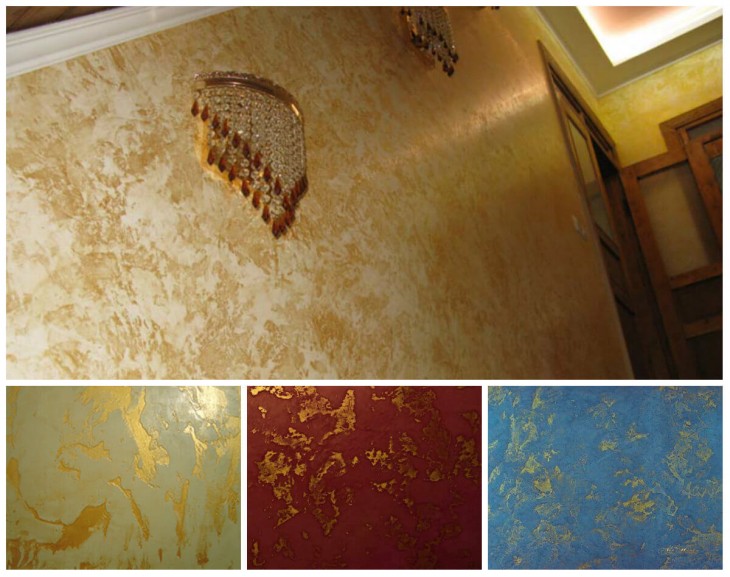
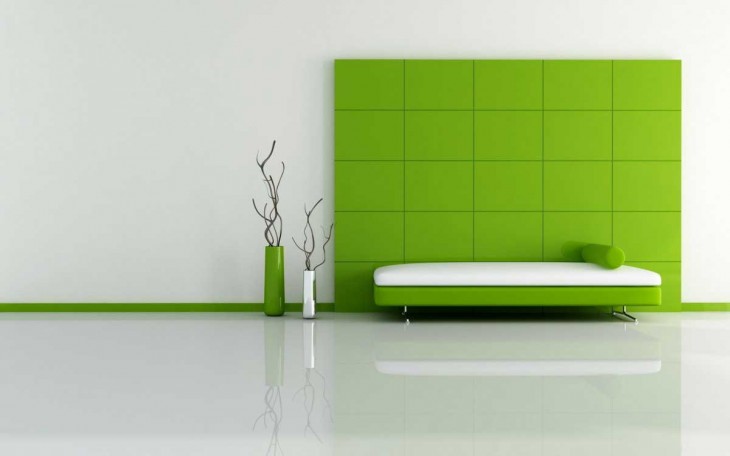
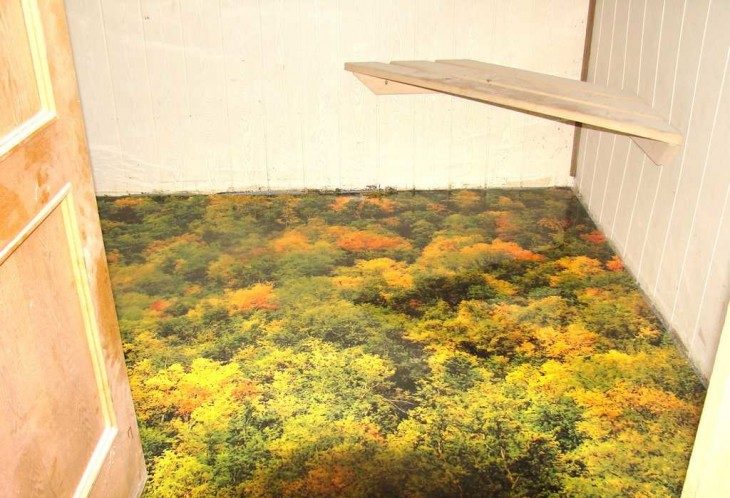
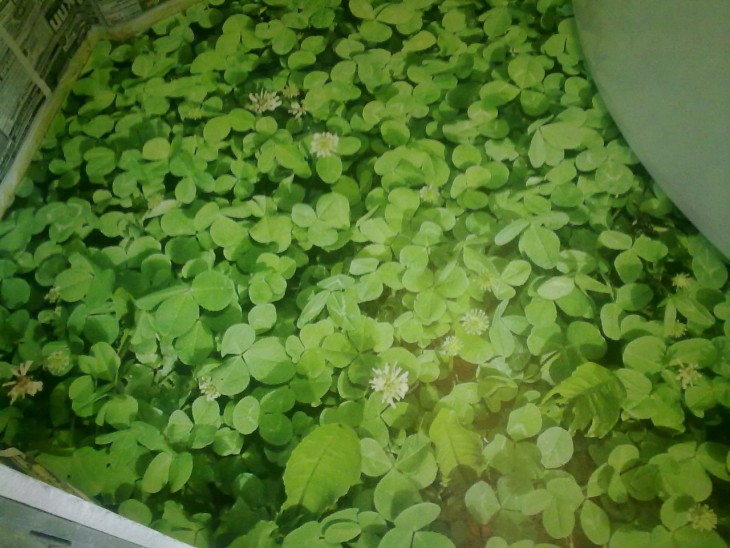
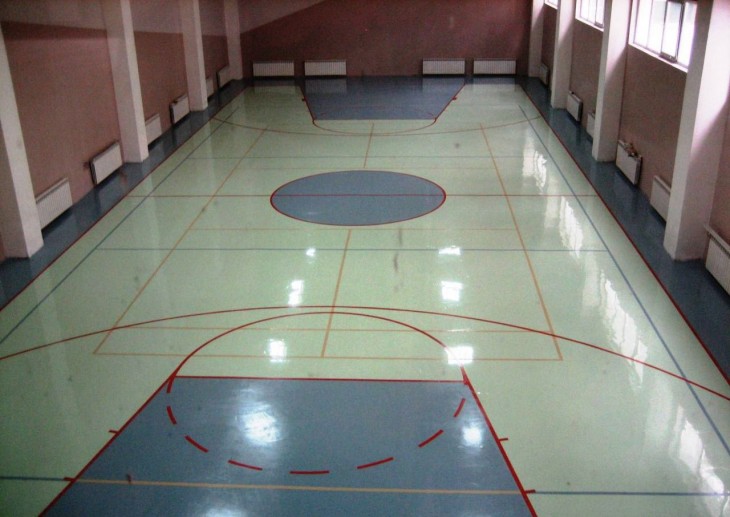
Today, many shades are available so that a seamless surface ennobles any design concept. The most popular are monophonic dark floors with a gloss effect. But specialized firms are mastering new technologies to offer customers complex color and mosaic variations.
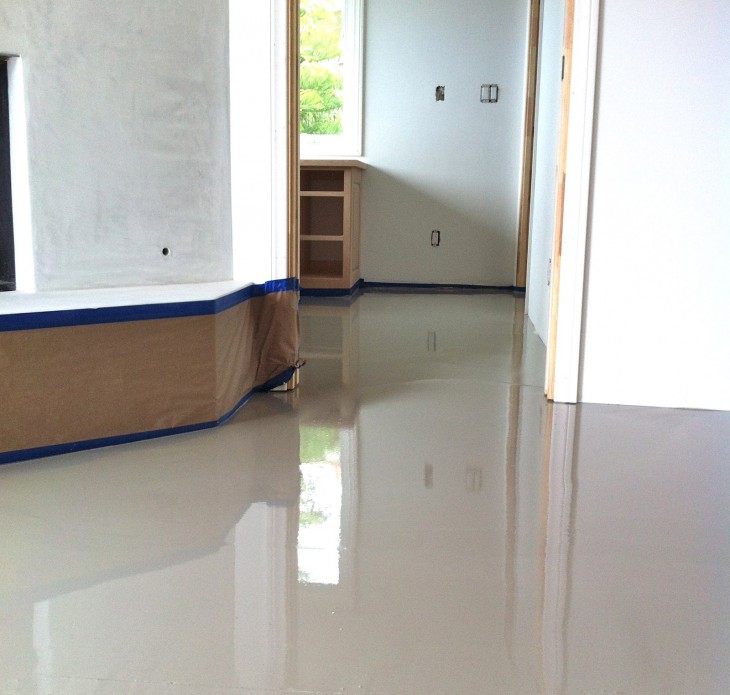
Experts advise to monitor the thickness of the self-leveling layer. Thin coating - up to 1.5 mm, it can crack or deform under heavy load. A thick layer dries for a long time and is expensive, and often a feeling of lightness is lost. For old and subsiding houses, this finishing option is not suitable.
The polymers are somewhat similar to the properties of “living matter”, while working with them certain temperature indicators and humidity parameters are needed.
When hardening, there should be room temperature, without drafts, moderate air humidity - up to 80%. Then the distribution and “setting” will be uniform, and the texture of the coating will gain the best parameters for aesthetics.


About security measures
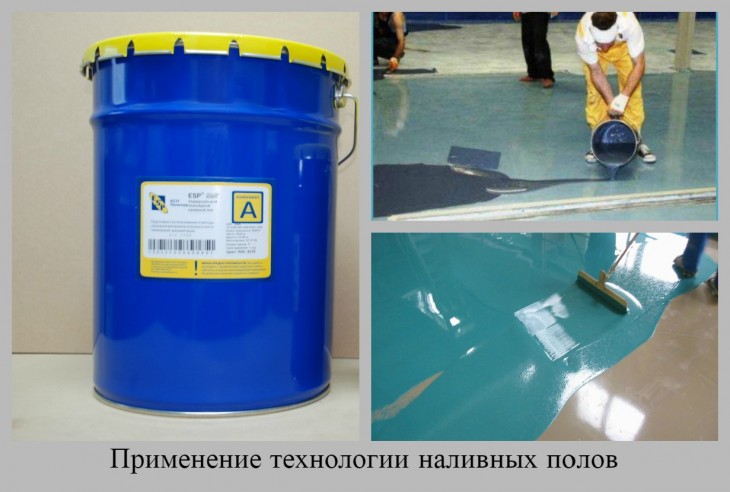
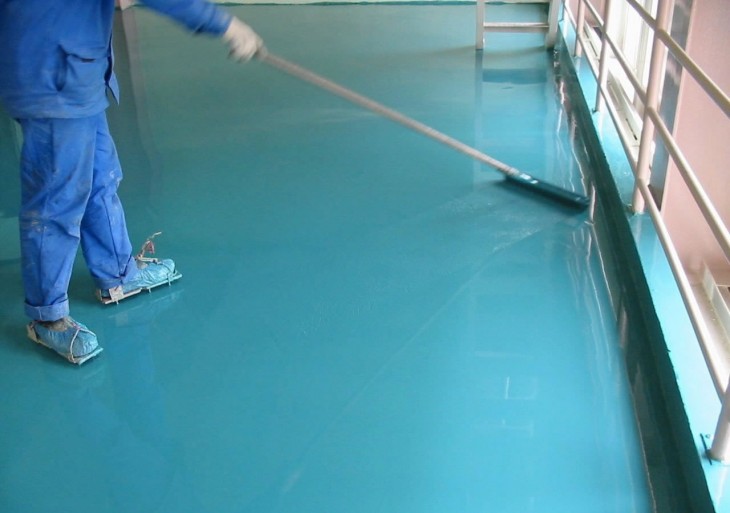
The work is carried out with goggles, gloves, closed clothing and special shoes, “paintbrushes”.
The alkaline reaction when stirring the polymer solution can cause a semblance of burns. In order not to inhale the “chemical” smell of the liquid mixture, before making the bulk floor, stock up on a respirator.
After the completion of the process, the room must be ventilated, but without sudden changes in temperature and large drafts.
Preparation of floors for finishing with liquid polymer
Whatever the surface of the floor, it must meet the basic requirements:
Note!
- holistic (without cracks and defects);
- smooth;
- clean (without fine suspension);
- dry.
Caution: Although self-leveling mixtures are capable of “detecting” a slight difference in floor level, noticeable mounds and yams are not allowed.
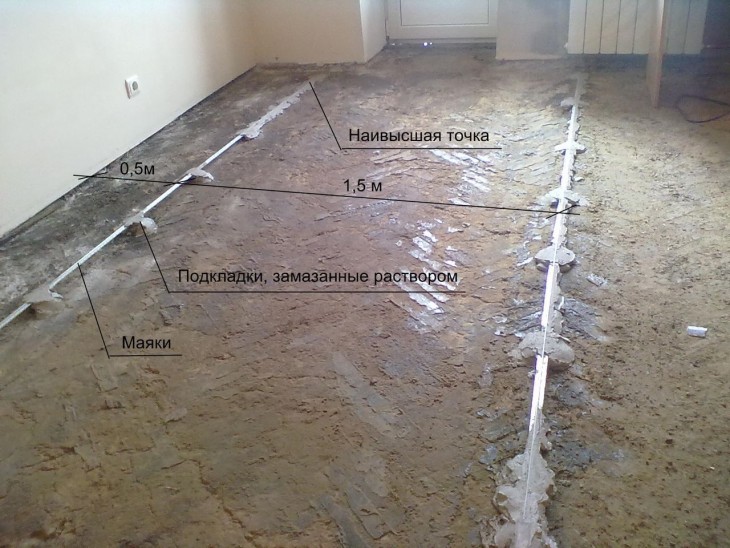
The foundation must be checked with a building level before pouring the bulk floor.
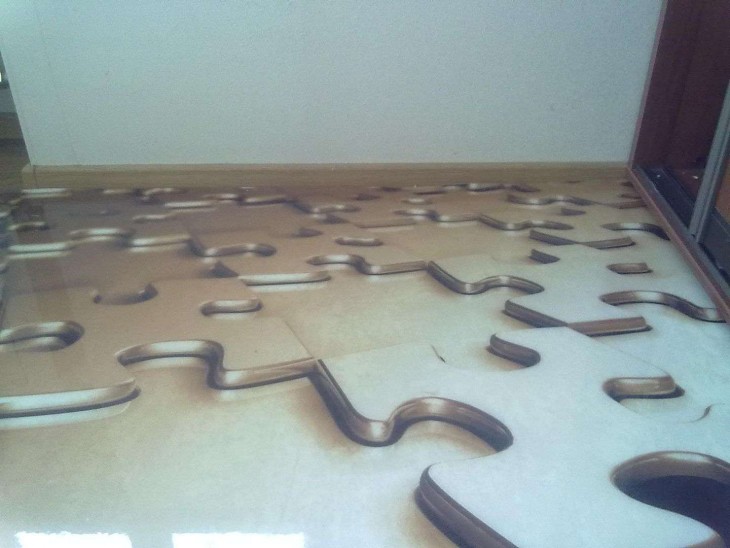
Wooden floors are not the best base for coating with a layer of polyurethane. But for those who are the proud owners of mosaic panels on the floor, this will be the best “conservation" of the artistic laying of the parquet.
Such a base is made from rare species of wood, it is very expensive. In order not to spoil its original appearance, it is better to entrust the filling to specialists. If it is decided to combine the self-leveling floors with ordinary wooden parquet, you will have to perform cleaning and grinding with a special machine.
Before that, they remove the baseboard to install a new one, on which you can hide some communications.
The prepared wooden floor should be vacuumed and degreased with any active detergent.
Note!
It is better to seal cracks and shortened bars along the walls with any mortar, they will be covered with a baseboard.
Tip: Wood, even mothballed, is “living material,” so it can respond to any changes. Do not save on material so that a thin polymer layer does not crack.
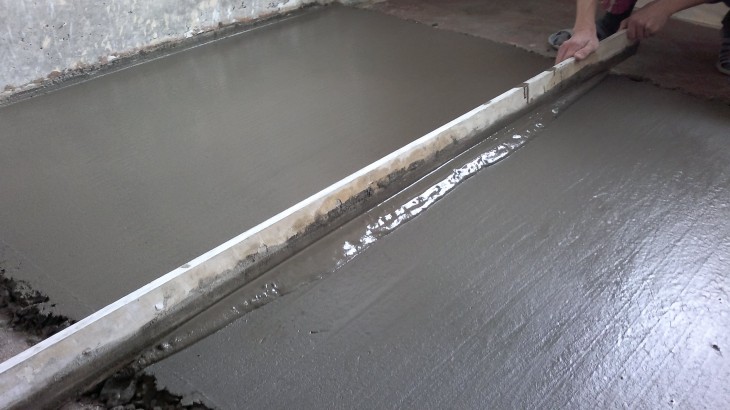
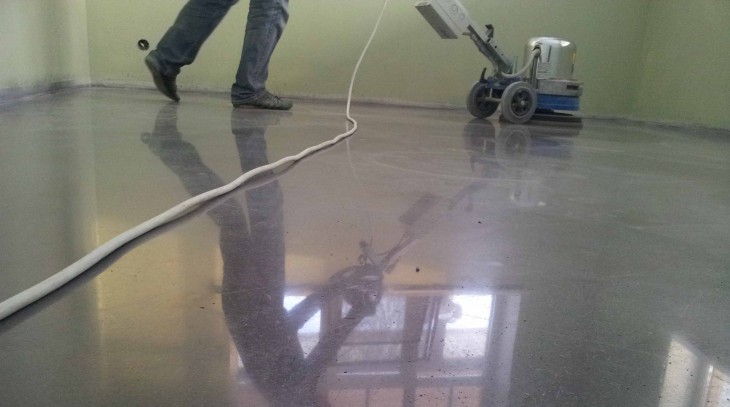
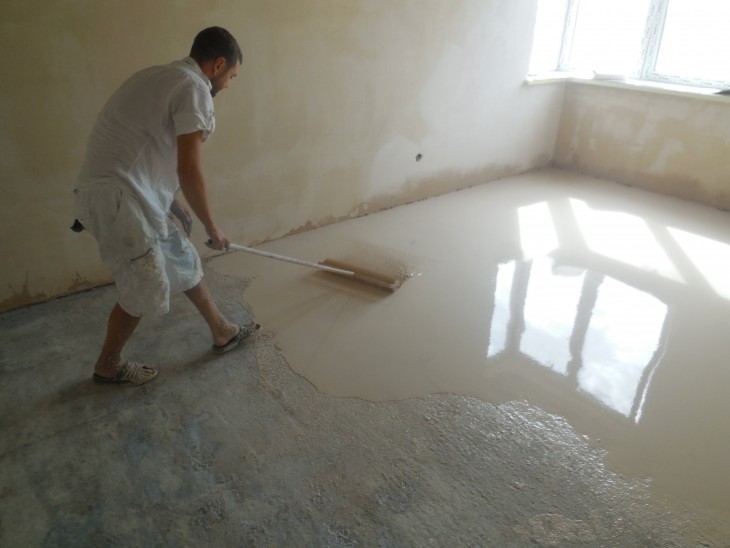
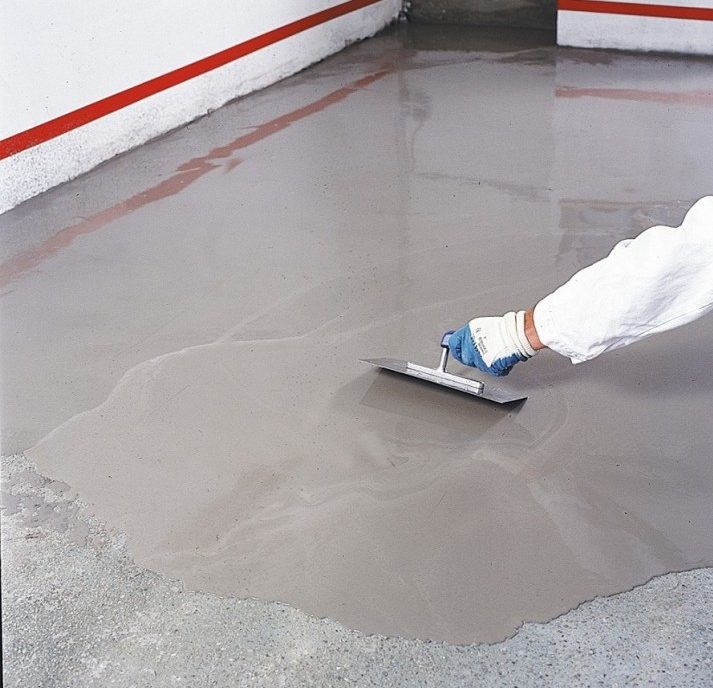
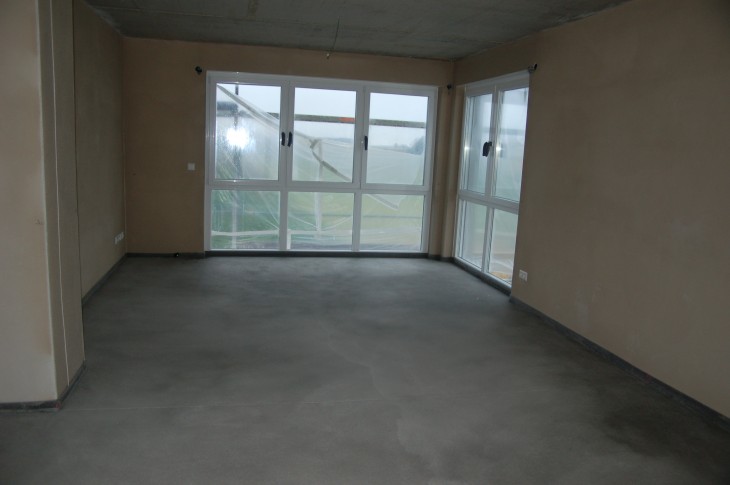
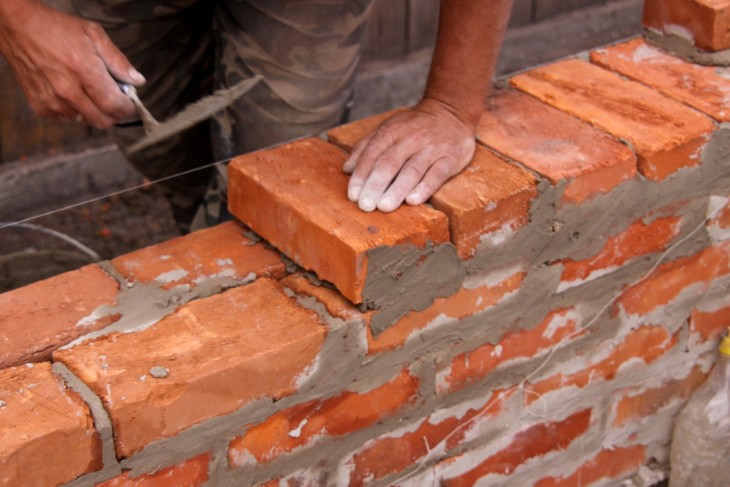
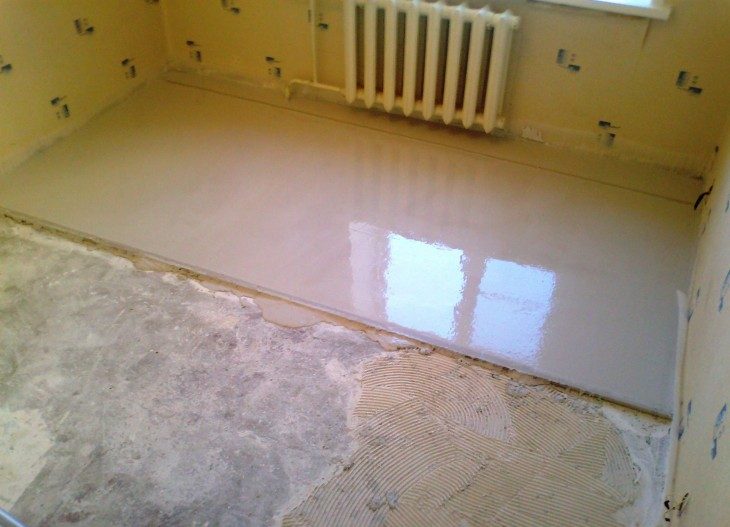
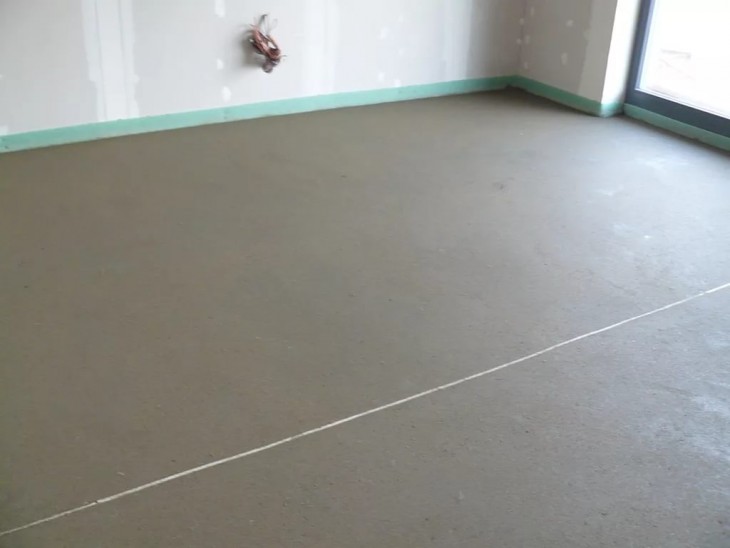
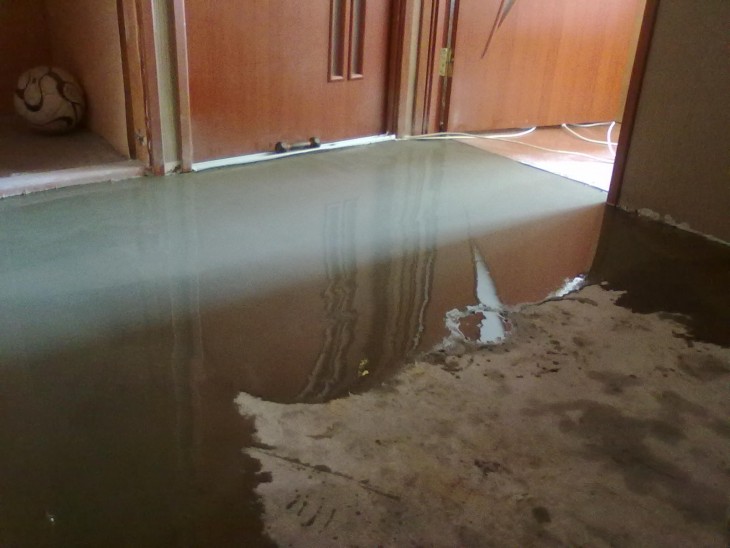
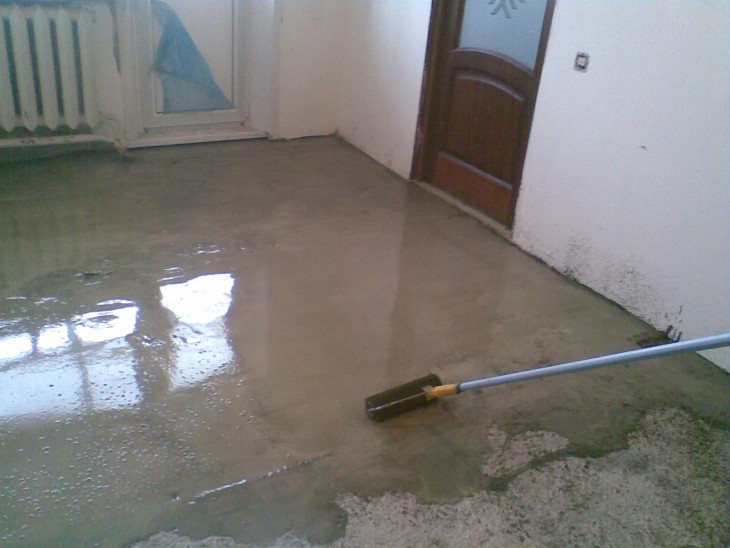
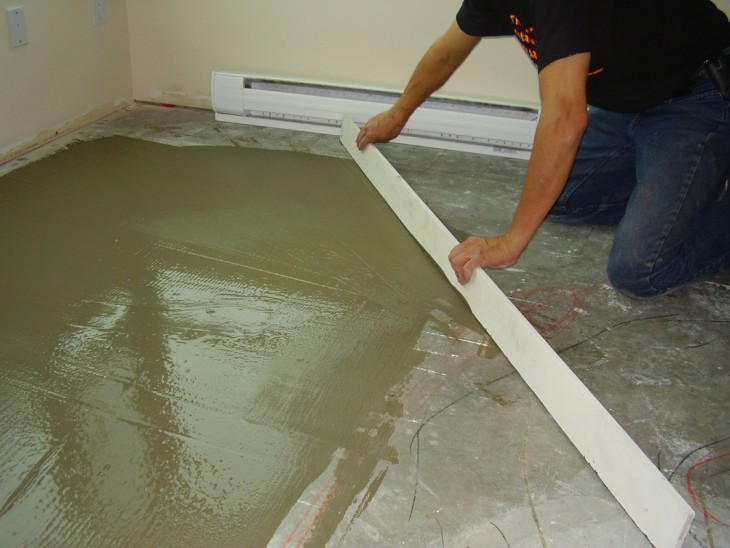
A solid concrete base is better suited for self-leveling poured floors. It is better to entrust a quality cement screed to specialists if there is no prior experience. Beginners rarely cope with the task of designing an ideal horizontal.
It is advisable to leave the finished concrete floor for up to 1 month at room temperature and optimal humidity.
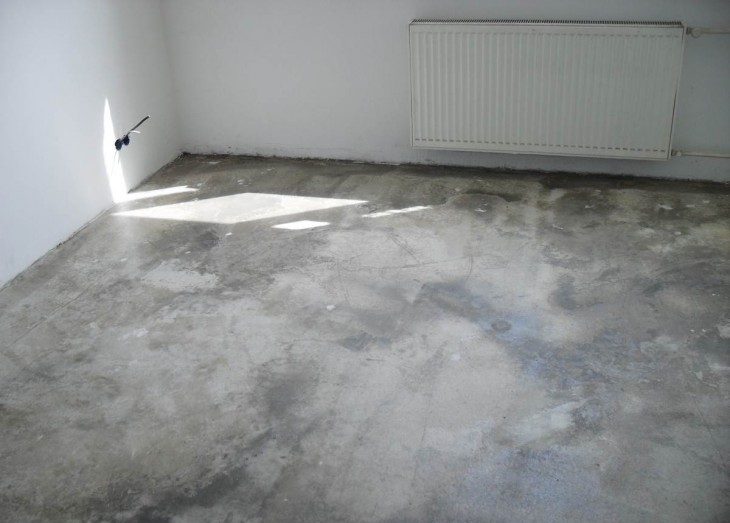
The sclerometer checks the strength, level - horizontal. After that, the floors are ground, vacuum cleaned and coated with polymer. If necessary, additionally treat with a building self-leveling mixture.
Note!
For ceramic cladding, the same tips will apply as for wooden and concrete floors. On the prepared surface there should not be defects and pollution.
Although tiled materials are already quite aesthetic, the main drawback is the seams. They need to be additionally puttyed or coated with sealant to save on polyurethane. It is for an ideal seamless coating that a polymer finish with a mirror surface is used.
Matte tiles can become seamless glossy or mirror. Before applying the polymer, it is advisable to walk along the floor with a primer - for greater adhesion to prevent bubbles.
For a porous base, highly viscous primers are recommended, which are applied with a roller or a wide paint brush. A second coat is applied only after the previous one has completely dried.

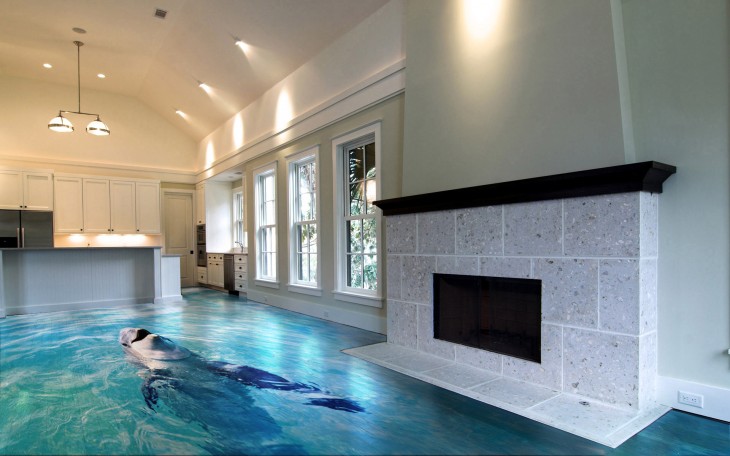
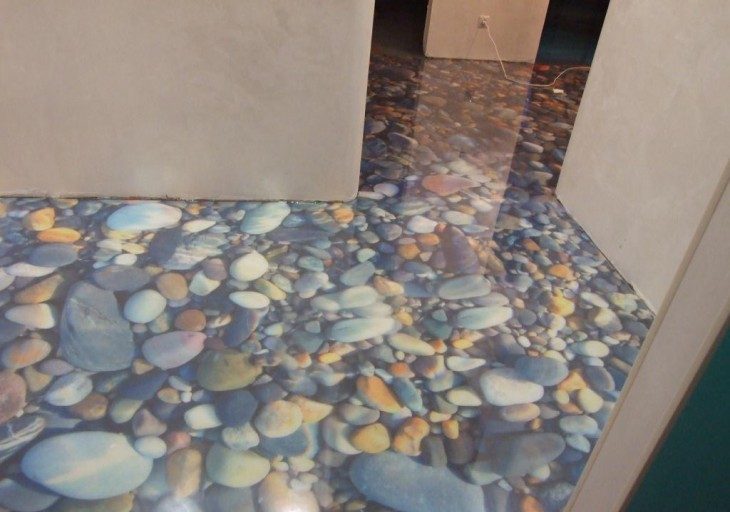
What decor to choose for bulk floor?
Any finishing surface has properties that together give a special effect. Self-leveling floors - an ordinary liquid medium that spreads, hardens and, after drying, meets the declared characteristics.
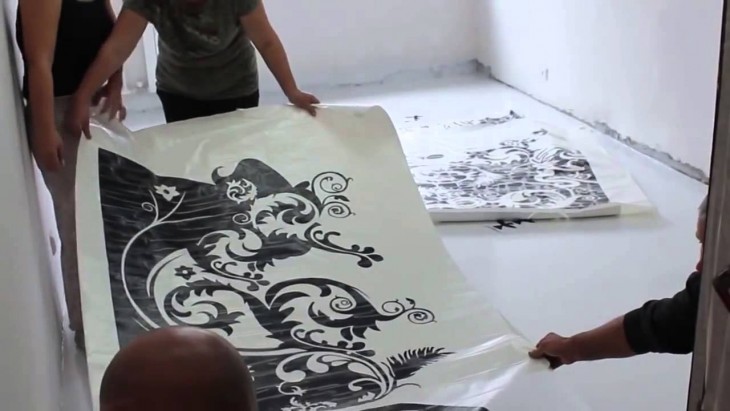
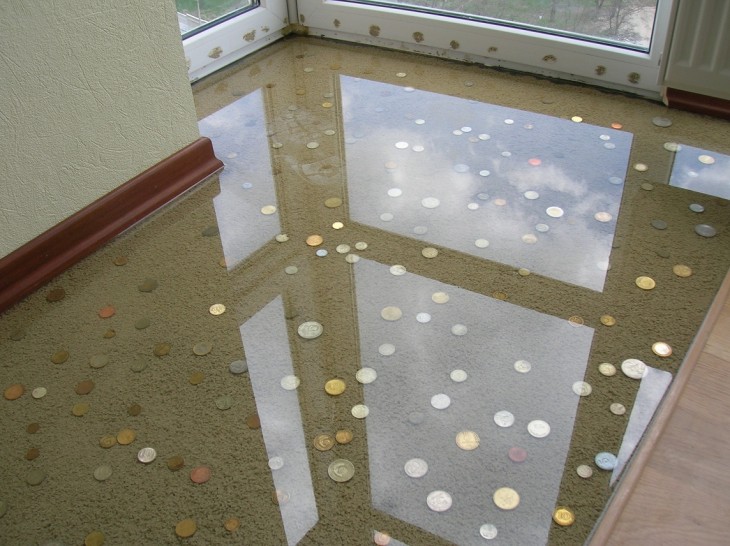
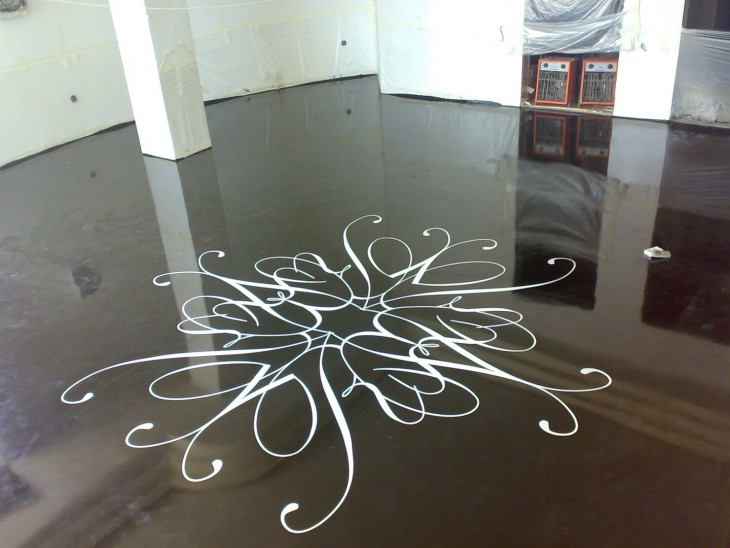
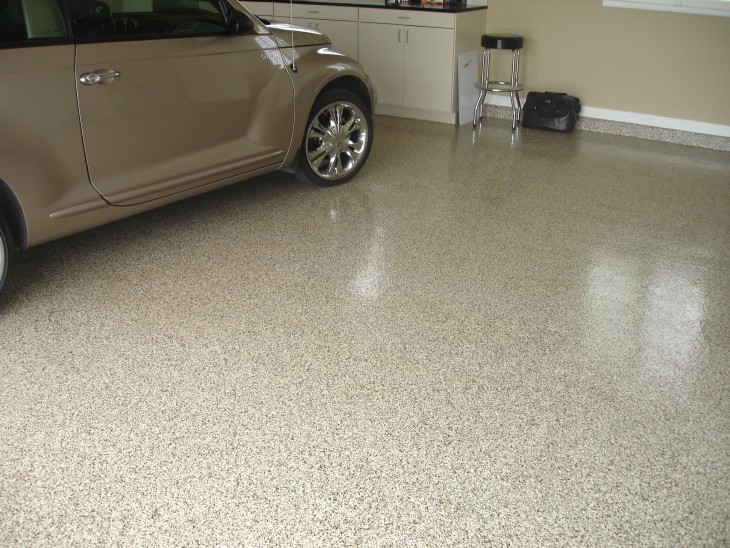
Decor is done in a variety of ways, for example, by adding “color” (pigment), quartz sand and other inclusions. Floors with "chips" or color inclusions are obtained by adding acrylic paint.
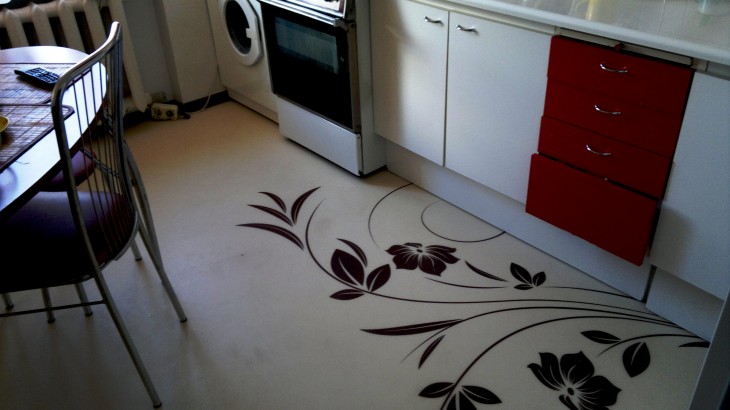
Polymers and bases of different colors give patterned floors or an original pattern.


Final stage
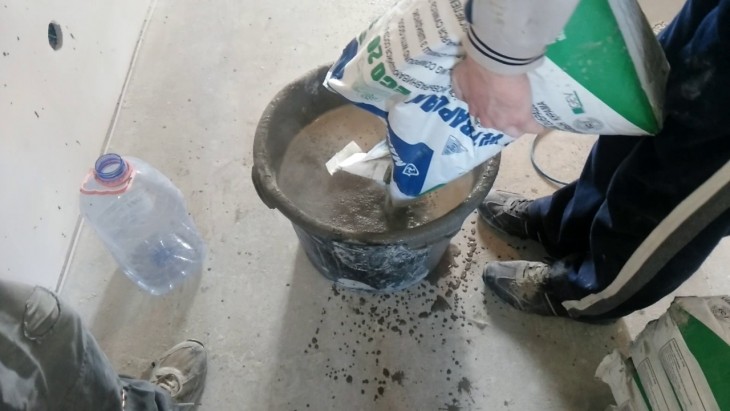
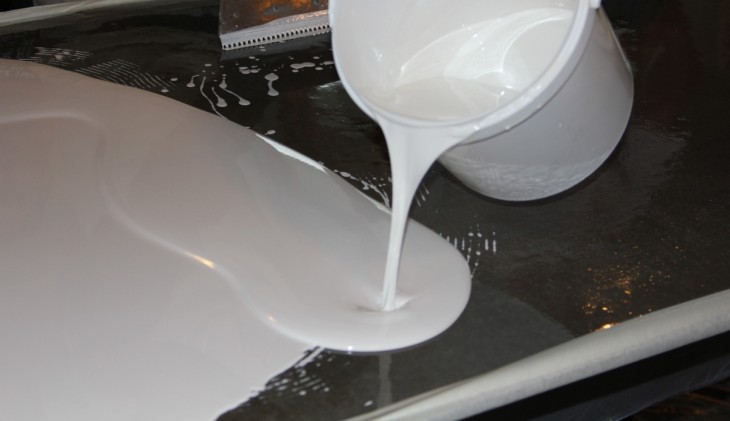
To prepare the polymer solution and its uniform distribution, you will need:
- buckets, small containers, or other containers for mixing the grout;
- a tool with a nozzle for obtaining a solution of the required consistency;
- roller with nozzles;
- squeegee and putty knife for the distribution of the solution (wide, preferably on a long handle;
- polyethylene film;
- solvent (for cleaning the tool after work);
- building level;
- mixtures for filling base cracks;
- sclerometer and moisture meter.
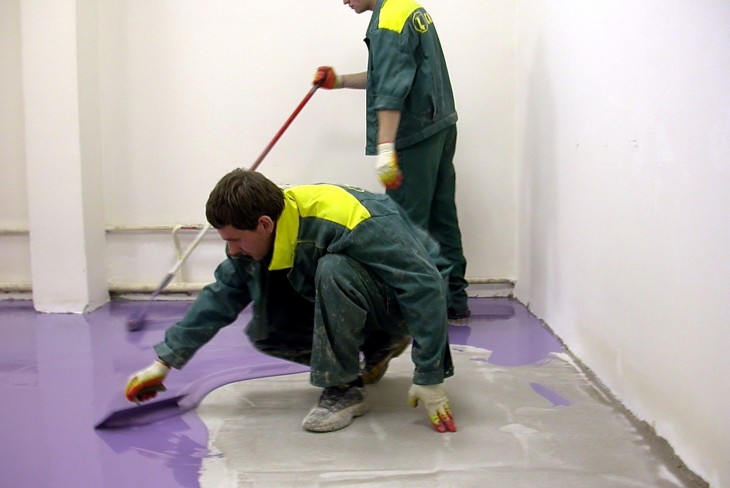
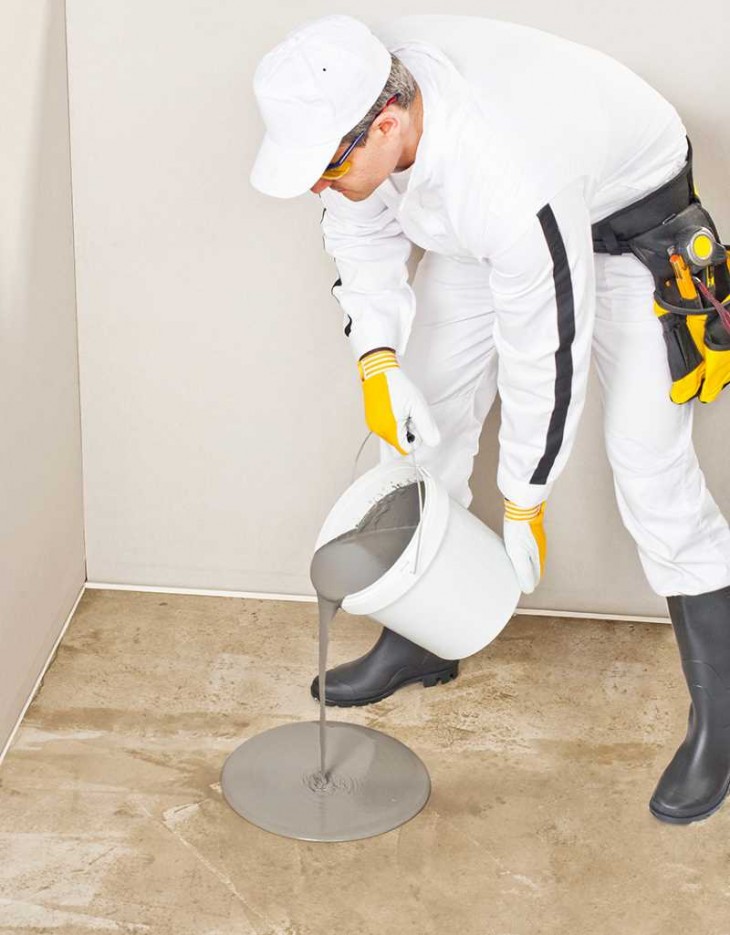
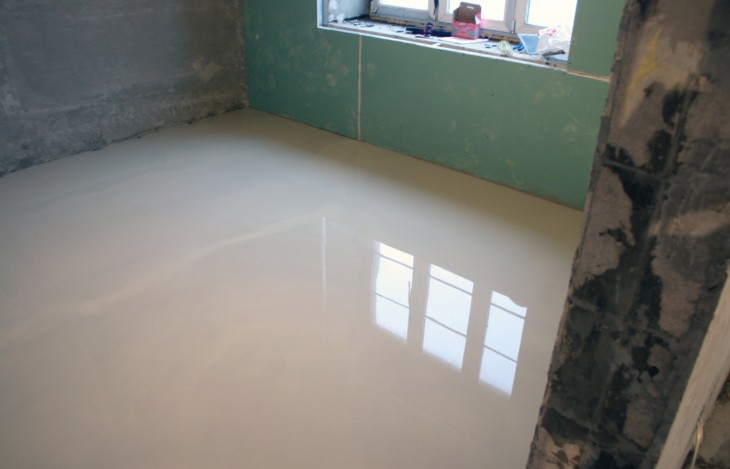
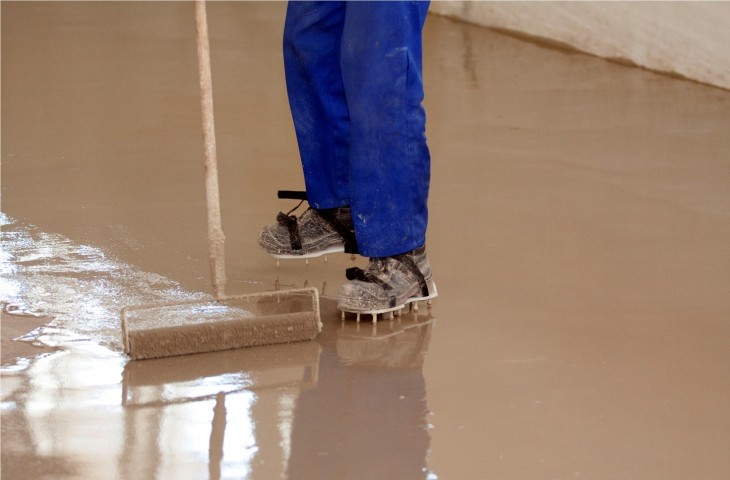
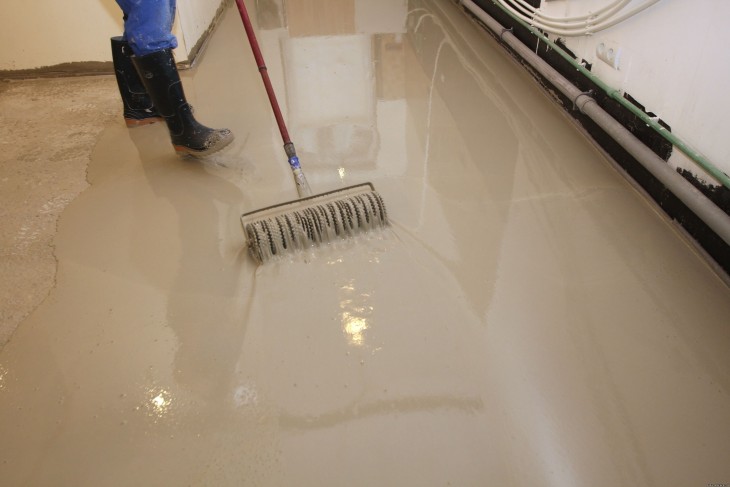
To obtain a high-quality coating, it is important to observe the proportion indicated on the manufacturer's packaging. First, the required amount of water is poured into the bucket, a dry mixture is poured into it. The solution is stirred with a drill with blades (on the nozzle) at short intervals - about 10-15 minutes.
When the liquid polymer is ready, check the consistency by the degree of spreading. Polyurethane poured onto a horizontally mounted glass should spread in a layer of 17-18 mm. Usually everything turns out in compliance with the recommendations.
If the proportion is broken, the layer will be thicker or thinner. It can be adjusted by adding water or a dry mixture.

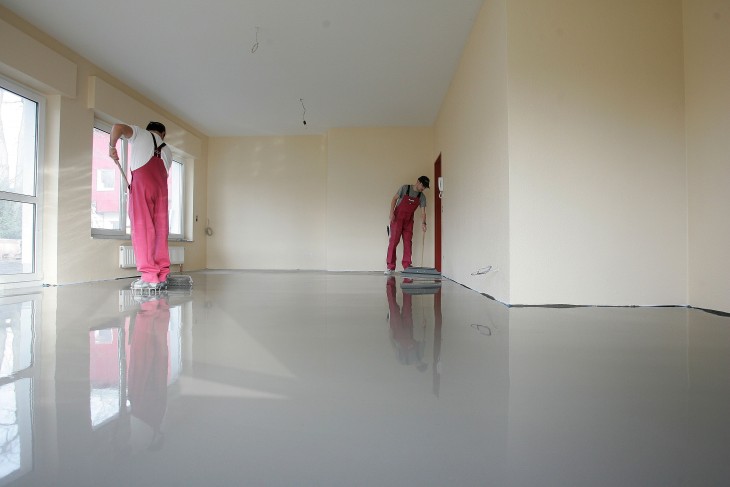
Recommendations for the distribution of liquid polymer on the floor
It is customary to start all the facing work of the floor from window to door, from right to left - this is not important, but convenient.
There should be enough time to fill the floors in the rooms in one go. If this is done in a few days, then differences in height and inflows are inevitable.
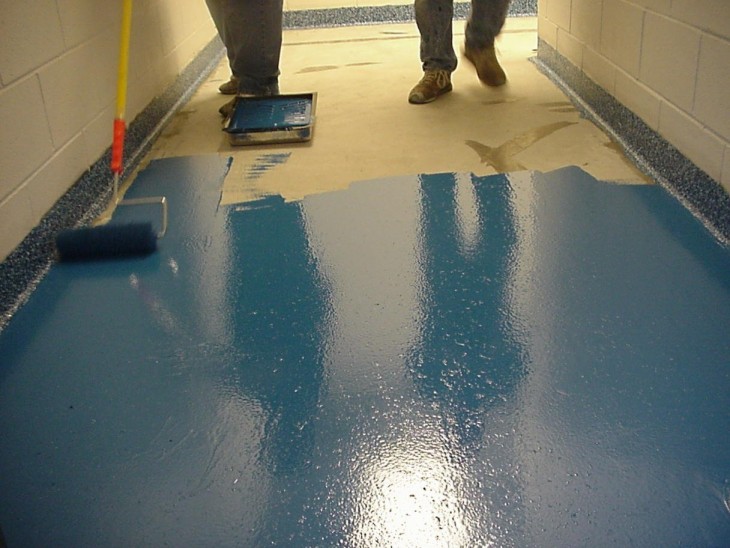
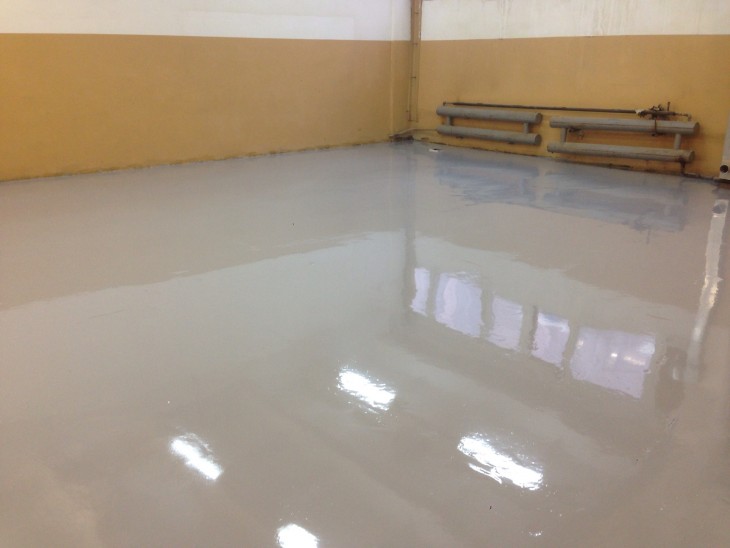
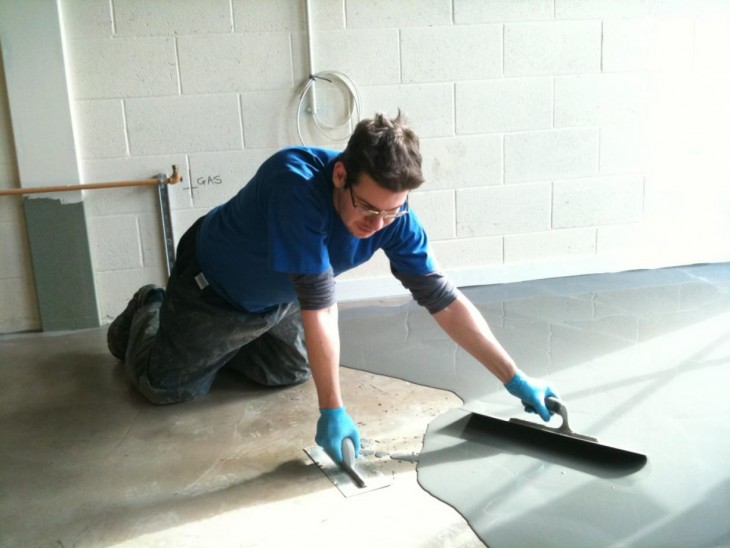
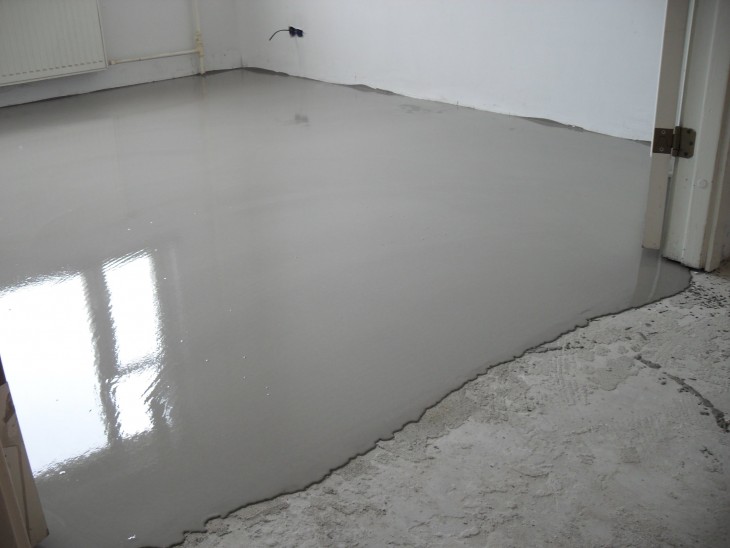
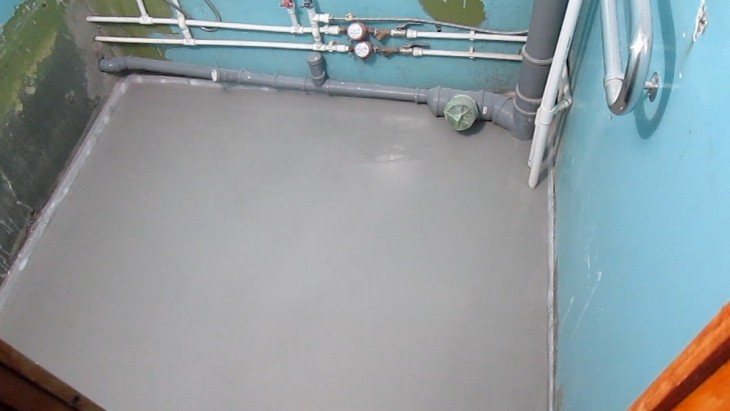
The solution is poured on the screed in parallel strips relative to the wall and spread with a wide spatula.
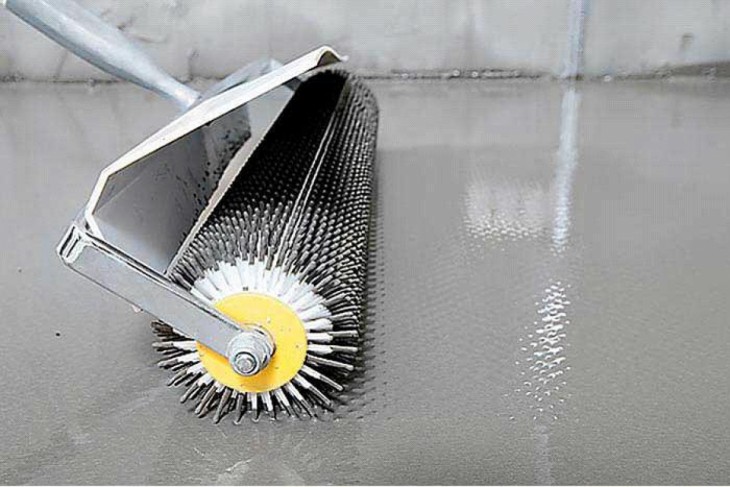
Additionally, the solution is rolled by a roller with a needle nozzle in order to avoid the influx of solidifying polymer. If air bubbles form, the defect must be repaired.

Pouring the next portion, we do exactly the same until the entire area is covered. When the work is completed, the floor can be covered with plastic wrap during ventilation so that dust does not settle during the hardening time.
Thin layers of the finished polymer can be drowned in the coating just applied to get the original pattern.
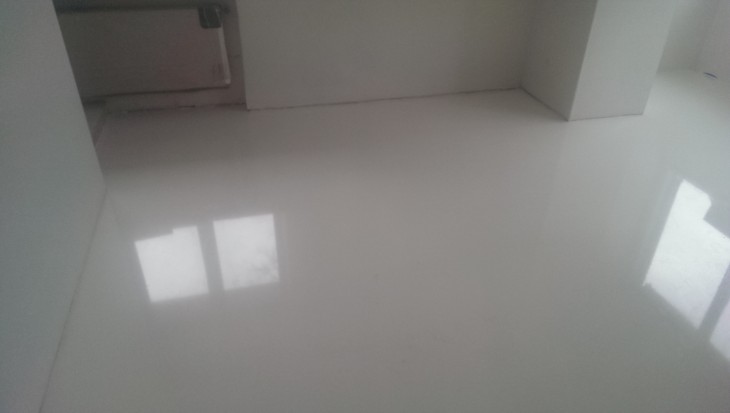
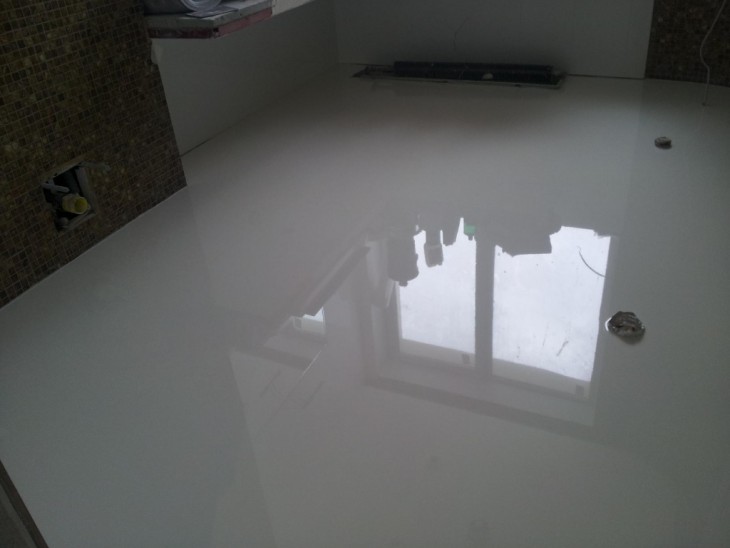
To obtain a lacquer shine, a polyurethane varnish specially designed to improve aesthetic properties is needed.
You need to work quickly to complete the process within 1 hour, until the polyurethane has hardened.
After a week, the floor finally “ripens”, you can turn on the internal heating with a heating cable and walk on the floor without fear of damage.
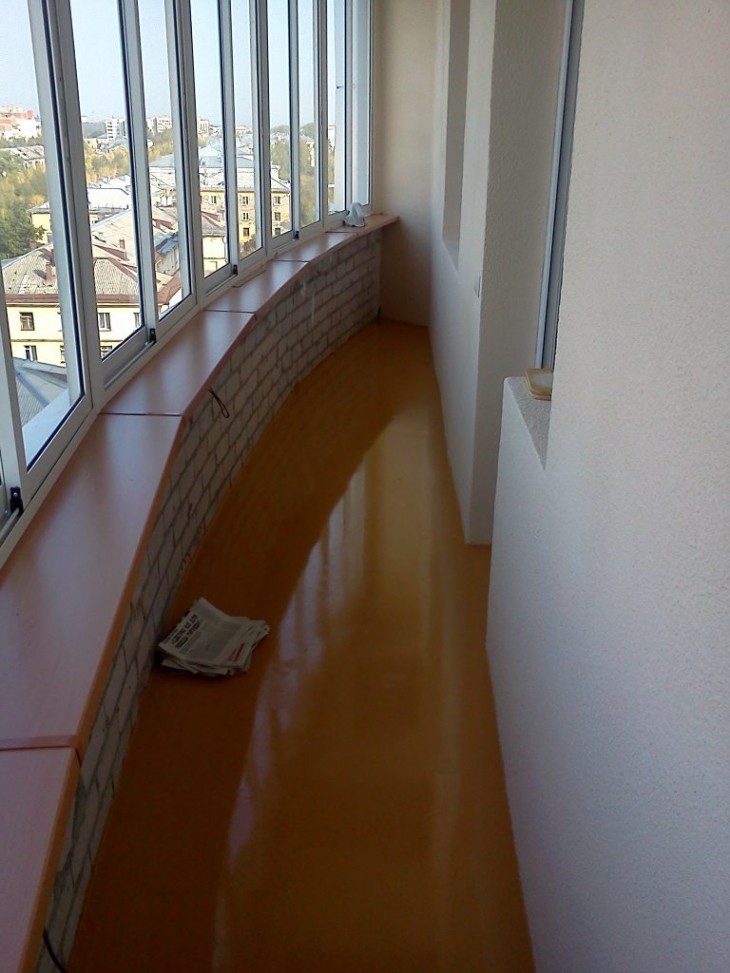
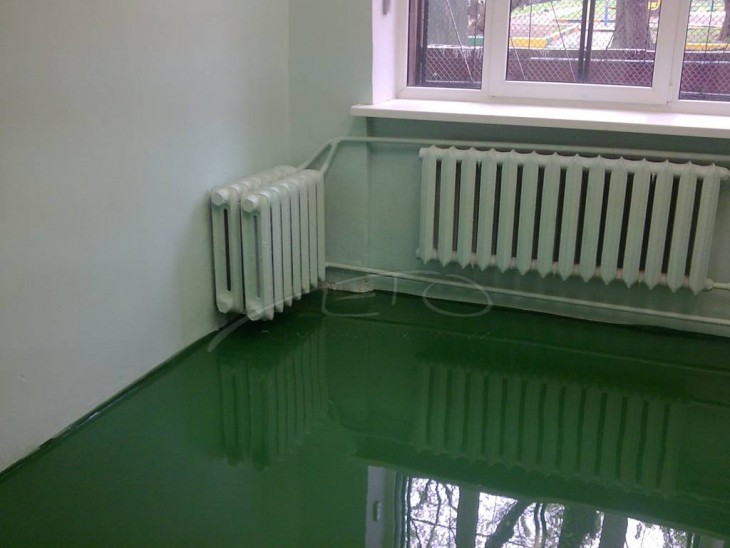
DIY bulk floor photo