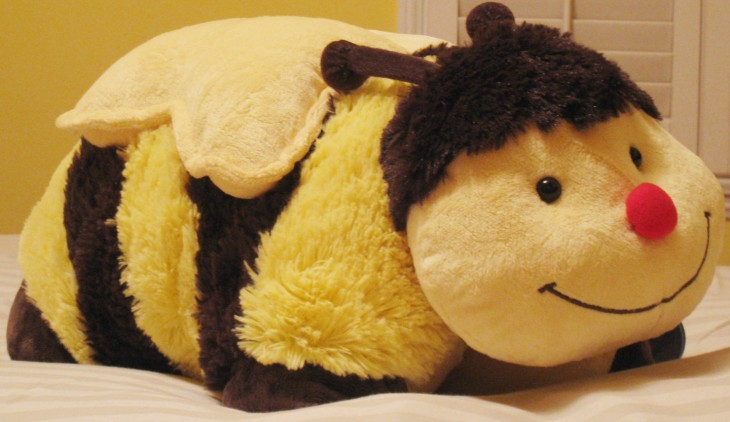
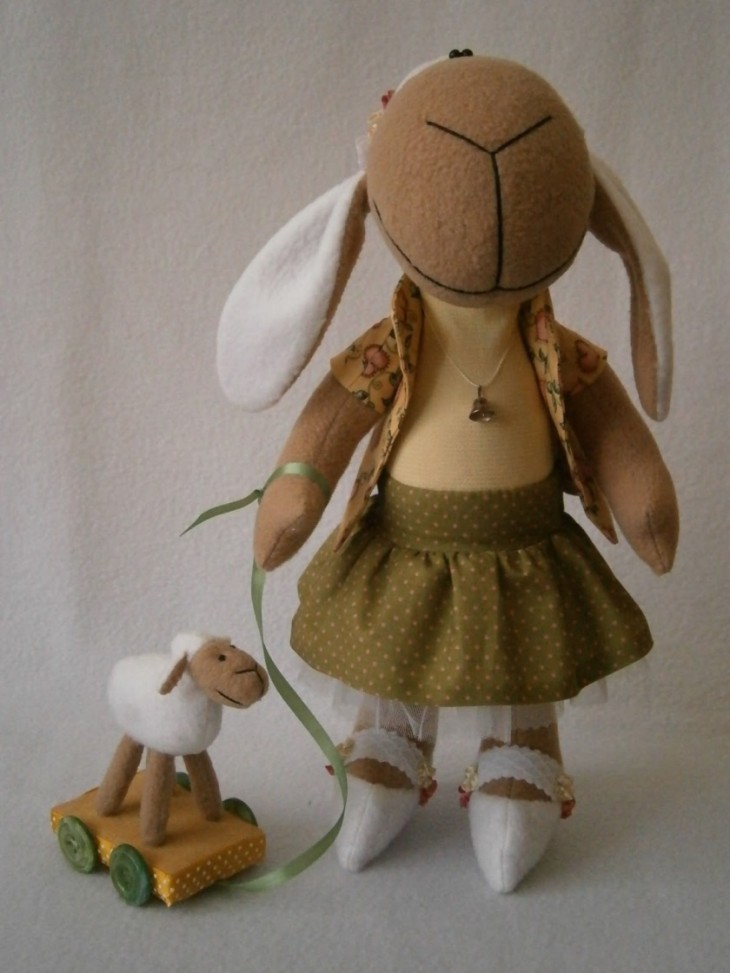
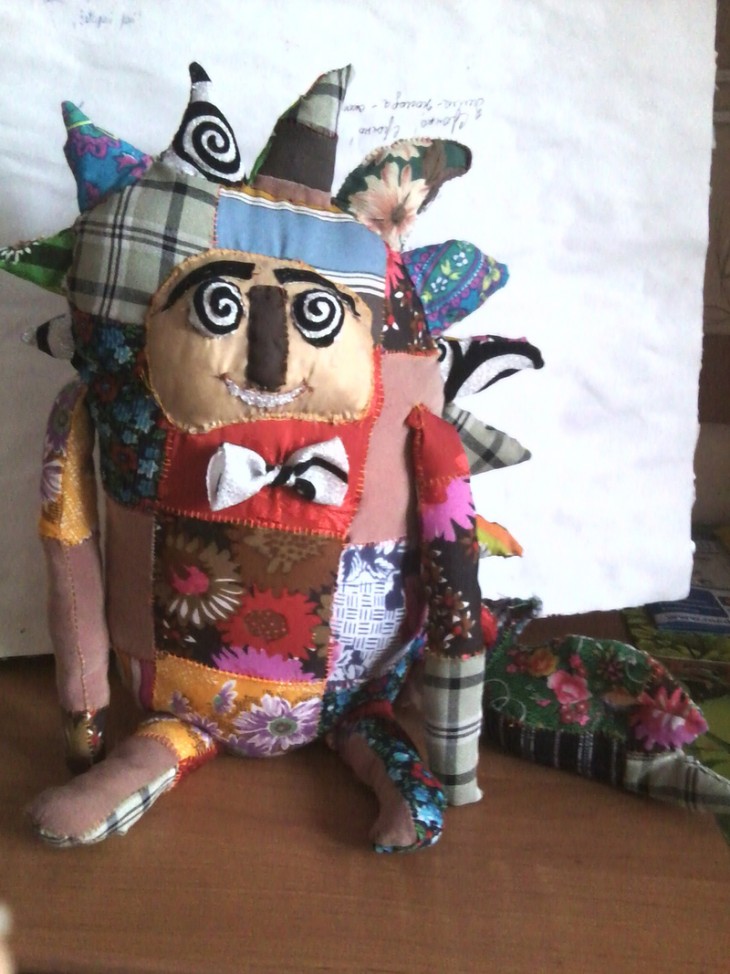
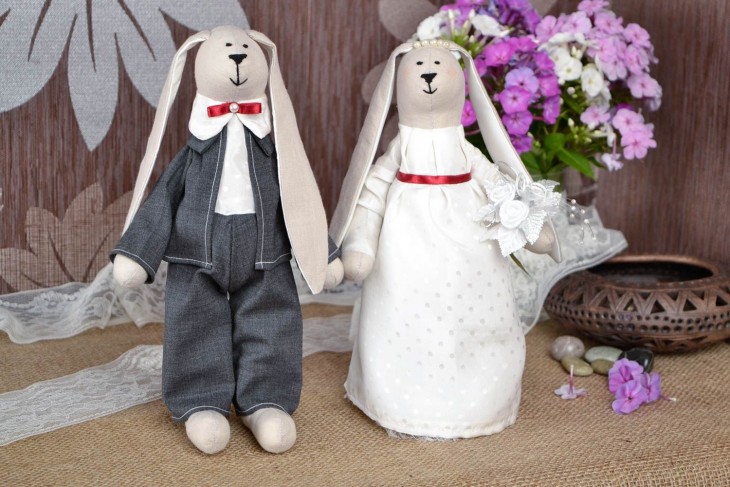
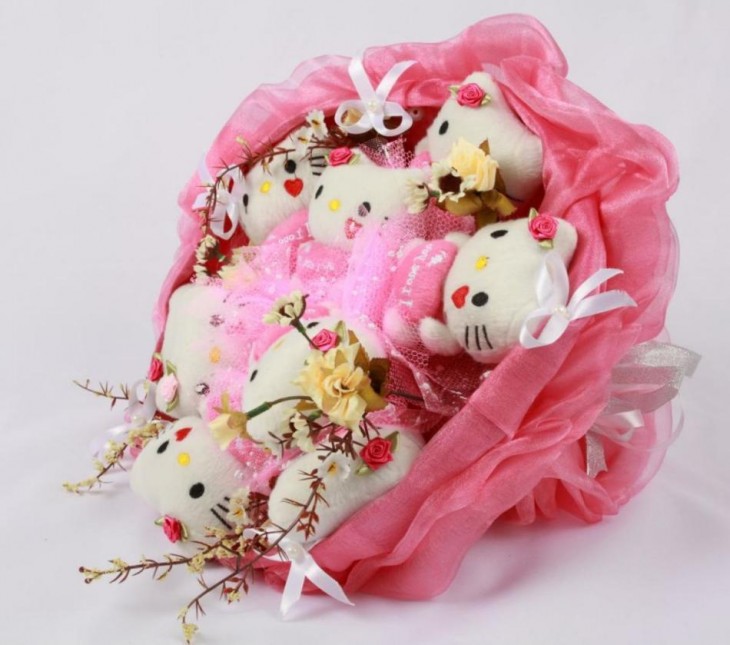
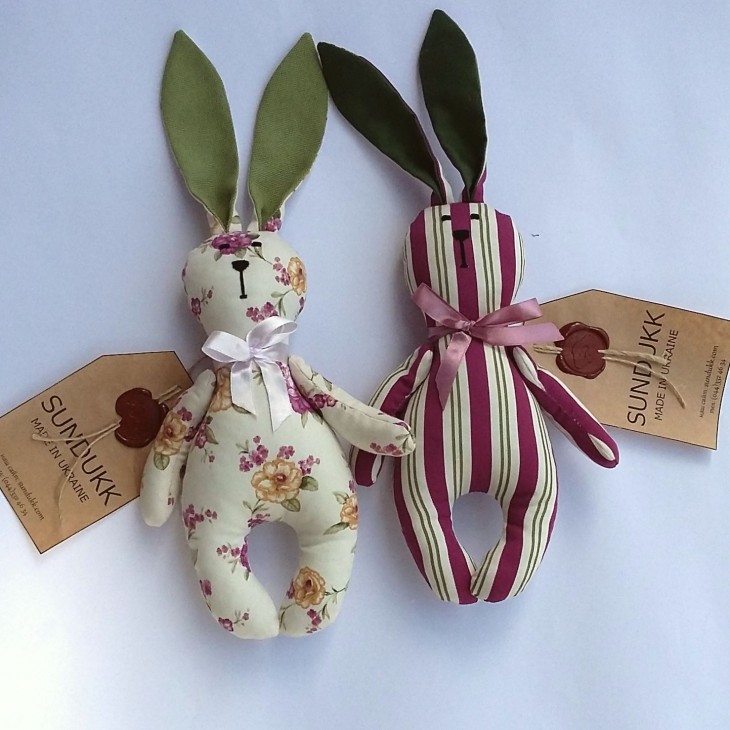
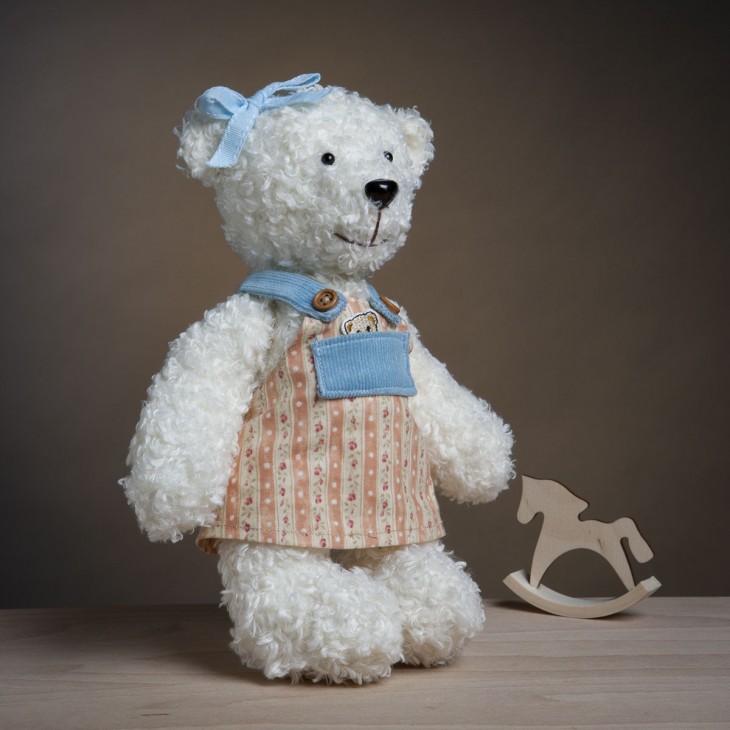
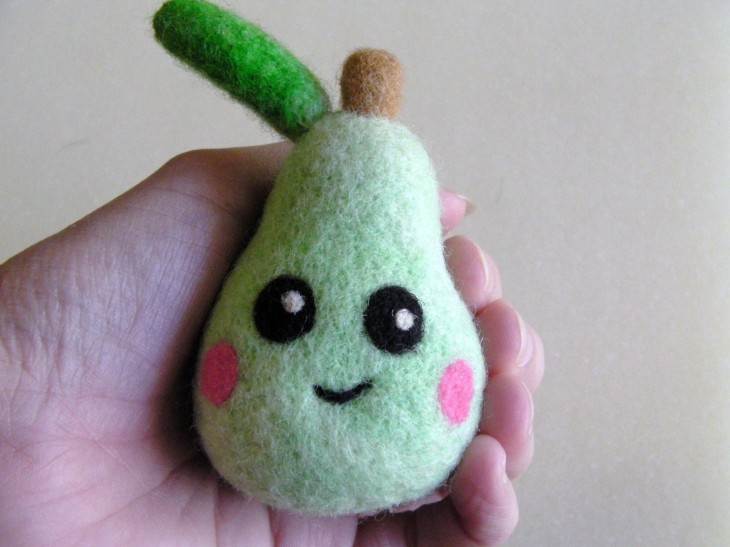
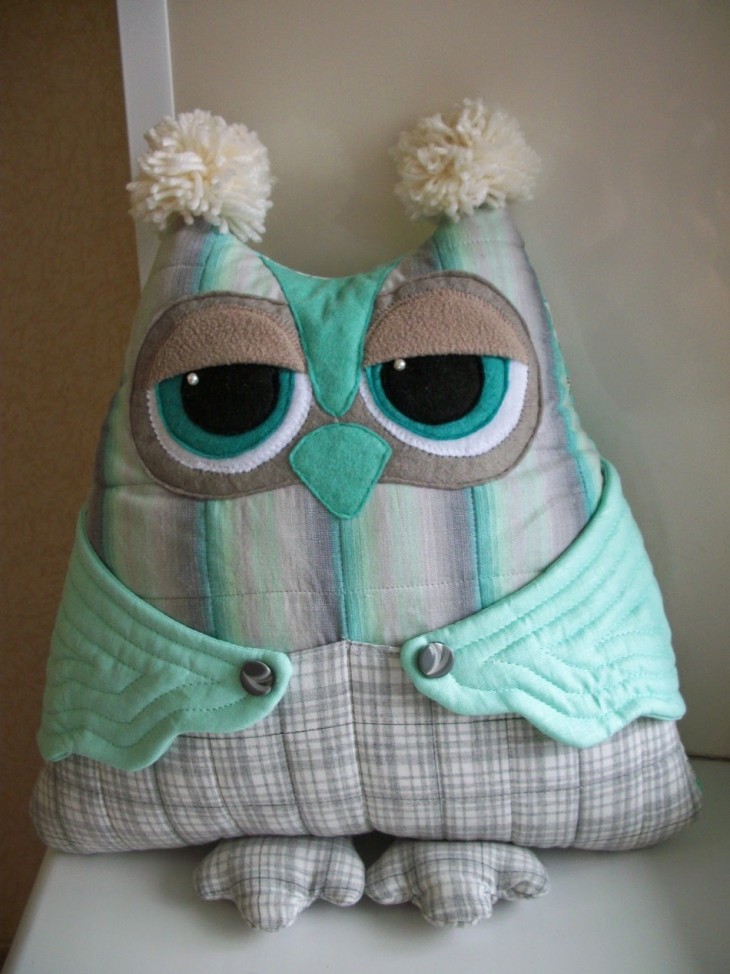
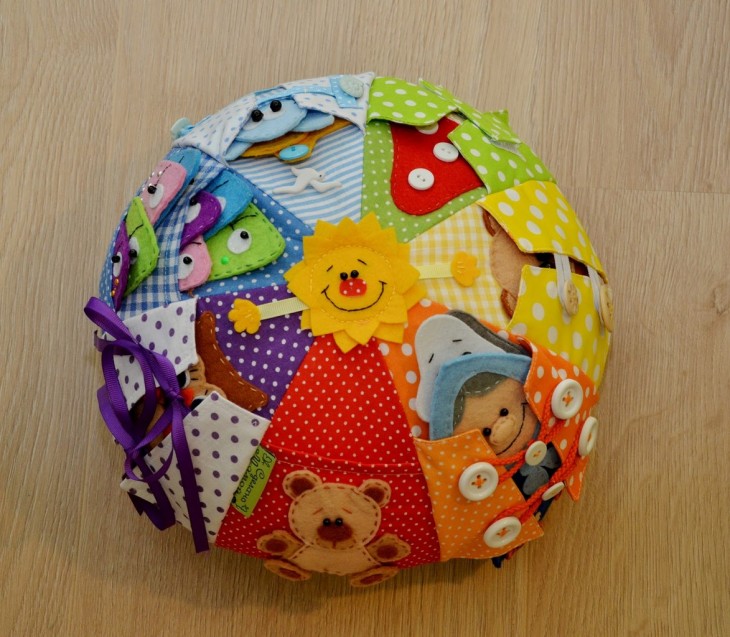
A beautiful soft toy will not leave anyone indifferent, especially if it is handmade. It will be appreciated by both a child and an adult.
Making soft toys with your own hands is a rather interesting and fascinating process that plunges an adult into childhood.
It does not matter if you do not have any experience as a seamstress, the main thing is the desire to craft, and everyone can be controlled by a needle with a thread.
Review Content:
DIY DIY Stuffed Toys
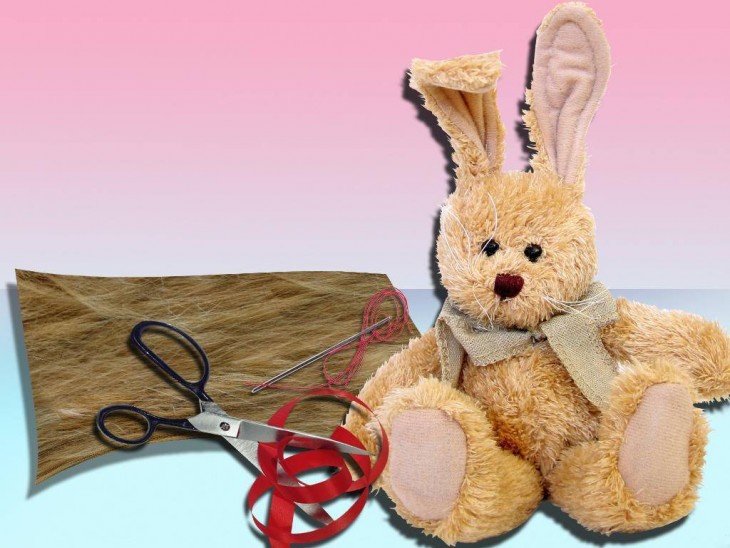
Do-it-yourself soft toy is much more valuable than purchased. To make such an original thing you will need:
- to study the simple technology of its creation;
- pick up raw materials;
- competently make a template for the future product.
On the Internet, you can easily find a large number of workshops on making a variety of soft toys. You can also go to shops selling goods for needlework - there is the opportunity to buy kits and manuals for creating soft toys with your own hands.
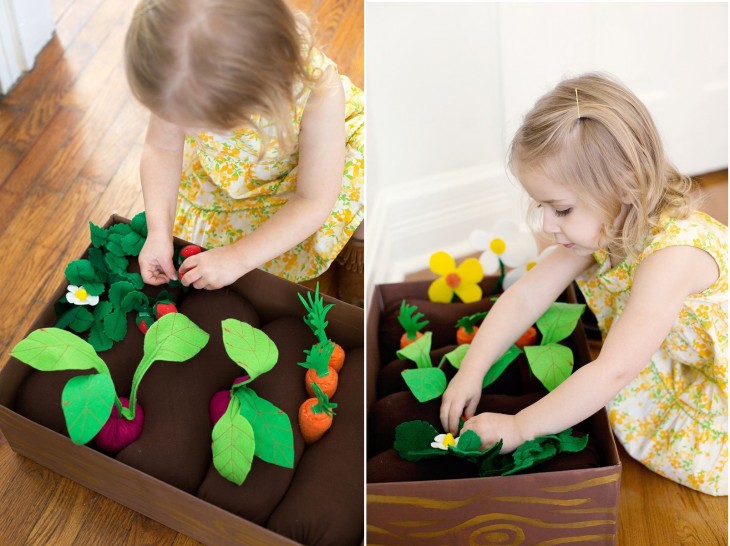
It will be just fine if you make a toy with your children. Such a pastime will develop their attentiveness, contribute to familiarization with work, order and accuracy.

The main thing is to remember about safety and not to leave children alone unattended.
Materials used to create a soft toy
The following fabrics can be used to create the soft toy:
- Knitted;
- Fur;
- Silk;
- Cotton;
- Woolen;
- Velvet and velor;
- Felt.

General instructions on how to make a soft toy
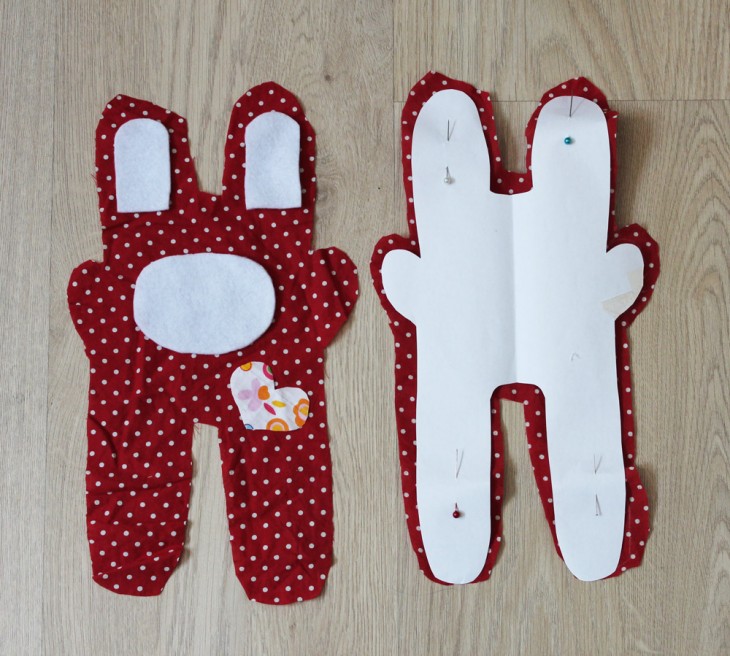
- Select the source material, carry out the necessary preparatory work with it - washing, ironing, steaming;
- Cut to pattern;
- Observe all the details along the marked lines;
- Stitch details;
- Fill the product with filler;
- Fold all the details of the product and stitch them;
- Finalize the look of the toy.
It is preferable to make a pattern from cardboard - this facilitates the process of encircling the template on the material and increases its service life.
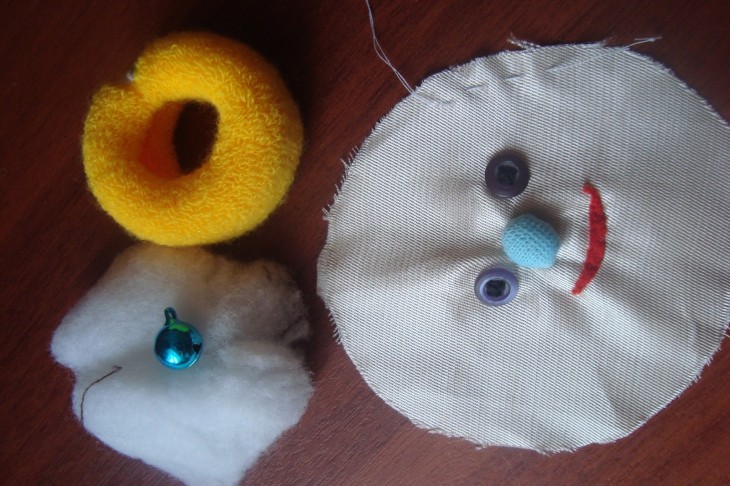
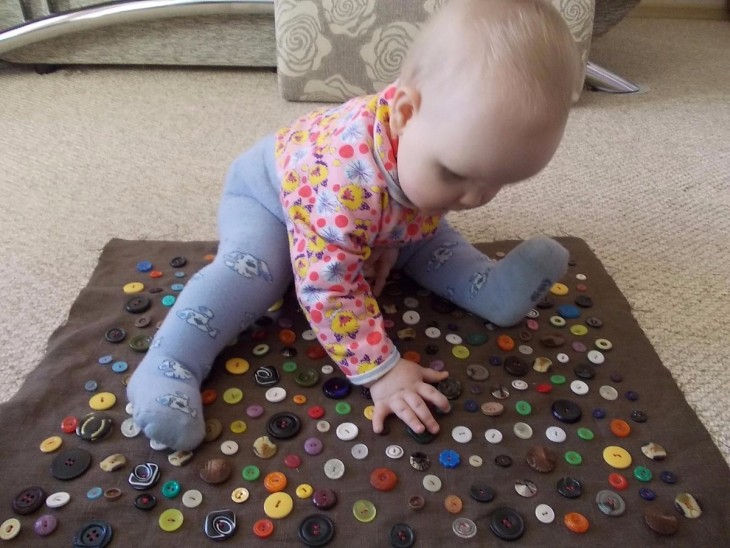
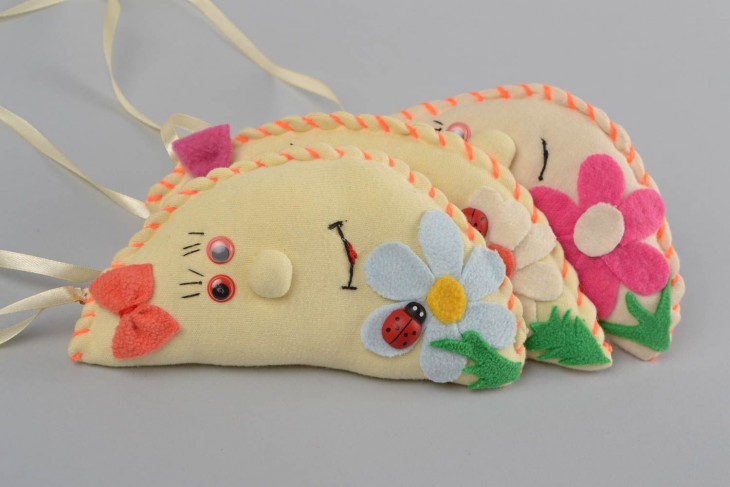
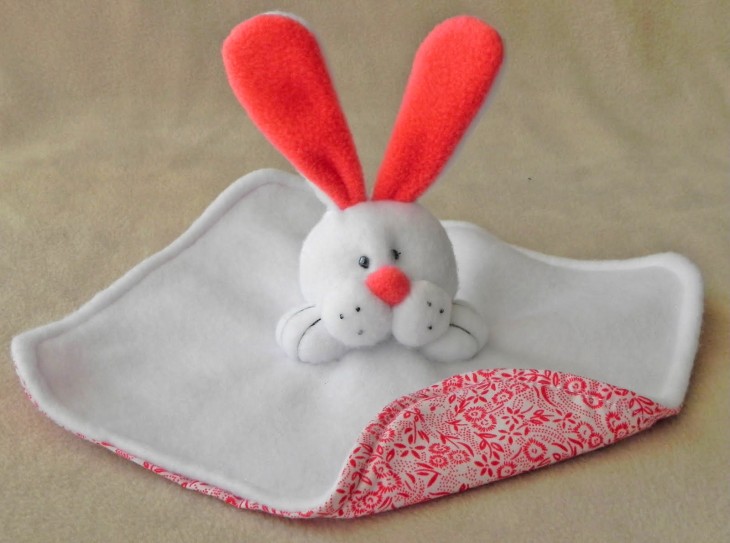
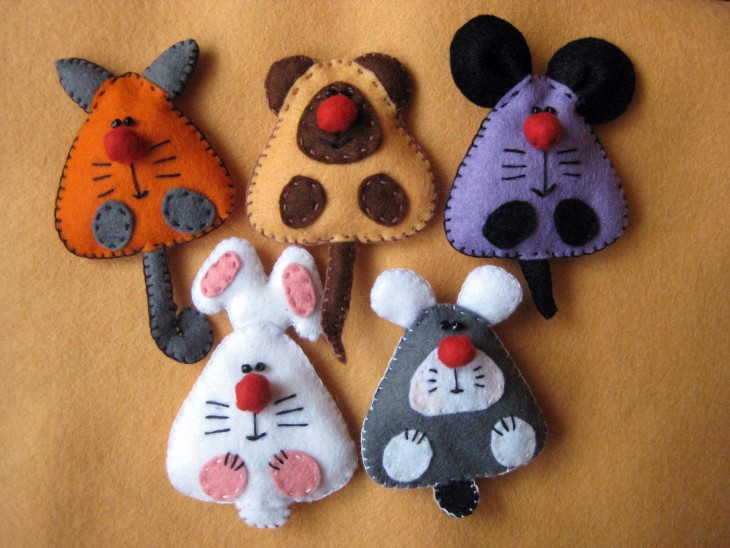
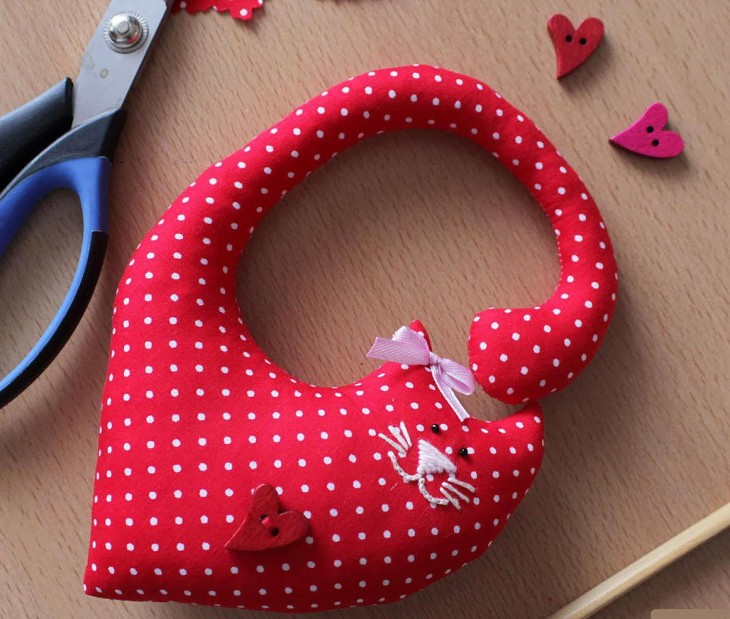
Master class: how to make a toy "Mouse" do it yourself
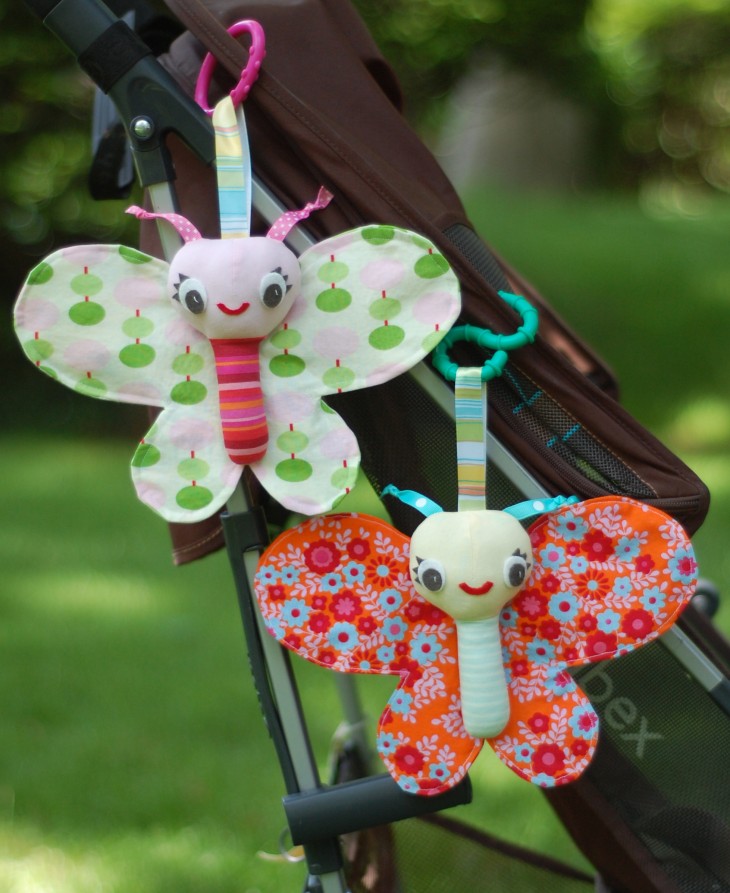
A wonderful, small-sized toy “Mouse” is designed for babies up to 1 year old. She will help the development of touch. It will be very interesting for crunches to play with such a bright, funny little thing.
Sewing the "Mouse" is very simple:
- Take the suggested template;
- Prepare trimming material, preferably bright colors and threads of contrasting color;
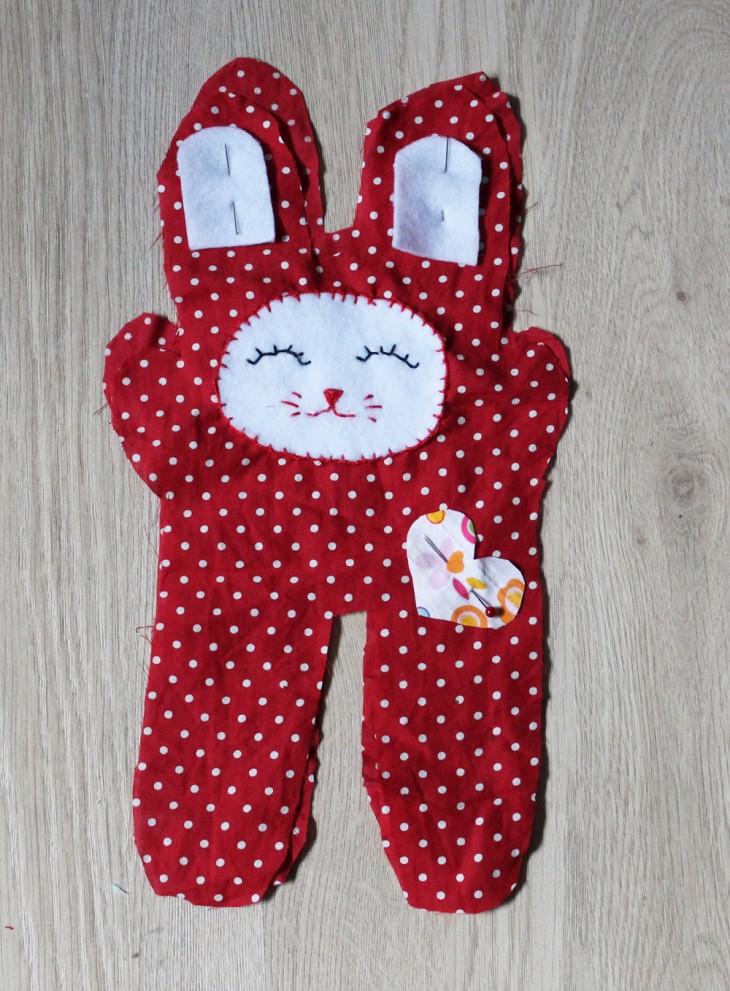
- Align all parts of the product on the front side, sew them with a buttonhole;
- Make ears, eyes and nose;
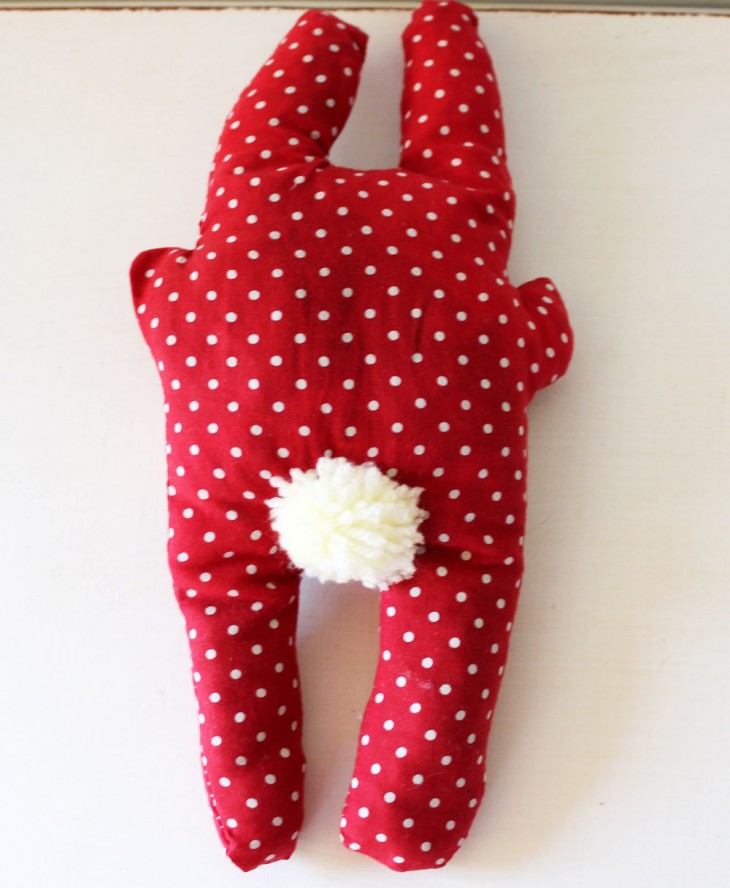
- Put the sintepon inside and sew the tail.
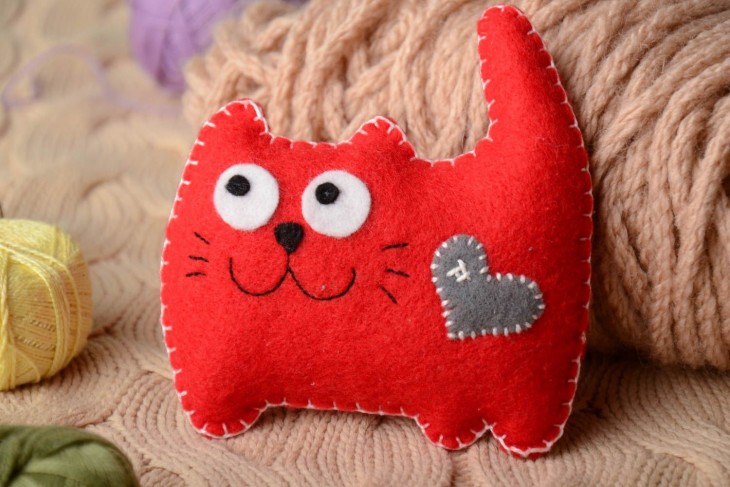
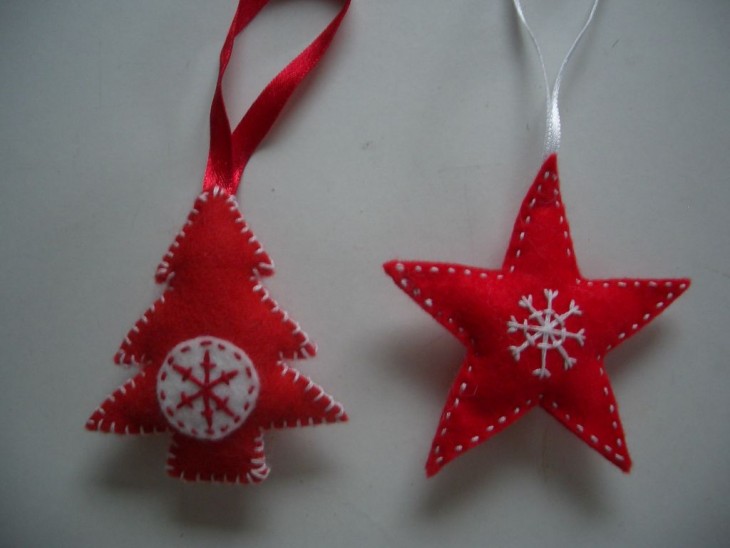
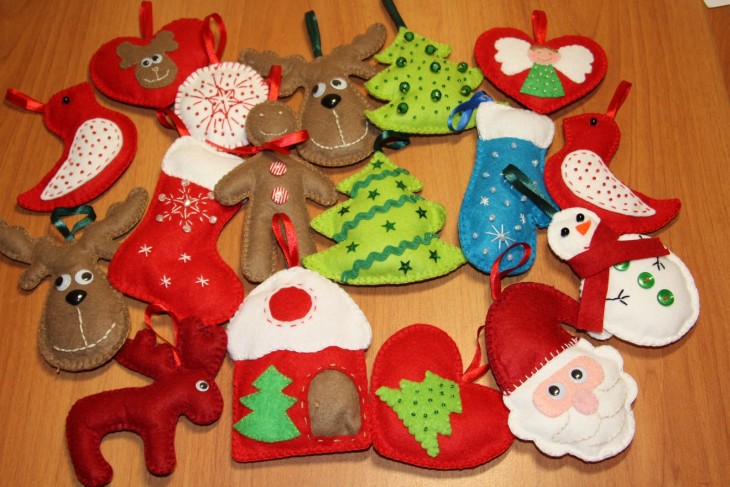
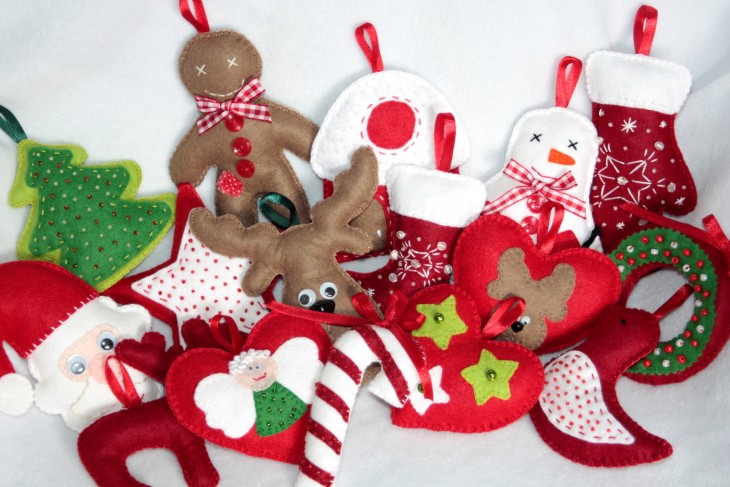
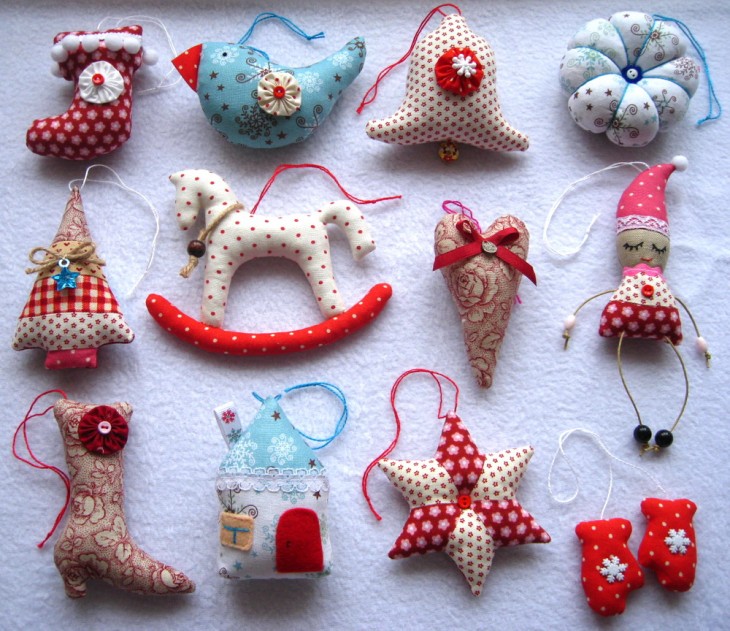
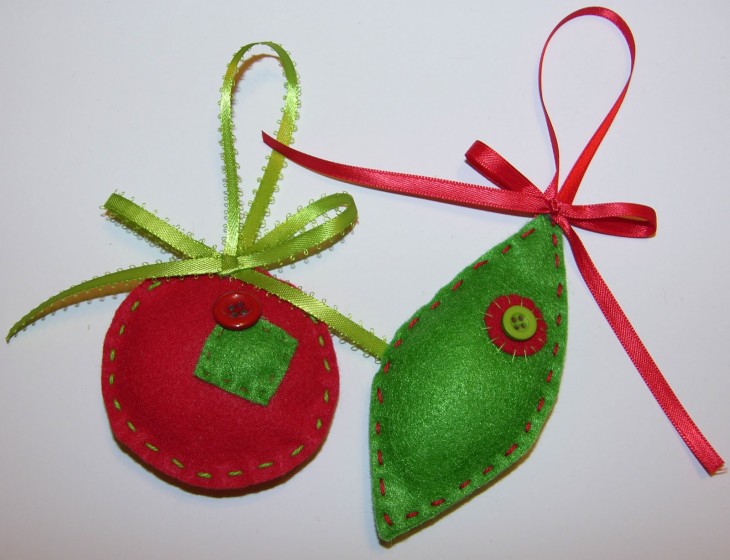
Below you can see a photo of the finished toy.
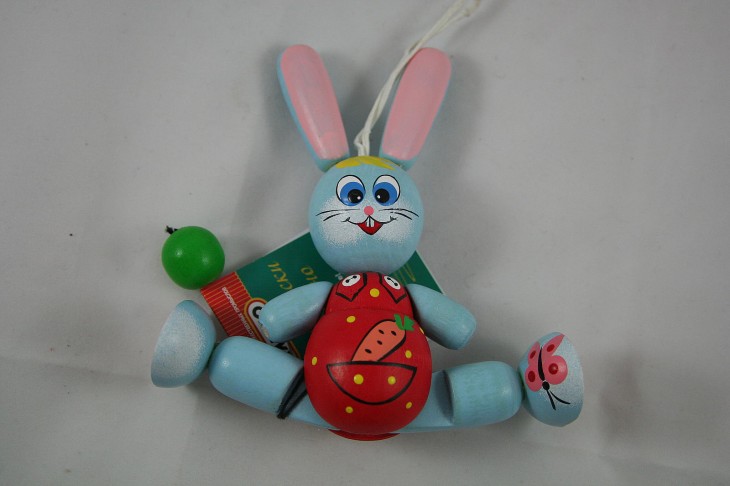
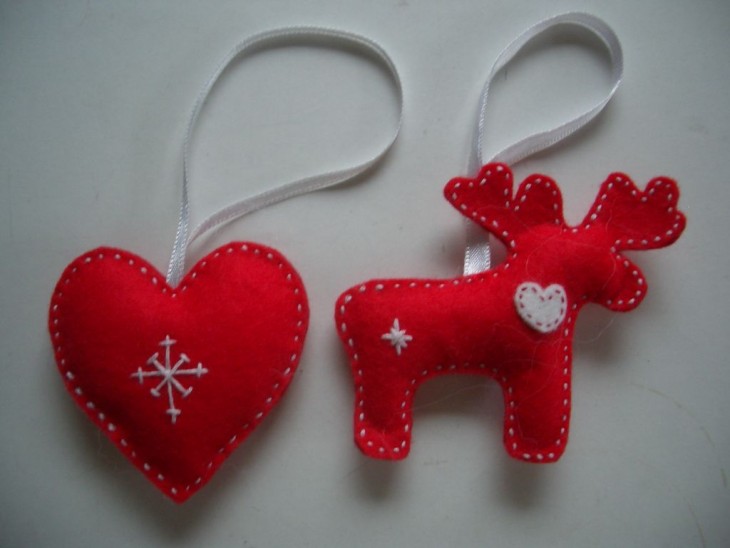
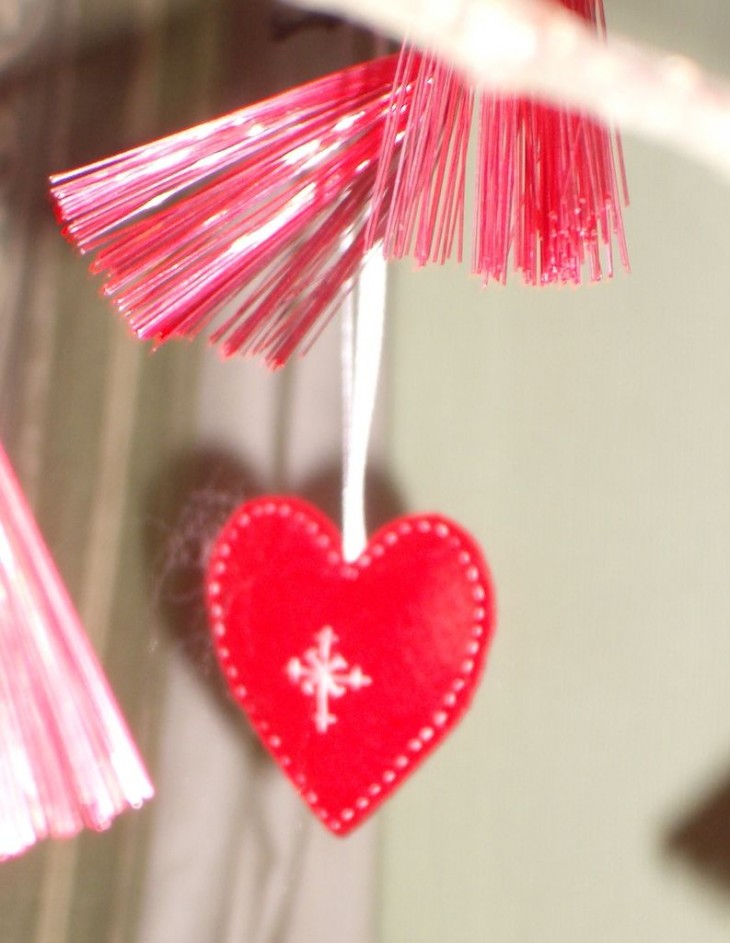
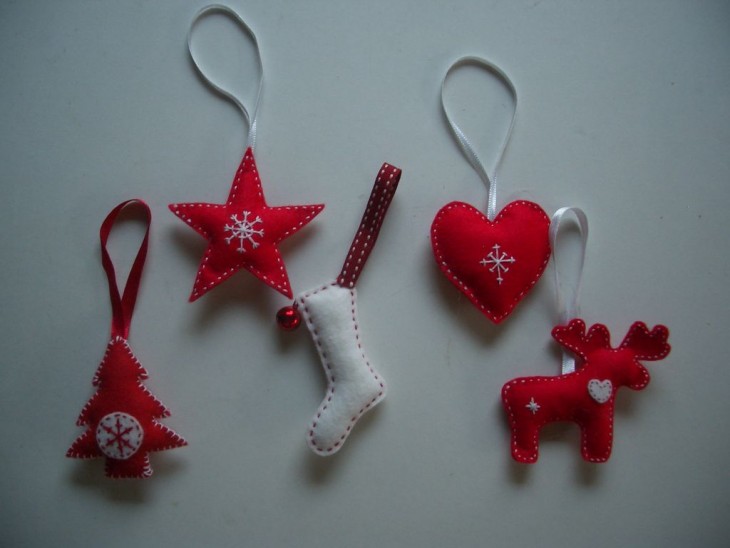
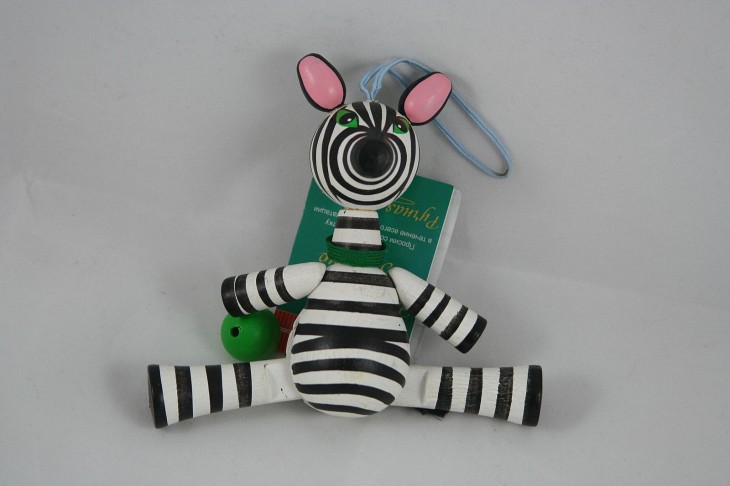
A similar little thing can be used as a Christmas tree toy, for this it is enough to make a loop.
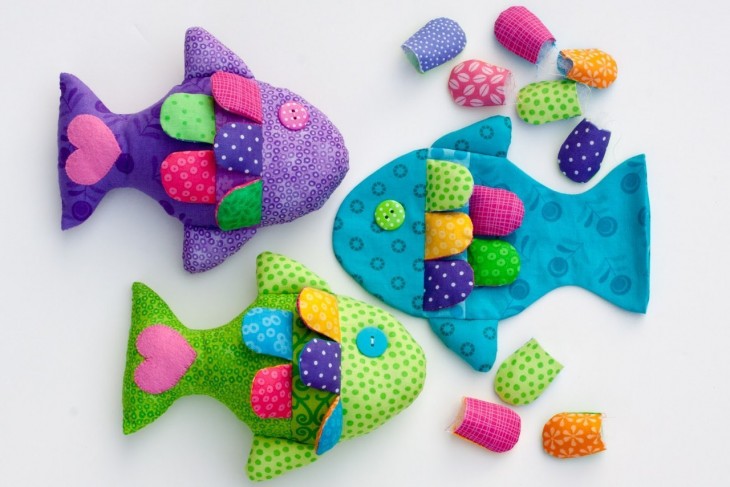
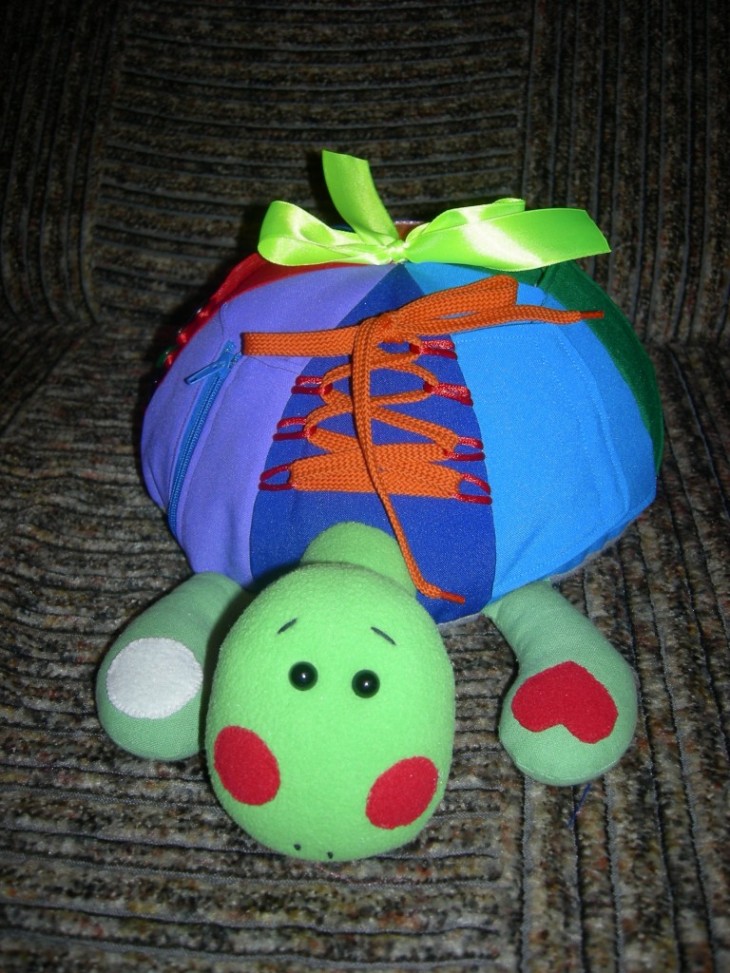
We sew a turtle
We will need:
- multi-colored shreds of cotton;
- cardboard template;
- synthetic winterizer;
- buttons or beads for the eyes;
- needles, threads, scissors.
Work:
- We make a pattern. To do this, draw the head, tail, paws and torso (with a radius of about 15 cm, make the bottom of the shell a little smaller);
- We attach the template to the wrong side of the material, circle it. Next, you need to cut two parts for the head, tail, shell and 8 for the legs;
- We make 4 tucks on the upper part of the body. This will add bulk to the product;
- Sew together the parts of the head and legs, stuff them with a filler. Also stitch the tail. We do not fill it;
- We sew all the details of the shell, leaving holes for the limbs and the filler;
- We connect all parts of the product with a hidden seam, sew the tail;
- We make eyes. The turtle is ready!
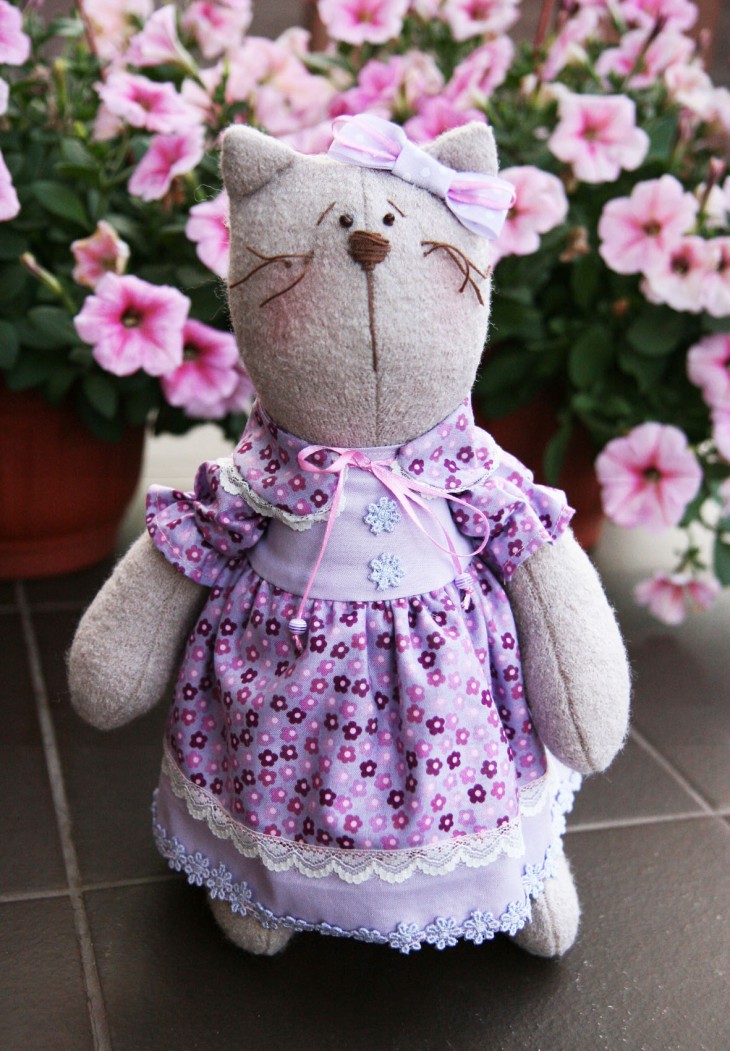
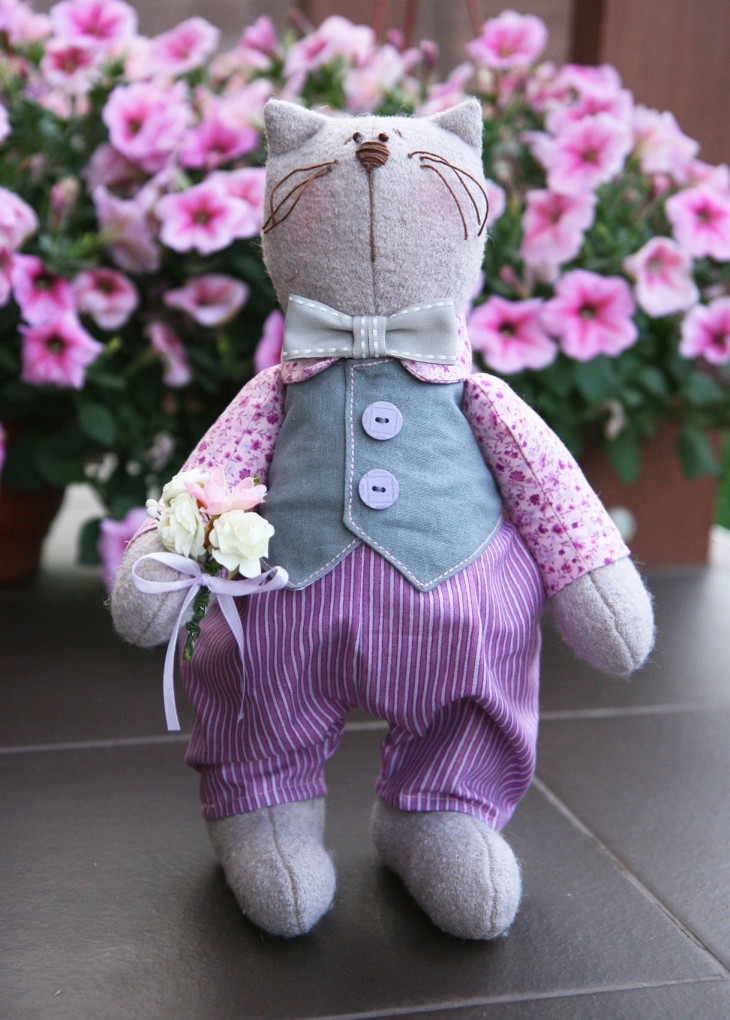
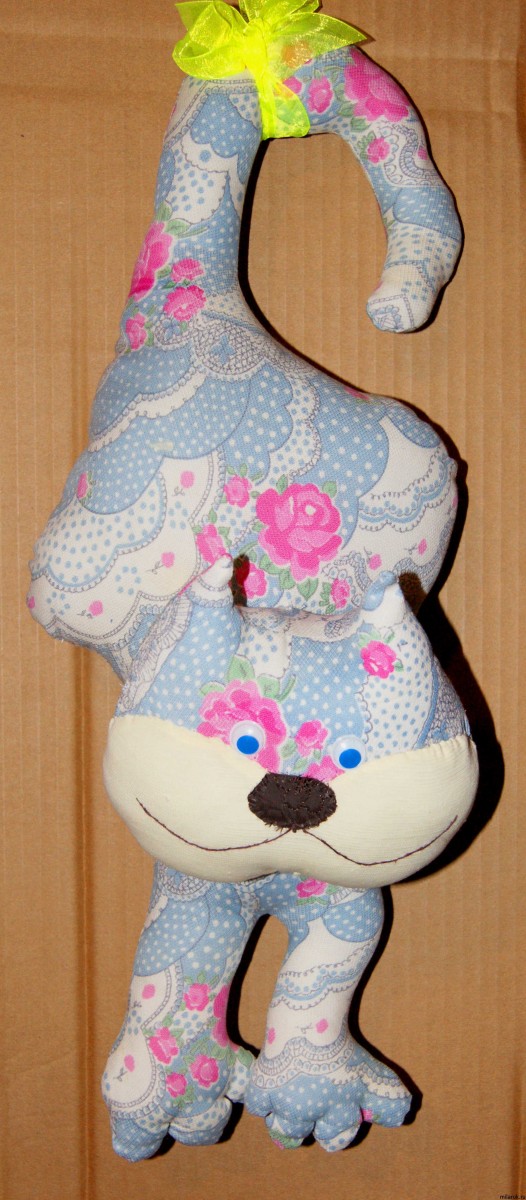
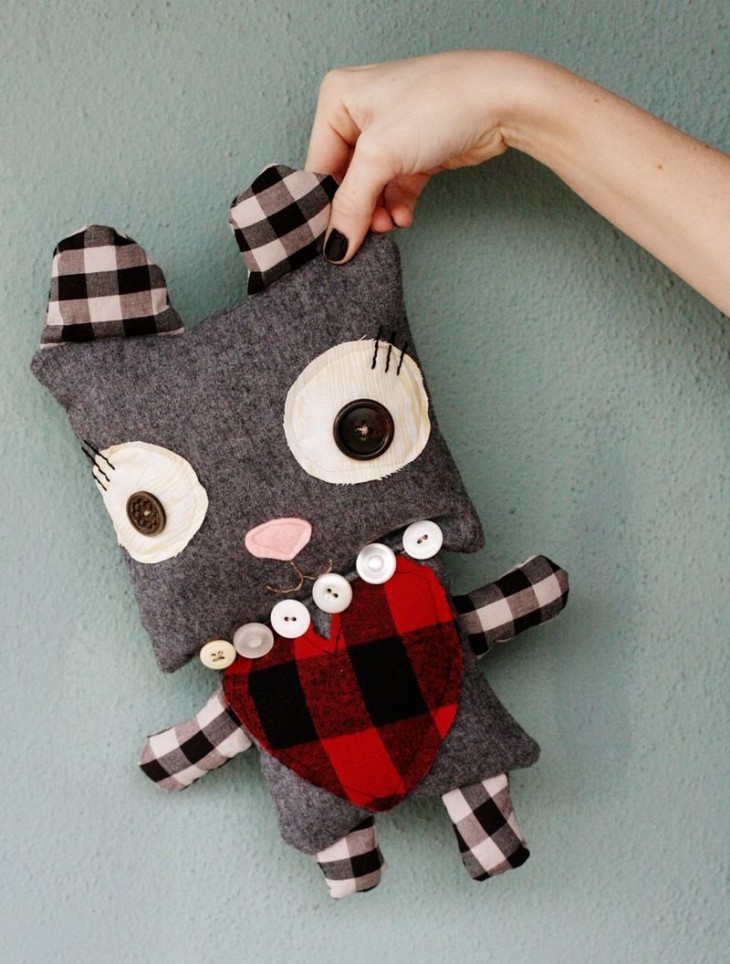
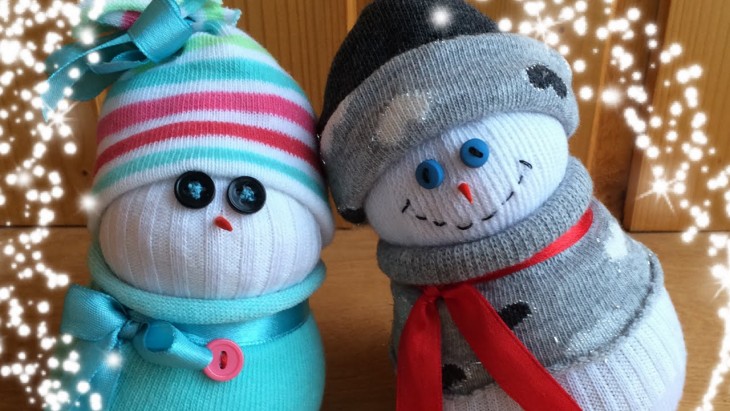
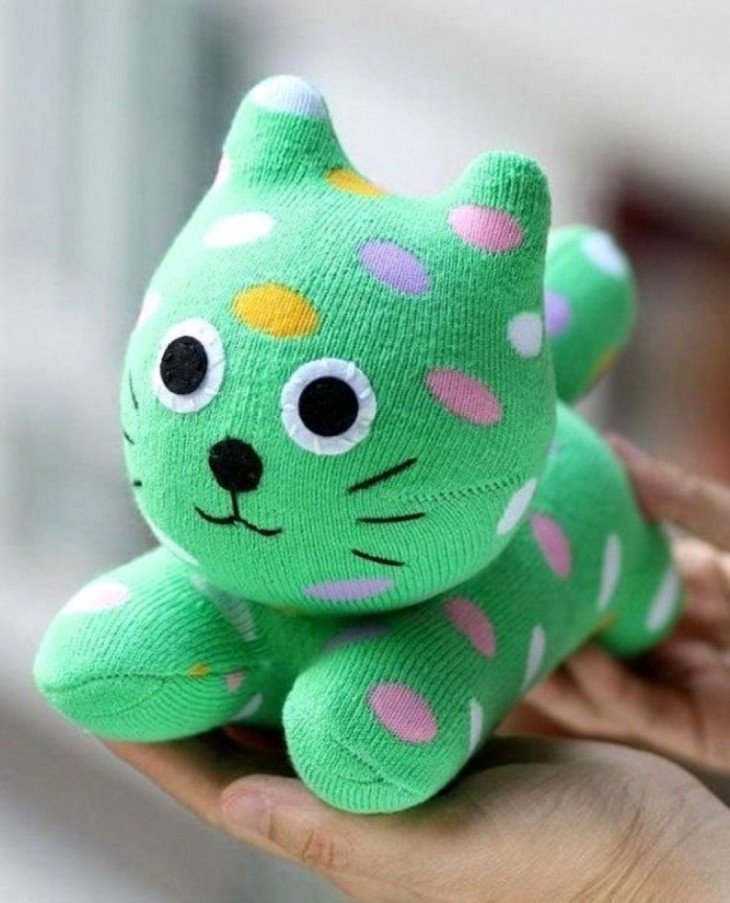
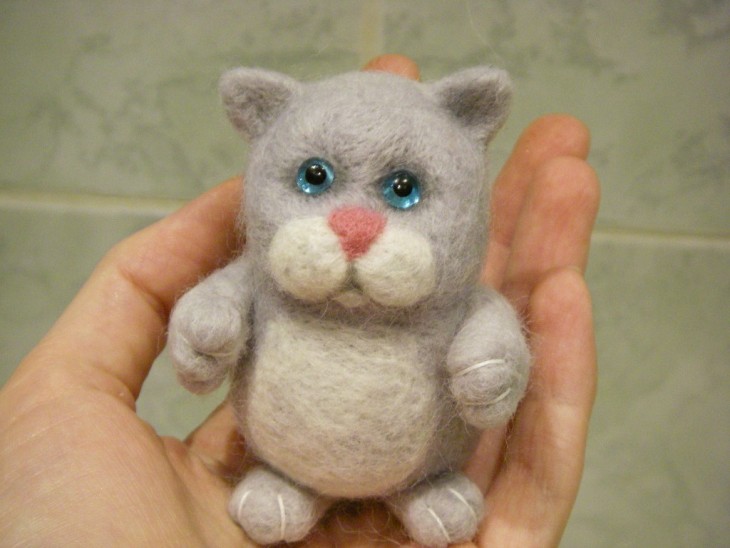
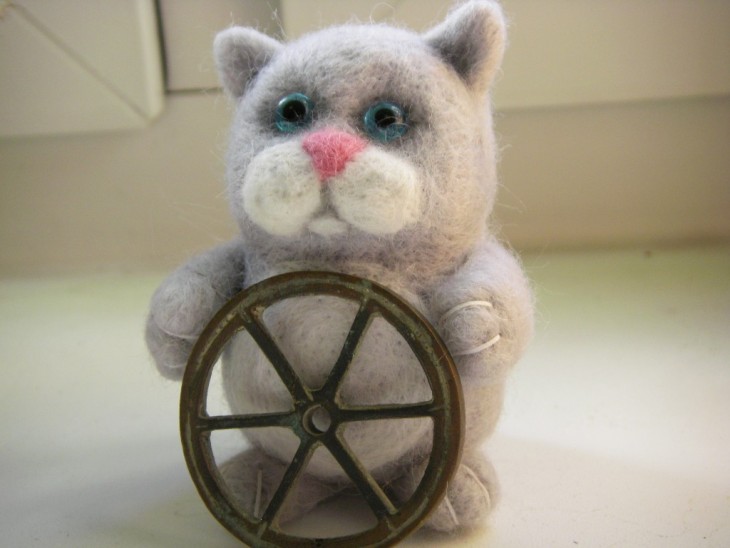
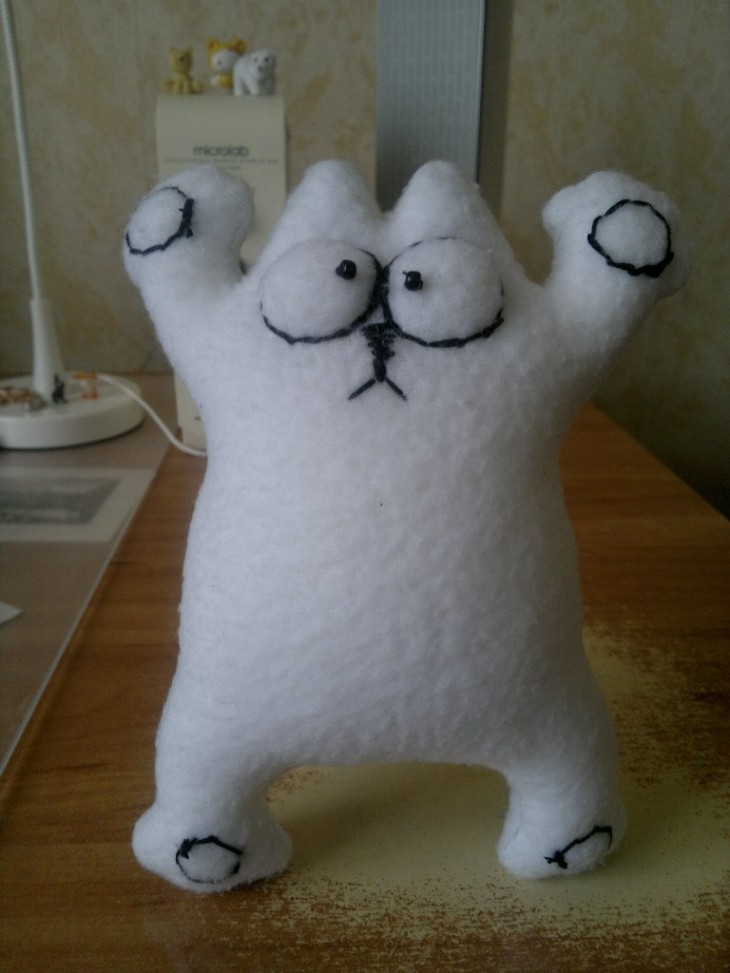
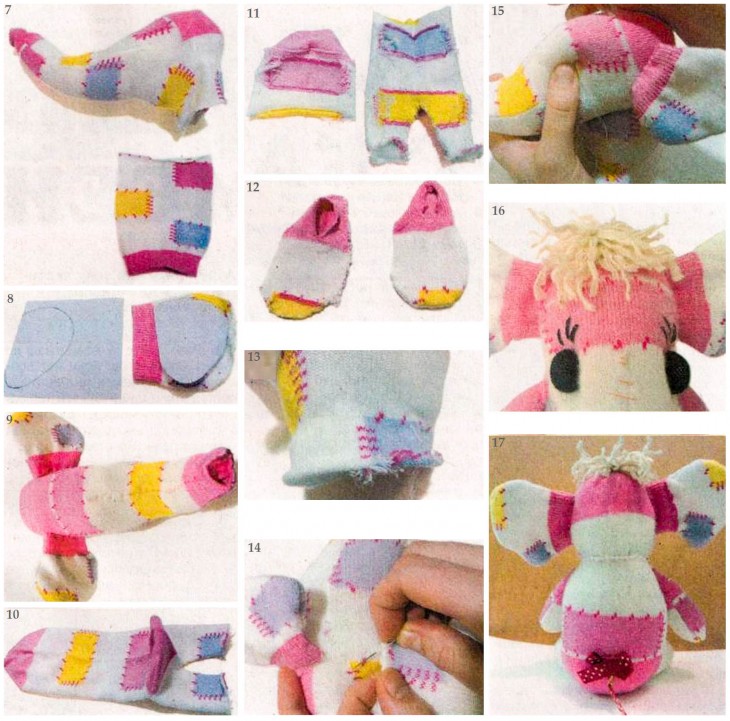
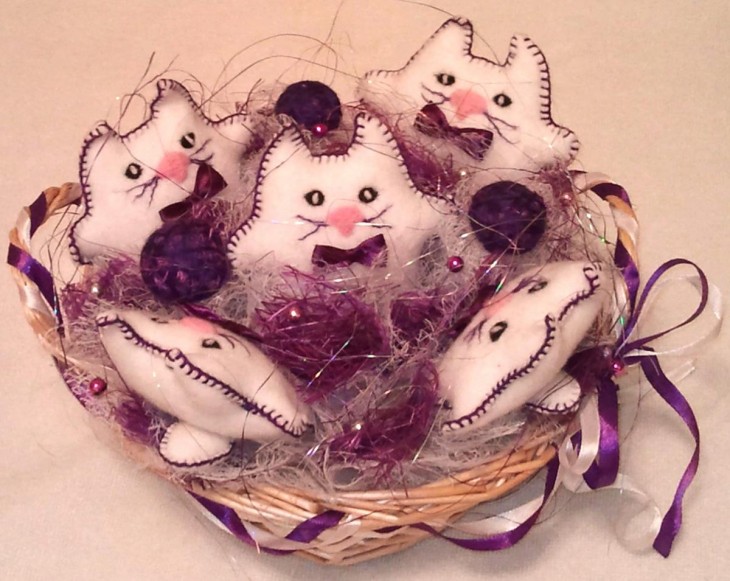
Soft toy "Cat"
In order to sew the “Cat”, we need a sock, and a new one. Next, decide which cat you want to get as a result - fat or thin. It depends on what place you need to cut the sock.
For a fat cat, you need the part that covers the sole. The upper part of the elastic must be pushed to the side. Then stuff the toy tightly with the filler so that the body is larger than the head.
Note!

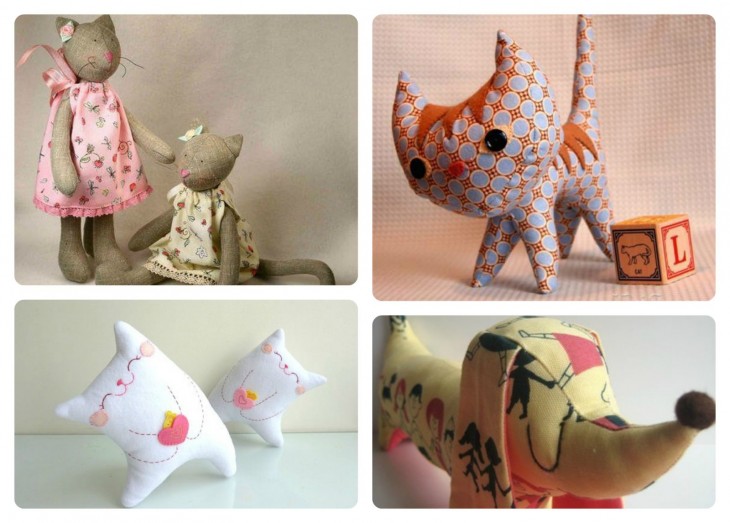
We bend the edges of the hole inward, pin it with pins and sew it together. Stretching, we form the ears. The next step is embroidering with a thread of contrasting color of the eyes, nose and mouth.
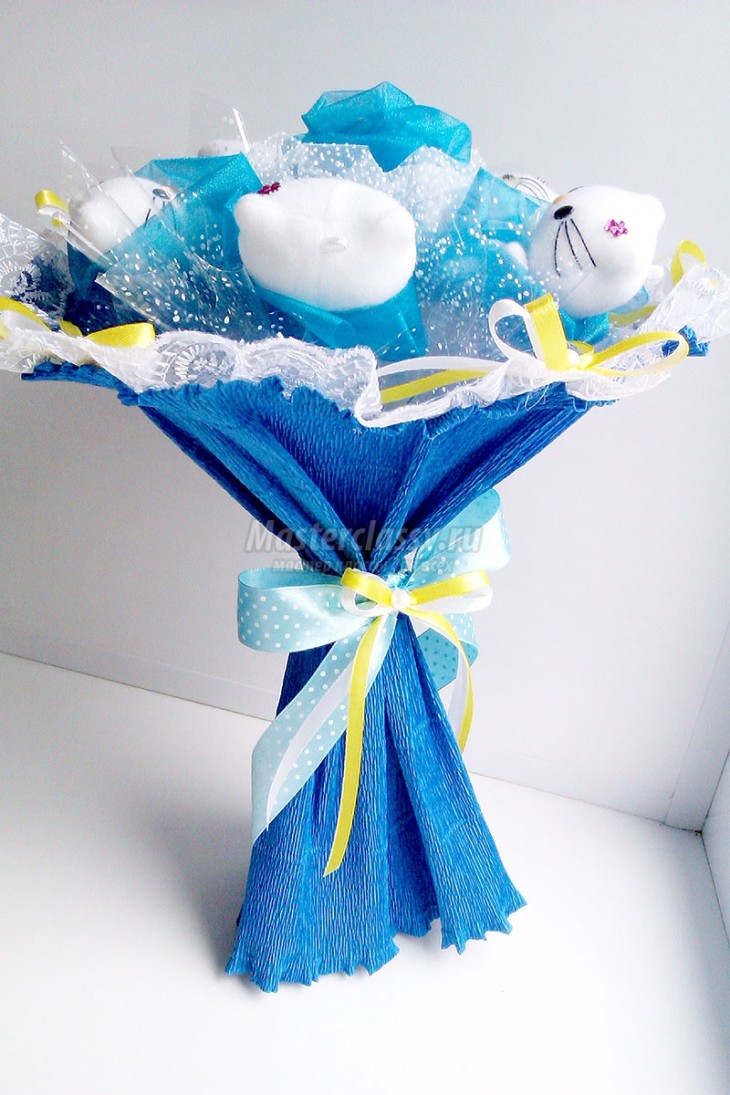
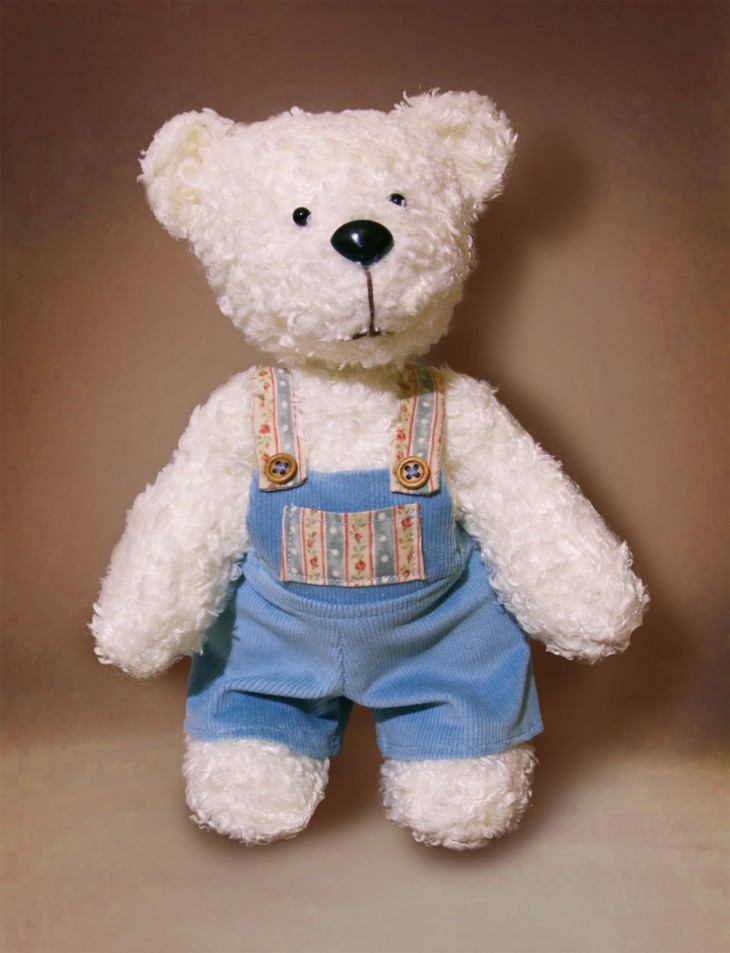
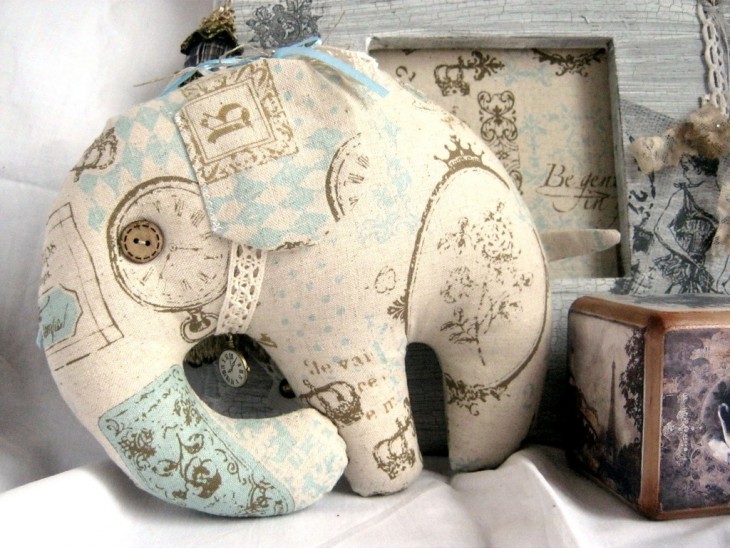
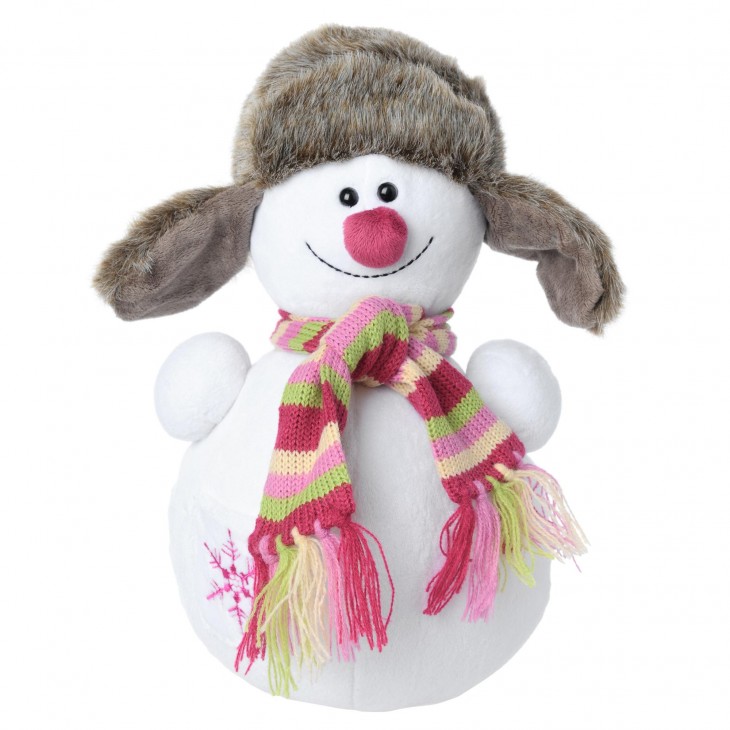
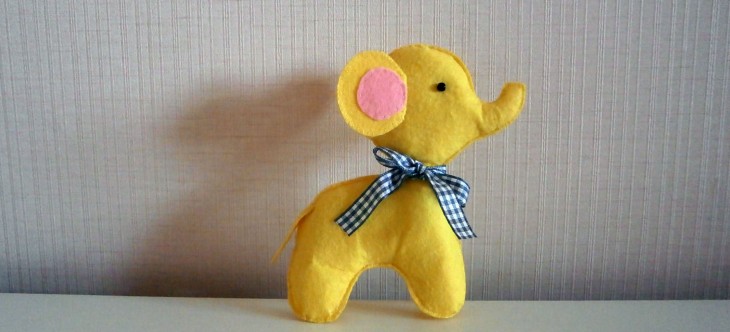
The finished product can be decorated with a beautiful ribbon, scarf, bow, brooch.
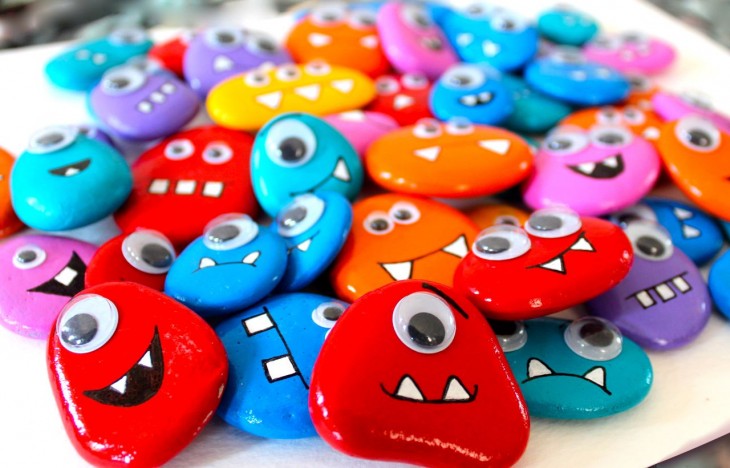
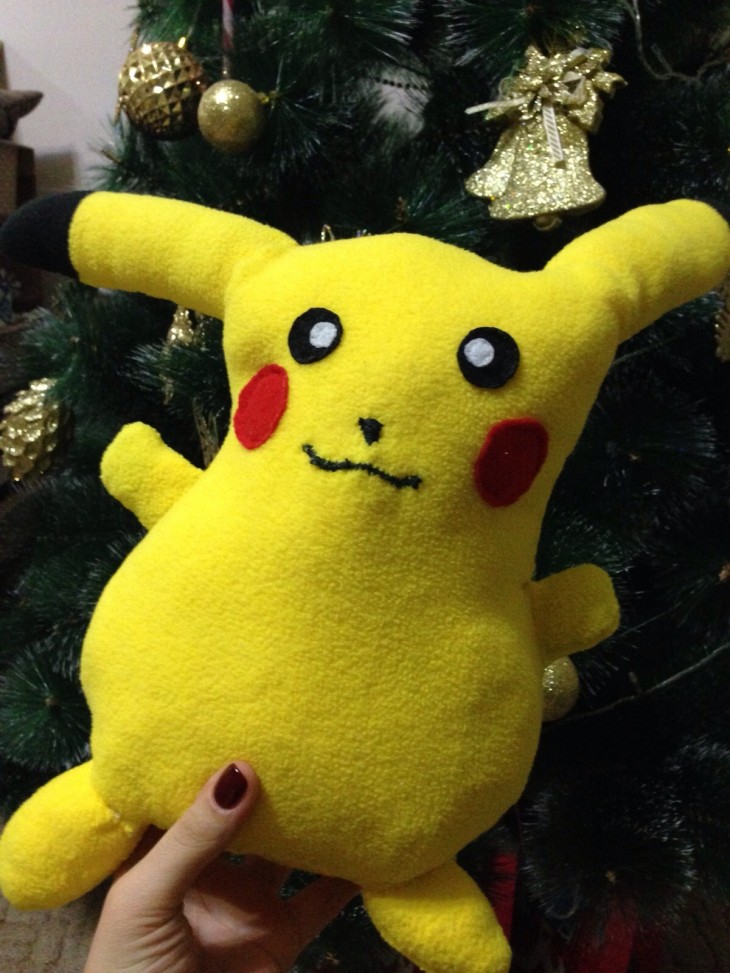
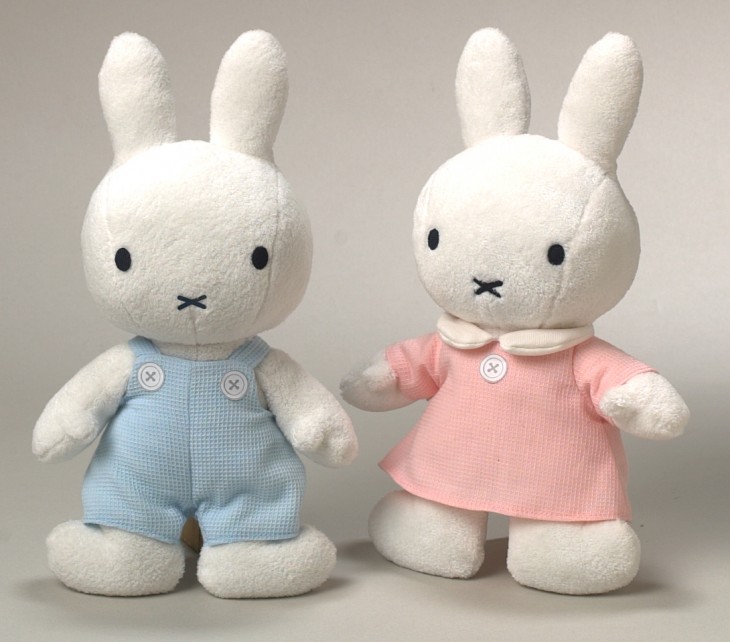
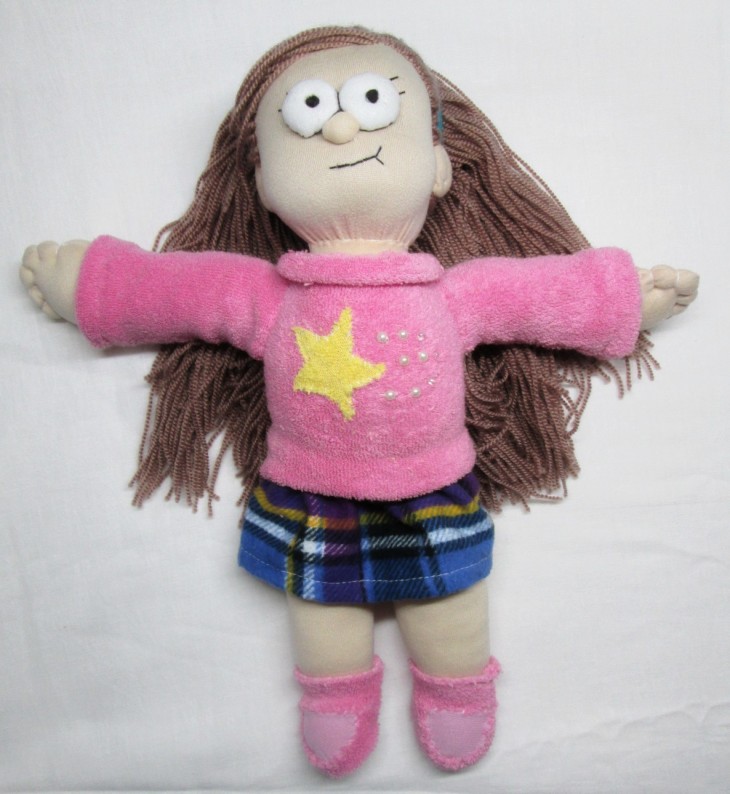
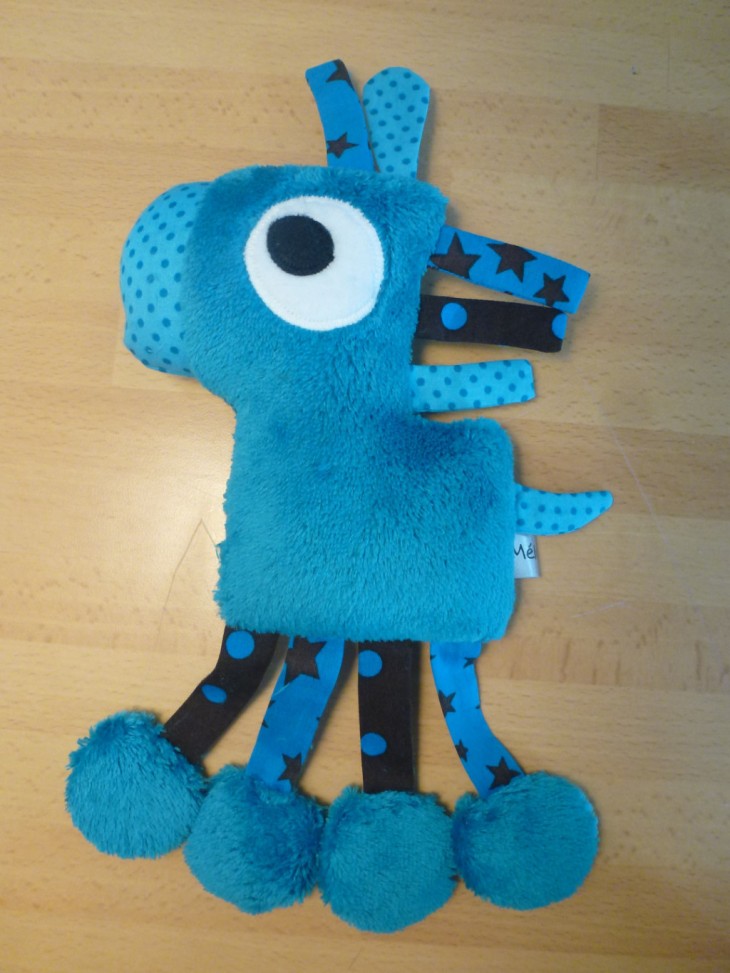
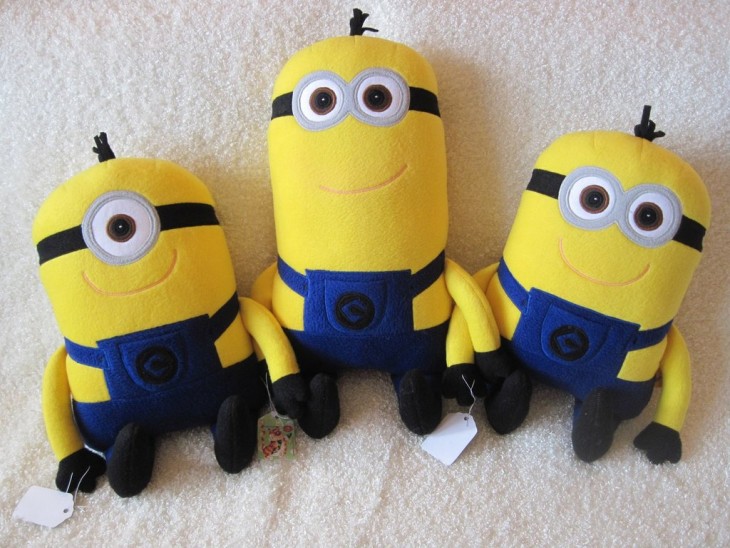
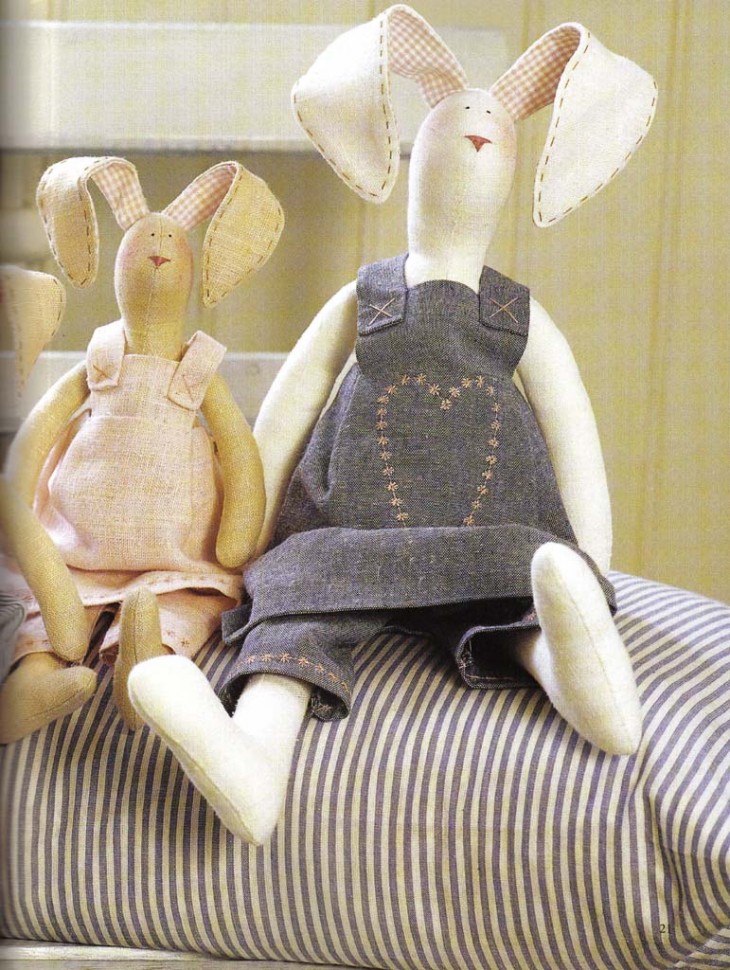
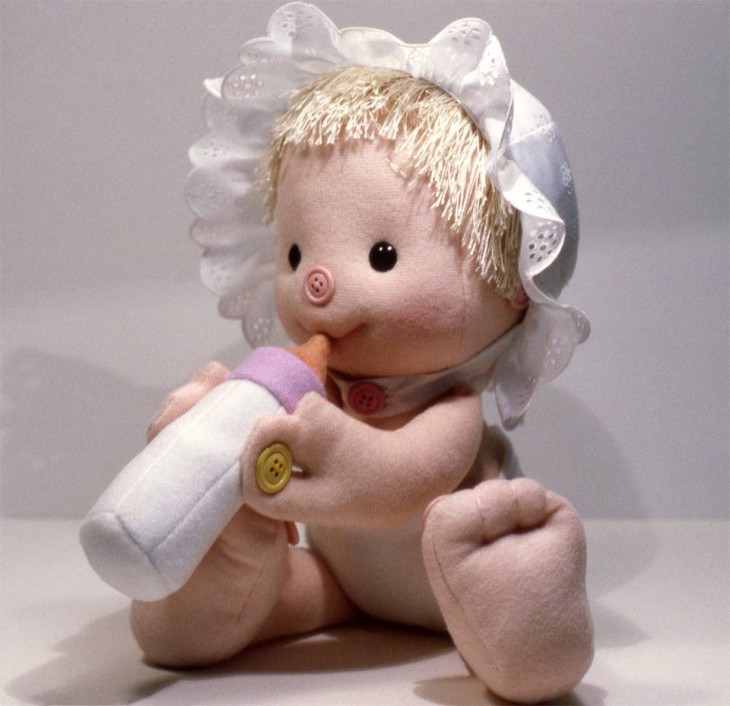
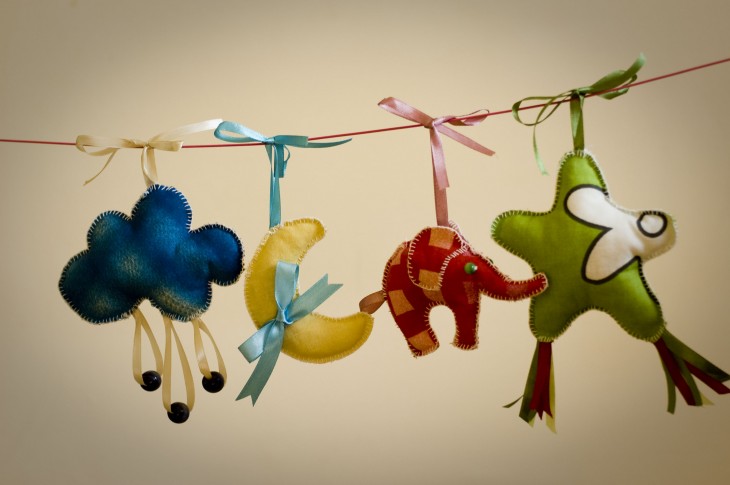
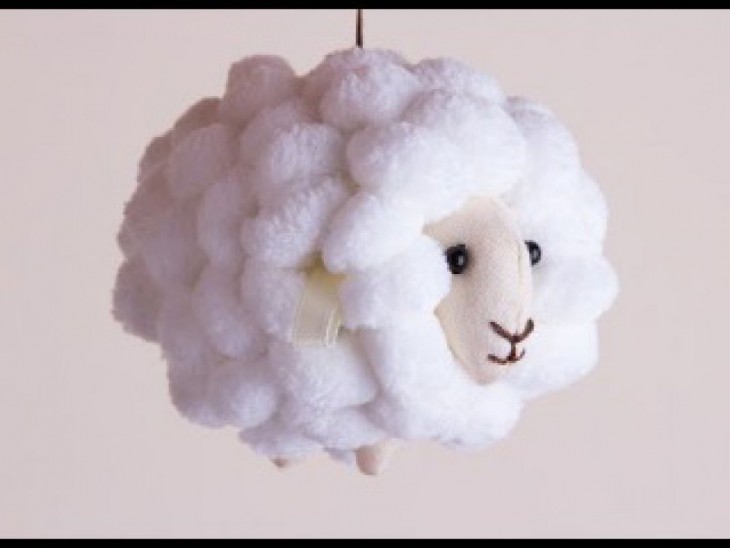
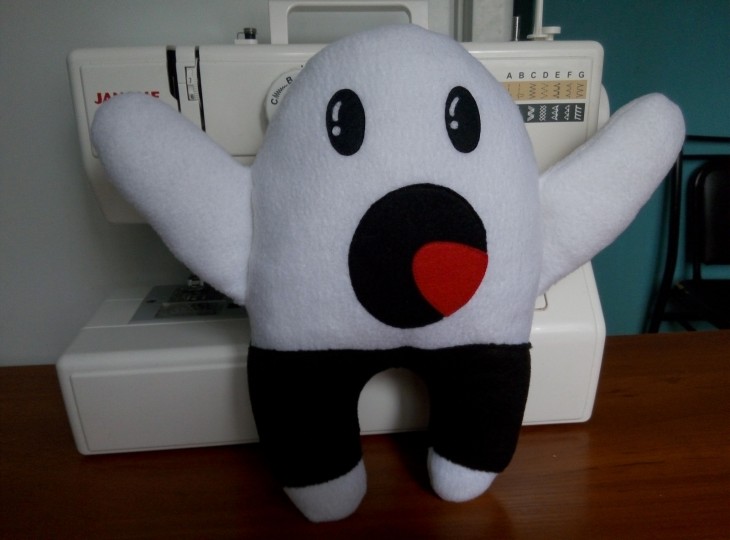
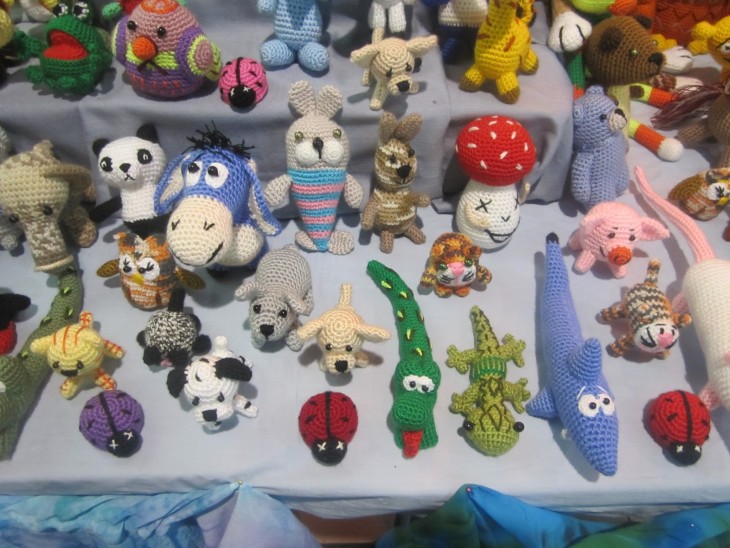
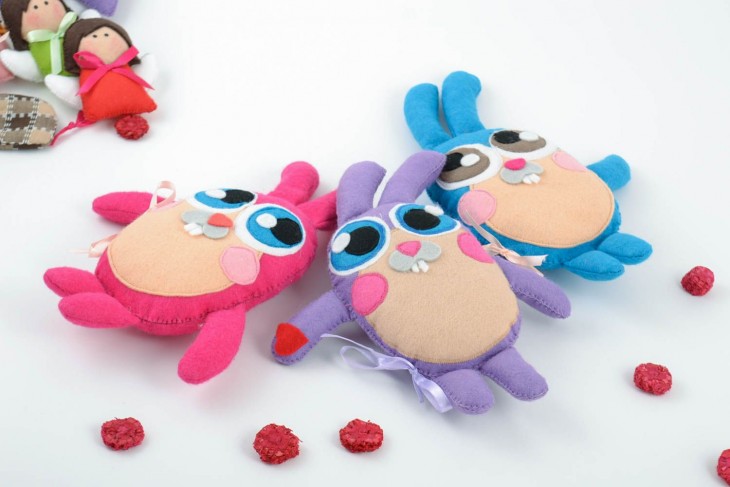
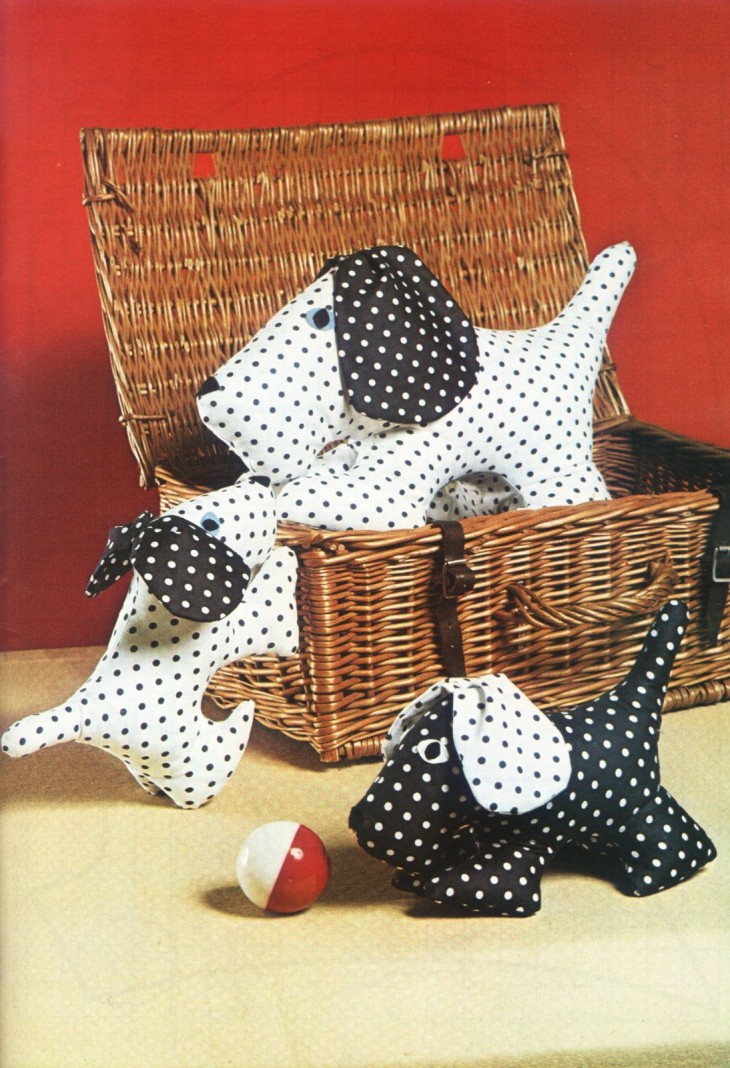
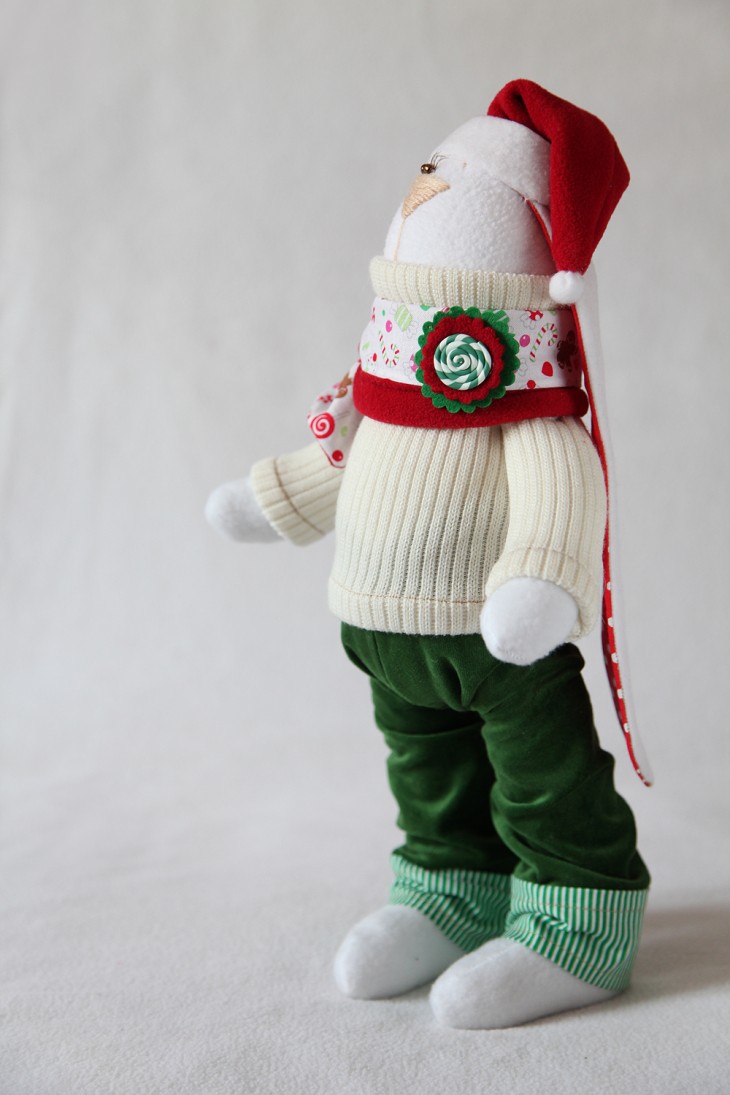
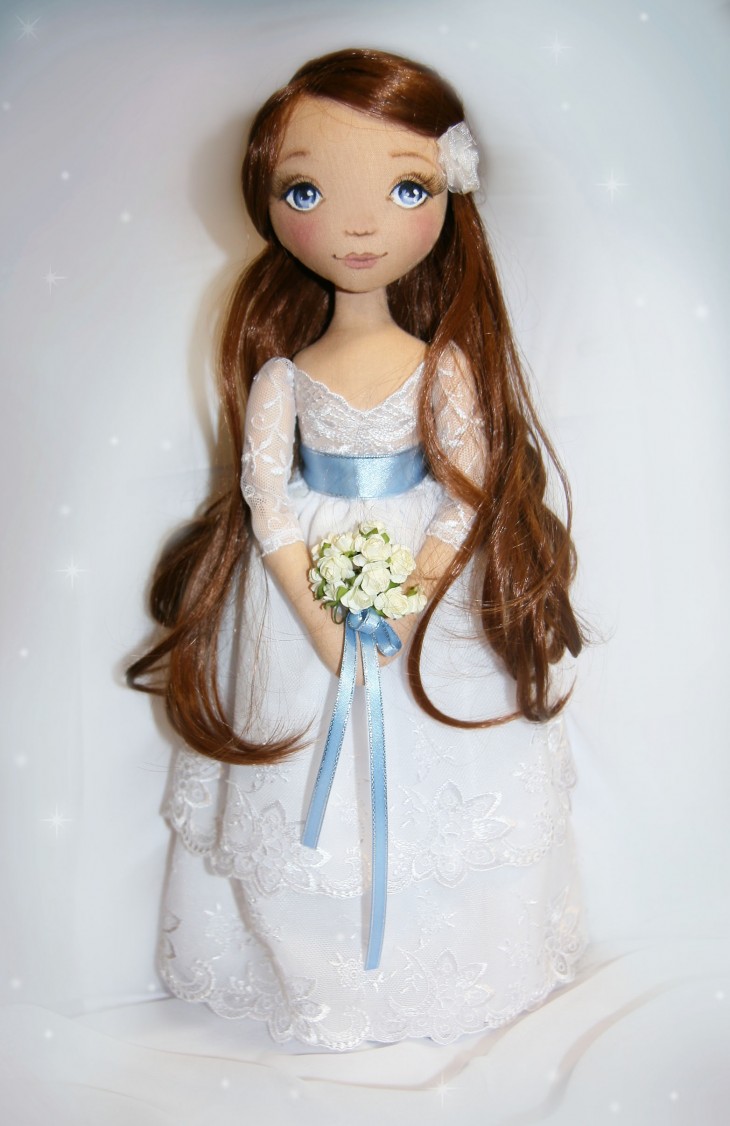
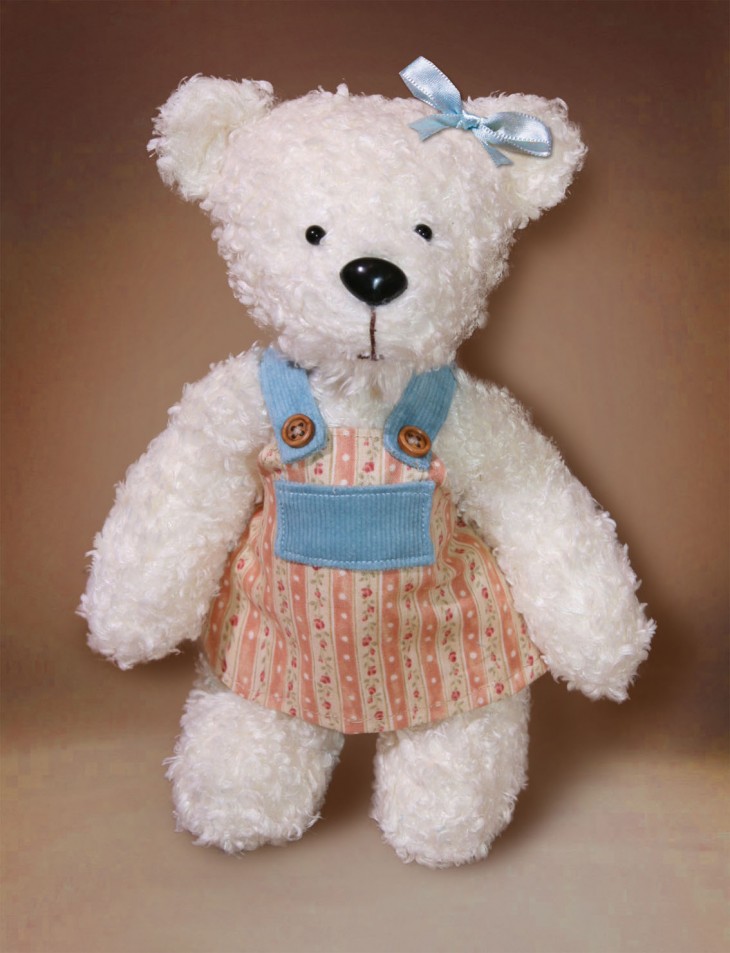
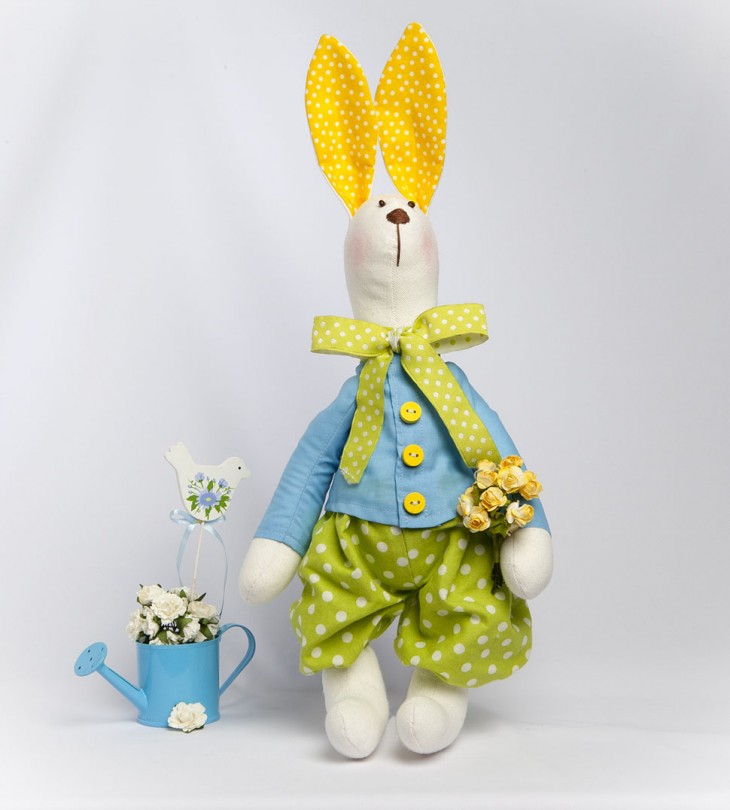
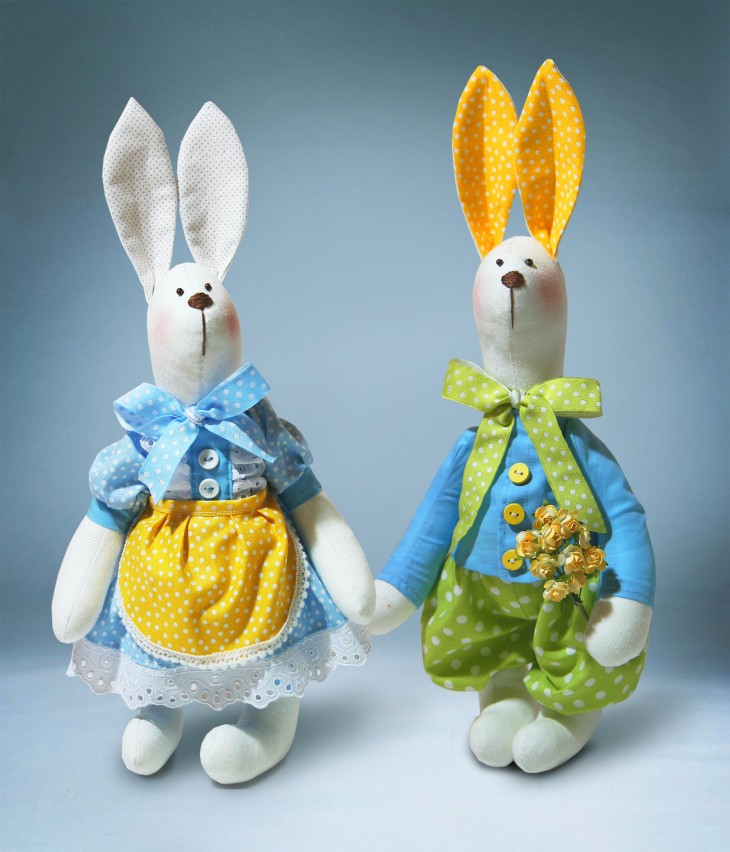
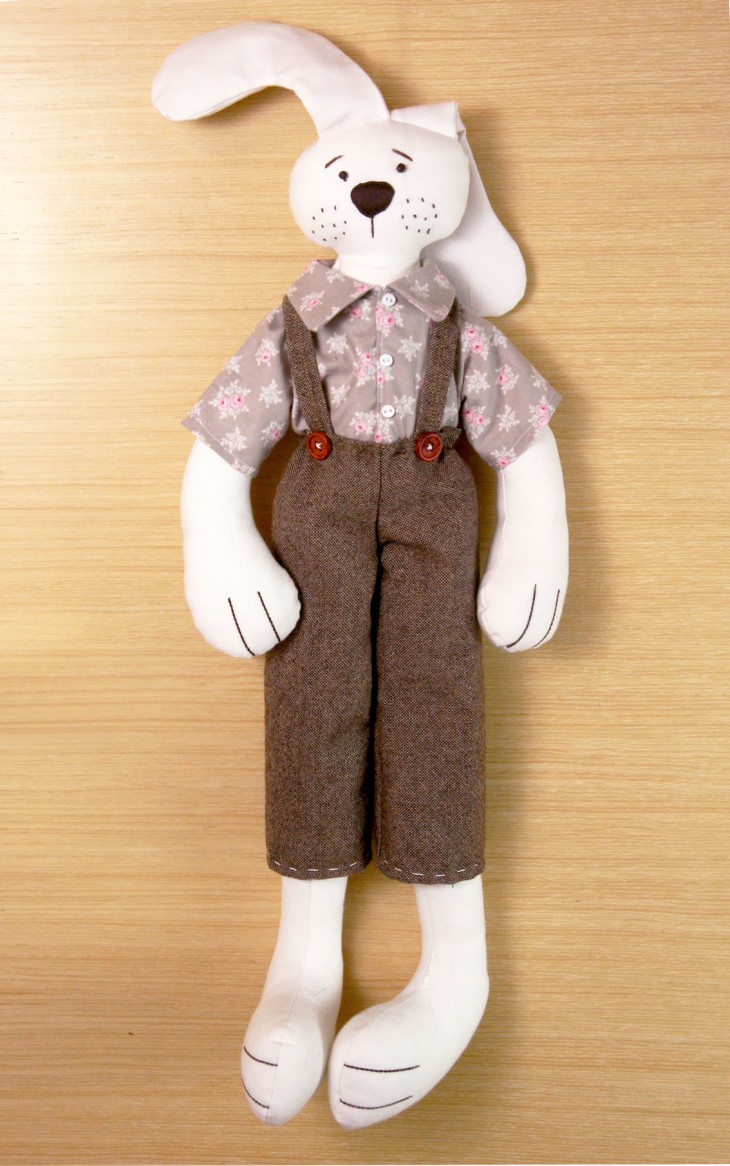
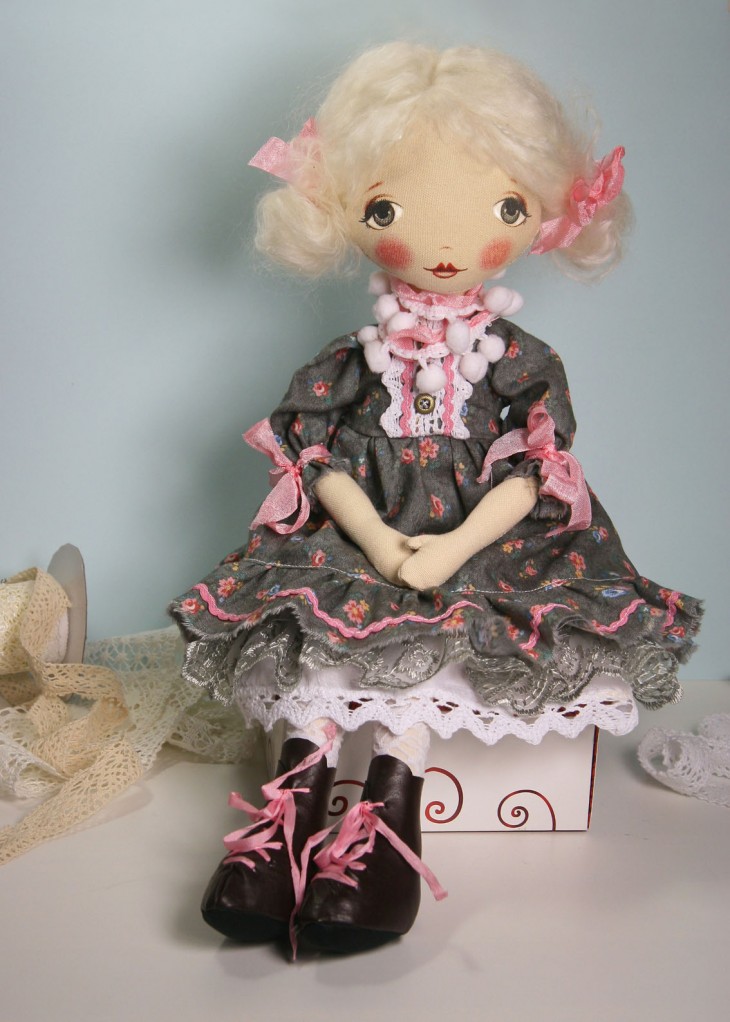
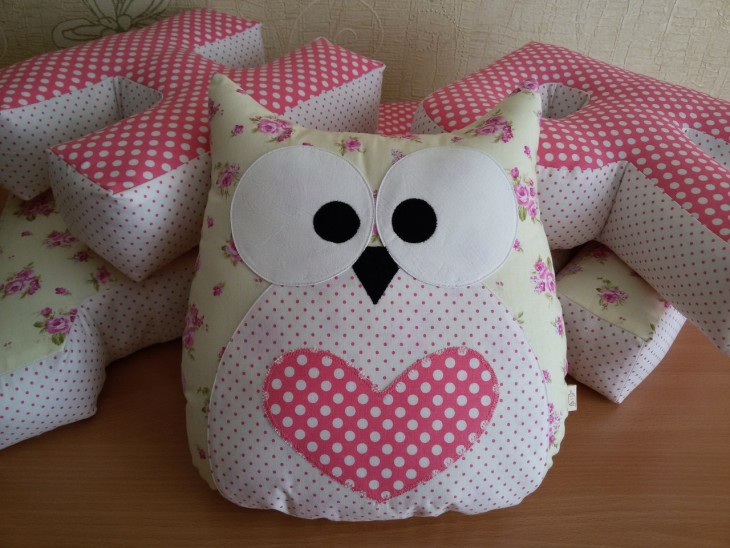
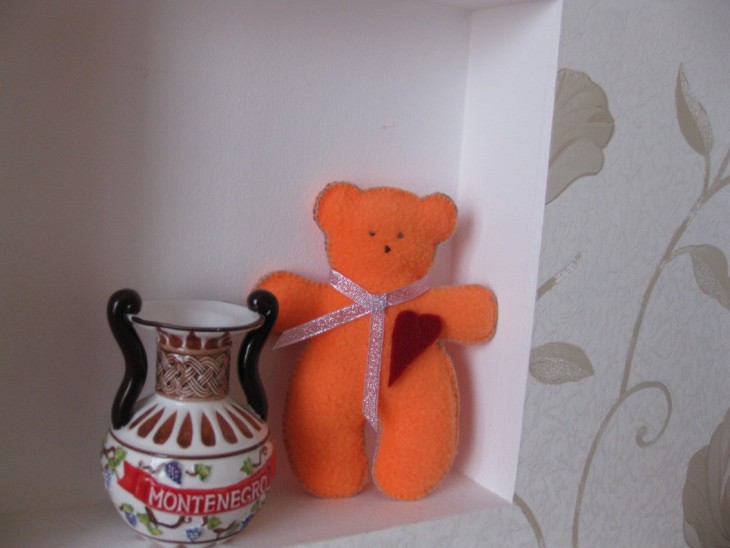
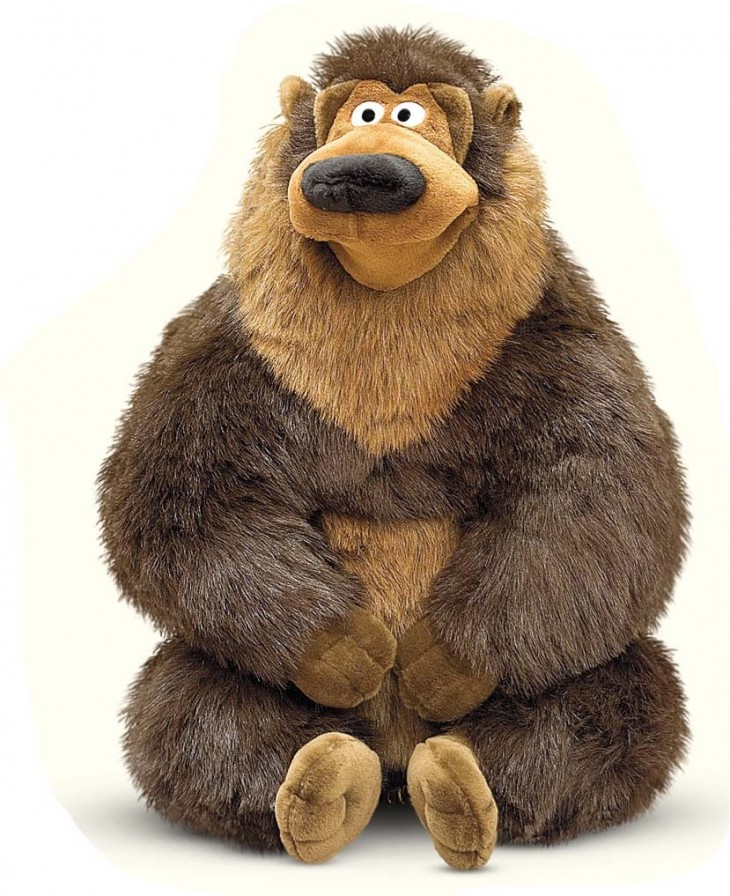
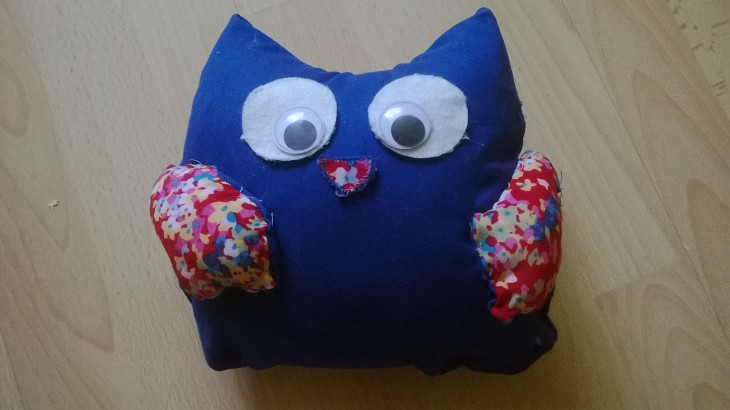
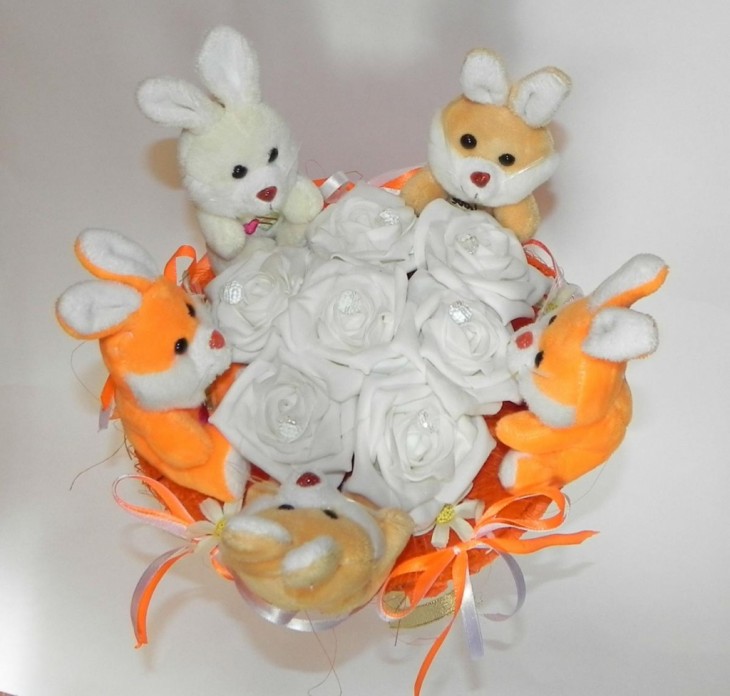
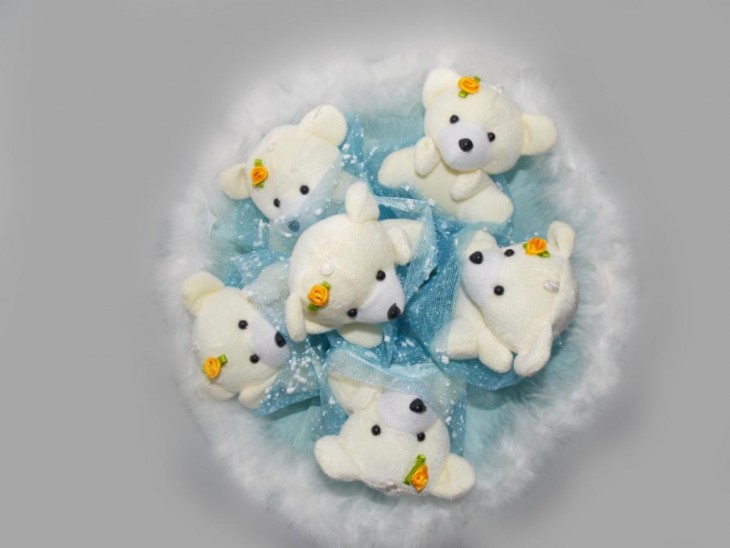
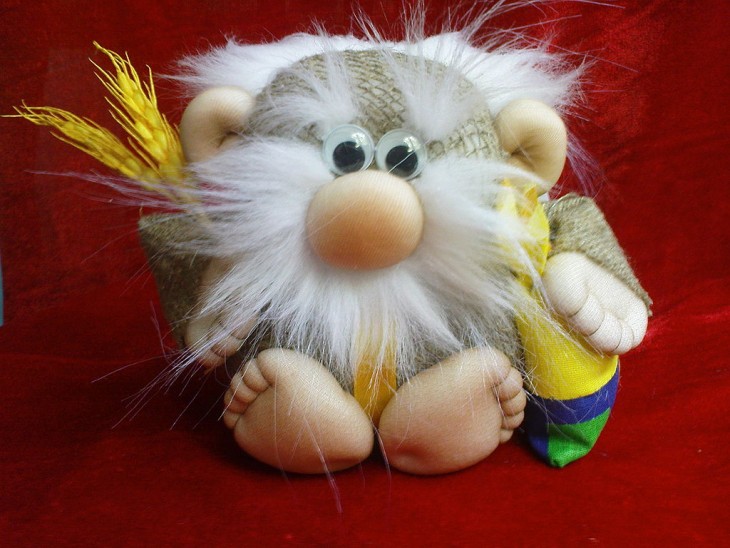
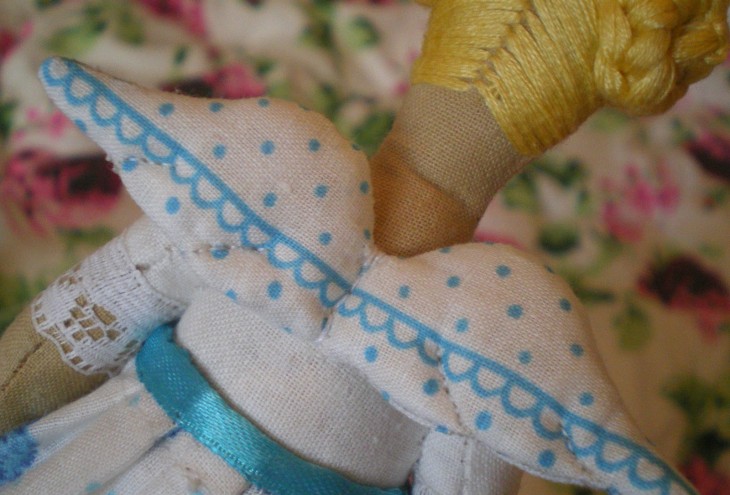
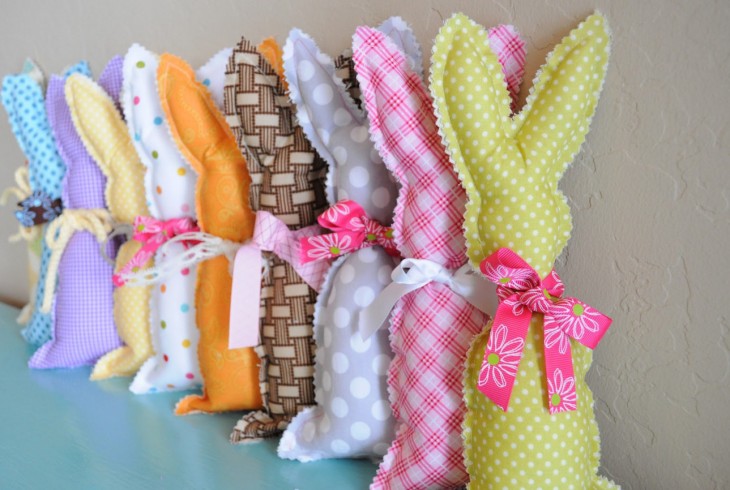
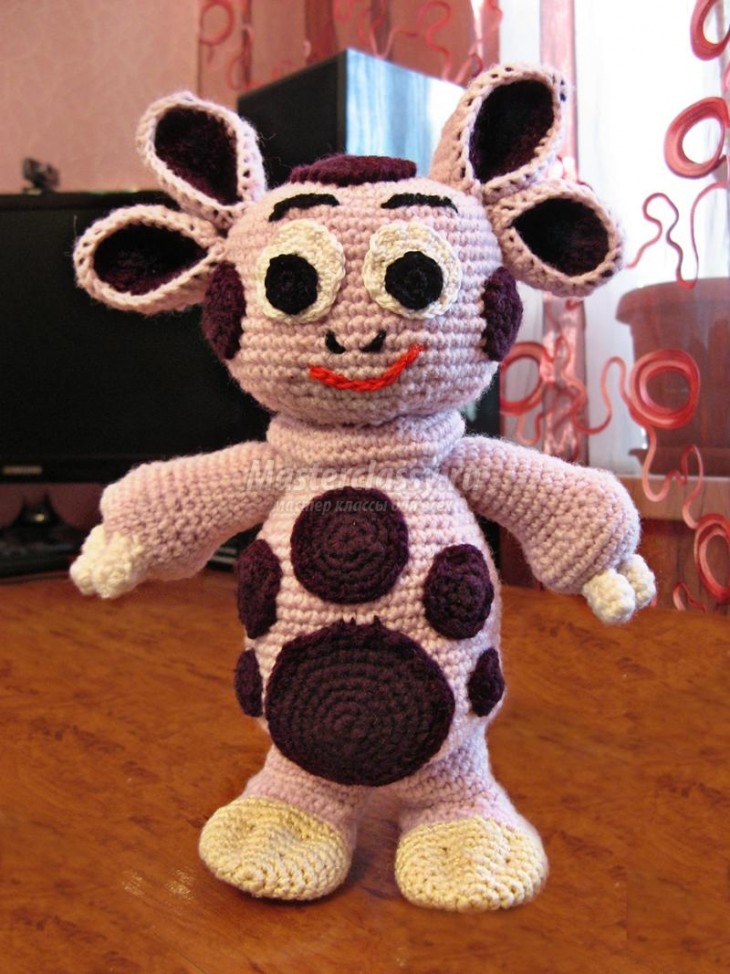
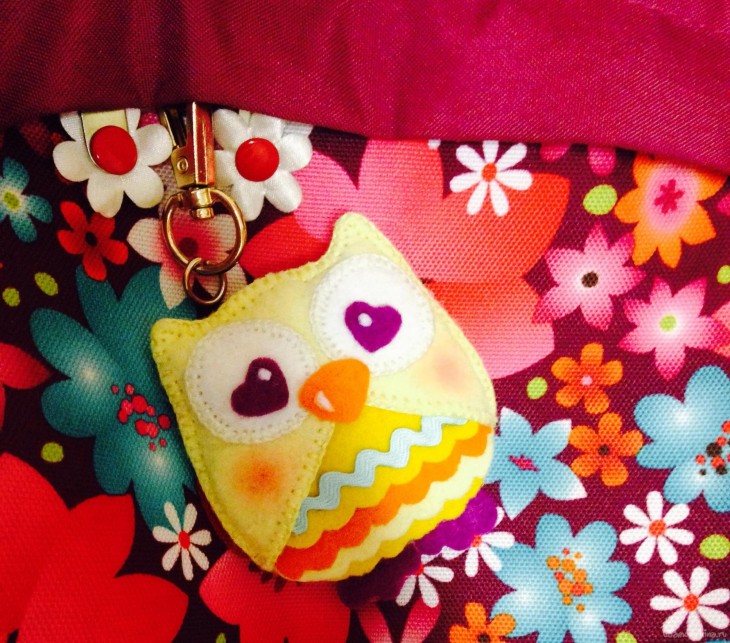
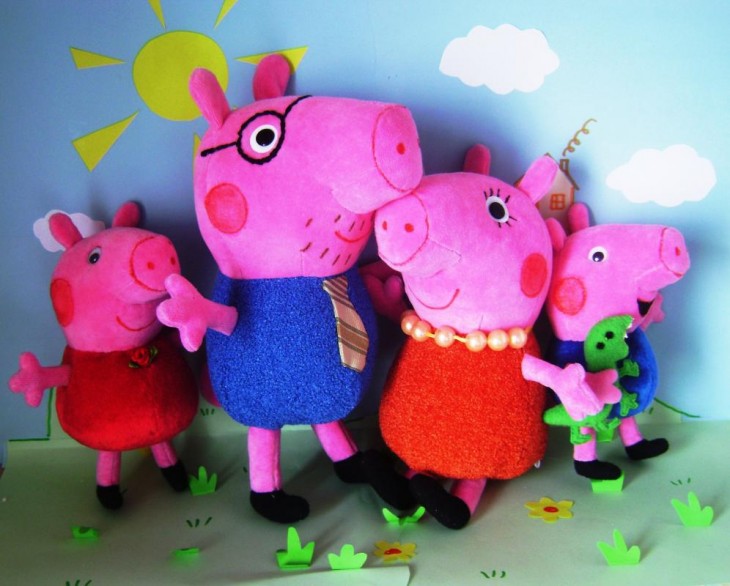
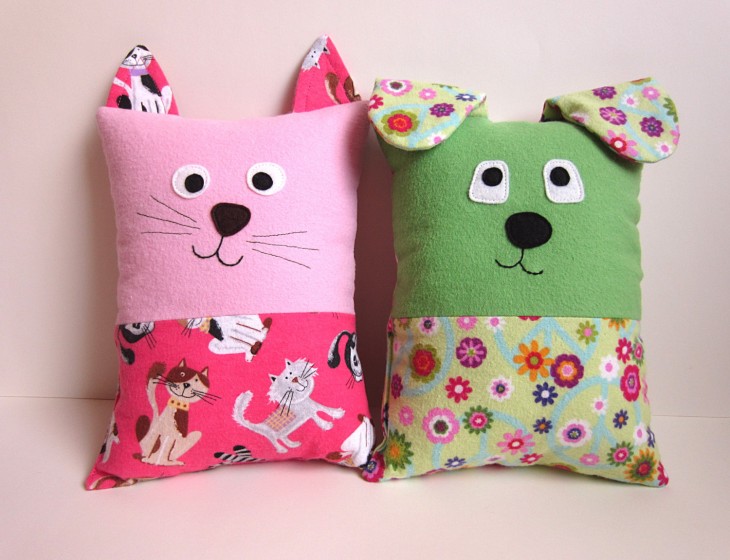
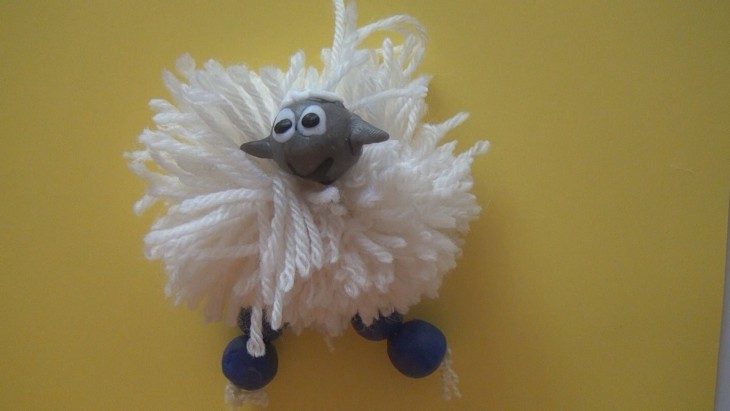
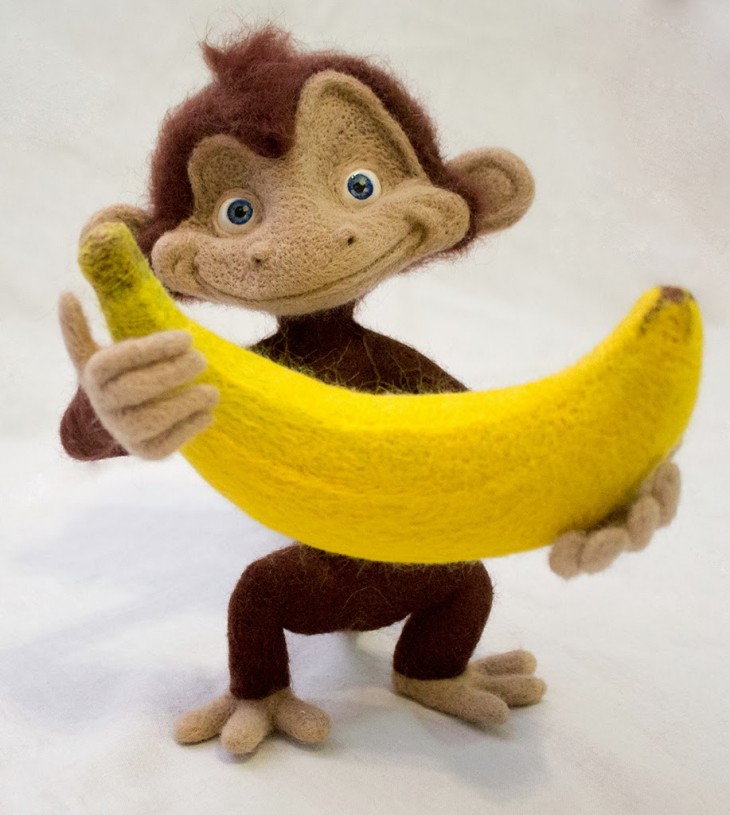
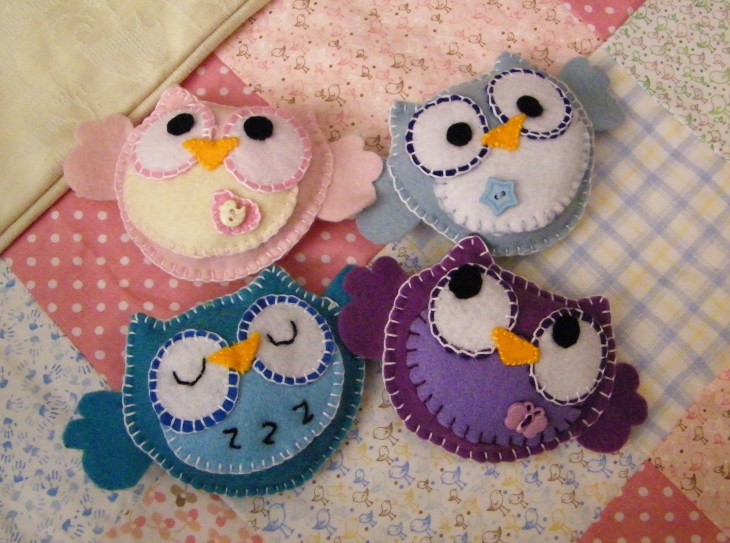
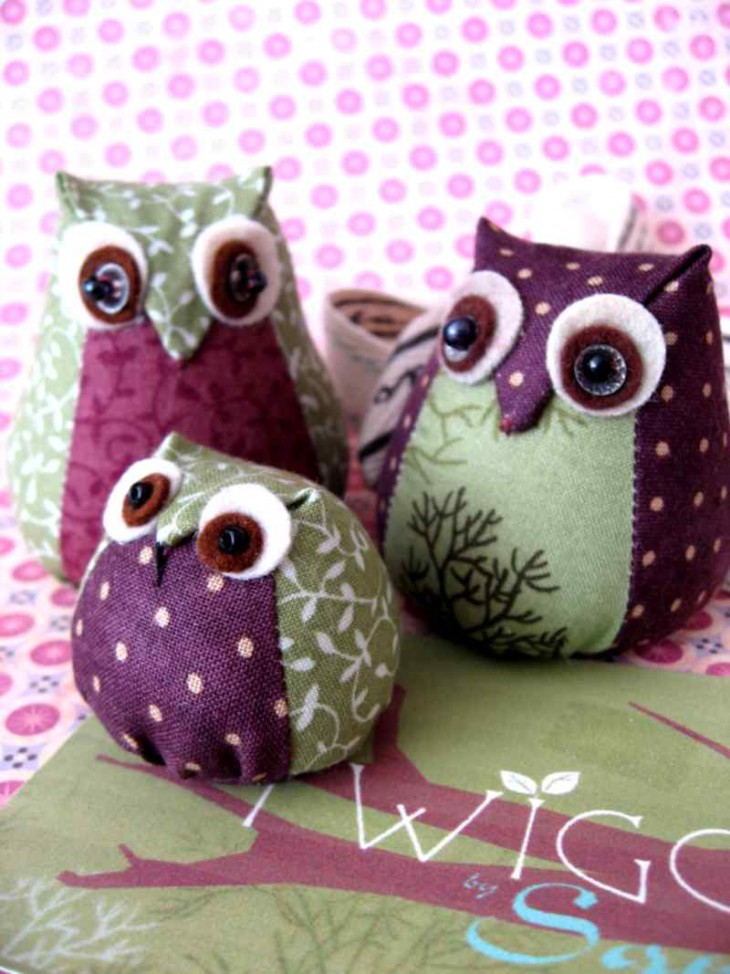
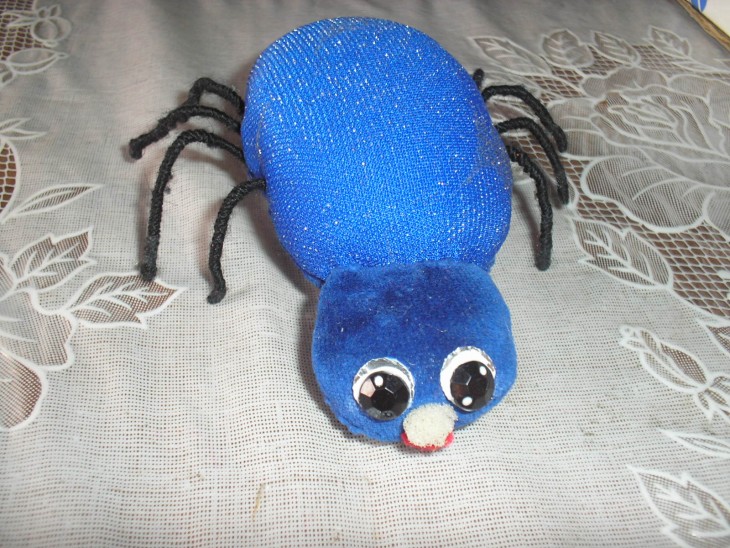
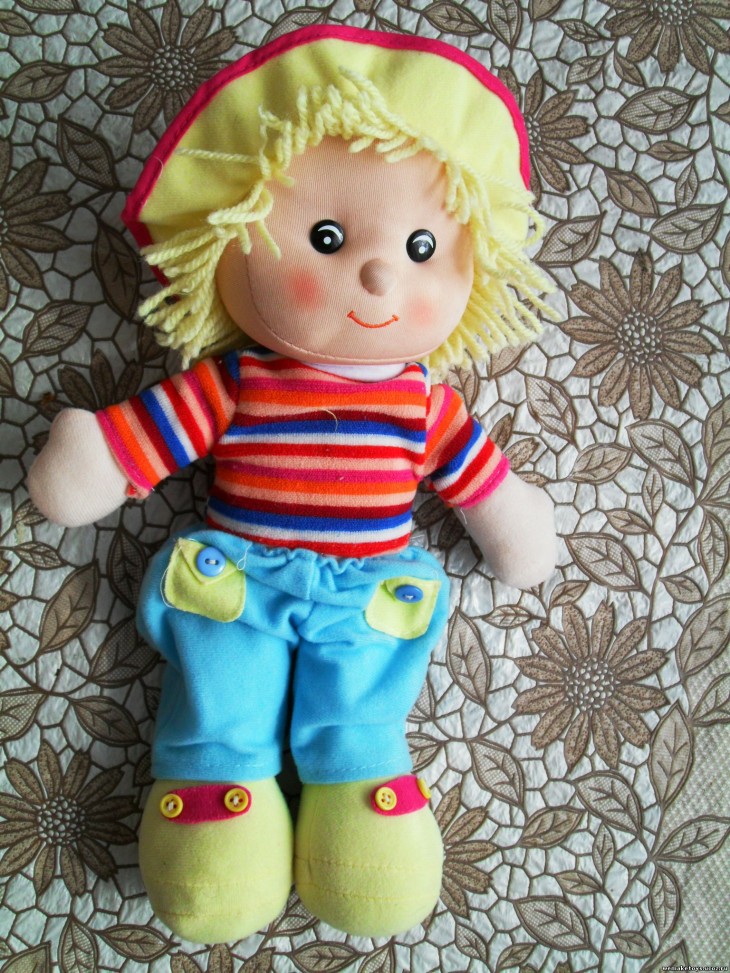
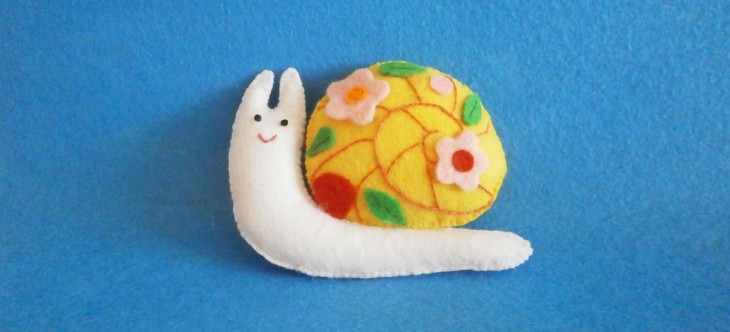
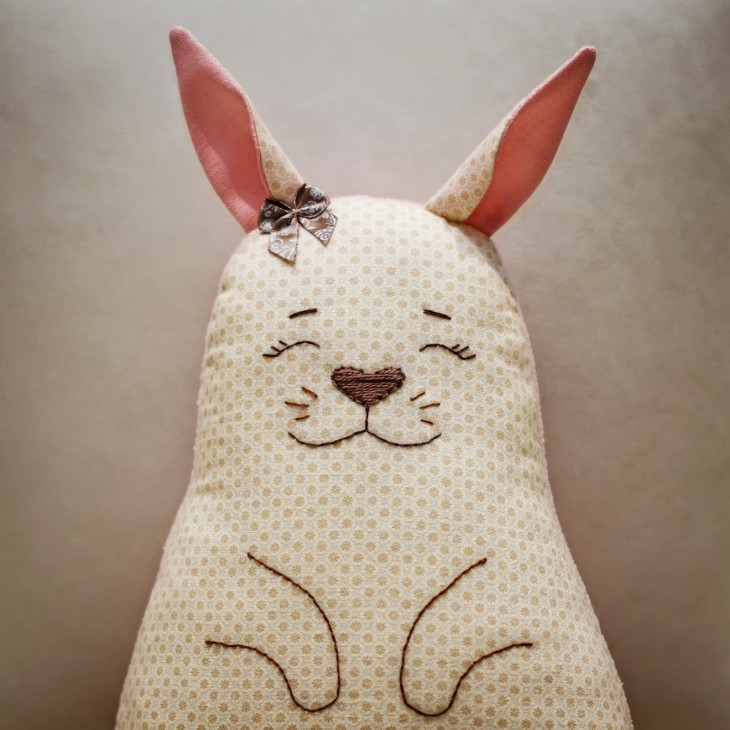
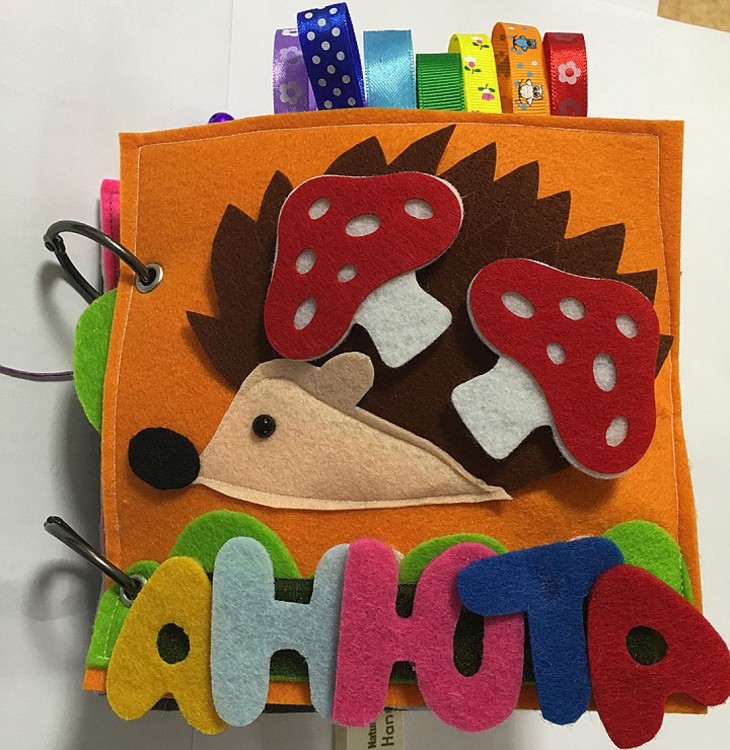
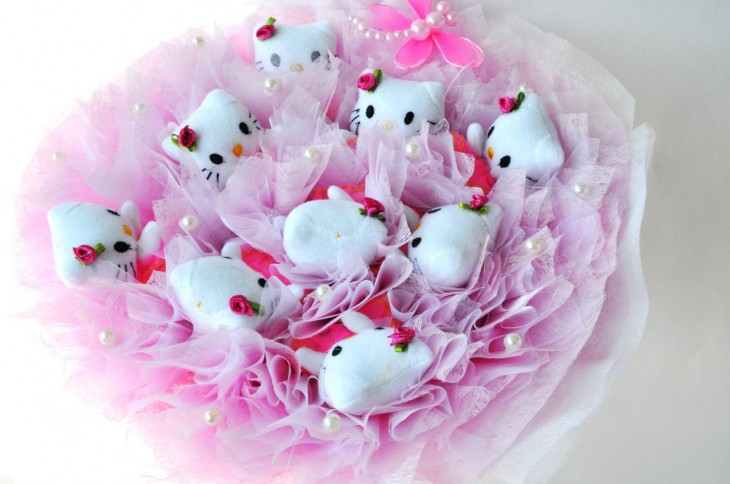
Below are photos of a variety of soft toys that you can sew with your own hands.
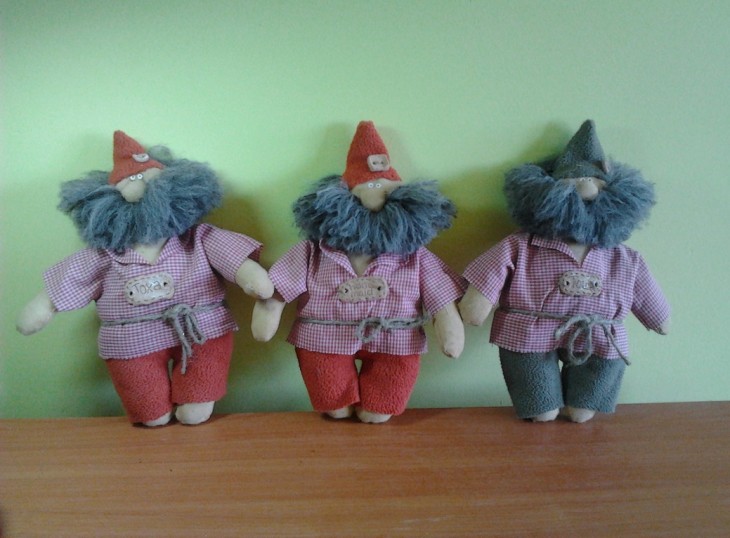
Sewing toys at home is not at all difficult, and the result of such work will bring satisfaction. We wish you success!
DIY soft toys
Note!


Note!

Cork crafts: instructions and examples on how to make interesting things (80 photos)
Crafts from boxes - 79 photos of ideas for creating toys and jewelry
DIY decorative plaster: 79 photos of luxurious wall decoration
Do-it-yourself sewerage: drawings, diagrams and features of the creation of sewers (51 photos)