When building a house at least on 2 floors, you definitely need to think about the stairs in it. And if the house will be built with your own hands, it’s logical to make a staircase as well.
Different photos of the stairs help you make a preliminary choice and clearly understand what type of climb you need. But before undertaking work, carefully consider the future design for strength and size, this will save time and money, because incorrect calculations (or their absence) will lead to numerous alterations to the original project.
Review Content:
Types of stairs
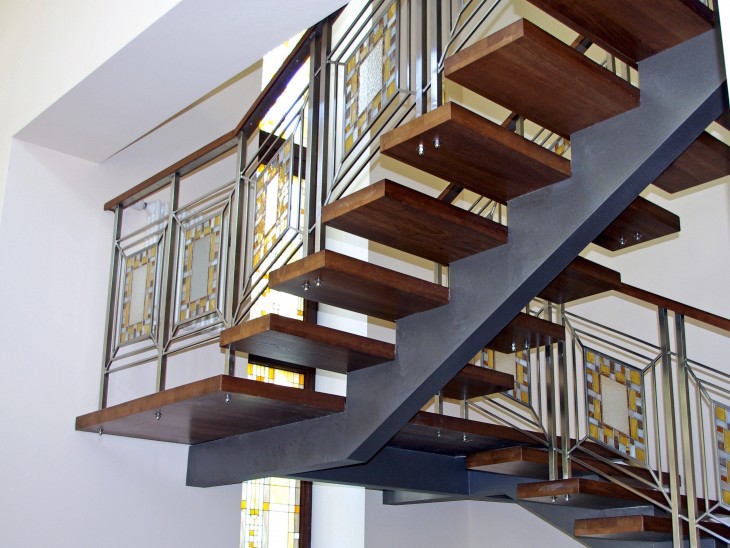
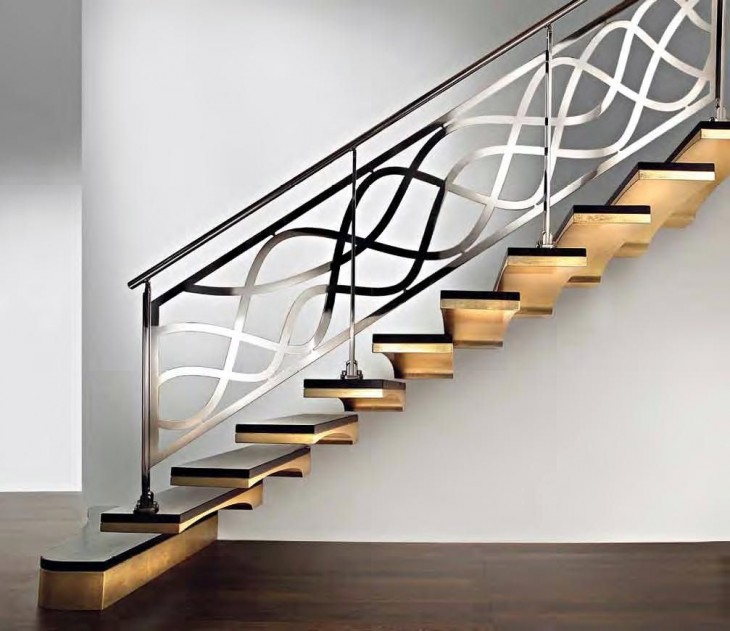
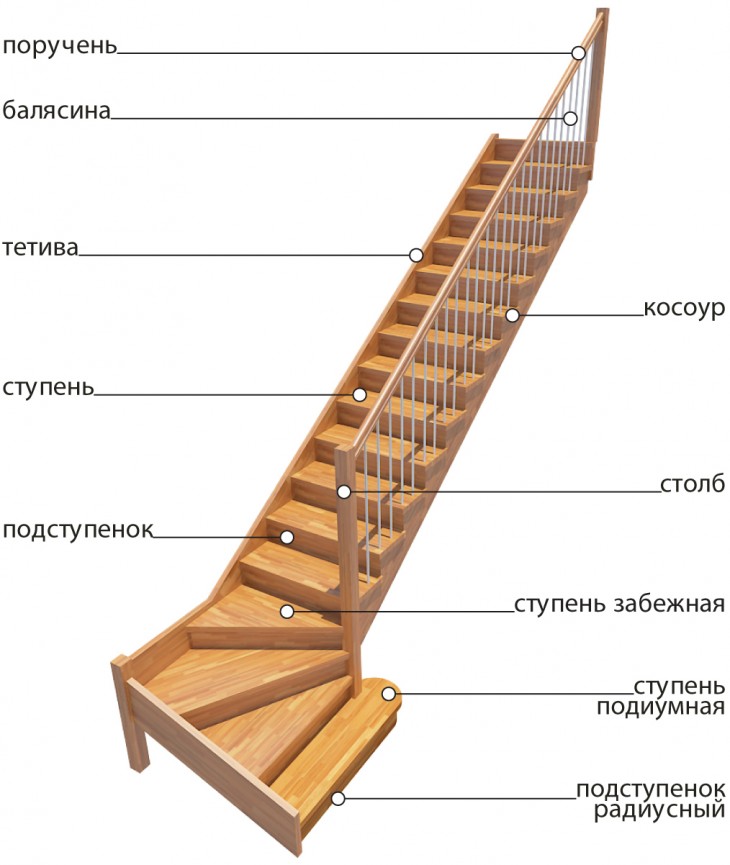
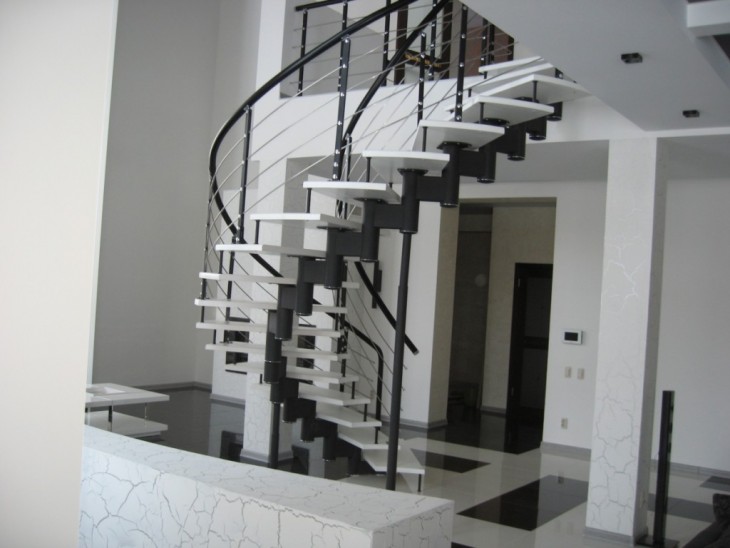
There are a large number of different options for flights of stairs. They differ in the material of manufacture (wood, concrete or metal), the type of climb (gentle stairs, spiral, with a rotation by a certain degree).
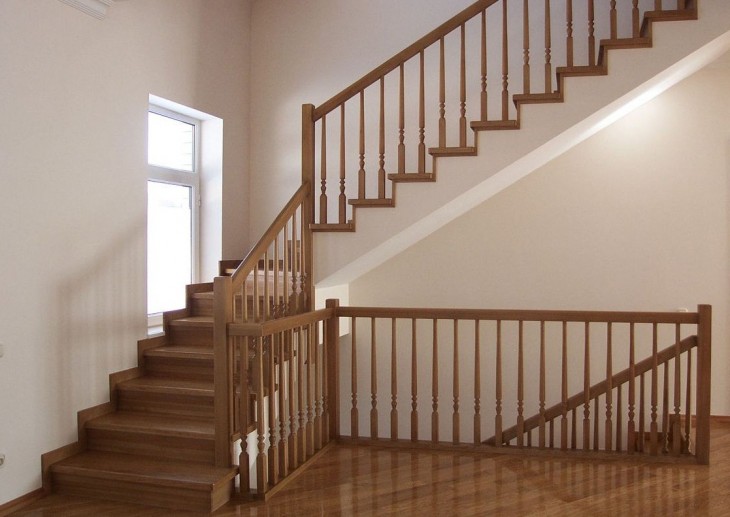
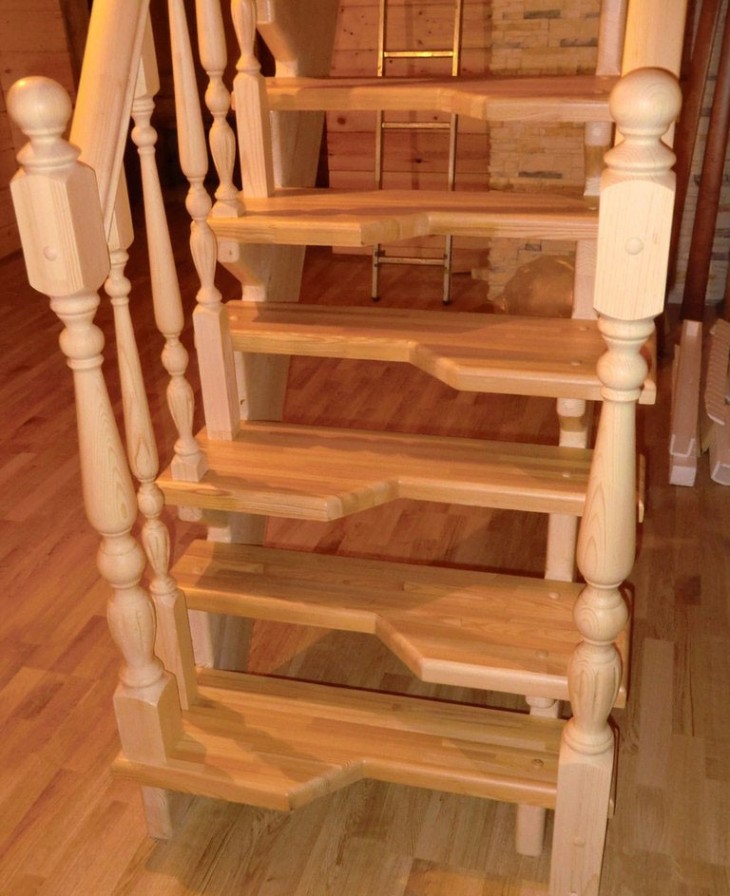
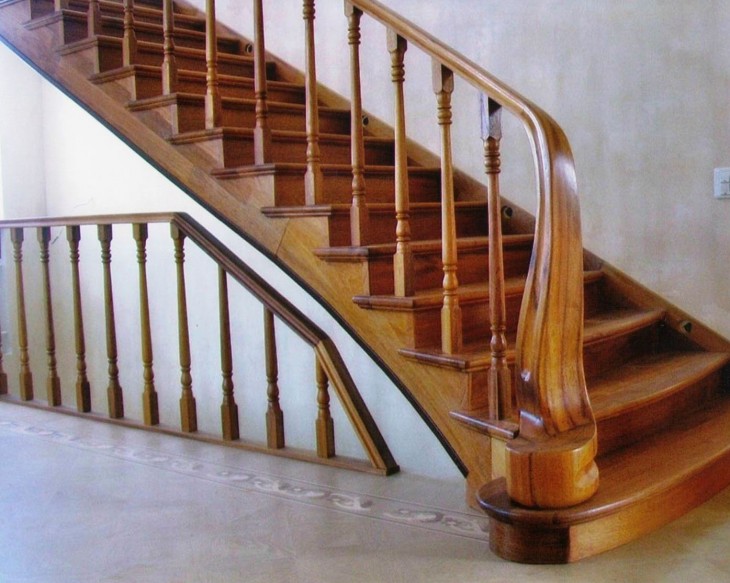
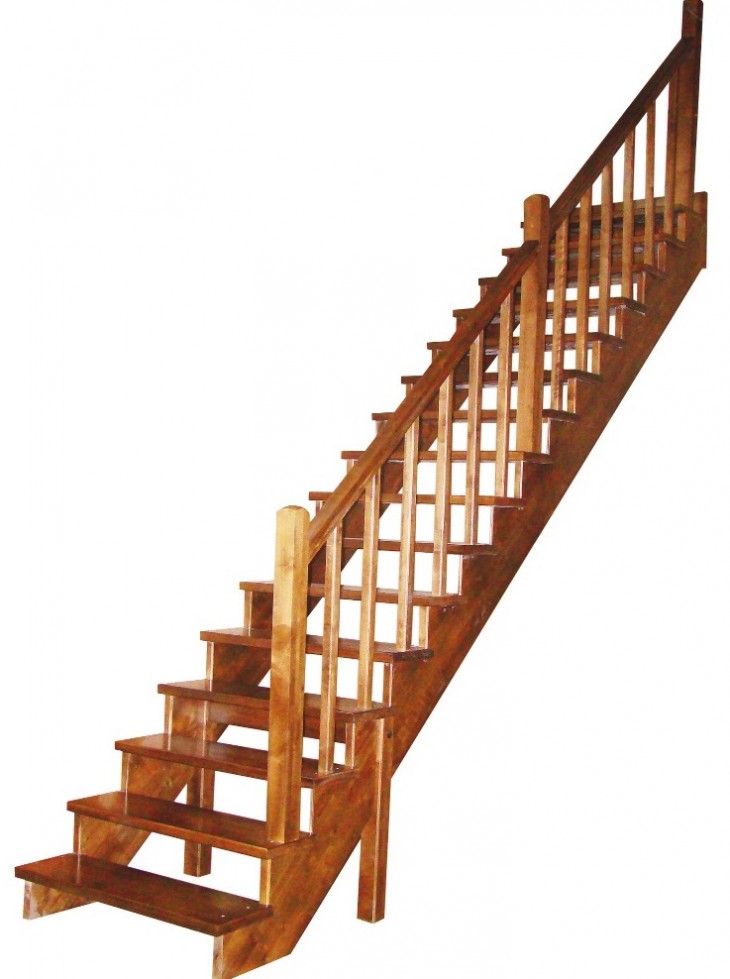
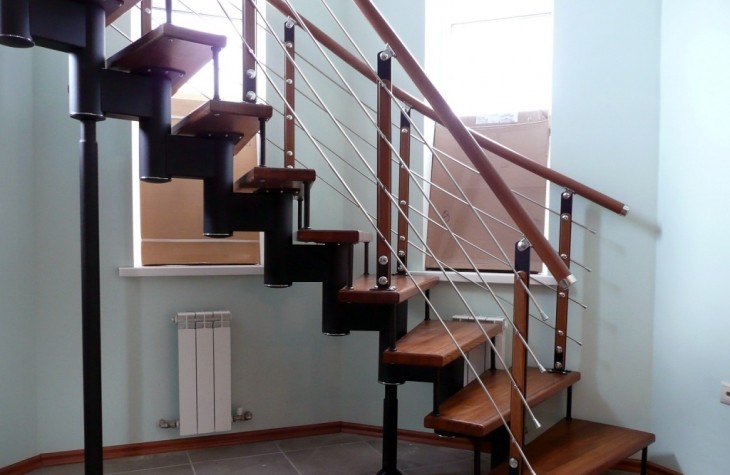
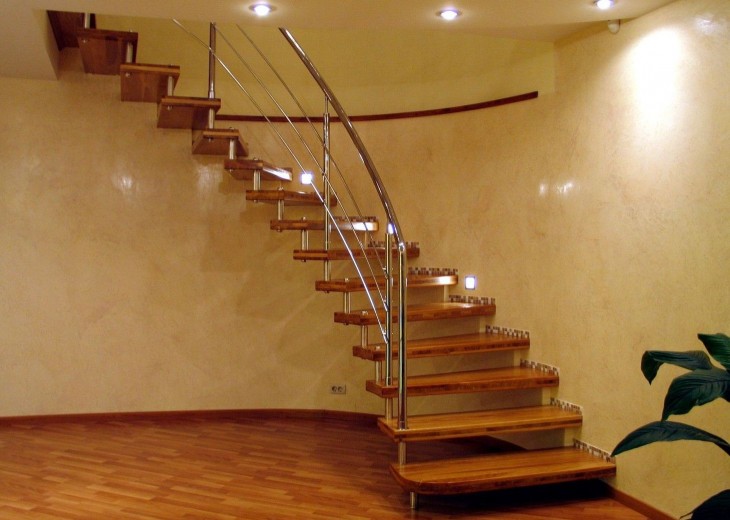
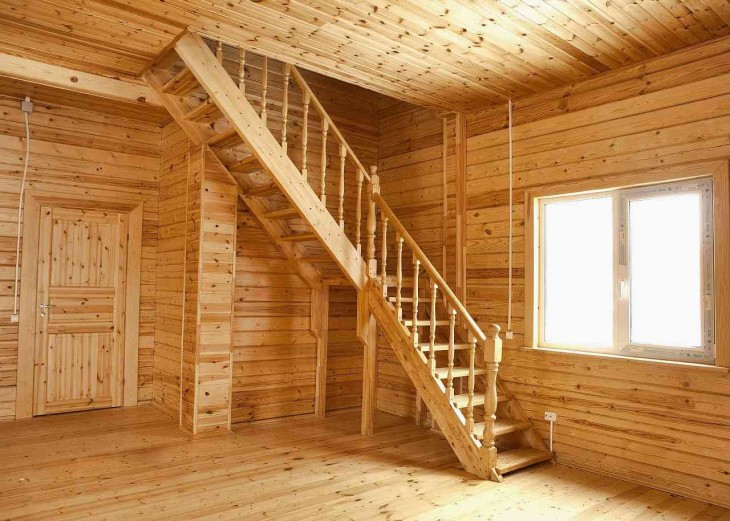
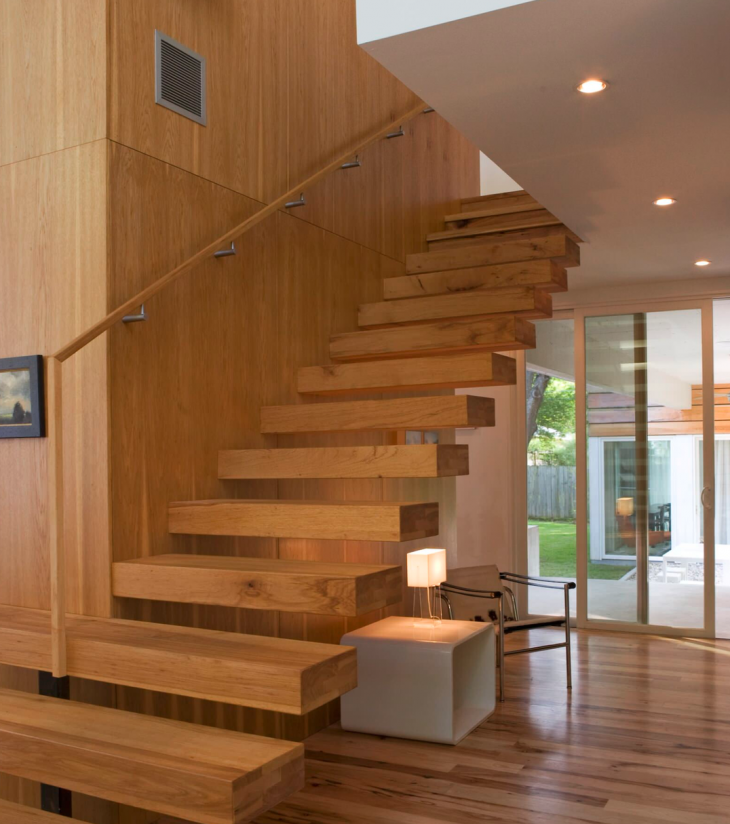
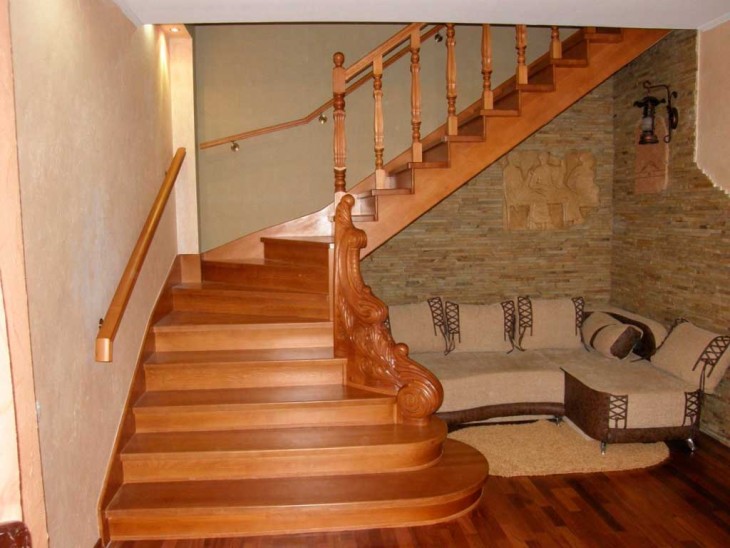
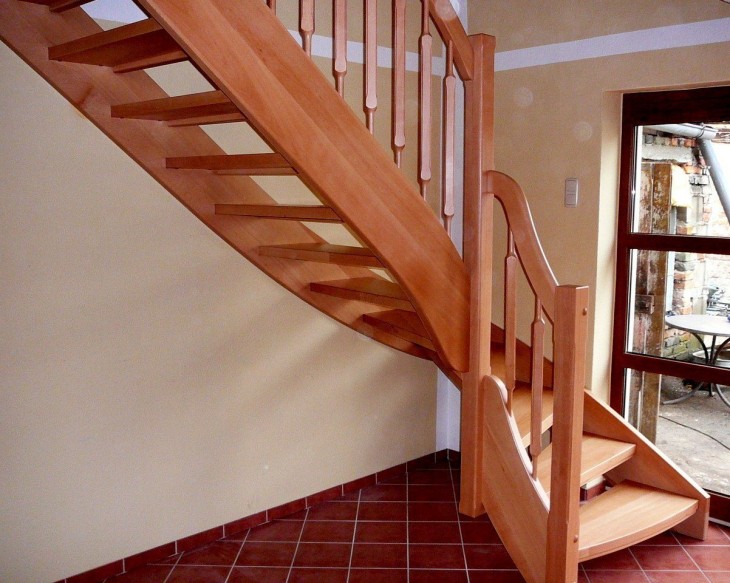
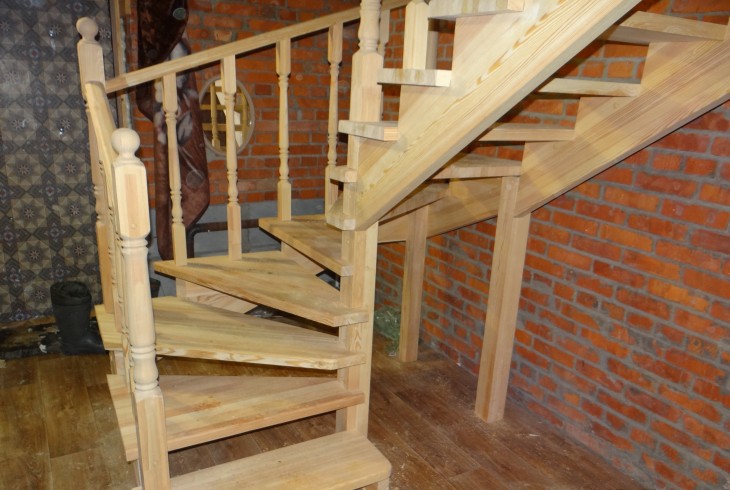
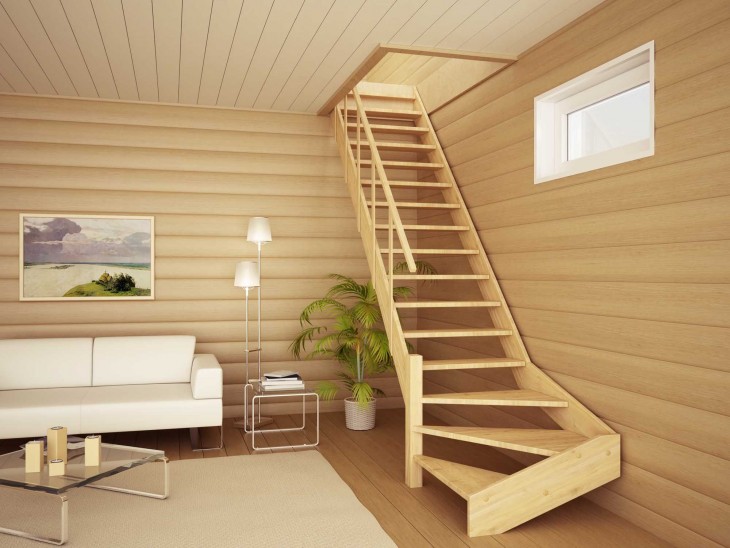
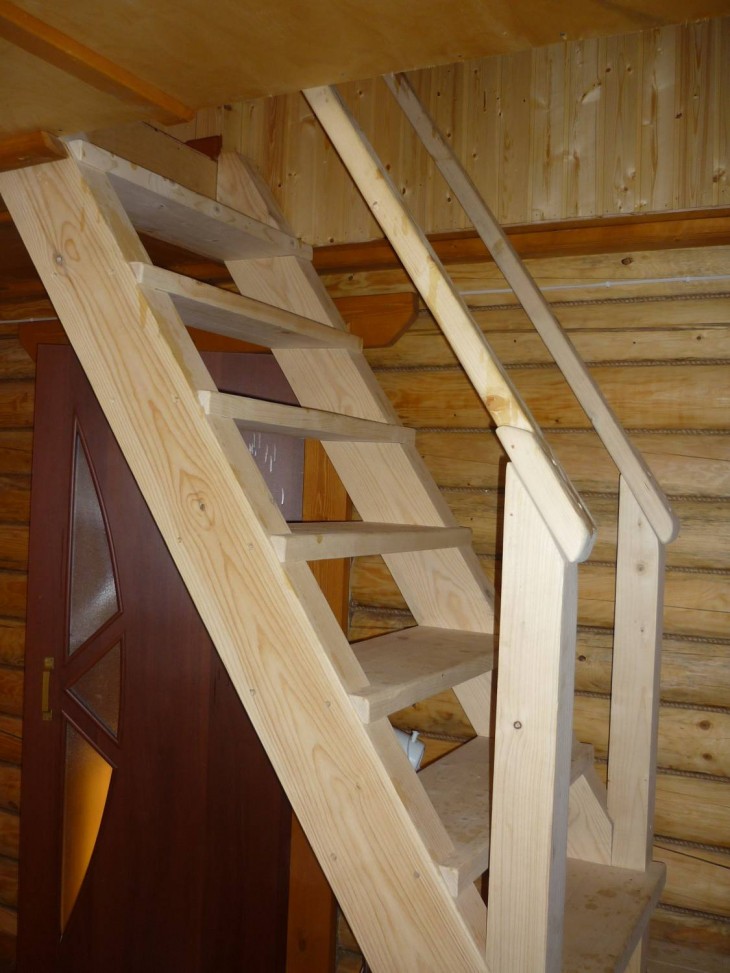
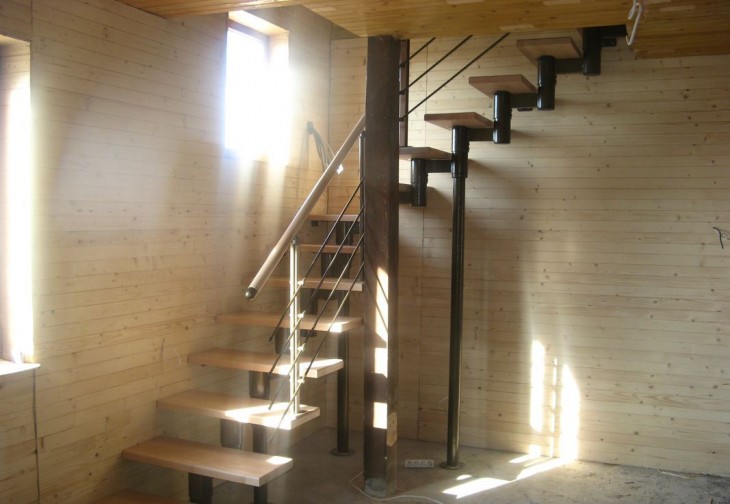
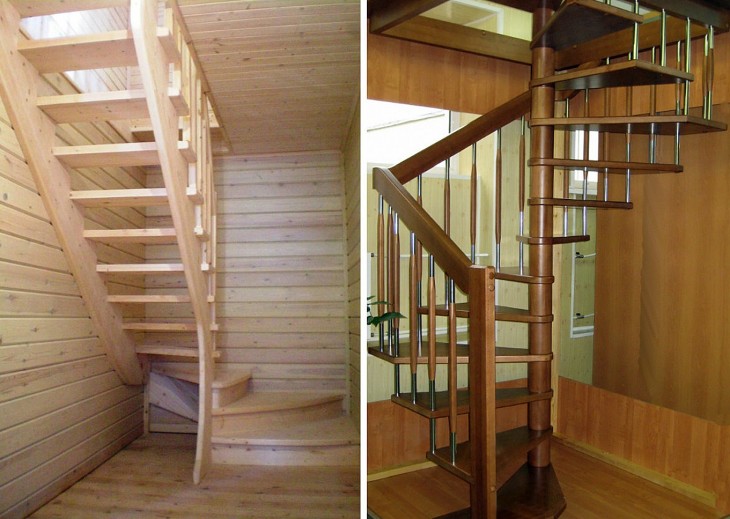
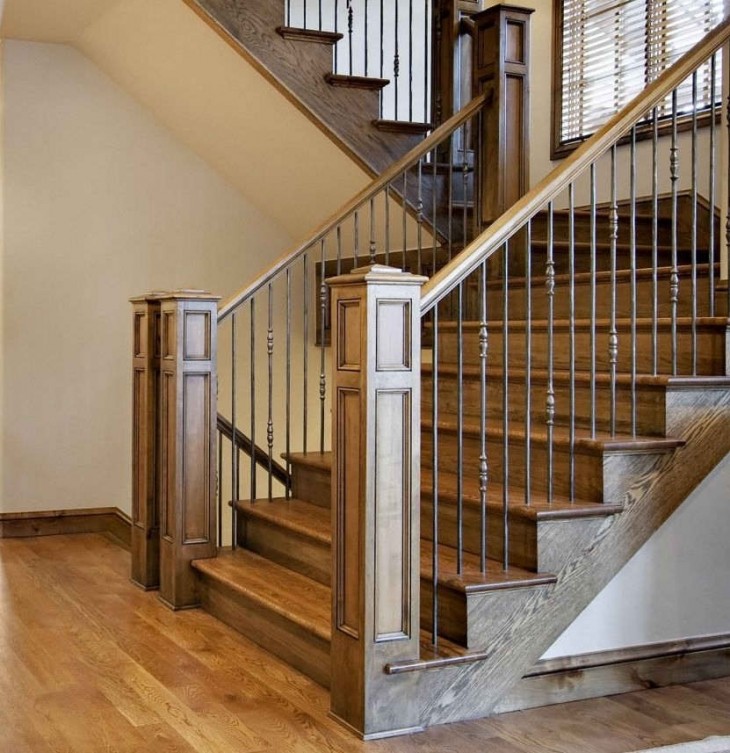
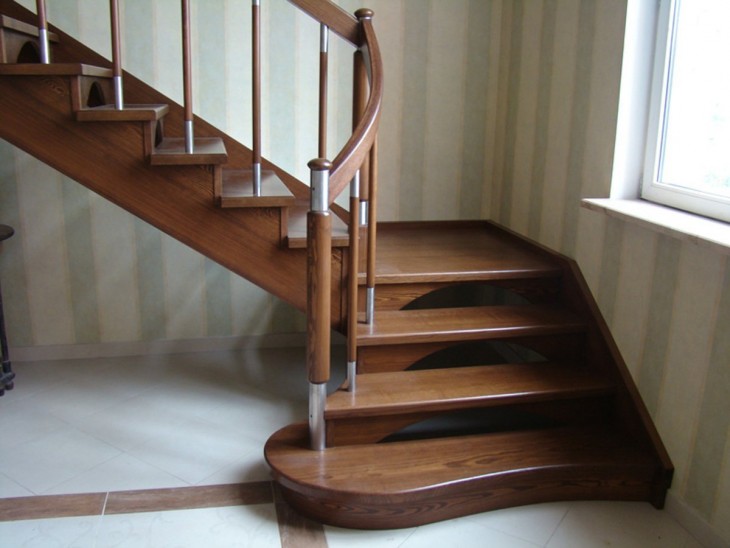
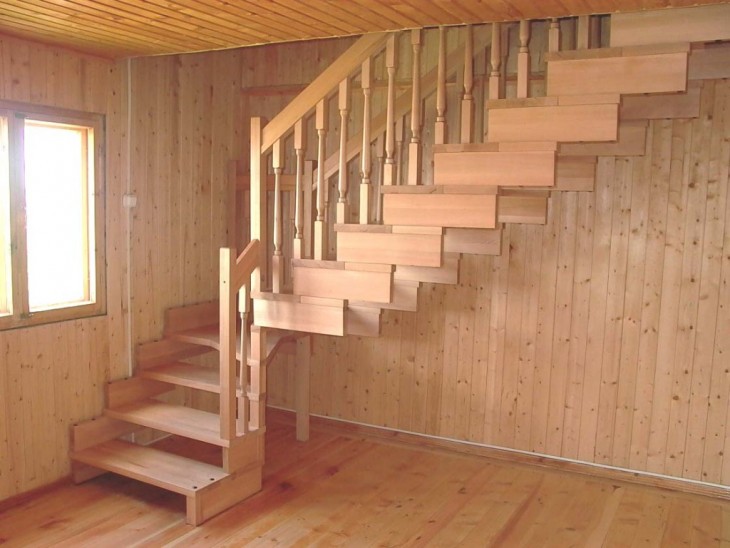
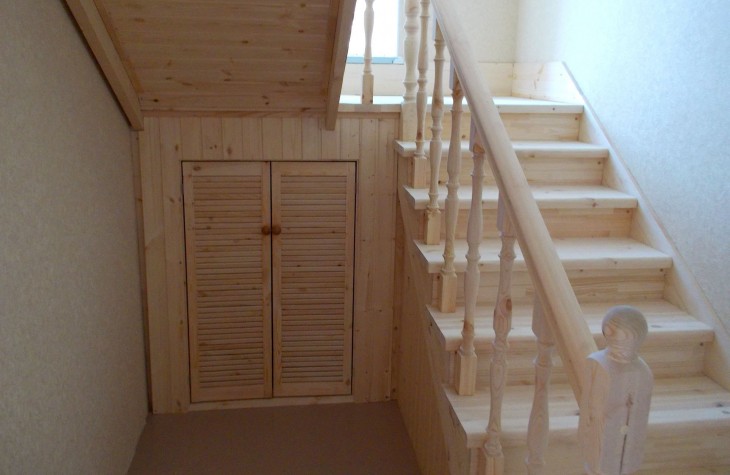
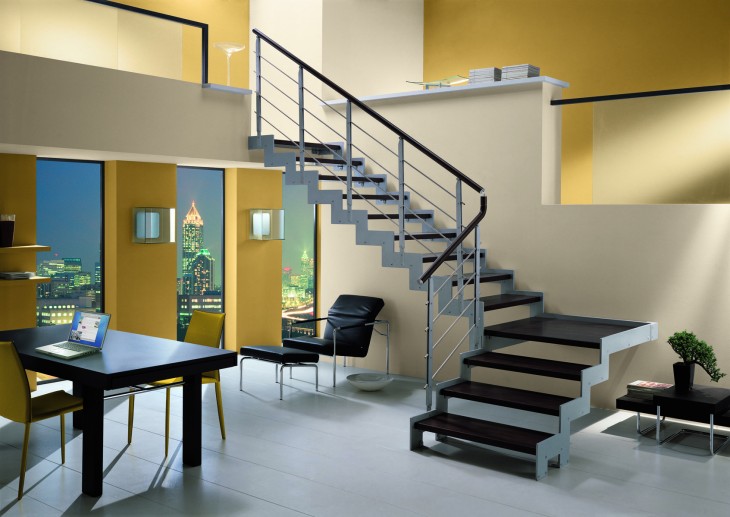
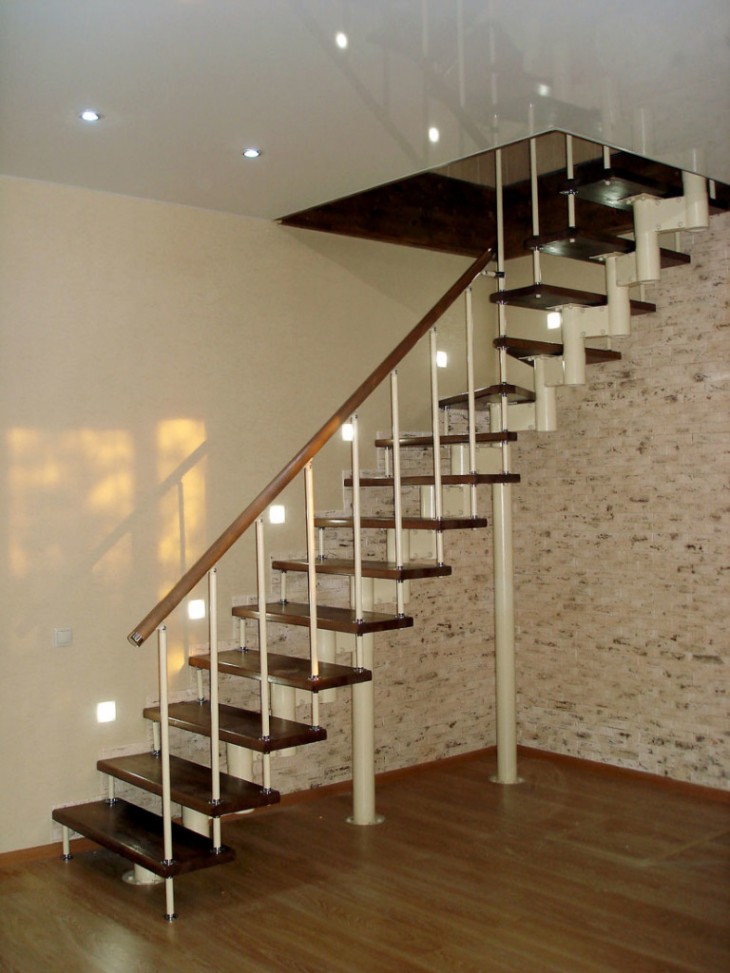
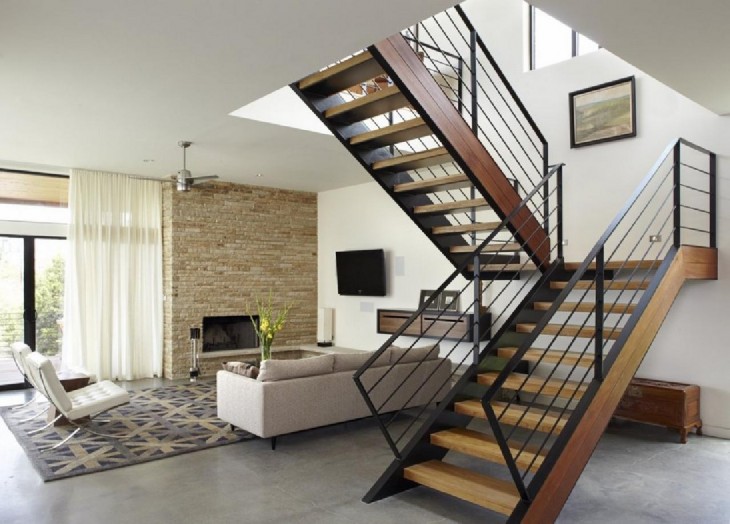
The most common is a staircase made of wood. A staircase with a 90-degree turn is also often built. An option is not uncommon when these two types of lifting devices are combined into one.

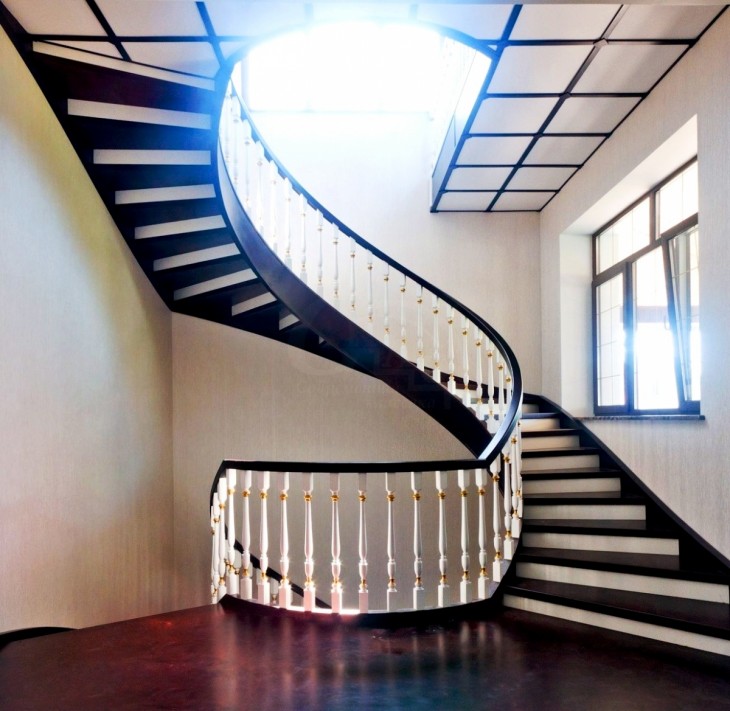
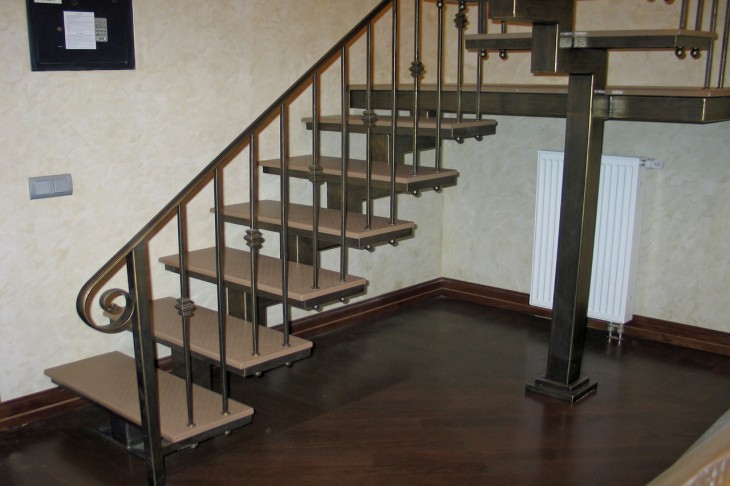
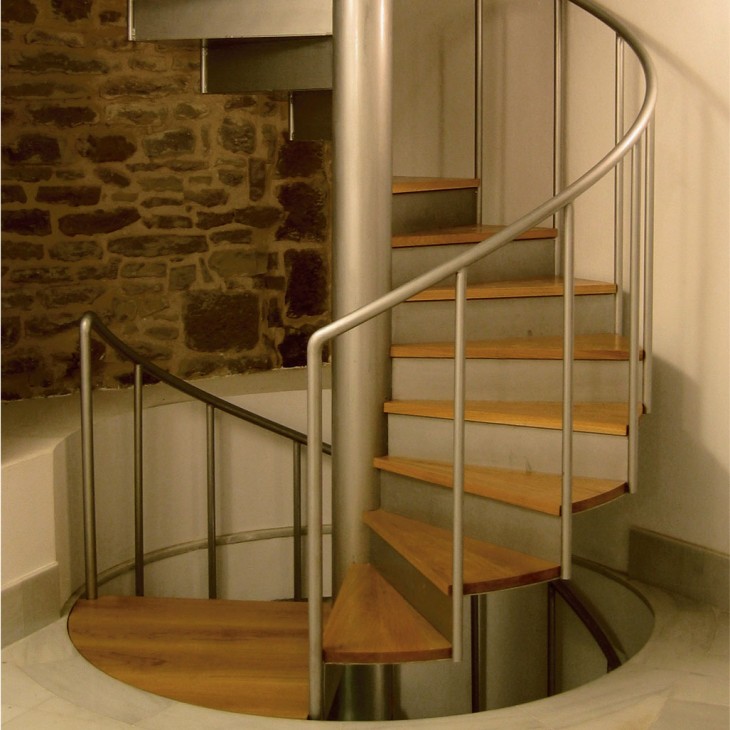
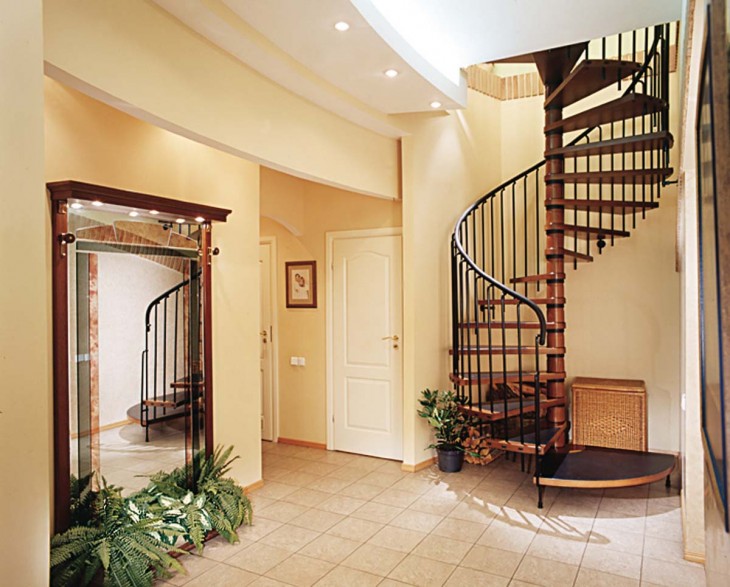
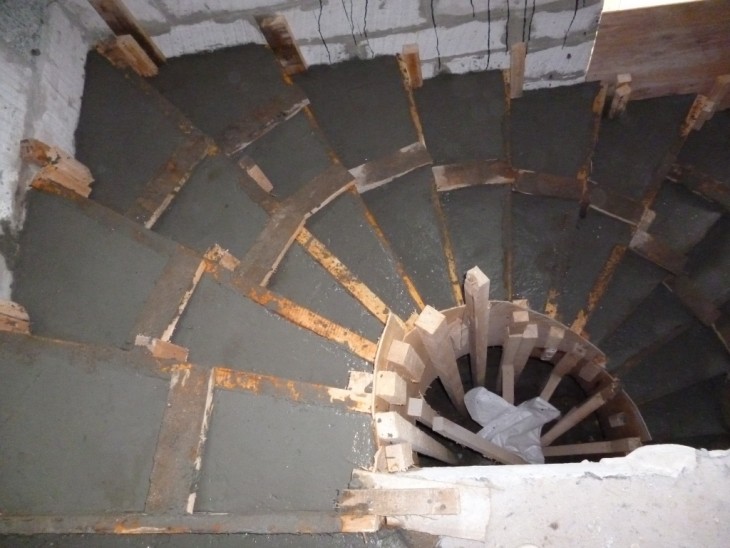
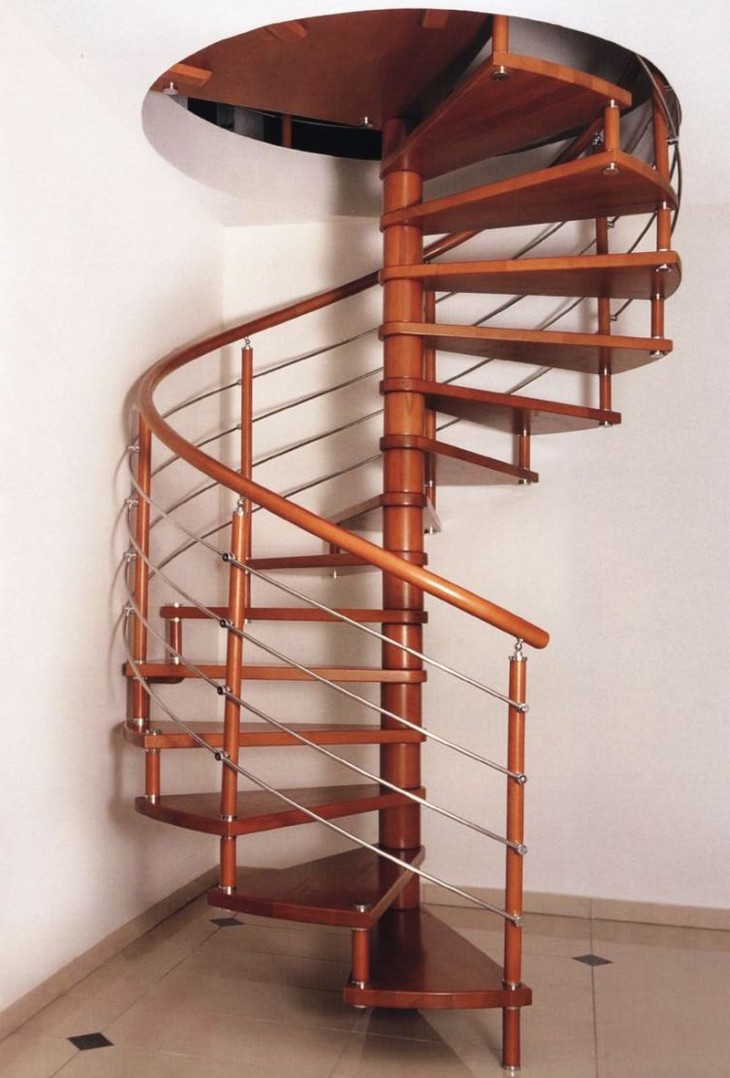
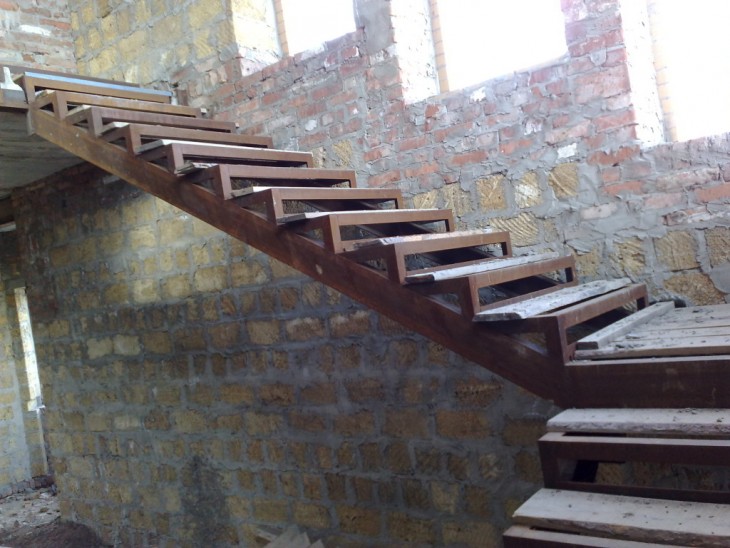
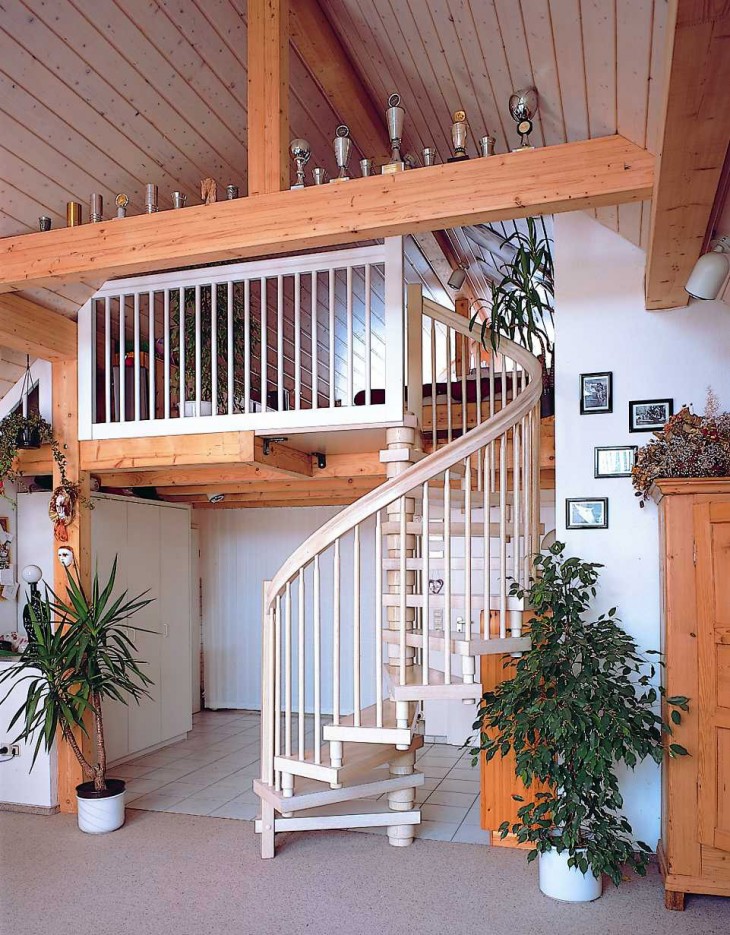
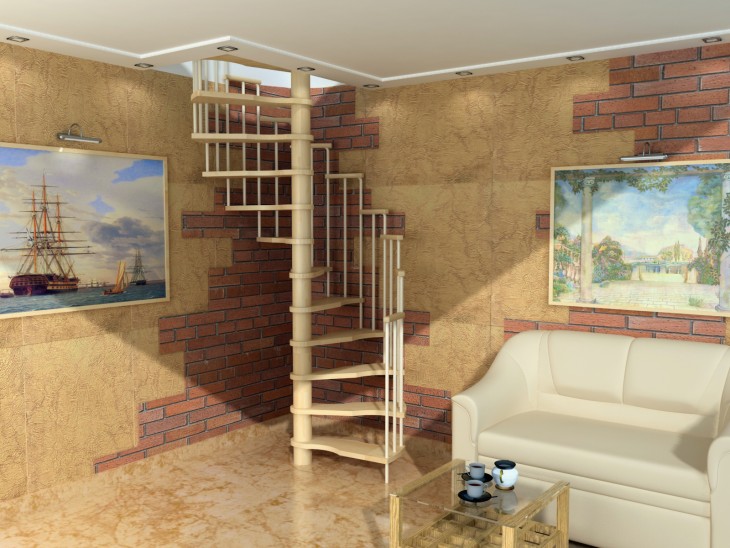
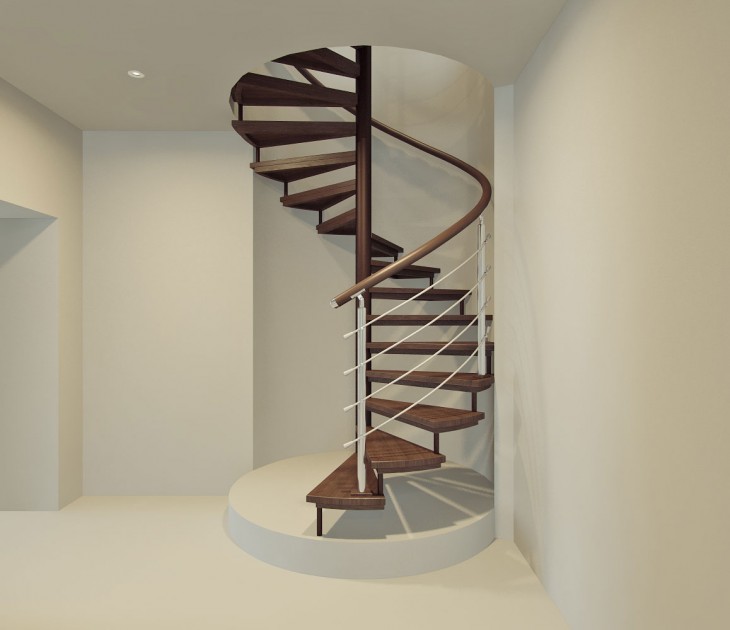
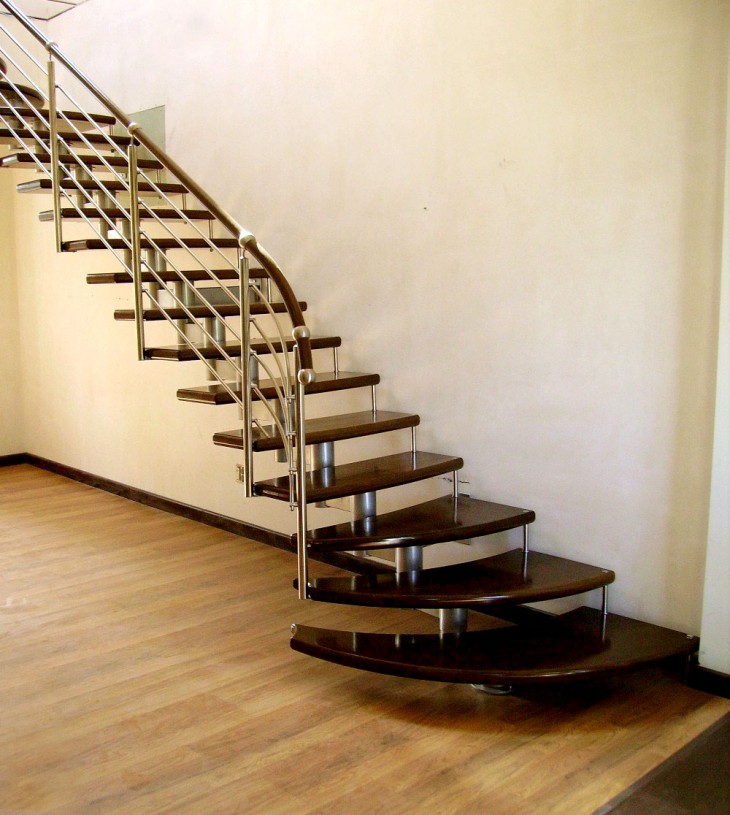
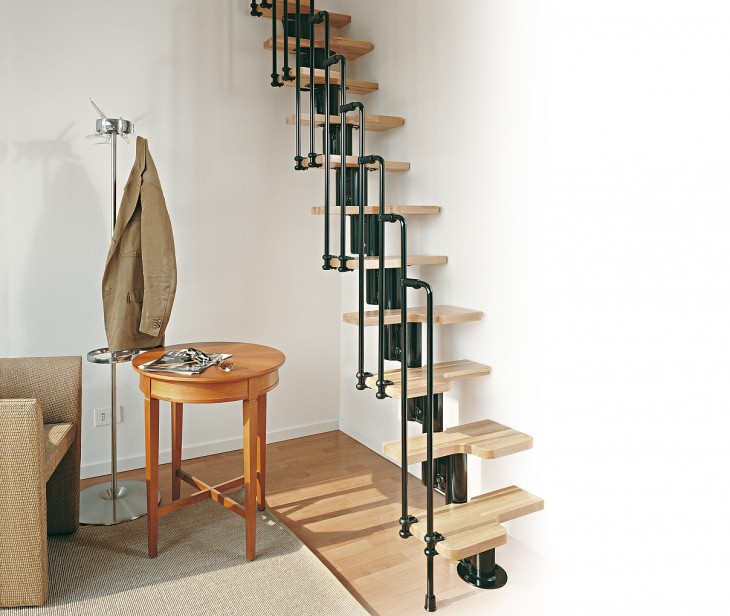
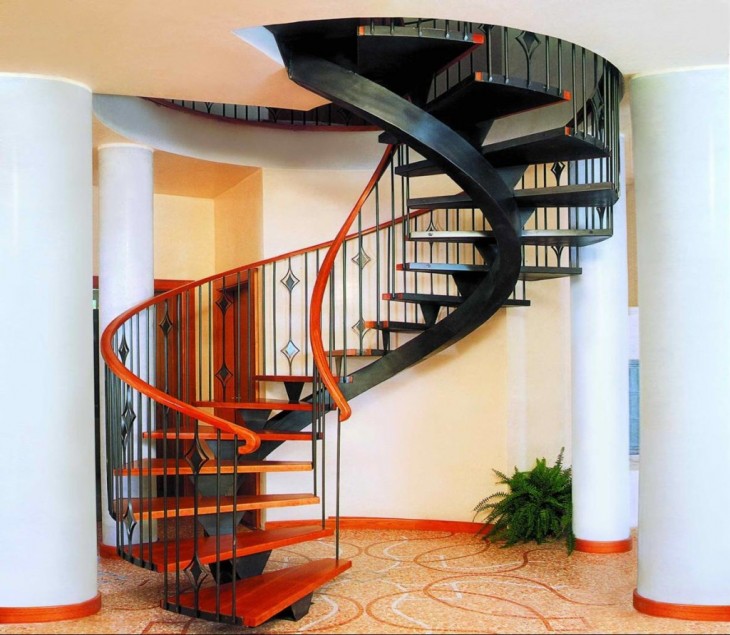
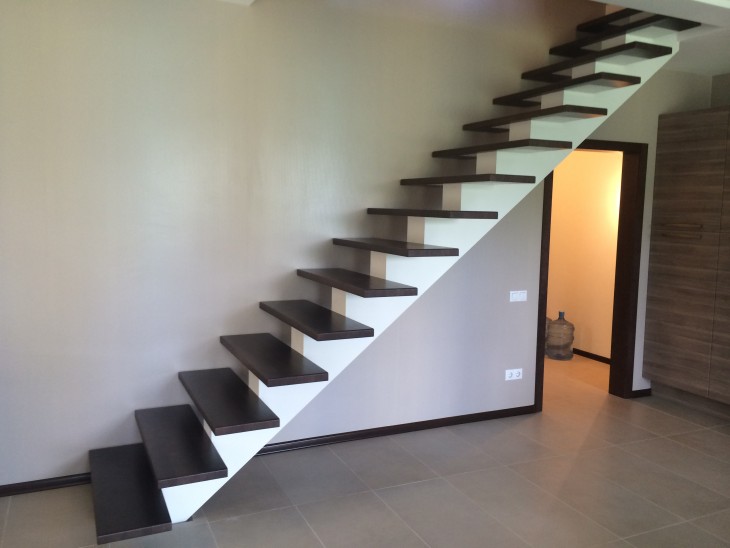
In the case of limited space, make a spiral staircase of metal. The helical type of lifting allows you to save space, and manufacturing from metal - to increase the strength of the structure. Concrete is used for stairs in massive buildings (for example, mansions).
What to look for
In a low-rise building, having no experience in construction, it is better to order a modular staircase, a kind of designer, where all the details are sawn and numbered, and you just have to assemble them using the instructions. These are usually made by wooden stairs.
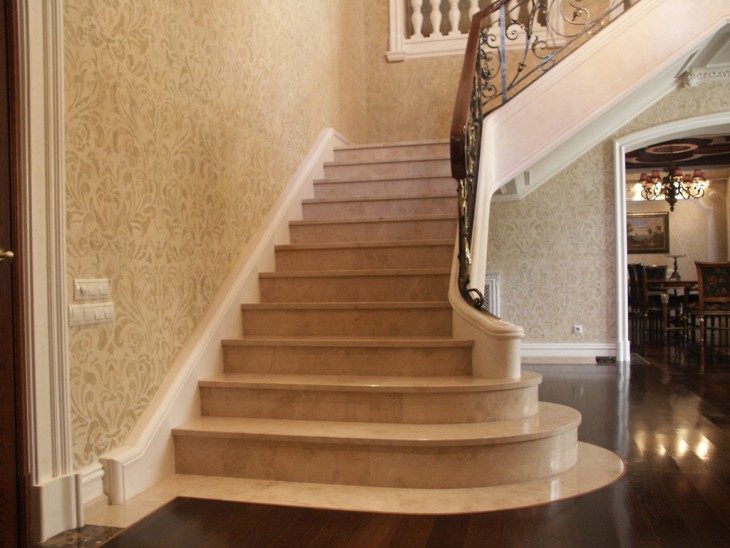
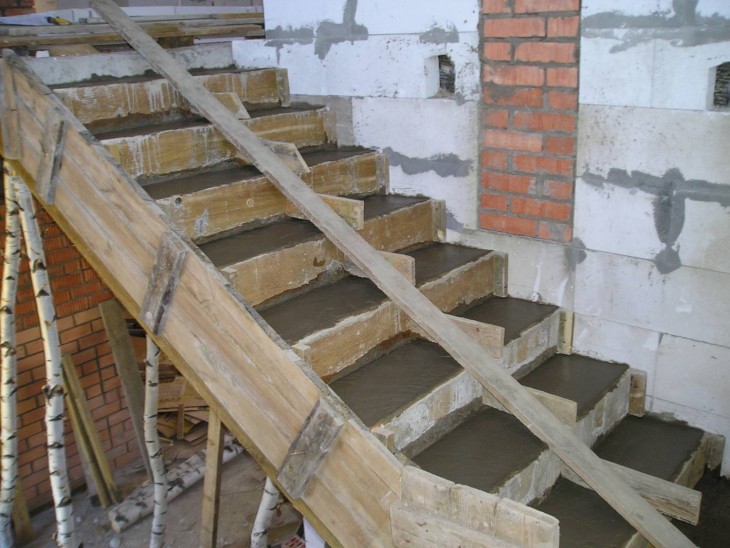
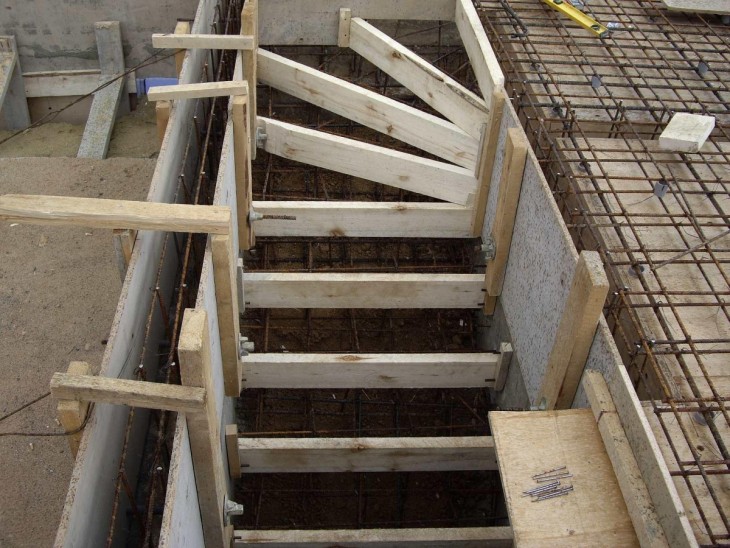
When constructing a staircase made of concrete, in addition to filling the frame, it will be necessary to perform external decoration (with beautiful stone or wood materials). It turns out a double waste of time and money. However, for cottages of 3 or more floors, they are mandatory according to fire safety requirements.
When making a staircase for the first time, there is no need to immediately tackle a complex structure. The simpler the model, the greater the likelihood that you will be able to successfully build this lifting tool on the first attempt.
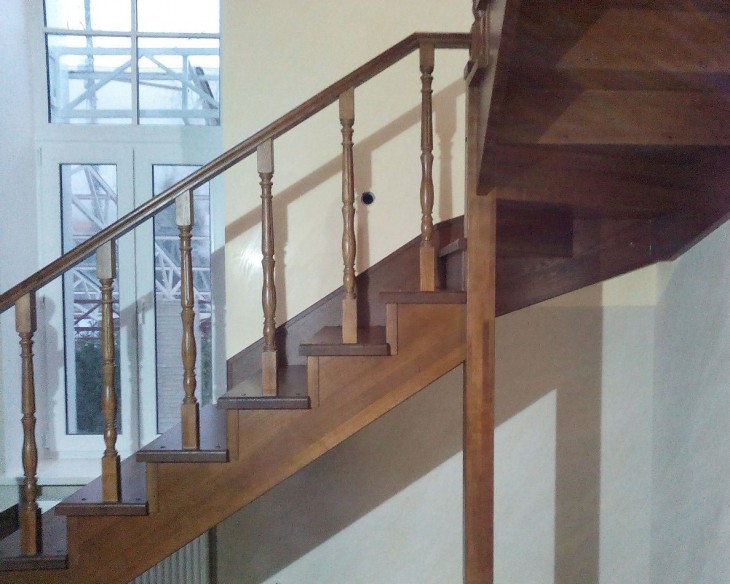
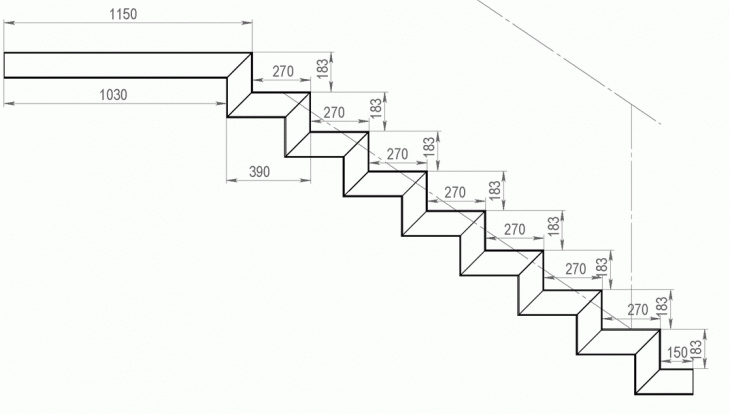
Pay attention to the angle of the stairs: if it is more than 45 degrees, the ladder will be considered attached, and you can go down it only with your back forward. The optimum angle of rise is considered an indicator of 37 degrees.
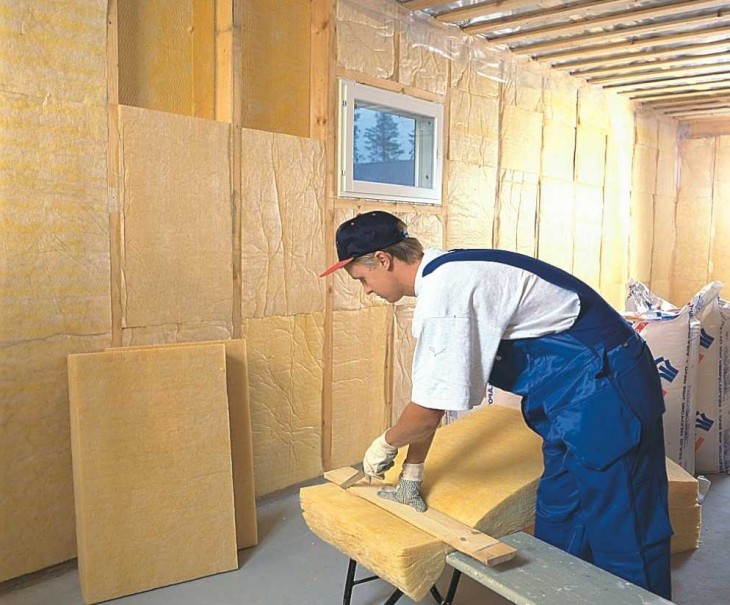
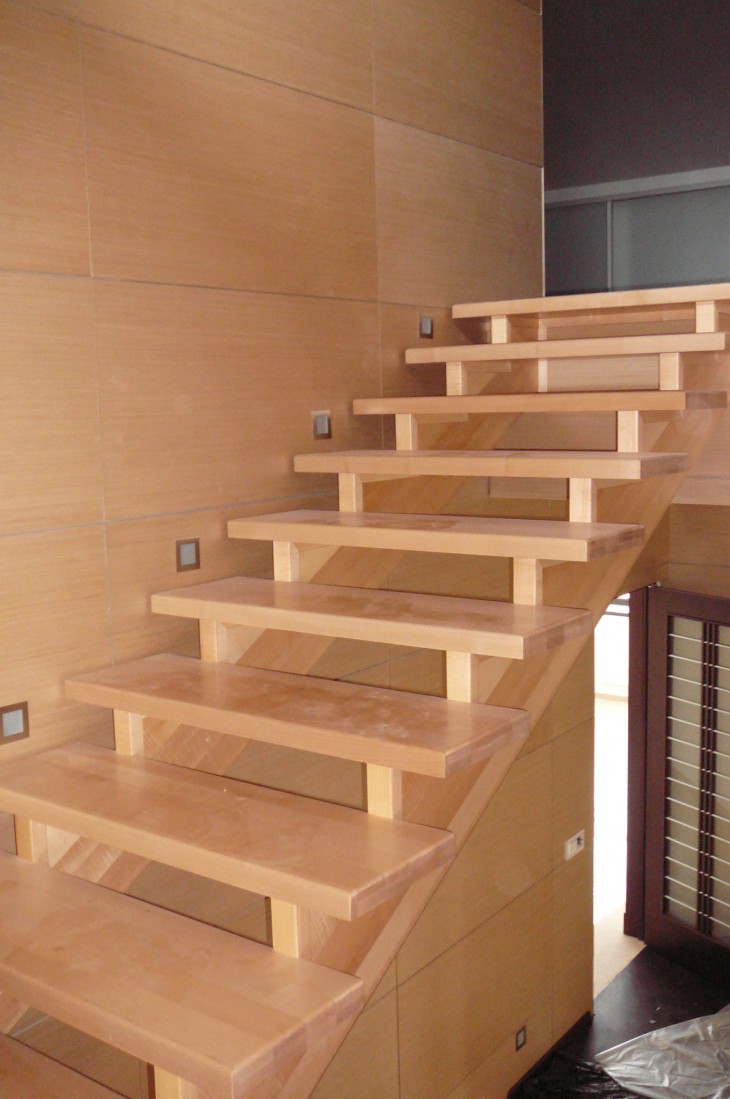
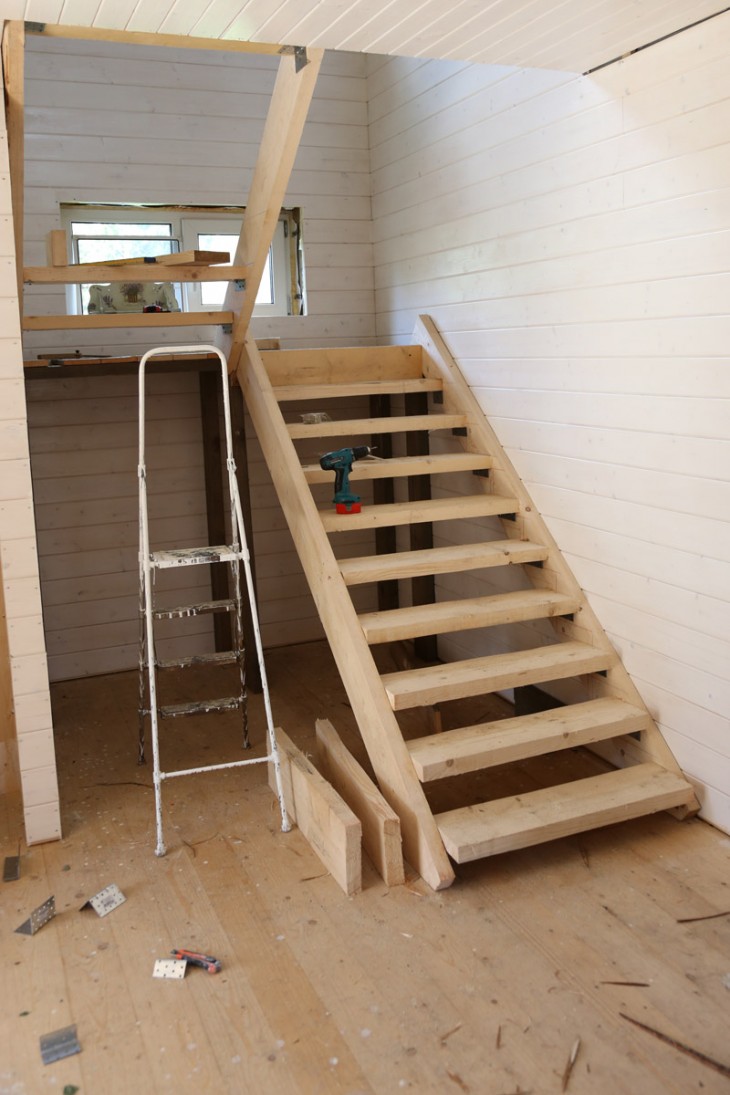
Wood is preferable as a material for construction, as it allows, thanks to its properties, to correct minor construction flaws that arose due to inaccurate calculations and inexperience of the contractor.
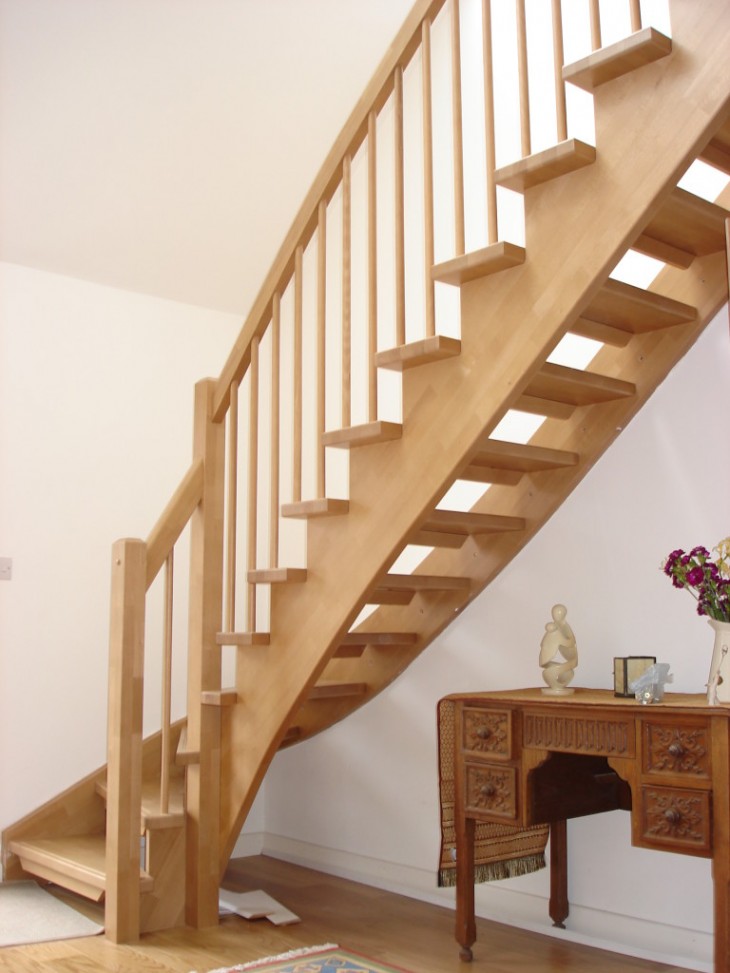
Also, after construction, the building may settle due to loose soil, as a result, the staircase can become several centimeters higher or lower than the floor, and it is easier to fix it in a wooden structure.
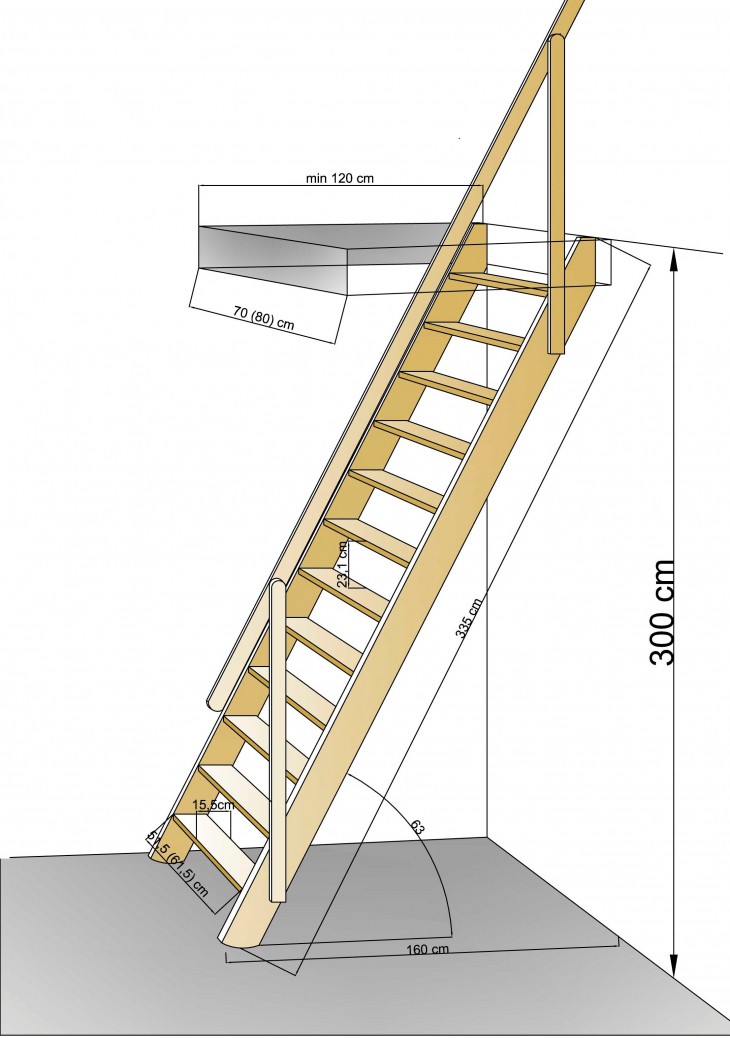
When constructing a lift with a turn towards, the distance between the spans should be at least 100 mm.


Stages of construction
Answering the question of how to make a staircase to the second floor with your own hands, several stages of construction are distinguished.
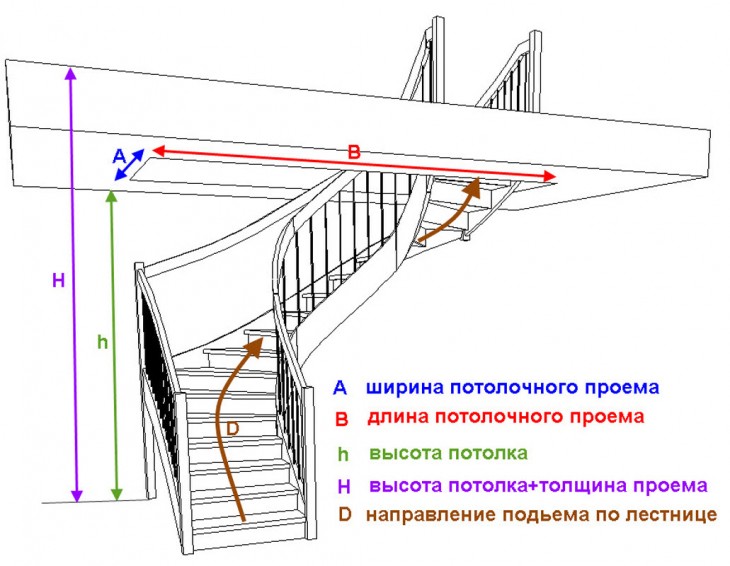
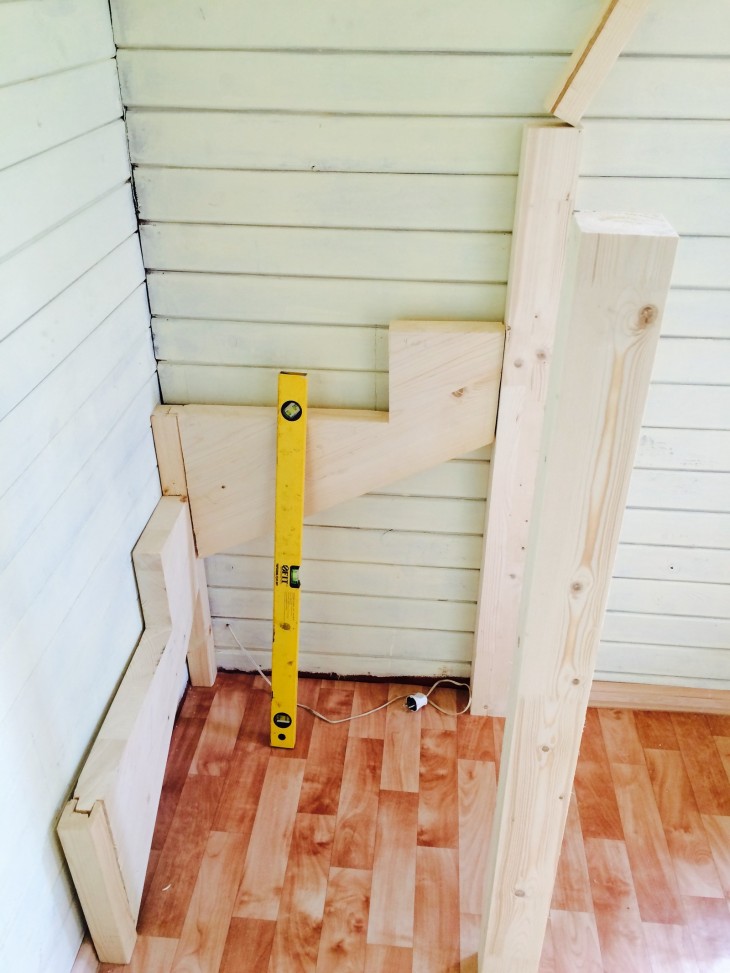
The first stage of any construction, whether it is a staircase to a house, or an interfloor staircase, is the creation of a project. Particular attention should be paid to the safety of the building and its ease of use.
The structure must support the average weight of an ordinary person with a fair margin. Be sure to use the railing!
If they are not, another fence must be designed to ensure the safety of the descent.


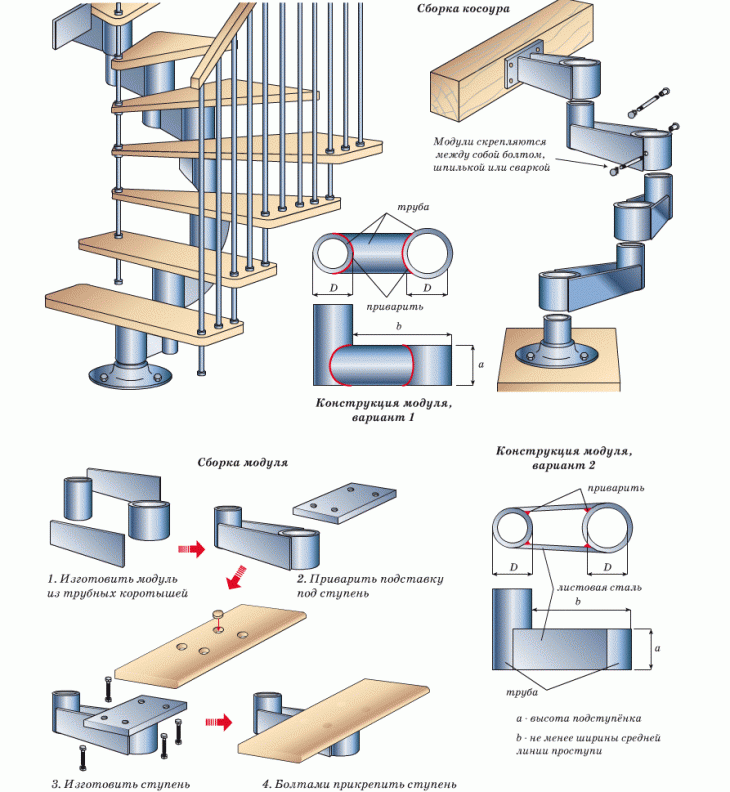
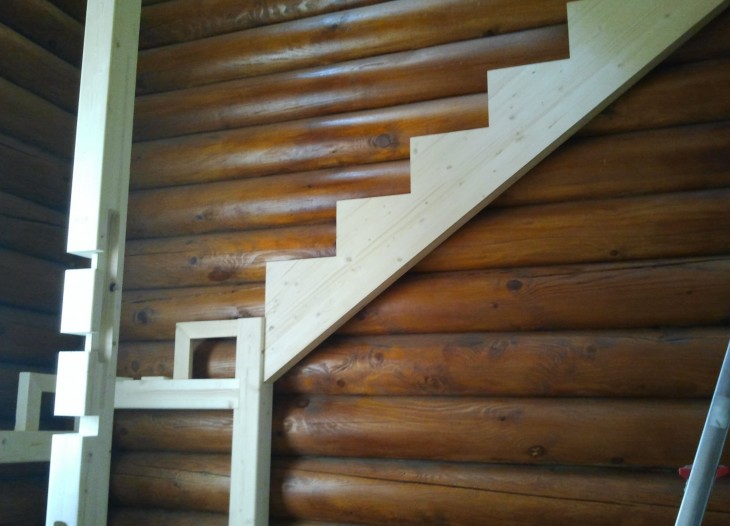
Consider creating a wooden staircase with braids
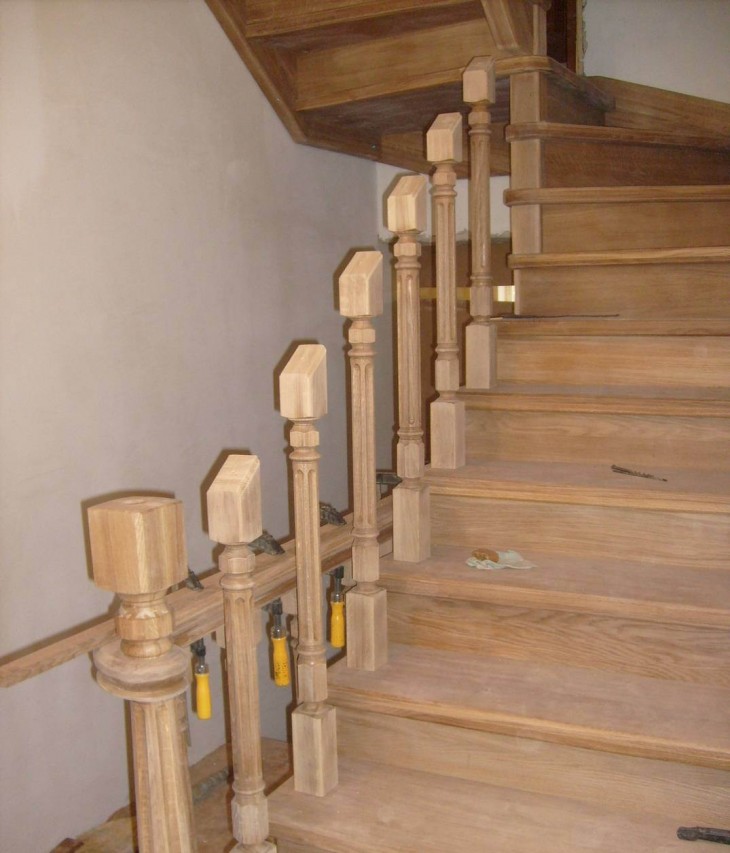
After you have designed your building, you need to prepare the materials.In our case, choose boards of suitable thickness and length, prepare balusters with a railing and prepare skewers. This will be the second phase of construction.
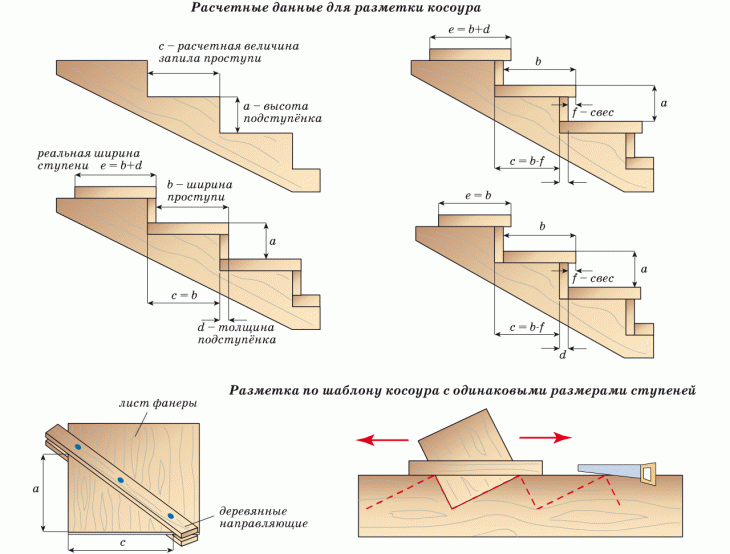
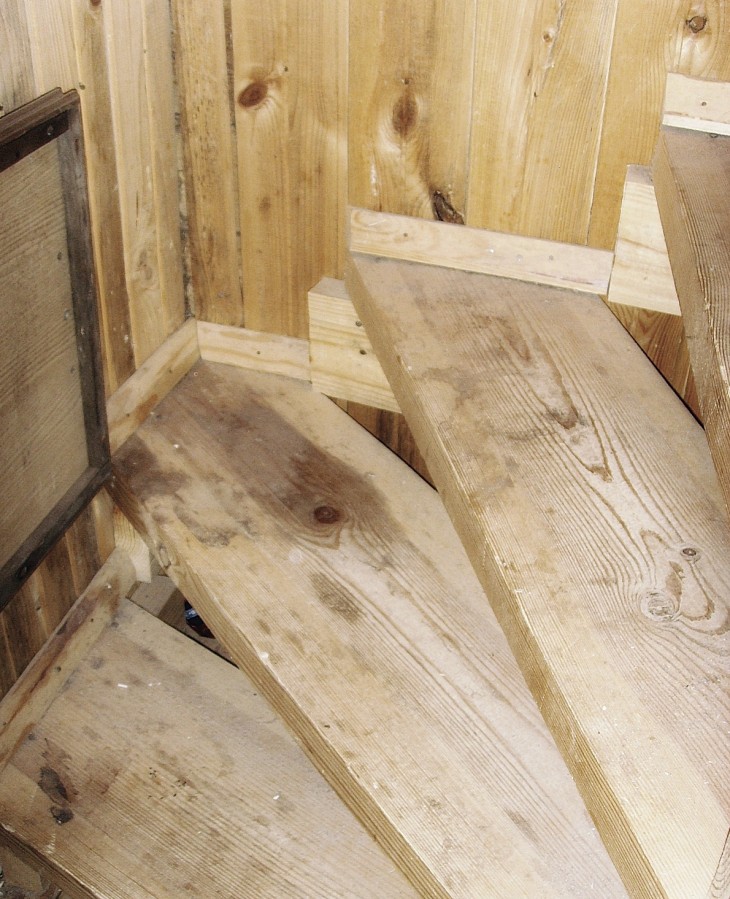
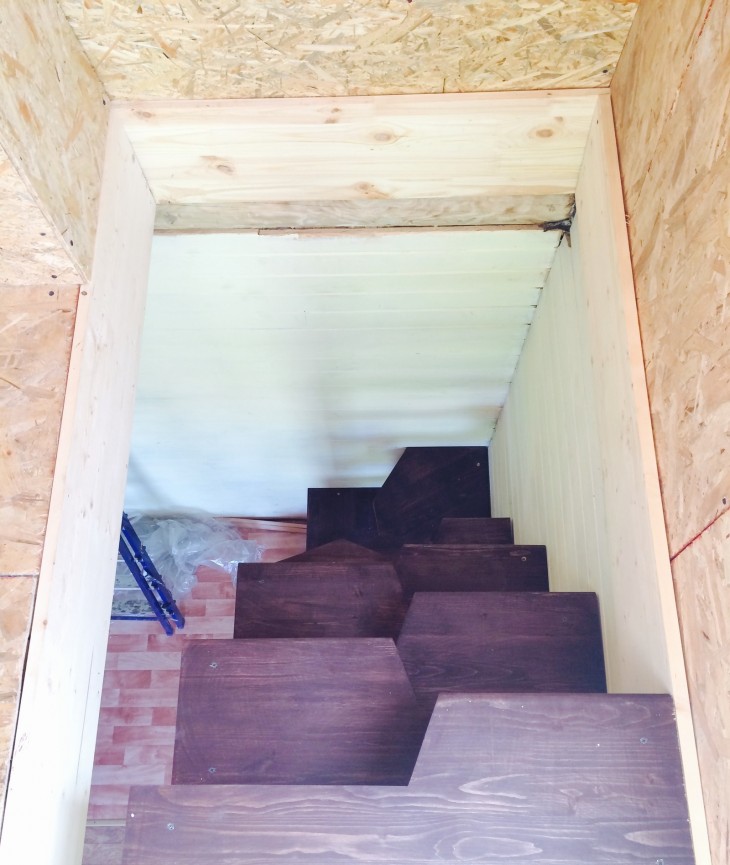
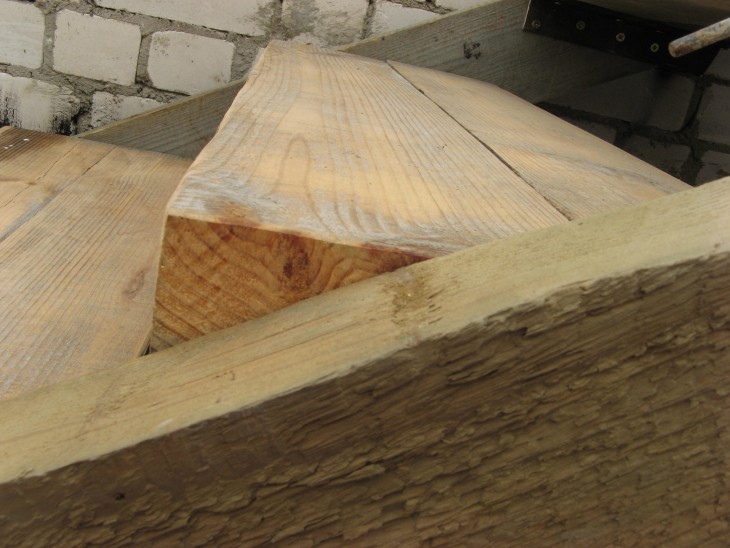
A pine board 4 cm thick is suitable as a material for kosour. On it we mark the steps along the pattern and saw it with an electric jigsaw.
Note!
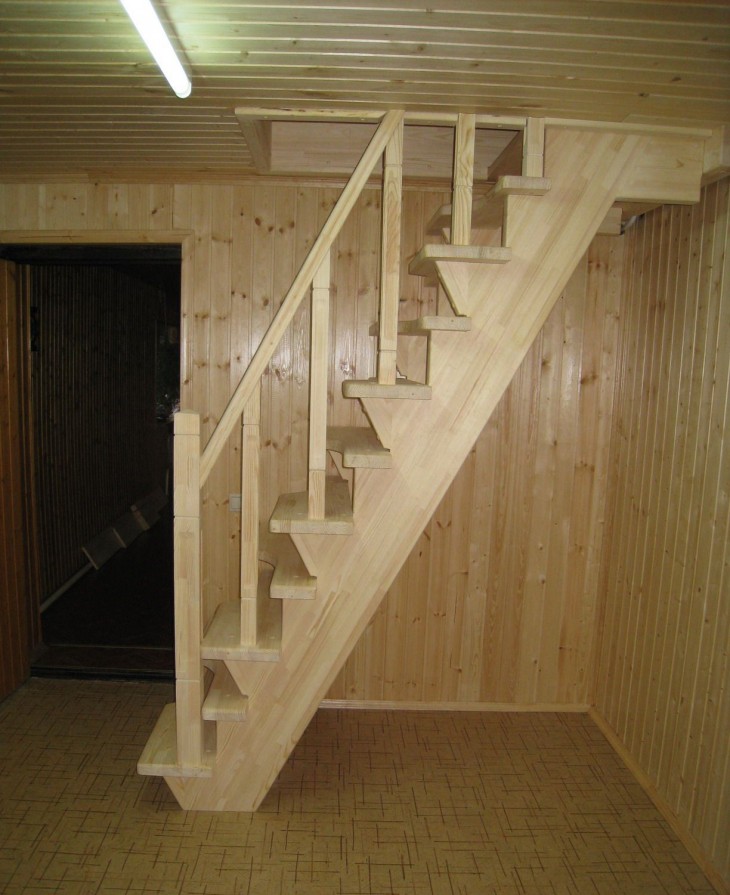
We use the resulting product as a sample for the second (and if the width of the stairs is more than a meter then the third) kosour. We cut the size of the required number of steps.
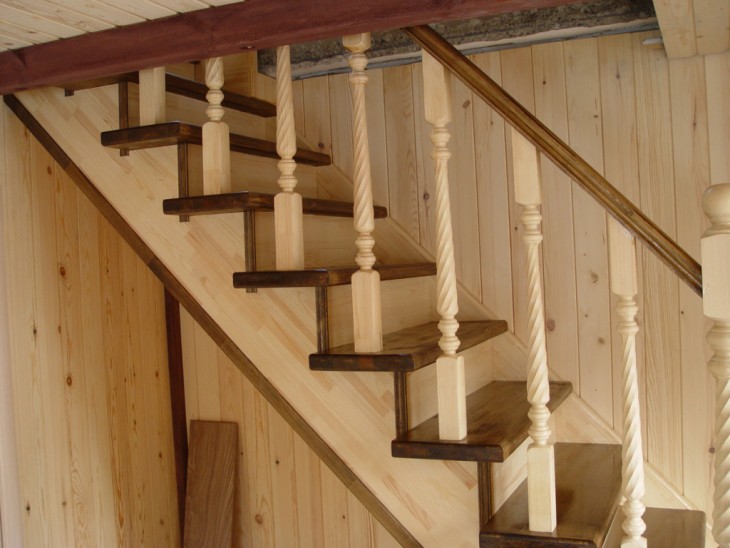
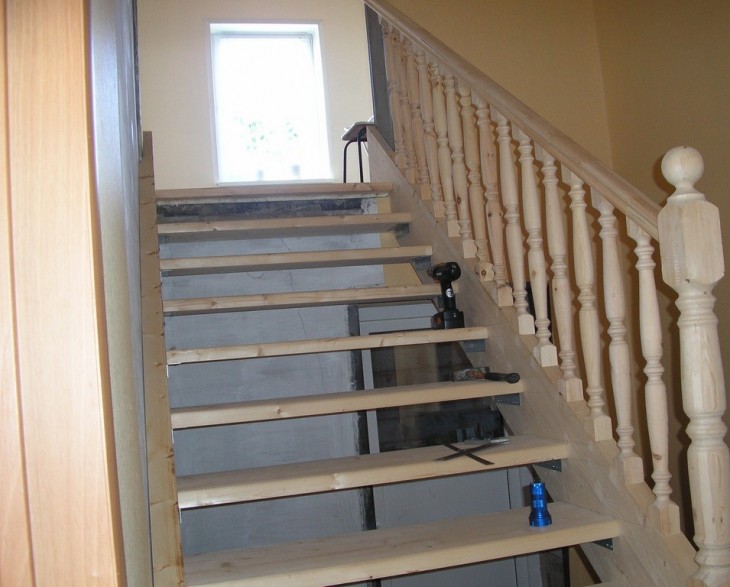
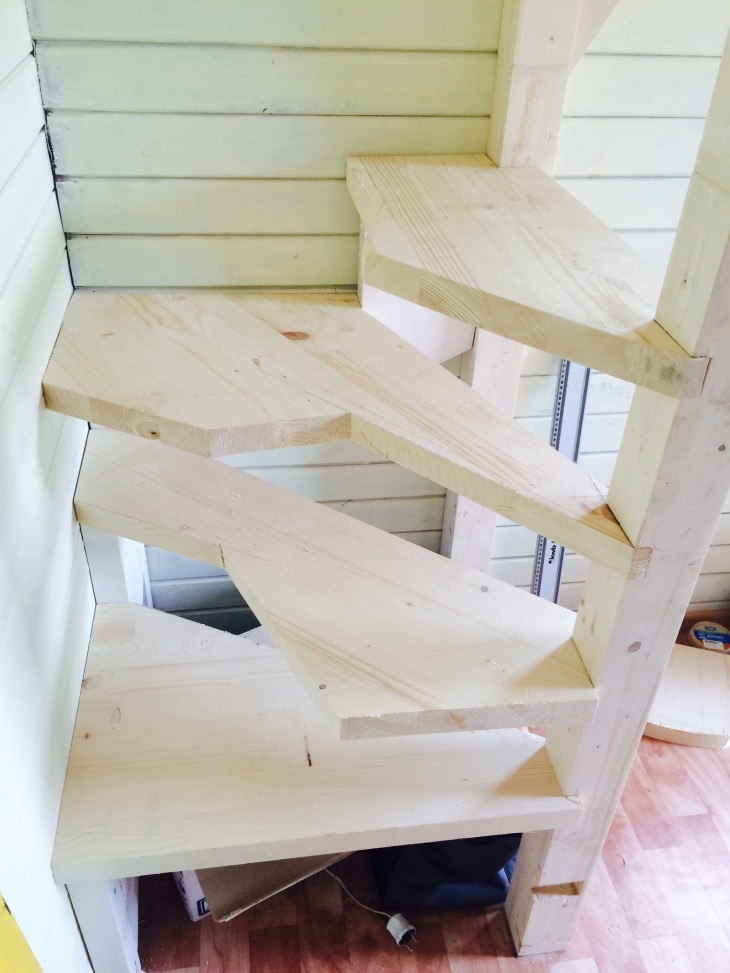
The third step is to assemble all the parts together. First of all, the kosour are installed at the places of their permanent placement. Then, with the help of screws, steps are attached to the braces.
Then, using hairpins, they are mounted on the baluster steps, and handrails are attached to them. The ladder is ready!
DIY stairs photo
Note!

Note!