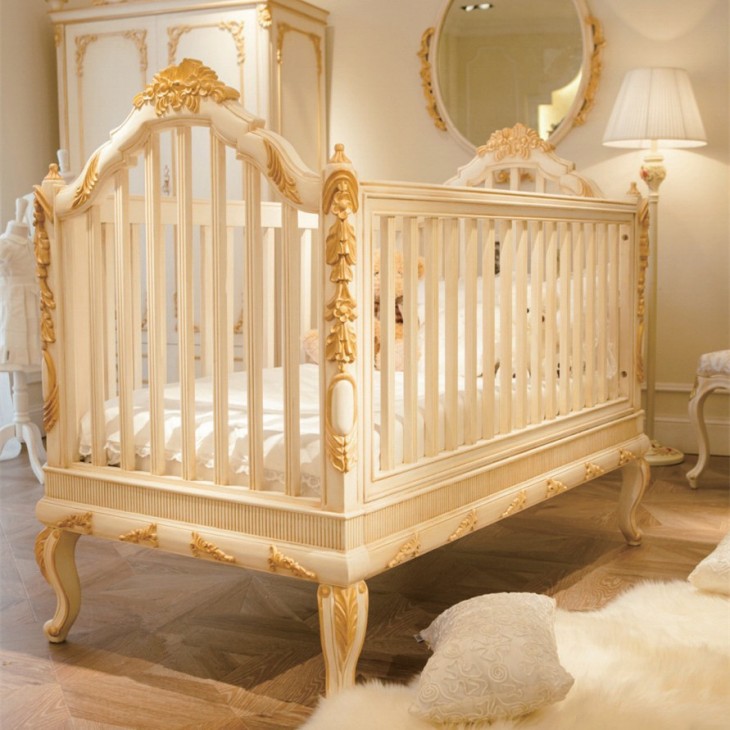
The modern market offers a sufficient selection of children's furniture, including cribs.
The child will be able to sleep in his crib for a maximum of four years, then he will have to change it to a more adult overall version. And the price of furniture is quite expensive, so there is an option to make a comfortable crib with your own hands. It is not so difficult as it seems at first glance!
It is not necessary to be a professional in this field and spend a lot of time on assembly.
First of all, you need to purchase exclusively high-quality environmentally friendly materials and seriously approach this issue by considering the entire upcoming process.

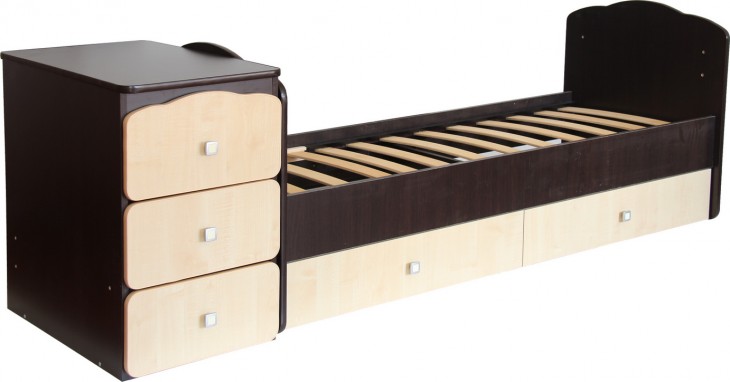
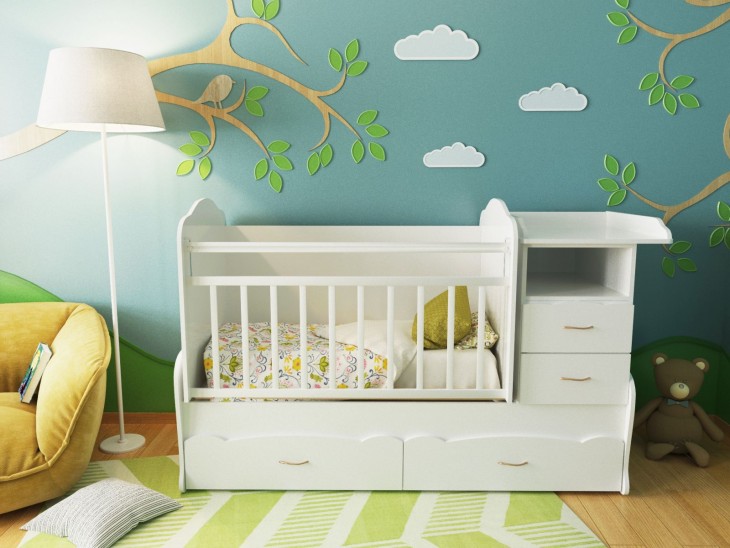
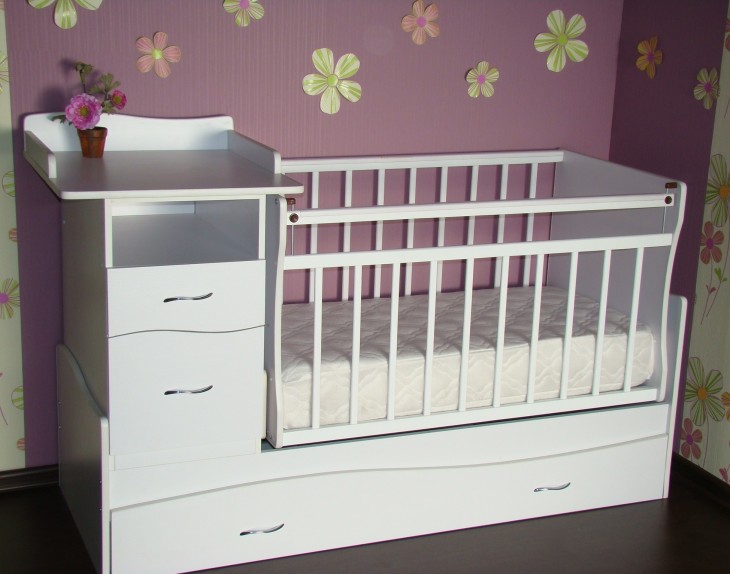
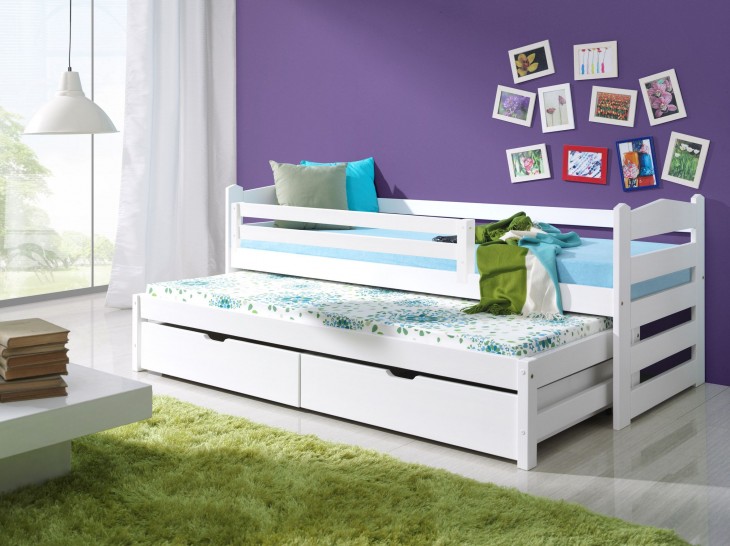
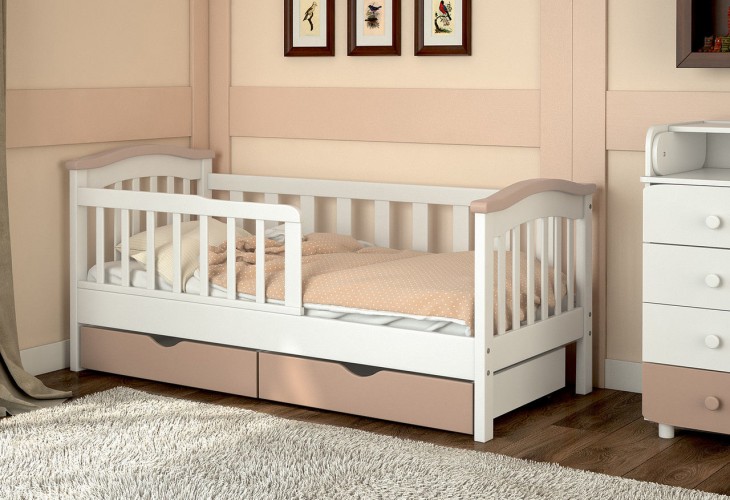
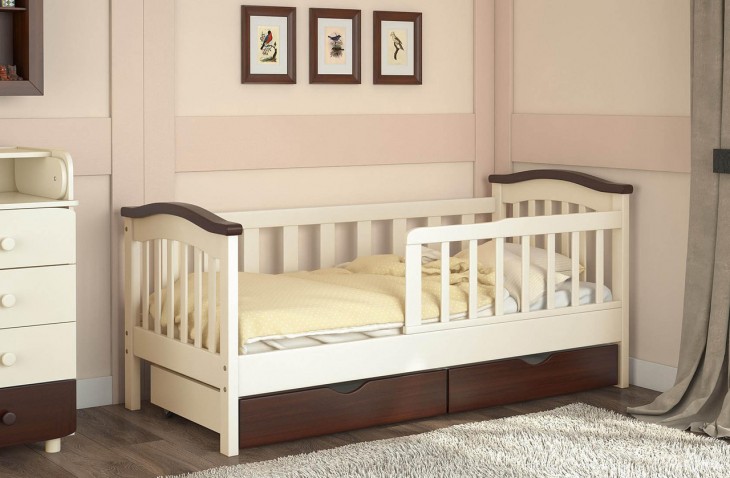
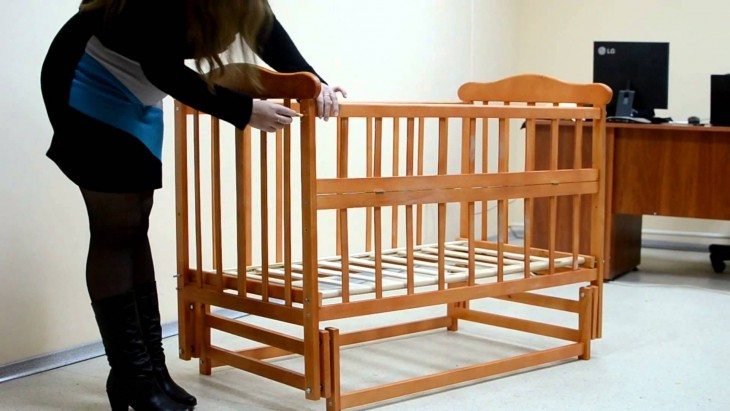
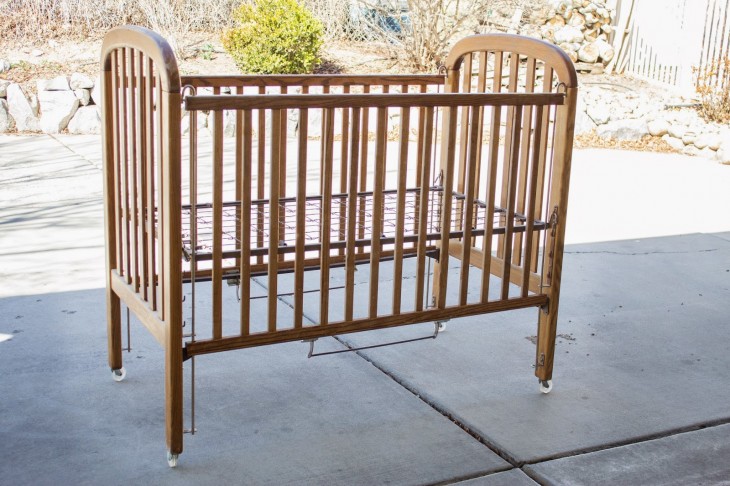
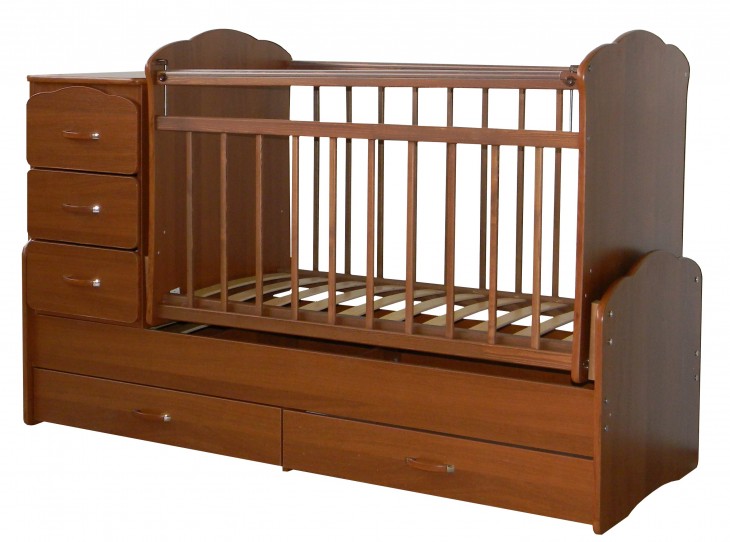
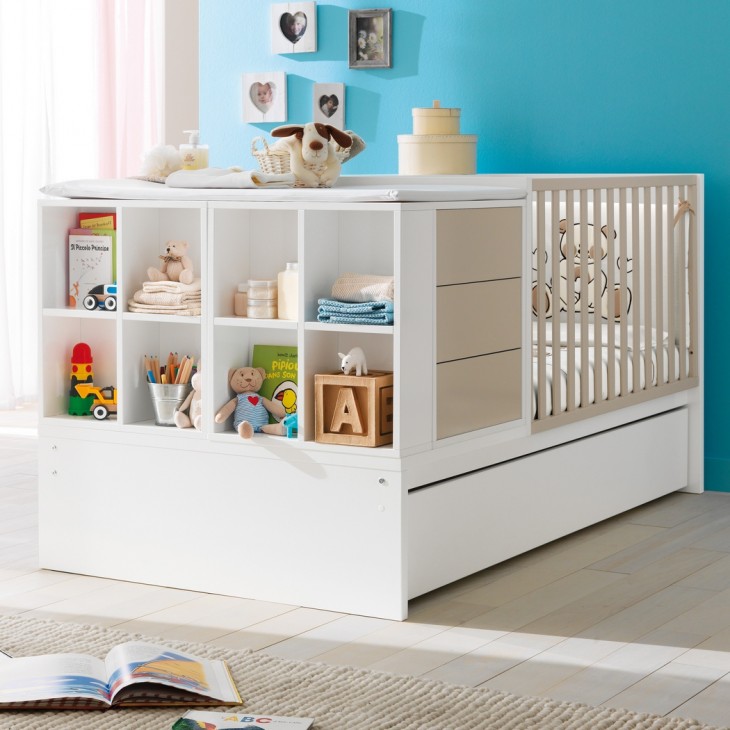
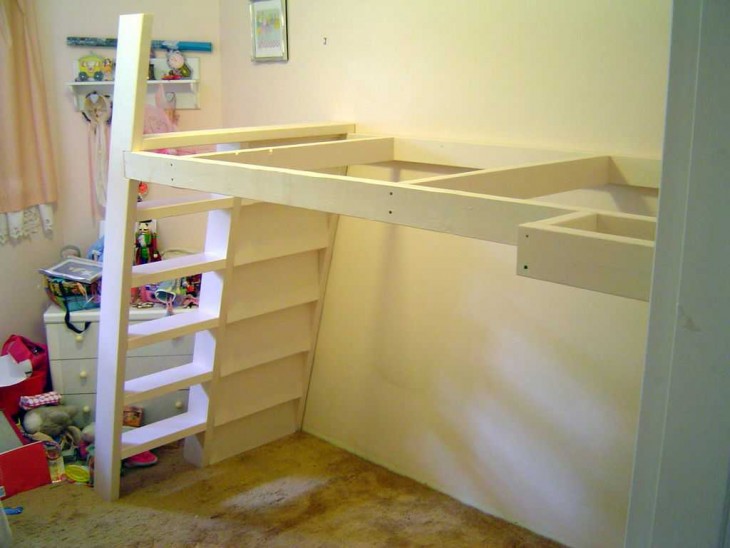
The photo of the crib with your own hands shows how to make an option for a child of five years, but all these parameters can be increased to a larger size.
Review Content:
Pros of a Custom Made Bed
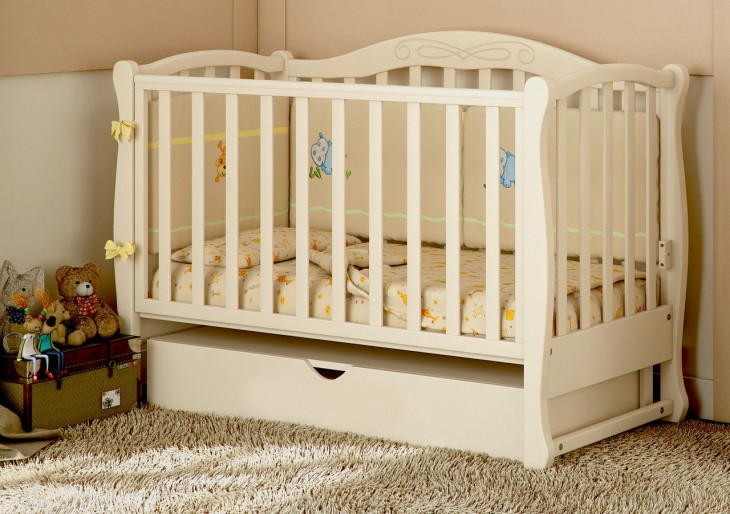
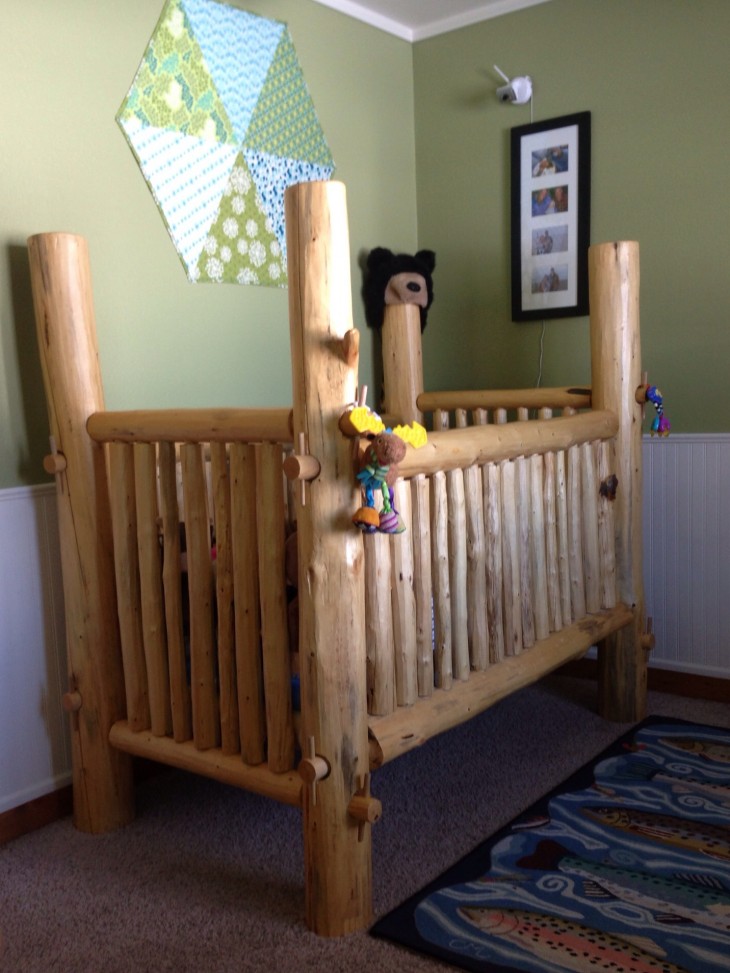
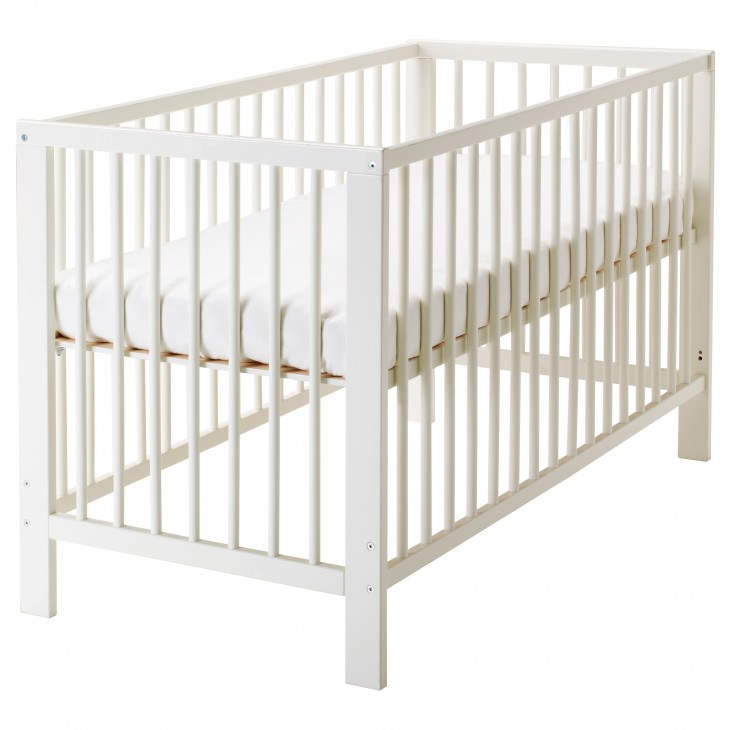
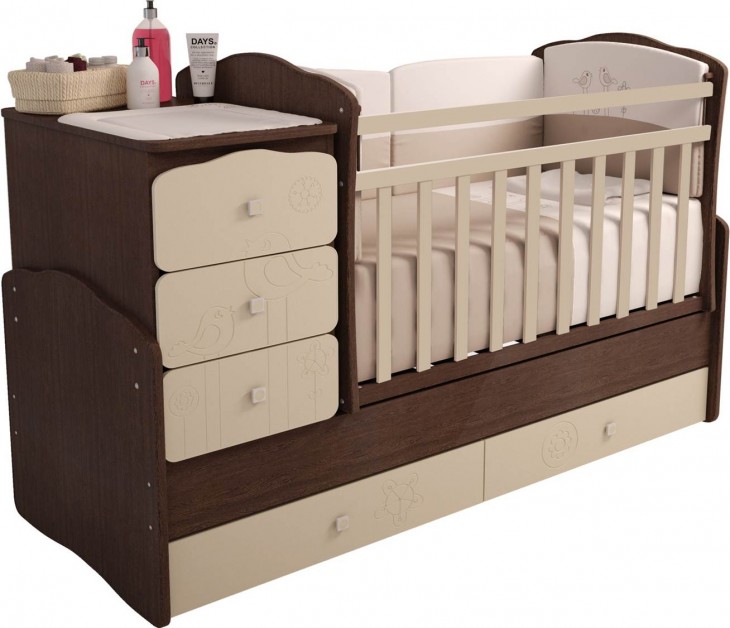
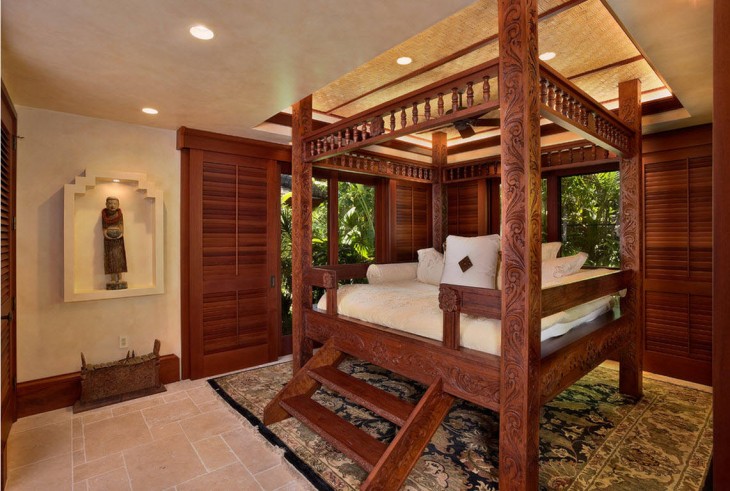
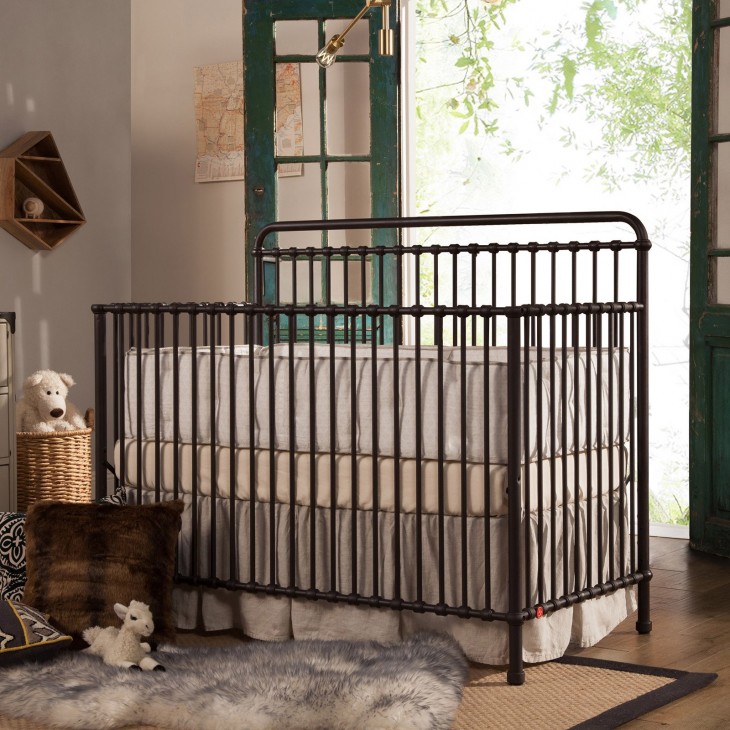
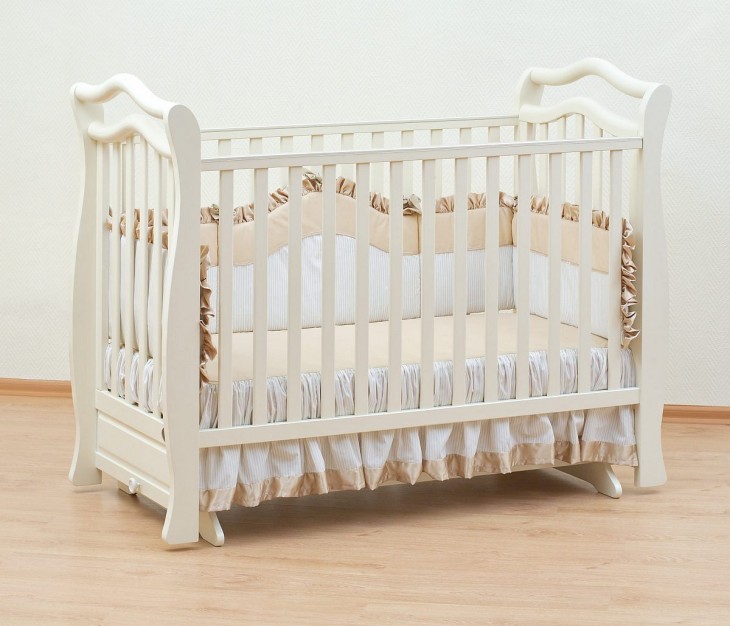
Having come to the furniture store, you can find a lot of options for cots from various materials (plastic, fiberboard, particleboard, wood). The best material, of course, is wood, which provides safety, durability and is the most durable option.

A finished wooden bed is quite expensive. Not every family can afford such costs, especially since it will last only a few years.
The cost of a hand-made design will be several times less and has the following positive aspects:
- reliability in using the design. Children often like to play and jump on the bed, and you can not worry that it will break from the load;
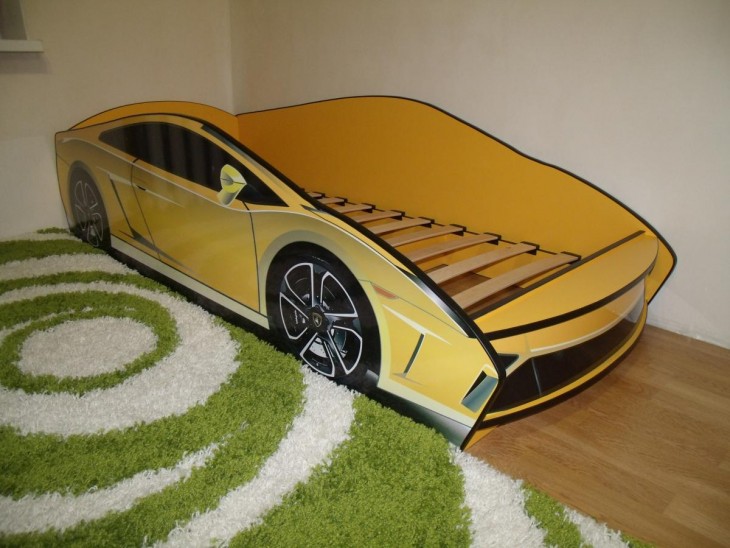
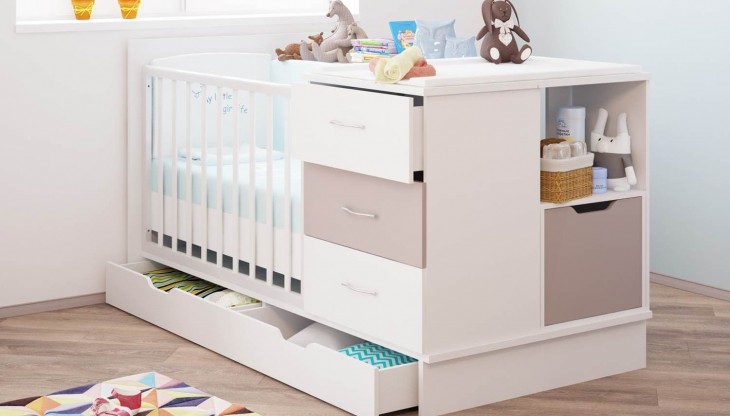
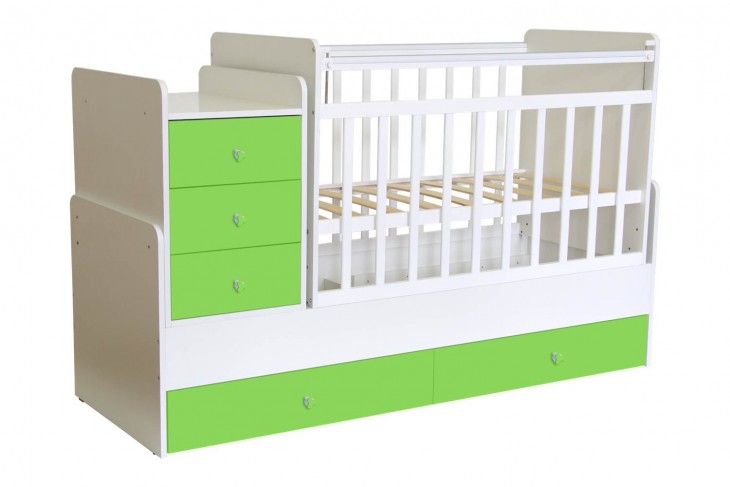
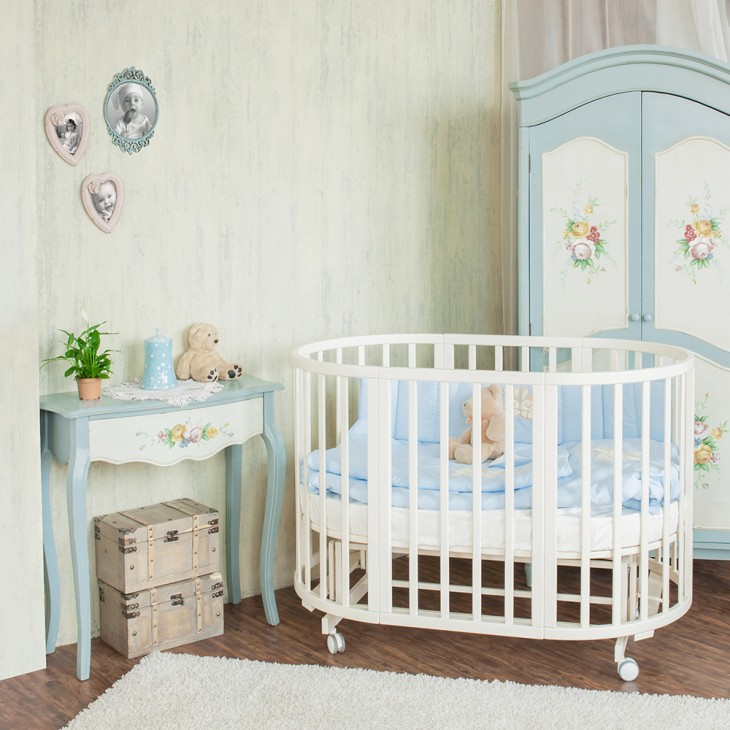
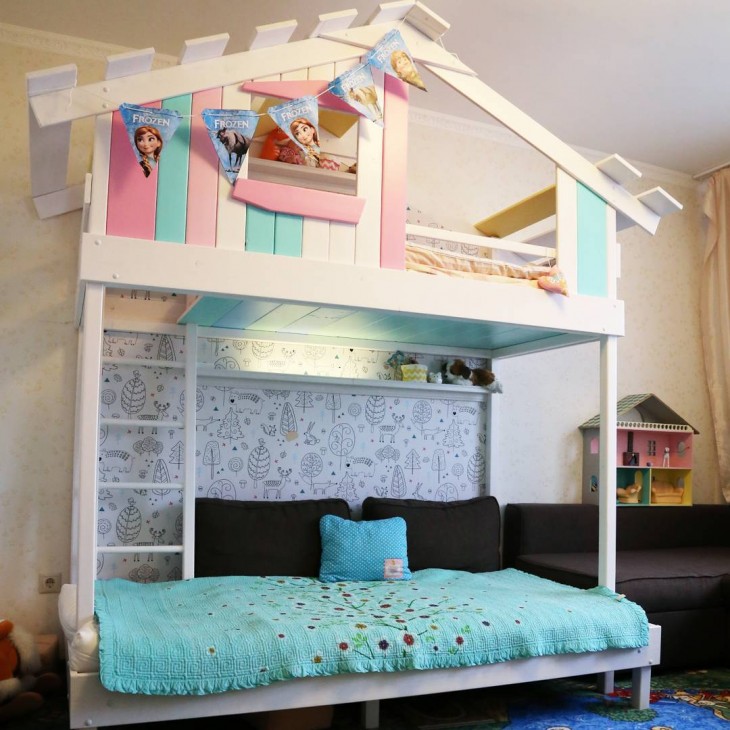
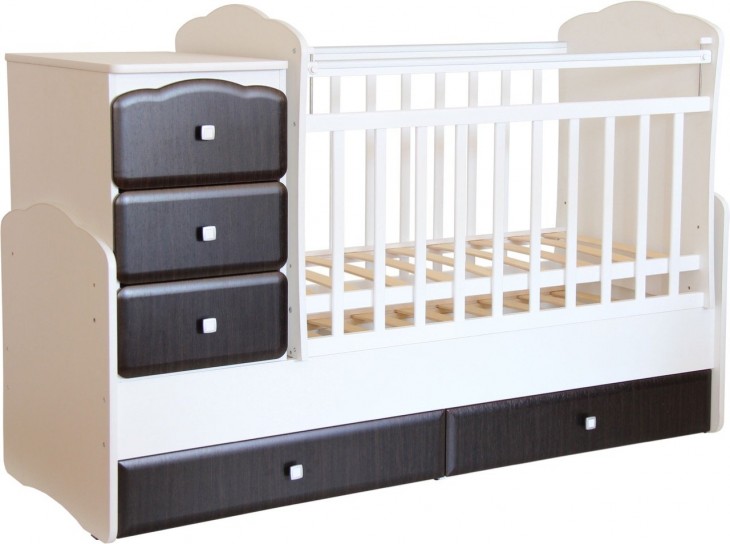
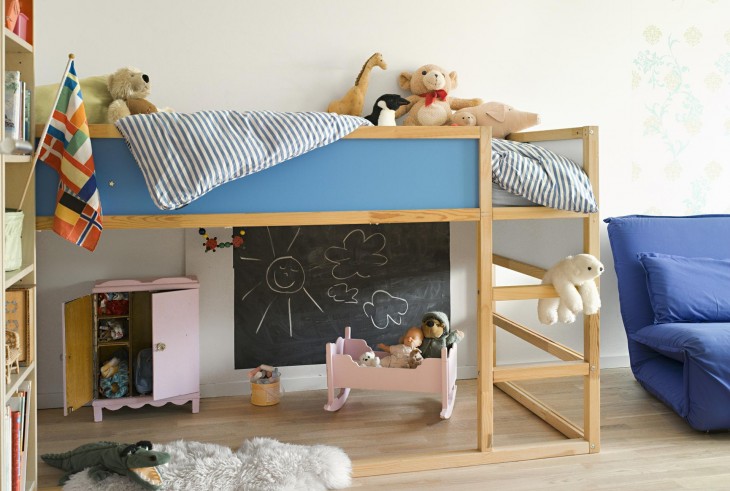
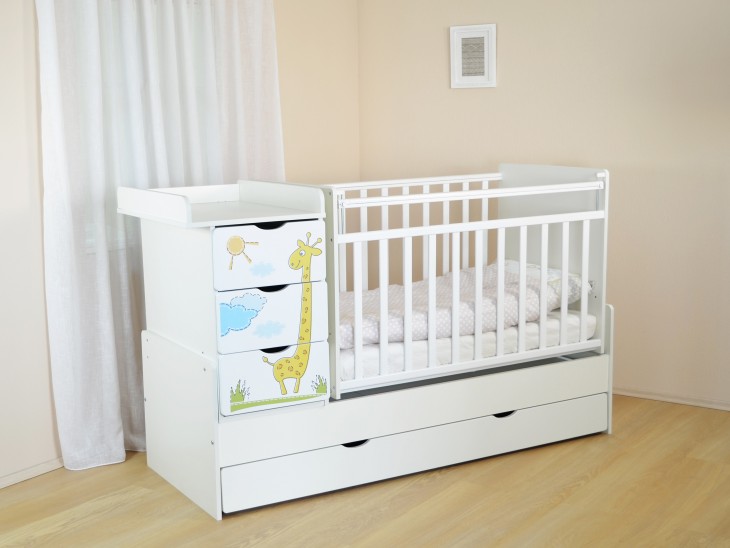
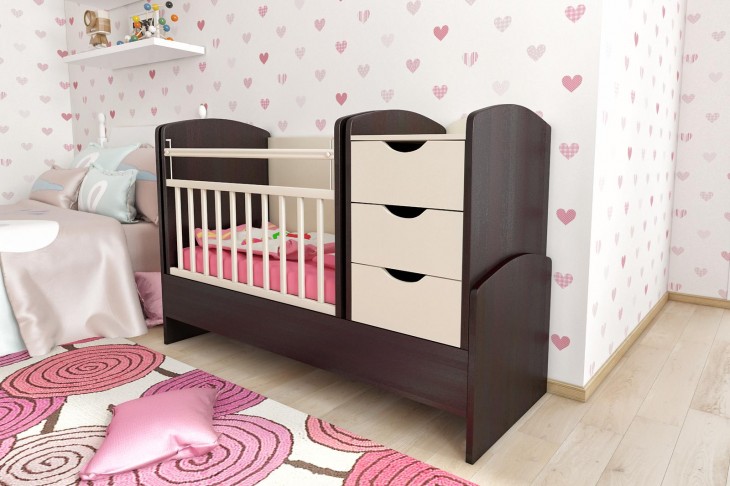
- You can make a strictly individual bed. Which successfully fits the style and interior of the children's room and has individual sizes;
- the creation process will help to spend time with interest with the child, who probably will not refuse to help parents.


Purchasing the right material and preparing tools
To begin with, it is worth carefully preparing the room in which the planned process will take place. If it takes place directly in the room, it is reasonable to cover the floor and furniture with film, since in the process of work a lot of dust and sawdust will appear.
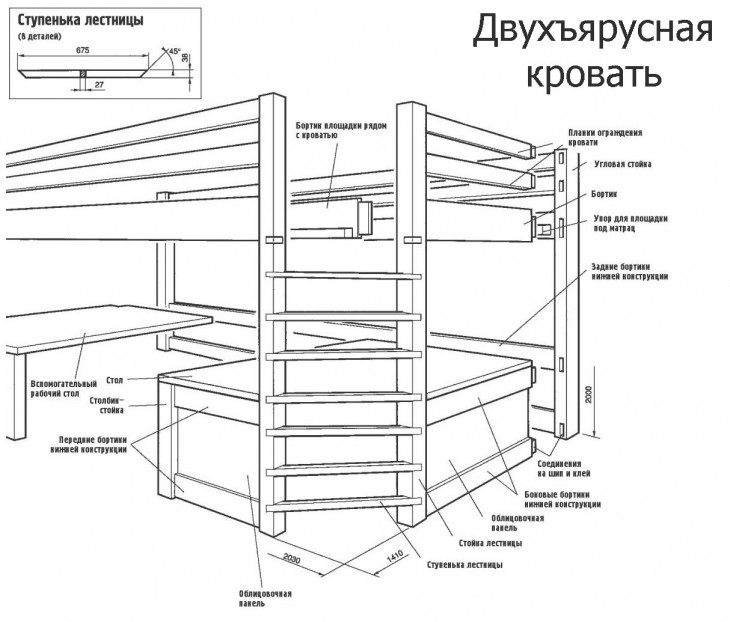
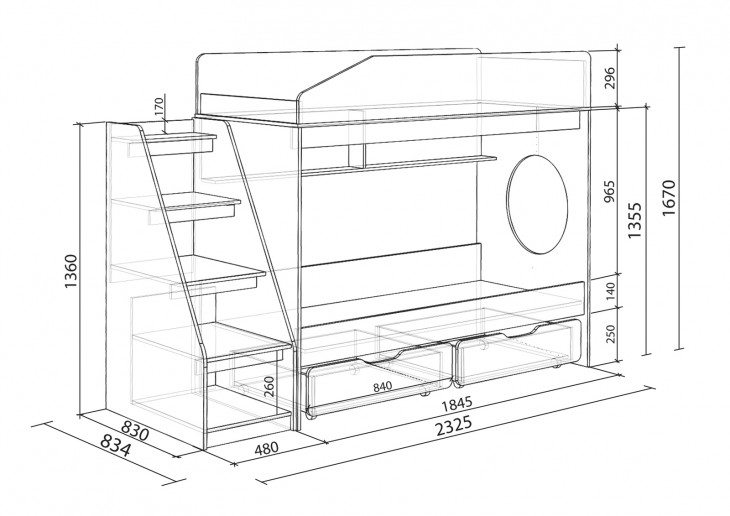
Then you need to correctly prepare the exact drawing of the crib for the newborn with your own hands, or find a suitable sketch on the Internet.
A number of materials will be required:
- self-tapping screws of different diameters;
- wooden shields for furniture;
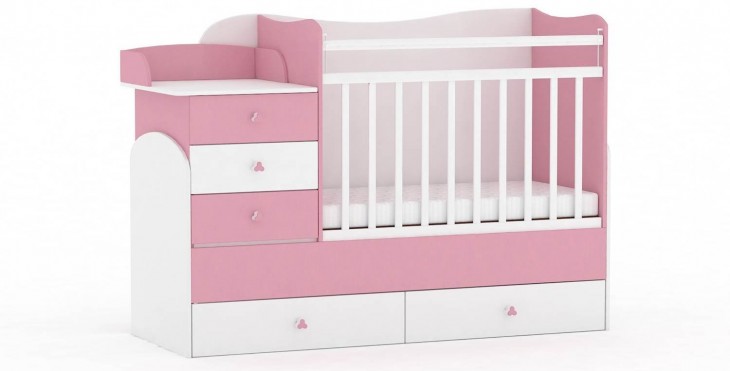
- special wheels with which the drawers will be pulled out;
- a sheet of plywood or a metal grate for the base of a berth;
- sandpaper for processing slices.
The set of tools is absolutely minimal: an electric jigsaw, a grinder and an ordinary drill.
It is important to first, before drawing up the drawing, measure the mattress, which will lie in the bed, as it will be more difficult to choose the right size later!
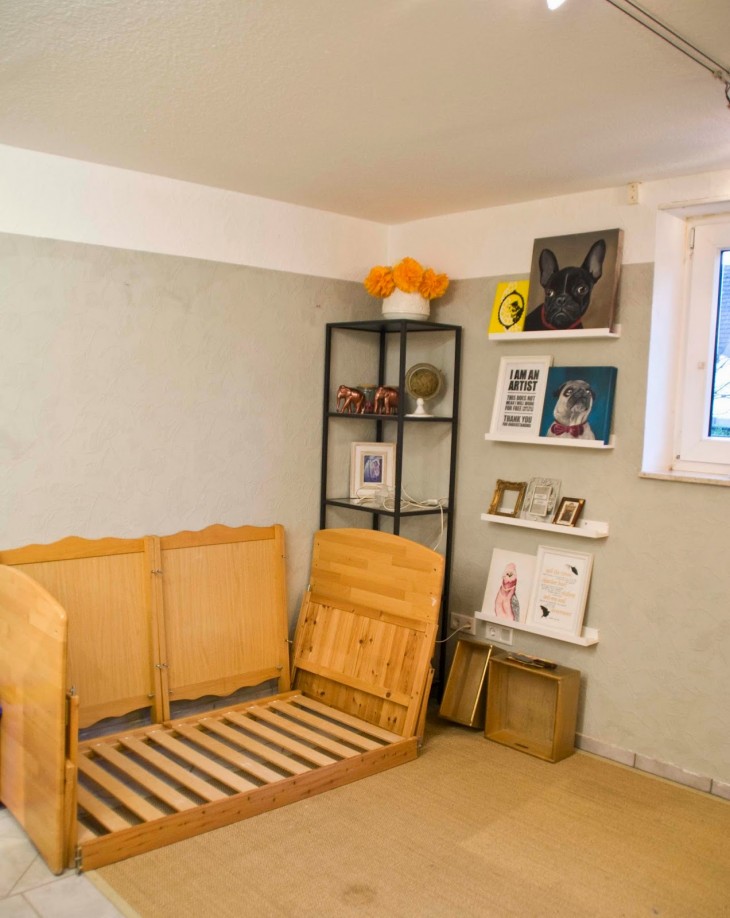
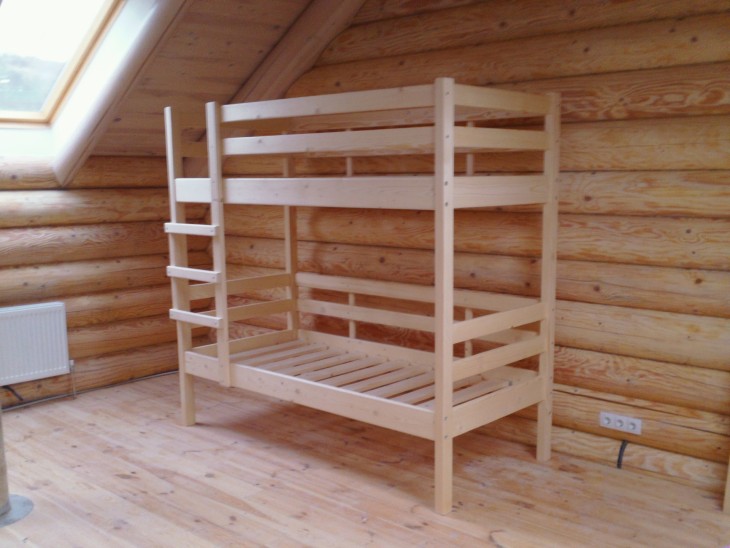
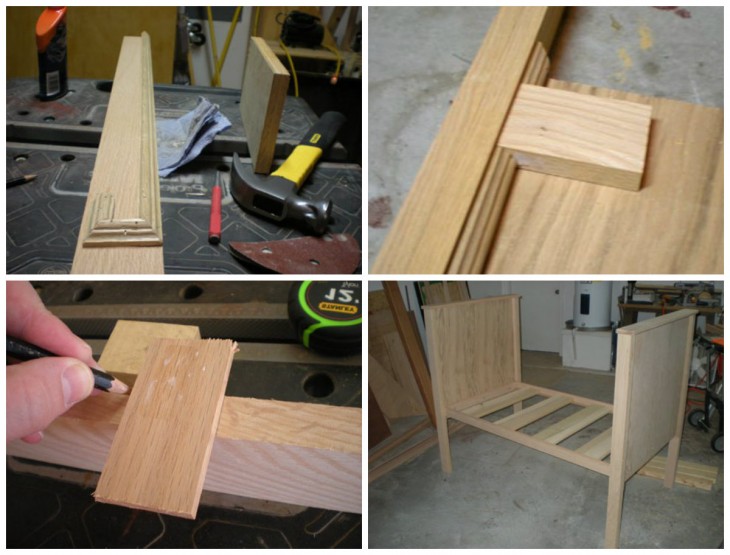
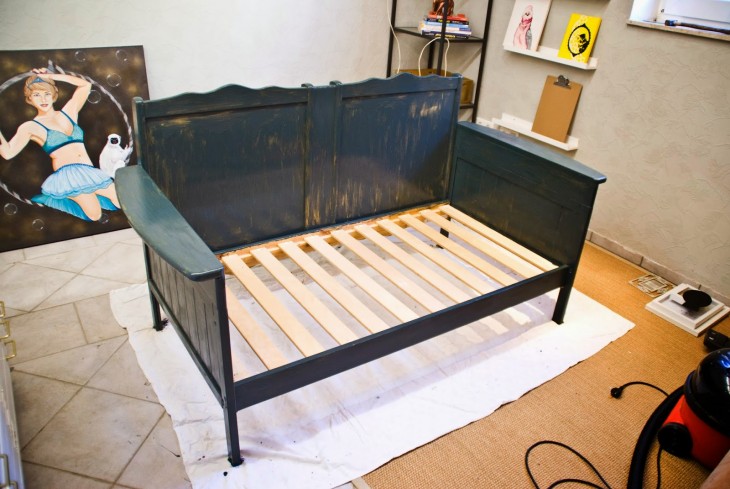
Do-it-yourself step-by-step production of a crib
Having decided on the size and design of the children's bed, you can begin to work directly:
- All necessary markings are carefully applied with a pencil, without forgetting about the sides.
- Then, using a jigsaw, carefully cut all the workpieces of the parts.
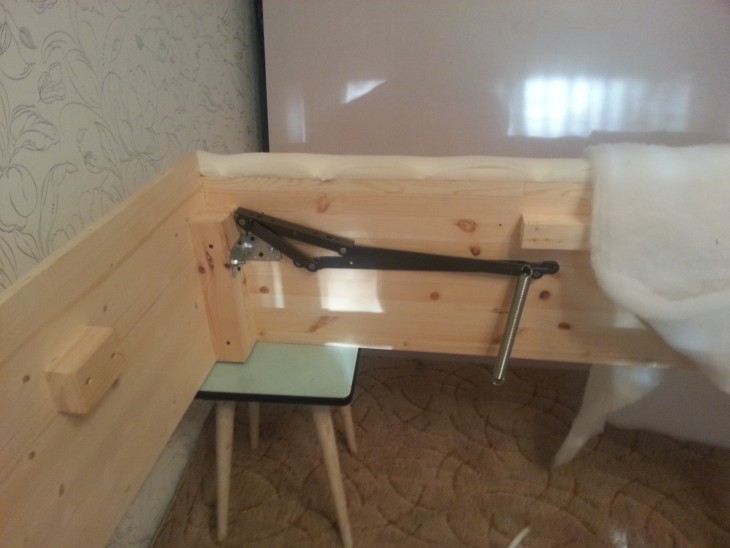
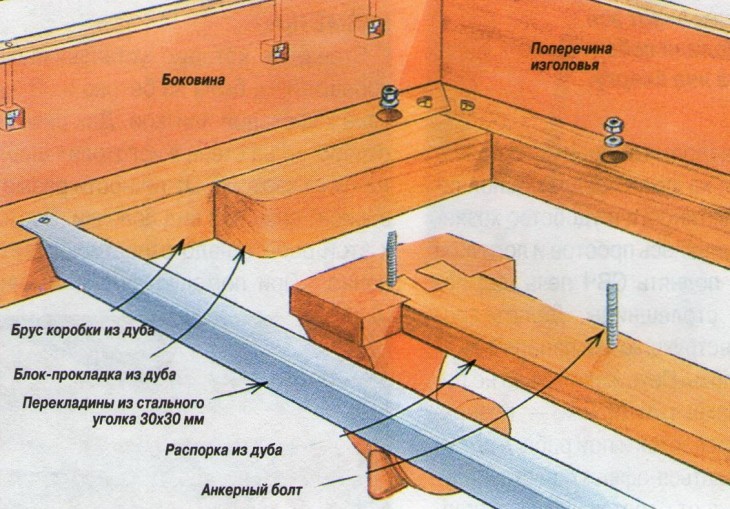
- It is necessary to cut the metal corners of the desired size, immediately drilling holes in them (maximum five) into which self-tapping screws will be mounted in the future.
- For the base of the mattress you need to screw the corners to the bottom of the sides.
- Comfortably laying the crib on its side, you need to collect all the necessary details.
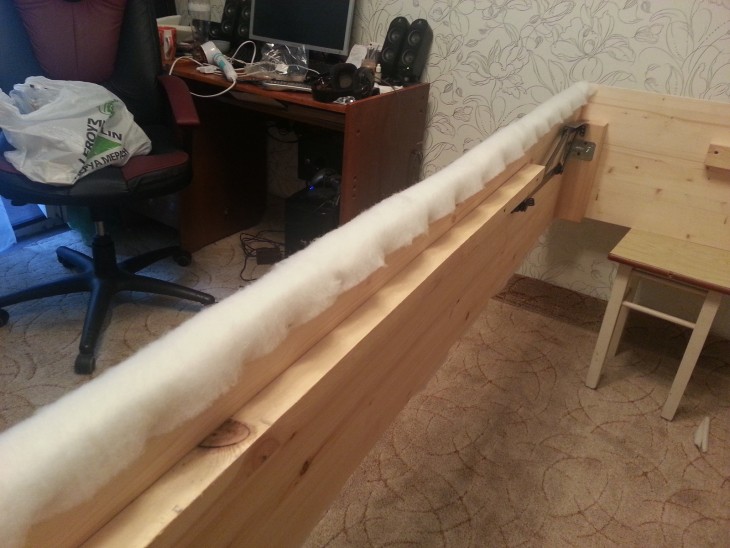
- Using sandpaper to process possible irregularities and sharp corners.
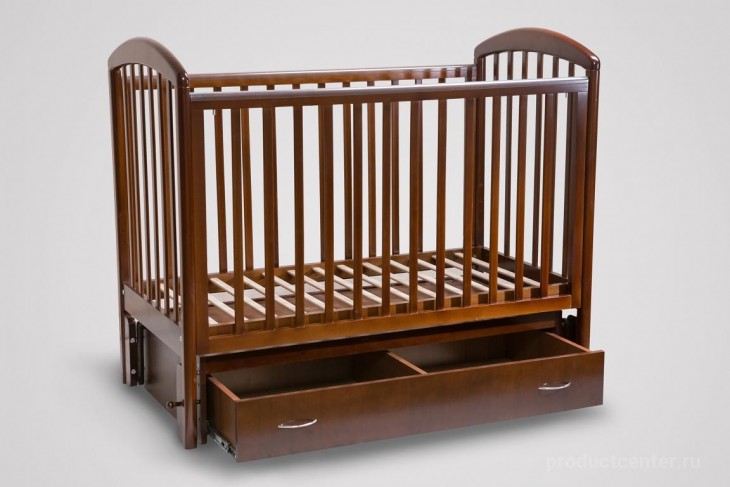
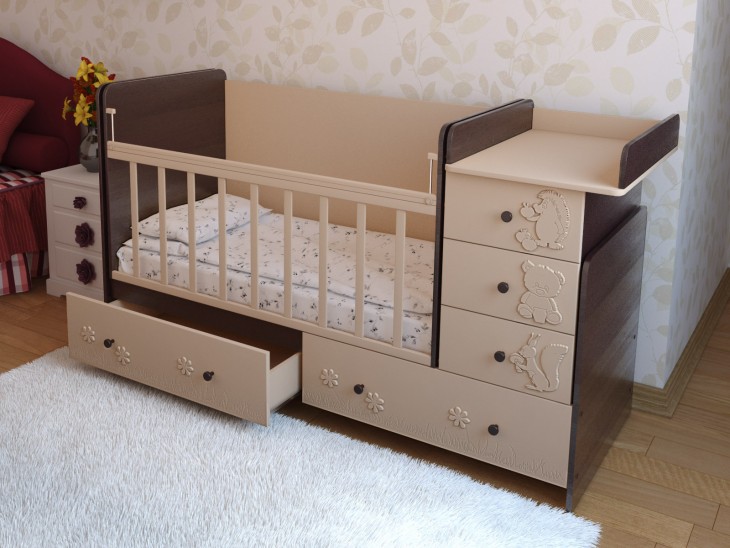
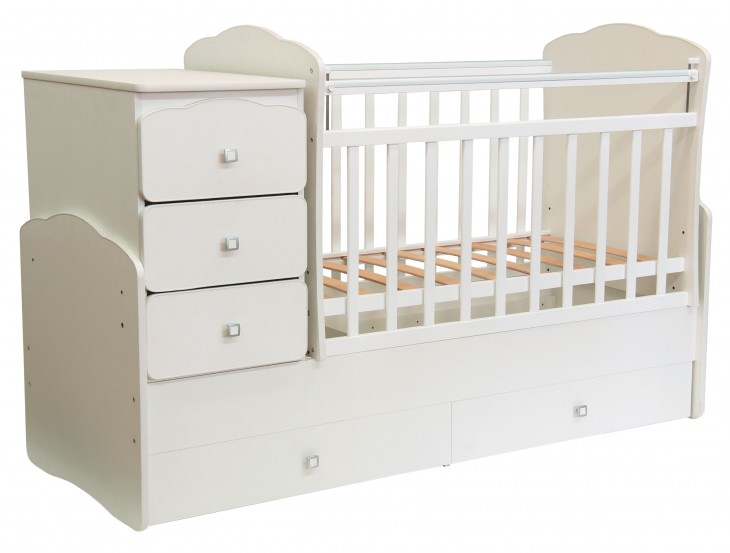
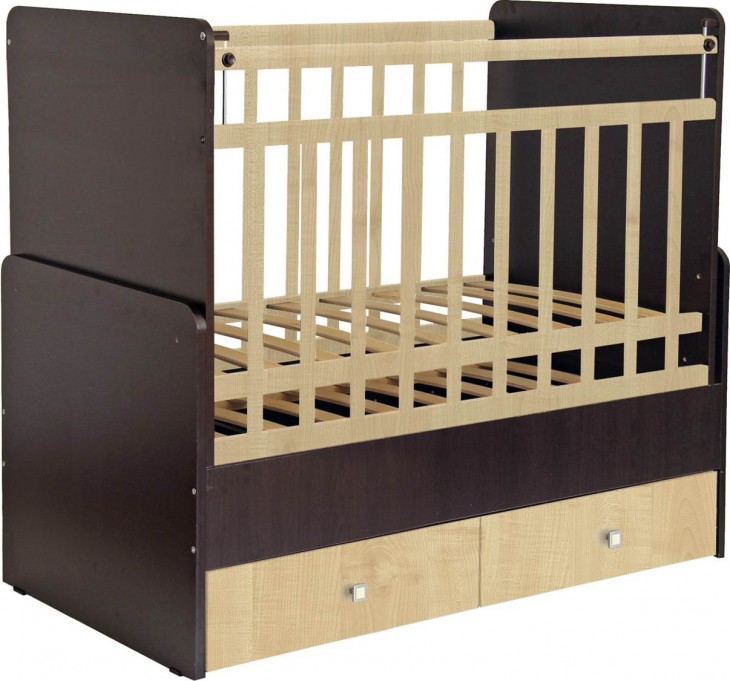
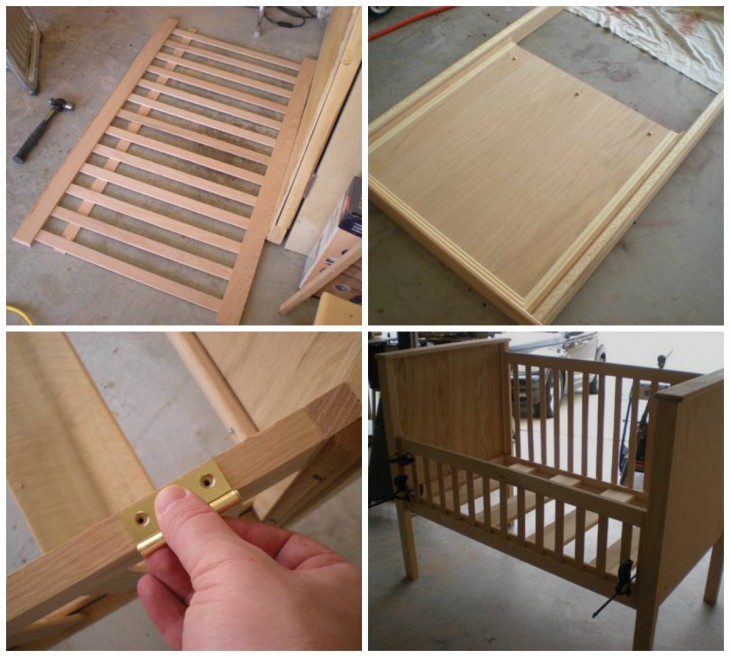
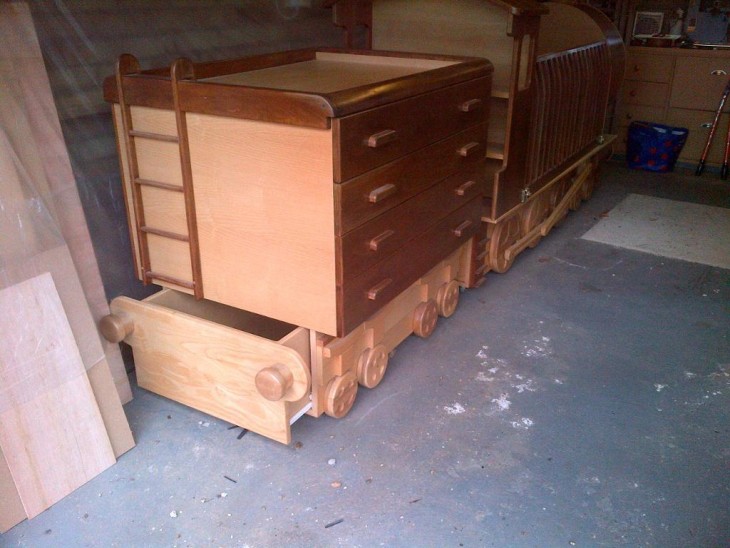
- Roomy drawers are assembled at the bottom of the furniture.
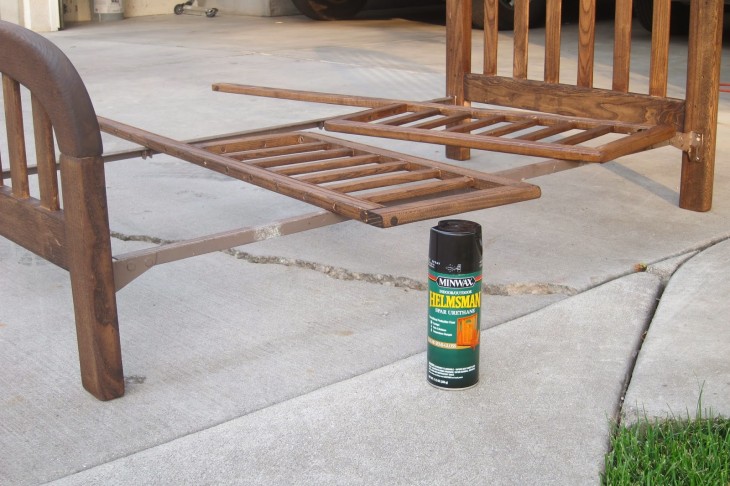
- It is wise to cover the crib with varnish or a similar coating, which will give it an aesthetic appearance.
- The final stage: we put the mattress at the bottom of the bed and spread the bedding.
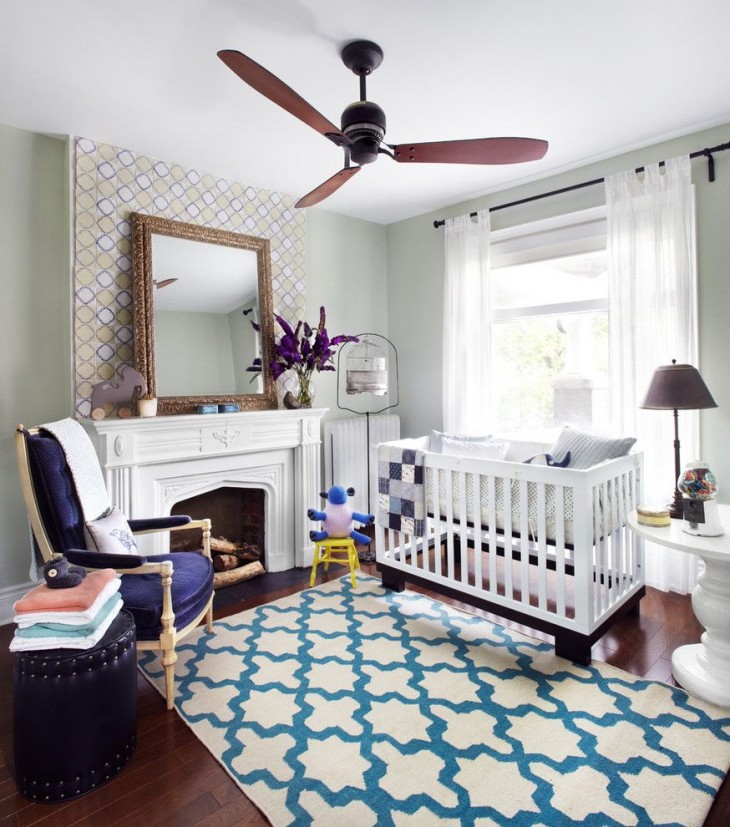
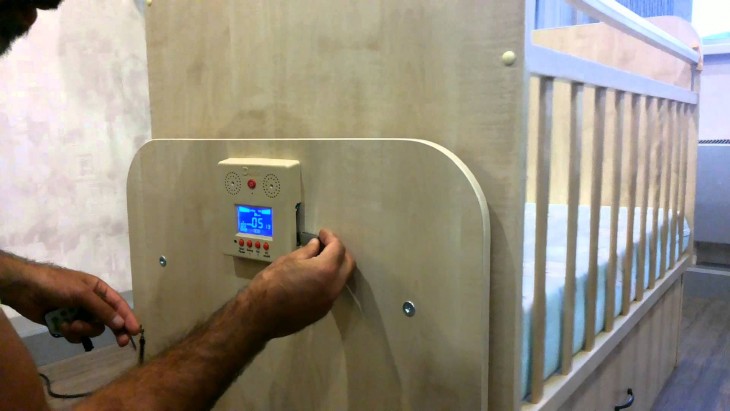
Baby bed accessories
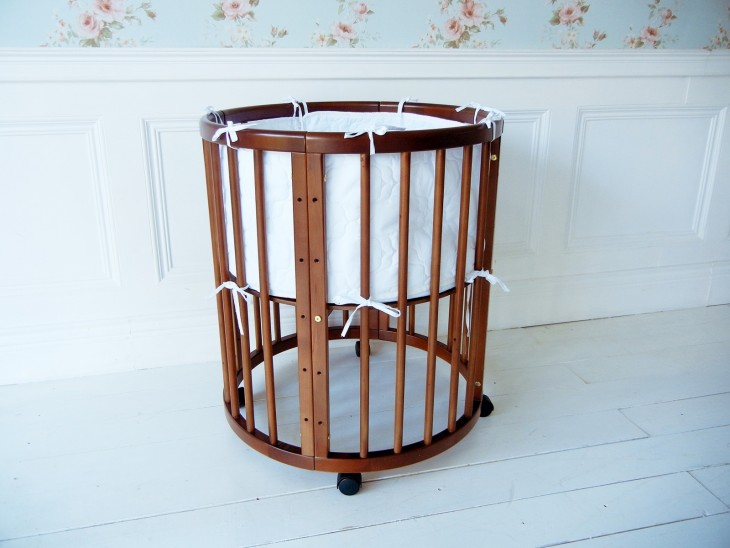
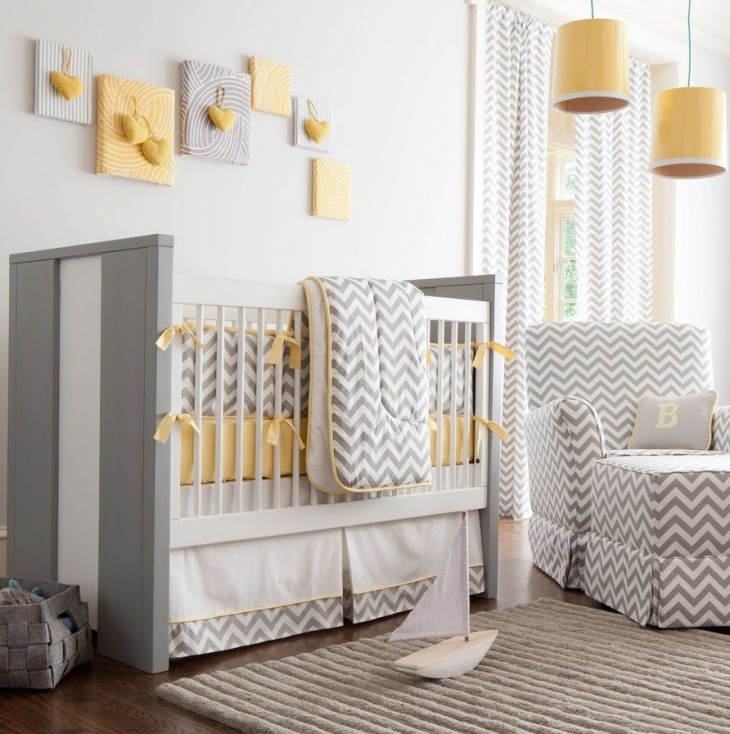
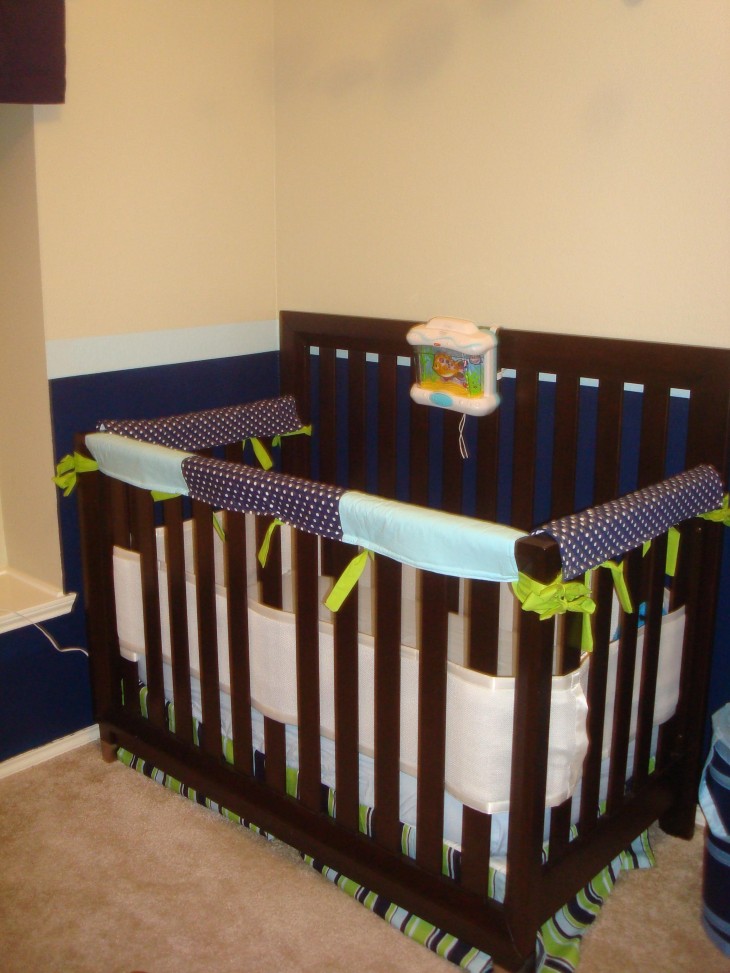
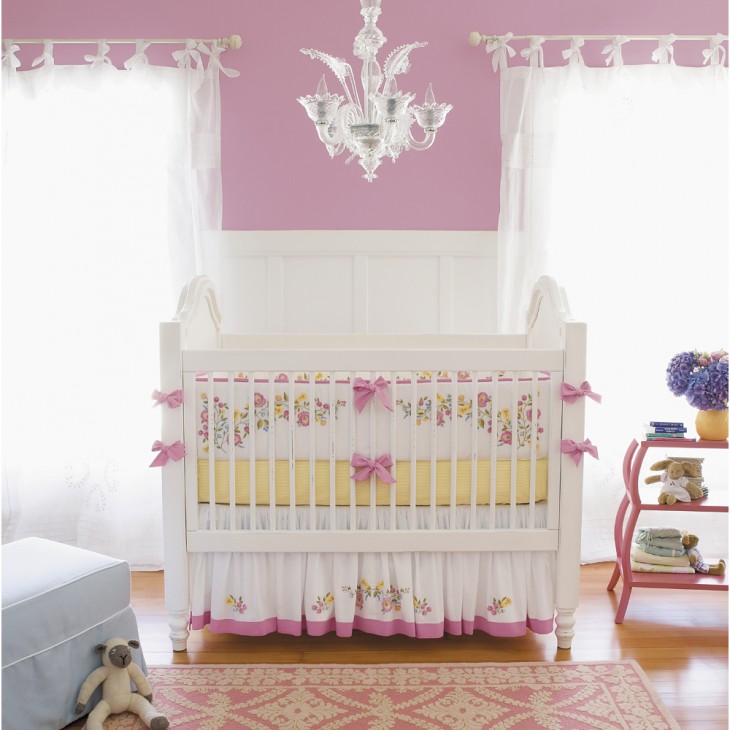
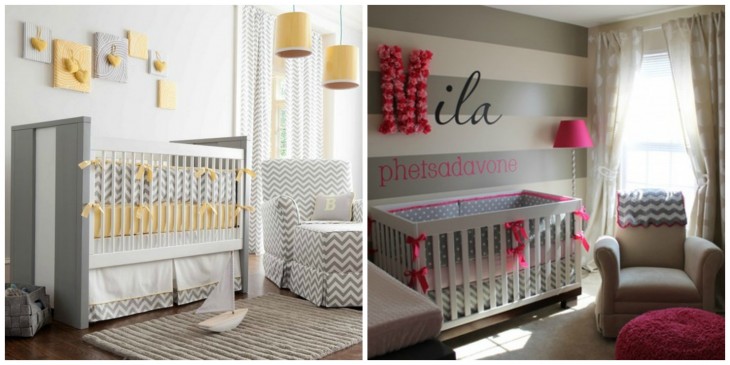
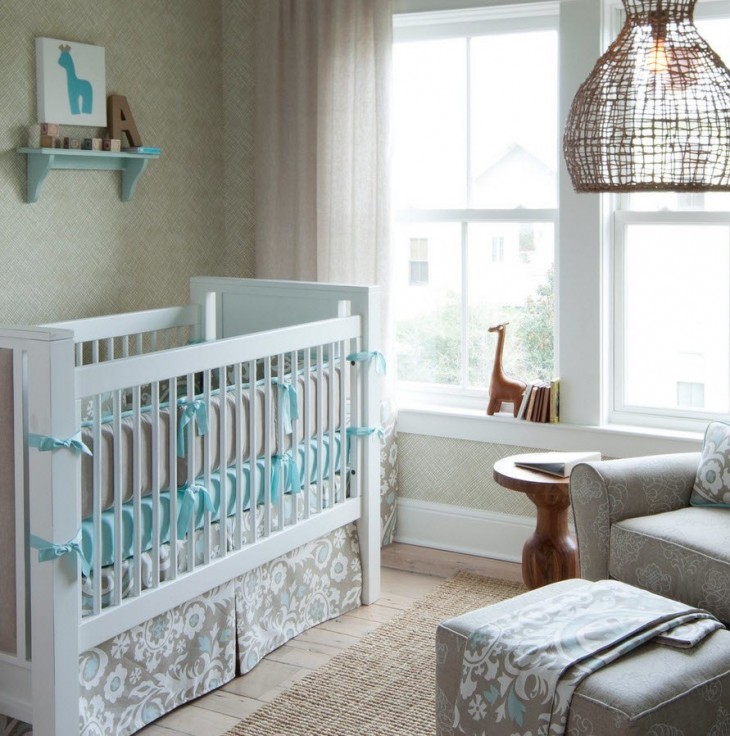
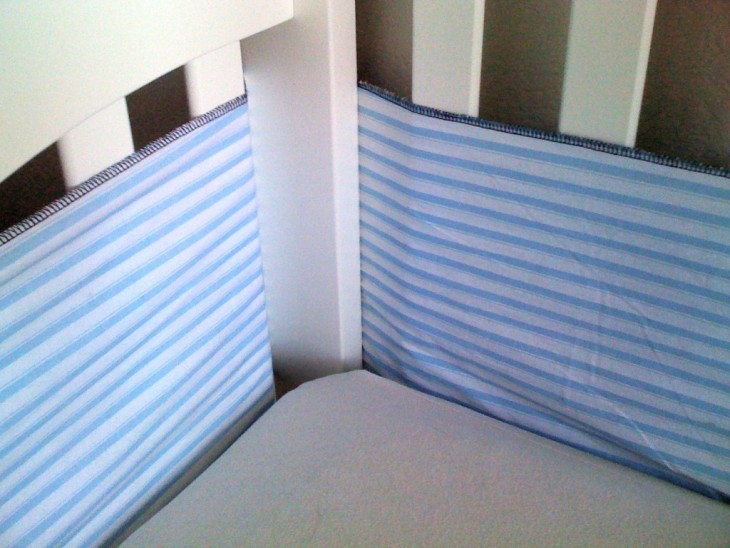
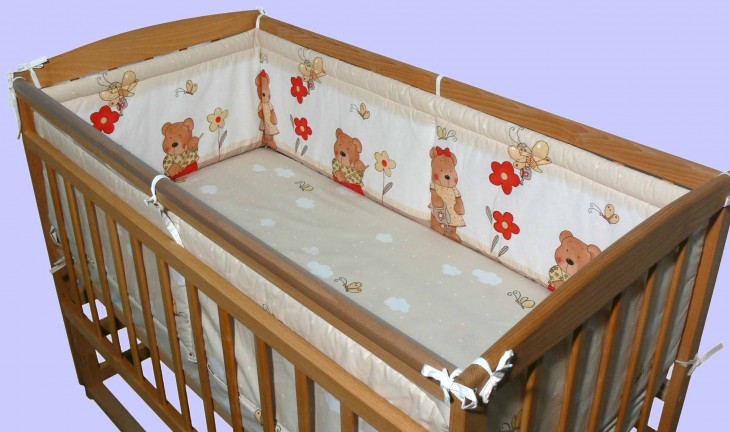
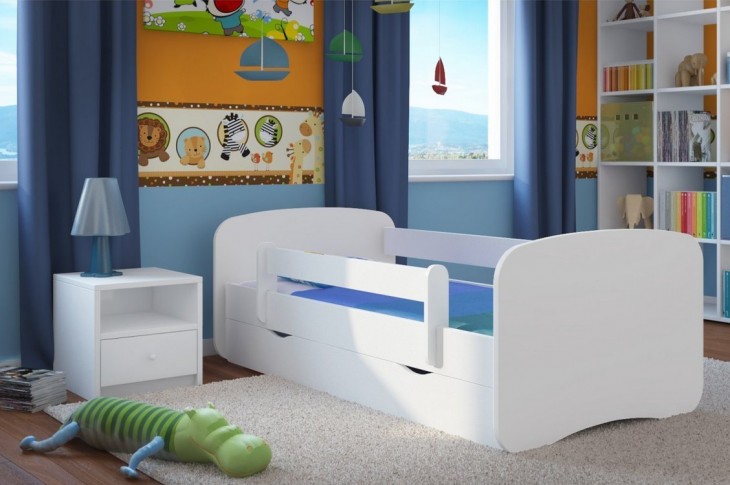
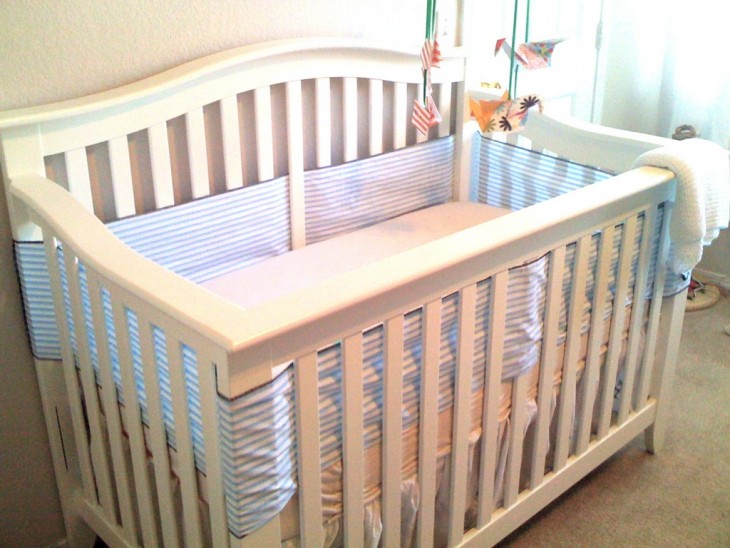
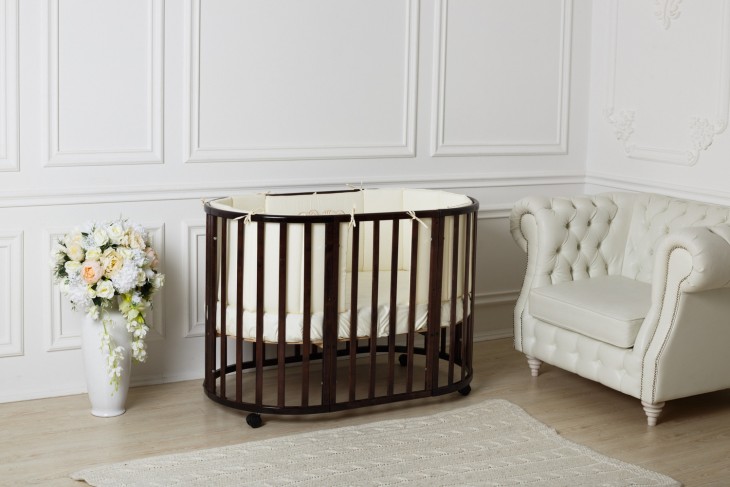
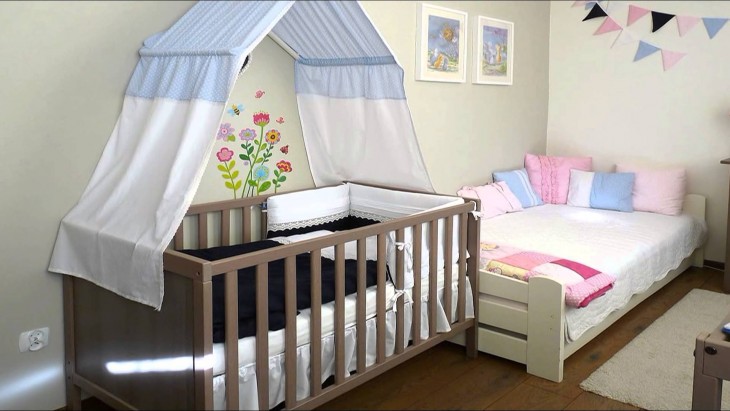
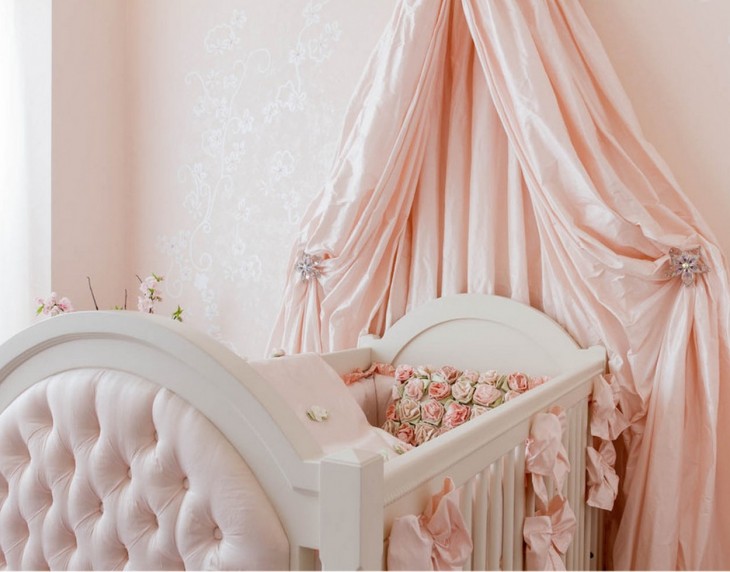
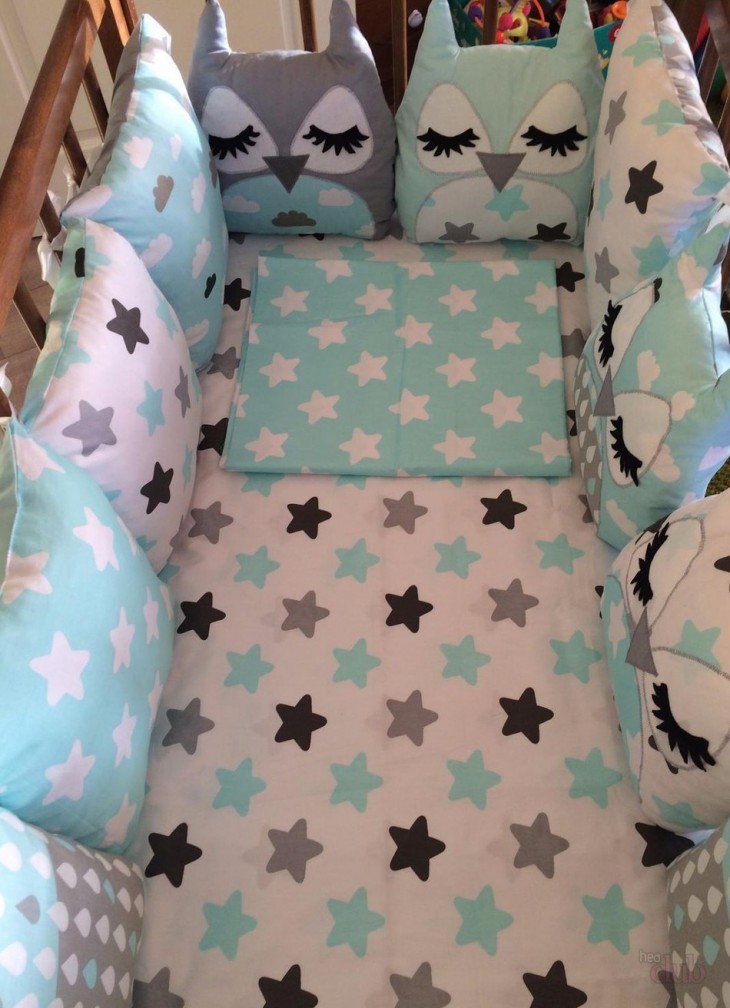
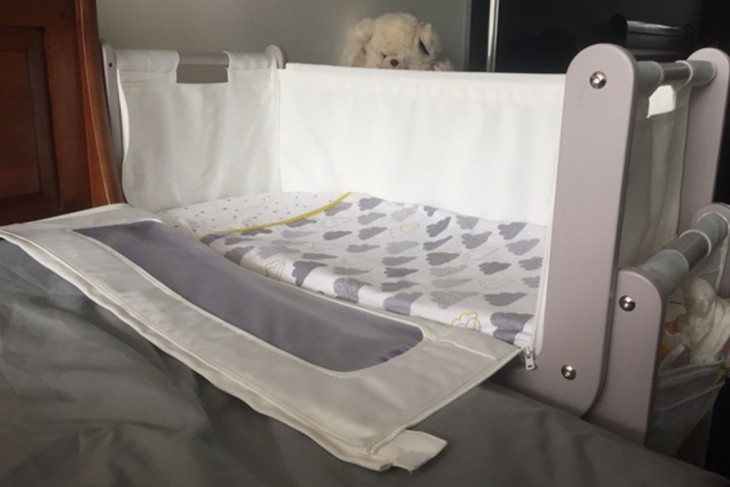
The crib for a small family member must be equipped with bumpers that will serve as protection for the baby. It’s very easy and fun to sew the sides into the crib with your own hands.
Their most popular type is the option that protects all four sides and is fastened with ordinary ties.
Note!
When choosing fabric for children's sides, it is worth stopping the choice of lightweight materials with a not-too-"pretentious" pattern, since the baby will have to study the patterns surrounding it for quite some time.

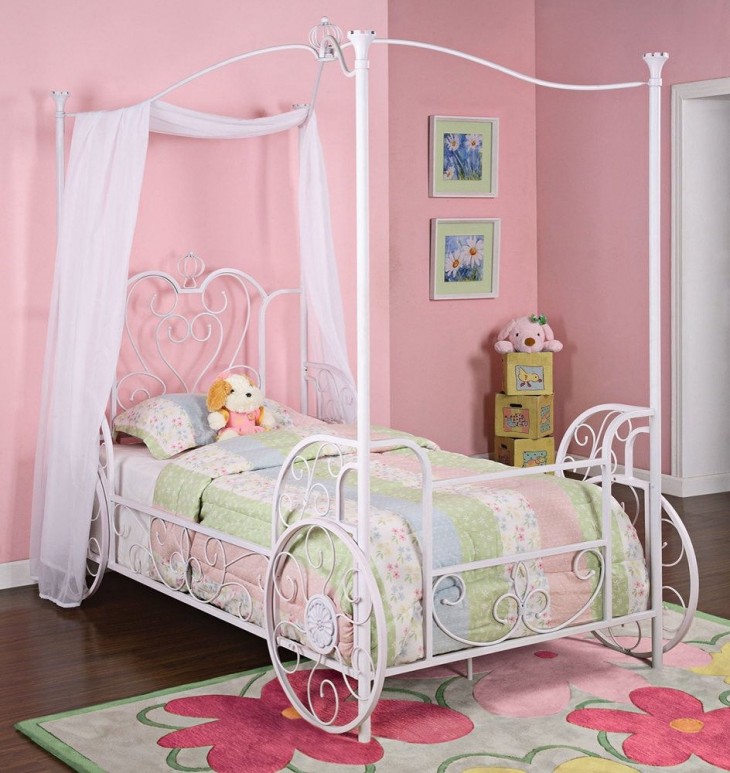

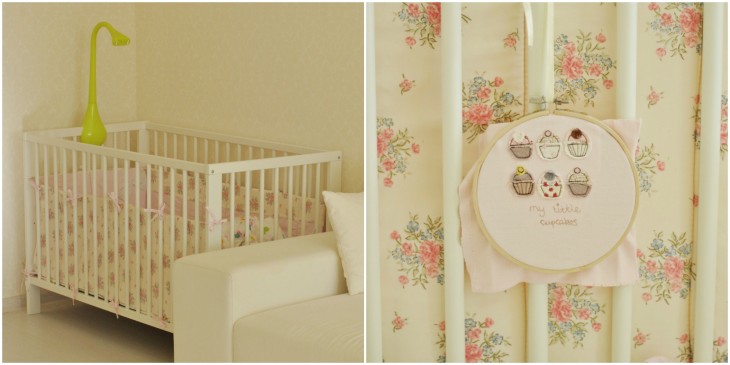
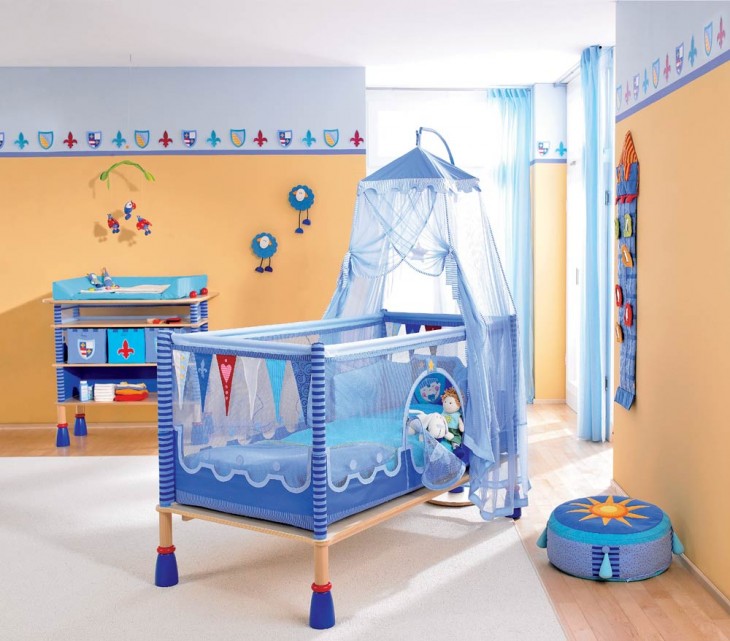
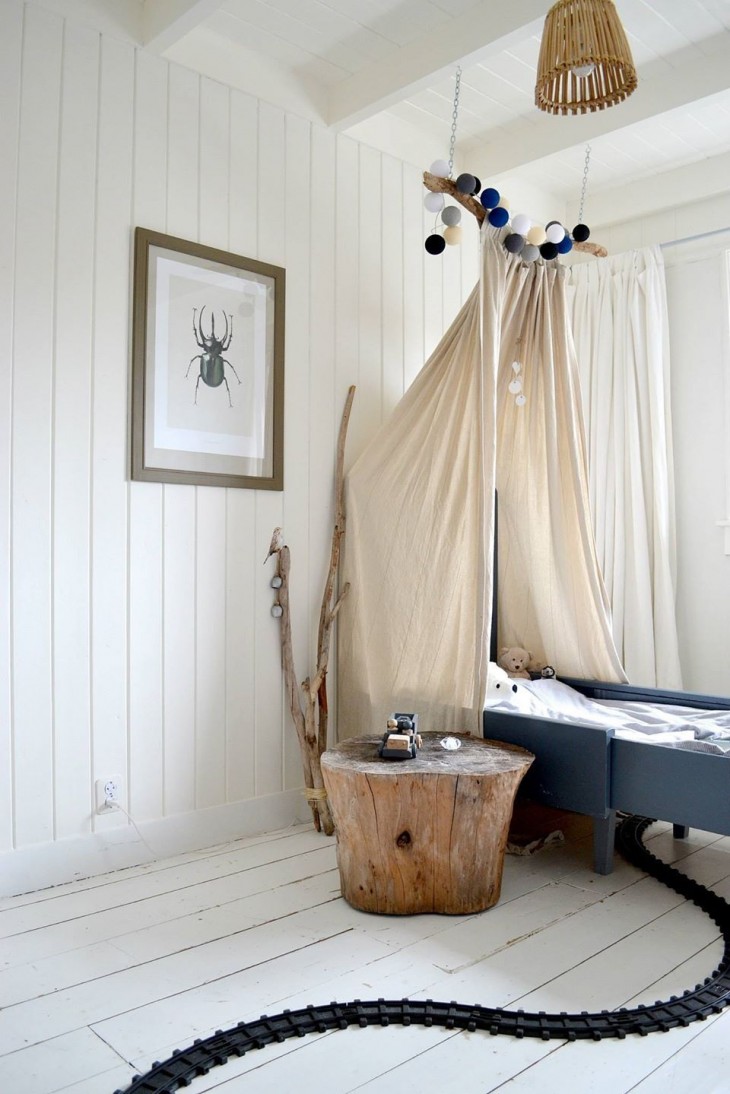
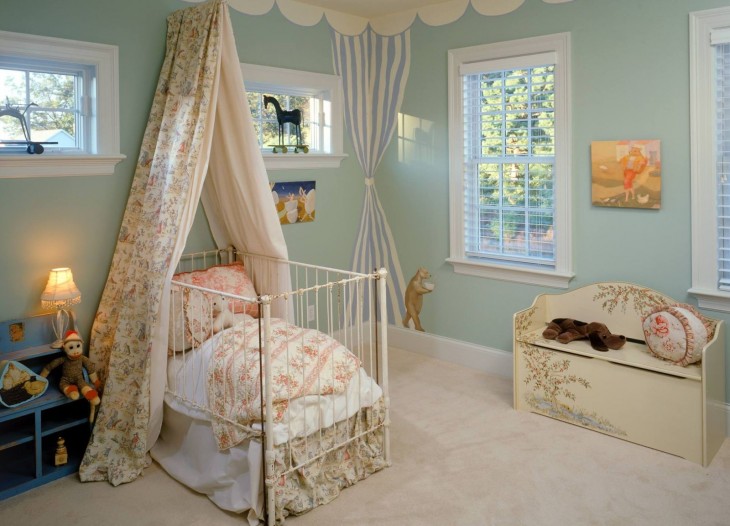
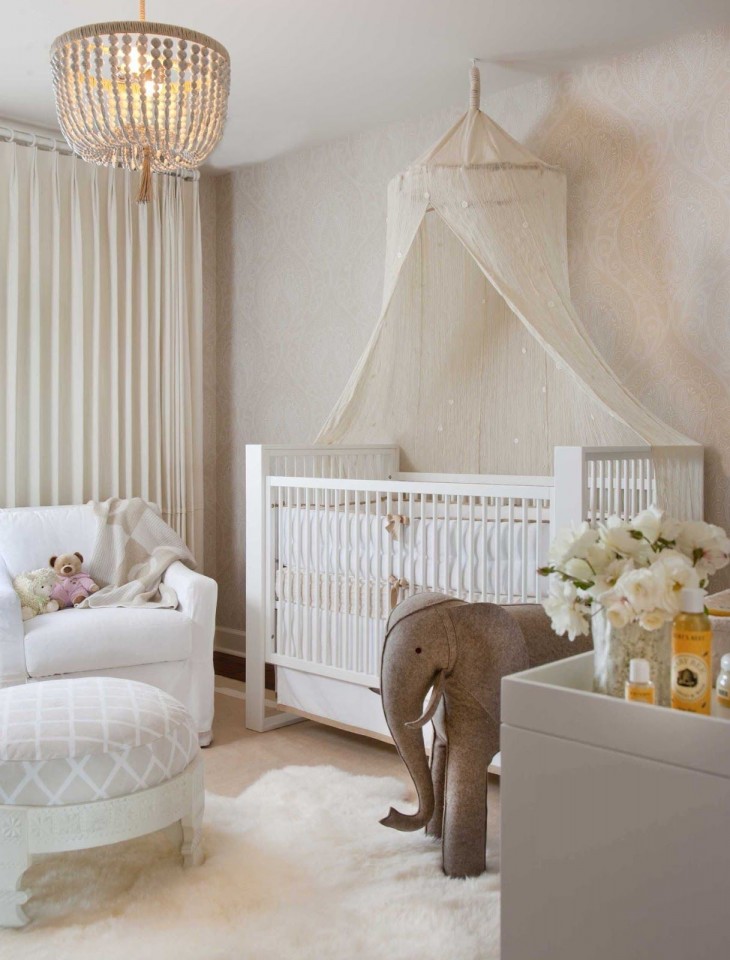
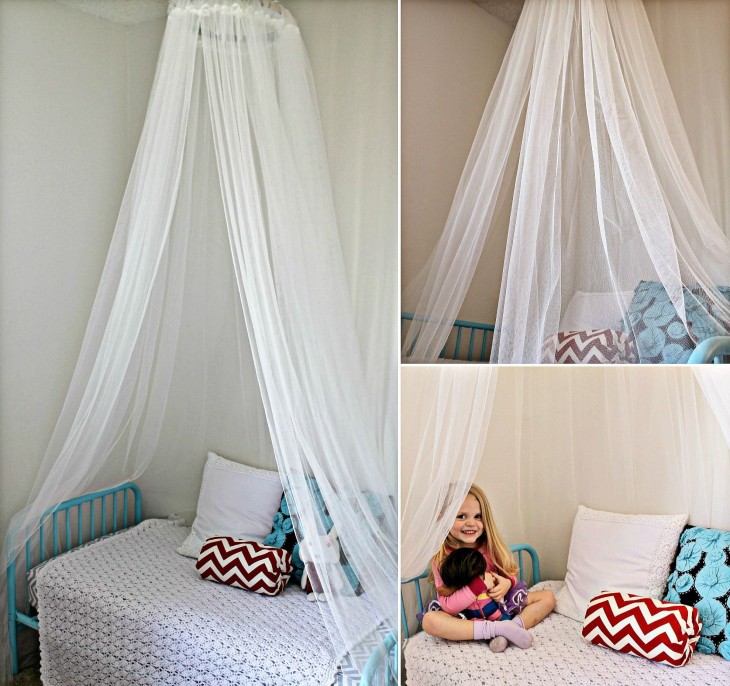
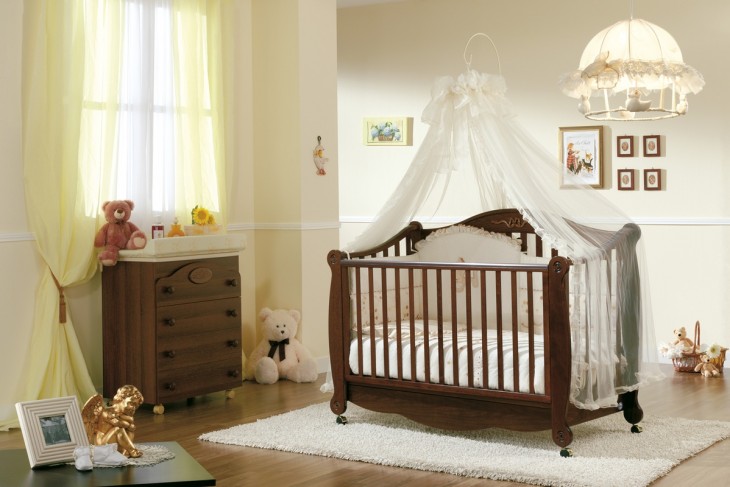
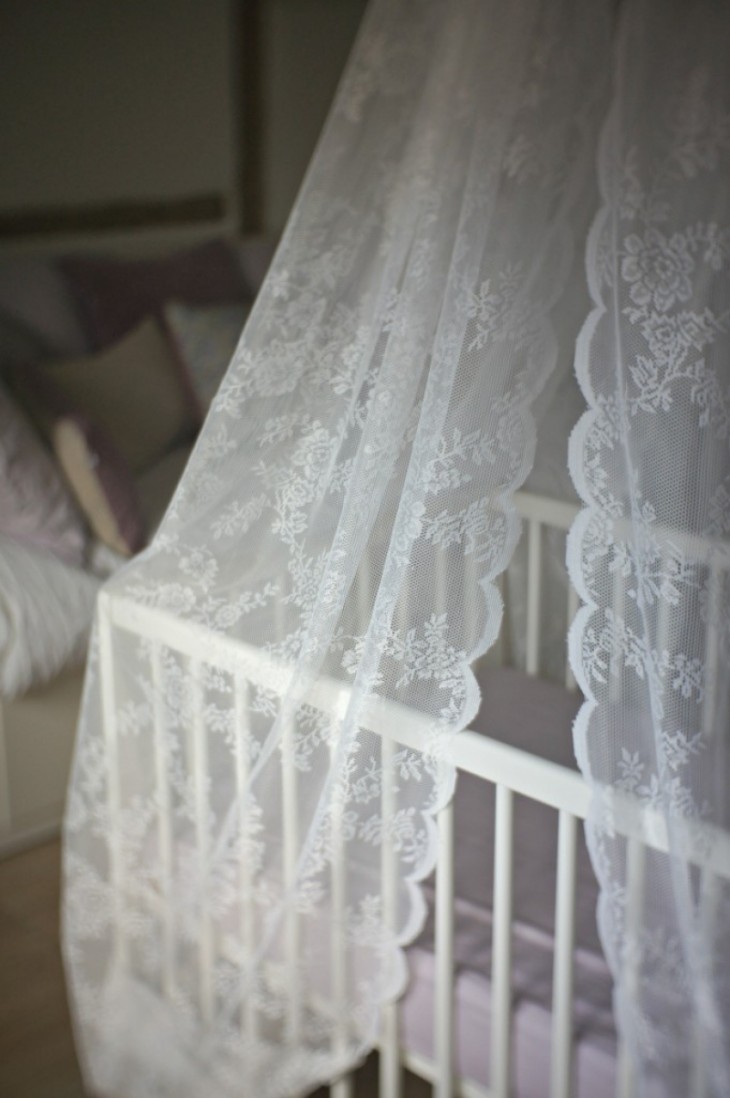
A cloak over the crib protects the child from insects and possible drafts. The original canopy on the bed is also possible to do with your own hands, choosing the right fabric.
It is better to buy two different cuts (quite wide for stock) of natural material: weightless, lightweight, summer fabric and more dense - for the winter. First, you need to purchase a frame that is mounted on the bed. Then draw a pattern in size, cut out the details and sew them in the right places.
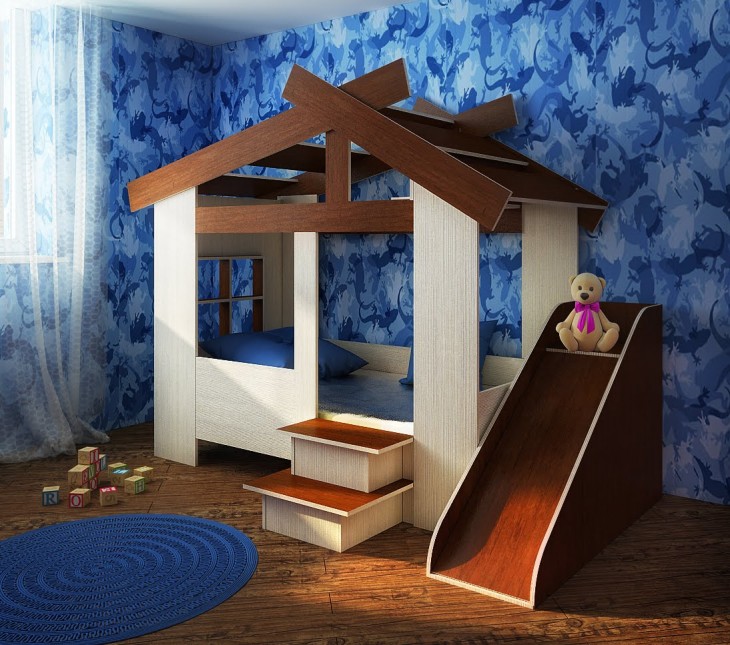
If you have imagination and minimal skills, you can make an original unique crib that will faithfully serve and delight both you and the baby for several years!
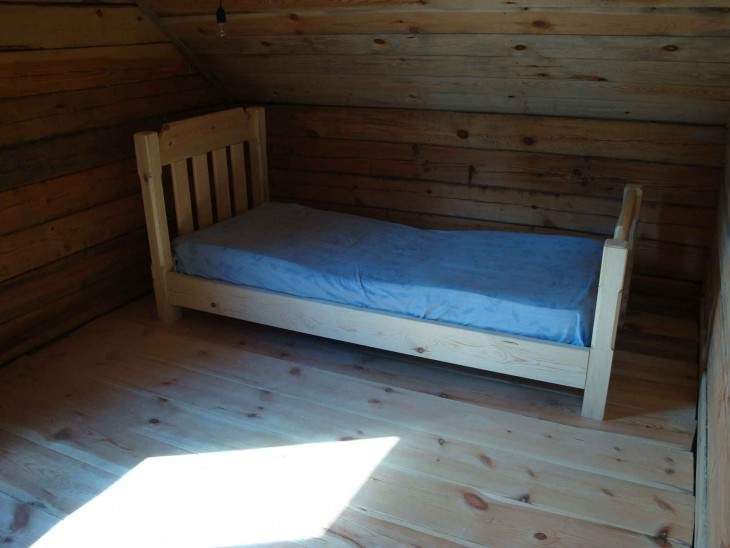
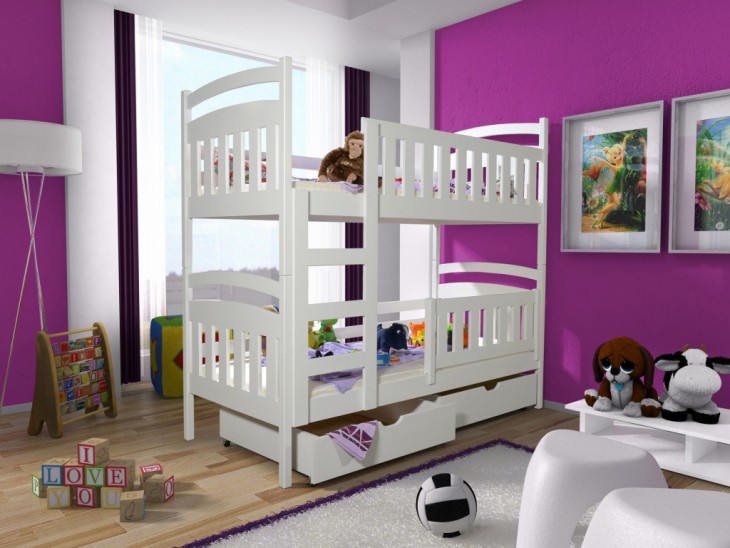
DIY crib photo
Note!
Note!