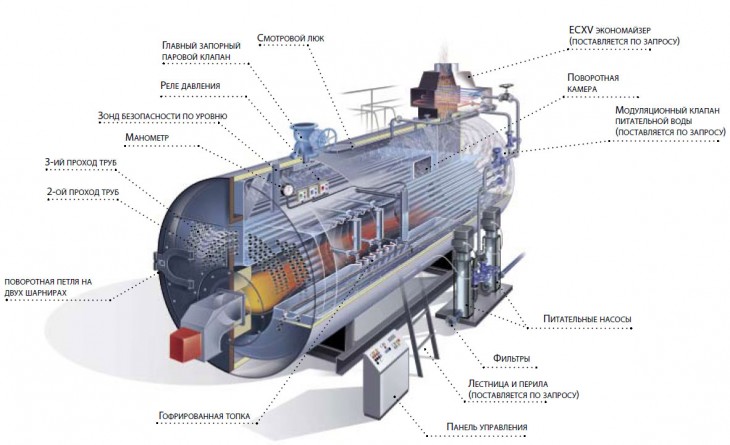
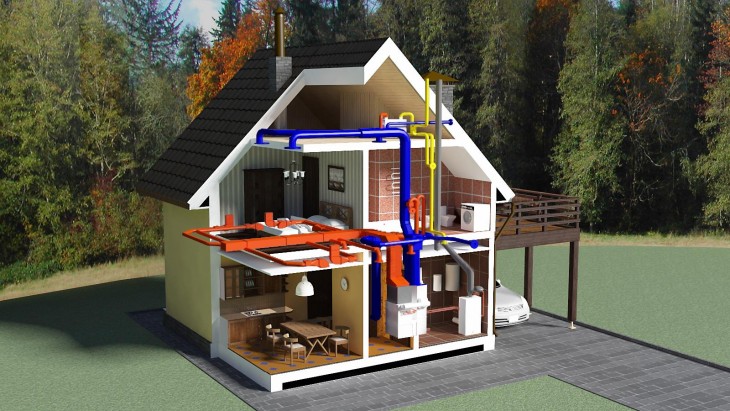
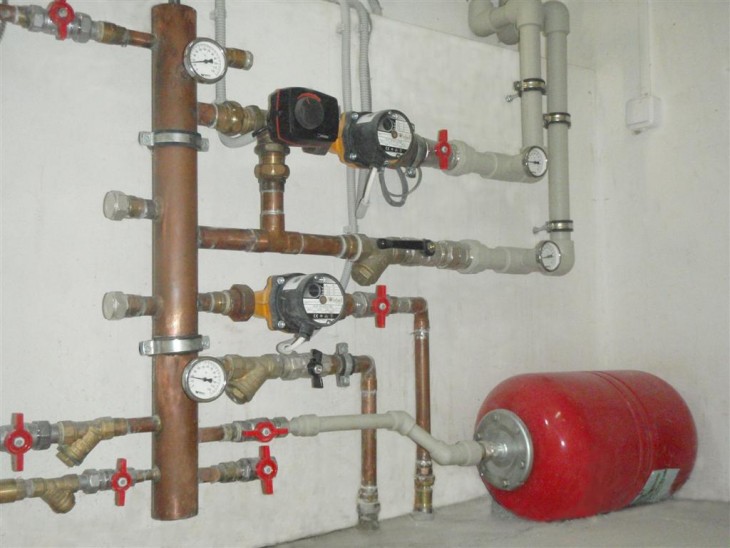
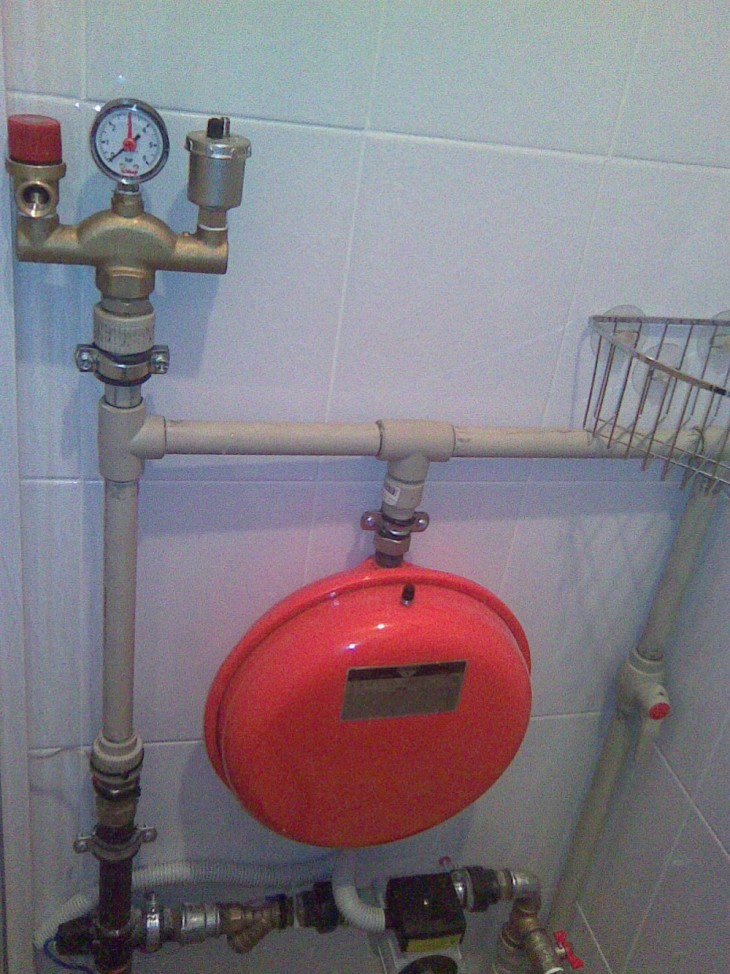
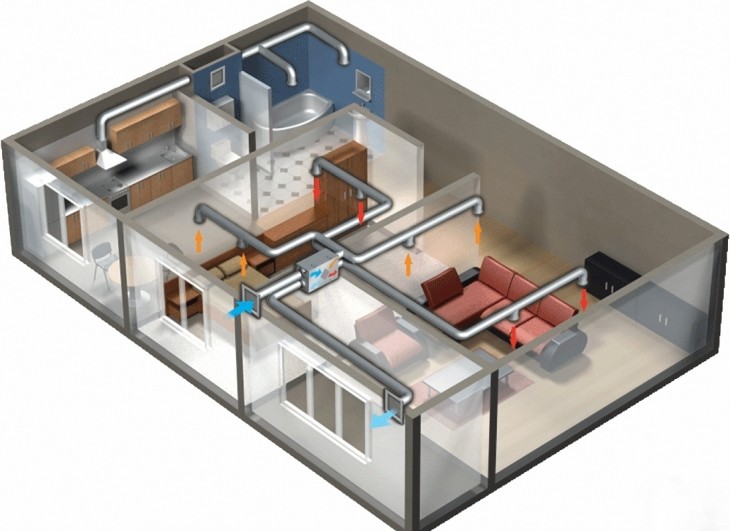
Each house should be cozy and comfortable, but what comfort without heat? For this, a heating system is installed in the houses, which looks like a complex wiring of pipes and a boiler.
It is in the boiler that there is a coolant that heats up and with the help of pumping equipment passes through pipes through radiators, giving up part of the heat, and returns back to the boiler when it is cooled. And the action is repeated again.
Nowadays, companies that produce equipment for heating systems offer a wide selection of options for heating devices. From expensive models to affordable ordinary people.
But a low price, as a rule, does not imply quality and a long service life. In this regard, some consumers became interested in the question: how to make a heating boiler with your own hands?
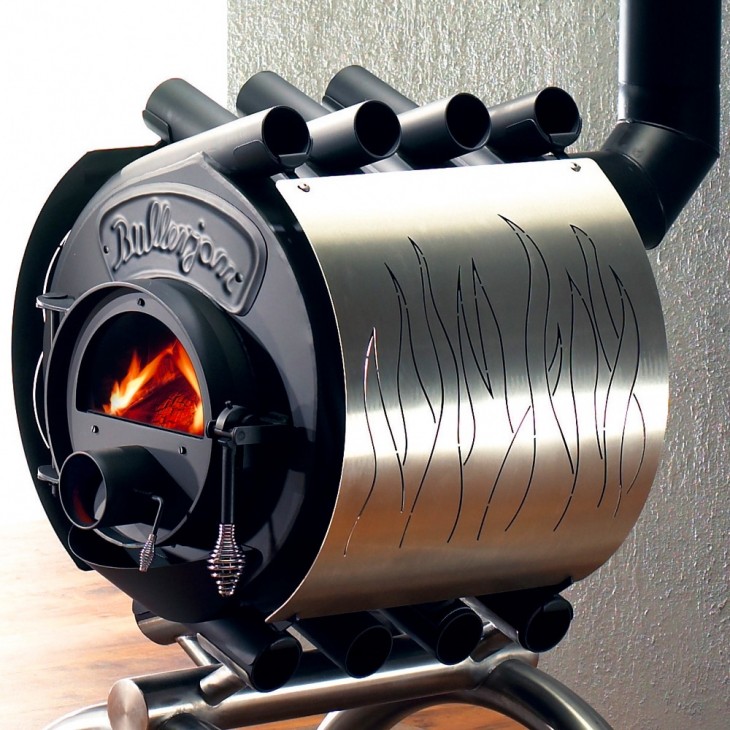
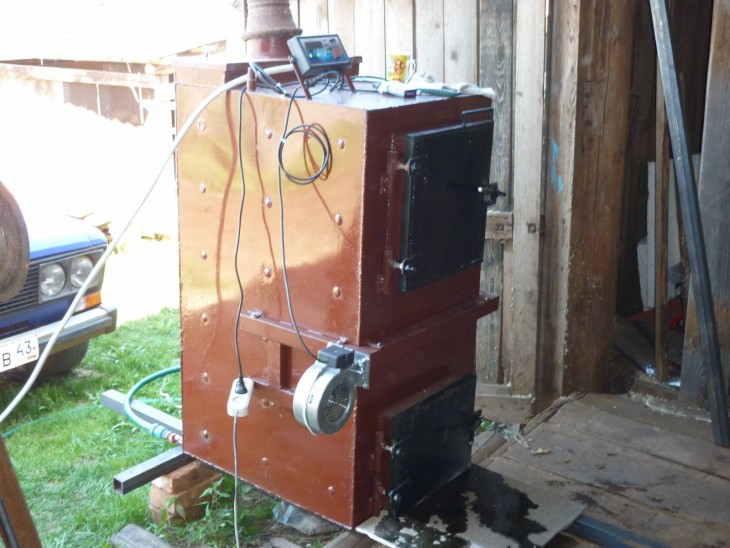
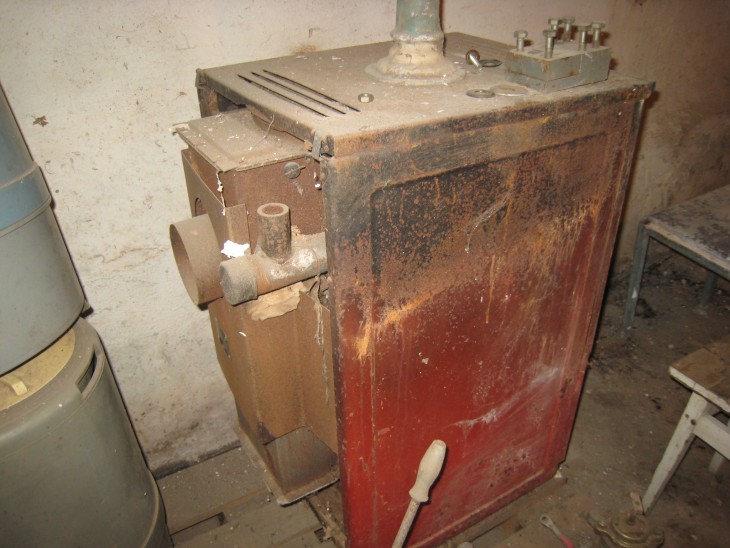
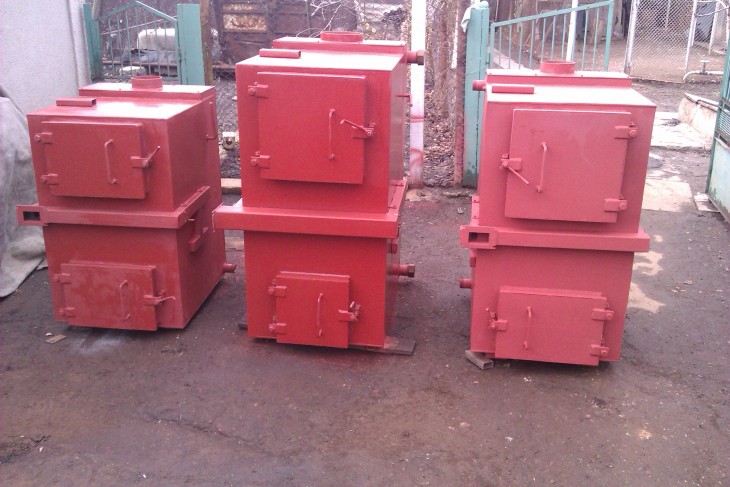
We will try to help you with practical advice and recommendations by providing photos of different forms of boilers.
Review Content:
Varieties
Firstly, it is worth deciding on the model of the boiler that will suit your home. It depends on the type of fuel you intend to use.
Varieties of models are divided into:
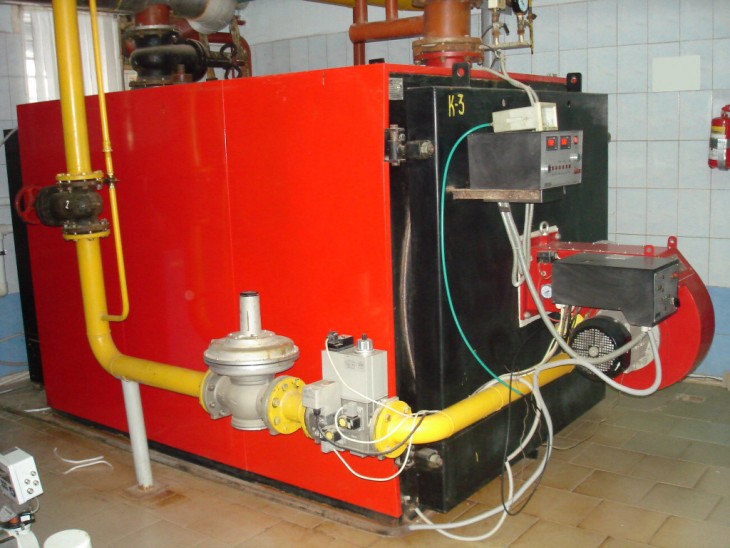
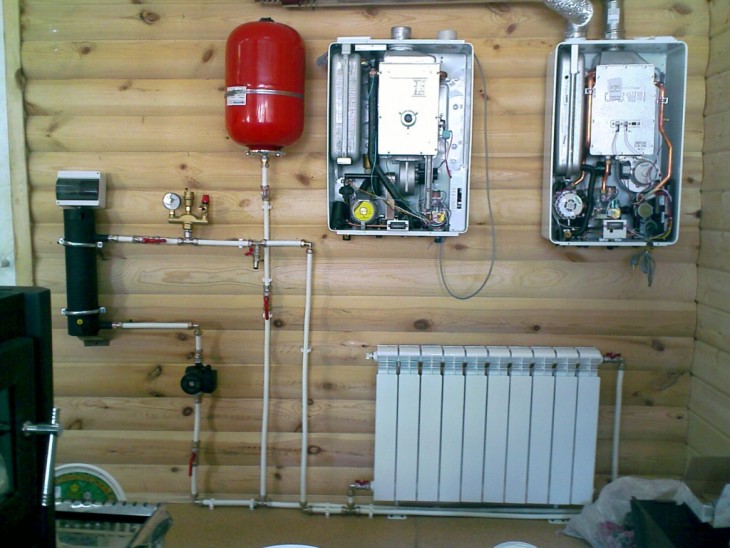
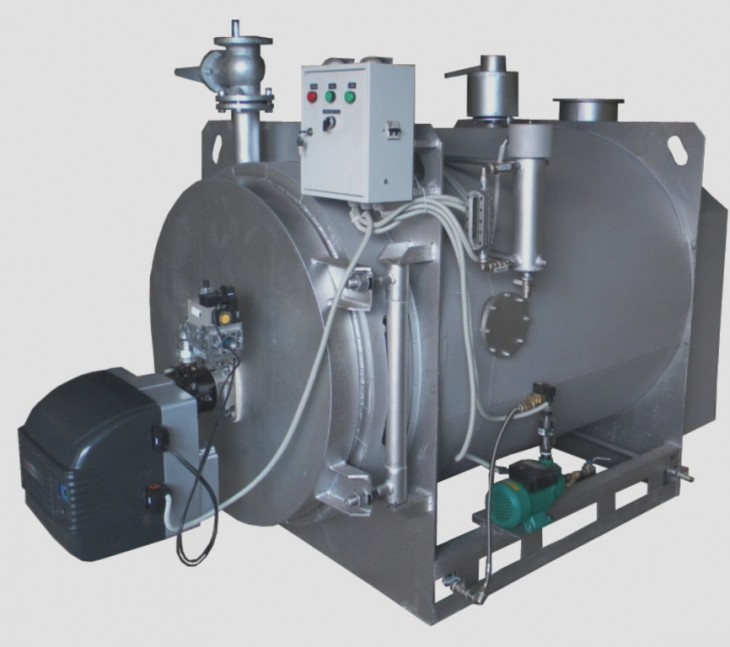
Gas
These are the most complex models in construction and very similar to each other. To install a gas boiler, it is necessary to obtain a permit in the gas service, which can easily oppose its installation, citing the fact that it is necessary to pressure test the boiler in their laboratory.
But having the act of checking the laboratory, you will be issued a permit.
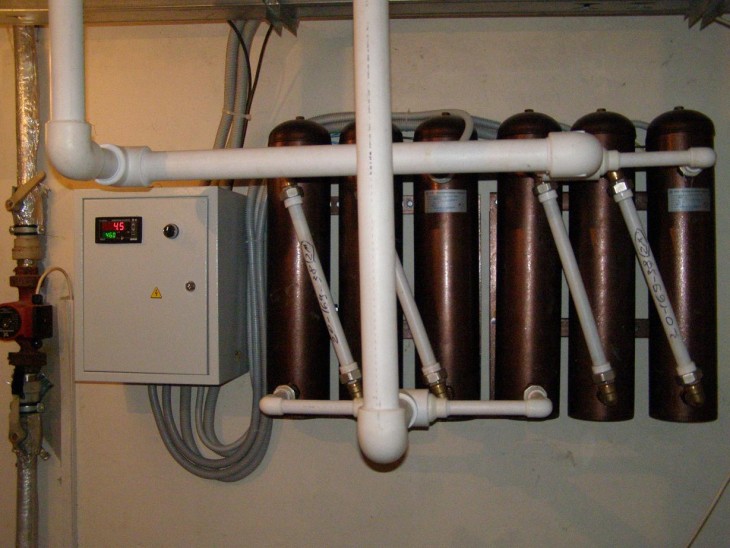
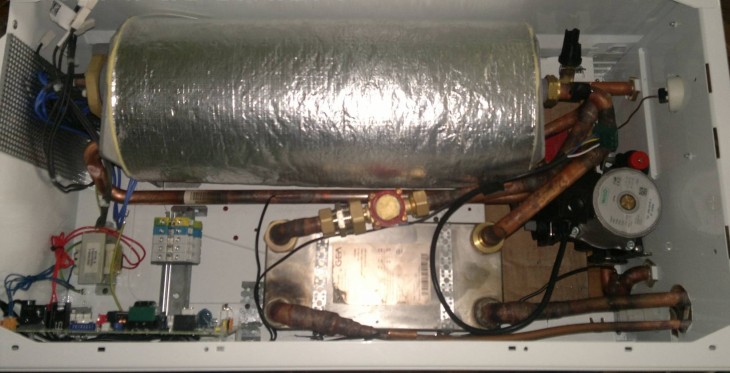
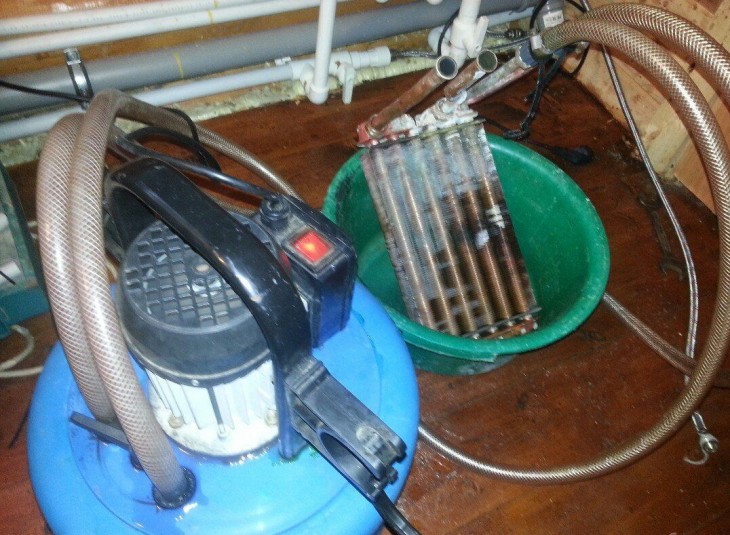
Electric
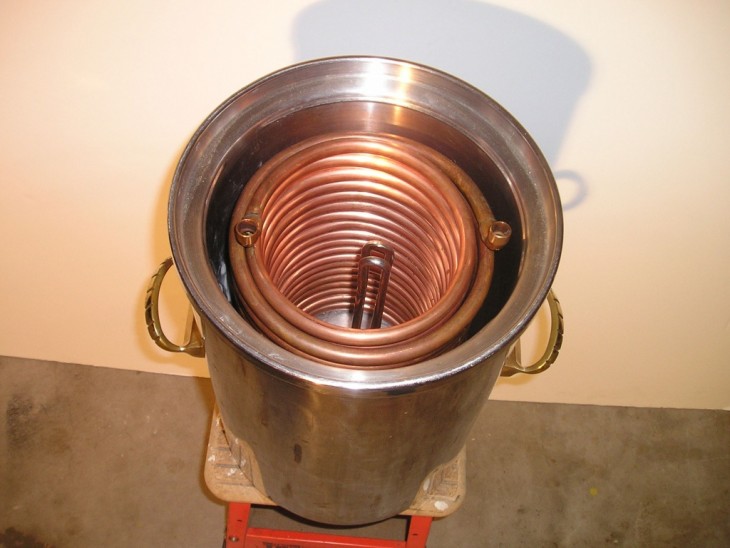
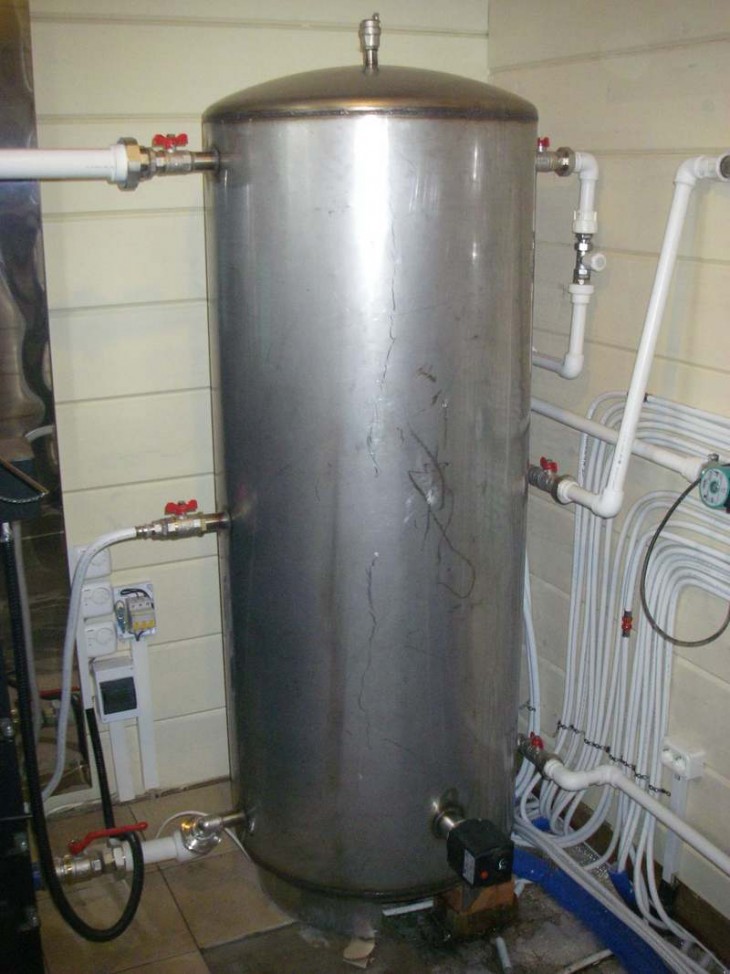
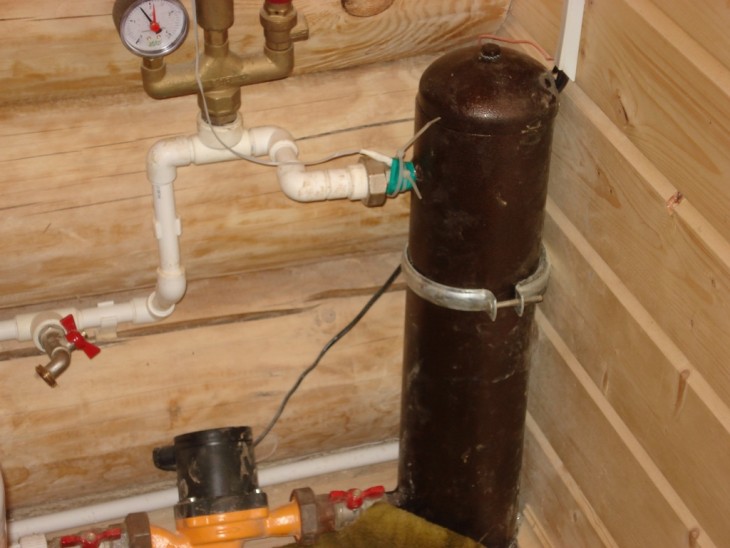
The easiest to make with your own hands. To do this, it is enough to take the tank and equip it with a heating element, two nozzles that are connected to the supply and return circuits. There is no need for a chimney and a combustion chamber.


But there are still two negative points: electricity is expensive and with voltage drops the boiler power and the temperature of the coolant drop.
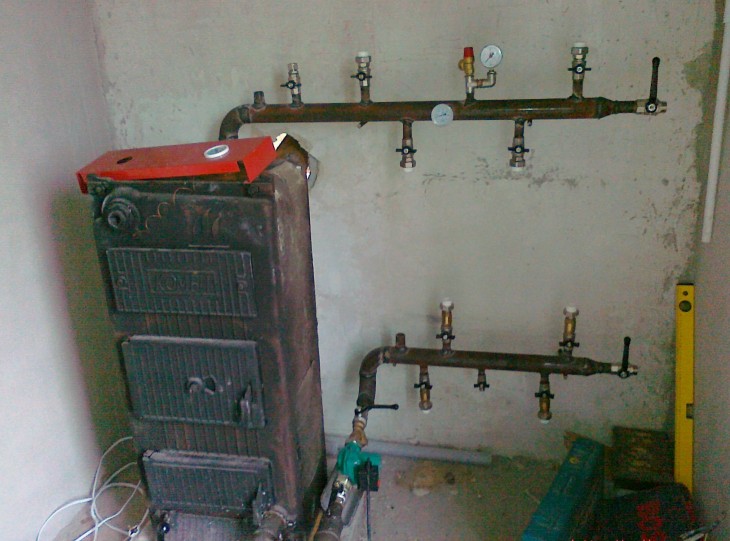
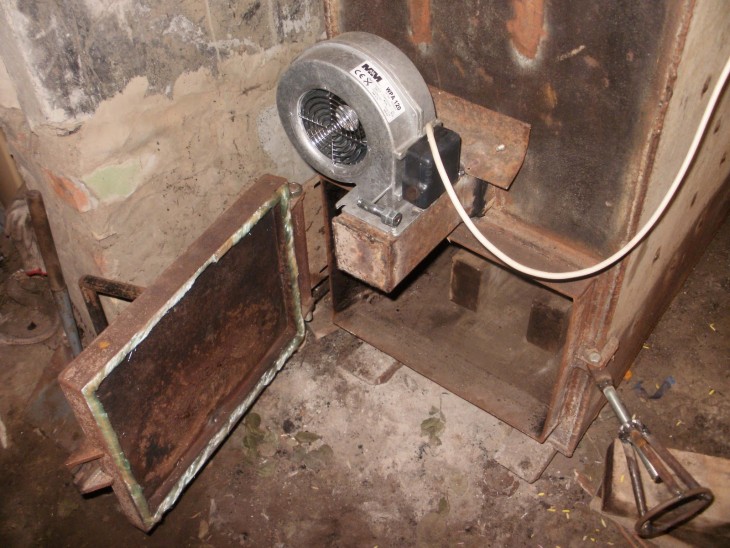
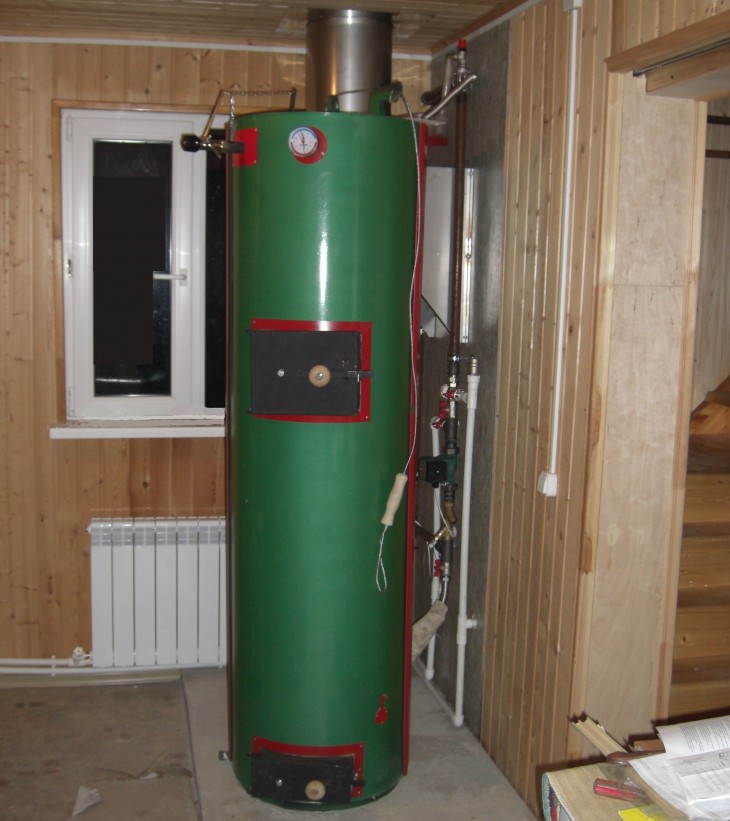
Solid fuel
The most popular and optimal type of boilers in independent execution for country houses. And firewood is the cheapest fuel.
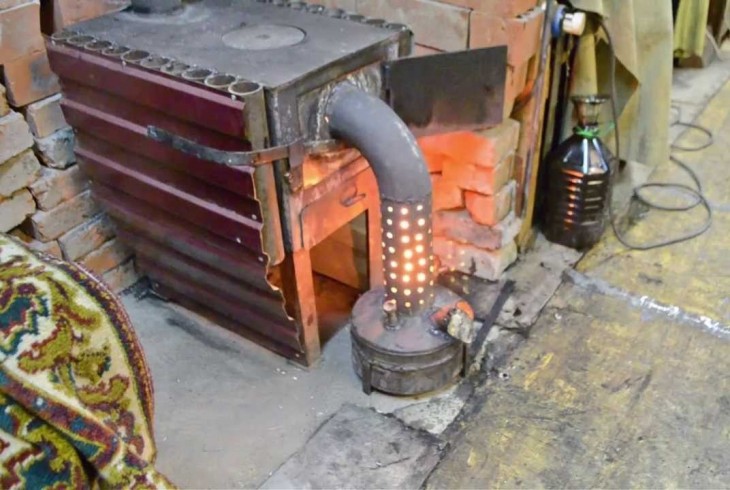
Liquid fuel
This option is very time consuming. It will require the construction of a separate warehouse near the house for the storage of fuel resources in accordance with fire safety standards.
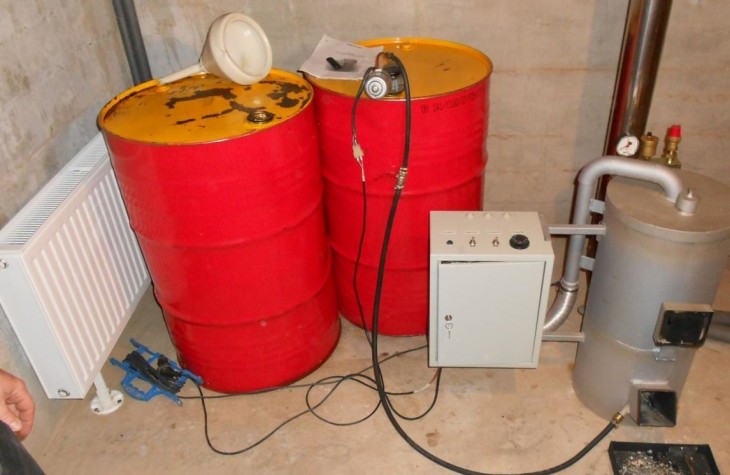
From it to the boiler room it is necessary to conduct a pipeline with mandatory insulation. Install a specific burner in the boiler, which requires a difficult setup.
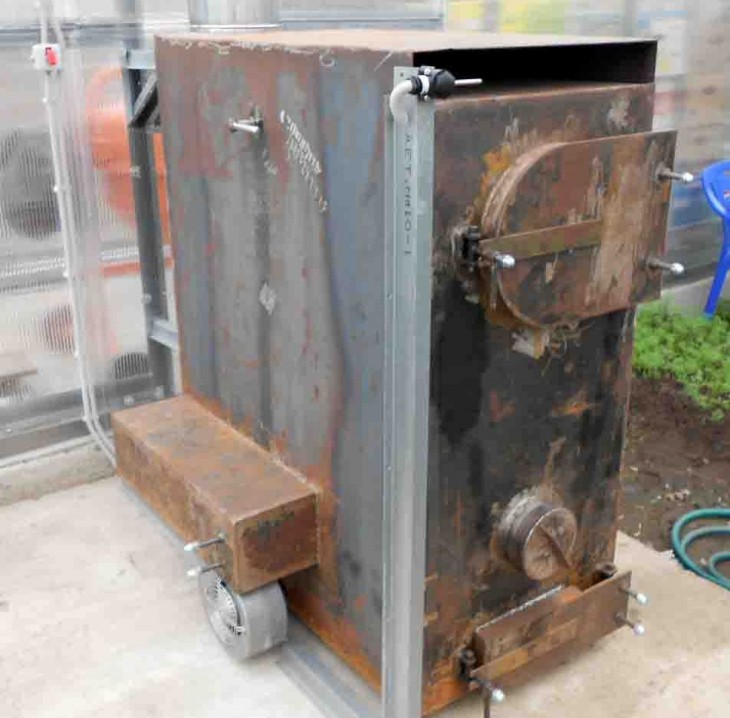
Construction of a solid fuel boiler on its own
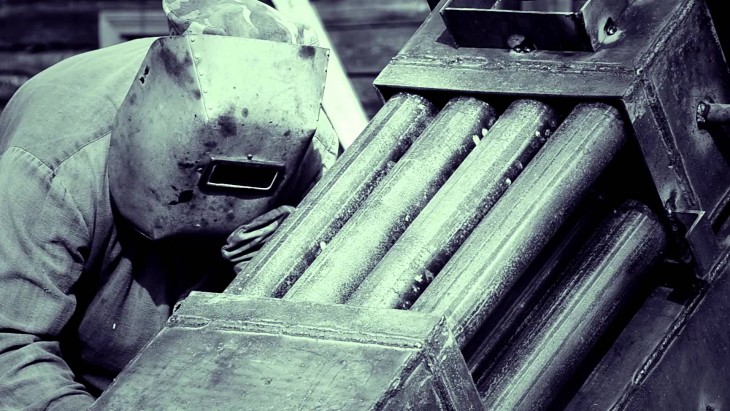
To make a boiler yourself in a private house, you need to have the skills and knowledge of the welder.

To get started, you will need to arm yourself with the following tools: a welding machine, autogenous, grinding, a measuring device in the form of a tape measure, a small or marking tool, a hammer.

And purchase the necessary materials: pipes dia. 425, 100 and 25 mm, metal 4 mm, bend for connecting diam. 25 mm - 2 pcs., Middle canopies, corners made of steel 25 mm, fittings diam. 8 mm.
Note!
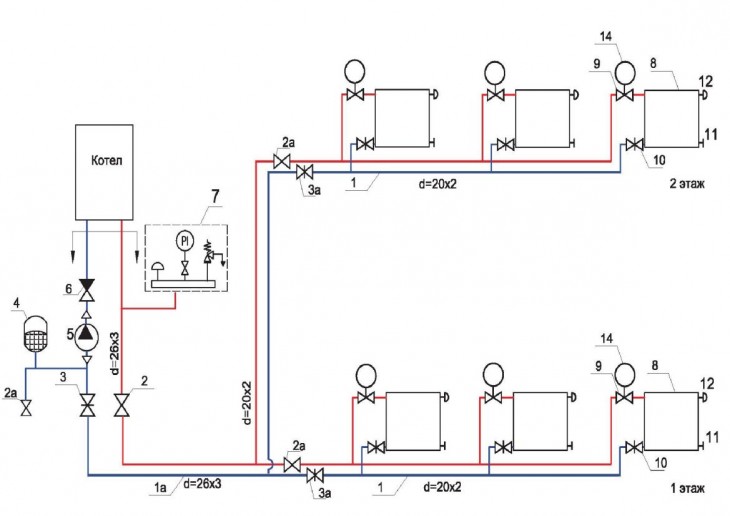
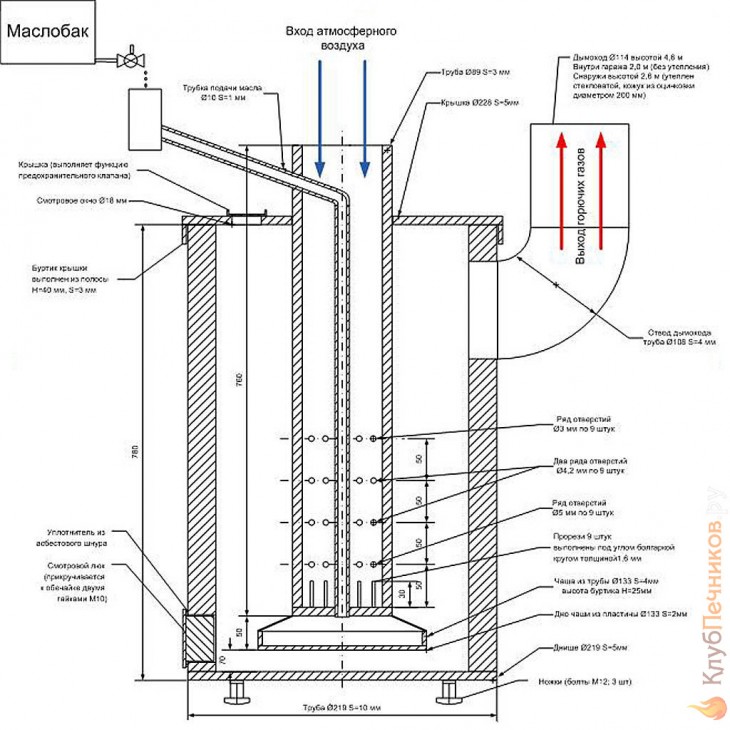
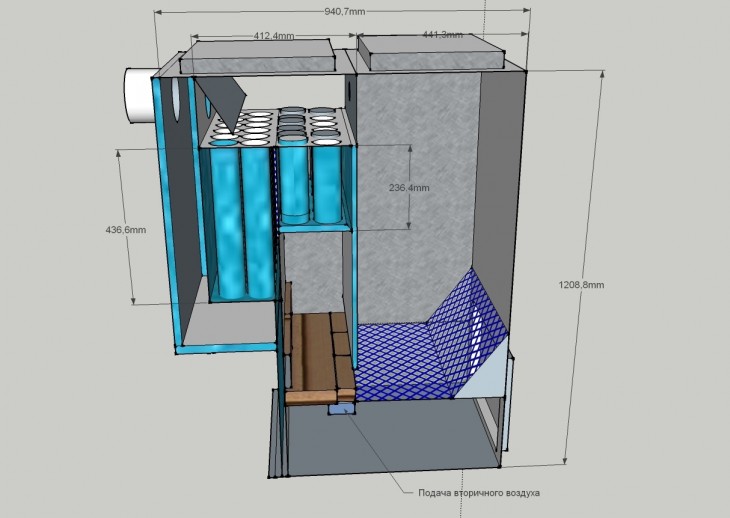
One cannot do without design sketches. The necessary drawings of the boilers can be found on certain sites of the World Wide Web or in technical publications, but most importantly with suitable sizes.

Preparation for the construction of the building
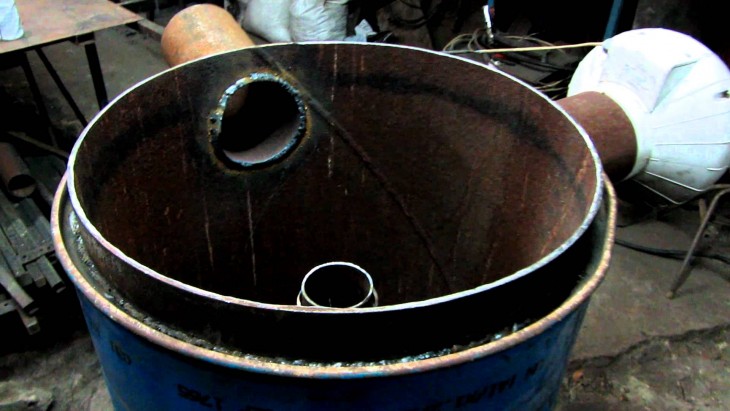
The first step is to prepare the necessary details. A box 100-120 cm high is made of a pipe of a larger diameter. We cut it to the specified dimensions and grind the edges with a grinder.
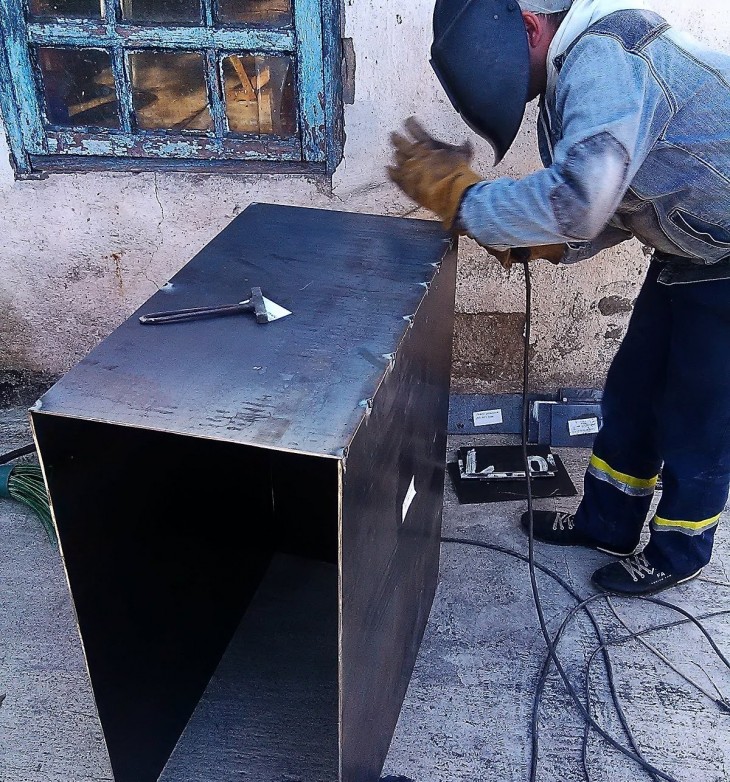
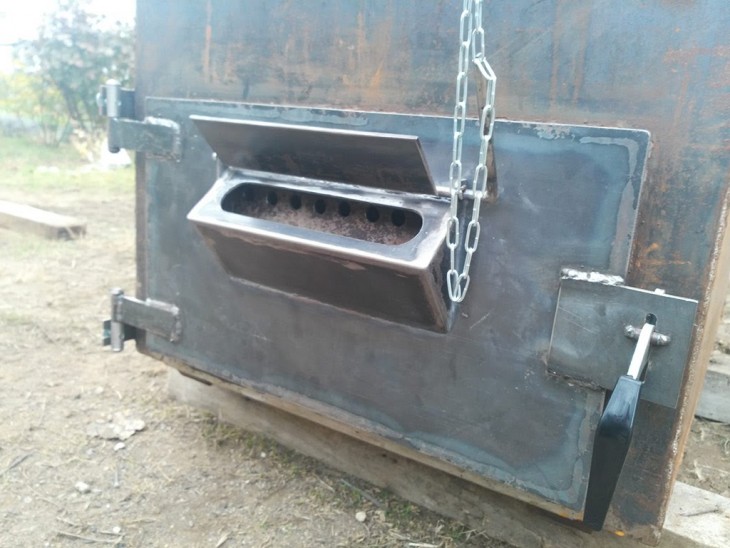
Then you need to cut through the square windows for the firebox (20x10 cm) and blow it in the size of 20x3 cm, placing one above the other, but the firebox is on top.
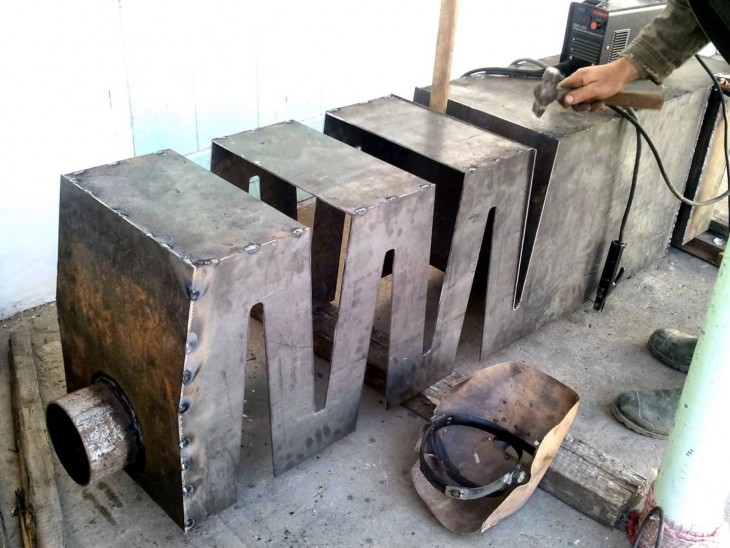
From the blower to the bottom of the casing should be 5 or 7 cm, up to the firebox - 5 cm. The edges should also be processed. Use the cut off part of the pipe as a fire door, cleaning the edges.
Now you need to cut holes for the installation of nozzles to dia. 25 mm: one for the feed, the other for the return, located opposite each other. The return line is made on the side 0.15 m above the furnace. The heat supply hole is cut at a level of 0.05 m from the top of the duct, and the drives are welded.
Note!
The next step is to cut three circles of metal: two dia. 425 mm and one dia. 412 mm. A circle of smaller diameter will be located inside the case. A hole with a diameter of a little more than 10 cm is made in the center of all the circles.
The chimney part is made of diam pipe. 10 cm long 120-130 mm. And as the legs used pipe dia. 25 mm in the amount of 4 segments of 5 cm each. A sieve for the collection of ash dia. 412 mm.
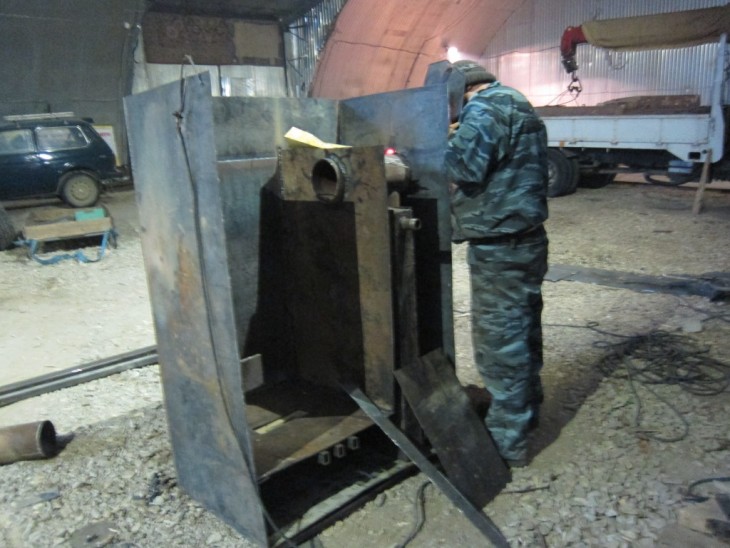
Boiler assembly
To the circle of dia. 412 mm by welding fastens the chimney. After that, in the inner part of the body, up to 30-35 cm from the hole of the furnace, stops from the fittings are welded for a while. On top of them is a circle with a chimney.
The next point is very important - this is the welding of a circle with a body. The seam needs to be made bilateral and high-quality, since it connects the furnace and the water tank.
Then we put a circle with a diameter of 425 mm on the boiler chimney. Joints must be welded securely.
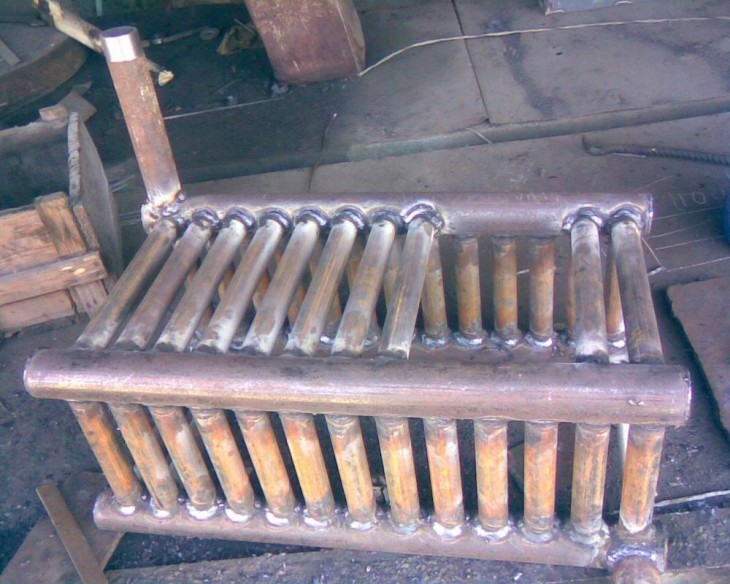
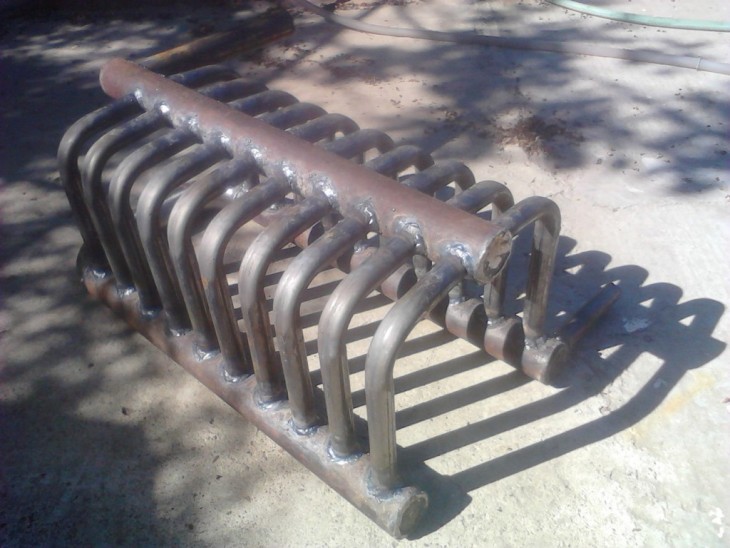
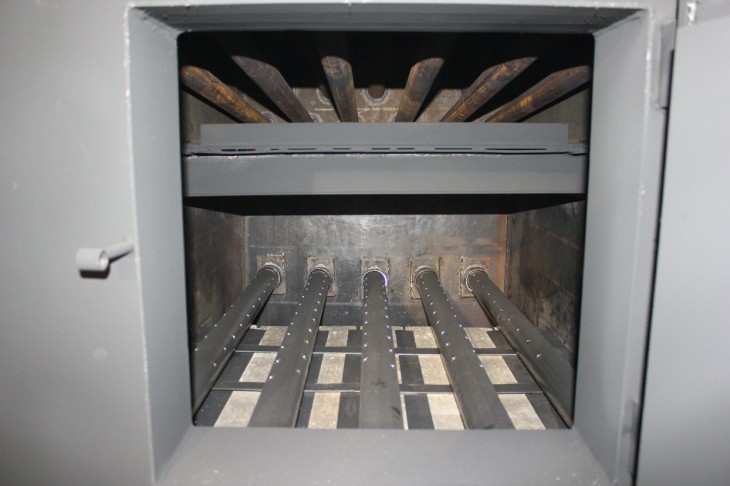
A reinforcing grille is installed on the back inner side of the chimney. Emphasis is made from the corners that need to be welded between the furnace and the blower, and place the grill on them.
Note!
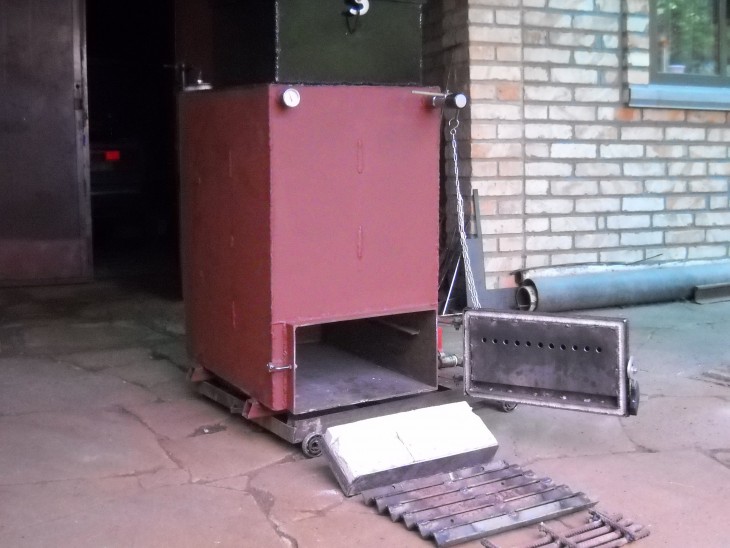
At the end of welding, we attach a circle to the dia. 425 mm to the bottom of the boiler, weld the legs and hinges to install the furnace door.
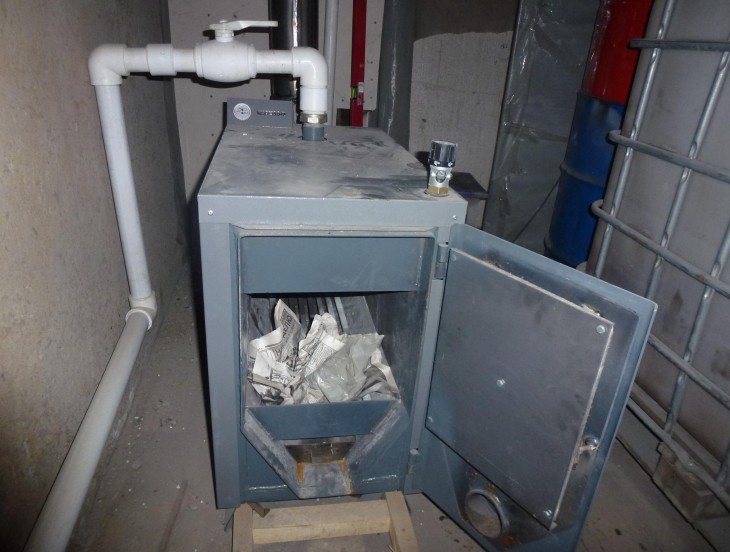
Checking boiler performance
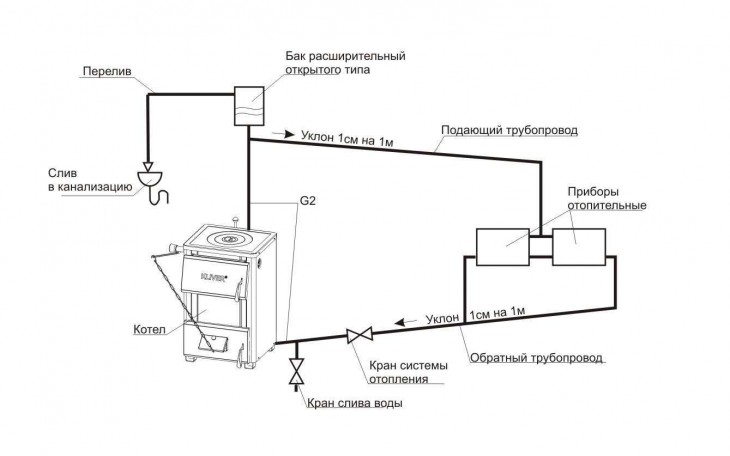
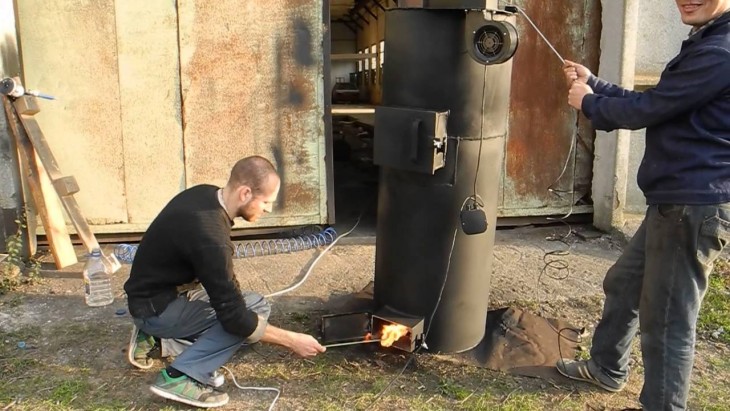
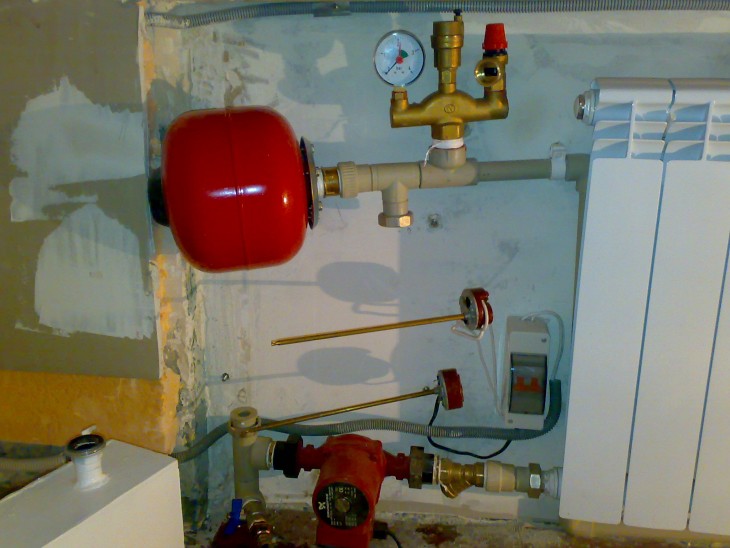
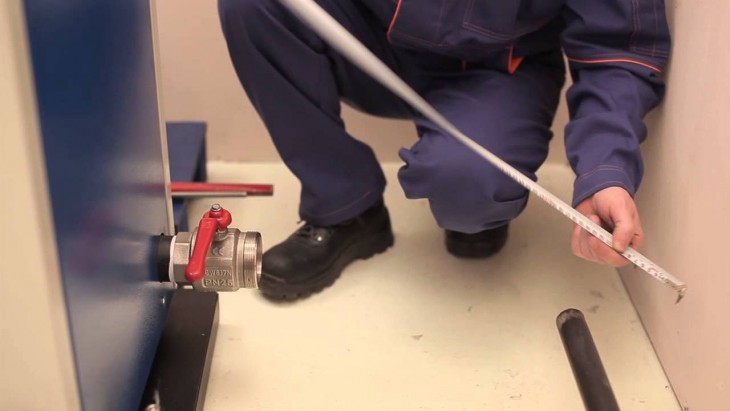
When your creation is completely ready, you need to go through testing. Close one drain and pour water in the other. If the welding seams do not allow water to pass through, then the welding work has been completed efficiently.
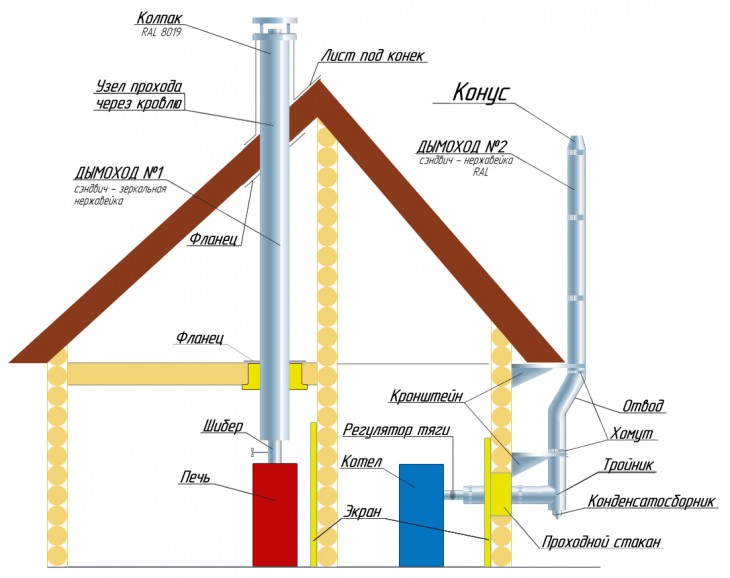
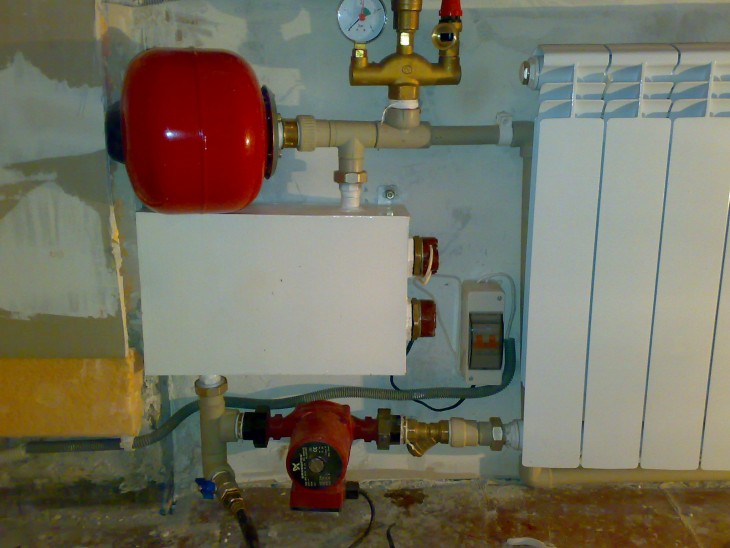
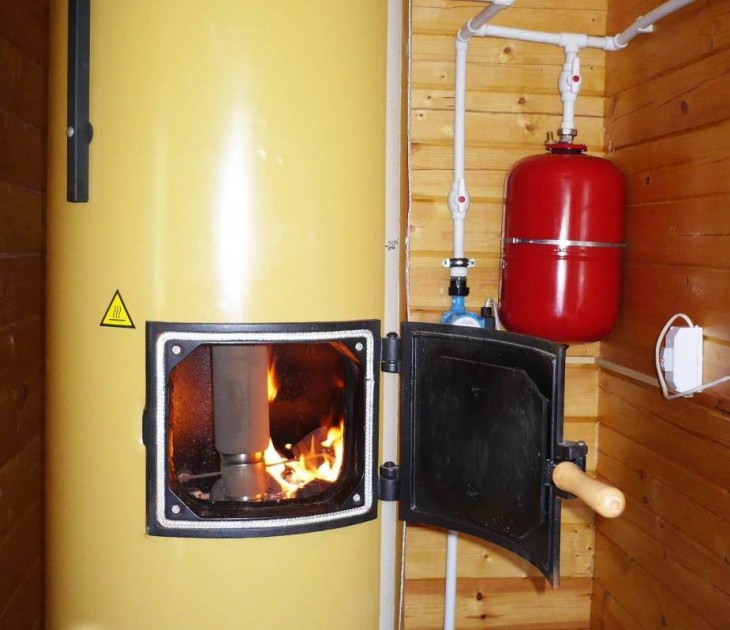
Do not be afraid that a leak will appear during operation. Connect the boiler to the heating structure of the cottage, connecting the drives to the coolant pipes. The chimney should be positioned vertically up. It must be insulated within the attic.
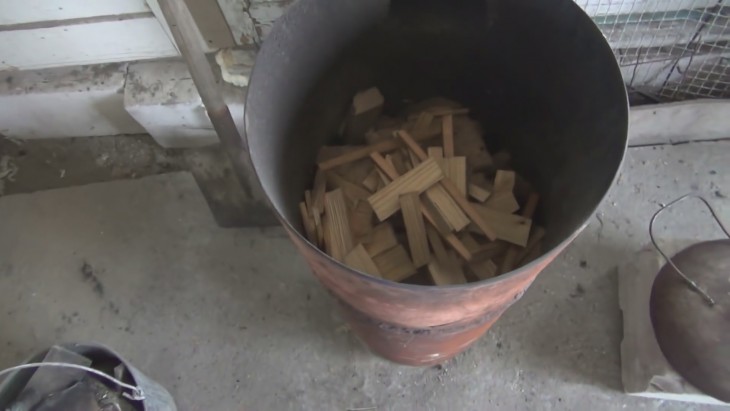
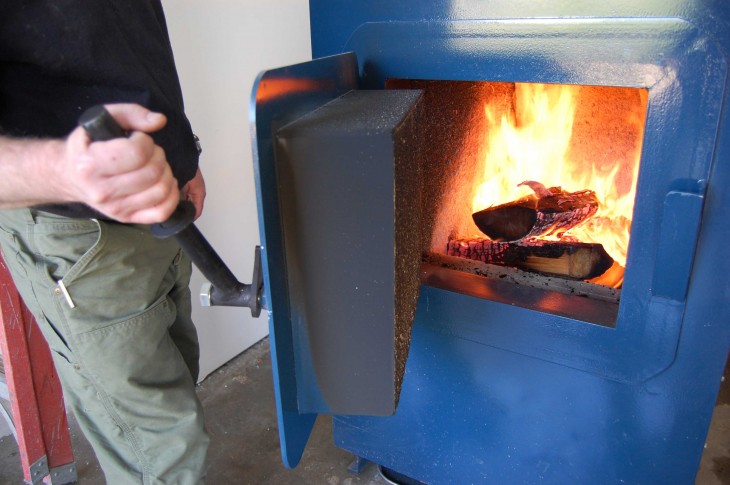
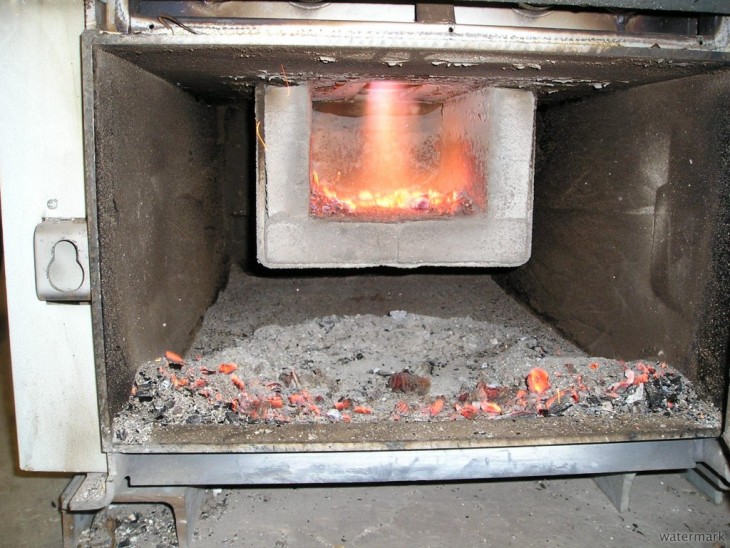
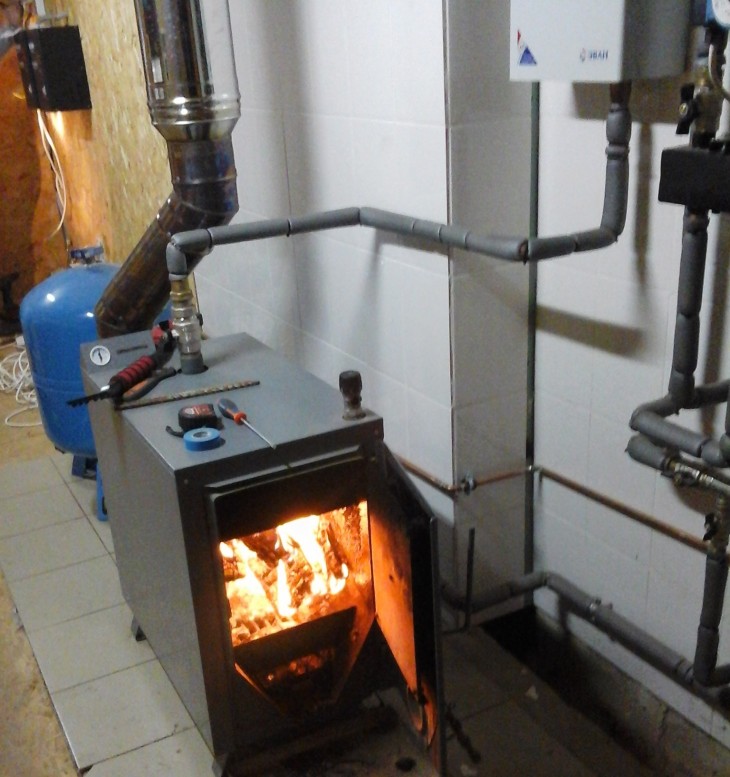
So it's time for the first firebox. To do this, use not too much firewood to melt the boiler and chimney itself. When the temperature jumps, condensation may appear, which can become tar and narrow the diameter, which will lead to a decrease in traction.
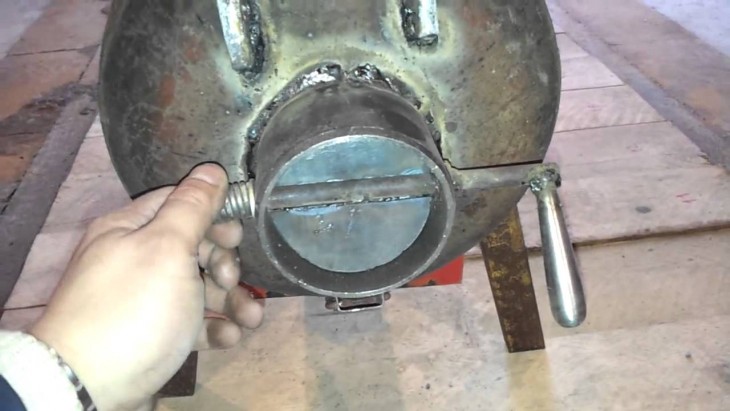
During the furnace, you need to adjust the clearance in the blower, providing the right size for air passage.
The top of the bookmark is usually located 20 cm from the inner circle for optimal burning of firewood and coal. And the smoke and burnt will come out through the chimney.
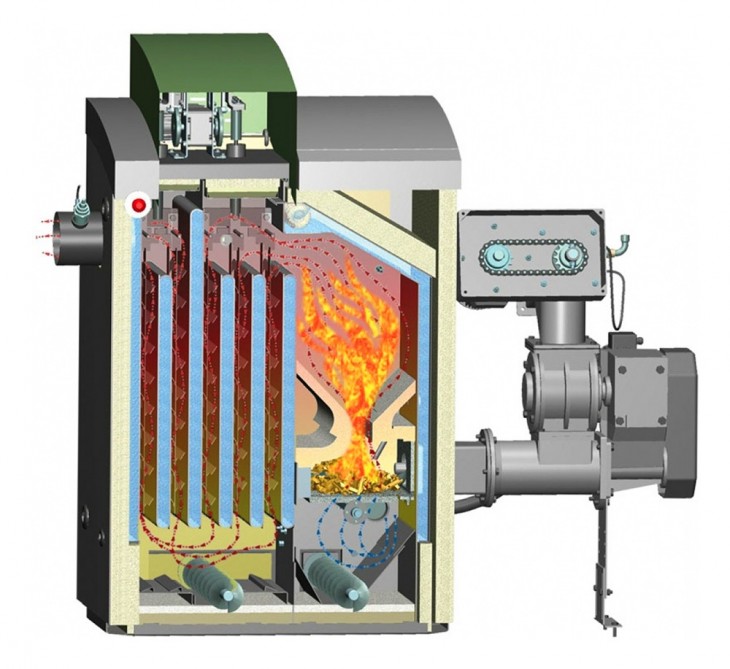
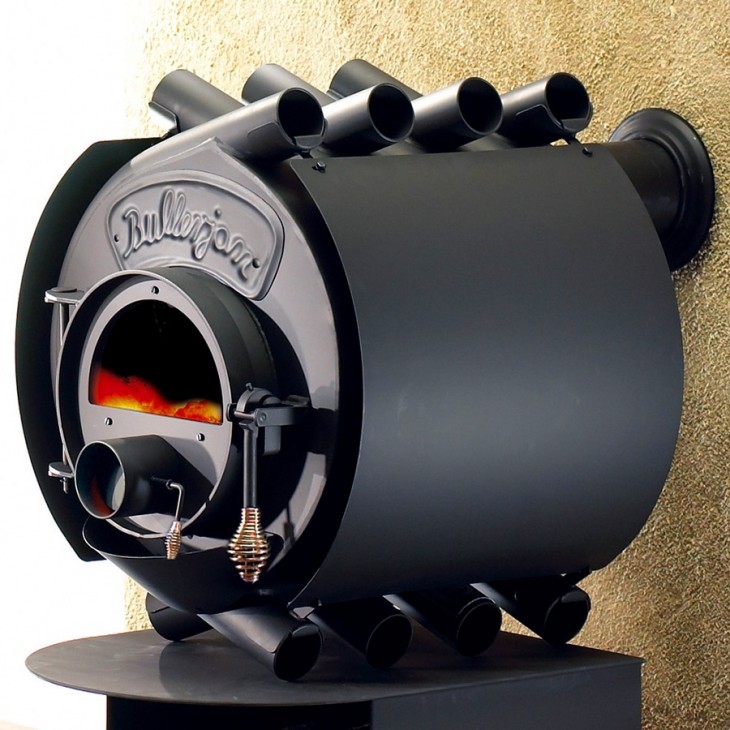
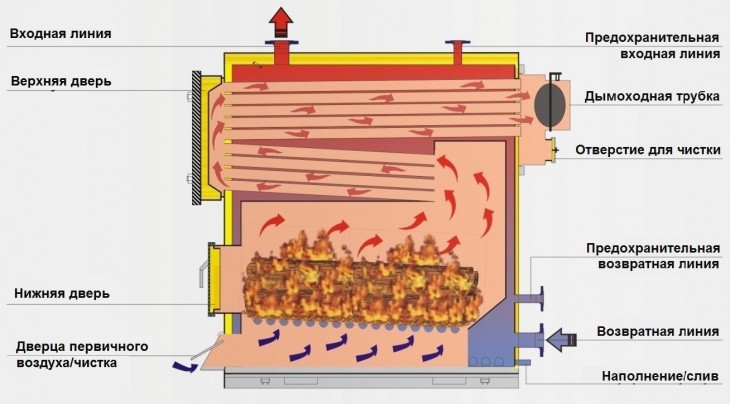
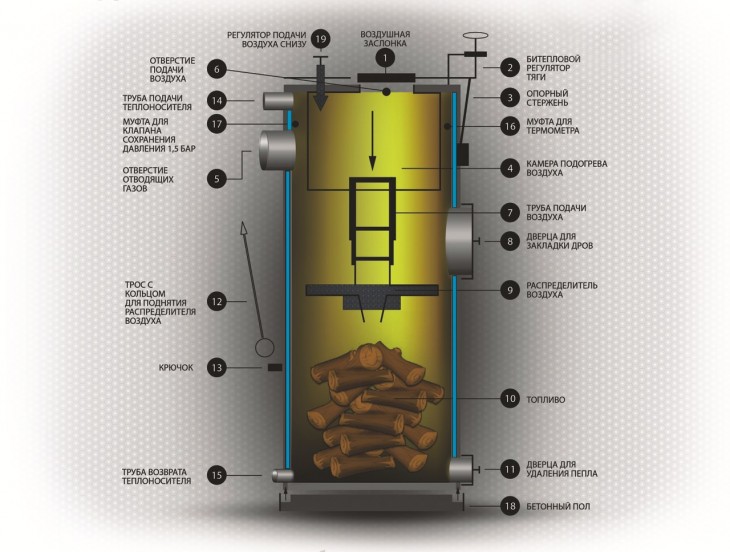
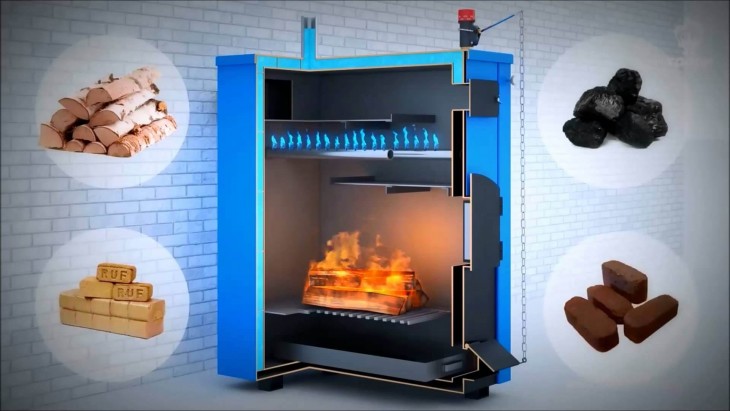
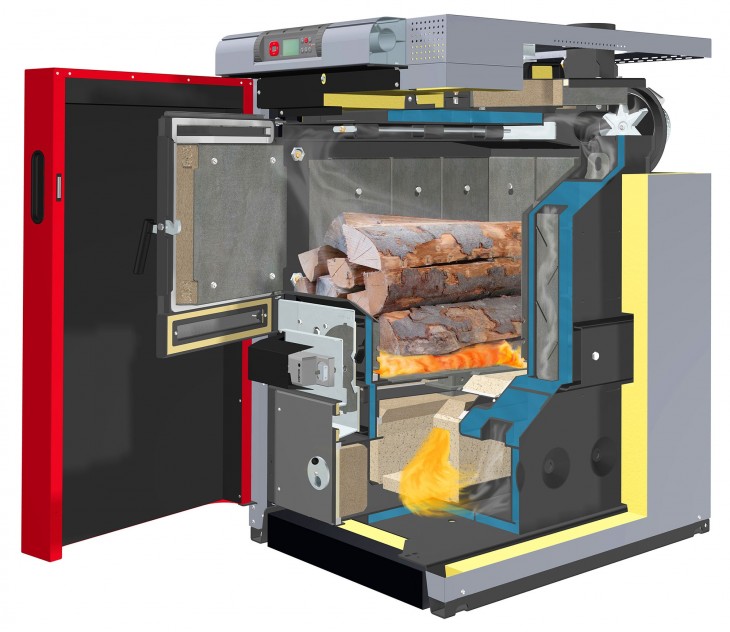
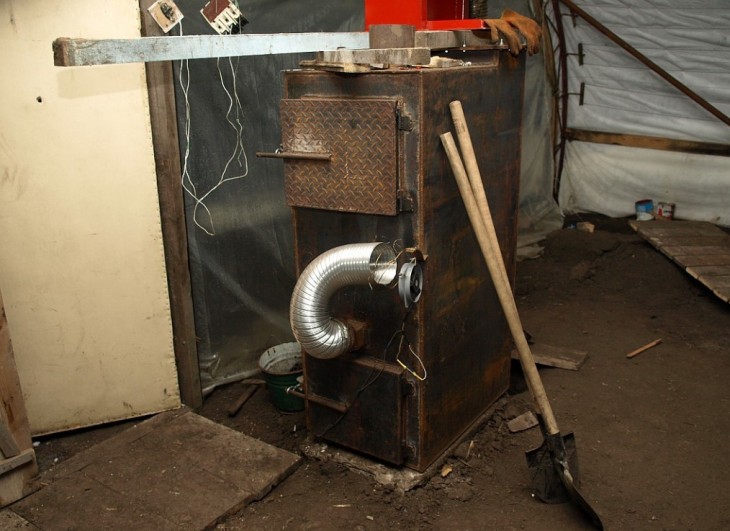
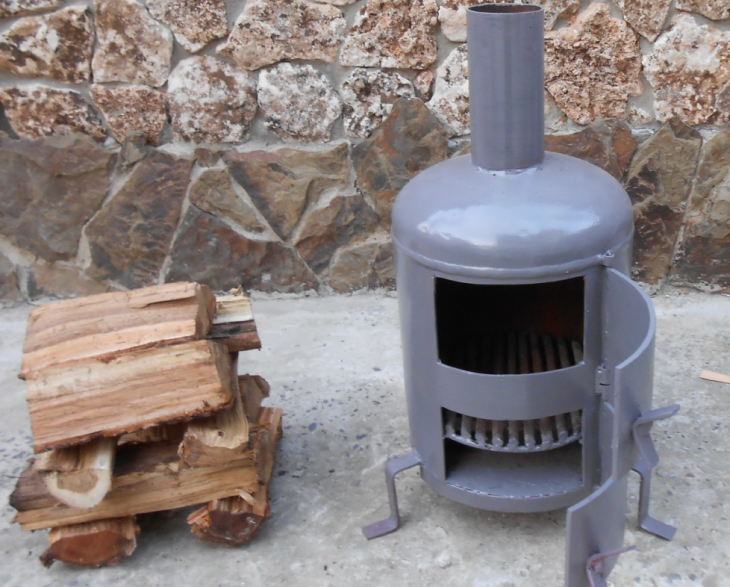
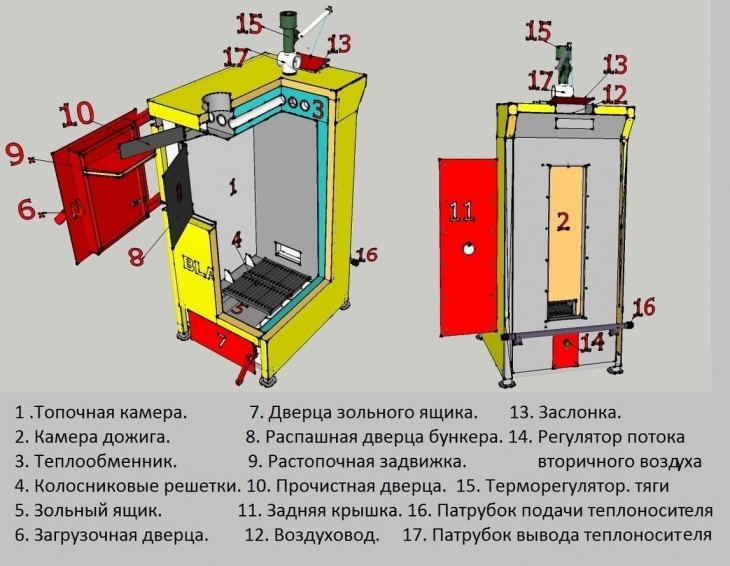
Operating principle
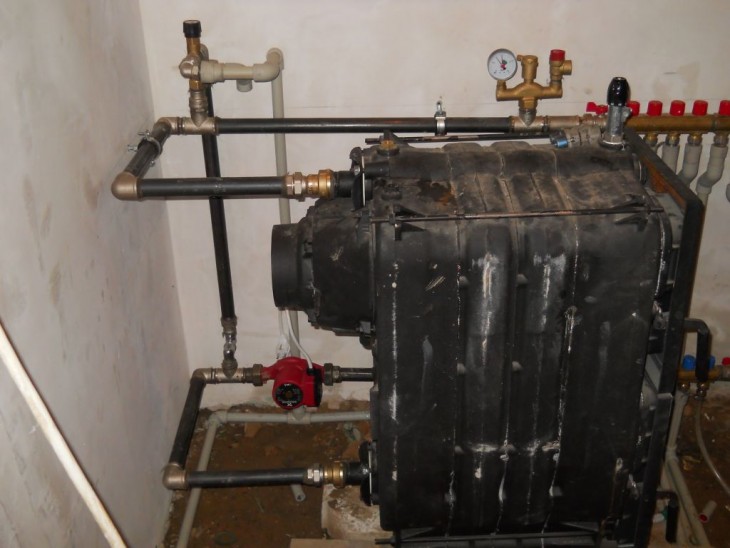
We think that you yourself already understood that the boiler is the same wood-burning stove. The energy from the combustion of firewood warms up the coolant above the combustion chamber itself.
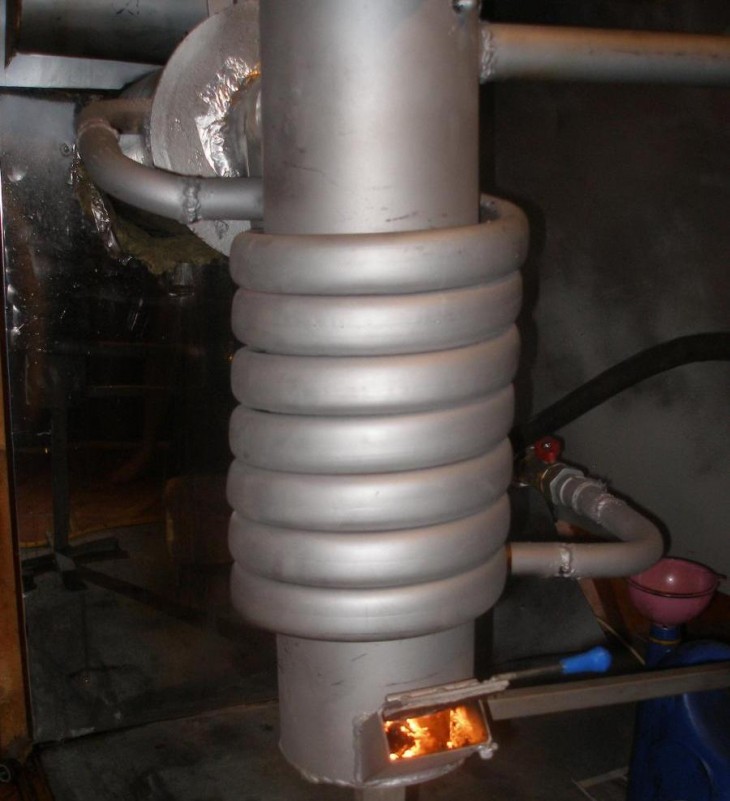
The coolant is heated from the inner circle and the chimney passing through the water tank. The body heats up and accumulates cooling when the boiler is turned off.
The hot heat carrier moves upward and moves through the upper compartment into the heating circuit. And returns, chilled, through the pipe from below to the boiler.
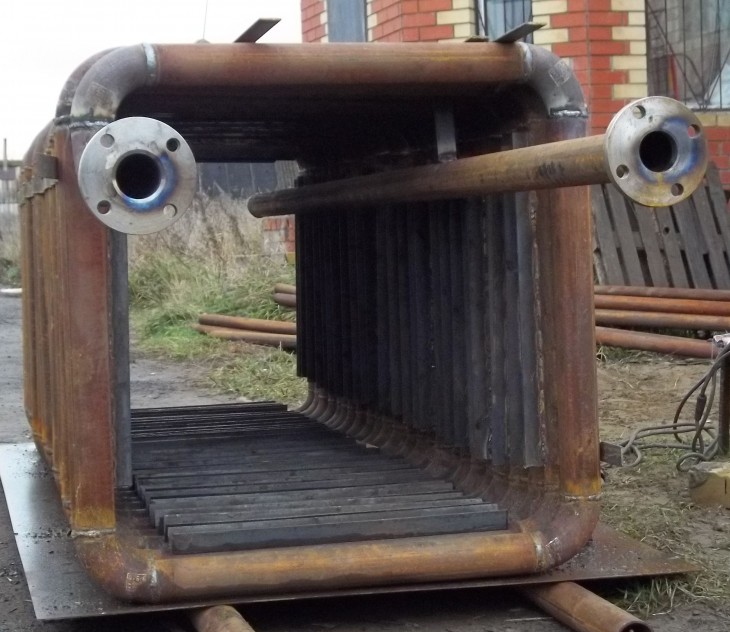
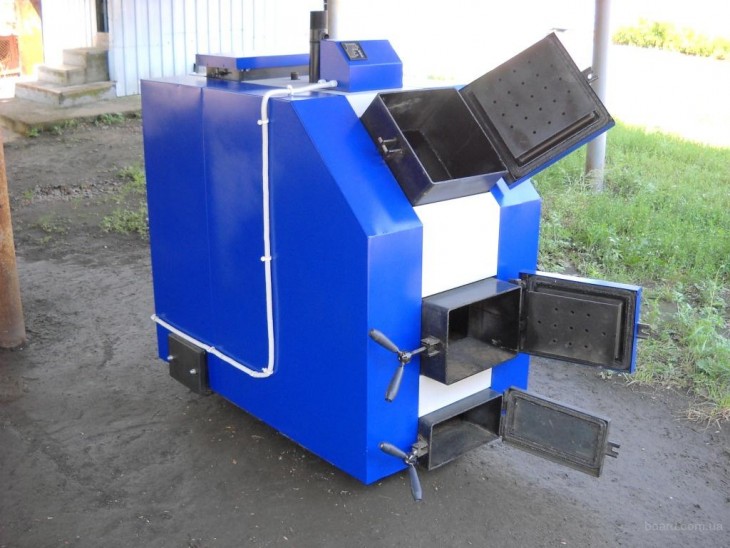
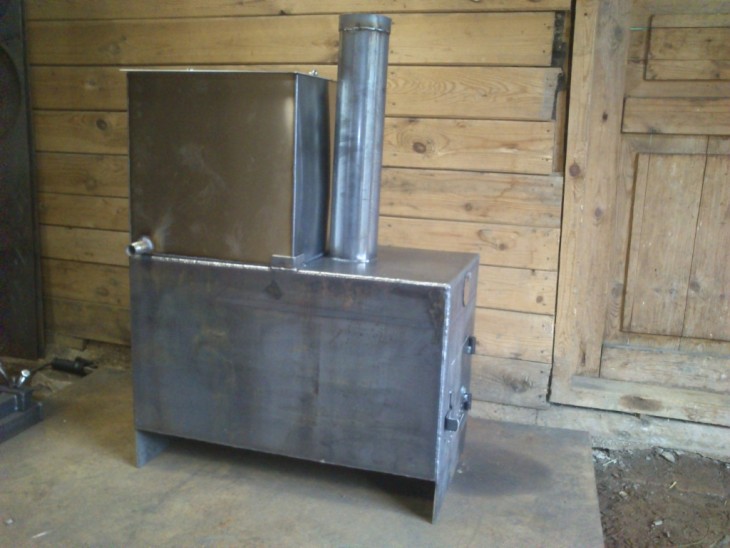
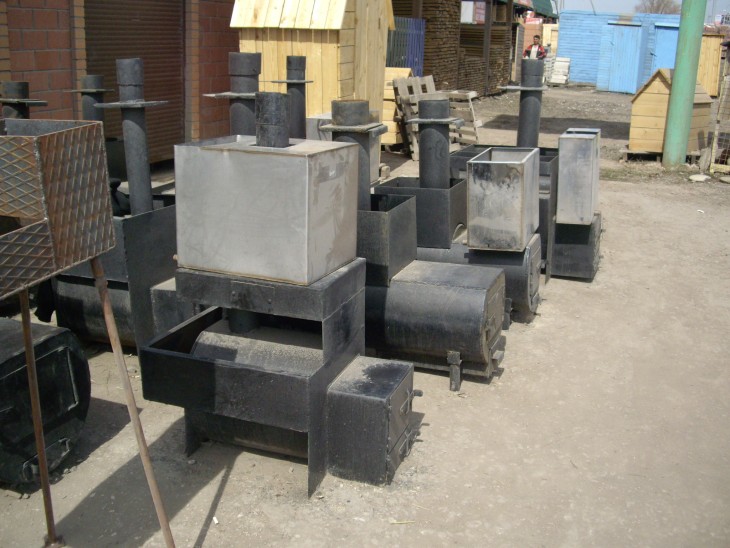
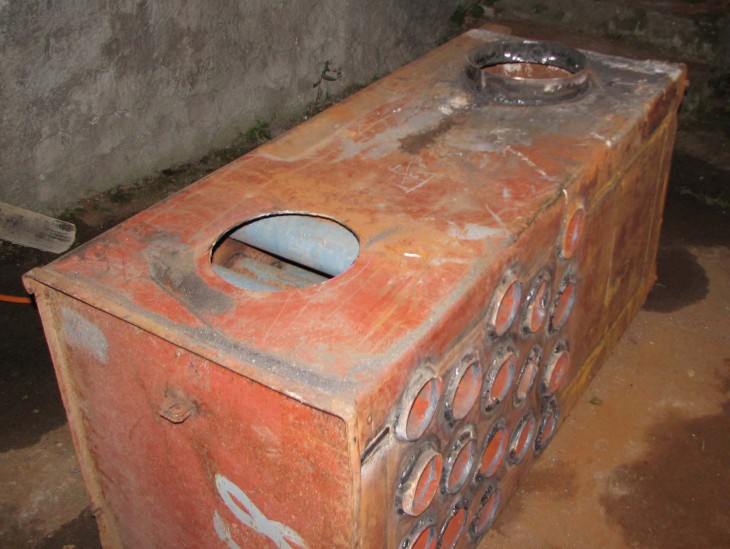
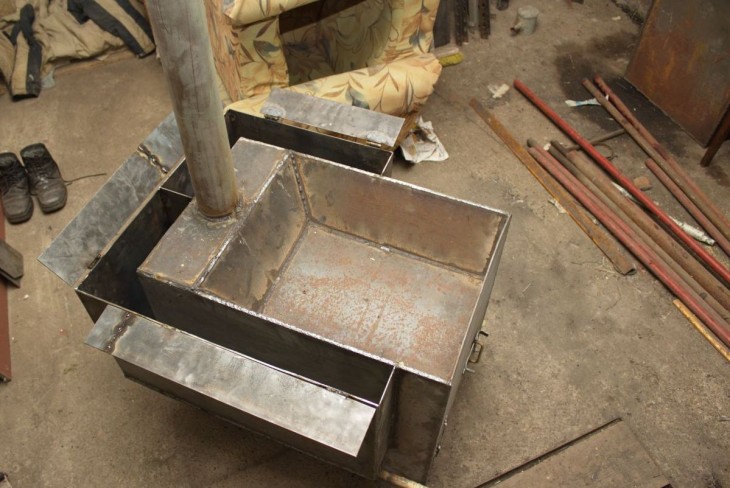
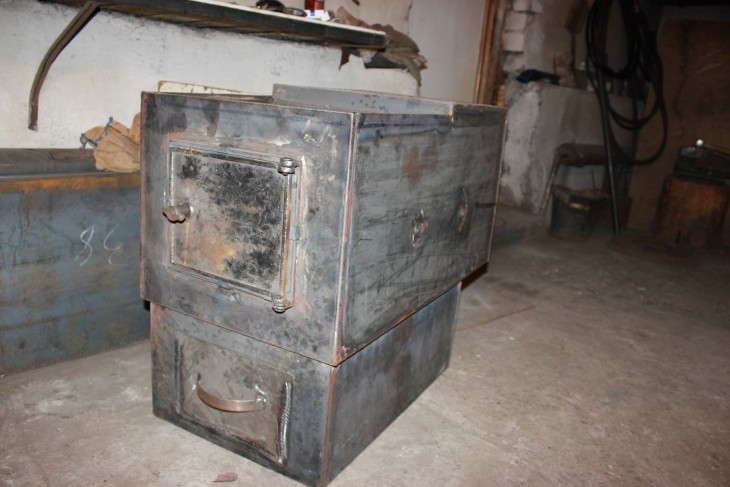
The installation of the boiler on wood can be done in a cubic form of metal in 4 mm, but this is a more time-consuming process, especially a separate assembly of the furnace.
A combustion chamber is placed in the housing, and the coolant can circulate between the walls. This option is effective, but difficult in construction due to the large number of welds.
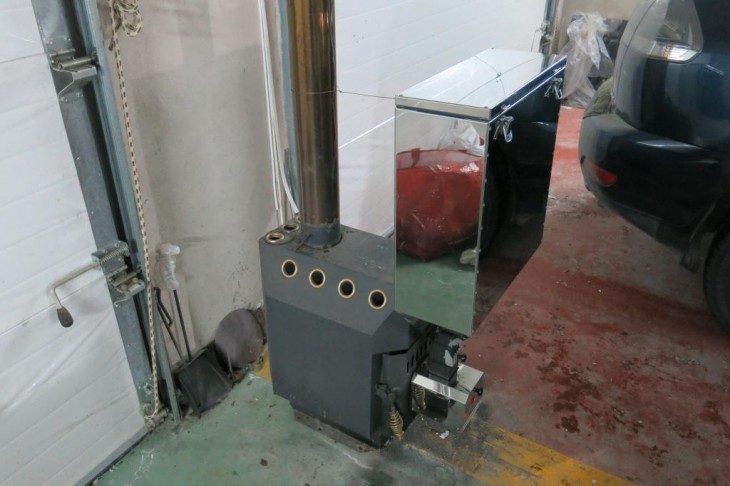
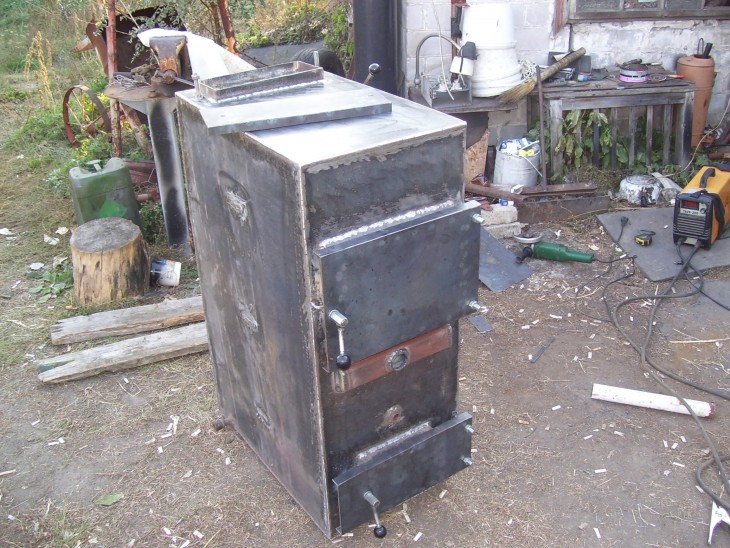
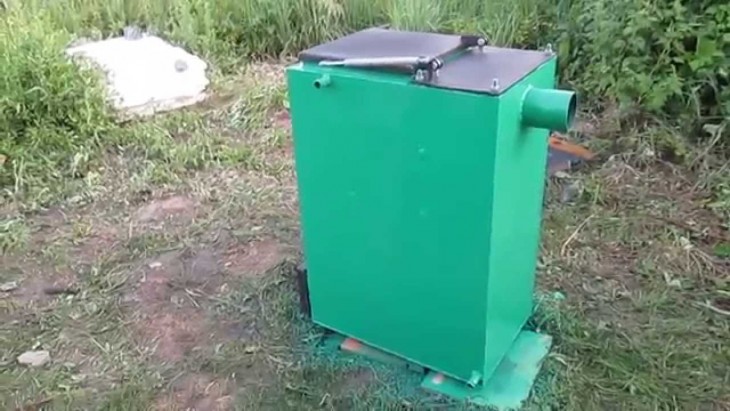
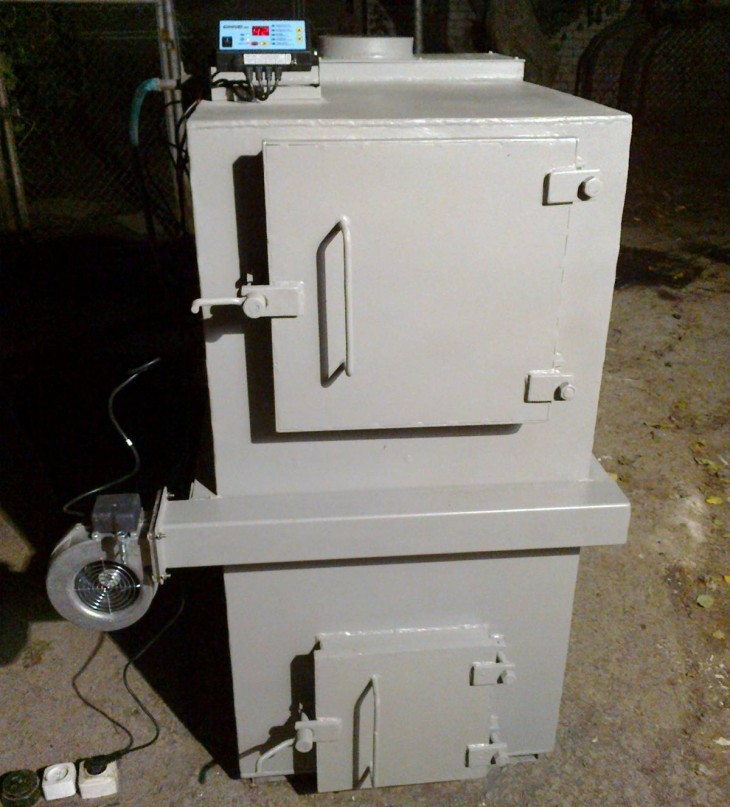
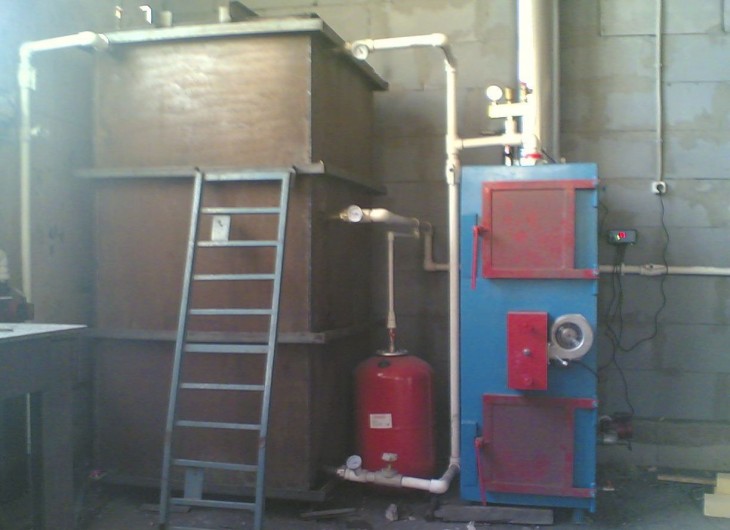
Now, if necessary, you can build a boiler for a country house yourself!
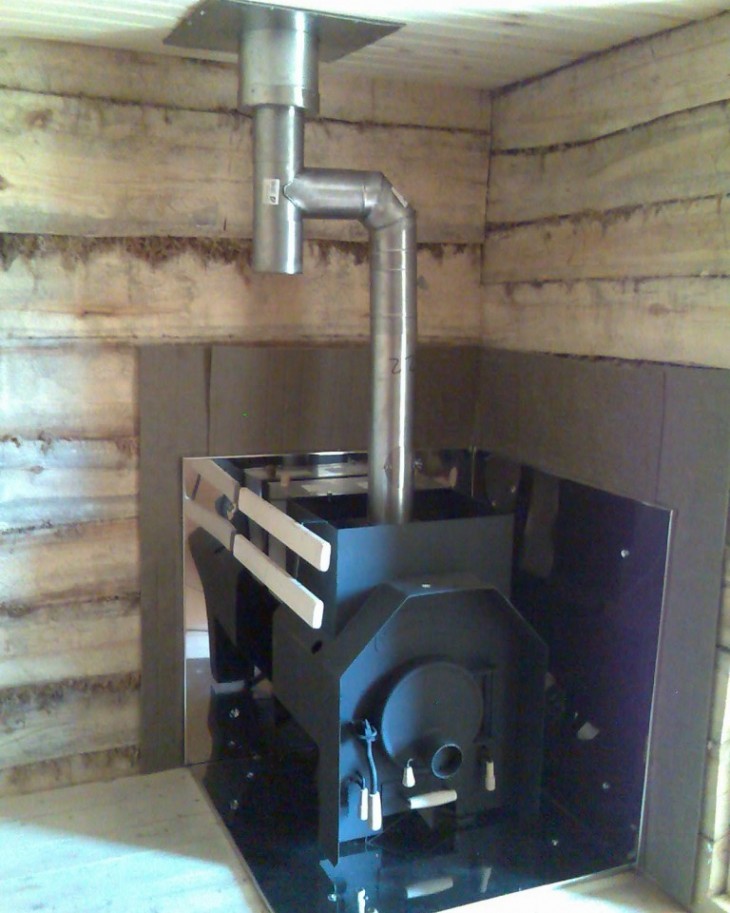
DIY boiler photo