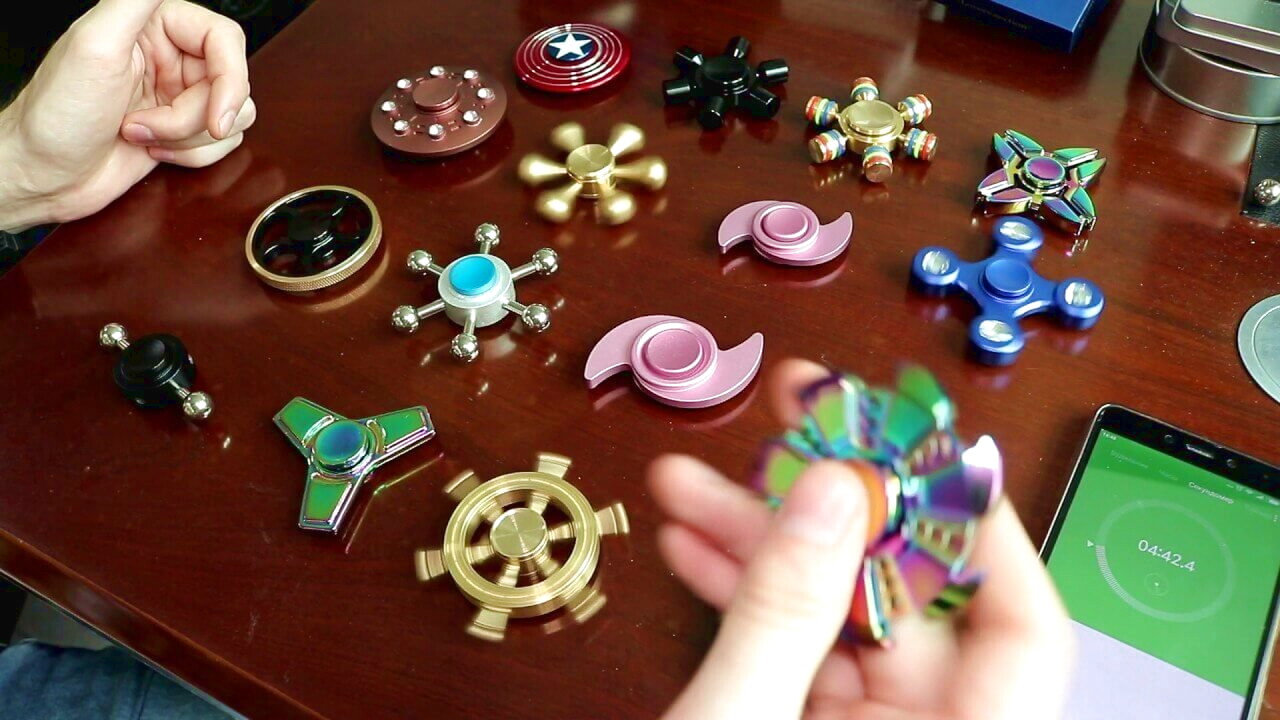
All social networks are filled with photographs of all kinds of spiners, so there are no problems with the question of what it is. Moreover, this rotating little thing became the trend of 2017, and the variety of their types, options and capabilities will not leave anyone indifferent.
Turntables have different price categories from 29 rubles to several hundred thousand, but it’s becoming more and more popular to do them yourself. It is more interesting and cheaper, and the “own” toy is also unique and unusual. How to make a spinner at home - read this article.
Review Content:
- What is it and for what?
- Instructions on how to make a do-it-yourself spiner
- Step 1 - Thinking Over the Model
- Step 2 - Making a Drawing
- Step 3 - Putting It All Together
- Step 4 - Getting Started
- Paper spinner
- Cardboard Spiner
- Bearings and bottle caps
- Spiner Cleaning
- Photo of modern spinners
- Video instruction on how to make a spiner at home
What is it and for what?
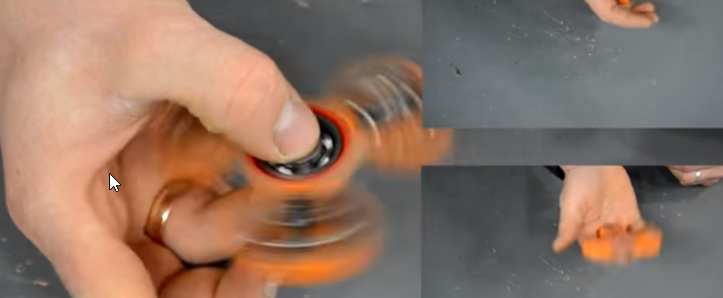
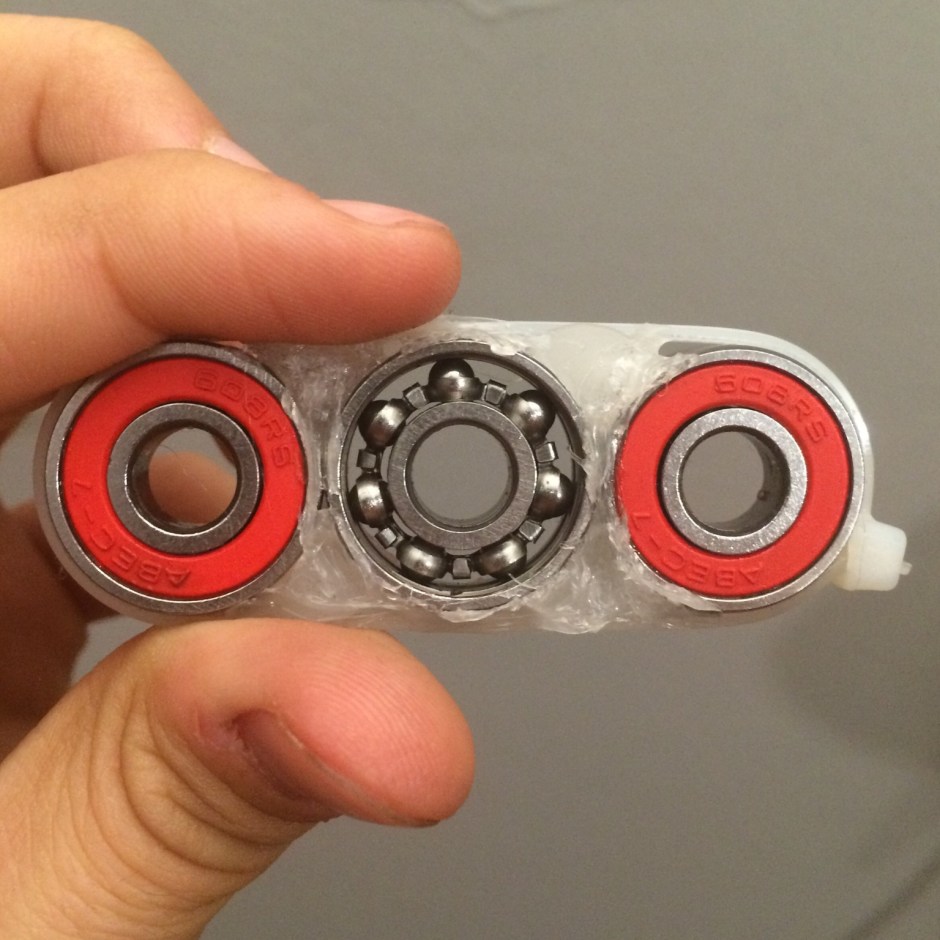
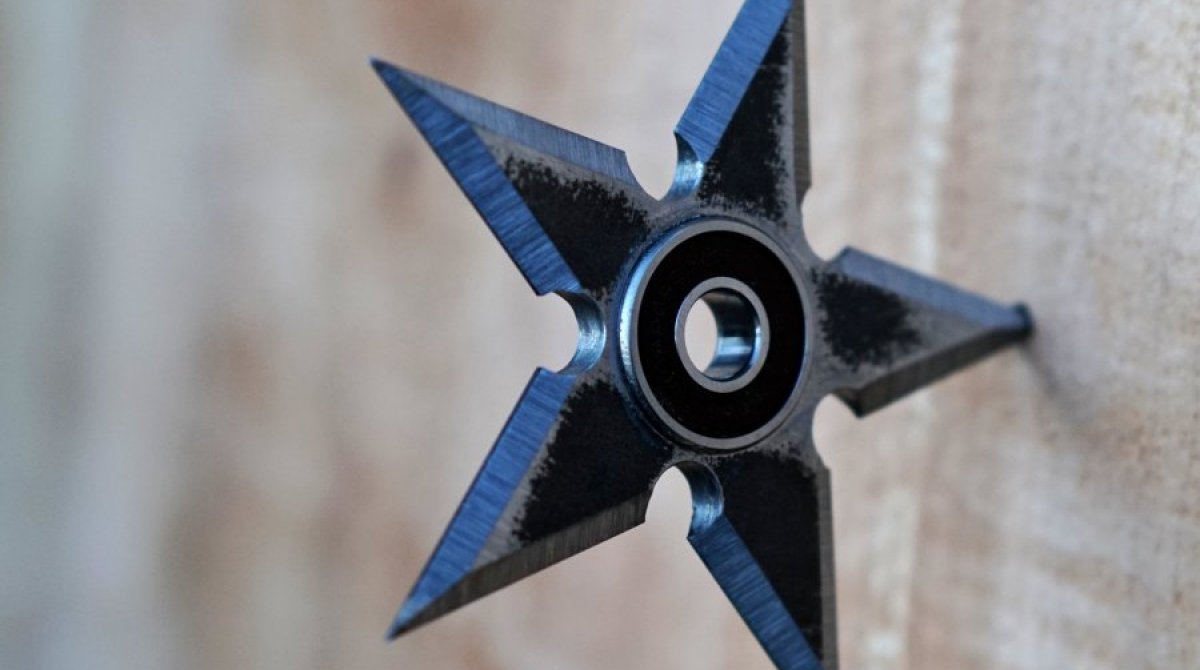
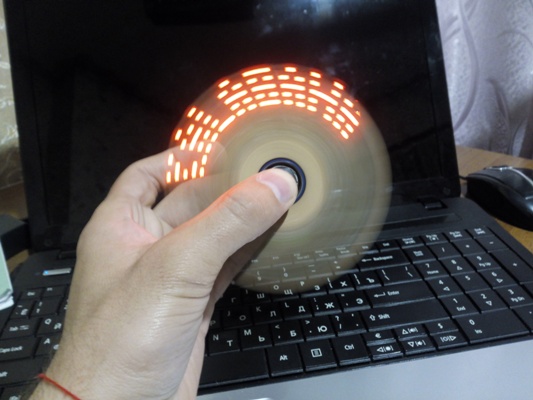
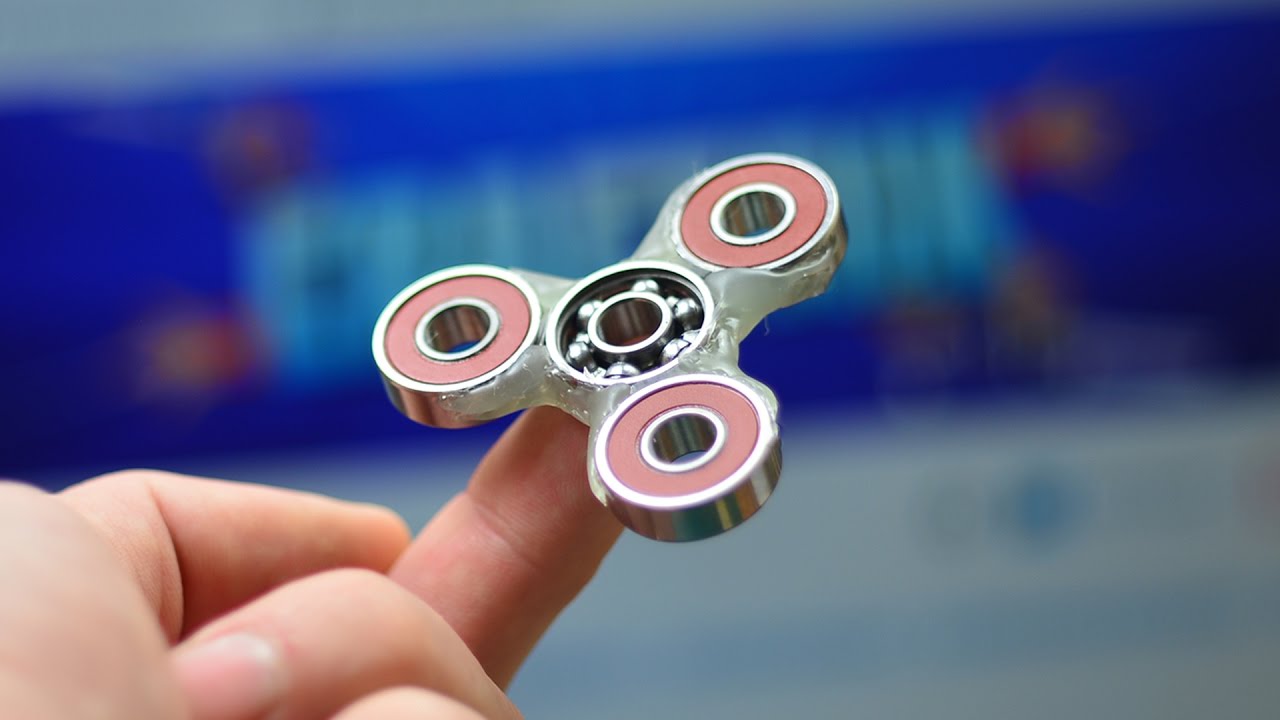
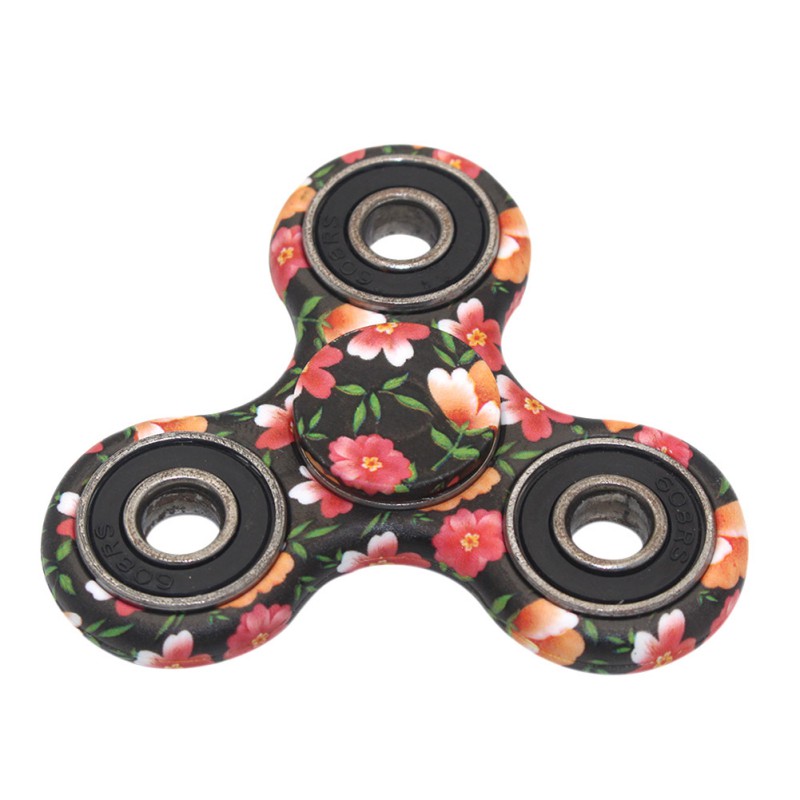
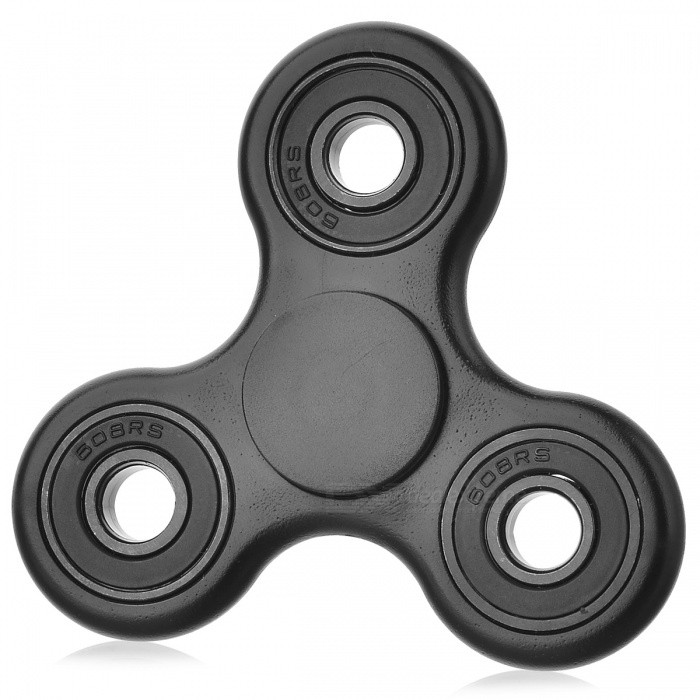
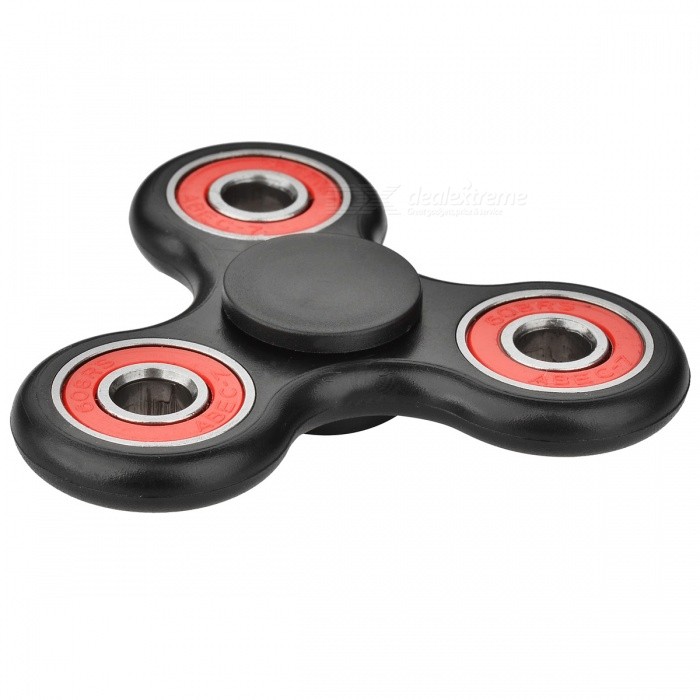
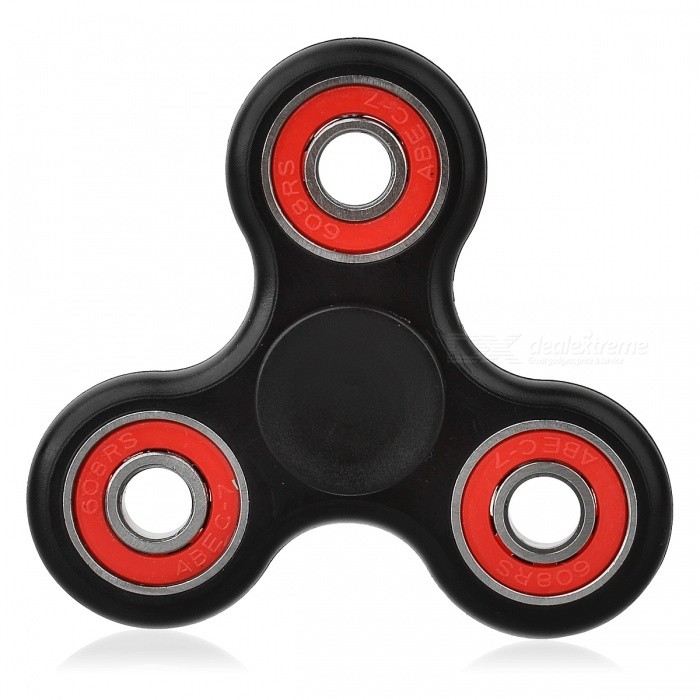
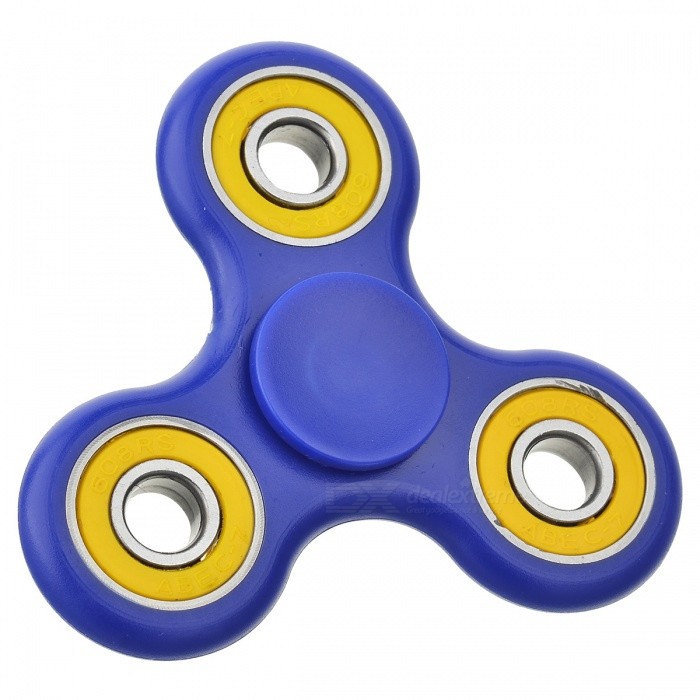
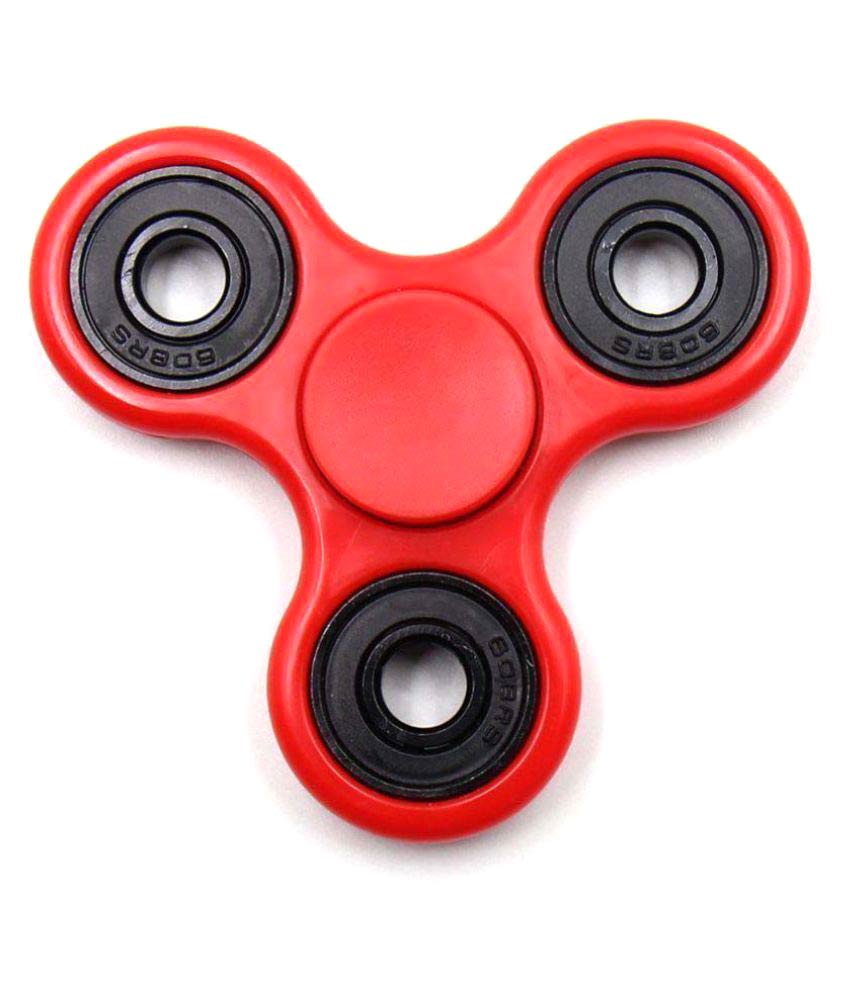
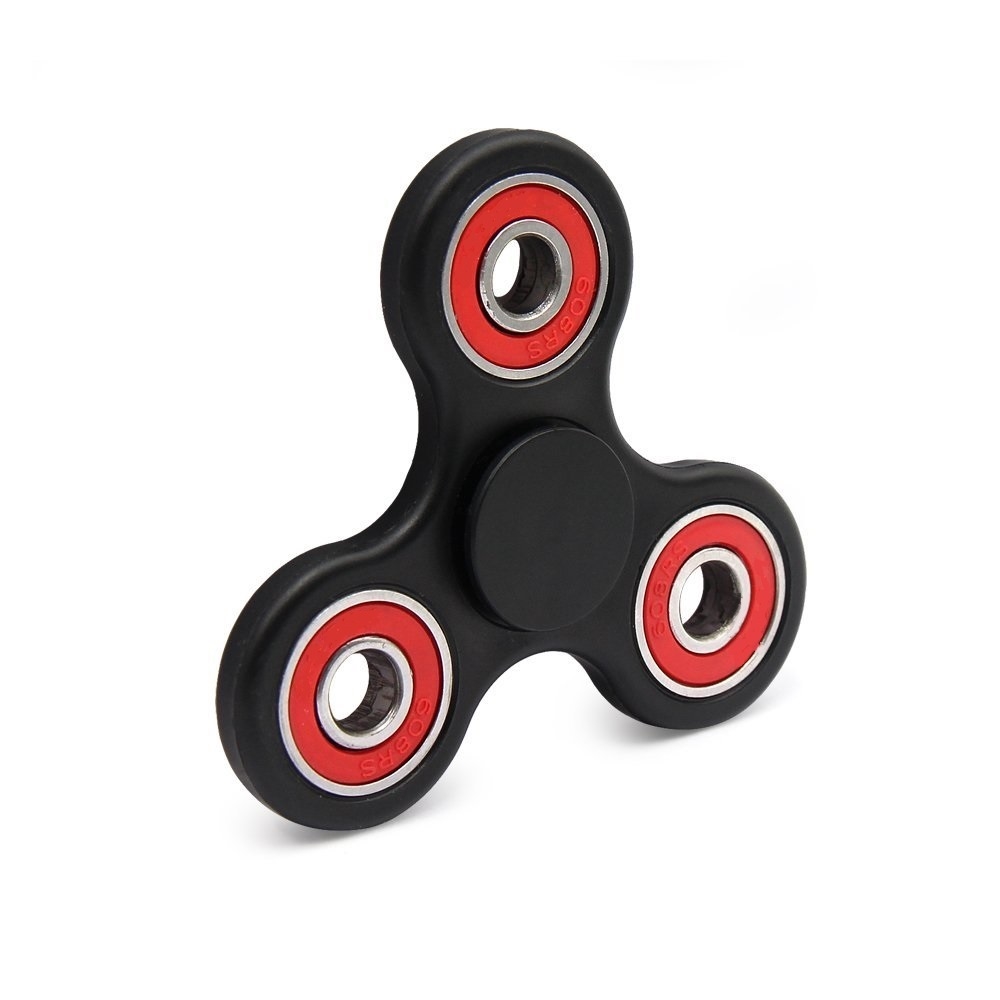
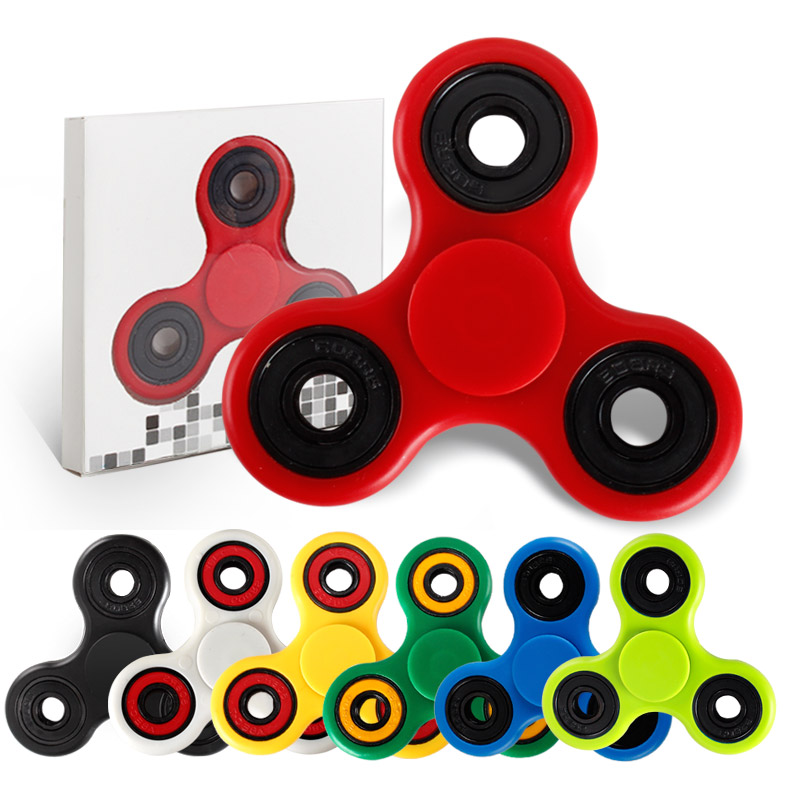
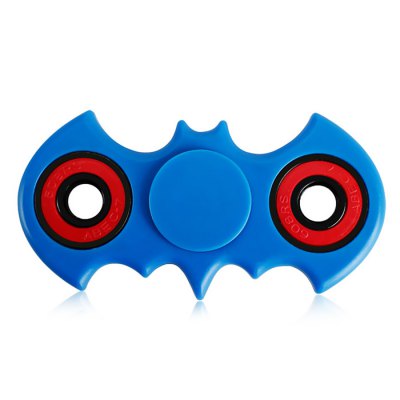
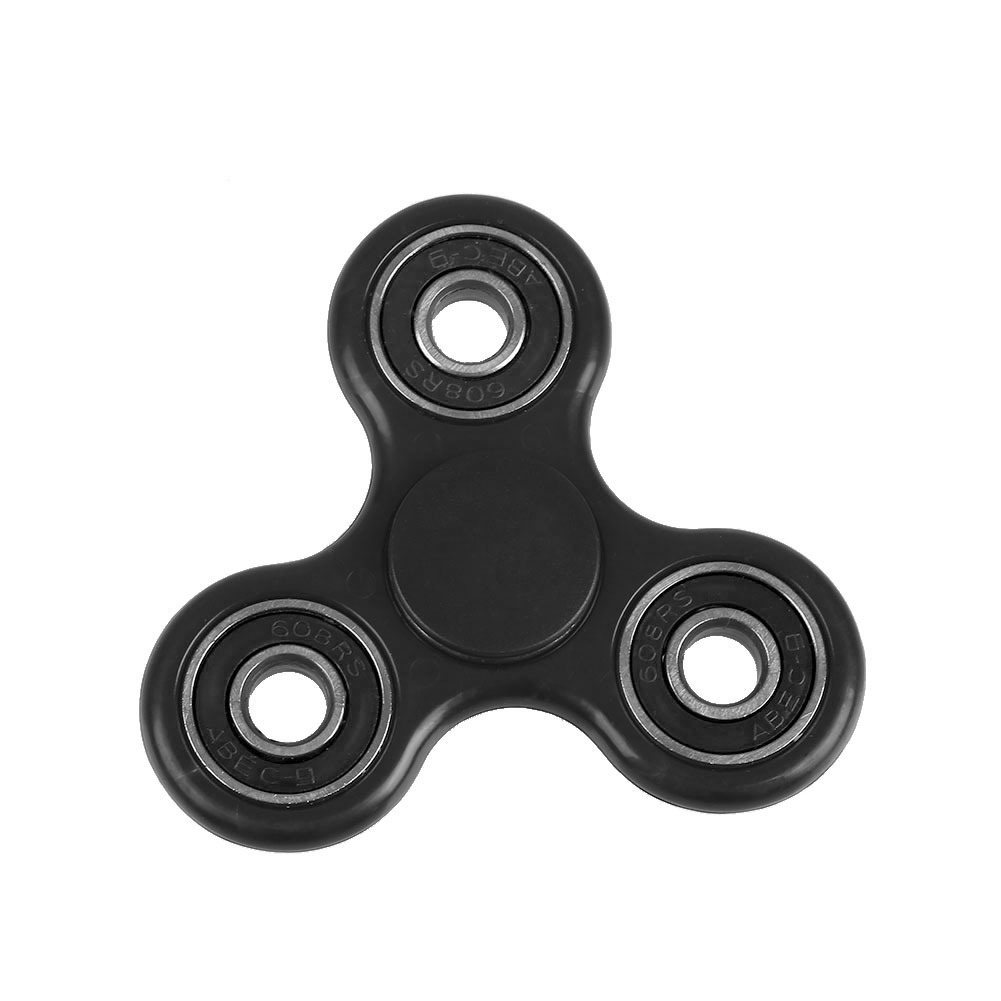
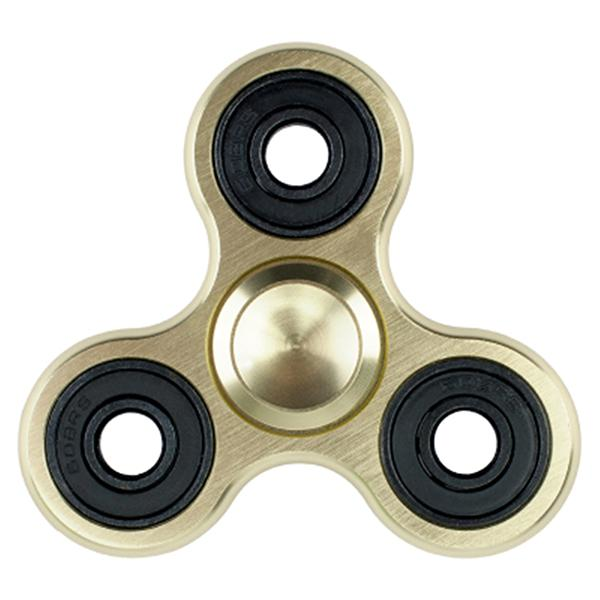
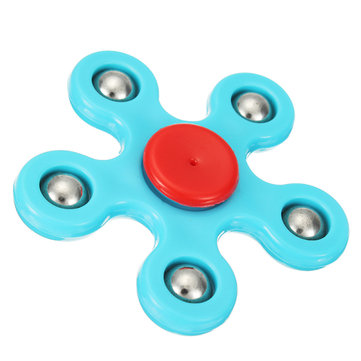
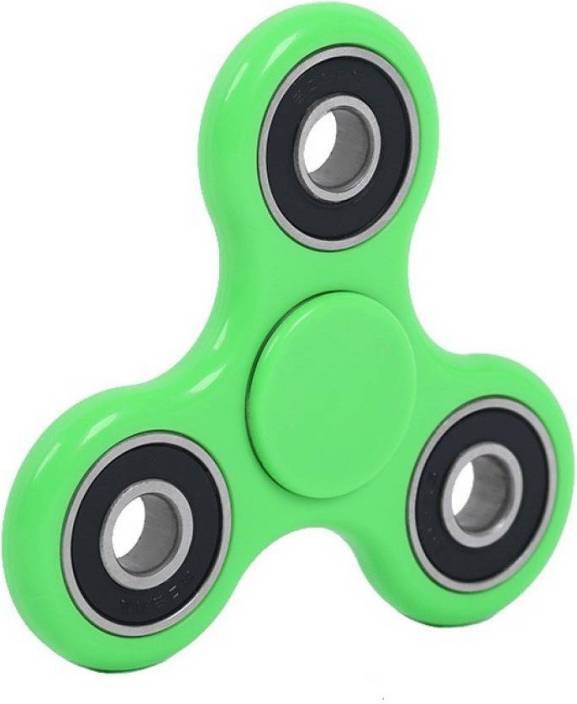
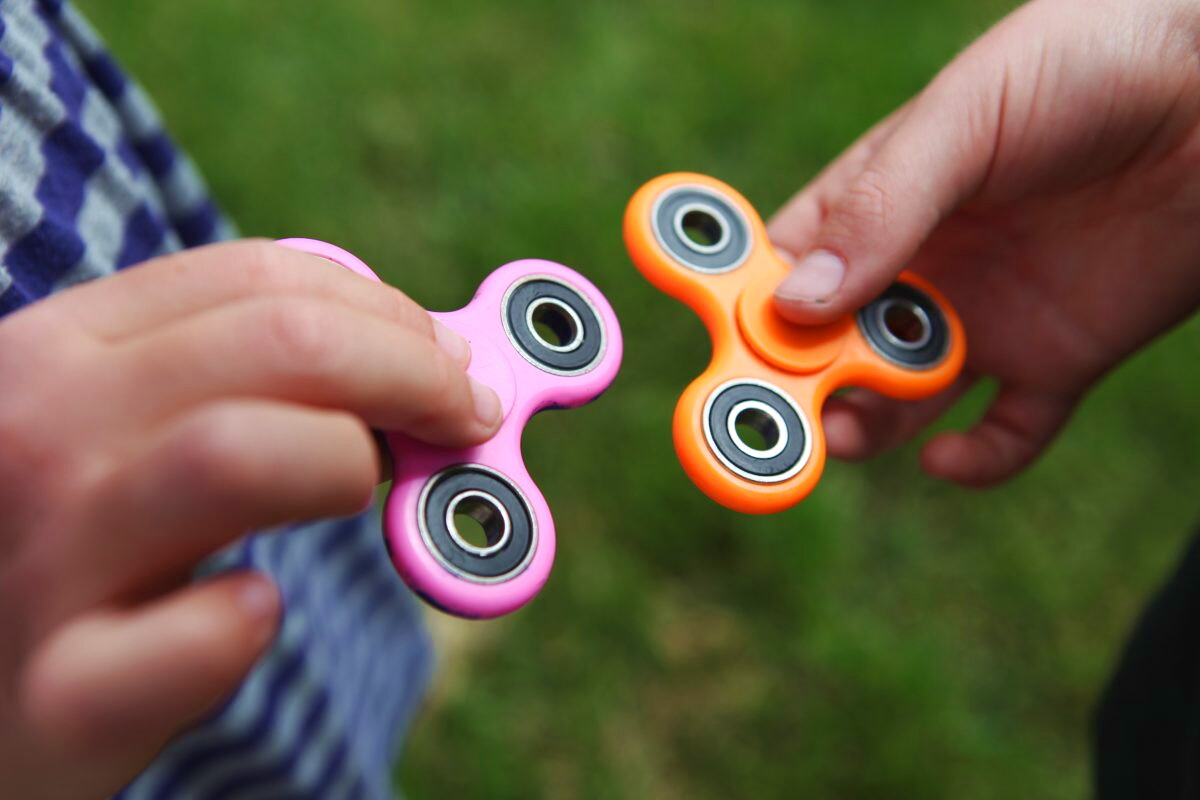
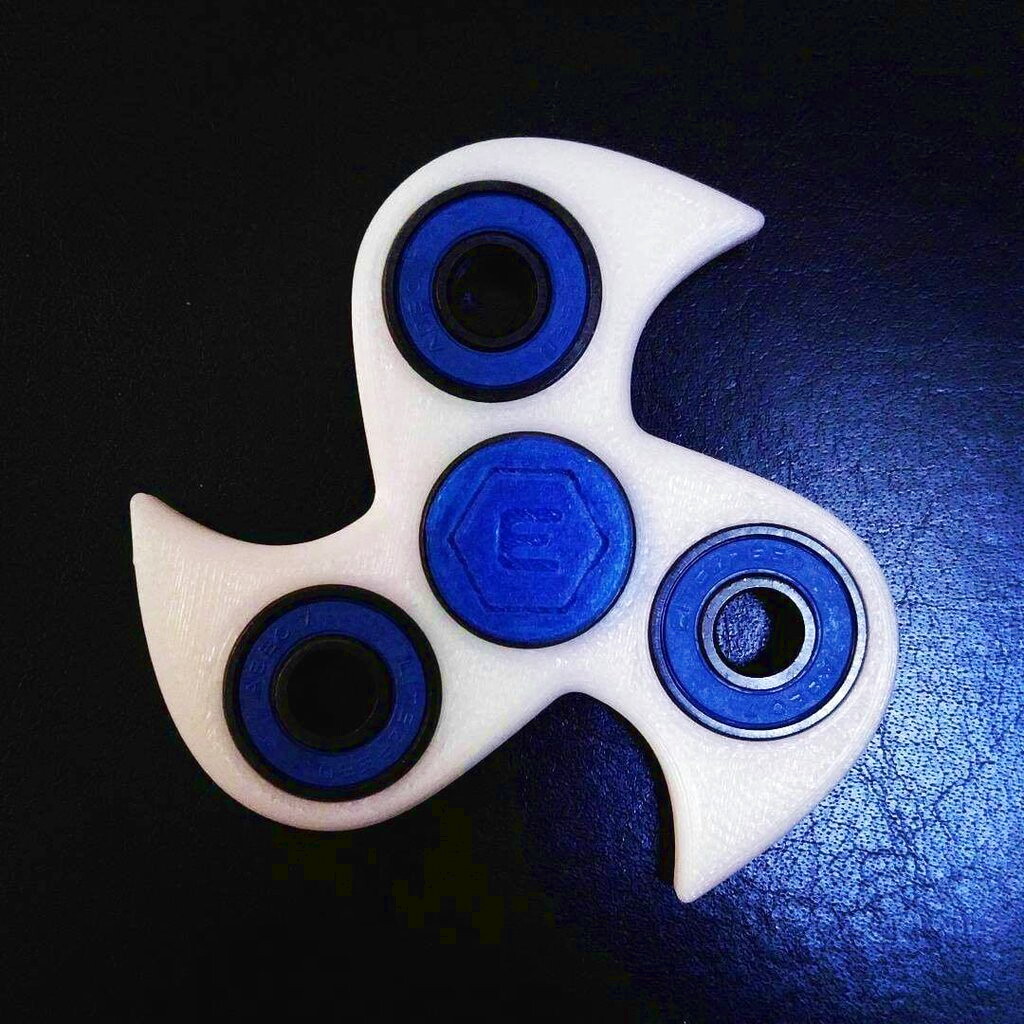
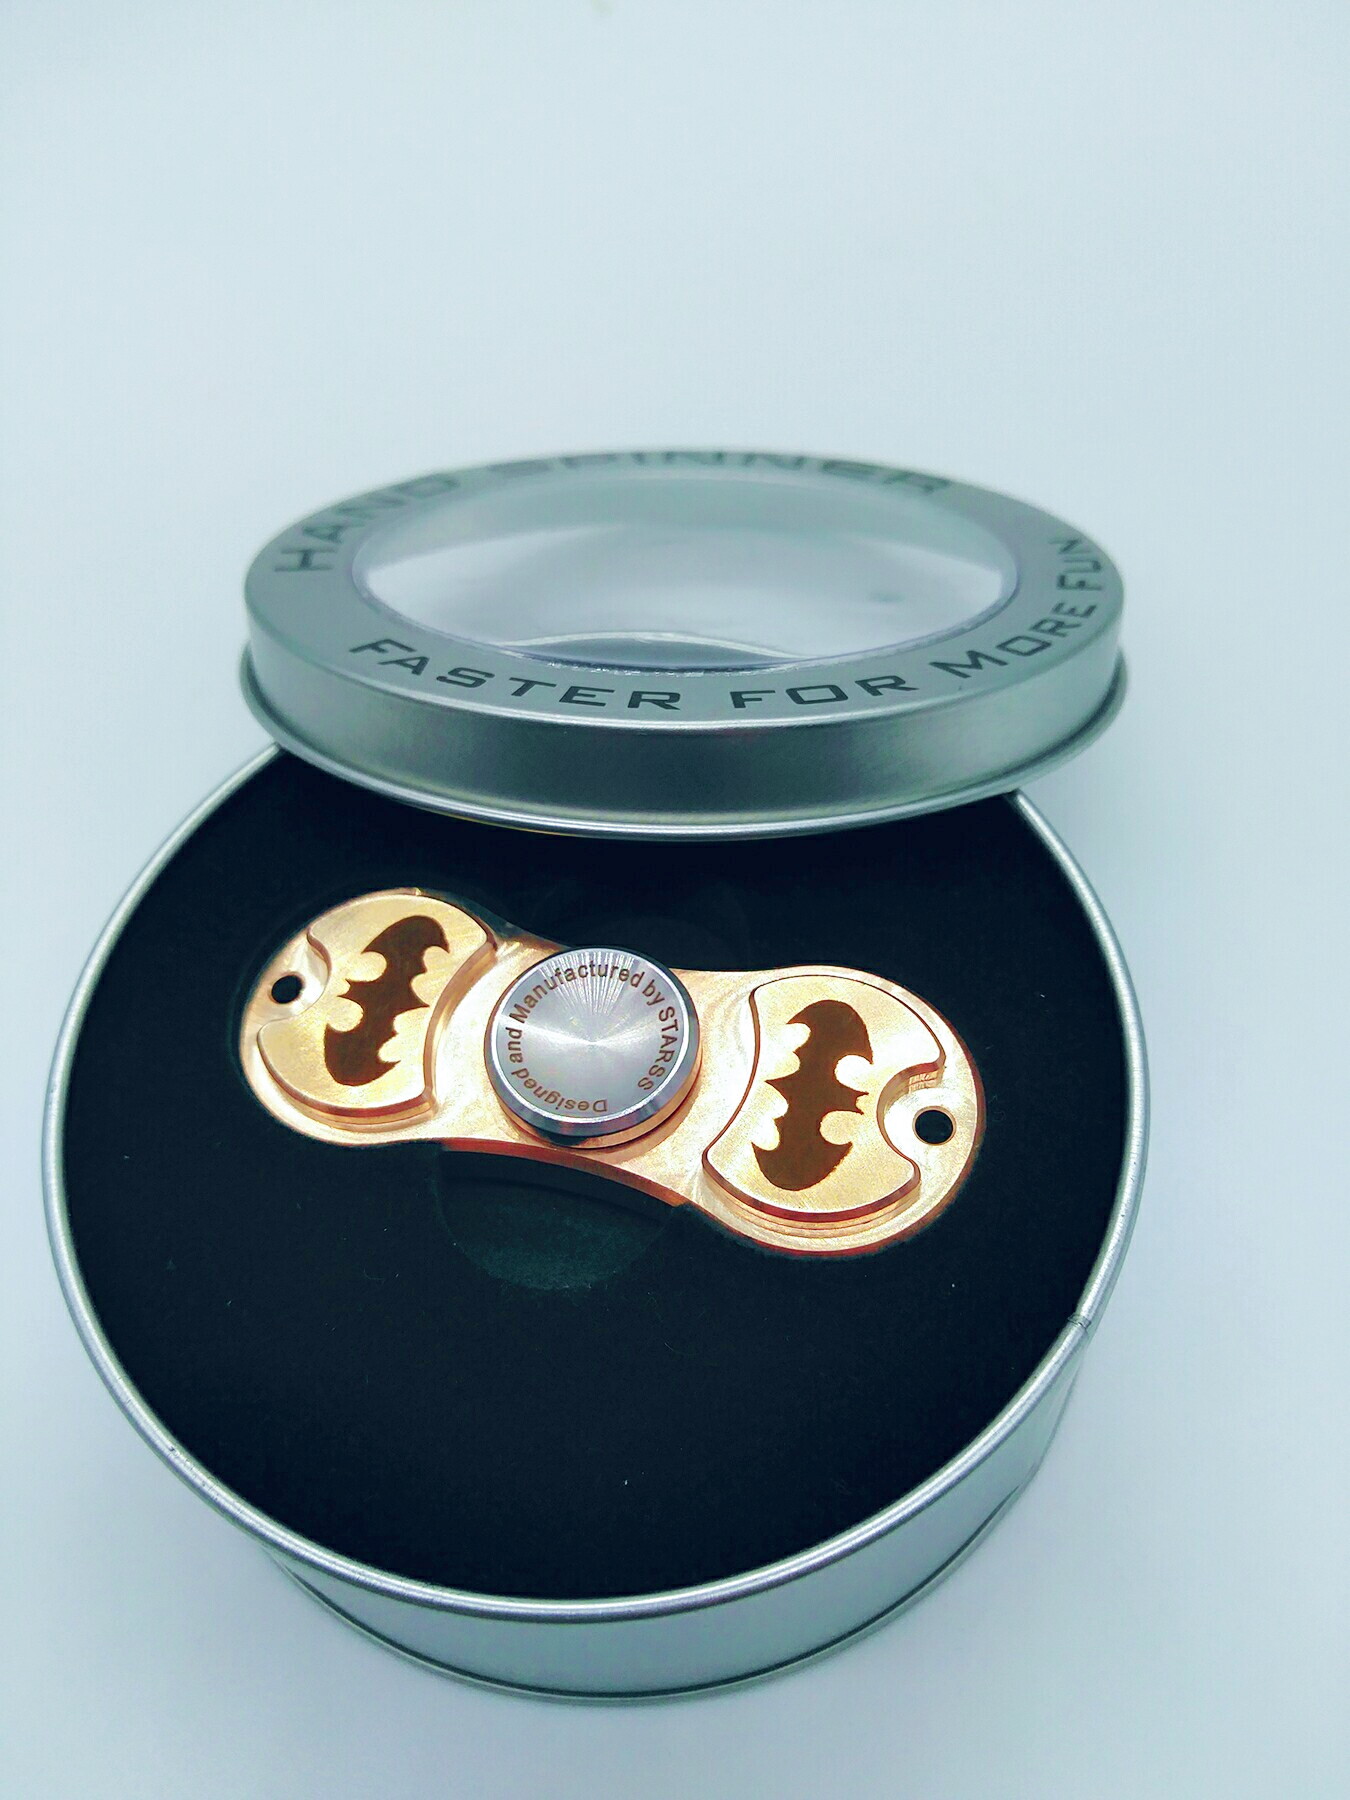
Spinner is an original fashionable antistress toy, also called a manual spinner and a twist. The device and its mechanism of action is simple: in the center there is a bearing made of metal or ceramic, and around it there are several blades or weighting agents.
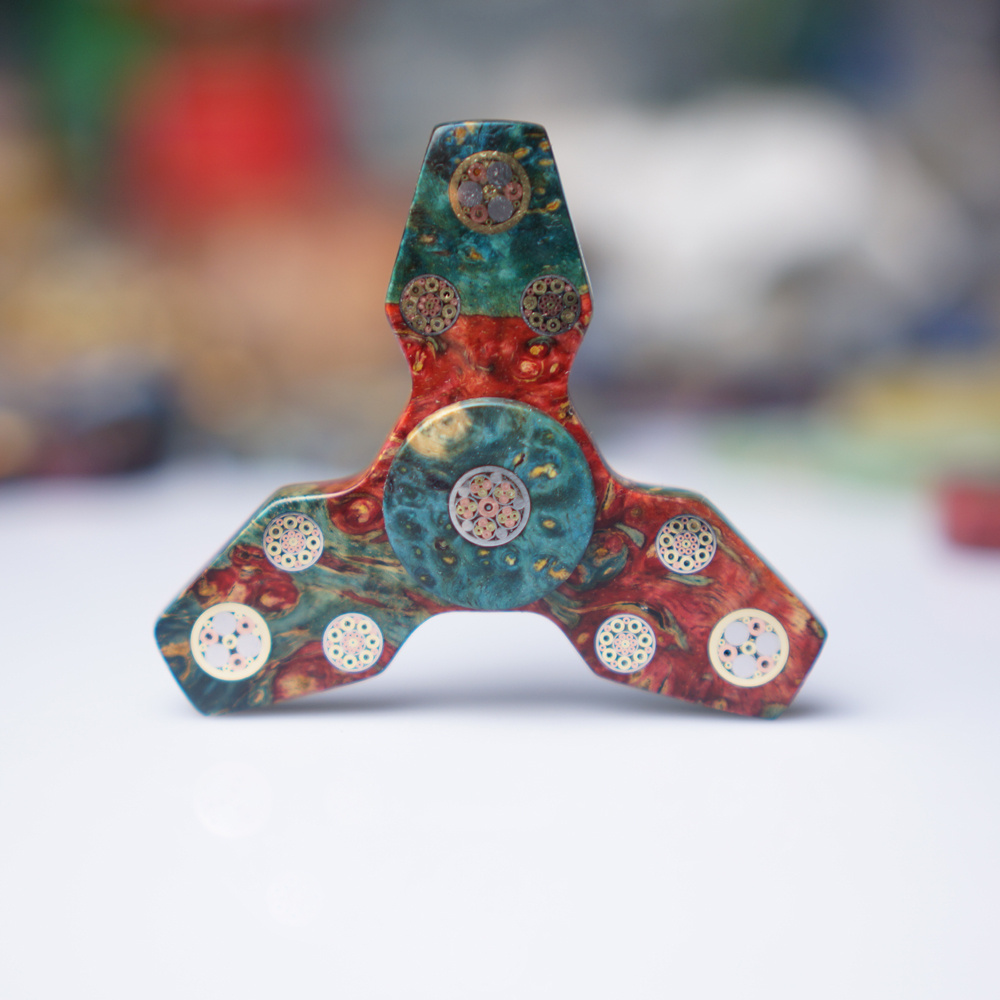
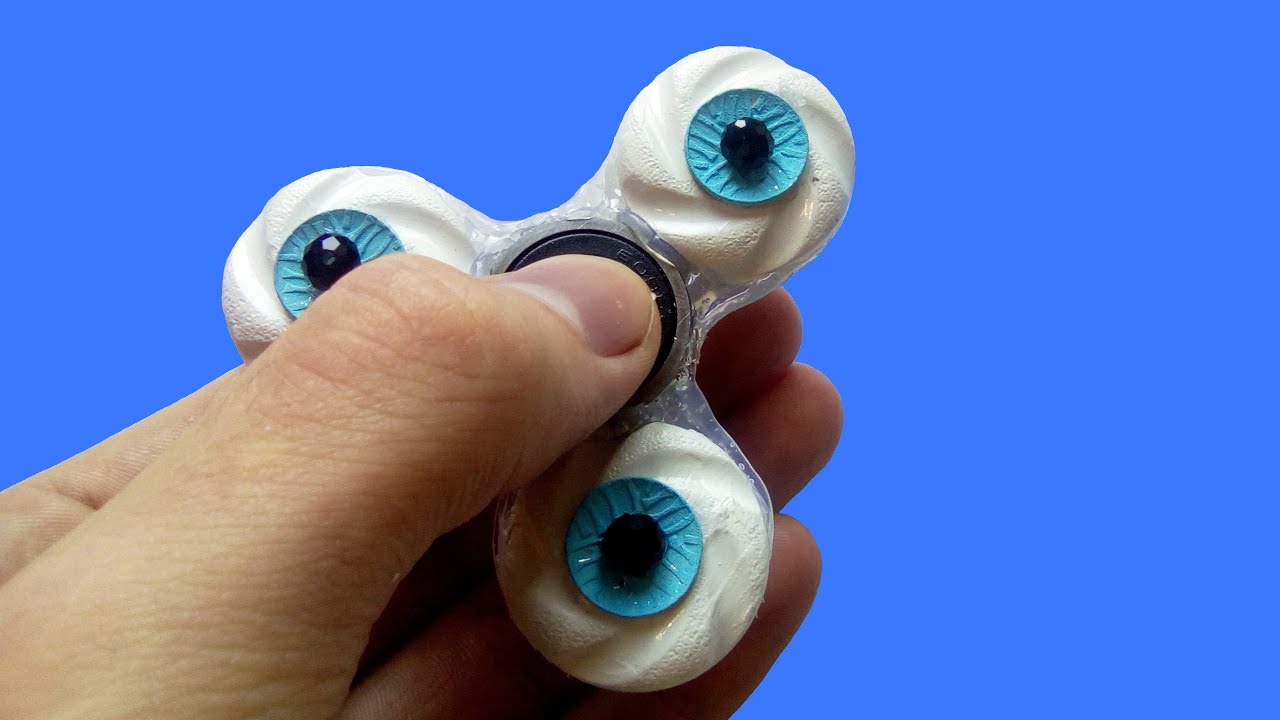
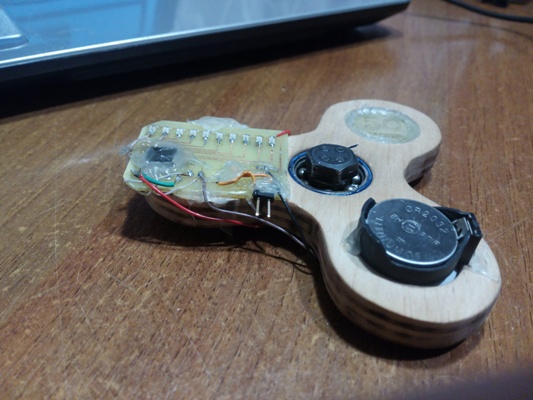
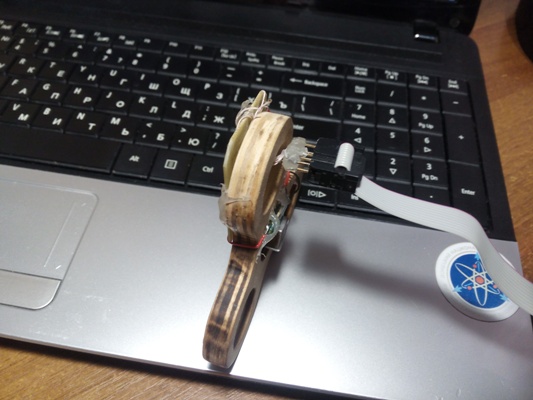
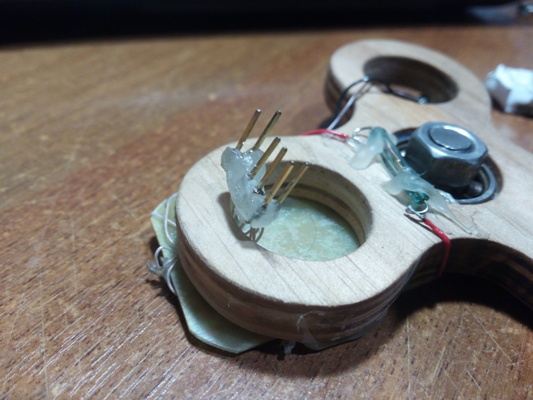
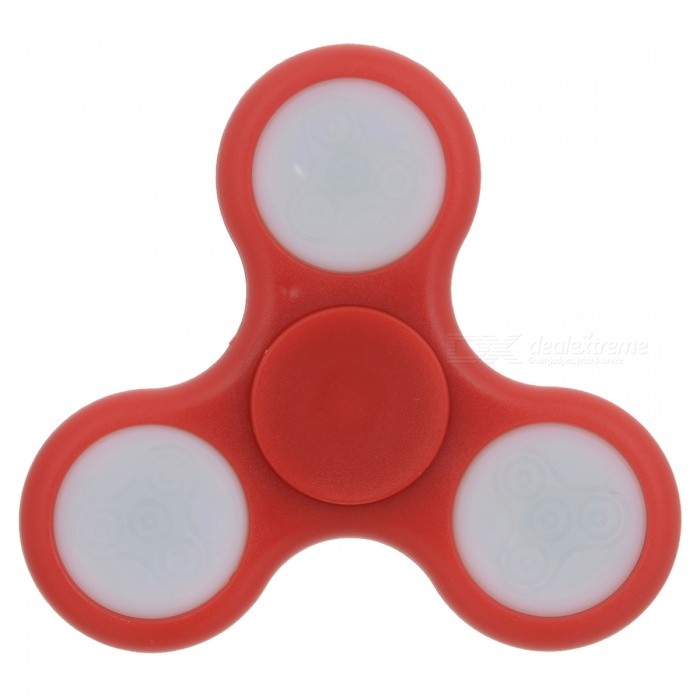
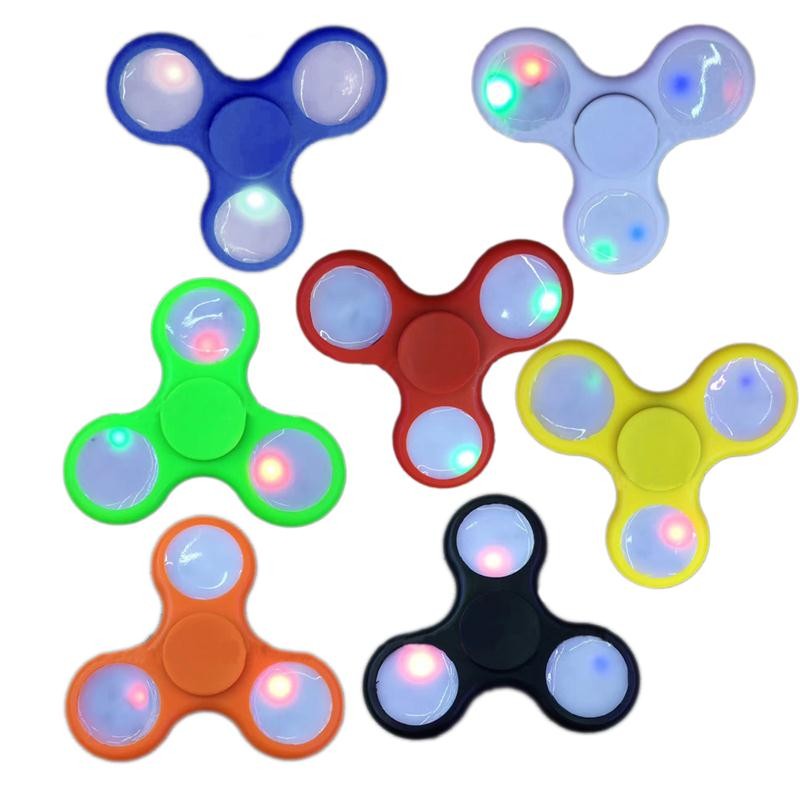
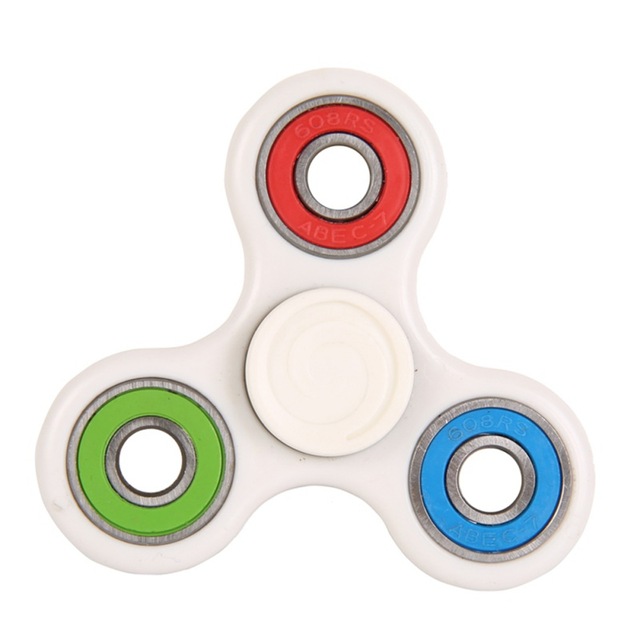
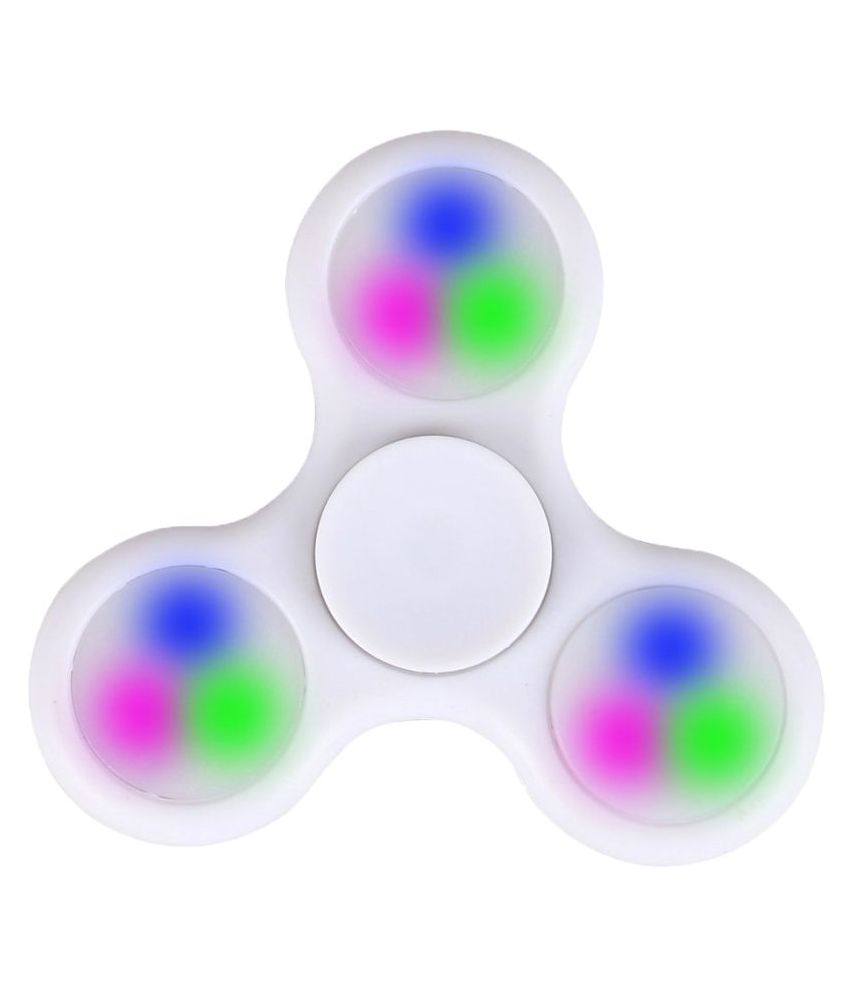
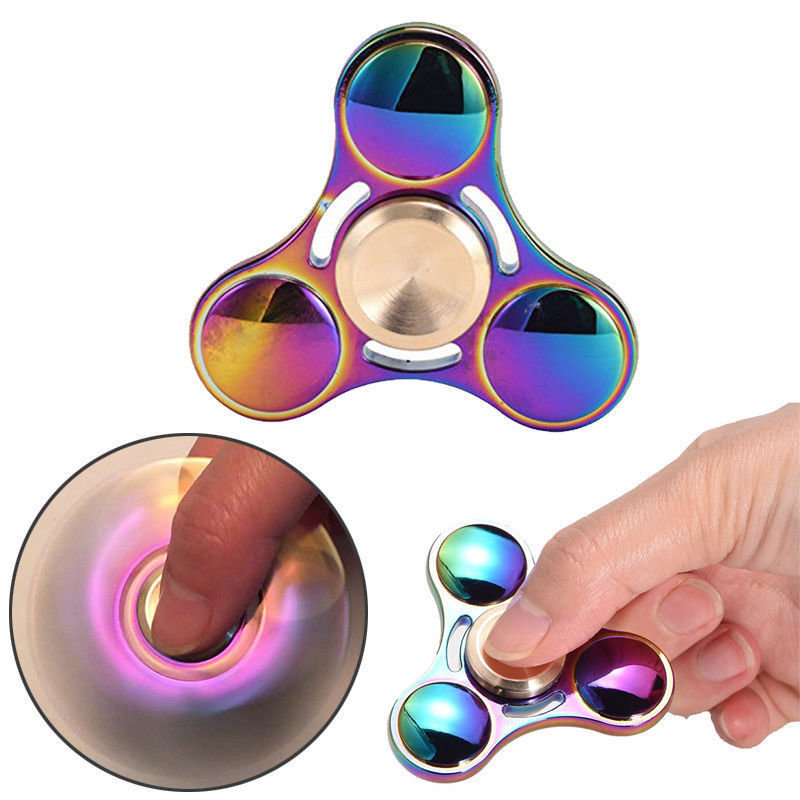
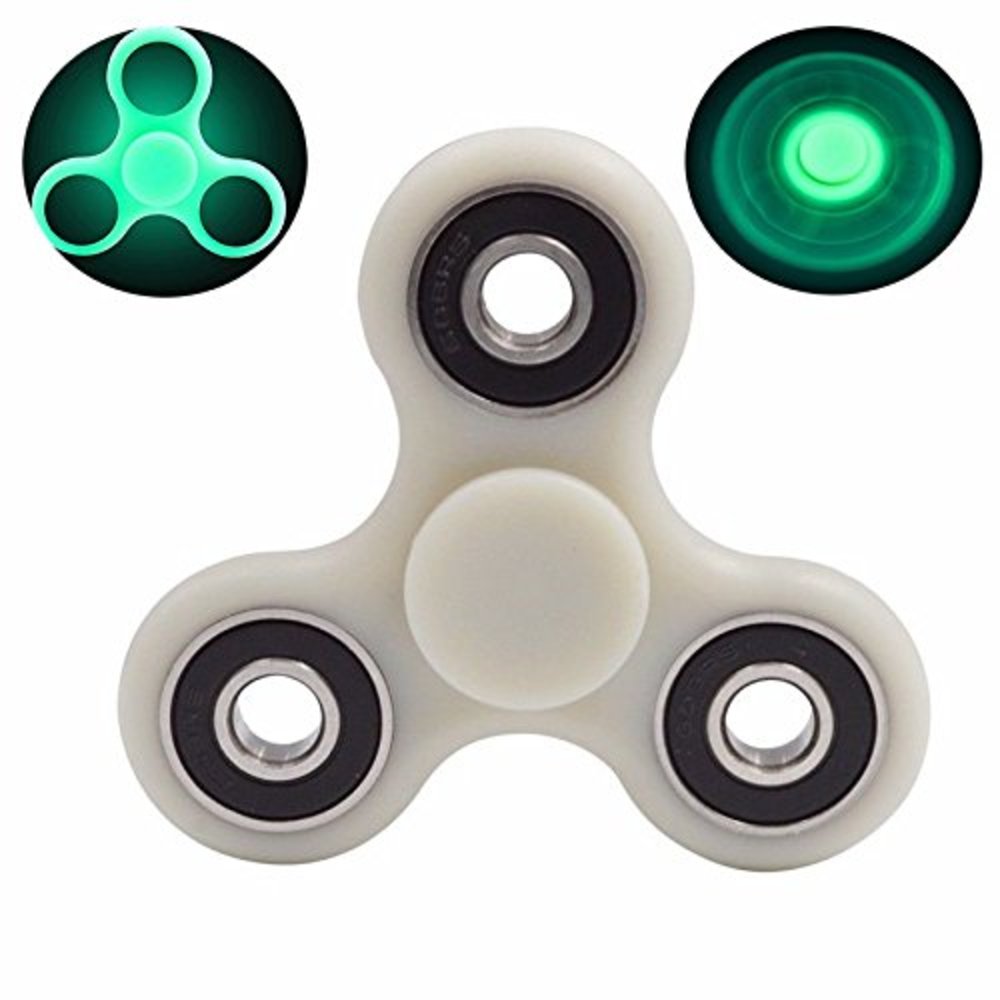
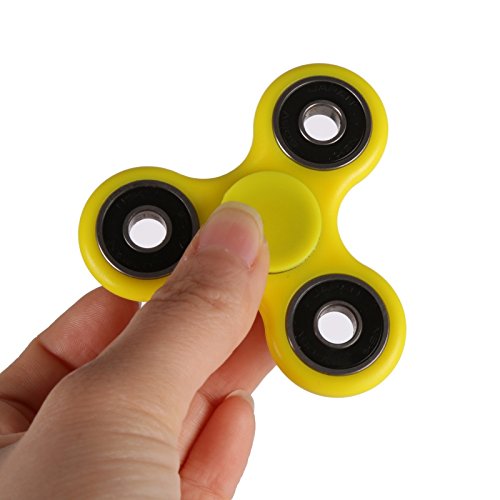
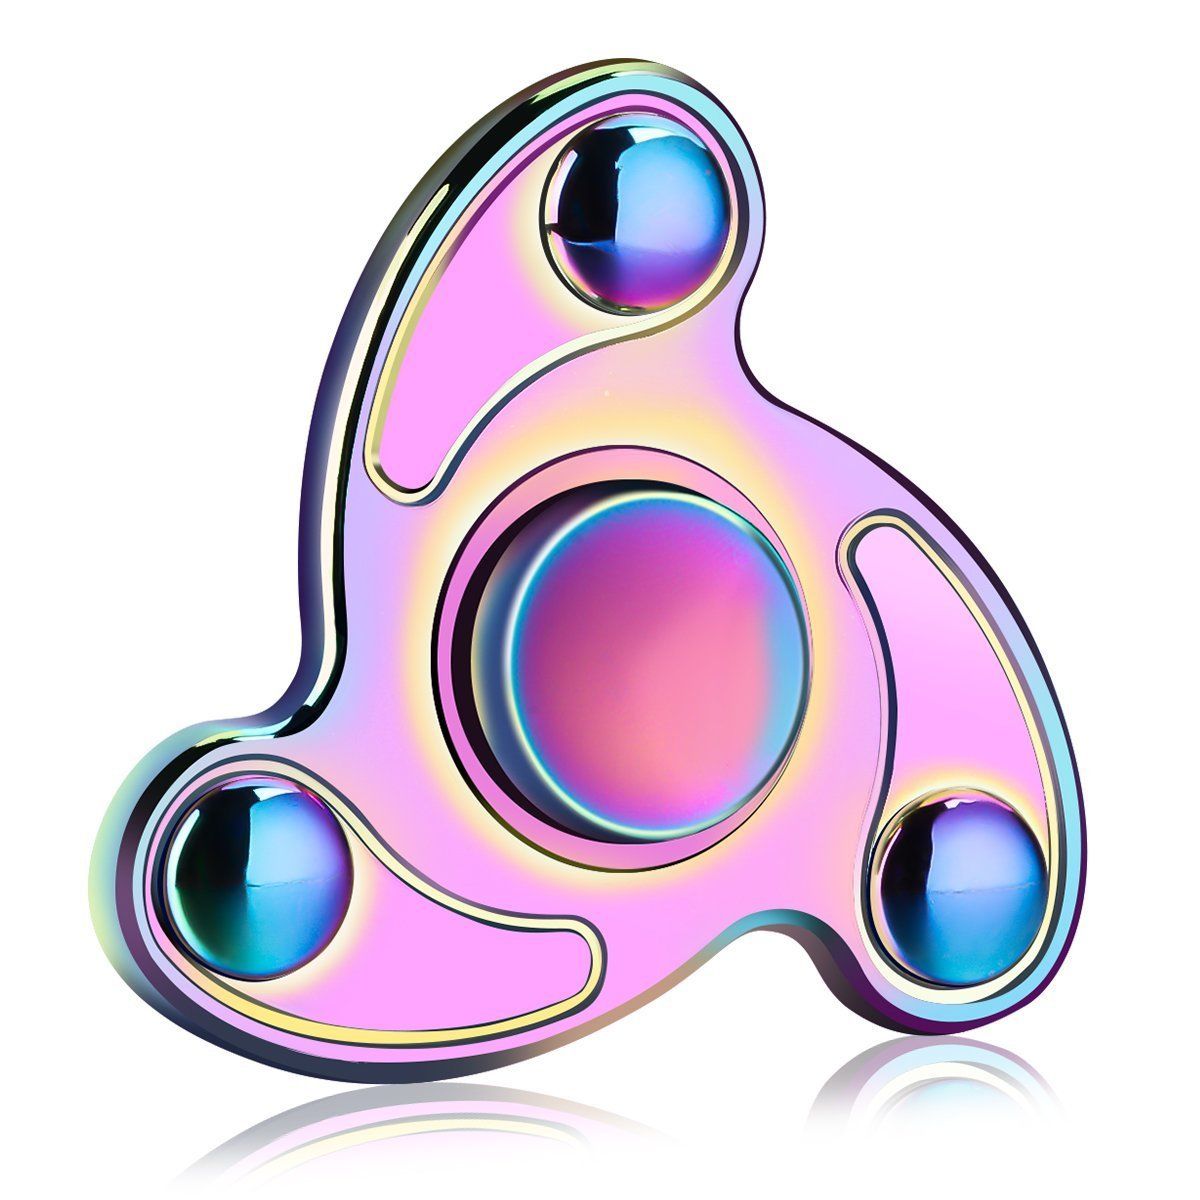
True, now toys are being upgraded with might and main, experimenting with colors, materials, shapes, speakers, and even embedding a Bluetooth system for synchronization with a smartphone. Spinners glowing in the dark are also very common.
Both adults and psychologists argue about the functionality and benefits of spinning gizmos. They have not yet come to a consensus, but most are inclined to believe that spinners have the following positive characteristics:
- Soothes in stressful situations;
- Helps to concentrate;
- Develops children's motor skills;
- It copes with nervous and mental stress;
- Becomes a great alternative to bad habits;
- Arouses the desire to collect and collect;
- Promotes interpersonal skills.
The danger of modern toys lies in its ever-growing popularity, as schoolchildren begin to invent and implement quite extreme tricks for the sake of spectacular videos. Turntables are also able to distract from learning, develop unhealthy competition.
However, if a child or an adult has the idea to create a spinner with his own hands, then we can only talk about its undoubted benefits. Indeed, in the process, motor skills, logical thinking will definitely develop, and imagination and creative abilities will reach a new level.

Instructions on how to make a do-it-yourself spiner
Mentally, the whole process of creating a spinner can be divided into four stages: thinking over the design of the toy, drawing up a drawing and diagrams, preparing the necessary materials, and working directly on the product.

Each stage is important, so consider them in more detail.
Step 1 - Thinking Over the Model
Here you need to decide what your future spinner will be: classic or unusual, paper, plastic or iron, simple or complex, and so on.

Based on this, an algorithm for further actions will be built.
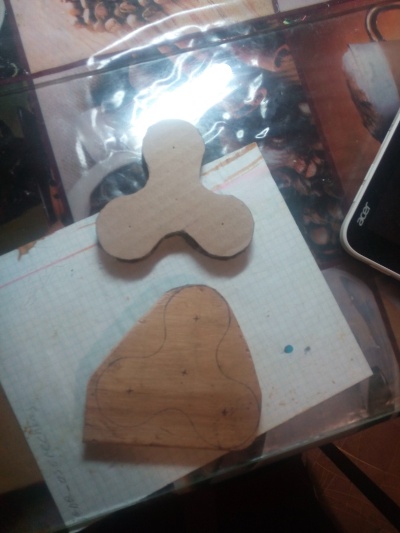
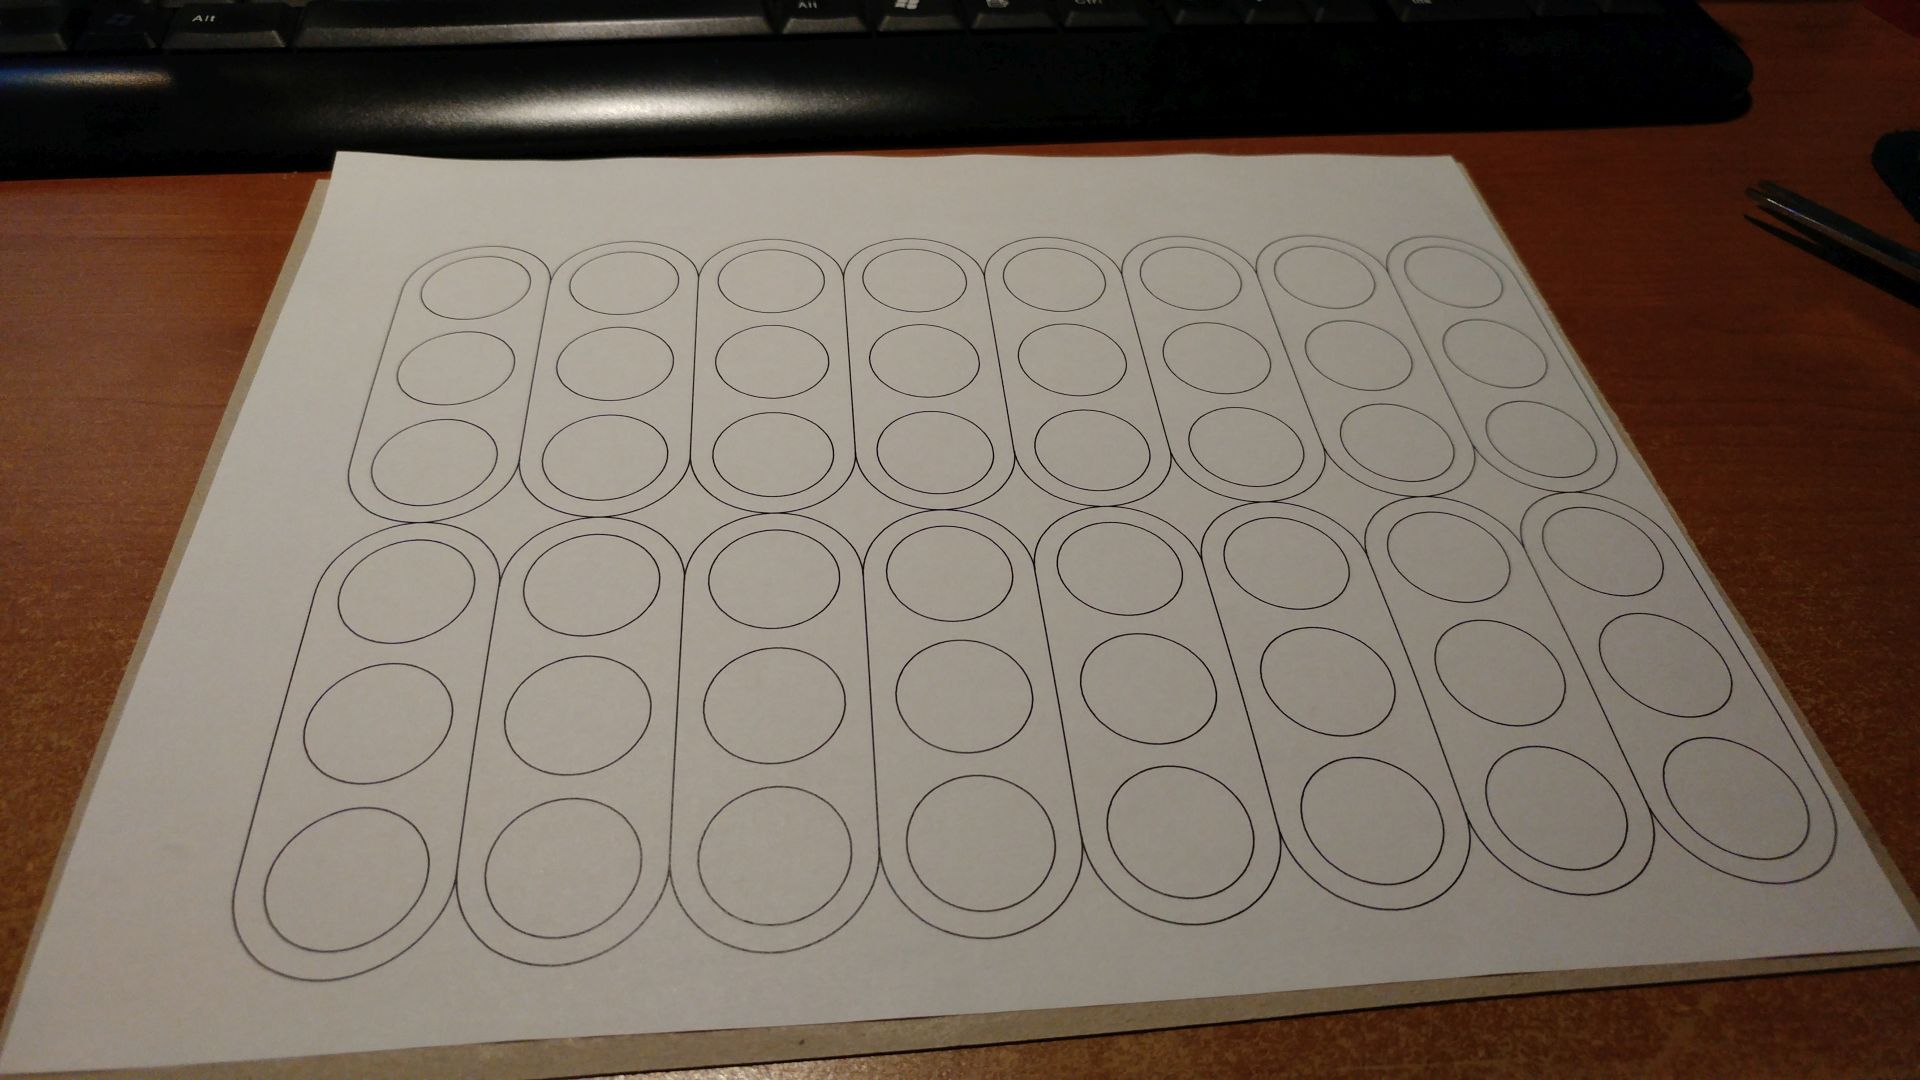
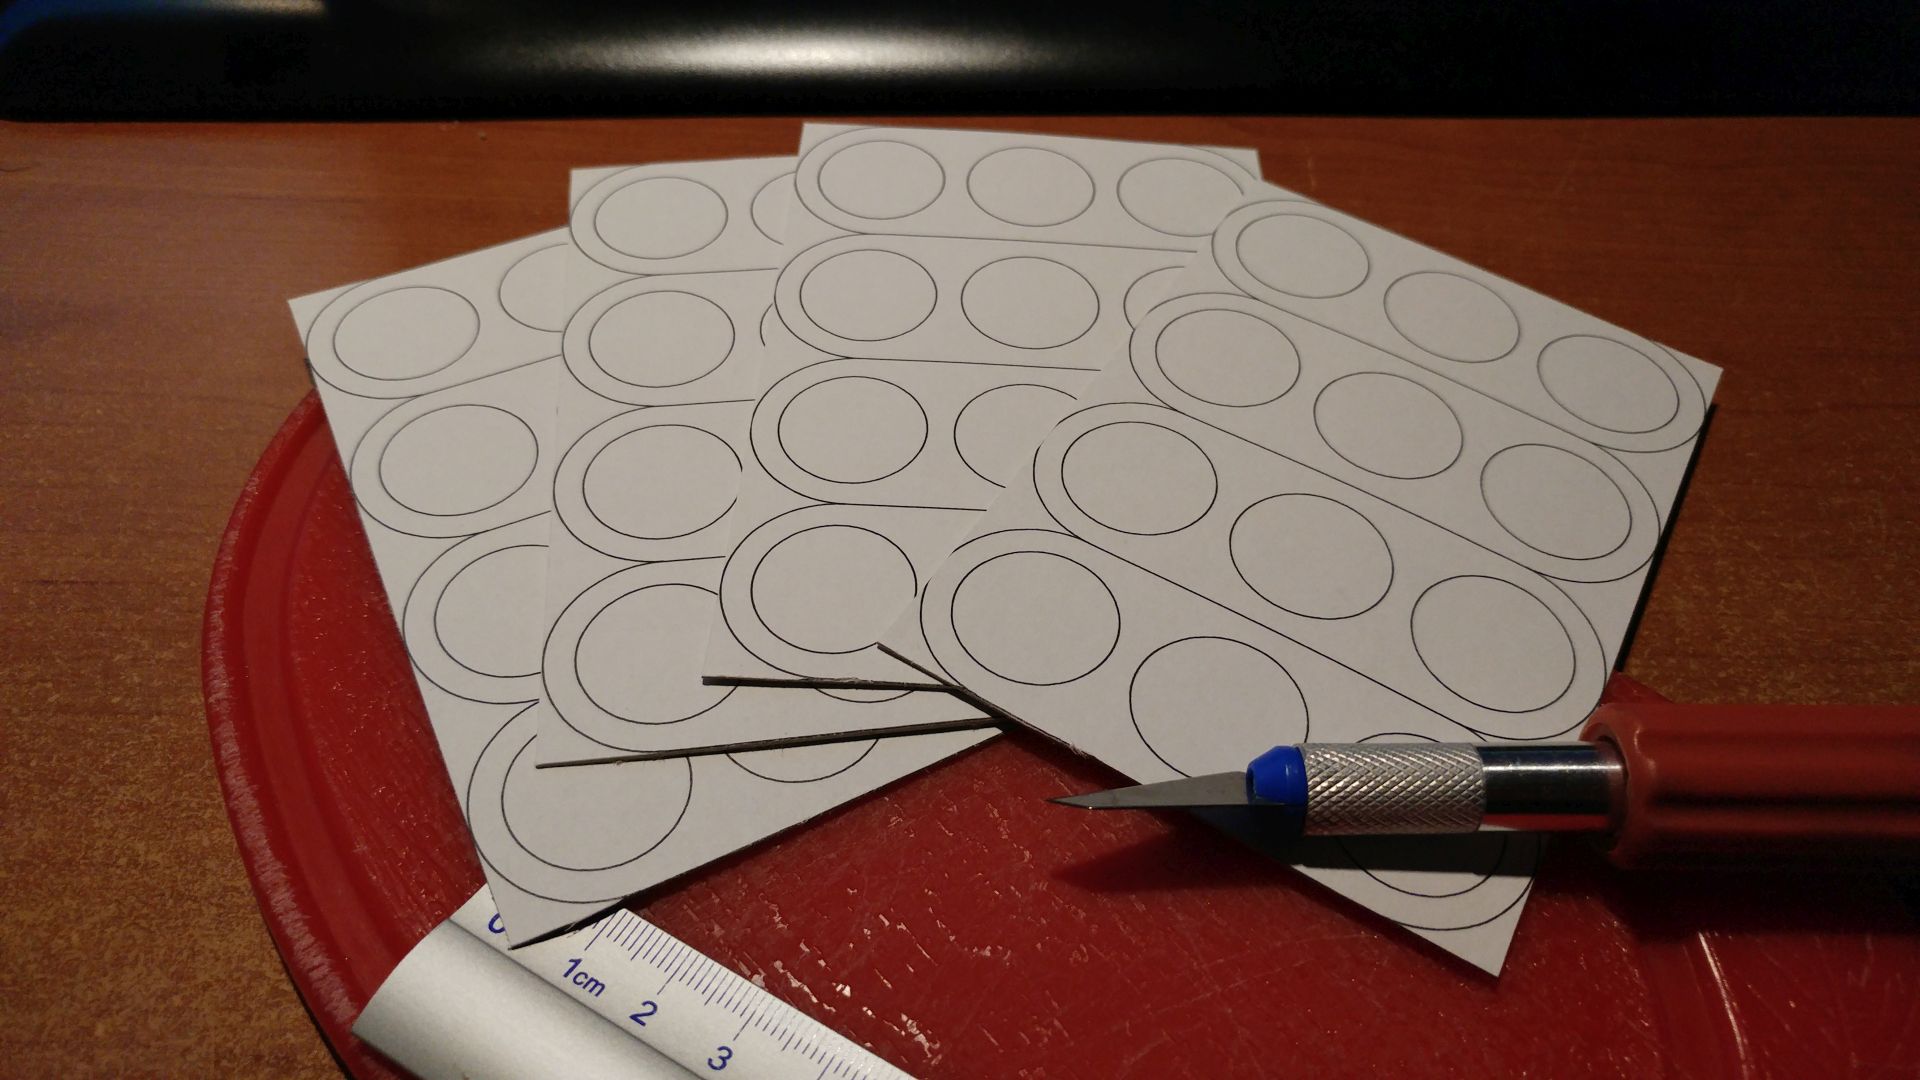
Step 2 - Making a Drawing
One cannot count “by eye”, therefore it is better to display your imagination on cardboard and recall drawing skills.

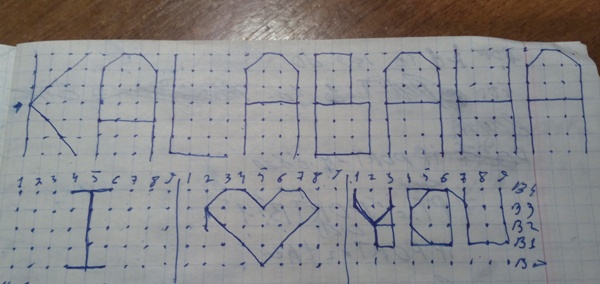
If you don’t like working with pencil and paper, then go the easy way and look for ready-made schemes on the Internet, print out what you like and start preparing materials.
Step 3 - Putting It All Together
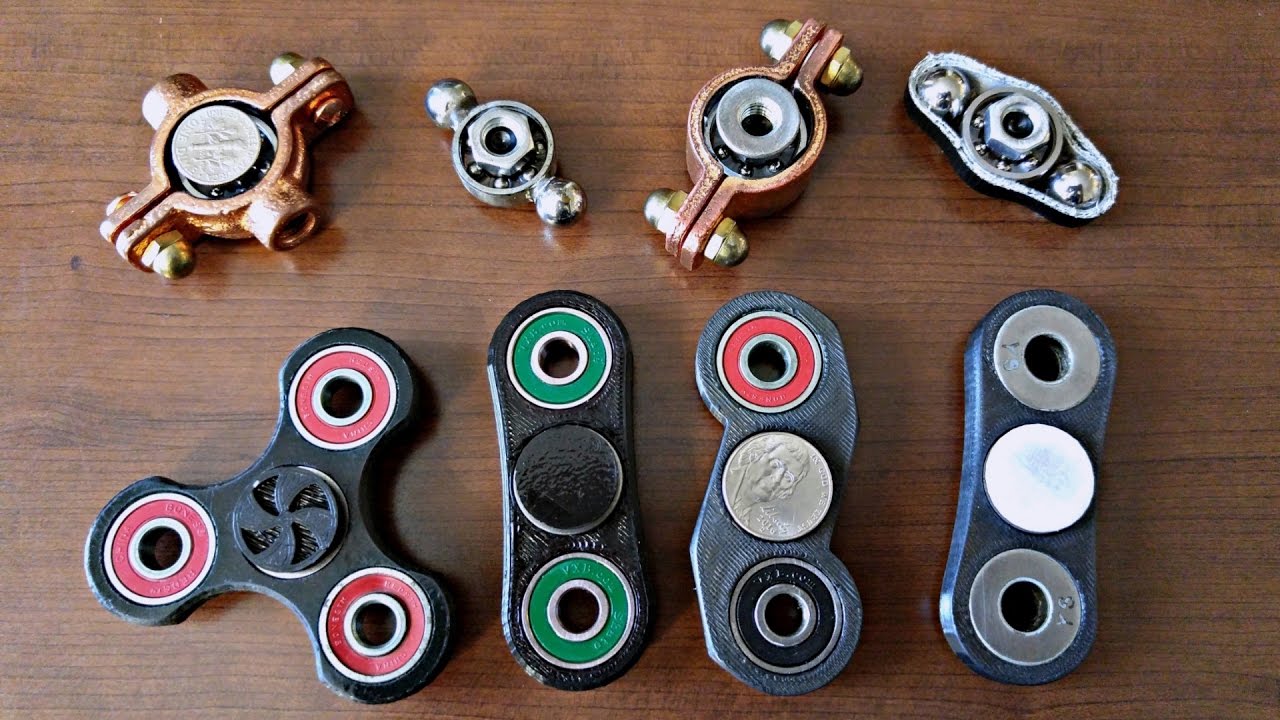
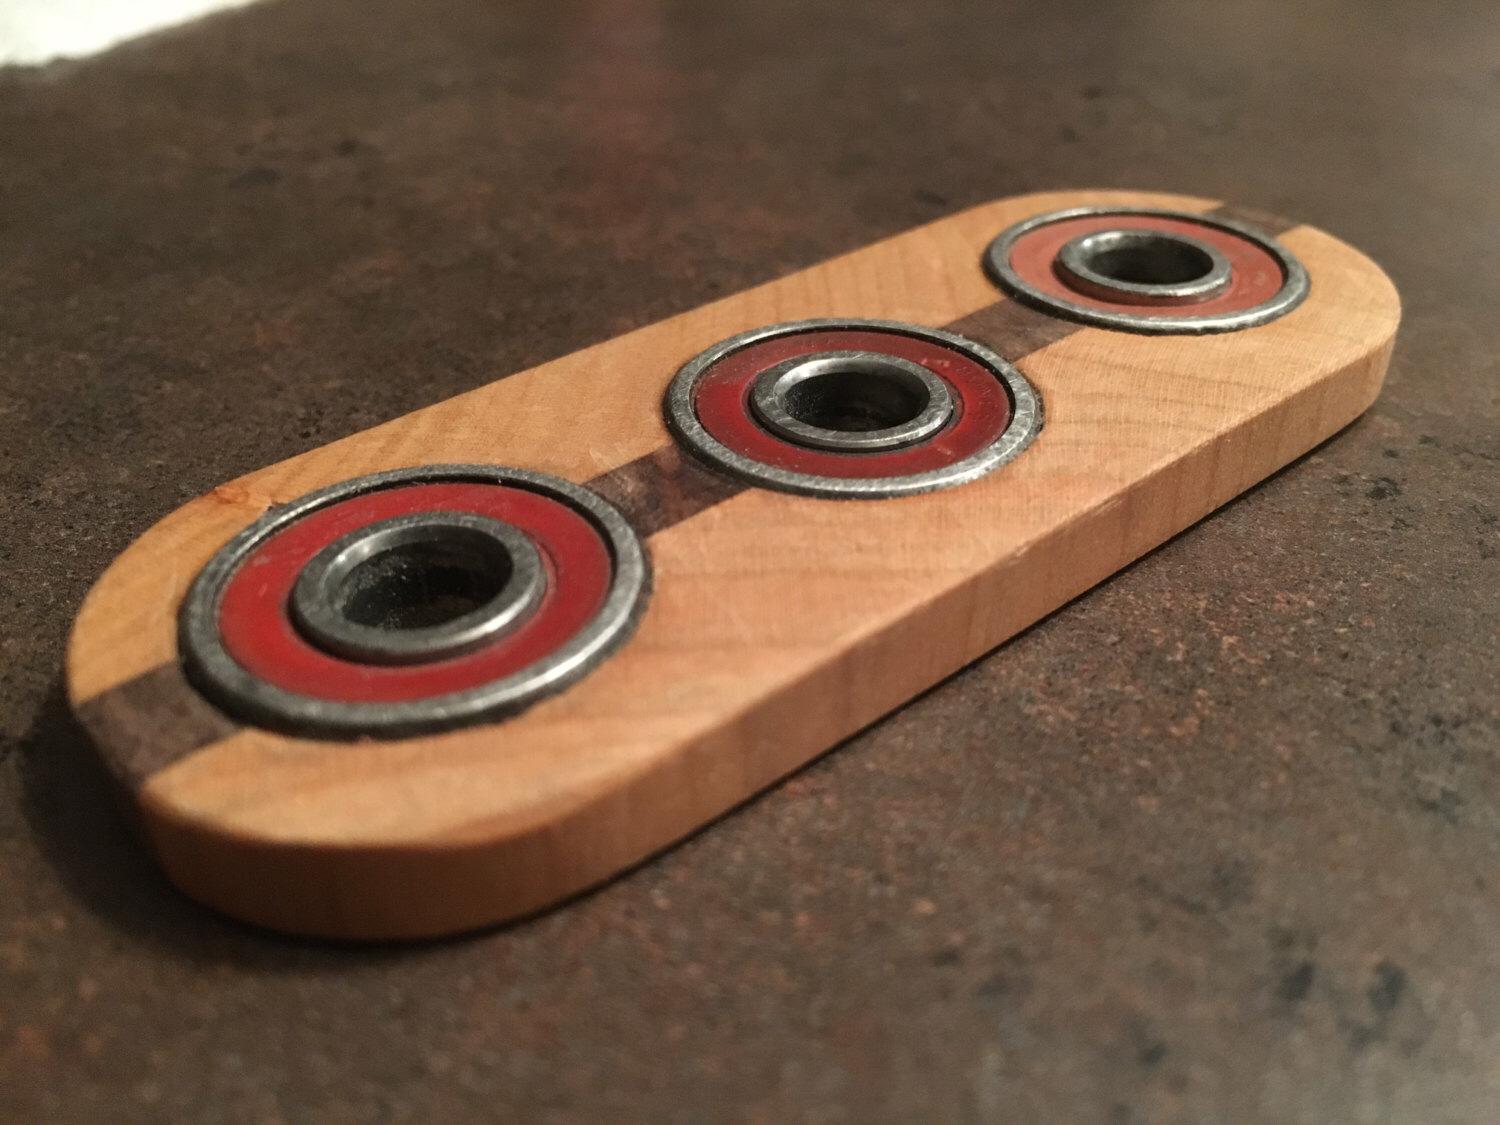
The materials from which you can build a spinner are striking in their variety, which allows you to choose the most suitable option.So, the basis can be paper, cardboard, electrical tape, chips, coins, solid wood, a children’s designer or soda caps.
“Tools” will help in translating fantasy into reality:
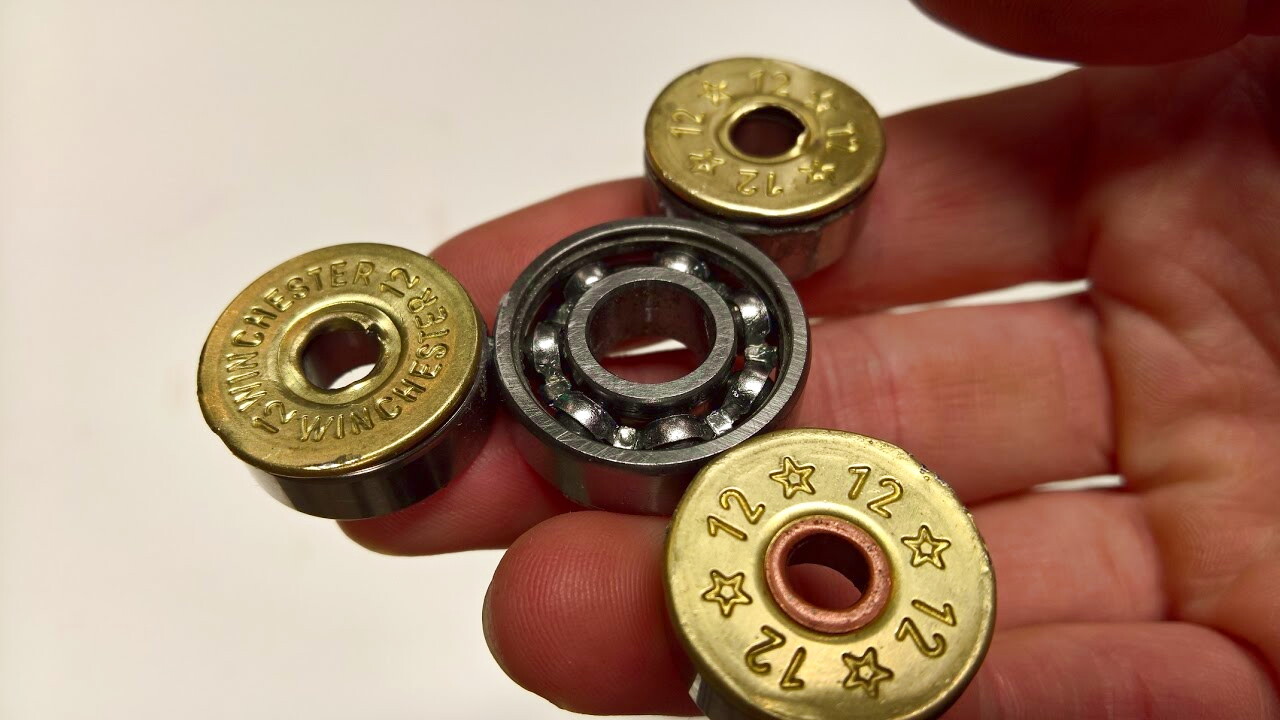
- Bearings;
- Scissors or stationery knife;
- Pen, pencil or felt-tip pen;
- Adhesive suitable for the type of material;
- Jewelry (rhinestones, gouache, stickers, etc.);
- Devices for working with wood (centimeter, hacksaw, jigsaw, chisel, sandpaper, drill, etc.)
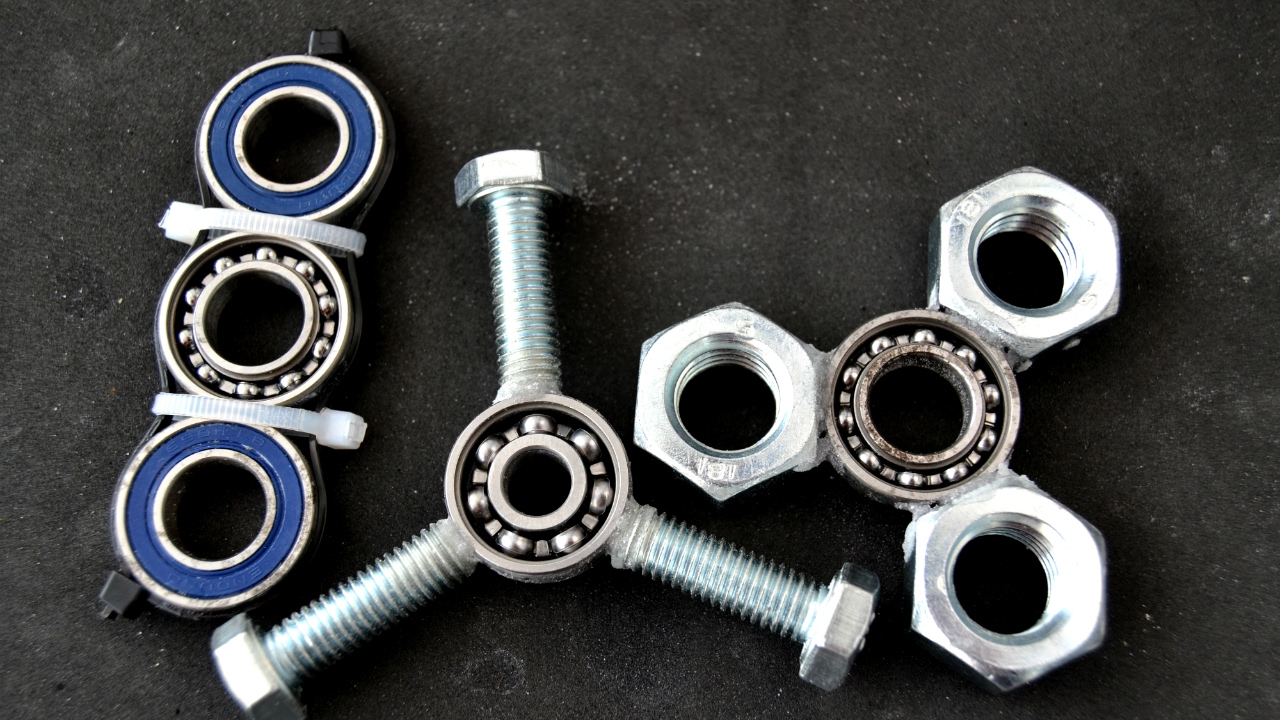
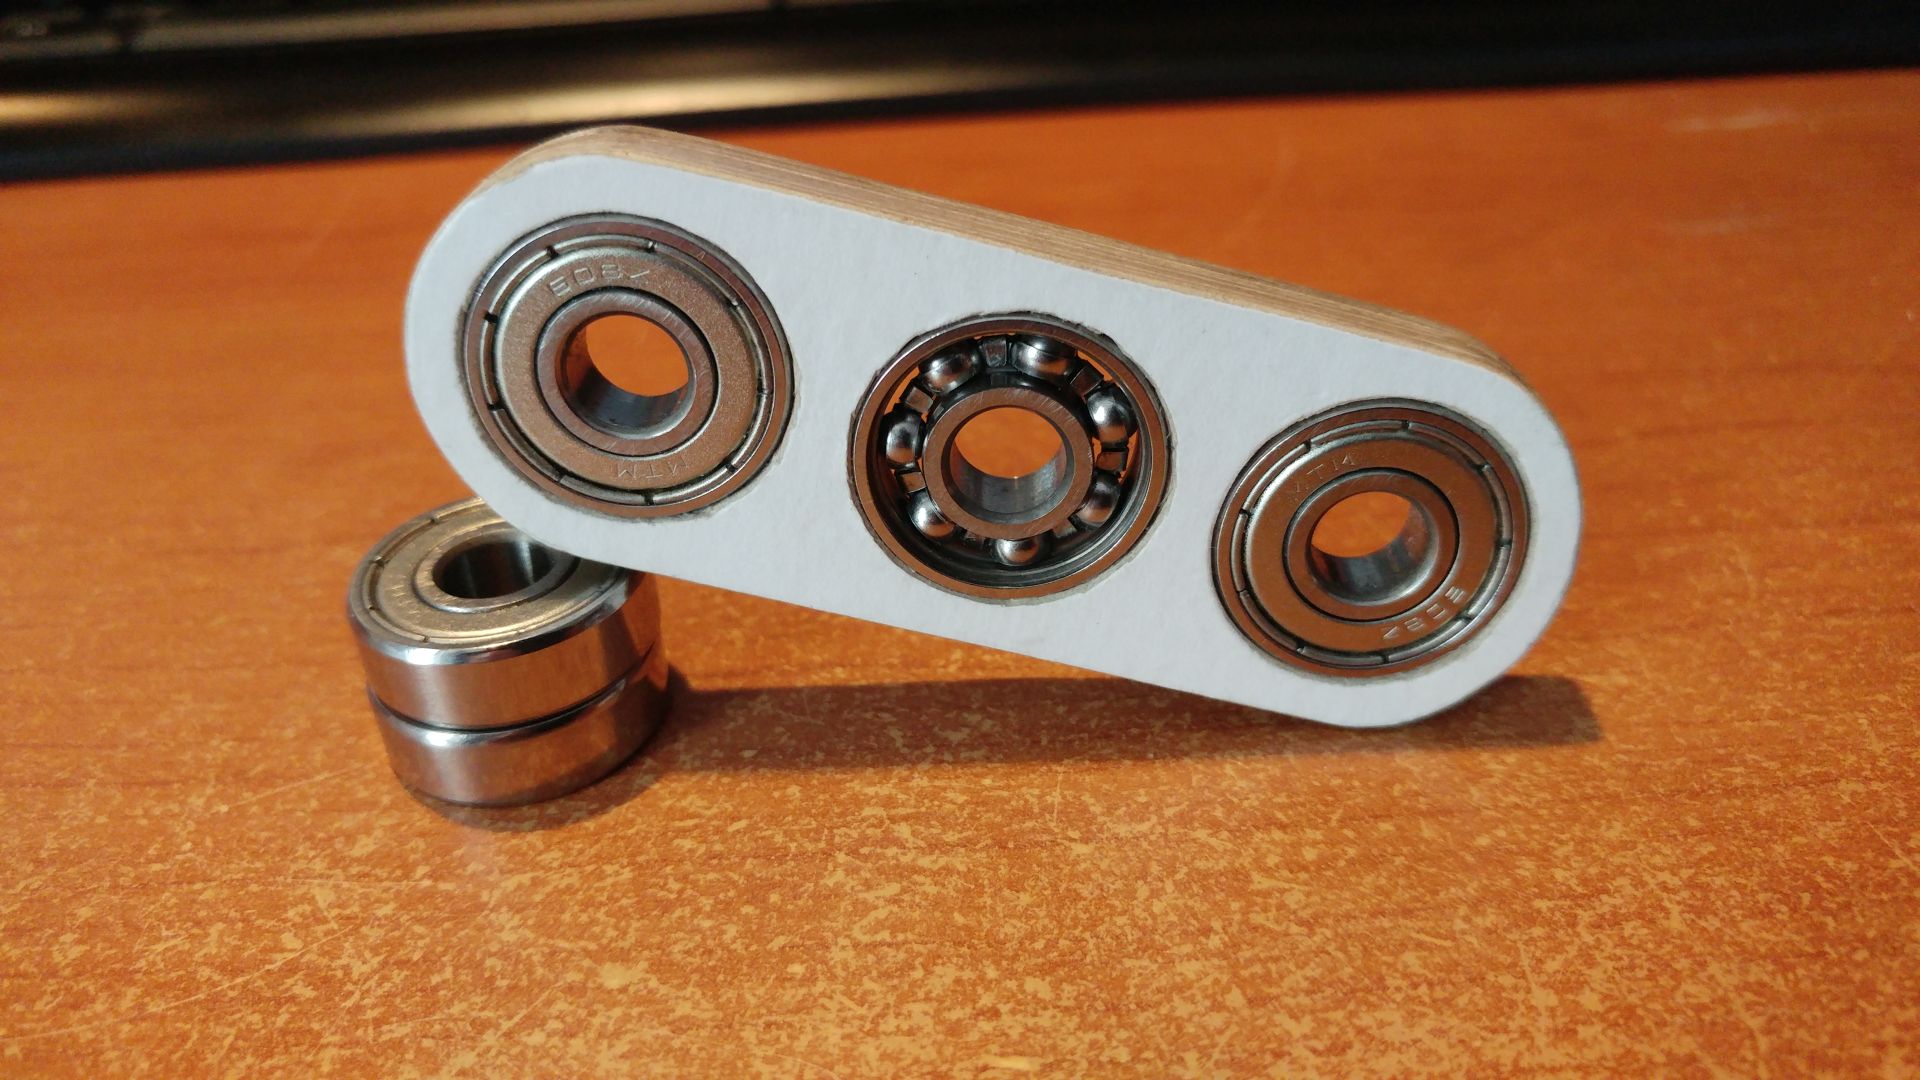
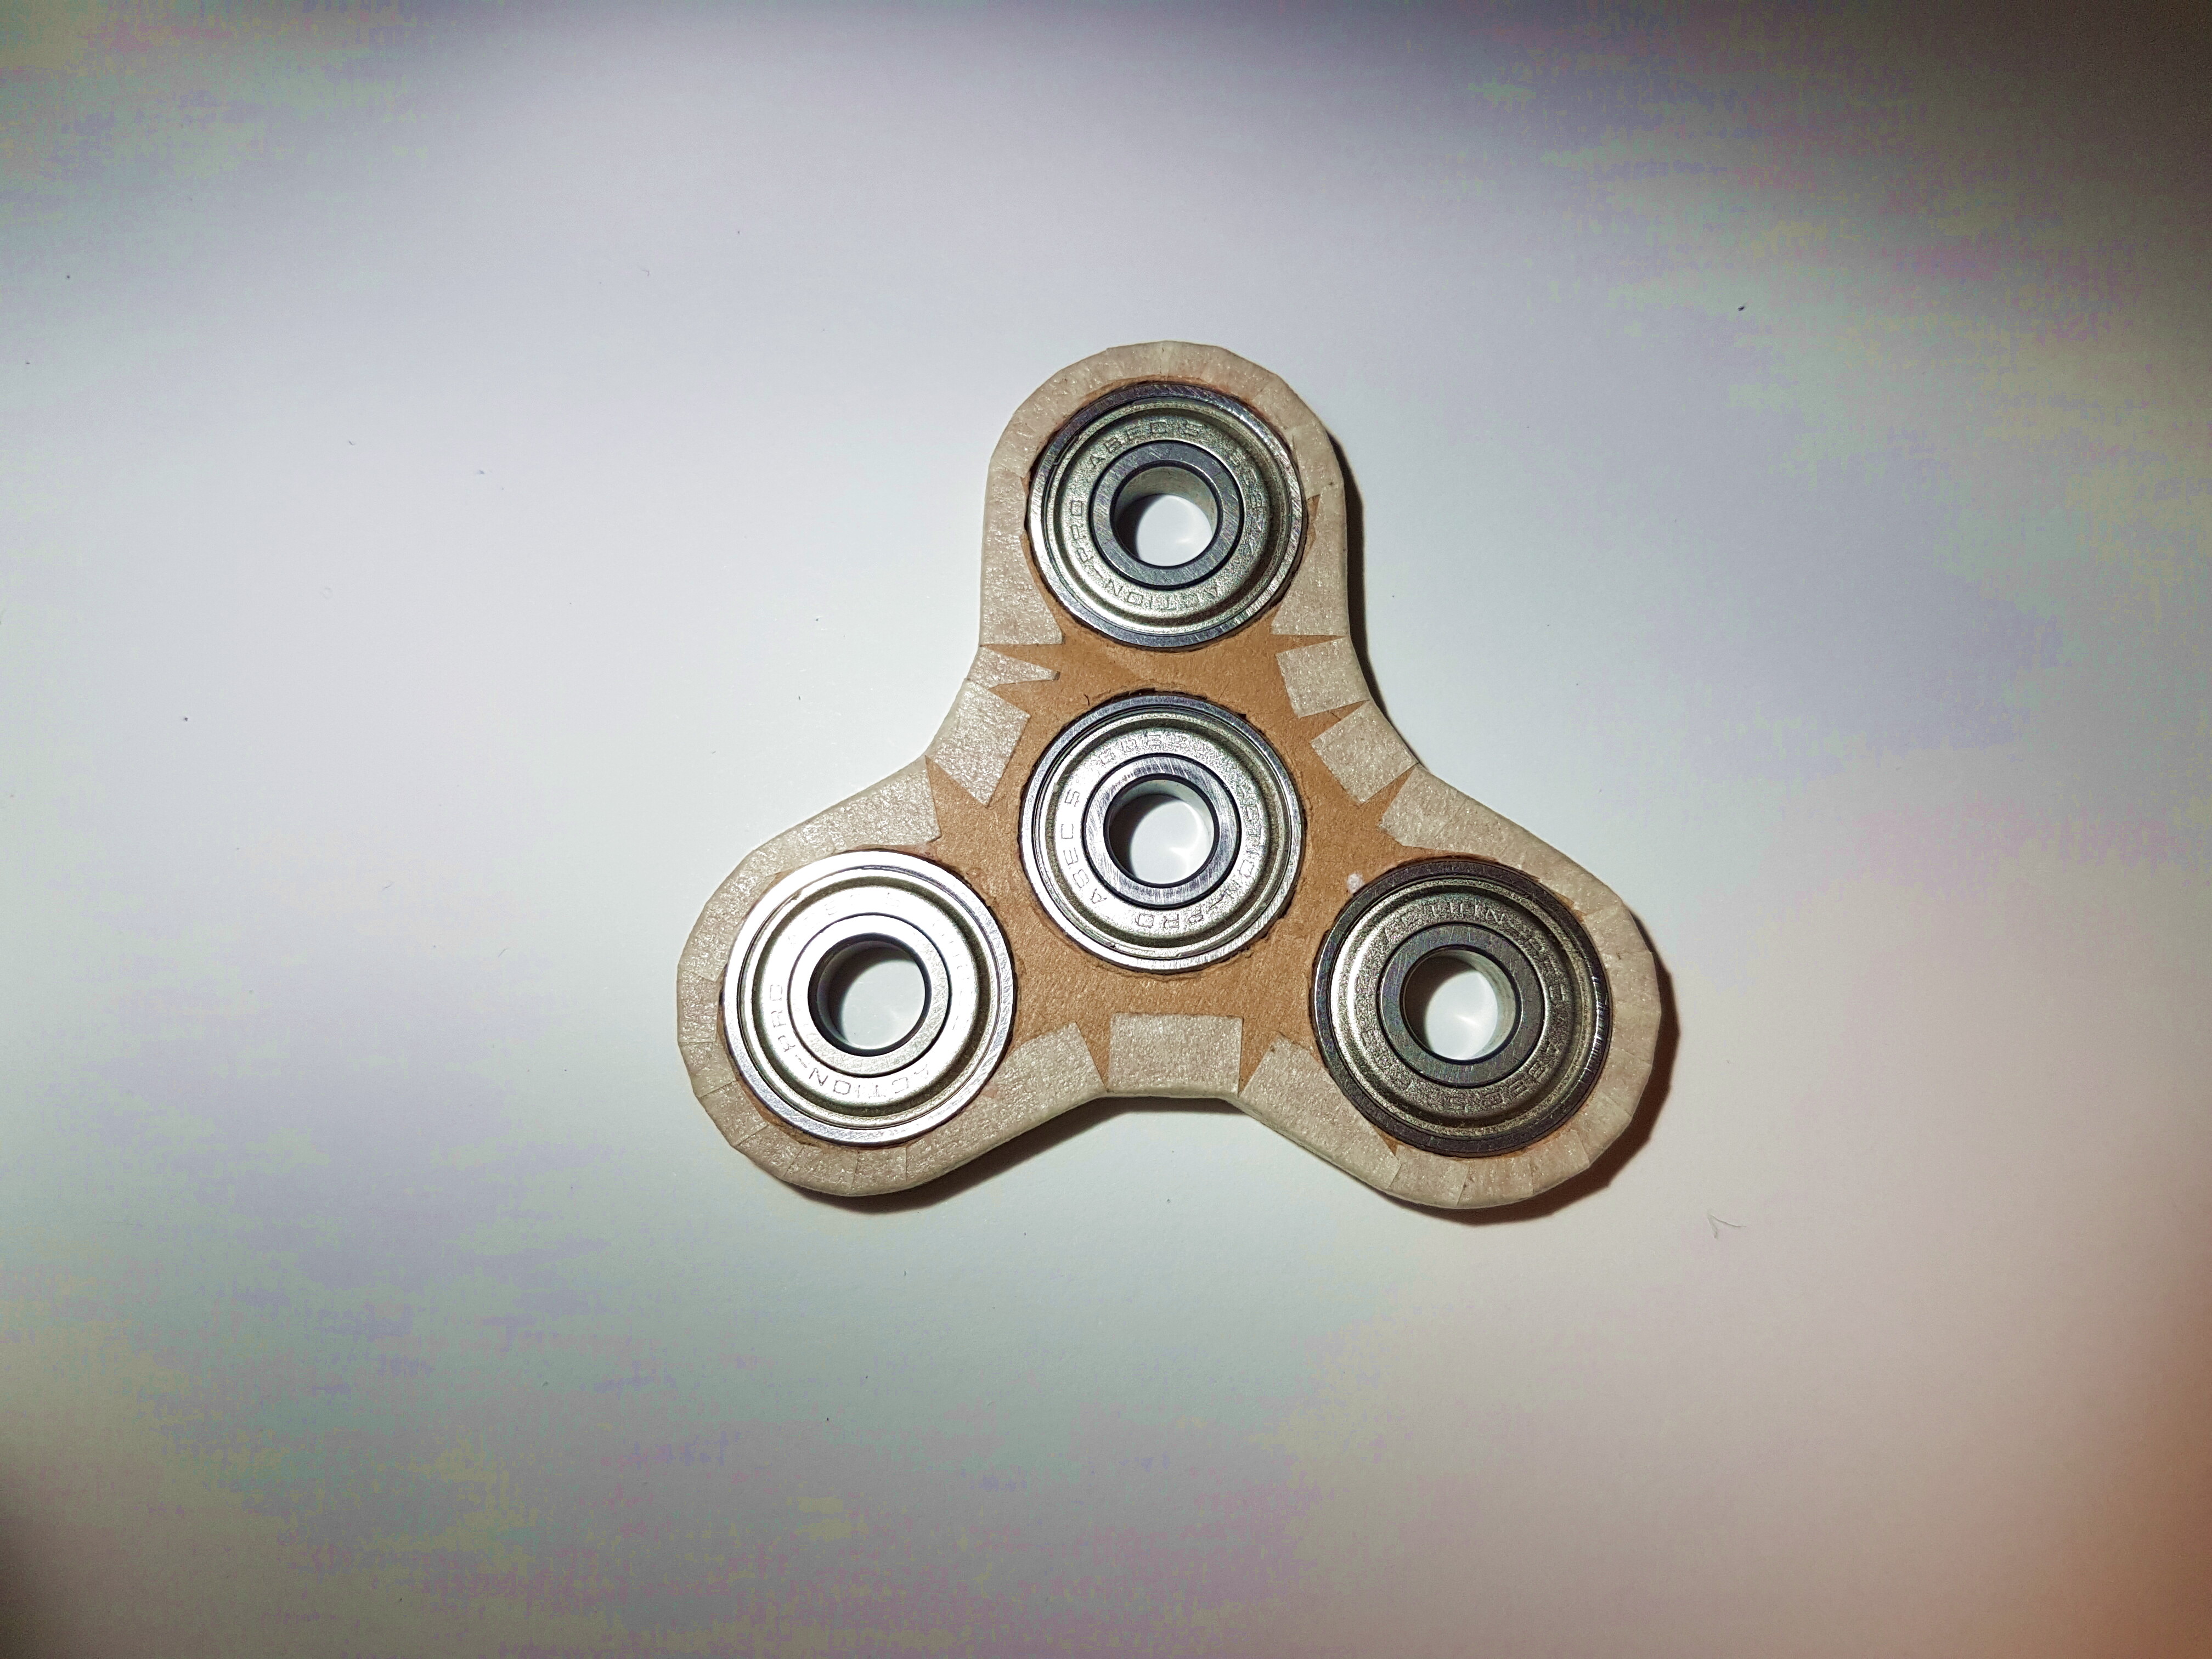
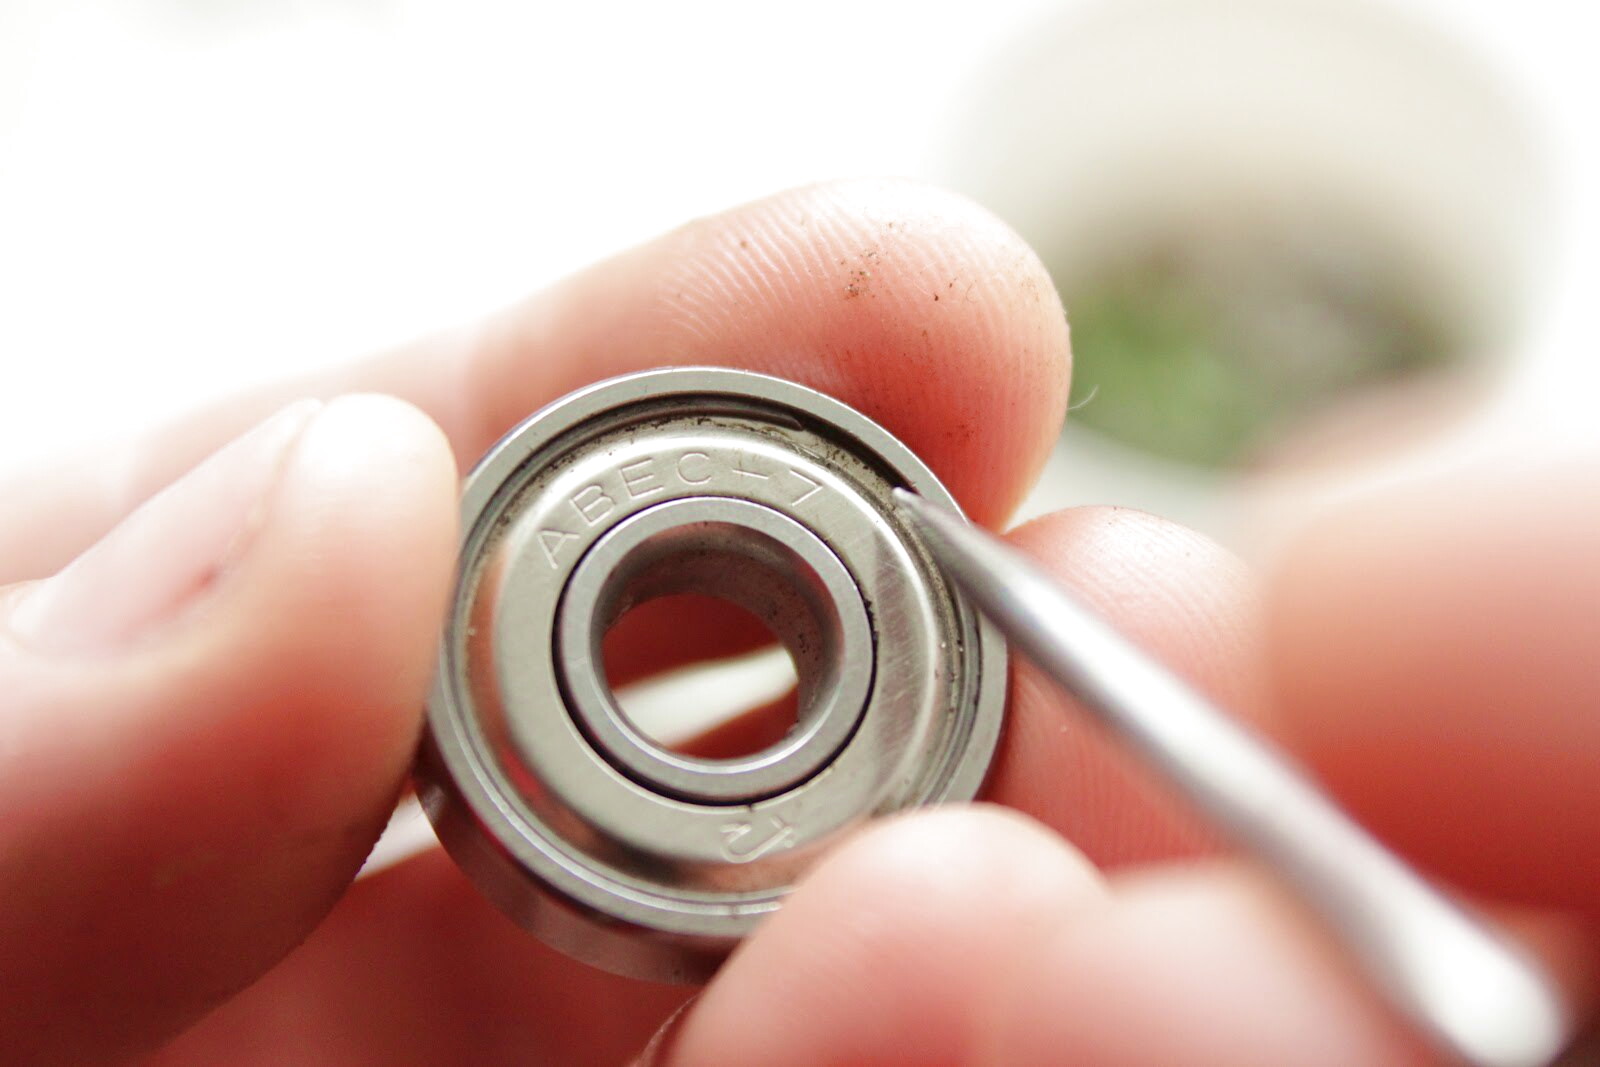
The bearing can be removed from an old skateboard, a bicycle of non-functioning equipment (washing machine, printer, fan) or bought in a store where its price usually varies between 20-50 rubles. The diameter of the part is proportional to the size of the future toy, and the value of 2 cm is considered universal.

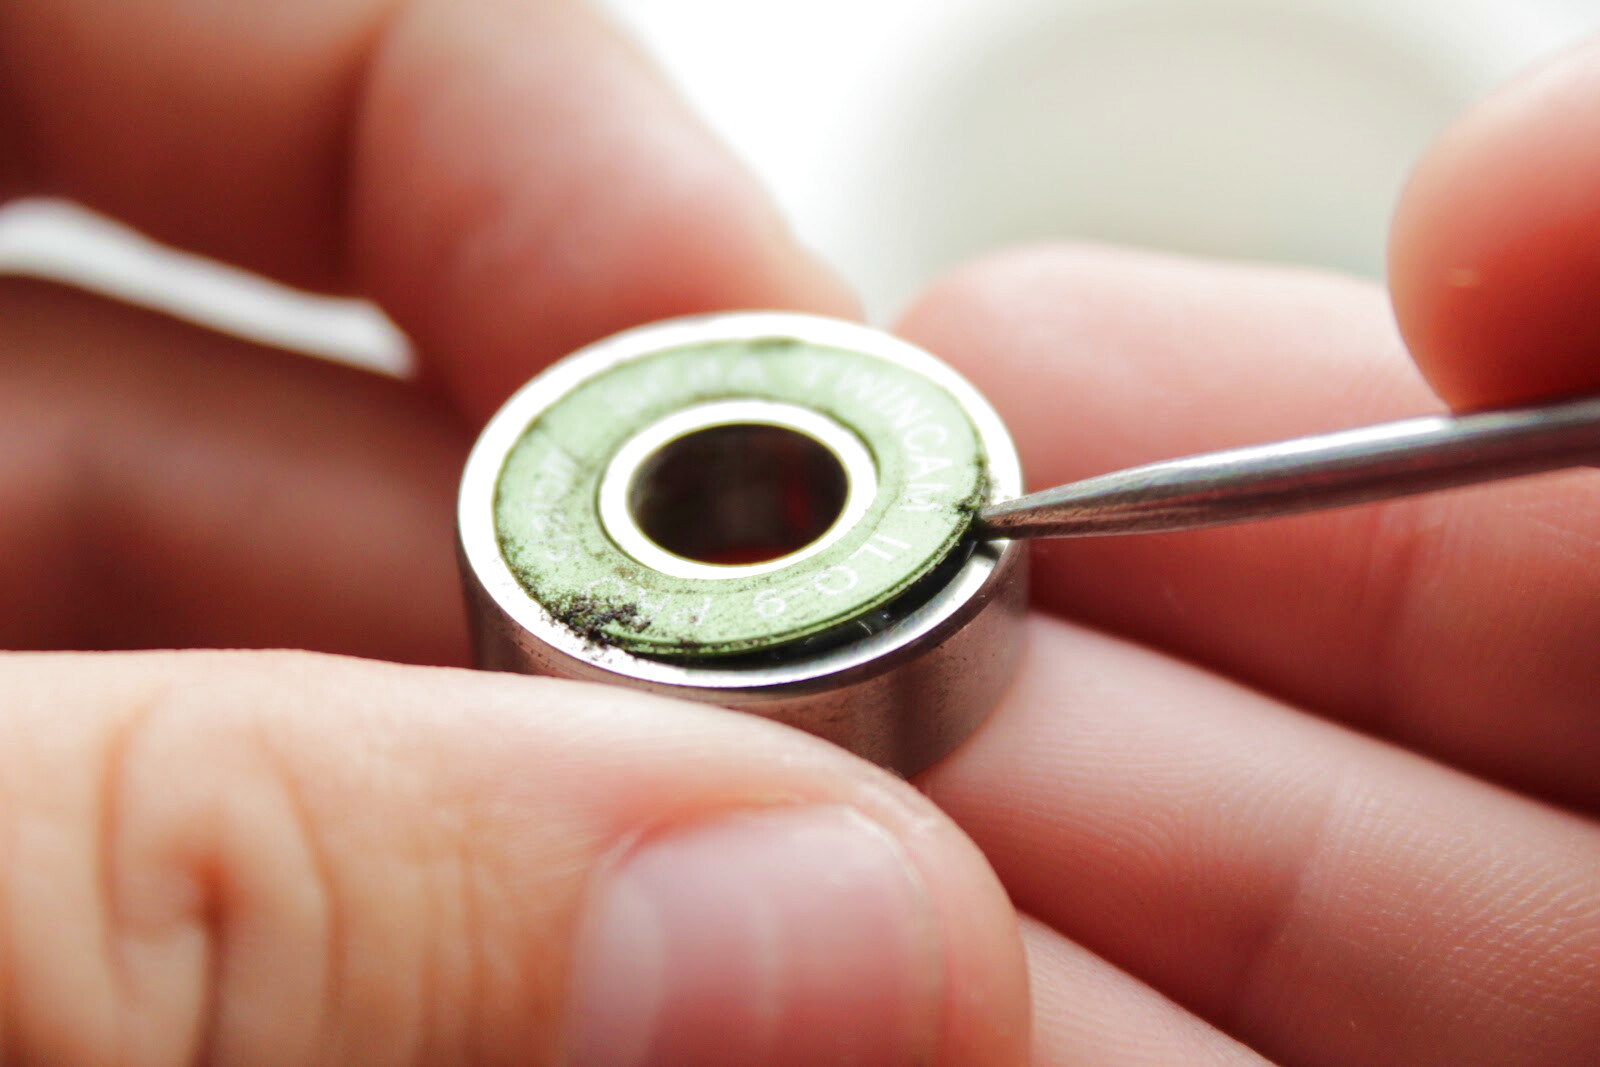
It is important to properly prepare the materials to enhance the capabilities of the product. So, bearings bought in a store should be eliminated from factory lubrication, since it is harmful to a toy: it gets dirty on hands and slows down rotation.
Extraneous plaque is removed simply: the dust rings are removed, the bearings are poured with gasoline to an unnecessary capacity and left in the liquid for several minutes, during which it is recommended to shake them.
Step 4 - Getting Started
When the choice is made and the tools are assembled, you can begin to work. Below are the simplest and lightest spinner designs, having understood the device of which, it will be easy to improve the technique with other materials.
Note!


Paper spinner
In the simplest model of the turntable, bearings are replaced with an axis, and a solid housing with paper or cardboard. Making a spinner out of paper is quick and easy:
- Prepare two paper squares 15x15 cm (preferably different colors), a toothpick and caps-clips from the pen cap;
- Fold each square in half, and then bend their corners diagonally;
- Place two parts on top of each other so that they are perpendicular
- Bend the triangles inward as follows: first right, then upper, then left, and lower wrap under the very first;
- Pierce the middle with a toothpick, widening the hole by 1 mm;
- Secure the rod with clamps on both sides of the axle and cut off the excess ends.
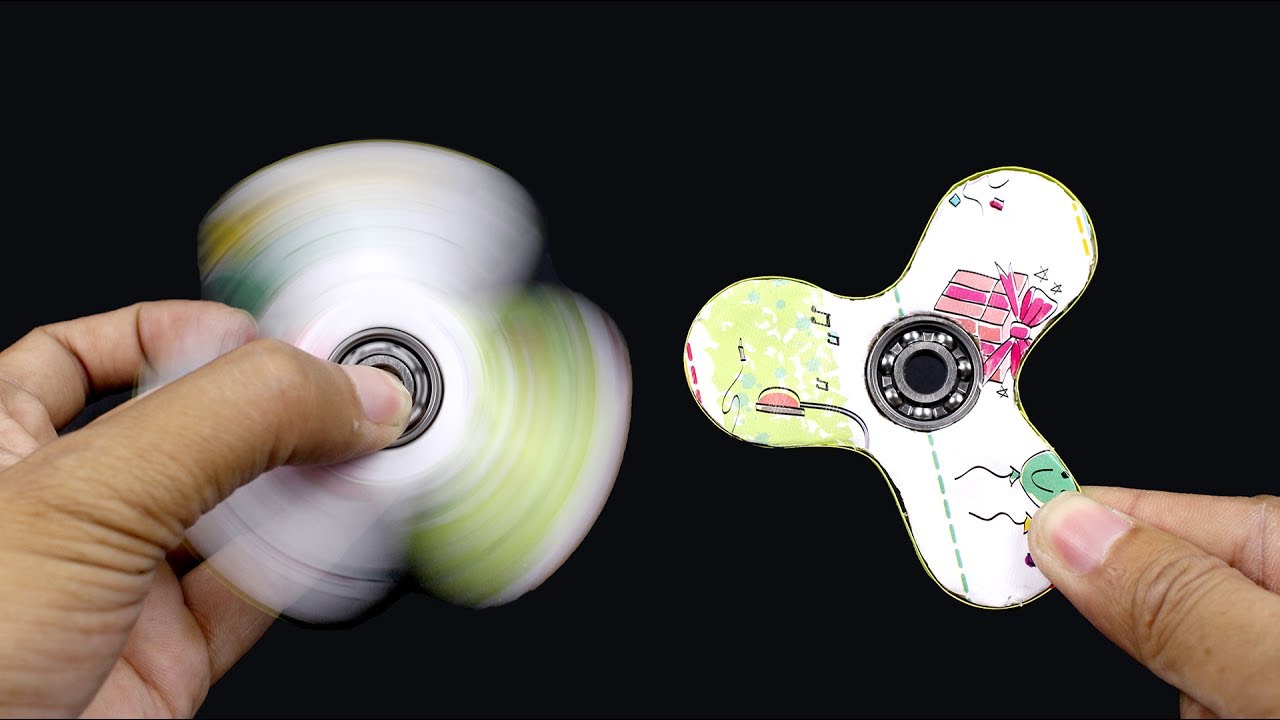
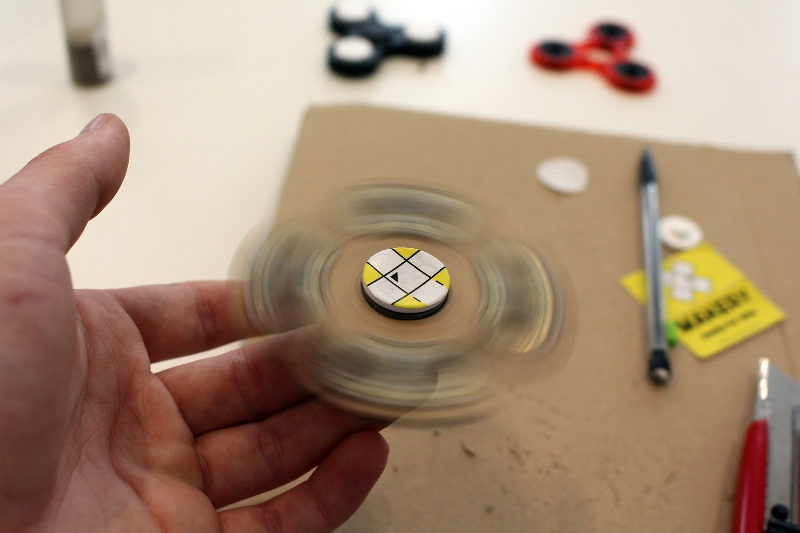
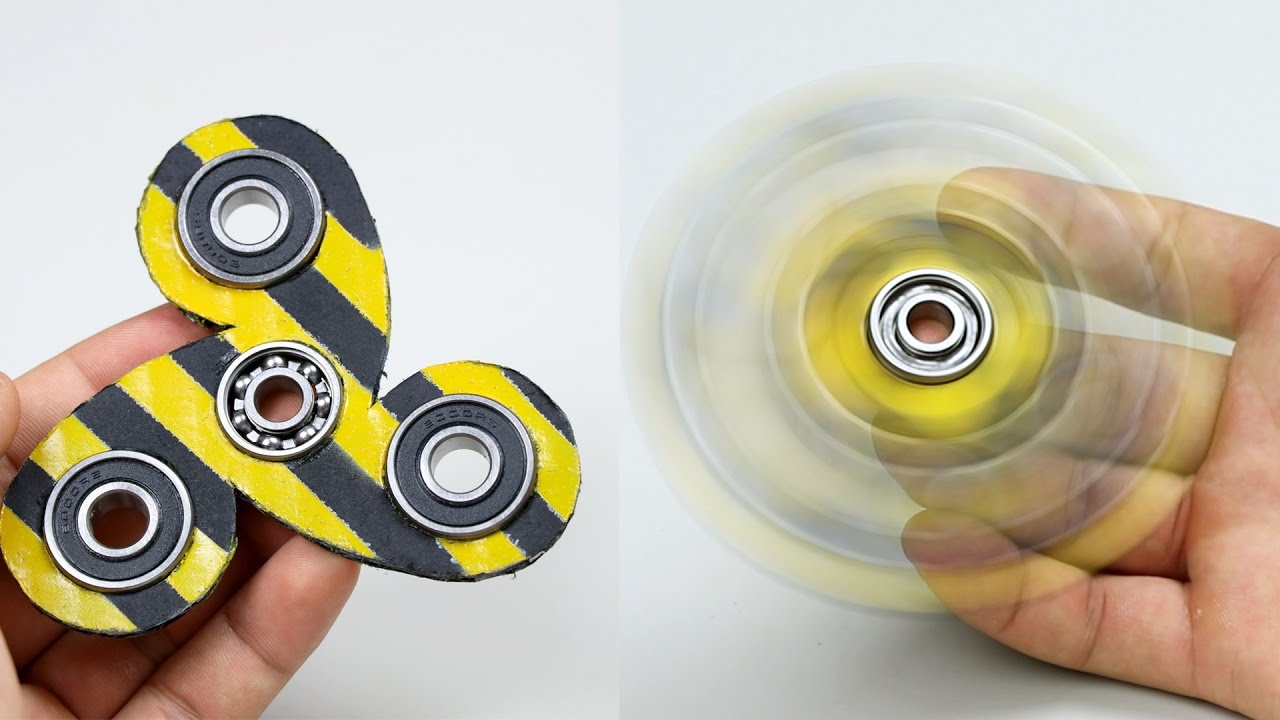
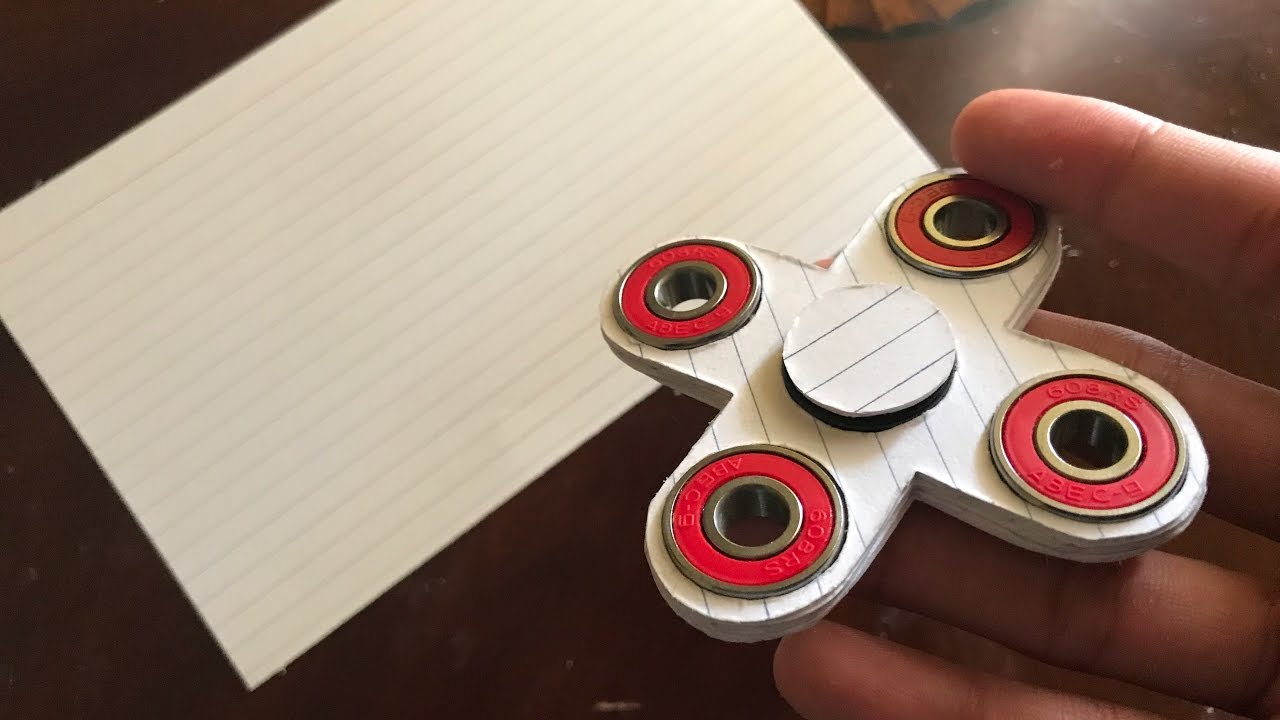
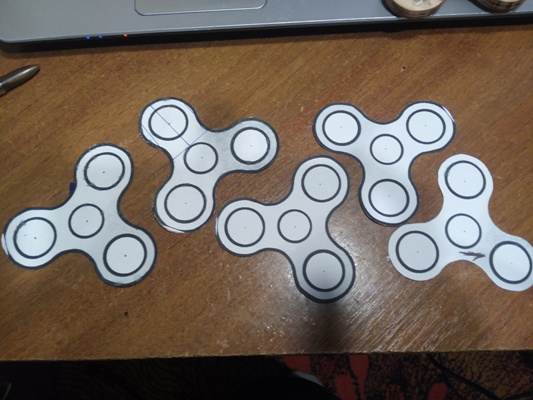
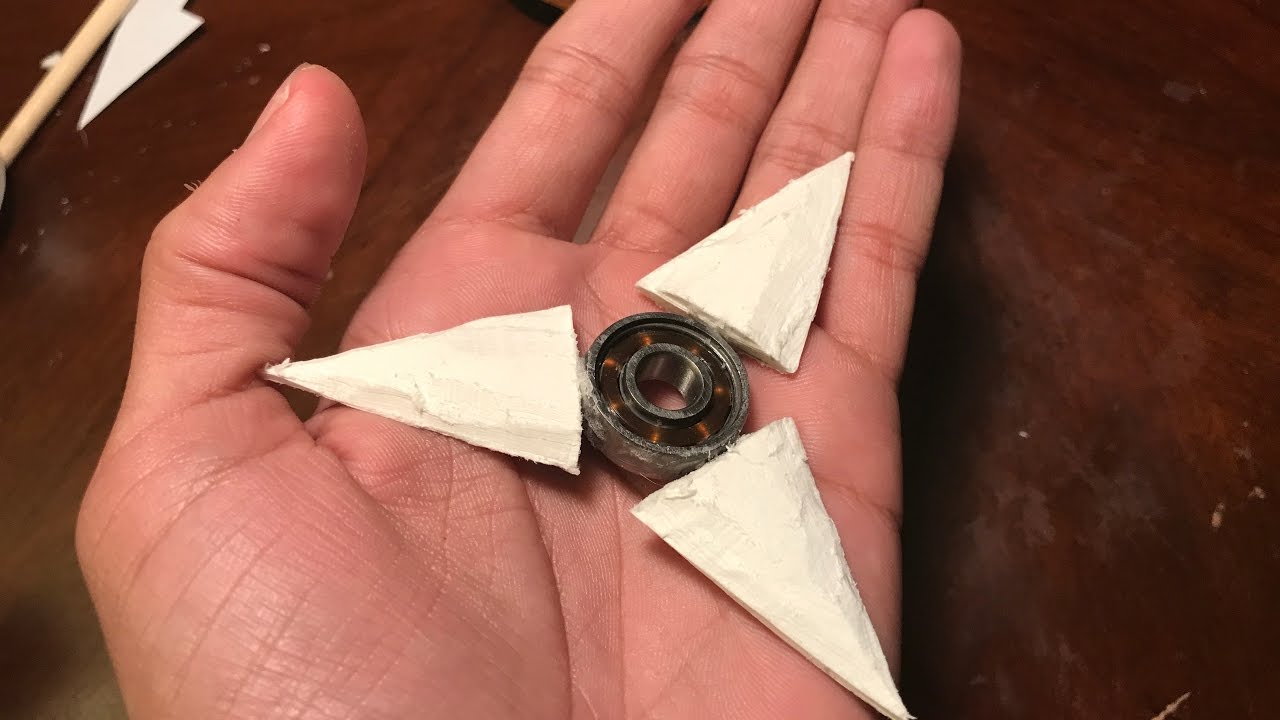
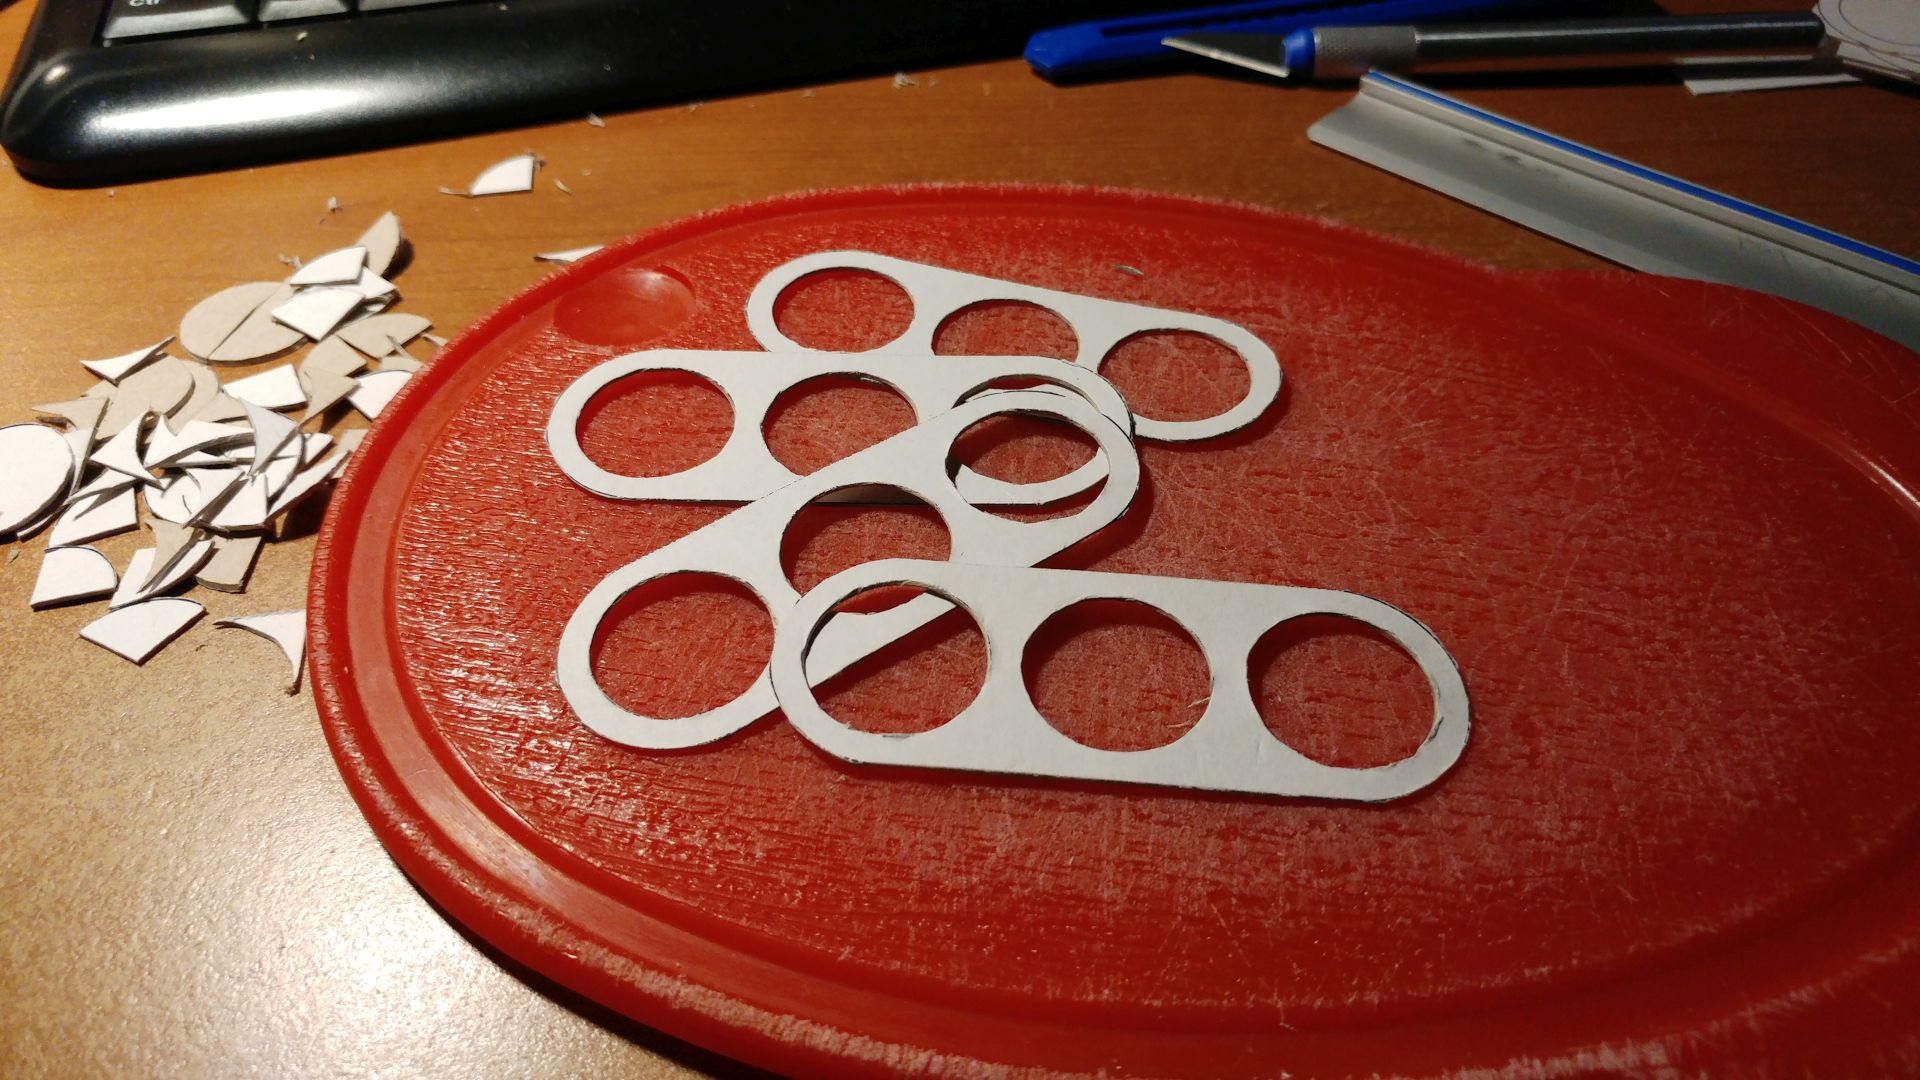
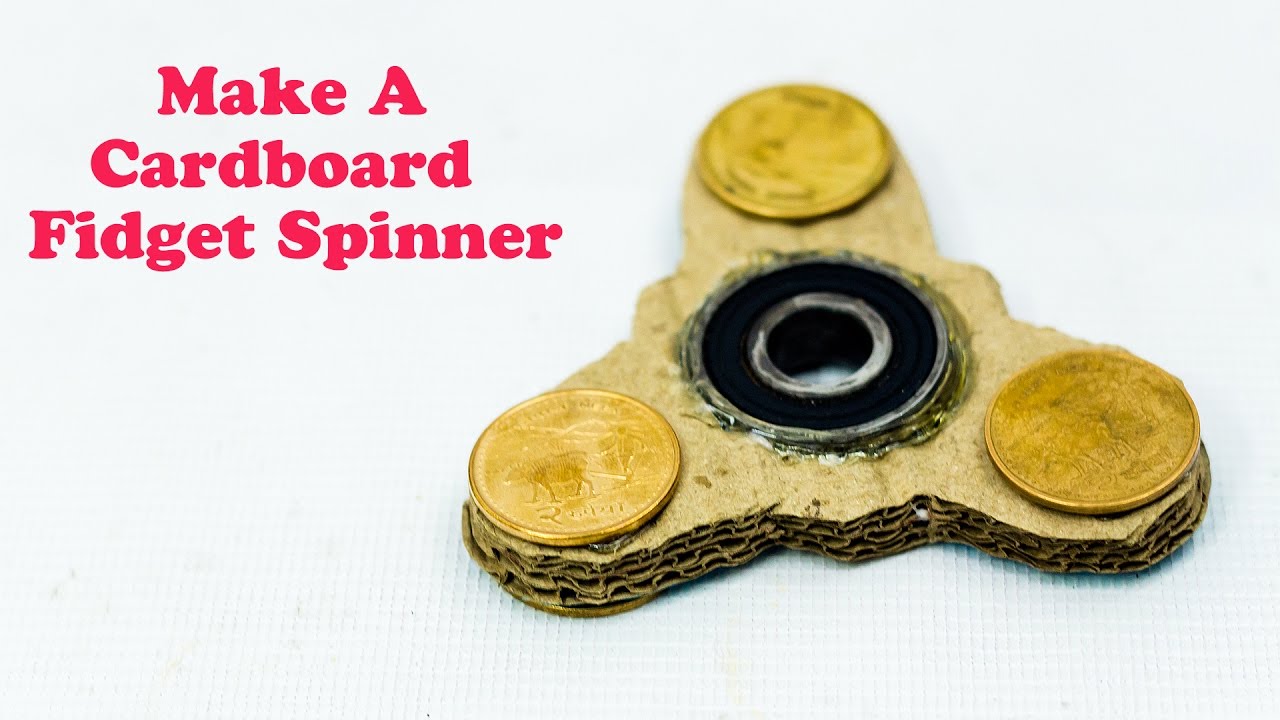
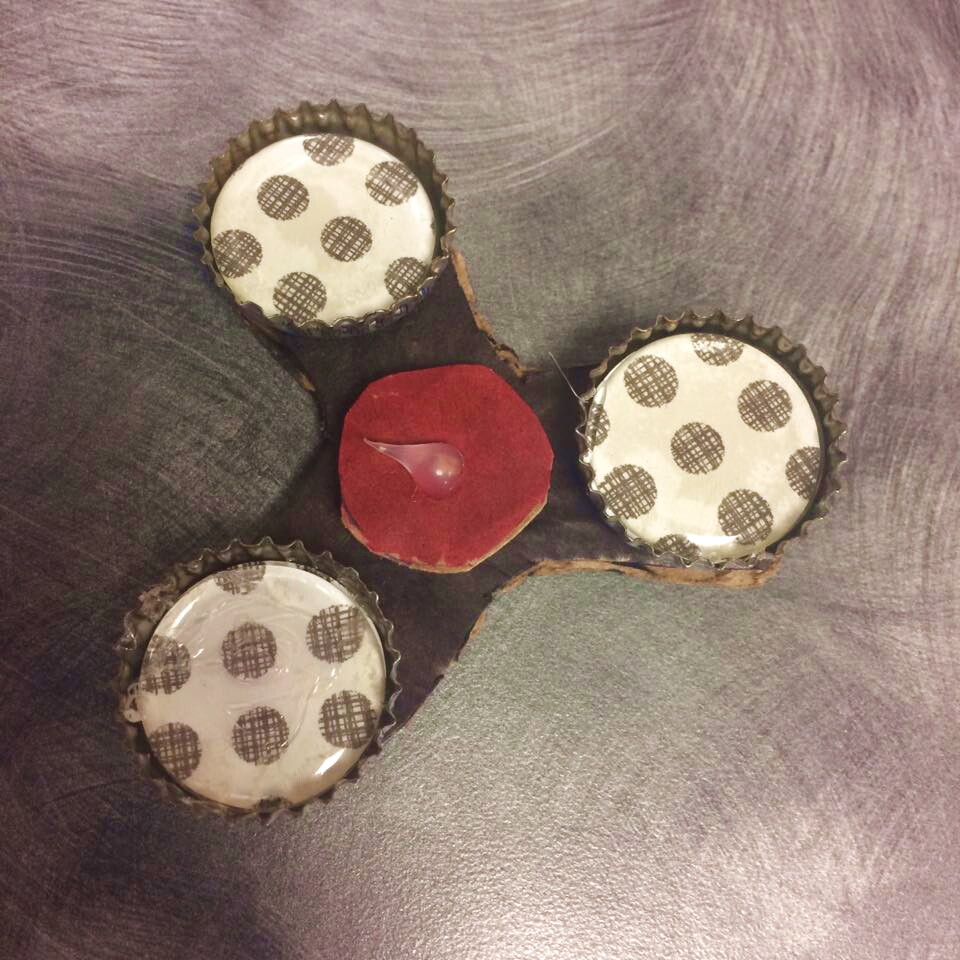
Cardboard Spiner
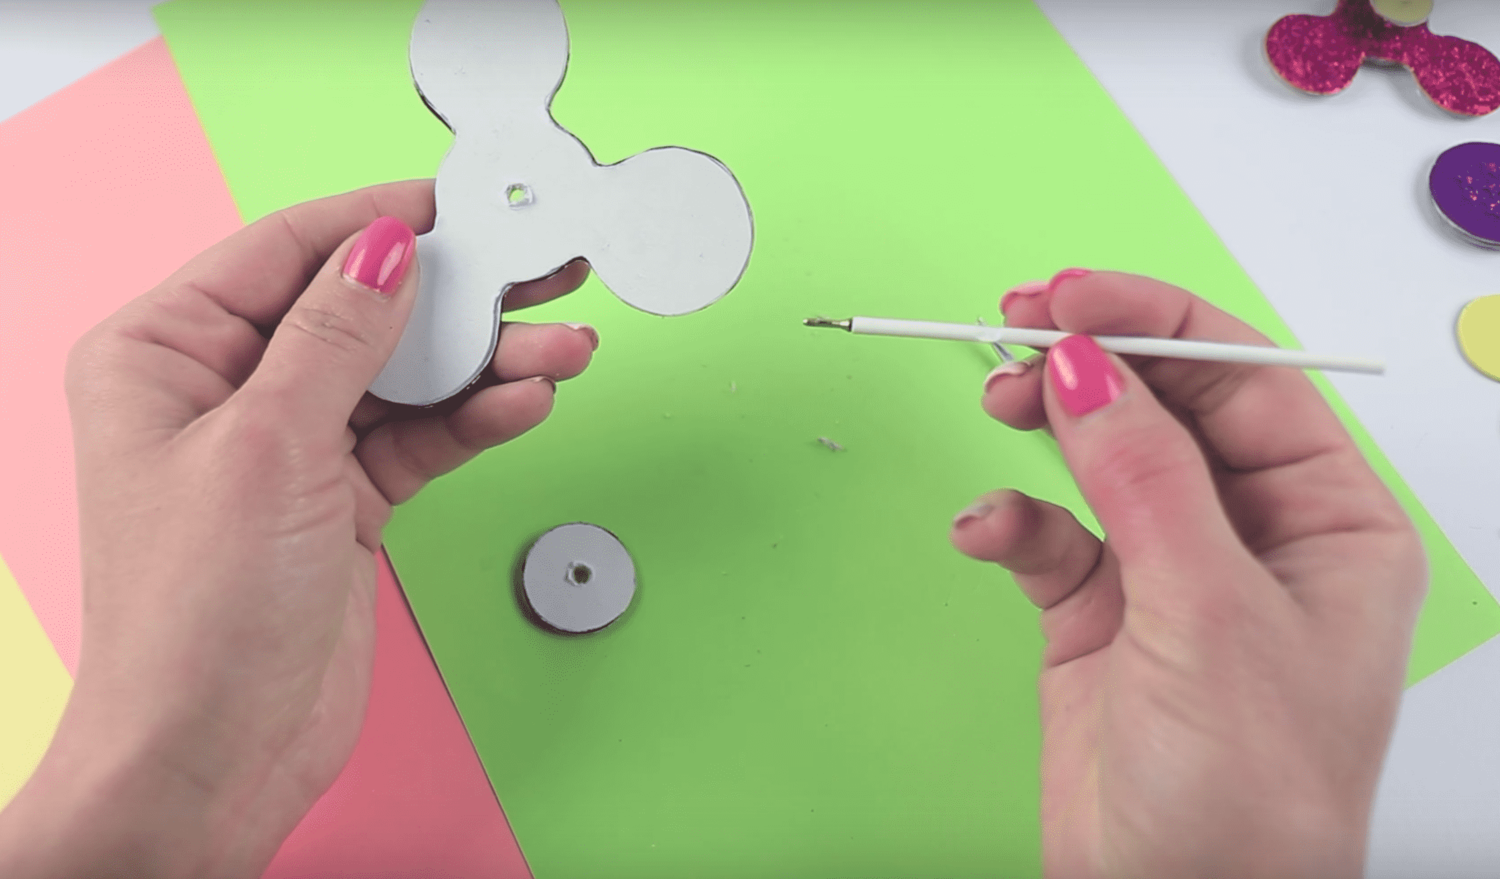
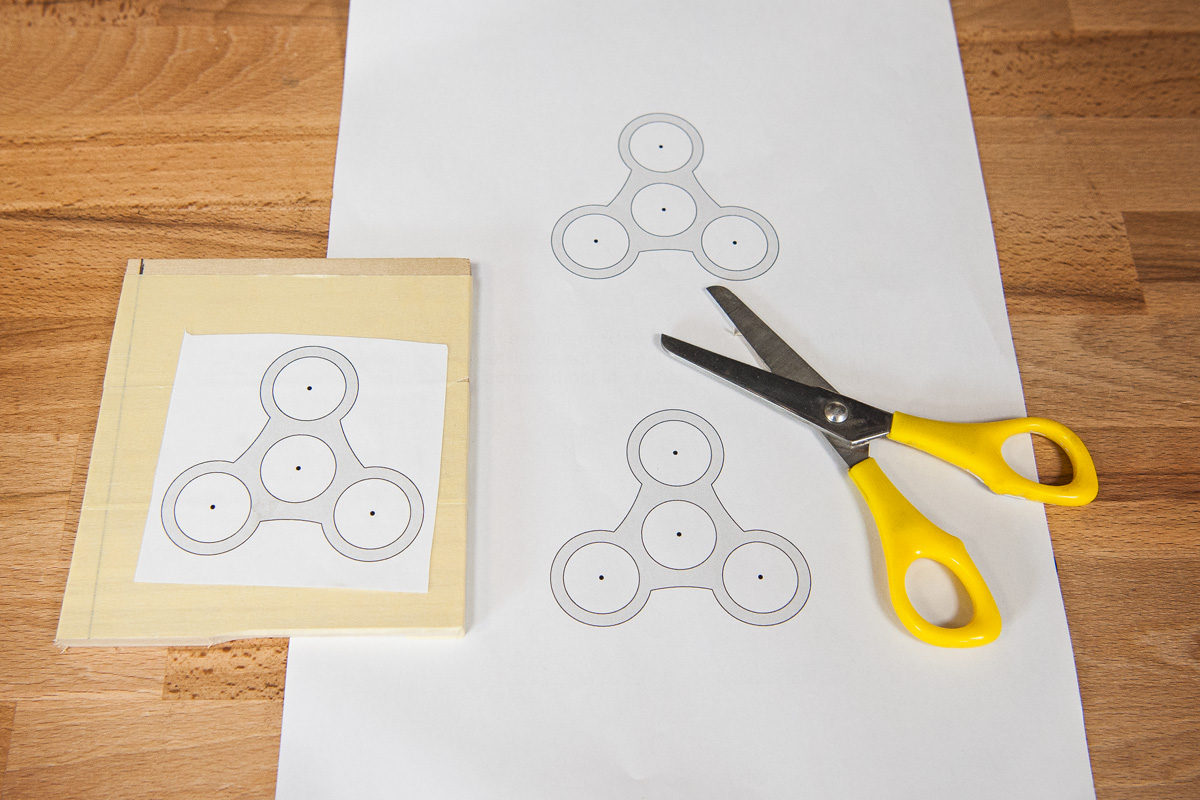
Spinners without bearings also include cardboard products. For a three-blade model, we make a drawing of four circles in the shape of a triangle on cardboard, cut out two copies, as well as four smaller circles. On one half we place coins of suitable diameter and glue them, and fix the upper part from above.
Manicure scissors make a hole in the structure and similarly in two small circles.
In one of the circles we insert 1 cm of the plastic core of the ballpoint pen, fix it with glue, insert the core into the spinner and close it with the second circle. The remaining third and fourth circles are fixed on top.
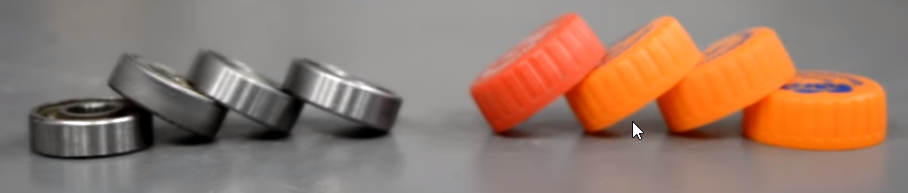
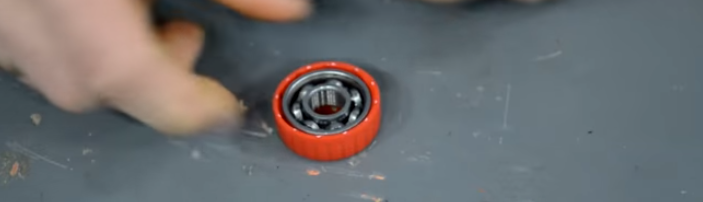
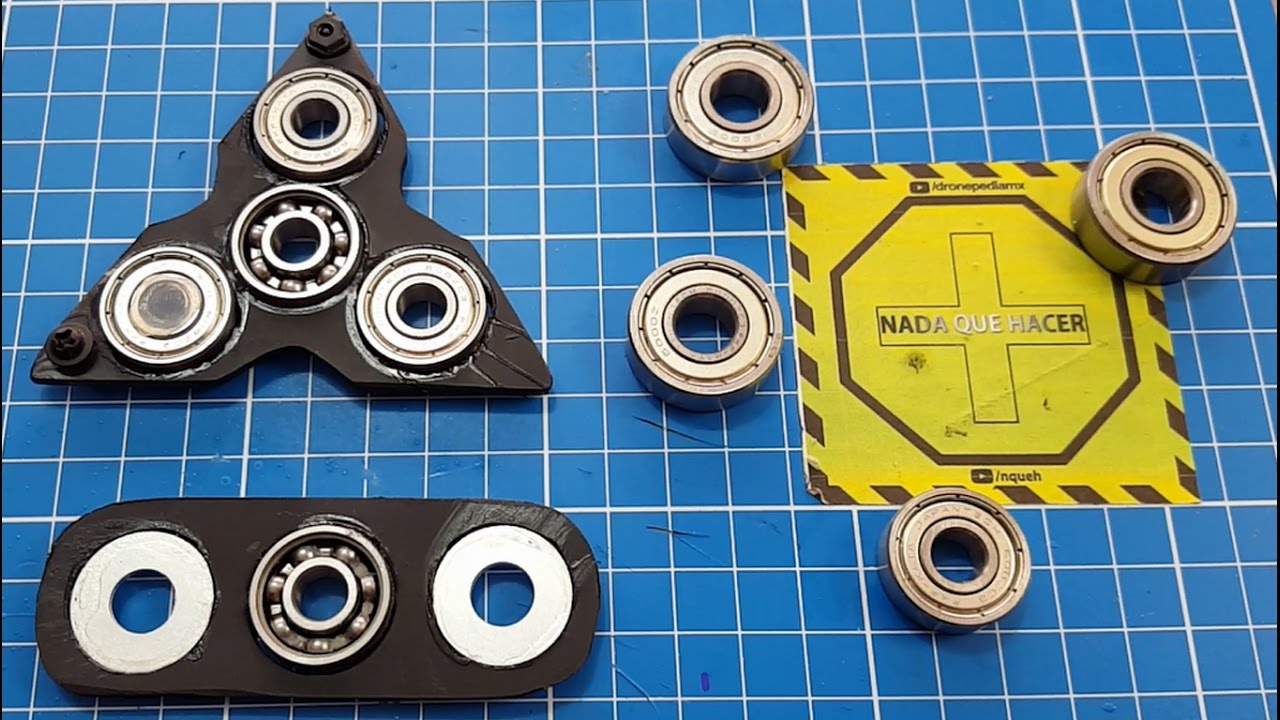
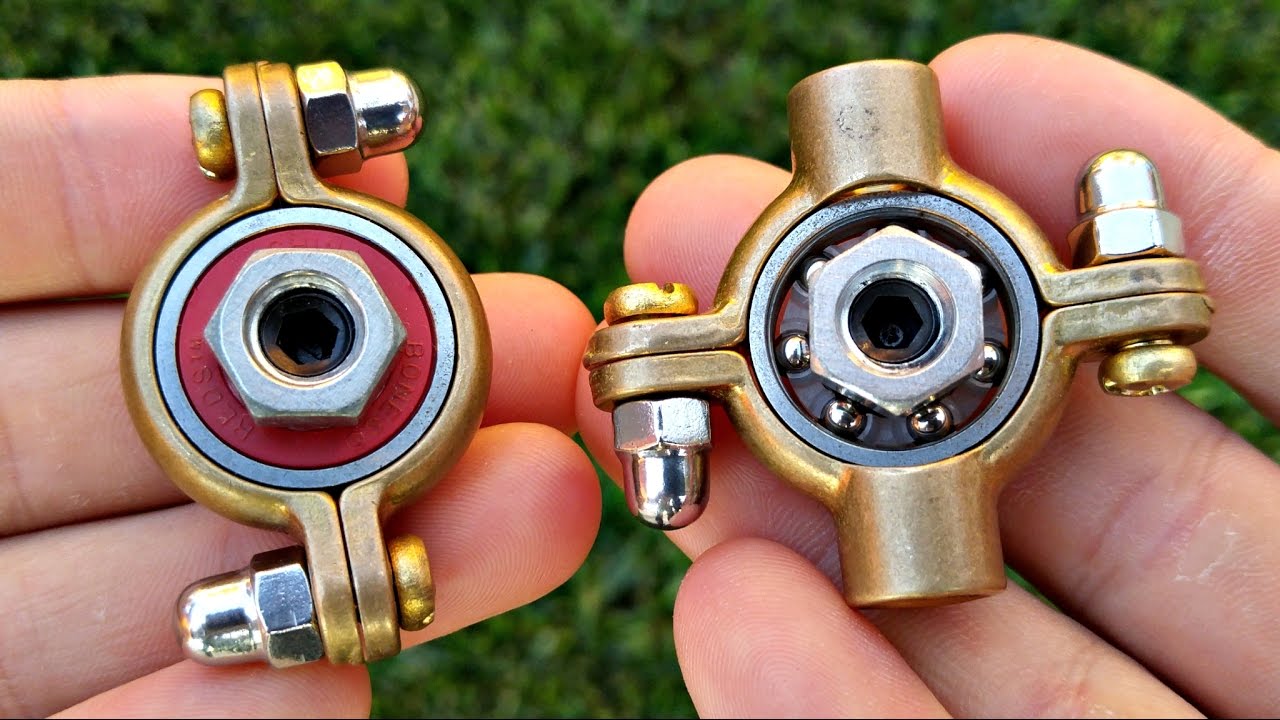
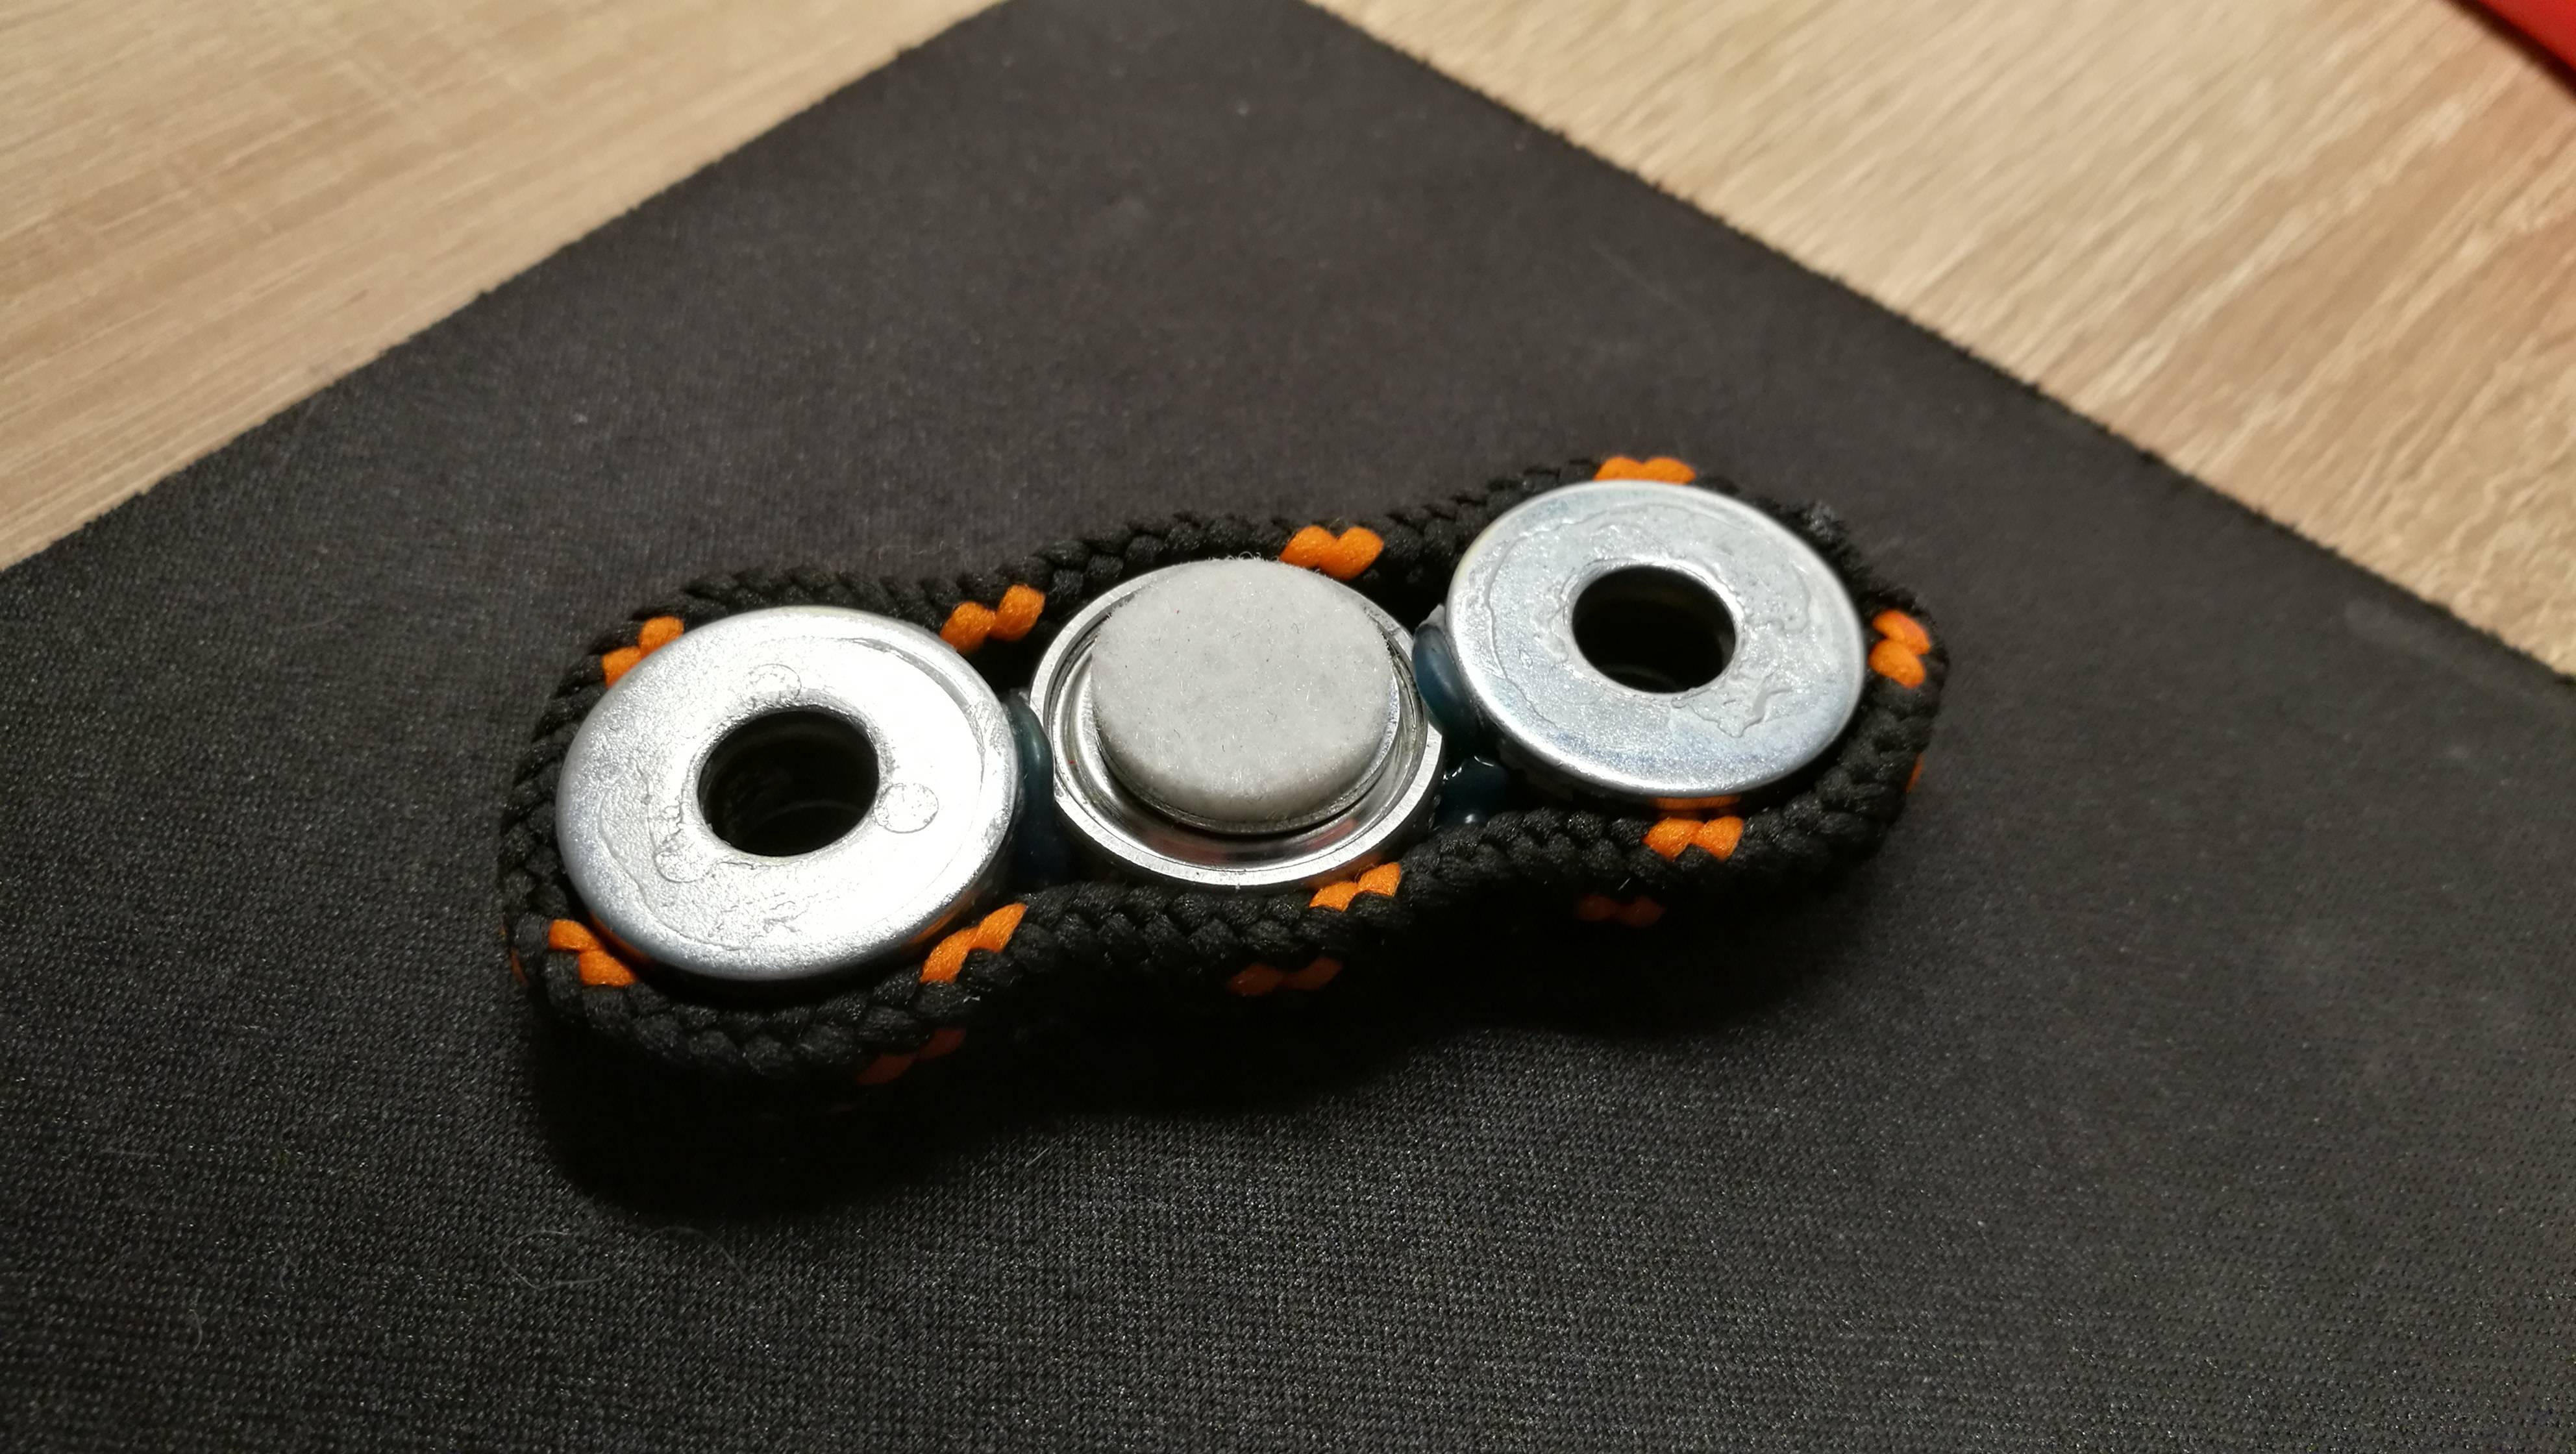
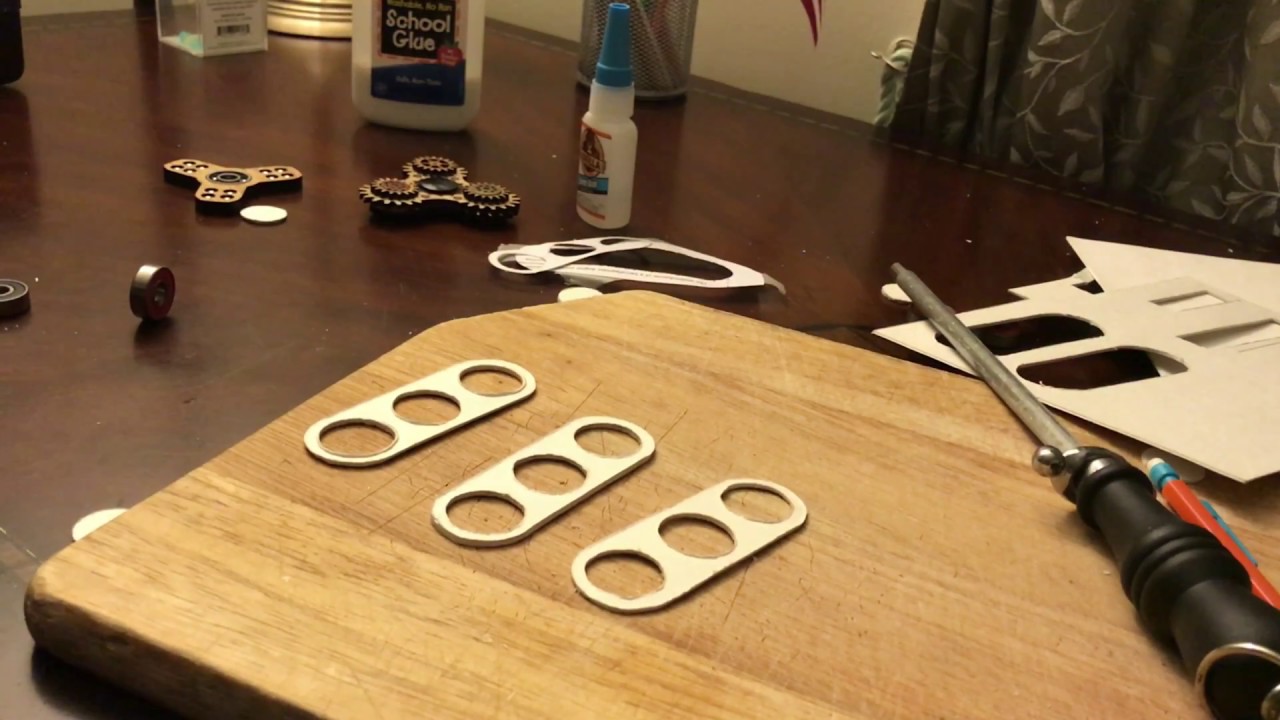
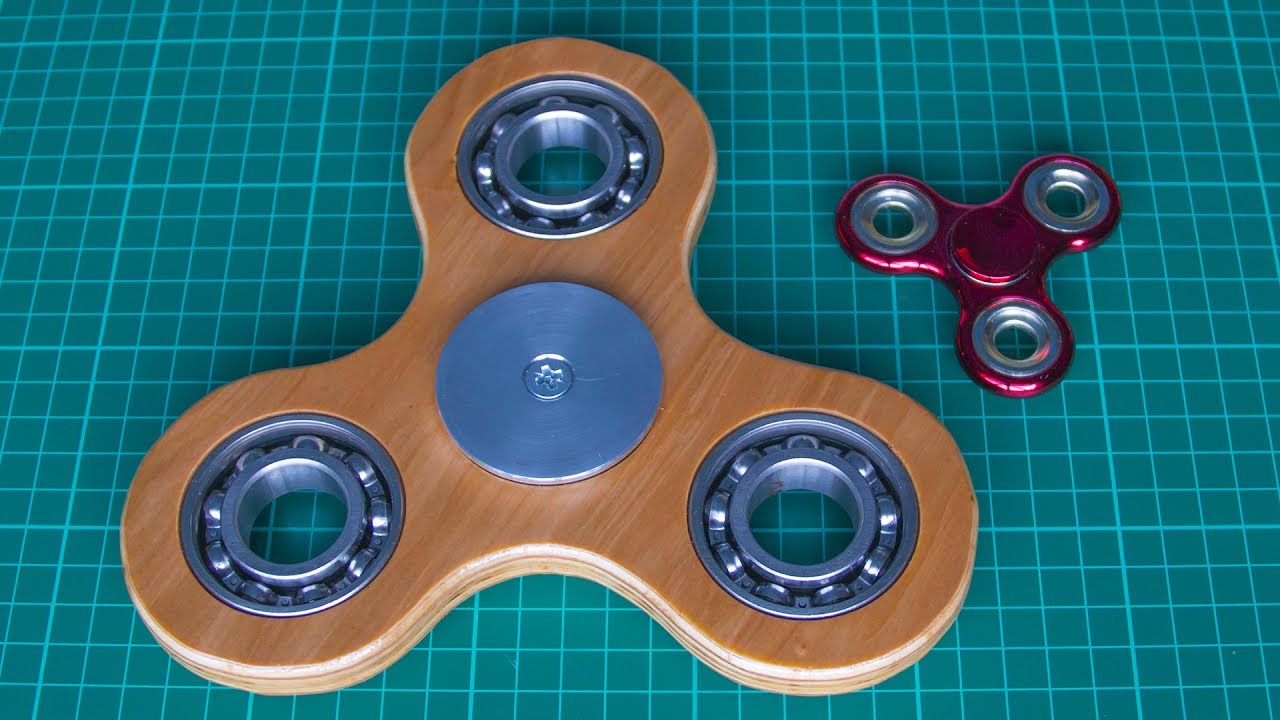
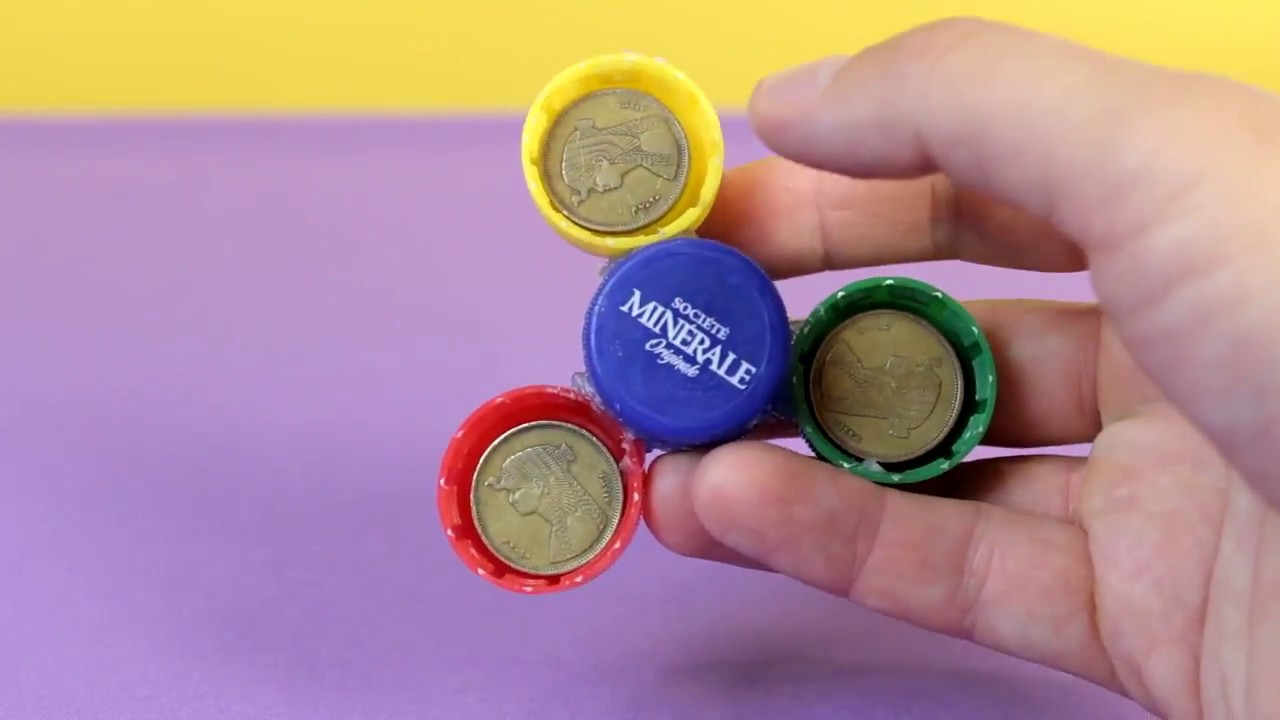
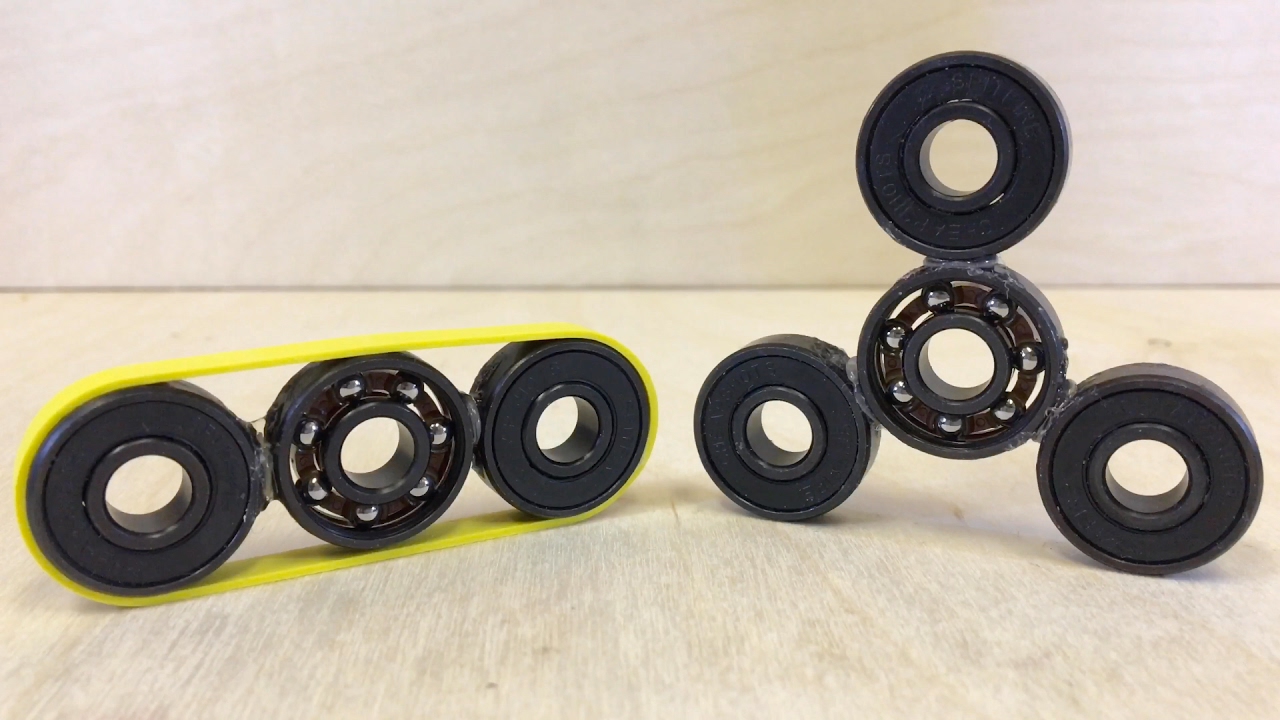
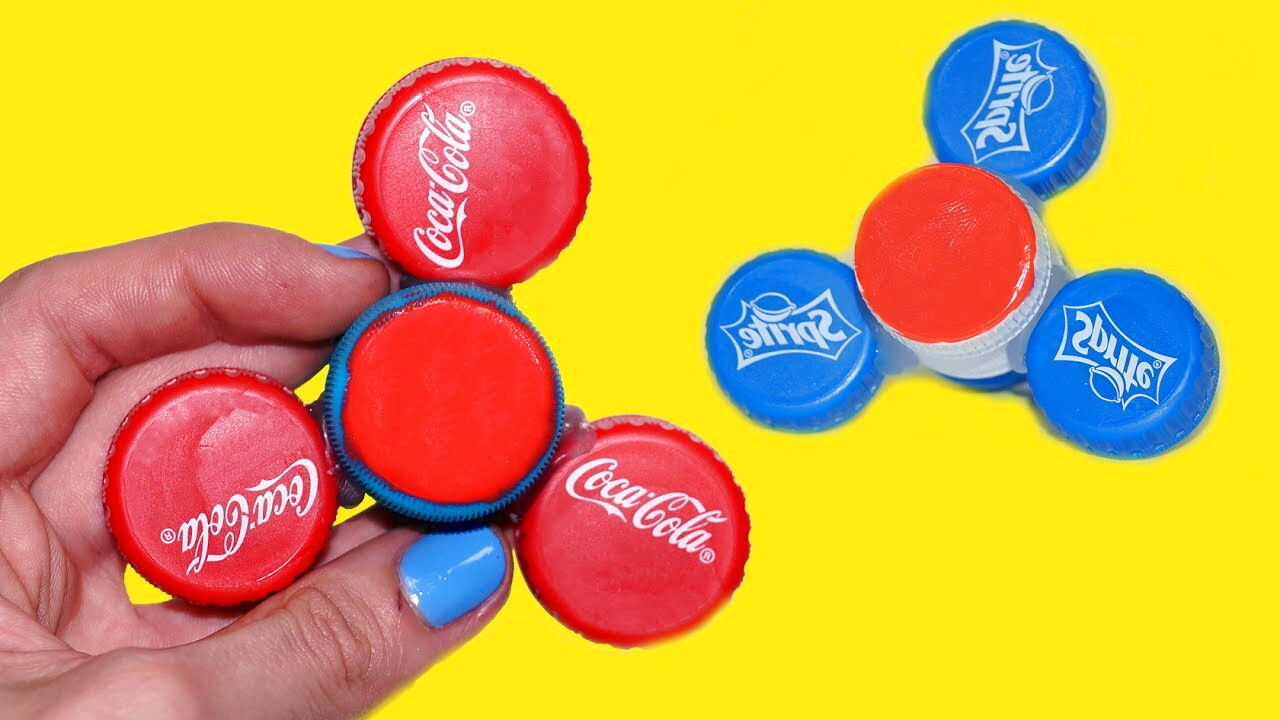
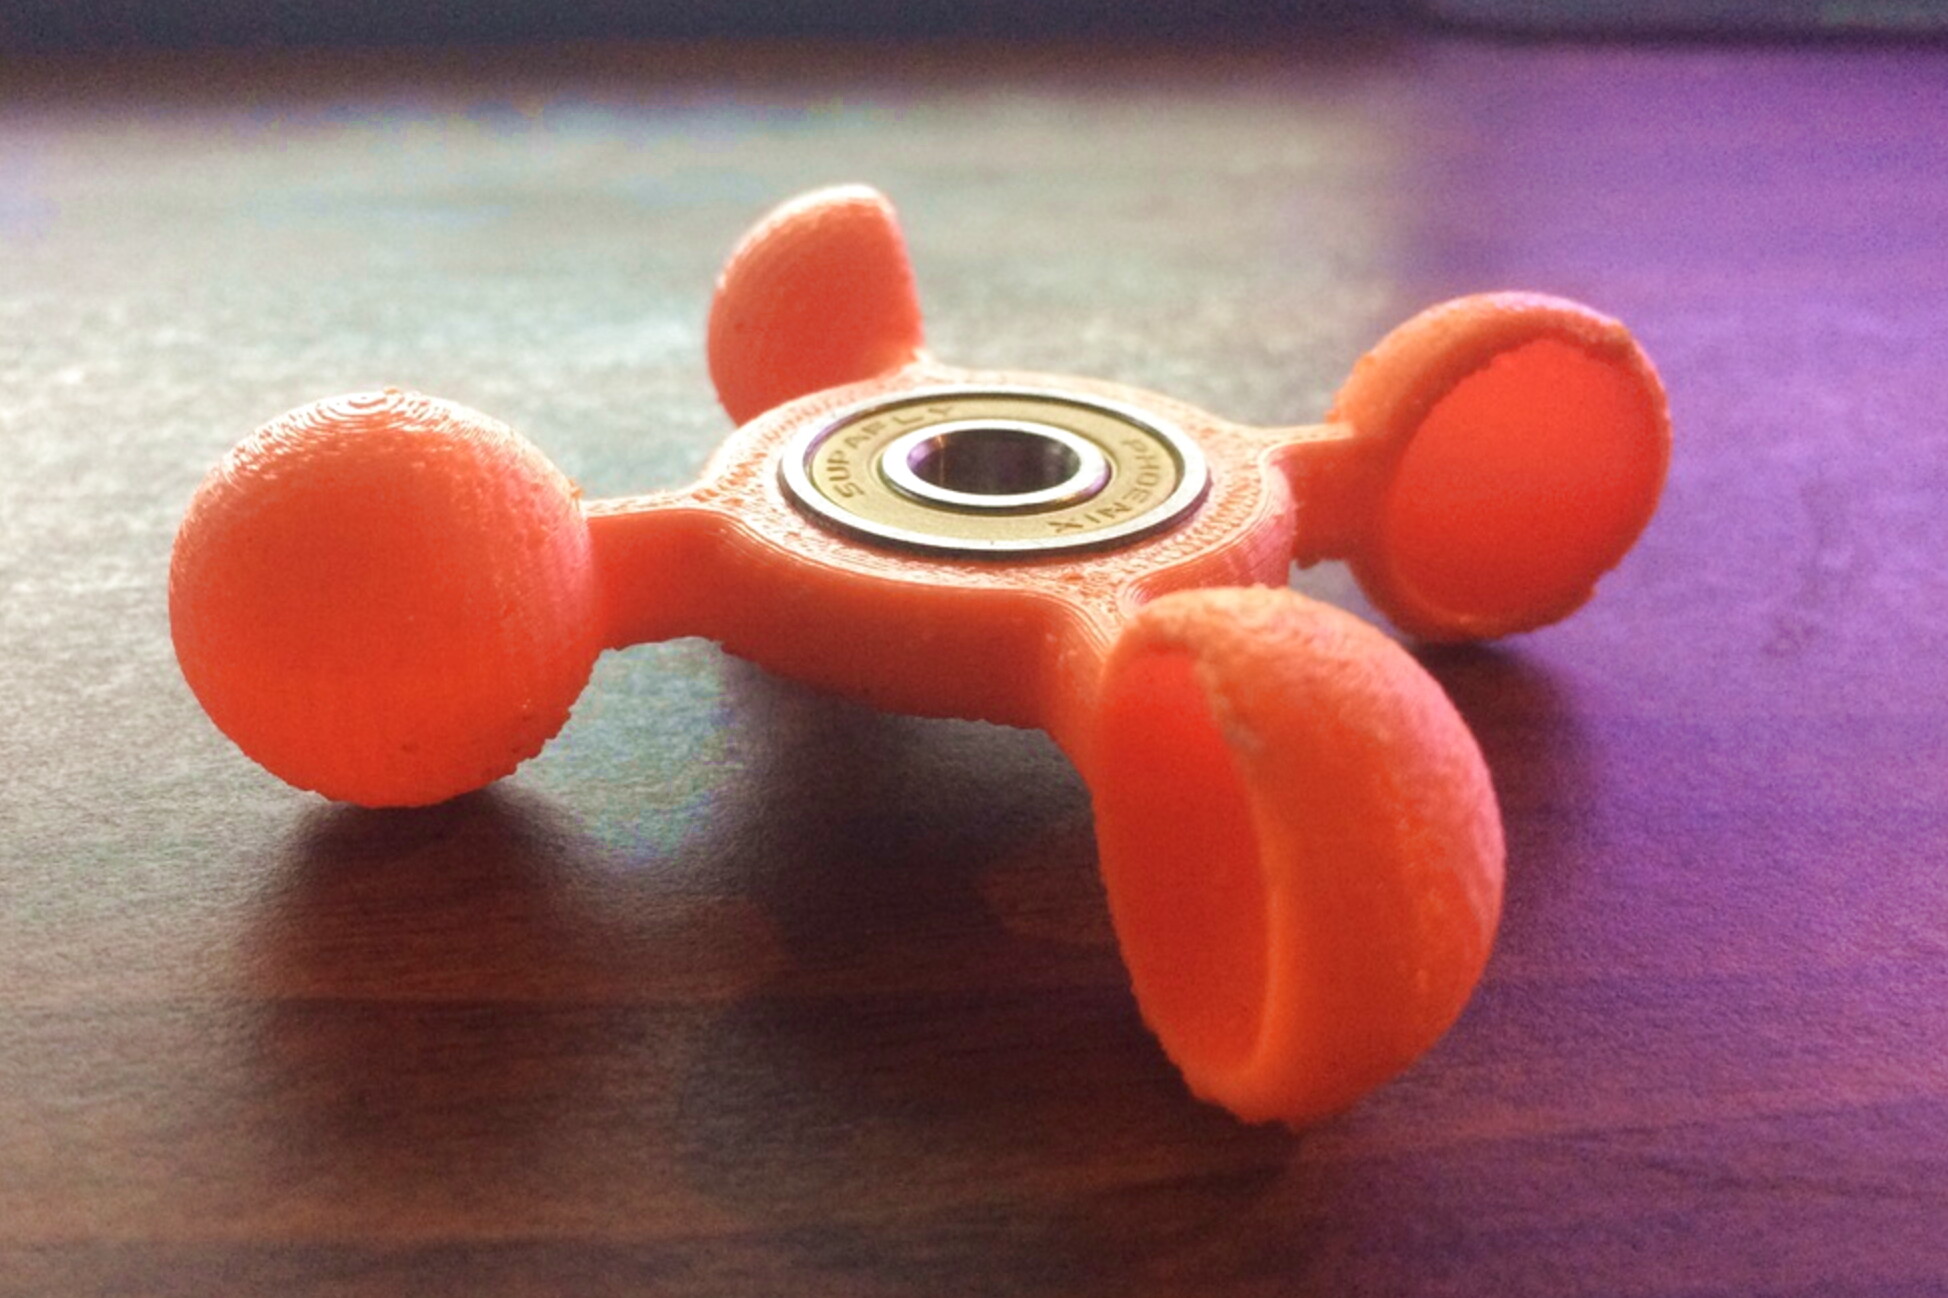
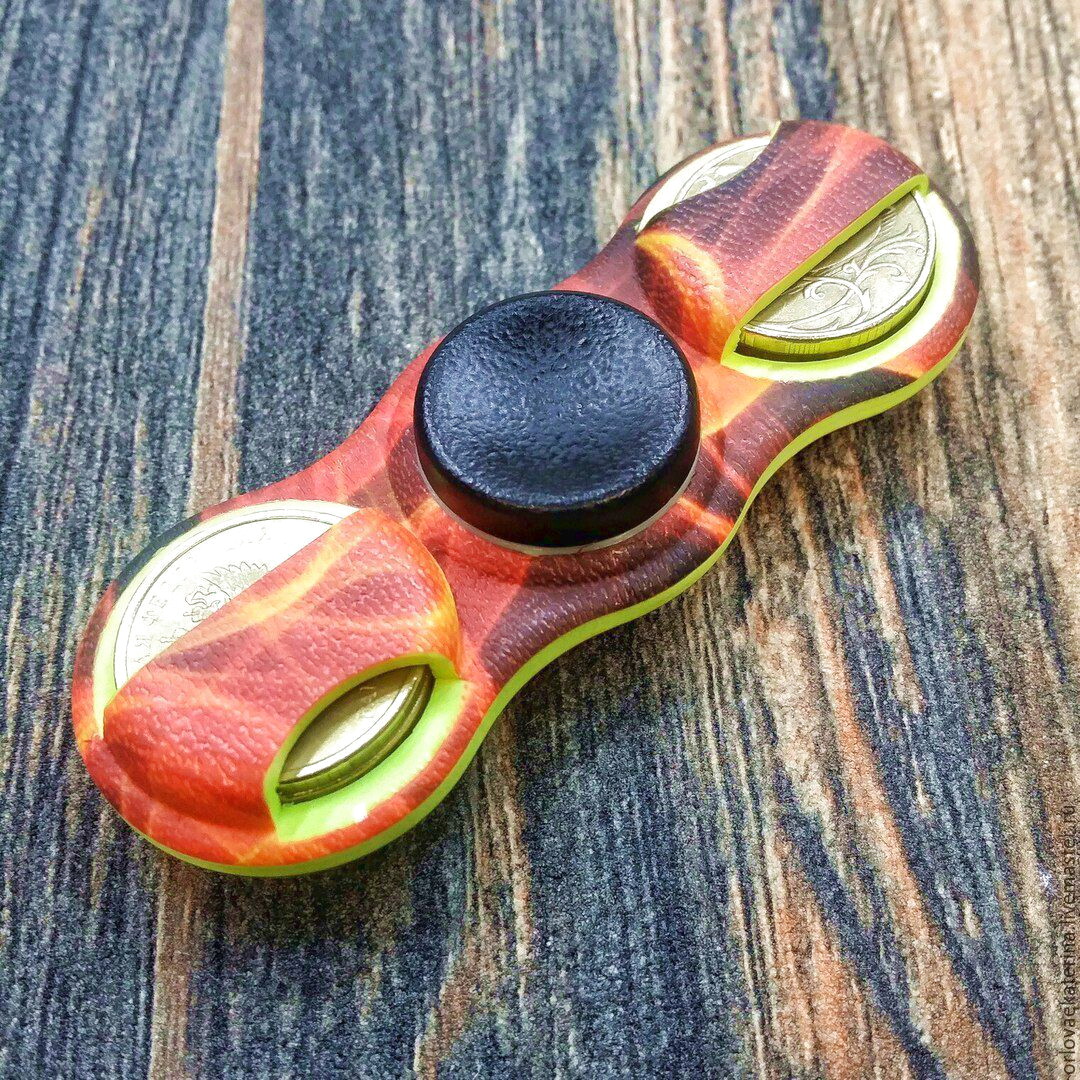
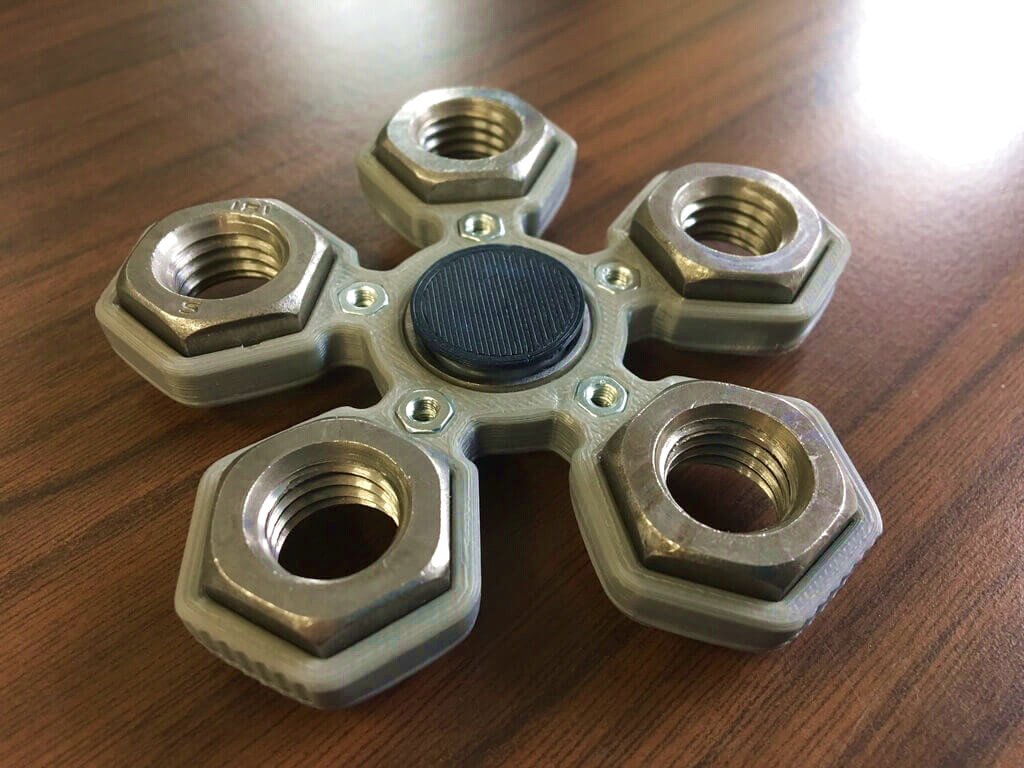
Bearings and bottle caps
A more complicated version is a model assembled from caps from plastic bottles (from 4 to 7, depending on the number of blades) and four bearings.
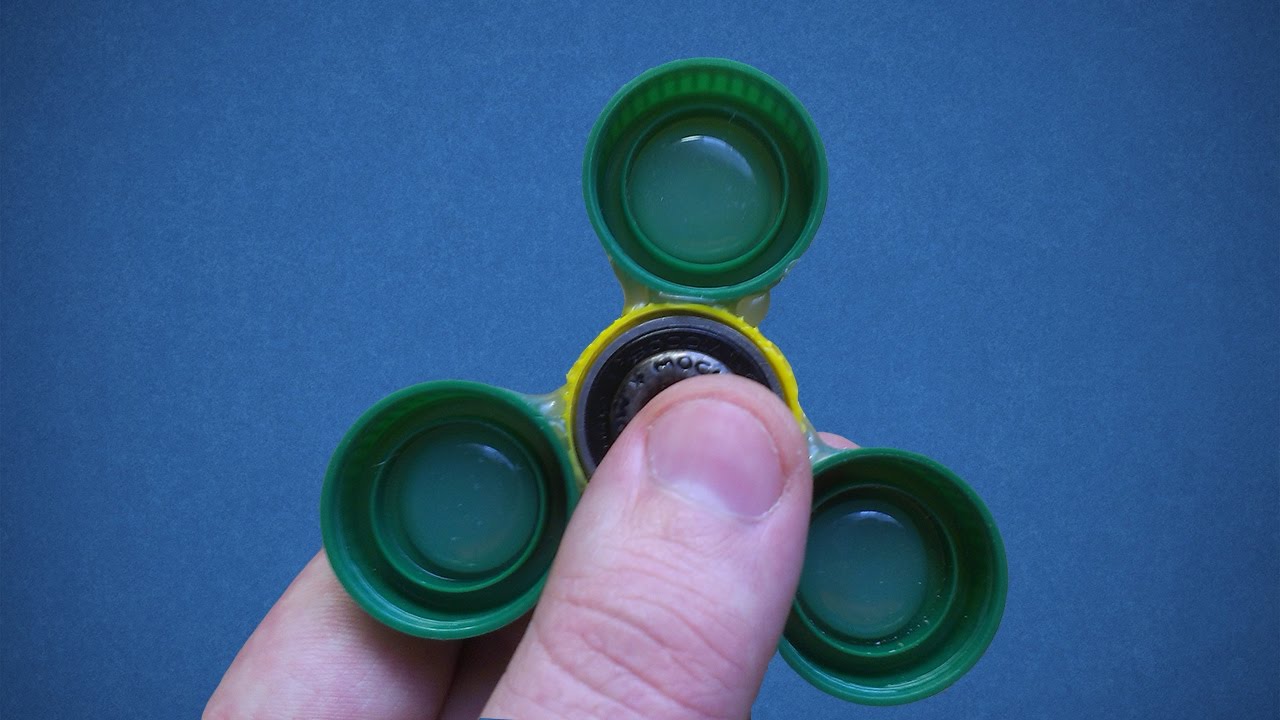
Note!

You will also need tools: glue gun, drill, knife, sandpaper.
The technology is as follows:
- We grind the cork with an emery cloth to remove roughness and roughness;
- Cut a hole to match the bearing in the axial cover;
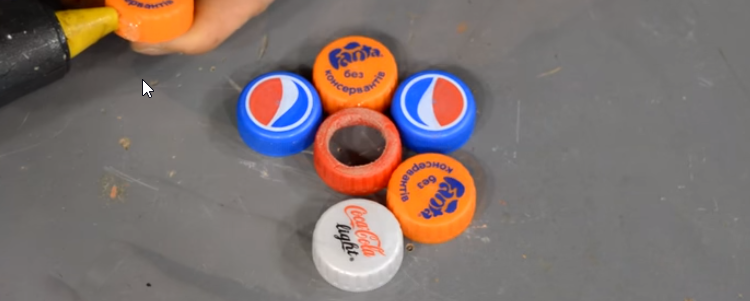
- We place the remaining covers around the center at the same distance from each other (for greater accuracy, it is recommended to use additional caps or a paper drawing);
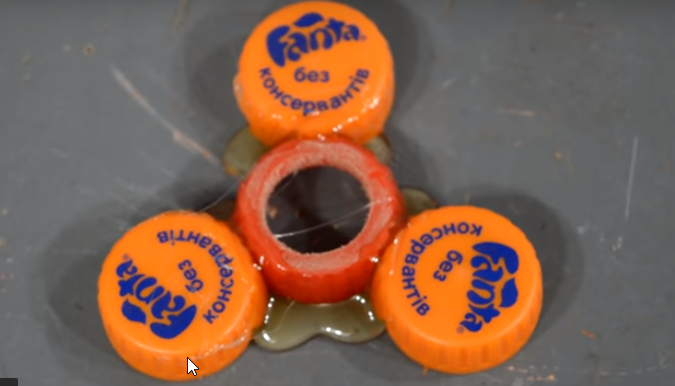
- We glue the corks together, not forgetting about the smooth transition between them and the central cover;
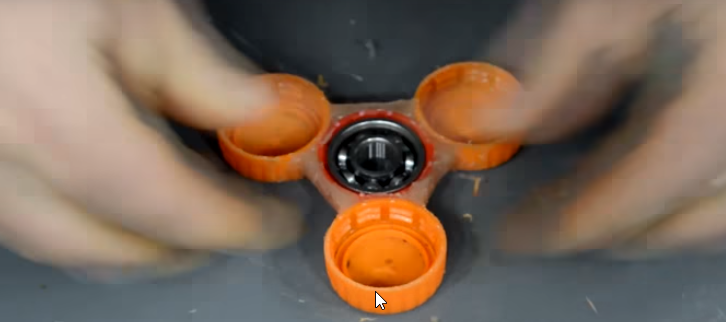
- We insert the bearings into the remaining covers, fix them inside with a layer of glue;
- We decorate and decorate the product.

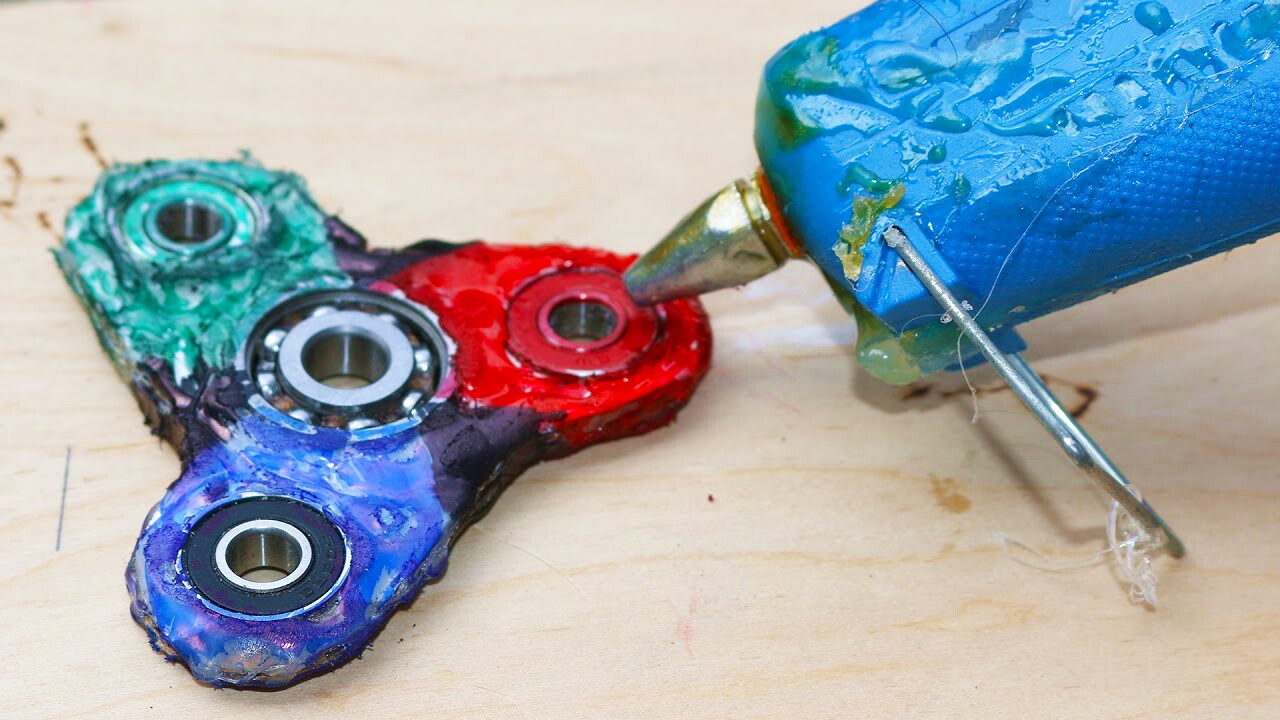
Spiner Cleaning
Instead of making or buying a new spinner, you can always fix the old one.
Failure is usually of two types: damage to the housing and contamination of the bearing.
In the first case, any super glue will come to the rescue, you can clean the metal ball with WD-40 and alcohol, without forgetting to eventually grease the bearing with synthetic oil. In general, the following algorithm should be followed:
- Disassemble the toy, fastened with thread, by fixing the bottom and untwisting the top.
- If the lid is mounted on magnets, then pick up the tip with a thin object through the peeping joint and lift it up.
- Release the bearing by easily removing the plastic or metal partition.
- If the part is secured with sealant, then do not peel it off and remove it. In such cases, the entire housing is cleaned with isopropyl alcohol.
- Pour the balls onto the cleaner and twist them with a toothpick or match to distribute the fluid completely and evenly.
- Flush the bearing, leave to dry, avoiding ingress of lint and dust inside. You can use a hairdryer.
- Lubricate the part with one drop of oil.
Everyone can do a spinner at home, because his device is understandable and simple, and any improvised materials can serve as a body and a rotating rod.
Note!
It’s better to start with paper models, gradually improving your skills, and who knows what features and capabilities you will enrich your toy over time?
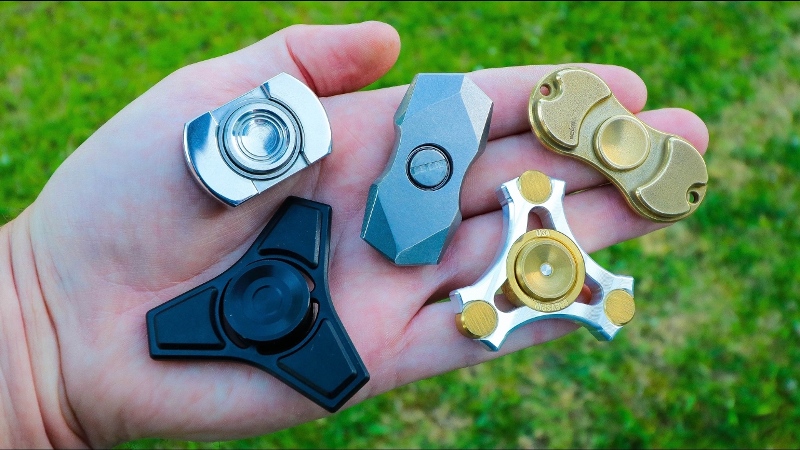
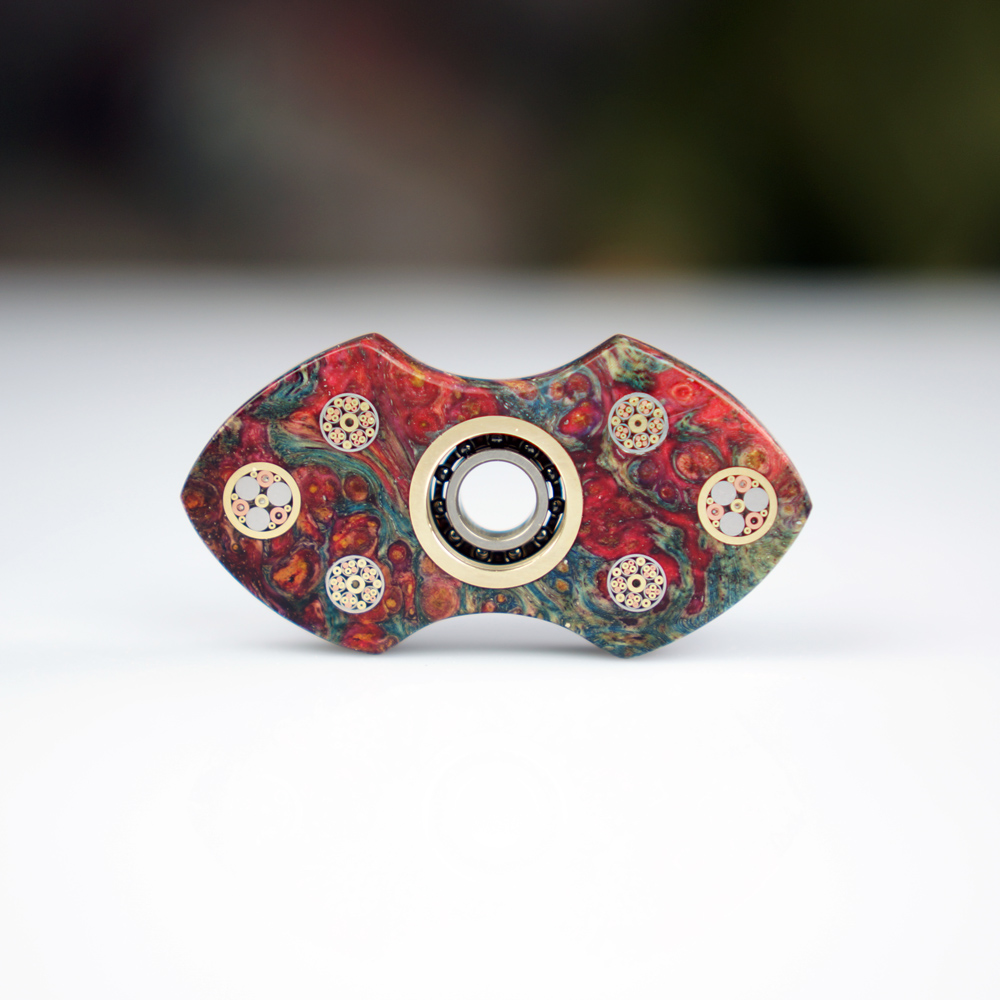
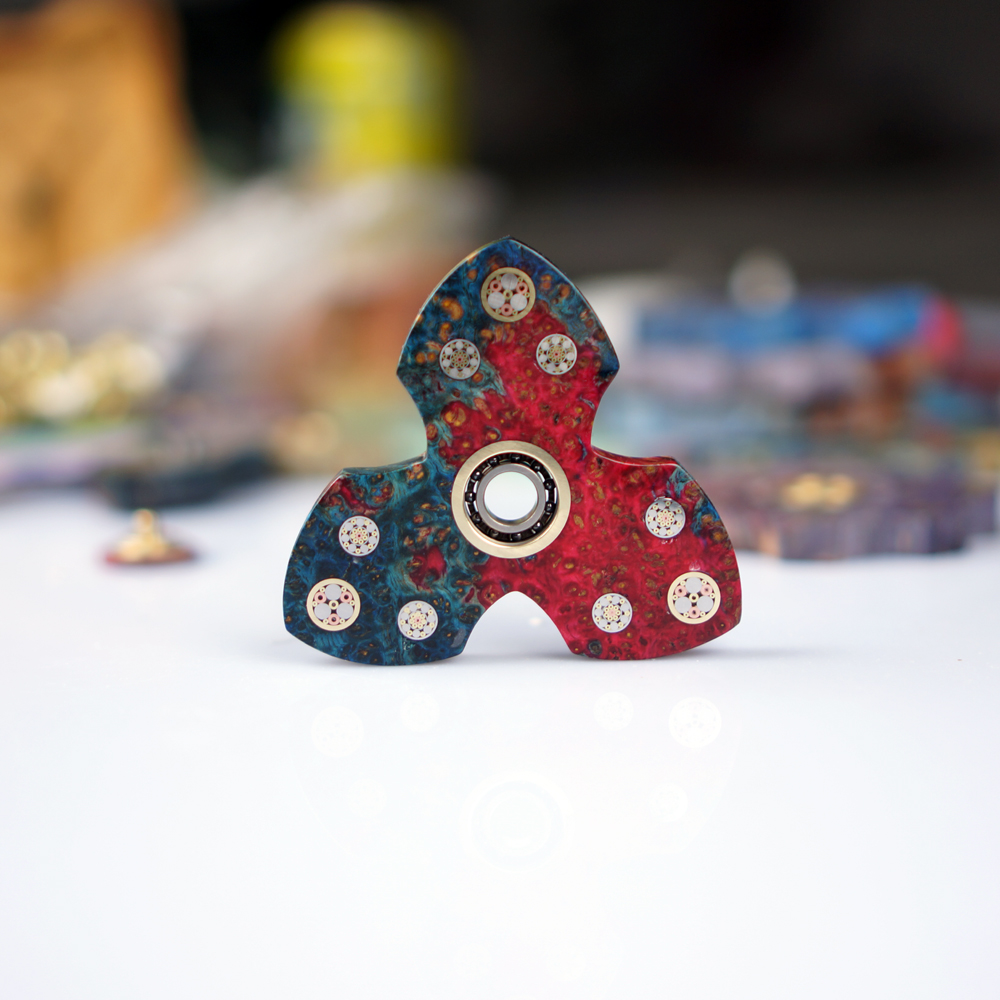
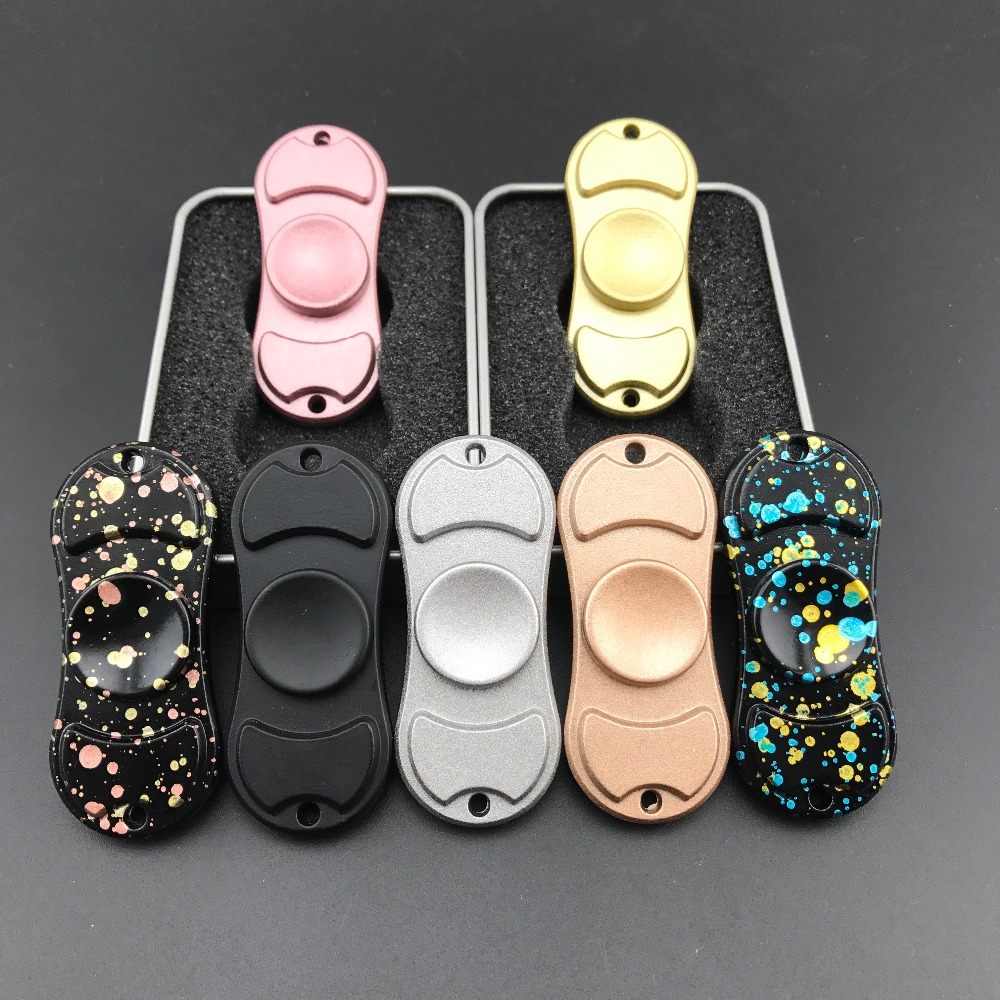
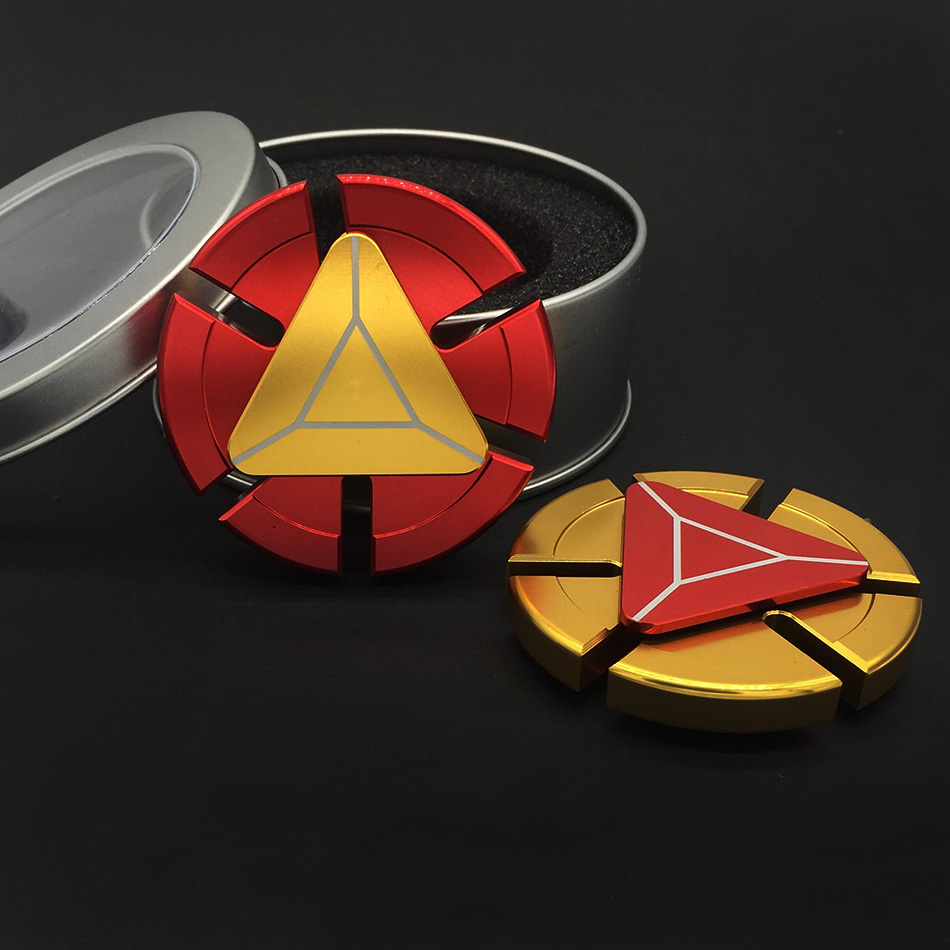
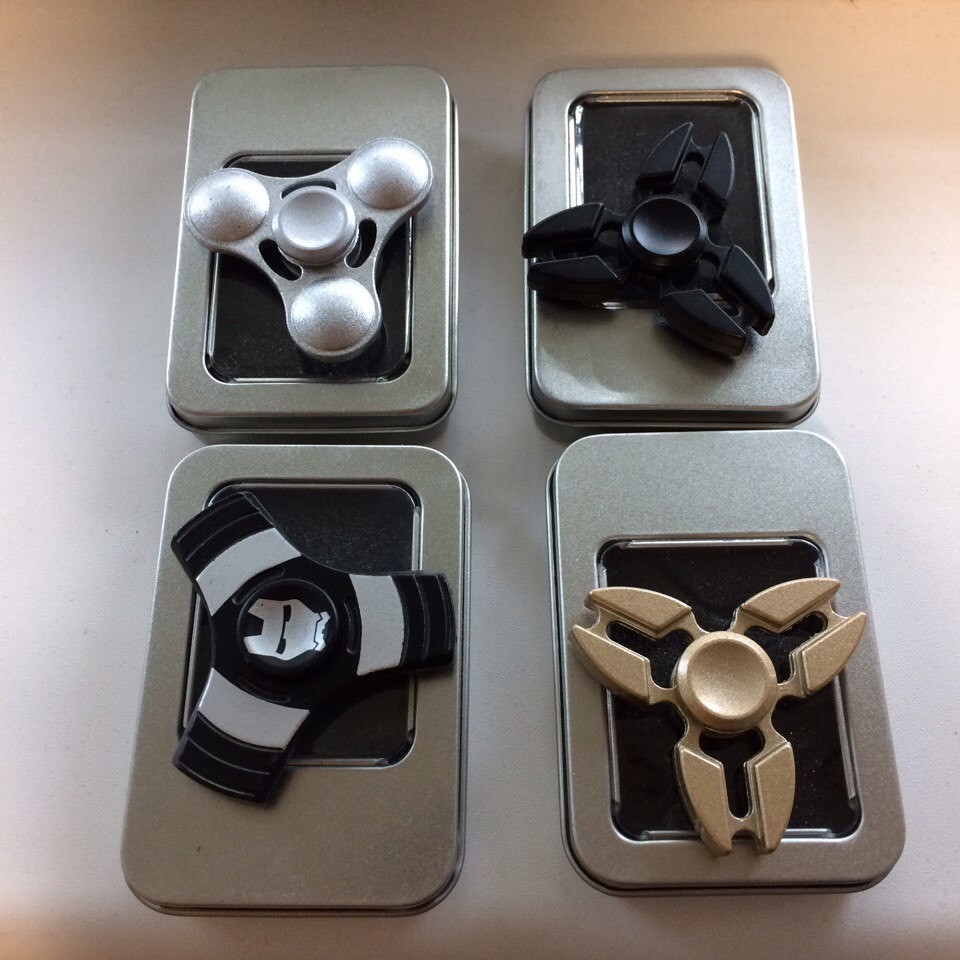
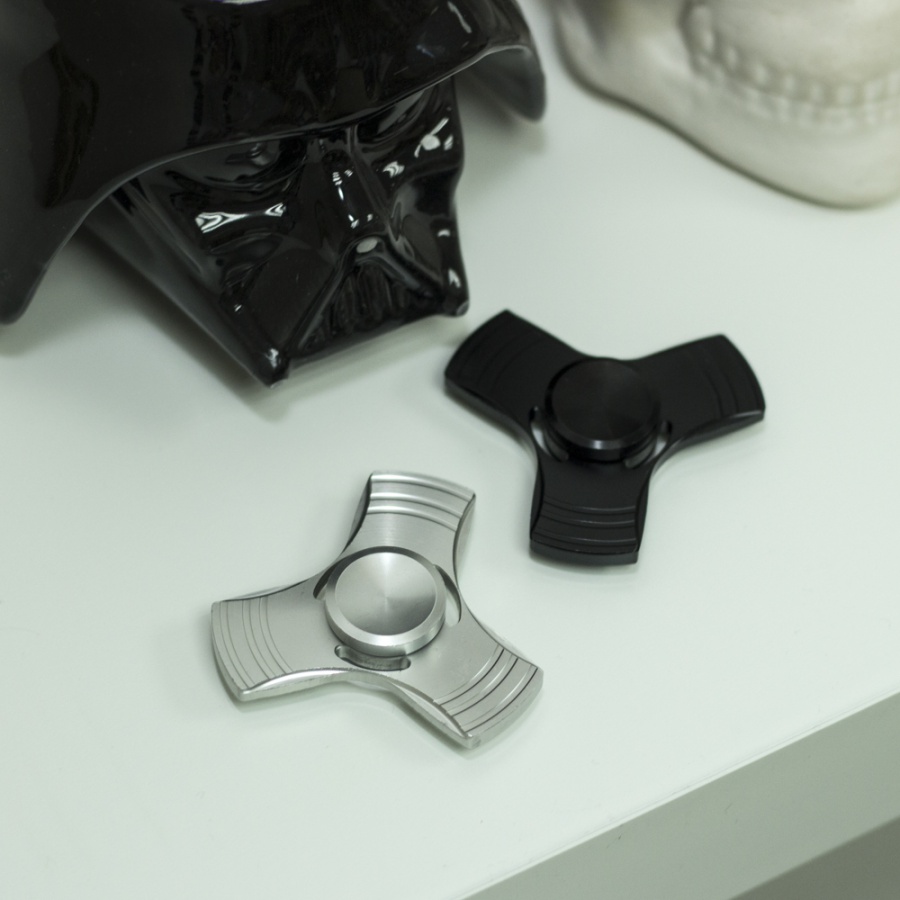
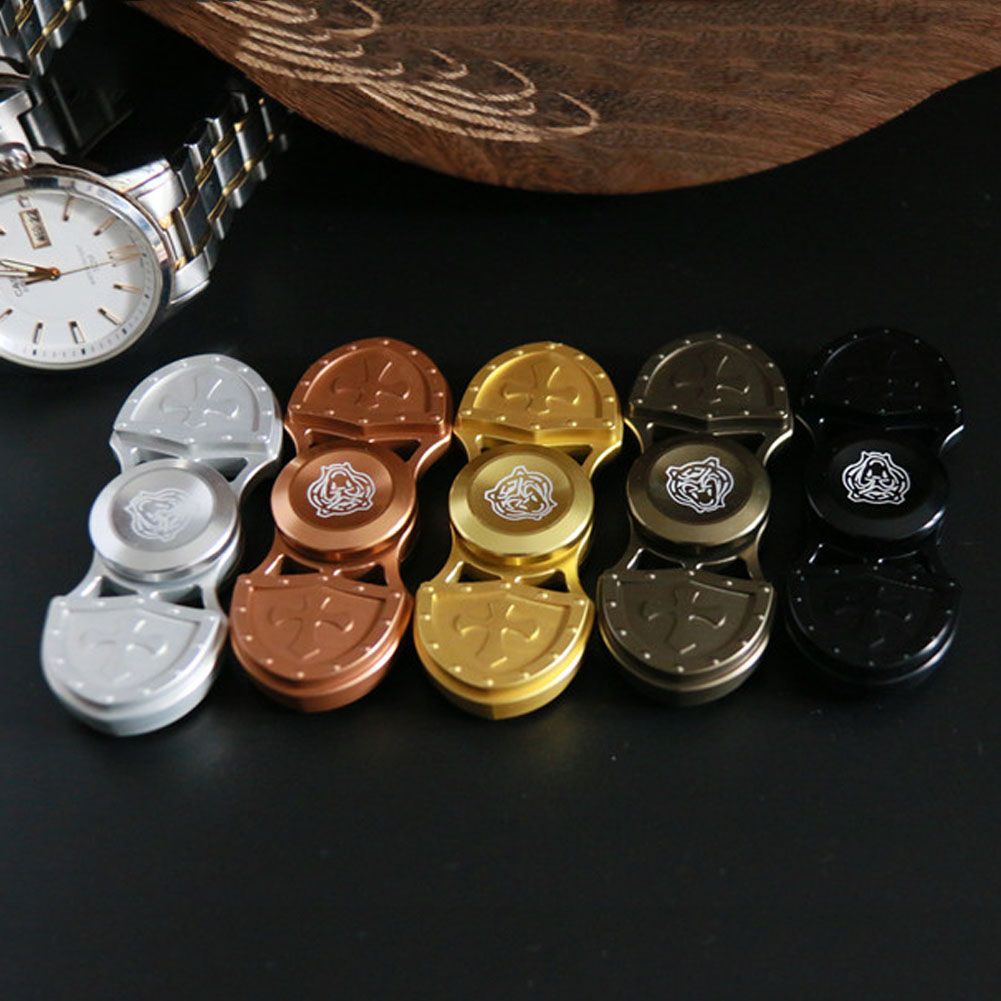
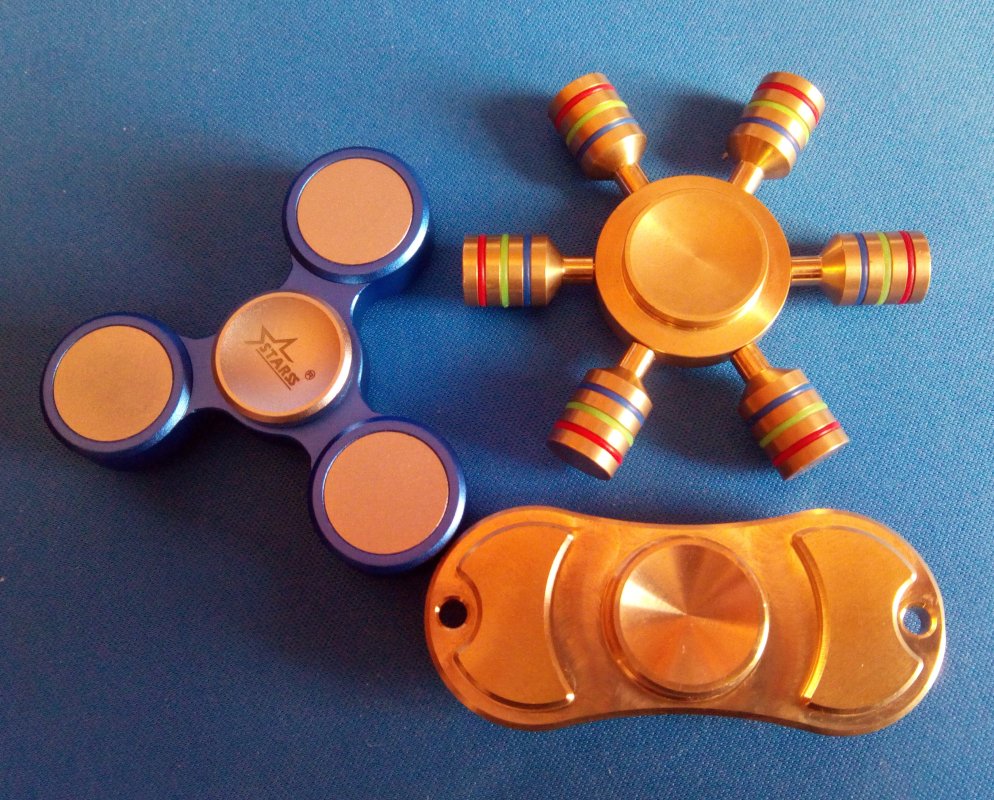
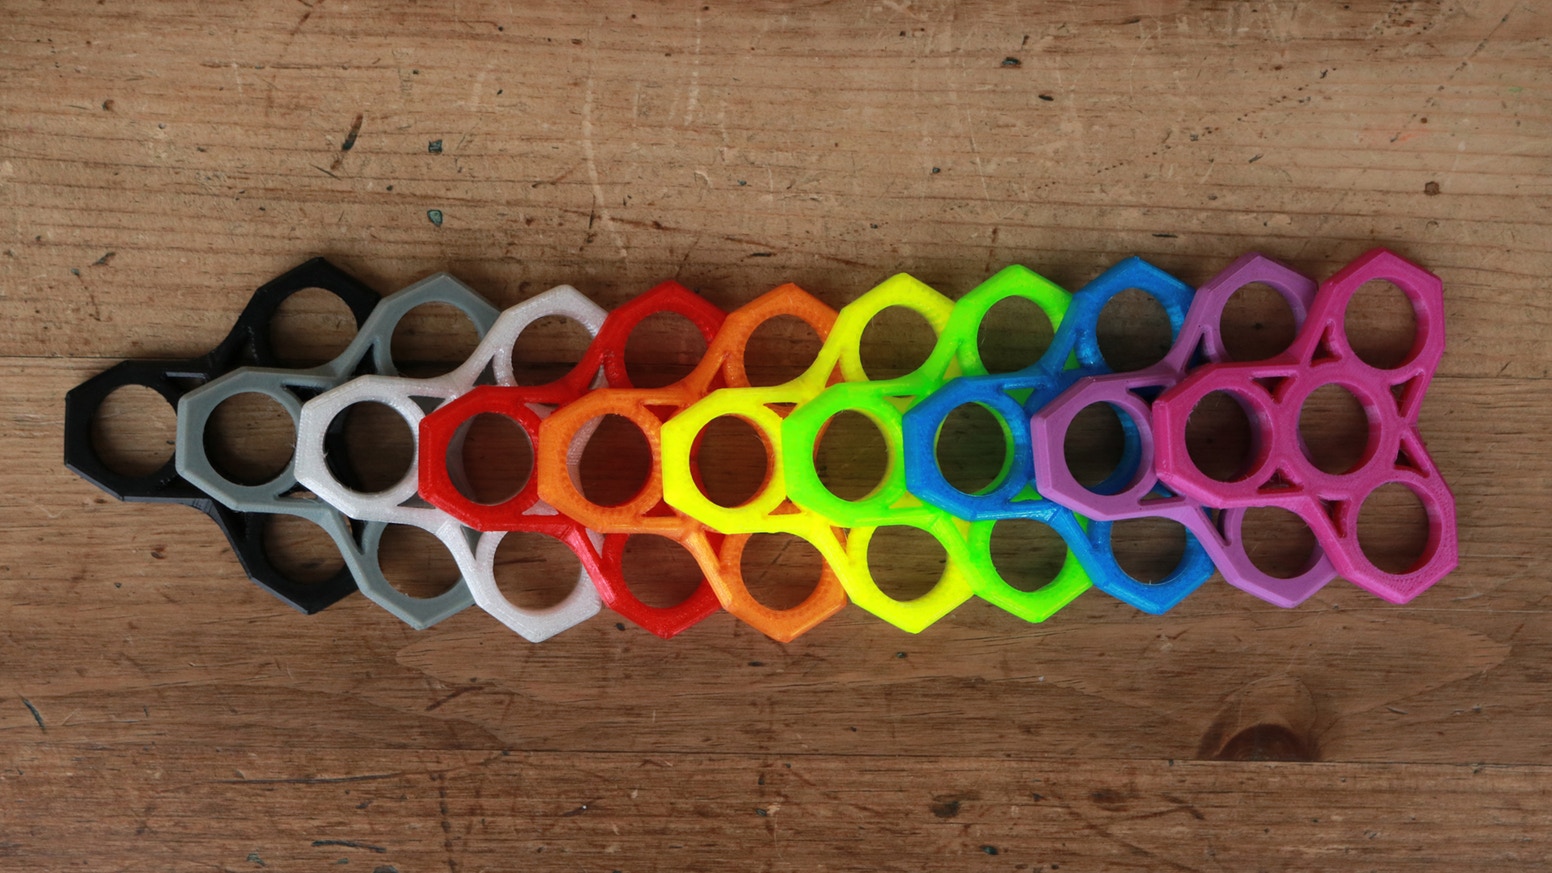
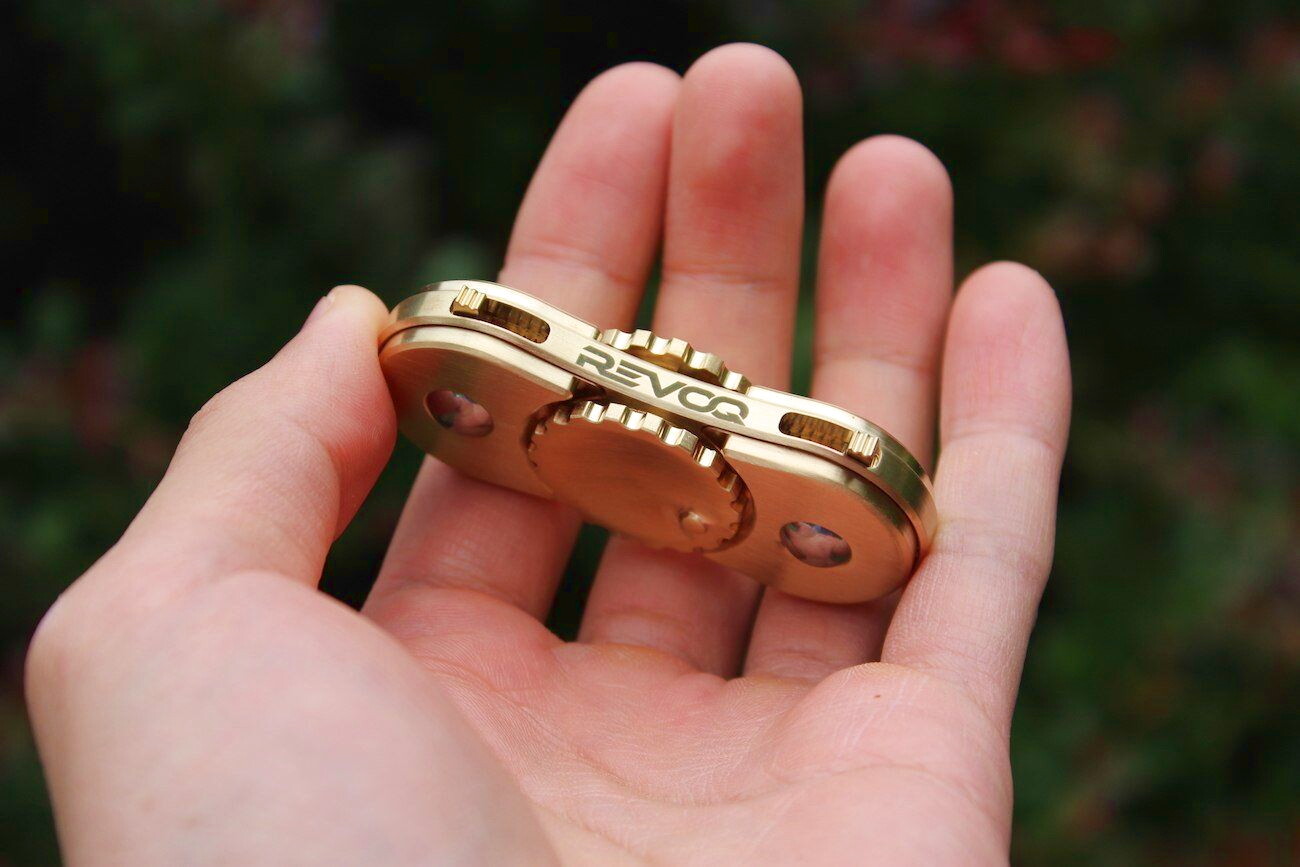
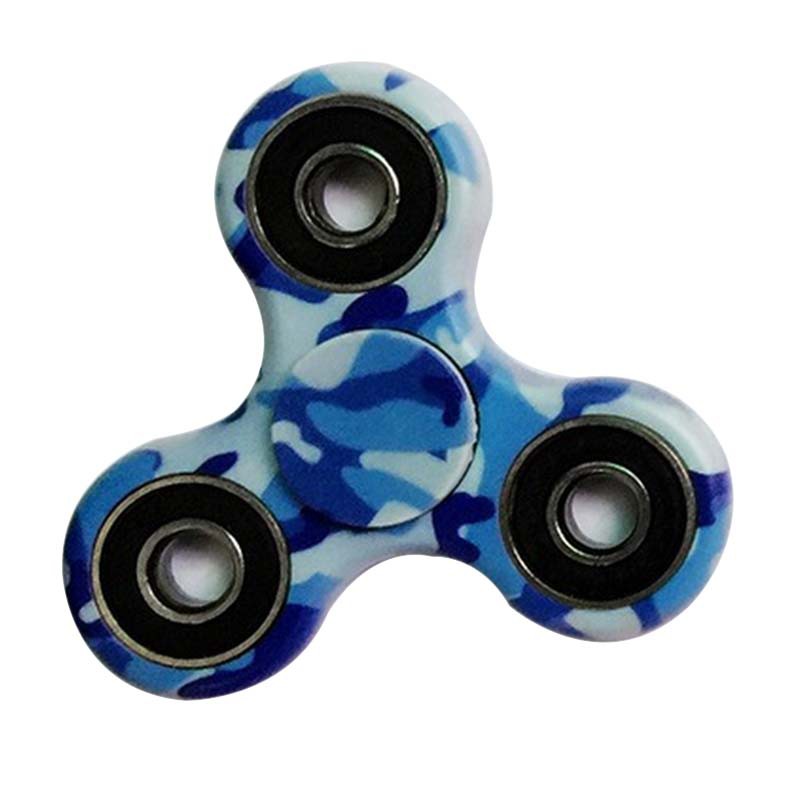
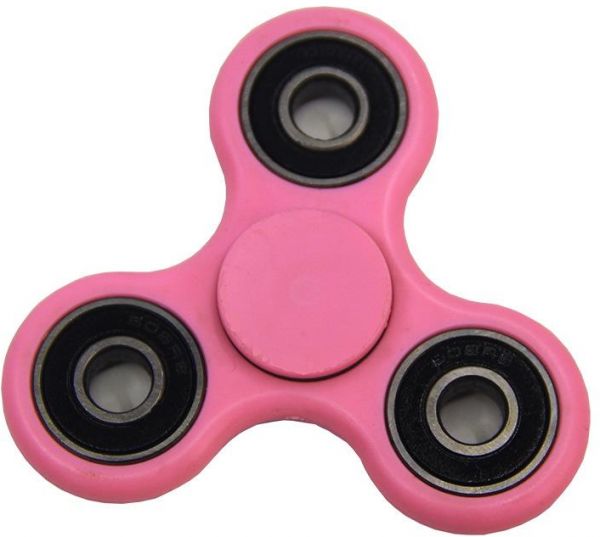
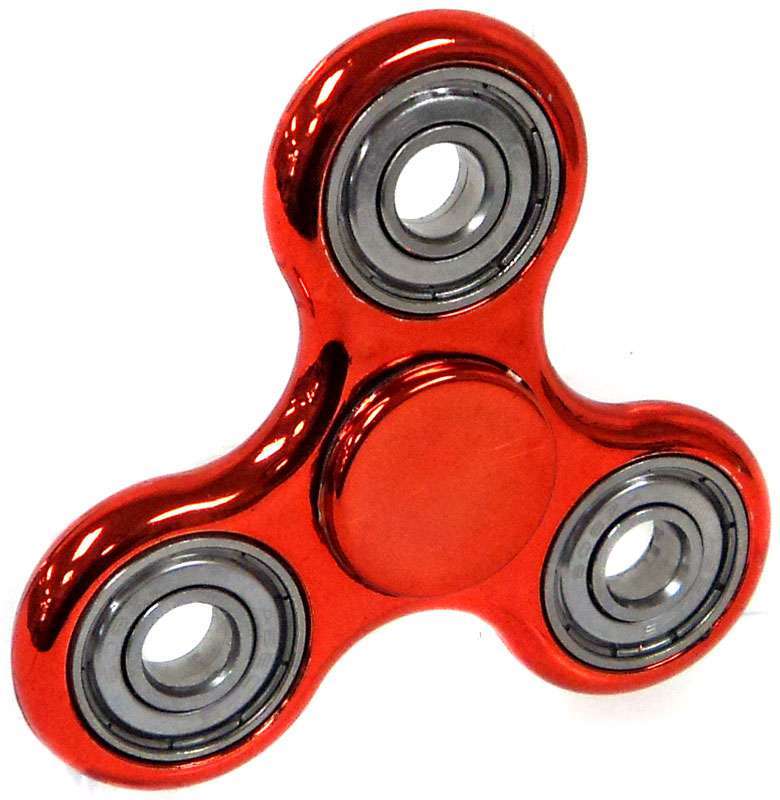
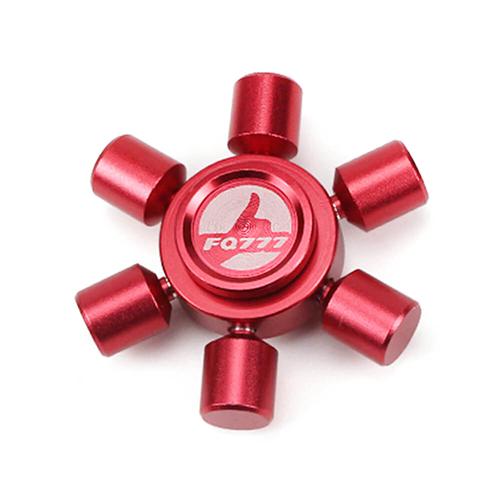
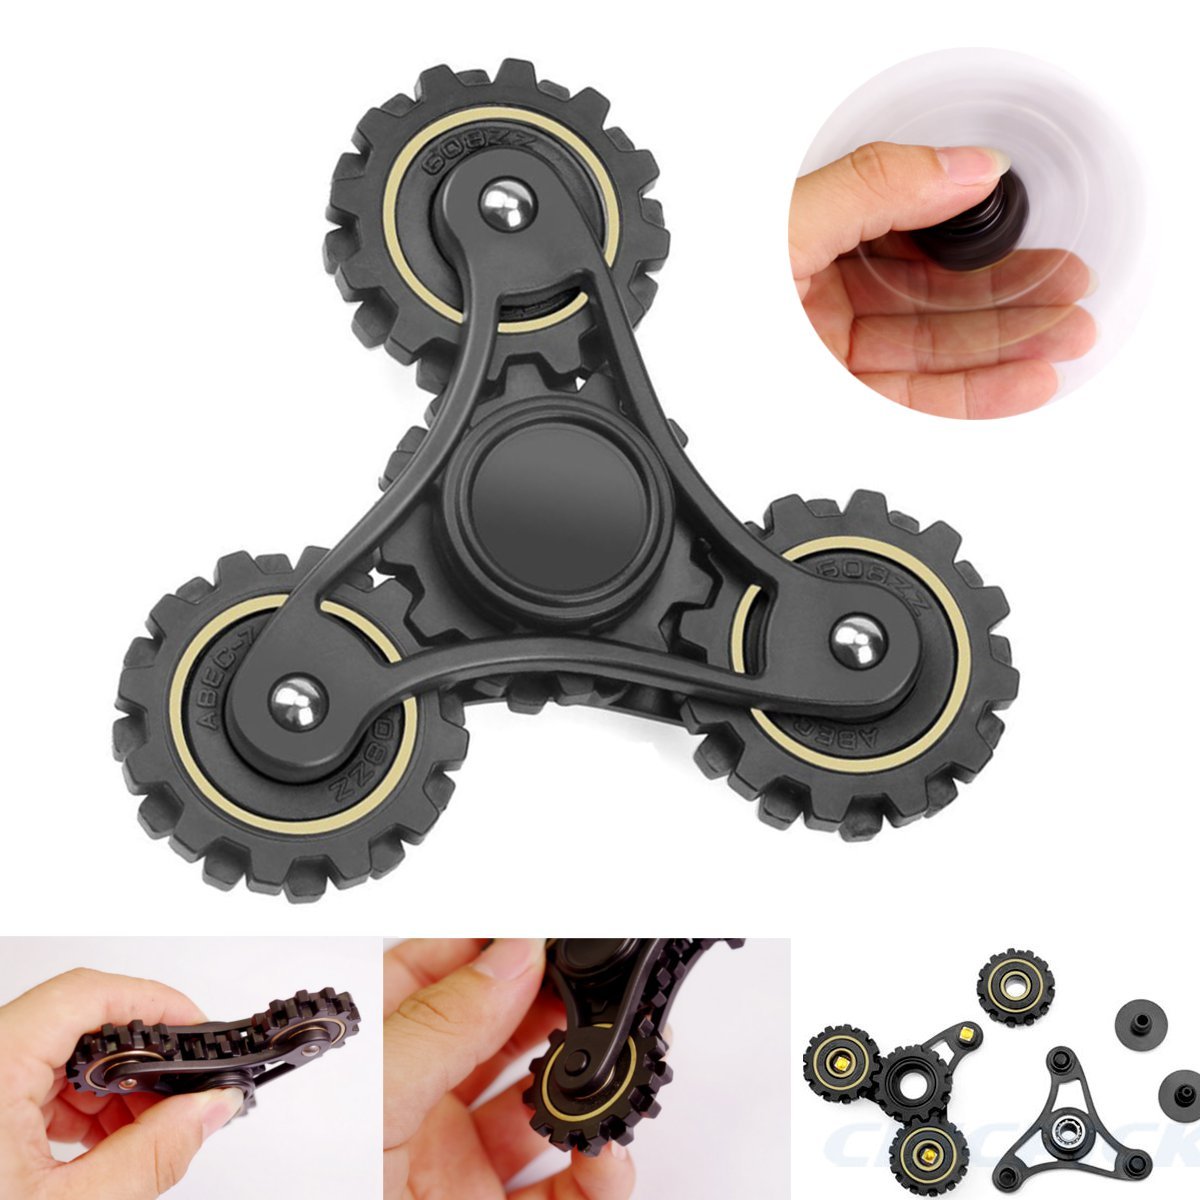
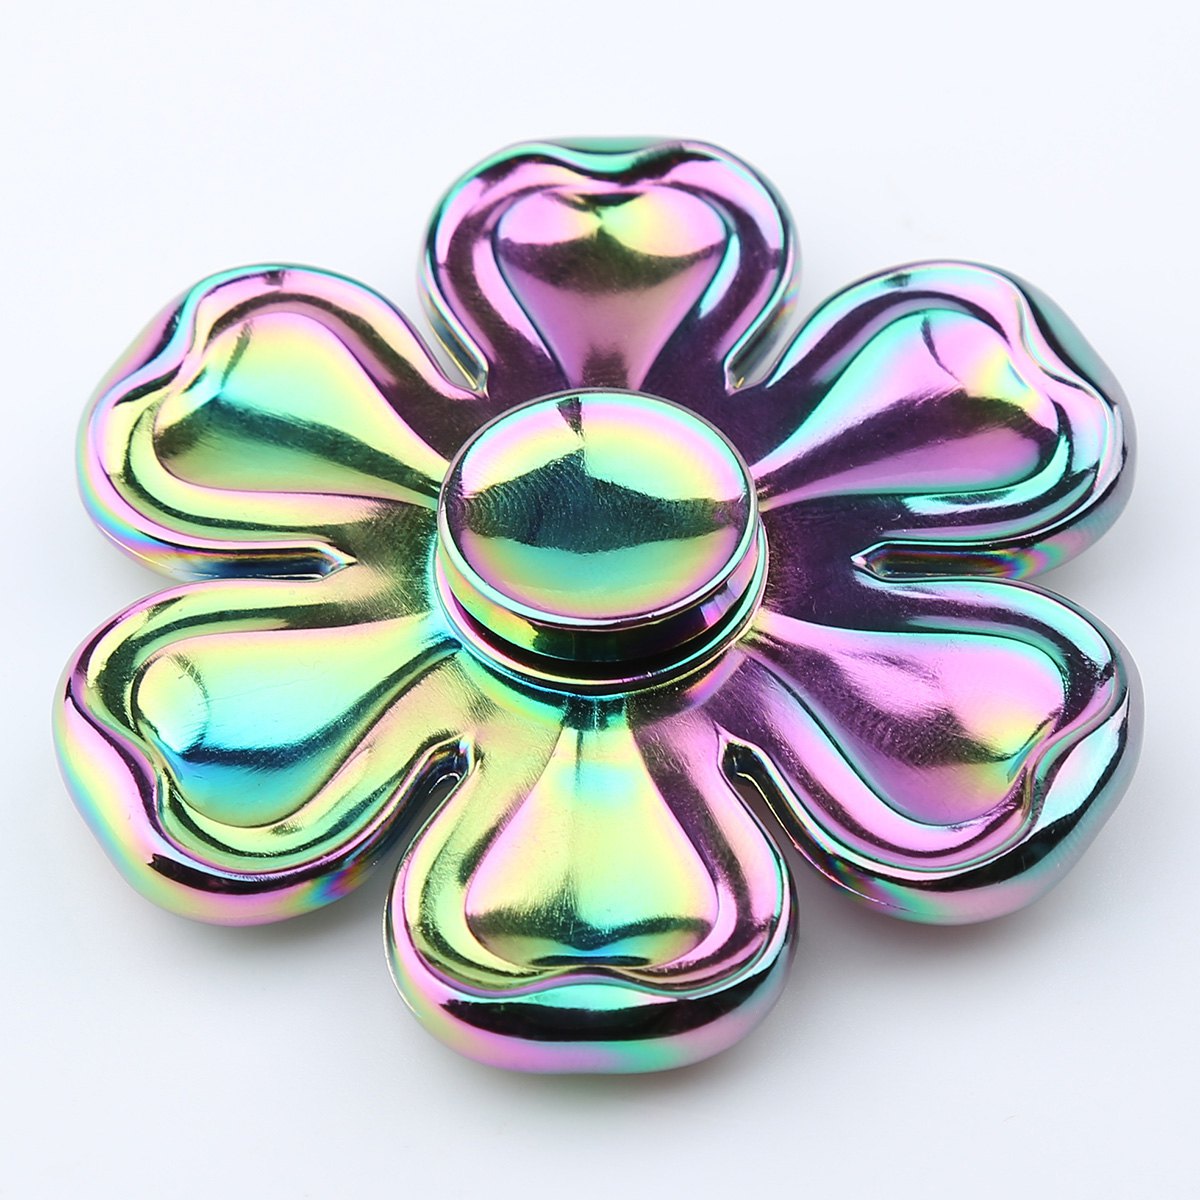
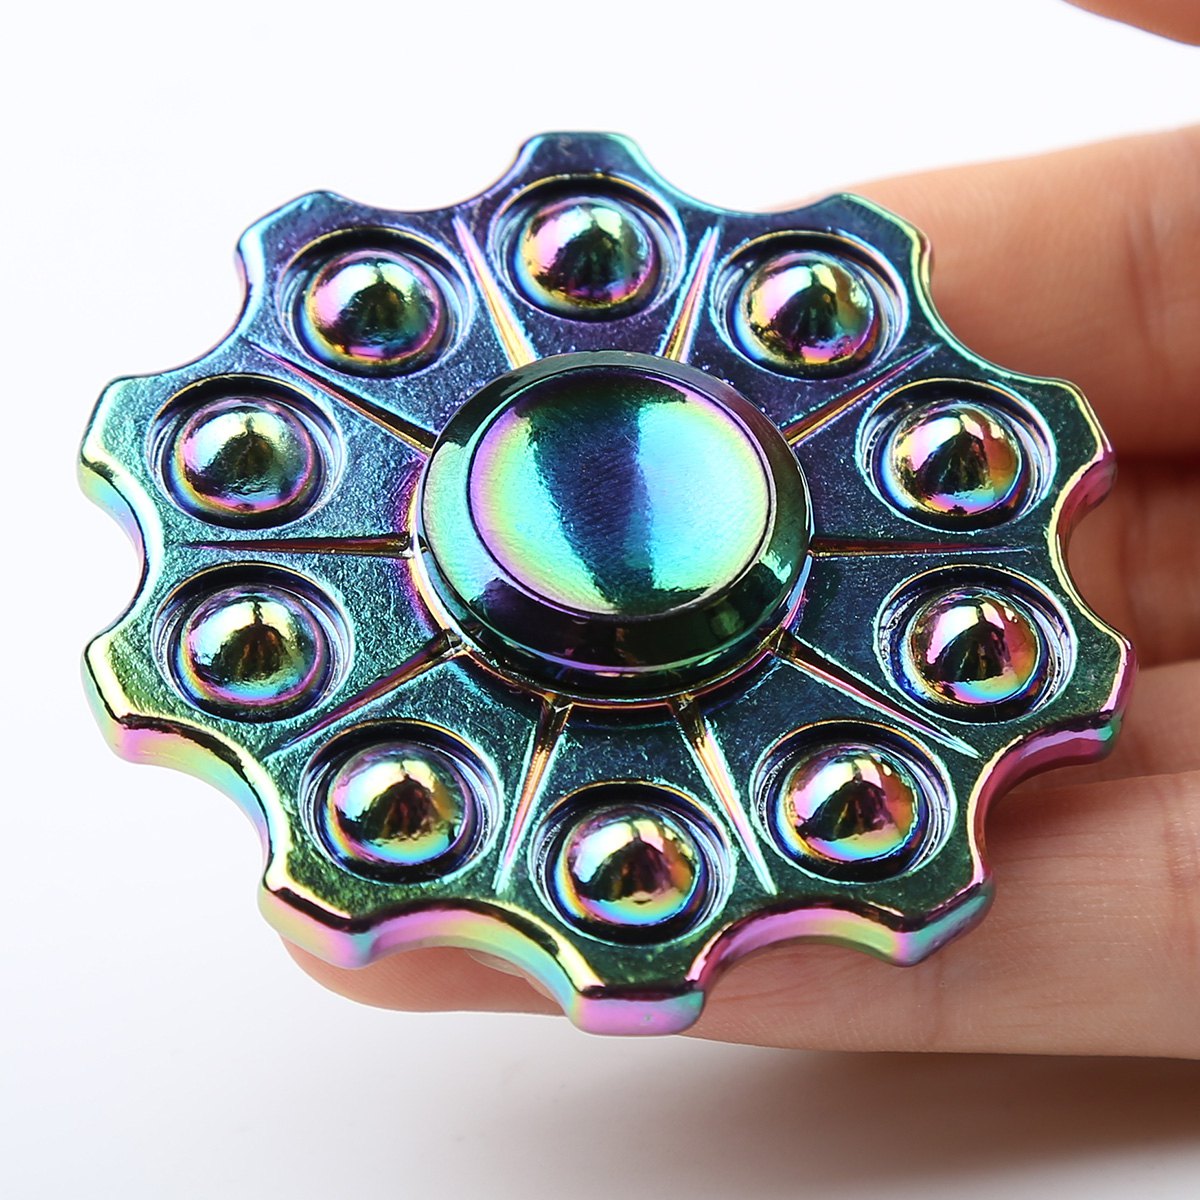
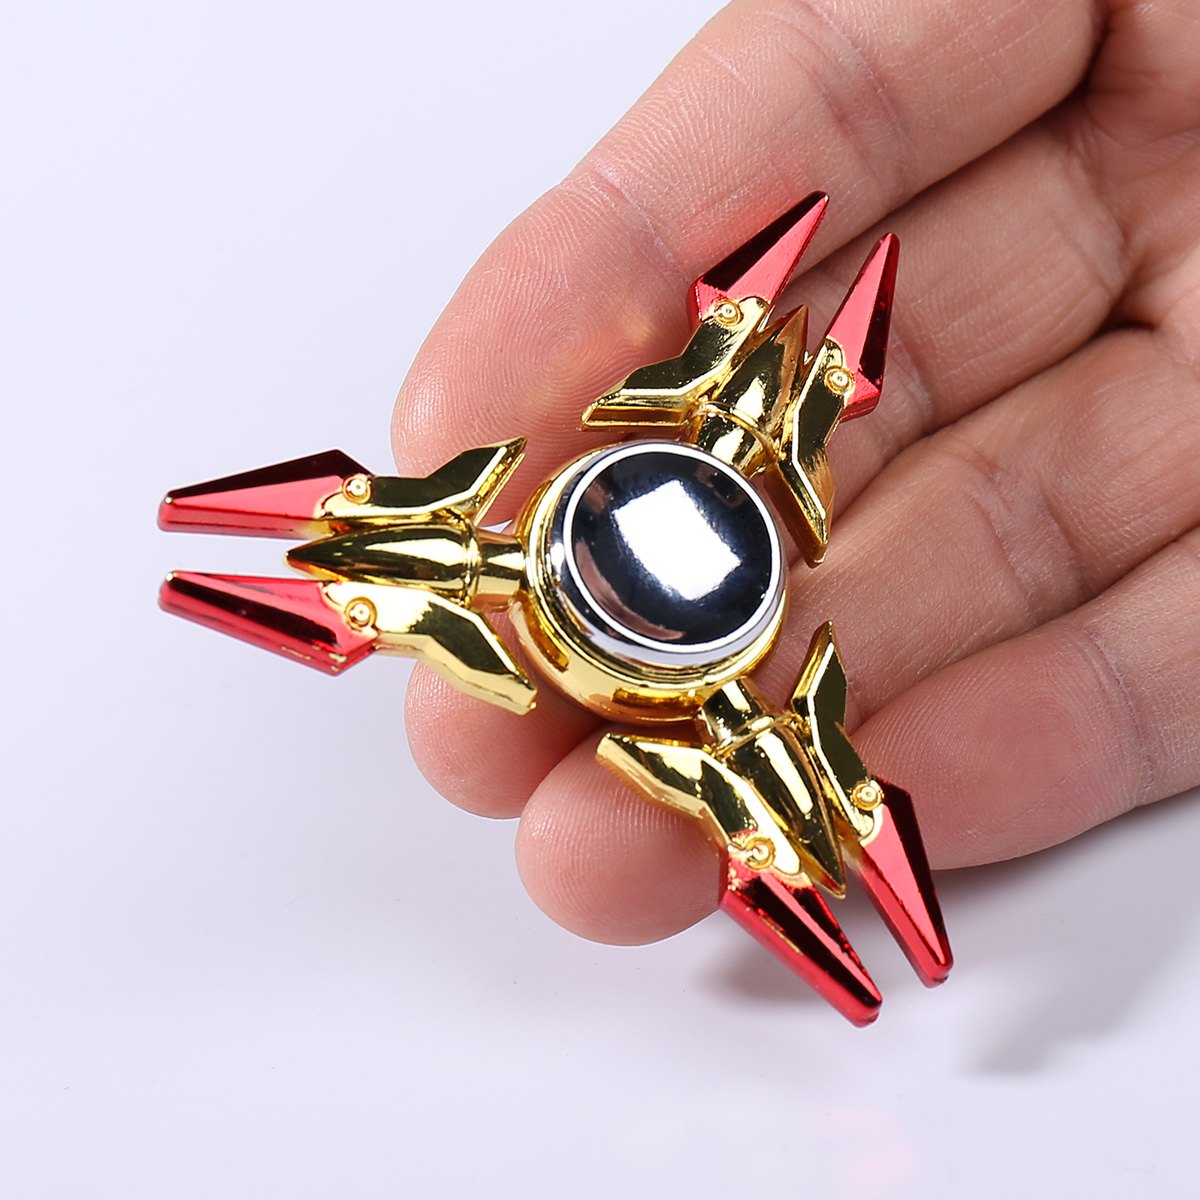
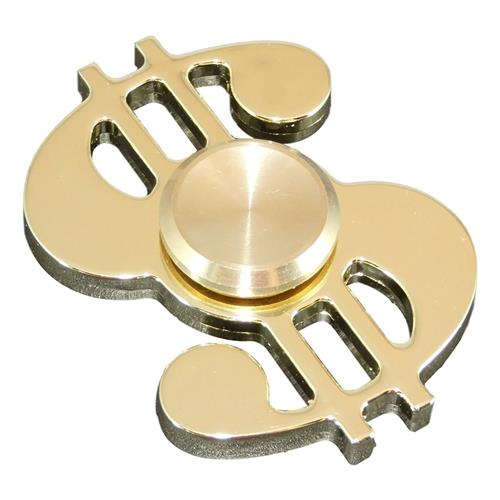
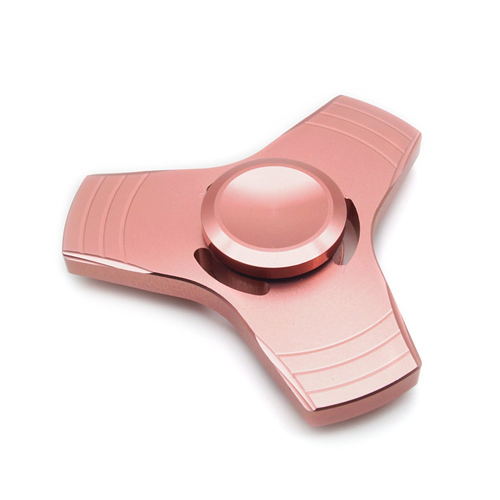
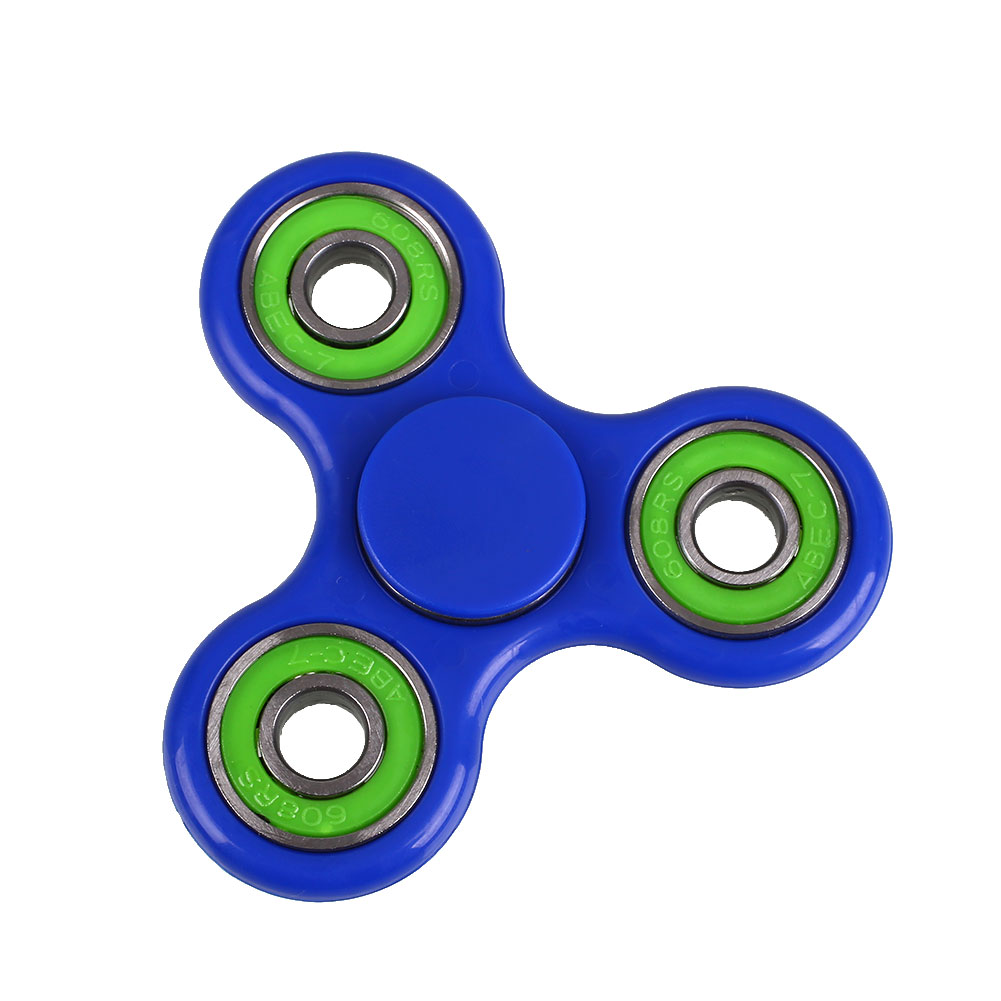
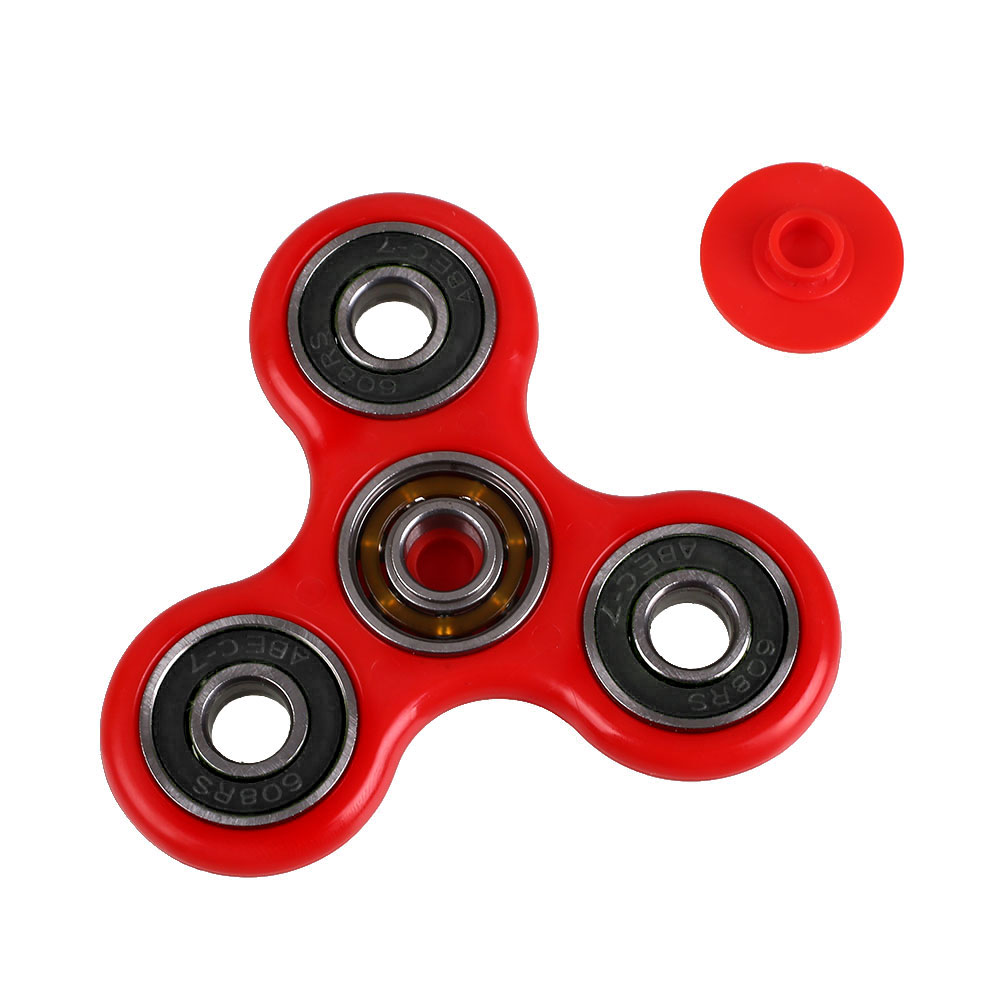
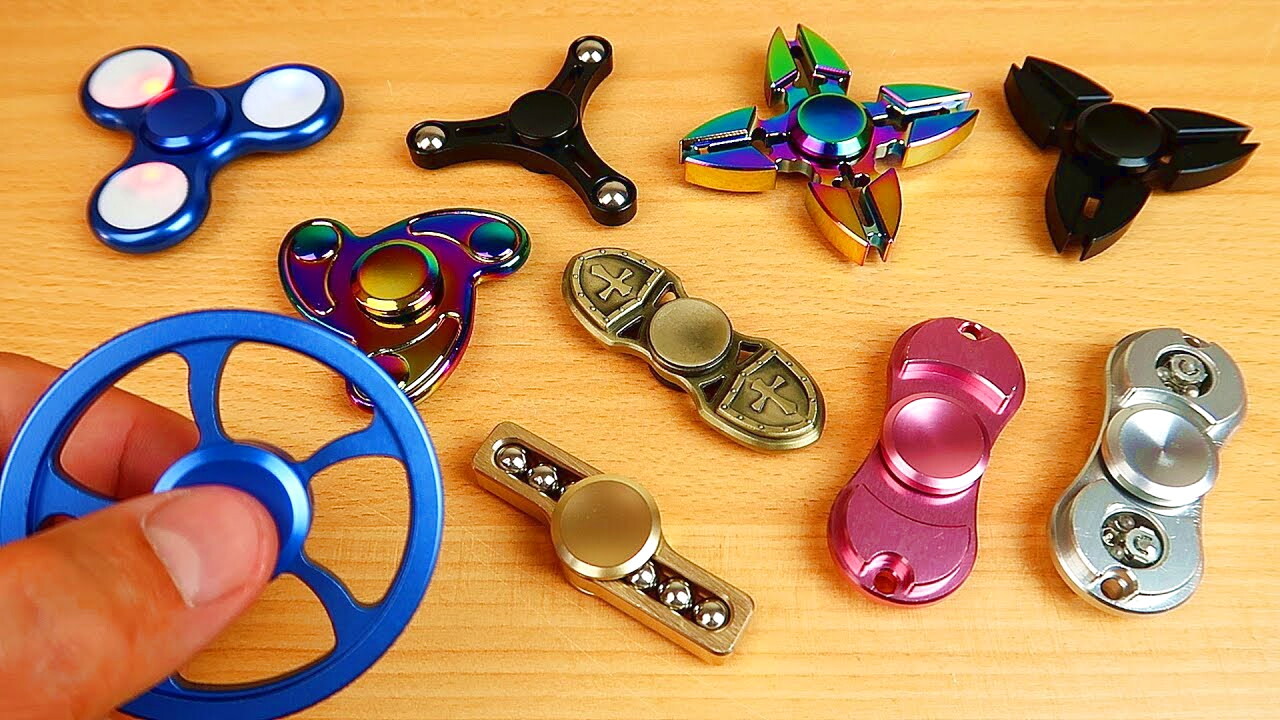
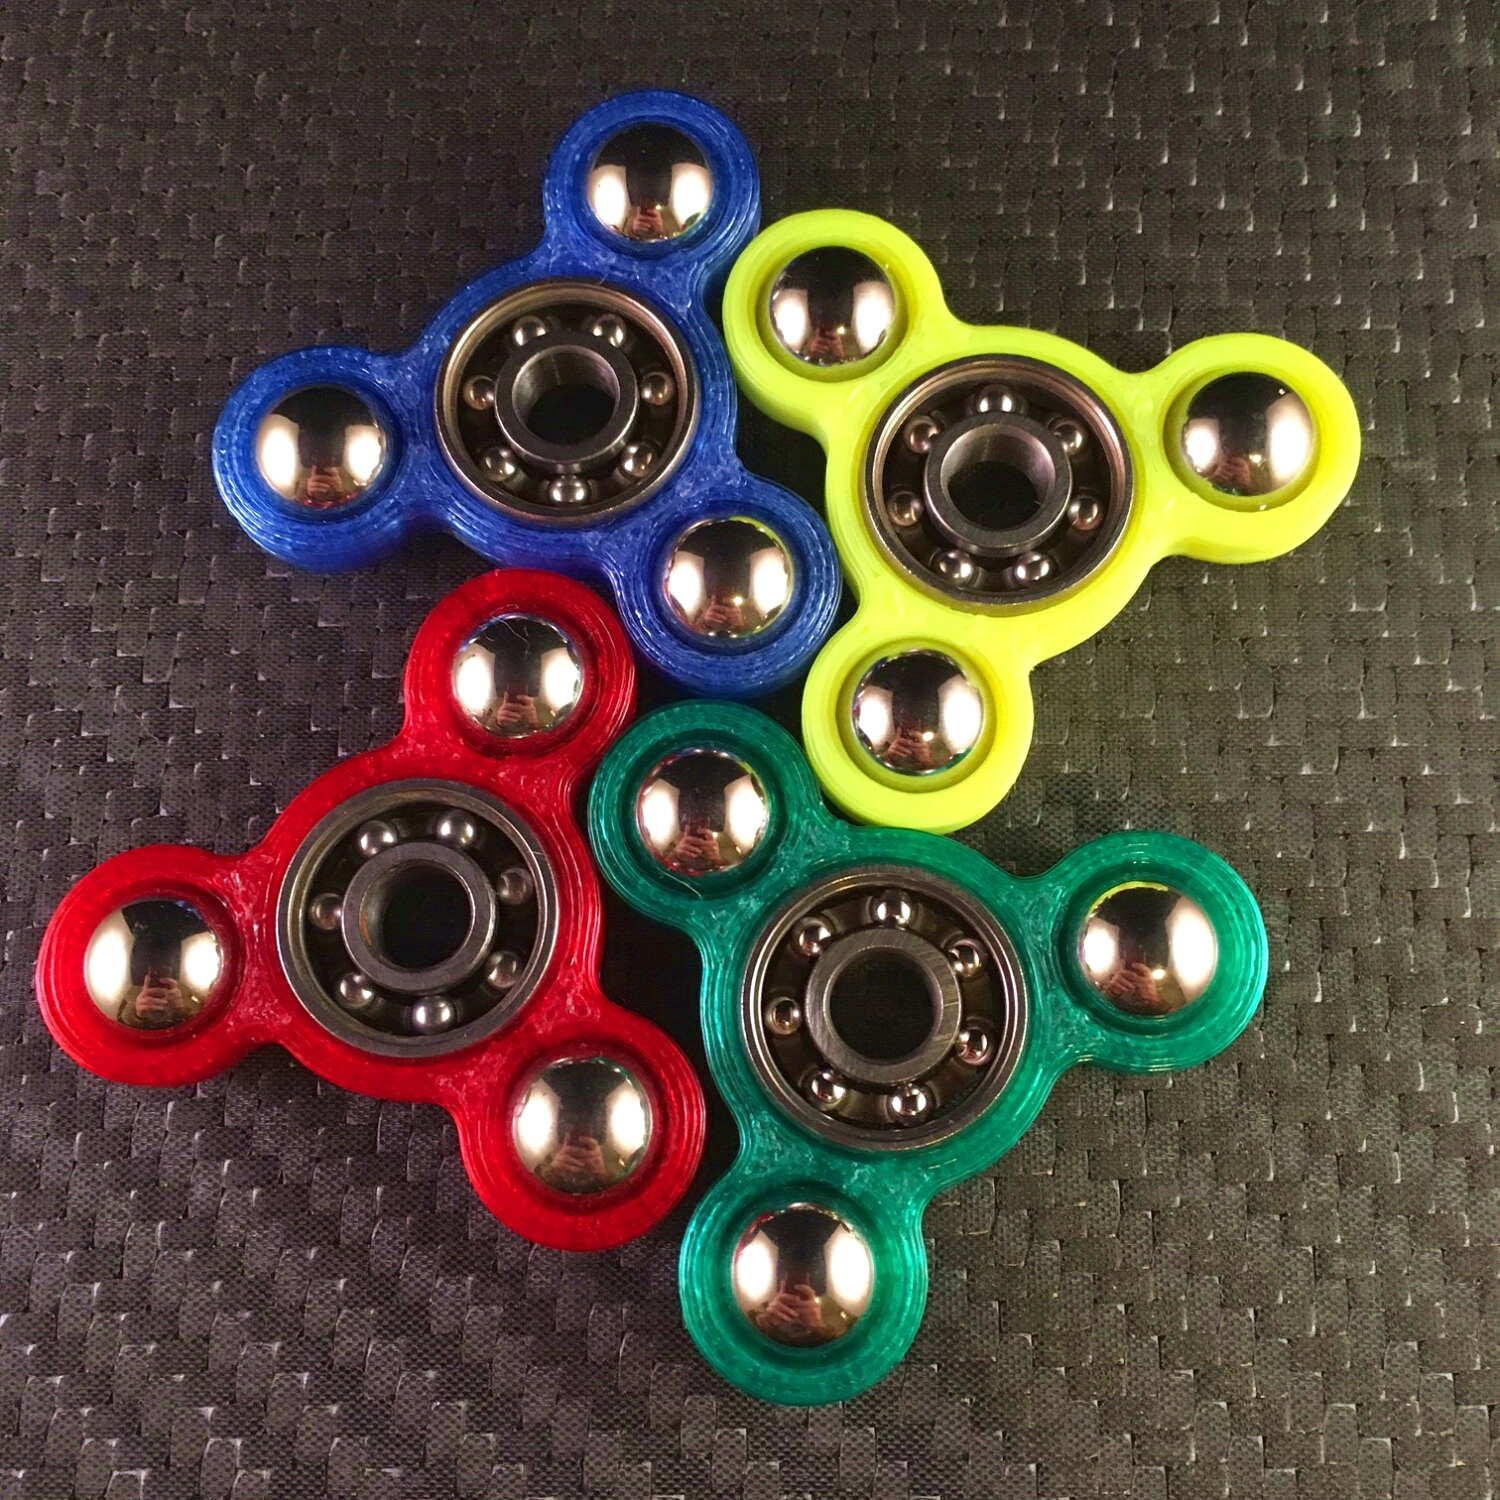
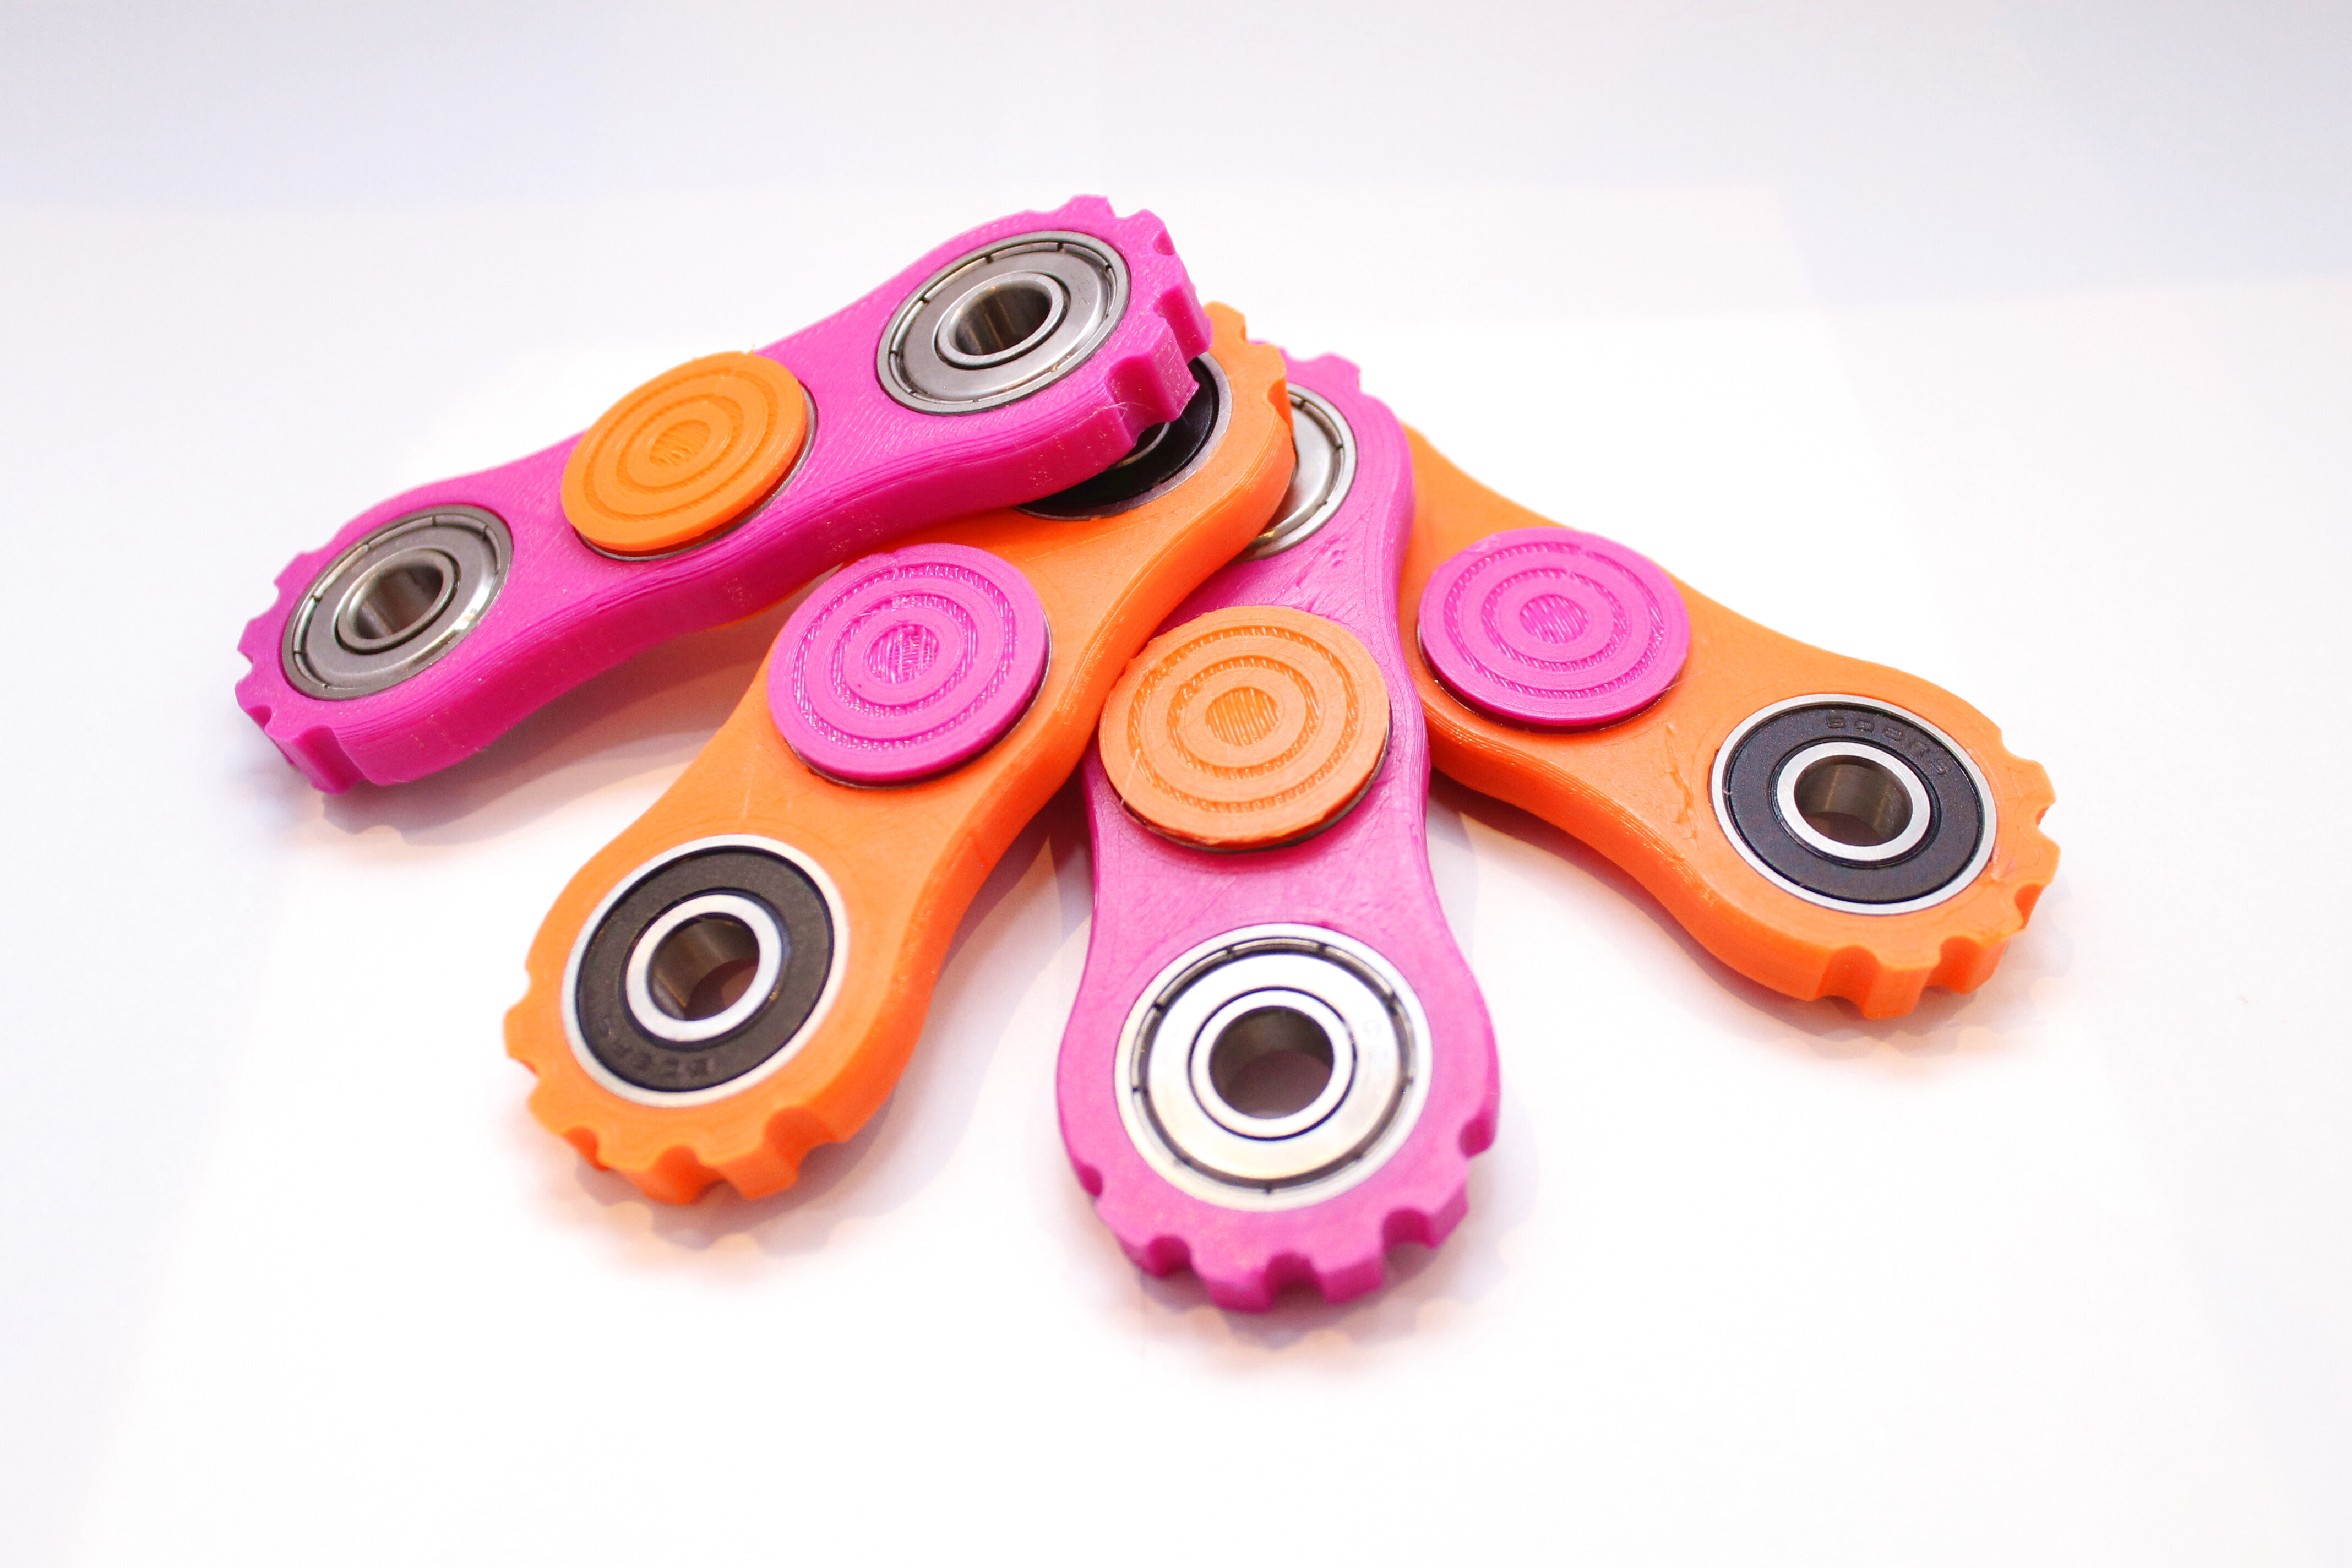
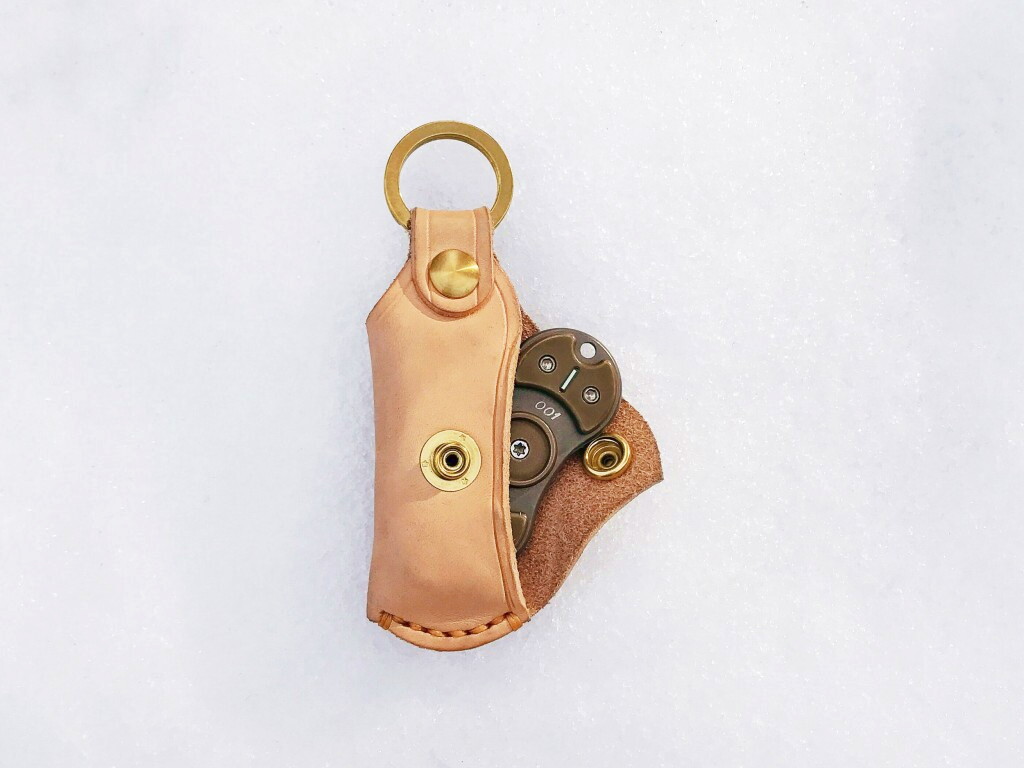
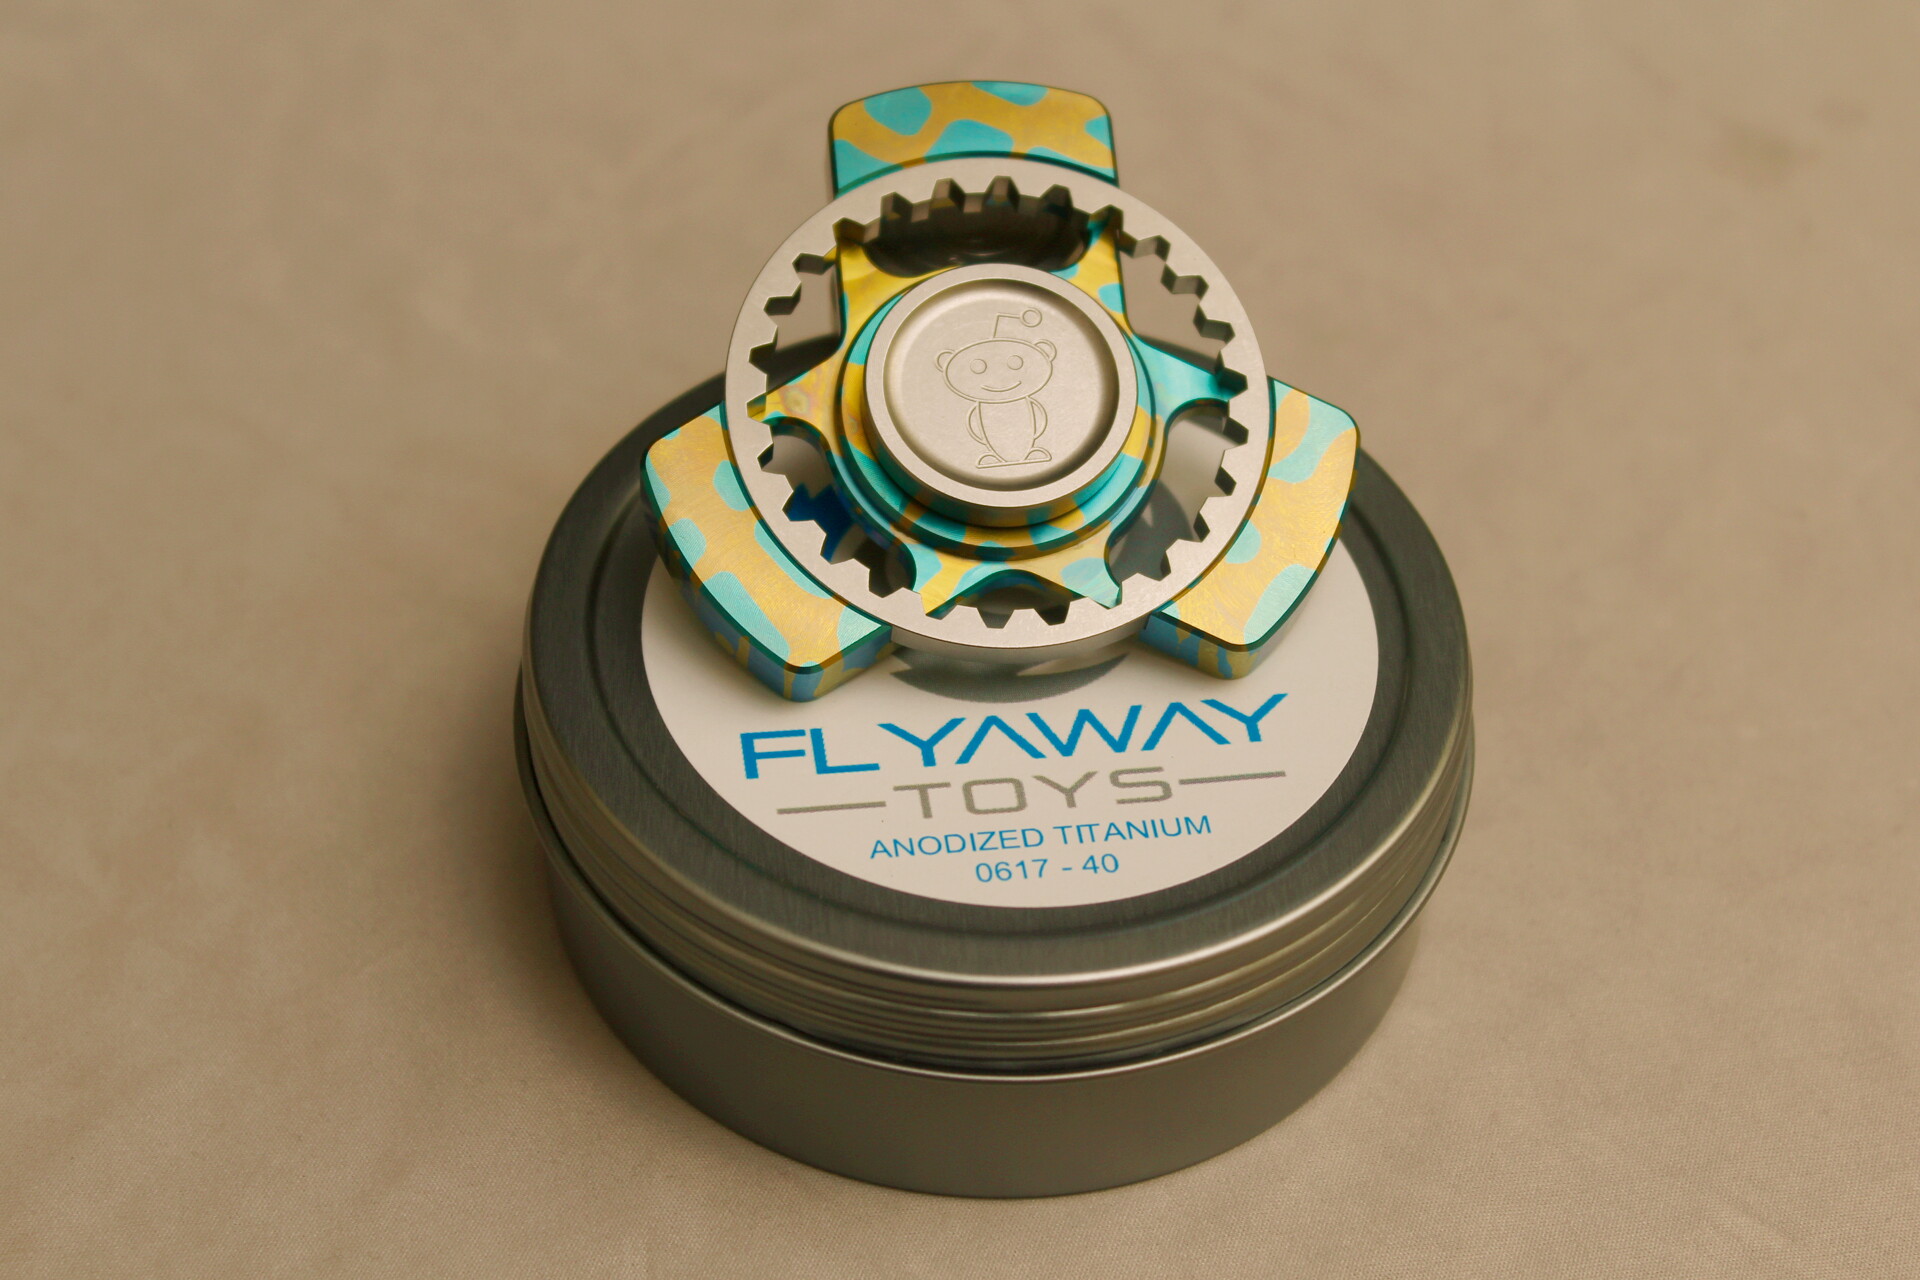
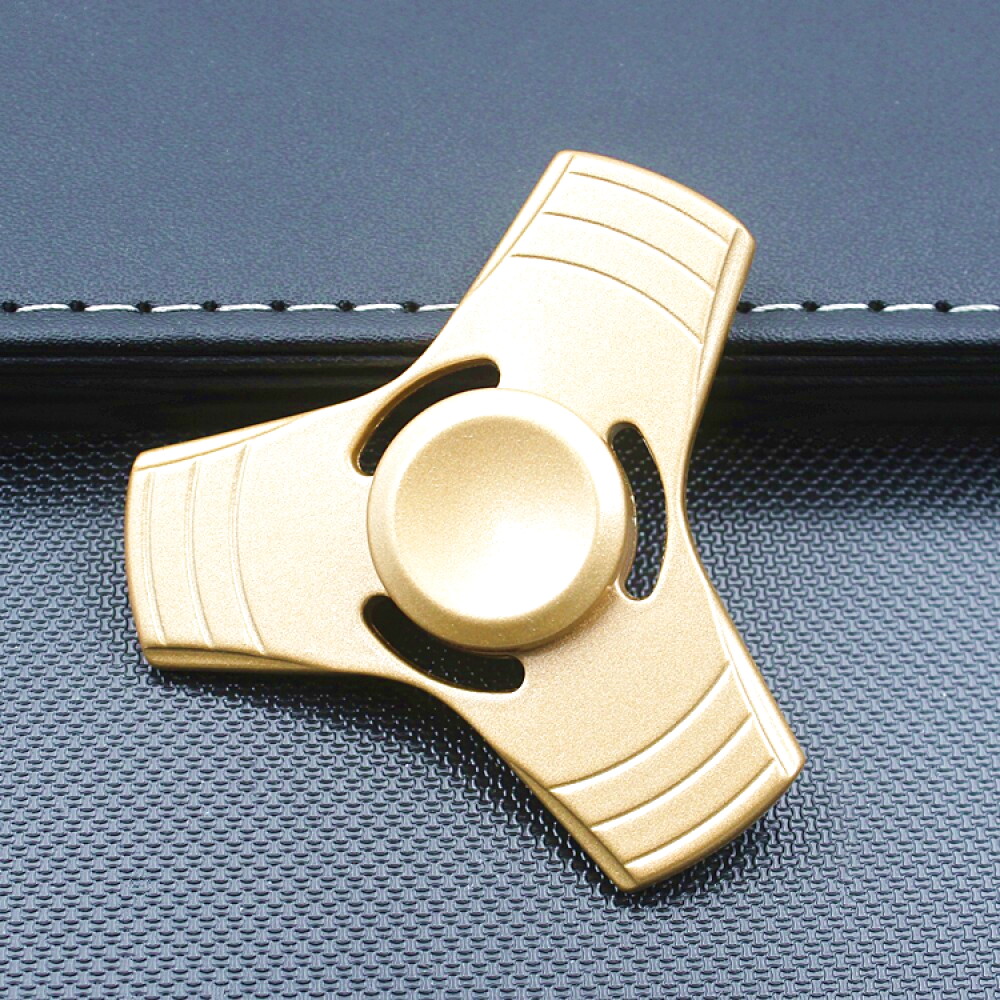
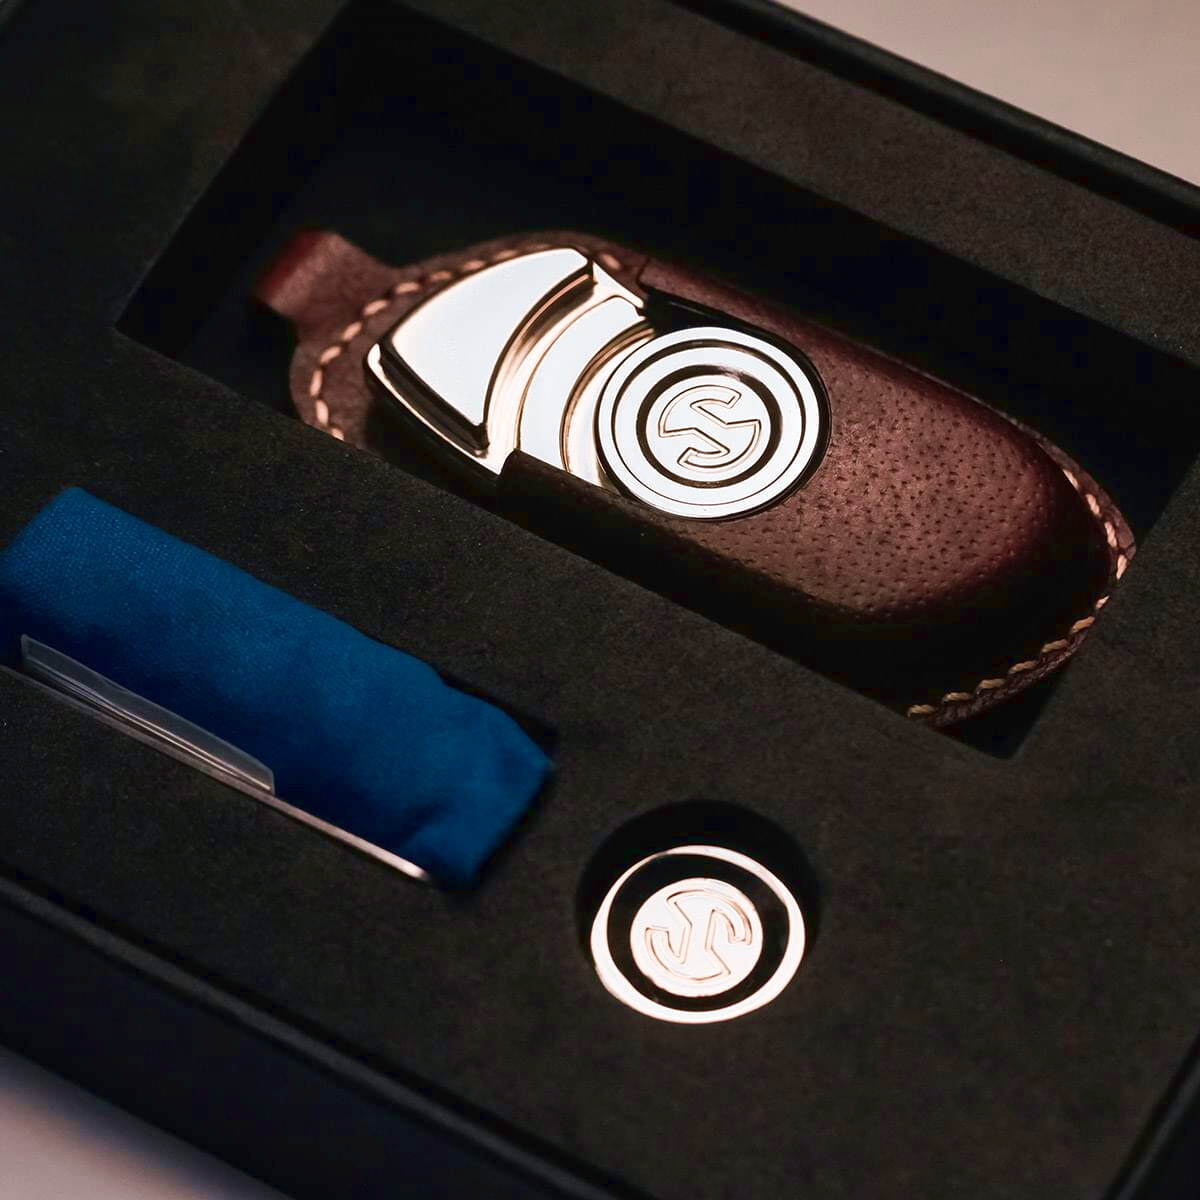
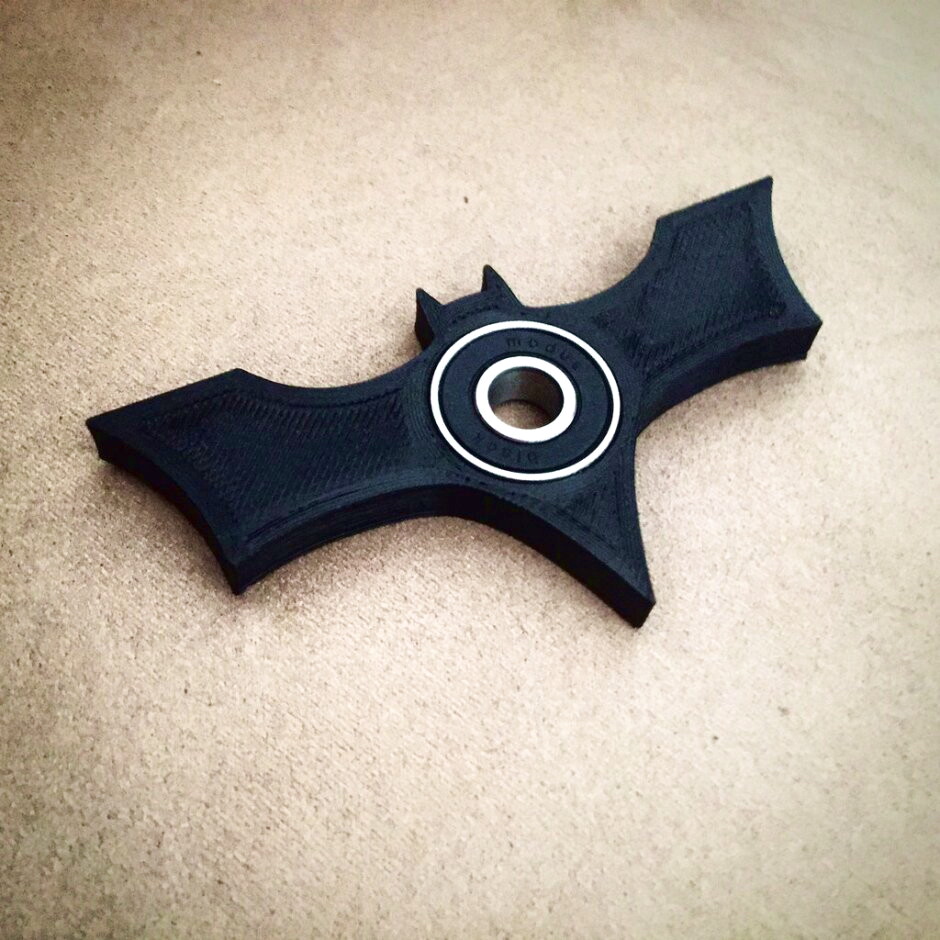
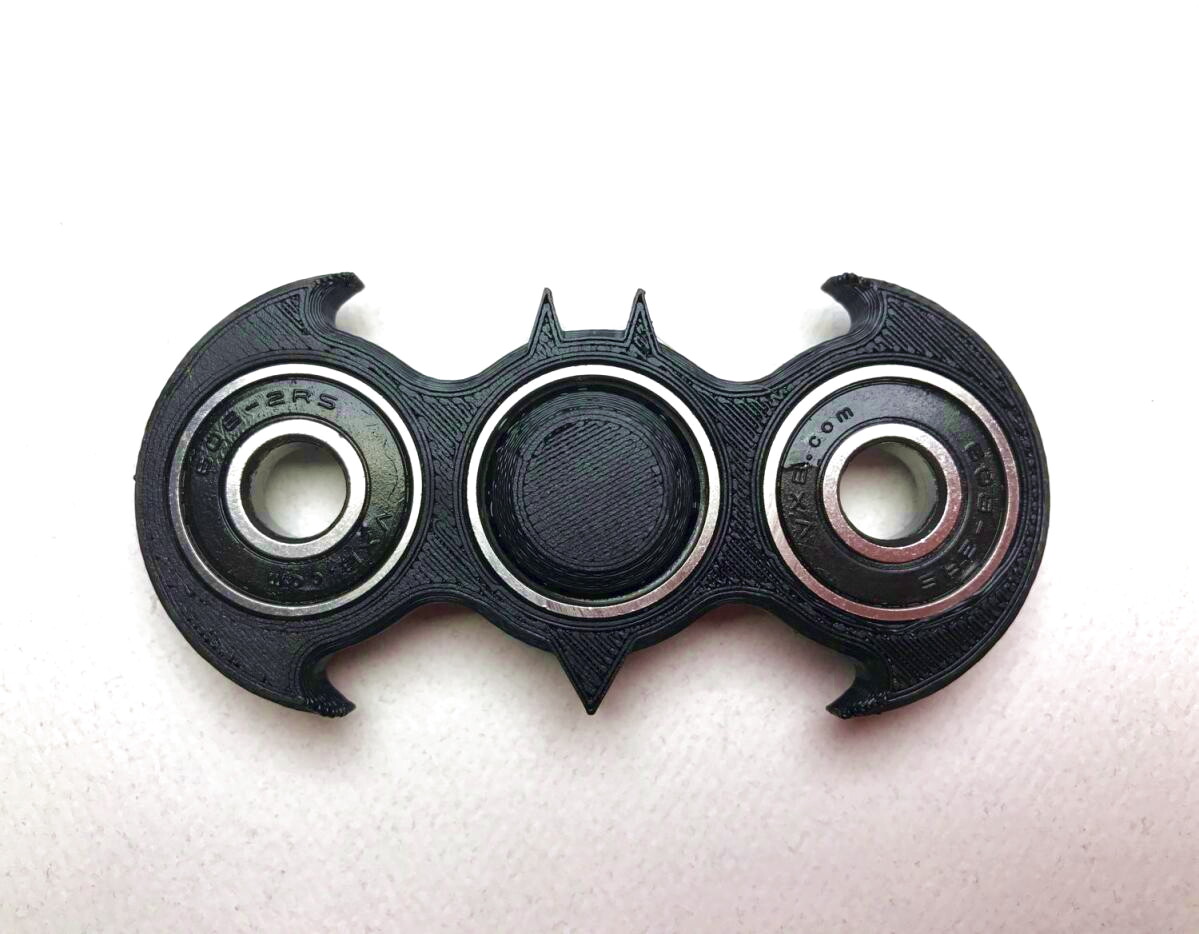
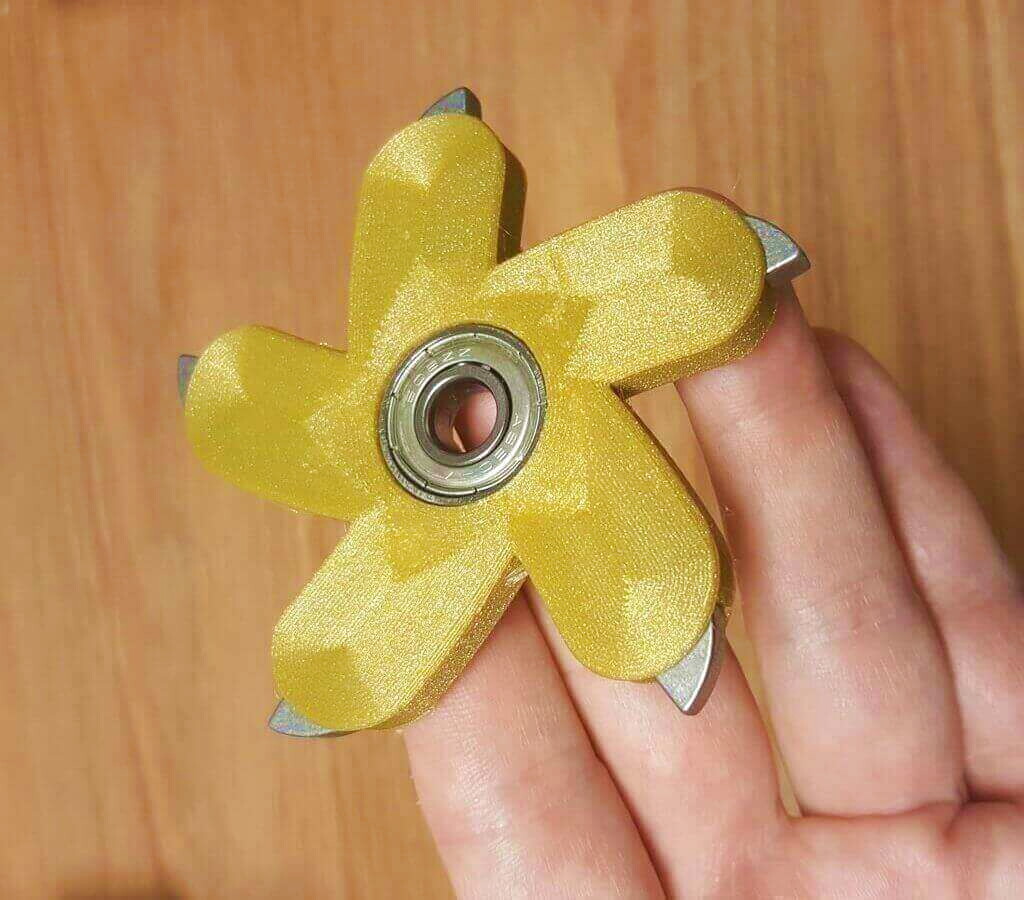
Photo of modern spinners


Video instruction on how to make a spiner at home