A car is not just a means of transportation; for its owner, it is a reliable friend, a favorite toy, and even a soul mate.

They are taken care of with love, acquiring the necessary parts, care products, arranged for them to be regularly cleaned, inspected, and, of course, how to do without a house for him, i.e. the garage.
If you are not constrained in finances, you can afford to buy a ready-made garage or hire professionals for construction, but the best and most reliable option is construction with your own hands.
How to make a do-it-yourself garage later in our article.
Review Content:
Permits
A garage made on its own, without paperwork, is considered an illegal construction (self-construction). The land for construction must also have appropriate documents.

But, in some cases, permits for the construction are not required:
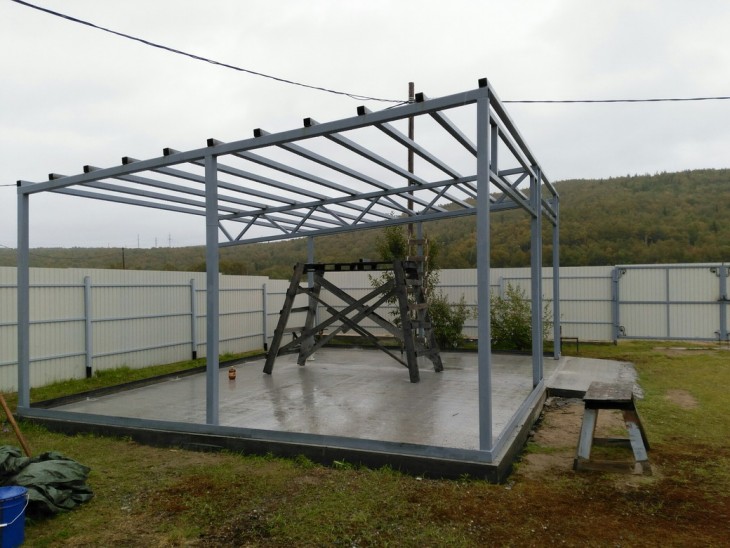
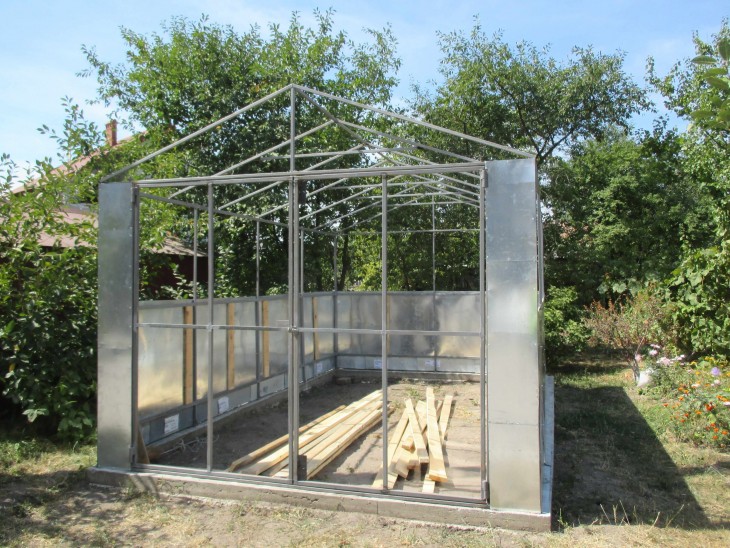
- if it is not a capital building, but the construction of a frame garage;
- if it is not a commercial project;
- if it is an auxiliary building.
All other construction options and the land must be legalized by issuing documentation.


Varieties of Garages
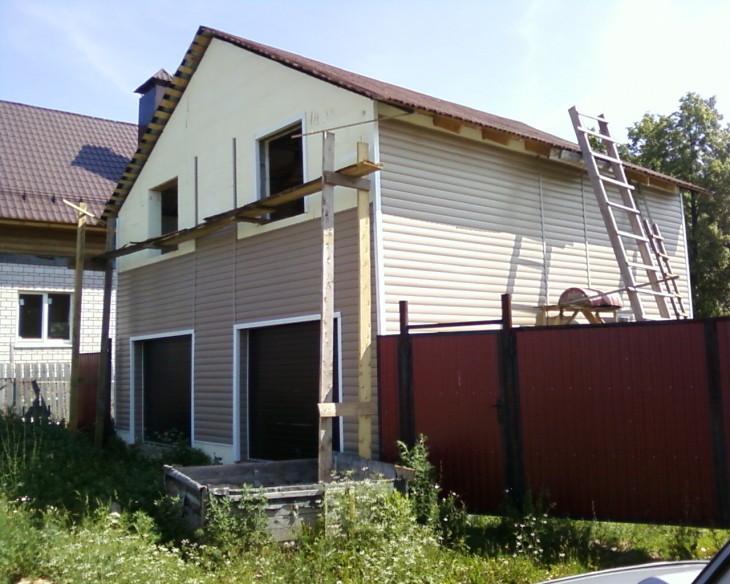
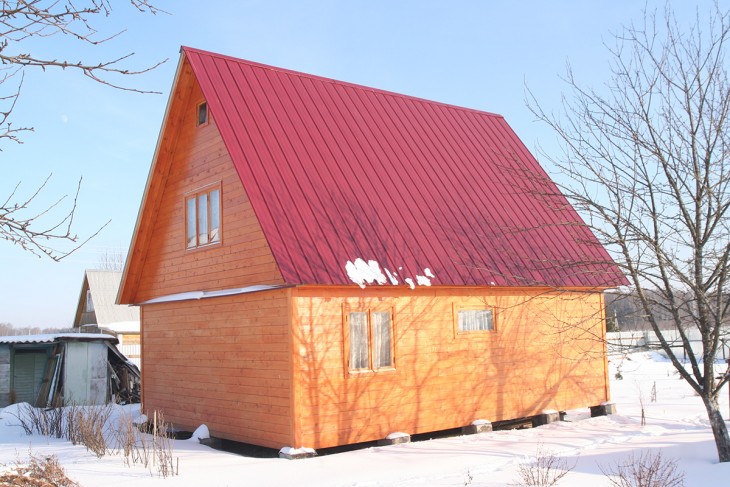
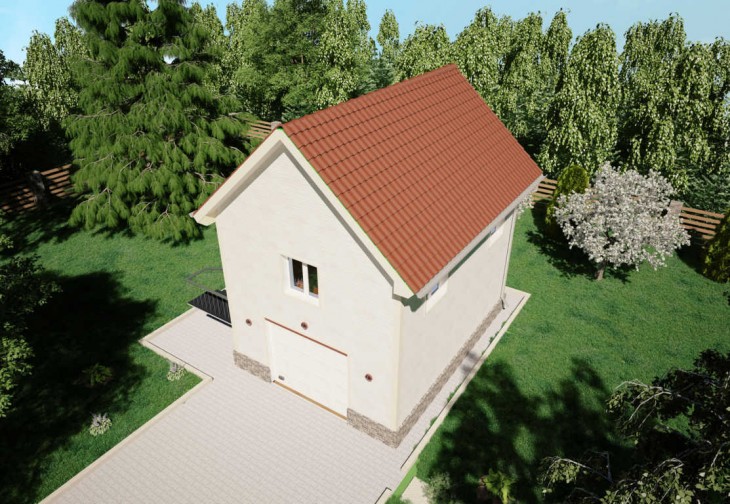
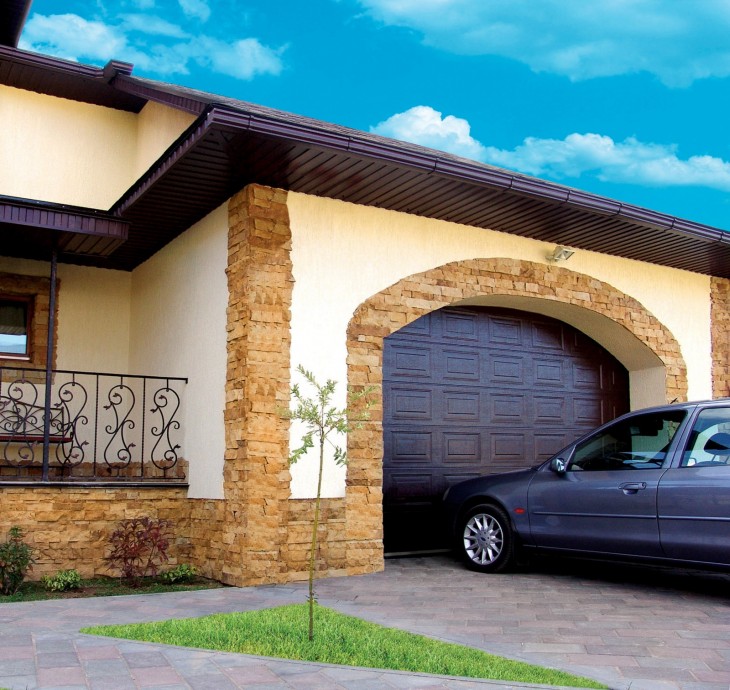
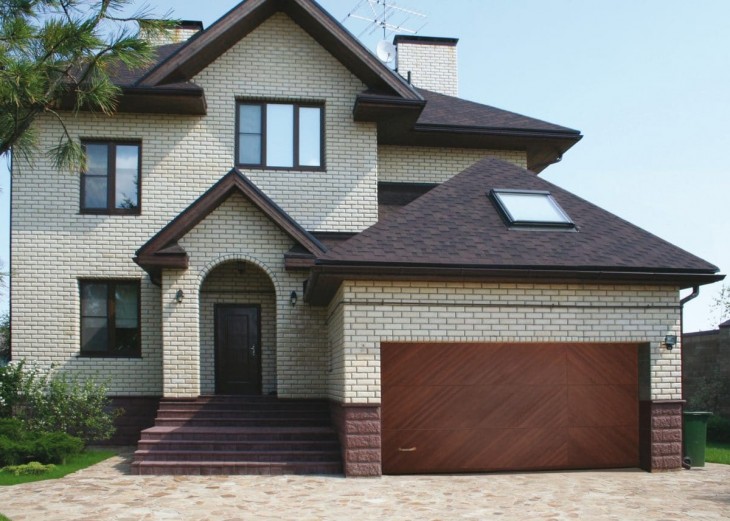
Garages vary depending on the financial solvency of the owner, personal tastes and land for development. The garage can be attached to the house or make it instead of the first floor, or directly under the house.

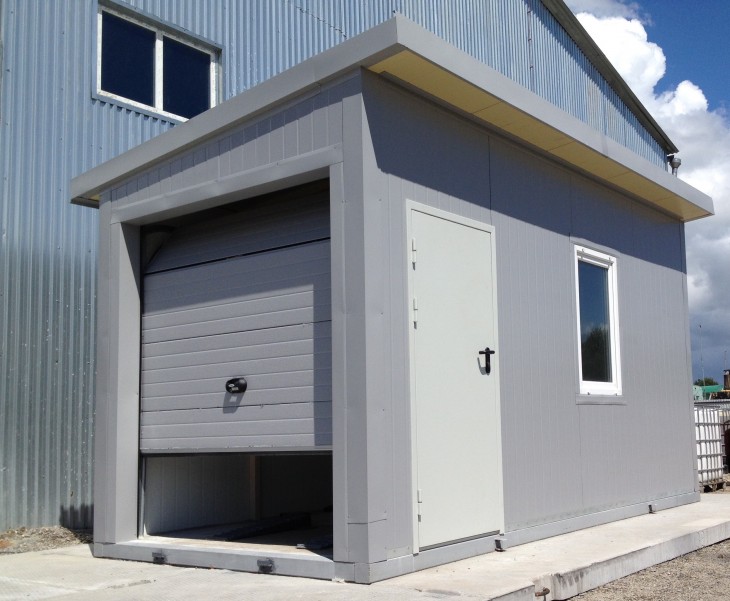
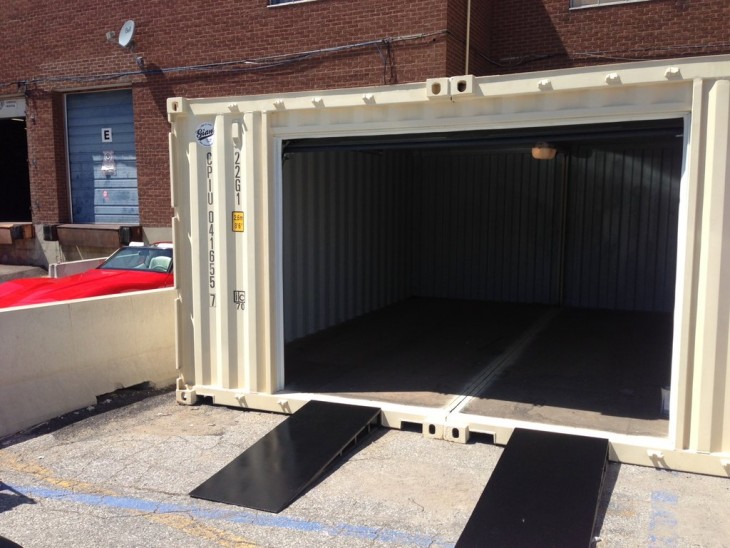
The garage building, built instead of the first floor, the so-called built-in garage, is not very convenient. Nowadays, you can buy designs that are assembled and disassembled, like a designer. Or arrange a hinged structure in the yard.

The pricing policy of this option for garage construction is quite acceptable. And the structure itself is simple and unreliable.

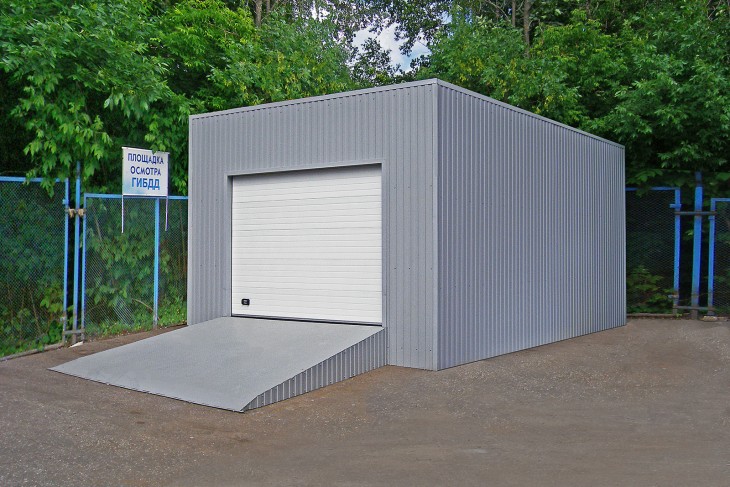
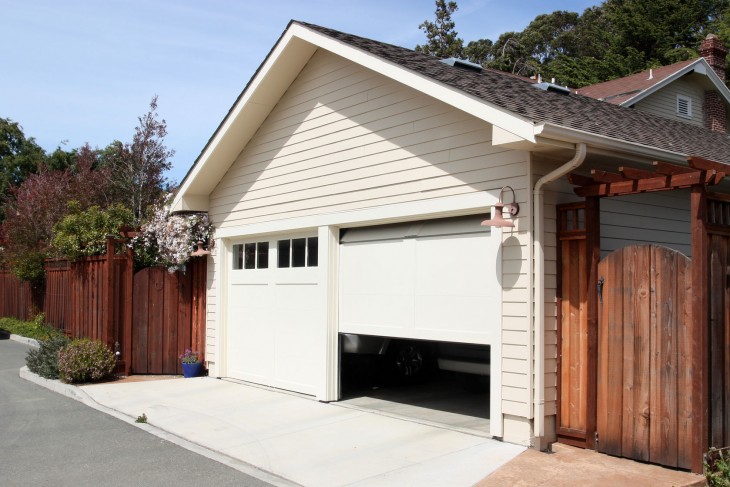
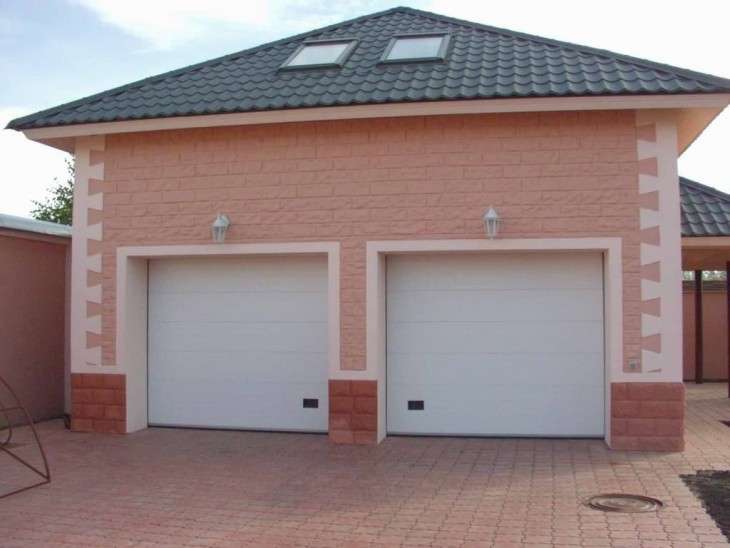
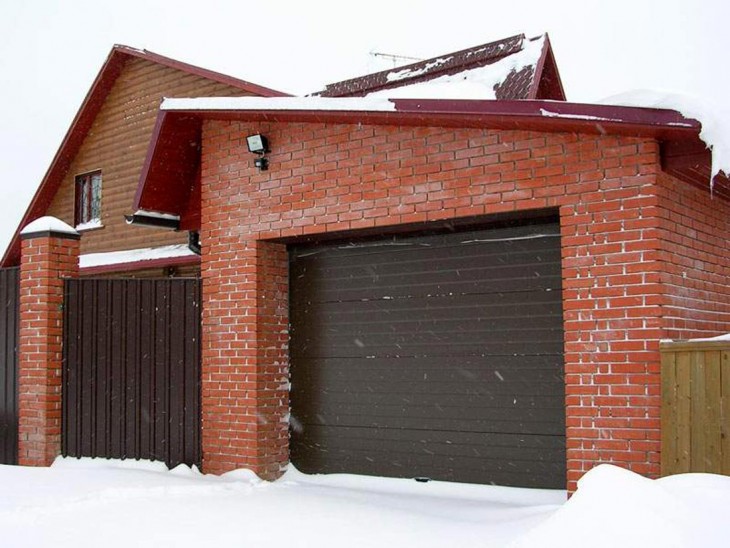
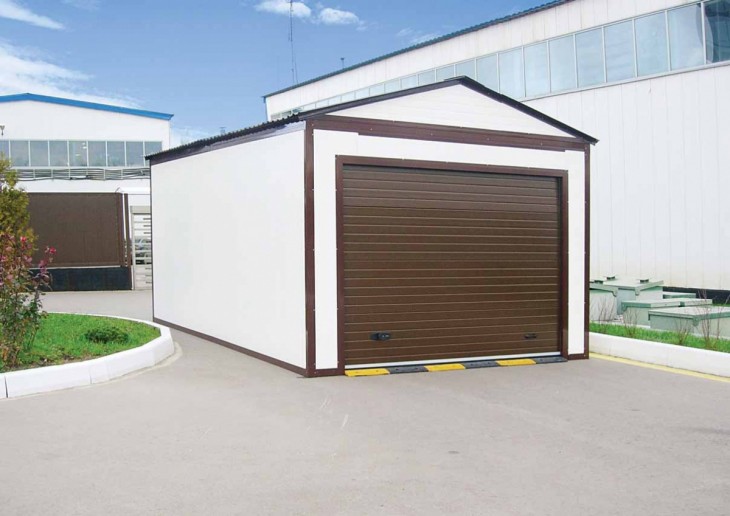
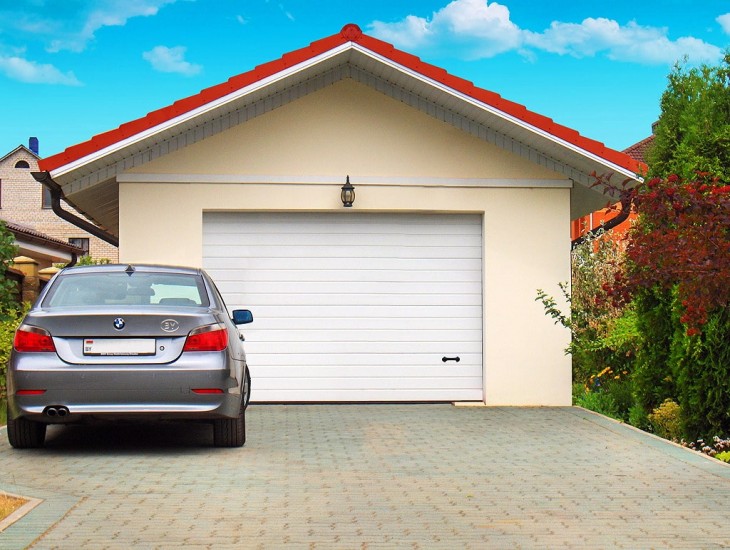
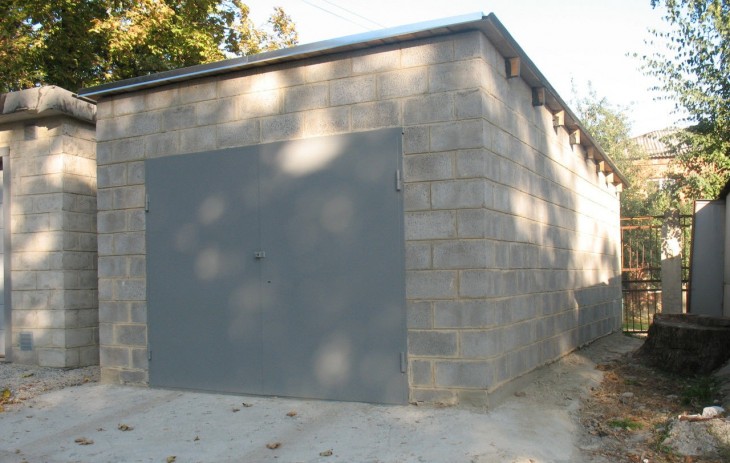
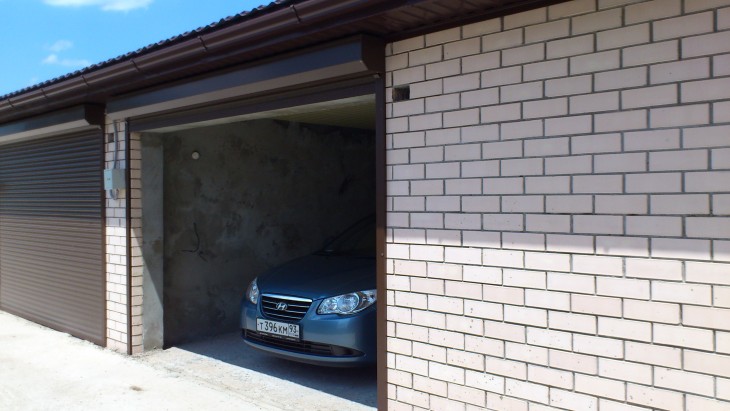
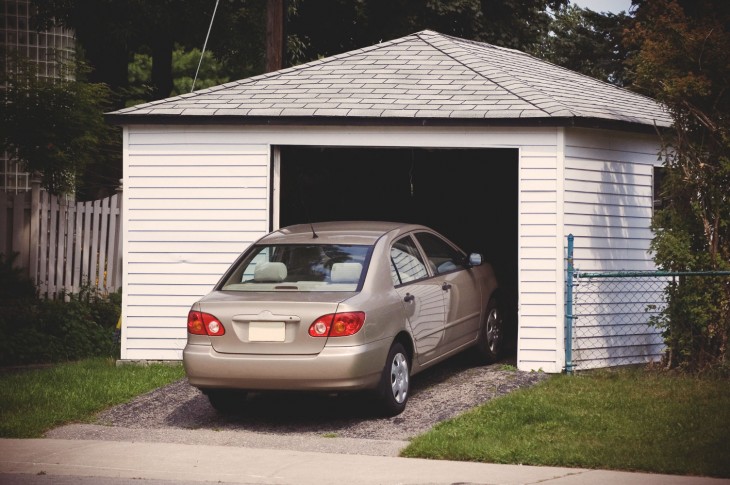
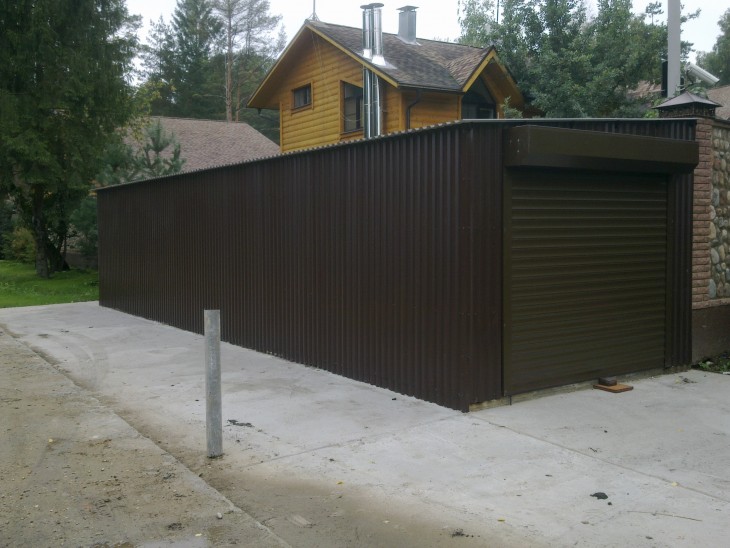
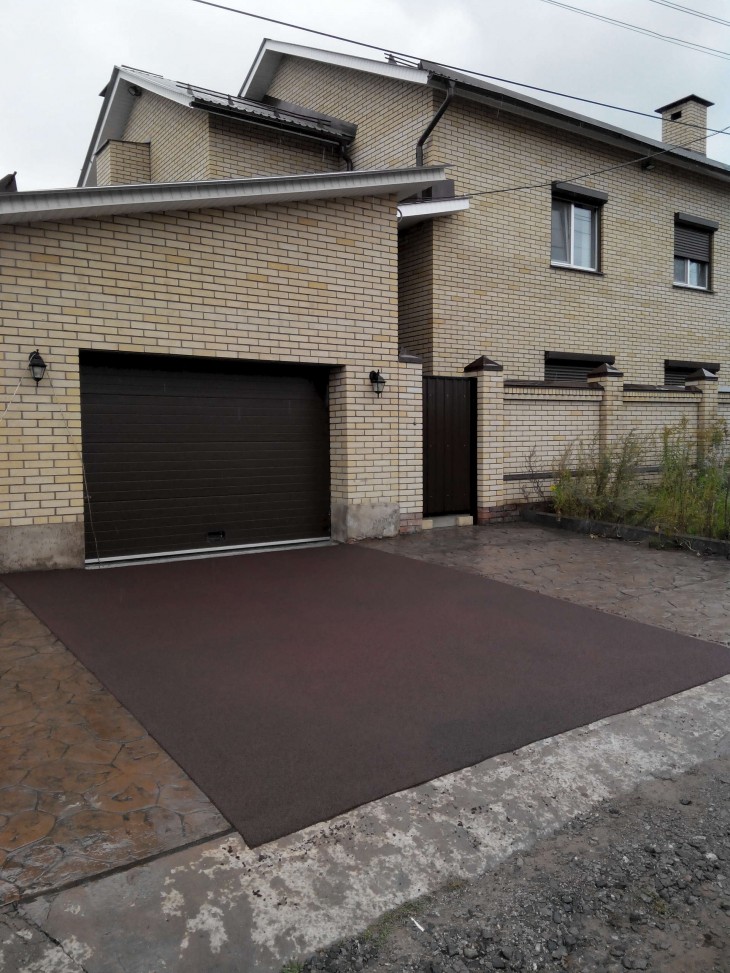
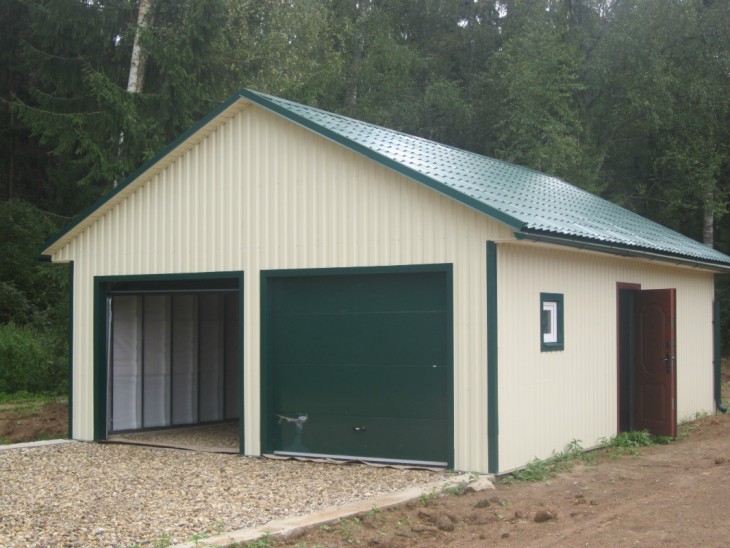
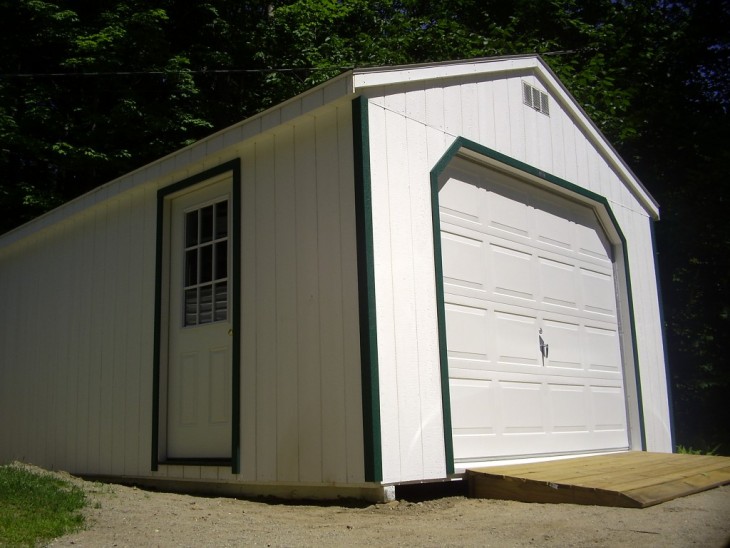
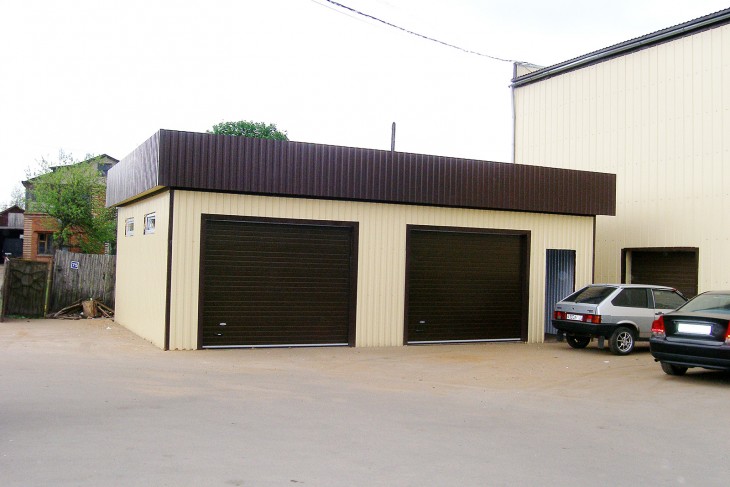
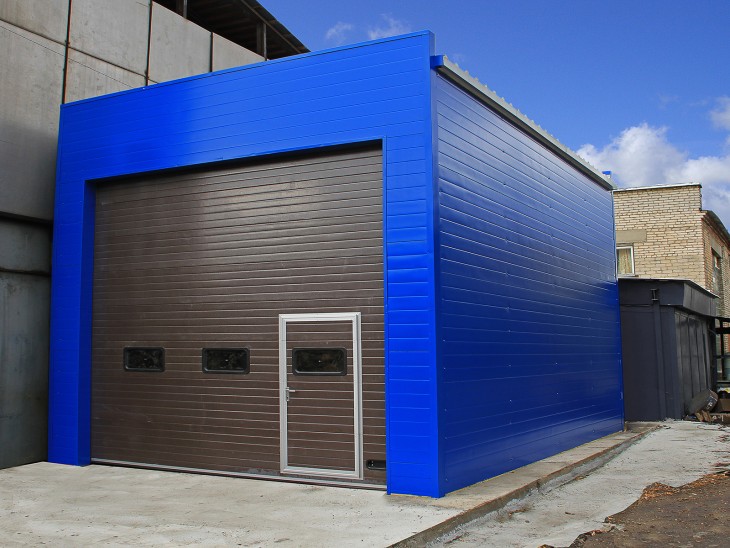
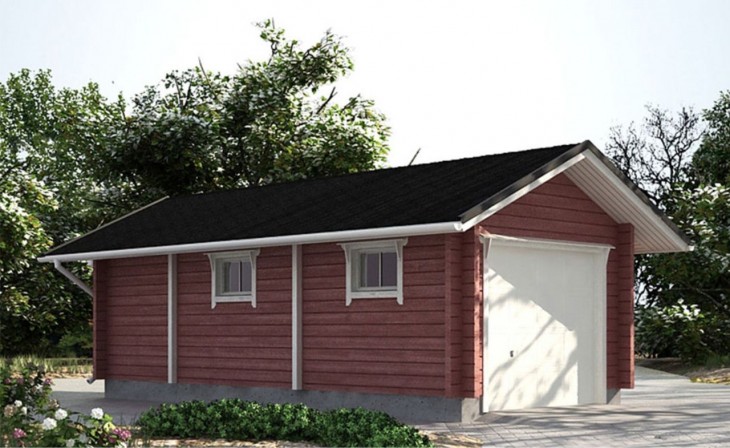
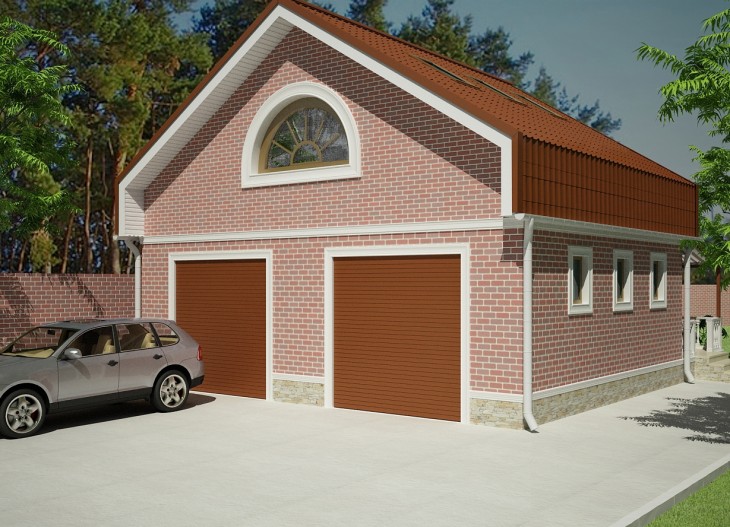
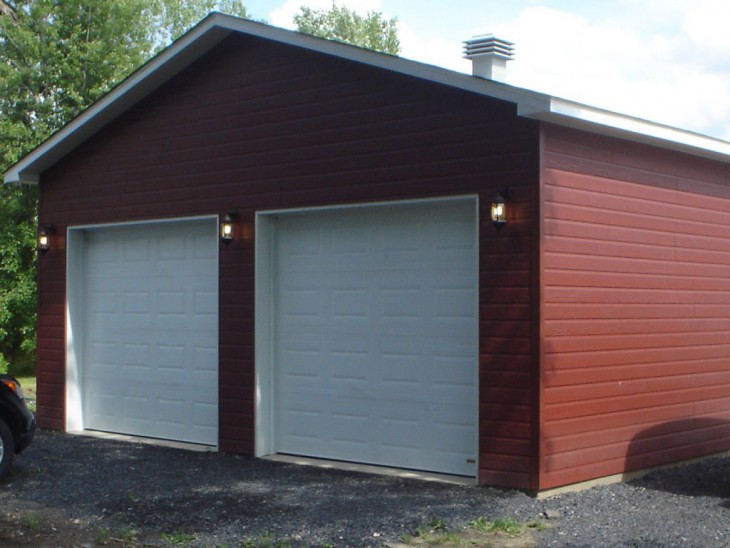
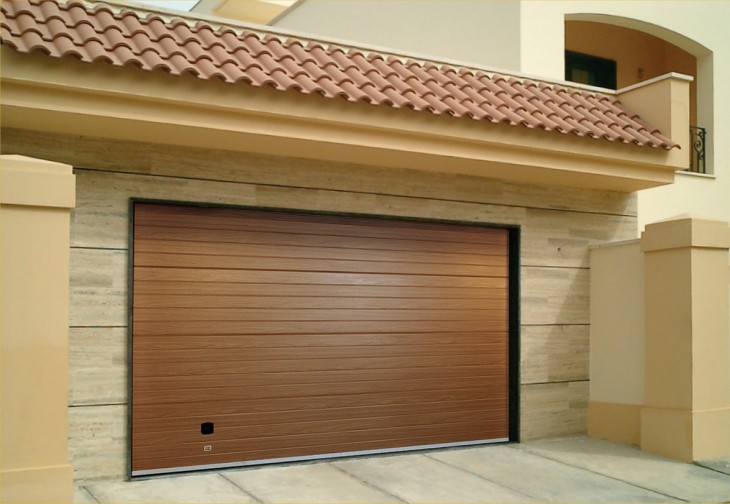
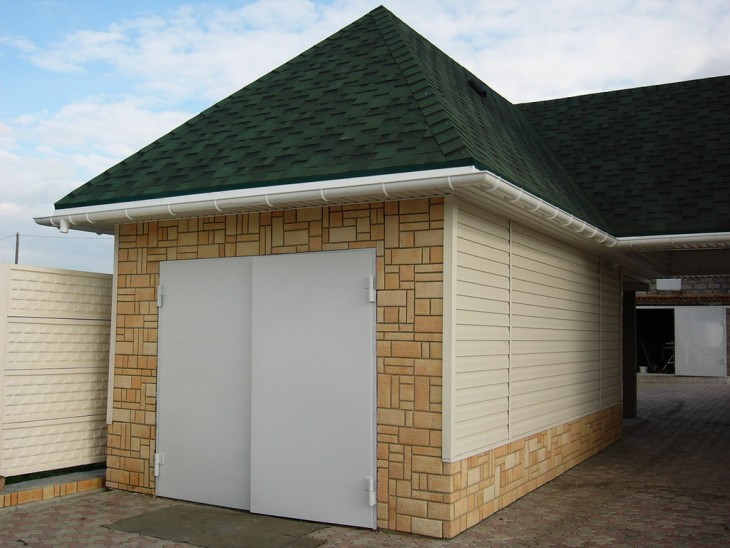
The most common types of garages are considered to be separate structures located near the entrance to the site, in order to save precious square meters.
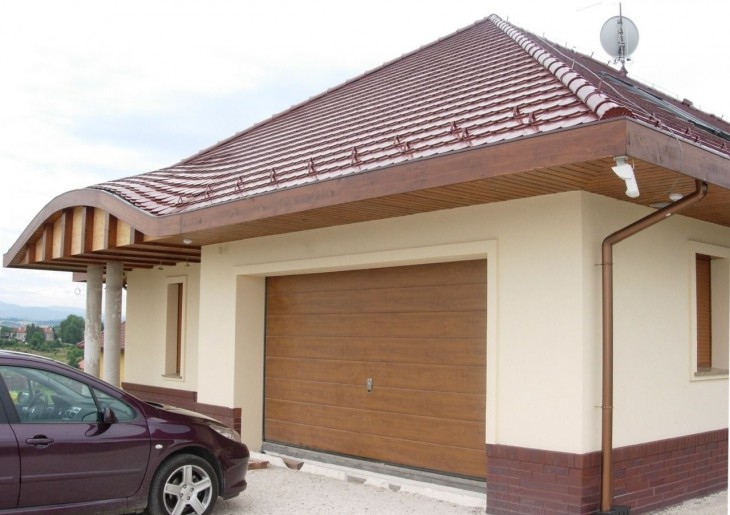
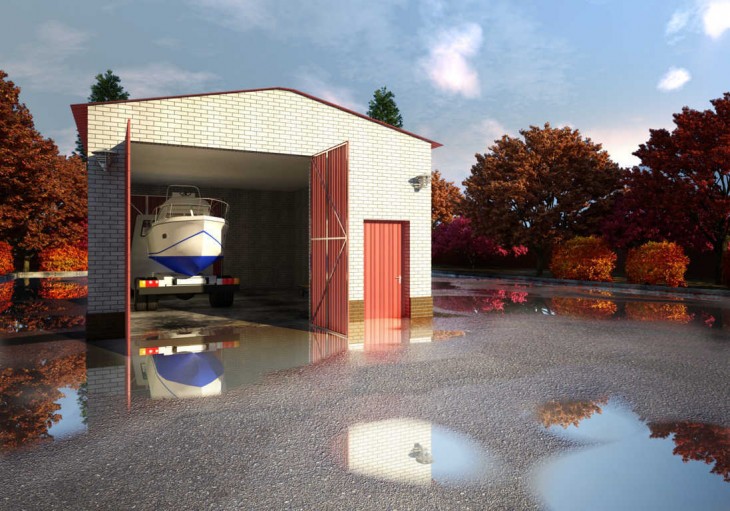
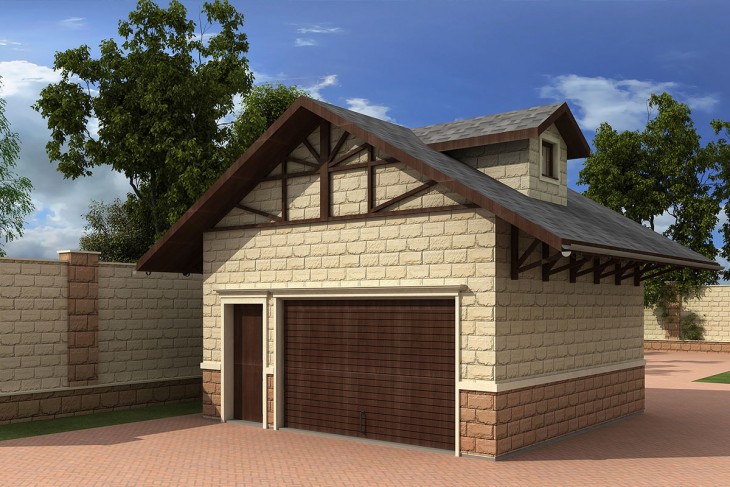
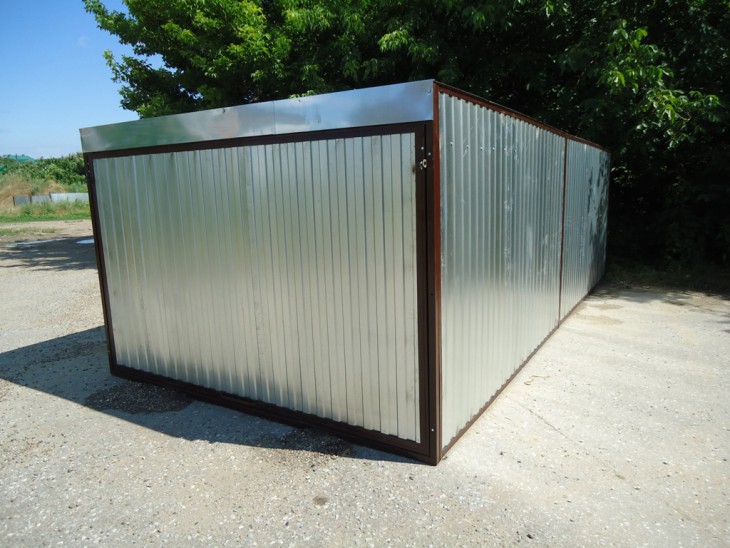
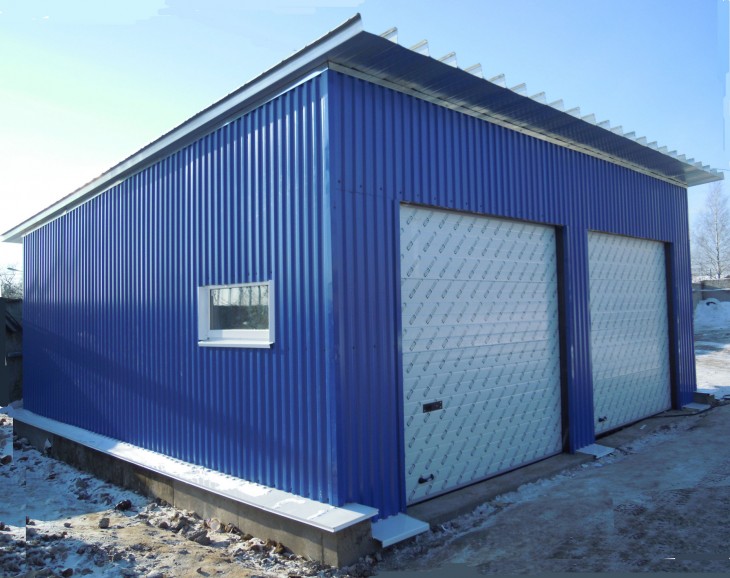
In this case, the garage door should go to the street. These structures can be of a capital nature, built of brick with a roof, auxiliary - in the form of an outbuilding, or a prefabricated metal structure.


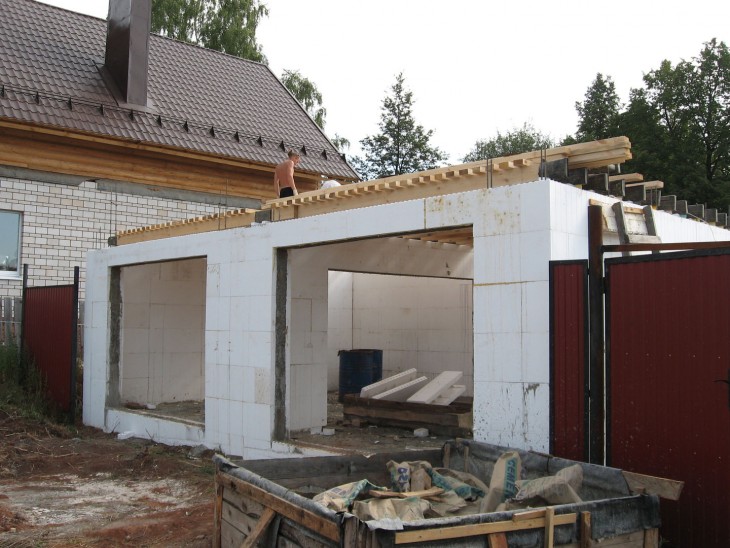
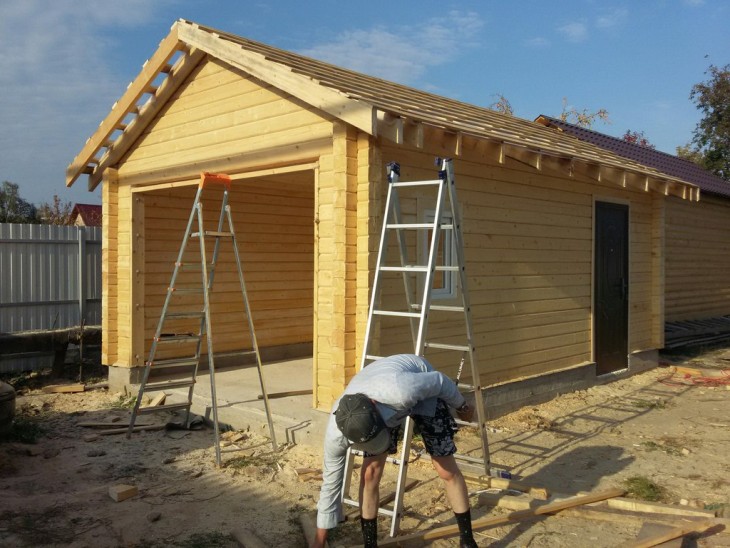
The construction of a garage on the site
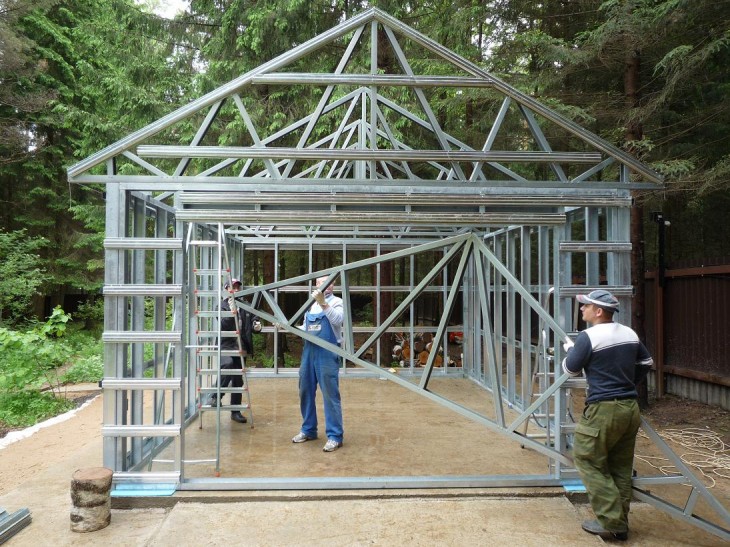
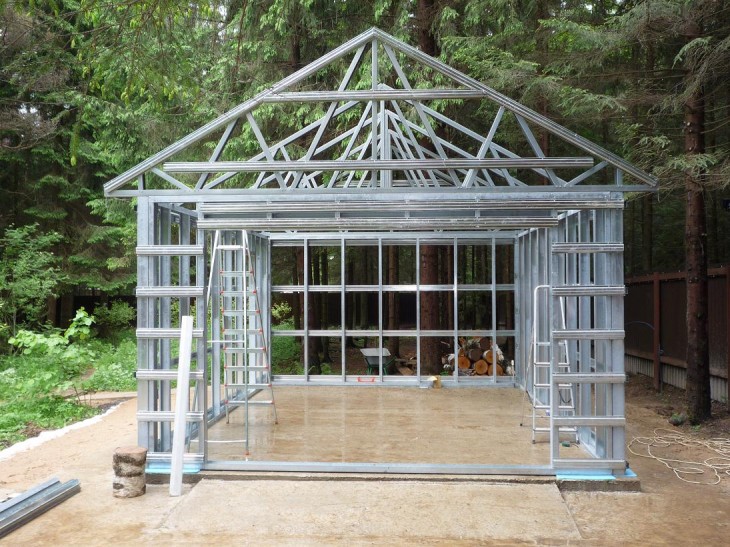
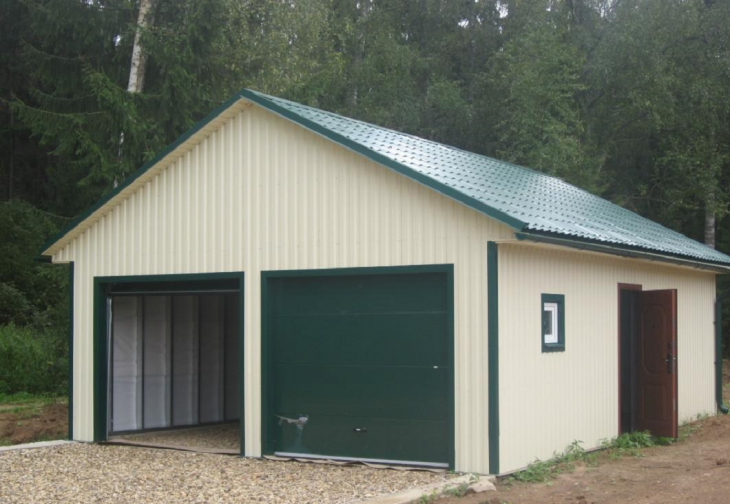
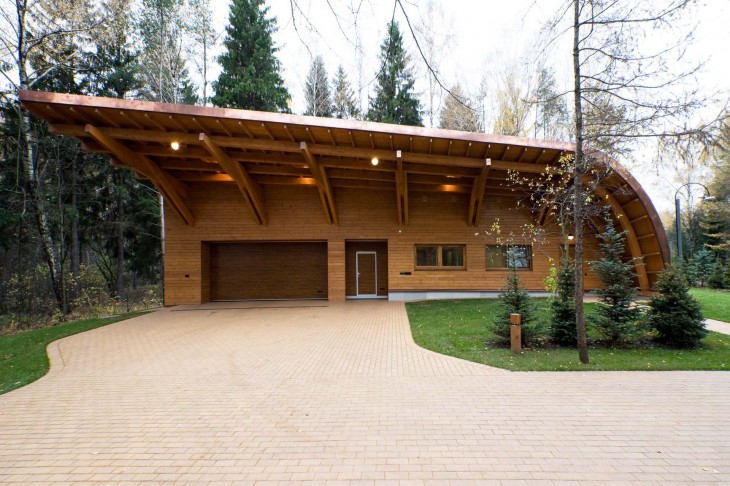
Finally, the hot time has come for the start of construction, which will give you enough troublesome and pleasant moments, as well as good financial savings.
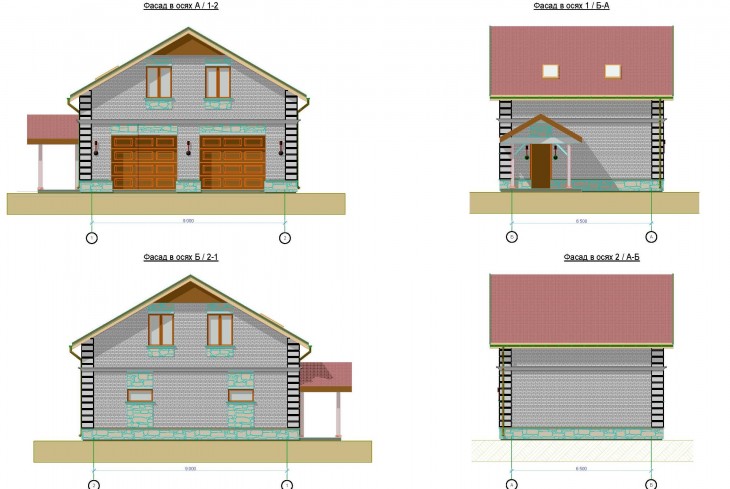
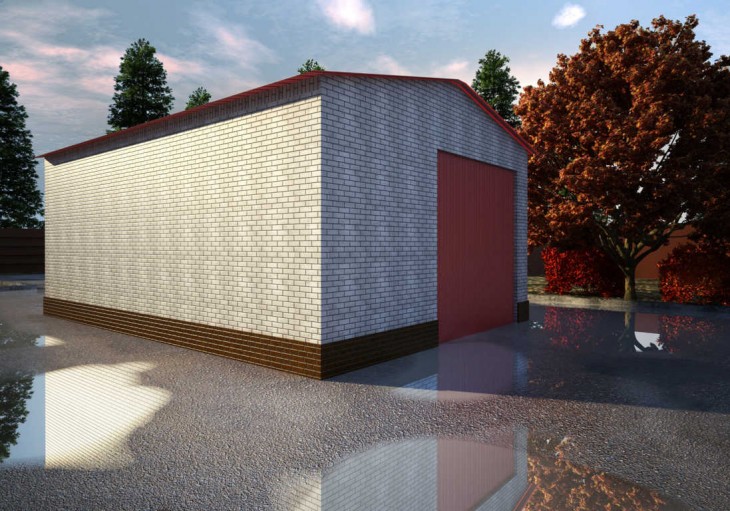
On the photo of the construction of a garage on your own, you will see all the delights of such a construction. But the result will undoubtedly be pleasant!

Project documentation
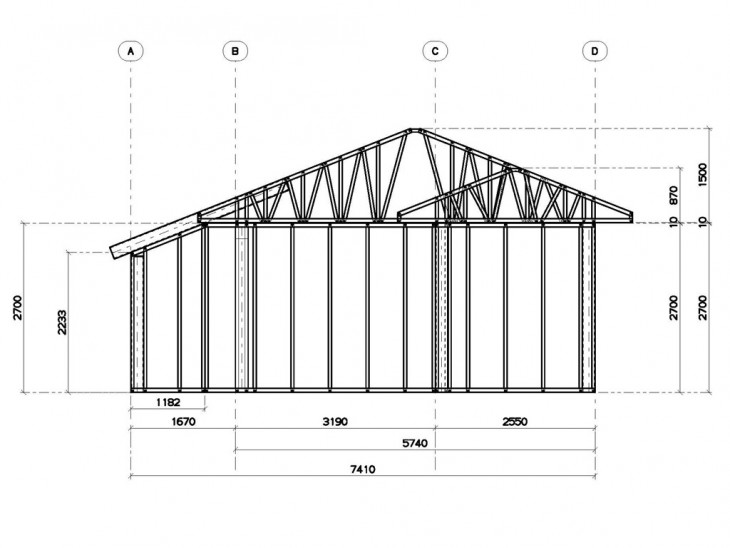
To start any construction project is required, and the construction of a garage was no exception. For this, you do not need a bunch of drawings of the garage, but for reliable and capital construction some outline and description are required.
At the beginning of the design, it is worth deciding on some details:
Note!
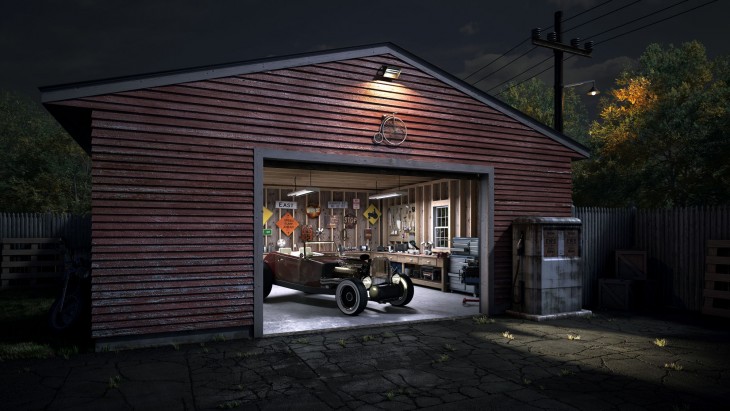
- For what purposes it will be used: for sheltering a car, as a repair shop, whether a pit is needed to inspect a car. Write your preferences on paper.
- The size of the garage, which depends on its intended use, the characteristic features of the plot and the size of the building area.
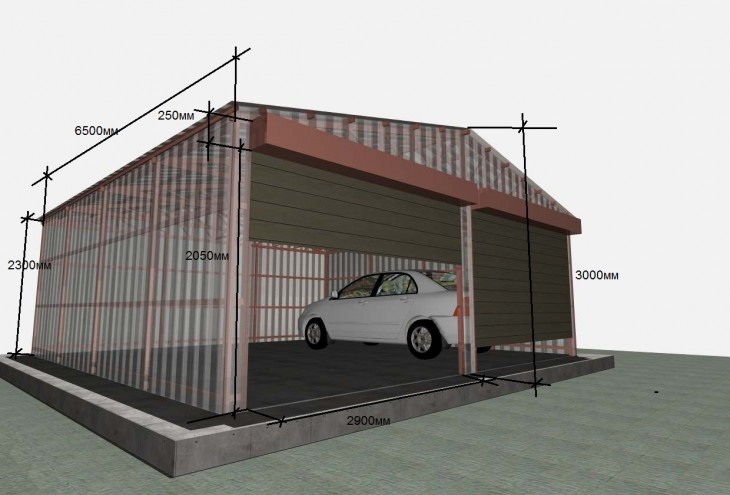
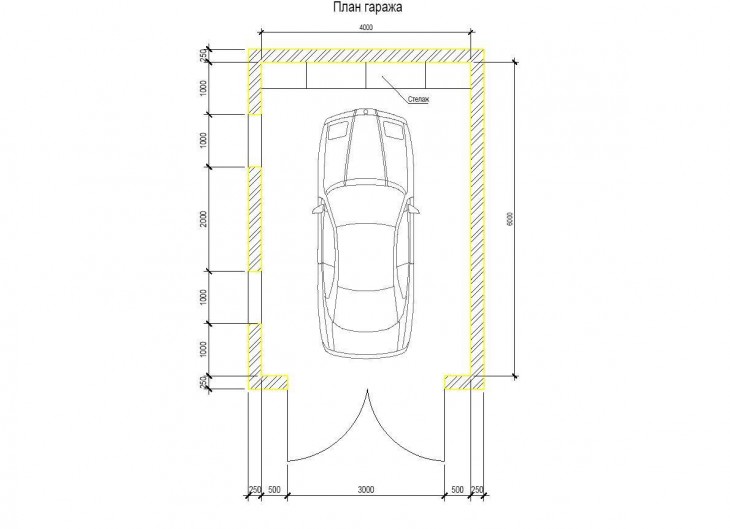
For a garage, a 3x6 size is suitable, of course, if you are not the owner of a bulky SUV such as a hammer. An ordinary car can easily be located in such an area, and on the sides there will be space for free opening of doors and aisles and in front for parking.
The optimal height of the garage for car entry will be 150-190 cm, and ideal - 200-250 cm. If you still have an SUV, the size of the garage should be made larger.
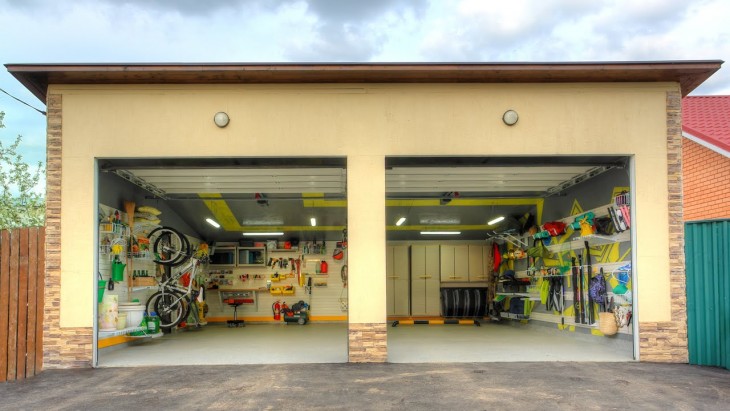
If you want to organize a cellar or a bench machine, the area of the garage will also have to be increased. And no one will argue, because there should be a place for repair and maintenance of the machine, a place for placing tools and devices, for storing parts.


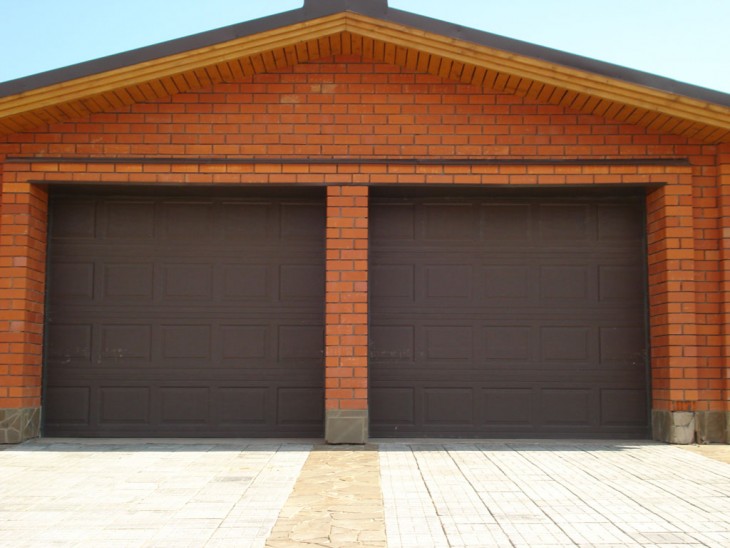
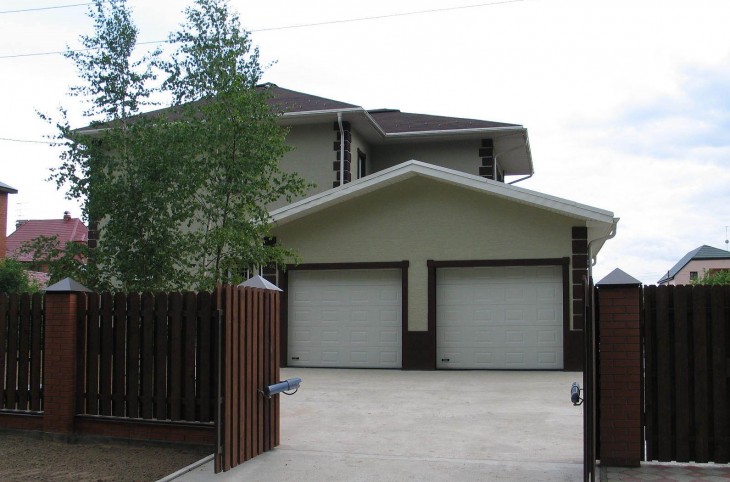
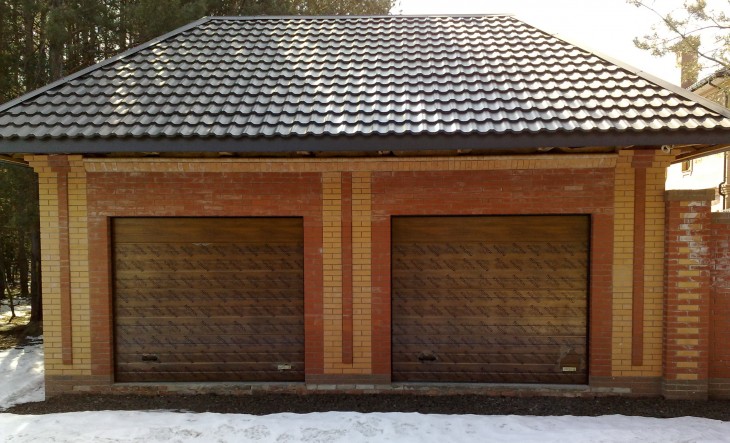
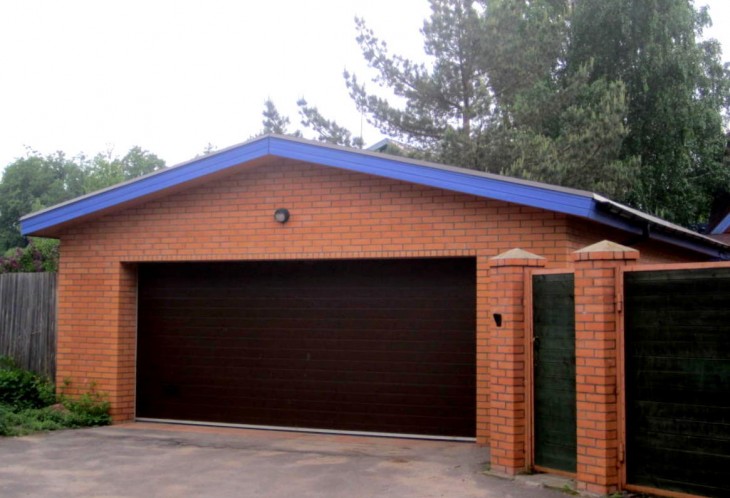
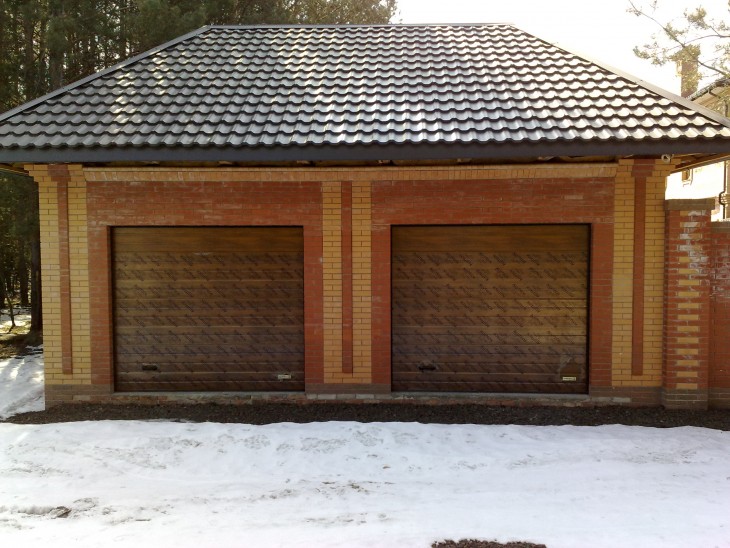
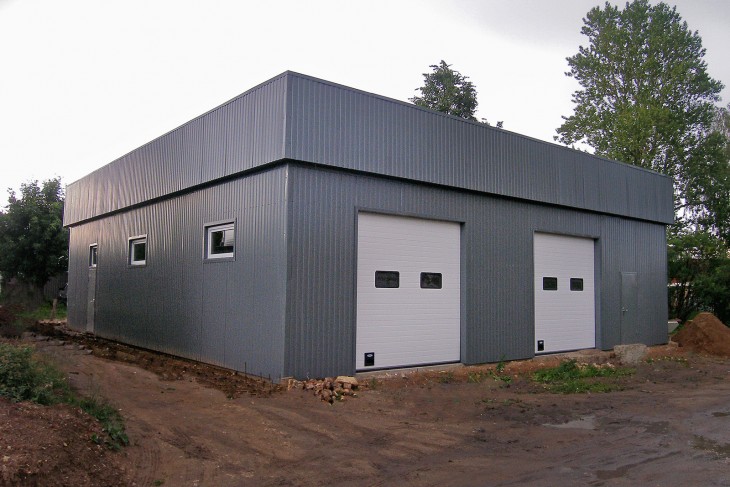
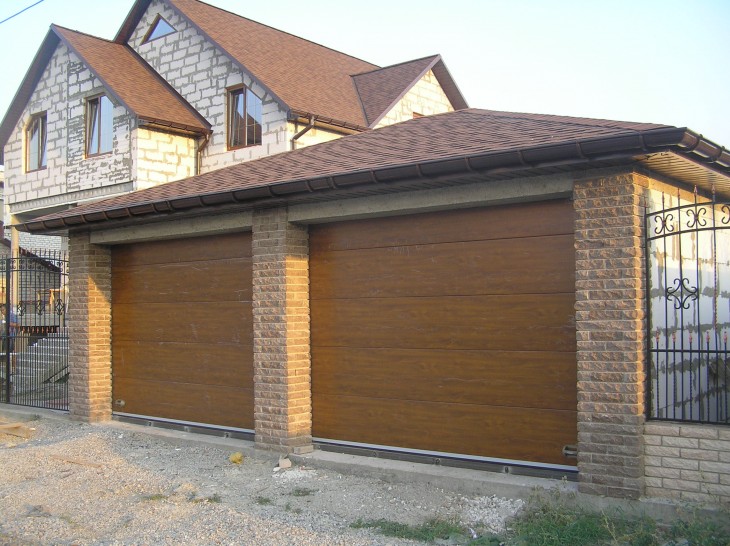
When constructing a building for two cars, think carefully about the details and consider all sizes when calculating the total area of the garage.
Location
When choosing a place, it is necessary to take into account the location of all existing buildings, fire safety standards and sanitary requirements. The entrance also foresee in advance.

Note!

It is convenient to arrange a garage along all buildings or inside the site, so that the open doors of the car do not create obstacles, no closer than 1 m from the neighbors, so that water from the roof during rain does not flood their land.

When determining the location of the entrance to the garage, do not forget that the distance to the neighboring windows should be at least 10 m.
According to fire-fighting requirements, the garage must be at least 9 m from the house and at least 15 m from polymer buildings.
Next, the sketch from the paper should be transferred to the area. Why do you need 10 pegs. 40 cm long, heavy hammer, tape measure over 5 m, and fishing line.
First, determine the location of the corner of the garage and the location of its shelter with respect to this point.
Necessary materials
Usually for the construction of a garage on their own use:
Note!

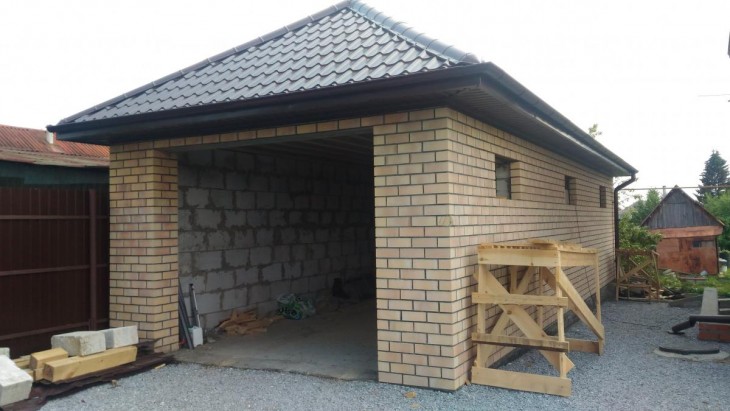
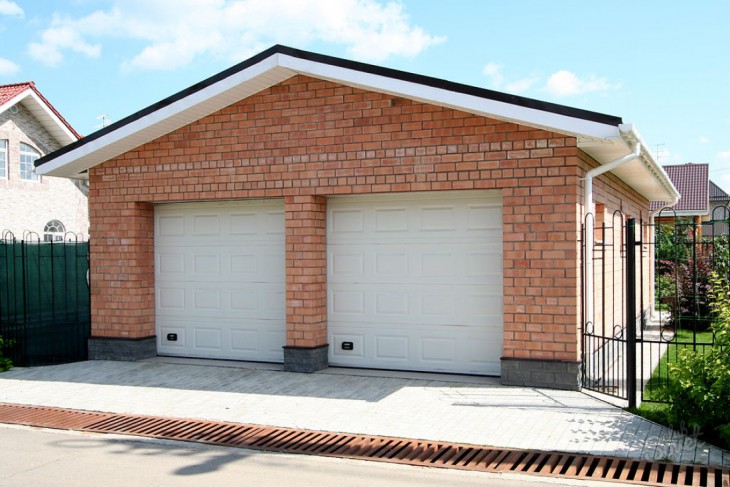
- brick is the most popular and reliable material;
- reinforced concrete, used for collapsible options for garages;
- slag concrete, inferior in price and reliability to brick, but makes labor-intensive work;
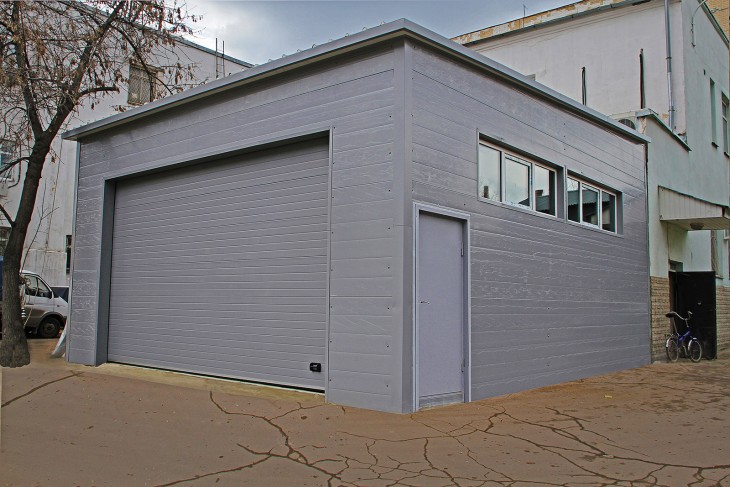
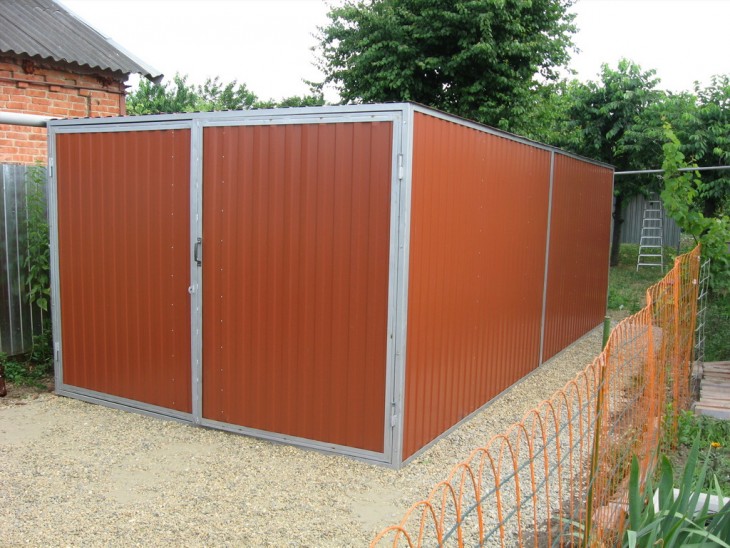
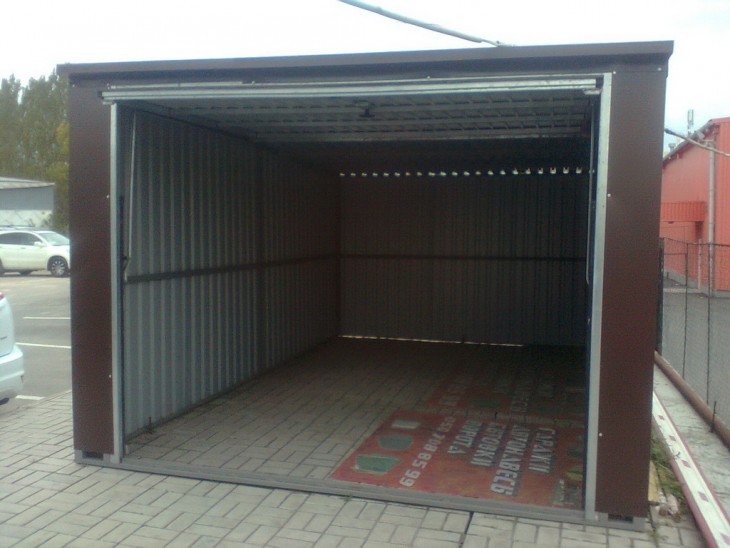
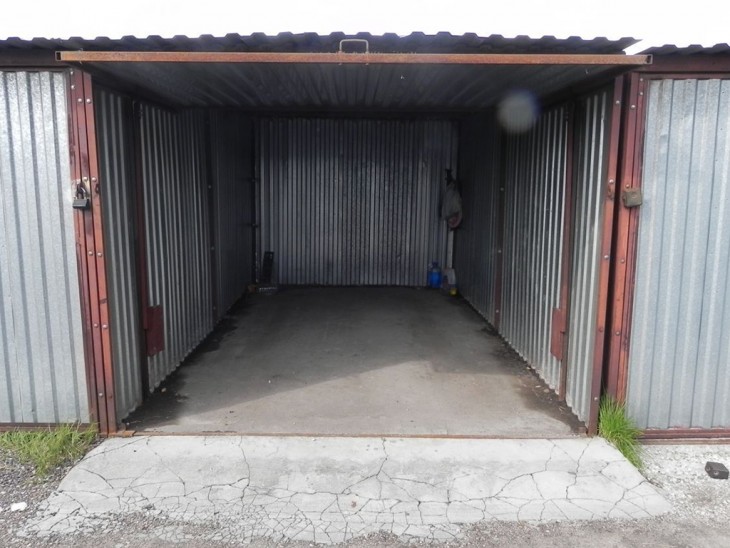
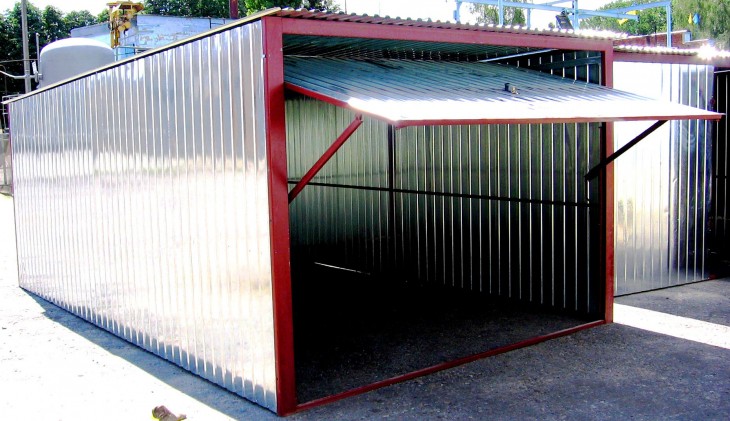
- metal, for the quick construction of the structure and at the price an affordable option;
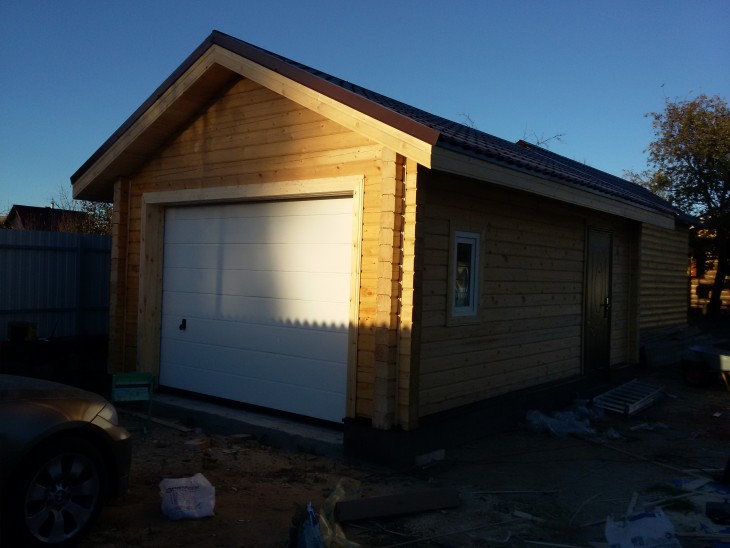
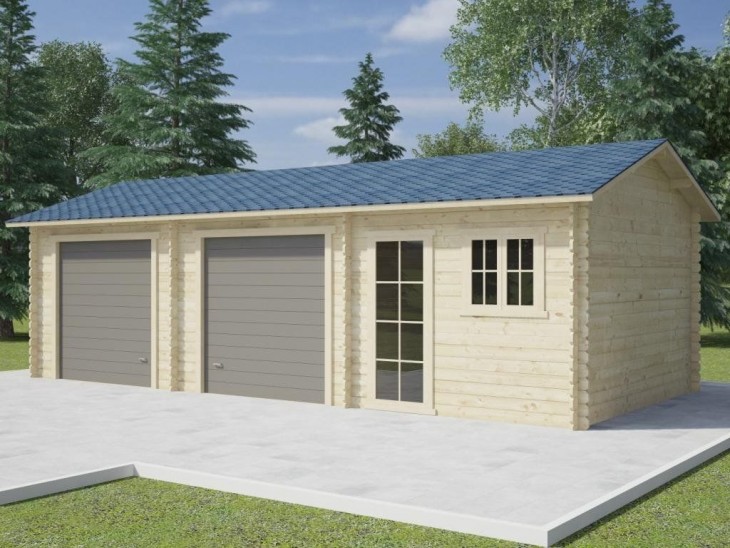
- wood, not suitable for building a garage.

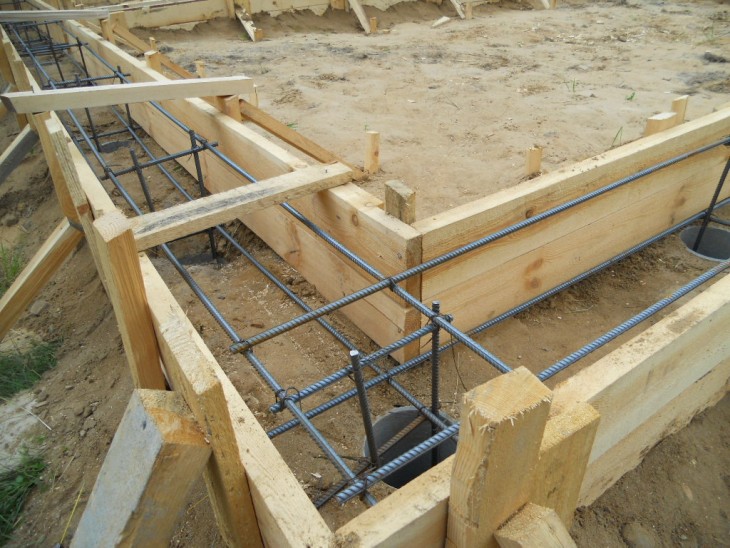
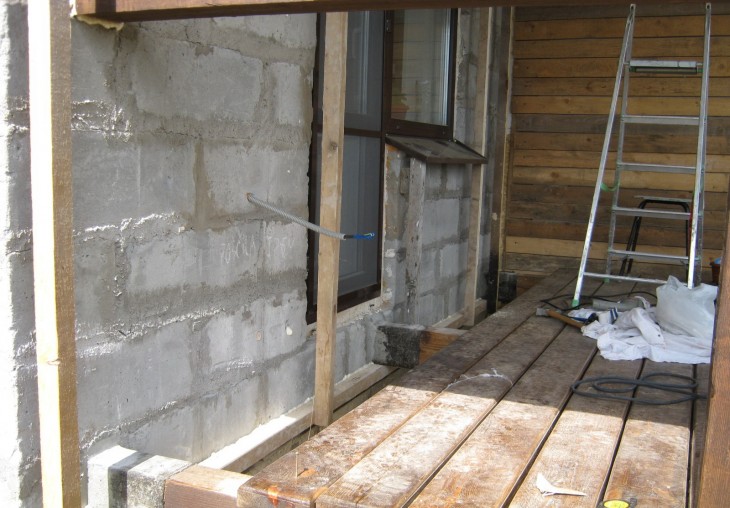
Land preparation and foundation laying
Work on preparing the site for development is carried out using a shovel. Digging a trench 40 cm wide under the foundation. The depth of the trench depends on the climate of your region, but mainly up to 1 m.
The bottom of the trench should be slightly tamped, the walls should be leveled with a shovel. There are a lot of varieties of the foundation, but in our case it will be a concrete version, simple and inexpensive.
It is easy to make it: the rubble stone is laid in layers in the trench, and a cement mortar is poured between them, and so on to the top of the trench.
The solution can be made by yourself: cement 400 in the amount of 1 bucket mixed with 2.5 buckets of sand, water about 1 bucket.


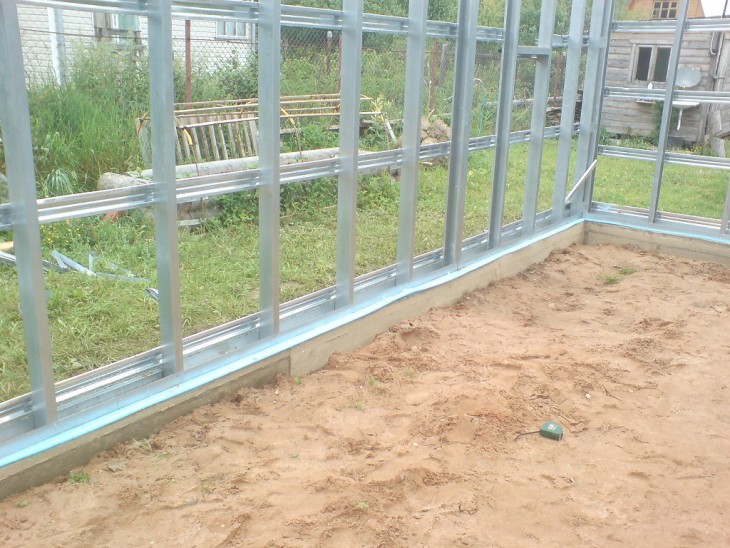
Basement construction
Along the entire length of the trench, formwork is installed using leveling boards with a width of 10 cm. On an uneven area, the horizon is marked from the highest point plus 10 cm to the basement level.
Do not forget about multi-layer waterproofing from roofing material so that the walls of the building are not saturated with moisture.Before starting the masonry of the walls, you need to install the gate in order to fix them as the walls are built.
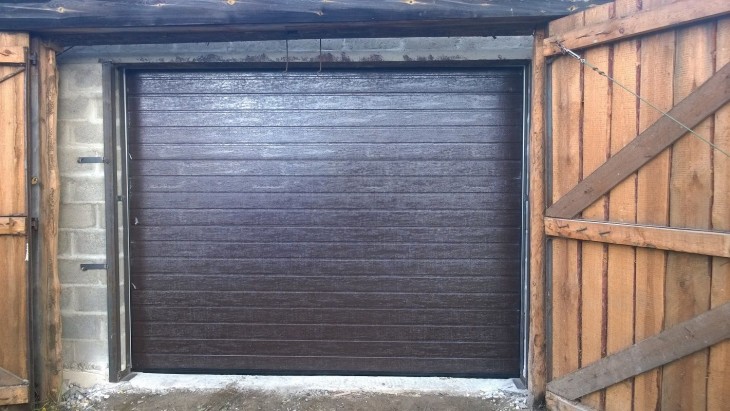
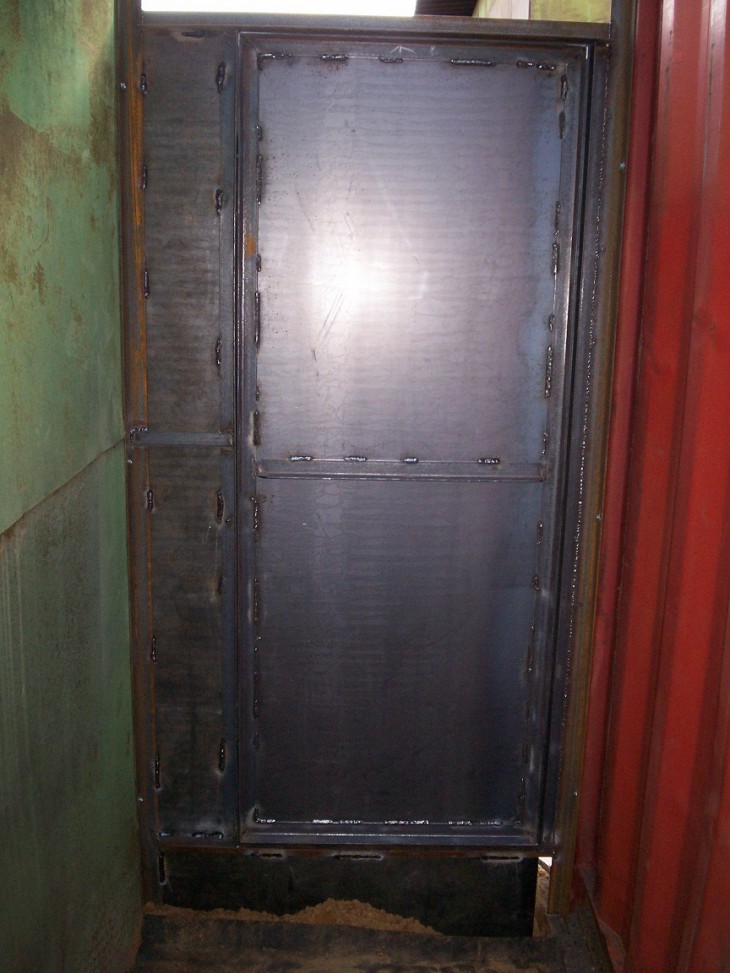
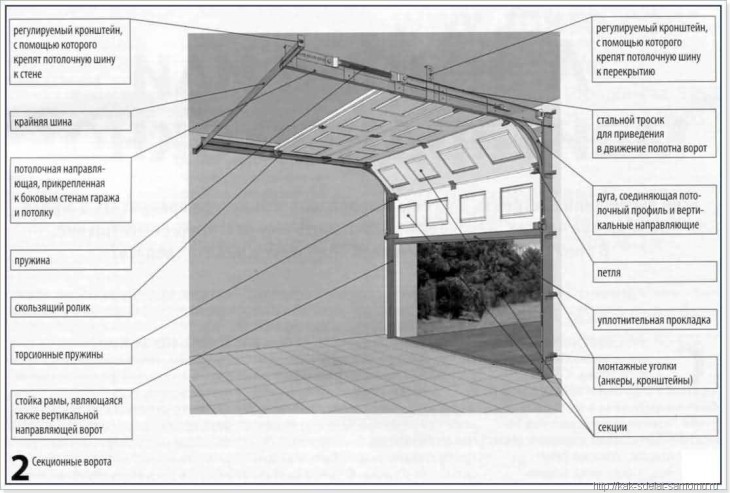
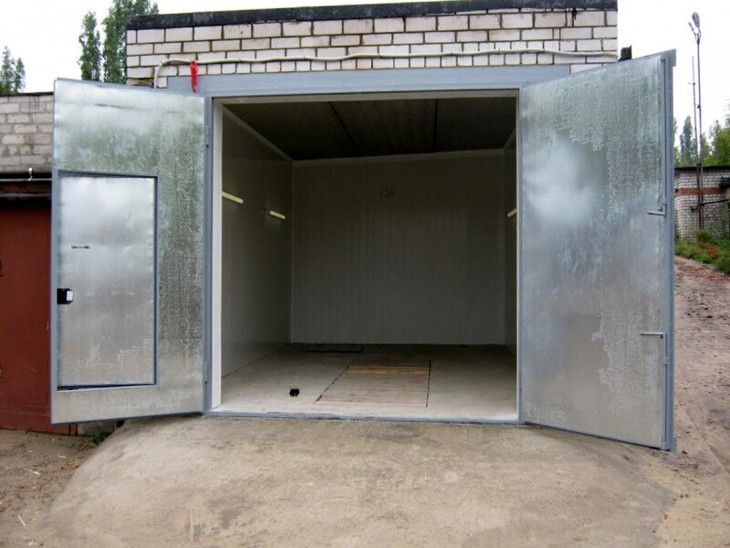
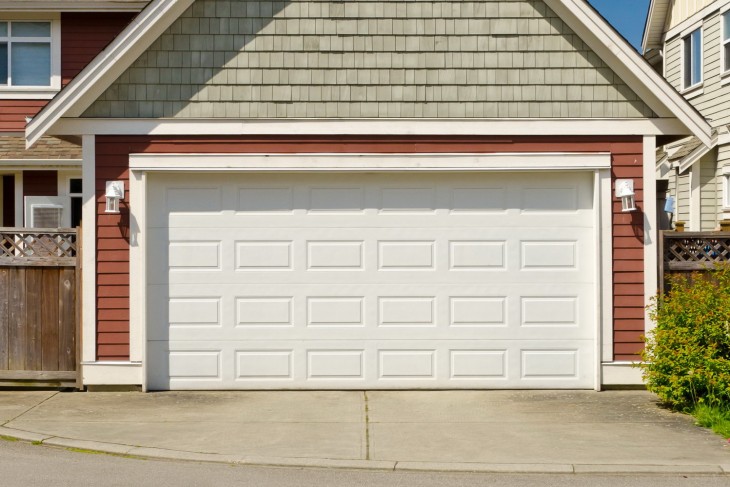
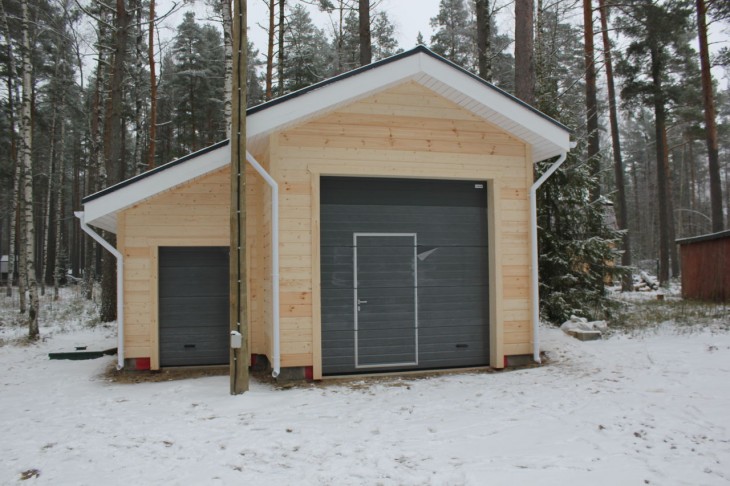
Goal
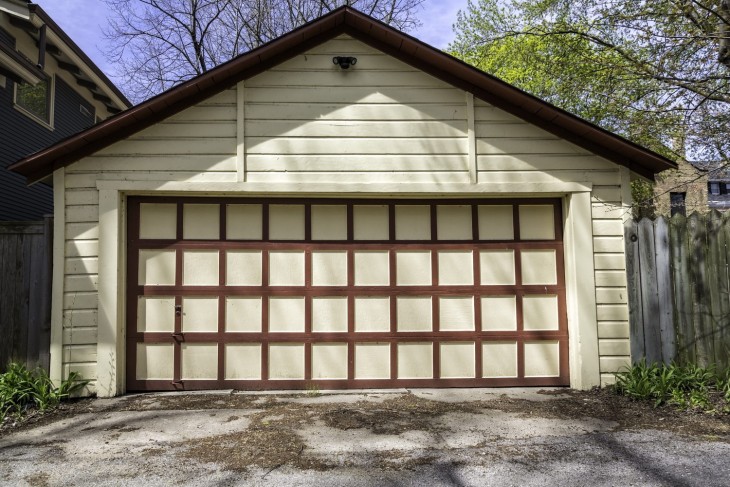
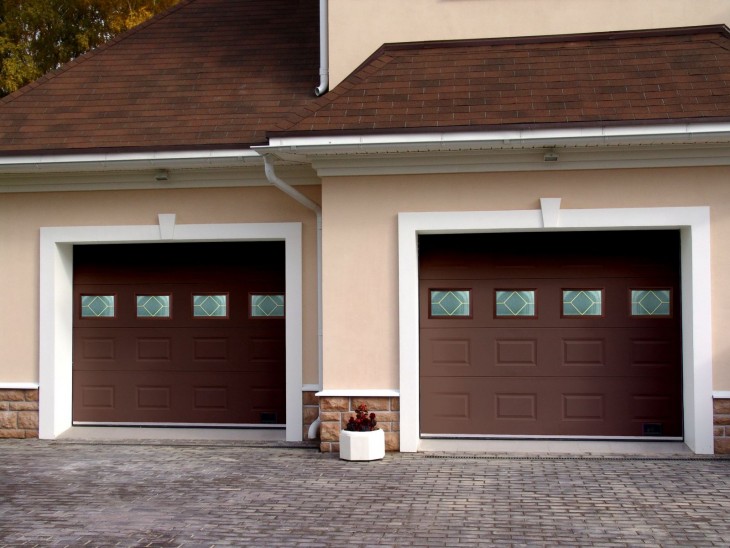
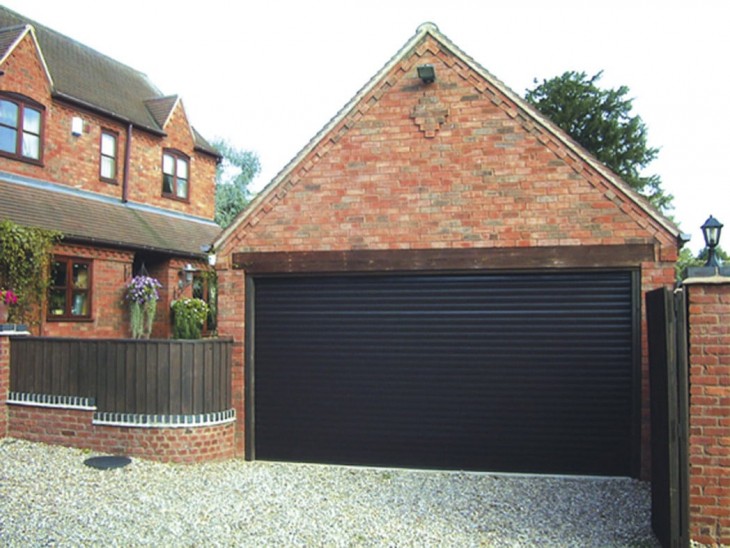
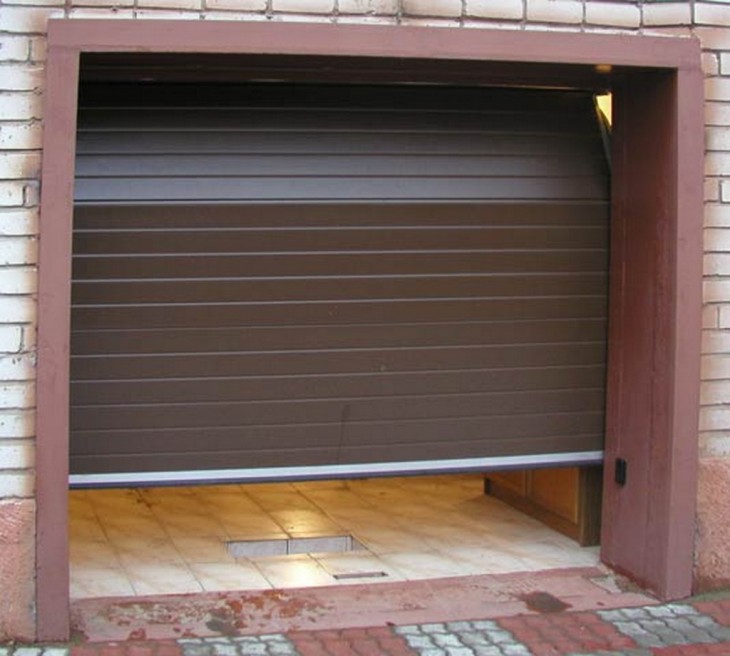
The most important thing in choosing a gate is their reliability and ease of use. They can be oar, sectional, in the form of roller shutters and lifting and swiveling, opening automatically or mechanically.
In today's world, the automatic version of the gate is increasingly preferred. At the time of a power outage, it is worth considering a mechanical opening option.
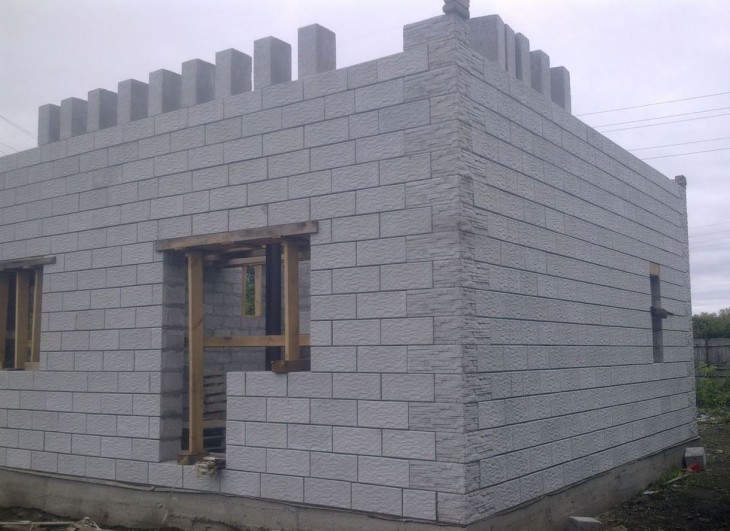
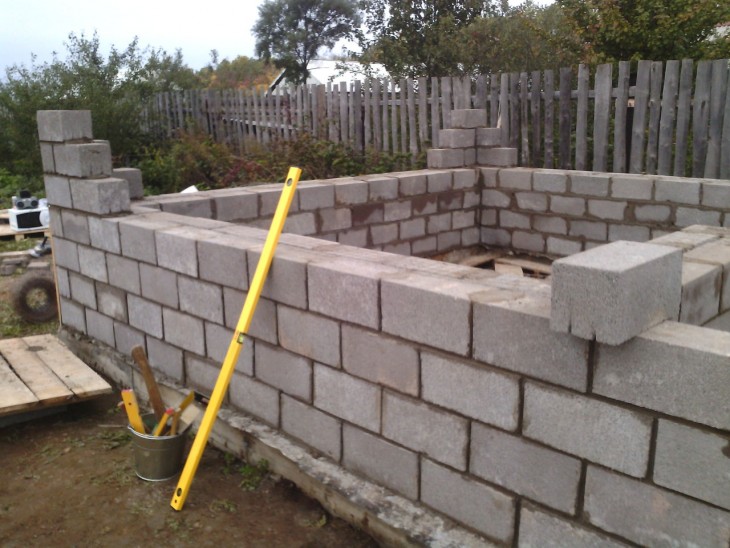
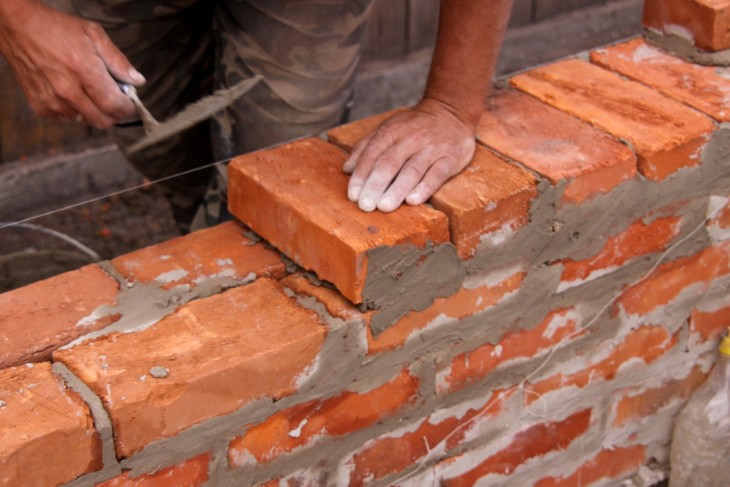
Walling
When the gate is already installed, you can go to the main masonry. The cinder block is laid in a chain way from the corners. Next, a fishing line is pulled between them and the entire remainder of the cinder block is laid. Gradually, the corners rise and the masonry repeats.
Using a plumb line, control the vertical evenness of the walls, especially the corners. Level - their horizontalness. Do not forget about the slope for the flow of water. The ends of the garage for this, make different in height with the edge of the top of the side wall at a slope.
The solution is based on: 1 bucket of cement (grade 400) for 4.5 buckets of sand with the addition of water to a thick state. For greater ductility, add clay or lime.
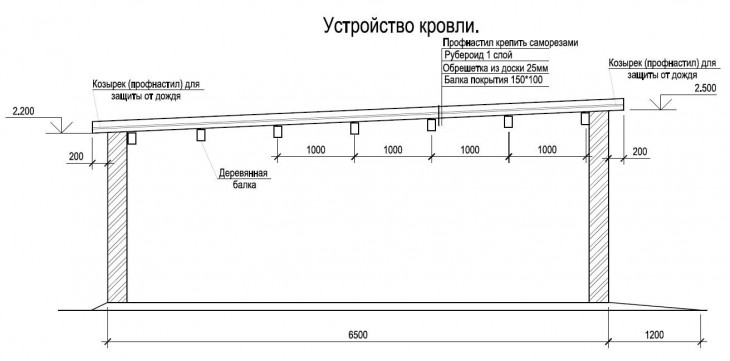
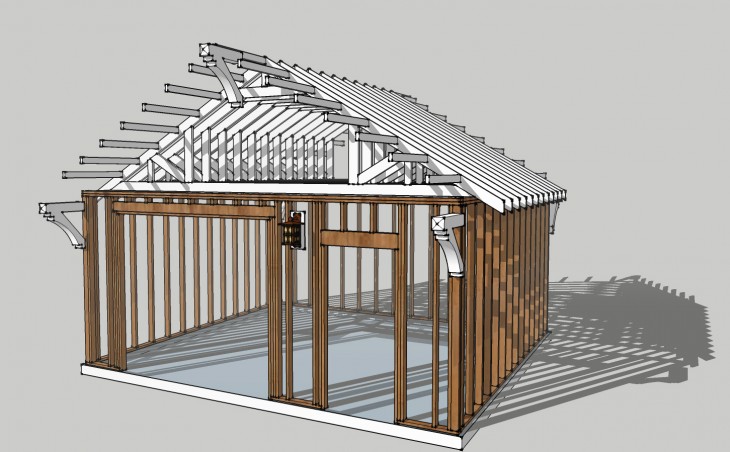
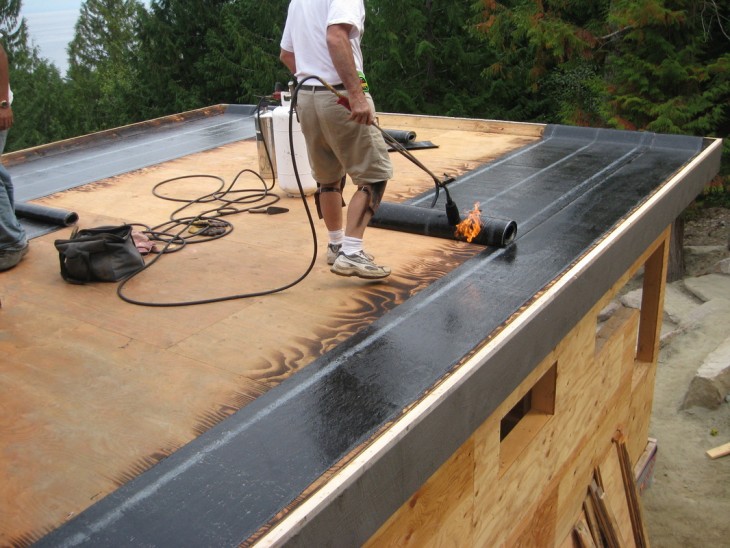
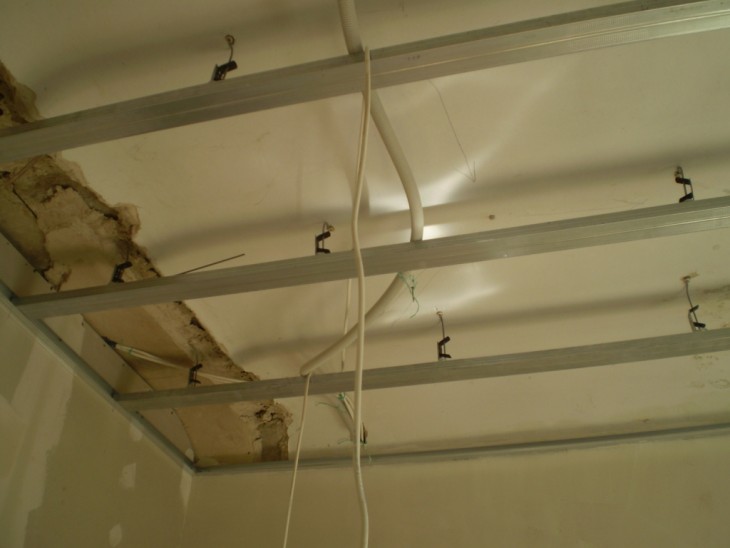
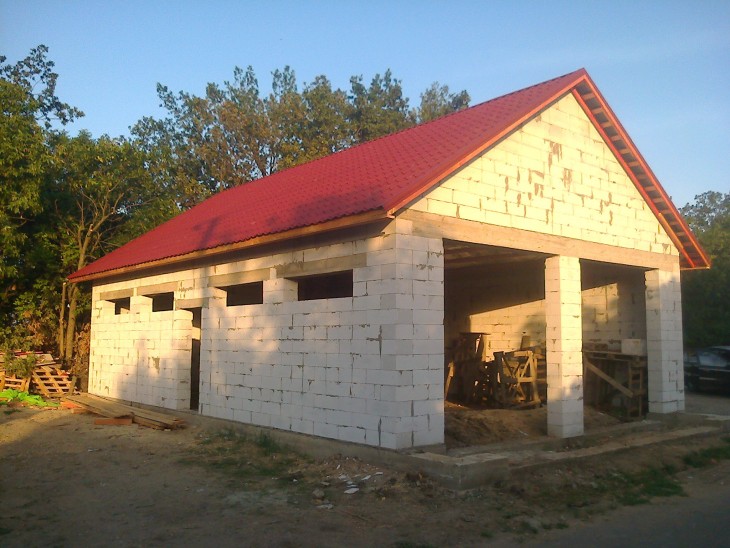
Roof construction
Ceilings are made of metal beams 10-12 cm high with a hem from wooden boards. They are perfect for overlapping a garage with a width of not more than 6 m, while the length of the beams will be 20-25 cm longer.
Step-by-step instructions for laying ceilings and roofs can be found on the Internet on the construction sites or by consulting specialists.
The construction of the floor and blind areas
As a standard, a concrete floor of 8-10 cm thick is made in the garage on the same level as the basement. The ground before this is well leveled. Pour concrete when using taut cords to get a flat surface.
From the outside of the garage, a blind area is built in a width of 0.5 m with a slight slope for water drainage.
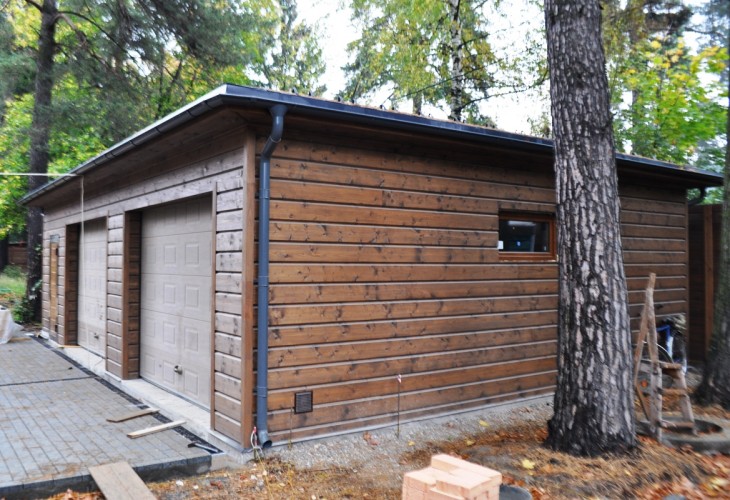
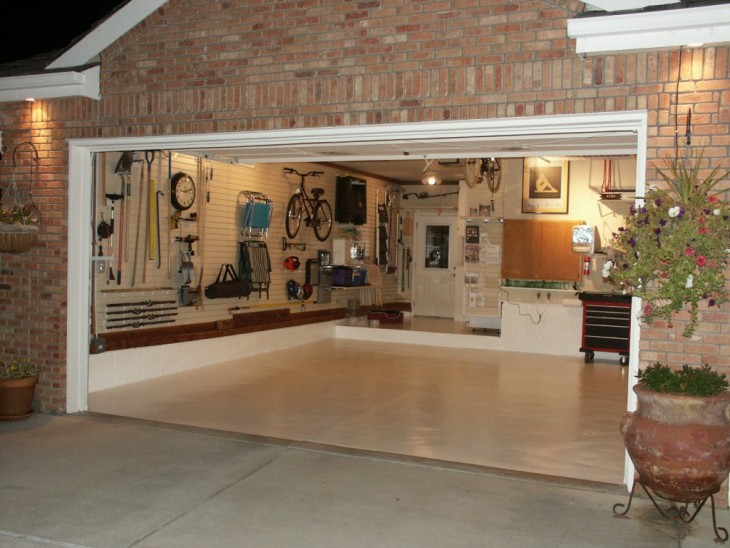
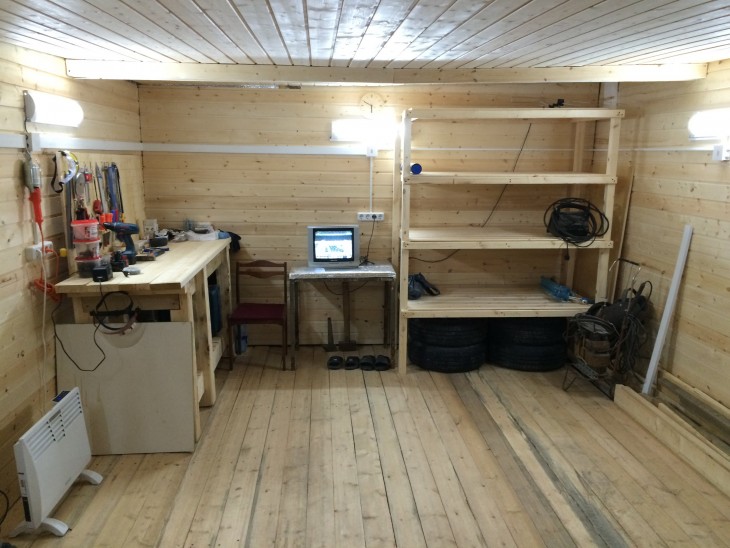
Other improvements
The garage does not need decor, just grout the walls with a cement mortar, apply plaster and whitewash.
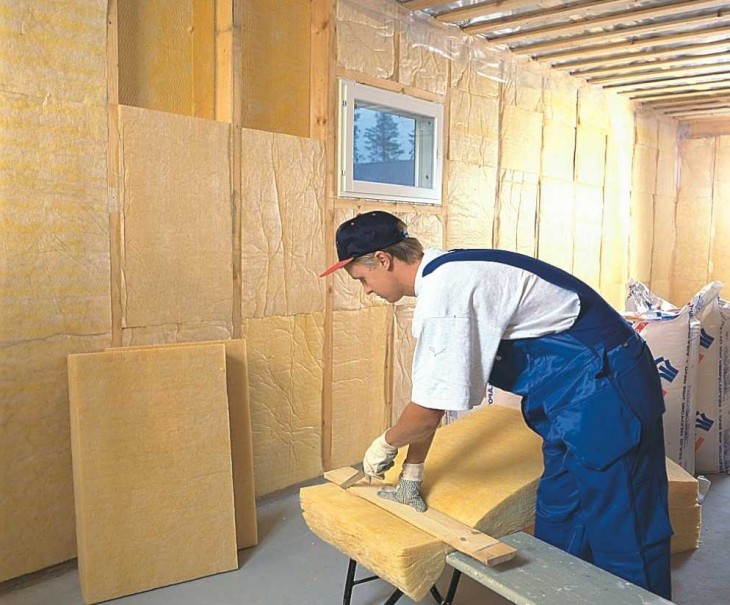
Walls can be insulated with polystyrene foam, in case of severe cold, the use of heating devices will be required. The optimum temperature for the garage is 5-6 degrees.
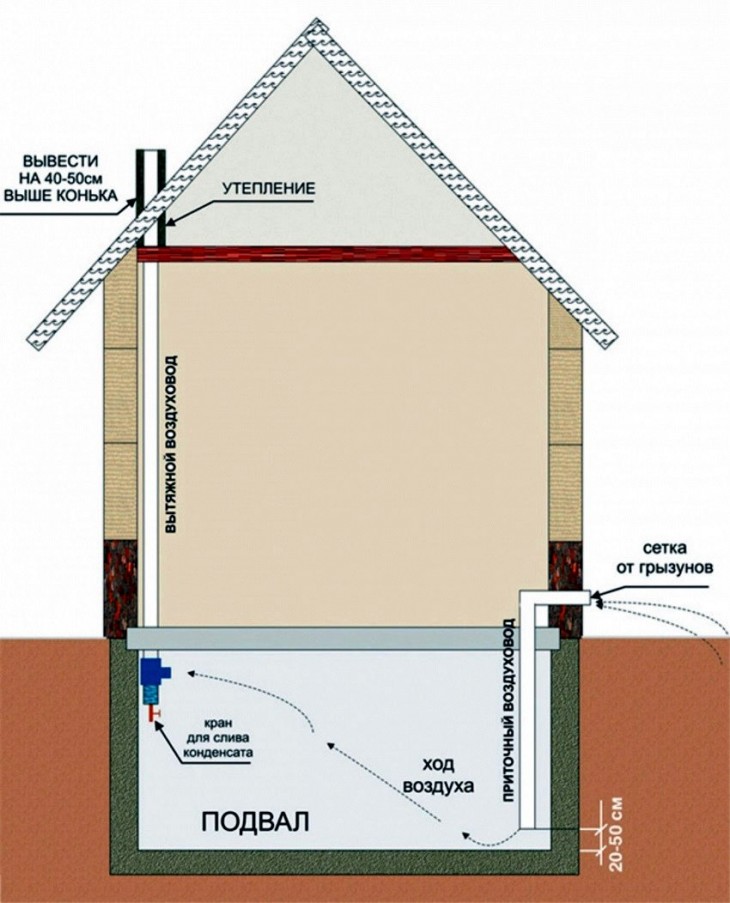
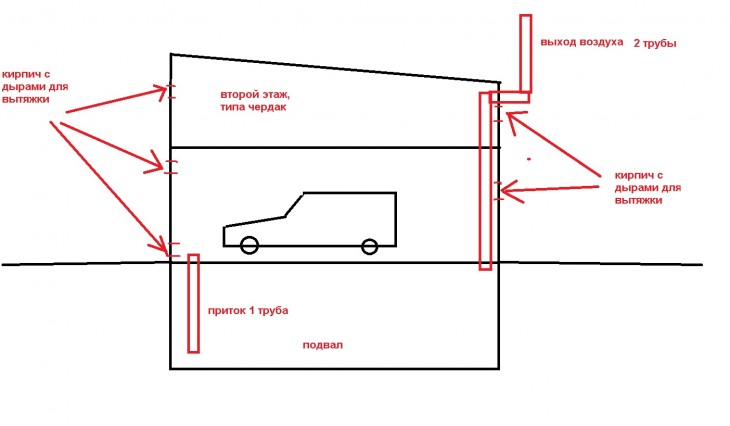
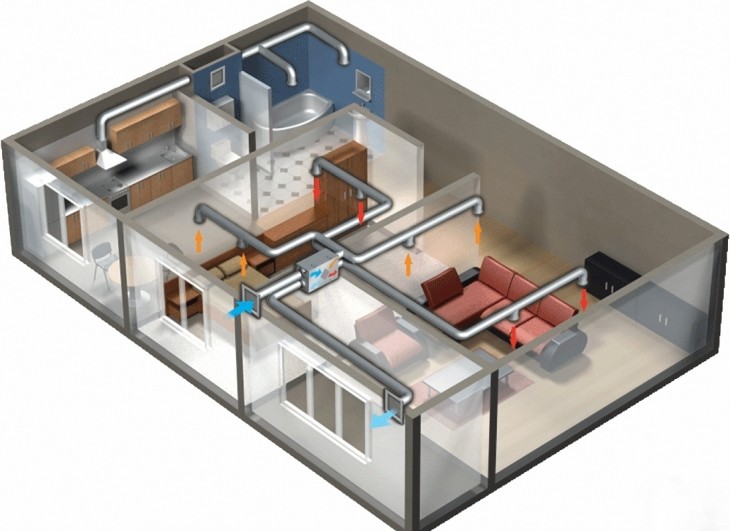
The presence of ventilation in the garage is mandatory in order to remove various chemical odors and exhaust gases from the room.
To do this, install either purchased ventilation systems, or arrange natural air exchange through the deflector and supply grilles.
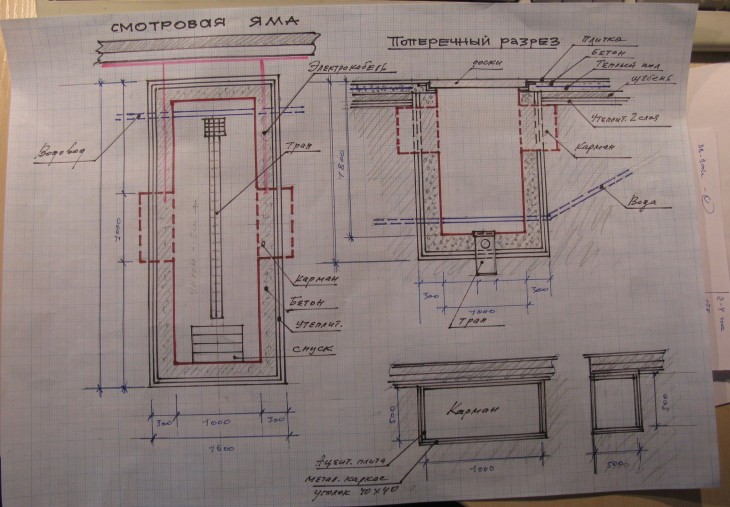
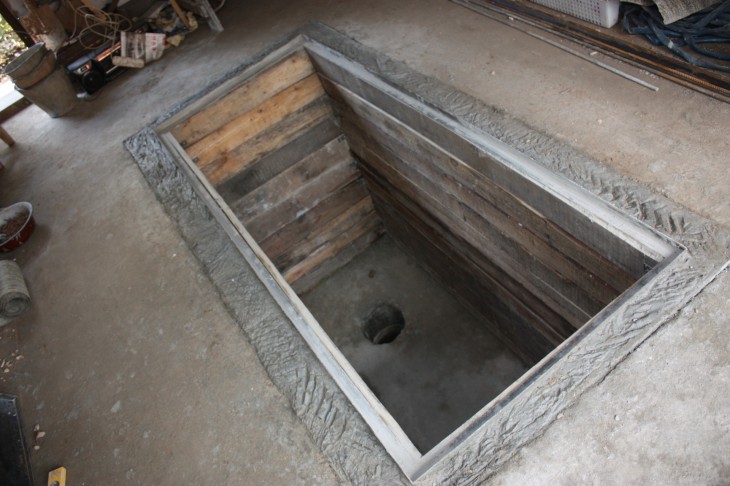
An inspection pit is a necessary component of the garage. It contributes to the convenient maintenance and repair of the car.
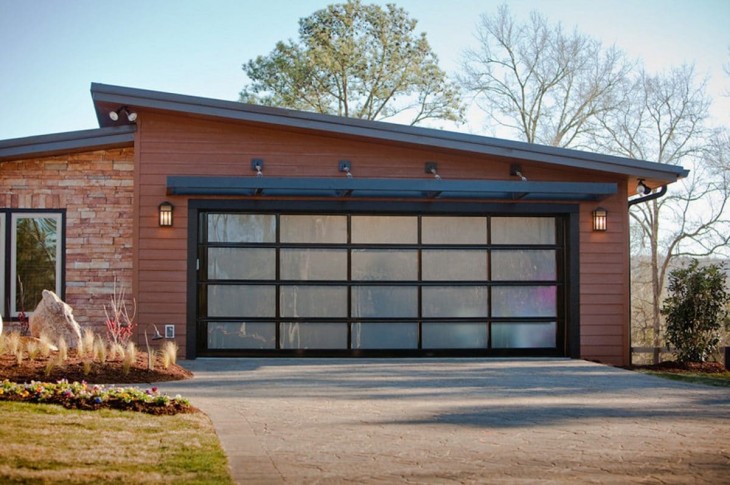
The entrance to the garage, as a rule, is included in the project, taking into account all sorts of nuances: type of cover, style of shelter, soil features, the presence of underground sources, local geology. But the main thing is convenience, hardness and evenness of the surface.
For a more detailed study of the construction process of all the components of the garage, it is recommended to watch a video of the material, and you can safely proceed with the construction!
DIY garage photo