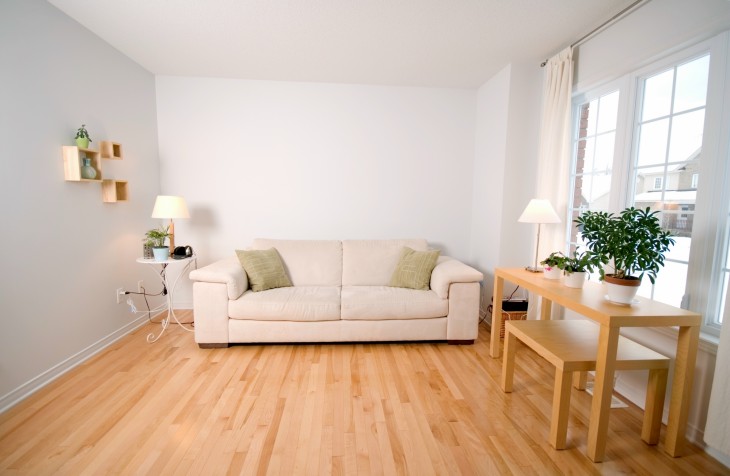
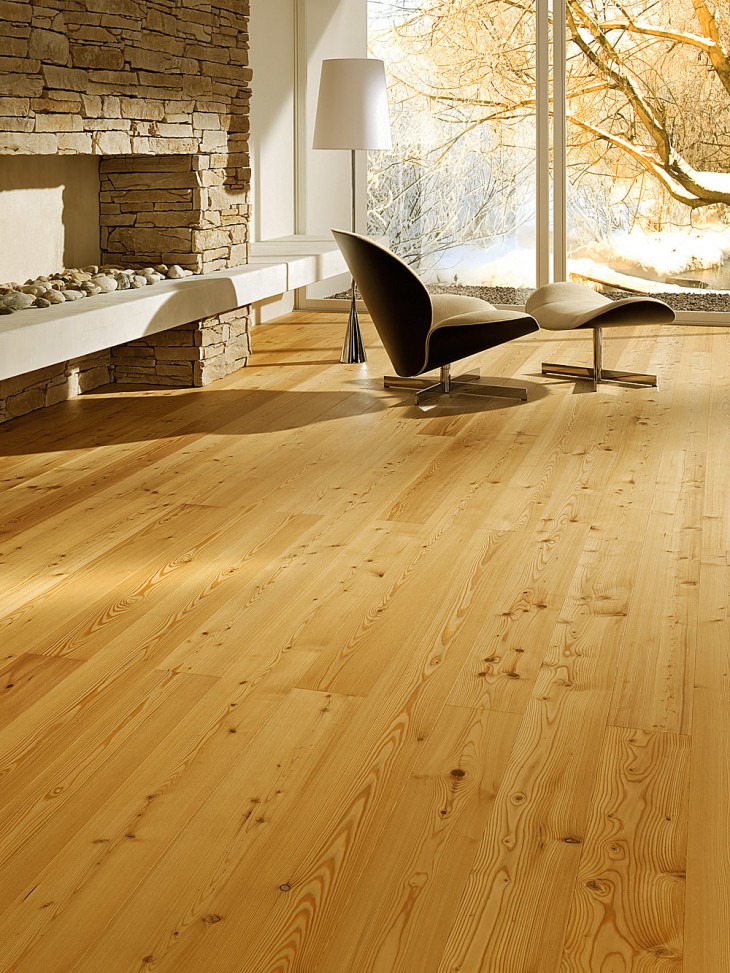
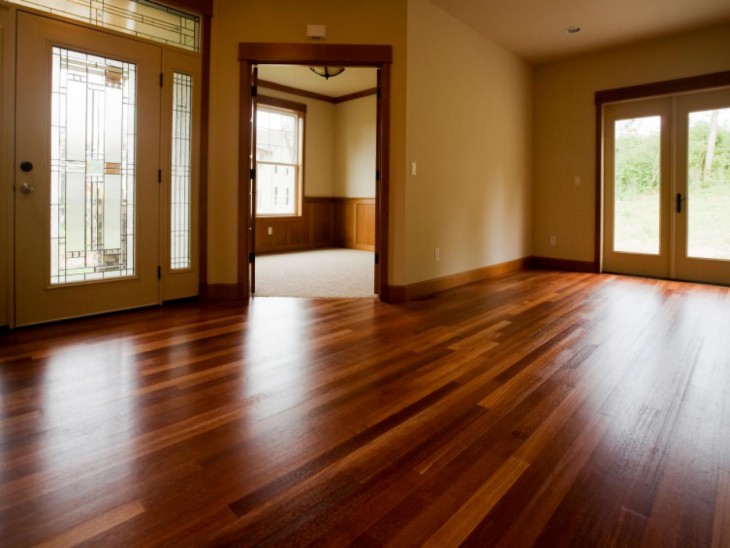
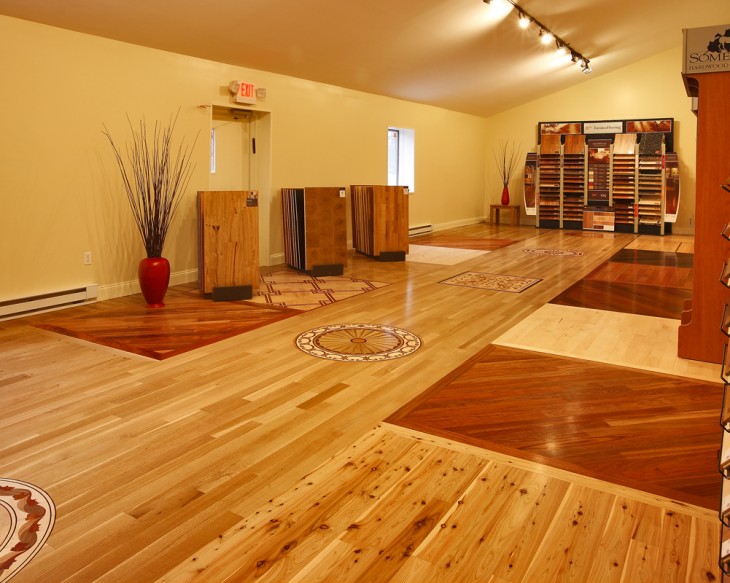
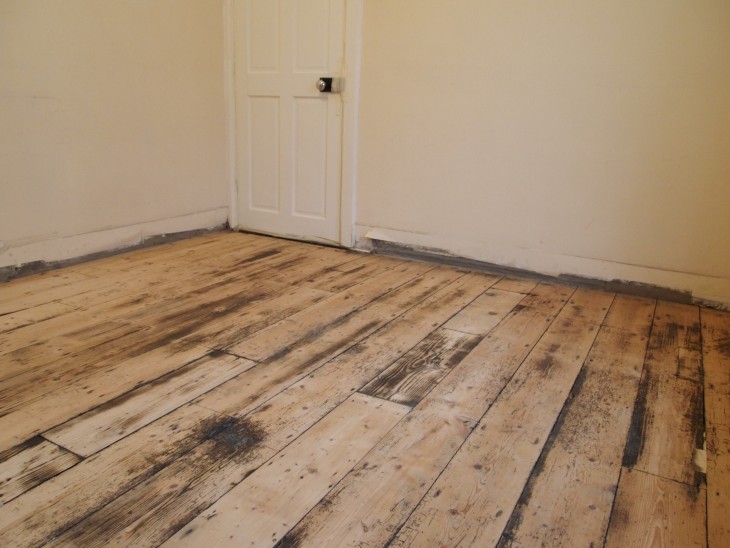
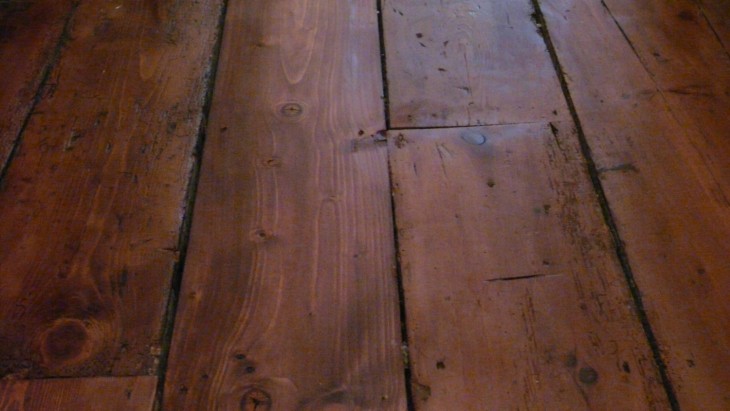
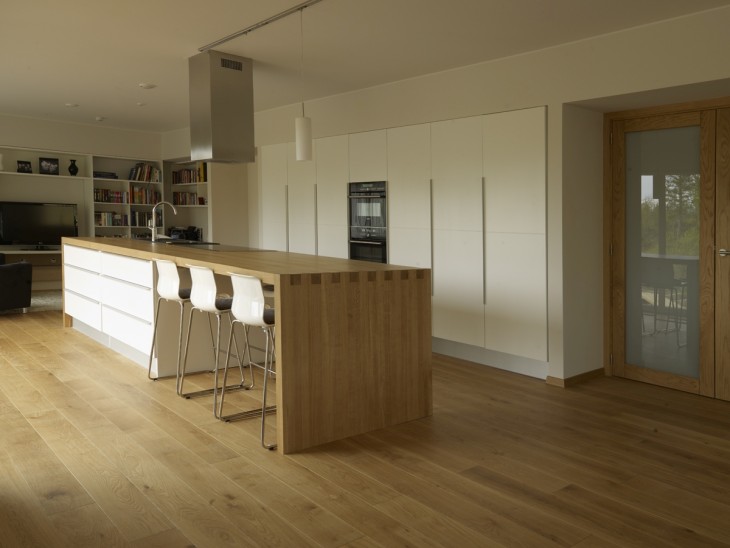
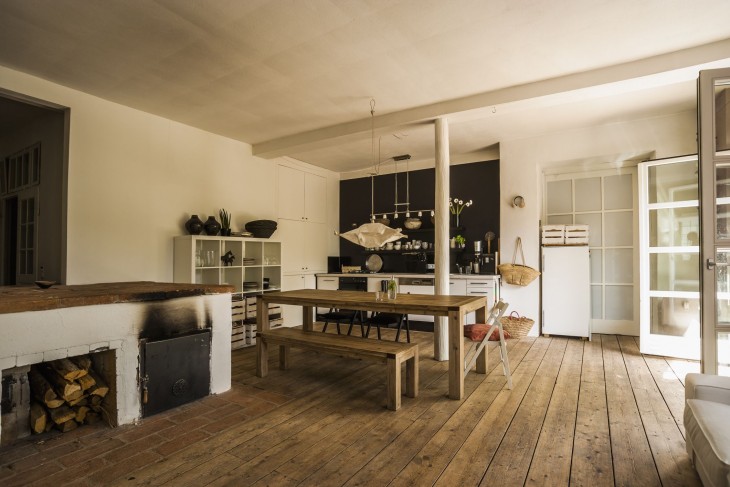
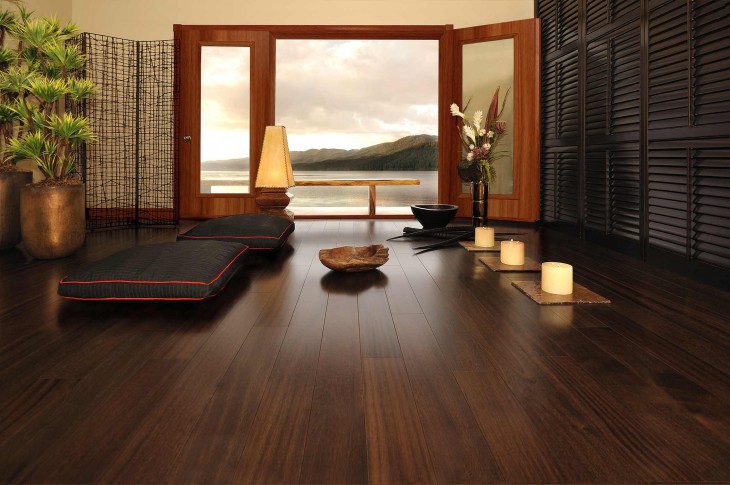
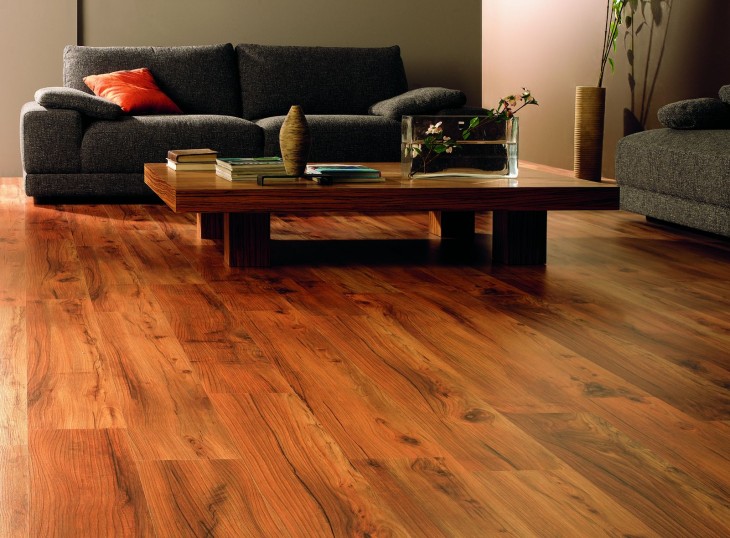
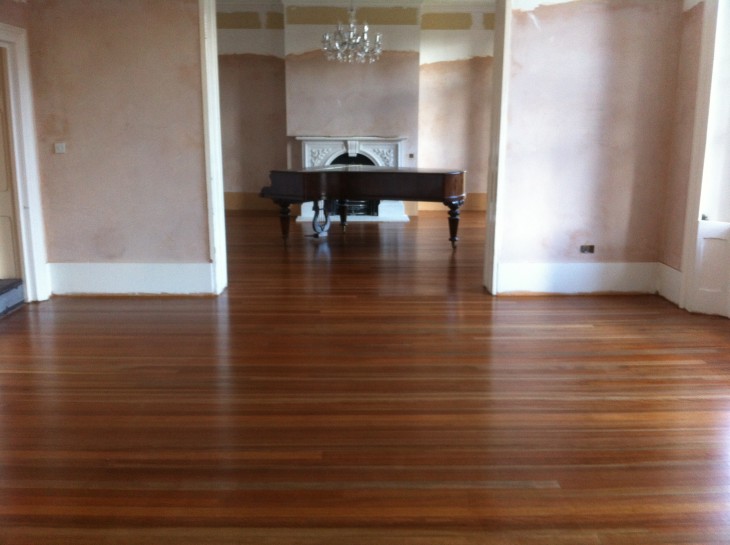
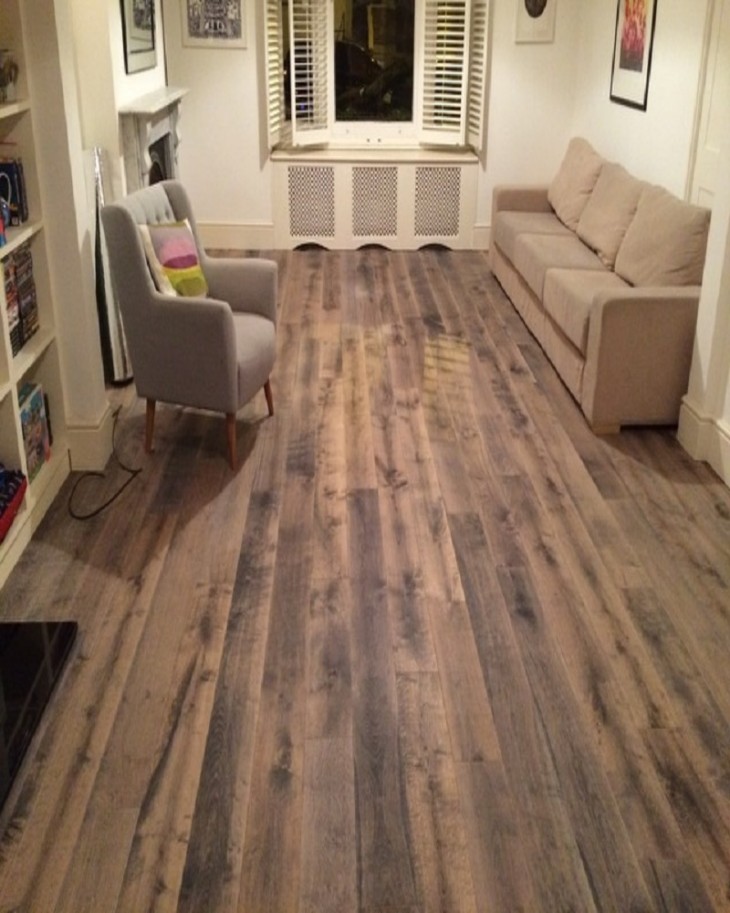
A correctly selected floor covering will undoubtedly affect the perception of the building as a whole. Natural materials are gaining in popularity. Therefore, it is logical that wood floors still remain one of the most common and in demand.
To lay a wooden floor without anyone else’s help anyone can do. However, when starting laying floors, one should not ignore the practical experience accumulated by professionals and their recommendations.
Review Content:
Material selection
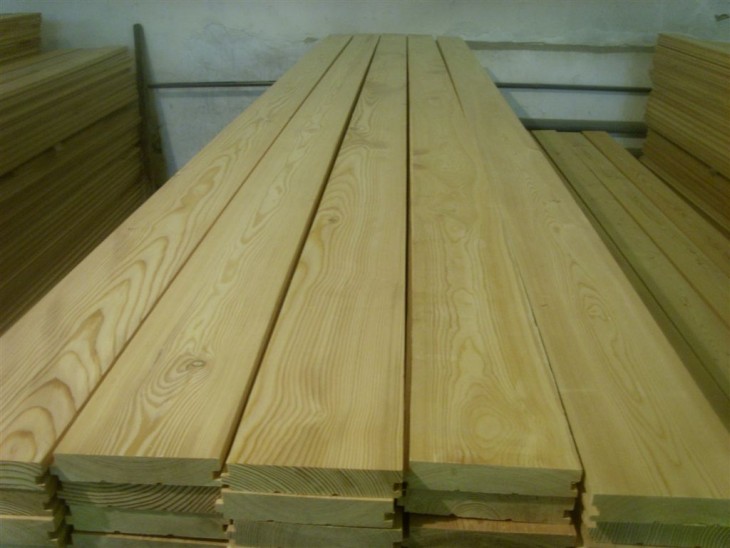
The initial stage of laying the floor is choosing the right material for it. When making your choice, it is worth considering both your own material capabilities, and the local climate, as well as the planned load on the coating and the type of room.
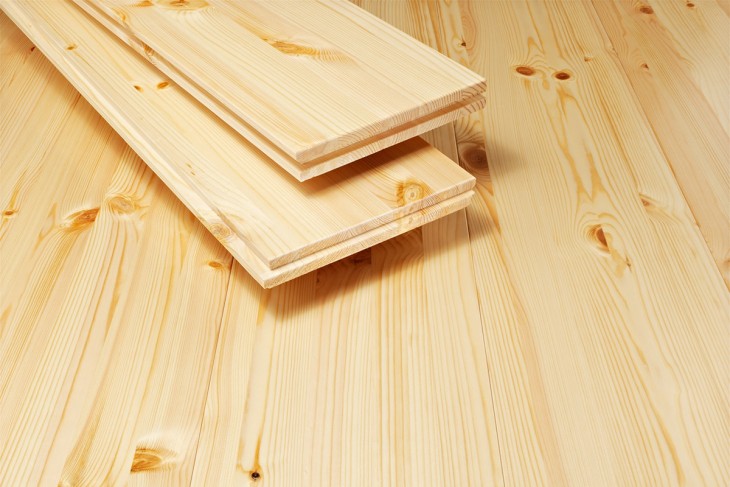
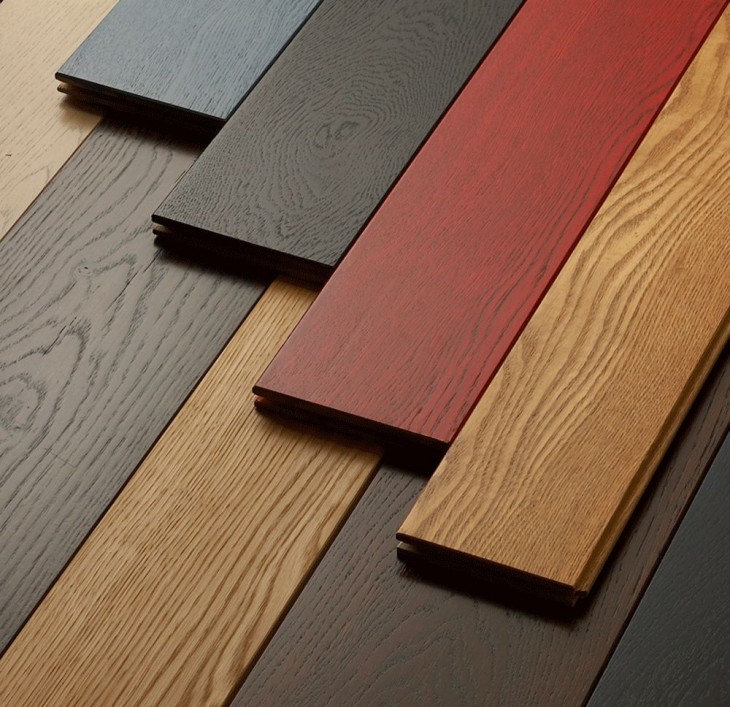
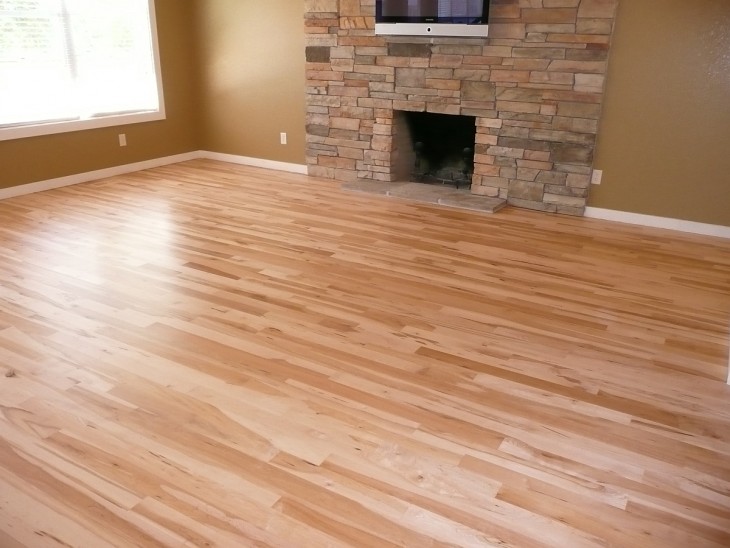
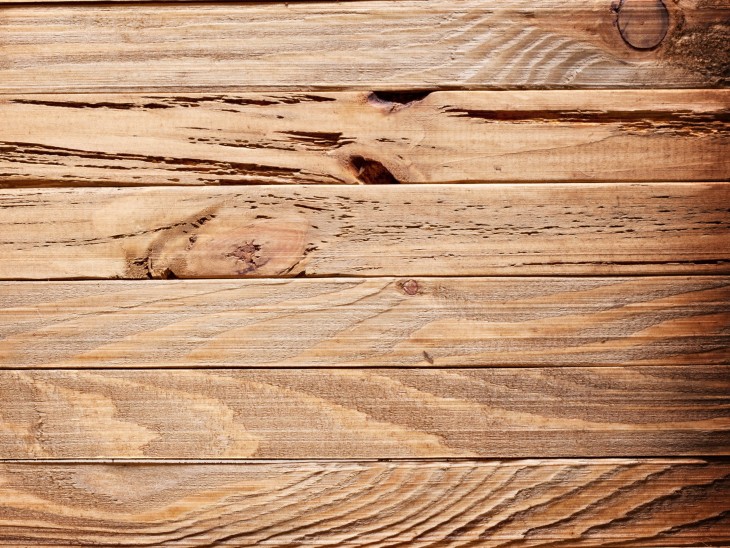
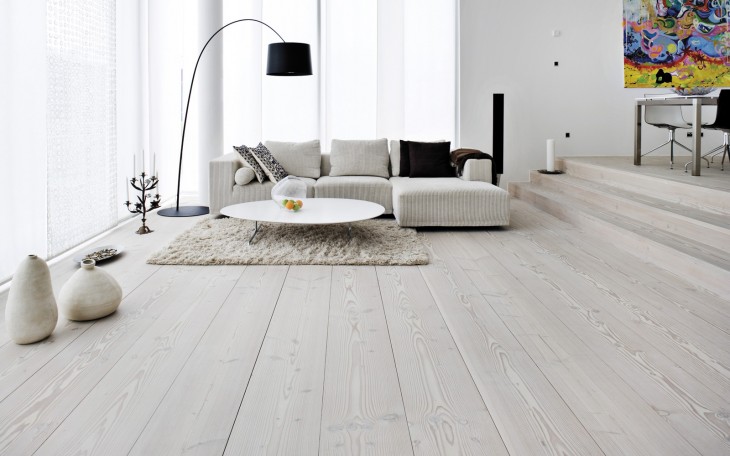
For small living rooms, coniferous wood is suitable. Needles are notable for their low price, known for their durability and resistance to wear.
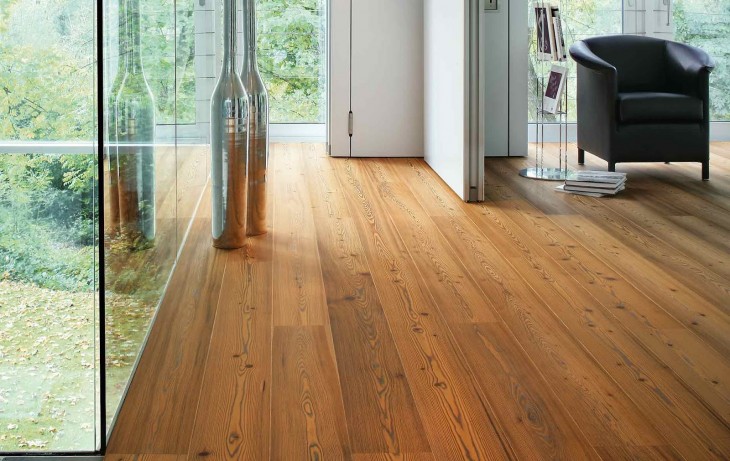
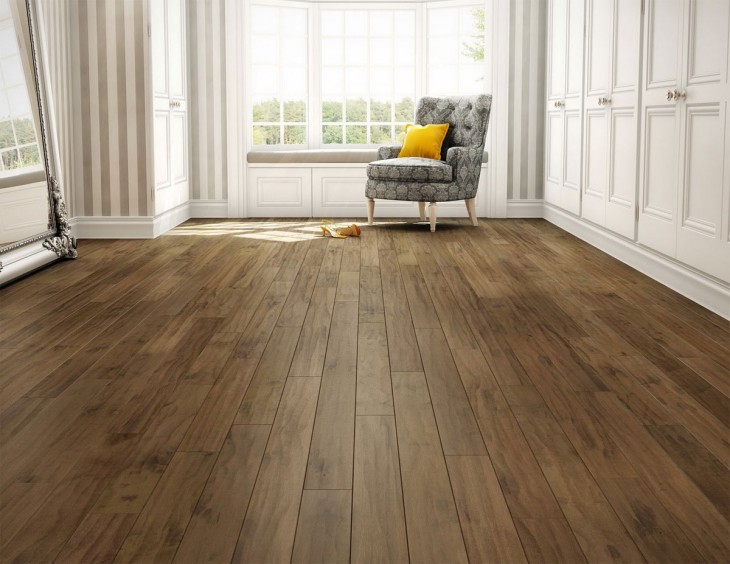
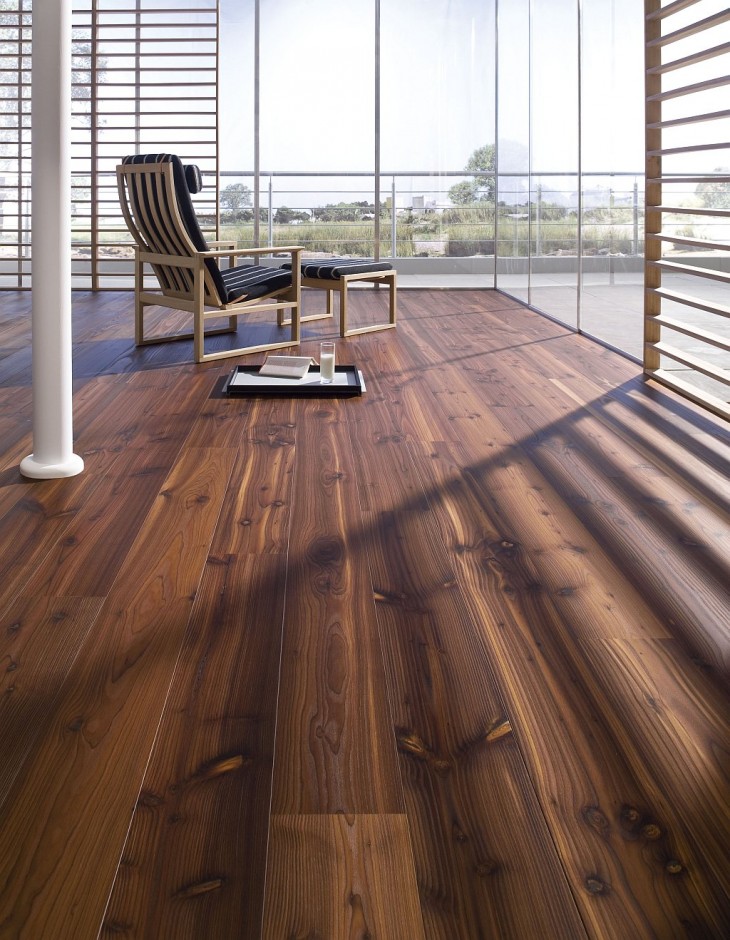
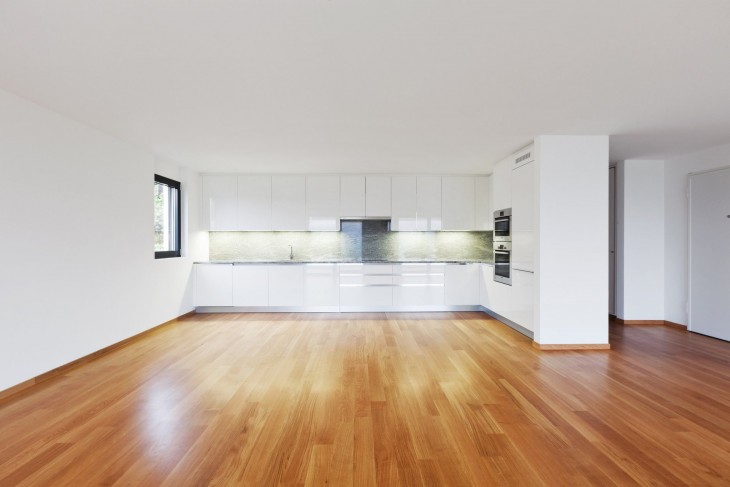
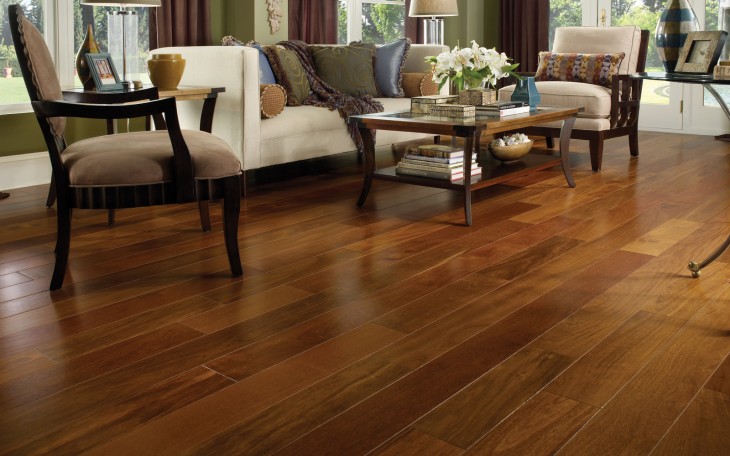
Of the more expensive wood, oak is most preferable; its main advantage is versatility.
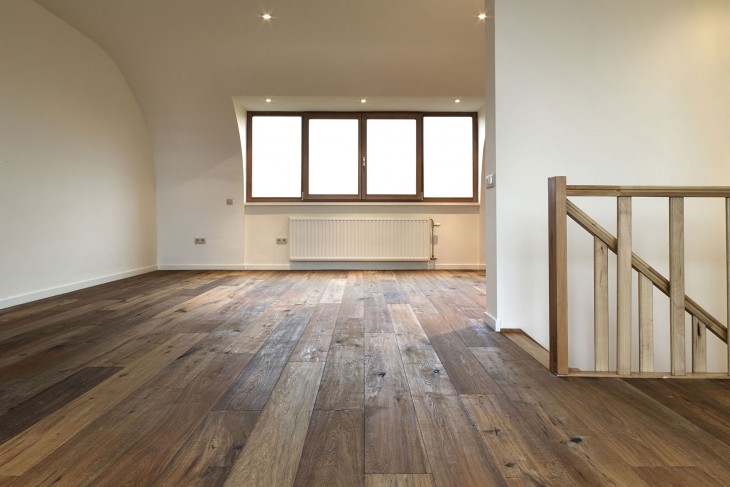
Alder and aspen boards are also widely used; they are optimally suited for the floor in bedrooms.
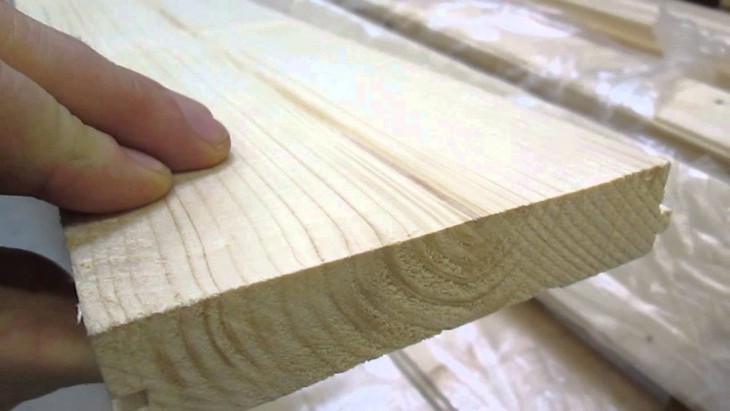
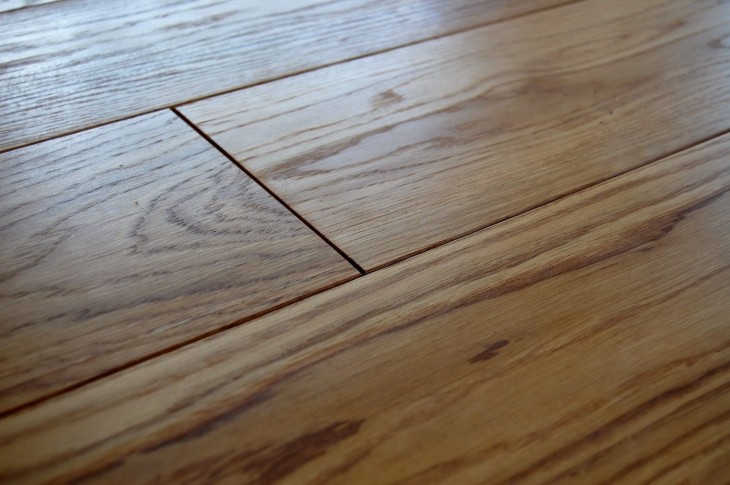
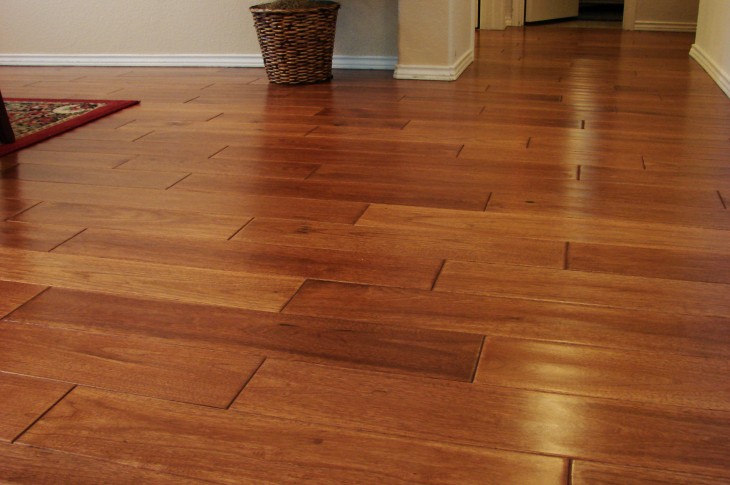
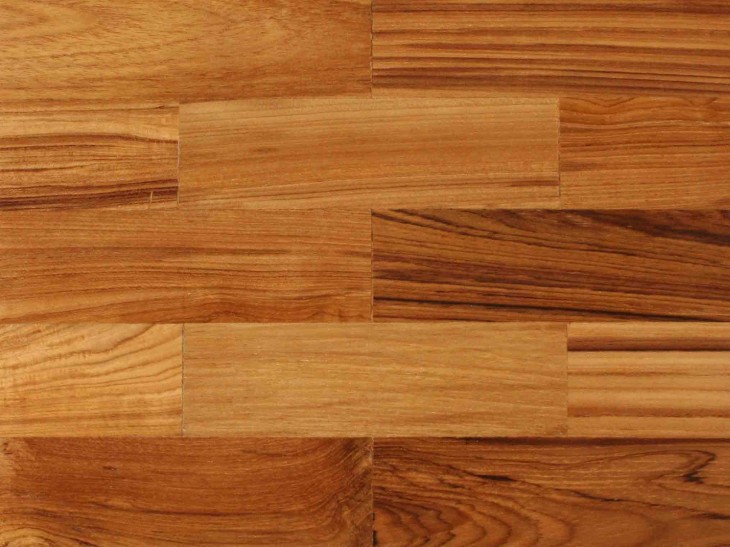
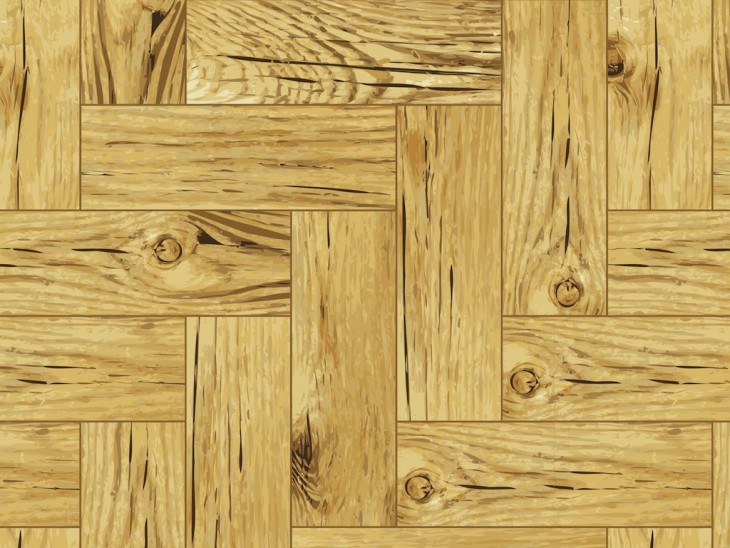
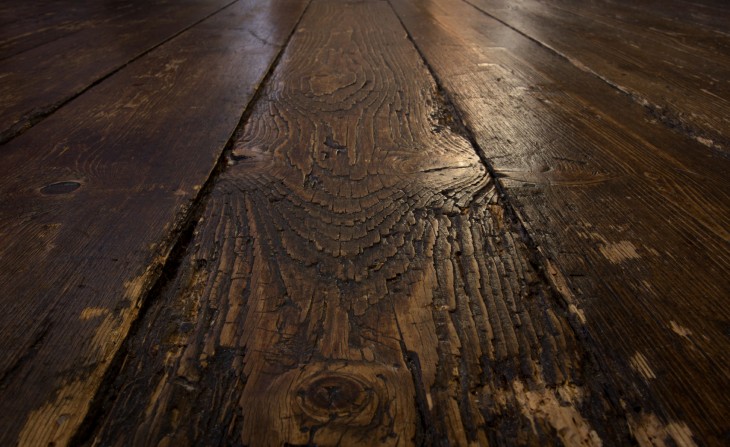
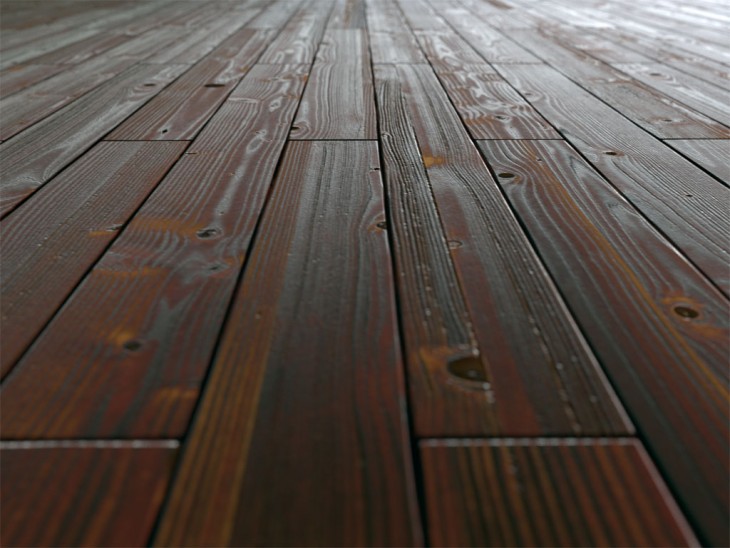
When laying the floor, most often use a solid wood board. Often used wooden parquet from solid wood and glued parquet board, no different from parquet board from solid wood.
Its main advantage is the ability to maintain the same qualities as a parquet board during operation. The price of glued parquet board is quite low.
Wood flooring technology
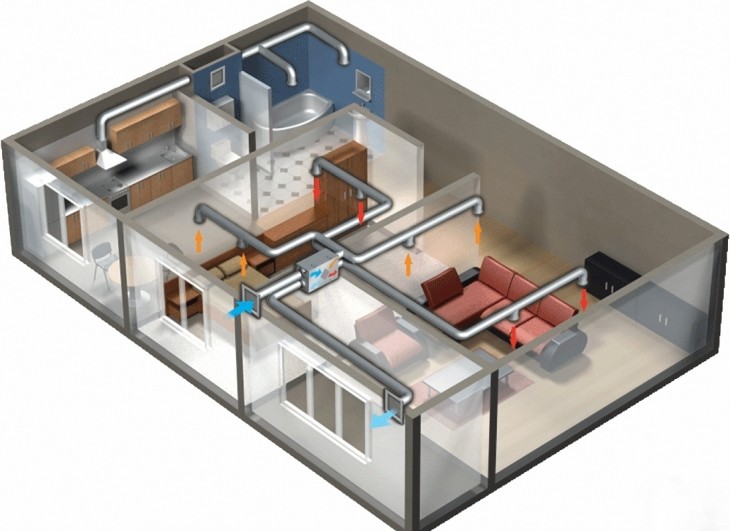
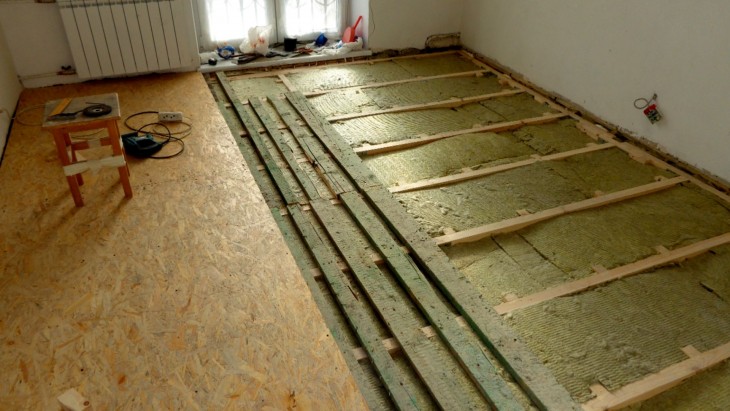
A feature in the laying and construction of a wooden floor is its two-layer. The first layer is preparatory, draft, it represents the basis of the future floor, the second is actually a wooden flooring, which can be laid in two ways.
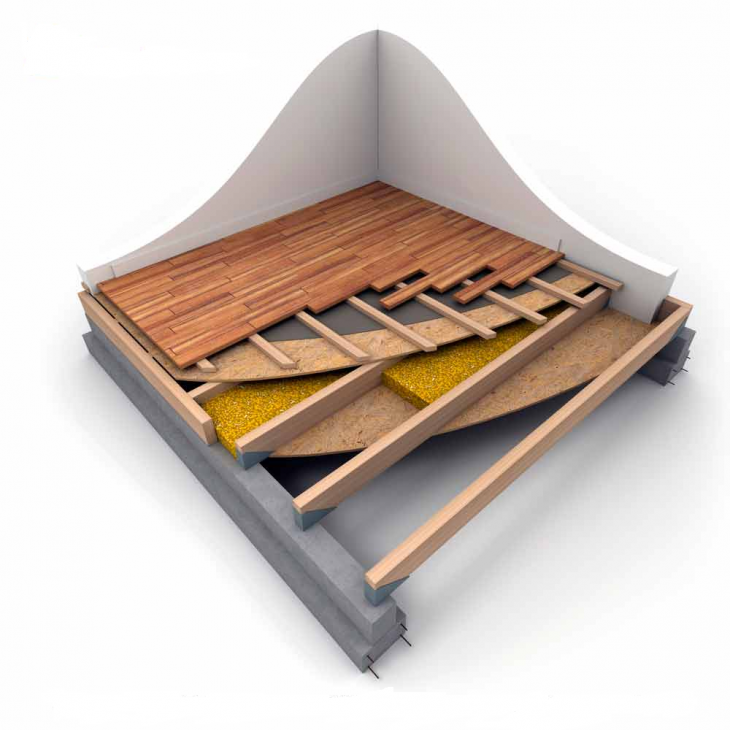
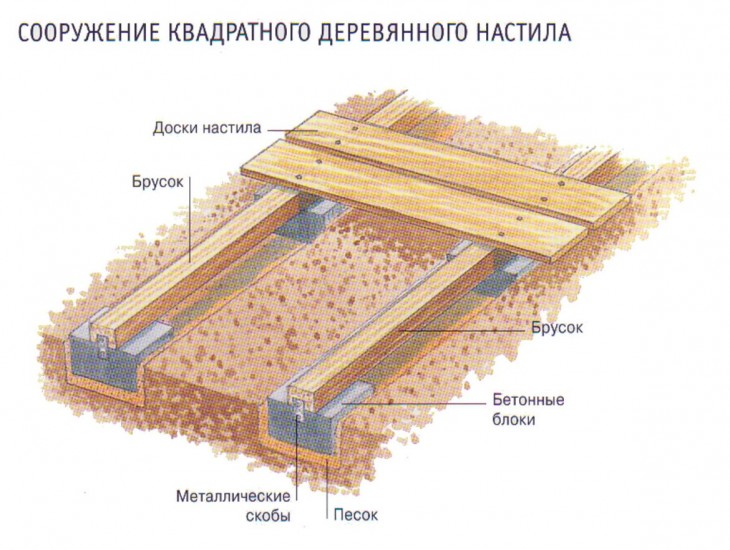
In the first method, laying is carried out directly on the ground using lags. The second method involves the use of floor beams.
Each of these methods has its pros and cons, the final choice is determined by the design and type of premises and the preferences of the owners.
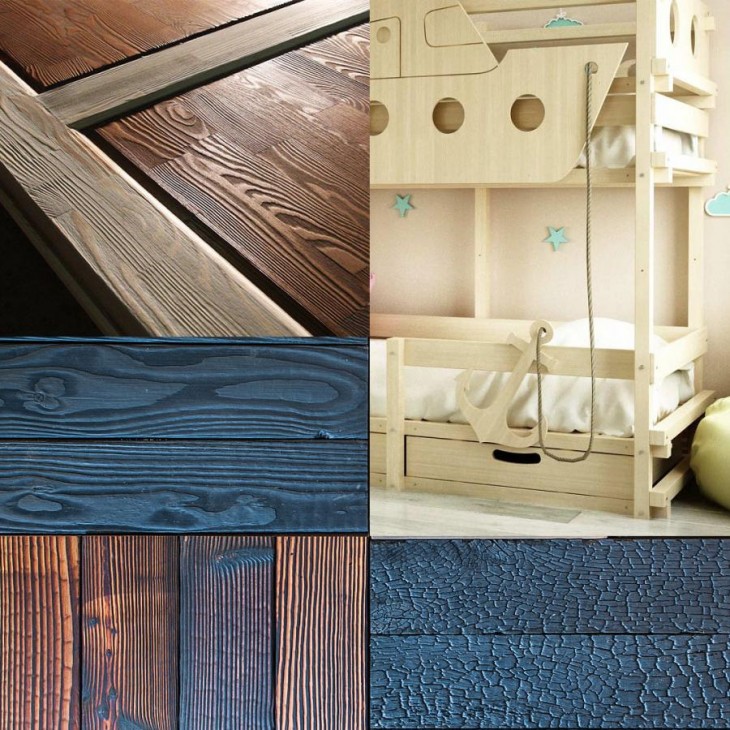
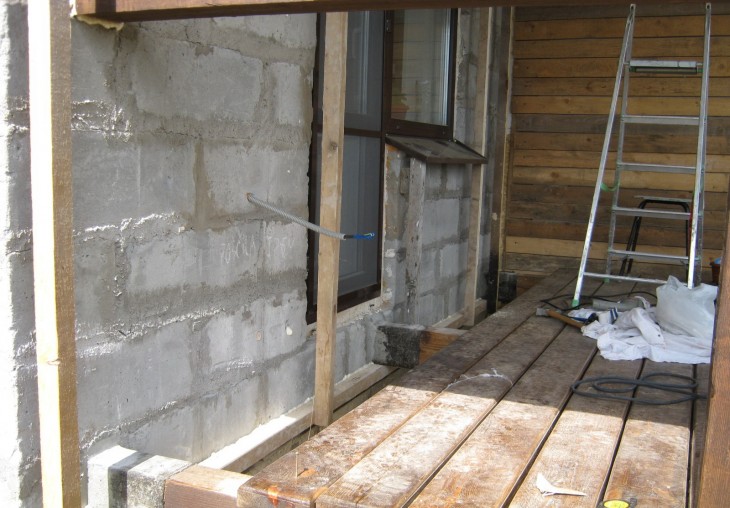
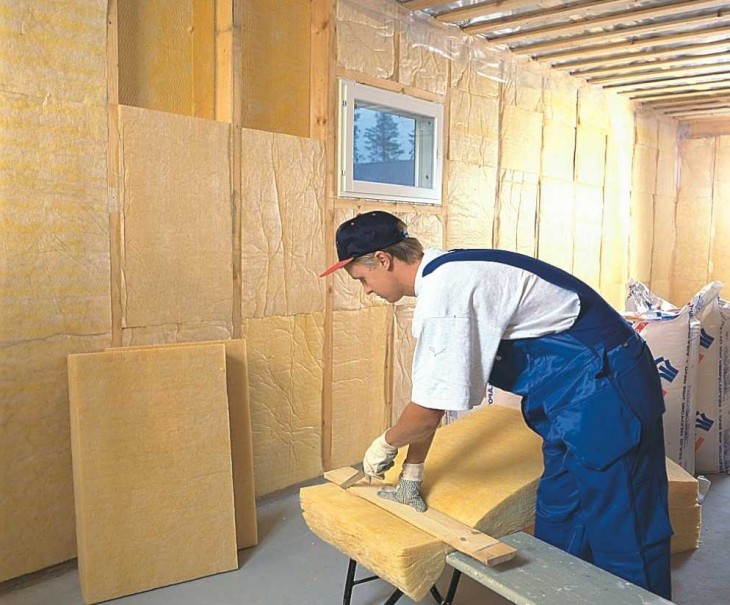
Before starting work on laying the floor, all materials: boards, logs, beams must be treated with flame retardant (this will increase the fire resistance of the floor).
Also, the material should be treated with a special bio-impregnation that protects the wood from fungus and decay bacteria.
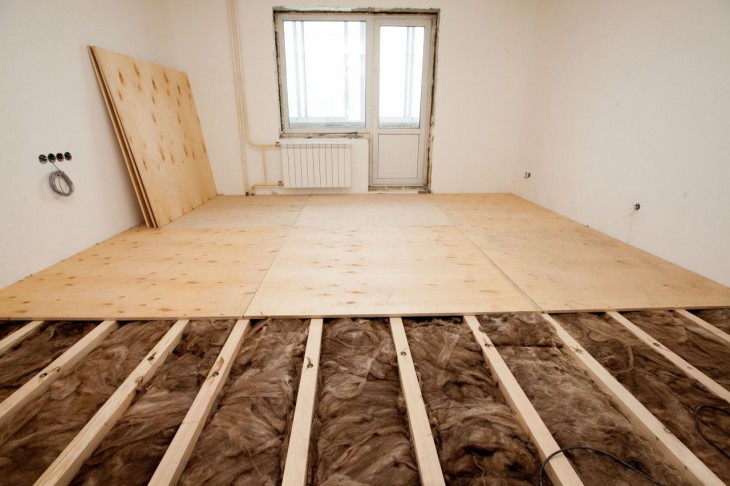
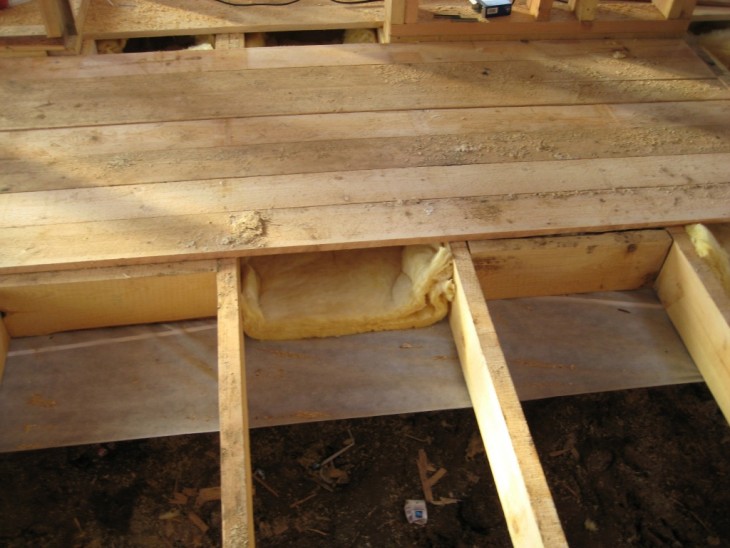
Under the base of the floor you need to lay waterproofing, as a rule, it is either penofol or enough polyethylene. A penophone is more preferable because it provides not only waterproofing, but also provides good noise isolation.

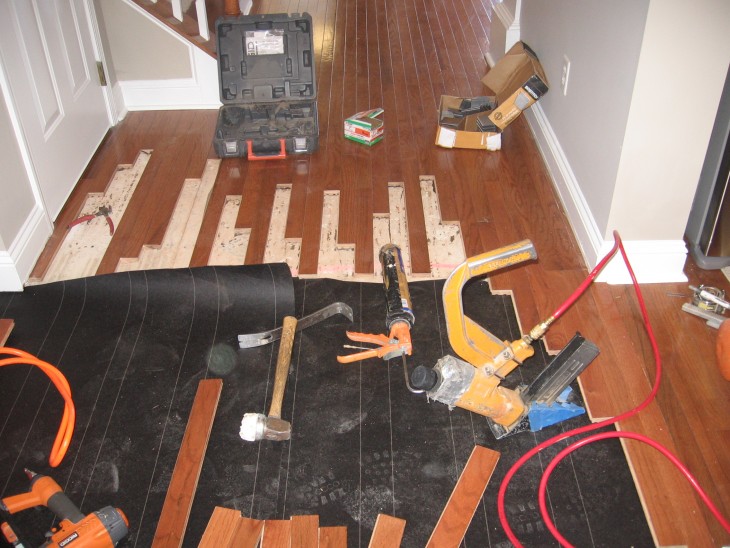
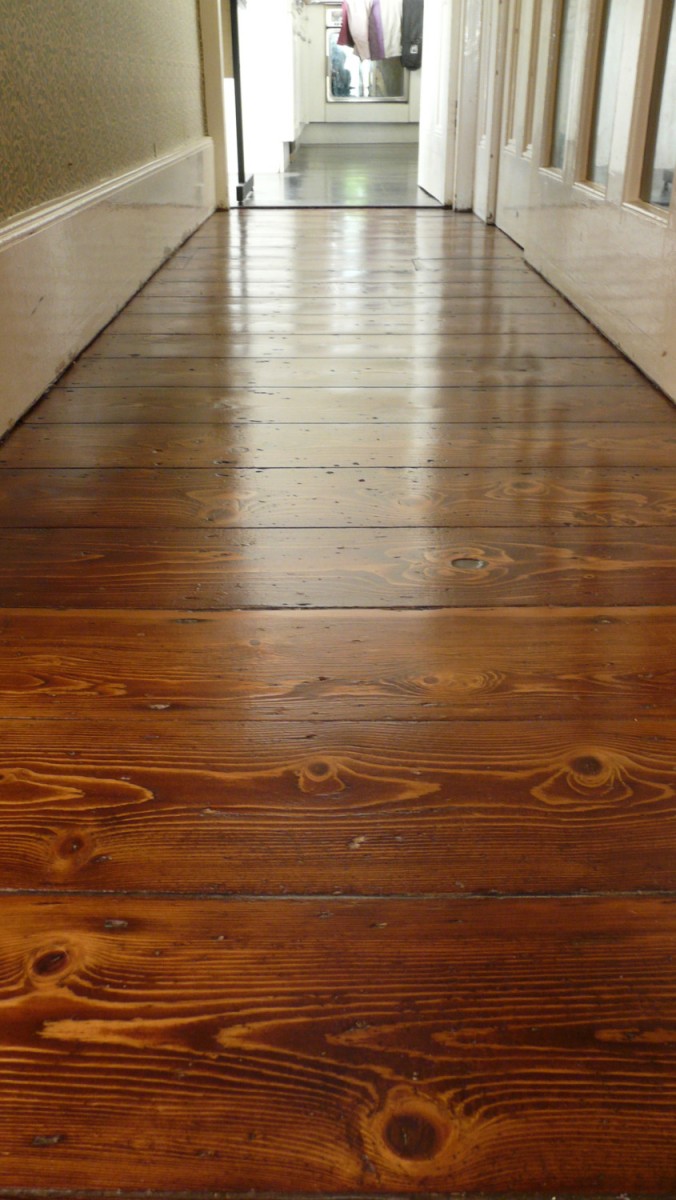
Wood flooring
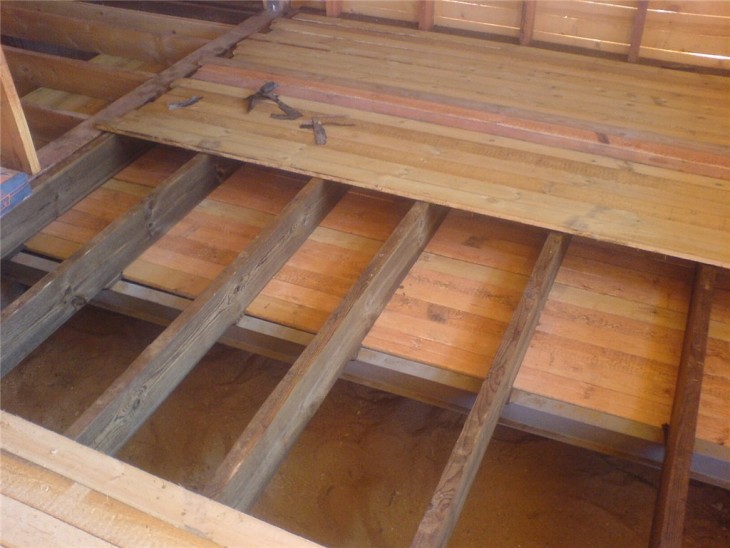
The most common method of laying a floor from wood is laying on logs. Its main plus is the ability of such a design to hide all the differences in floor level, an additional advantage is the ability to lay communications under the floor.
Optimum during laying will be bars 50x100 mm in size. In preparation for the start of work, take the lags to a closed, isolated room and leave it for two or three days.
Note!
Lay logs observing the distance excluding any deflection of boards in the future, this will help to avoid forced floor repair.
Initially, two logs are evenly laid against the walls, one opposite the other. After pulling the nylon threads between them, this is done every 1.5 m. All other lags are laid, focusing on the already stretched threads. The resulting voids must be filled with several layers of insulation.
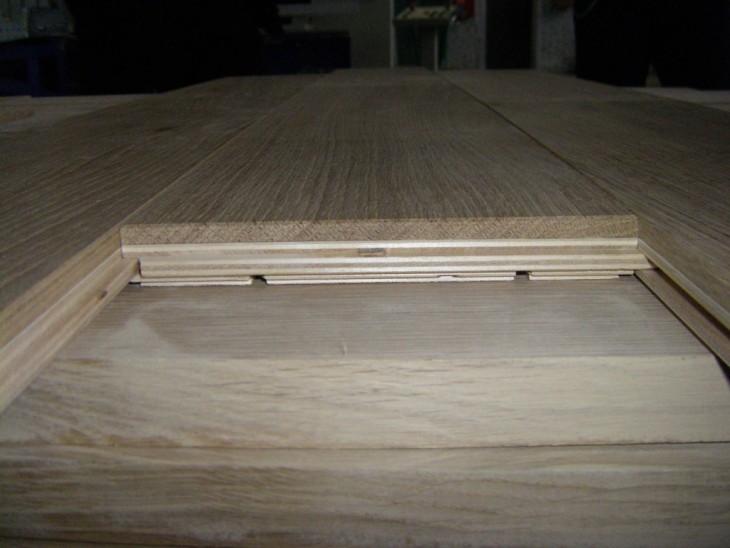
The height of the lag requires adjustment, plywood wedges are suitable for this. Remember that all joints should be at an angle relative to the edge of the board.
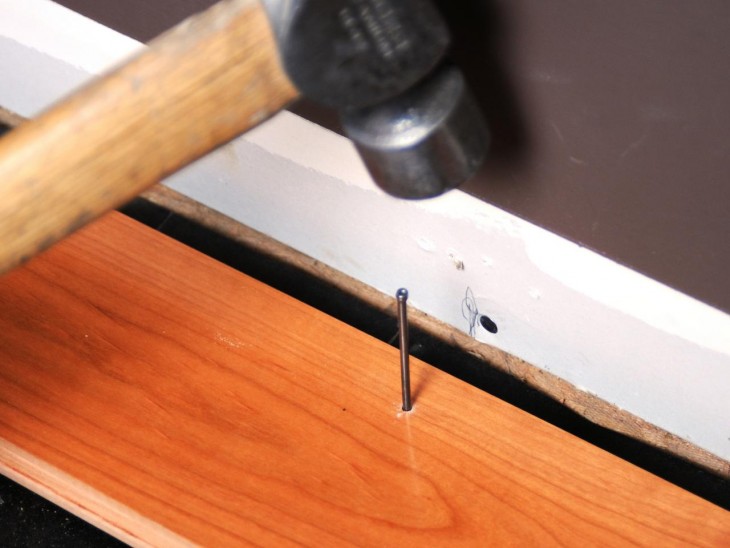
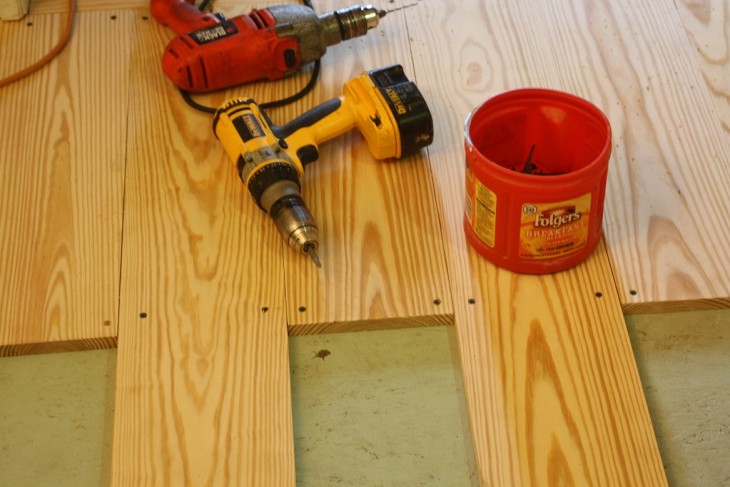
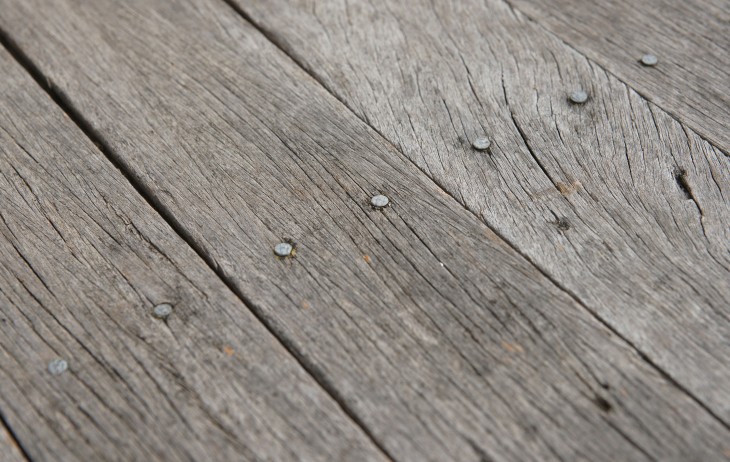
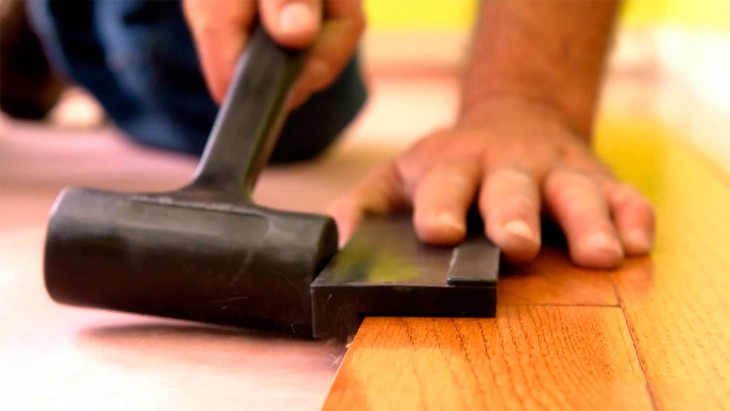
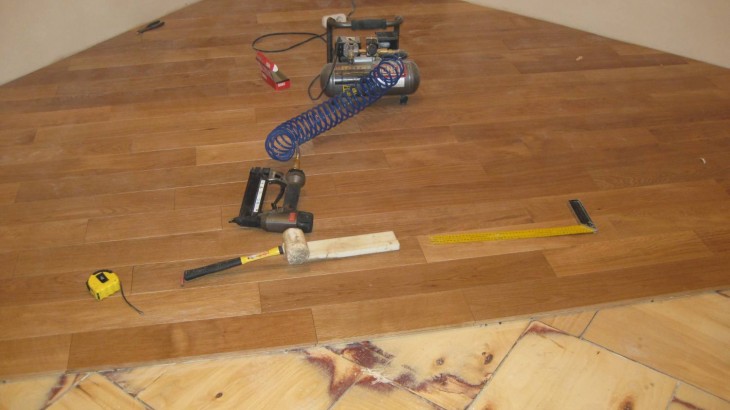
Often, it is recommended to use staples to increase the strength level: initially, the boards are connected using staples, and then finally fixed with nails.
Thus, the boards are more closely adjacent to each other.
Note!
Recommendations for self-laying wooden floor
When doing your own laying of a floor from wood, try to adhere to these simple practical tips in work:
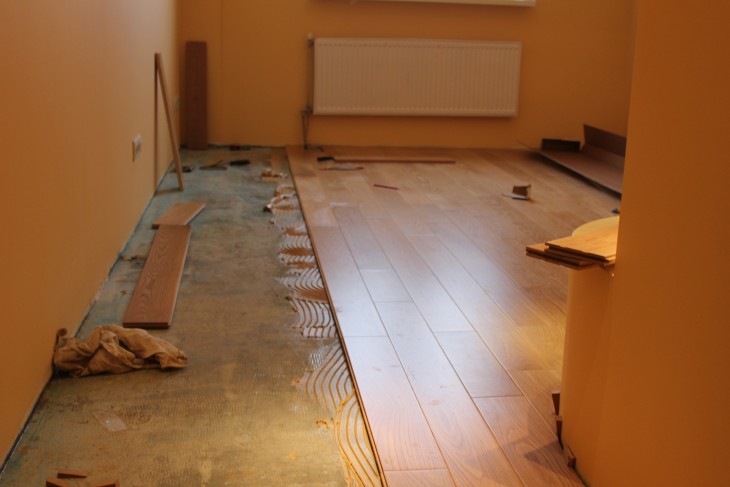
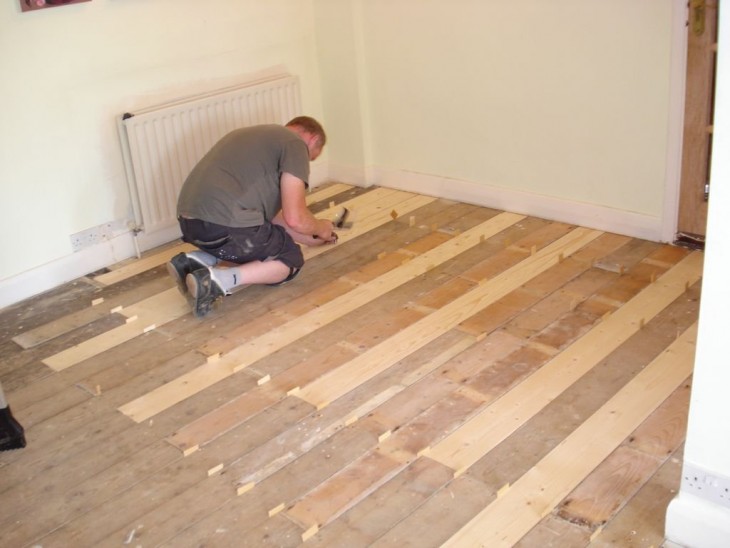
- initially, the boards are laid out on the bars, this is done to mark them;
- after marking and trying on, number all the boards, this will help to comply with the necessary sequence during the final installation, and as a result, to avoid additional grinding and the need to fit the boards to size;
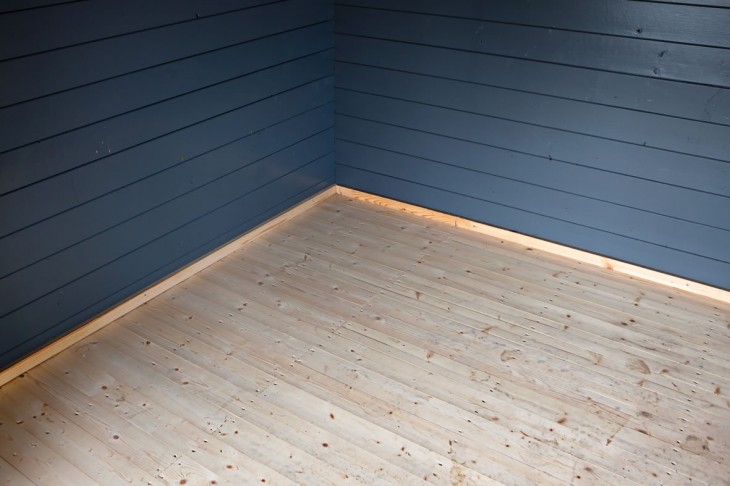
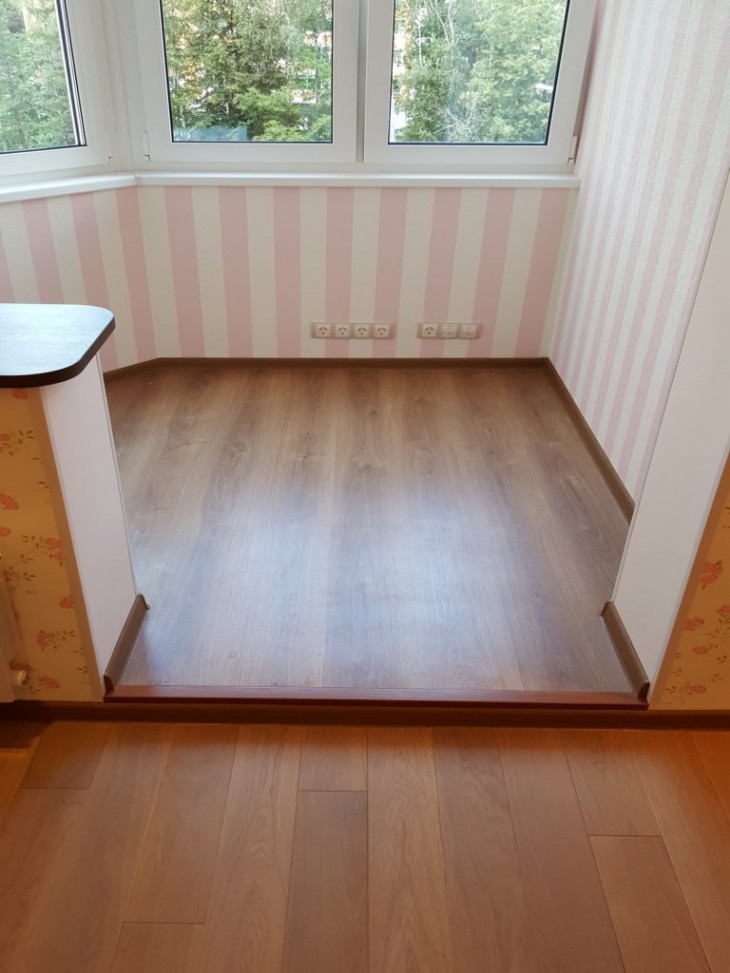
- Having started laying the floor, leave a gap near the wall, it will be designed for air intake, and at the end of work it will be completely covered with a plinth;
- it is most expedient to hammer nails at an angle, while trying to hammer the hats as deep as possible;
- often the edges of the boards are filed near the very walls, this is done so that the lower part is shorter than the upper;
- often raises questions about laying the last board. You can alleviate your task by first aligning the top of the tongue with a planer;
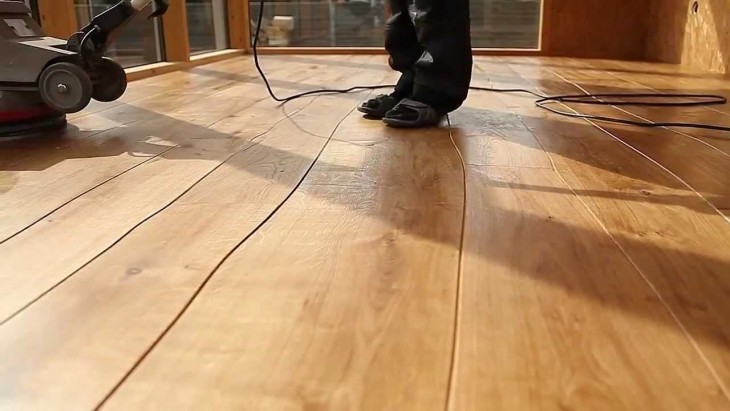
- Having completed the work of laying boards, engage in sanding joints. In principle, irregularities can be eliminated during the laying of boards by placing small pieces of cardboard, roofing felt under the bars in the joint area. Using wood chips is not recommended.
Making a choice in favor of one or another material for laying wood floors, each is guided by their own preferences: for one, the aesthetic side is in the first place, comfort is important for the other, and the third is interested in the quality and economy of the material.
Nevertheless, today, when the range of available and diverse materials has expanded significantly, most make the choice in favor of a wooden floor.

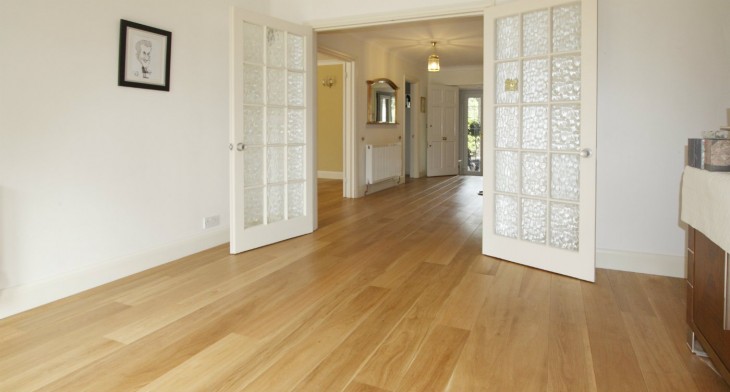
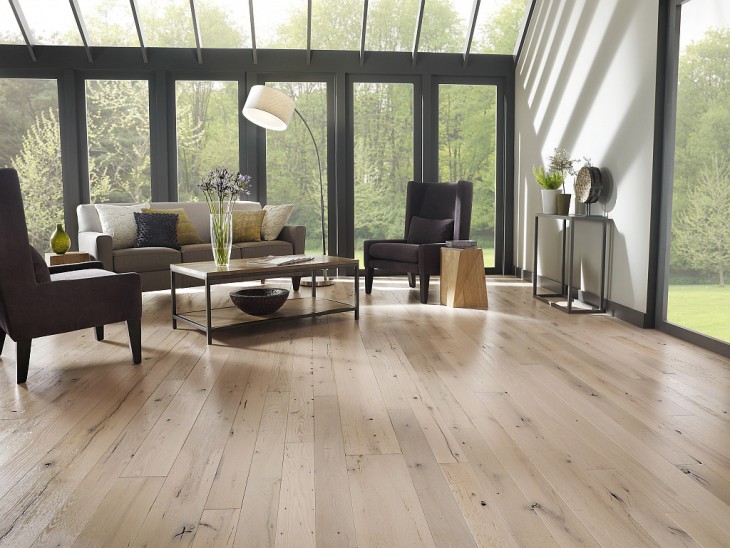
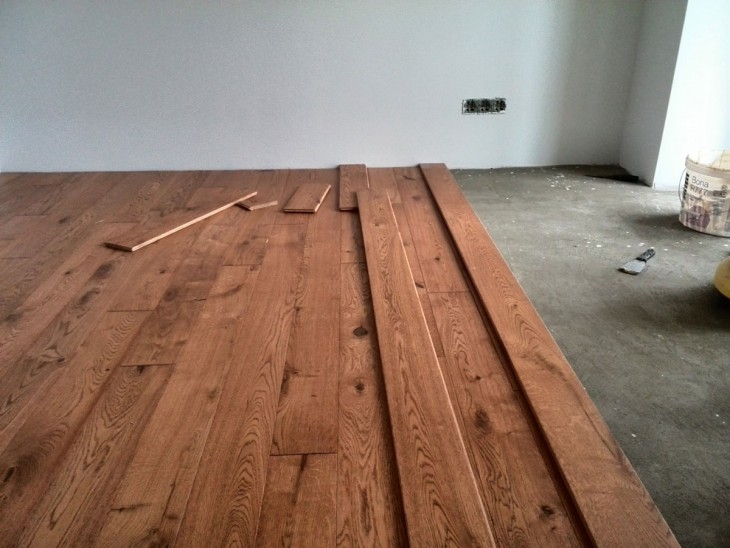
DIY wooden floor photo
Note!


Do-it-yourself crib (70 photos): make from various materials (step by step instructions)
Do-it-yourself warm floor: schemes and installation rules for beginners (90 photos)
Do-it-yourself timber house - 100 photos and step-by-step instructions for building
Crafts for beginners - 96 photos of ideas and tips from professionals