Tell me, what do gunpowder, compass and porcelain have in common? That's right - their Chinese origin. What will be discussed in this article also came to us from China.
Yes, yes, and here, as they say, it was not without the Chinese. This eastern country is the birthplace of yet another great invention of mankind - paper. And where is the paper? You will understand now.
The home of a simple Chinese was ascetic and gray. Dressing in painted silk and surrounding yourself with expensive beautiful things was a privilege of the rich.
But the soul asked for bright colors. So the poor people came up with a simple, but extremely aesthetic occupation.

Review Content:
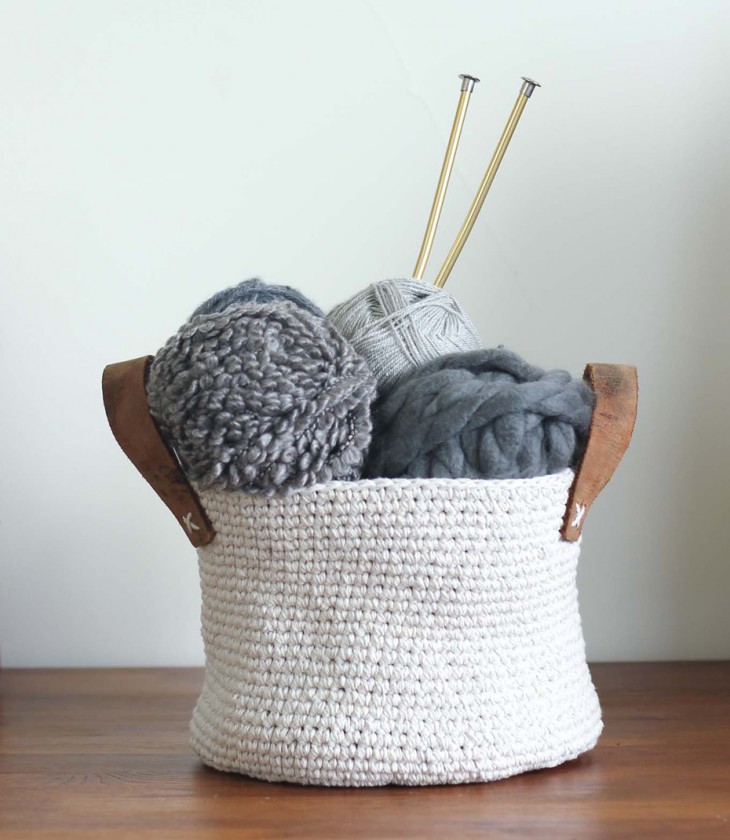
Needlework is back in trend!
Chinese needlewomen for days leisurely cut out figures from thin rice paper and decorated them with dishes, furniture and other household items.

Handicraft enthusiasm is in fashion again today. One of the most popular techniques of modern needlework is decoupage technique. The word is translated from French means "cut".

Why does ancient Chinese art have a French name? The fact is that more than three hundred years ago, the fashion for Chinese lacquered furniture came to Europe. Then the first fakes appeared.
The famous Venetian masters copied the works of the Chinese poor. Strange, isn't it?
But this is all the lyrics. Let's get back to reality.
Today, decoupage is once again at the height of fashion. Possession of this technique gives modern needlewomen the opportunity to create real works of original art.
Do-it-yourself decoupage is not only an exciting activity, but also a good way to make money on handmade.
What items can be decorated using decoupage technique?
When you first see an item decorated using this technique, you are unlikely to believe that this is a regular paper application coated with several layers of varnish. The look of such products is simply amazing.
You can master decoupage, although this lesson will require some skills and maximum perseverance and patience.
But in this case, the end fully justifies the means. Seeing the admiring glances of others, you will understand: it was worth it.
A thing decorated with decoupage is transformed from stamping into exclusive. It is unique and inimitable.

Decoupage will help you transform the objects around you and give them personality. It’s also a great gift idea.

What can be decorated with decoupage?
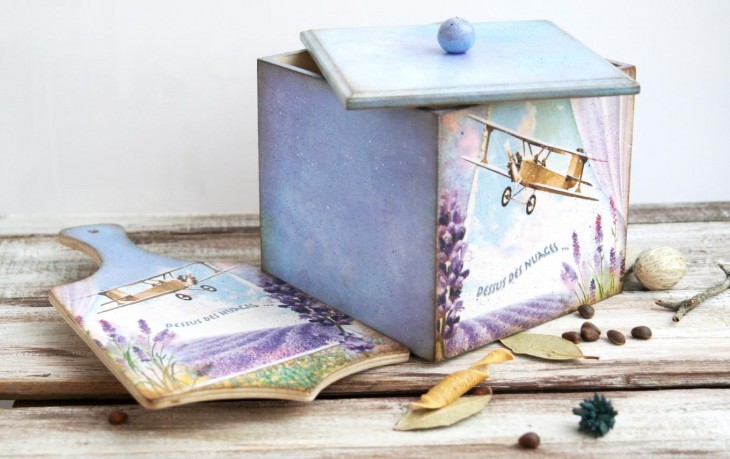
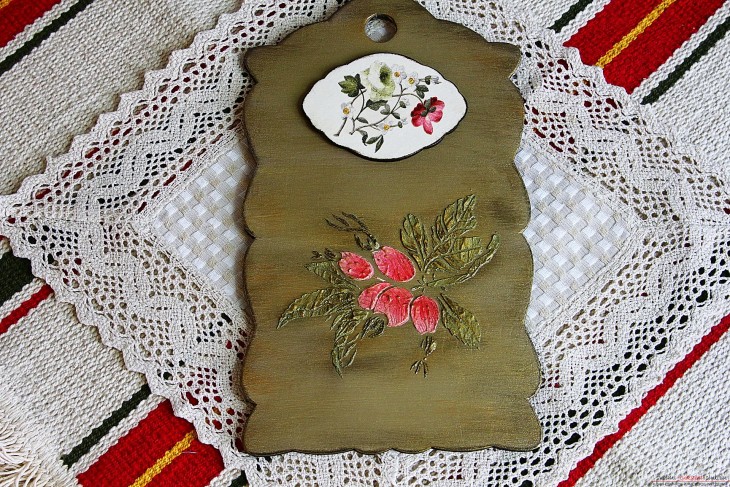
Most often, decoupage is performed on unpainted cutting boards. They are great for decorating in this way. They have a flat wooden surface on which the varnish perfectly lays down.
Note!

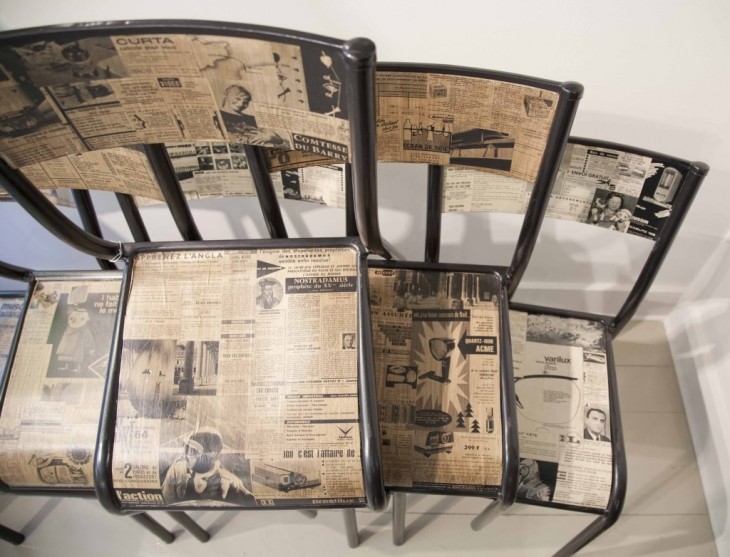
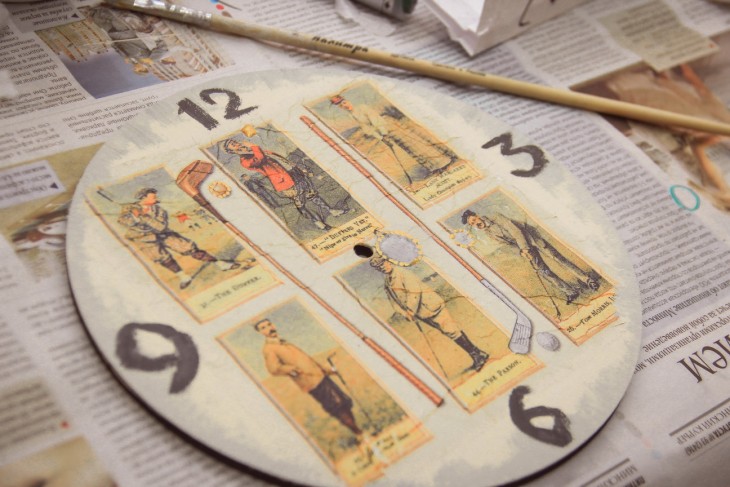
Decor plots can be cut from three-layer napkins. More experienced needlewomen use newspaper illustrations or images printed on a printer.
The printer must be a laser. The inkjet printer prints with water-based inks, so printouts will be blurred by glue. True, this can be avoided by spraying the surface of the picture with aerosol varnish before starting work.
With the advent of hand-made fashion, special napkins for decoupage and decoupage cards made of thin paper appeared in handicraft shops. The choice of plots is huge, and using them is much simpler and more convenient.

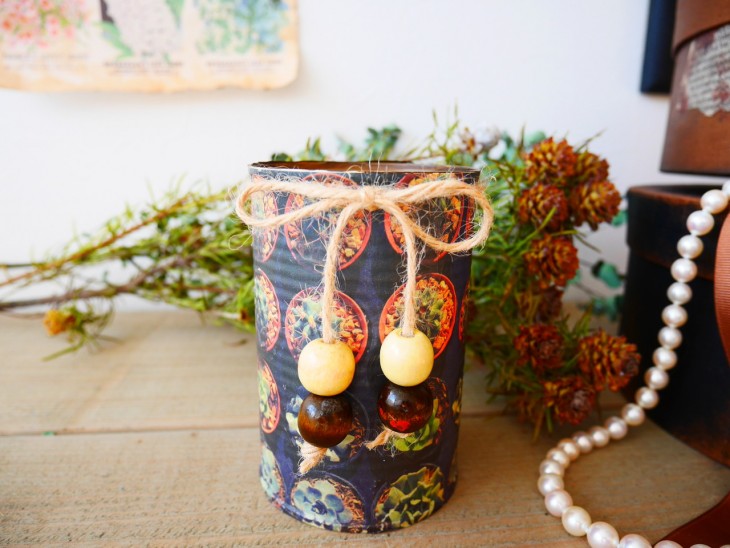
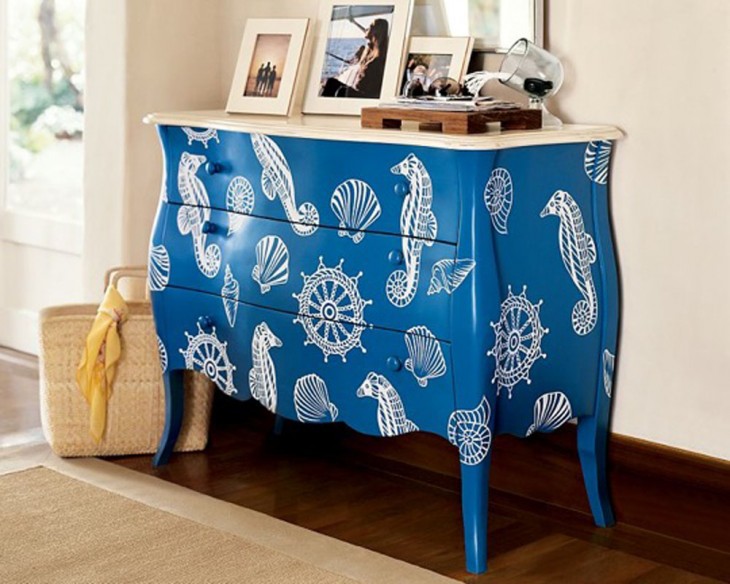
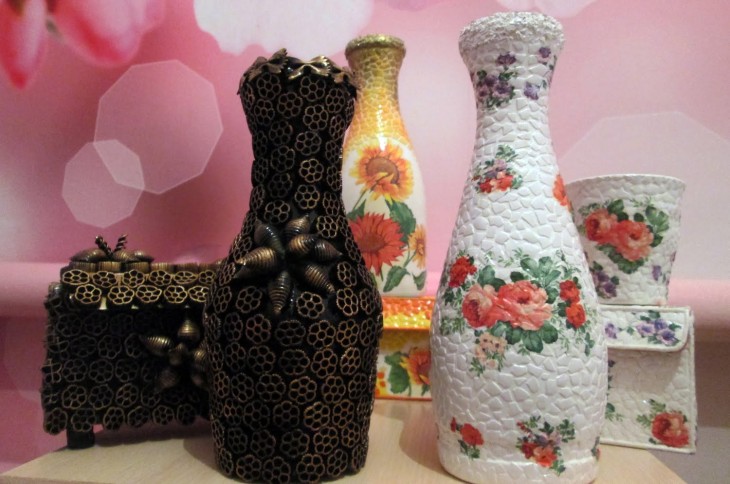
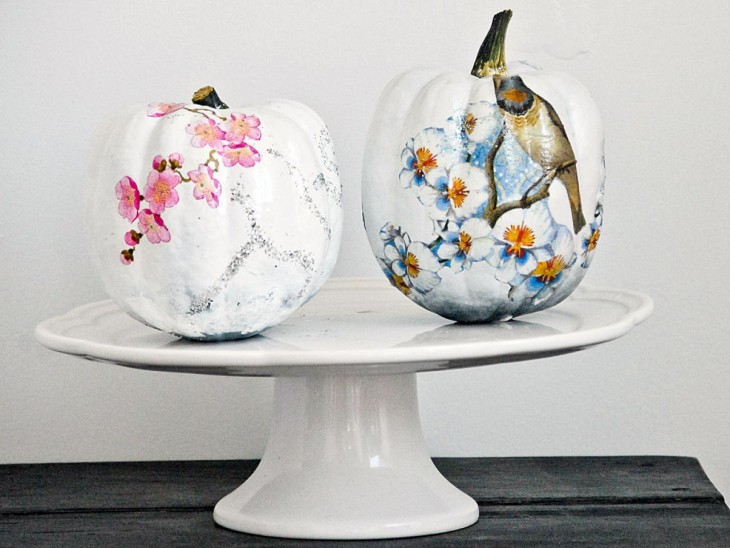
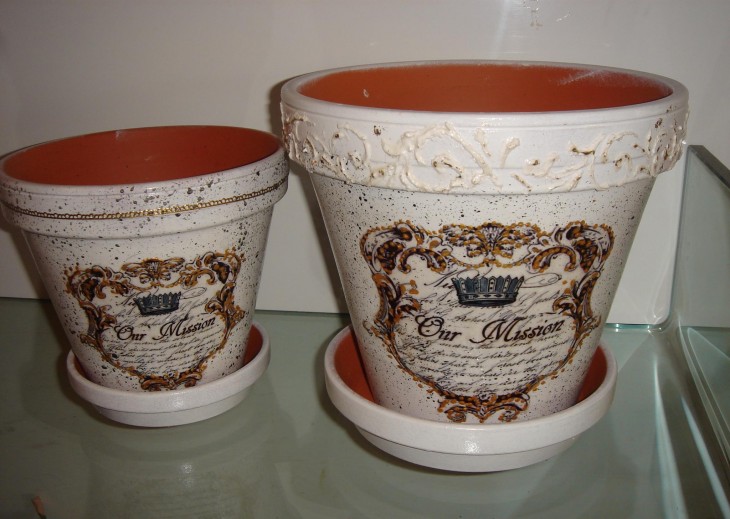
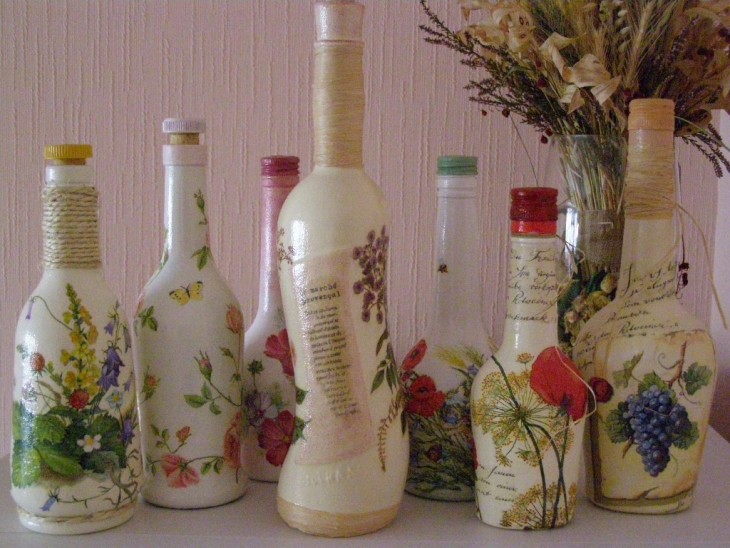
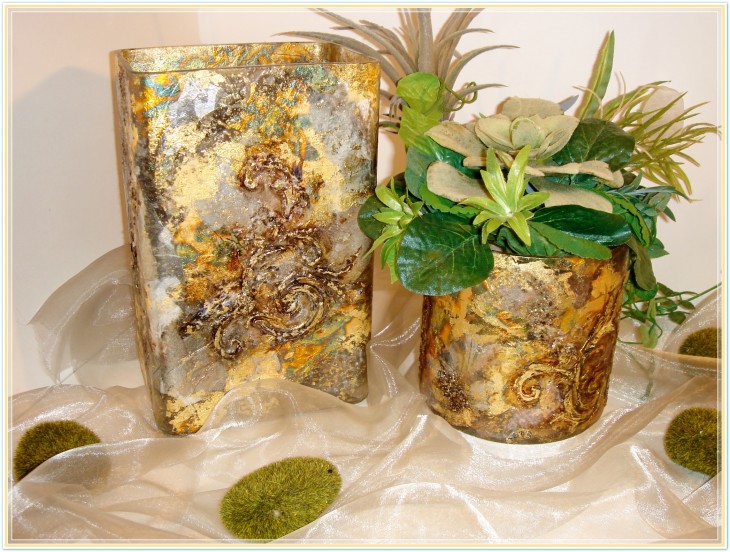
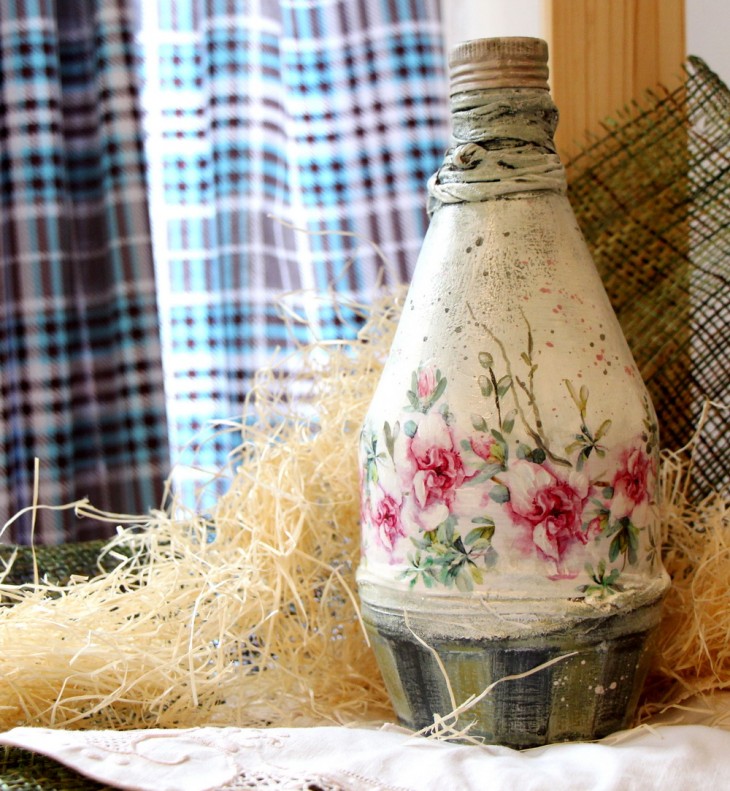
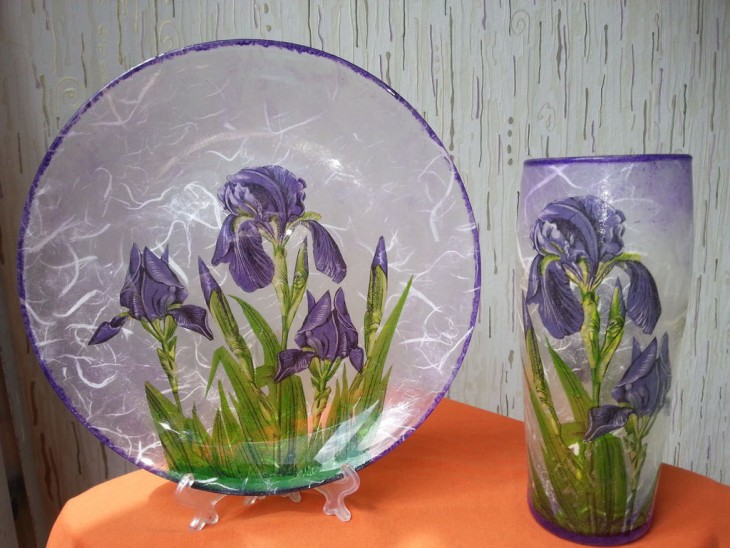
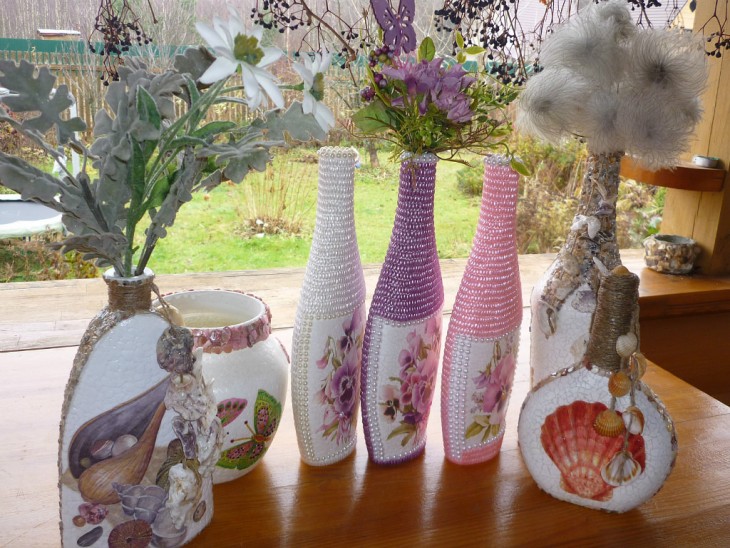
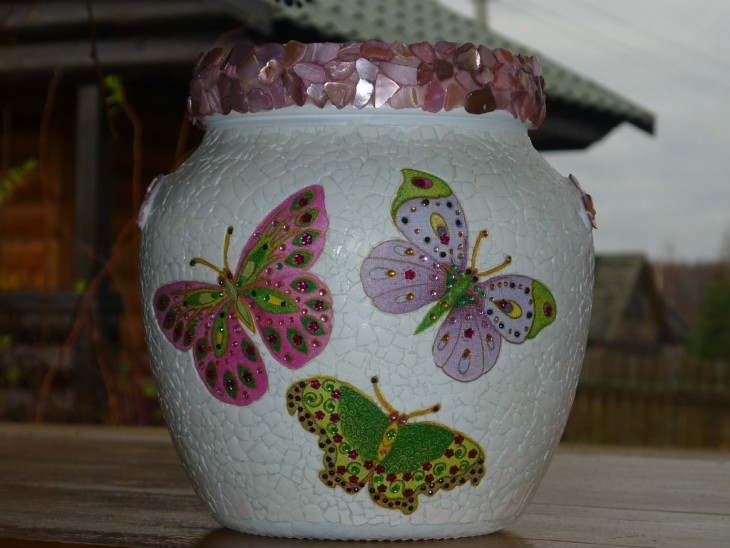
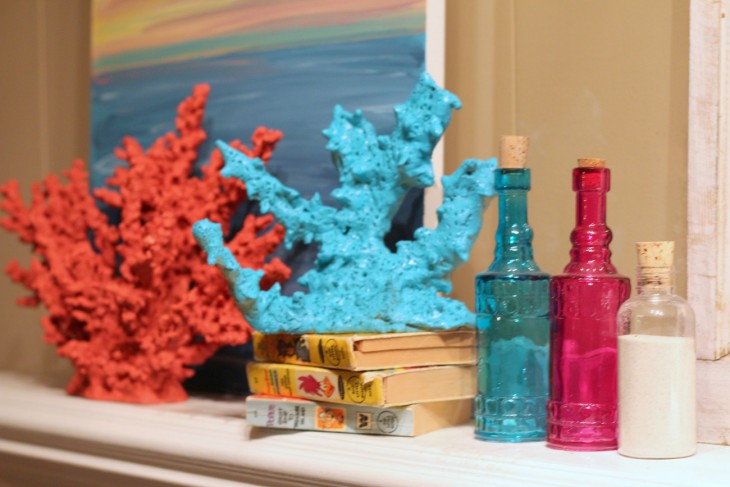
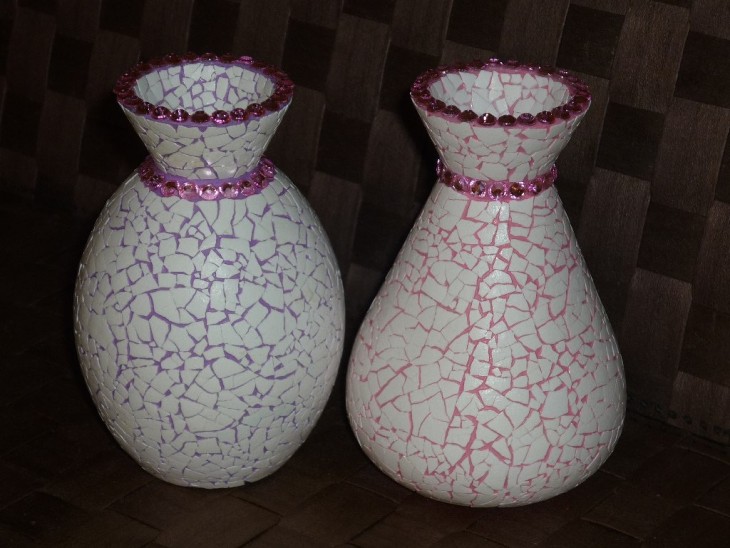
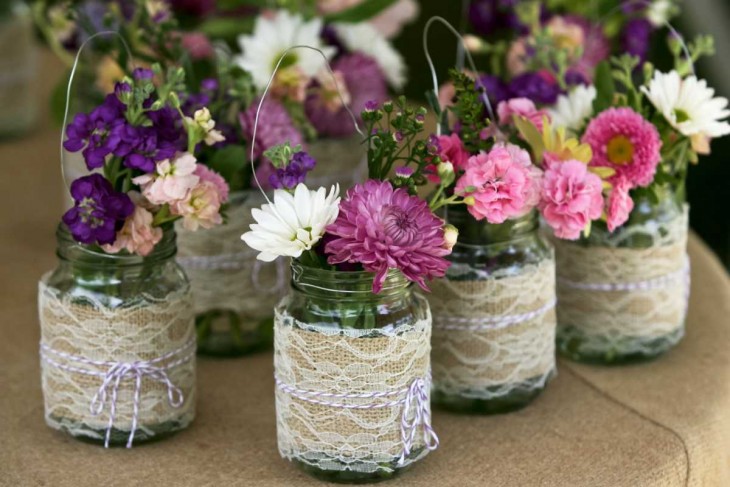
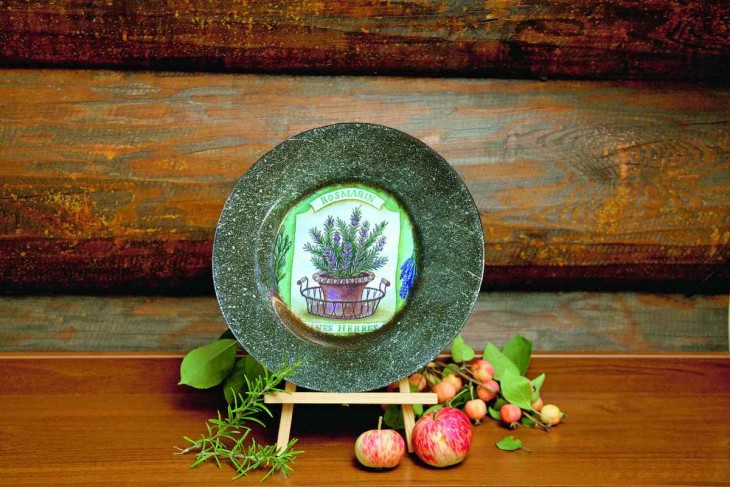
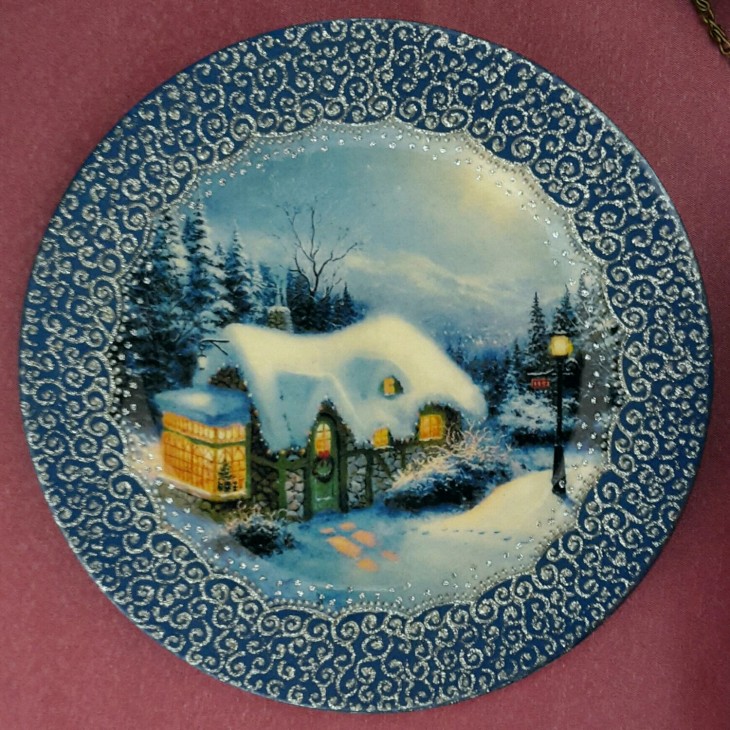
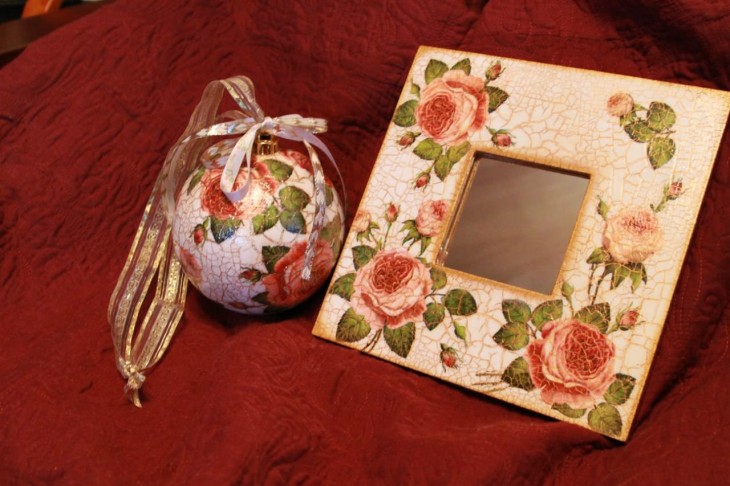
Yes, whatever you want. Vases, plates, flower pots, trays, furniture, caskets, glass bottles and cans, lamps and even clothes. Give a new unnecessary thing a new life? Easy!
Any flat surface lends itself to decoupage. It is better if it is light: on a dark surface, the application is poorly visible.
Note!
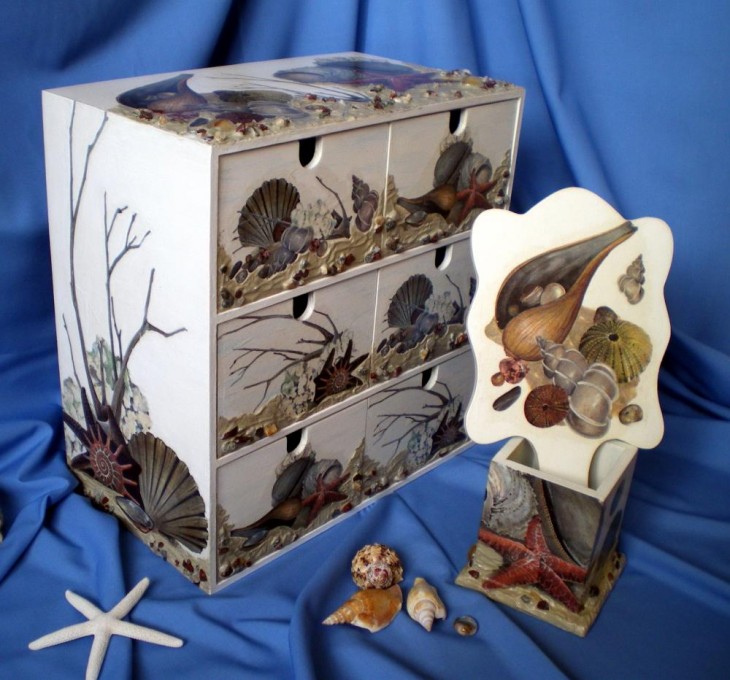
Great ideas for decorating household items can be found in IKEA stores. Products of this brand are simply created for decoration. Faceless dressers and chairs, trays and bread bins in skillful hands turn into wonderful little things for the kitchen, bedroom or cottage.
And most importantly, you don’t need to look for an item suitable for your interior. Just buy it at IKEA and decorate to your liking.
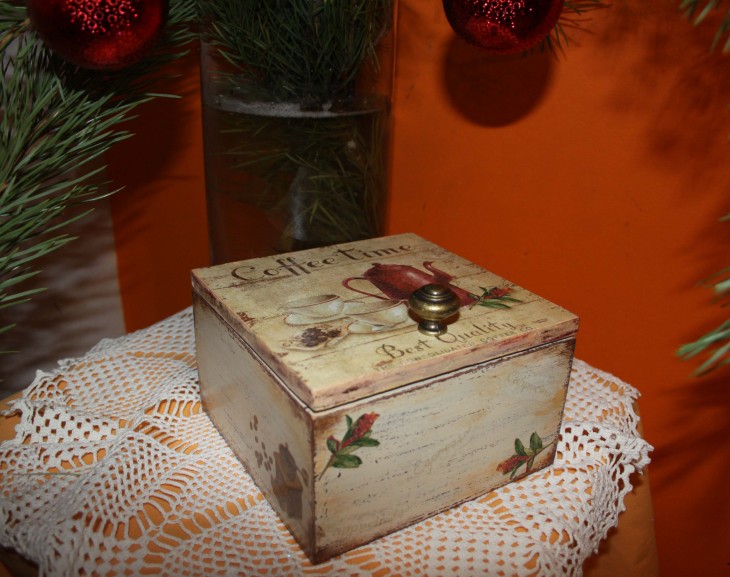
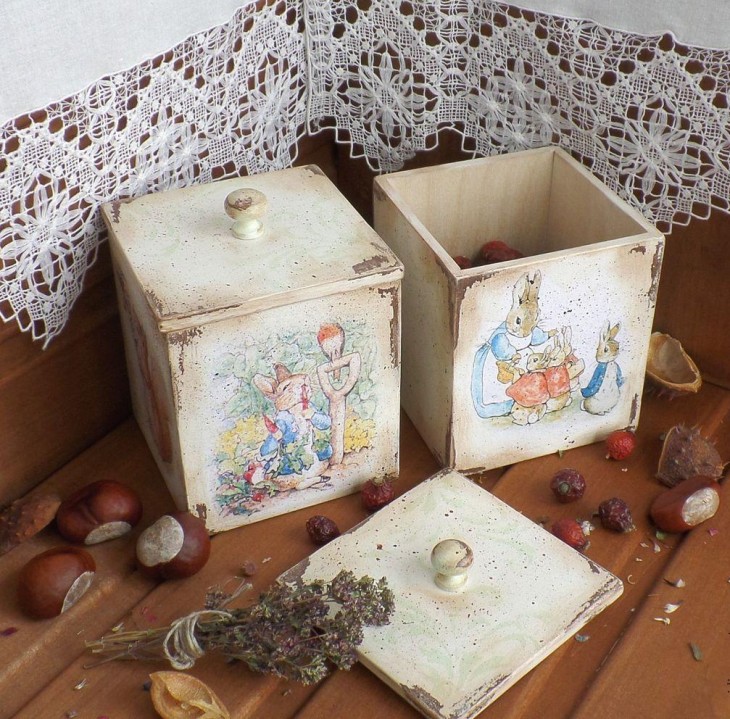
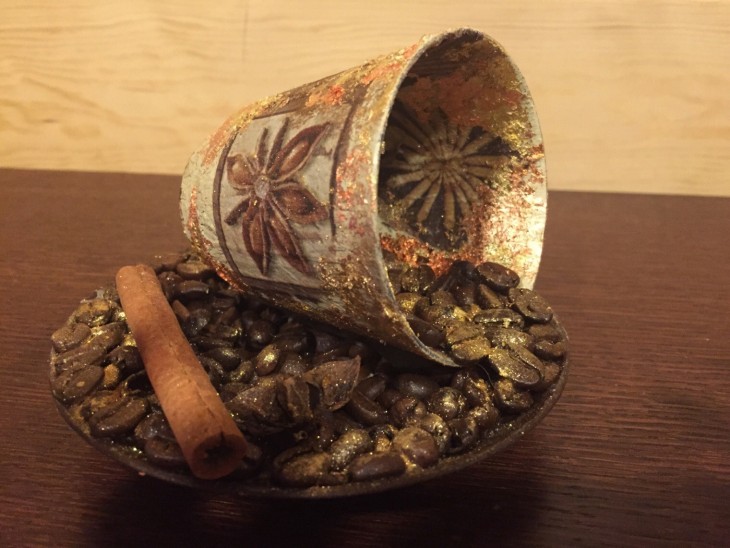
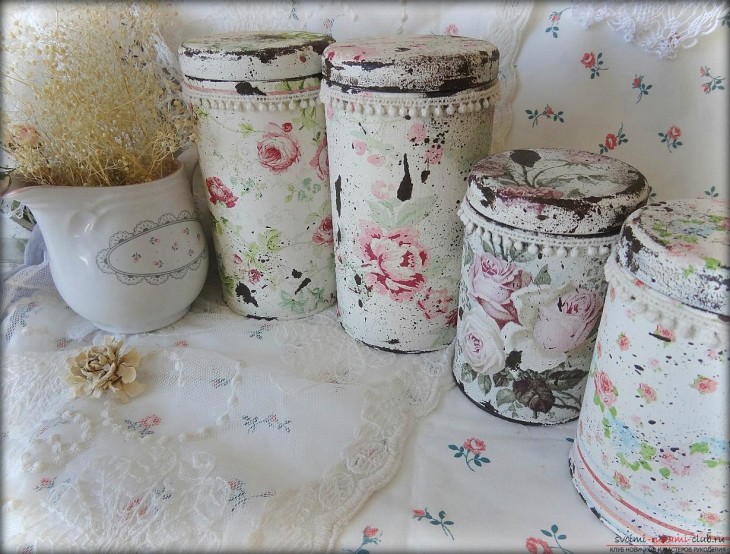
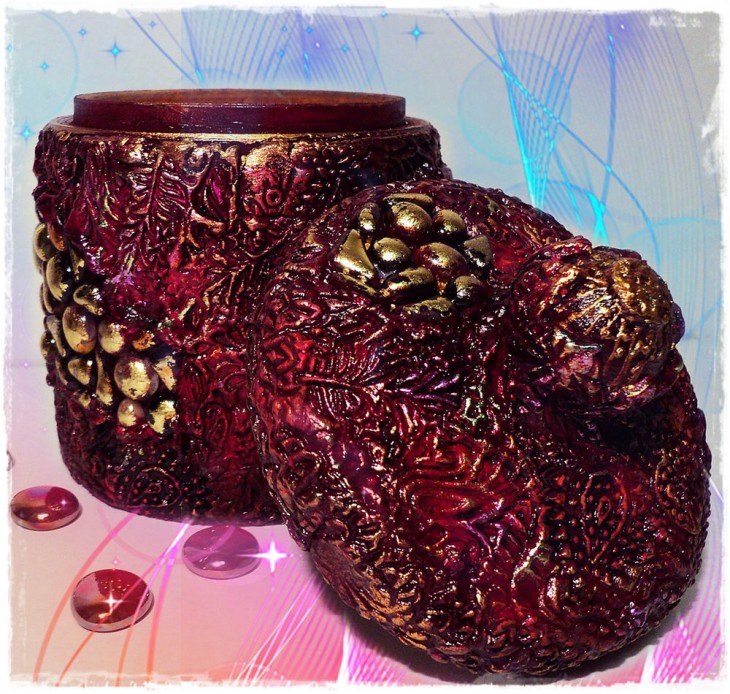
Decoupage on kitchen utensils looks very harmonious. We have already mentioned cutting boards and bread bins. A special piquancy will give your kitchen a set of cans for spices or bulk products, decorated with appliqués on the culinary theme.
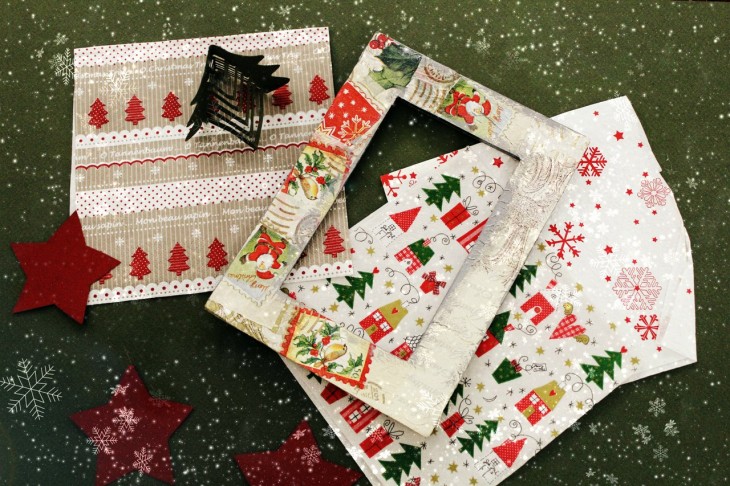
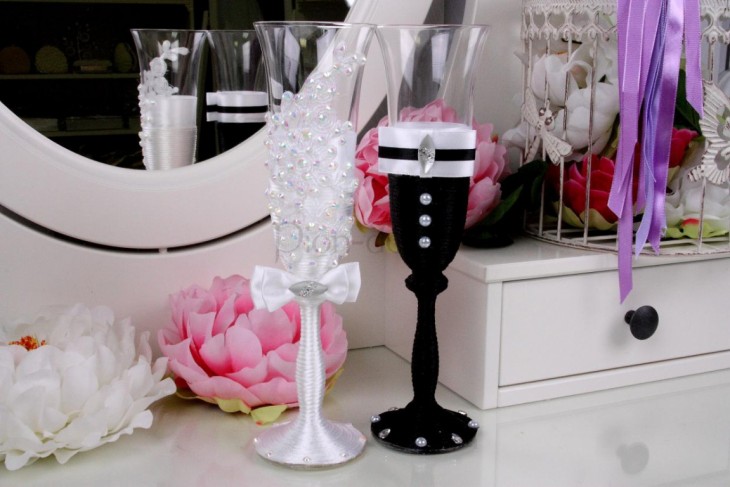
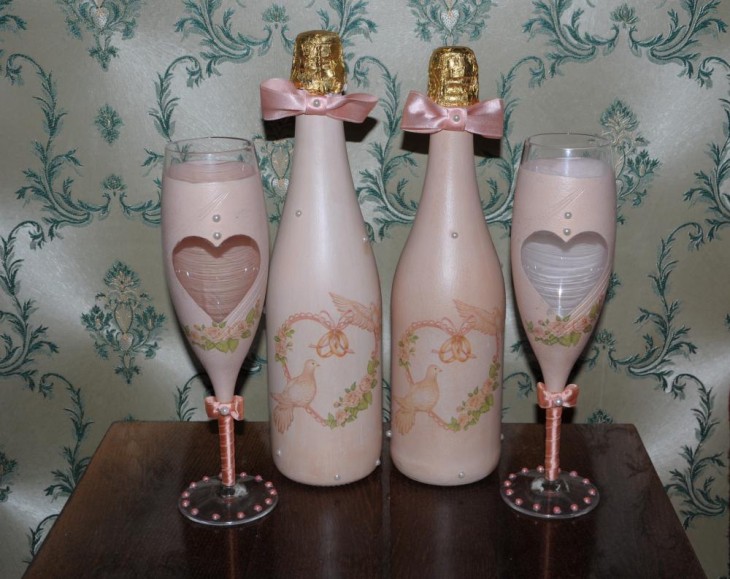
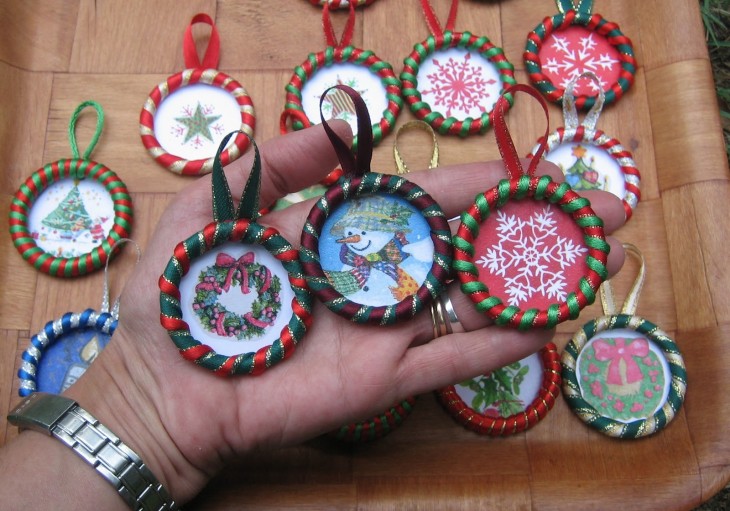
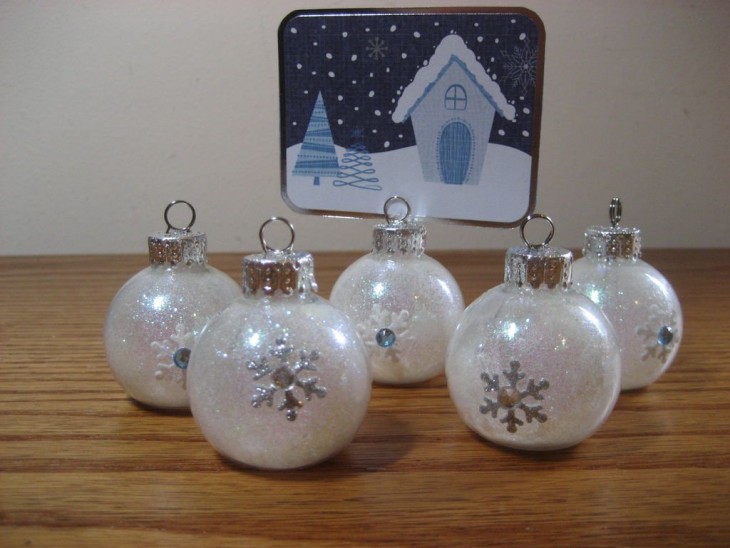
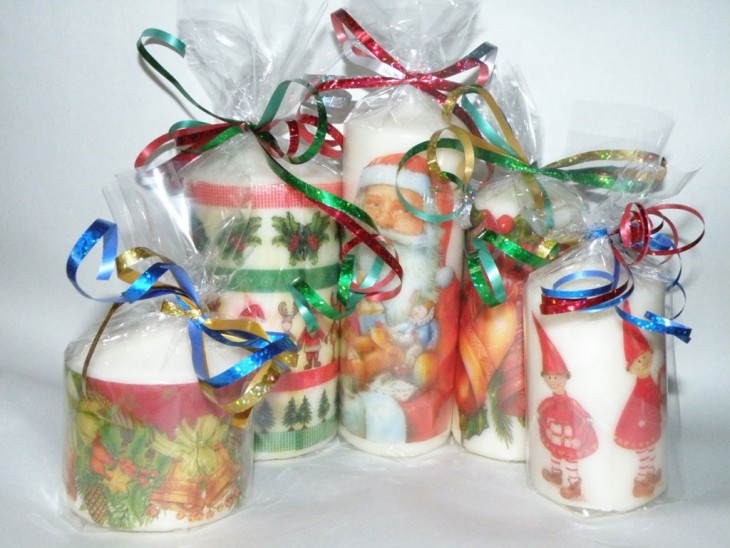
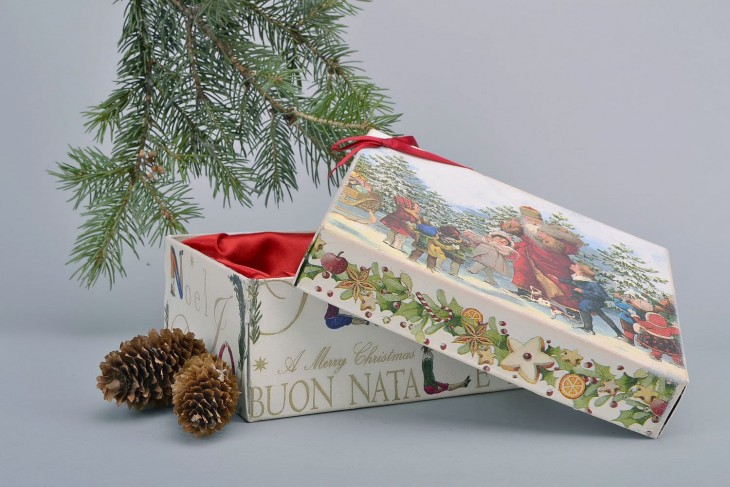
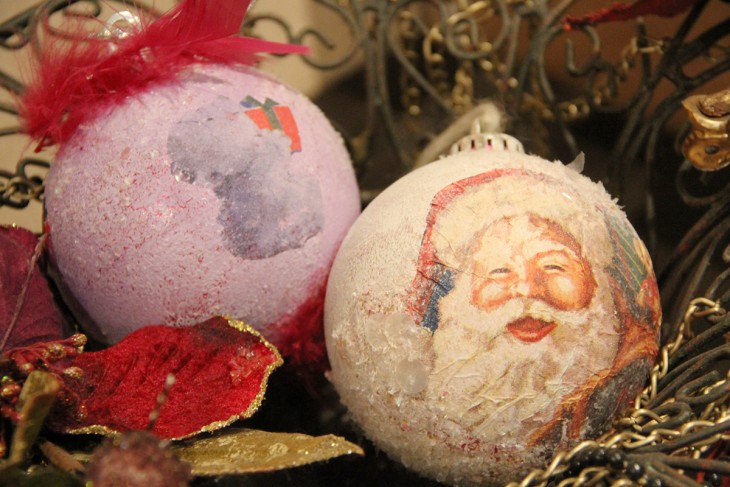
The decoupage of a bottle of champagne in the New Year's style will create a festive atmosphere and serve as an original gift.

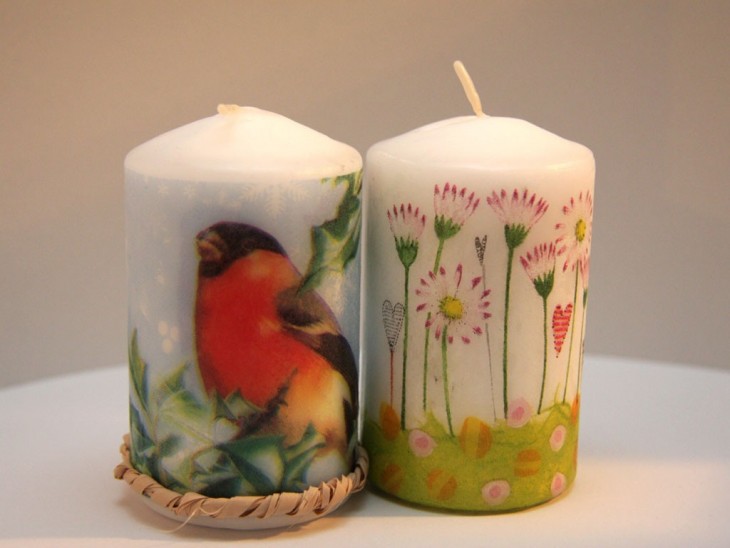
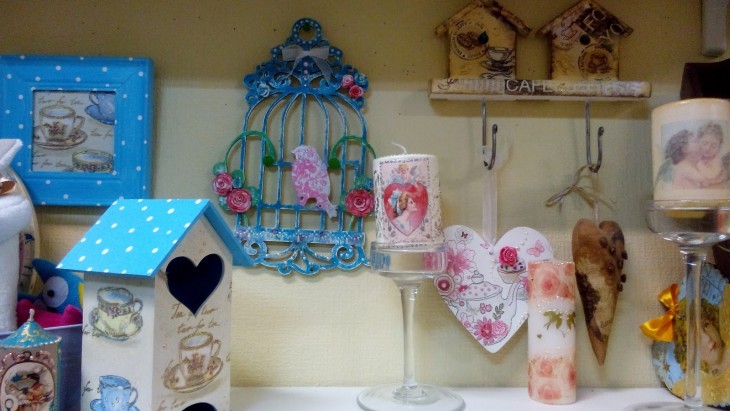
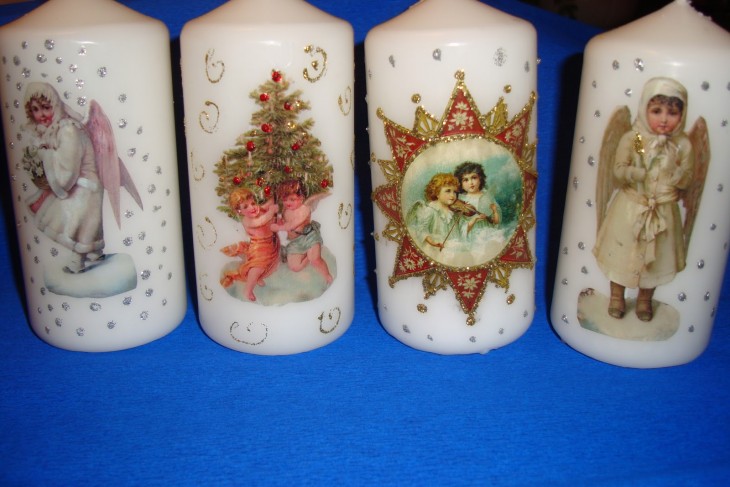
Decorated candles using decoupage technique will perfectly complement the interior of a romantic evening.
Note!
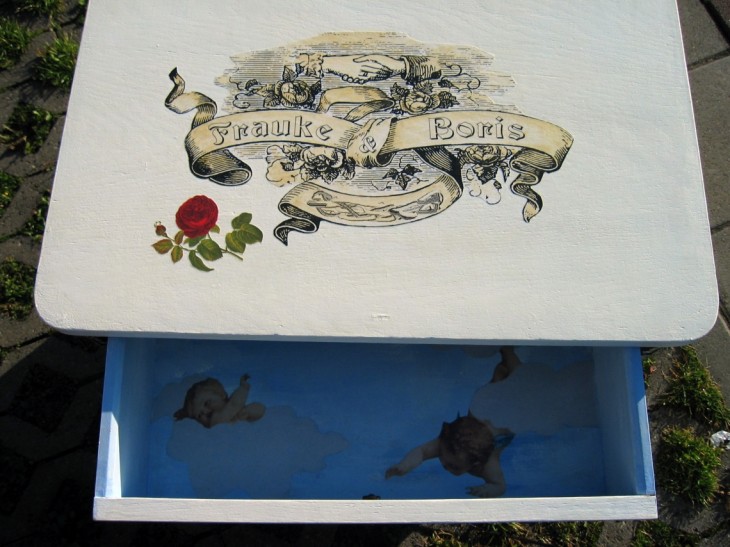
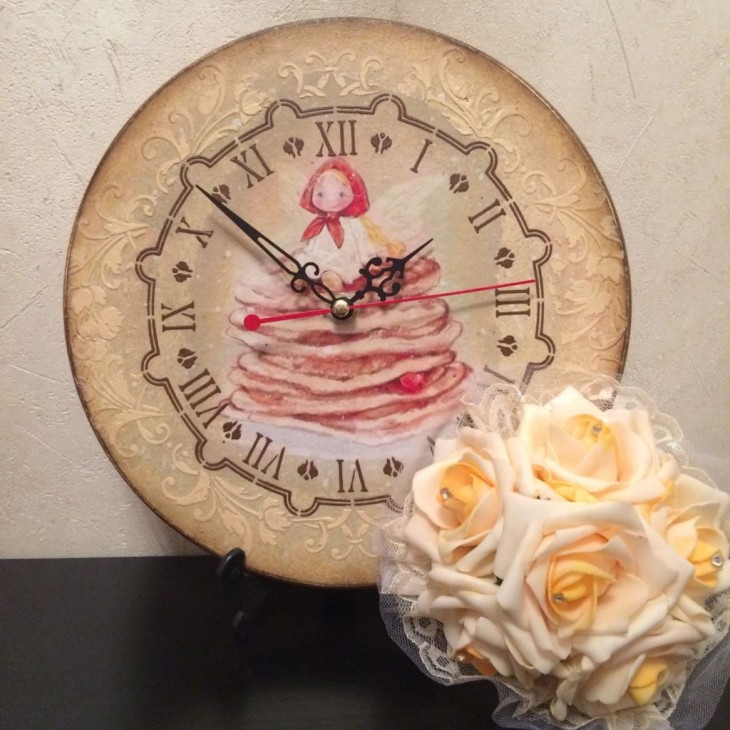
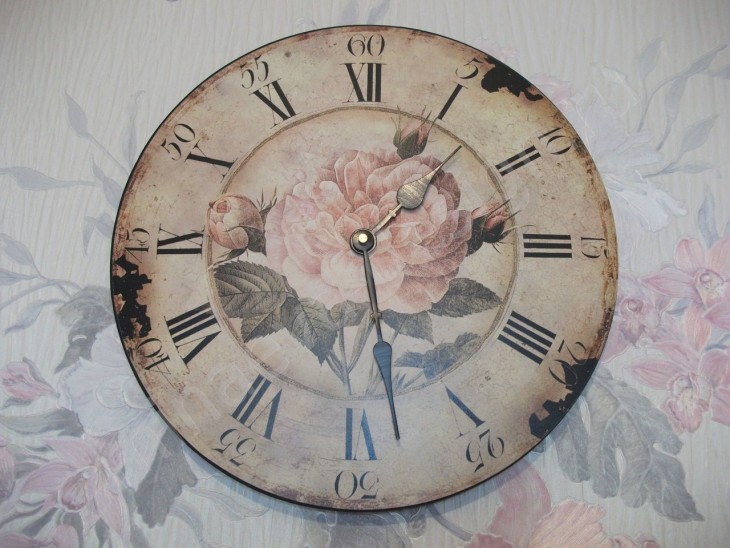
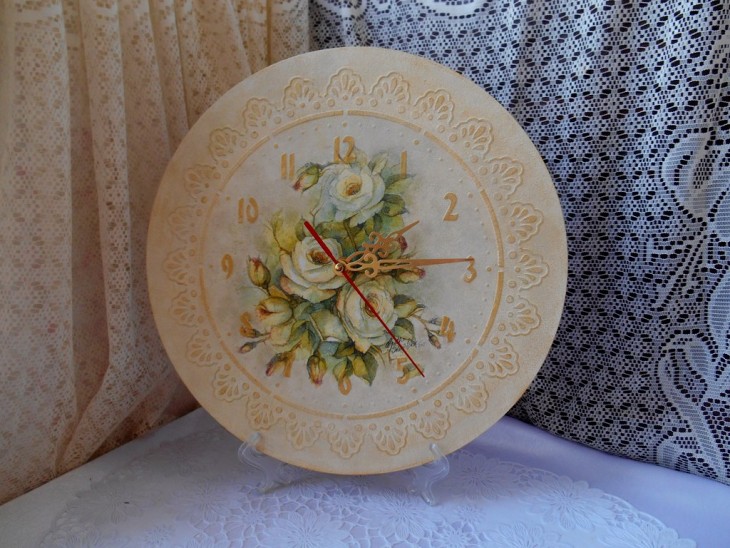
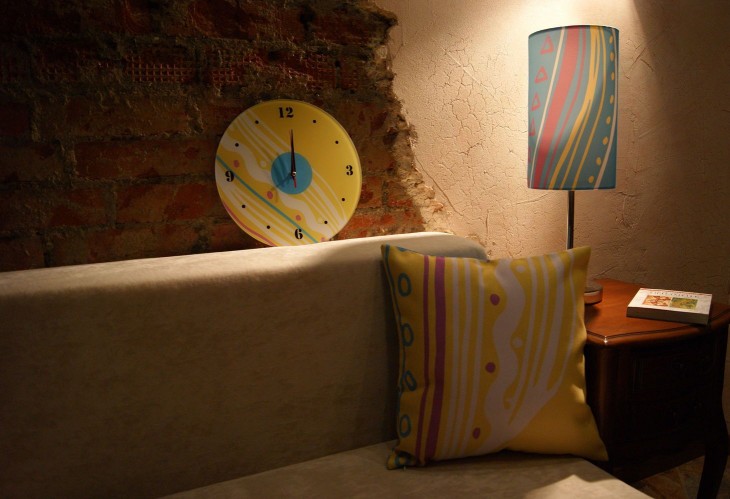
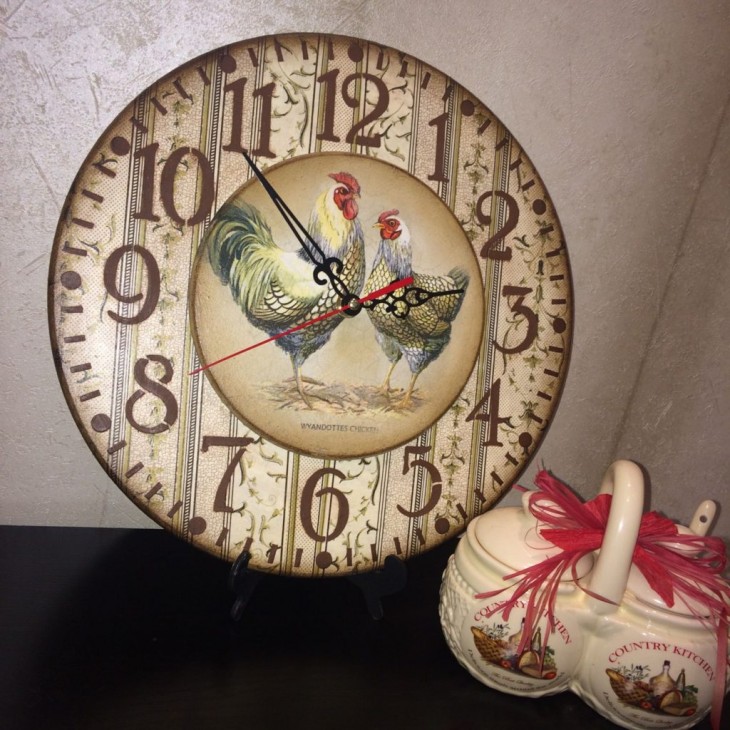
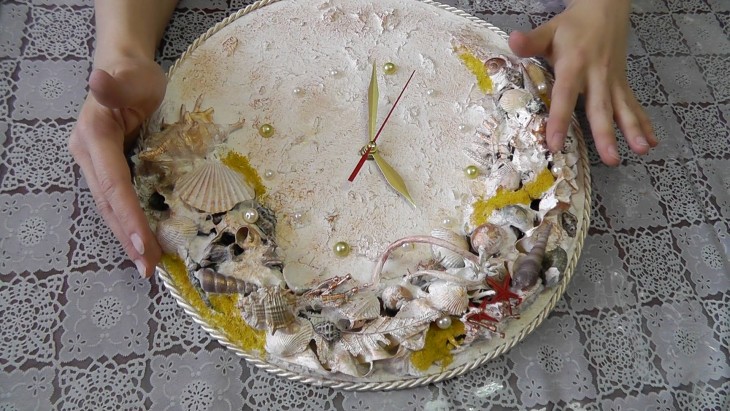
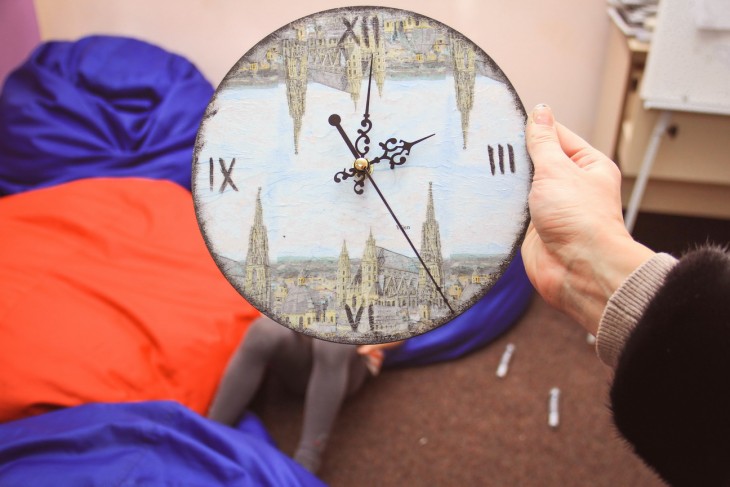
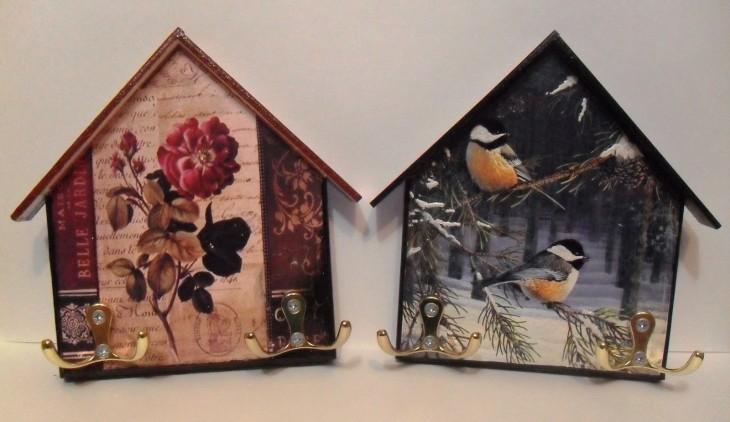
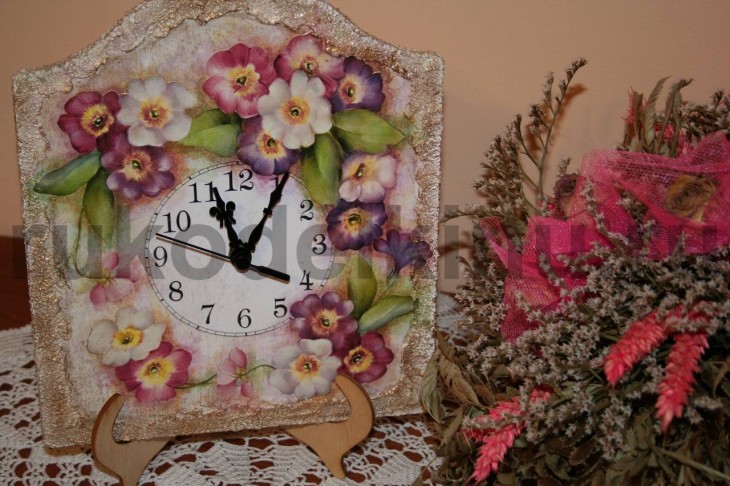
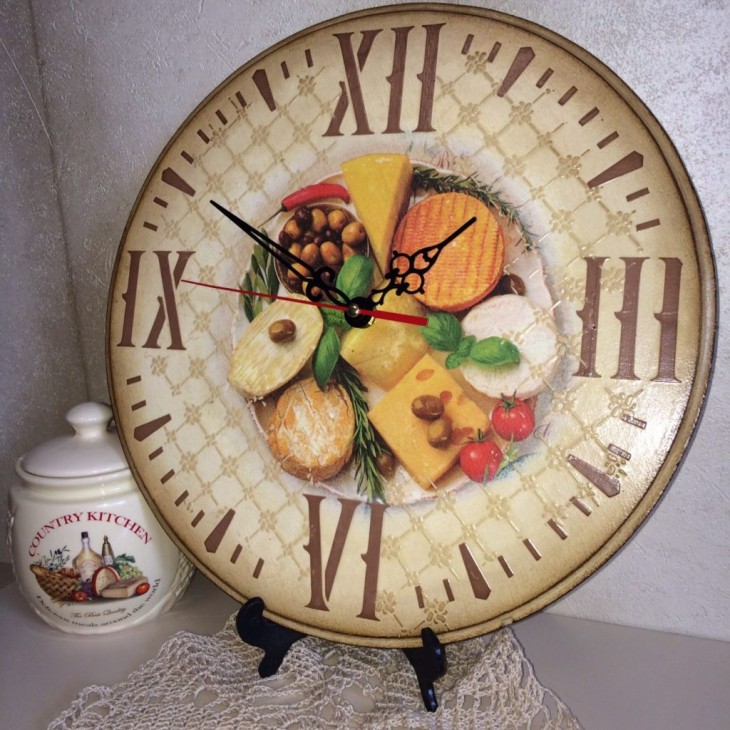
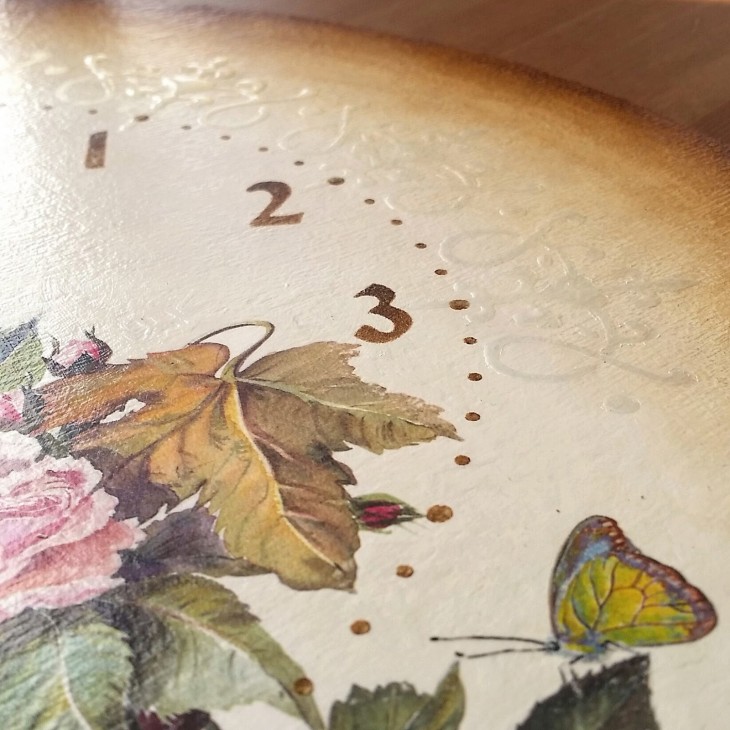
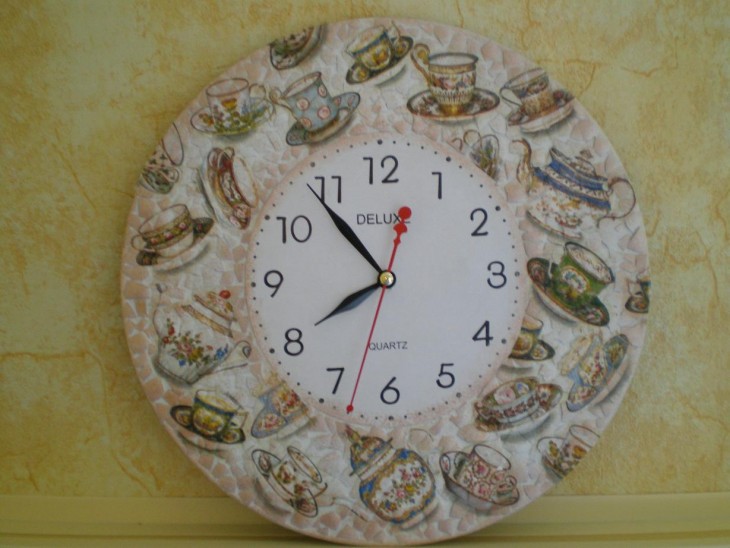
Thanks to this technique, you can turn an ordinary wall clock into a unique piece of home decor. And if you decorate your watch with photographs of special moments of your life, you will get a surprise for your soulmate on your wedding or dating anniversary.
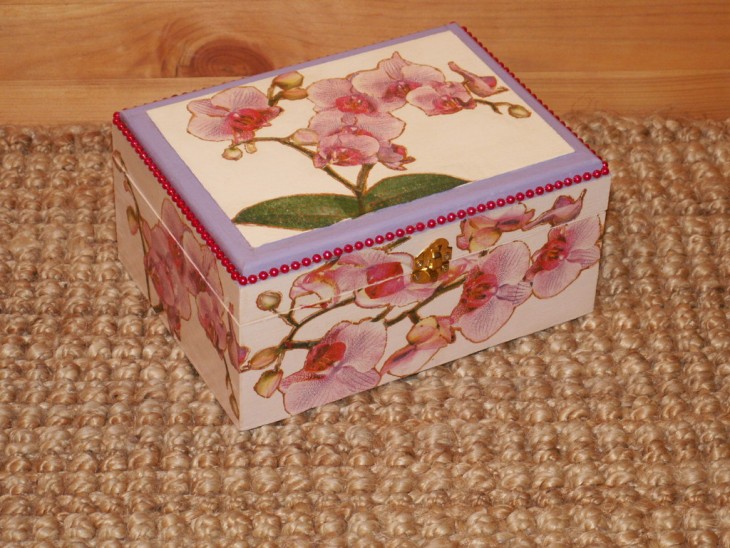
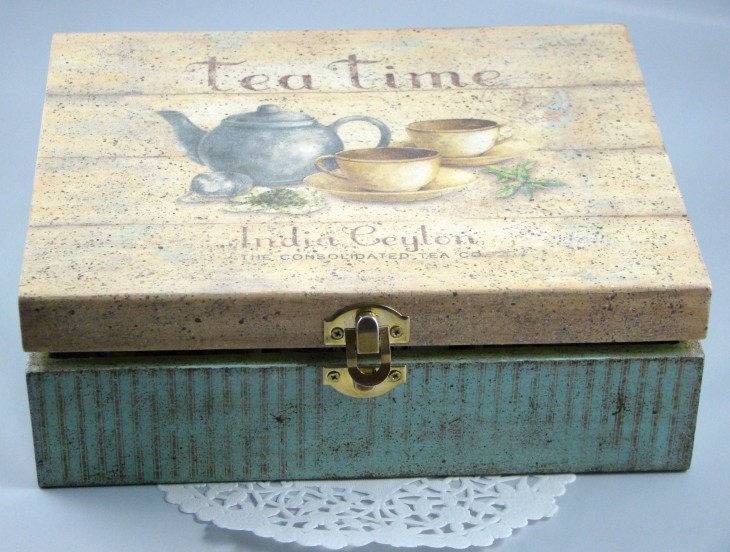
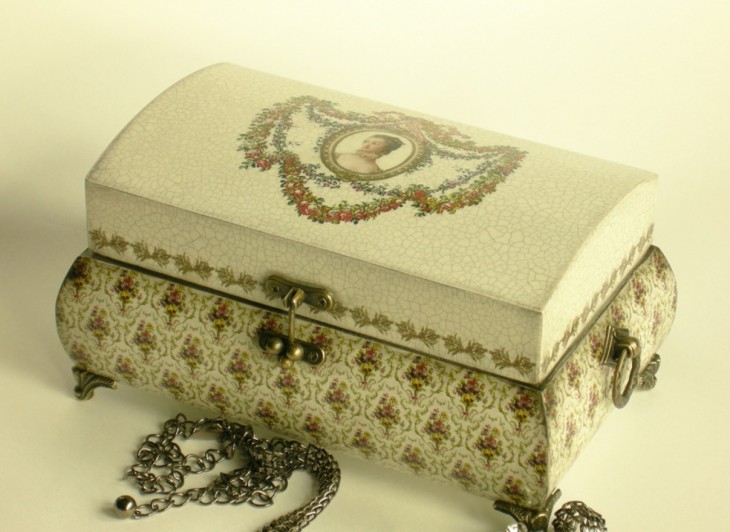
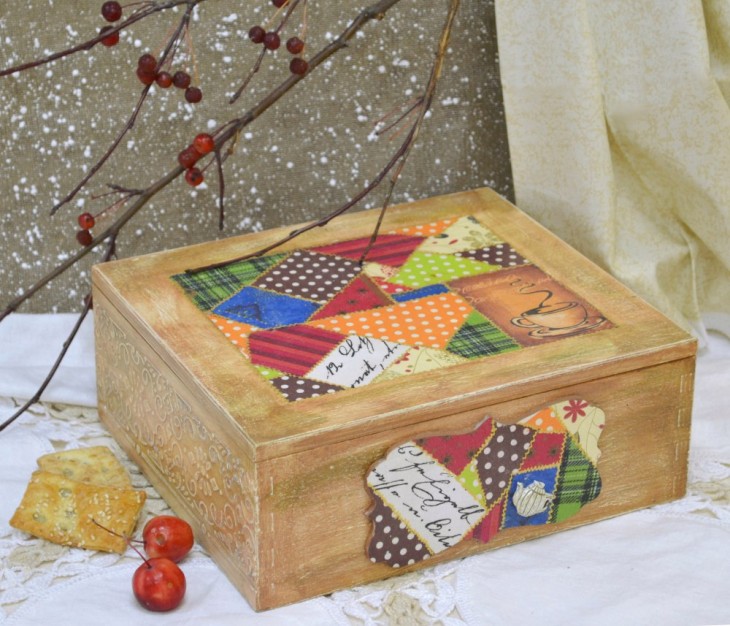
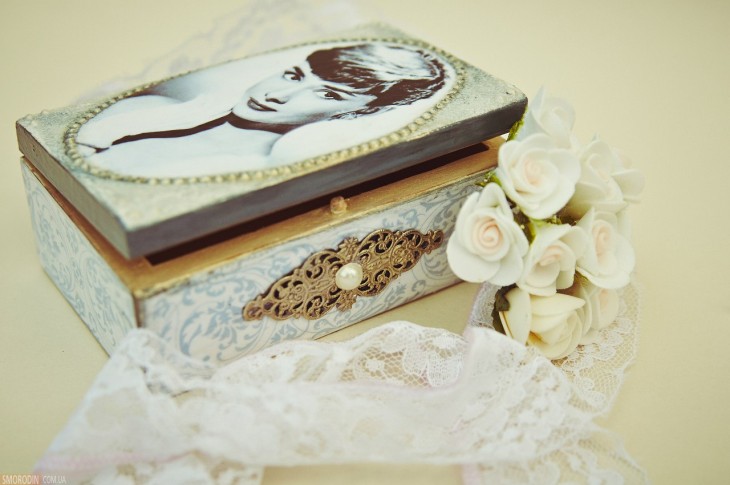
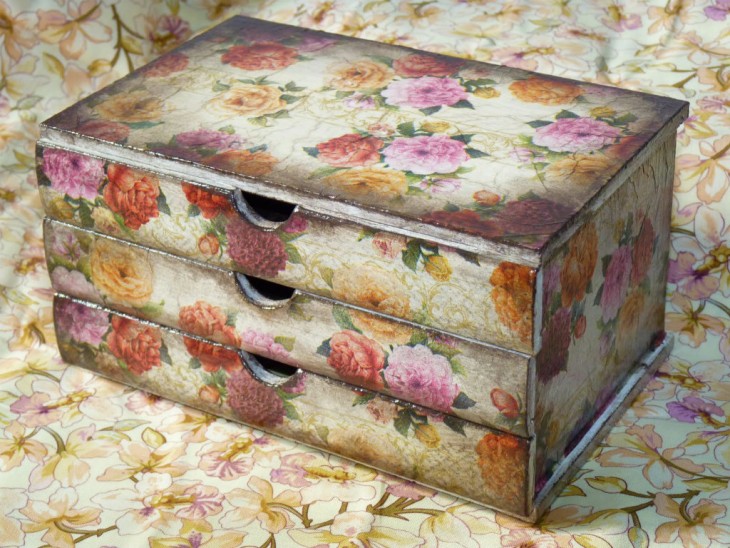
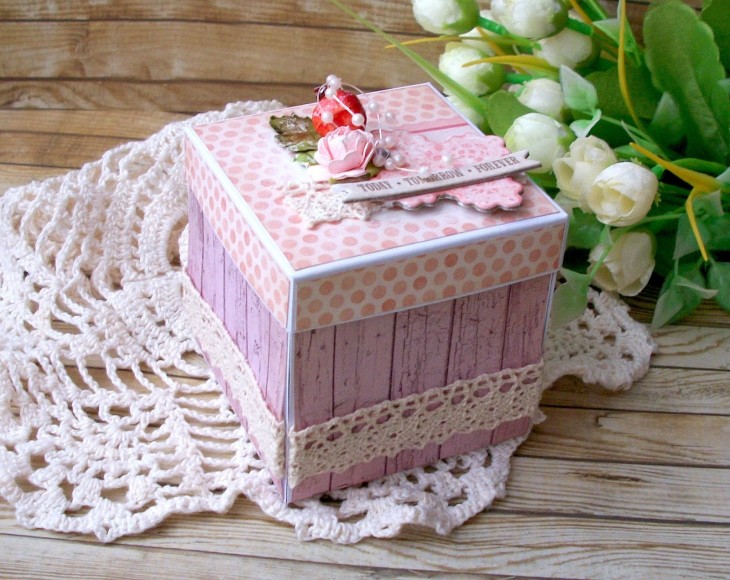
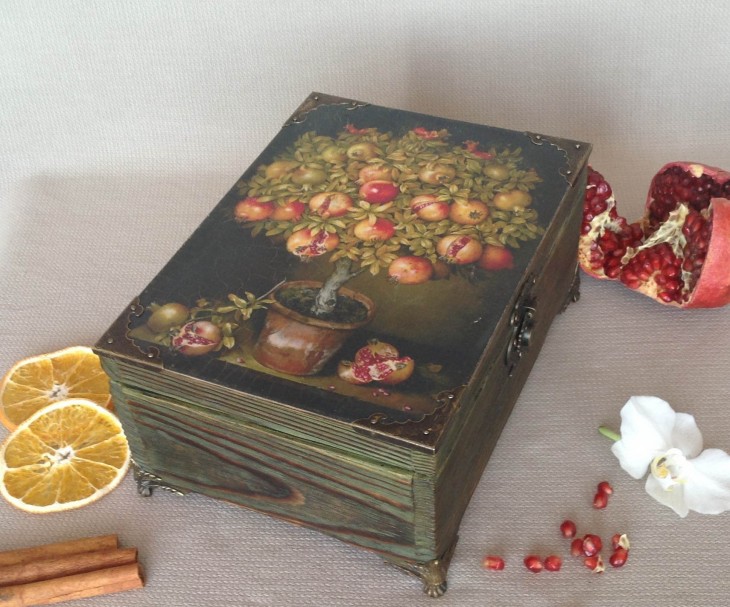
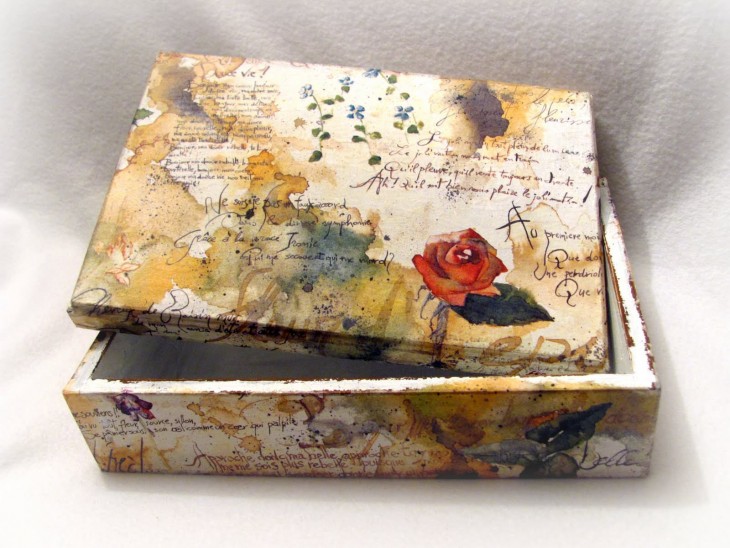
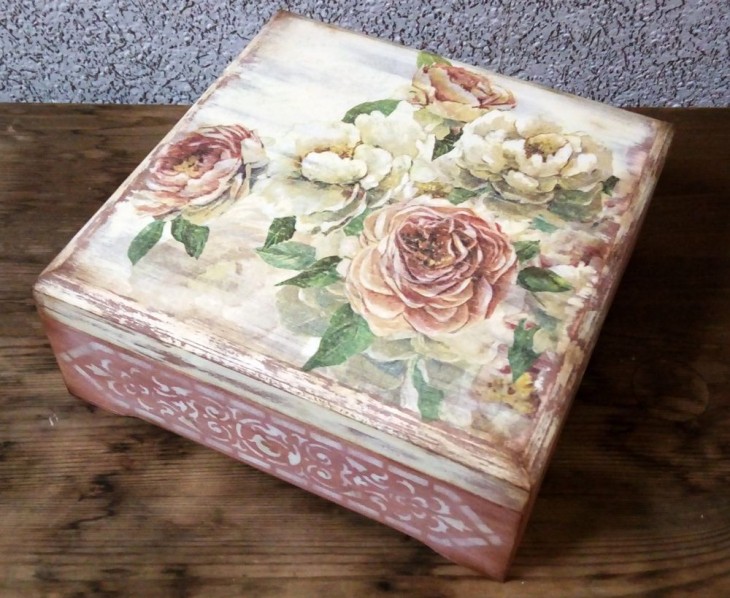
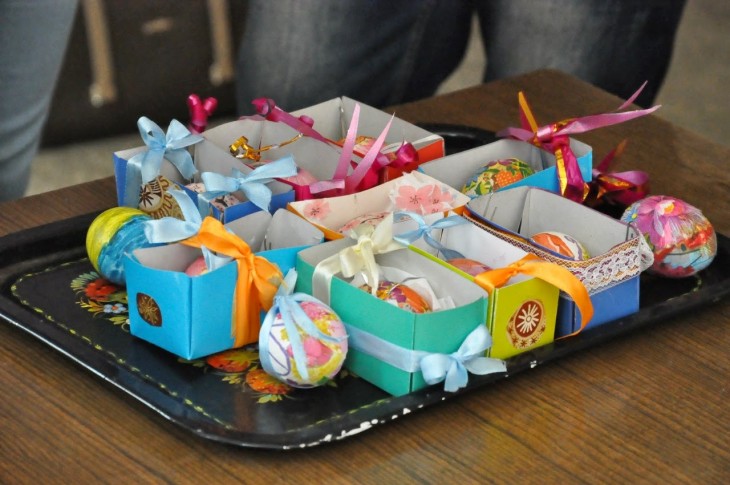
Each fashionista probably has a wooden chest in which she stores jewelry or jewelry. Decoupage can work wonders by turning a boring wooden box into a cute little thing. And you made this little thing yourself. Agree, this is doubly nice.
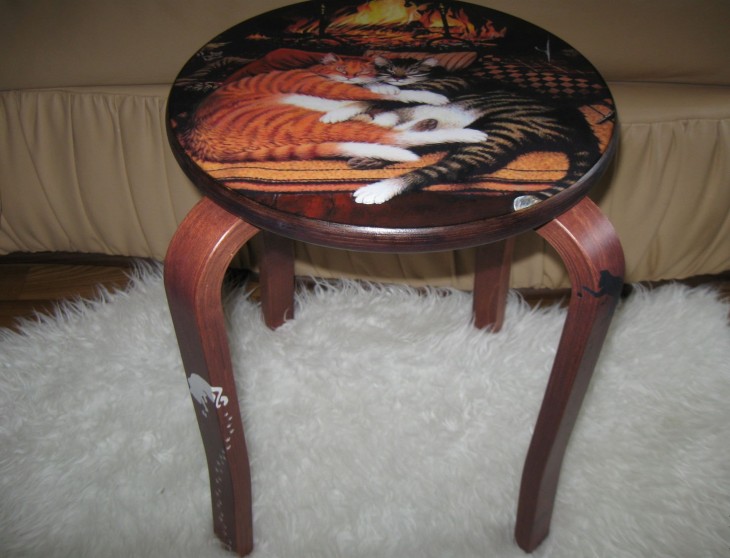
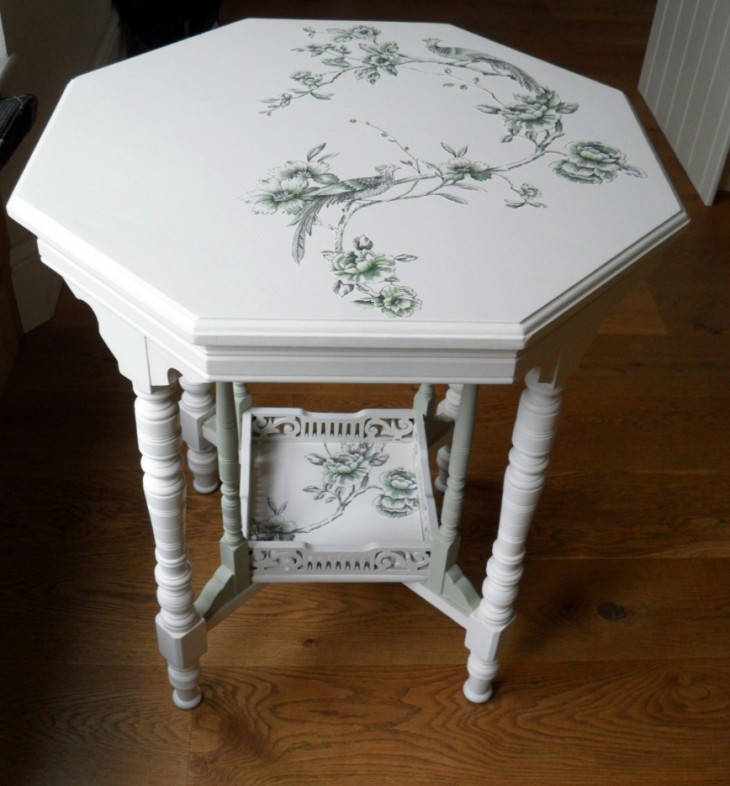
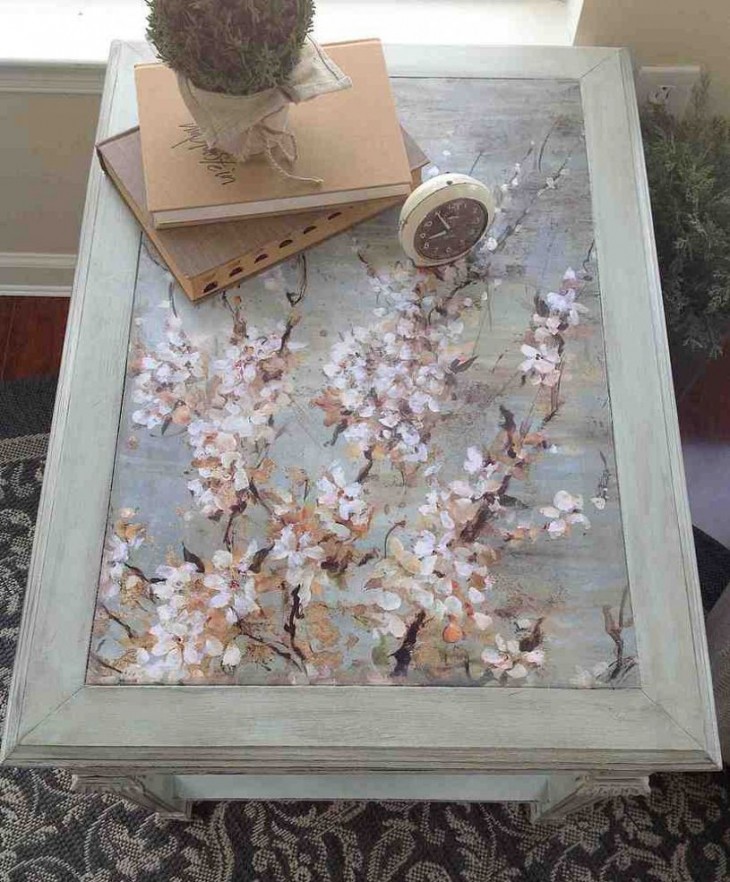
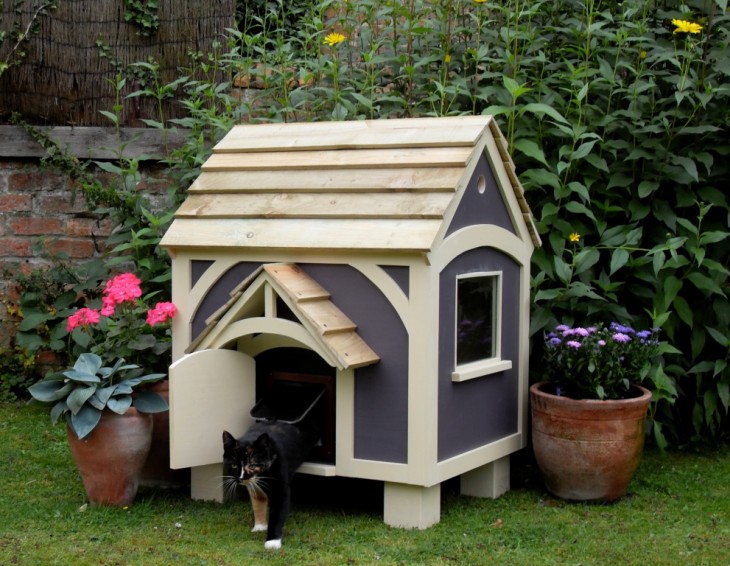
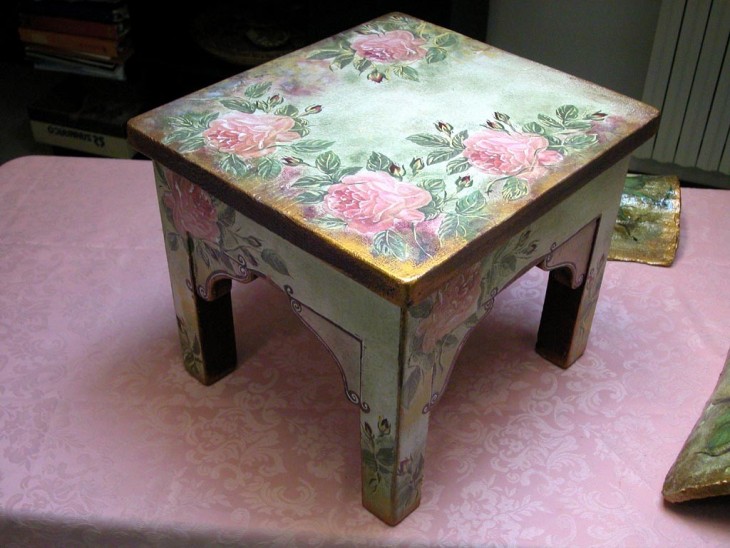
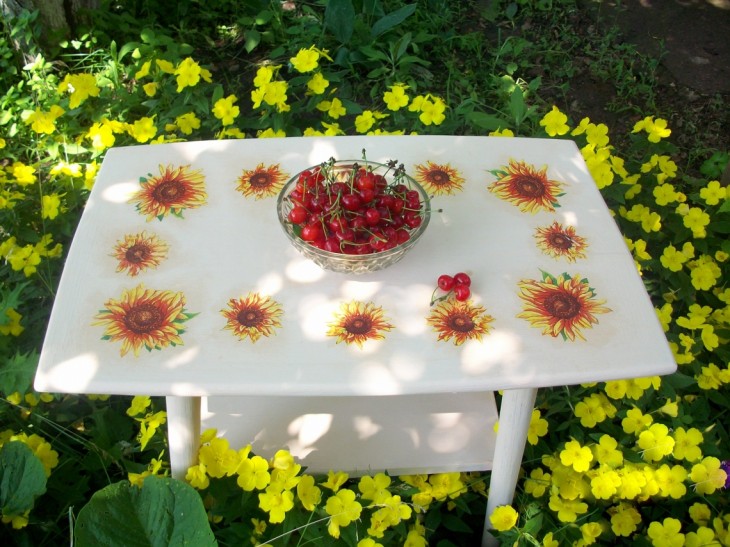
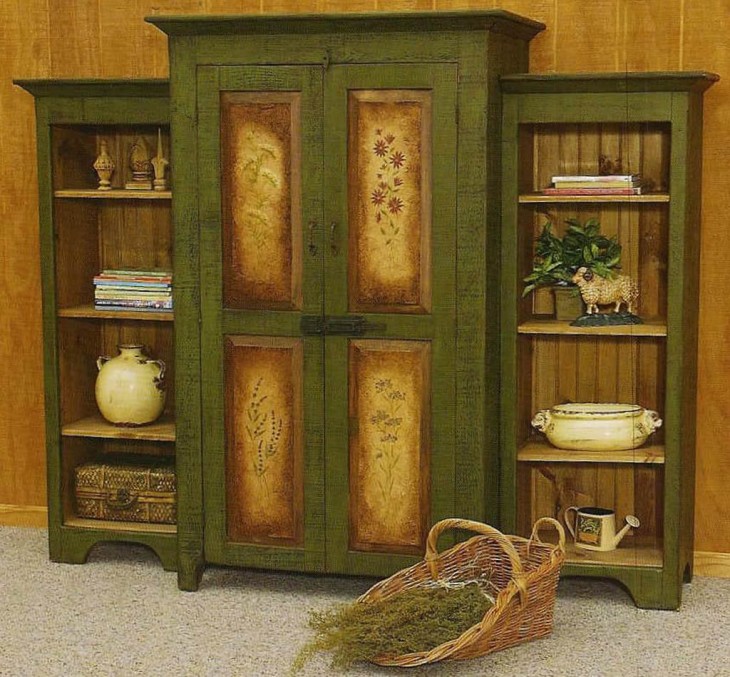
Decoupage furniture is generally a separate topic for conversation. Coffee and coffee tables, garden benches, chairs, sideboards, chests of drawers ...
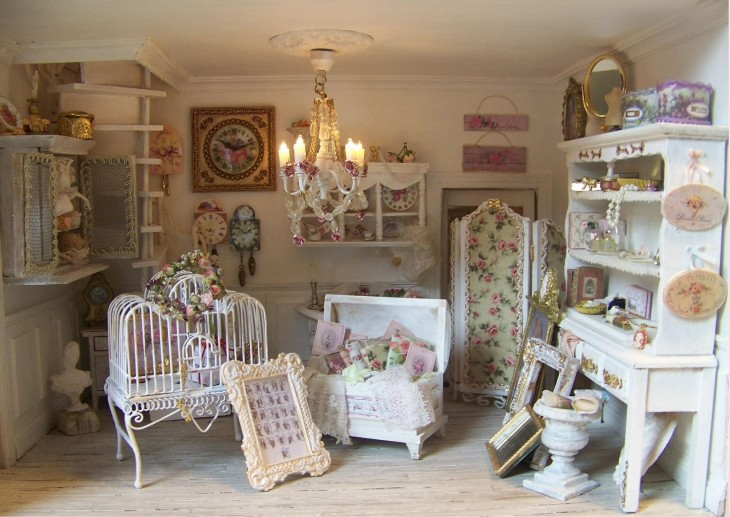
The main thing is to be able to stop in time. A room overloaded with decorated furniture will make a repulsive impression. In everything you need to know the measure.
So, with the items for decoupage decided. Go ahead.
What will be required for decoupage?
Today, needlework stores offer a huge selection of decoupage materials and tools. In order not to get confused in this variety, it is better for a beginner to purchase a minimal set for decoupage.
This set includes a primer, three-layer napkins, small scissors with rounded ends, flat brushes and different widths of hard bristles, as well as PVA glue. Special glue for decoupage is preferable, but PVA is also suitable.
If you want to decorate the surface of the product with sequins, you will need glitter glue.
After fixing the picture on the surface, the object must be covered with transparent varnish. This will protect the image from damage and give the product a finished look. Decoupage varnish is of two types - matte and glossy.
Some small details I want to make more clear. To do this, they must be painted with acrylic paints using a thin brush. Acrylic paints are resistant and non-toxic.
Their advantage is also that before drying the drawing can be completely washed off with water. After the paints have dried, this will no longer be possible.
The choice of acrylic paints is huge. These are ordinary basic shades, and glossy paints with a glow effect or with a pearlescent effect.
Sometimes it becomes necessary to artificially age the product. This will help craquelure varnish. After applying it to a pre-painted surface, it forms cracks. It seems that the surface of the subject is covered with a patina, and this is a sure sign of his advanced age.
And one more thing: before starting work with a wooden blank, make sure that its surface is well sanded. Otherwise, you will need a fine sandpaper to polish the wood.

How to make high-quality decoupage?
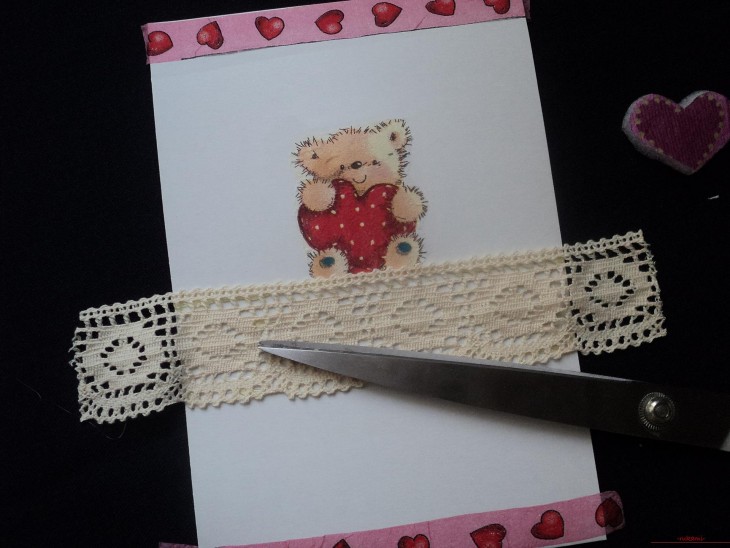
Before you start working on your first product, be sure to practice cutting an element from a napkin, carefully sticking the decor on the base, and finally, applying varnish - there are also some little tricks here, we'll talk about them a little later.
After that, you can start a more serious project.
The most important step is to think over the appearance of the product. Choose a blank, think over the plot and color scheme, make sure you have the necessary equipment.
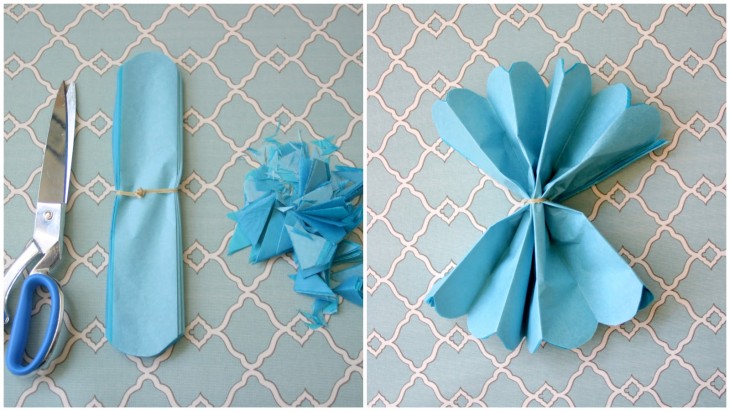
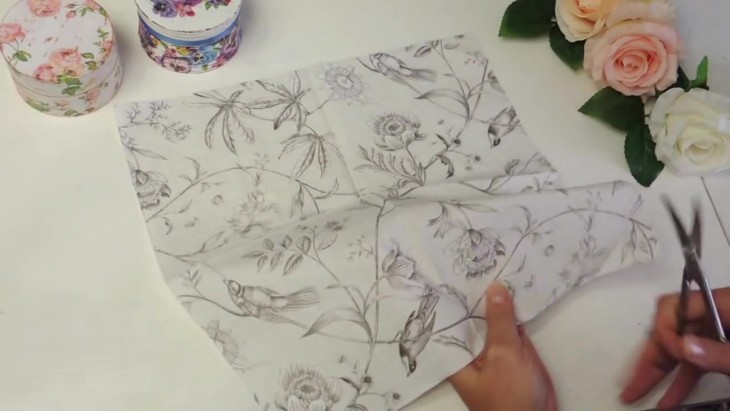
Most often, wipes are used to decoupage the surface. Starting to master the technique is best with them. It is necessary to separate the top layer with a picture from the two lower ones. Gently cut the plot with sharp scissors.
When working with decoupage cards, just cut the plot you want or tear it off with your fingers along the contour. This will give the image a natural look.
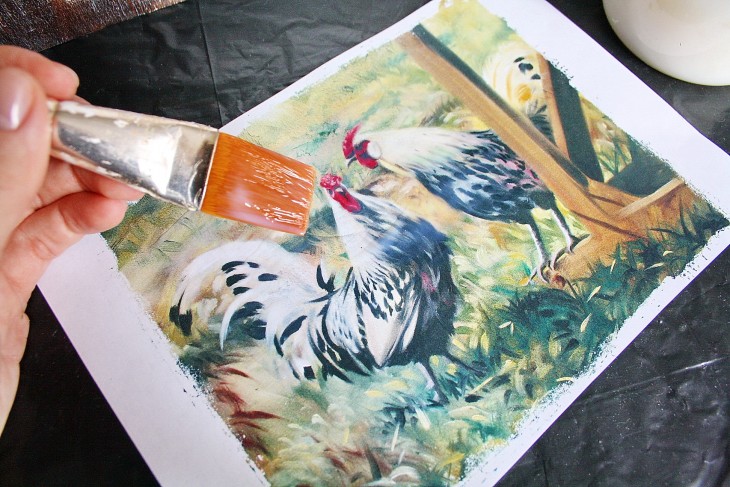
If you perform decoupage using photographs or paper illustrations, dip them in water at room temperature for a while. This should be done very carefully to maintain the top layer.
When the images get wet properly, remove them from the water and remove the bottom layer of paper. This will be easy to do: a wet paper base literally rolls under your fingers. Let the drawing dry a little. You can cut the necessary parts before getting wet or after drying.
At this stage, you can give the image the desired effect. "Antique" drawings will give the product a vintage look. An ordinary tea bag will help to age a drawing or newspaper clippings.
Brew it in boiling water, then cool and blot the image. After drying, the tea forms tan stains, just like on old paper.

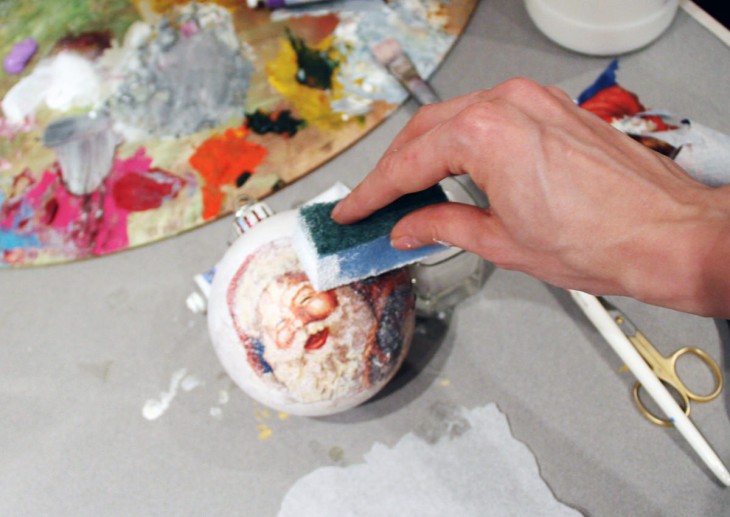
The next step is surface preparation. If necessary, treat the surface with sandpaper.
Coat with acrylic primer. If not, dilute PVA glue with water: it will replace the primer. Plastic, glass or ceramic surfaces do not need to be primed. From them it is necessary to wash off fatty traces. Wash them with dishwashing liquid or treat the surface with alcohol.
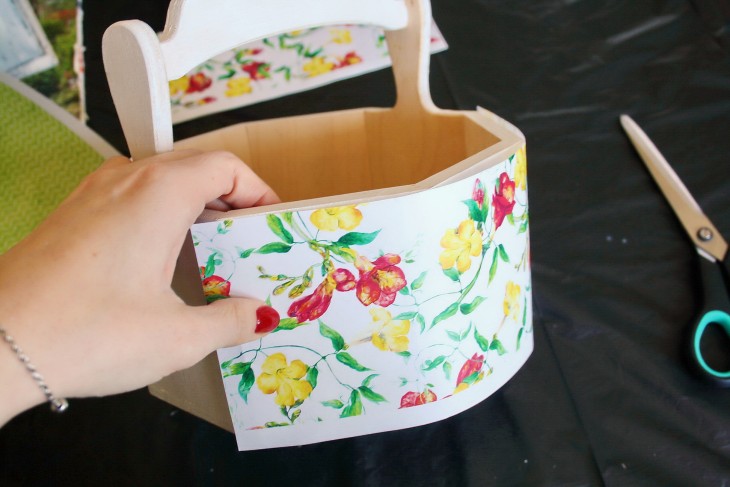
Now the most difficult stage is sticking the plot to the foundation. The image is very thin, so we place it on the base and apply glue on top. It is important to prevent wrinkles and paper rolling. Apply glue with a flat brush from the center to the edges, carefully spreading the folds.


After sticking, let the product dry. Then you can start drawing small details, if necessary. To decorate the boundaries of the plot, sometimes a relief acrylic contour is used. Patiently waiting for complete drying.

And finally, the final touch. To preserve all this created beauty, we cover the work with acrylic varnish. If you intend to apply several layers of varnish - make sure that each layer dries properly, and only then apply the next.

Are you planning to give the product a charm of antiquity? Coat the dried surface with craquelure varnish. Almost immediately, your work will be covered with a thin network of cracks. Keep in mind: the thicker the layer of varnish, the wider the cracks.

Recently, varnishes with a color shade have appeared on sale. It is also designed to age decoupage work.

What you need to know when working with other surfaces?
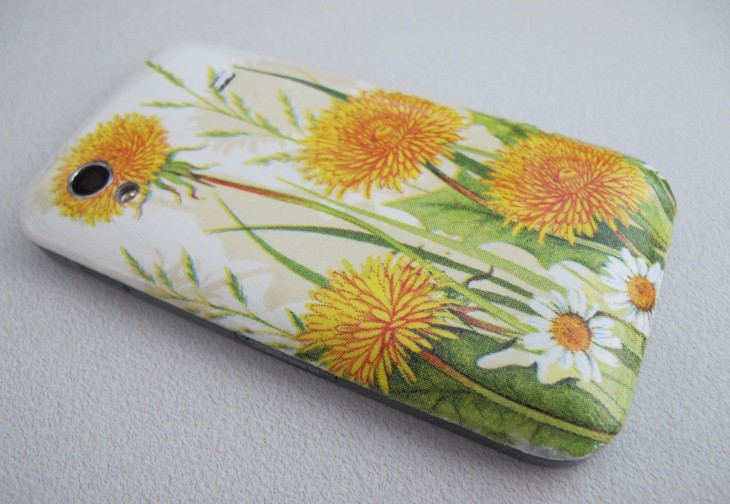
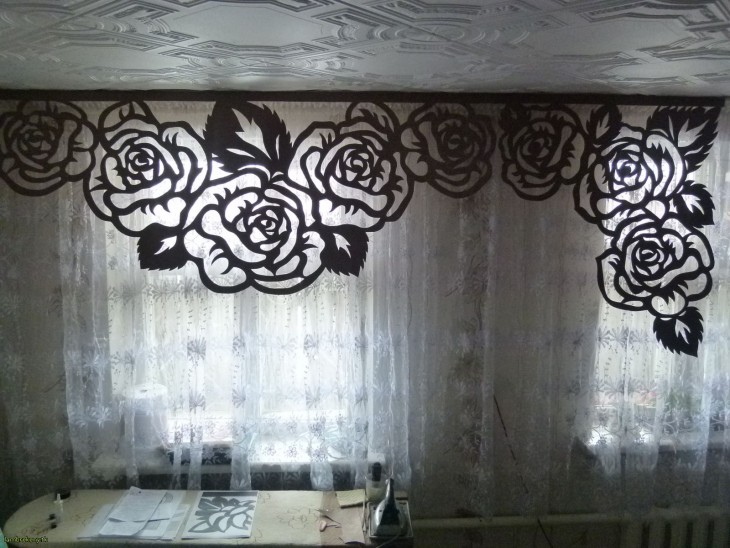
At the beginning of the article, we talked about that using decoupage technique you can decorate almost any flat surface. Fabric is one such surface. A feature of clothing decoupage is the use of special varnish. They cover the application at the end of the work.

After the product dries, it needs to be ironed through gauze with a slightly heated iron. Wash the product in warm water - and wear with pleasure.

Decoupage of cardboard blanks also has its own rules. The problem is that when lubricated with glue, the cardboard is very deformed. Exit - before decoupage, cover the surface of the cardboard with gypsum or varnish.

Gypsum for the primer is diluted with warm water to a thick sour cream. You can also purchase special soil for cardboard. The folds of cardboard blanks are treated with rubber glue. This will avoid deformation.


A high-quality decoupage of decorative candles will help to fulfill ... an ordinary spoon. After sticking the plot, the spoon is heated from the concave side, and the convex part is carried out according to the drawing. The wax coming through the image completely replaces the varnishing of the candle.

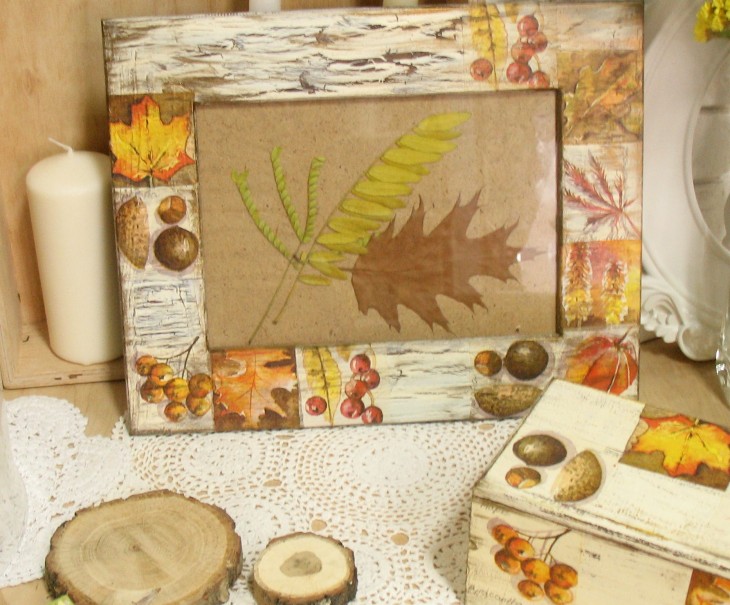
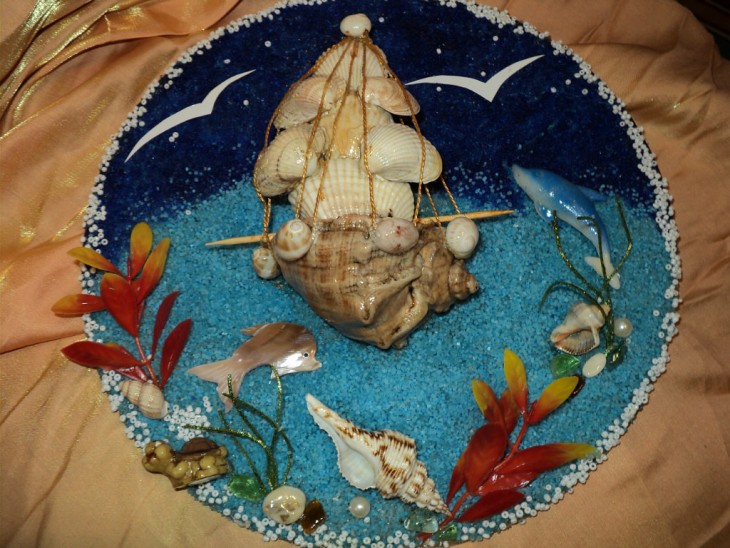
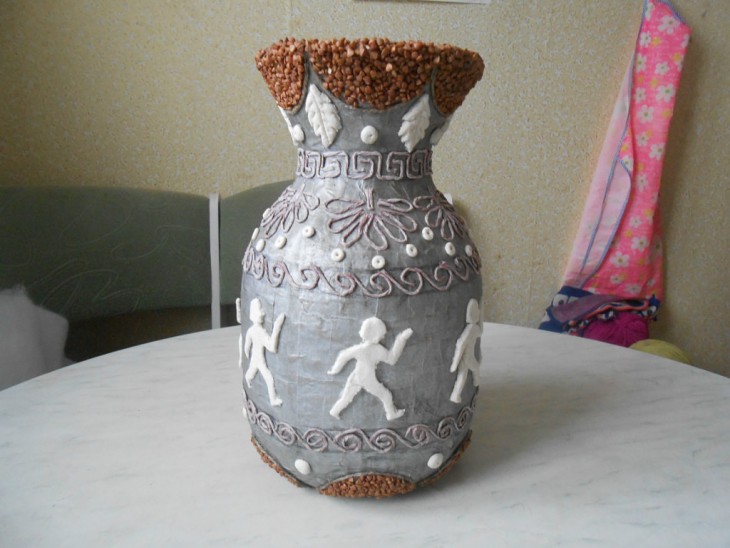
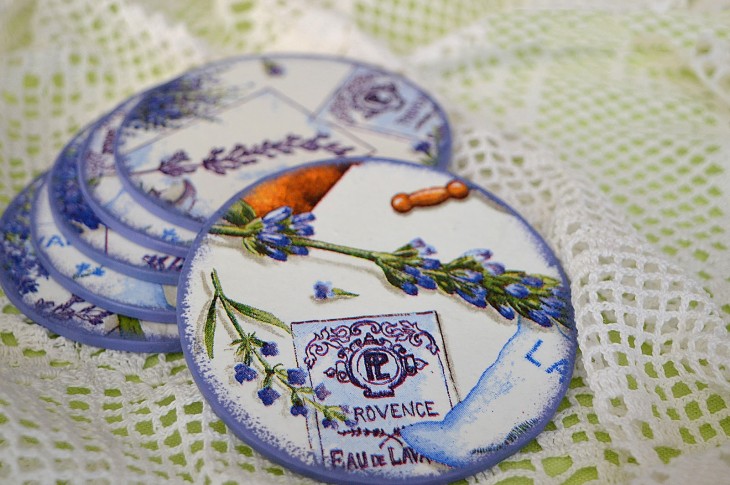
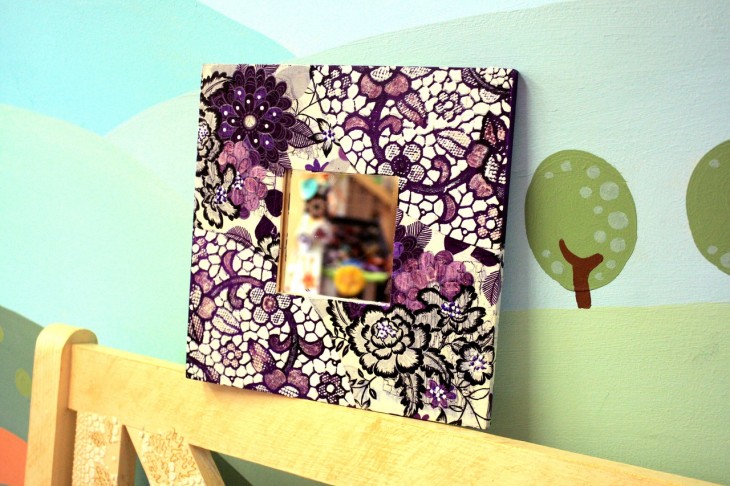
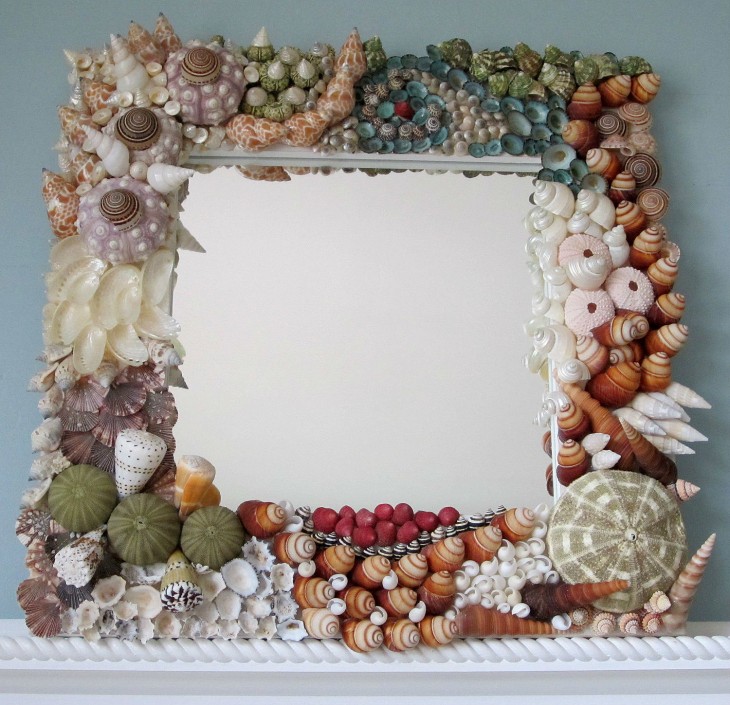
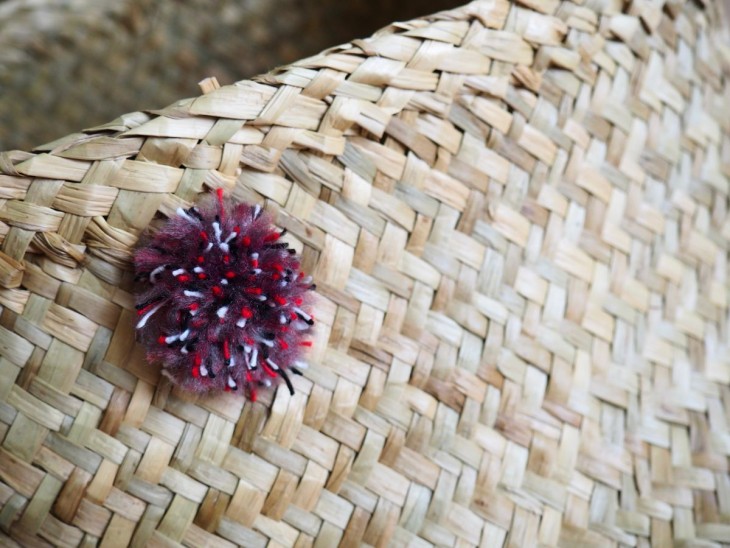
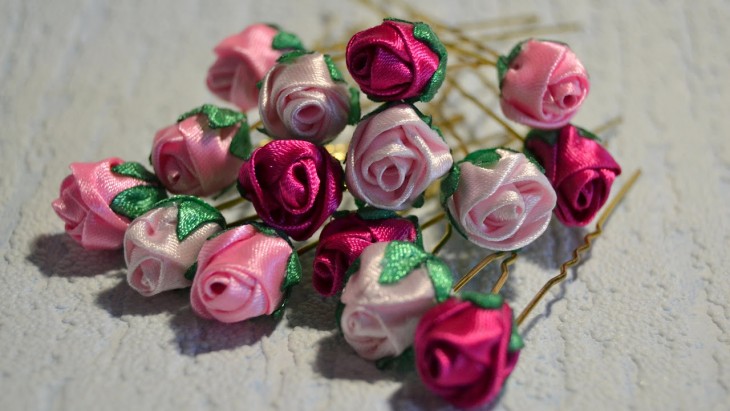
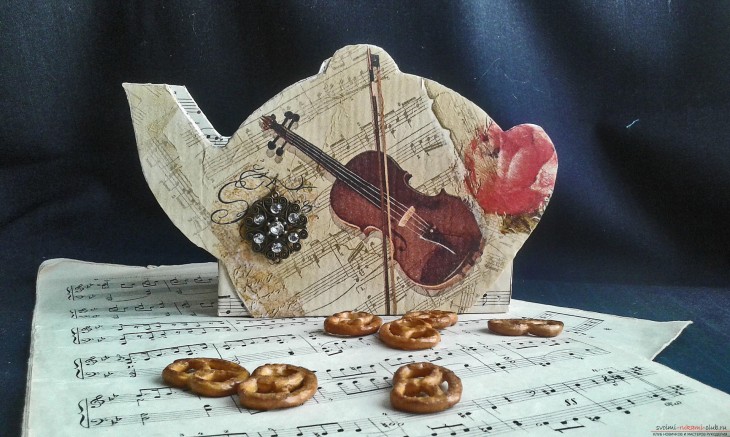
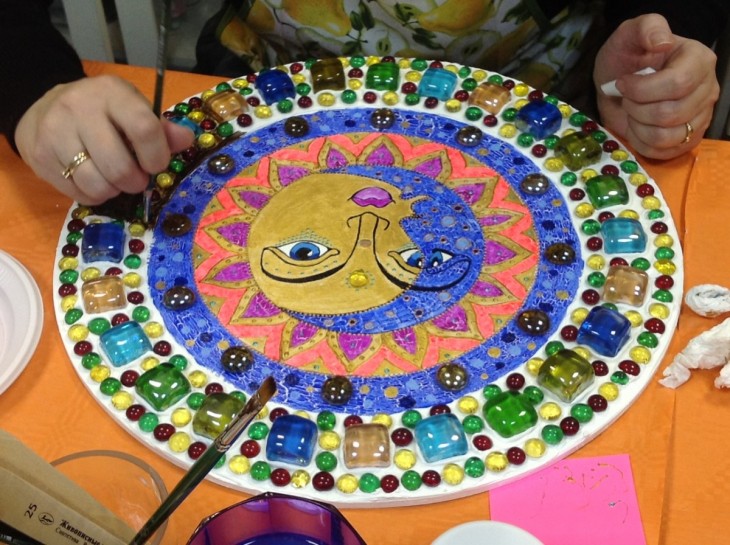
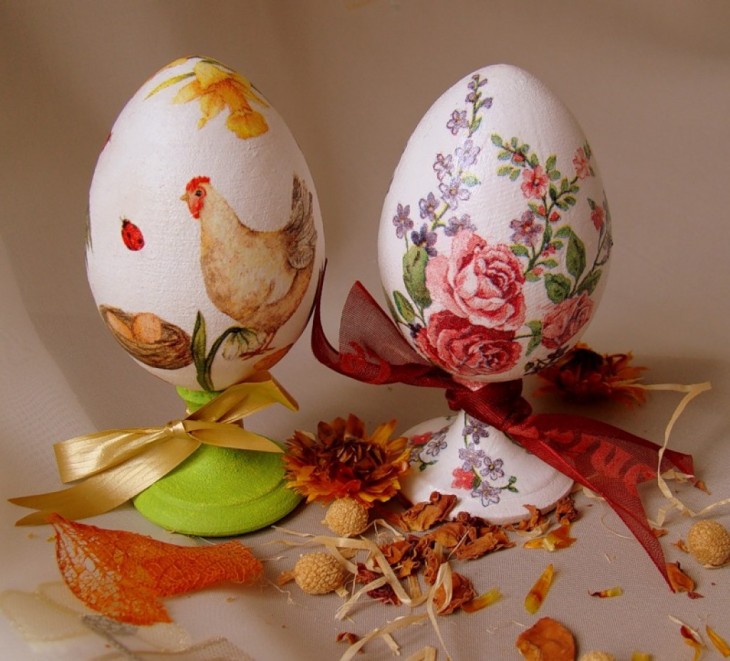
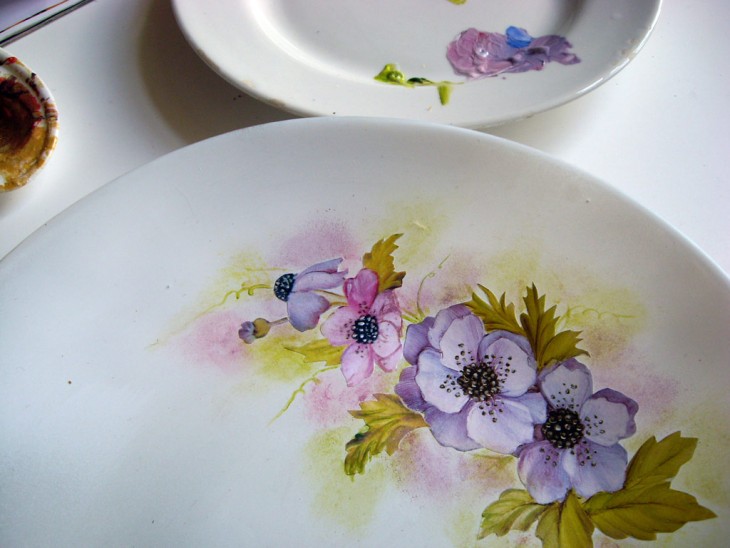
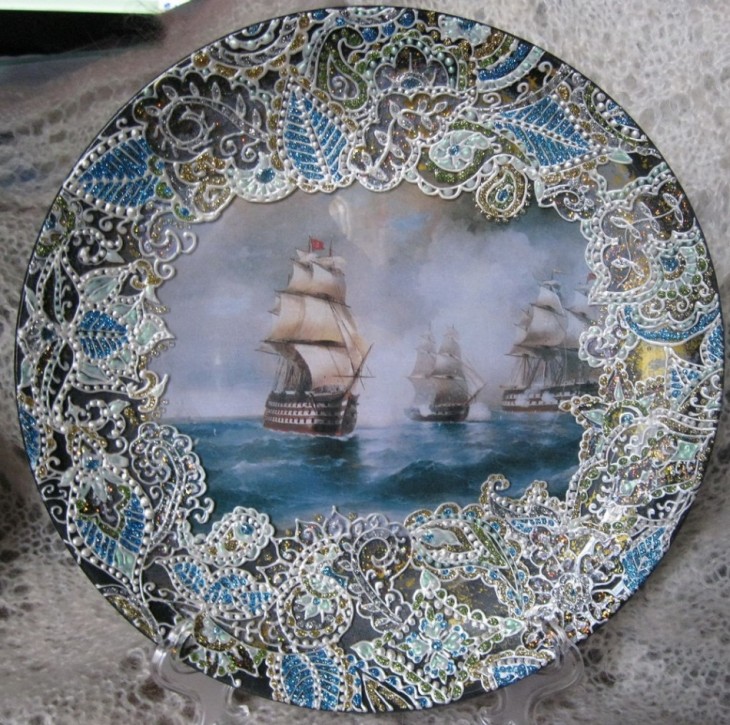
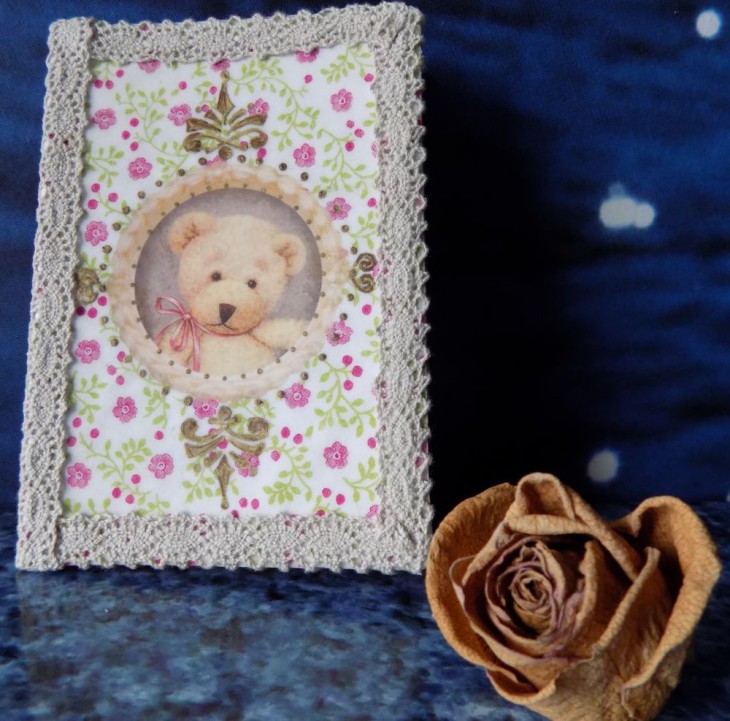
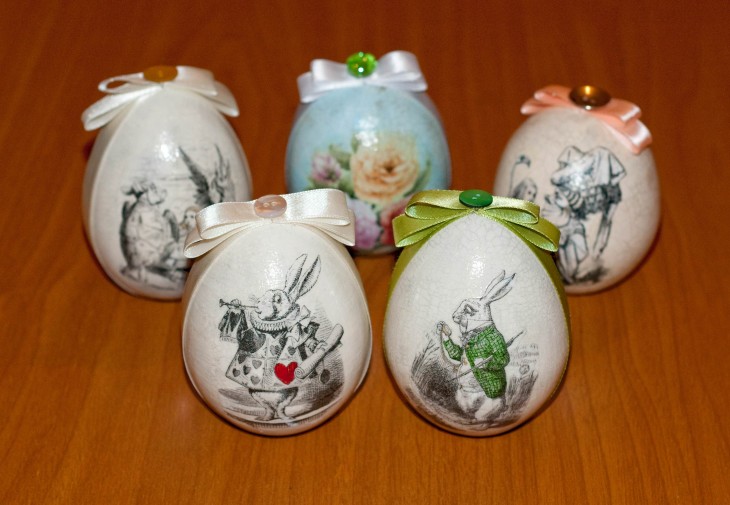
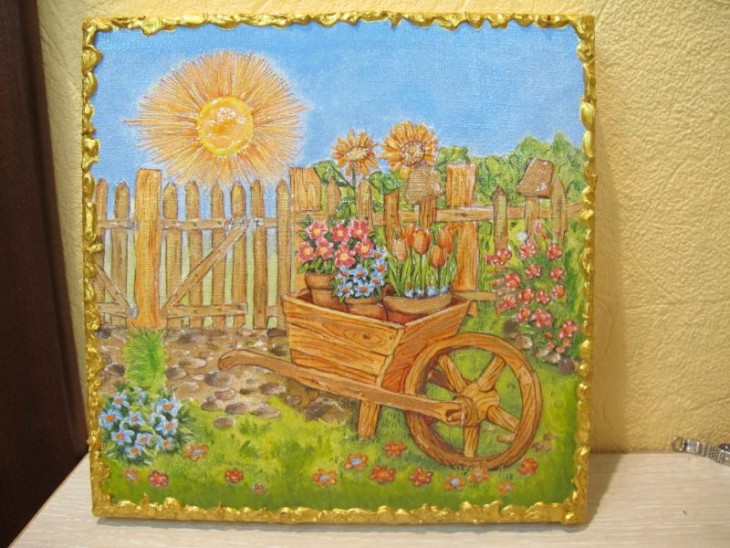
Below are photos of items decorated using decoupage technique.
We hope that our decoupage workshop will help you master this unique technique perfectly. We wish you success and brilliant ideas!

DIY decoupage photo