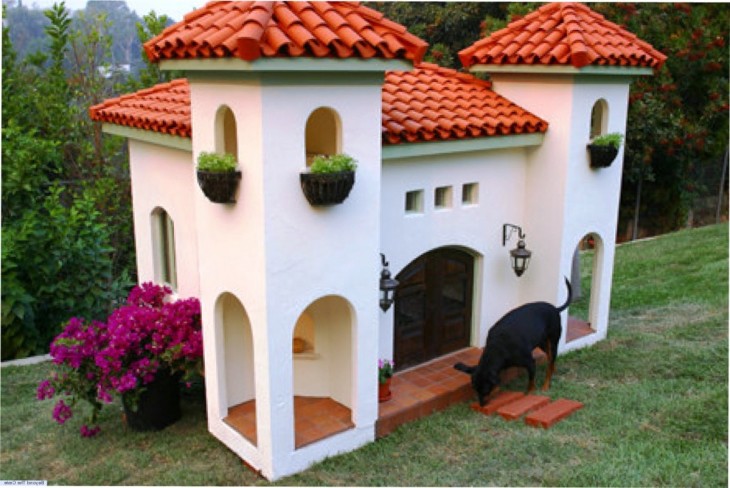
Before getting a dog, the owner should decide where the dog will live. In the city, most of the pets live in apartments, and in the country houses the animals (especially if the breed is medium or large), take a corner in the yard, where they put a finished booth or build it from improvised materials.
The construction of the booth does not require special skills and takes no more than one day in the presence of materials and knowledge of some features.

Review Content:
Construction and dimensions
To build a kennel, you need to know its future dimensions, the material for the booth and insulation itself, the location and size of the entrance.
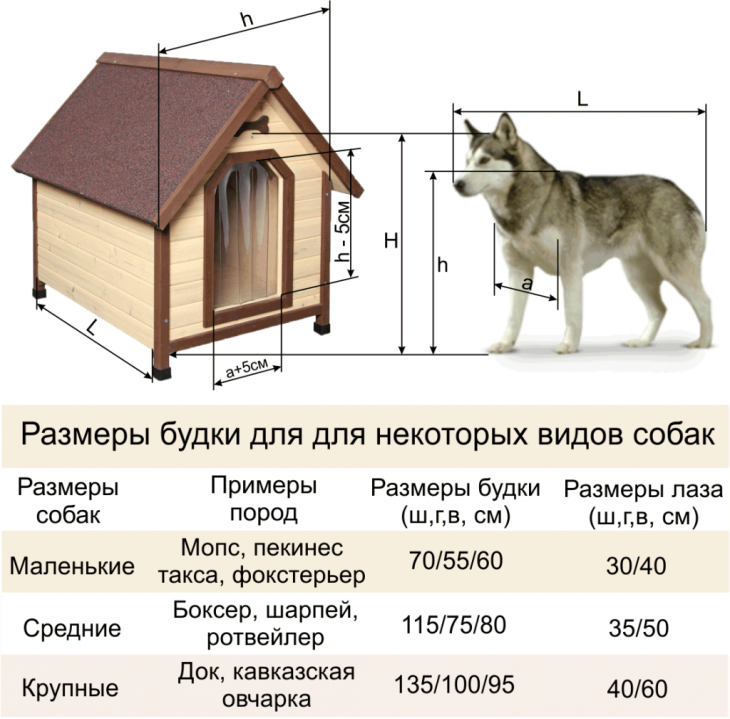
First of all, you should decide on the dimensions of the dog's home. They depend on the size of your dog. The height of the kennel to the ceiling is equal to the height of an adult dog, to which 10 cm is added. The width is determined by measuring the width of the dog’s chest and adding 10 cm to it, the depth by adding 10-20 cm to the length of the body without a tail.
In general, the kennel should be spacious enough so that the dog can turn around and stretch its legs, but not too voluminous, otherwise it will be difficult for the dog to warm it.
If you make a booth for a little puppy, then you have to use reference materials. For different breeds, there are tables of the recommended dimensions of the kennel (in width / length / height):
- For large breeds (dogs, mastiffs) - 120 * 100 * 100 cm
- For medium breeds (huskies, setters, labradors) - 100 * 80 * 100 cm.
- For small breeds (dachshunds) - 80 * 60 * 80 cm.
Please note that here are the dimensions from the inside, if you plan to do the inner lining, then add the wall thickness to all measurements.
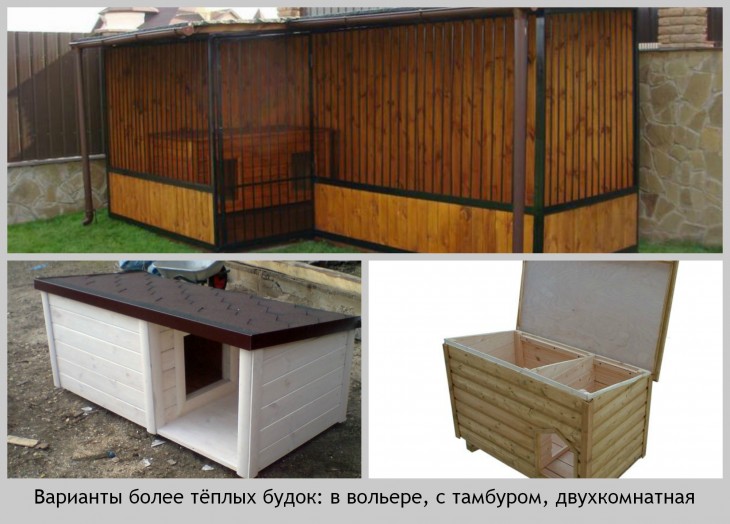
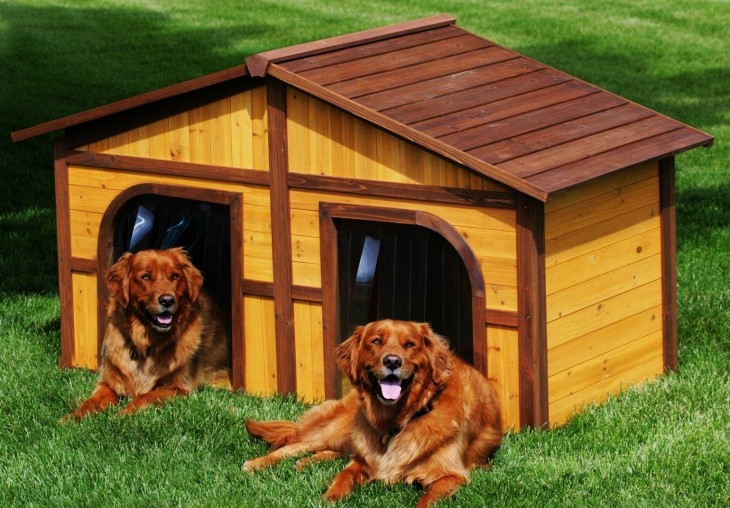
As for the device, they use two options: one room, or divide it into a "vestibule" and the main one. But dogs love to follow what is happening around, and the vestibule only interferes.
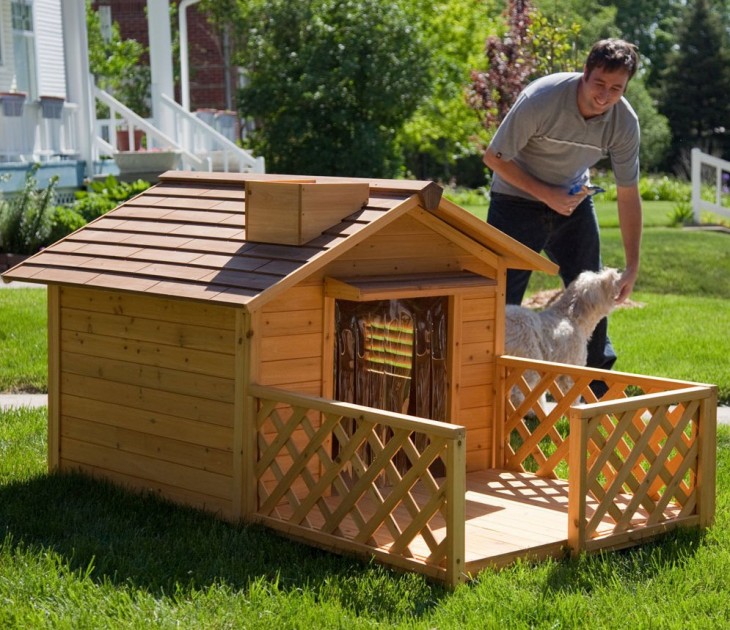
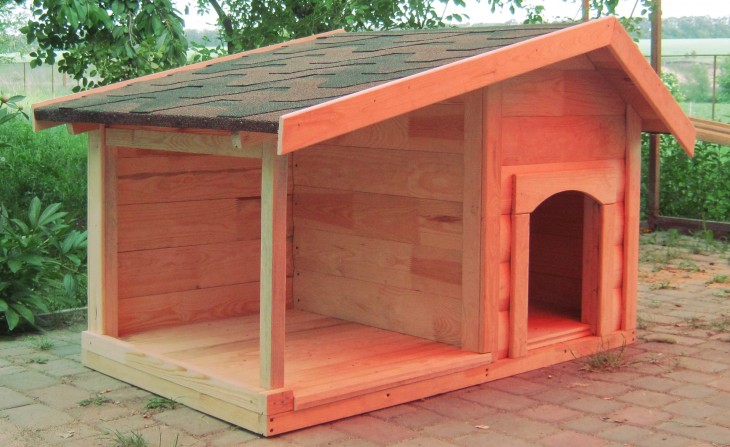
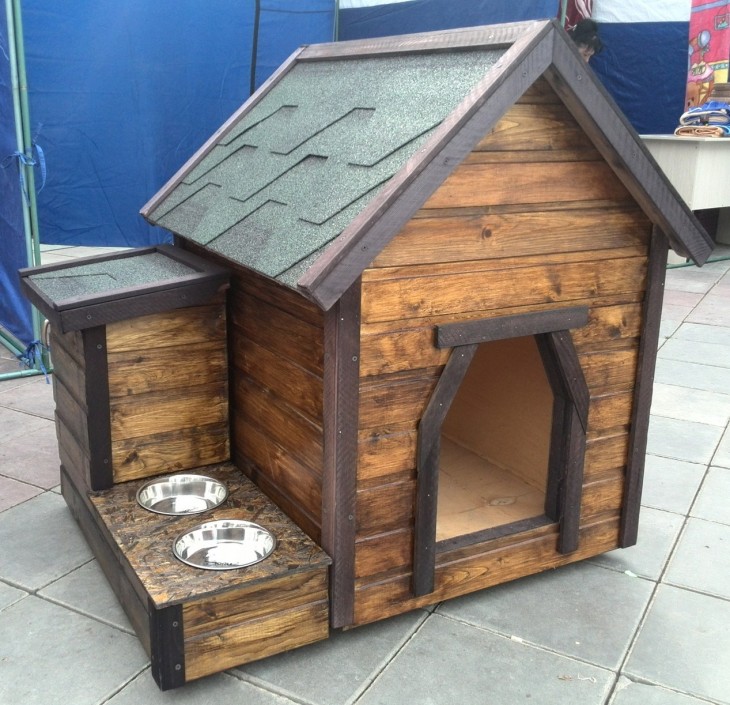
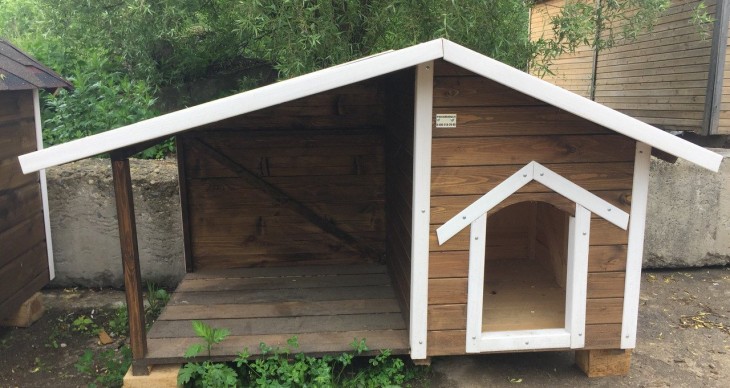
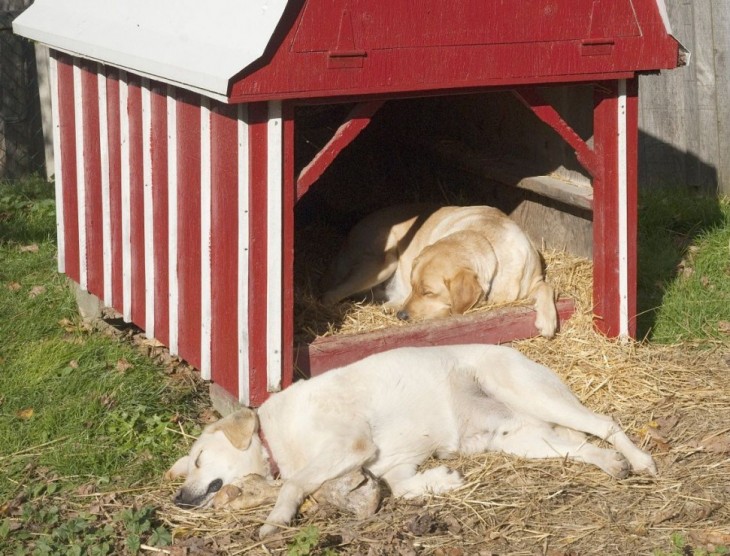
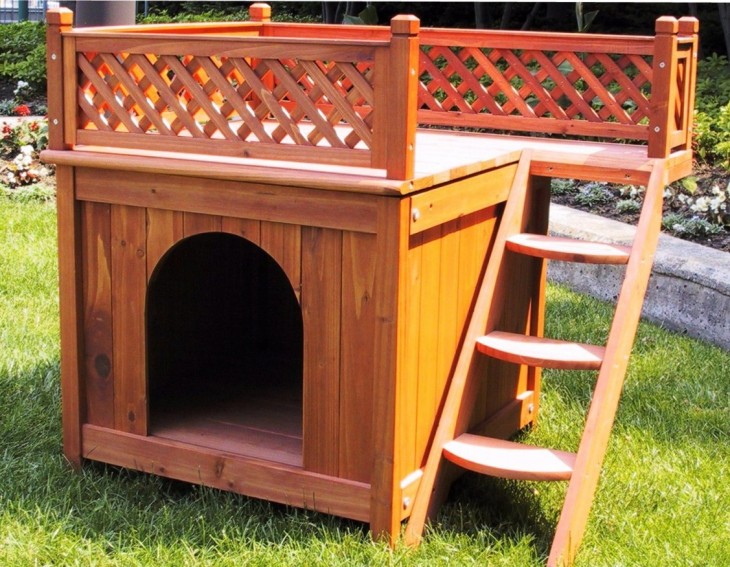
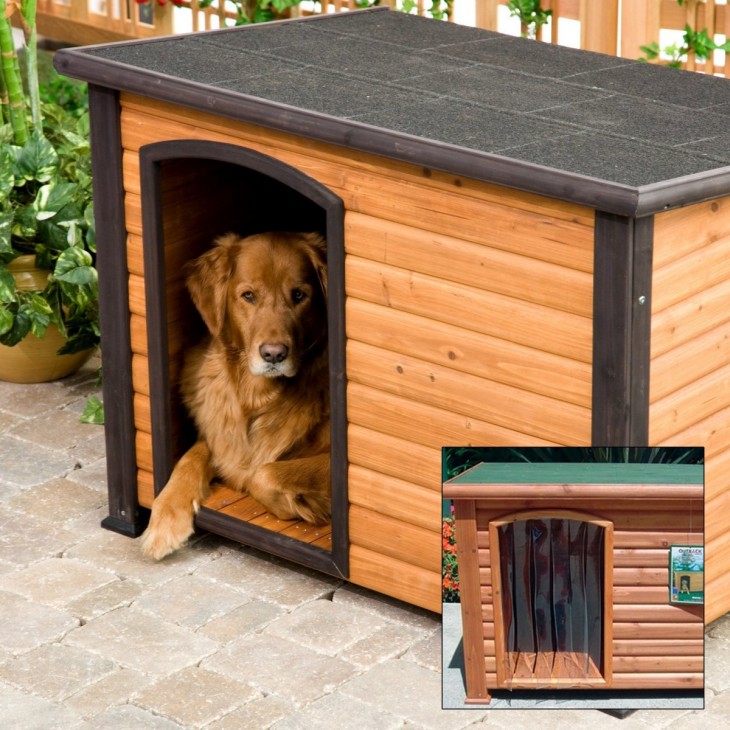
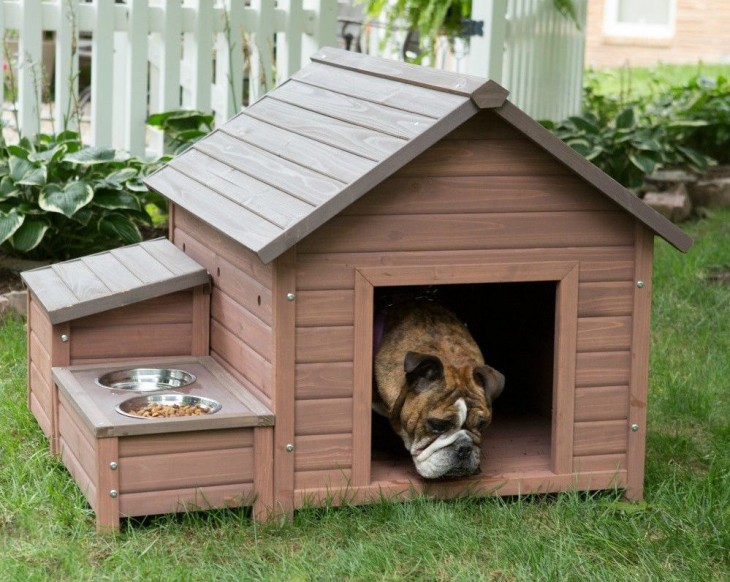
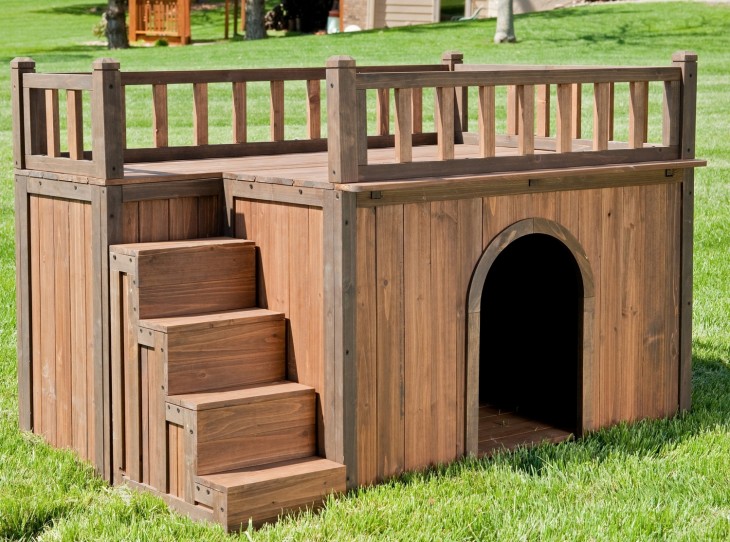
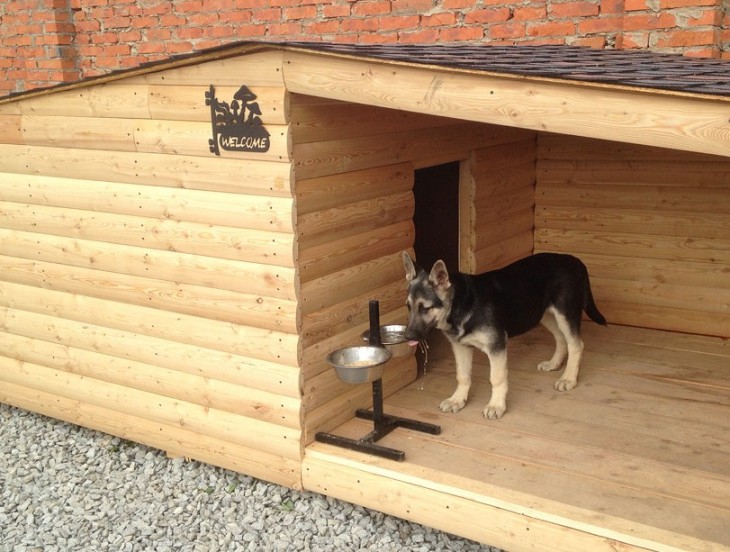
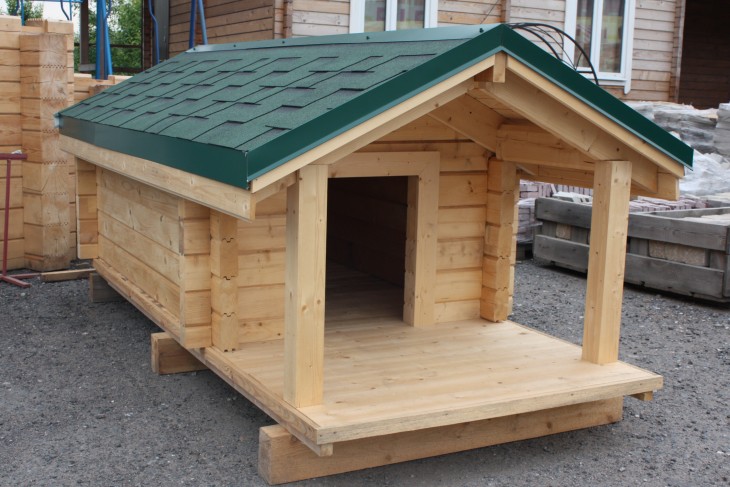
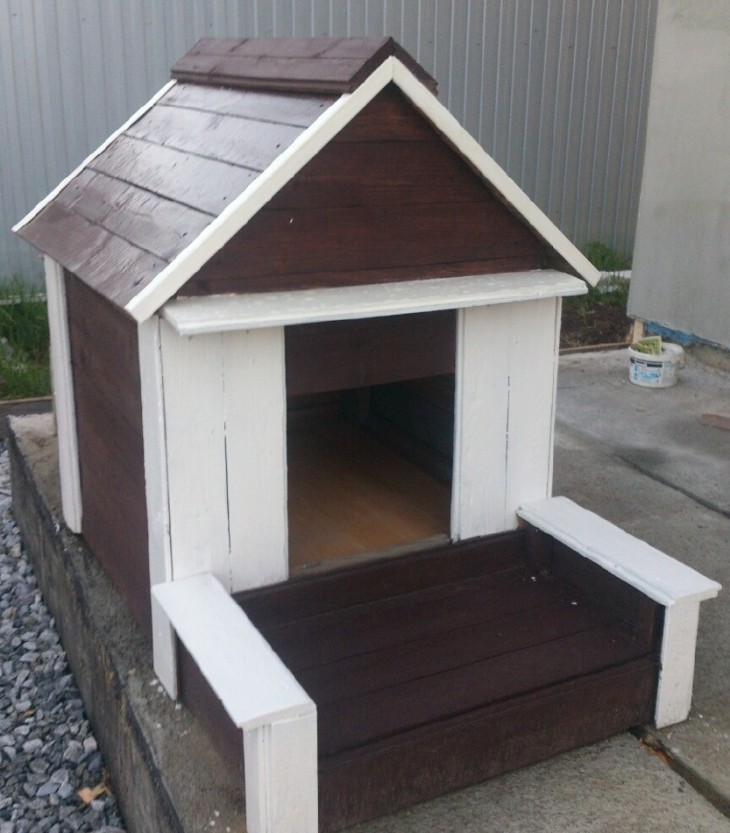
The booth is placed on a wooden platform raised above the ground. Part of the flooring can go beyond the booth, forming a bench, over which it is good to make a canopy - dogs like to spend time outdoors.
Outside, the booth can be sheathed with siding or painted. Inside, it makes no sense to paint. The surface of the walls is treated with antiseptics and ectoparasitic drugs.

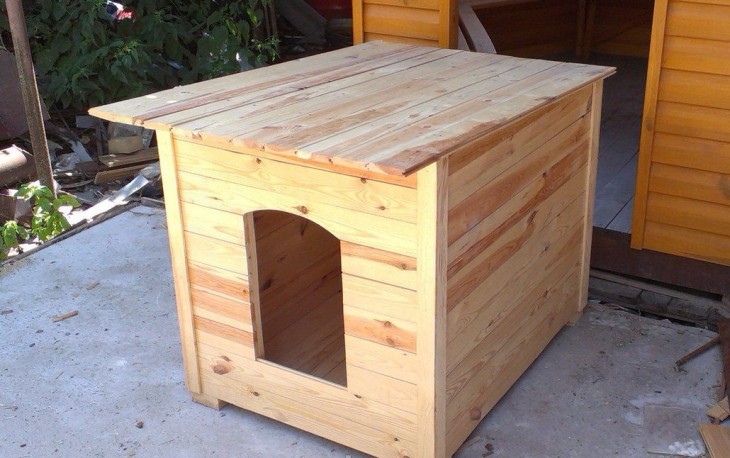
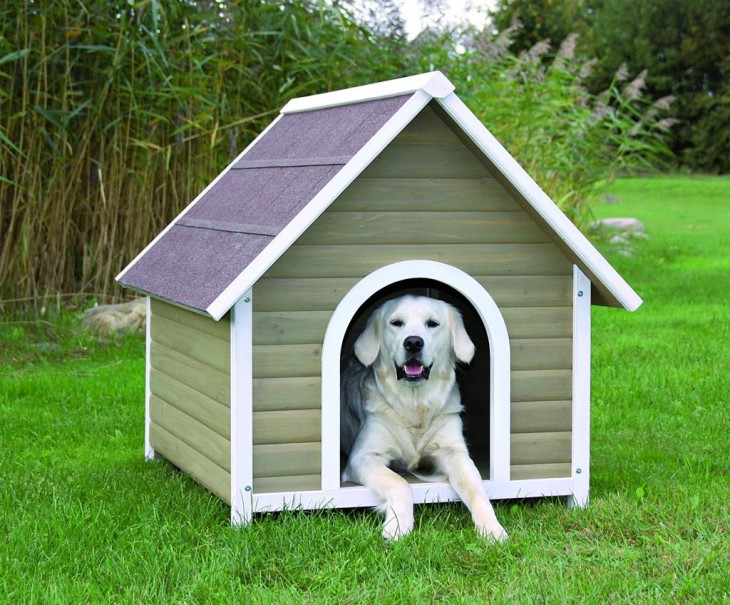
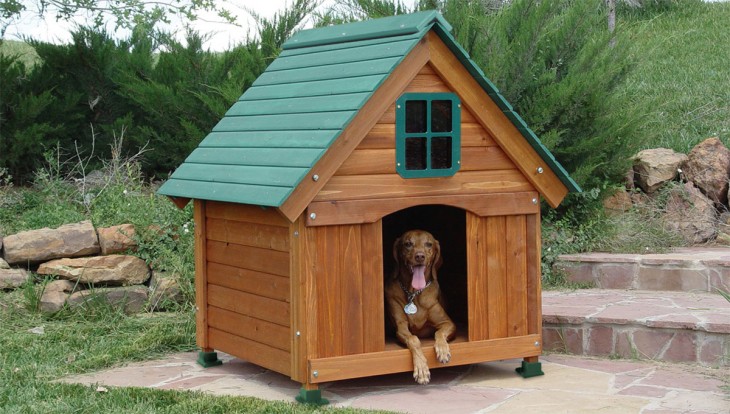
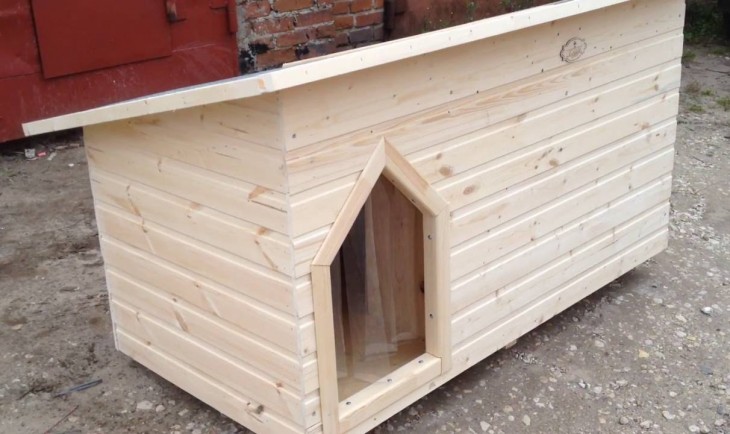
How to make the roof of a regular booth
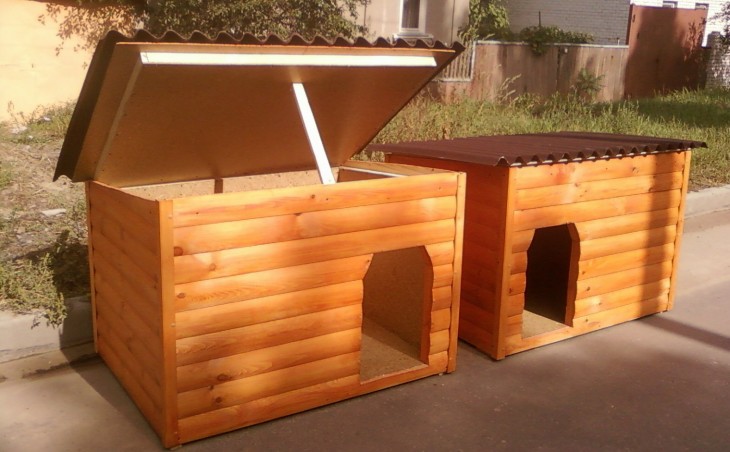
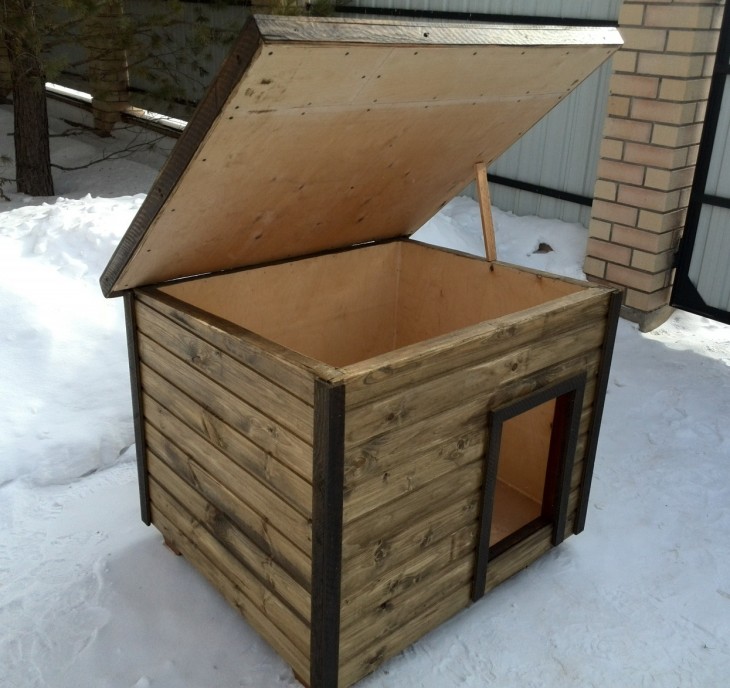
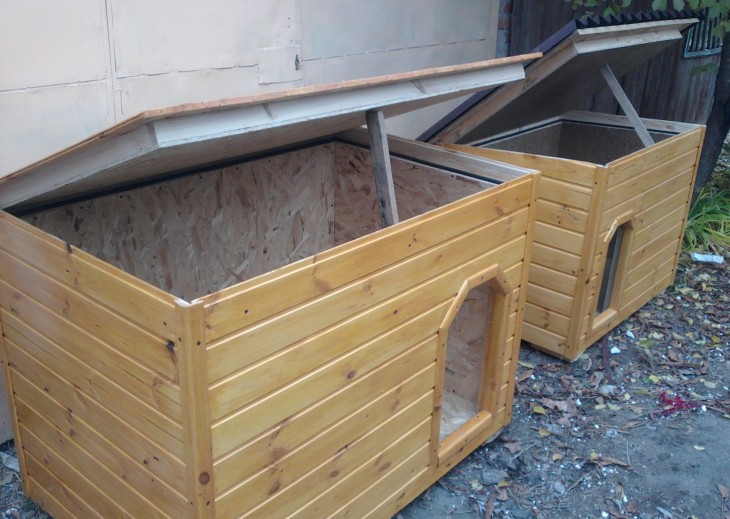
To make it convenient to disinfect and clean, in small booths they make a removable roof or put a hinged roof. Organic particles, wool and fleas often accumulate in the booth over time, so regular cleaning is necessary.
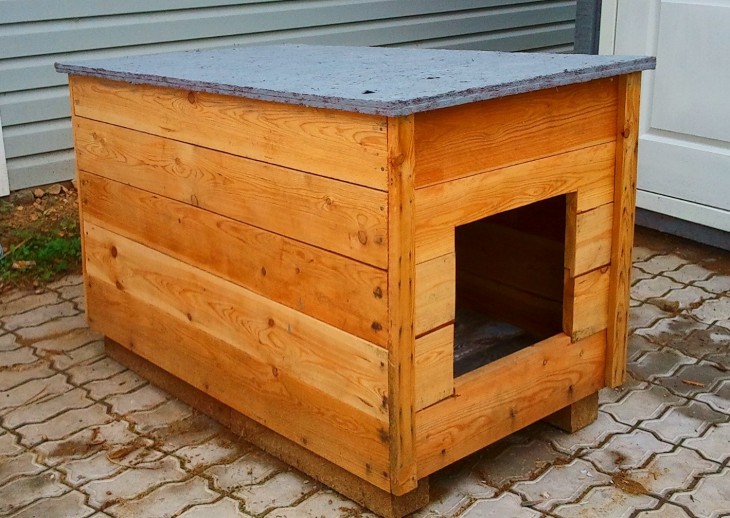
Many dogs like to lie on the roof, so it is better to do it shed, with a slight slope back to drain water.
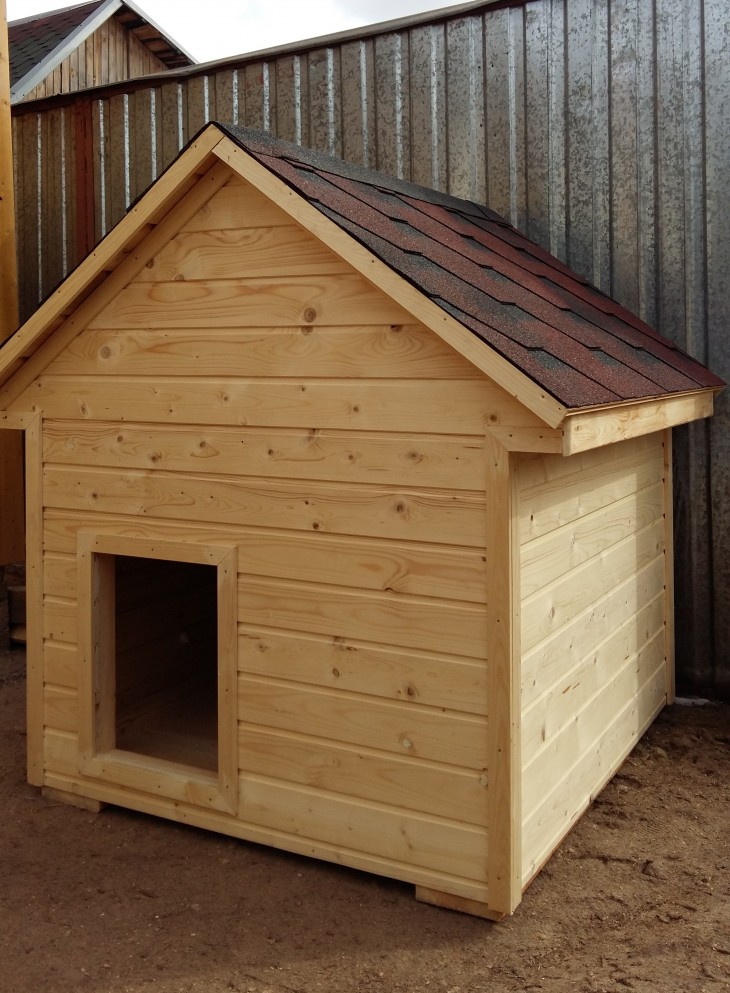
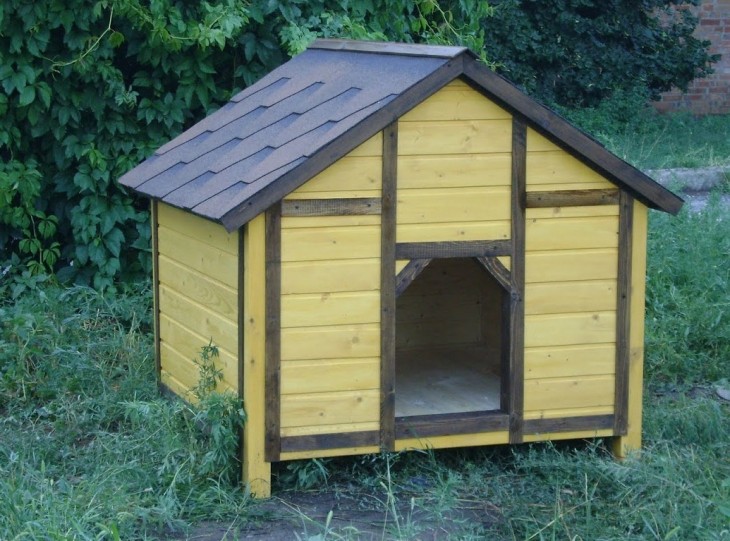
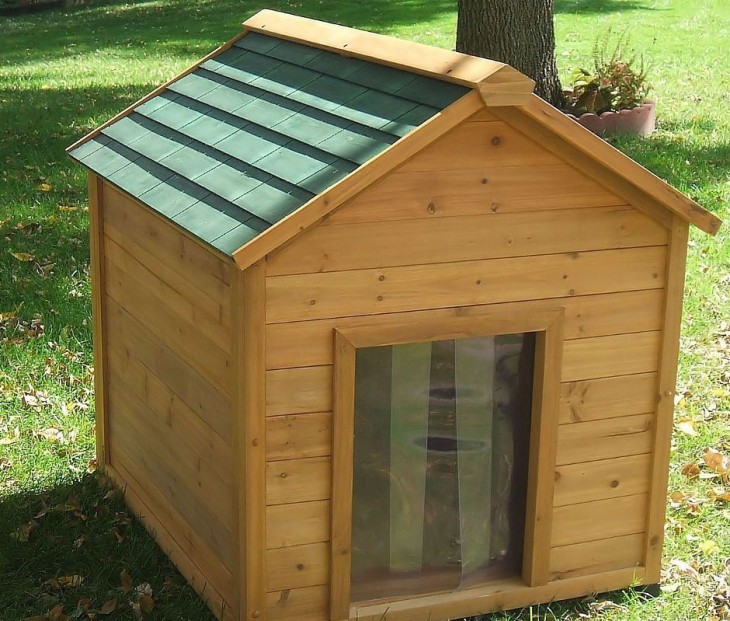
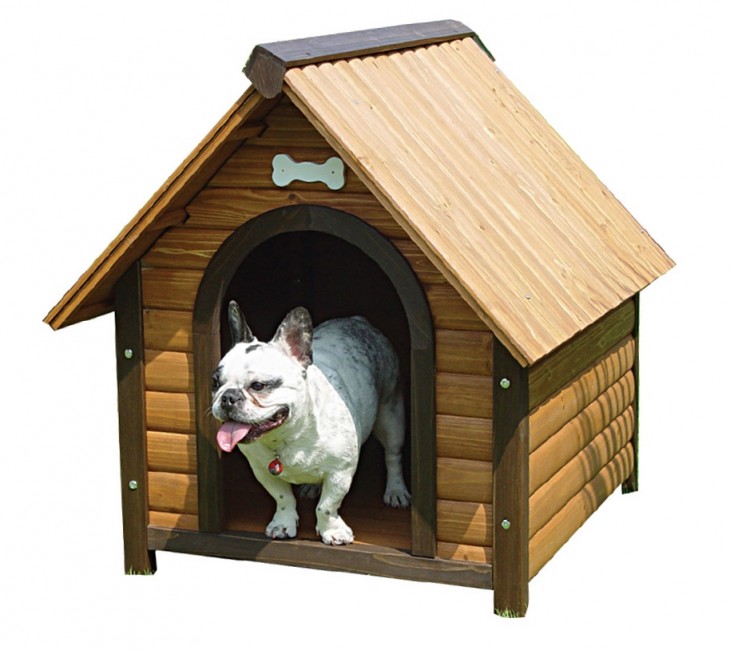
The gable roof only increases the internal volume of the booth, which makes heating difficult, without bringing any benefit to the animal.
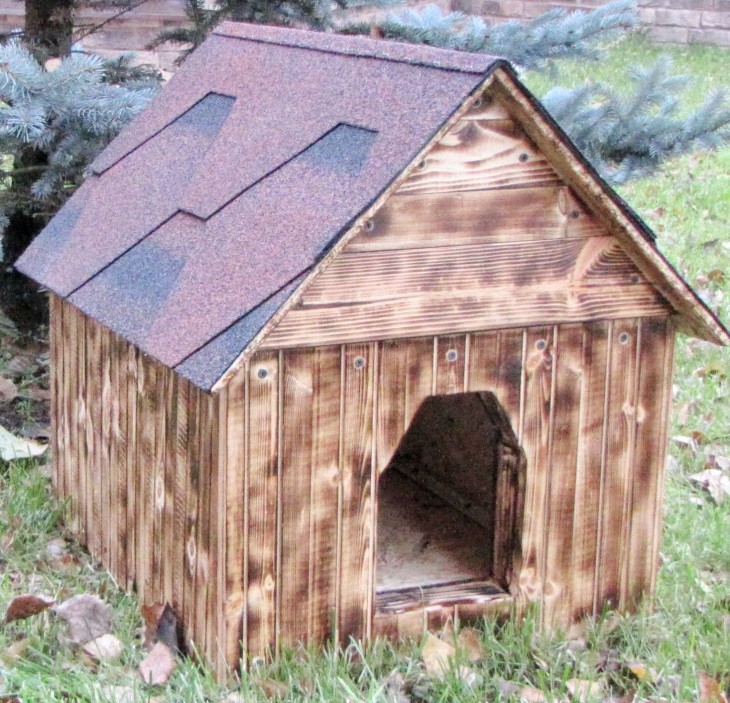
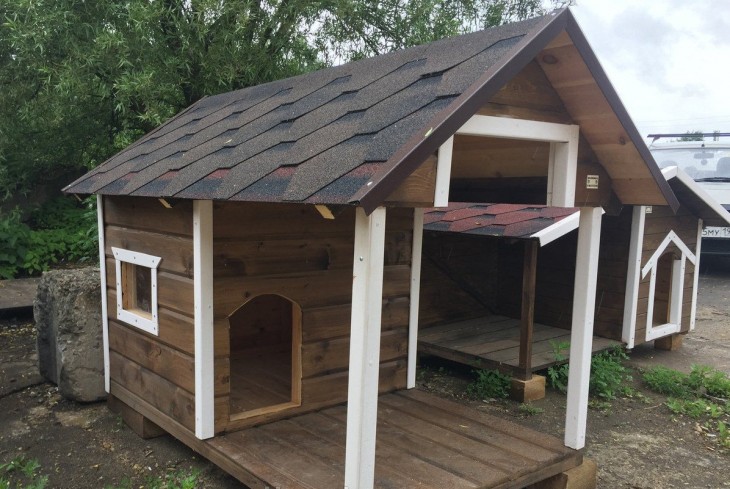
If you still want to make the roof a "house", then first you need to build a flat ceiling so that the dog does not freeze. The roof can be beaten with bituminous tiles, roofing material, metal tile.
Material for the booth and insulation itself
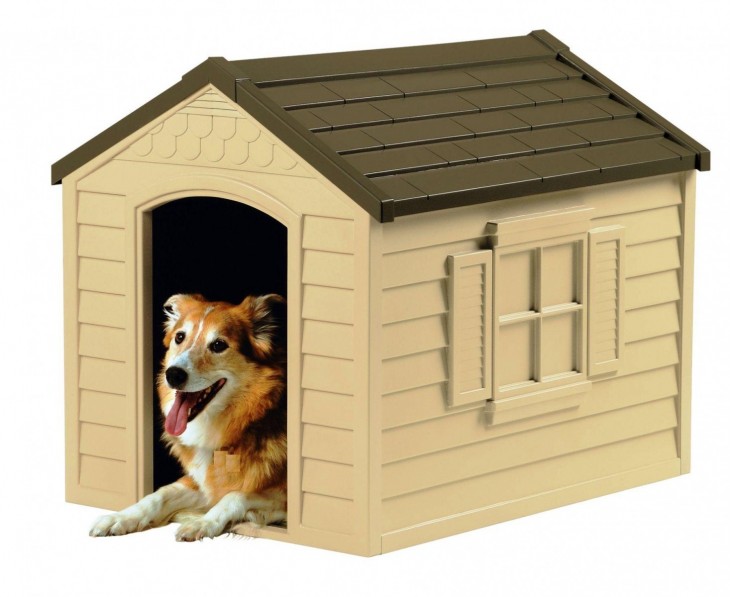
The booth can be built from almost any material at hand, traditionally use wood or chipboard. The best craftsman is coniferous wood, it holds heat better in the cold season.
Brick and concrete are very hot in hot weather and quickly cool in cold weather, plywood and plastic are short-lived.
Usually they build a frame of timber, which is then sheathed with the selected material. The main condition for the construction of the roof and walls is that there are no gaps; drafts are dangerous for dogs. The floor, walls and ceiling should be smooth, without protruding knots, screws and nails.
Note!
Any booth should be insulated. As a heater, materials such as:
- Felt
- Foam rubber
- Expanded clay
- Penoplex (polystyrene)
- Mineral wool
In the latter case, steam is laid - and waterproofing to completely eliminate the possibility of particles of fiber getting into the booth - they cause allergies in dogs. Any insulation should not stick out over the inner lining.

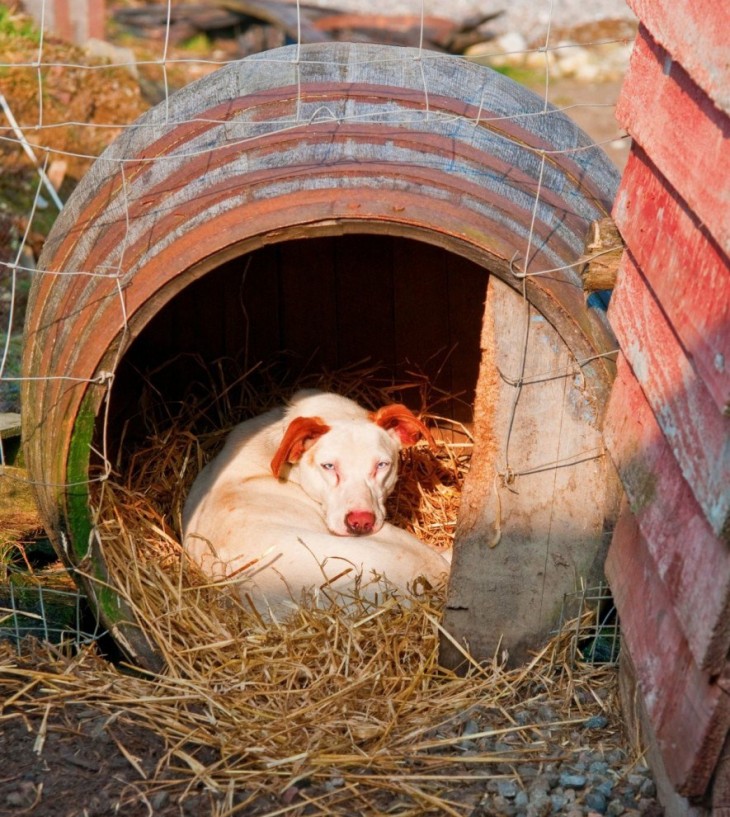
In frosts, straw is laid on the floor (it is straw, because hay dusts, and sawdust cakes and quickly dries), the dog herself will make a "nest" in it, and throw out the excess.
During the winter, the litter should be replaced two to three times, in the warm season it is removed.
Laz
Here, too, have their own characteristics. The height of the opening is determined by adding 5 cm to the growth of the animal, the width depends on the width of the dog’s chest - measure and also add 5-6 cm. To make it wider - it will be cold, already - the dog is not comfortable to climb.
Note!
The opening is not cut out in the center of the wall, but is shifted to one of the corners. Your dog will be able to hide from the rain and wind behind the wall. A small opening is made for a small puppy, which is expanded as it grows.
The entrance to the kennel is hung with two sheets of coarse cloth, cut into wide strips. The fabric is fixed in the opening, shifting the incisions, so the dog can freely enter, and the wind will not blow in.
Sills of 10-15 cm high are hammered from the bottom of the opening so that snow does not get inside and so that the dog does not throw out the litter.
The booth is located on an elevated place, well closed from the sun and wind, but giving a good overview of the site from the entrance.
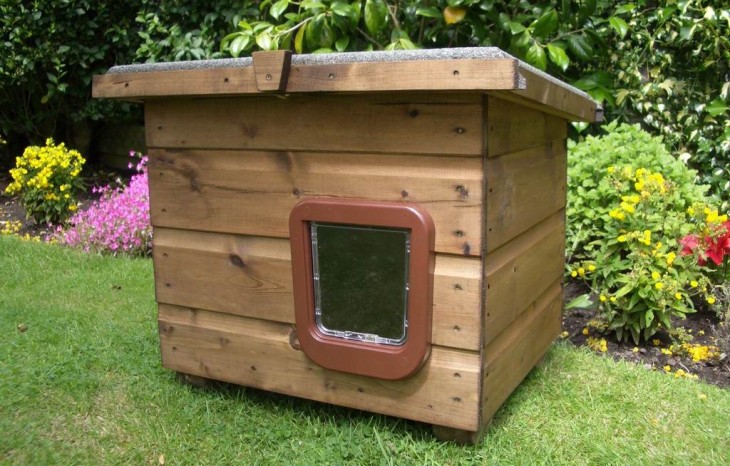
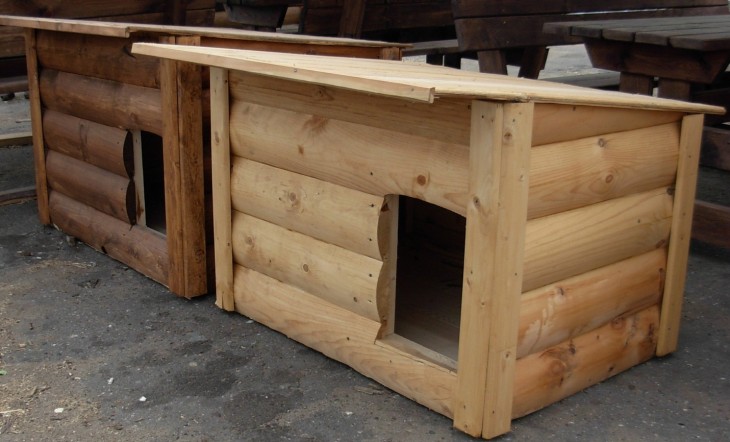
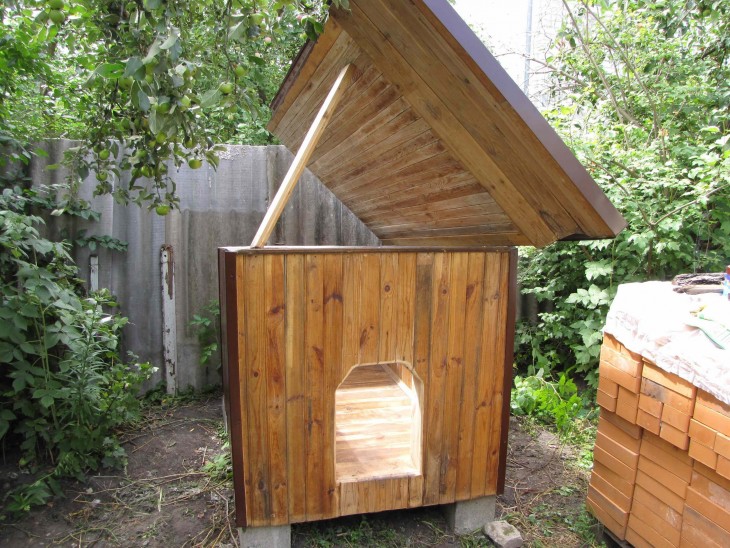
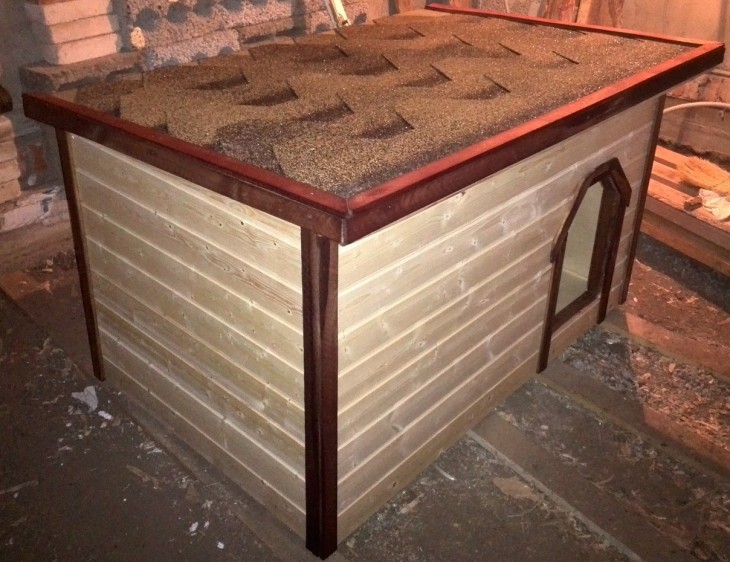
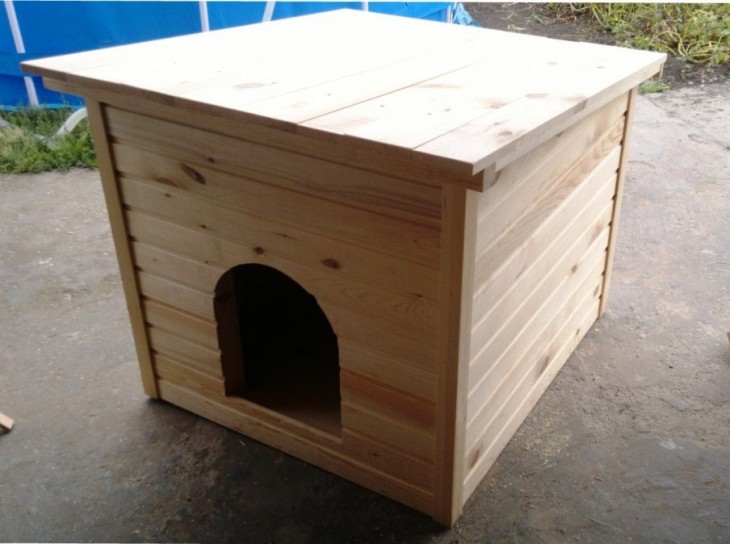
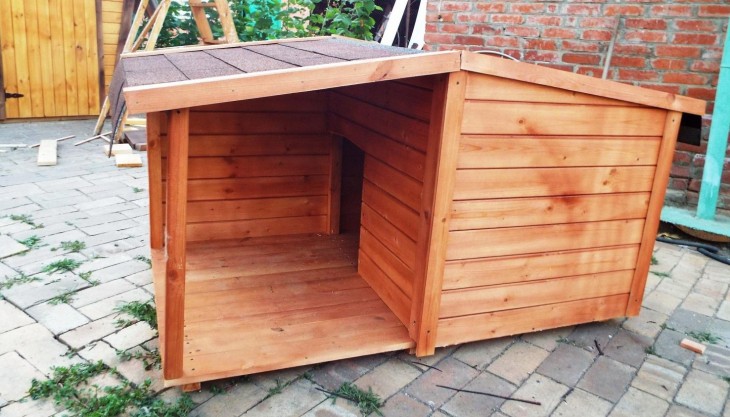
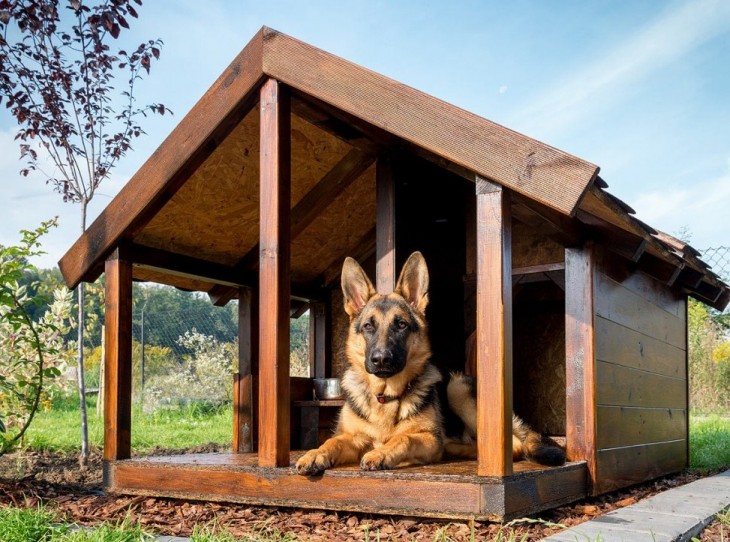
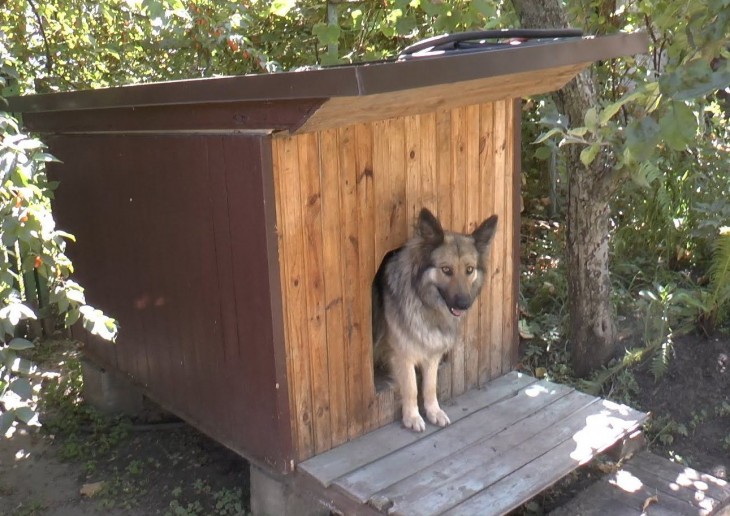
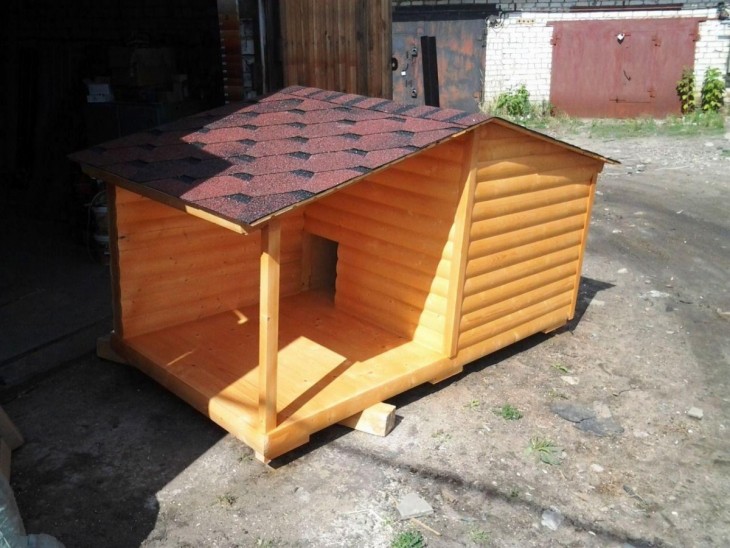
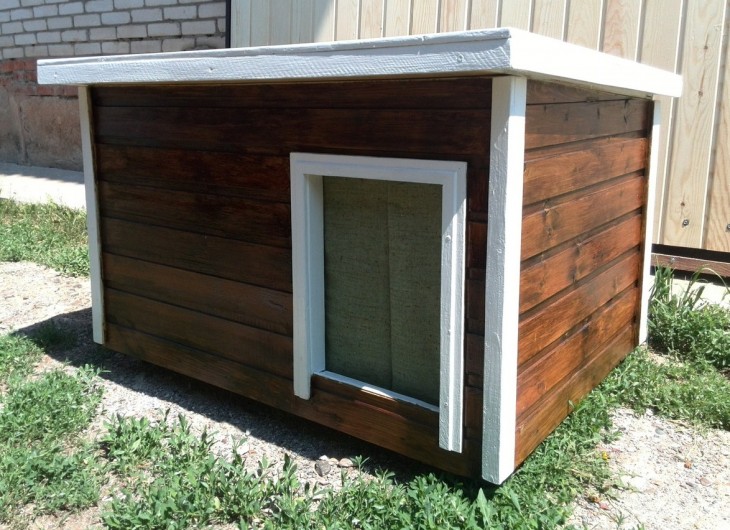
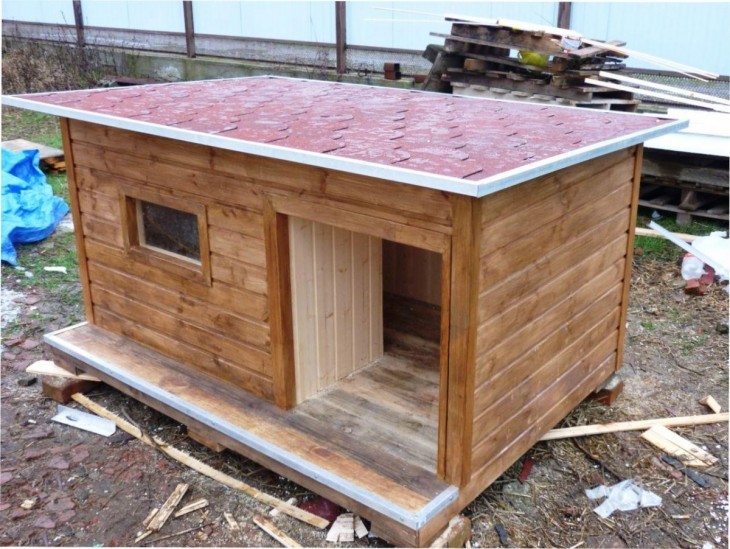
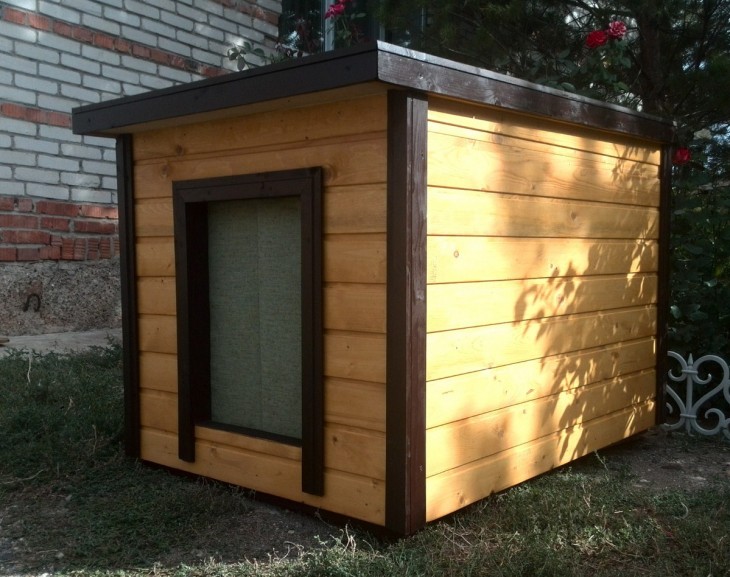
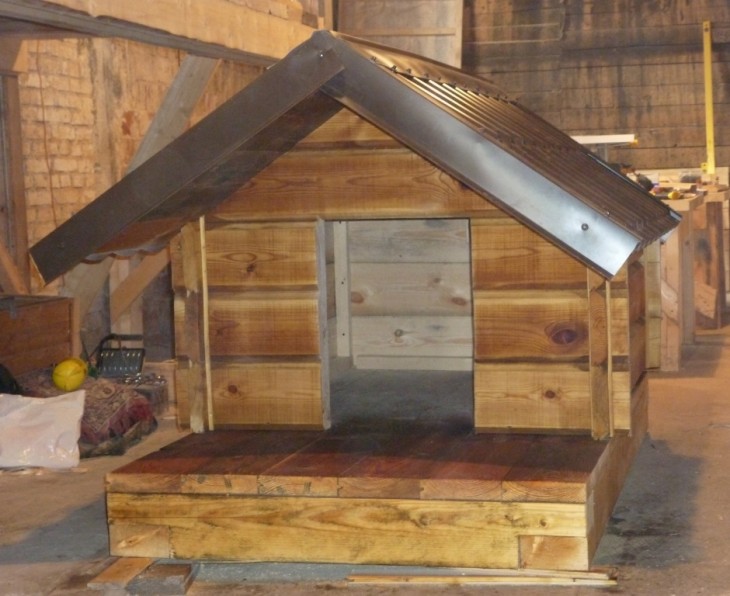
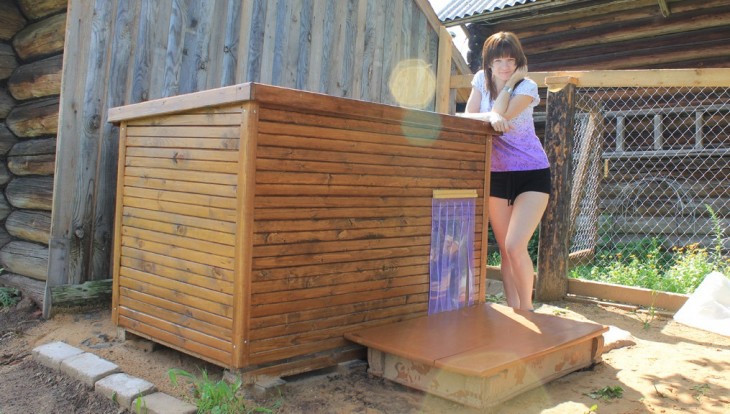
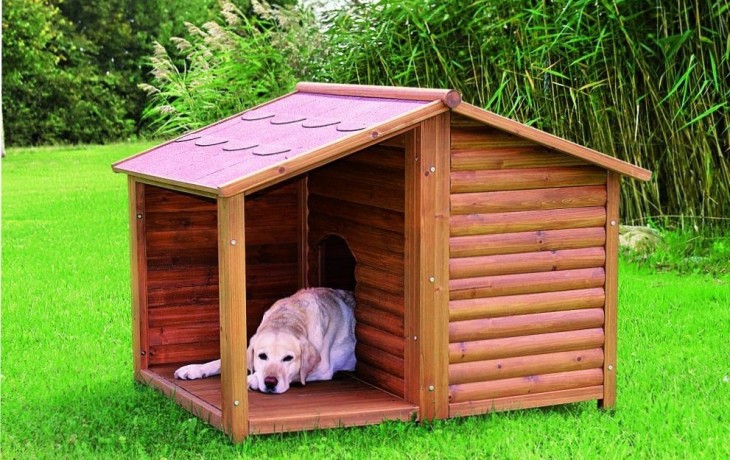
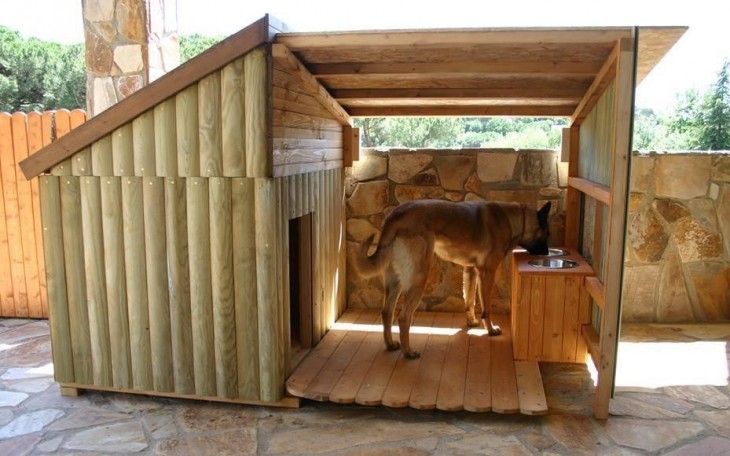
Option insulated kennel
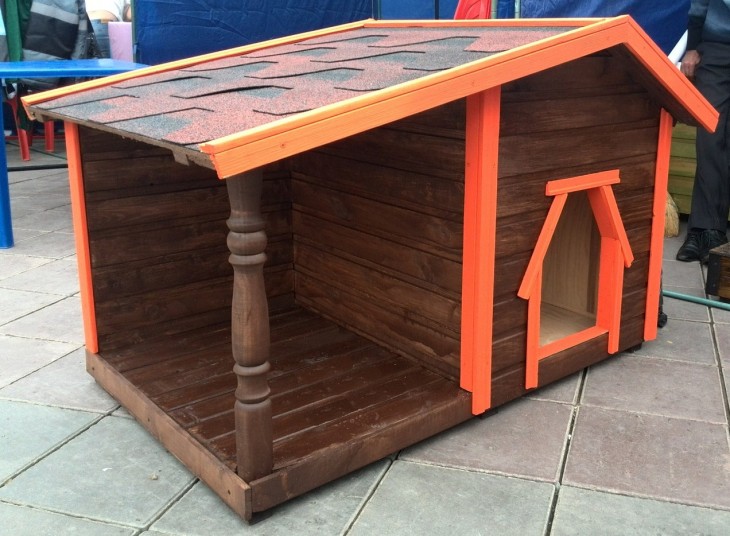
In this case, the doghouse was built from improvised means, with a small canopy on the side and two blank walls.
Note!
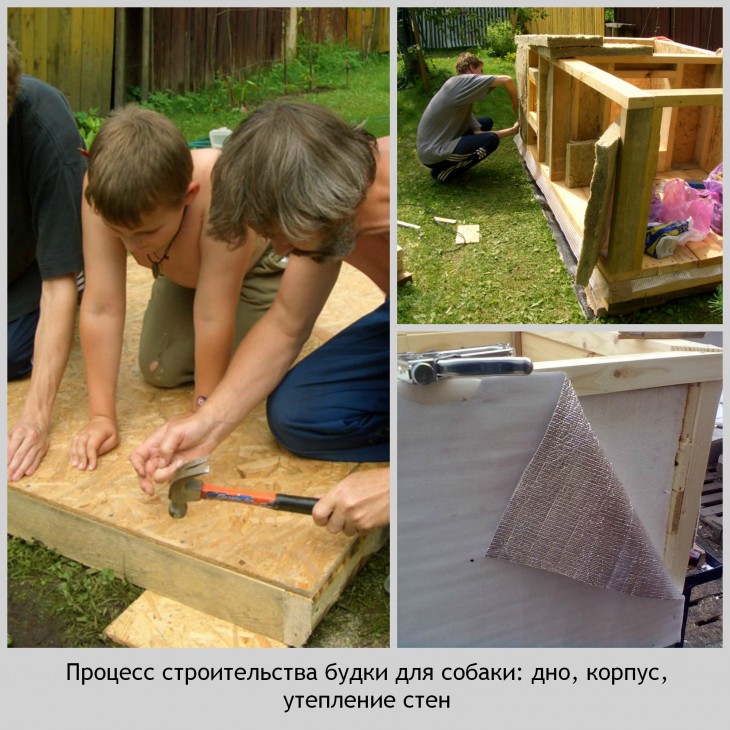
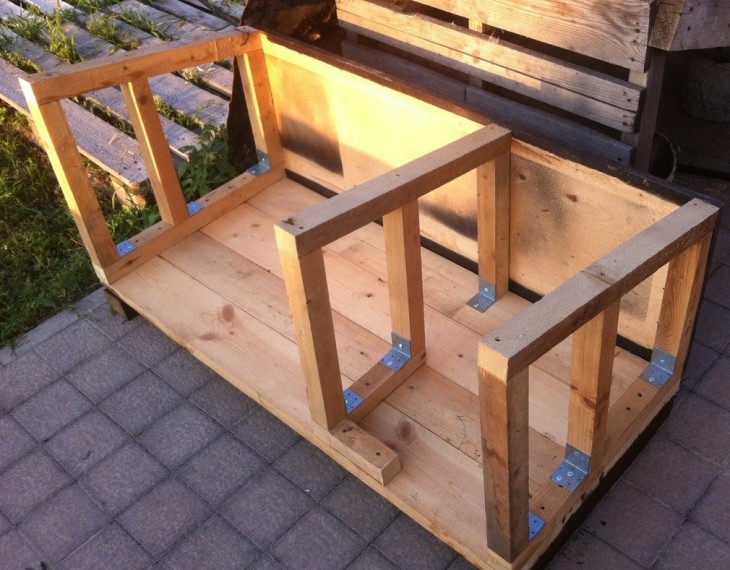
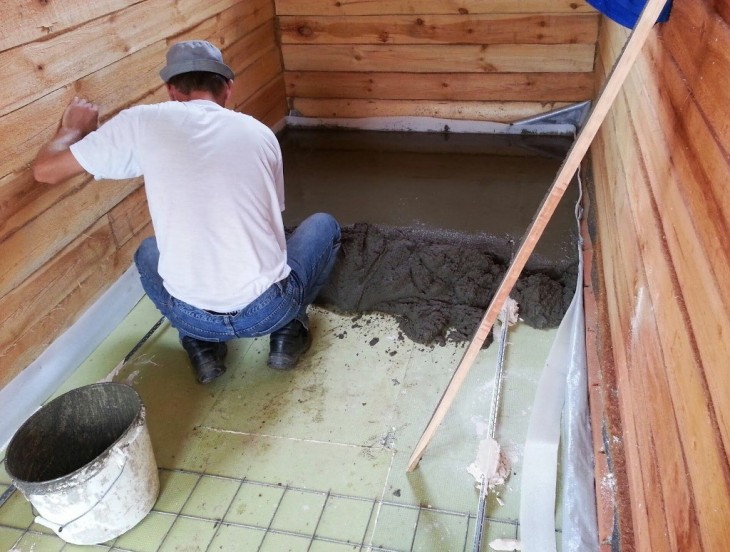
Two wide wooden shields on four supports made of timber were put together in size. Planks of flooring were laid on this platform. Feet are needed to protect the floor from moisture.
At the corners of the structure attached bars. In total, six pieces turned out: four bars for the booth itself and two for the outer windproof walls.
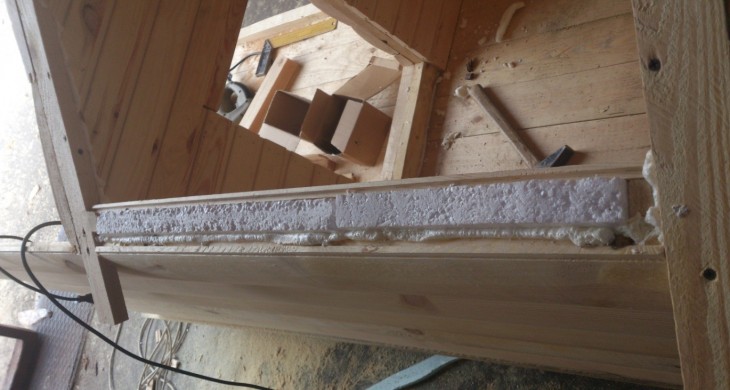
Then they built the inner lining, attached 7 cm of foam plastic to it and lined the outside with boards. To prevent water from flowing between the casing, a block was nailed on top.
Whole boards were used for the outer skin of the wall adjacent to the windproof wall. So the whole structure becomes tougher.

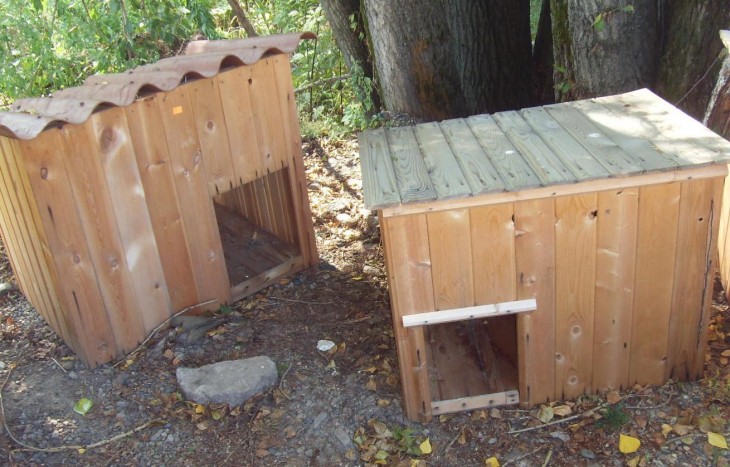
The roof construction took the most time. They did not want to make it completely flat, so first they built a warmed shield, to which a rounded lid of type-setting rails was nailed.
The roof was not inclined, but due to the shape, the water will still drain. To protect against moisture, a film was placed under the boards.
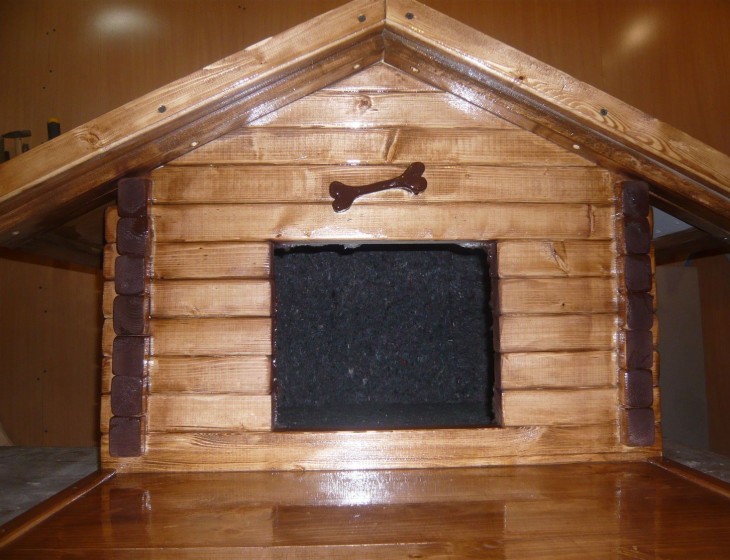
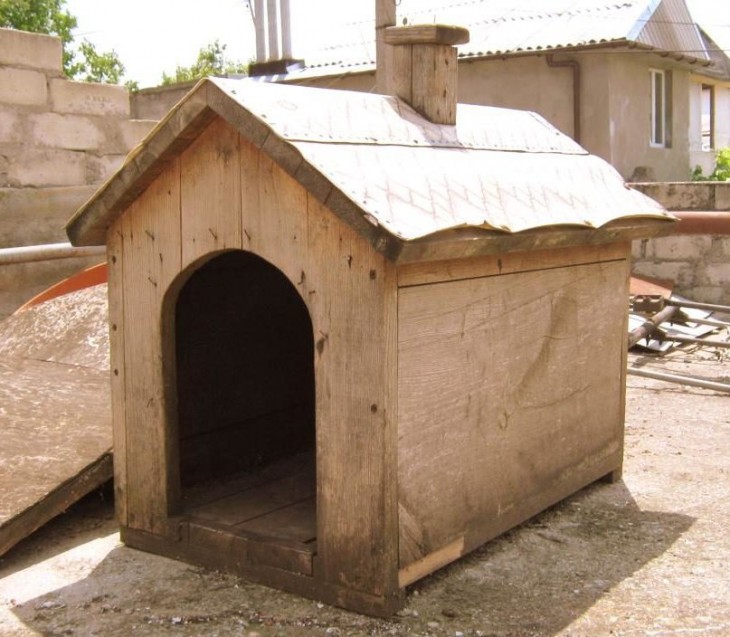
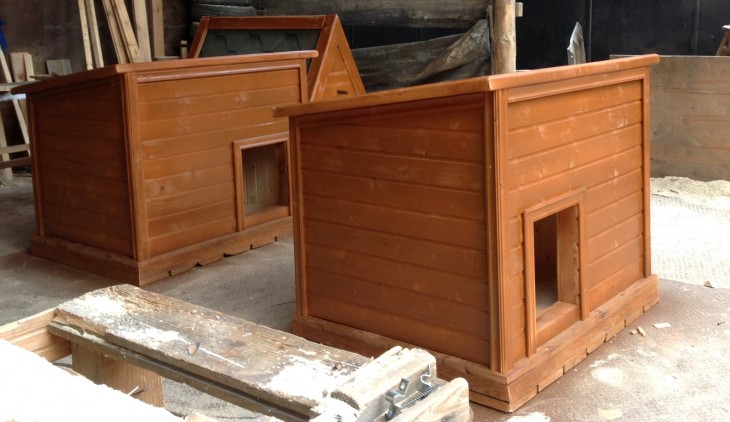
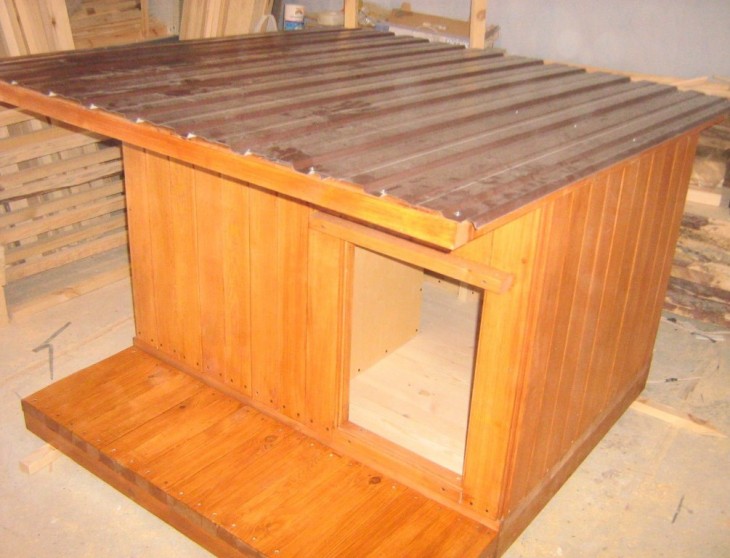
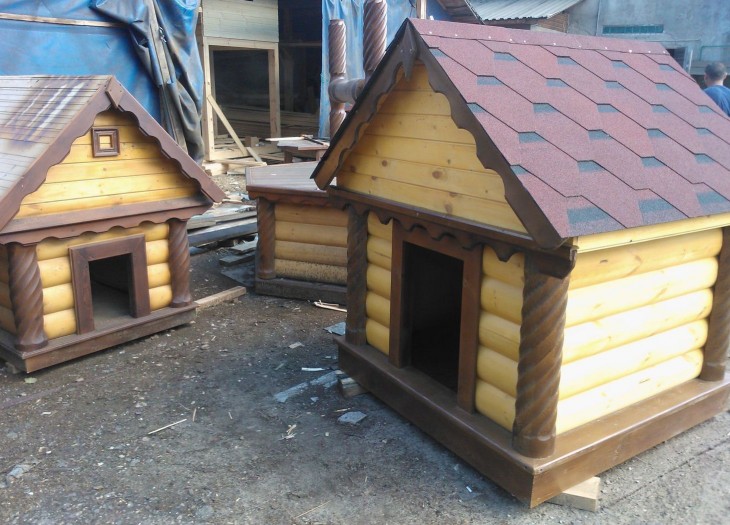
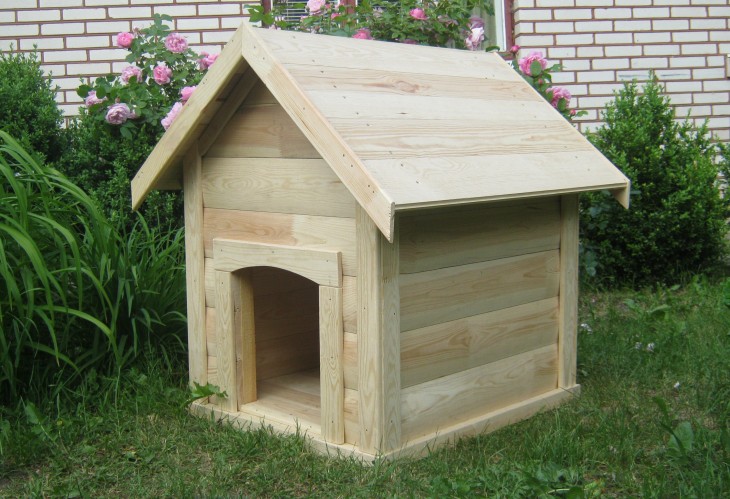
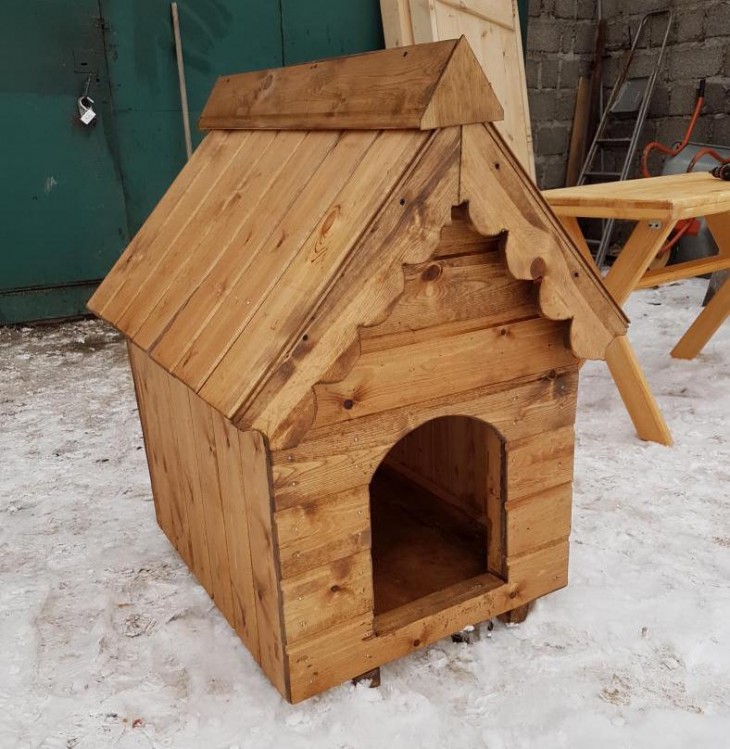
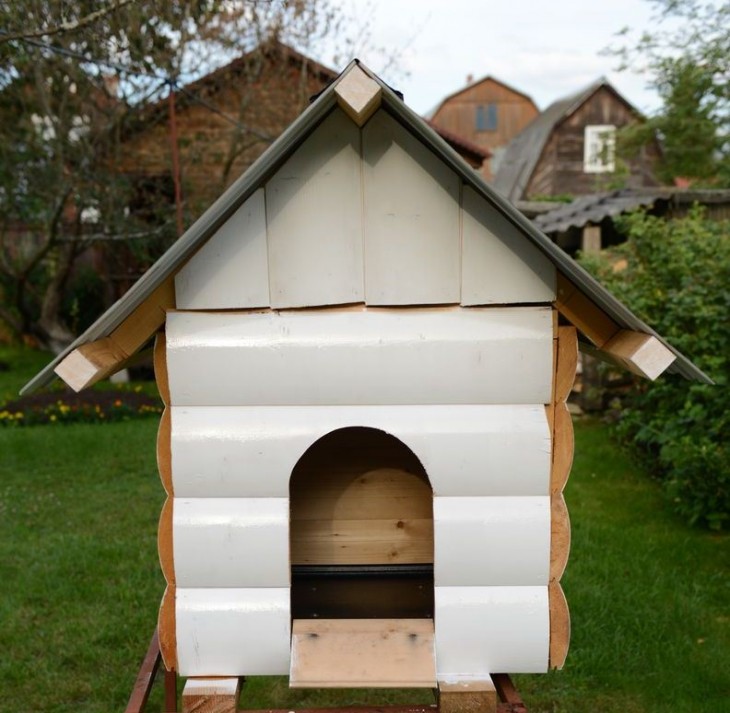
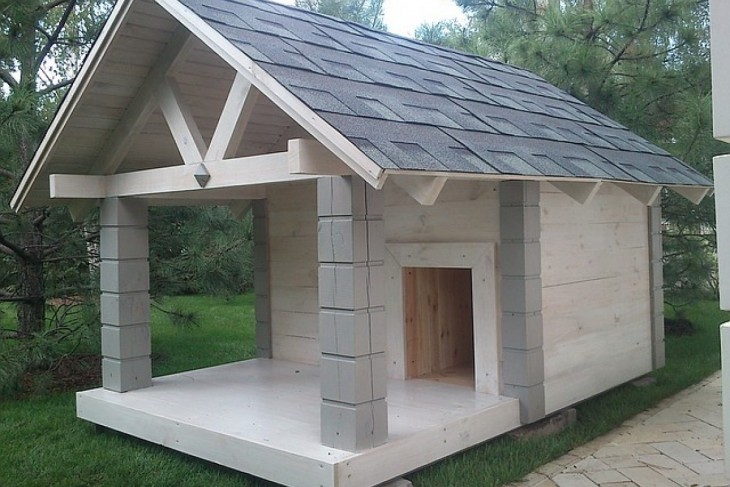
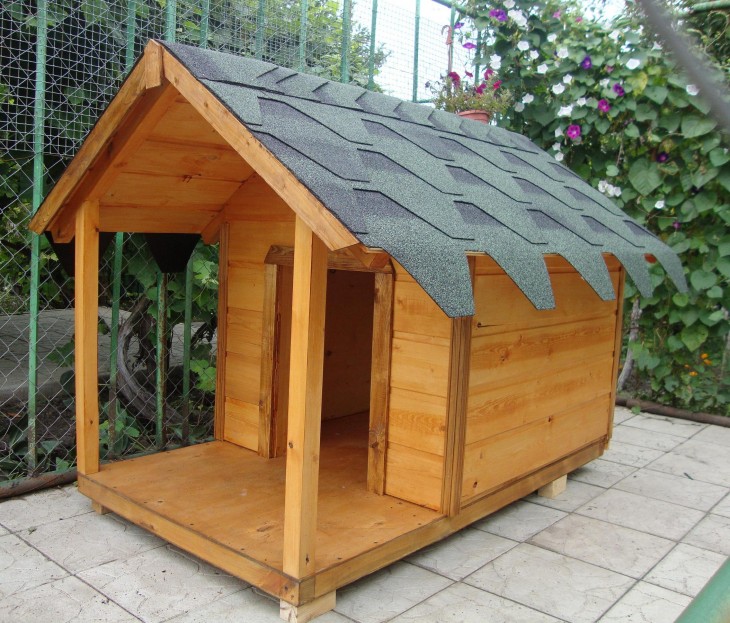
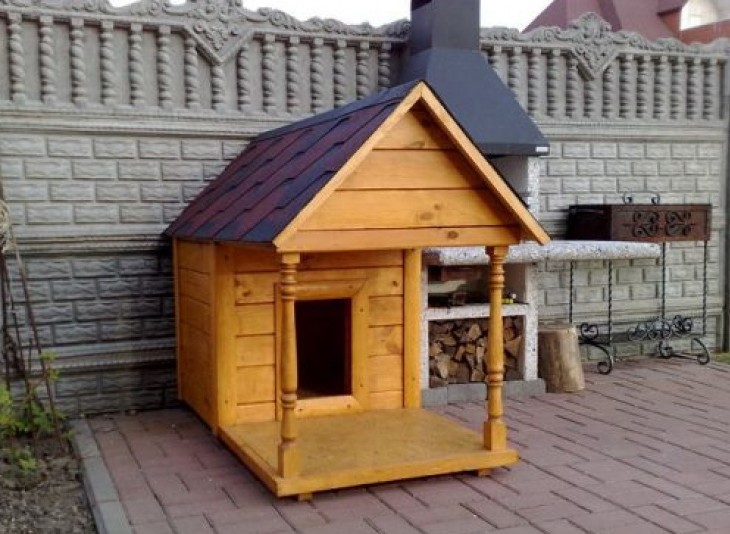
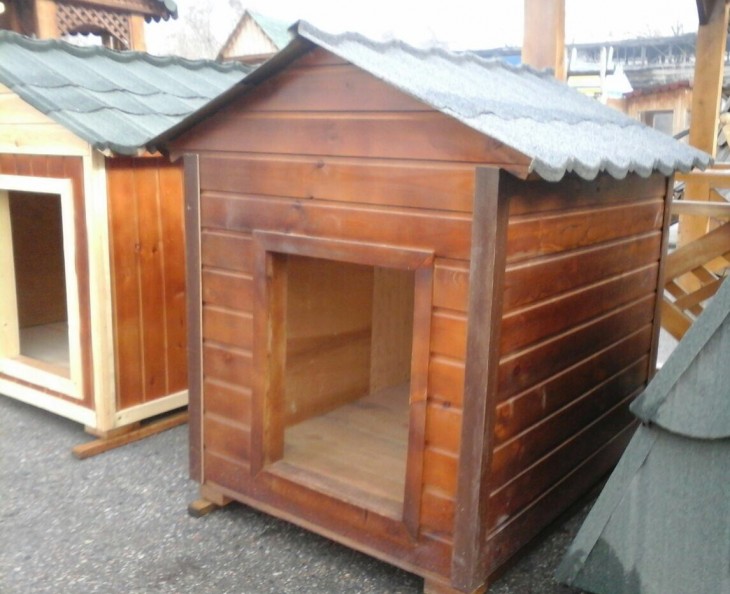
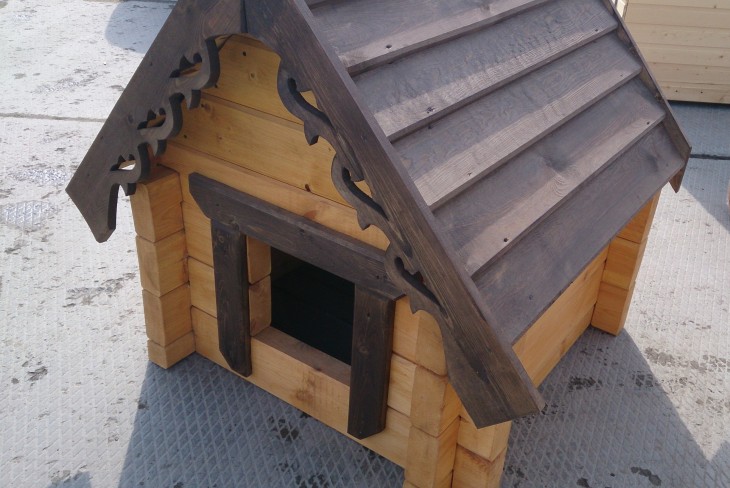
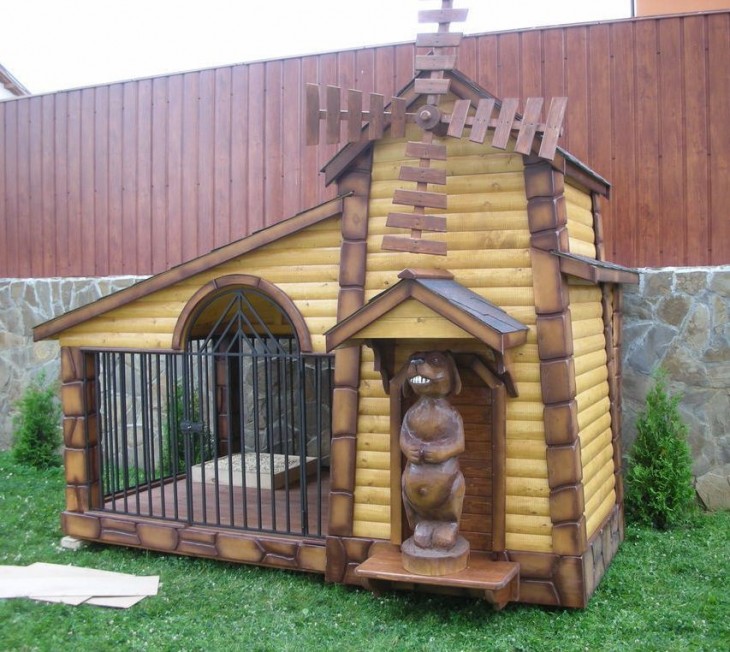
Scheme of the booth for a large breed of dogs (Caucasian)
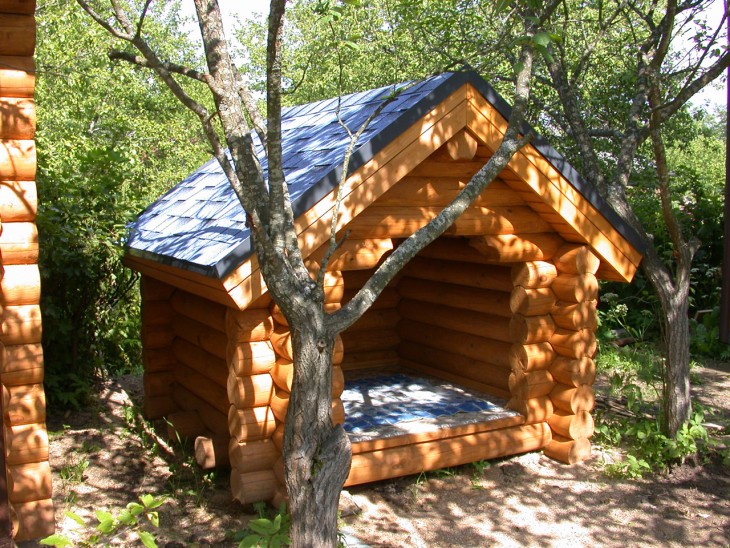
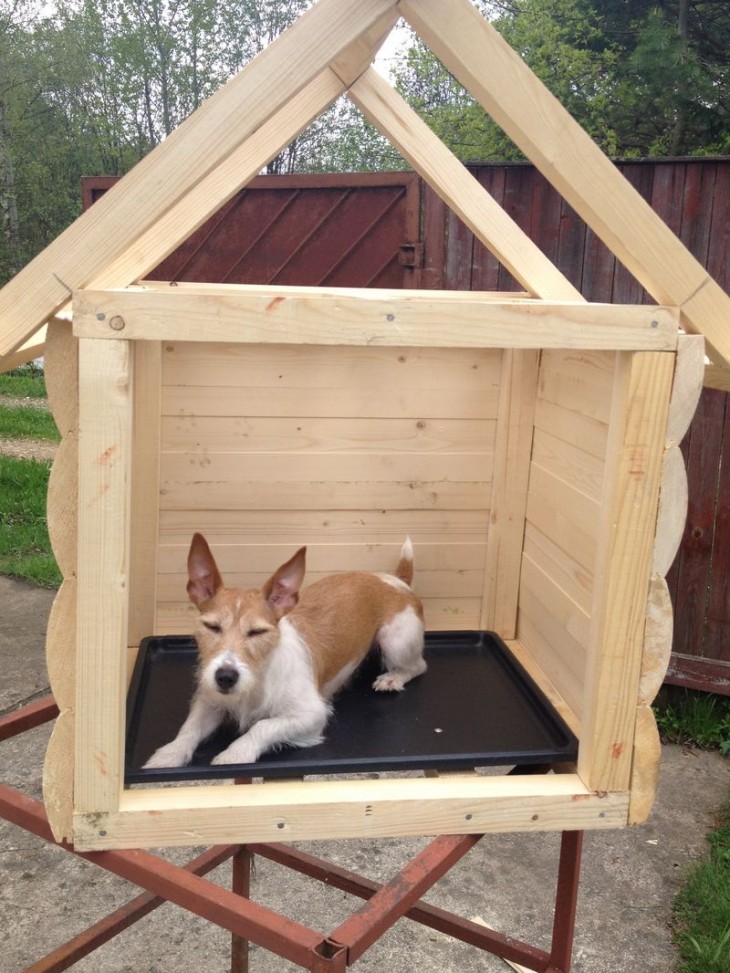
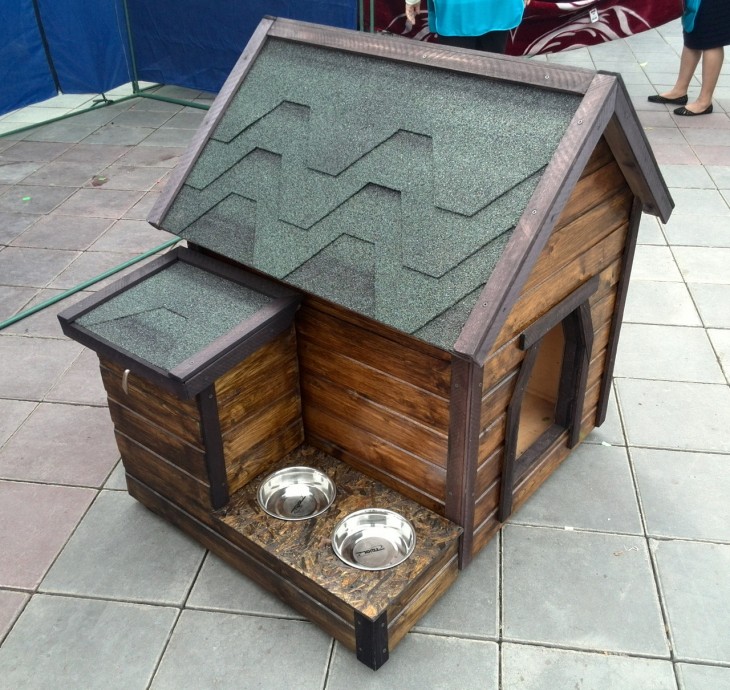
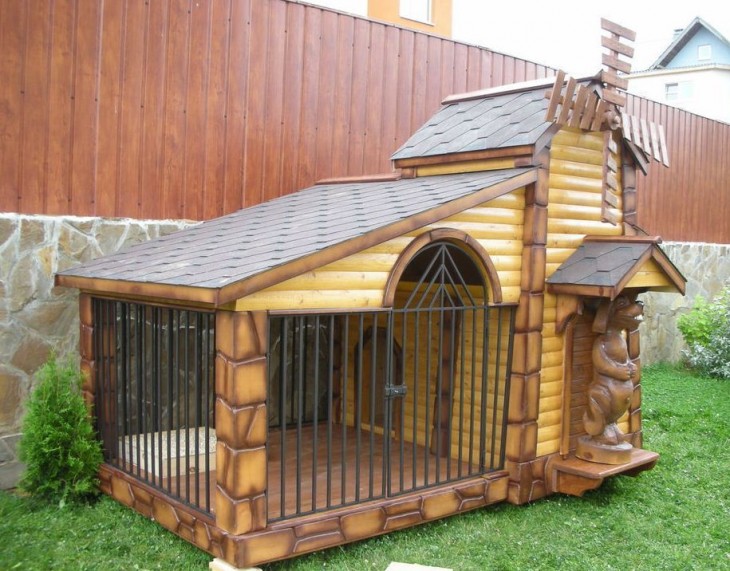
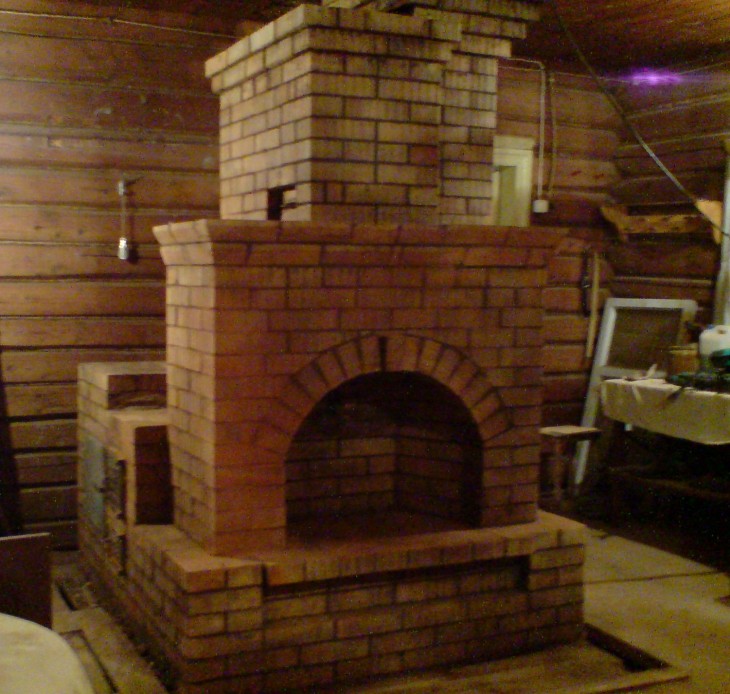
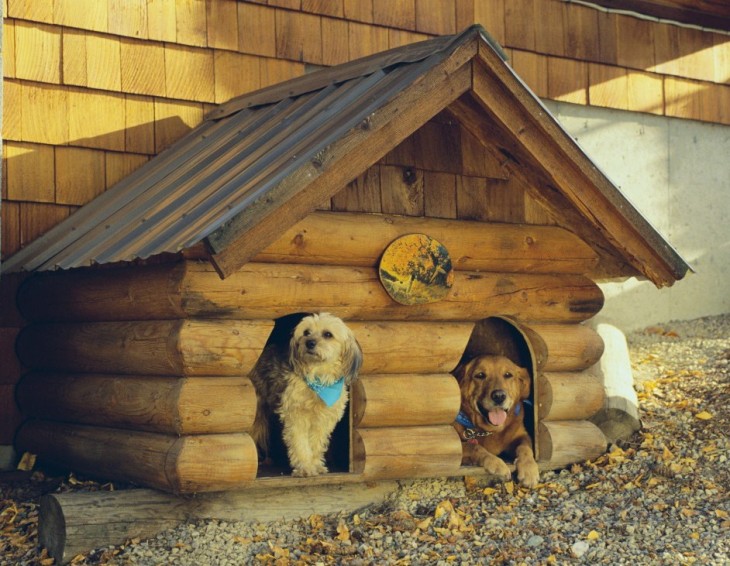
The photo shown below is a variant of a booth built for a small dog, but according to the drawings of a booth intended for a Caucasian.
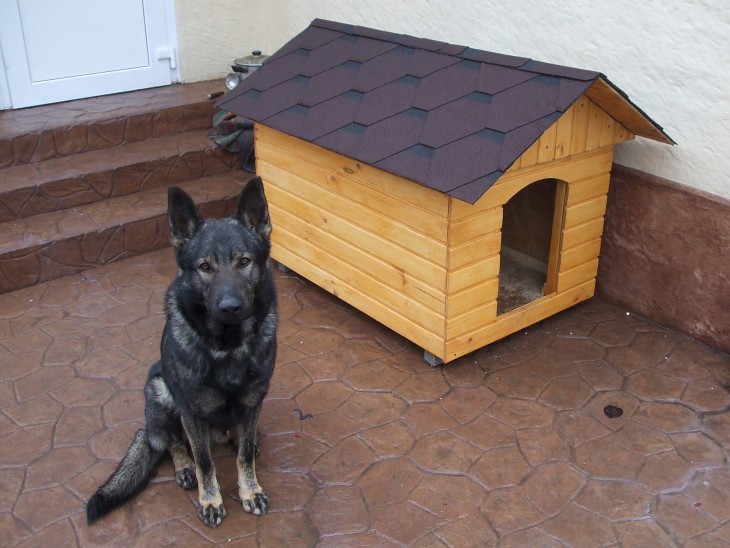
They planned to place the kennel near the bathhouse and wanted to make it appropriate in style. For the booth, the remaining materials from the construction of the bathhouse itself were used.
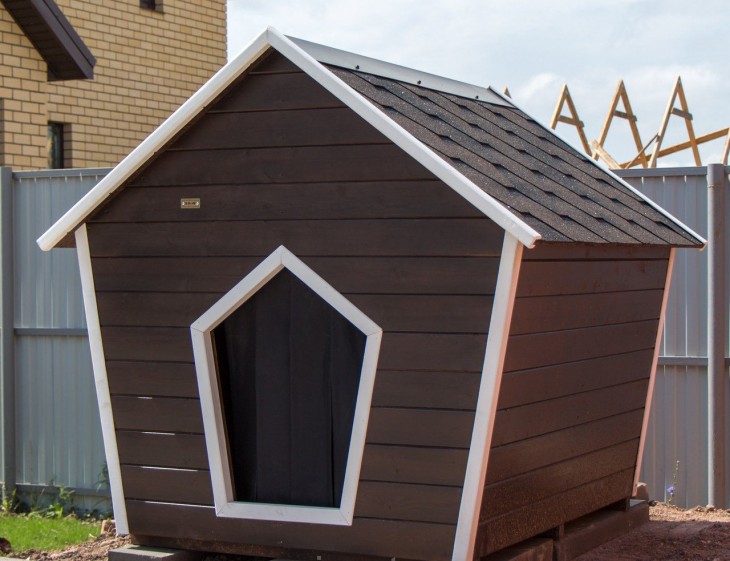
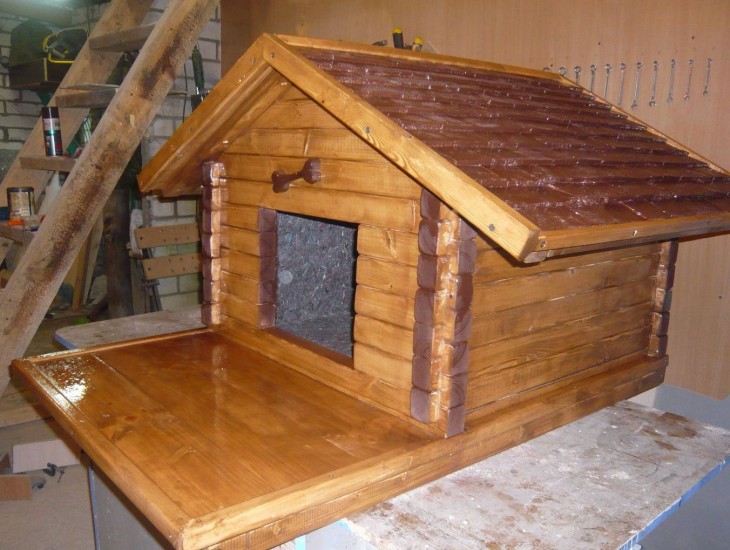
Adjustments were made to the original design: a door was made for cleaning at the back, a viewing window was cut in the side wall.
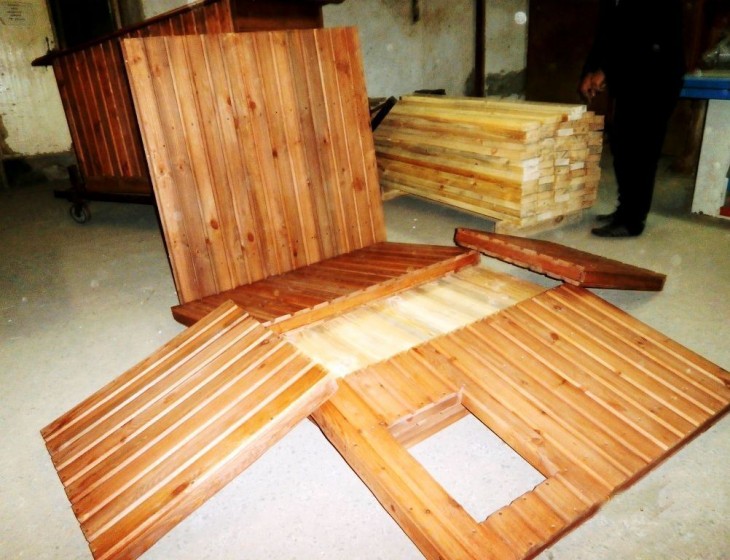
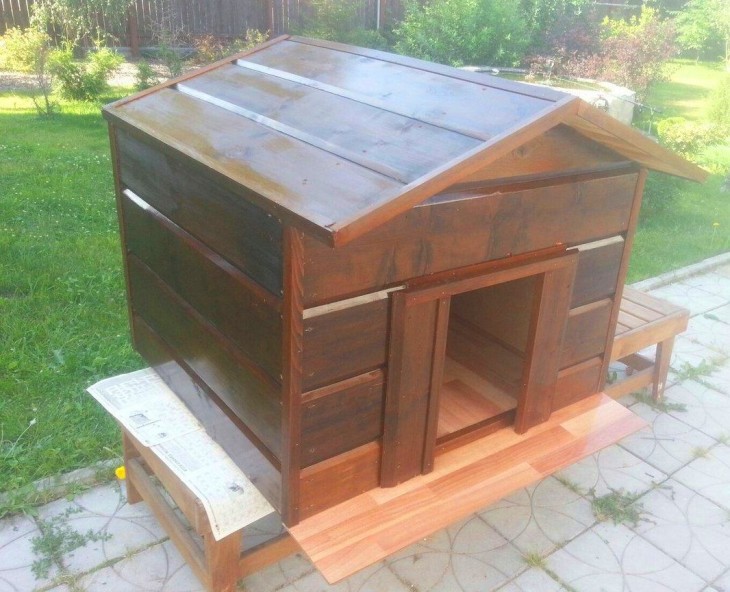
First, they built and painted a wooden platform made of logs, which were previously planed and put together. Then they proceeded to the assembly of the booth itself. The building was completely assembled in the workshop and then carried out and installed at the right place near the bathhouse.
The lower crown was laid whole - it is the support of the structure and forms a threshold. Then, according to the intended scheme, a bar was cut.

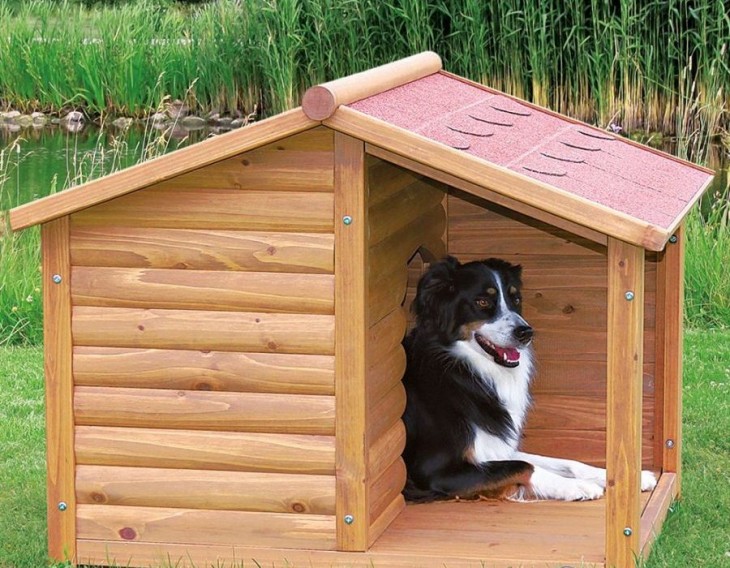
Since the owners planned to build the roof in the form of a "house", as in a bathhouse, they built a flat ceiling from a thick sheet of plywood. He was laid on a dowel cut in a bar. Then installed and secured on top of the shields.
They were assembled without a rafter mesh, since the roof is decorative. They simply put together the shields together, covered the soft shingles remaining from the bath, and trimmed the pediments with boards.
The booth is ready. The construction and installation took half a day.
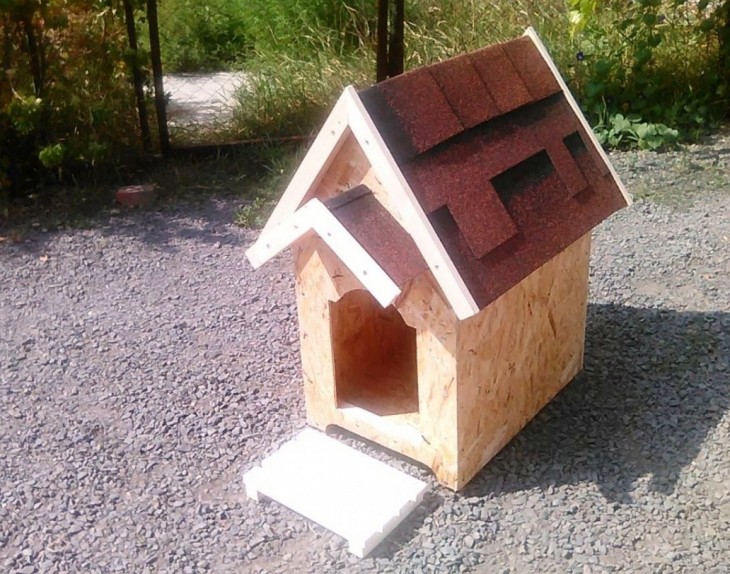
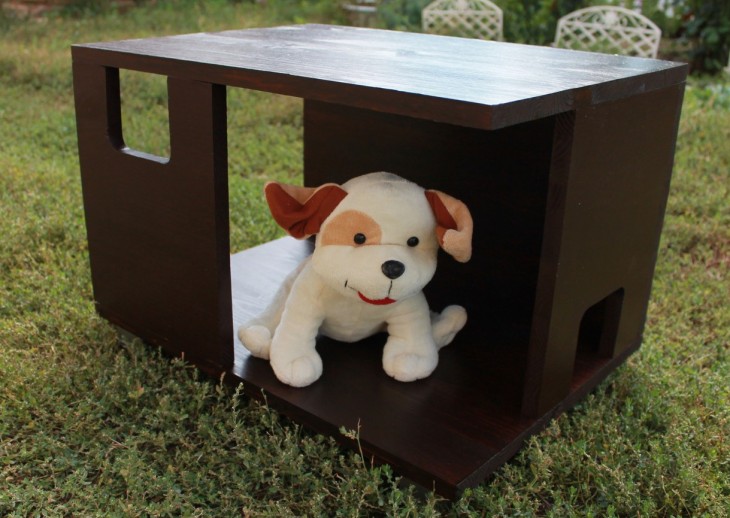
DIY dog house photo