Today it is becoming increasingly difficult to surprise with an unusual gift, especially if it is bought in a store. Although the assortment there is quite impressive, the minus is that we have already seen all this somewhere.
Shops buy goods in batches, so it’s very unpleasant to see the same thing as someone else’s. Another thing is if a gift created by yourself, he has much more advantages than a store item.
Review Content:
Handmade gift uniqueness
Firstly, such a gift will be exclusive, one of a kind, even if someone tries to repeat, the likelihood that they will be similar, is reduced to zero.
Secondly, making a gift with your own hands, especially for a particular person and taking into account preferences, the gift will emphasize his personality. After all, most mass manufacturers think stereotyped.
Thirdly, such gifts always bring warmth, and looking at such a masterpiece the author will be remembered with love.
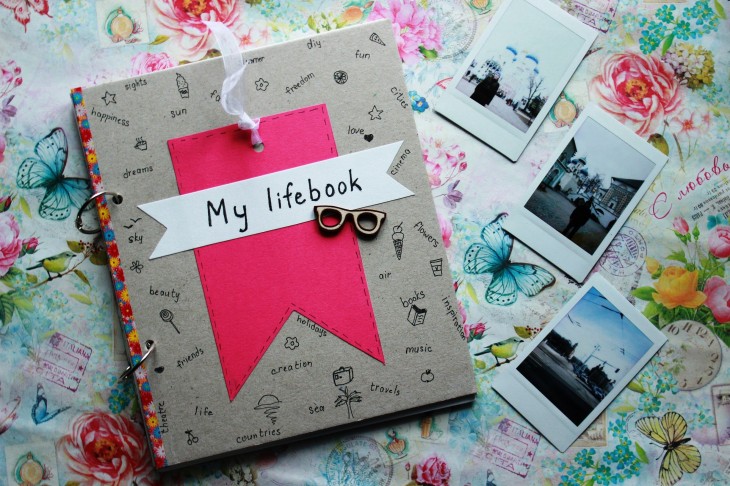
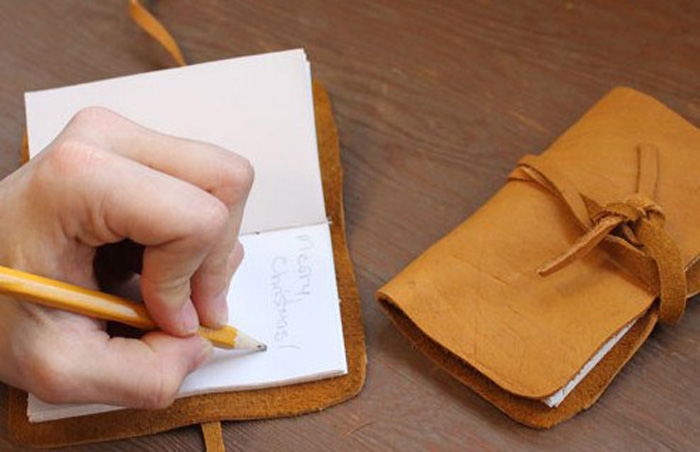
The needlework is now undergoing a rebirth, and in addition to knitting or embroidery, new species appear that are gradually gaining popularity among hand-made fans. One of these areas is scrapbooking or handmade notebooks.
Very often you can see photos of such notebooks on popular social networks. And such a gift will be welcomed by colleagues, housewives, and children. Notepads are never redundant. Making them yourself is not so difficult.
We offer several step-by-step instructions on how to make a notebook with your own hands. And even those who have nothing to do with needlework can make it.

And if, nevertheless, your labor lessons at school were not your favorites, then you can use our tips. As a result, you get a beautiful notebook with minimal time costs.
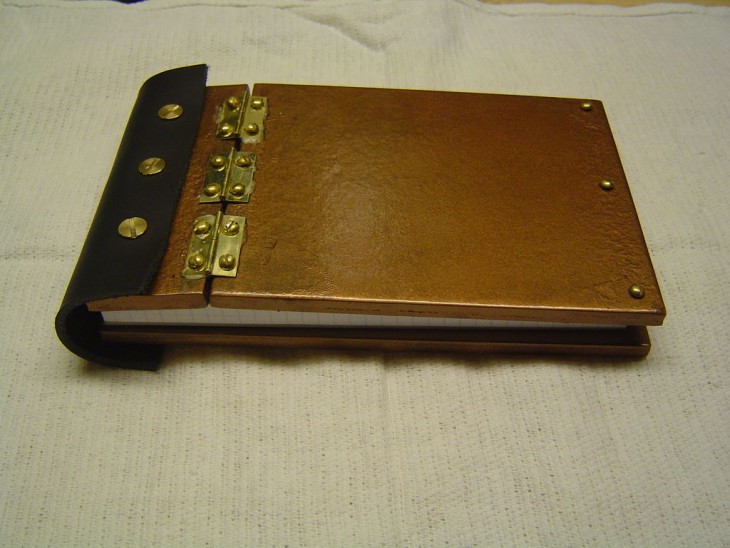
Office at home
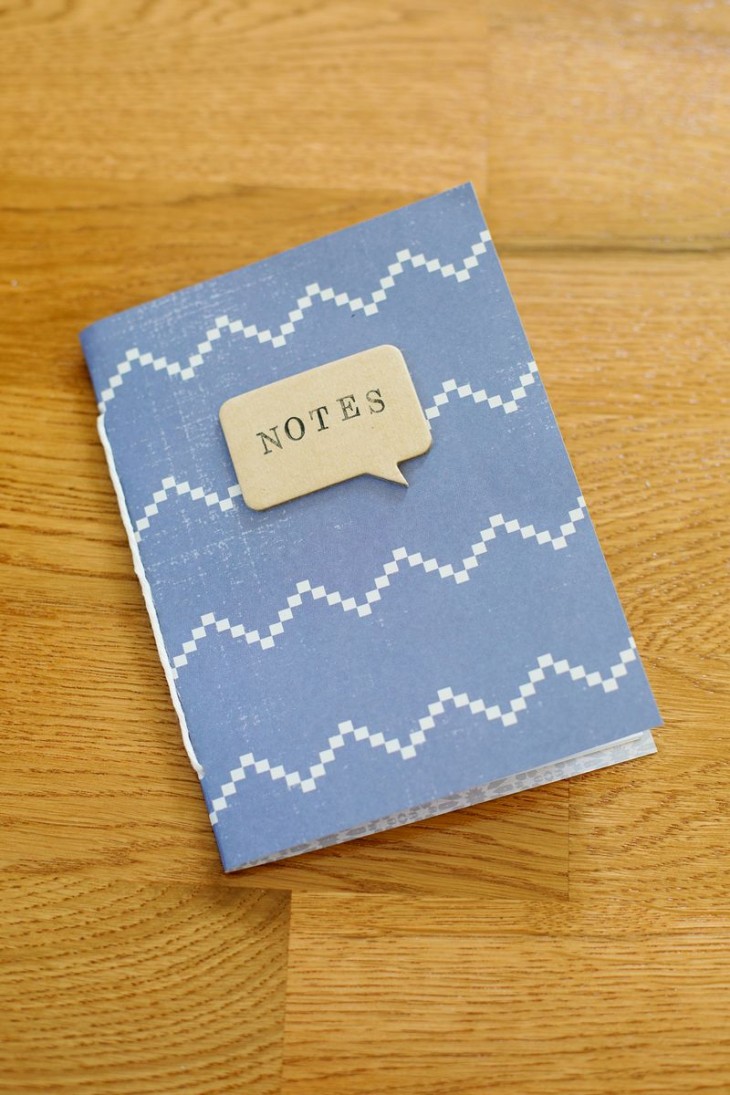
Notepad, a master class, which is presented below, looks like a regular notebook. Making such a notebook is quick and easy.
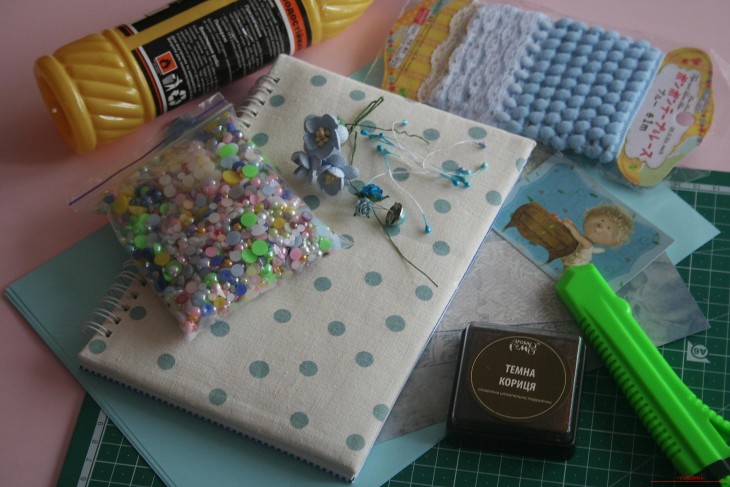
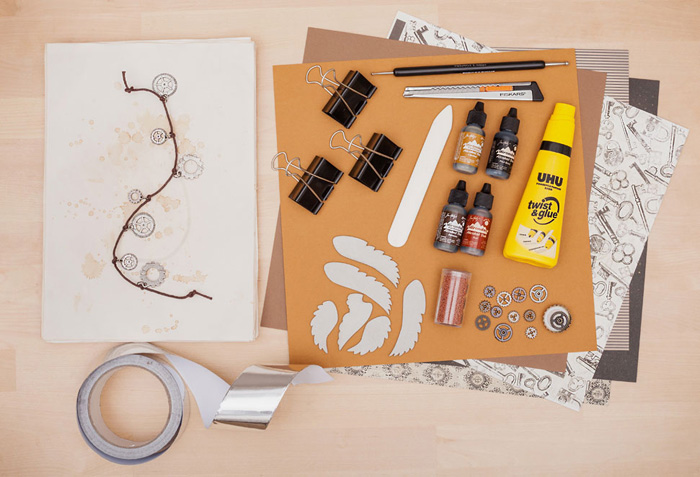
So, for its manufacture you will need:
- A4 paper
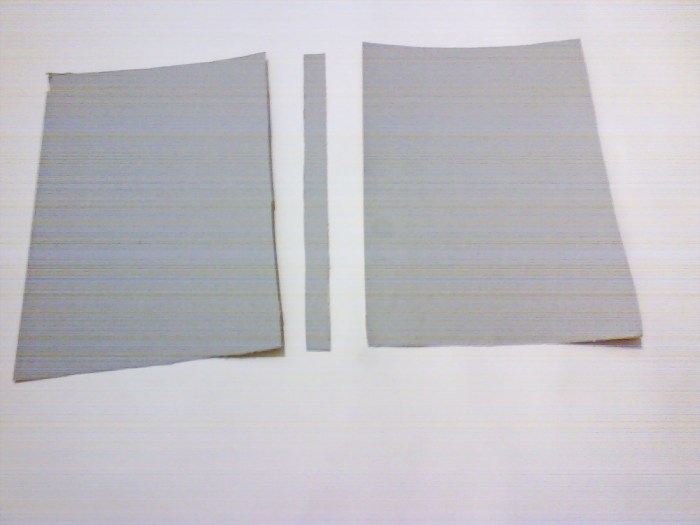
- cardboard;
- hole puncher;
- awl;
- office clothespins;
- stationery knife;
- wooden plank;
- ruler;
- needle and thread;
- glue;
- sandpaper or nail file;
- scrap paper, decorative tracing paper, fabric, lace, beads, etc. (for decoration).
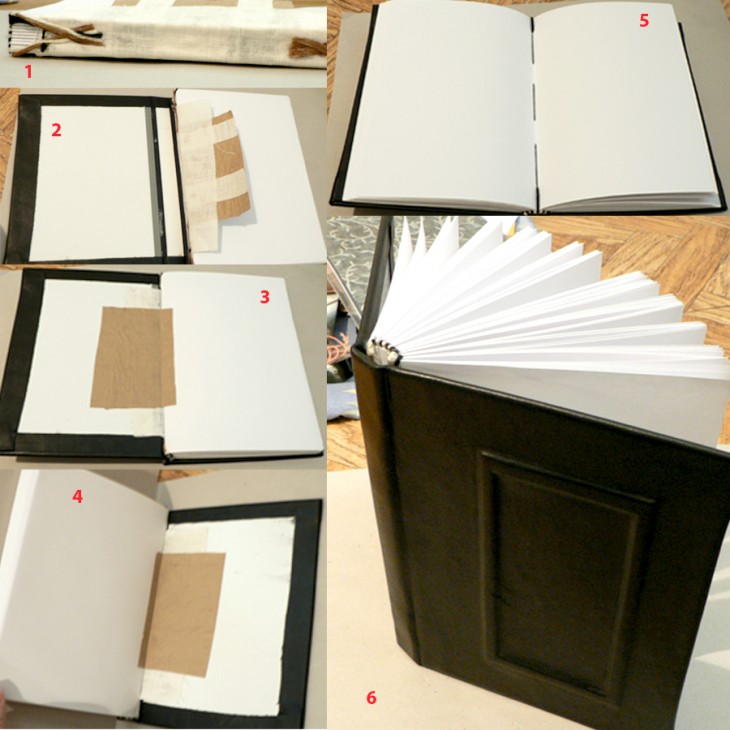
Progress
We take several sheets of A4 format, the amount depends on your desire and the power of the hole punch.
Fold all the sheets in half, you can iron the fold place with a ruler, so it will be smoother and more accurate. We put them in one another to get an A5 booklet.
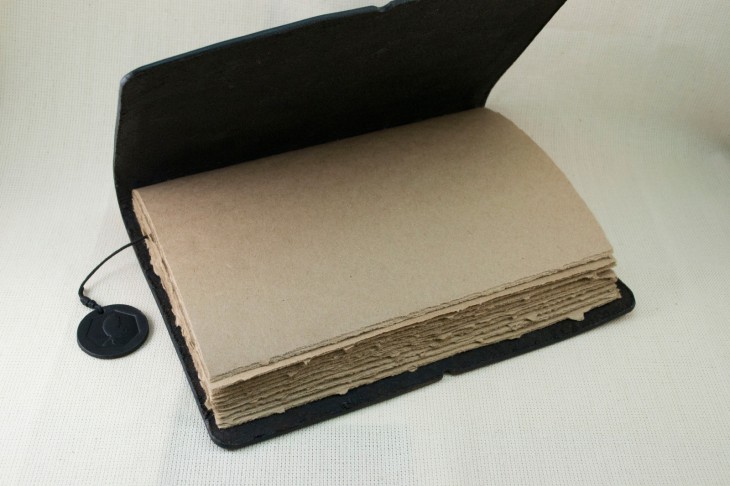
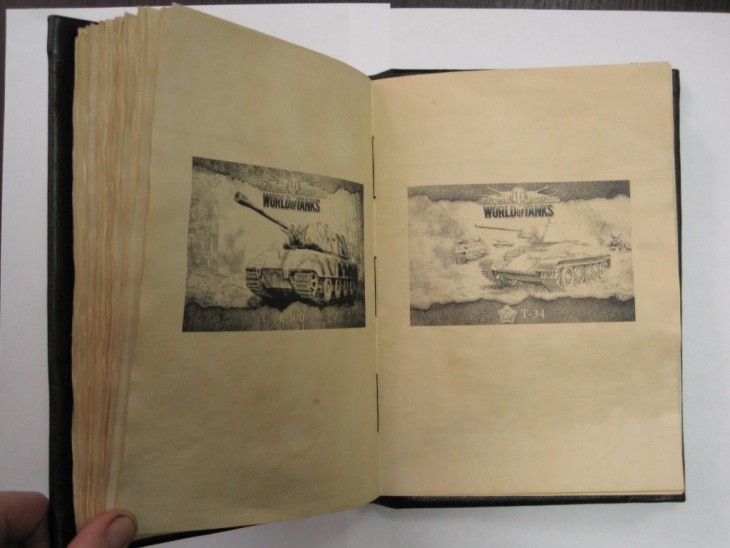
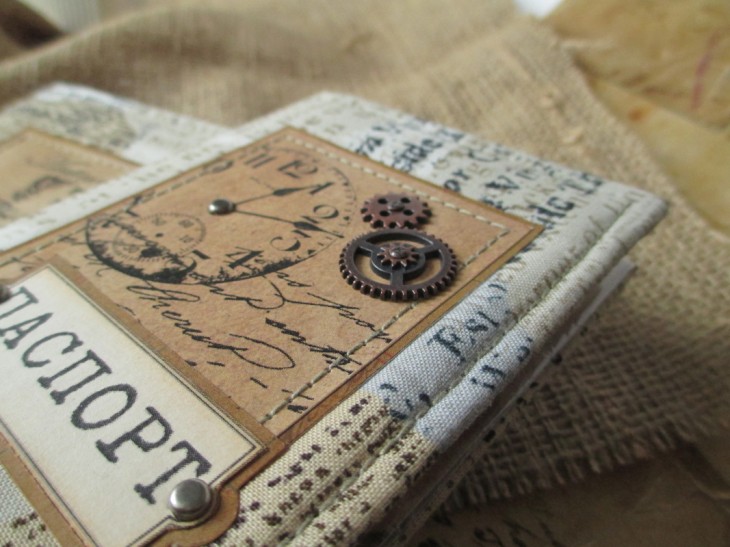
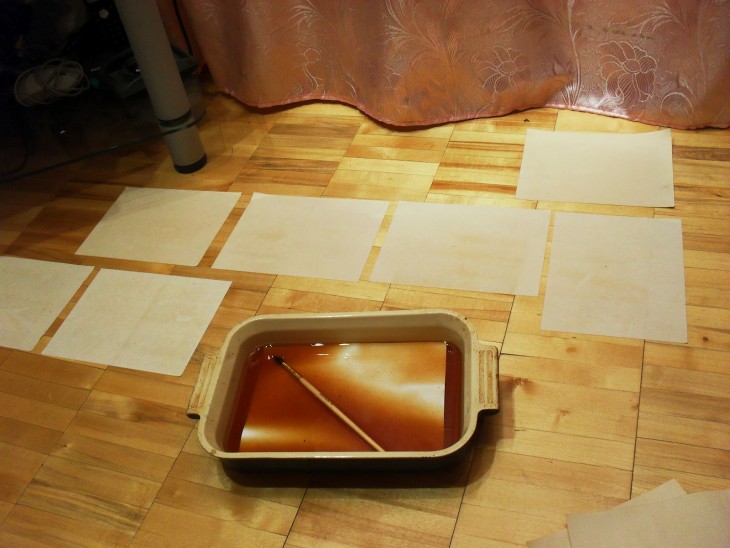
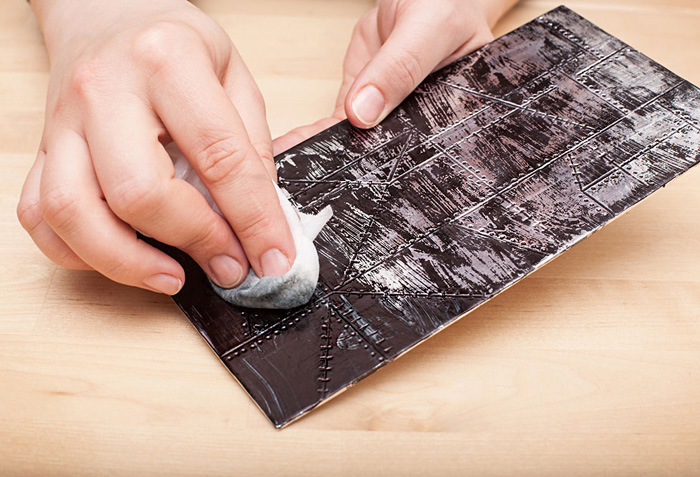
Tip: notebook pages can be decorated in a vintage style. To do this, before assembling the notebook, they need to be soaked in coffee or tea for 30-40 seconds, and if creases are made on them in advance, the effect of antiquity will be even brighter.
For the next action we need a hole punch. We insert folded sheets from the bend side into the hole punch, so that we get semicircular holes along the edge. Next, open the notebook and see that all the sheets are broken.
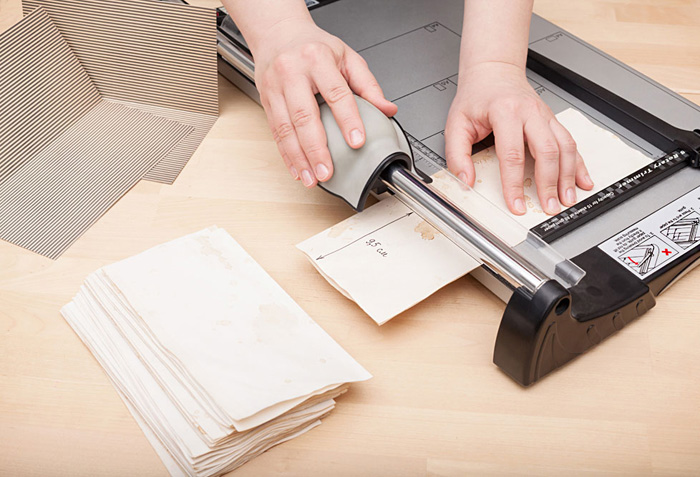
If the pages are not uniform when the notebook is closed, this needs to be fixed. We put a wooden board and cut the sheets with a clerical knife. The cut edge must be treated with a nail file or fine sandpaper to remove all roughness.
Note!

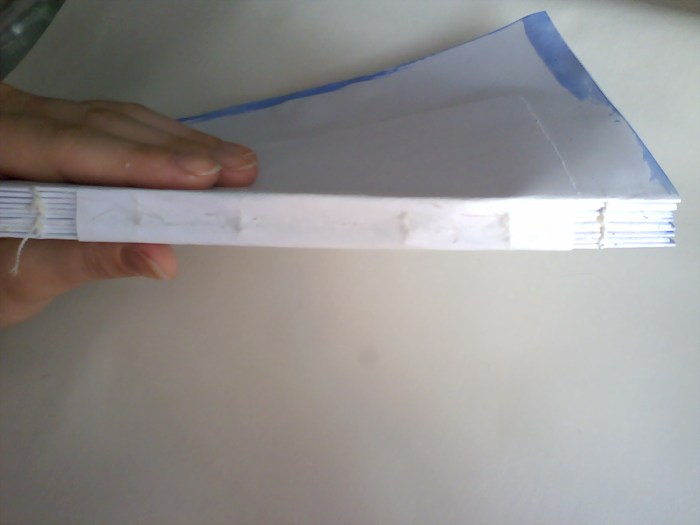
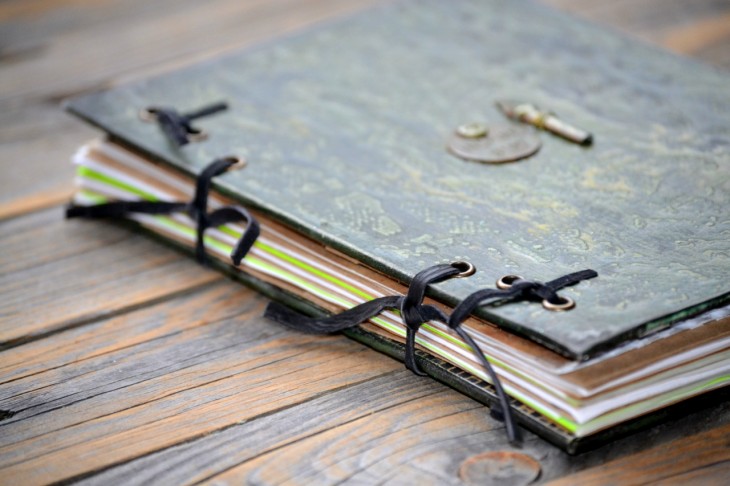
We fasten the notebook with an ordinary thread, for strength it can be folded twice. We insert the thread into both holes from the inside, pull it out and pull it well. We tie a knot and cut off the excess thread.
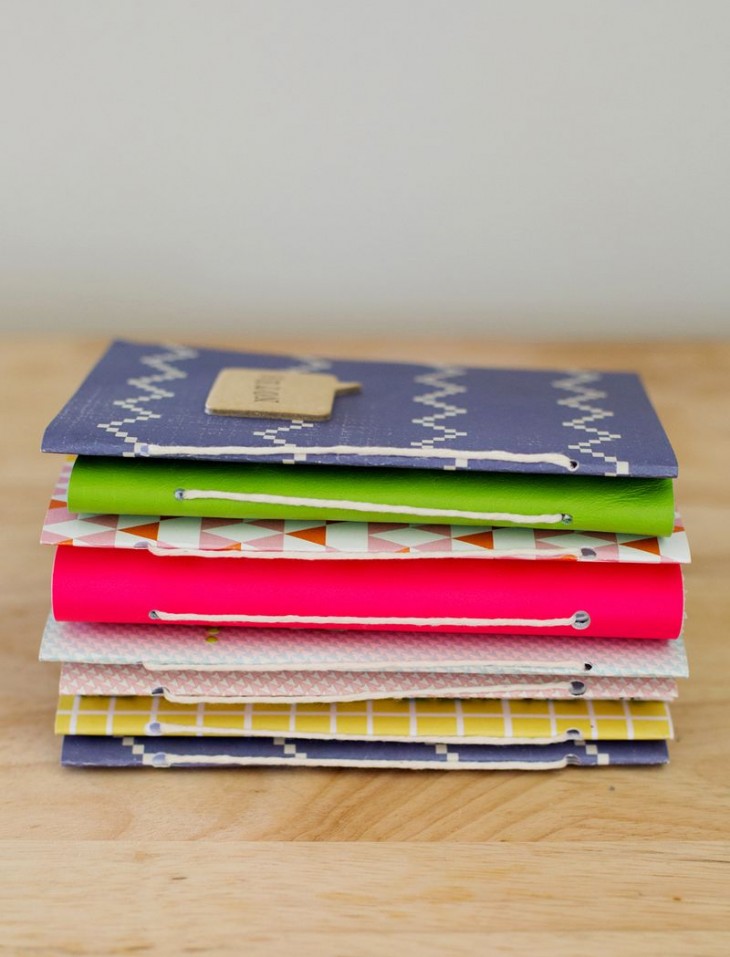
It is worth considering that for a full notebook you will need at least several such mini-notebooks. After we get the desired thickness, we lay a stack of several notebooks on both sides with cardboard, and we attach the spine with office clothespins.
The rest should be placed under the press. Thick books are perfect for this role. A notebook under pressure should spend some time (about 3-5 hours). In any case, the more he will be there, the better it will hold together.
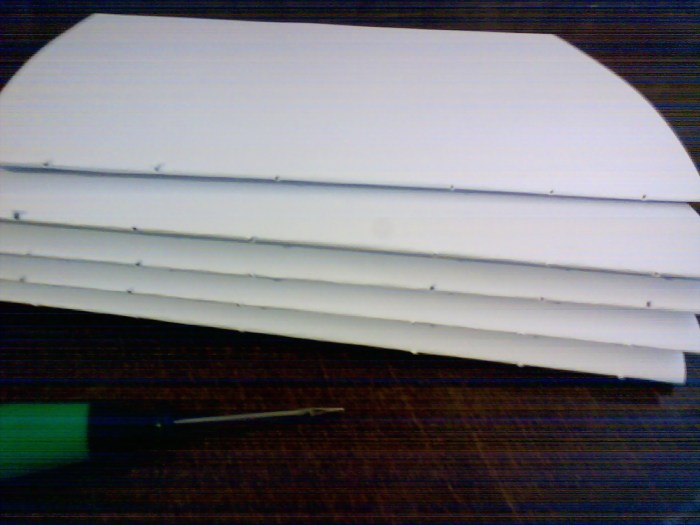
The next stage is the second firmware of an entire notebook. Making holes with a hole punch at such a thickness will be problematic or even impossible. Of course, you can divide this process into several stages, but there is a risk that the holes will be in different places and this can ruin the whole idea of the notebook.
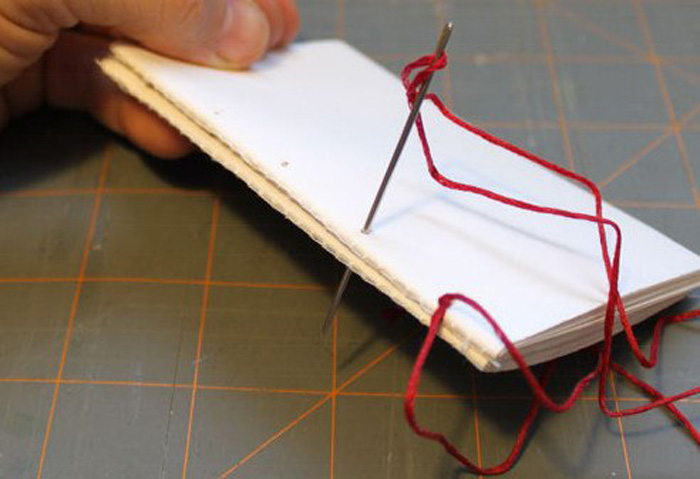
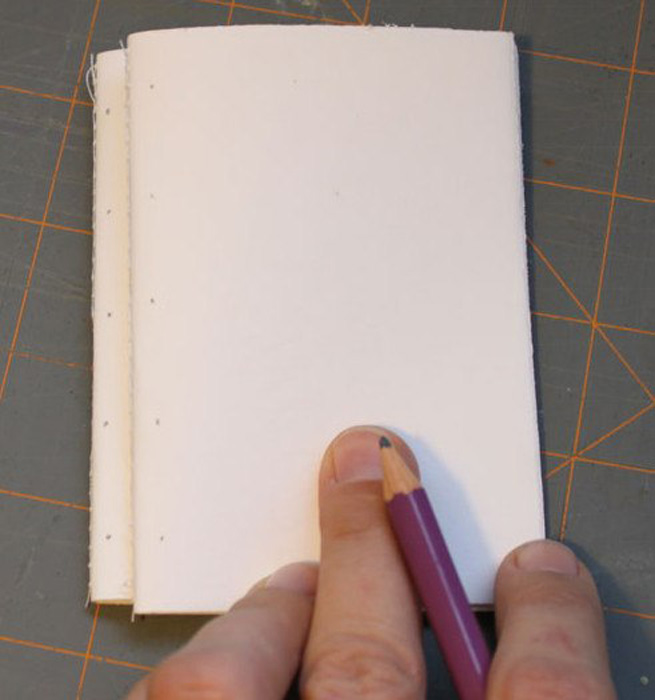
But there is a way out. To do this, on the top notebook, you need to use the ruler to make notes for future holes, and then carefully pierce them with an awl through each paper layer.
Note!

So that the notebooks do not slip off one another, they should be fixed with clerical clothespins, slightly departing from the edge of the spine.
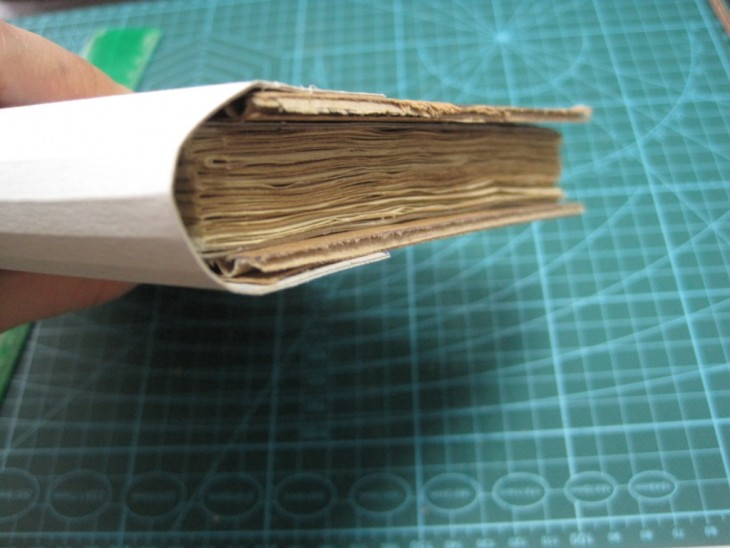
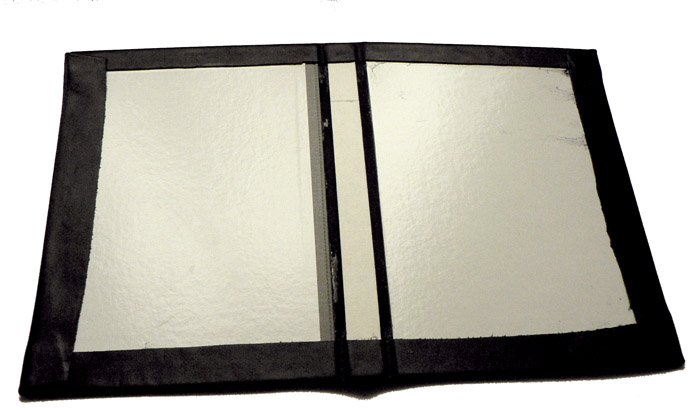
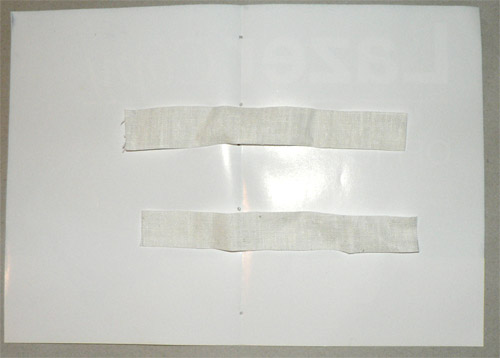
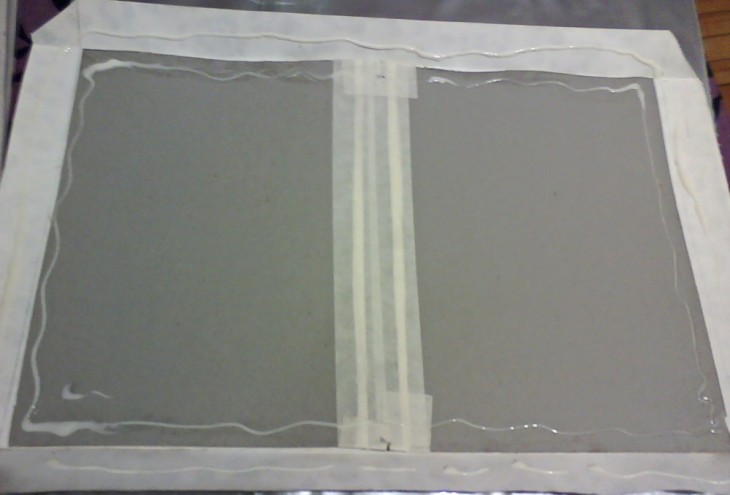
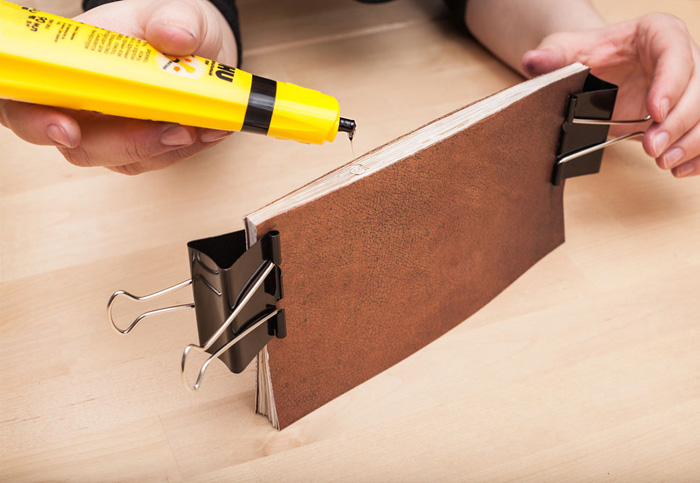
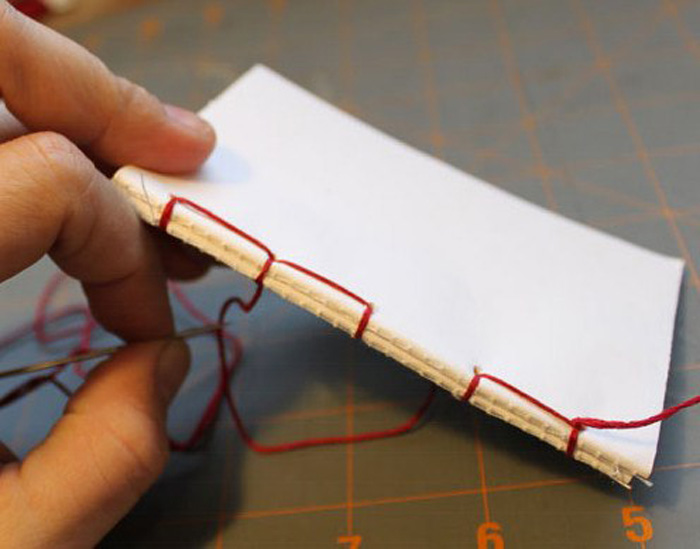
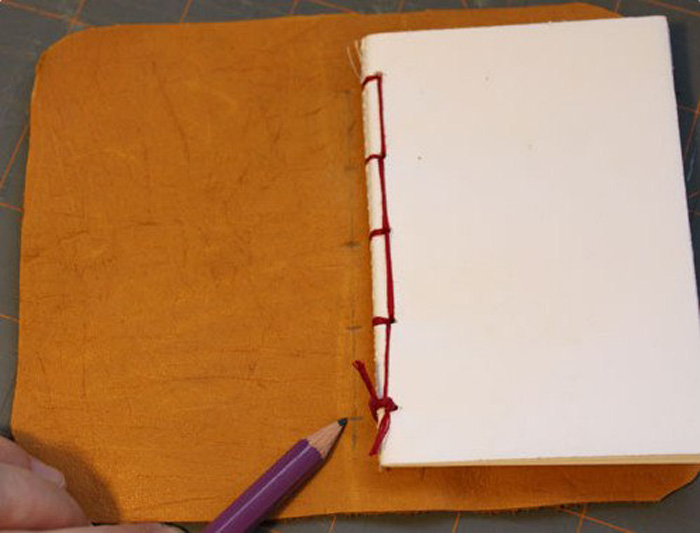
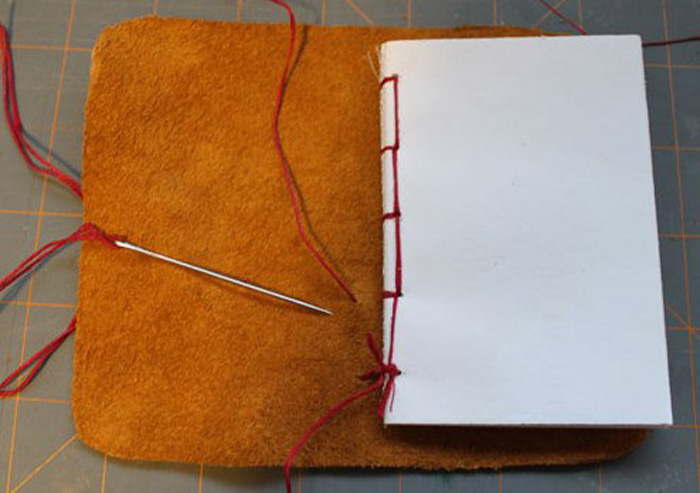
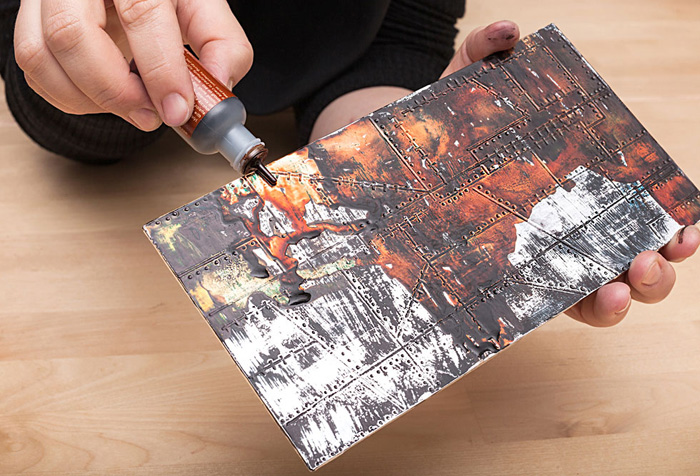
After that, you should flash all the notebooks with a needle and thread through the holes made. It is better to fasten the thread with several knots. Next, a sheet of cardboard should be glued to the stitched root, and fixed with office clothespins.
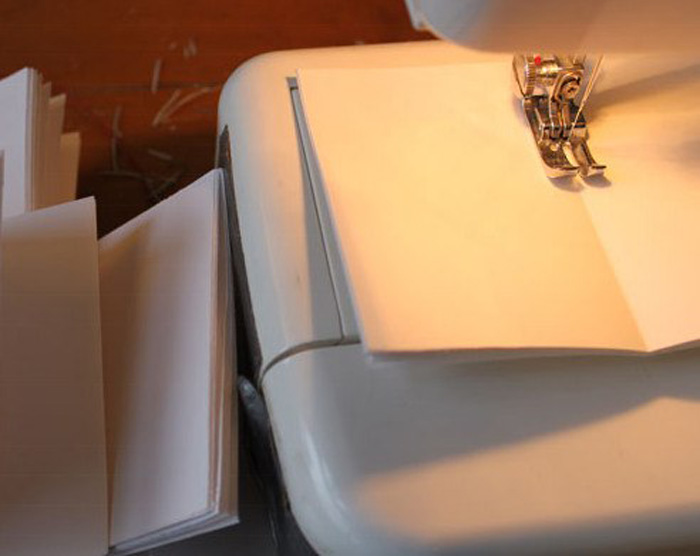
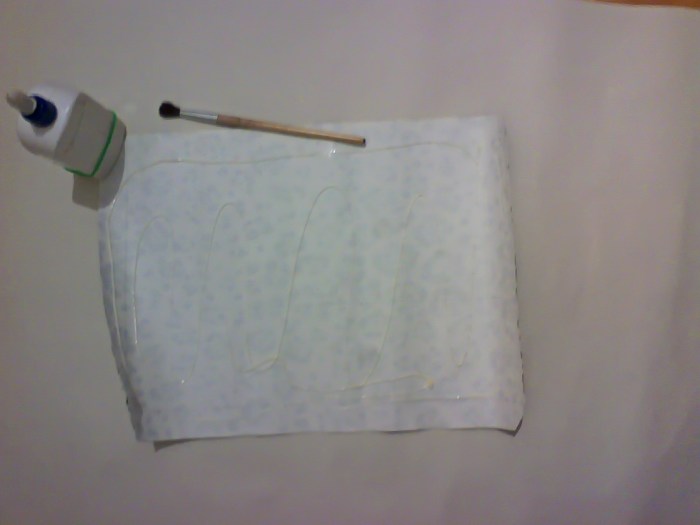
During gluing, make sure that the glue fills each gap between sheets of paper. Next, you need to remove the remaining glue, and send it under the press until the notebook is completely dry.
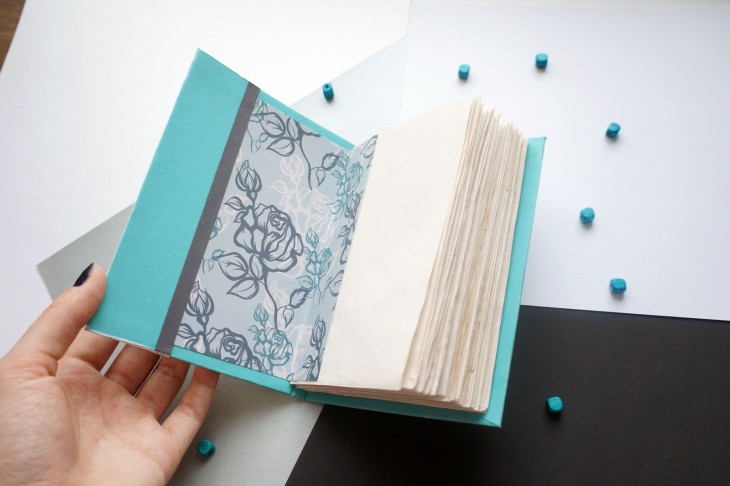
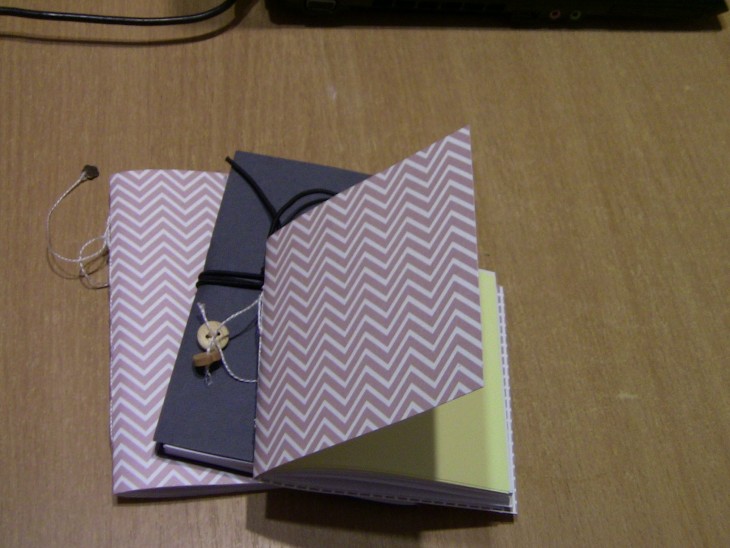
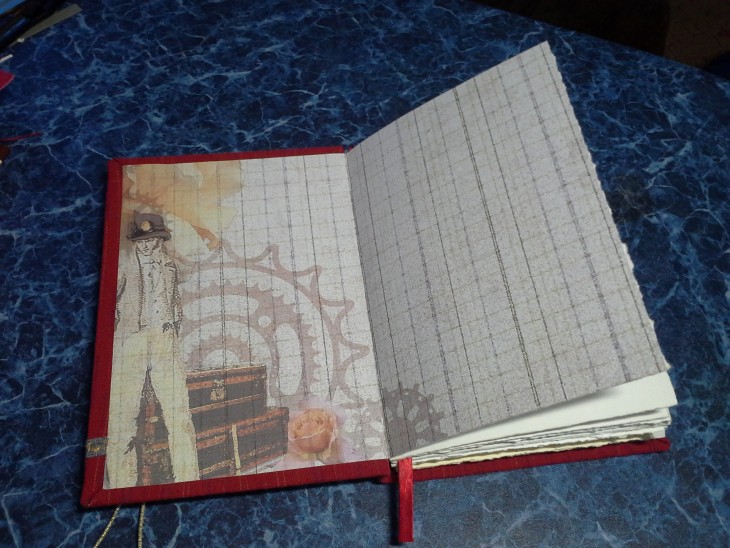
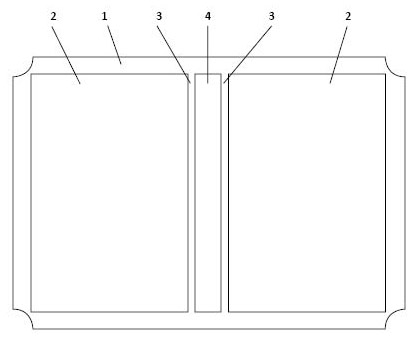
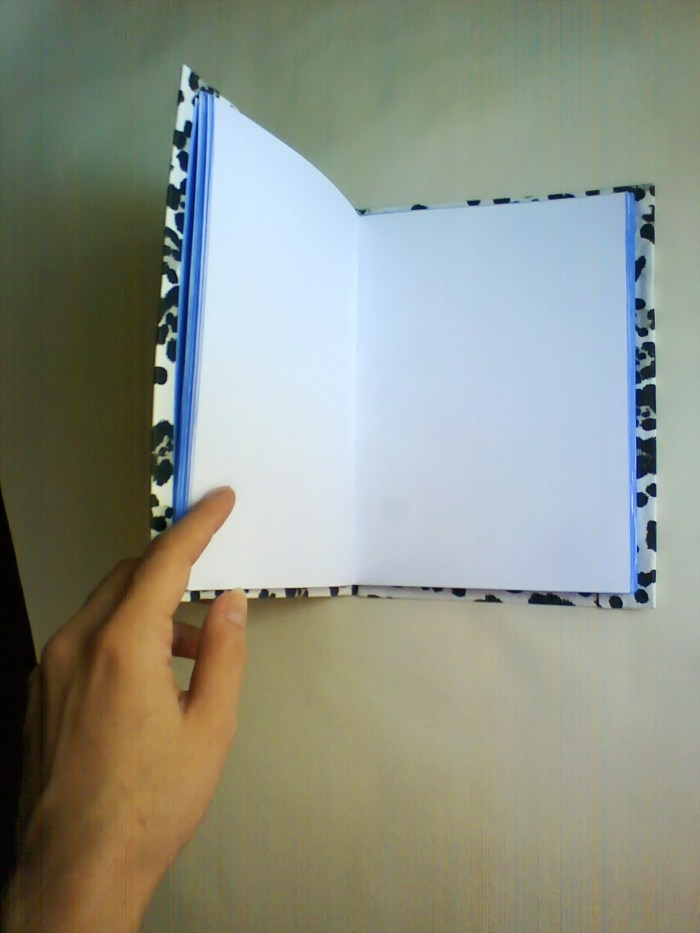
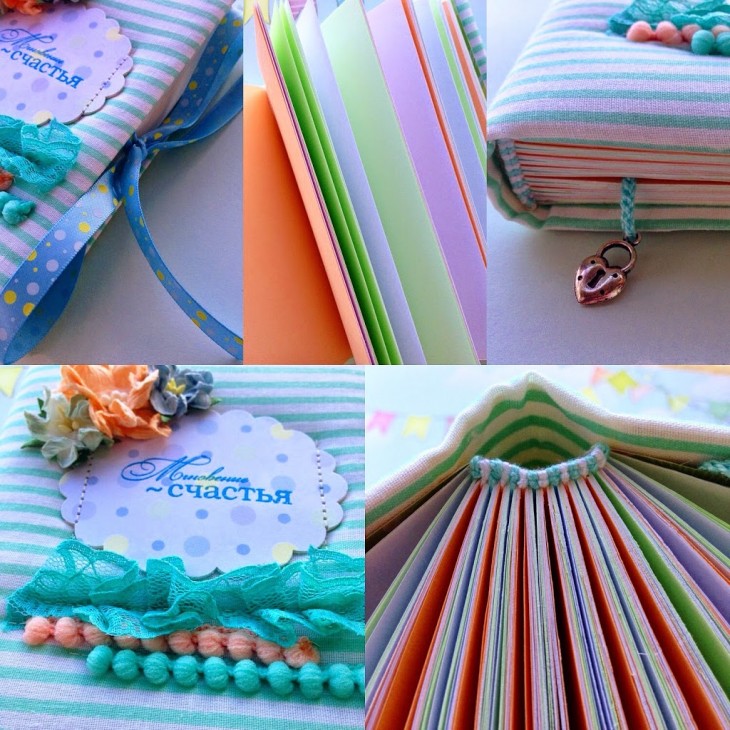
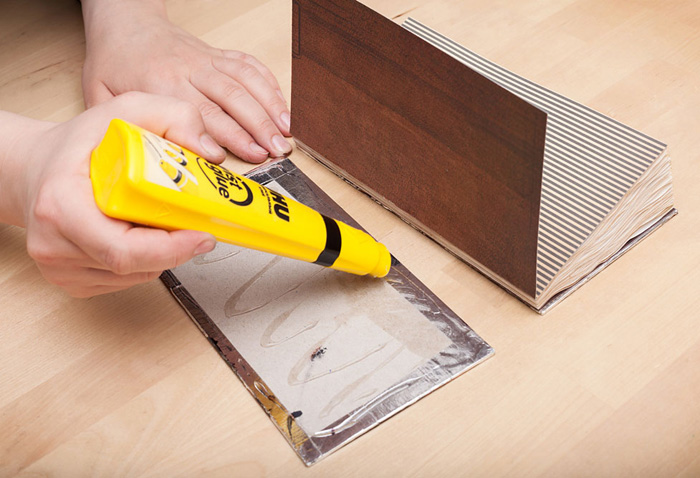
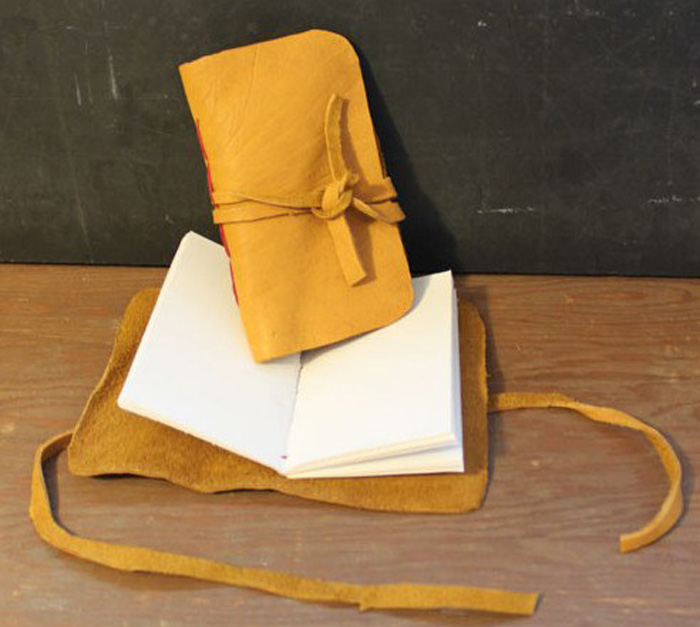
As soon as the glue dries, it is worth starting the production of bookends from color cardboard, scrap paper or decorative tracing paper. They should be glued on the inside of the cover, and a hard root should be made from cardboard, but it should be glued already from the outside. The front side of the notebook is decorated with your favorite techniques.
Tip: To make a beautiful flyleaf, it is best to use scrap paper. You can buy it at a bookstore, office, or at a craft store.

Note!

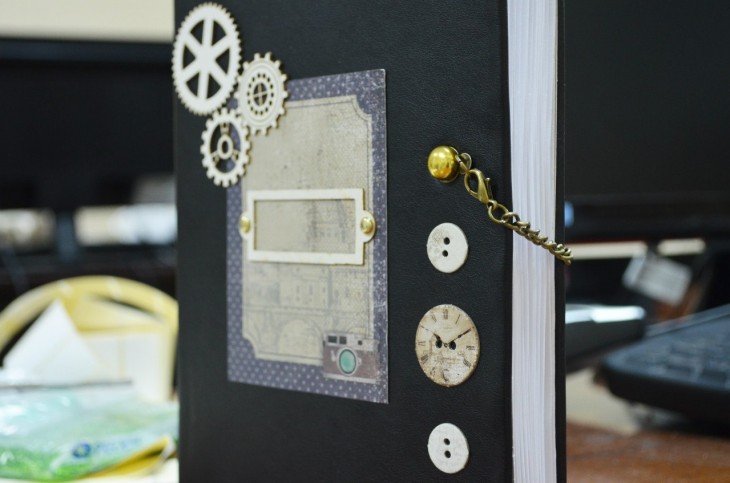
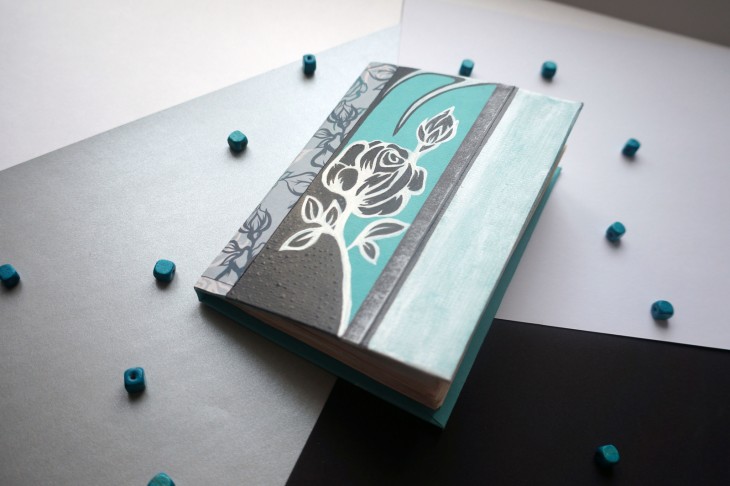
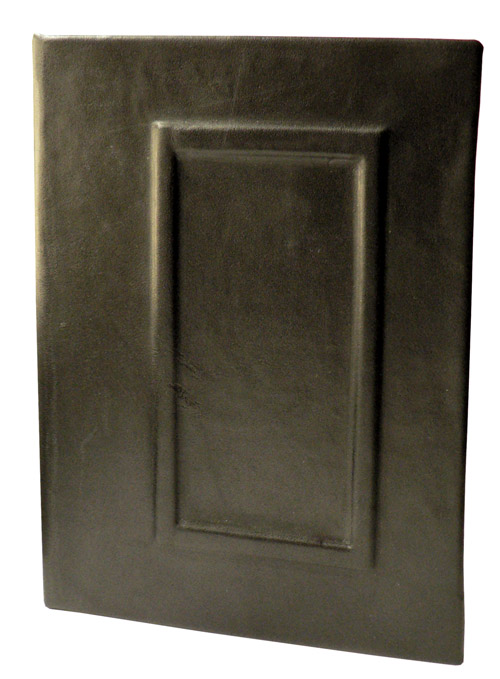
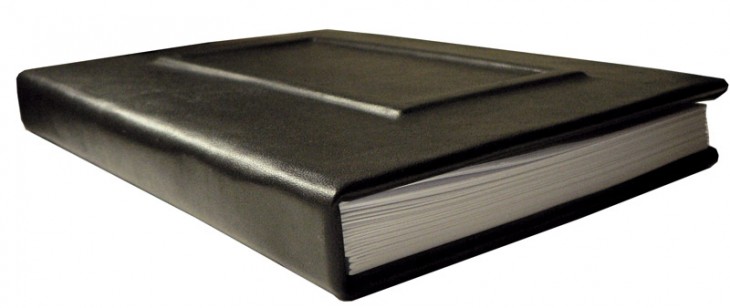
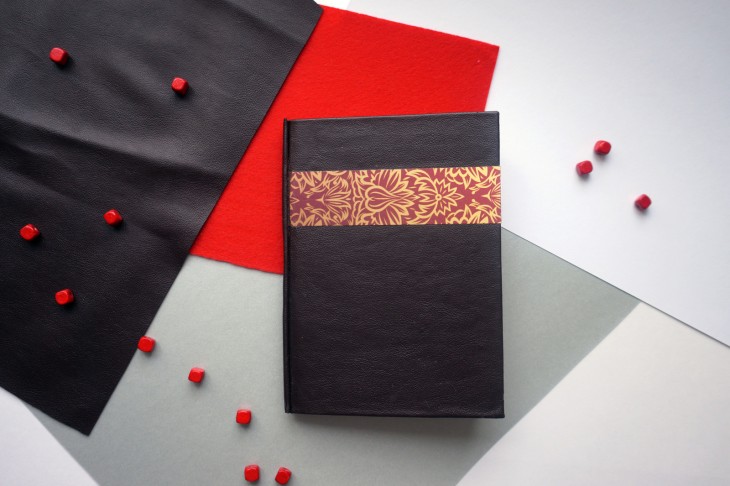
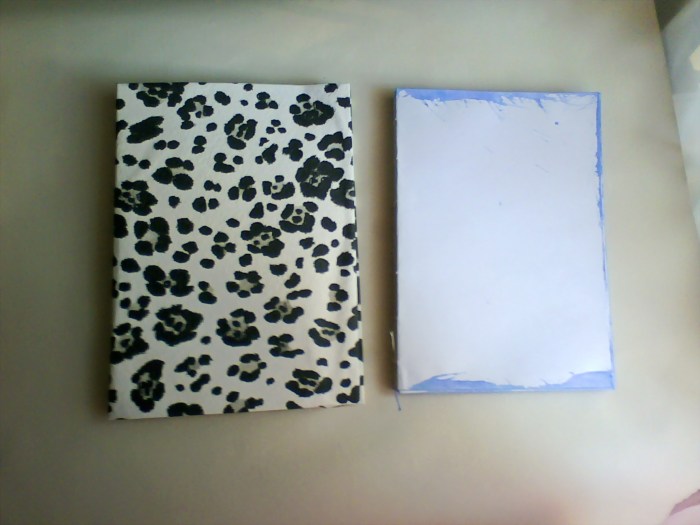
The cover is everything
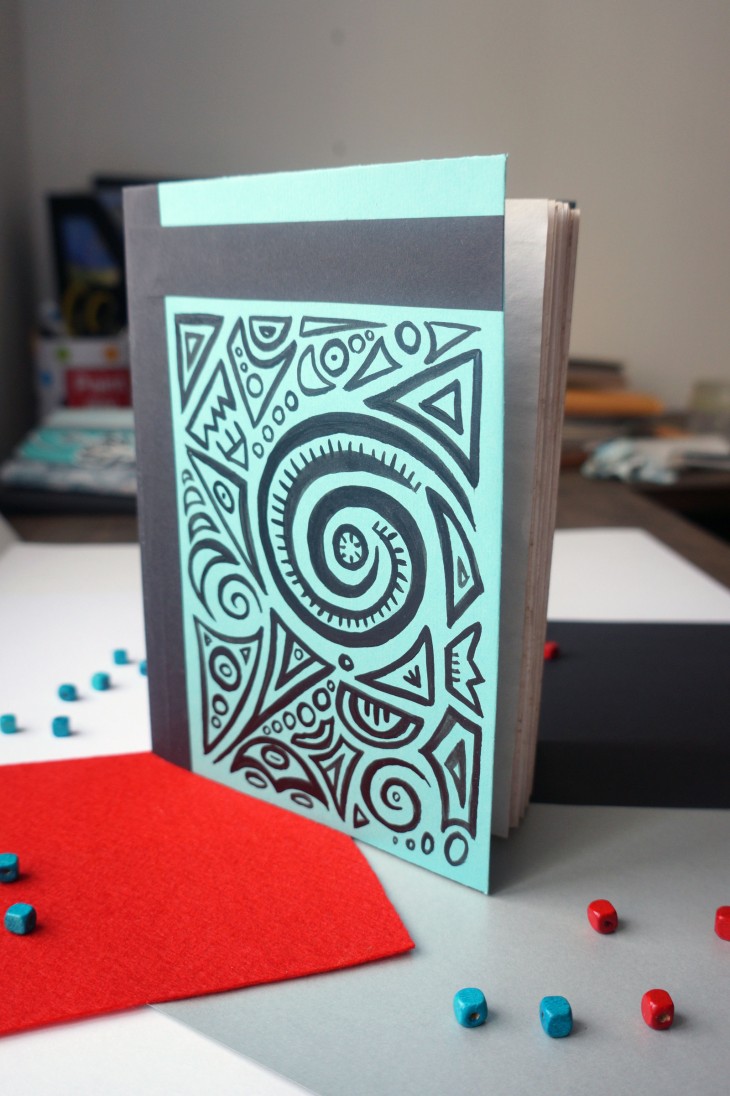
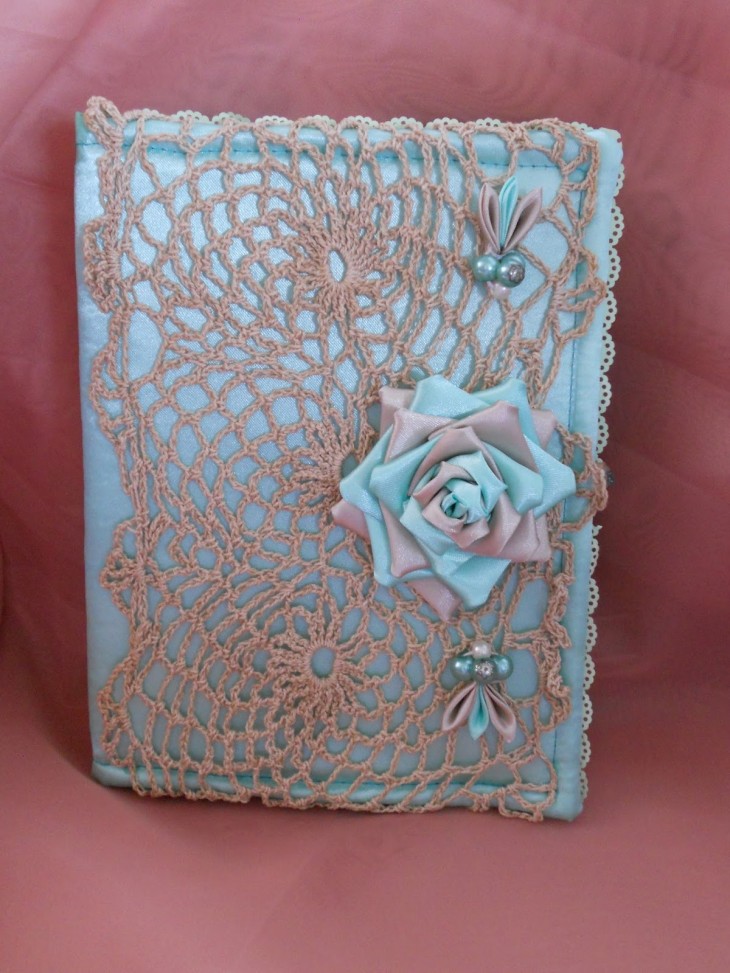
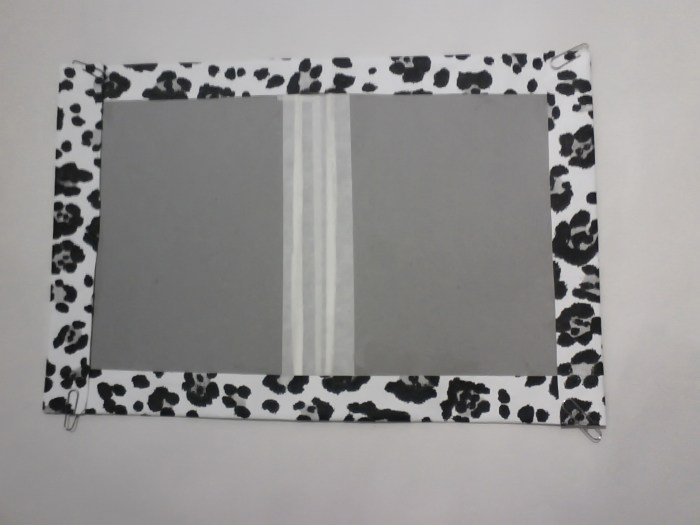
Making a notepad out of paper is another half of the story, another part of the work is to design its facade. After all, the first thing we see when looking at a notebook is the cover, and by it we decide whether we like this thing or not, whether we want to open it or not.
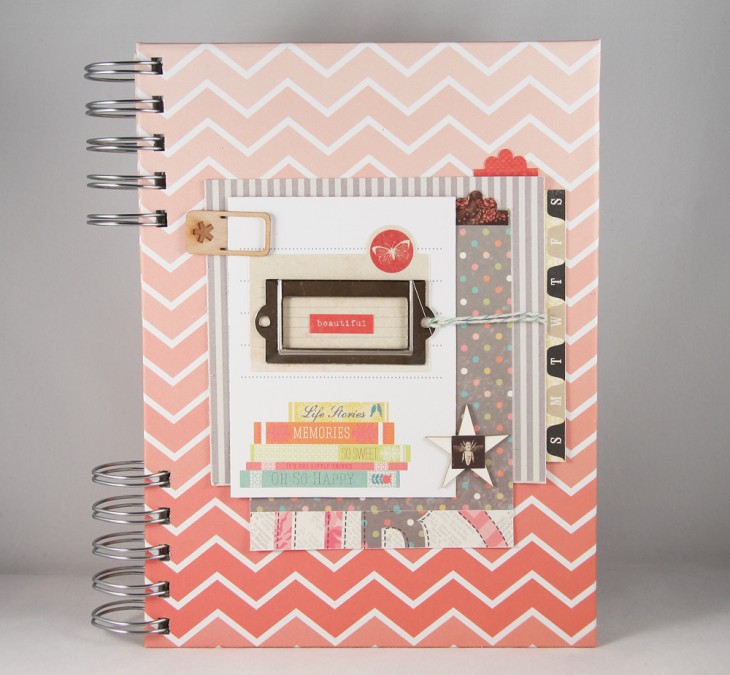
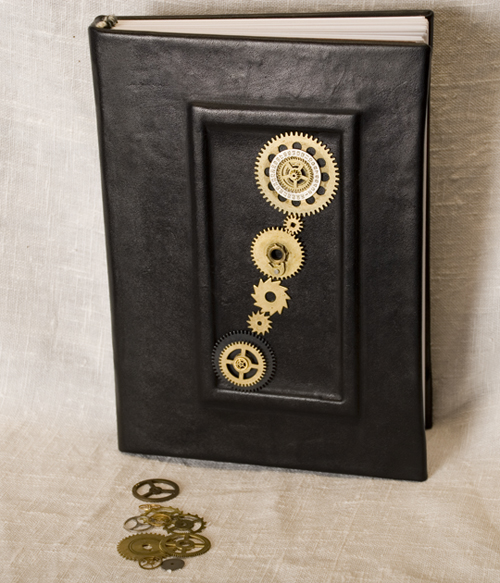
You can decorate a notebook cover in several ways:
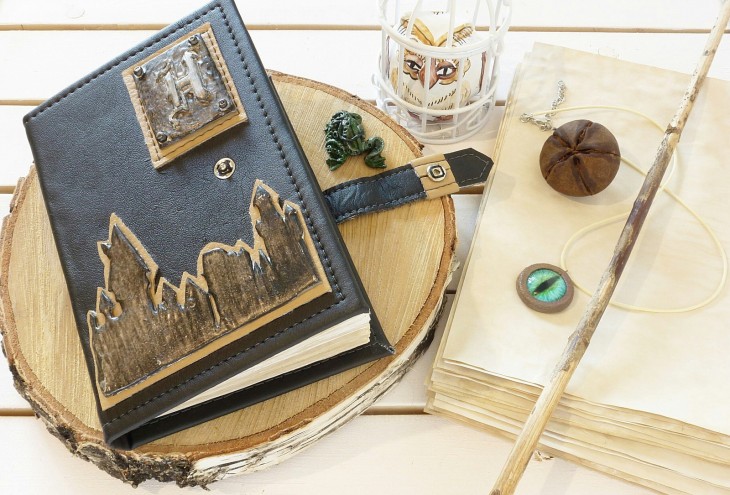
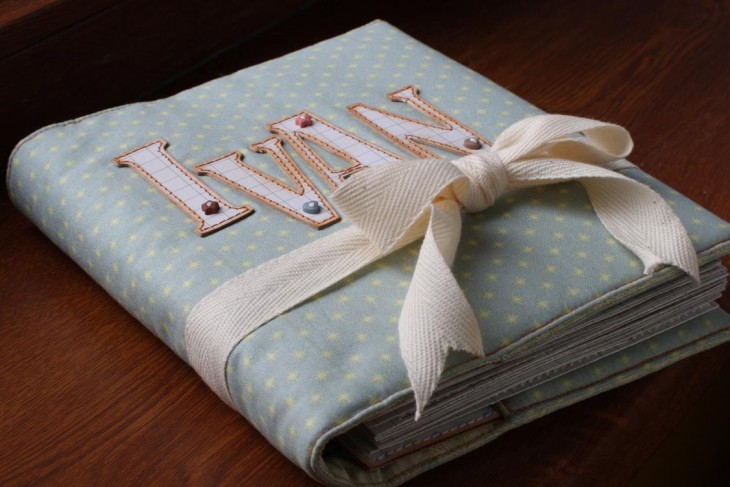
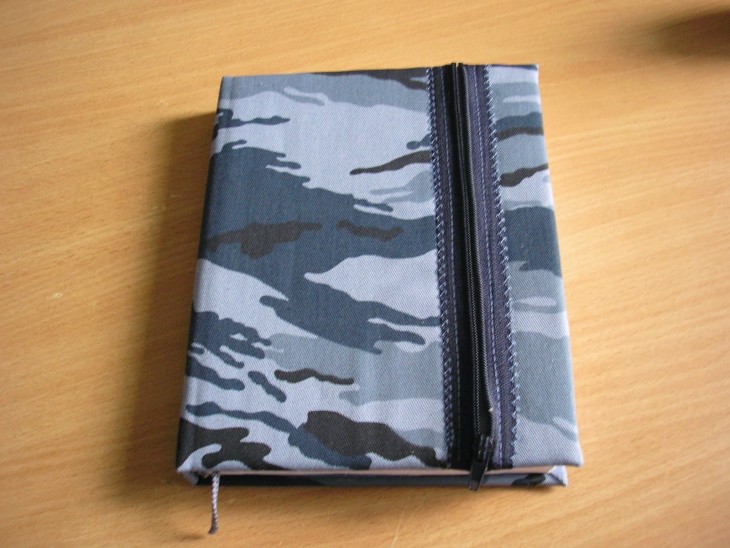
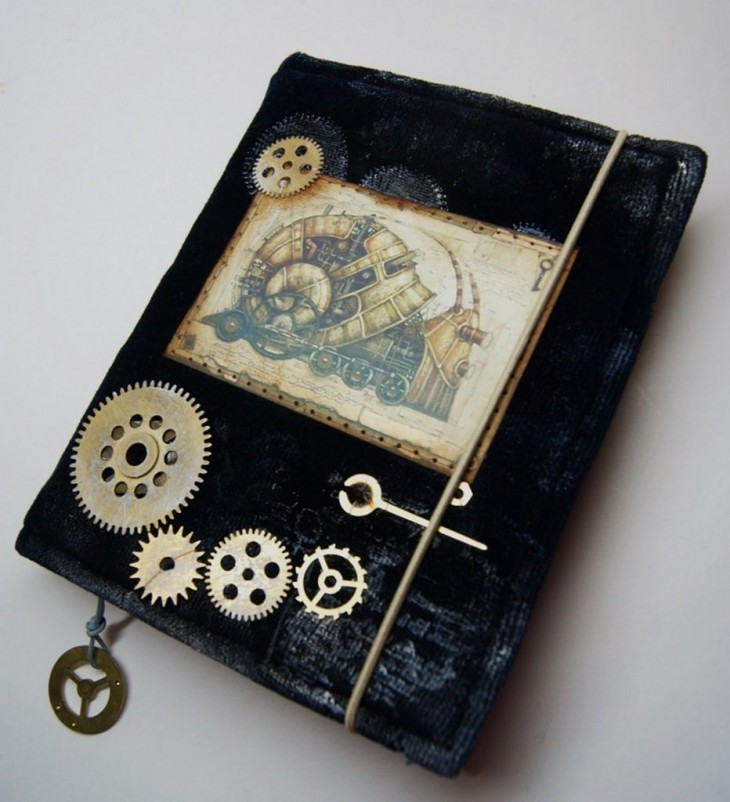
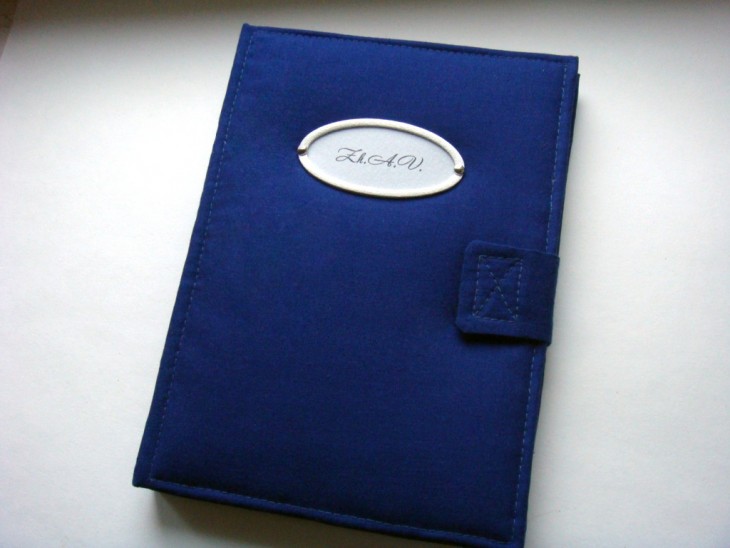
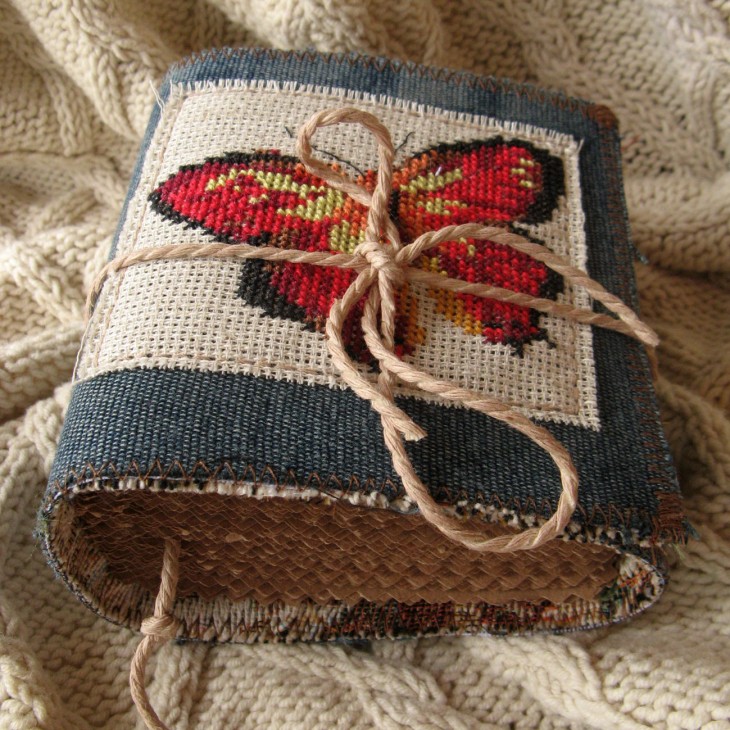
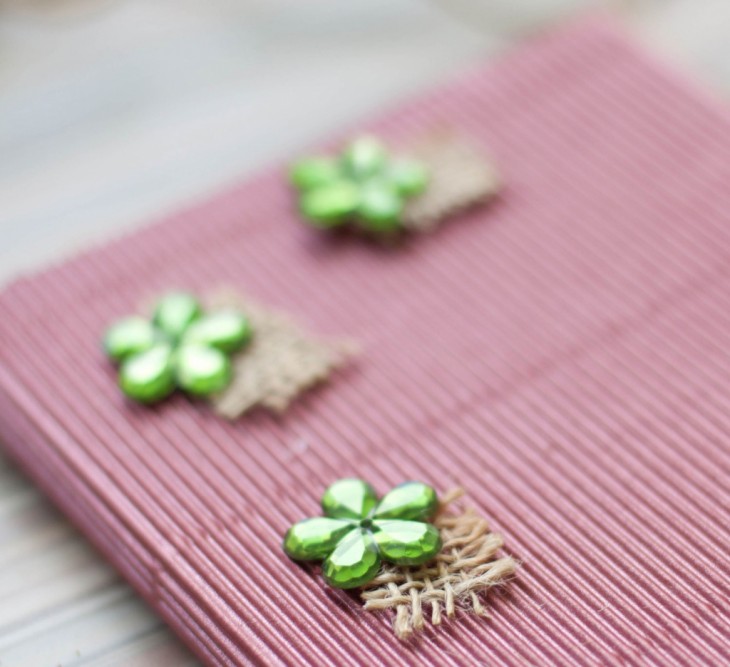
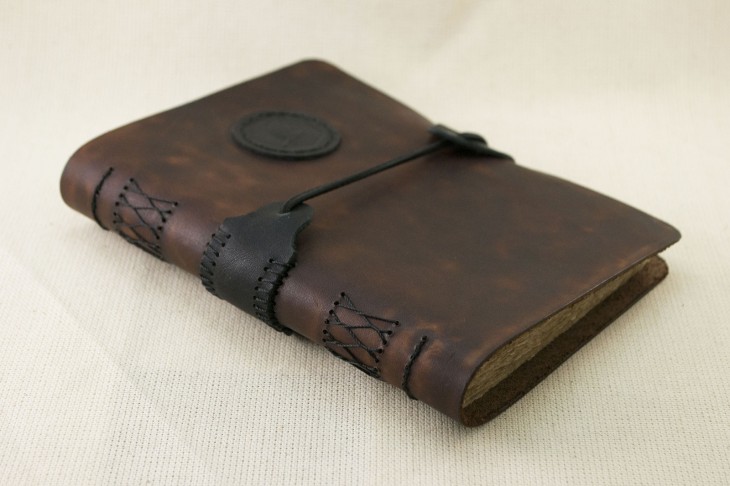
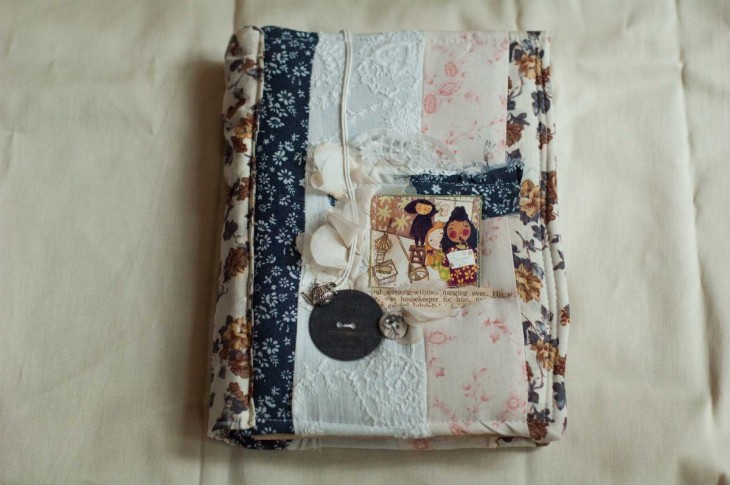
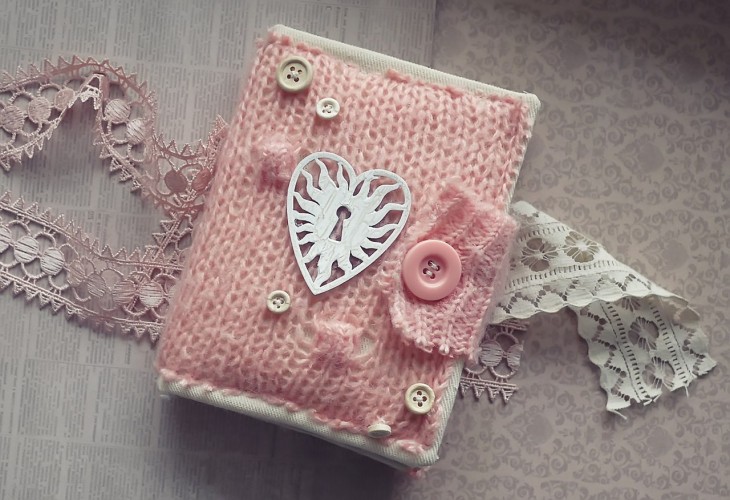
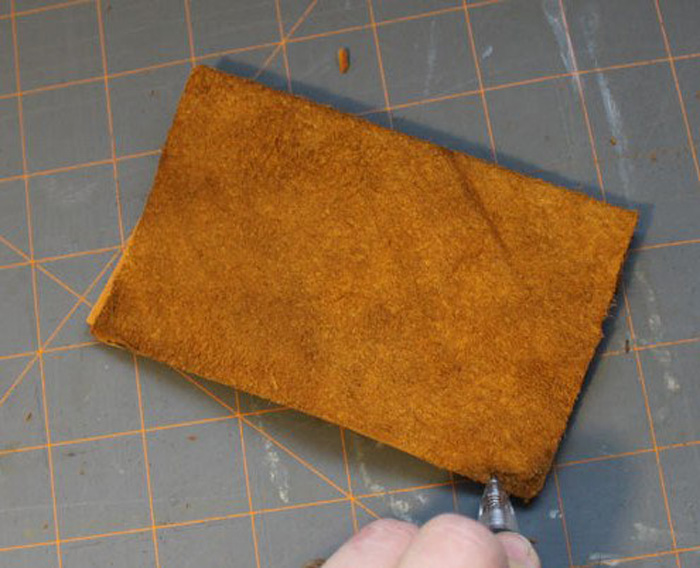
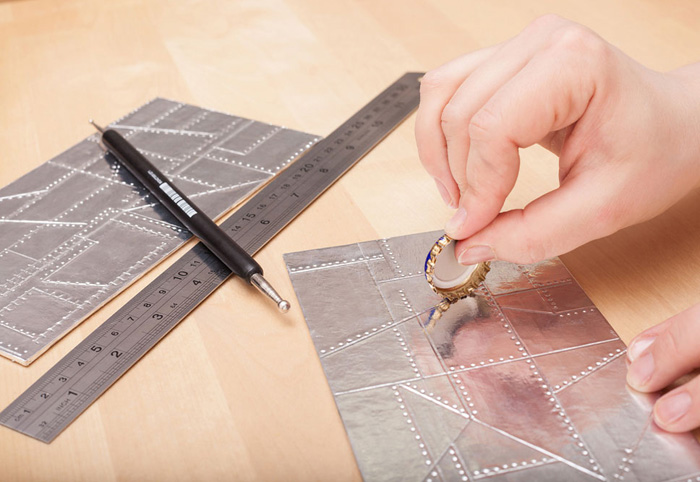
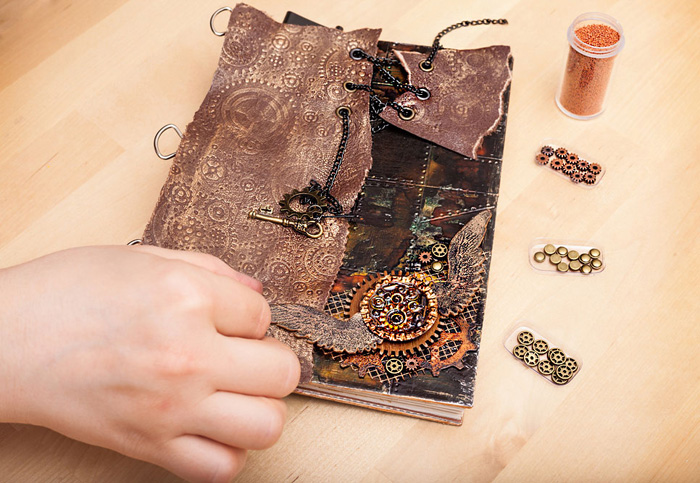
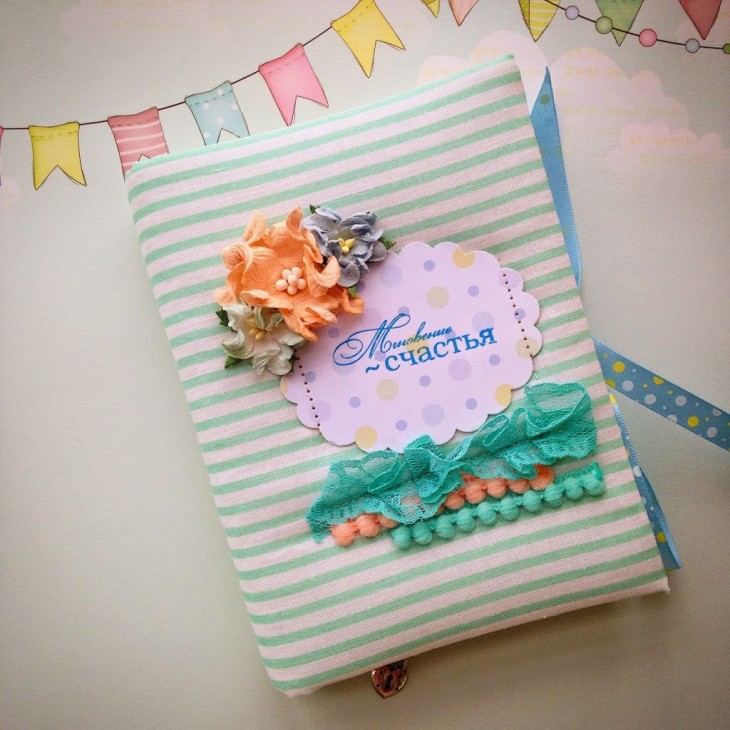
Use ready-made sets of scrap paper. Independently create elements for notepad decoration: you can use almost all fabrics of different composition and texture, lace, leather, rhinestones, beads, clippings from magazines and newspapers, photographs, shells and sea pebbles and much more that can be found in any home!
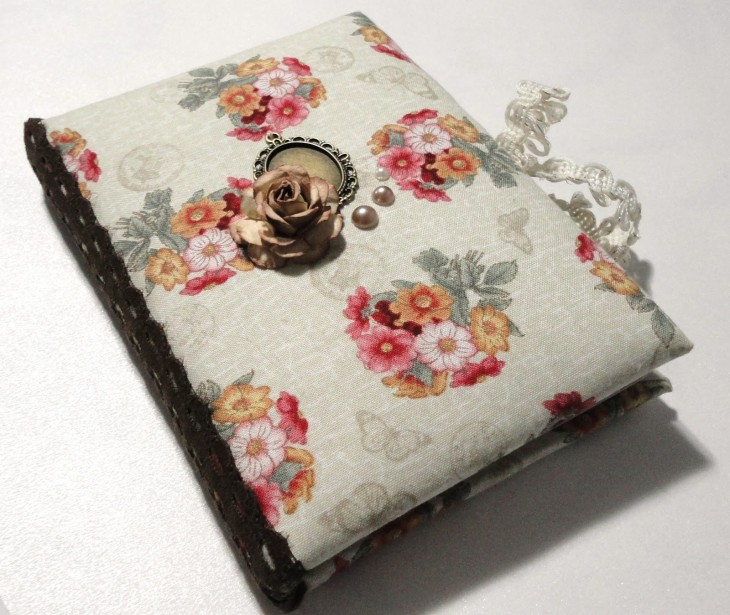
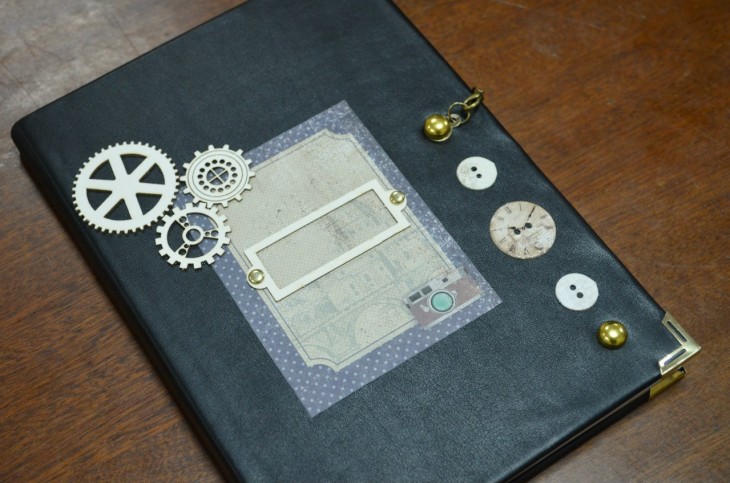
Here are just a few examples of how to creatively decorate a notebook:
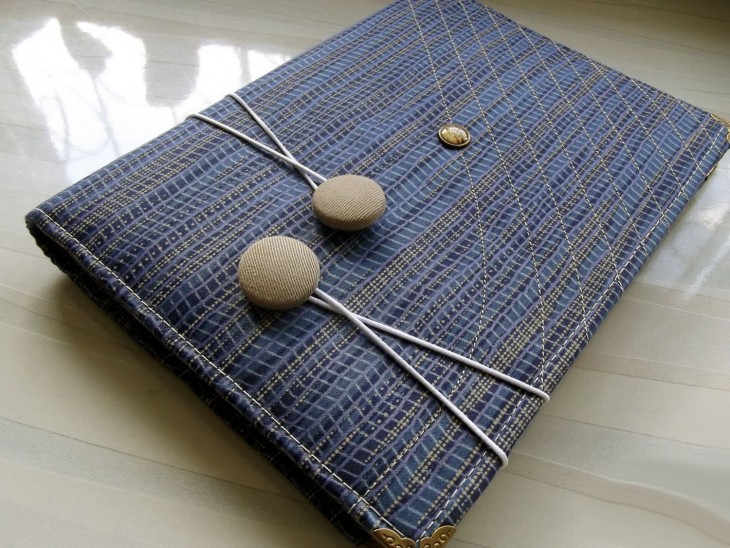
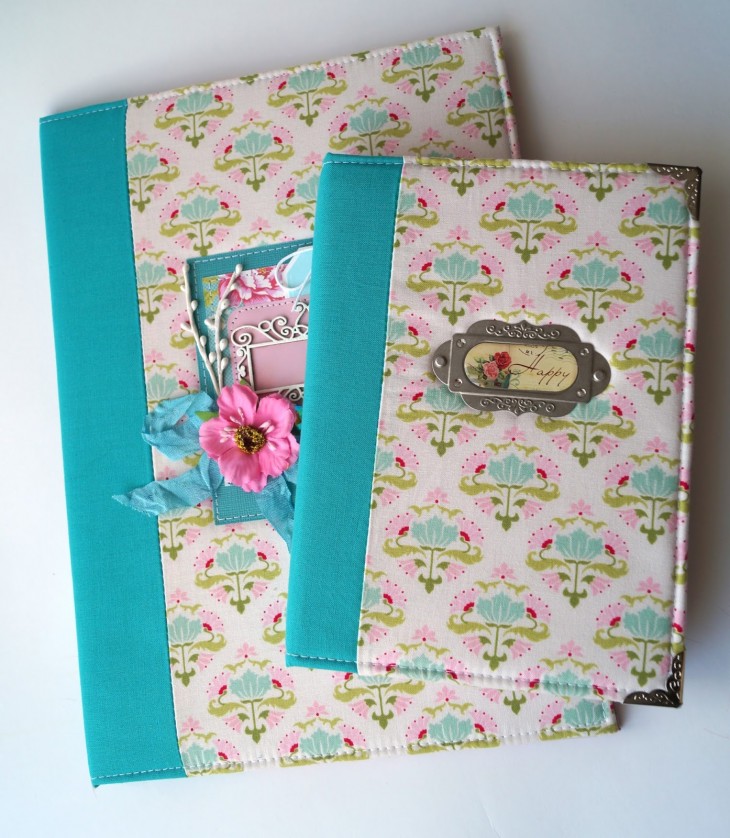
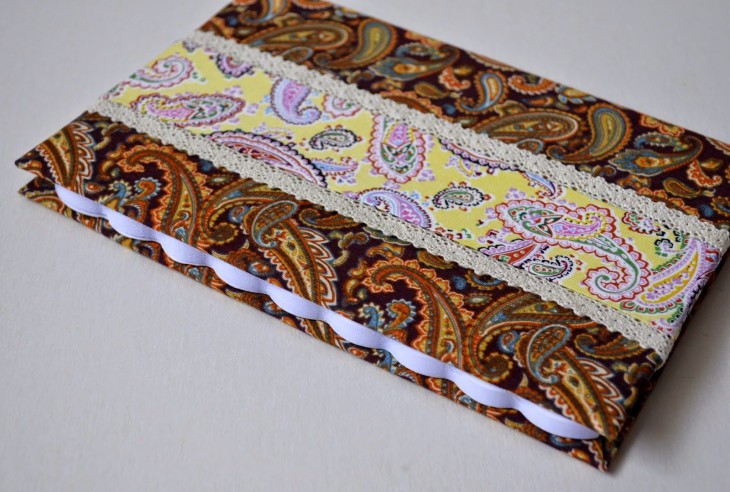
- you can sew a soft cover on the notebook if you put thin foam rubber between two layers of fabric;
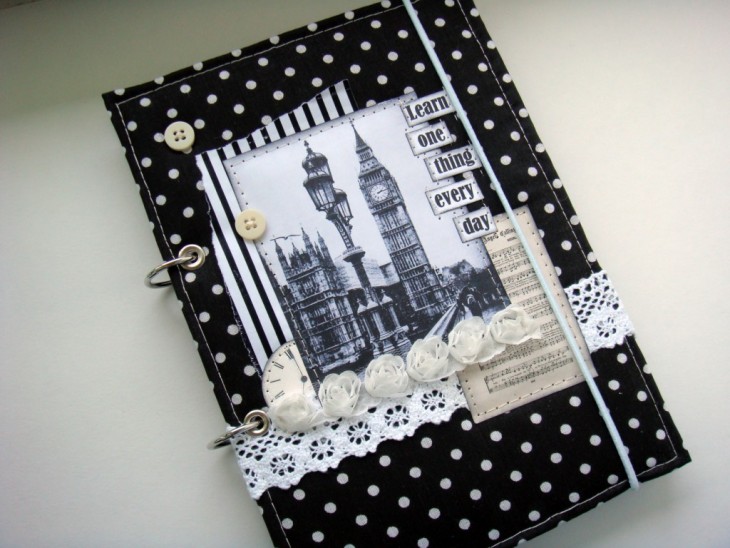
- for decor, you can use photographs or other pictures related to hobbies or certain events (for example, obtaining a diploma), as well as clippings from magazines;
- if phosphor stickers are used in the decor, the notebook will glow in the dark;
- you can also make a commemorative inscription with invisible ink - such a surprise will be unexpected;
- if you sew a thin magnet into the cover, you get a notebook that attracts luck.
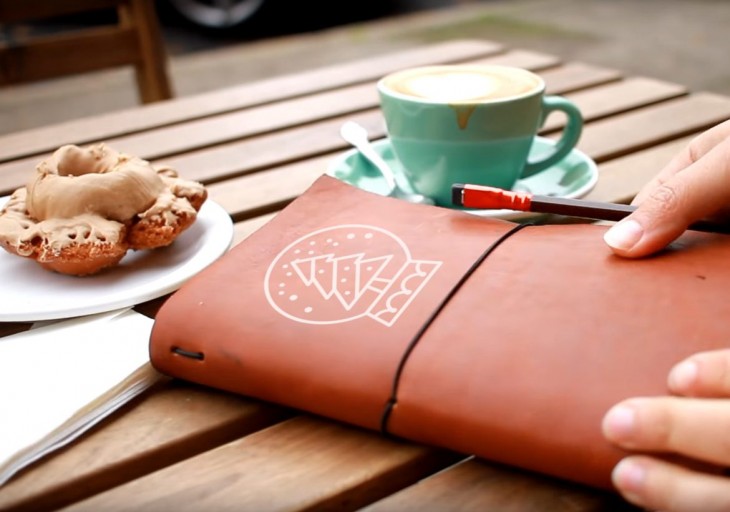
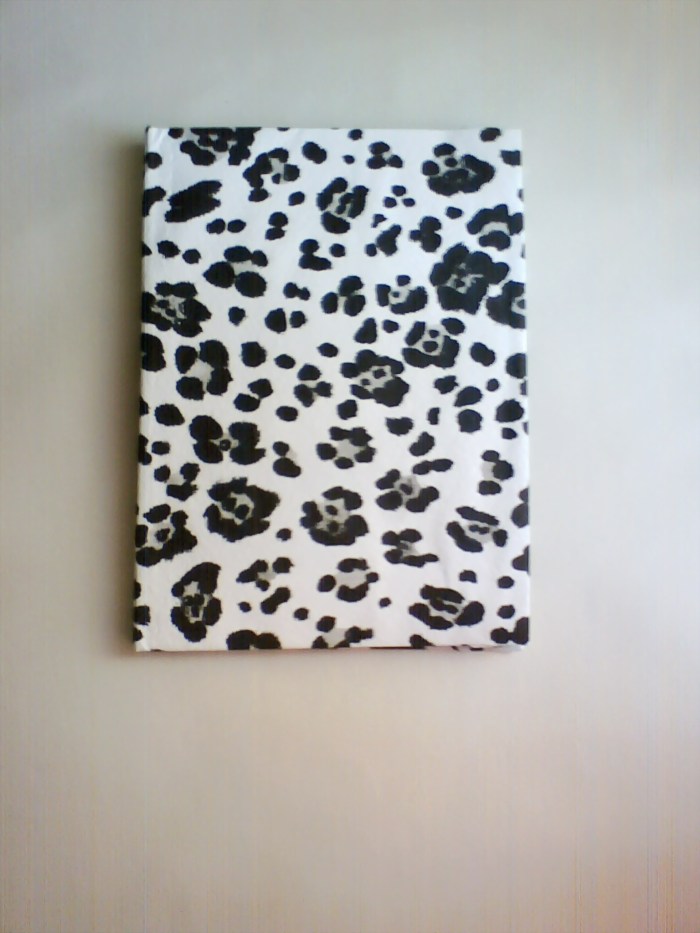
If making notebooks is not your hobby, but you want to be creative, you can cheat a little and decorate a ready-made notebook purchased in advance in the store. It will look no worse than a handmade notebook.
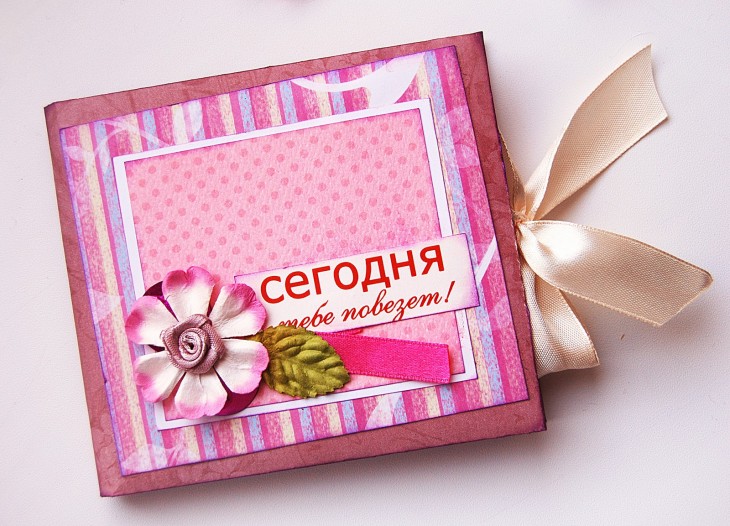
It should be remembered that no notebook bought in a store can compare with a notebook made by oneself and given with love! You can give it for any occasion.
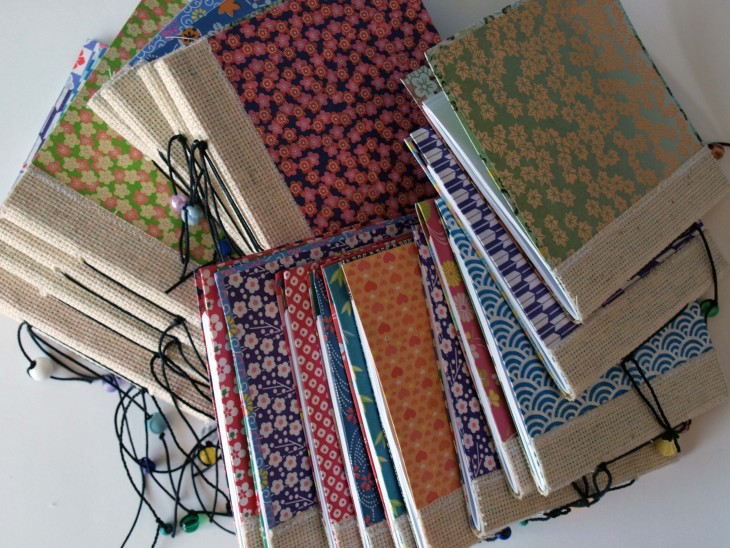
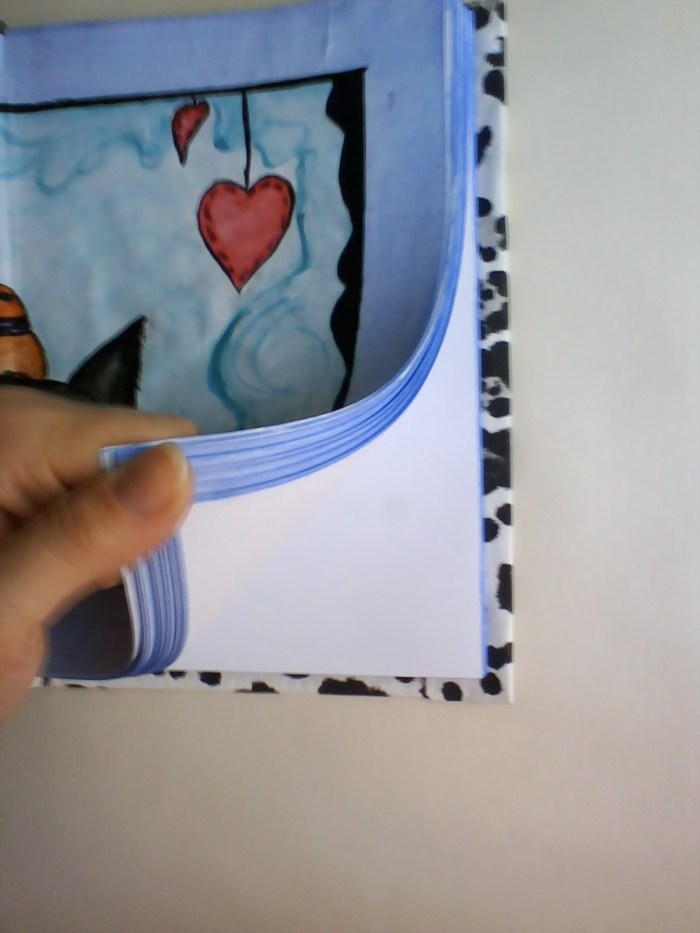
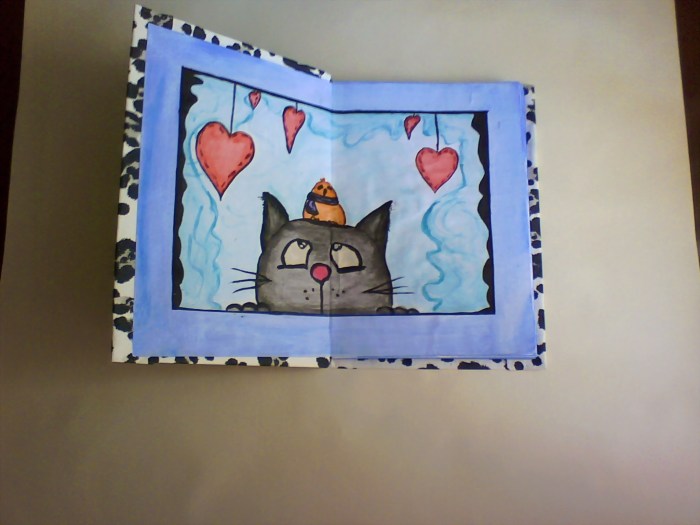
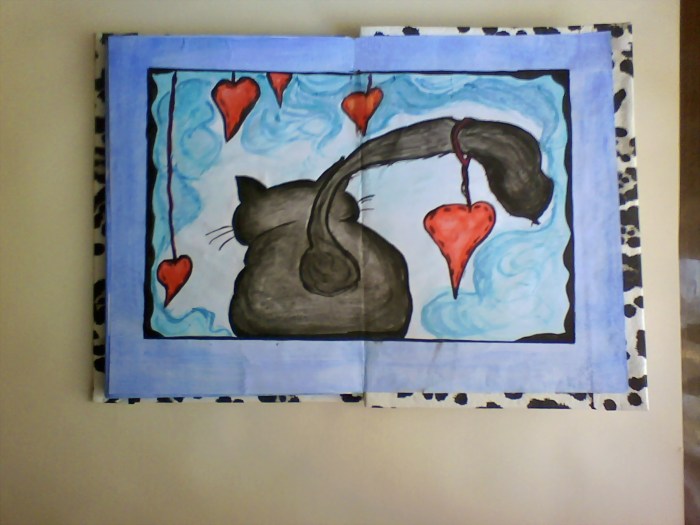
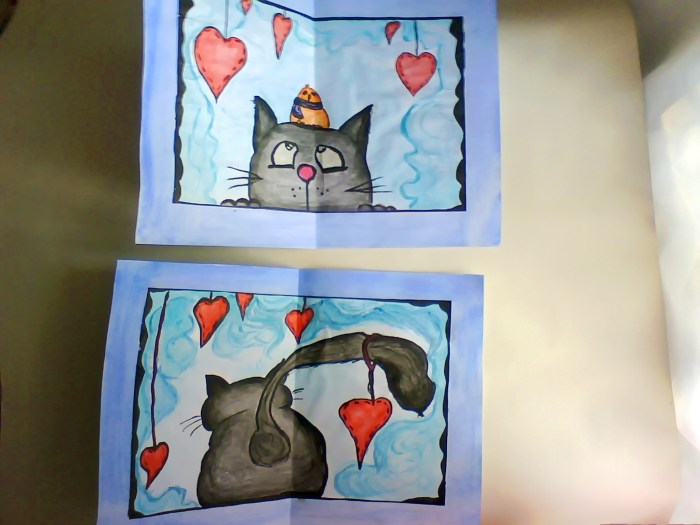
DIY notebook photo