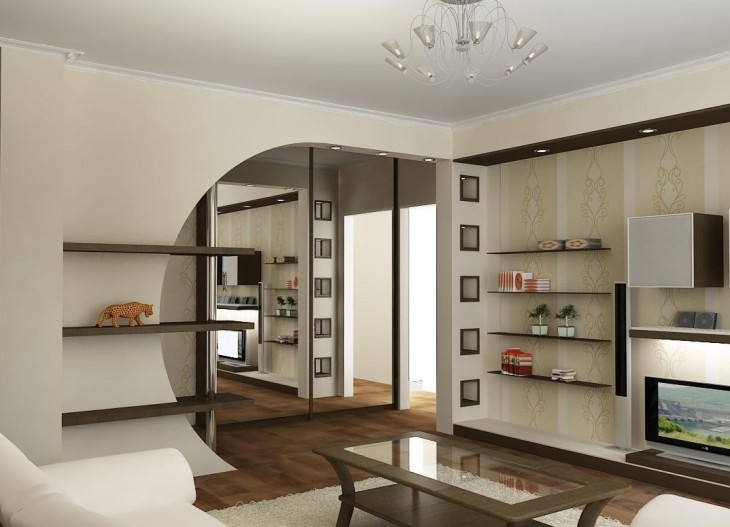
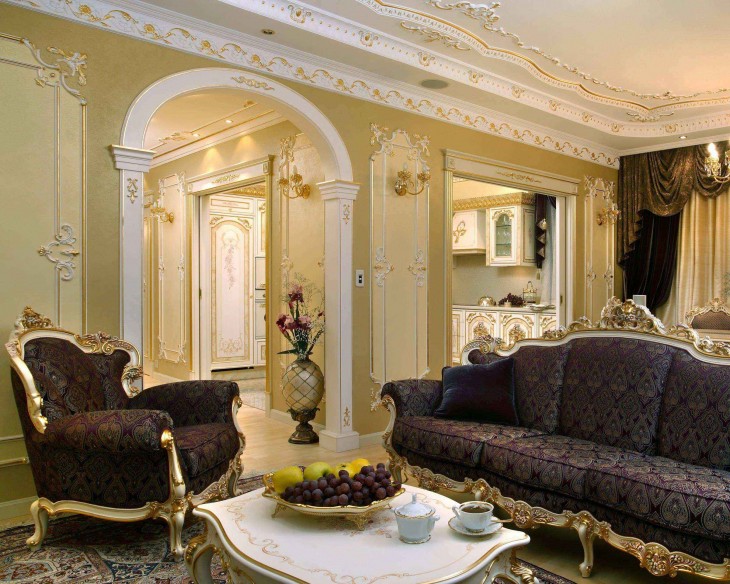
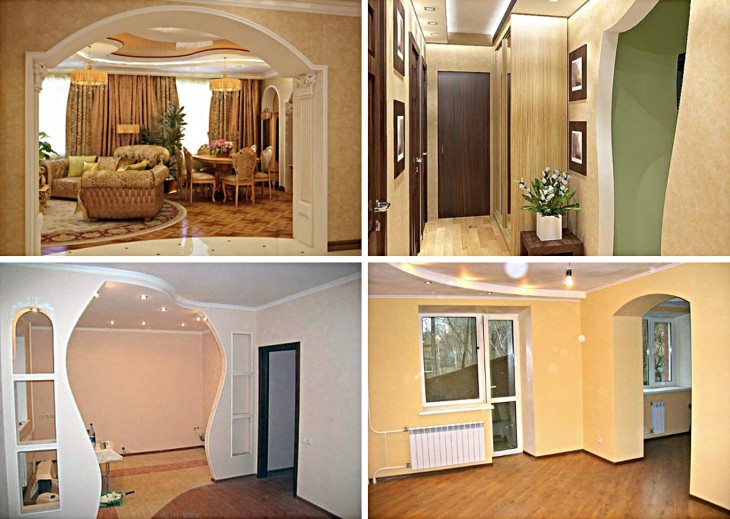
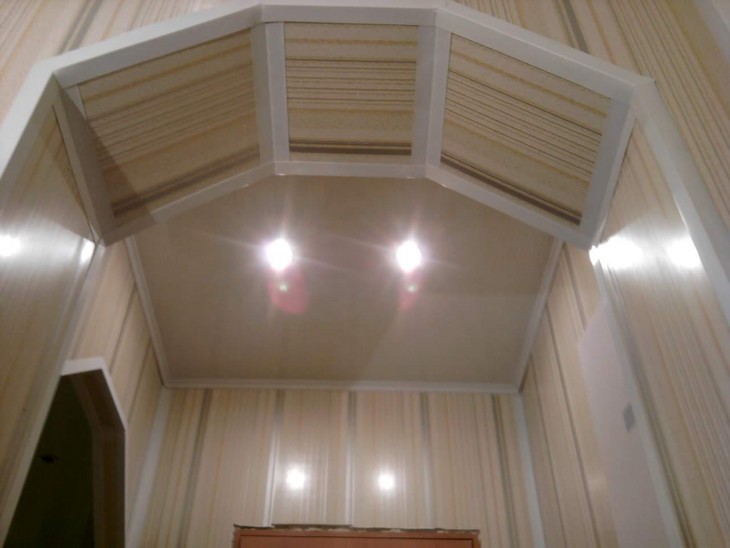
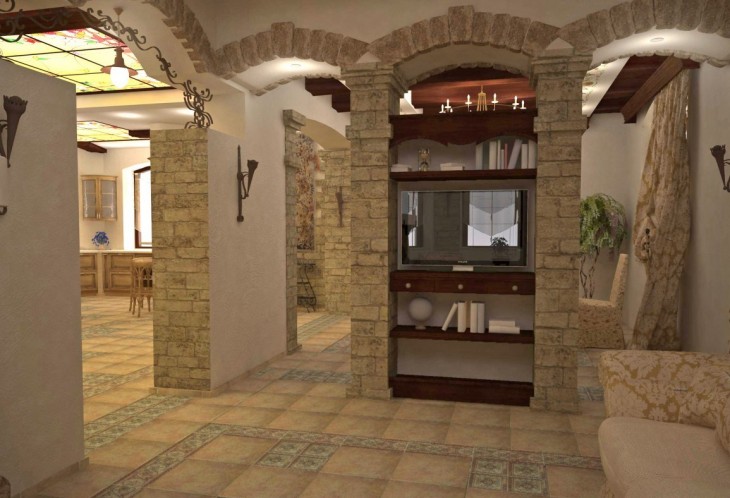
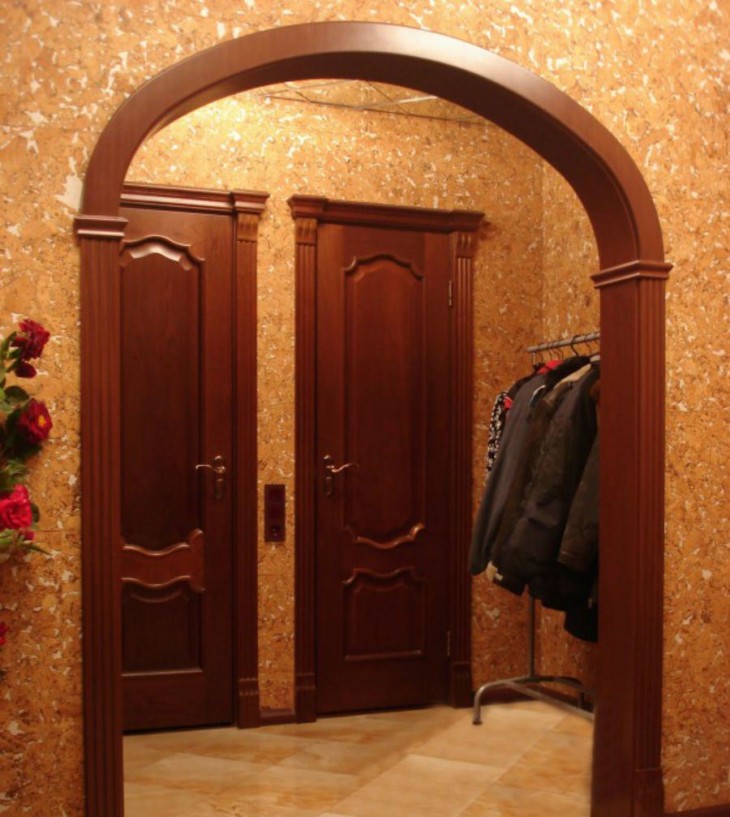
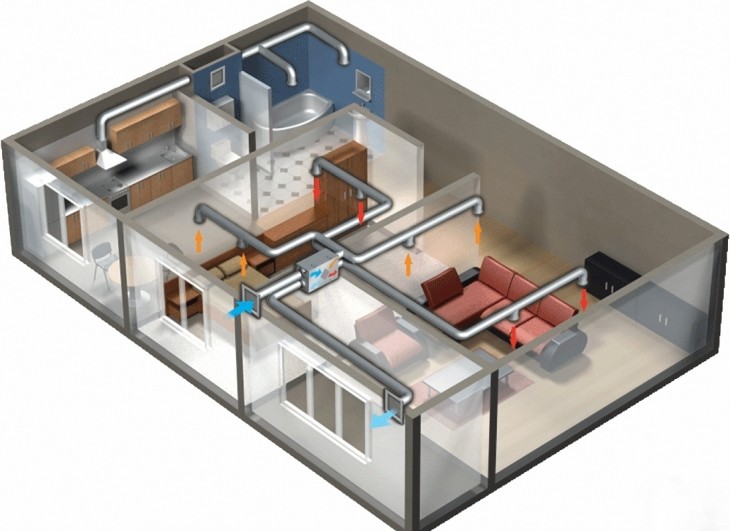
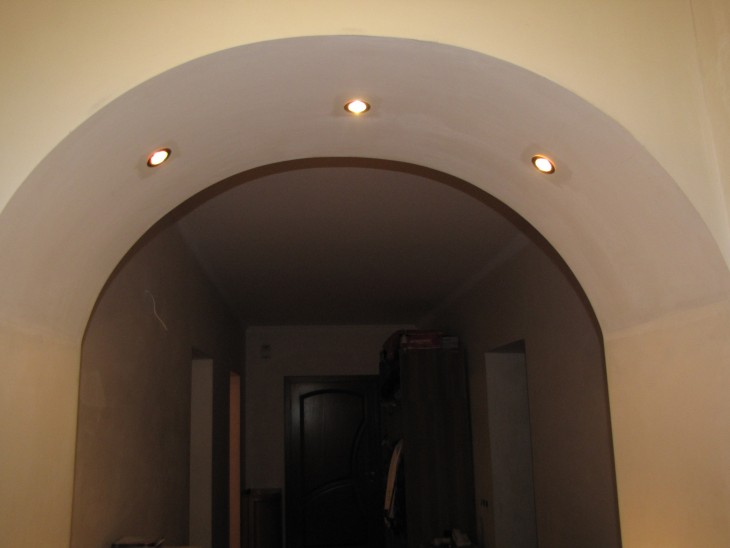
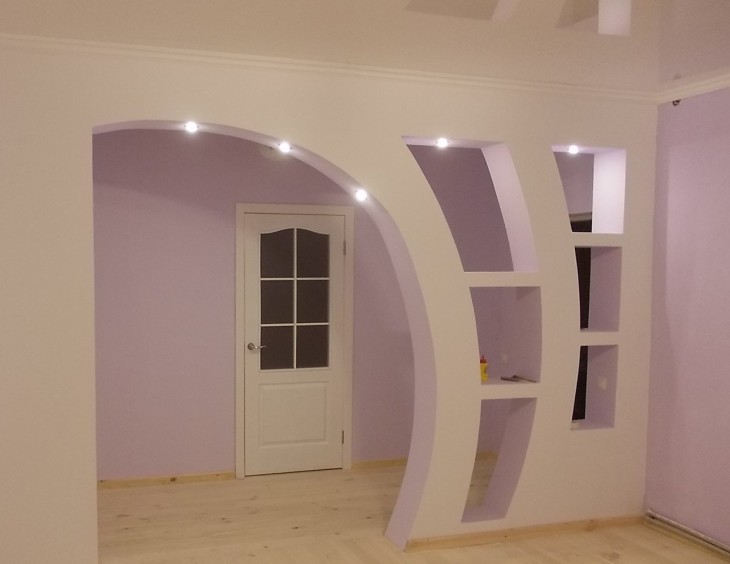
When you have an apartment, you certainly want to make it cozier, more comfortable and more. Currently, one way to visually enlarge your home is to create arches instead of doors.

Various photos of arches show how diverse they are and how much they change the appearance of the housing. It is about how to make an arch with your own hands that will be briefly described below.
Review Content:
Types of arches
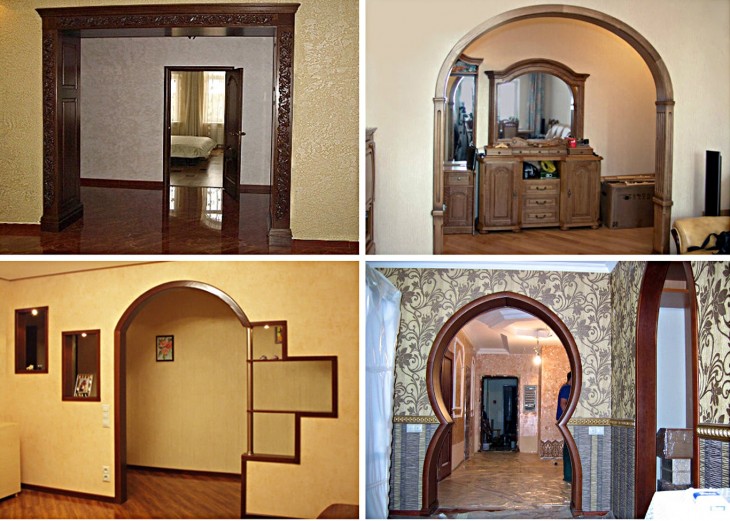
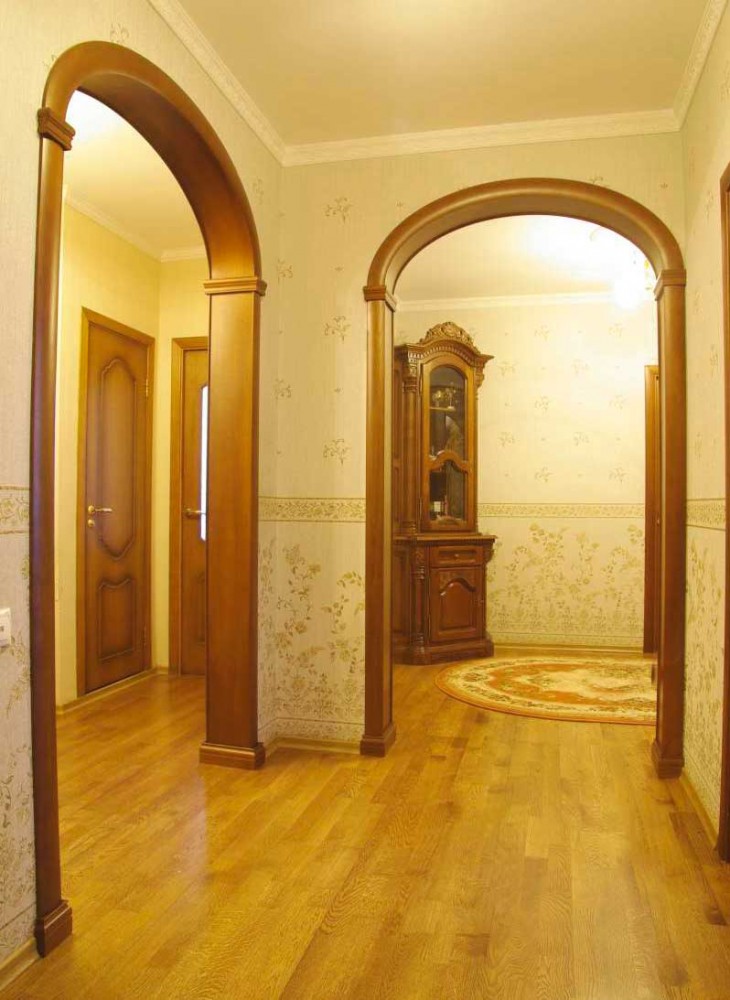
An arch is an opening in the wall that does not have a ceiling in the form of a door. Their views differ only in the upper part, and more precisely in how the corners are constructed (straight, rounded, or curly).
In the modern world there are 7 types of arches:
- classic;
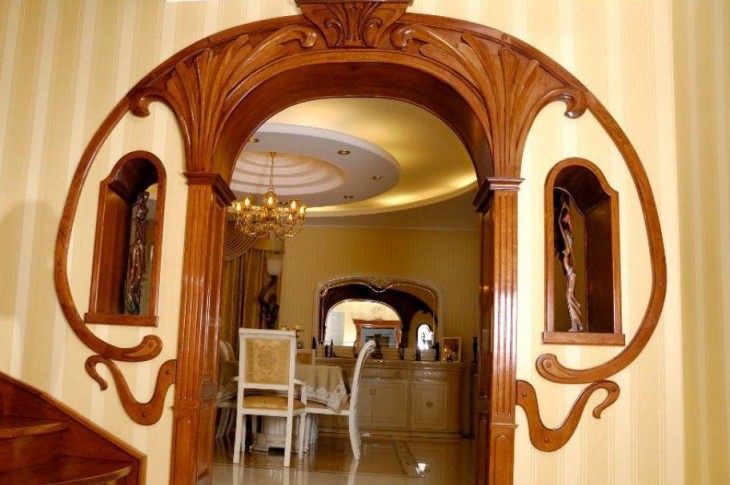
- "Modern";
- "romance";
- ellipse;
- trapezoid;
- "portal";
- semiarca.
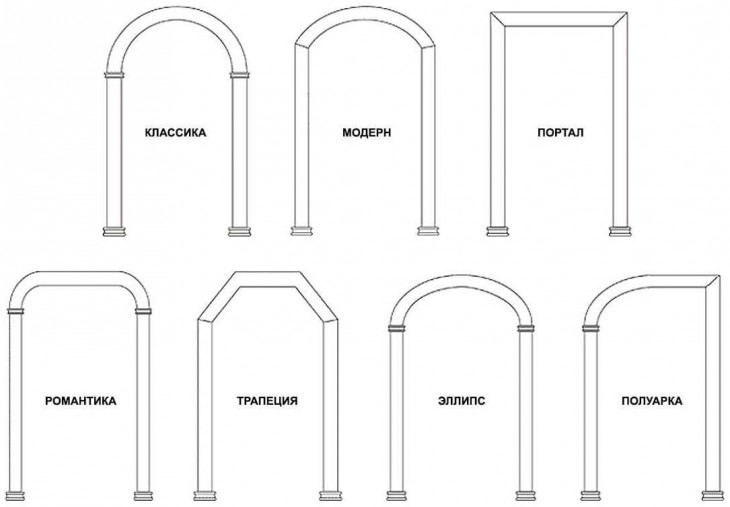
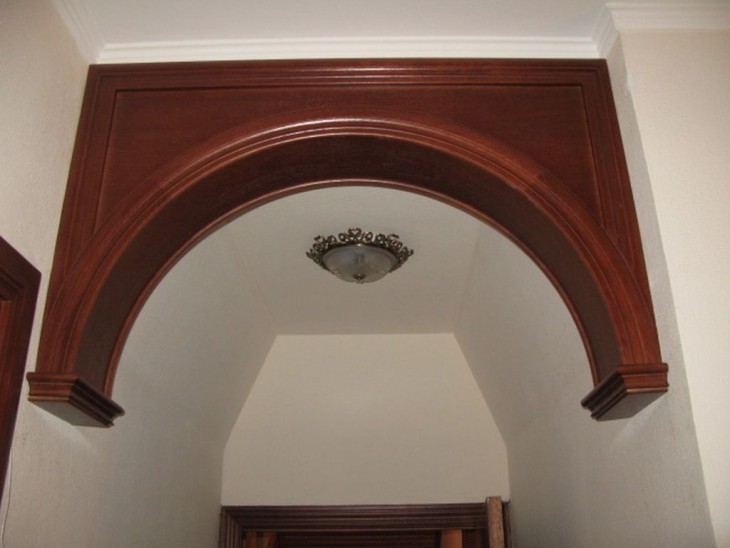
The first four species have rounded corners and differ only in the form of rounding.
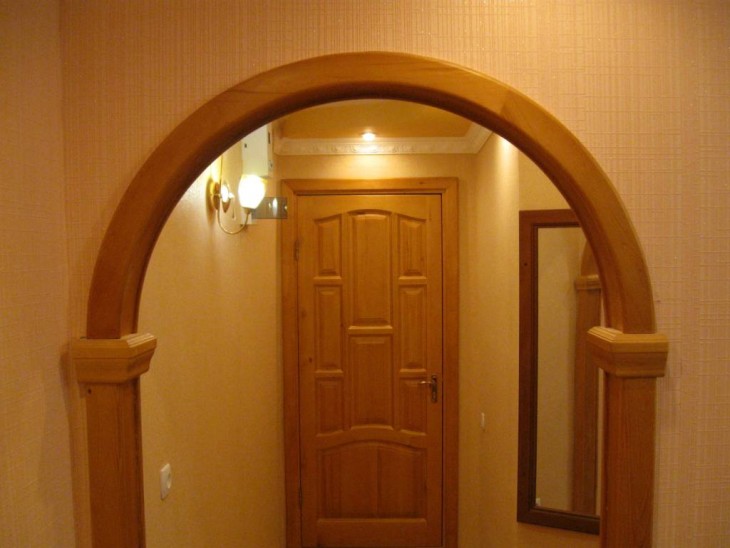
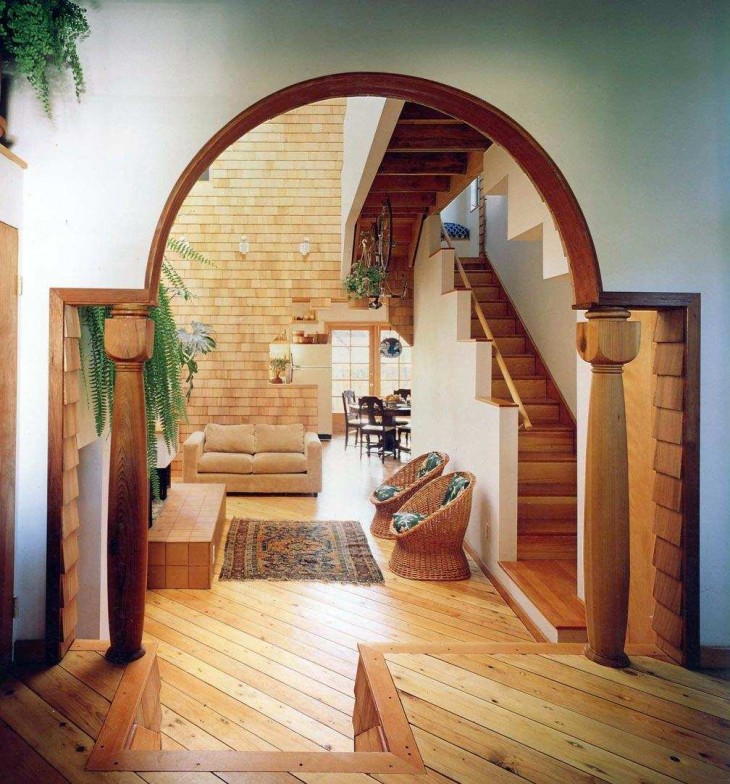
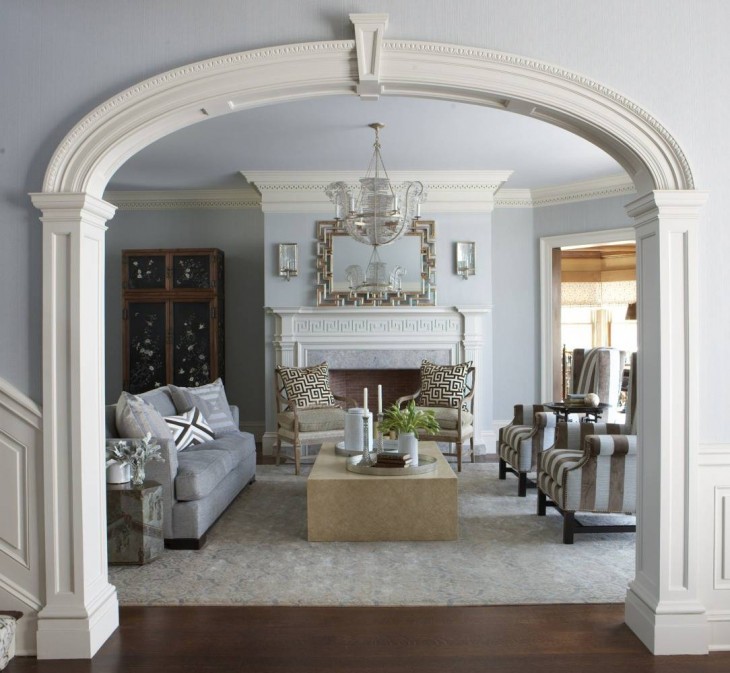
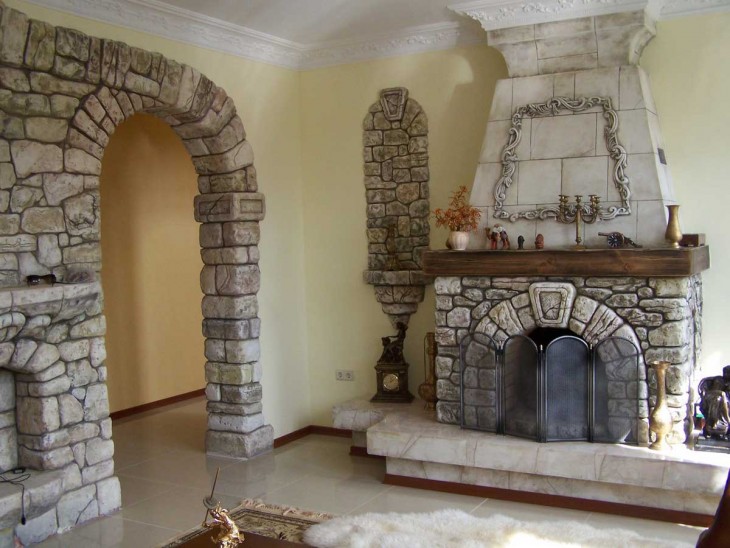
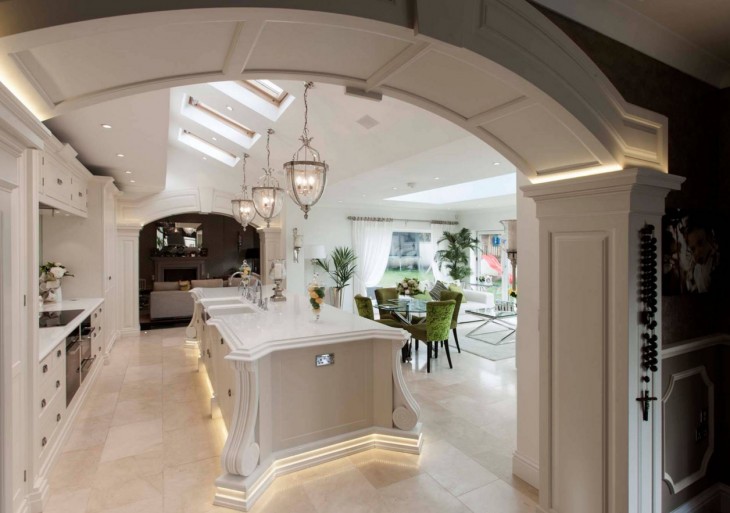
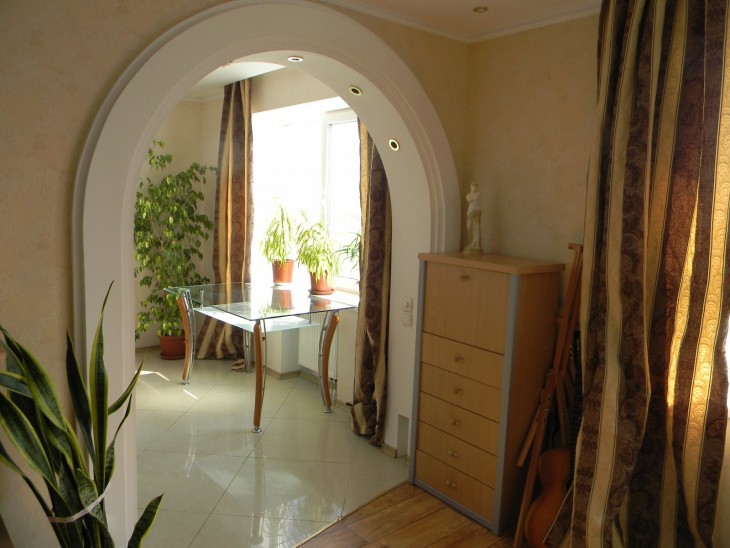
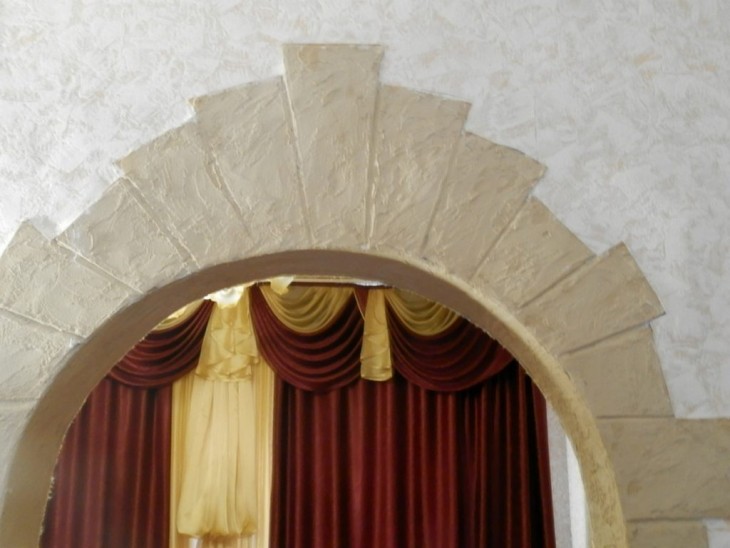
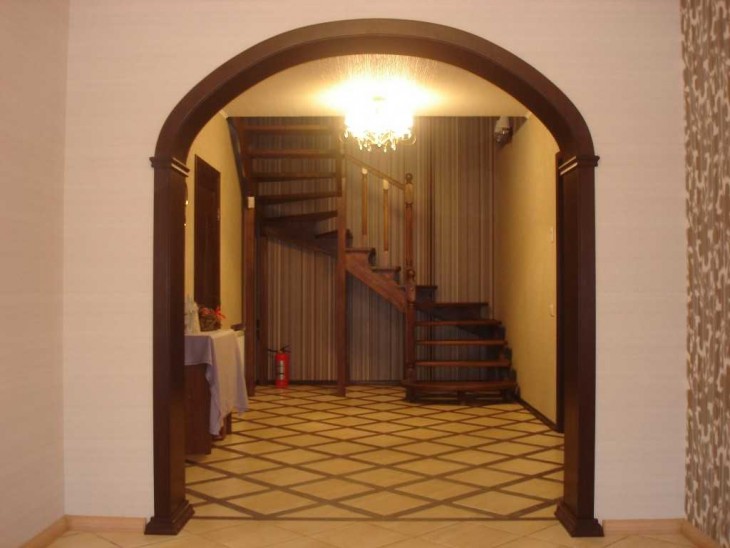
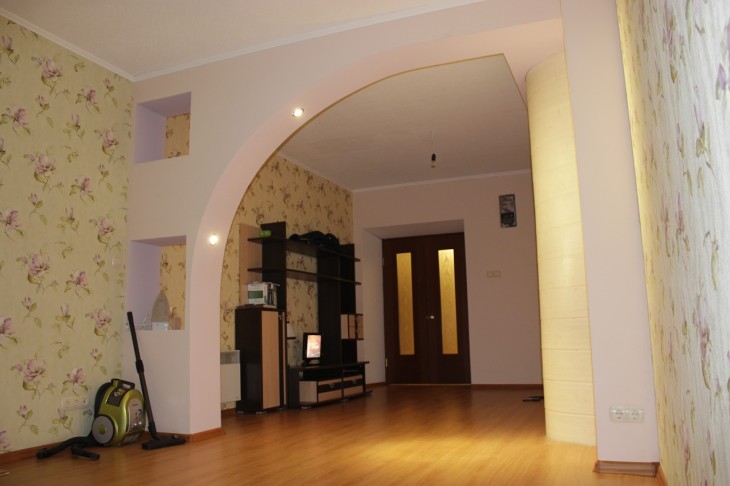
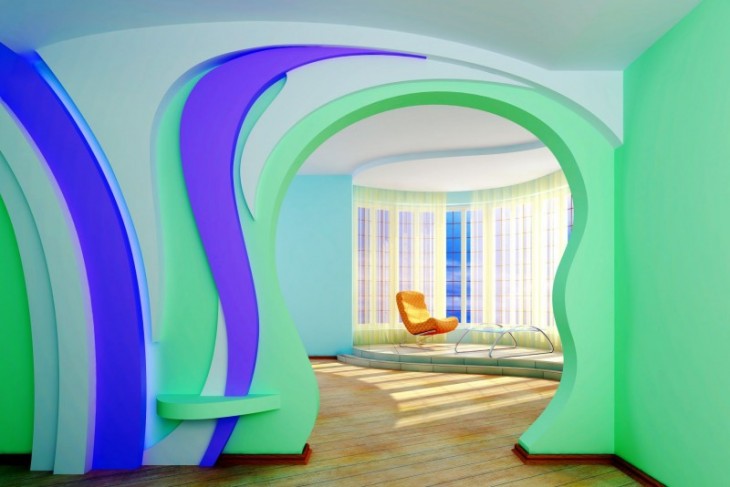
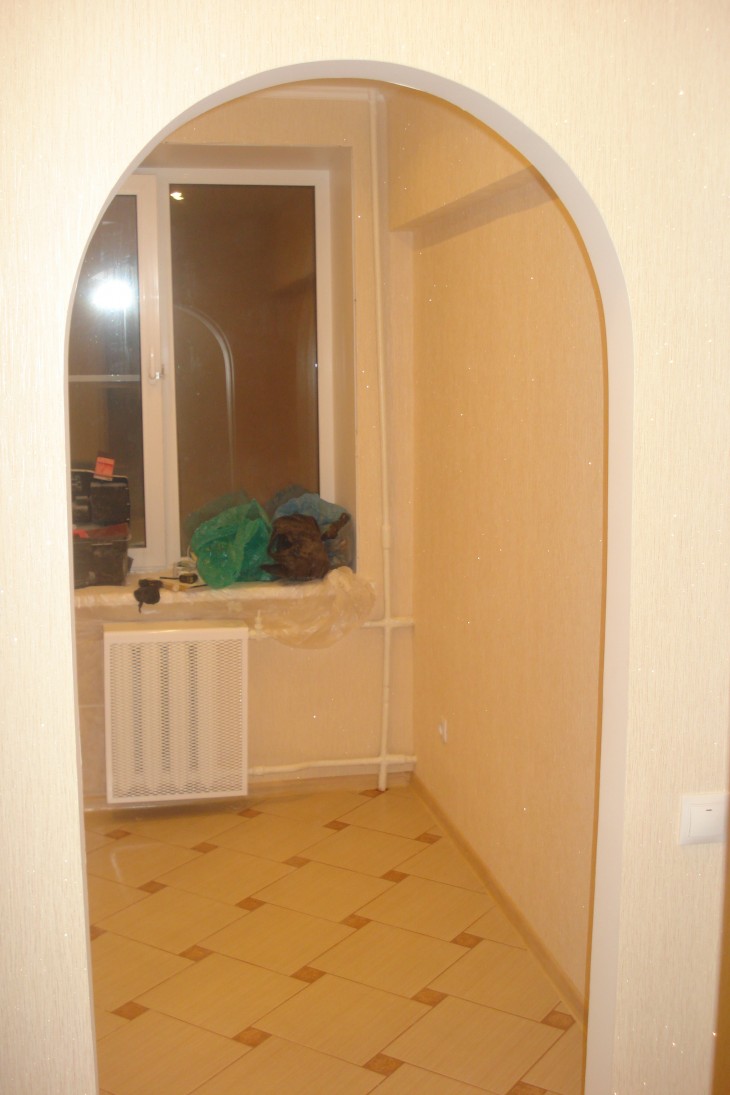
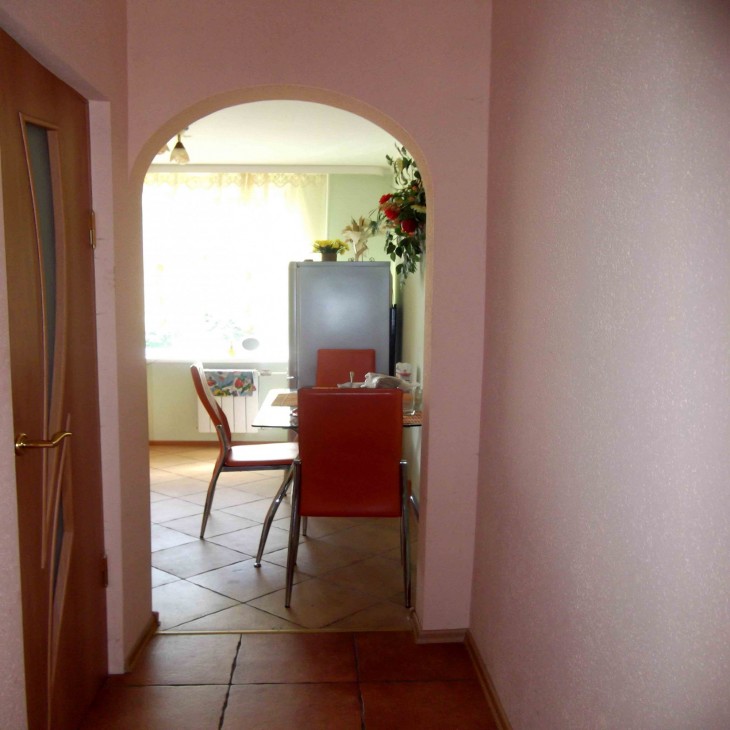
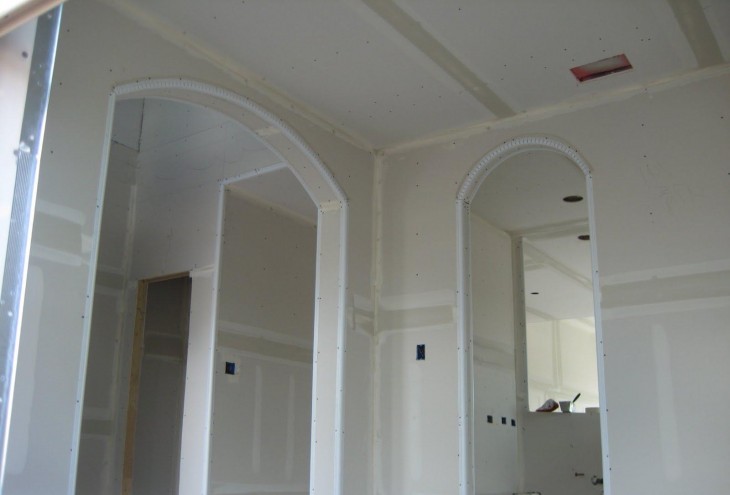
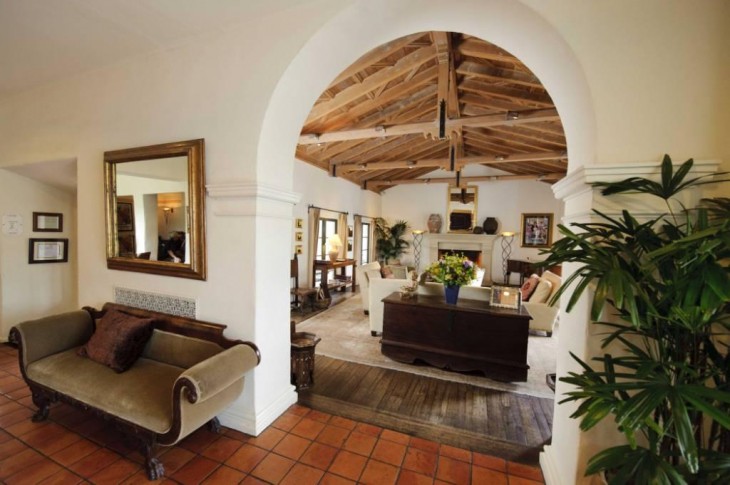
So the classical arch is a semicircle with a radius of half the width of the opening; “Modern” has a small radius of rounding the corner; “Romance” and ellipse are similar to each other and represent ordinary rounded corners.
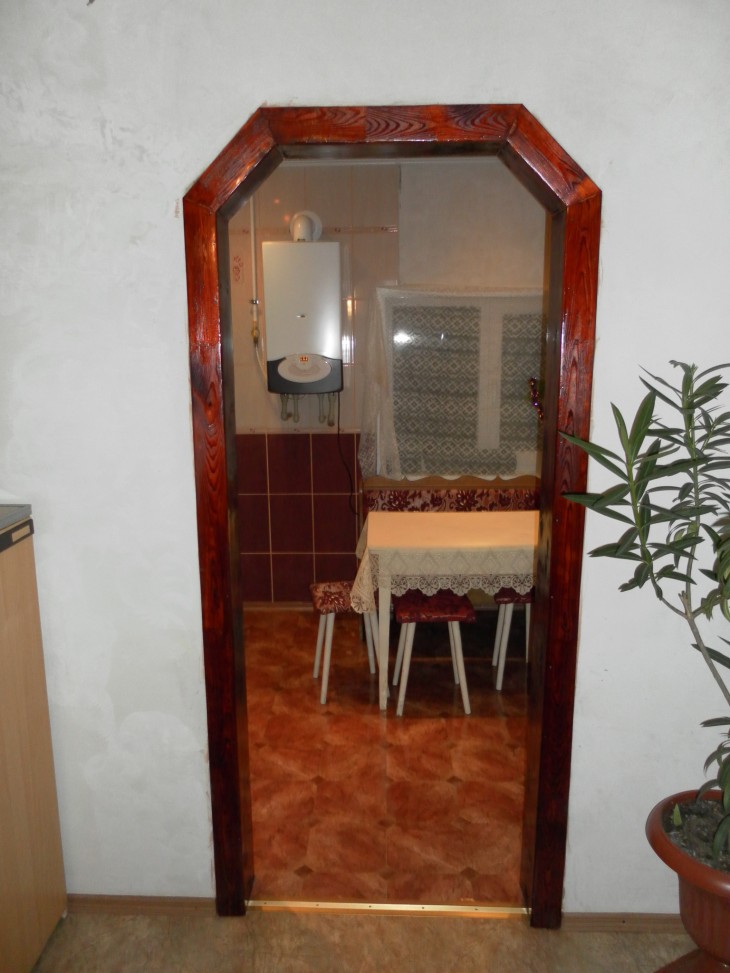
Another thing is the trapezoid and the portal. These two species use sharp corners. At the trapezium, the top, respectively, is this figure, and the “portal” is an ordinary opening without a door.
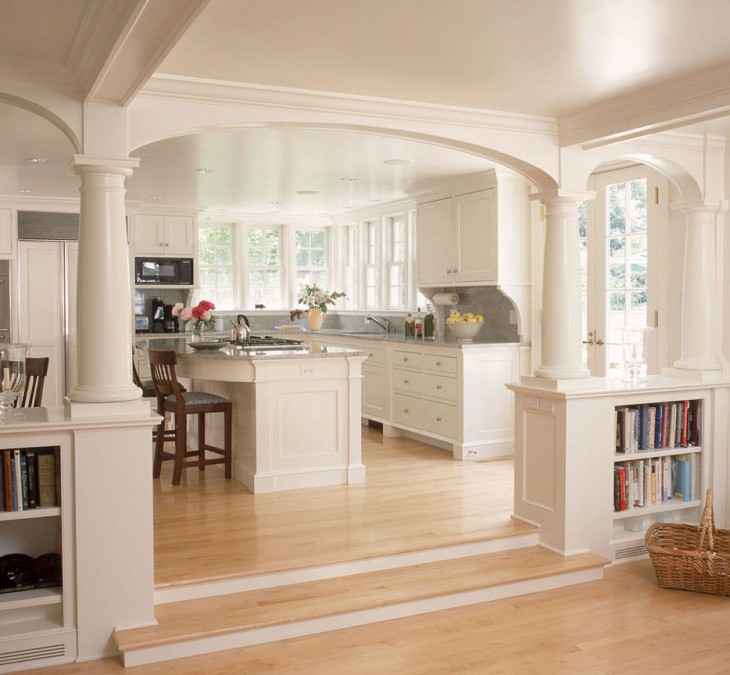
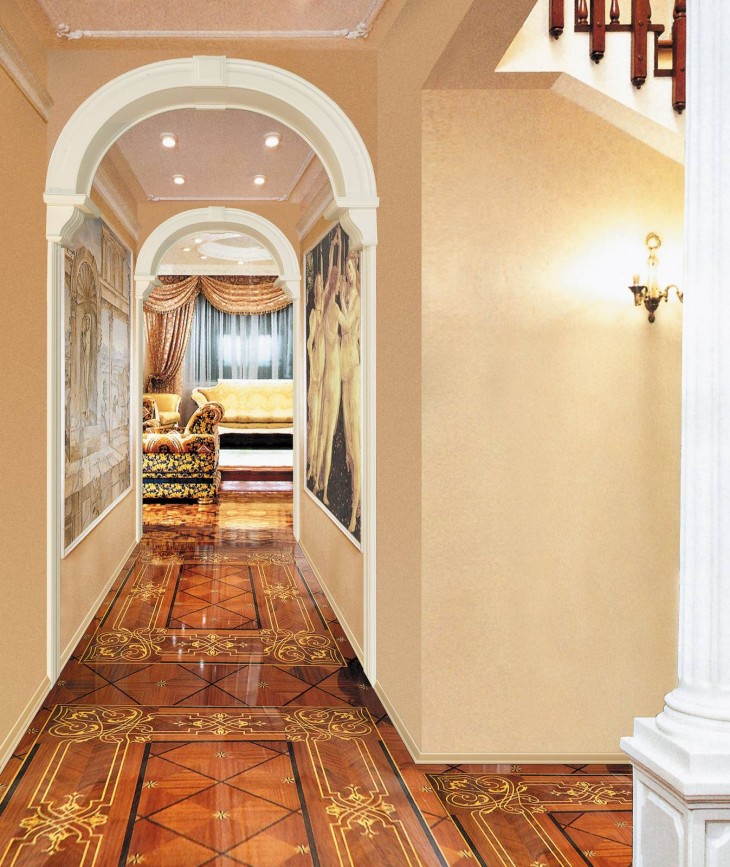
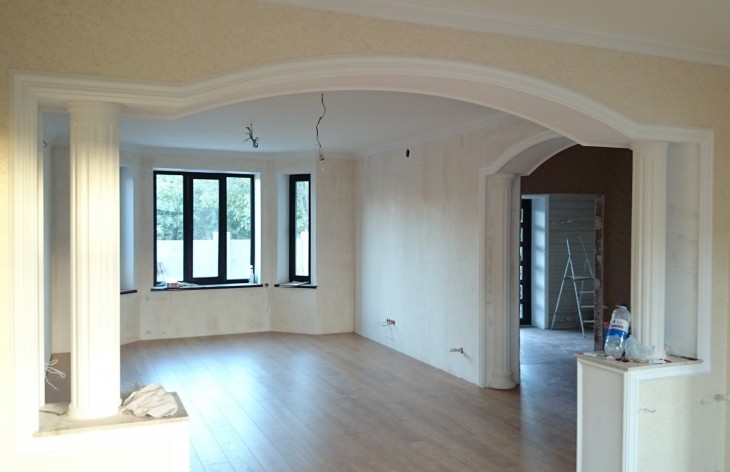
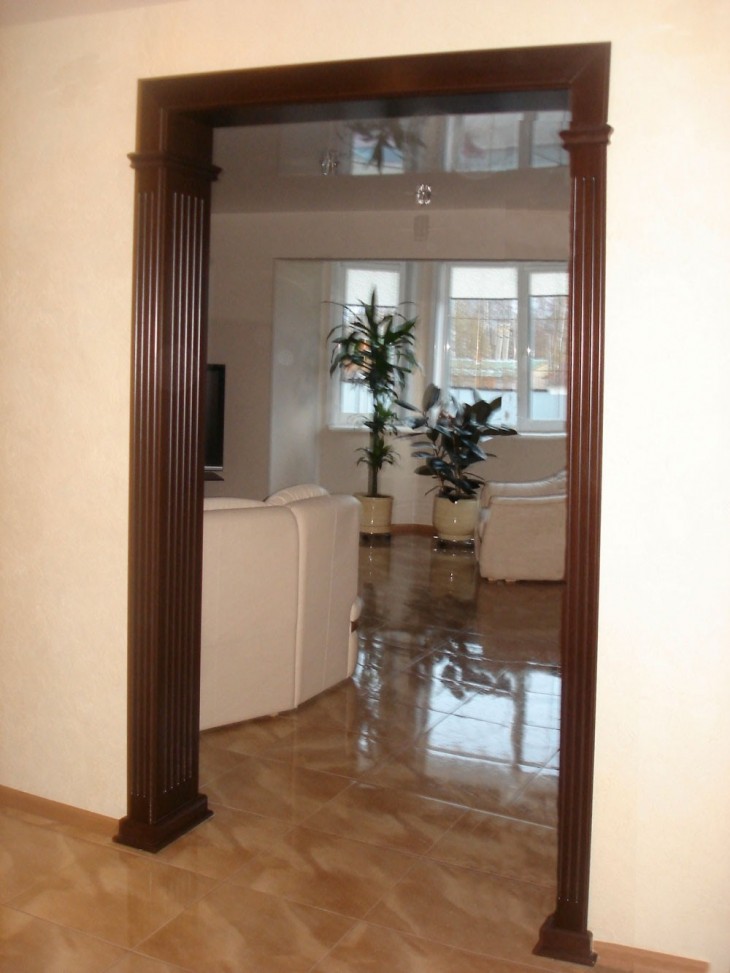
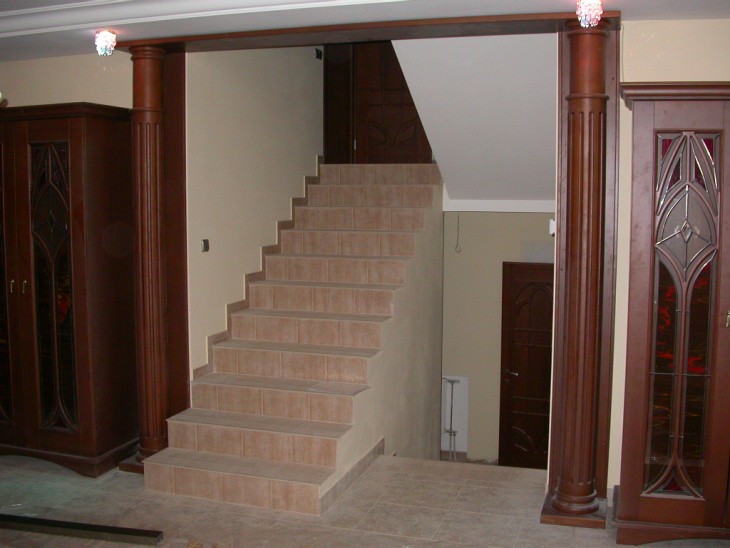
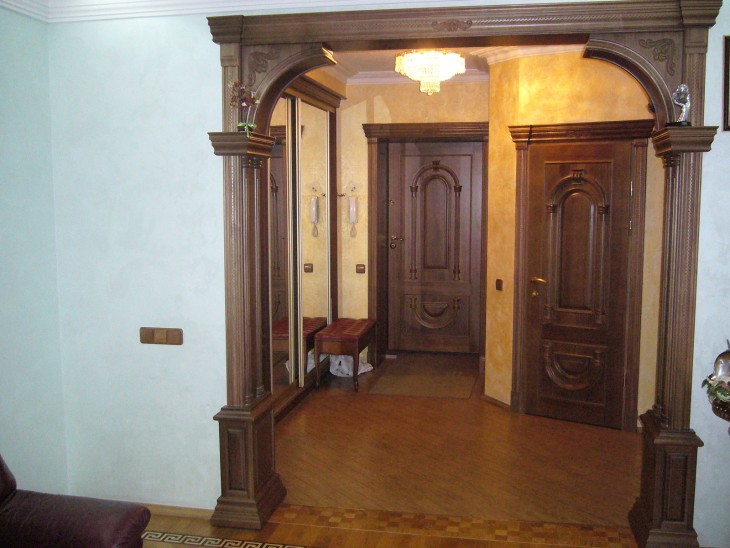
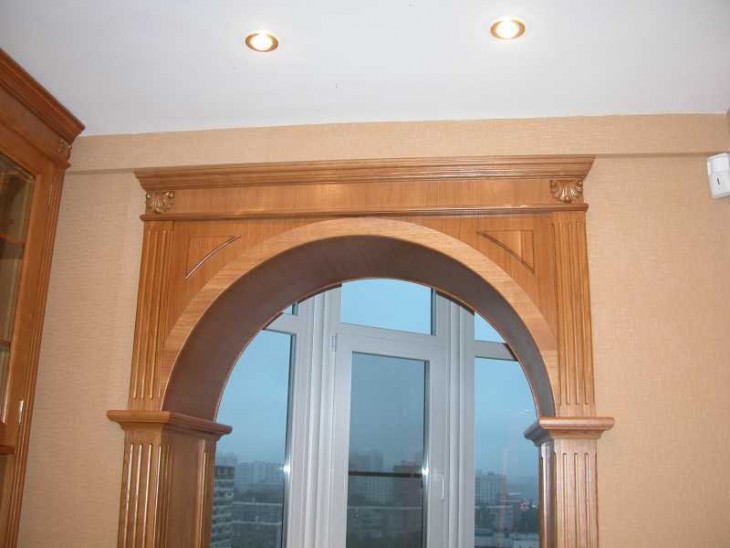
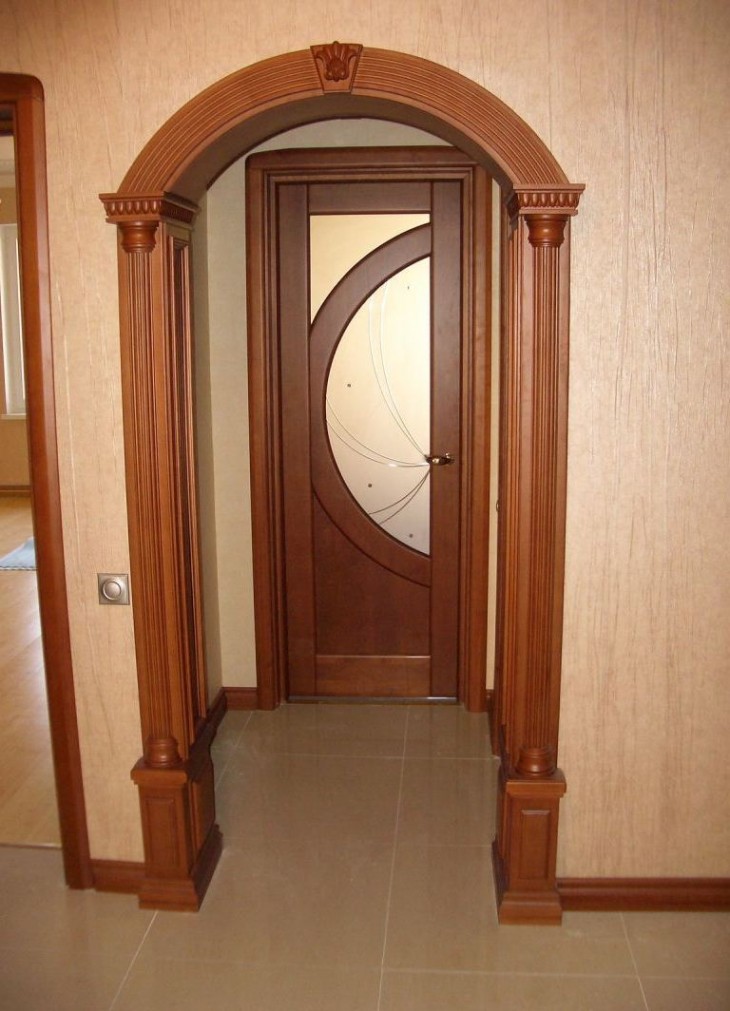
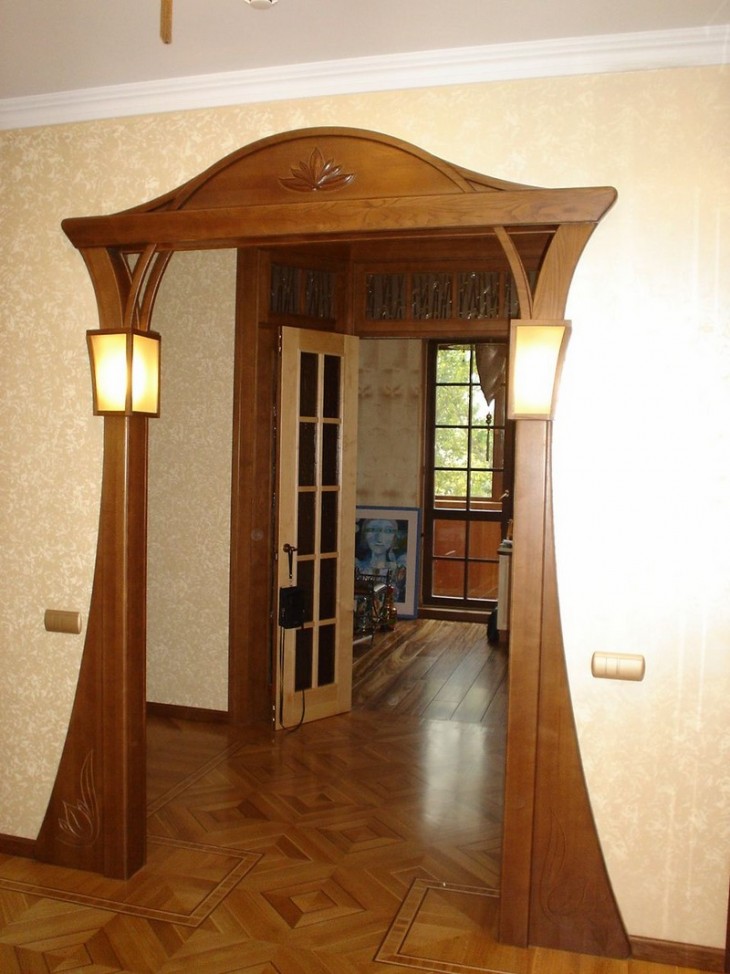
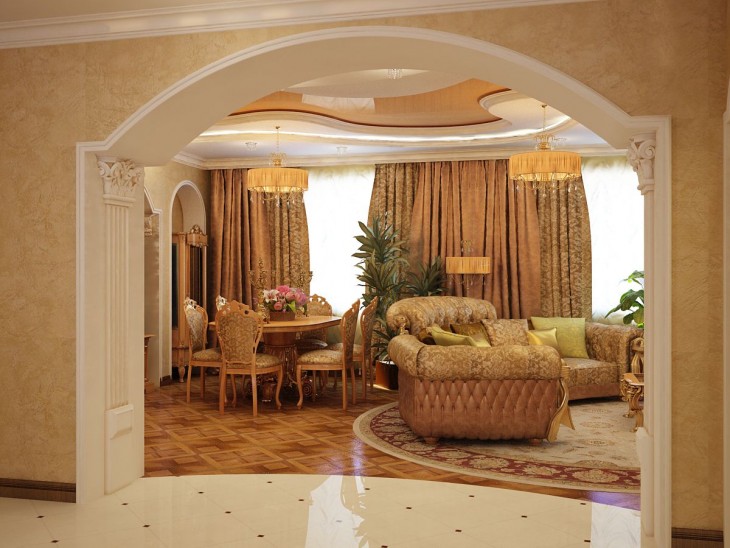
However, even an unremarkable “portal” can be made to flirt with new colors, giving the pillars the appearance of columns in the antique style (Greek or Roman).
Although the trapezoid is a rather unusual solution, it will not suit any style, therefore it is used much less often than other options for arches.
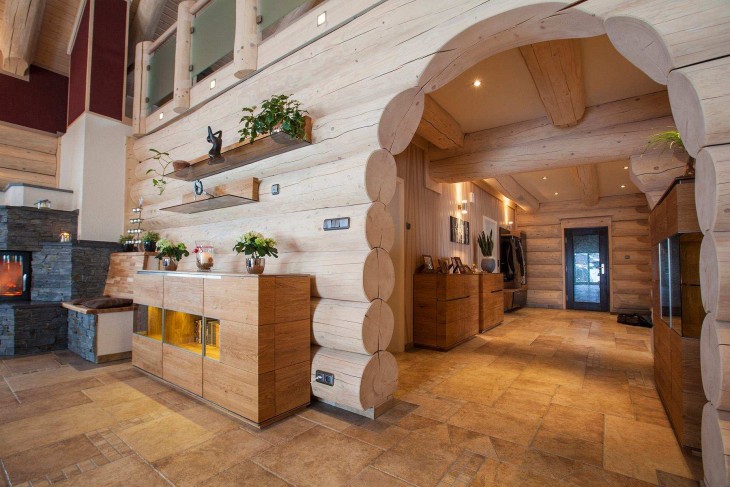
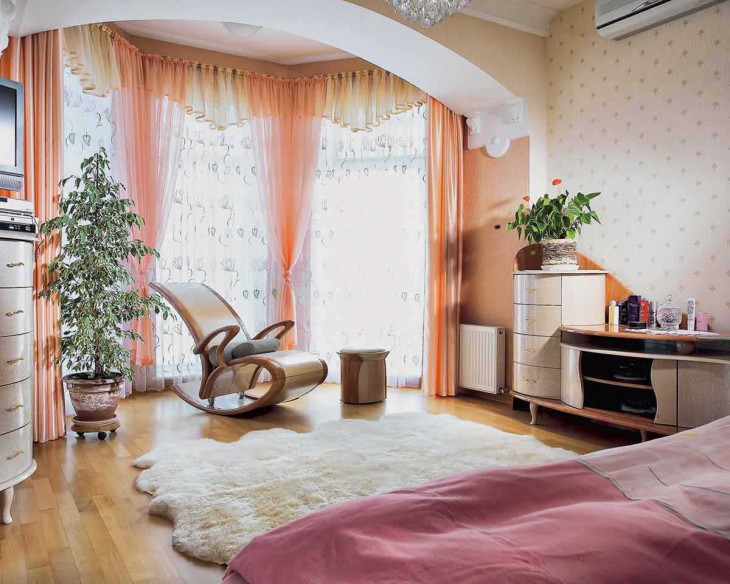
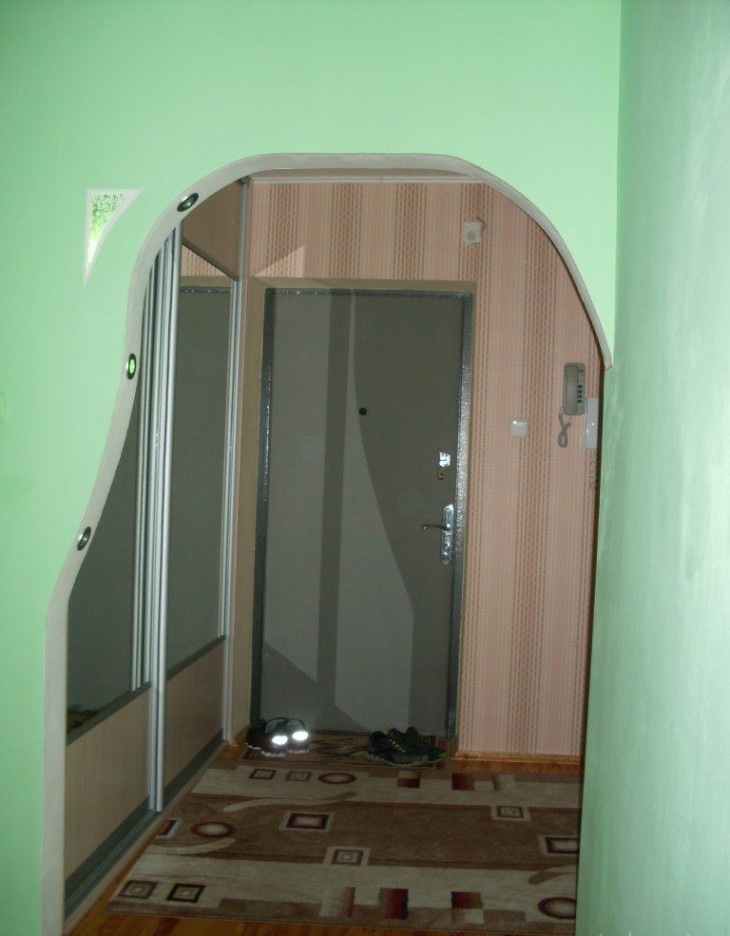
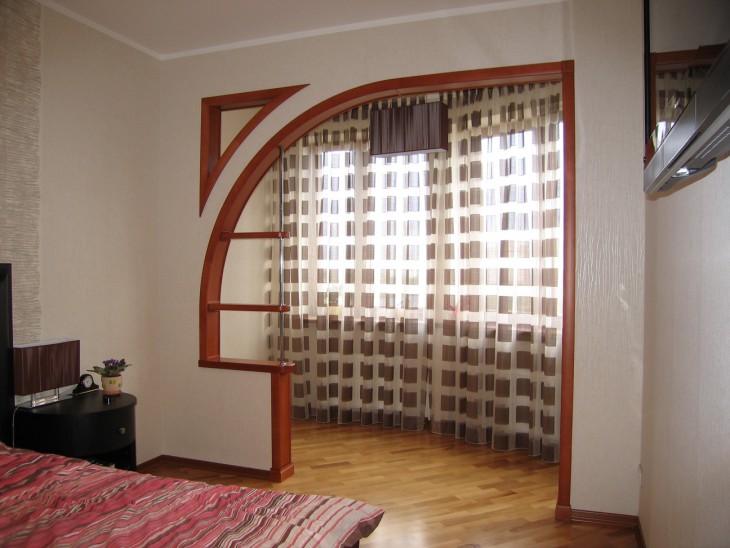
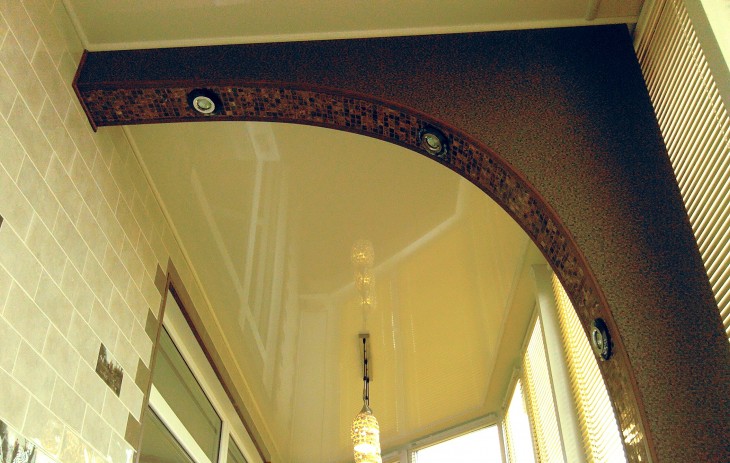
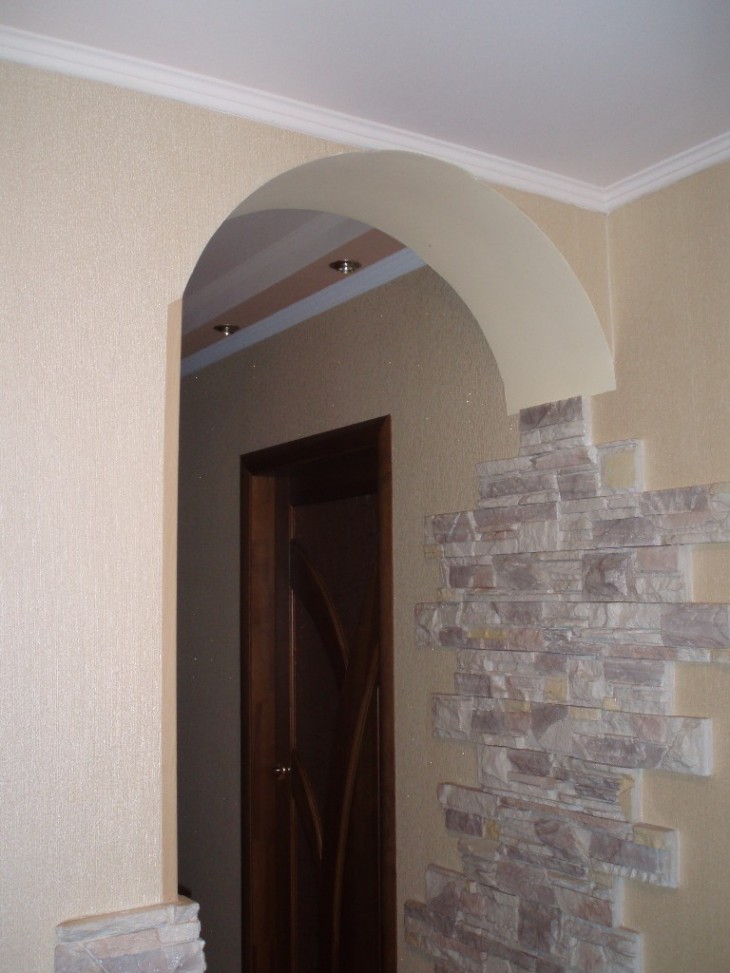
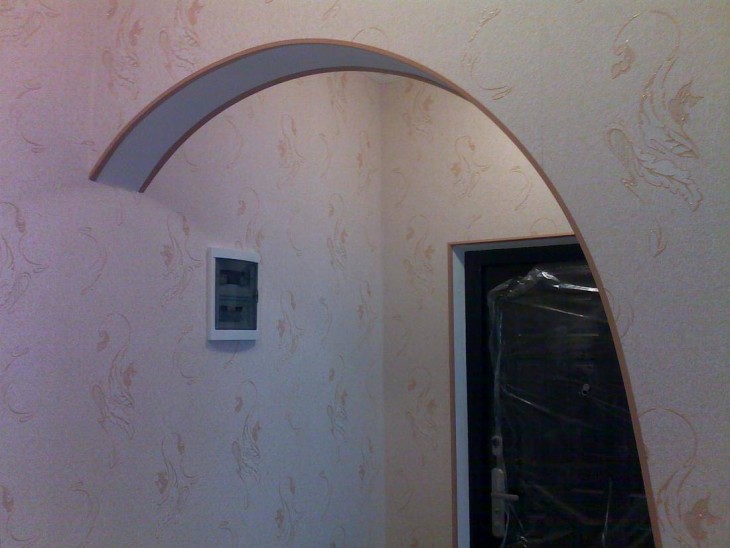
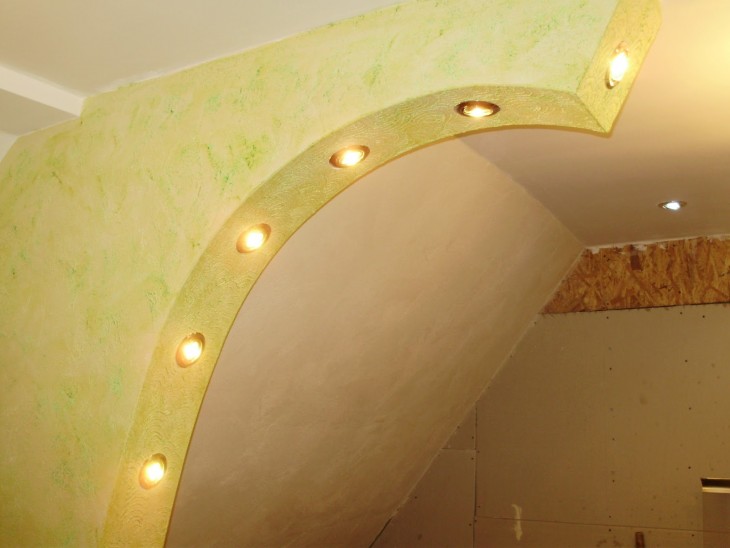
The latter type is a semi-arch, as the name implies is 1 rounded and 1 right angle. This type of arch began to be used recently, however, it has already gained popularity.

It is up to you to decide which arch to install in the apartment, but we will dwell on the plasterboard arches as the most convenient material for building.
Step-by-step instructions for creating an arch
Choose the future shape of the arch. It is important that it fits the general style of the premises that will connect.
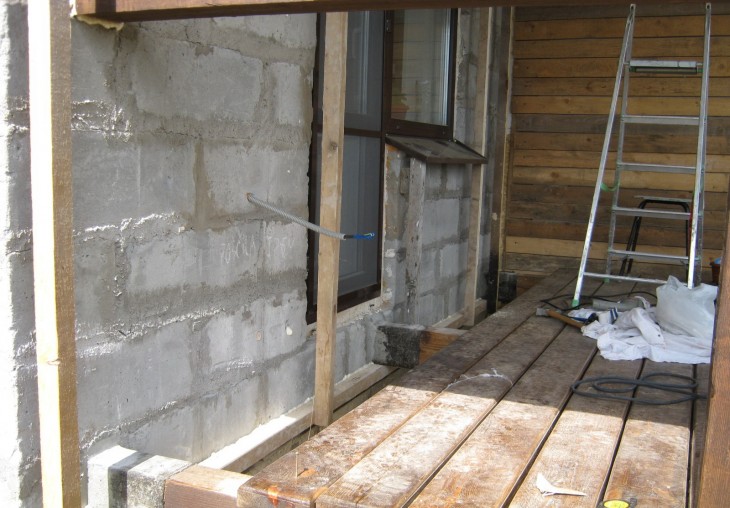
We clean the opening from the plaster and level it. Here it is simple - the cleaner the surface of the work, the more reliable the mount.

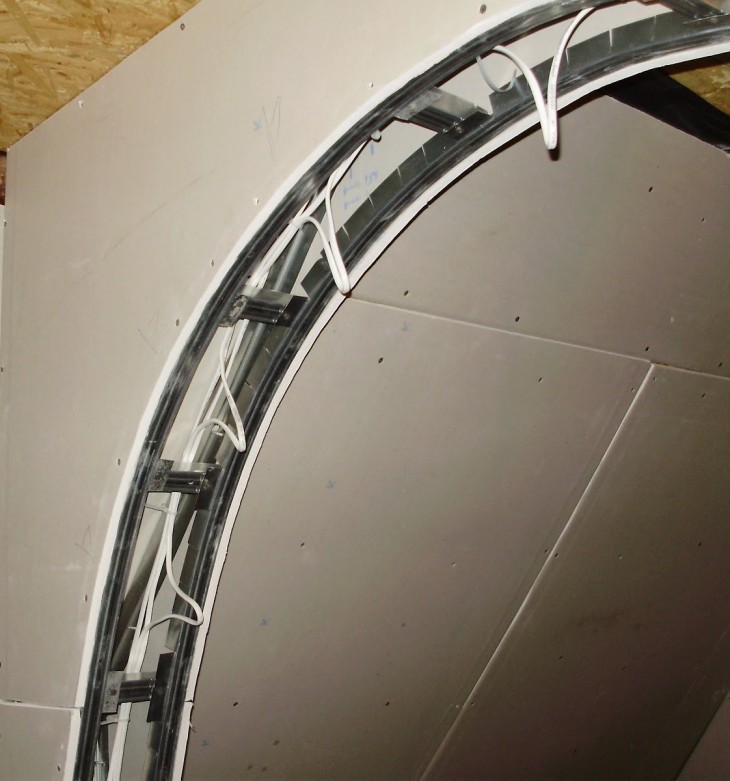
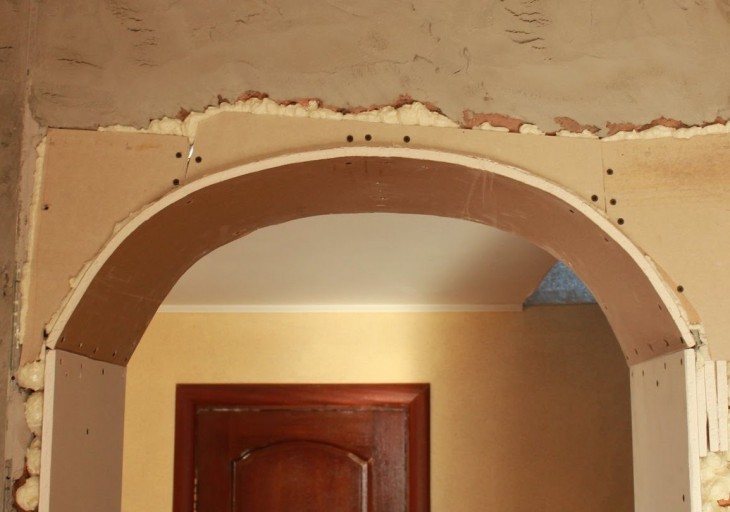
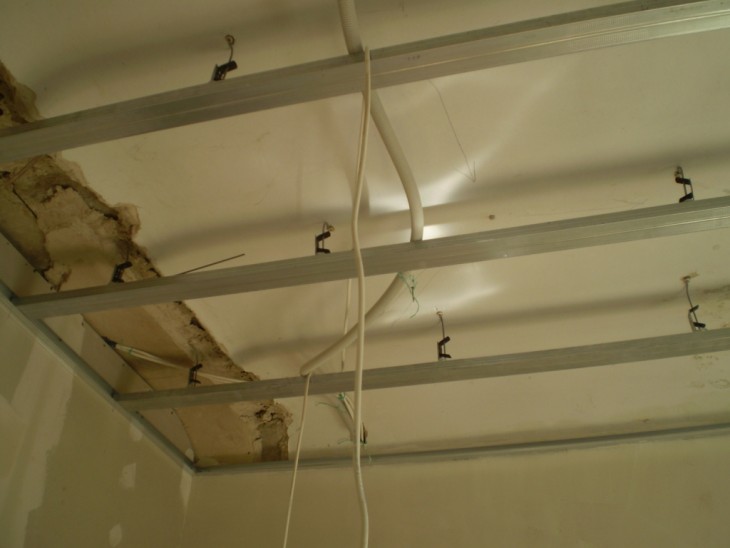
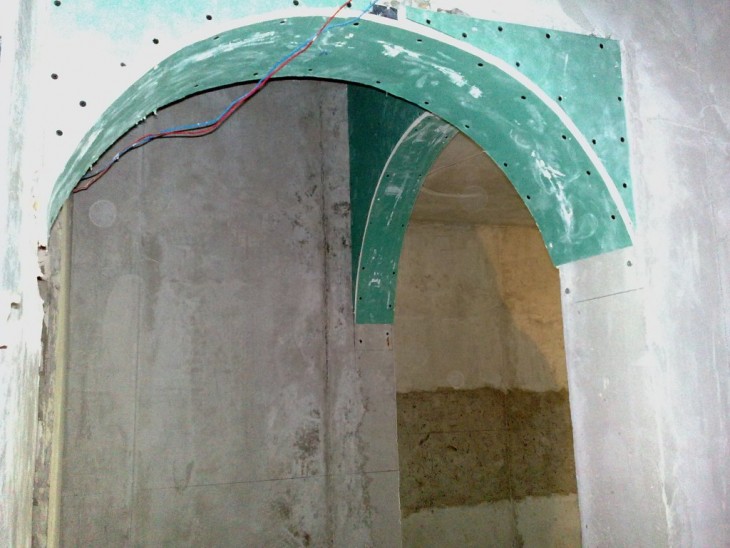
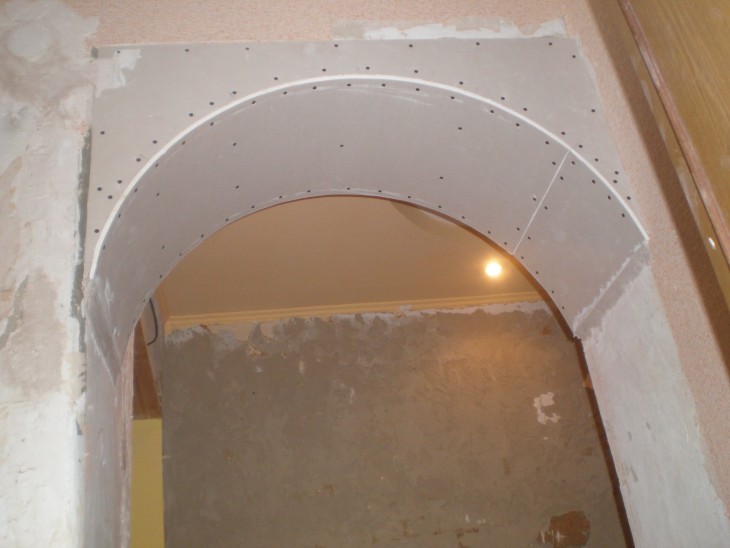
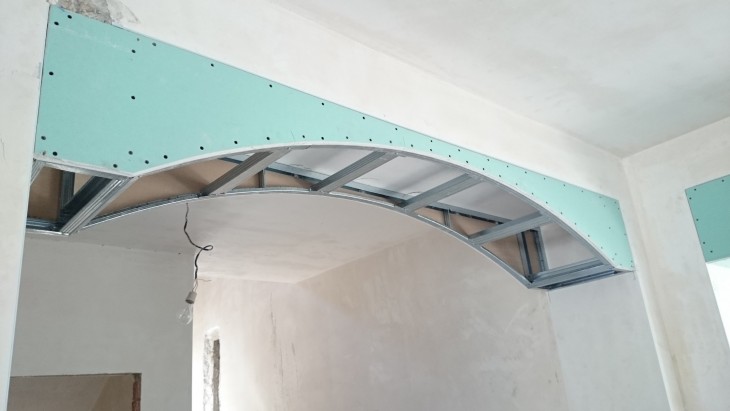
We fix the frame of the arch. The frame itself is constructed from the profile (it is possible from the bars of a tree).
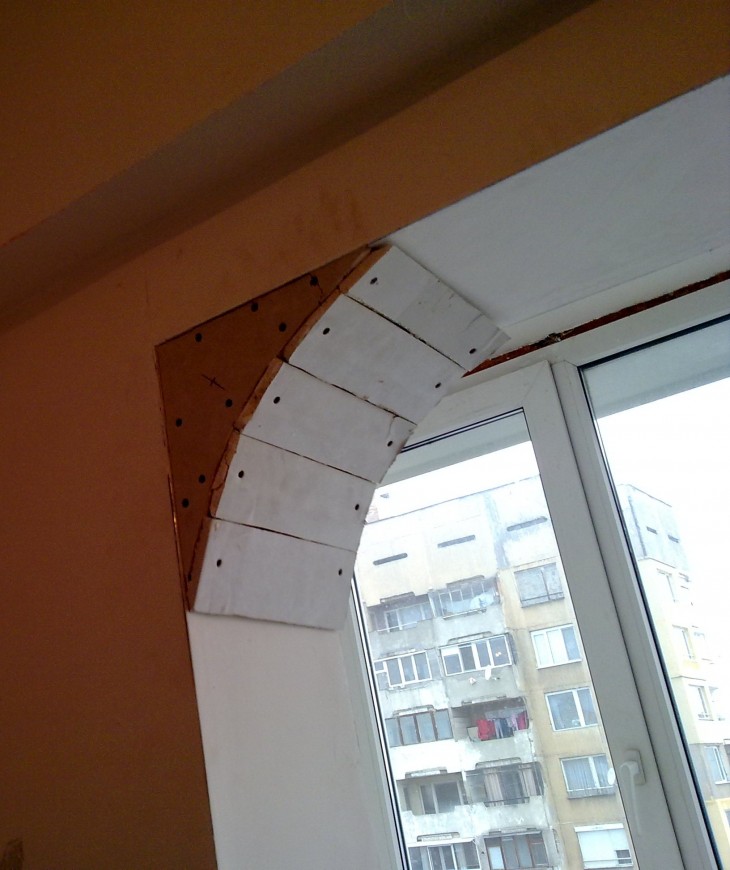
On the frame we attach a carved drywall arch (one side). To get the arch of the desired type, in the middle of the drywall base we make a hole under the nail. We tie a rope to it and get a homemade compass. Now changing the length of the rope, you can change the radius of rounding of the corners and their appearance.
We apply drywall on the other side and mark the arch on it, as if by a stencil, then we saw it out and fasten it to the frame.

In no case should you do this on the floor, as the opening is usually asymmetrical, which in the most detrimental way affects the accuracy of the one-to-one marking.
Note!
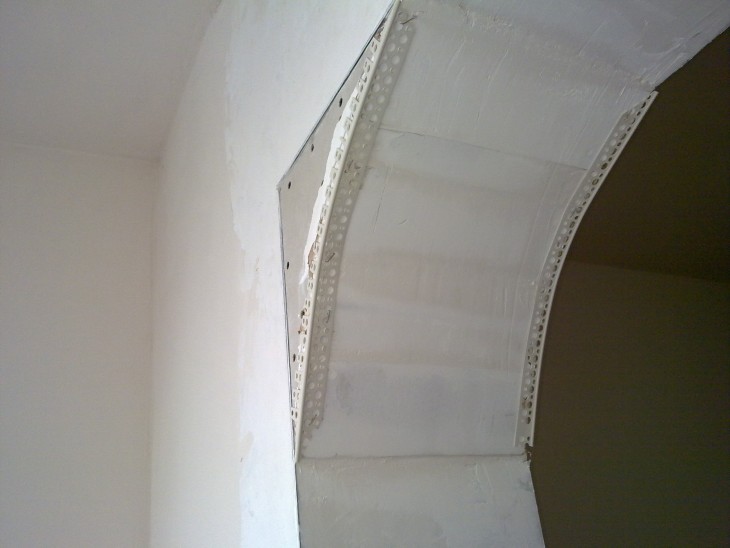
We measure the resulting arc and make a fastening tape from the profile. After that, we attach the resulting tape to the arch for self-tapping screws.
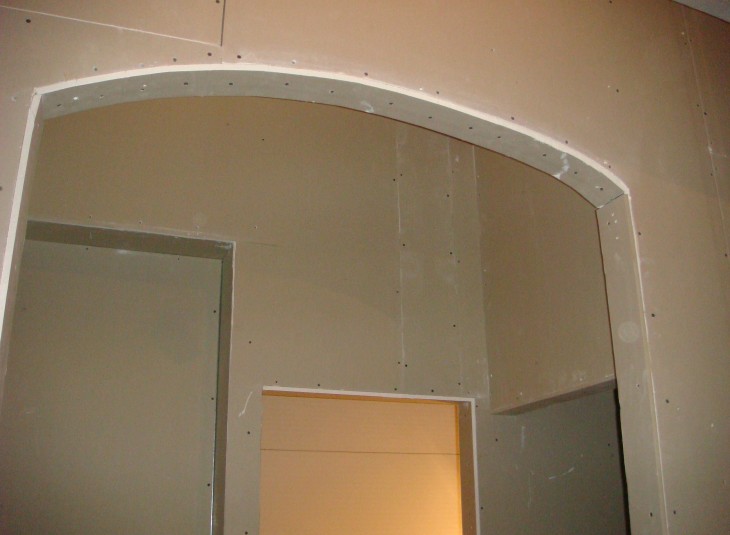
Set jumpers. Their size is calculated simply: the depth of the arch minus 1.5 centimeters, the material of manufacture is a metal profile, less often a tree. We attach to the end of the opening a sheet of drywall with screws.
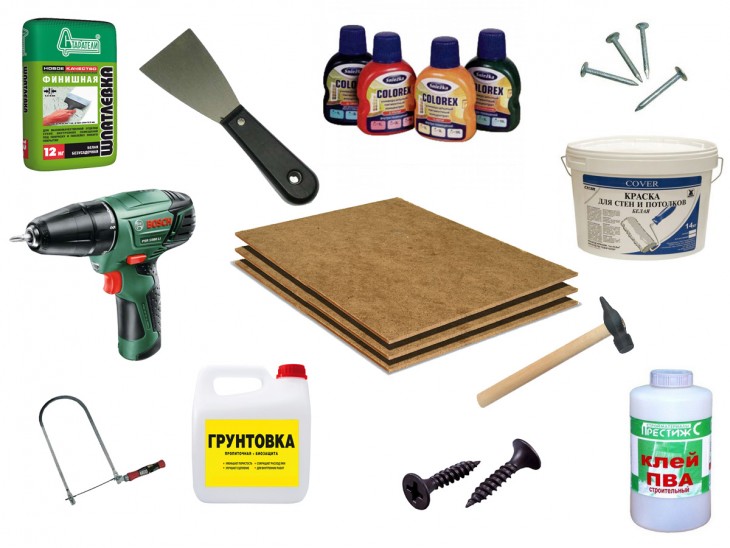
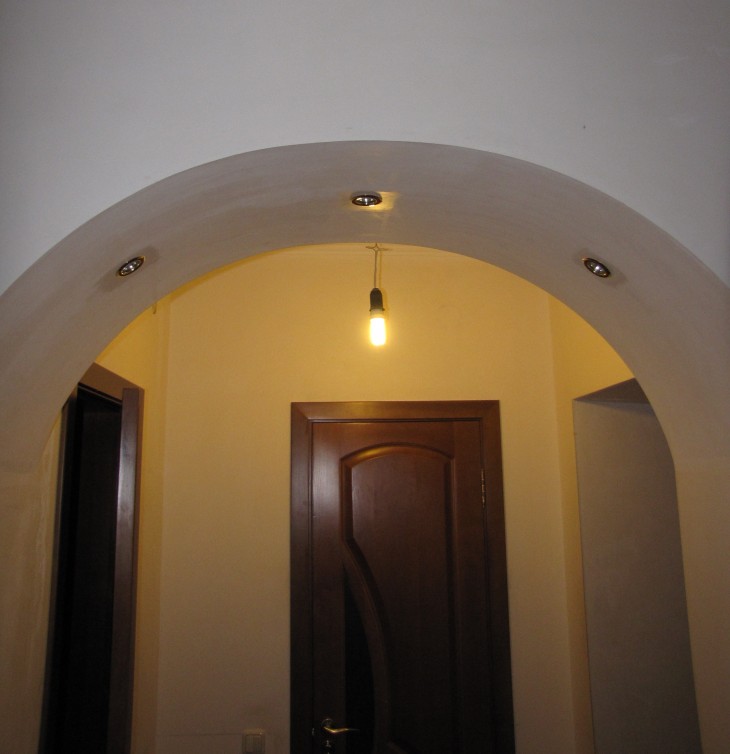
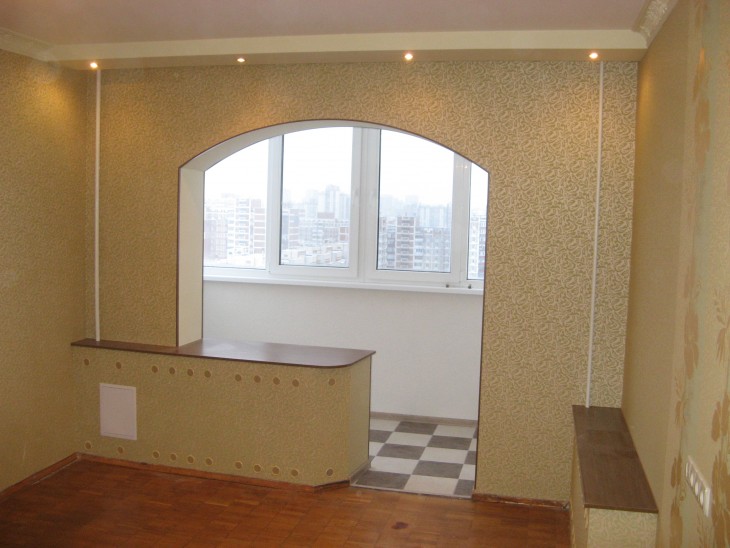
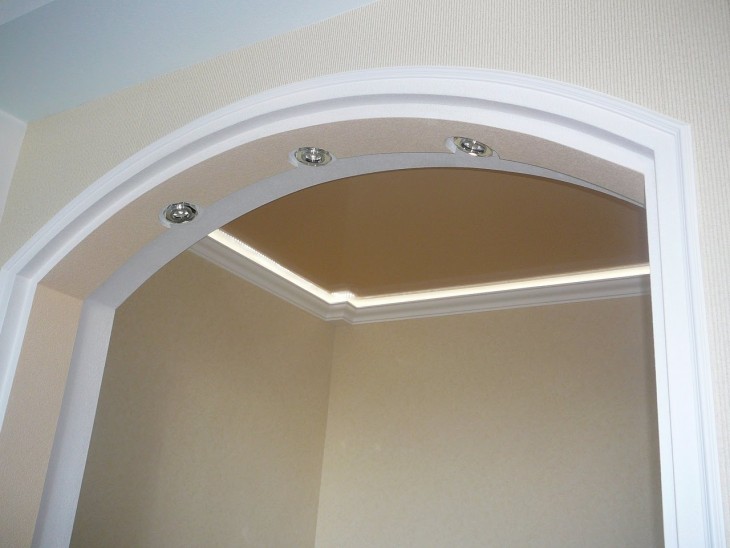
We carry out finishing work (we smooth it with putty, overwrite possible holes, paint, or glue the wallpaper).
Other ways to make an arch
You can also make an arch in the opening in two other ways. The difference between these methods of creating an arch in the fastening of drywall.
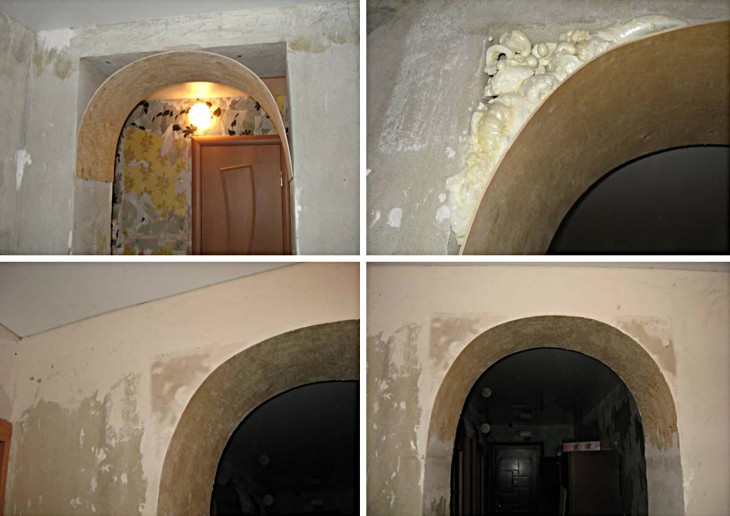
In the second version, it is attached to the jumpers not with a whole sheet, but with specially cut pieces (set) using a special solution (water, putty plus PVA glue) and this should be done without delay, since the solution solidifies very quickly.

Note!
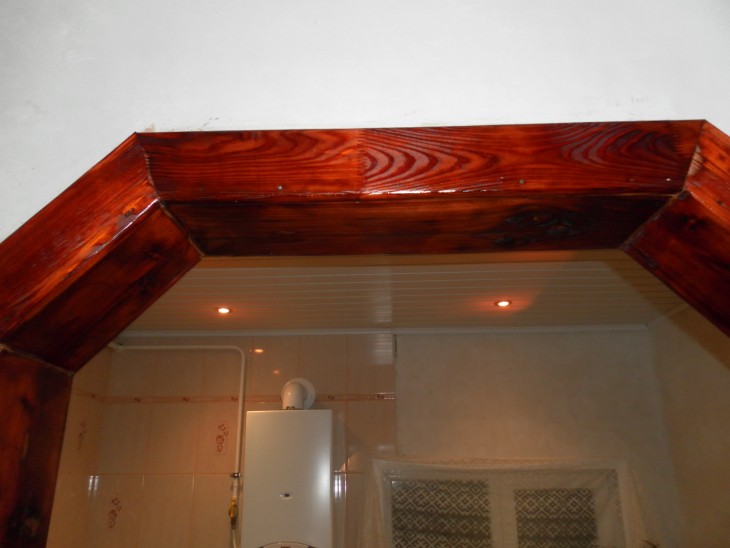
The third option involves wooden lintels mounted on glue. Drywall in the opening to the jumpers is also glued.
How to bend drywall?
In addition, the question may arise: how to bend drywall? Thin cardboard (6 mm) is best suited for this.
And there are at least 2 ways to bend it:
1 way - roll a roller on cardboard to break the gypsum in it, soak it in water and gradually screw it onto the tape with screws.
2 way - to make cuts on drywall every 4-5 centimeters. When you attach to the end of the opening, the material at the place of the cuts will burst and better fit to the wall surface.
Good luck in the performance of work!
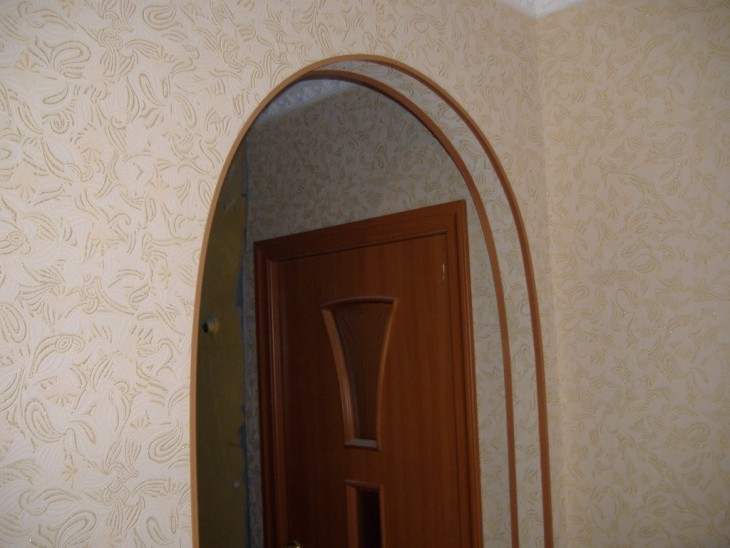
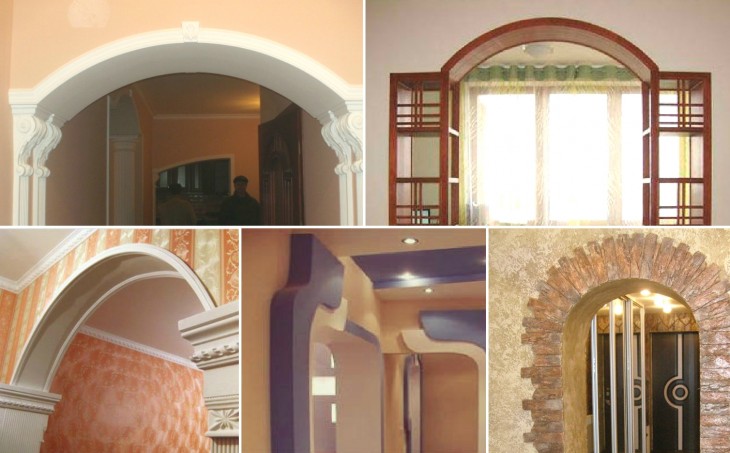
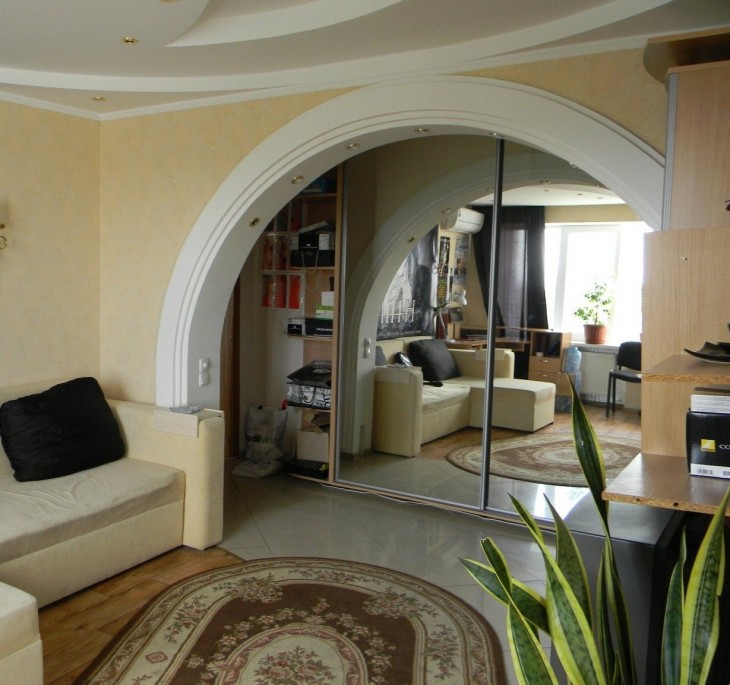
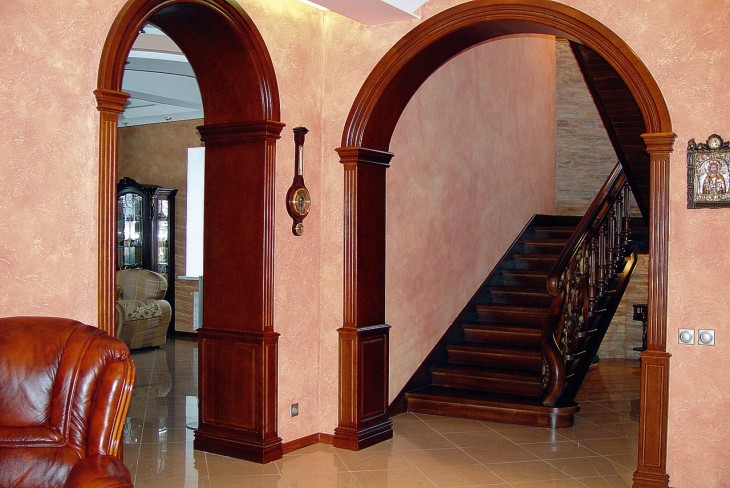
DIY arch photo
Note!